Hi Tim,
I always had a soft spot for the wacky looking ships, nice to hear you are enjoying it. Taking the ship and the aircraft slowly and carefully is the way forward. Another update in the not too distant.
Cheers, Si
Hi Tim,
I always had a soft spot for the wacky looking ships, nice to hear you are enjoying it. Taking the ship and the aircraft slowly and carefully is the way forward. Another update in the not too distant.
Cheers, Si
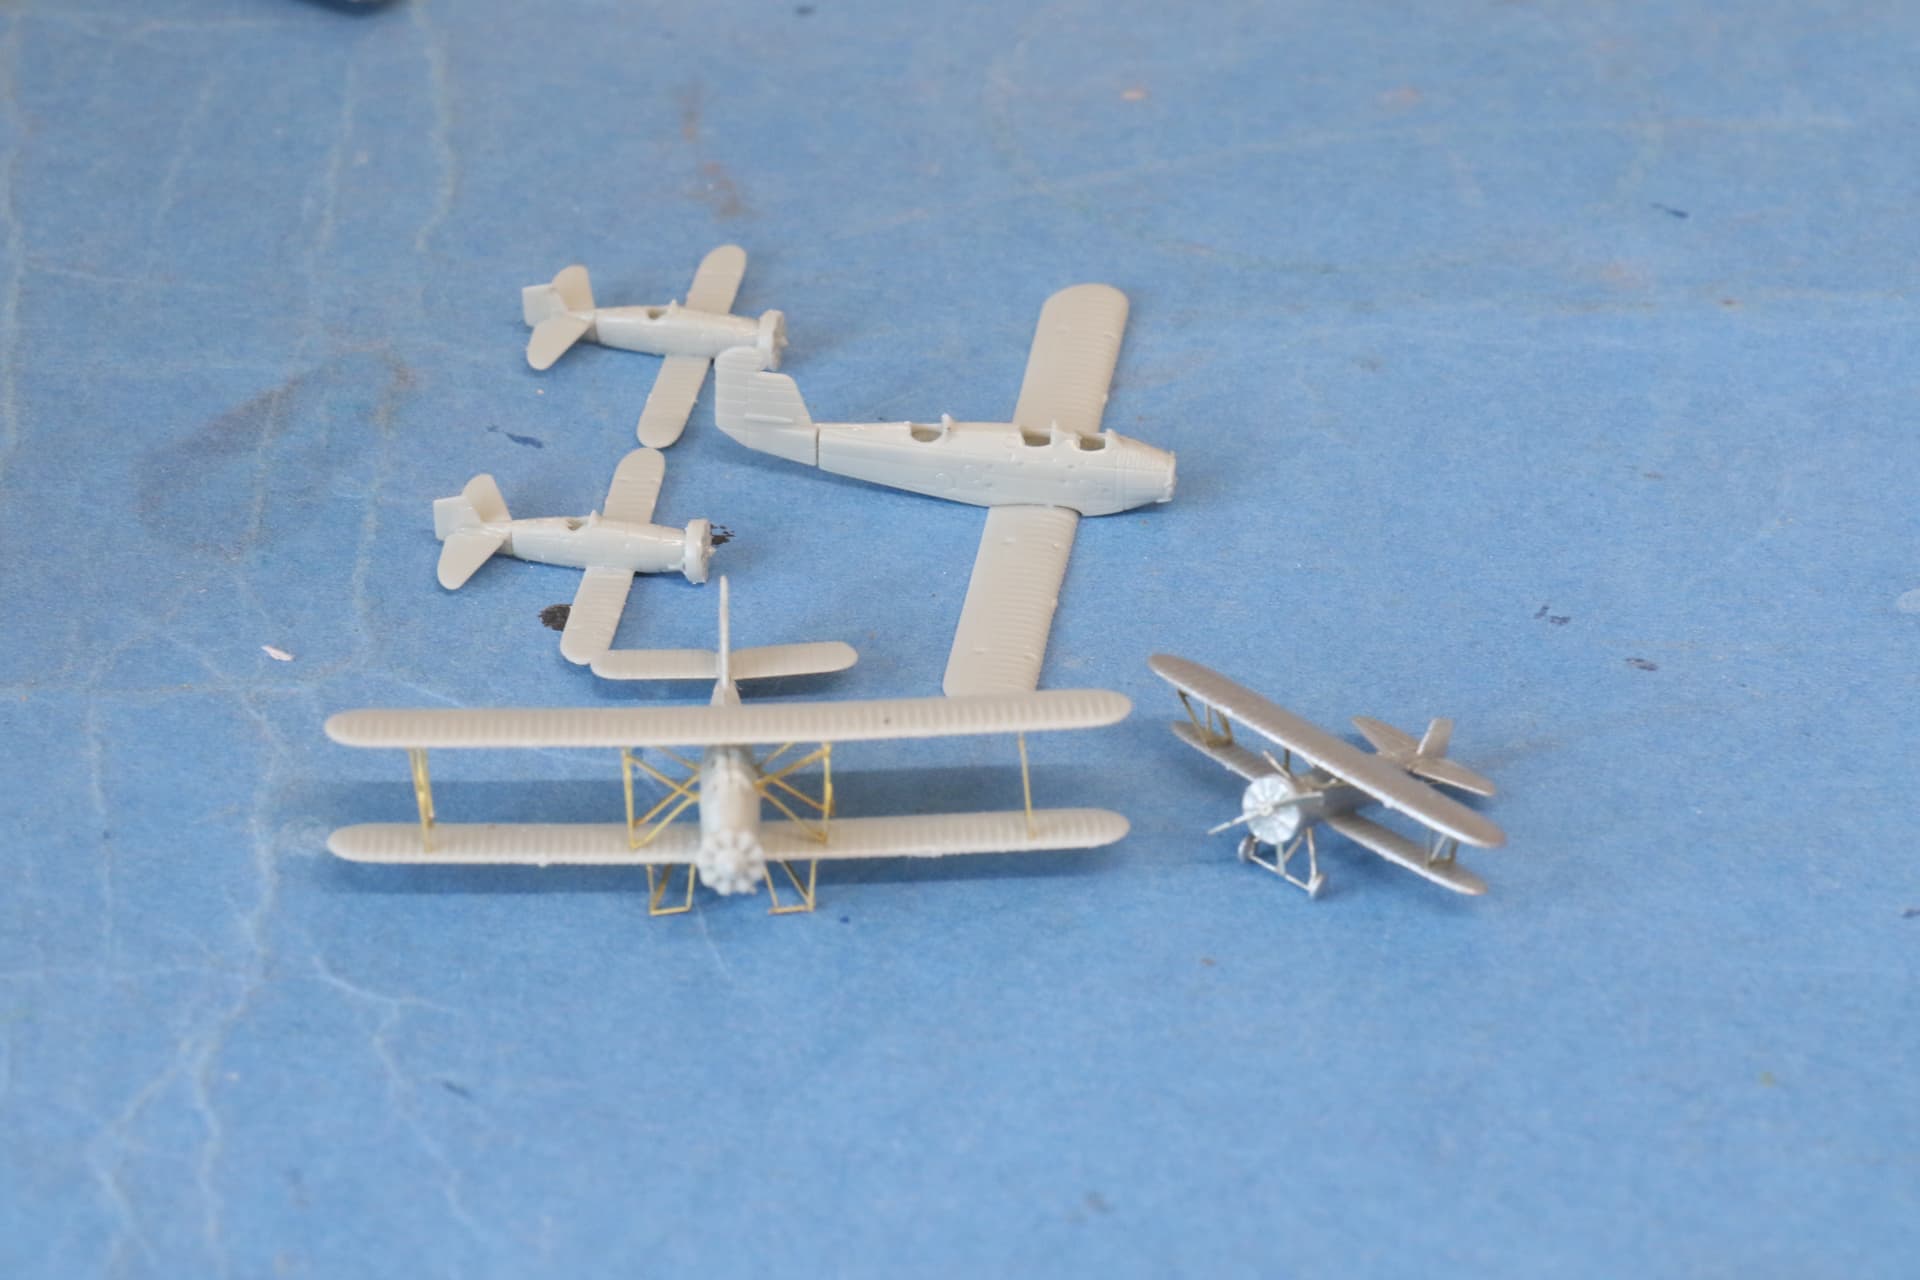
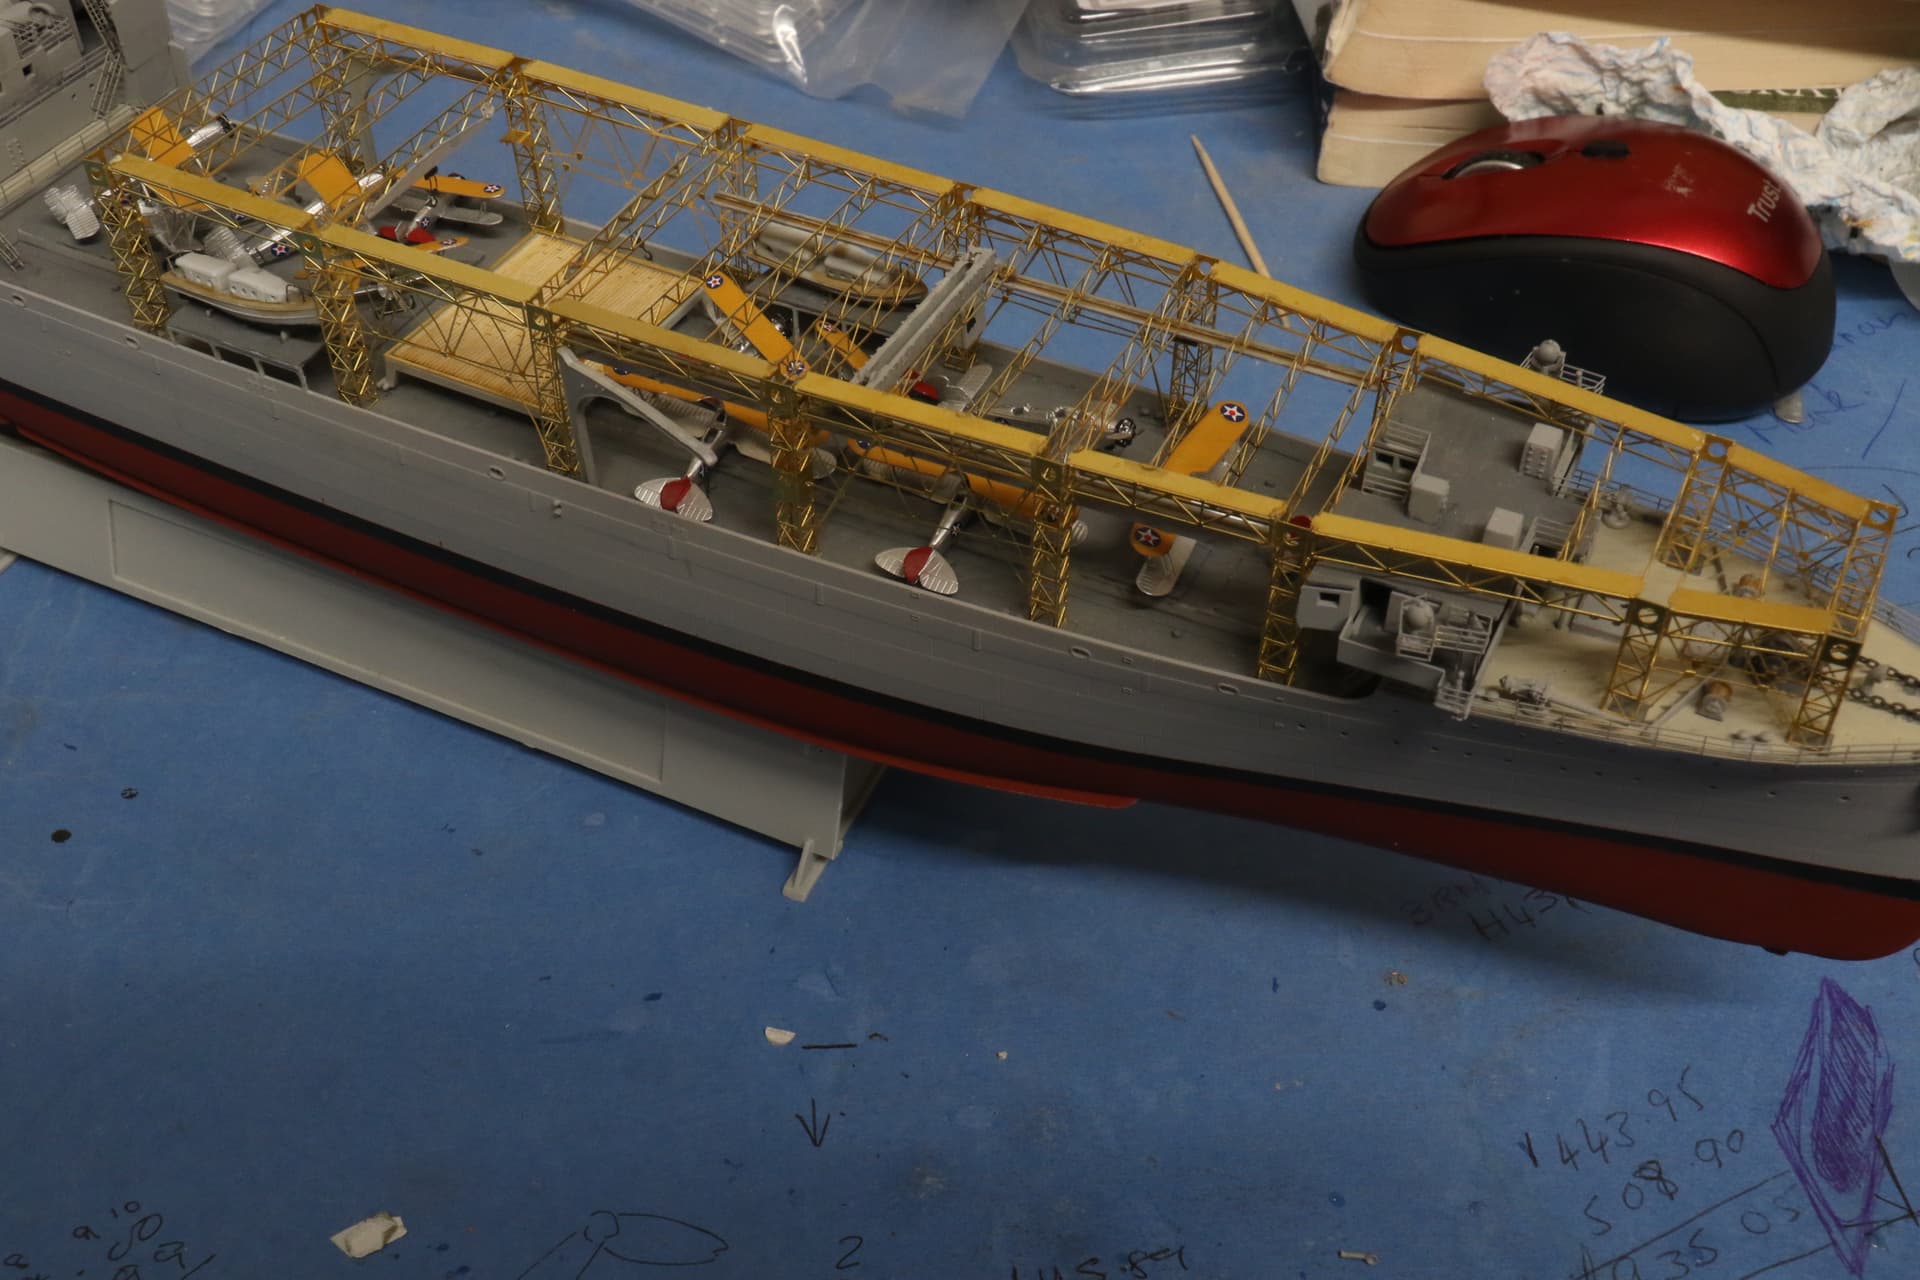
A little progress. a bit more done on the airwing. That area is progressing slowly, the instructions (my opinion) could be a little clearer on folding the undercarriage legs particulary on the T4M.
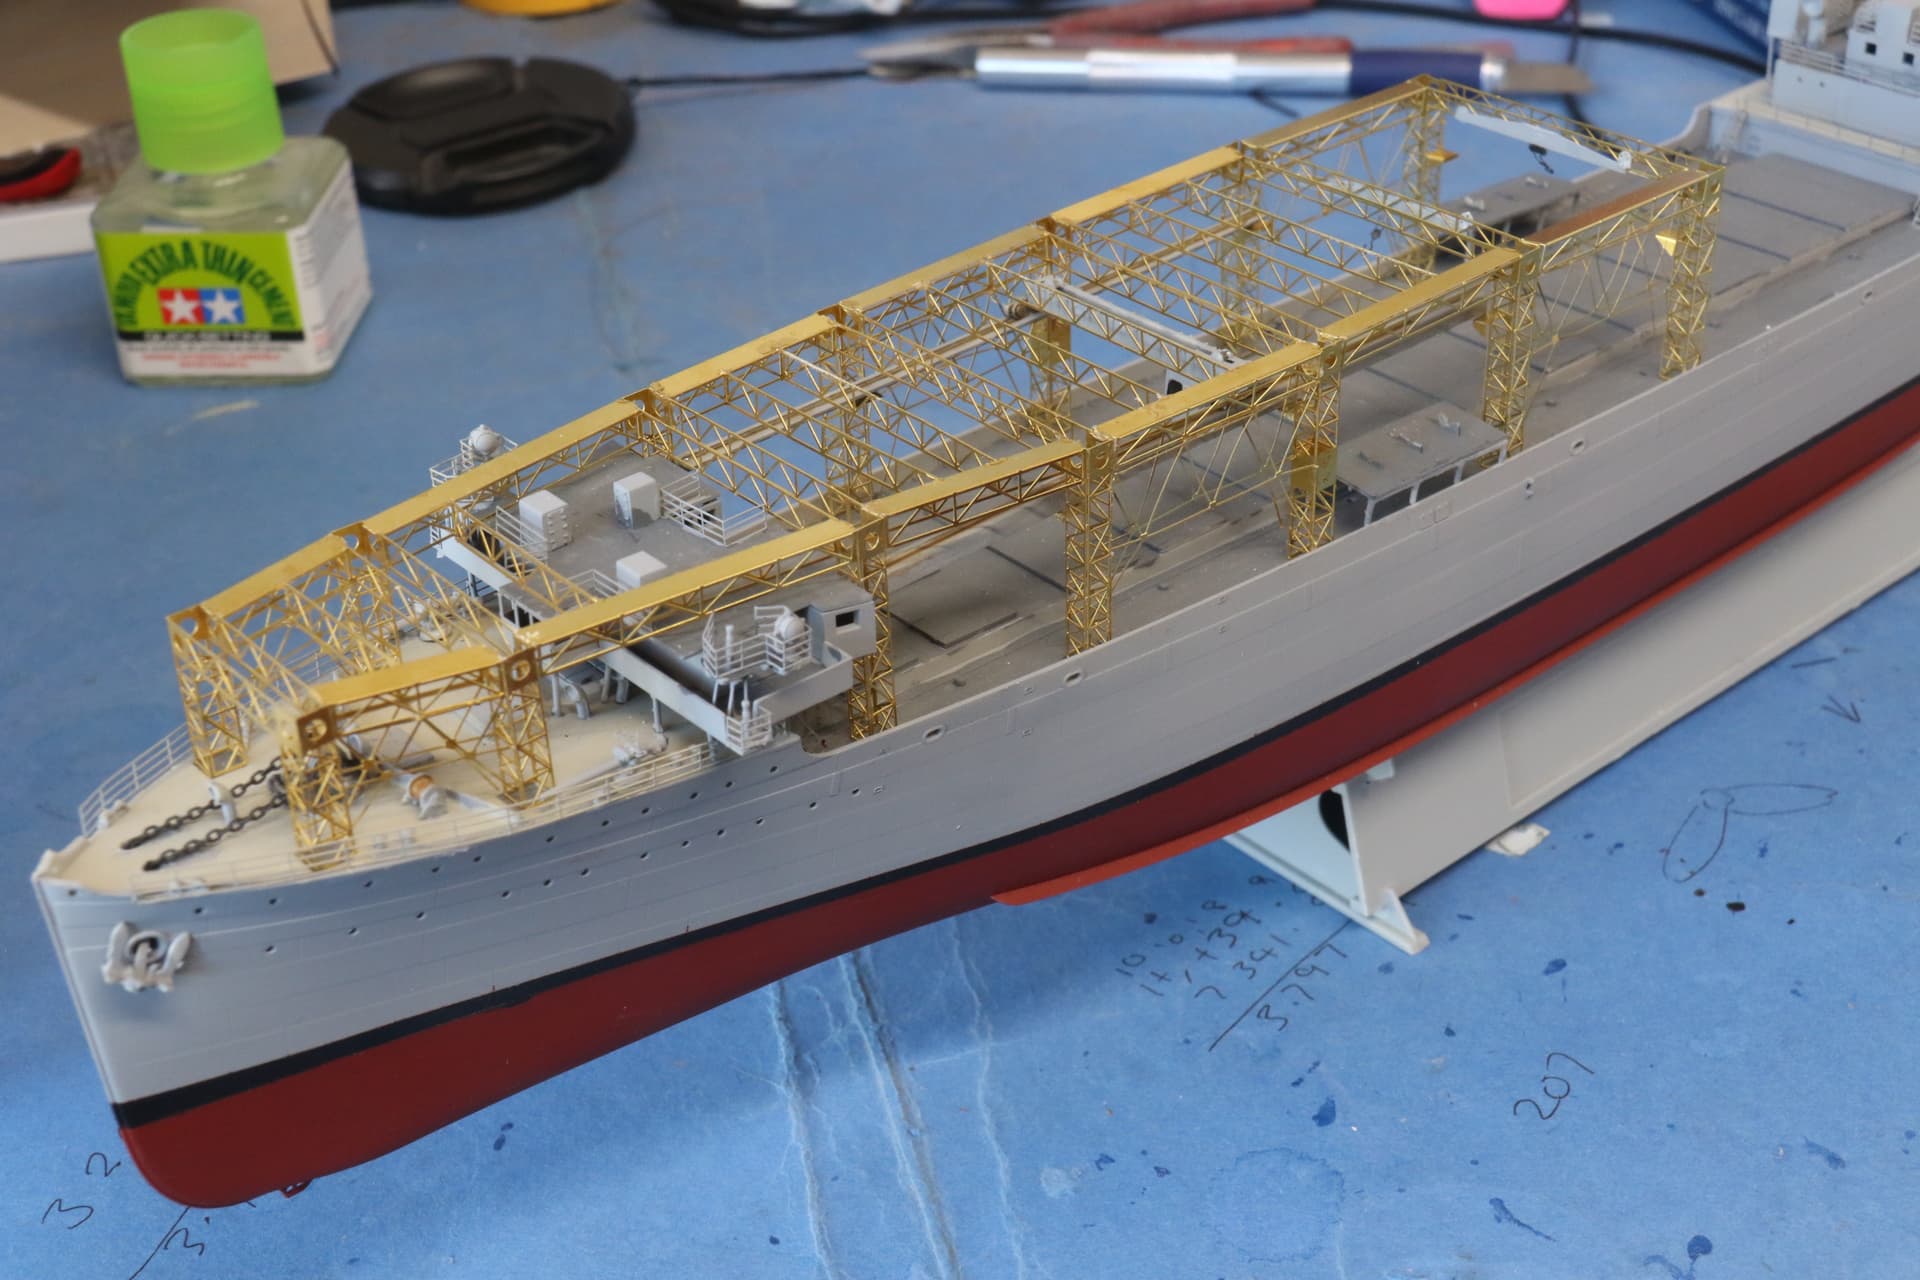
I have got a bit further with the etch, and fitted the forward overhead crane.
I am going to off piste with the finishing. The more that brass structure grows the less I want to spray it light grey. I am going to leave it bare brass. It might not be accurate, but to me it will look cool and different. I worked in tanker shipping offices, Owners, Shipbrokers and Oil Trading, most of them had builders models of ships they owned or chartered regularly. The basic Hull, superstructure, funnel large solid deck structures were all painted in the correct company colours. On some a lot of the fine detail stuff was left in bare brass, knew it wasn’t correct for the real ship, but it looked cool.
If you don’t like the plan, I won’t be offended if you say so.
Cheers, ![]()
![]()
![]() Si
Si
Si, I have often had the same thought assembling models with etched brass components - and the brass on your Langley is exceptional! It always seems such a shame to spray boring grey all over gleaming brass… I say go for it!
Thanks Tim, appreciate your comment, I am going for it ![]()
Hello Si.
A very well built model.
I’ll stay on board.
I understand that you don’t want to paint the vulnerable etched brass parts, they look great as is.
But that wouldn’t be mine.
Hi Jorg,
I appreciate I would most likely be in a minority for going down this route. I am very pleased that even though you wouldn’t go down this route, and have said so in a very nice way, I am glad you are staying on board.
Cheers, Si
Hi Si,
fantastic work here as well! You USS Langley turns into one very interesting build. From first seeing the kit when it came out it did not really appeal to me, I have to admit - but with all the work and detail underneath the flightdeck - well, I have to revise that.
Your brass structure looks really splendid! It would probably loose a lot under a simple grey coat of paint, but in its brassy color sure will be an eye catcher - so I am with you with your decision to leave it unpainted!
Cheers
Jan
Hi Jan,
Thank you for looking in, I didn’t consider this one until Trumpy brought out the etch and the wood deck in one package. I was a bit overwhelmed by the amount of structural etch when I opended the package. Taking it one or two sections at time made it a lot less daunting, I used to work in a Tanker Shipowners office, they had quite a few builders models of their ships, some of those had a lot of unpainted brass deck details, and how good they looked, as this brass structure grew I decided not to paint it. Very much appreciate yout support.
Cheers,
Si
Small update,
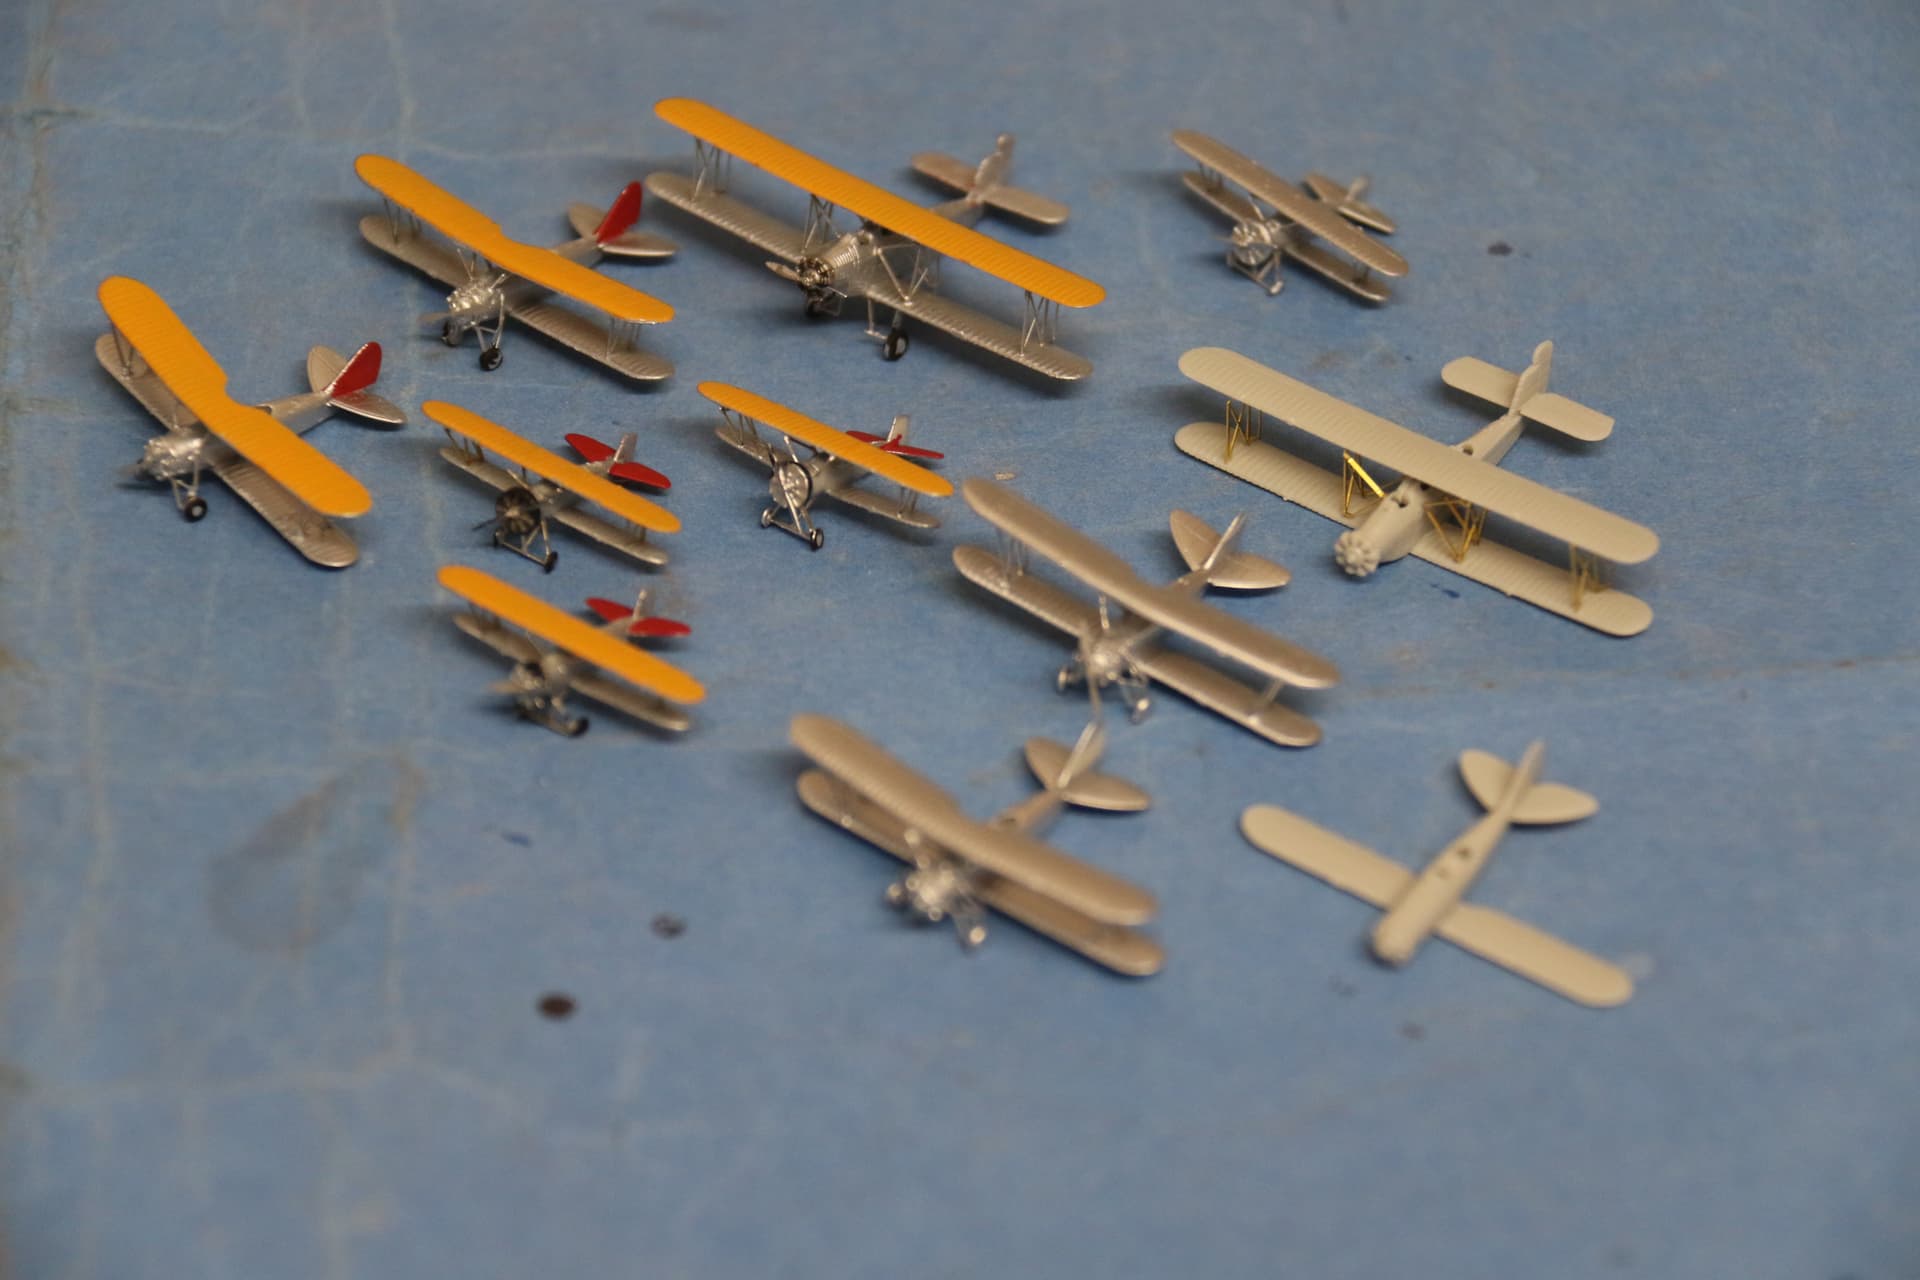
Some progress being made with the Airwing.
A bit work done on aft end of the structure. The intent will be to have some of the aircraft fitted under the flight deck. I have some extra aircraft on order, the first set the F4B’s turned up to today, but unimpressed they were moulded in clear plastic. I dont intend to finish the main section until the selected aircraft are fitted down on the maindeck.I am expected the etched structure to be a tight fit. I will have to remove it to fit the after longitiudenal crane, when I get it back in place, it will glued down, with a fragile etched structure taking it on and off is likely to end up deforming it.
Cheers, Si
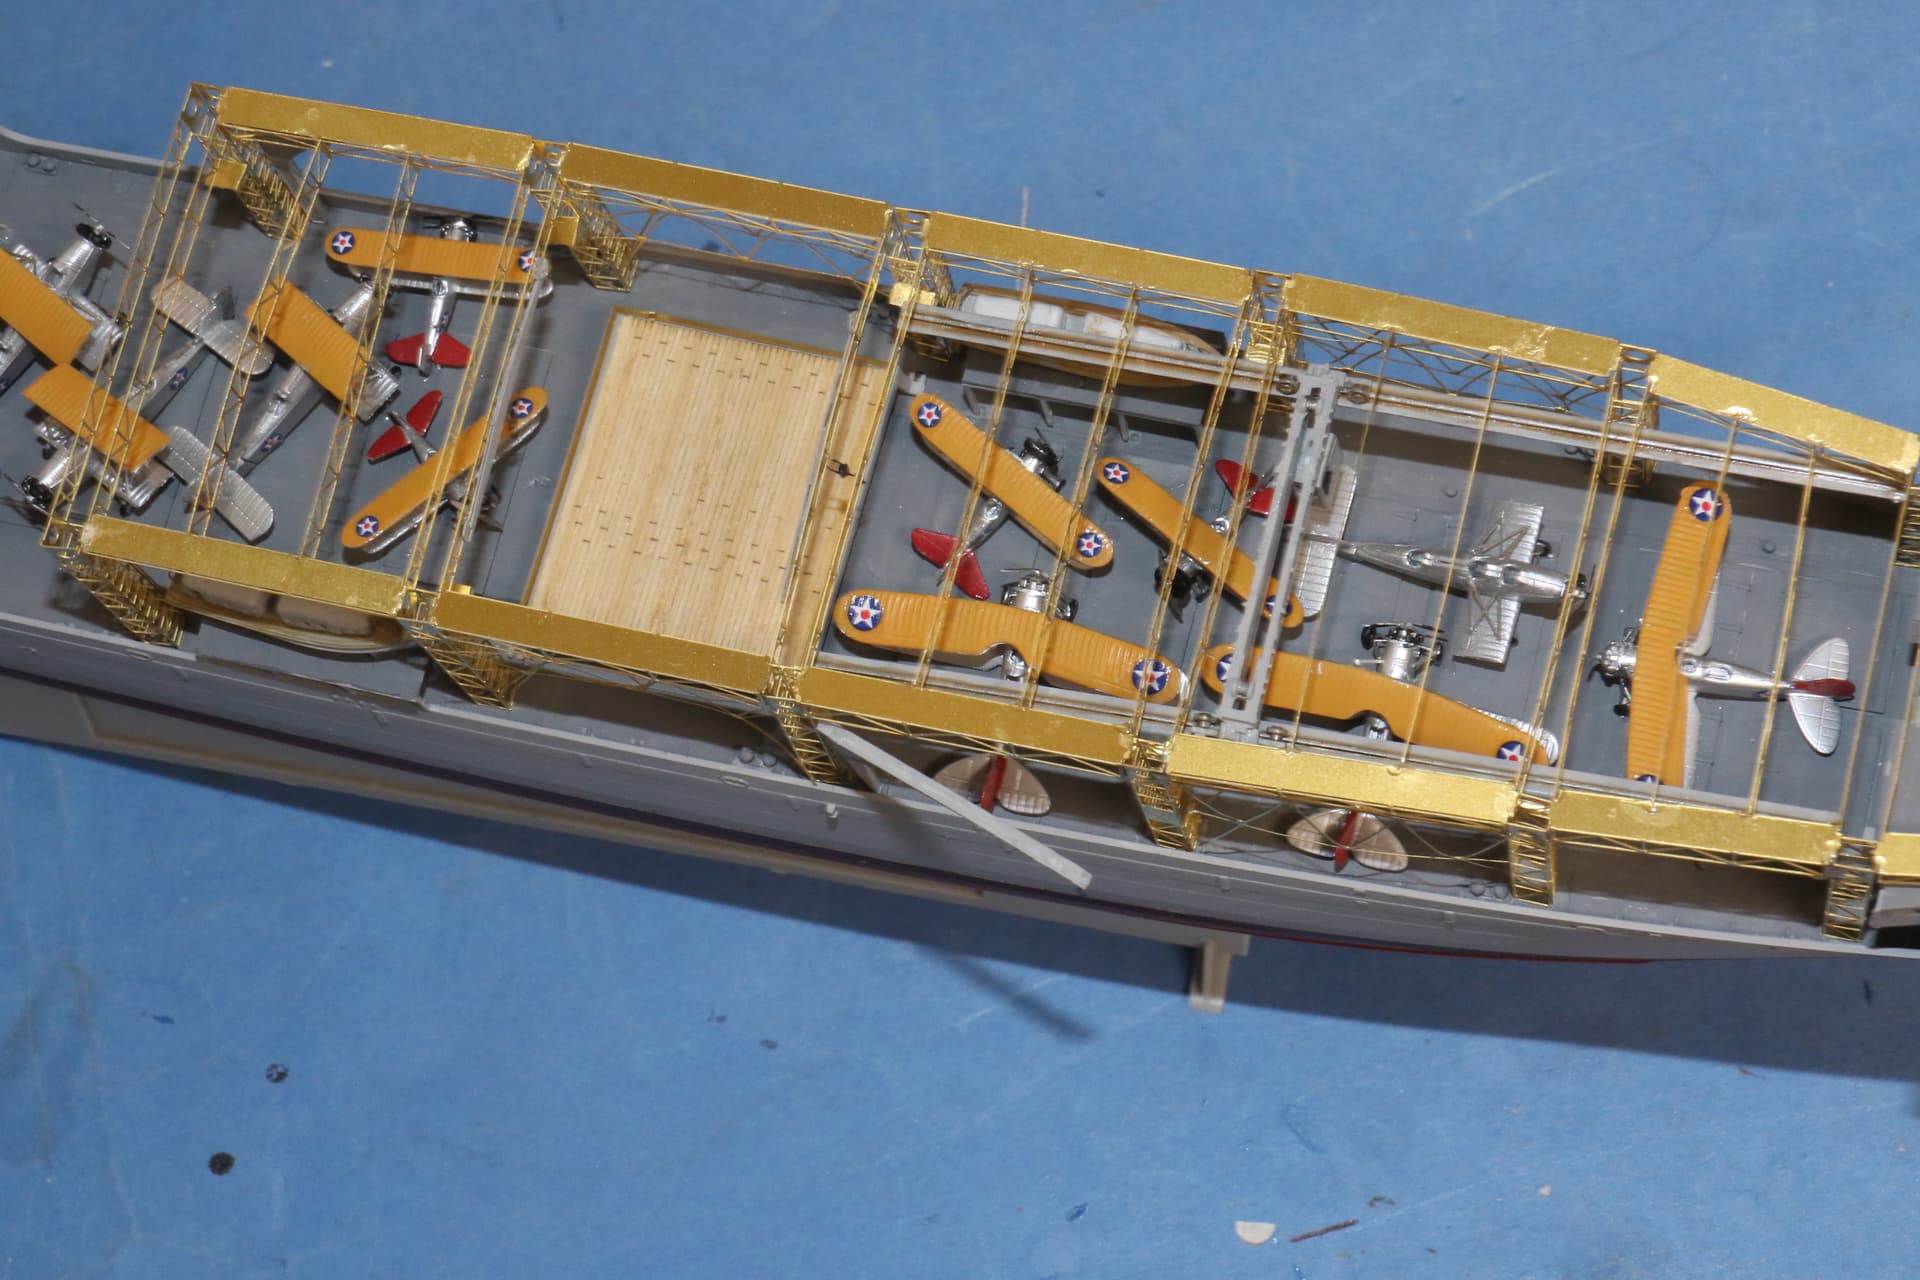
A bit more progress, some aicraft have been stowed on the hatch covers, and the brass has gone one section further aft.
Looking at the photos of the real ship, the T4Ms had the outer wings removed when they were stowed below.
.I have started fitting the wood to the deck, the elevator is just test fitted in place,
more soon.
Cheers, Si
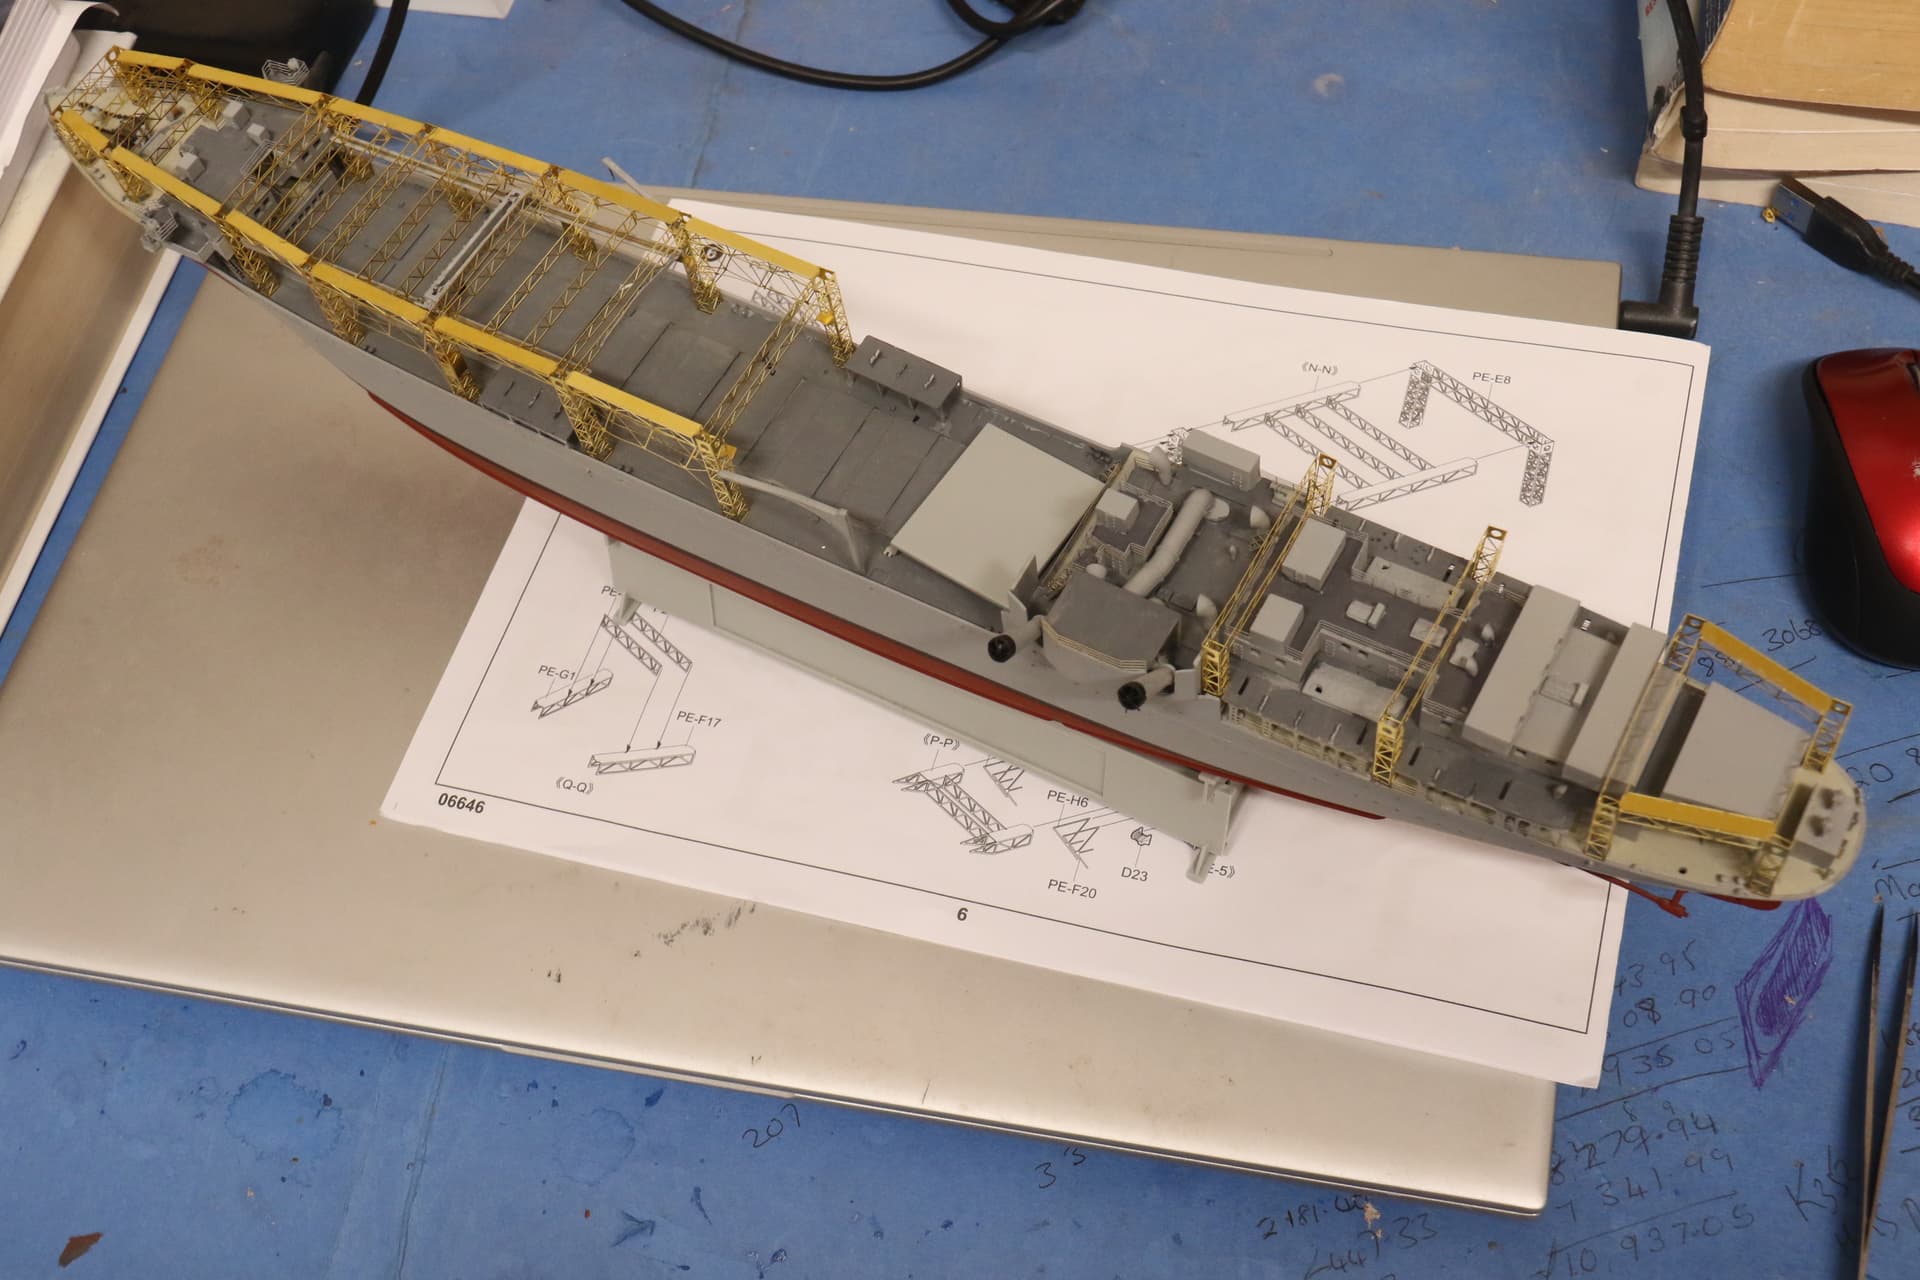
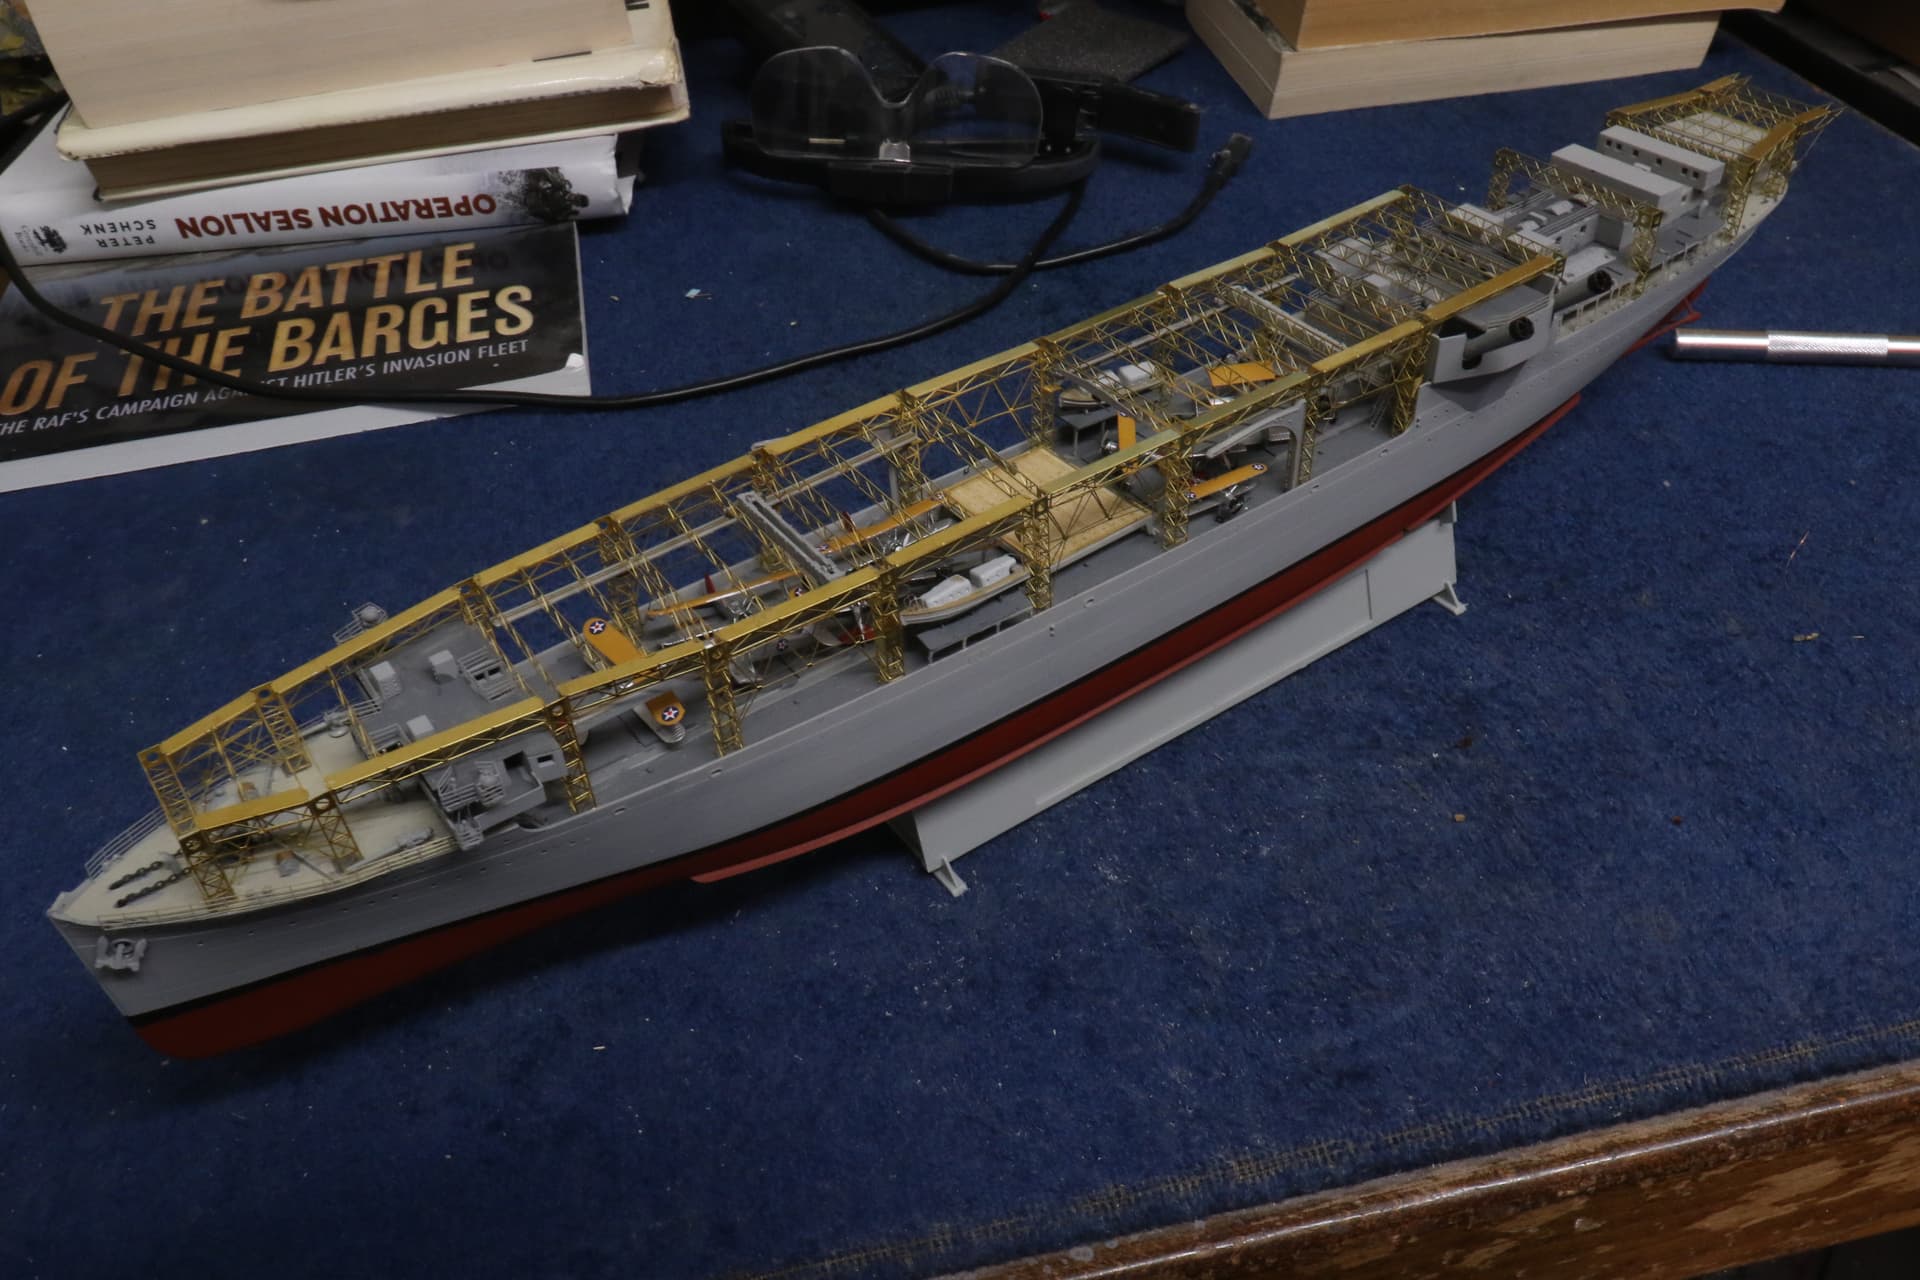
The brass structure is nearly there.
Only two sections to go in around the boats and davits aft.
The wood deck I found to be not a good fit, I is in three sections The bow section wasn’t too bad, but the middle section which ran down to the aft end of the elevator position, left a gap at both ends, I have patched the gaps with scrap wood left on the backing sheet. The rear section also needed patching right aft,
With a mist coat of matt varnish, the yellow stripes down the deck and a few aircraft on deck it should look ok,
Cheers, Si
Looking good Si.
Thats unfortunate about the gap in the deck, but seems you’ve overcome it ![]()
Don’t forget if any decals are to go on the deck, to apply a gloss clear coat first to provide a good surface for adhesion ![]()
Thanks Russ,
Little problems like that are just a bit annoying, but fixable
The Gloss coat, and Matt to seal the decals should help blend in the patches, aslo some of then I can hide under aircraft.
Cheers, Si