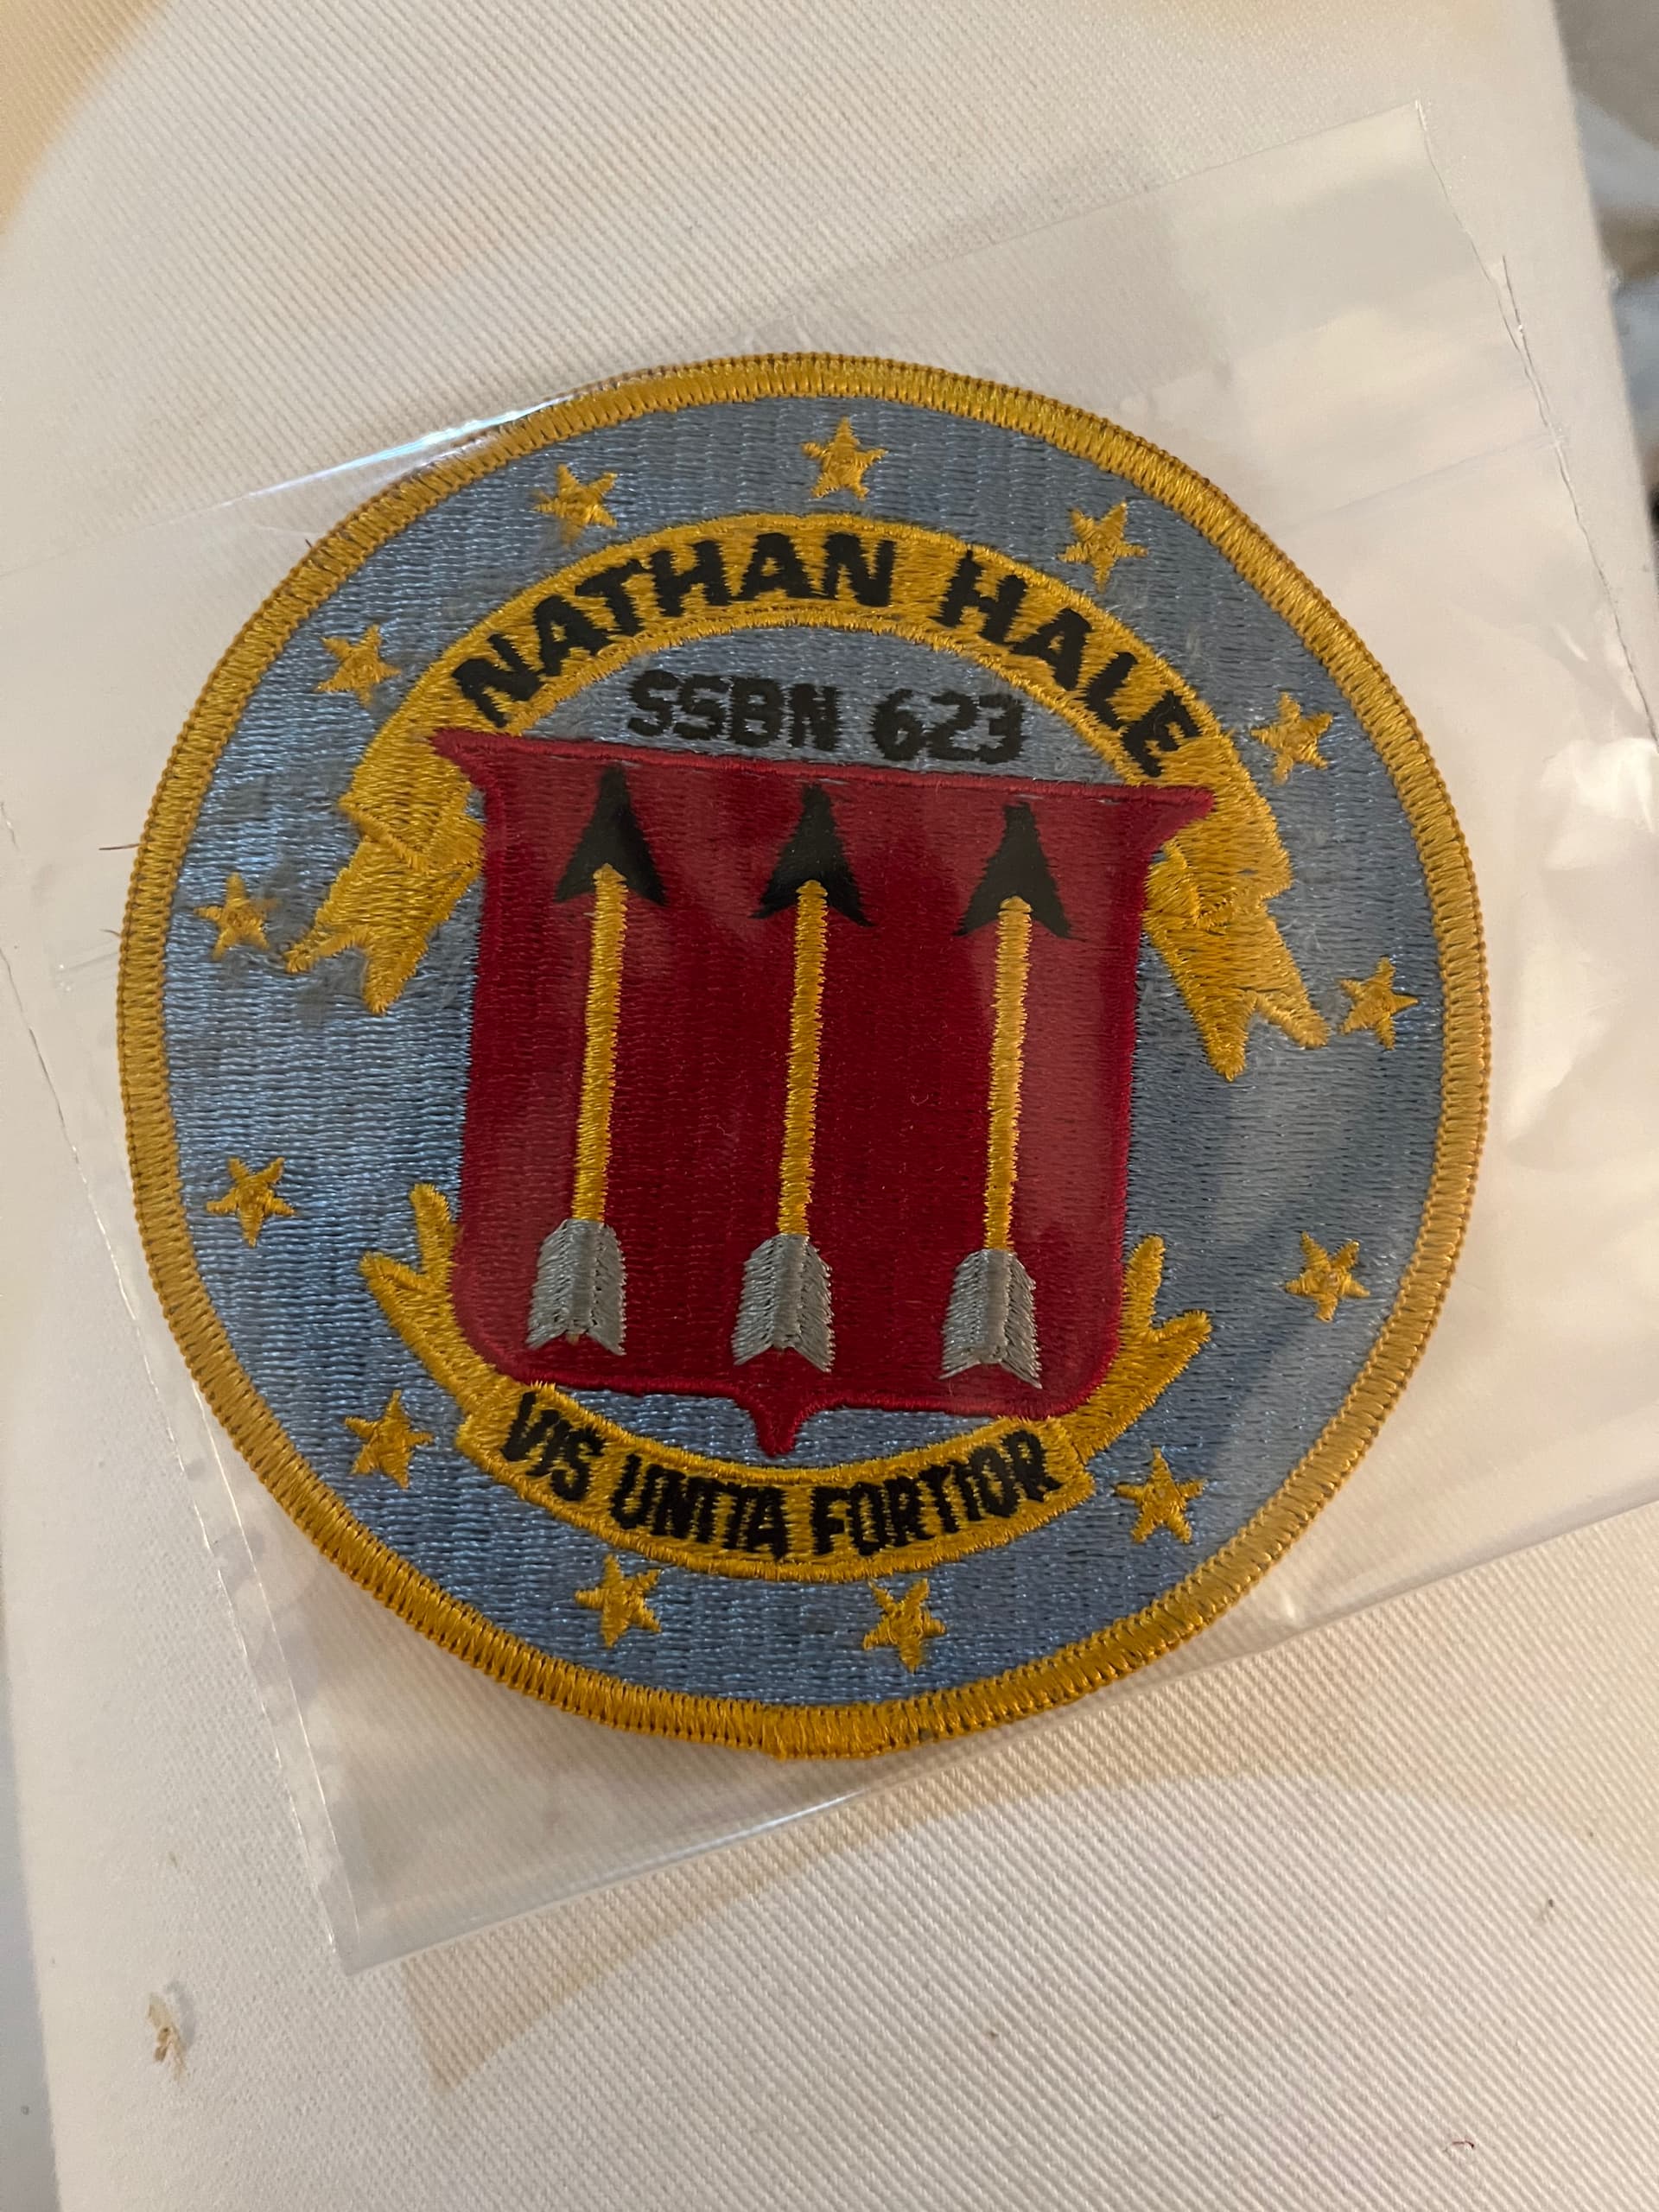
My grandfather served as a Polaris missile technician on the USS Nathan Hale SSBN-623 on some of her first deployments after commissioning. I’m planning to build the MikroMir 1/350 scale representation as a gift for my dad and place it on a display base with a vintage ship’s patch and (hopefully) a picture of my grandfather or a crew group photo on either end of the display.
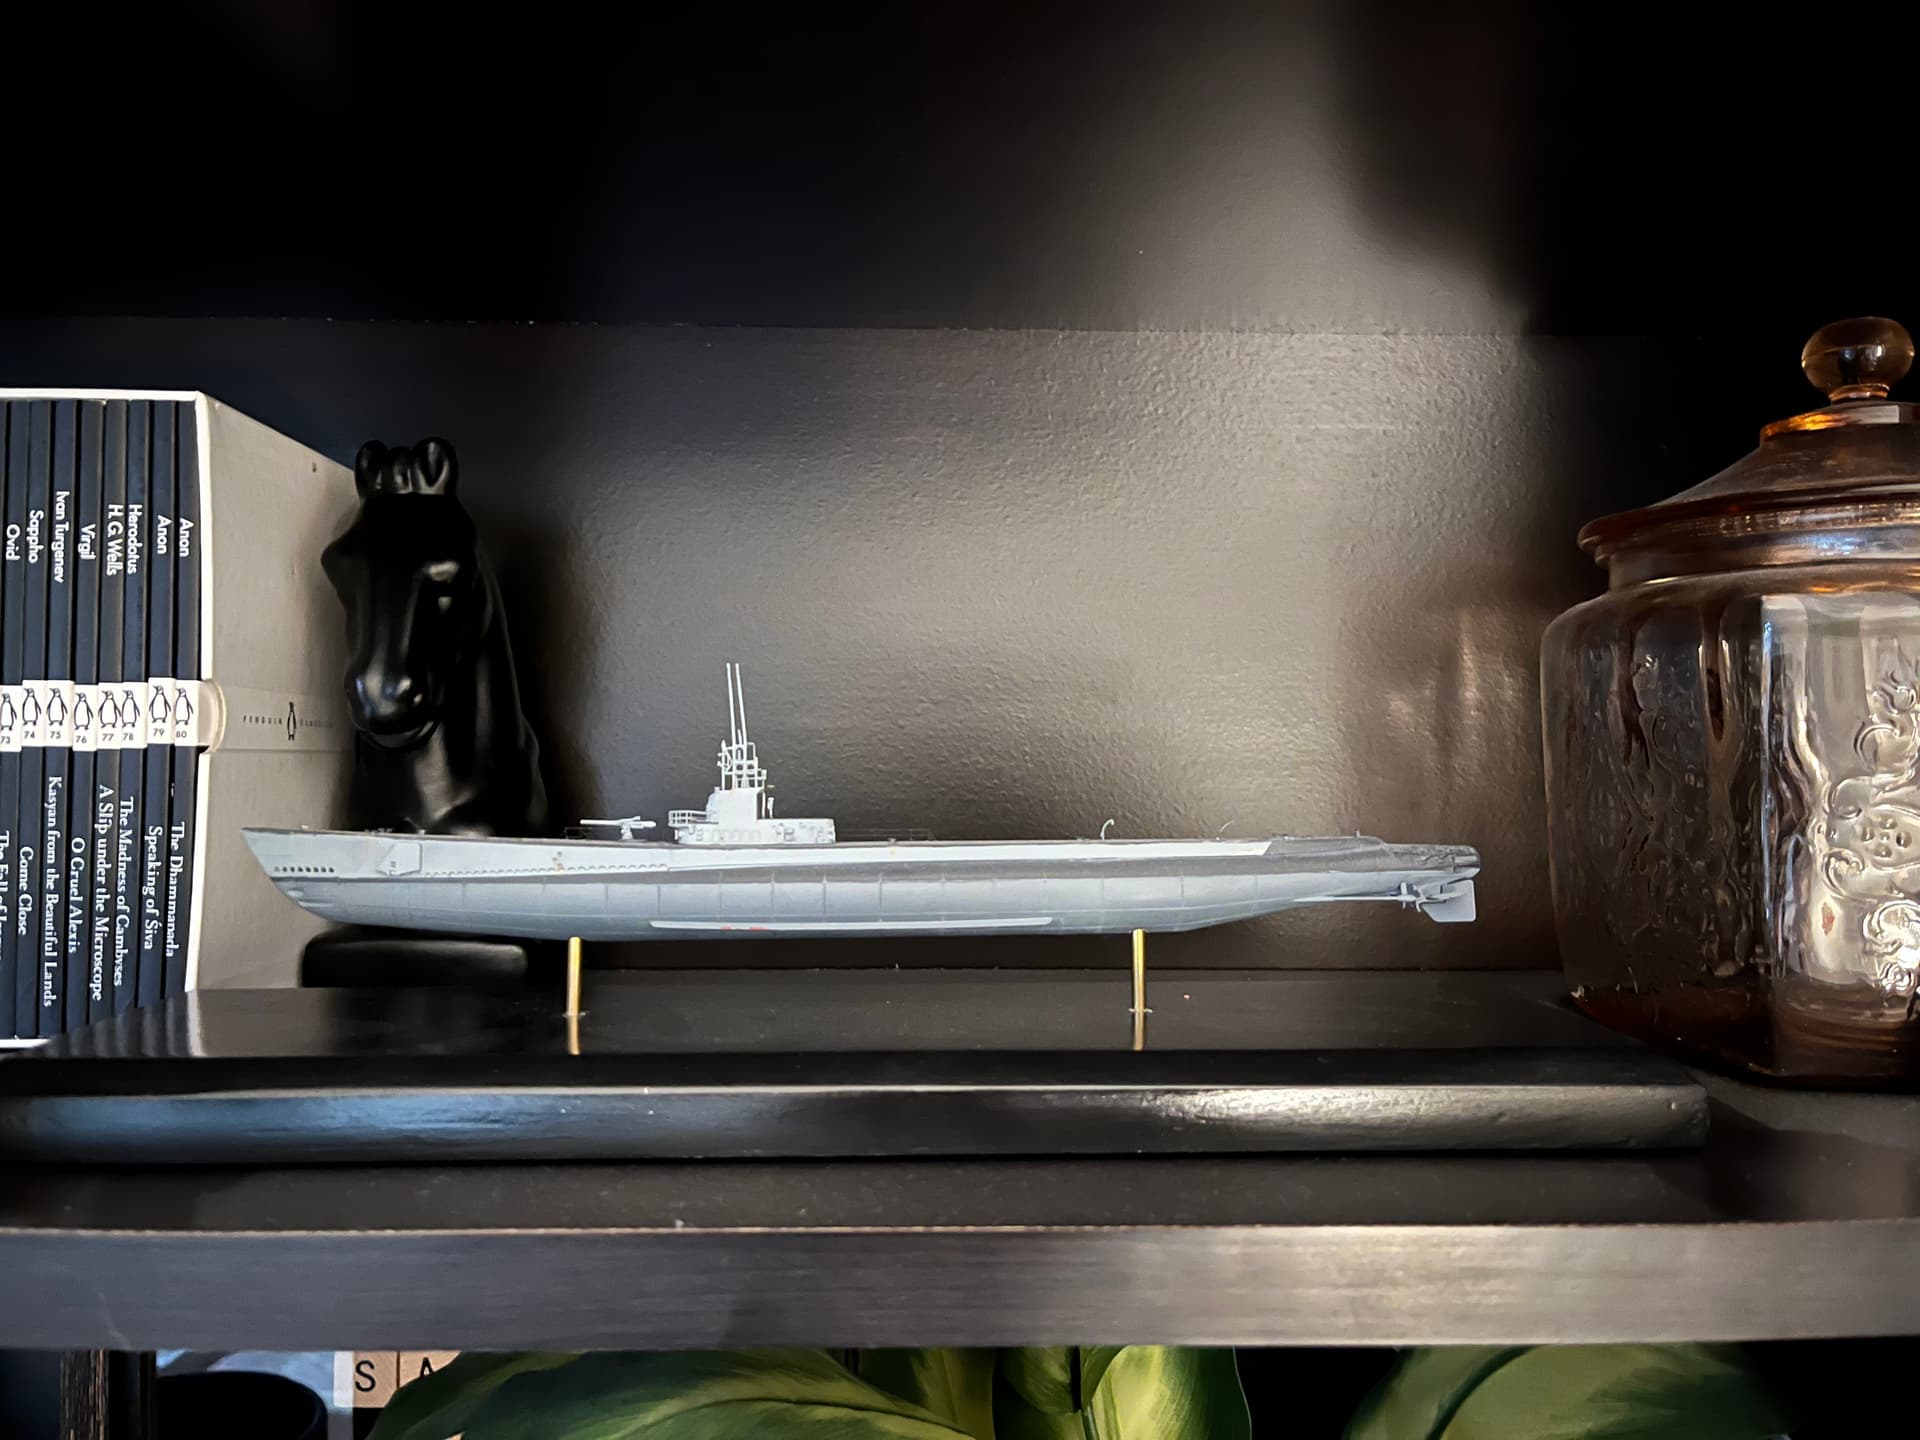
I’ll need input and guidance along the way. My first ship was Revell’s Titanic many years ago, and then this Gato-class sub (can’t remember the mfg) which I mounted on a homemade base with brass rod. I’ll do something similar for the Nathan Hale.
It may also go in a display case depending on cost. Lots of research to do.
The kit looks simple enough but, annoyingly, it lacks the hull number and name of the Nathan Hale on the decal sheet. It does include almost every other boat in the class though. Ugh.
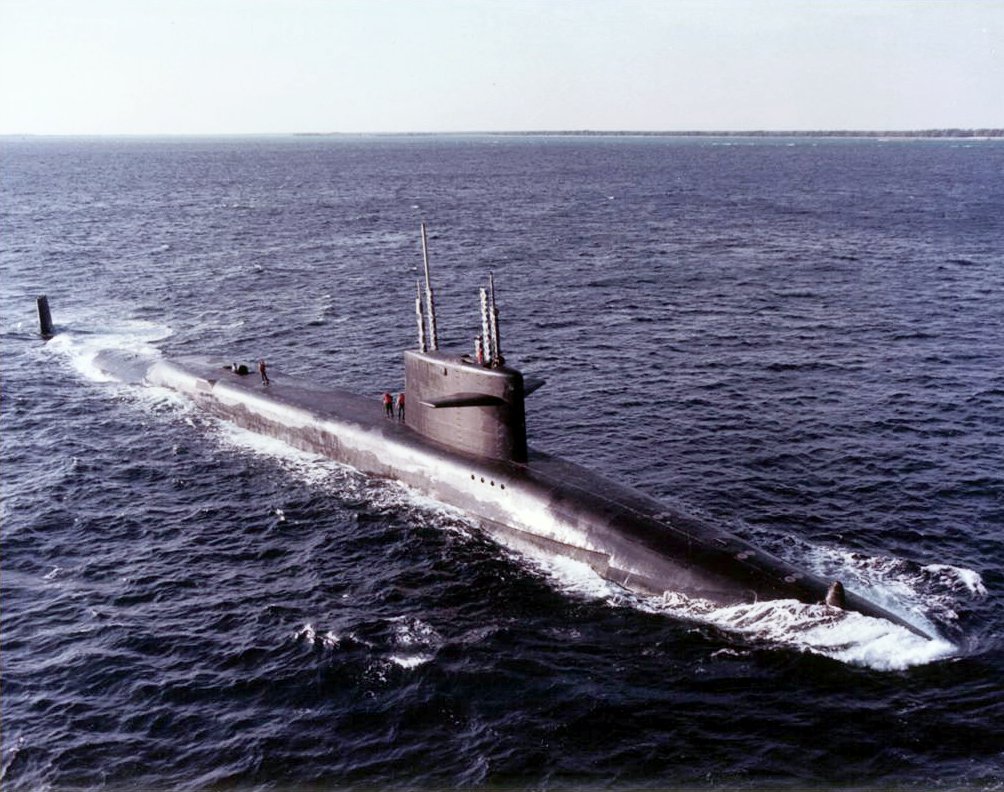
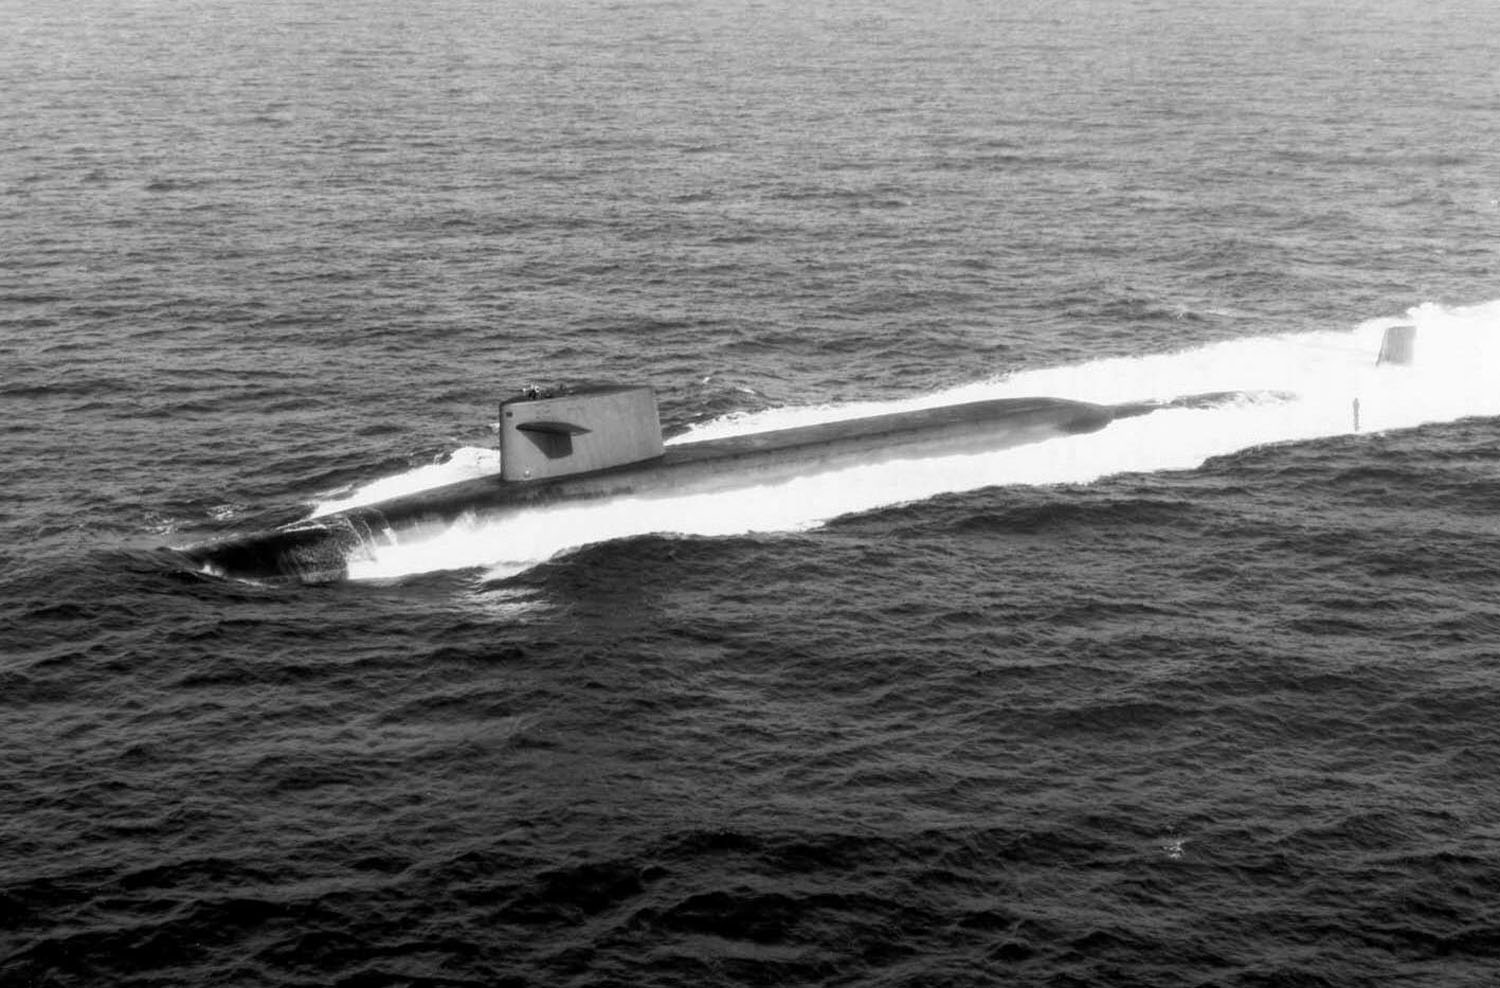
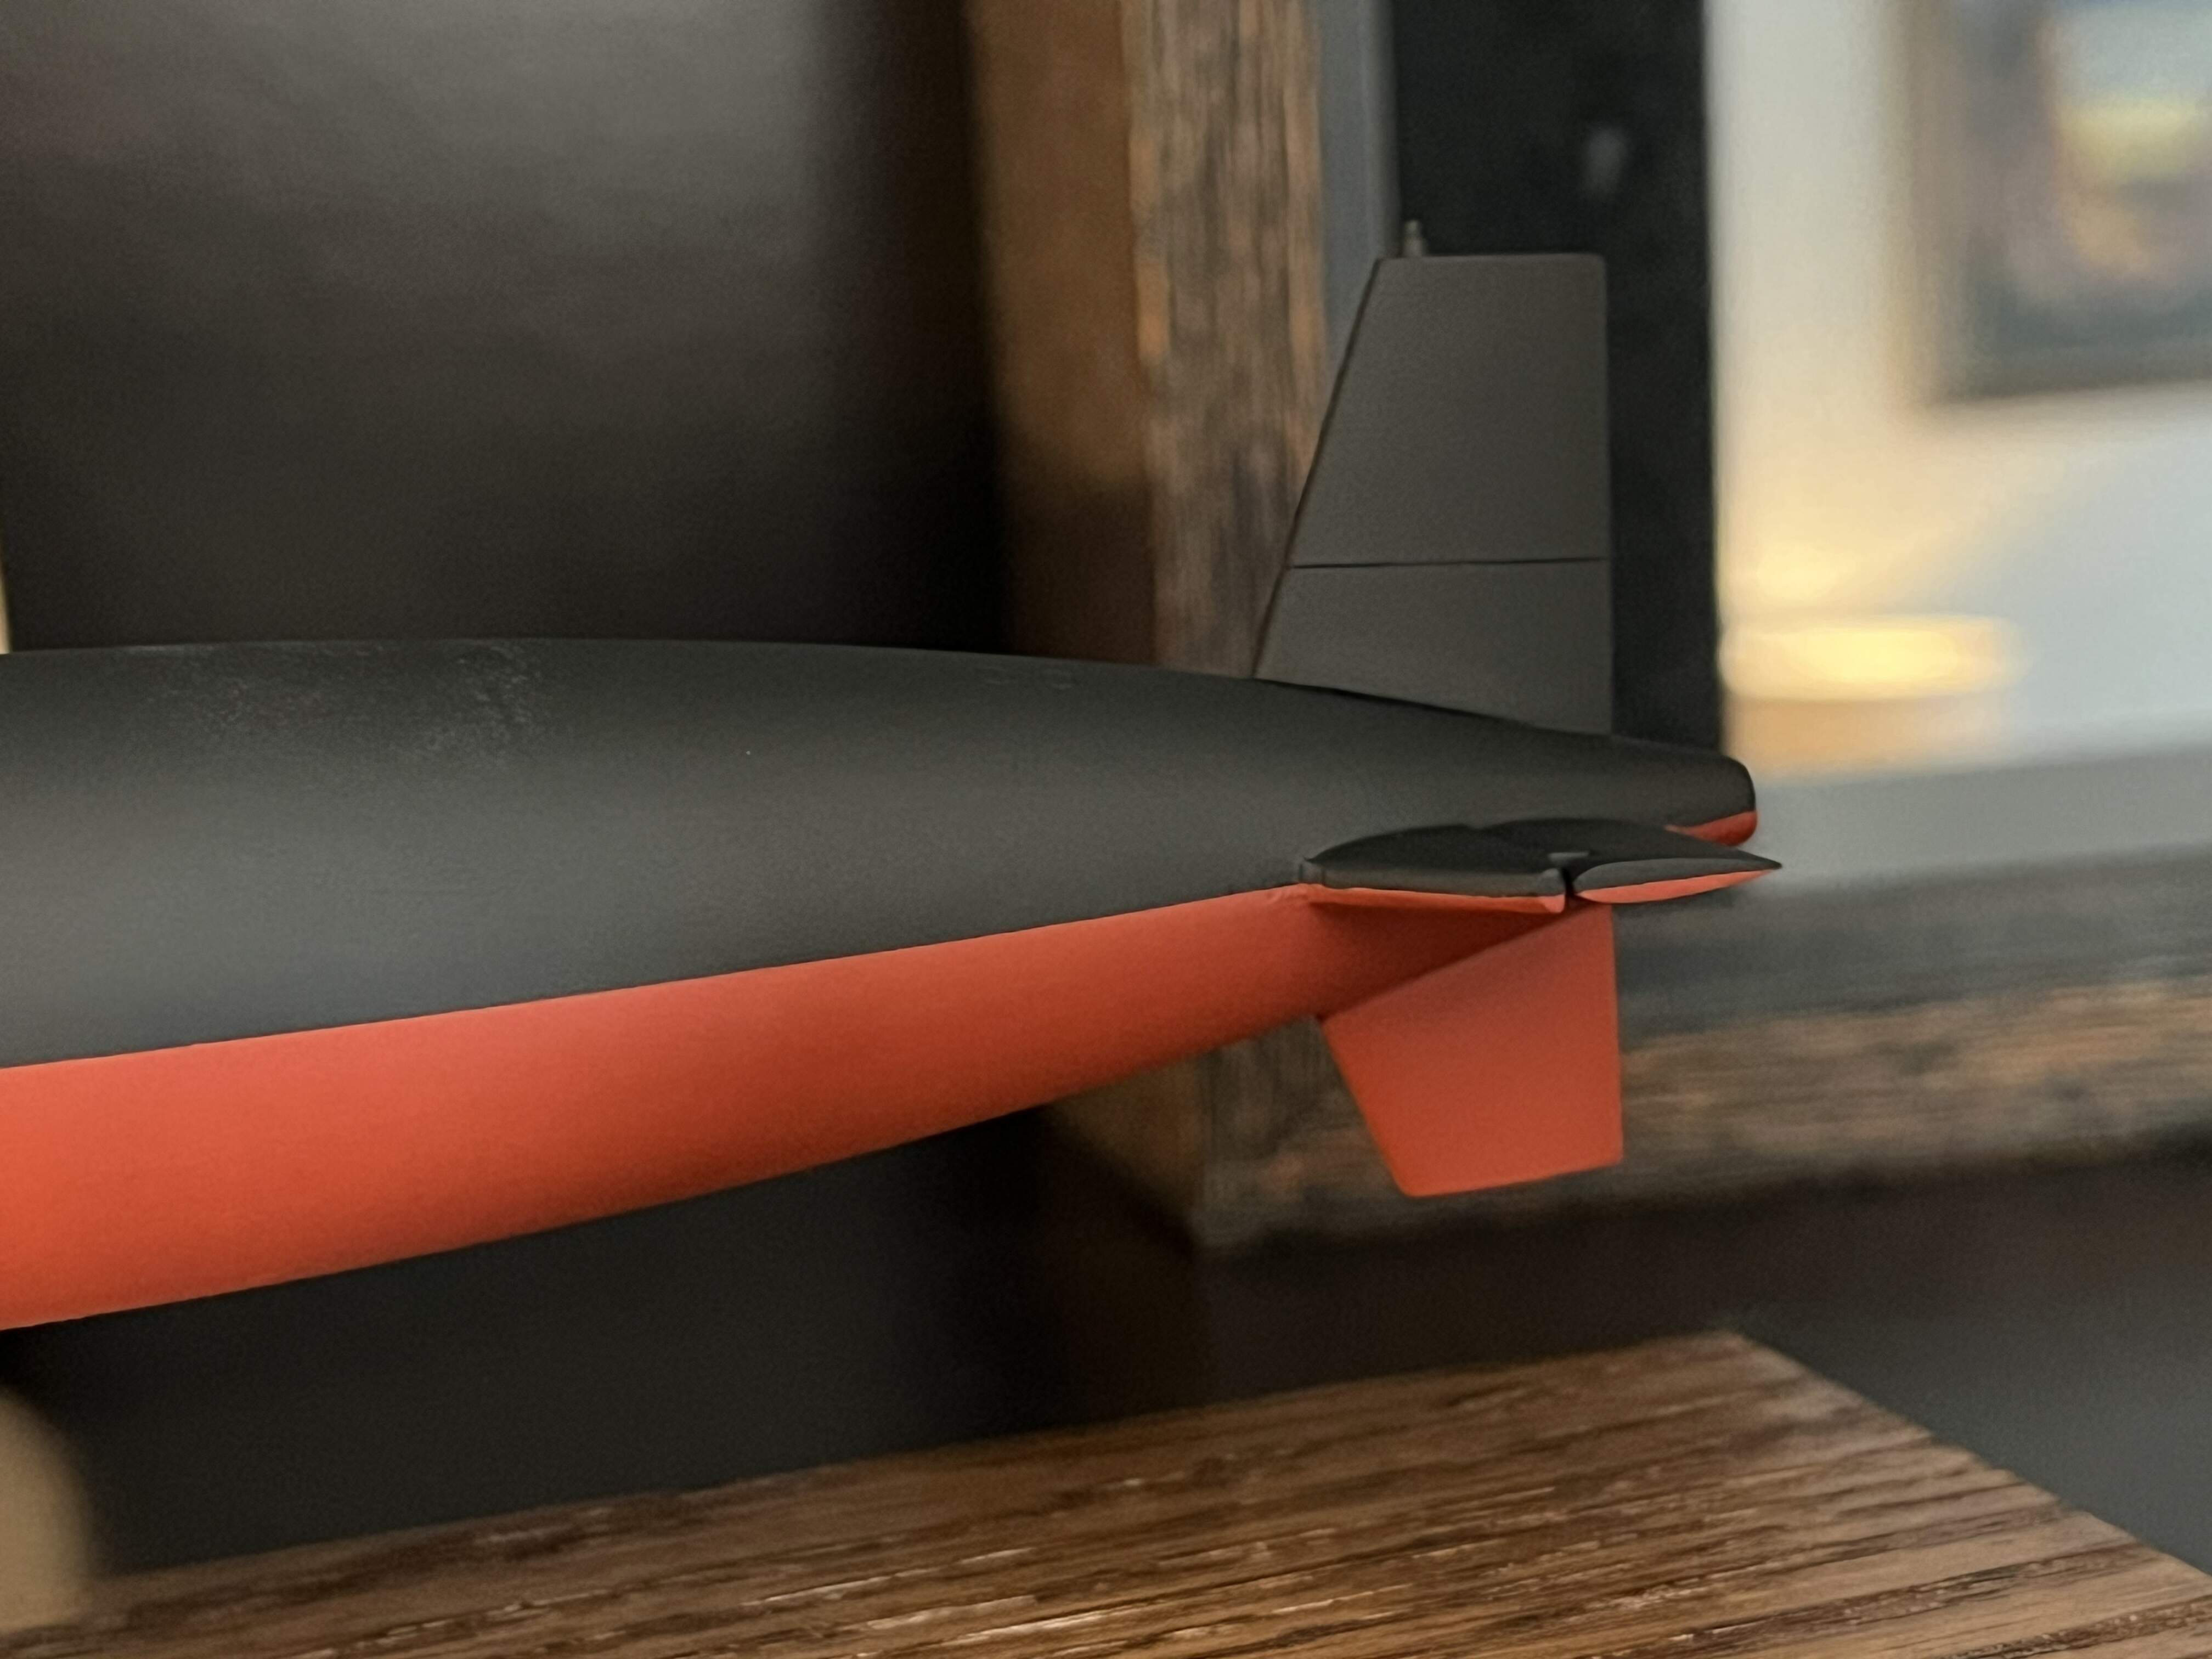
Current points of research are whether the boats had the name on the aft part of the hull while deployed (or if that was just a stateside thing), and whether the boat would have had the gray/black “camouflage” on it at the time, or was just overall black/red. I know the boat underwent upkeep in 1968, so it’s possible it got repainted then.
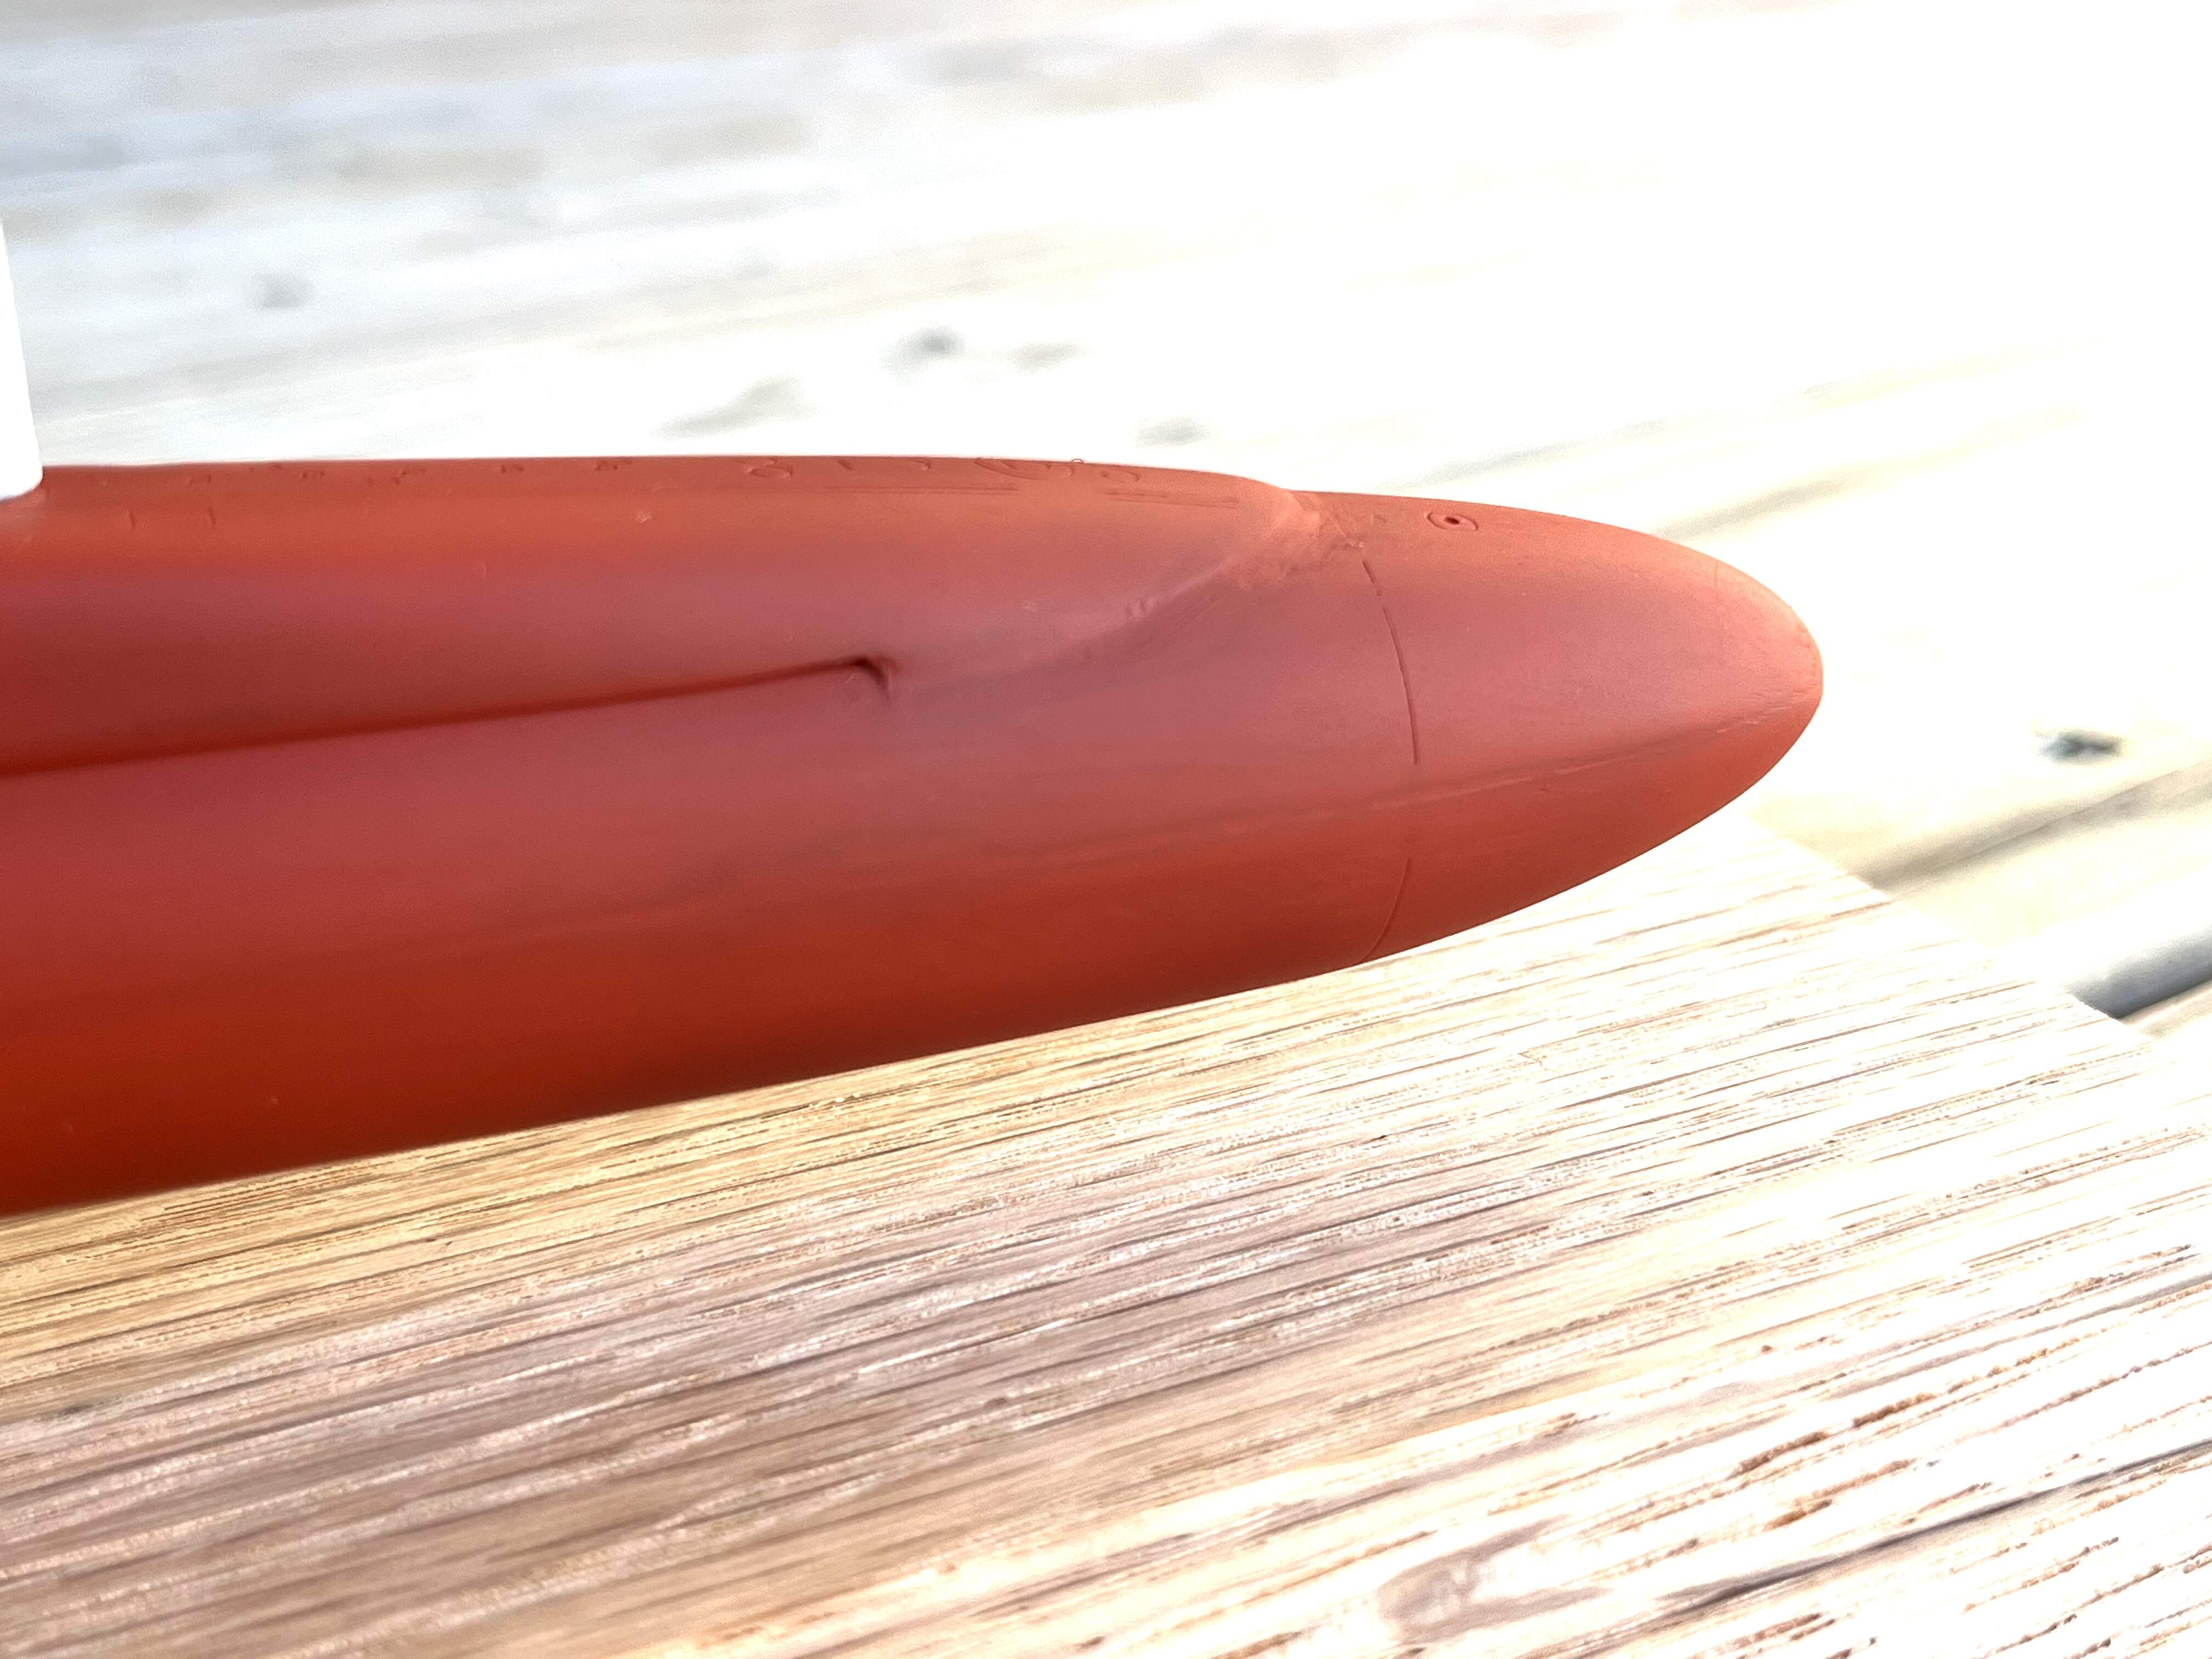
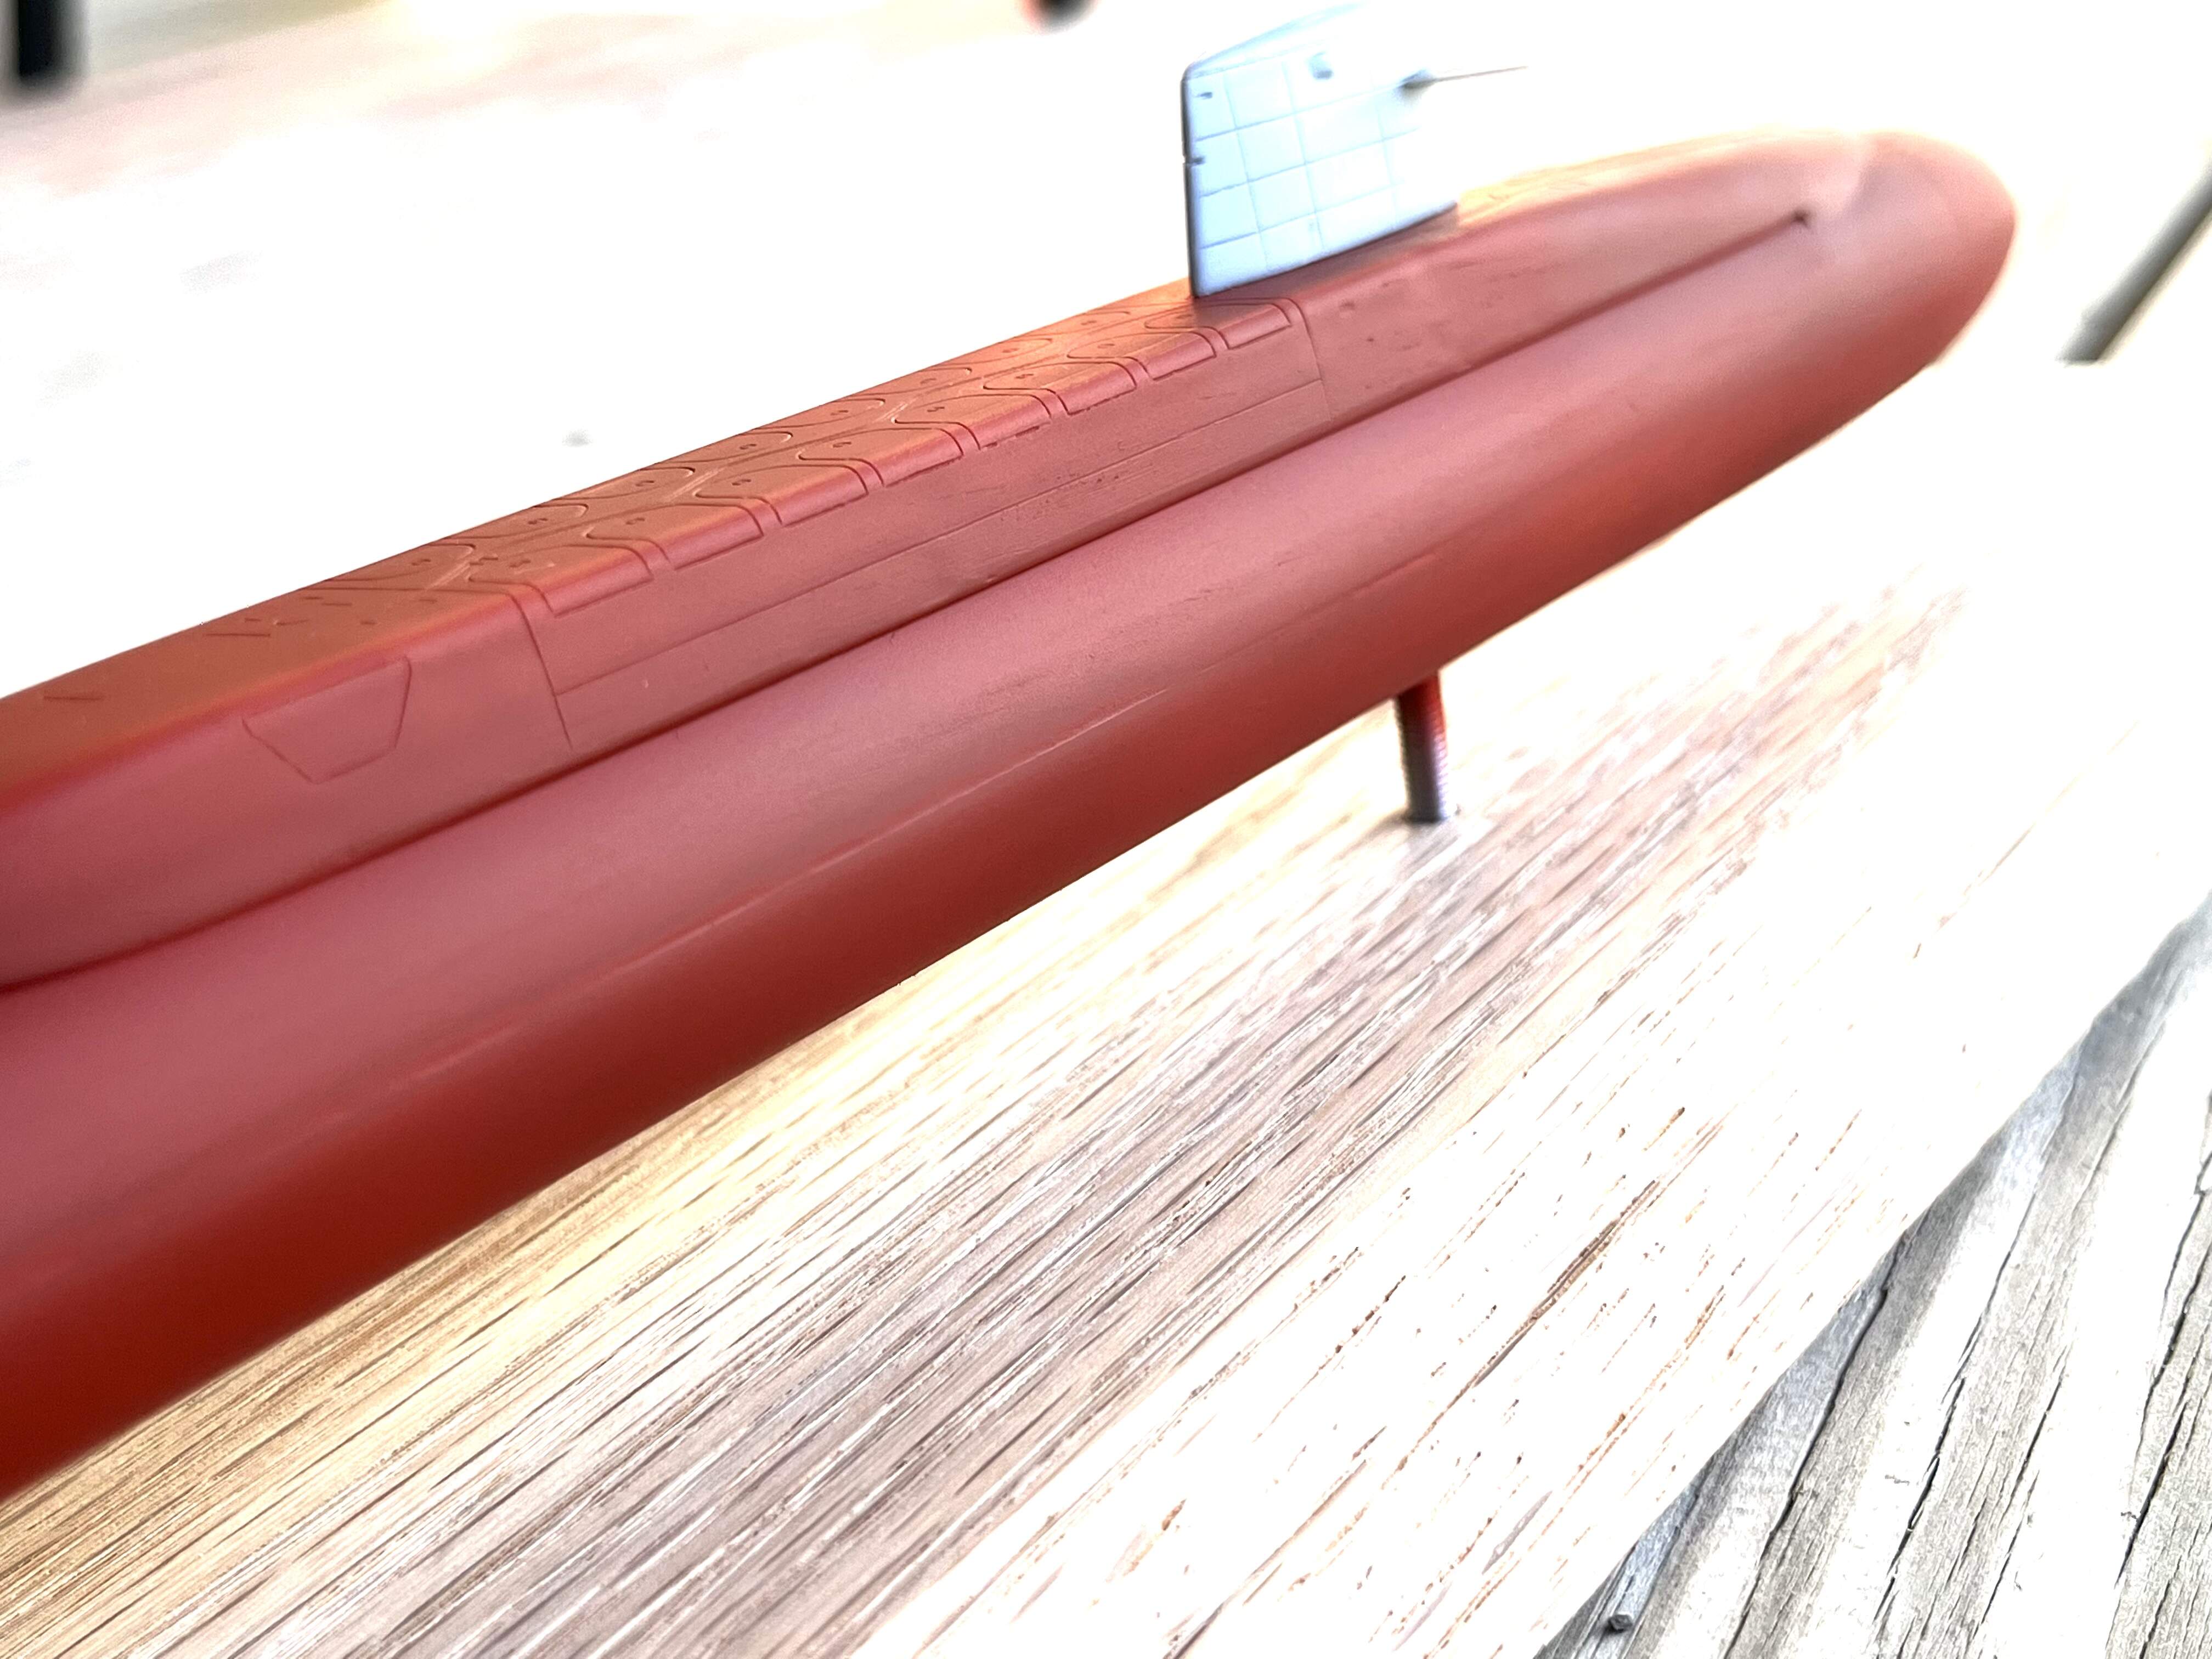
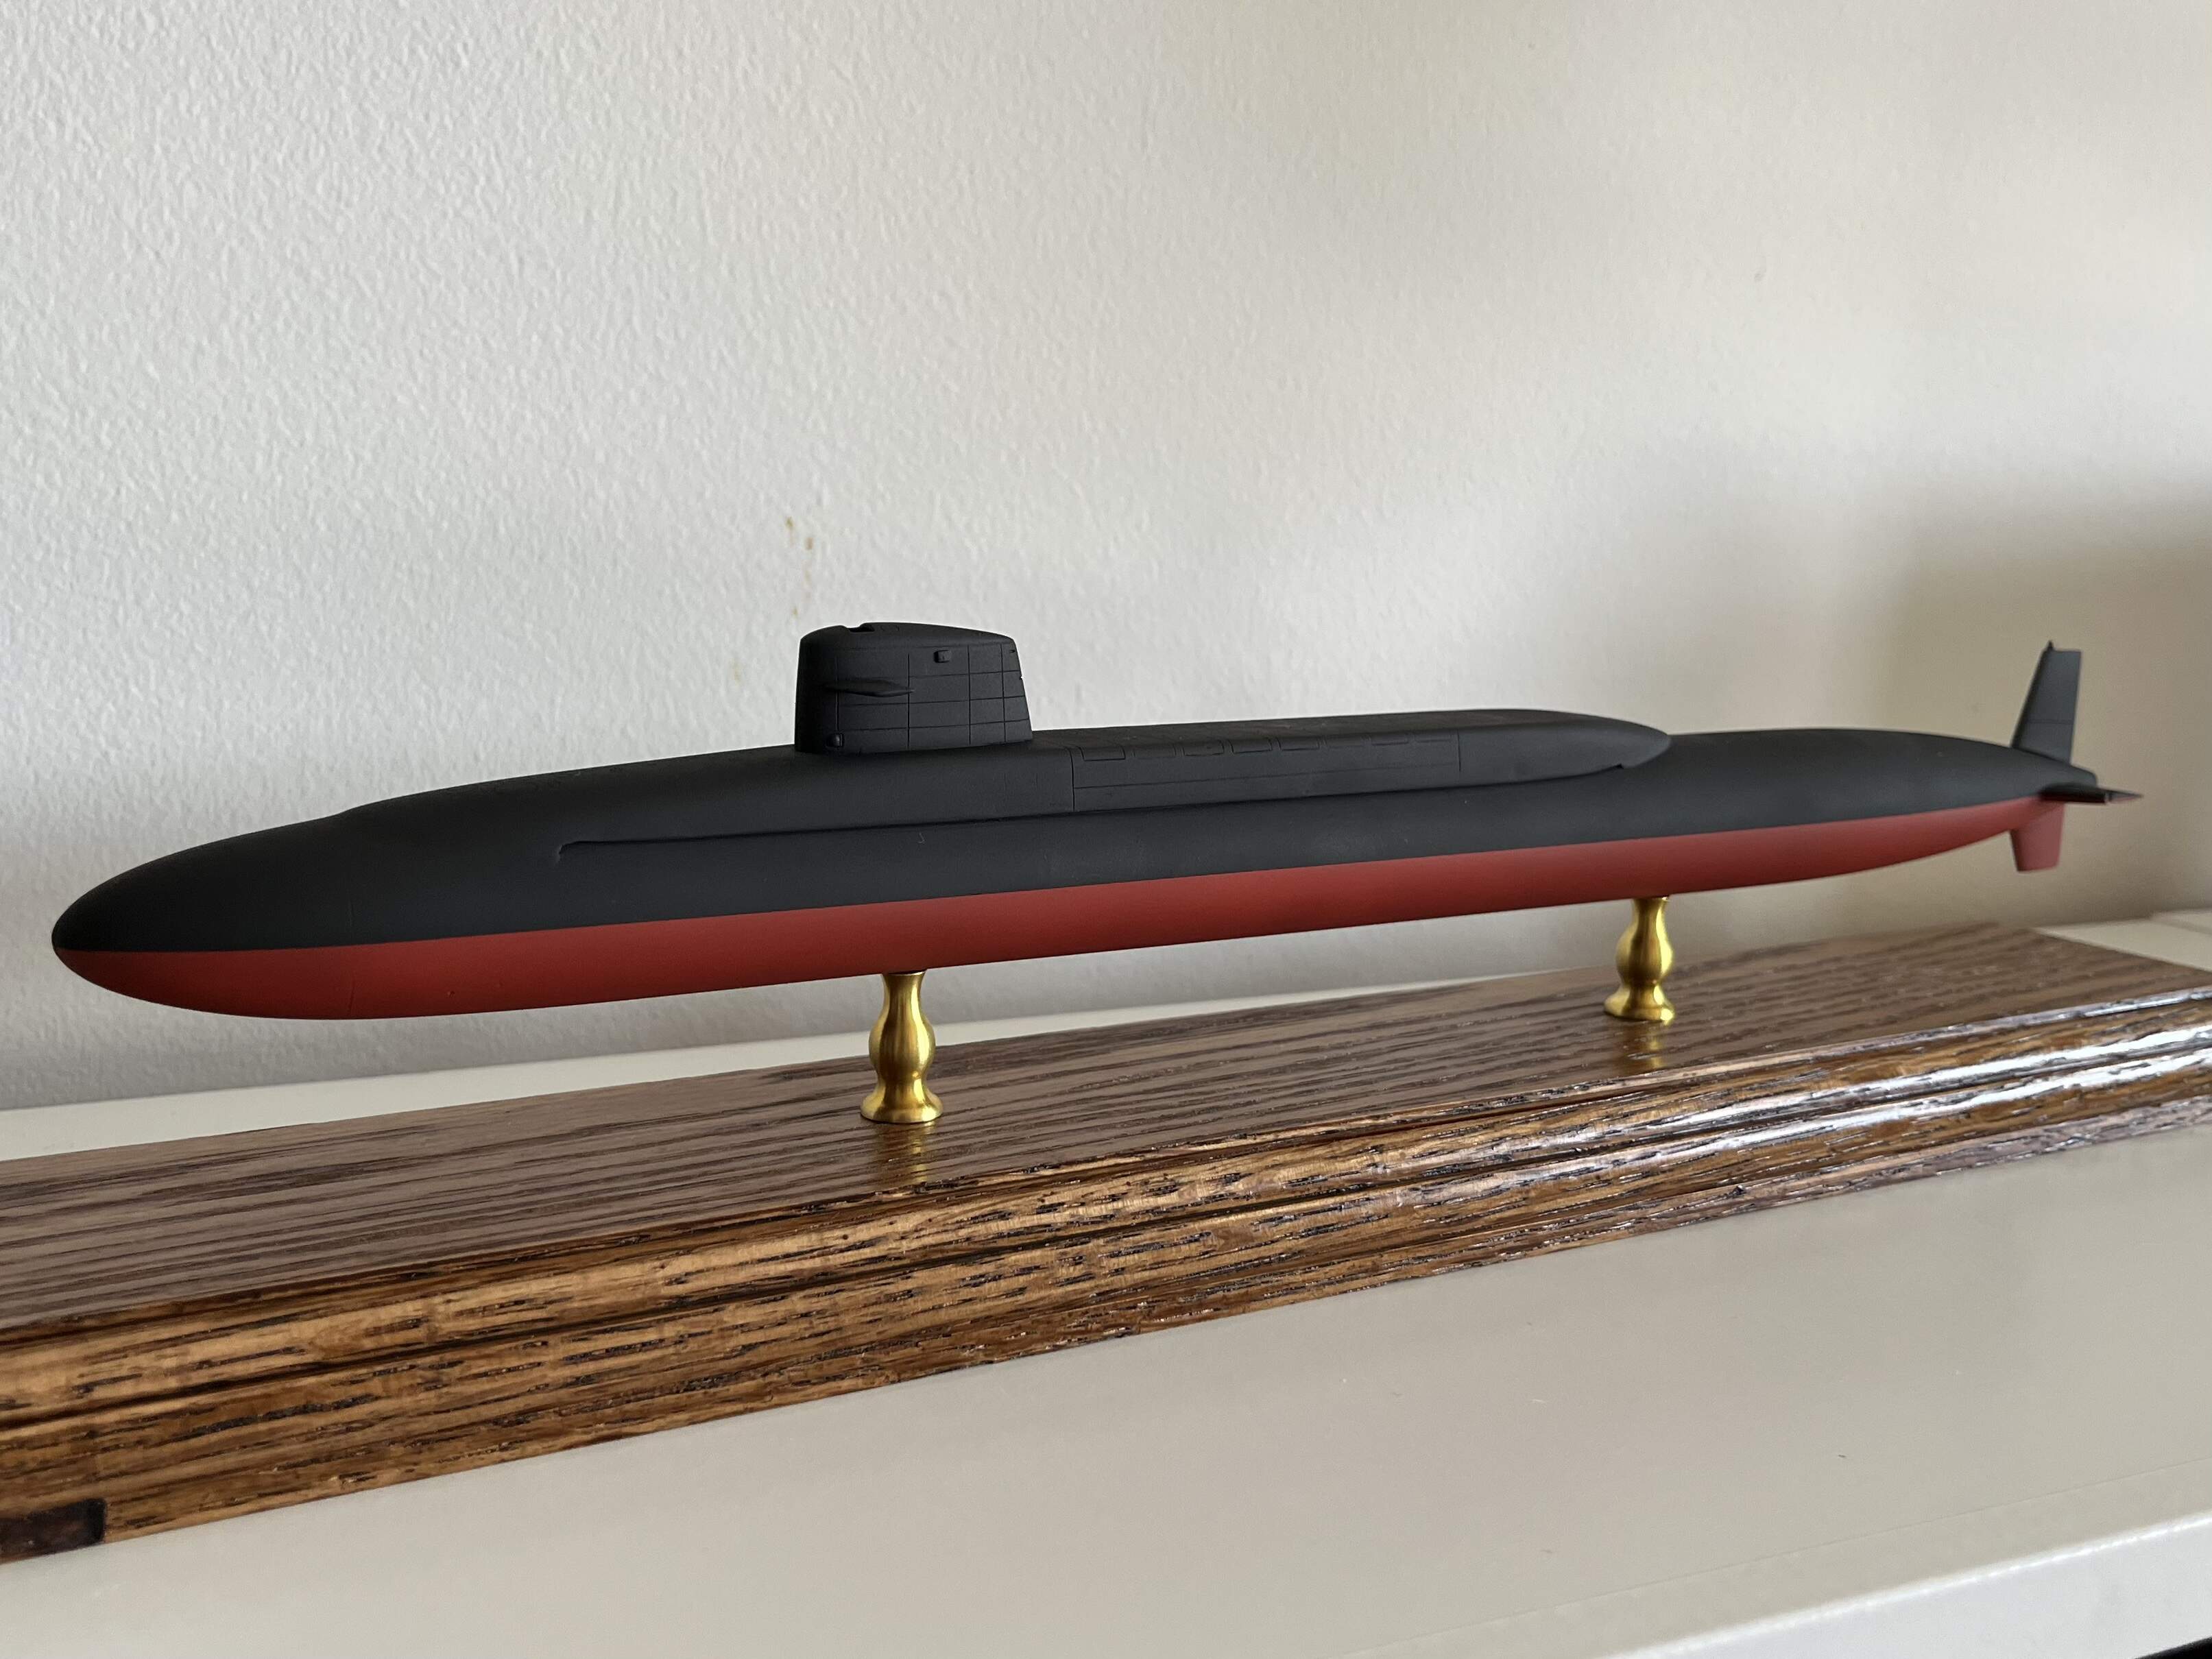
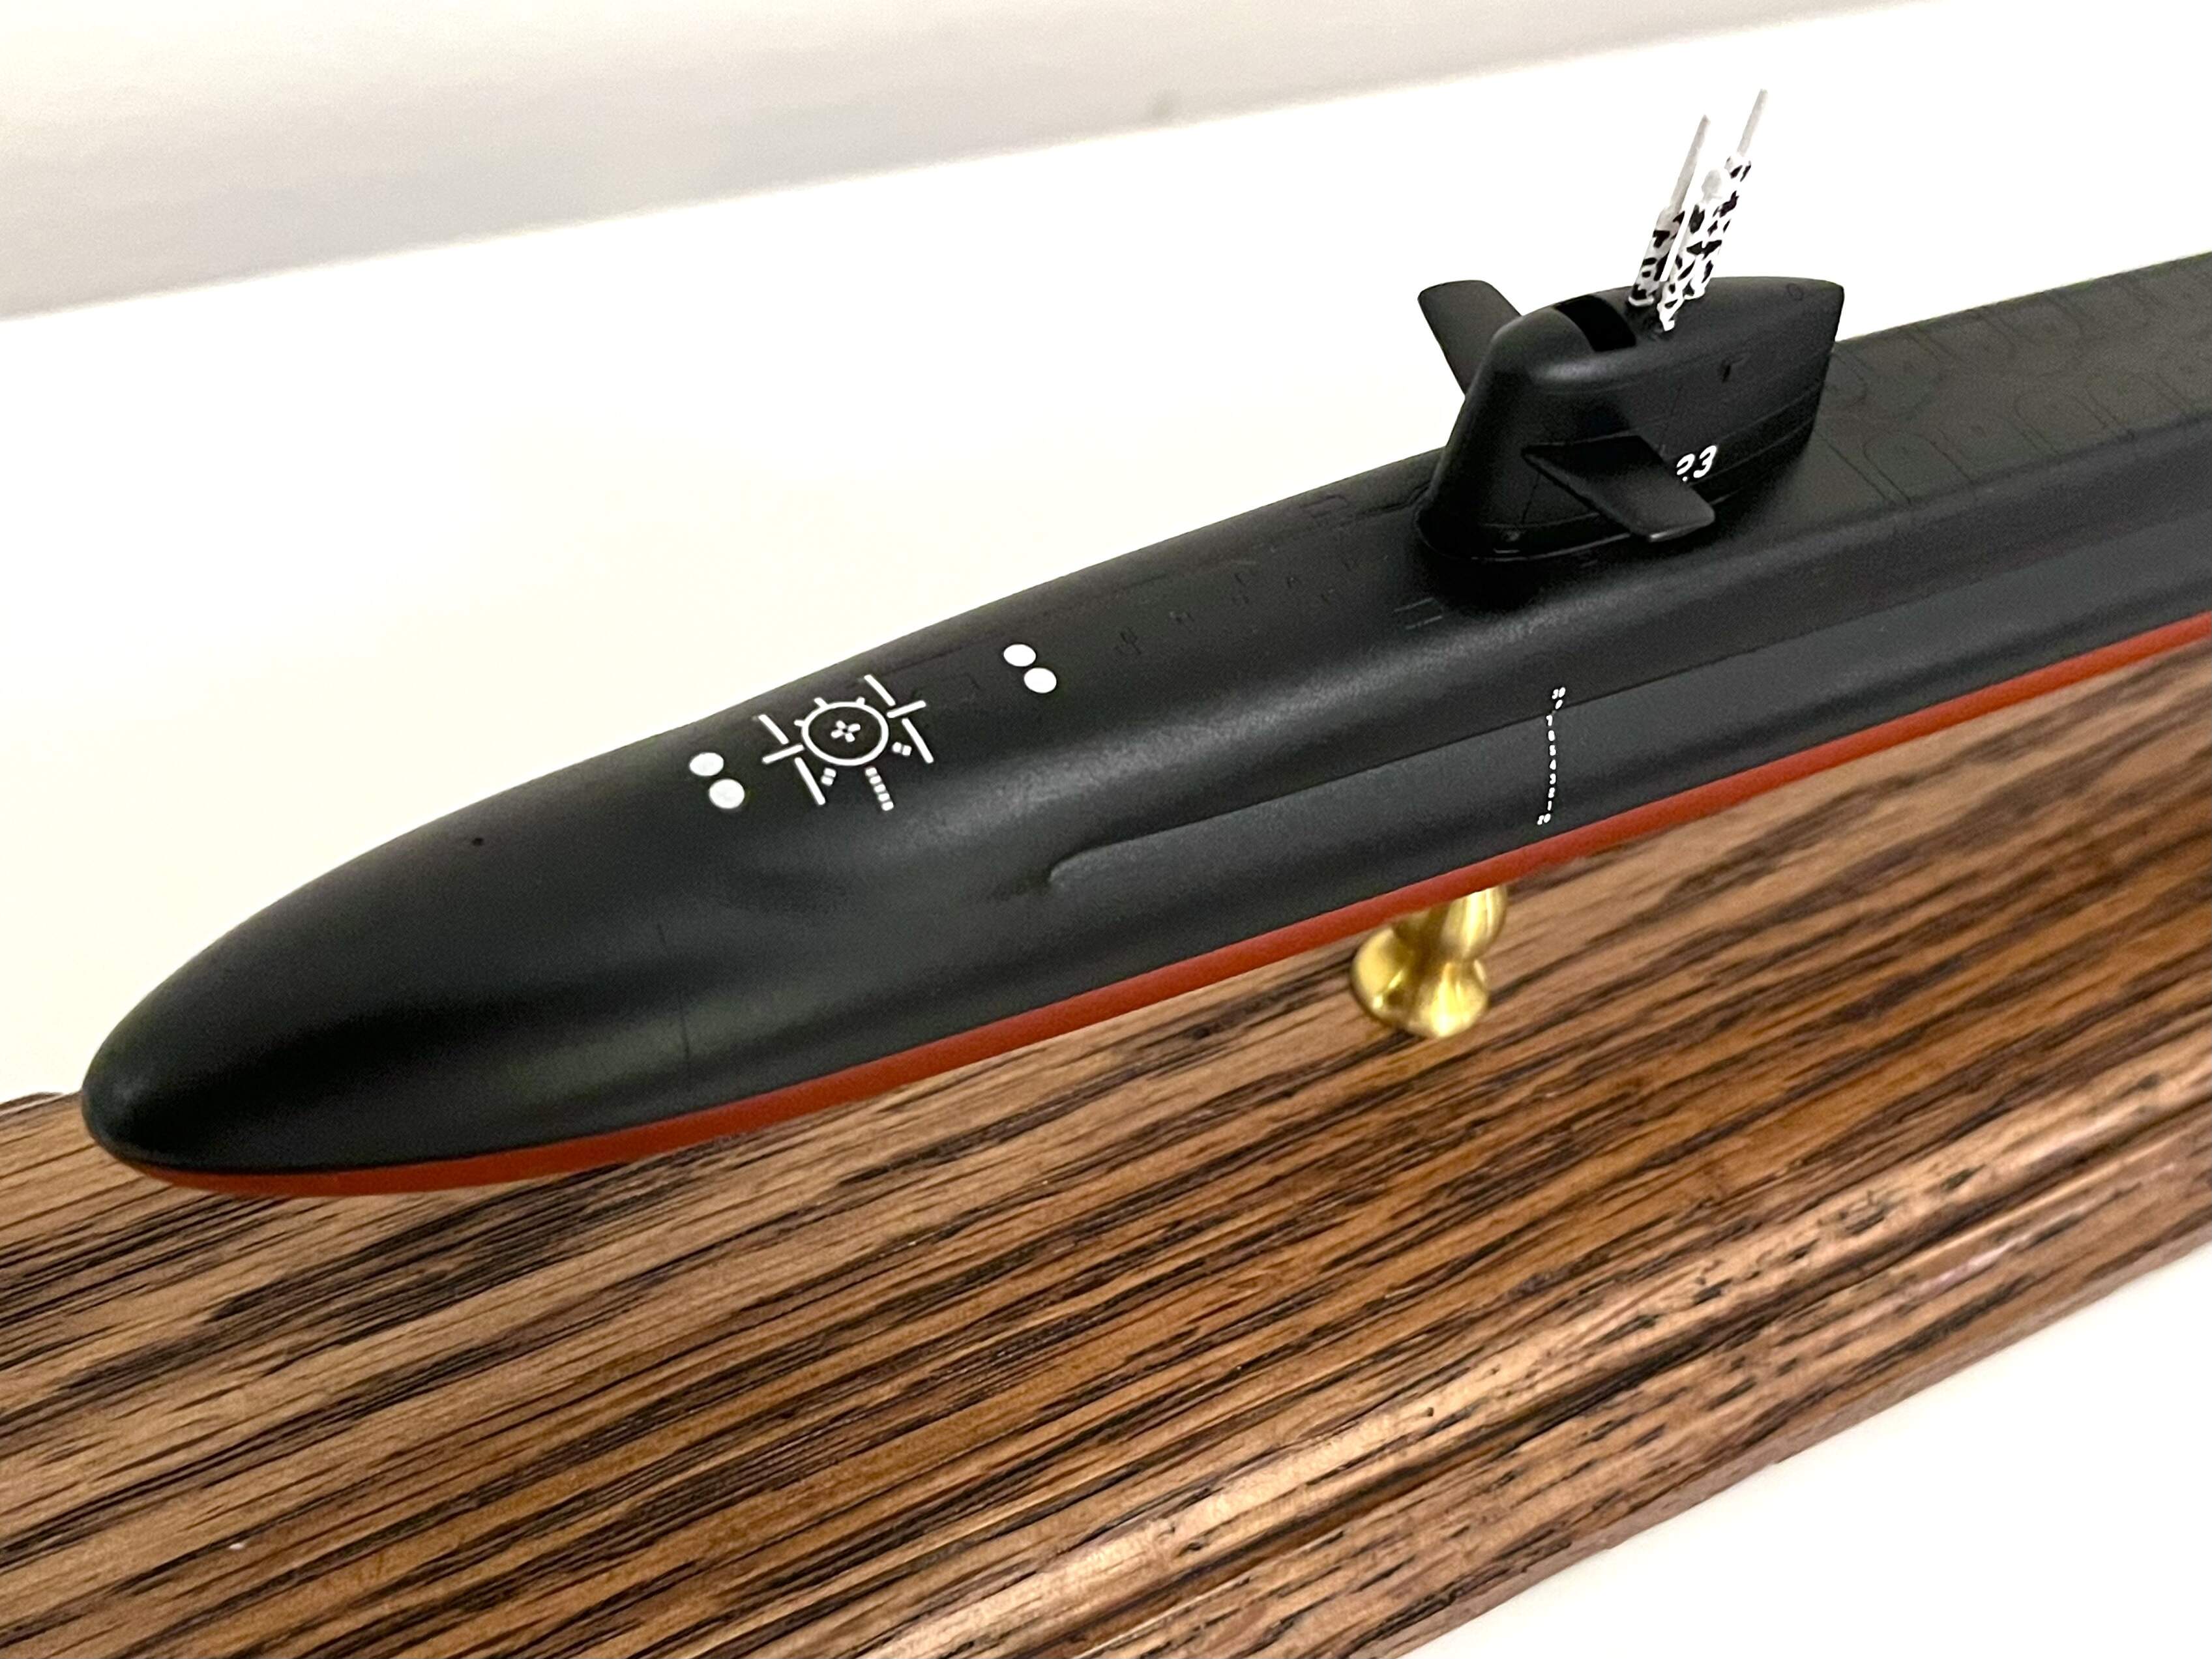
The instructions show the paint like the top version here:
But it’s hard to tell if the real boat looked like that. Some pictures look like it clearly does, whereas others from the same time period look black, and others just look wet/dry.
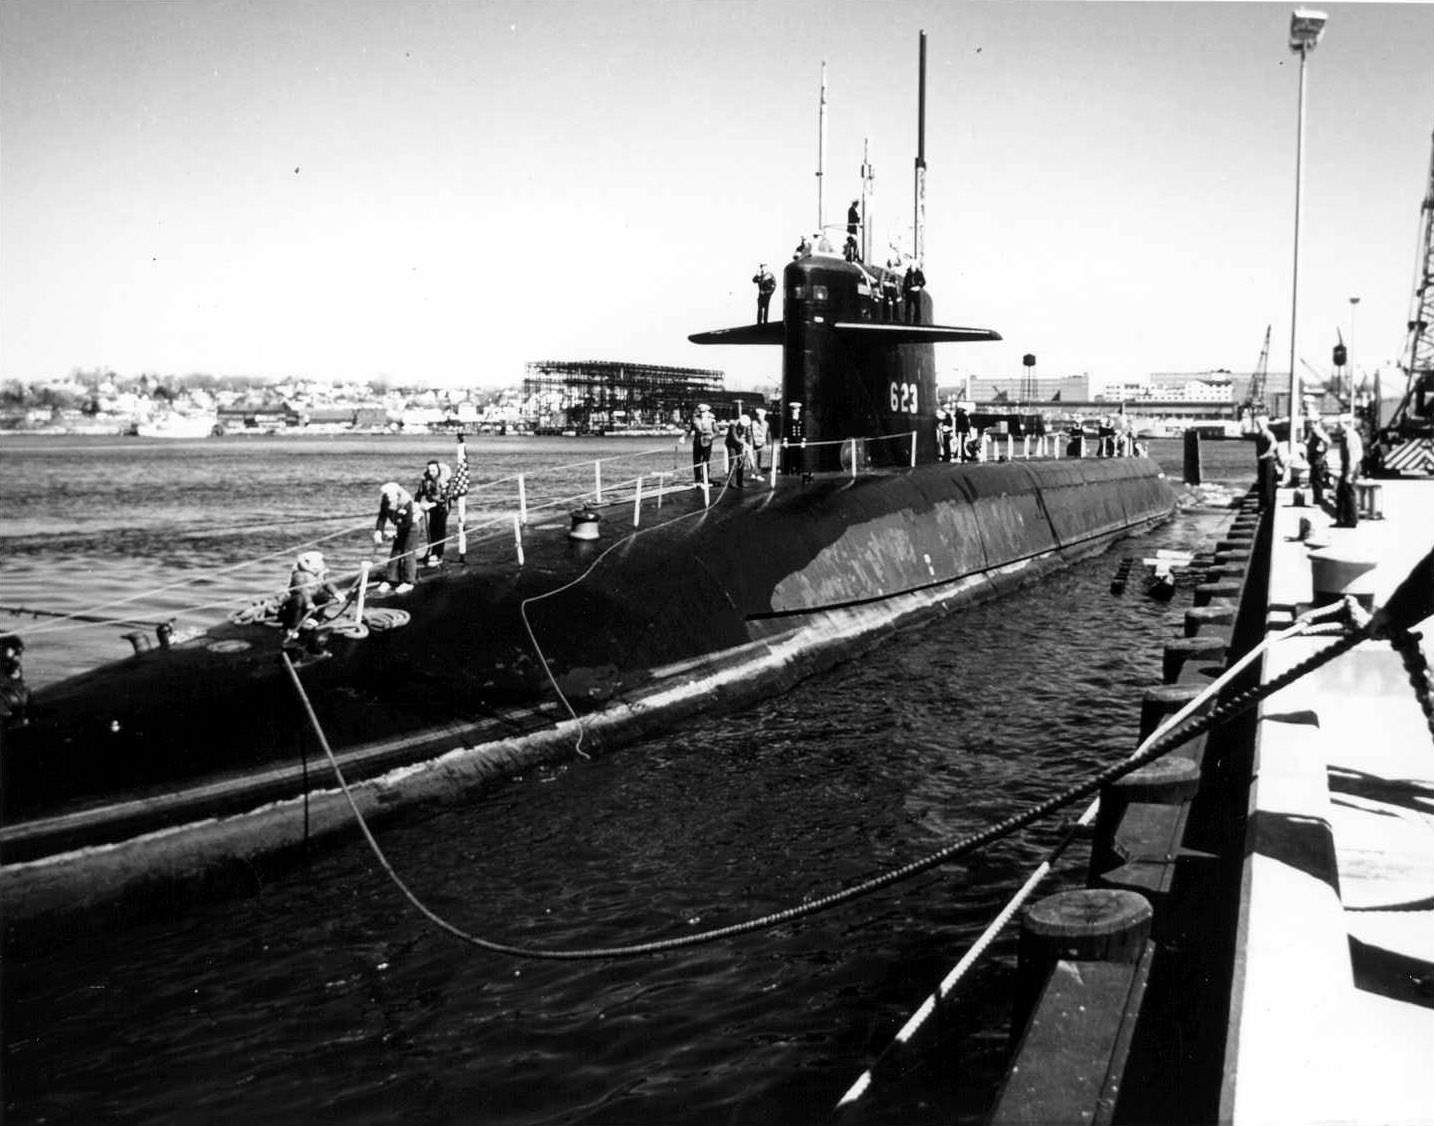
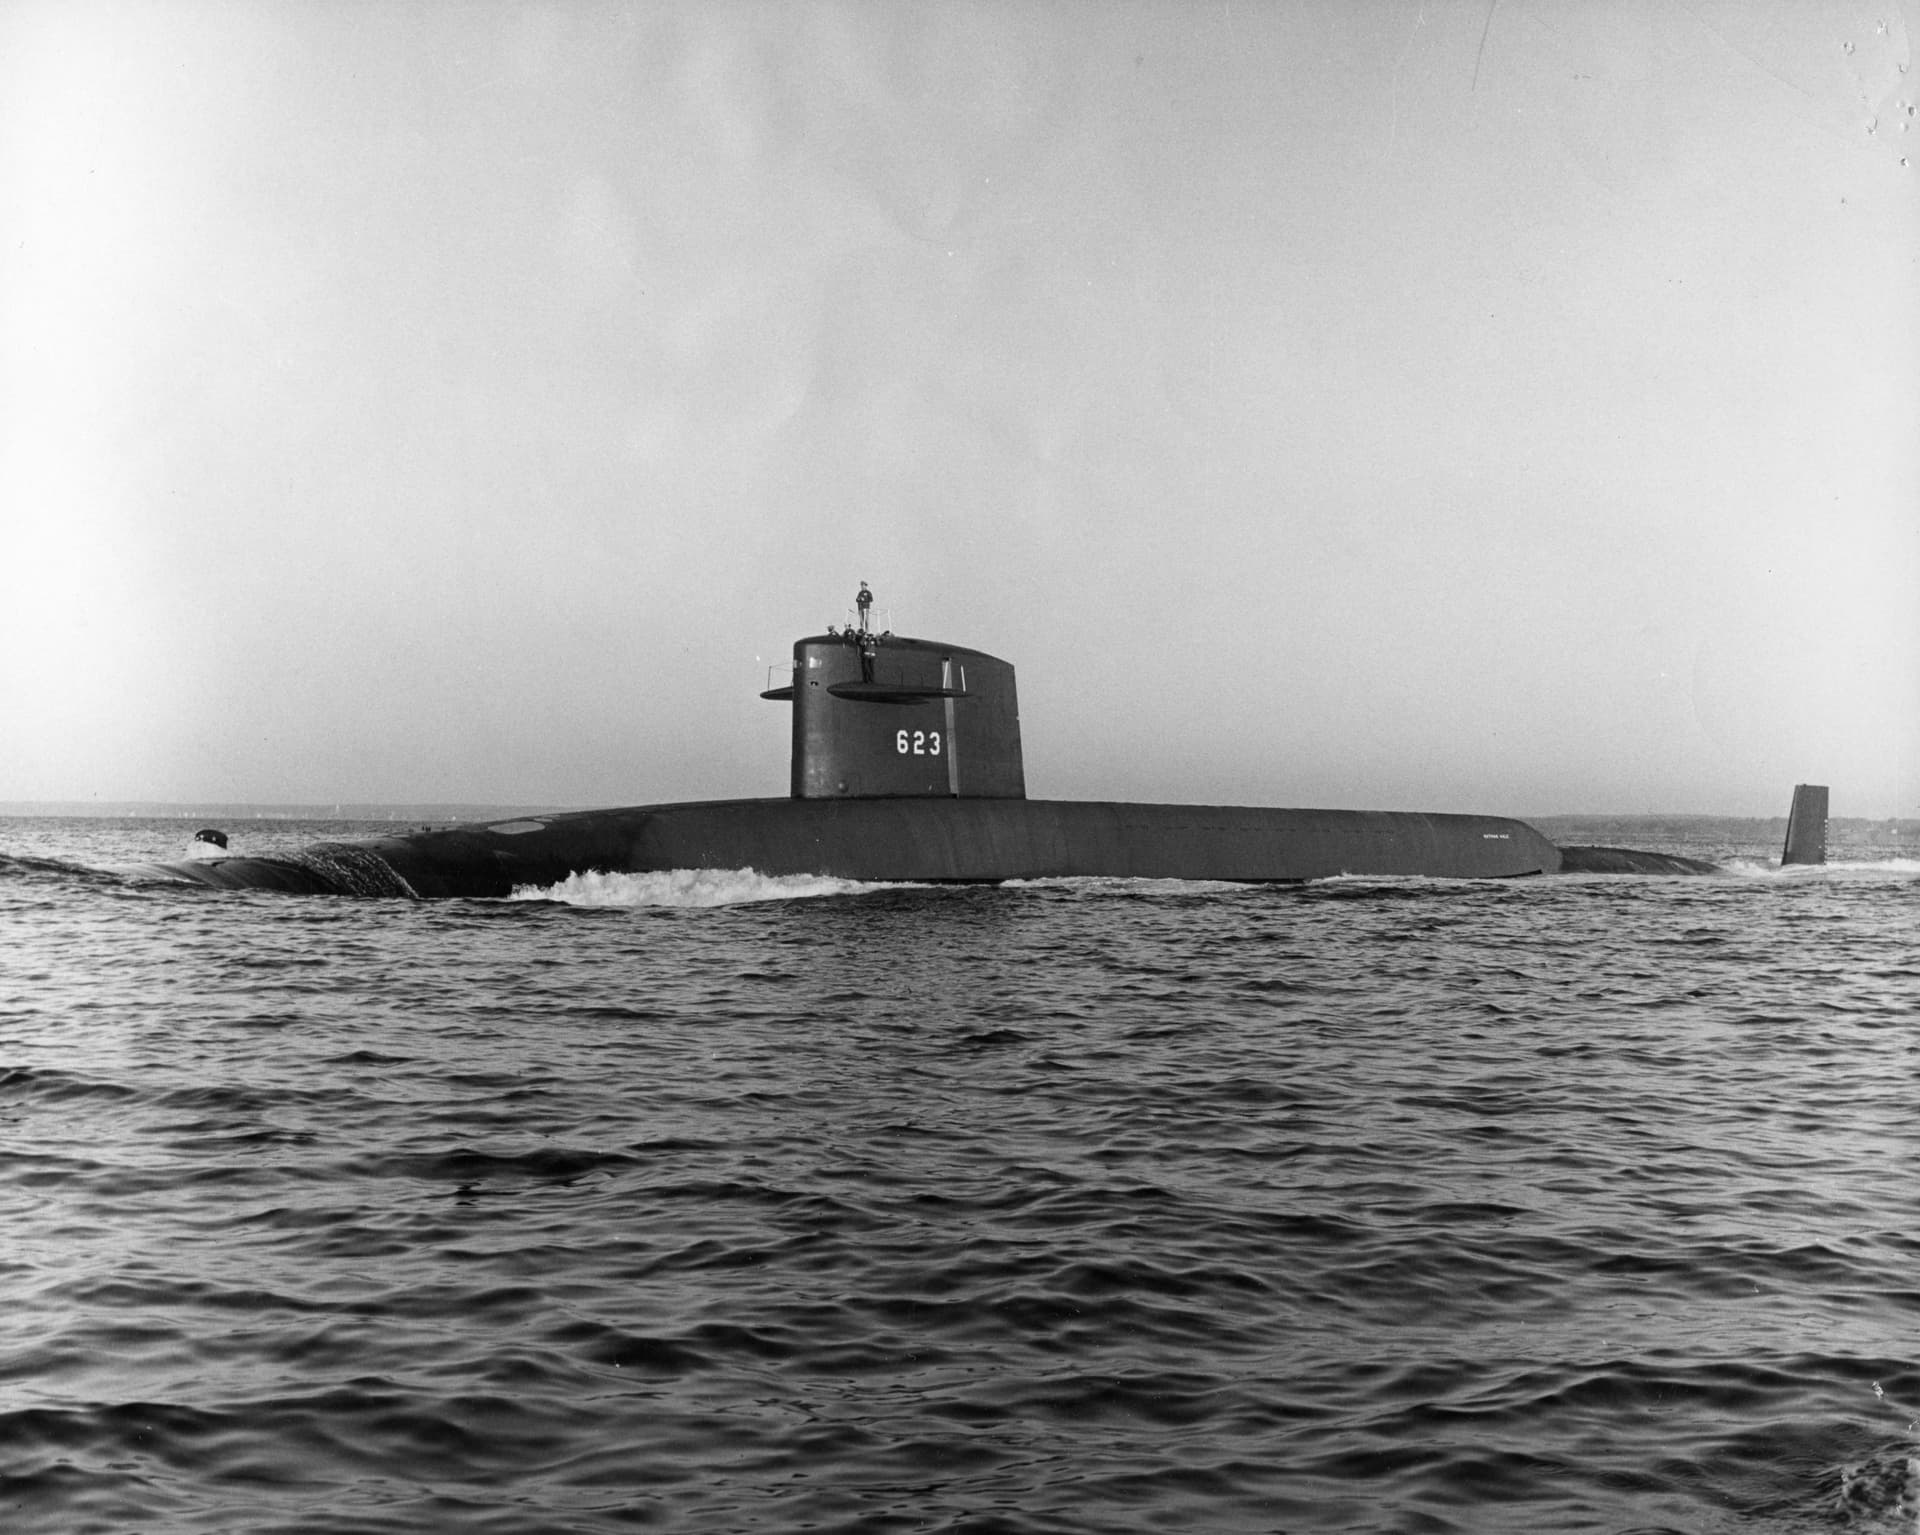
I don’t know for sure but I don’t believe they were camouflaged. I am almost certain that all US subs were painted black by the mid 1970’s. The way you paint a submarine is the same way a nine year old boy would paint his first model tank; With a brush and a lot of buckets of paint. Unless she is fresh out of a dry dock with a spray painted job by the pros in a shipyard, a submarine within a year or so is being “touched-up” by the new guys in deck division with paint rollers and big brushes just about any time the weather is warm enough. This means that there would be different shades of light and dark black all over topside, depending on when it was painted last. Boomer boats spent four to five months under water then a month or so in the sun and weather; neither of which lends to a smooth, uniform paint job. Different five gallon buckets of paint, different application temperatures and certainly different thicknesses of coat would give different tones to the black. Which side of the boat spends most the time facing sunshine will also change the tone as will seawater and rain runoff. IIRC, during the Cold War, hull numbers and ships’ names were only painted on during ceremonies such as a change of command or during sea trials, for identification purposes. Otherwise, it was OPSEC to not identify the ship to the other side. If I wanted to show name and hull number, I’d do it with a fairly nice overall color of black and red, as if she had just come out of drydock.
In your pictures, the first one of the Hamilton and the Hale, definitely looks like at least a Squadron level change of command ceremony. The ones where you are seeing two different tones is more likely due to the difficulty and hazard of painting the more vertical sides of the hull. Somebody gets to hang over the side in a harness to reach that part with a paint roller on a broomstick. Not fun. (How do I know? Yeah.) Likely, the horizontal deck was painted with rollers at the last port of call and the sides are just the previous coat of faded black paint. Also, I just remembered, the part of the deck that is walked upon is painted with non-skid paint which has grit to it and would be applied more often due to wear.
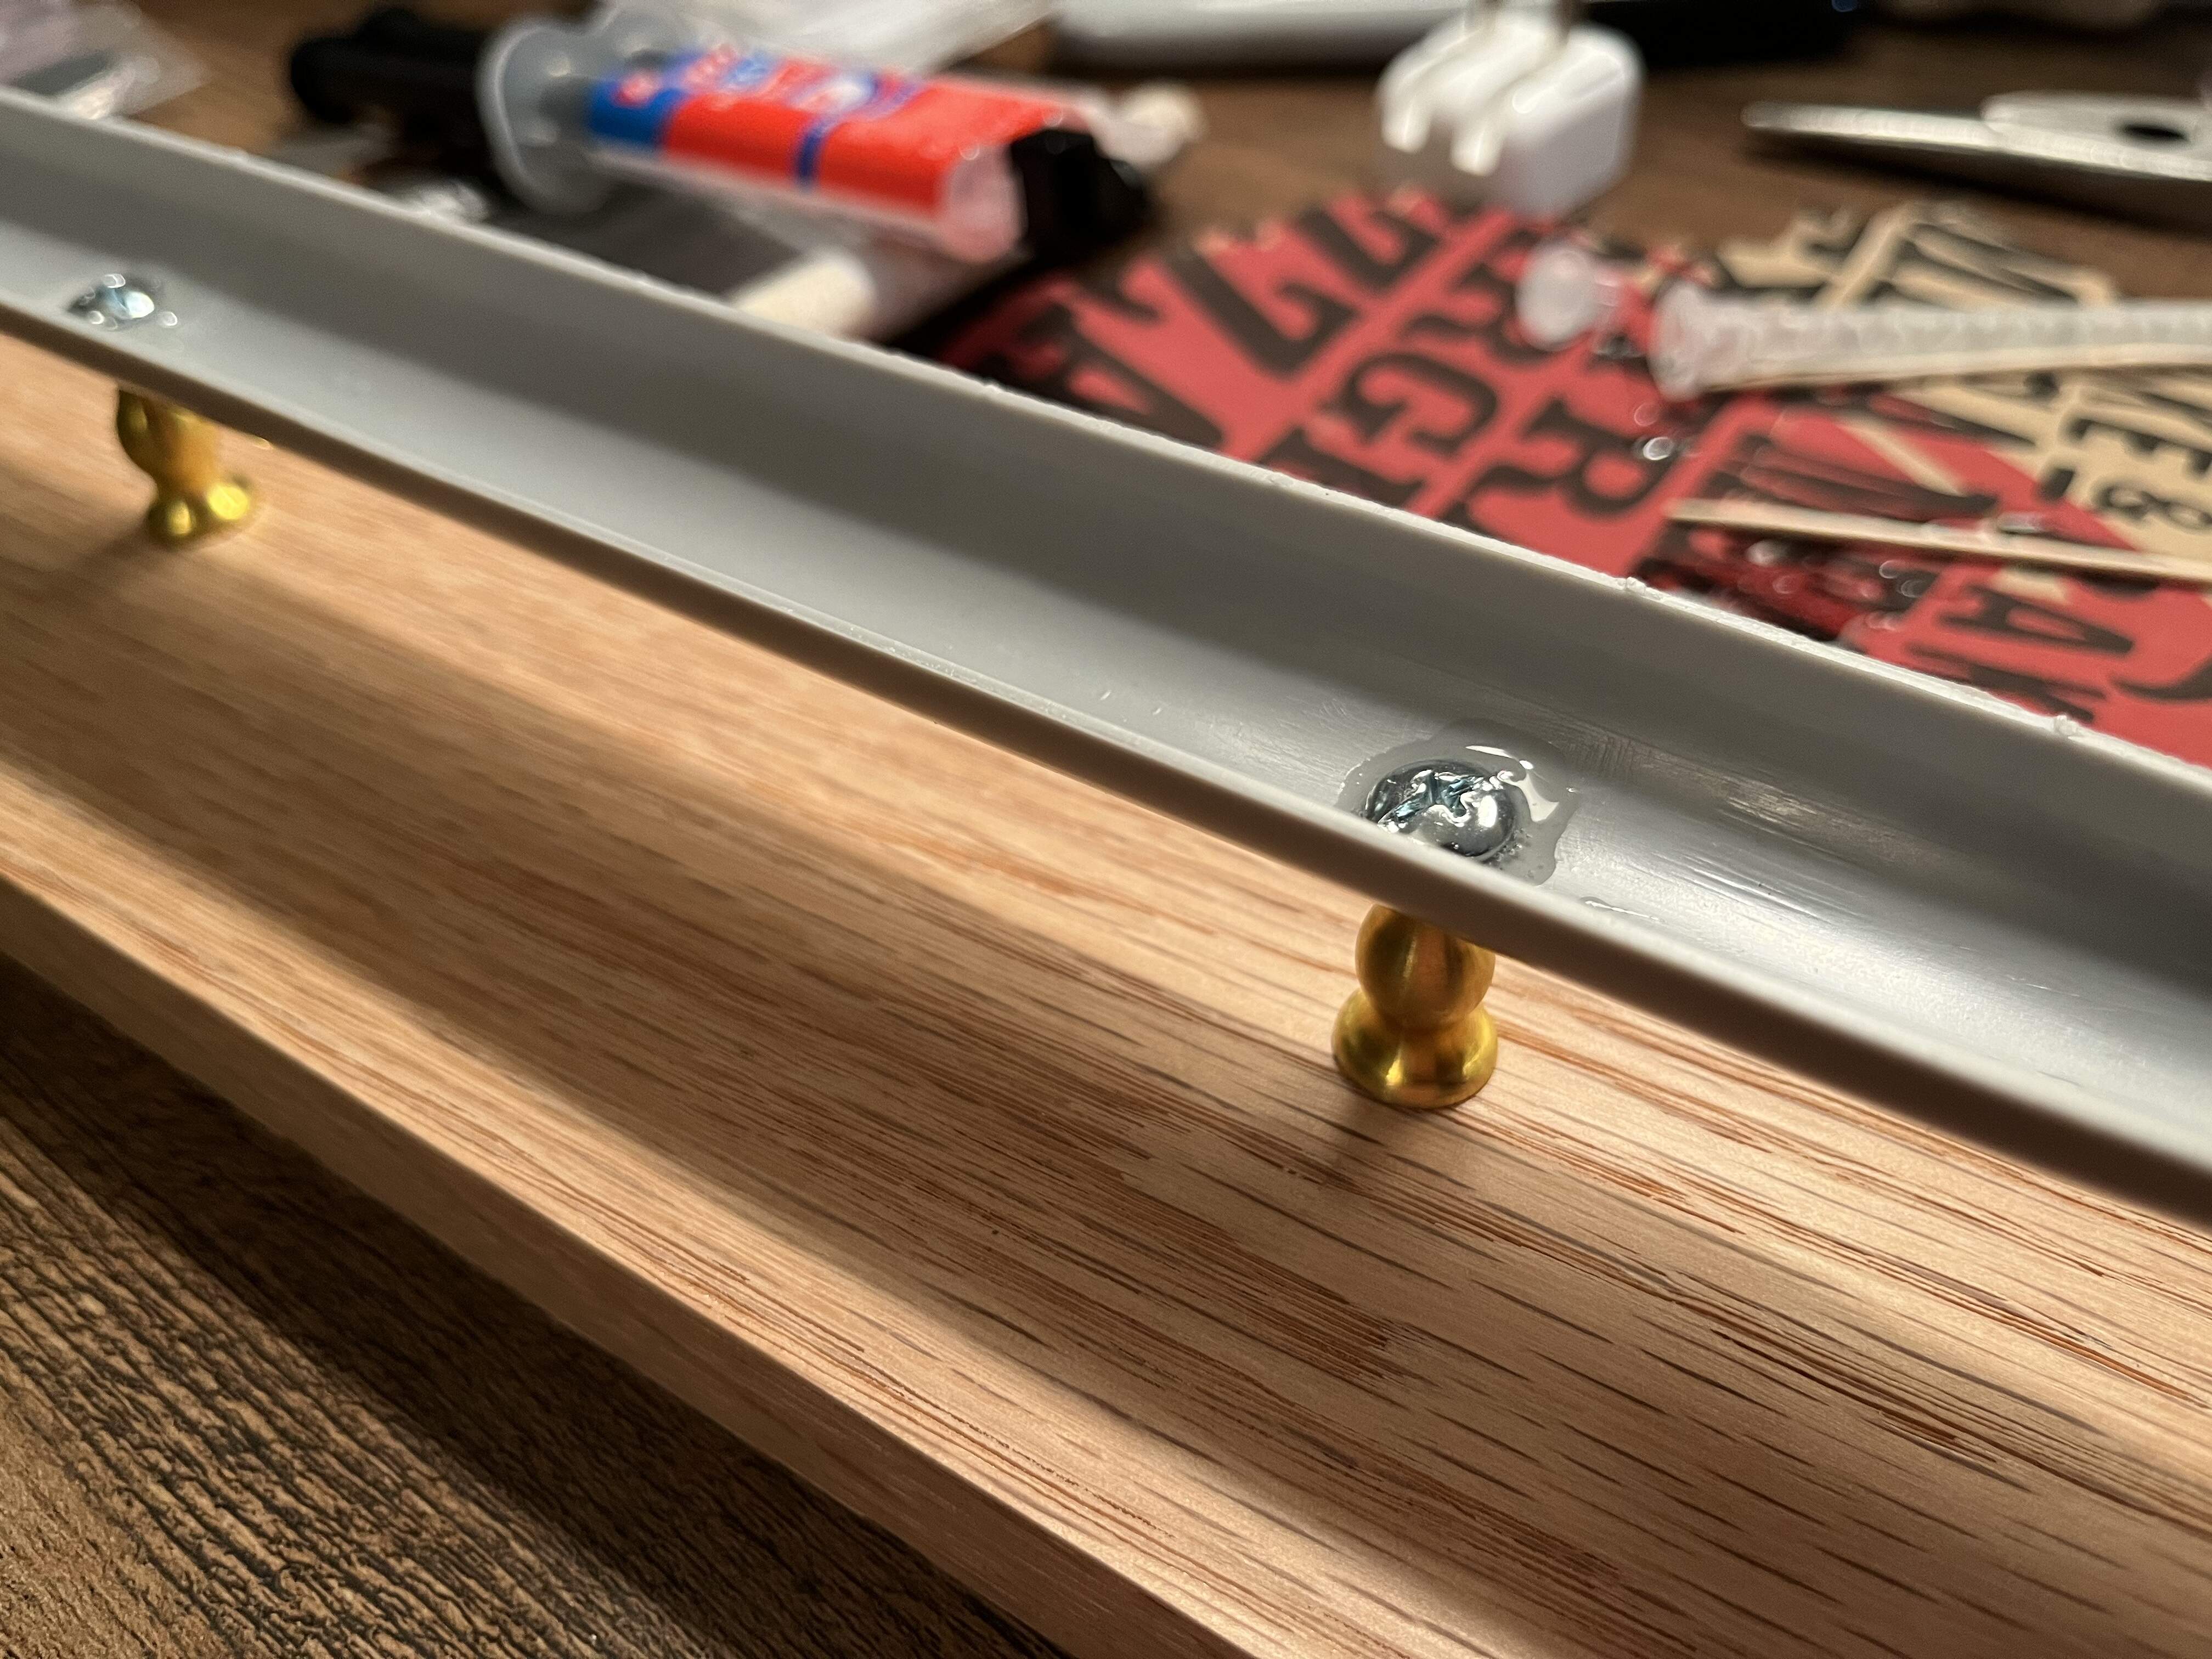
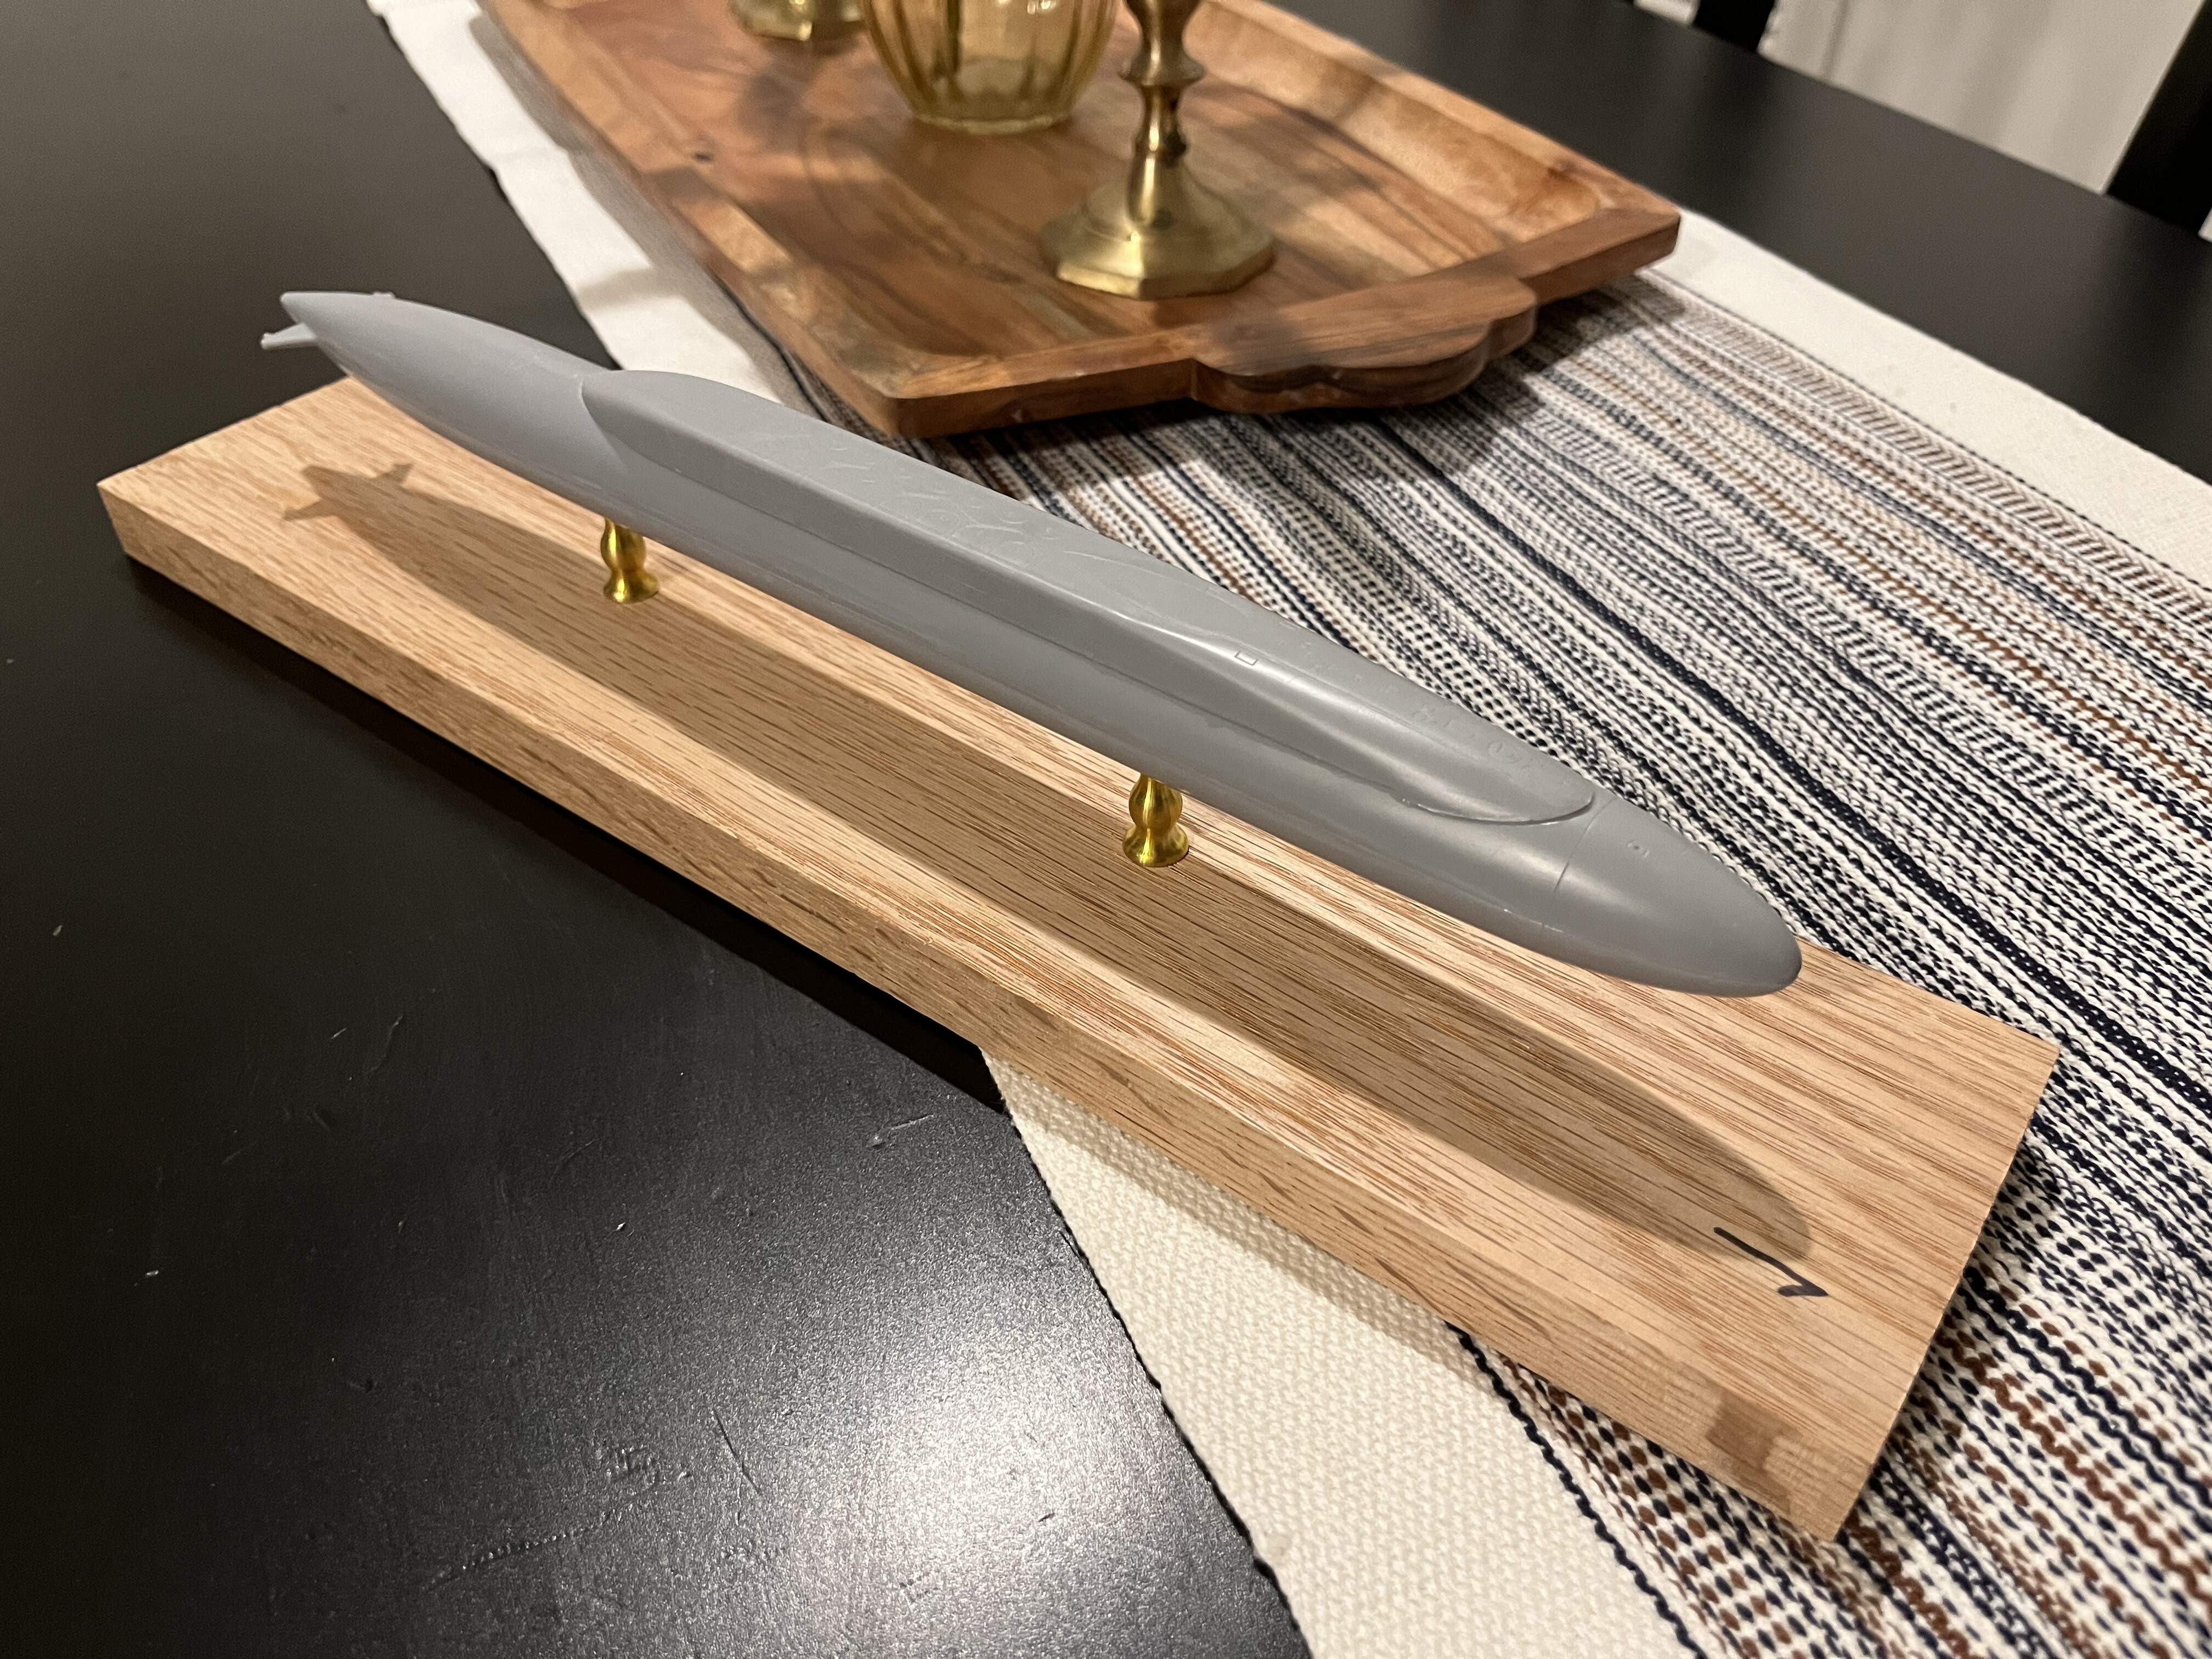
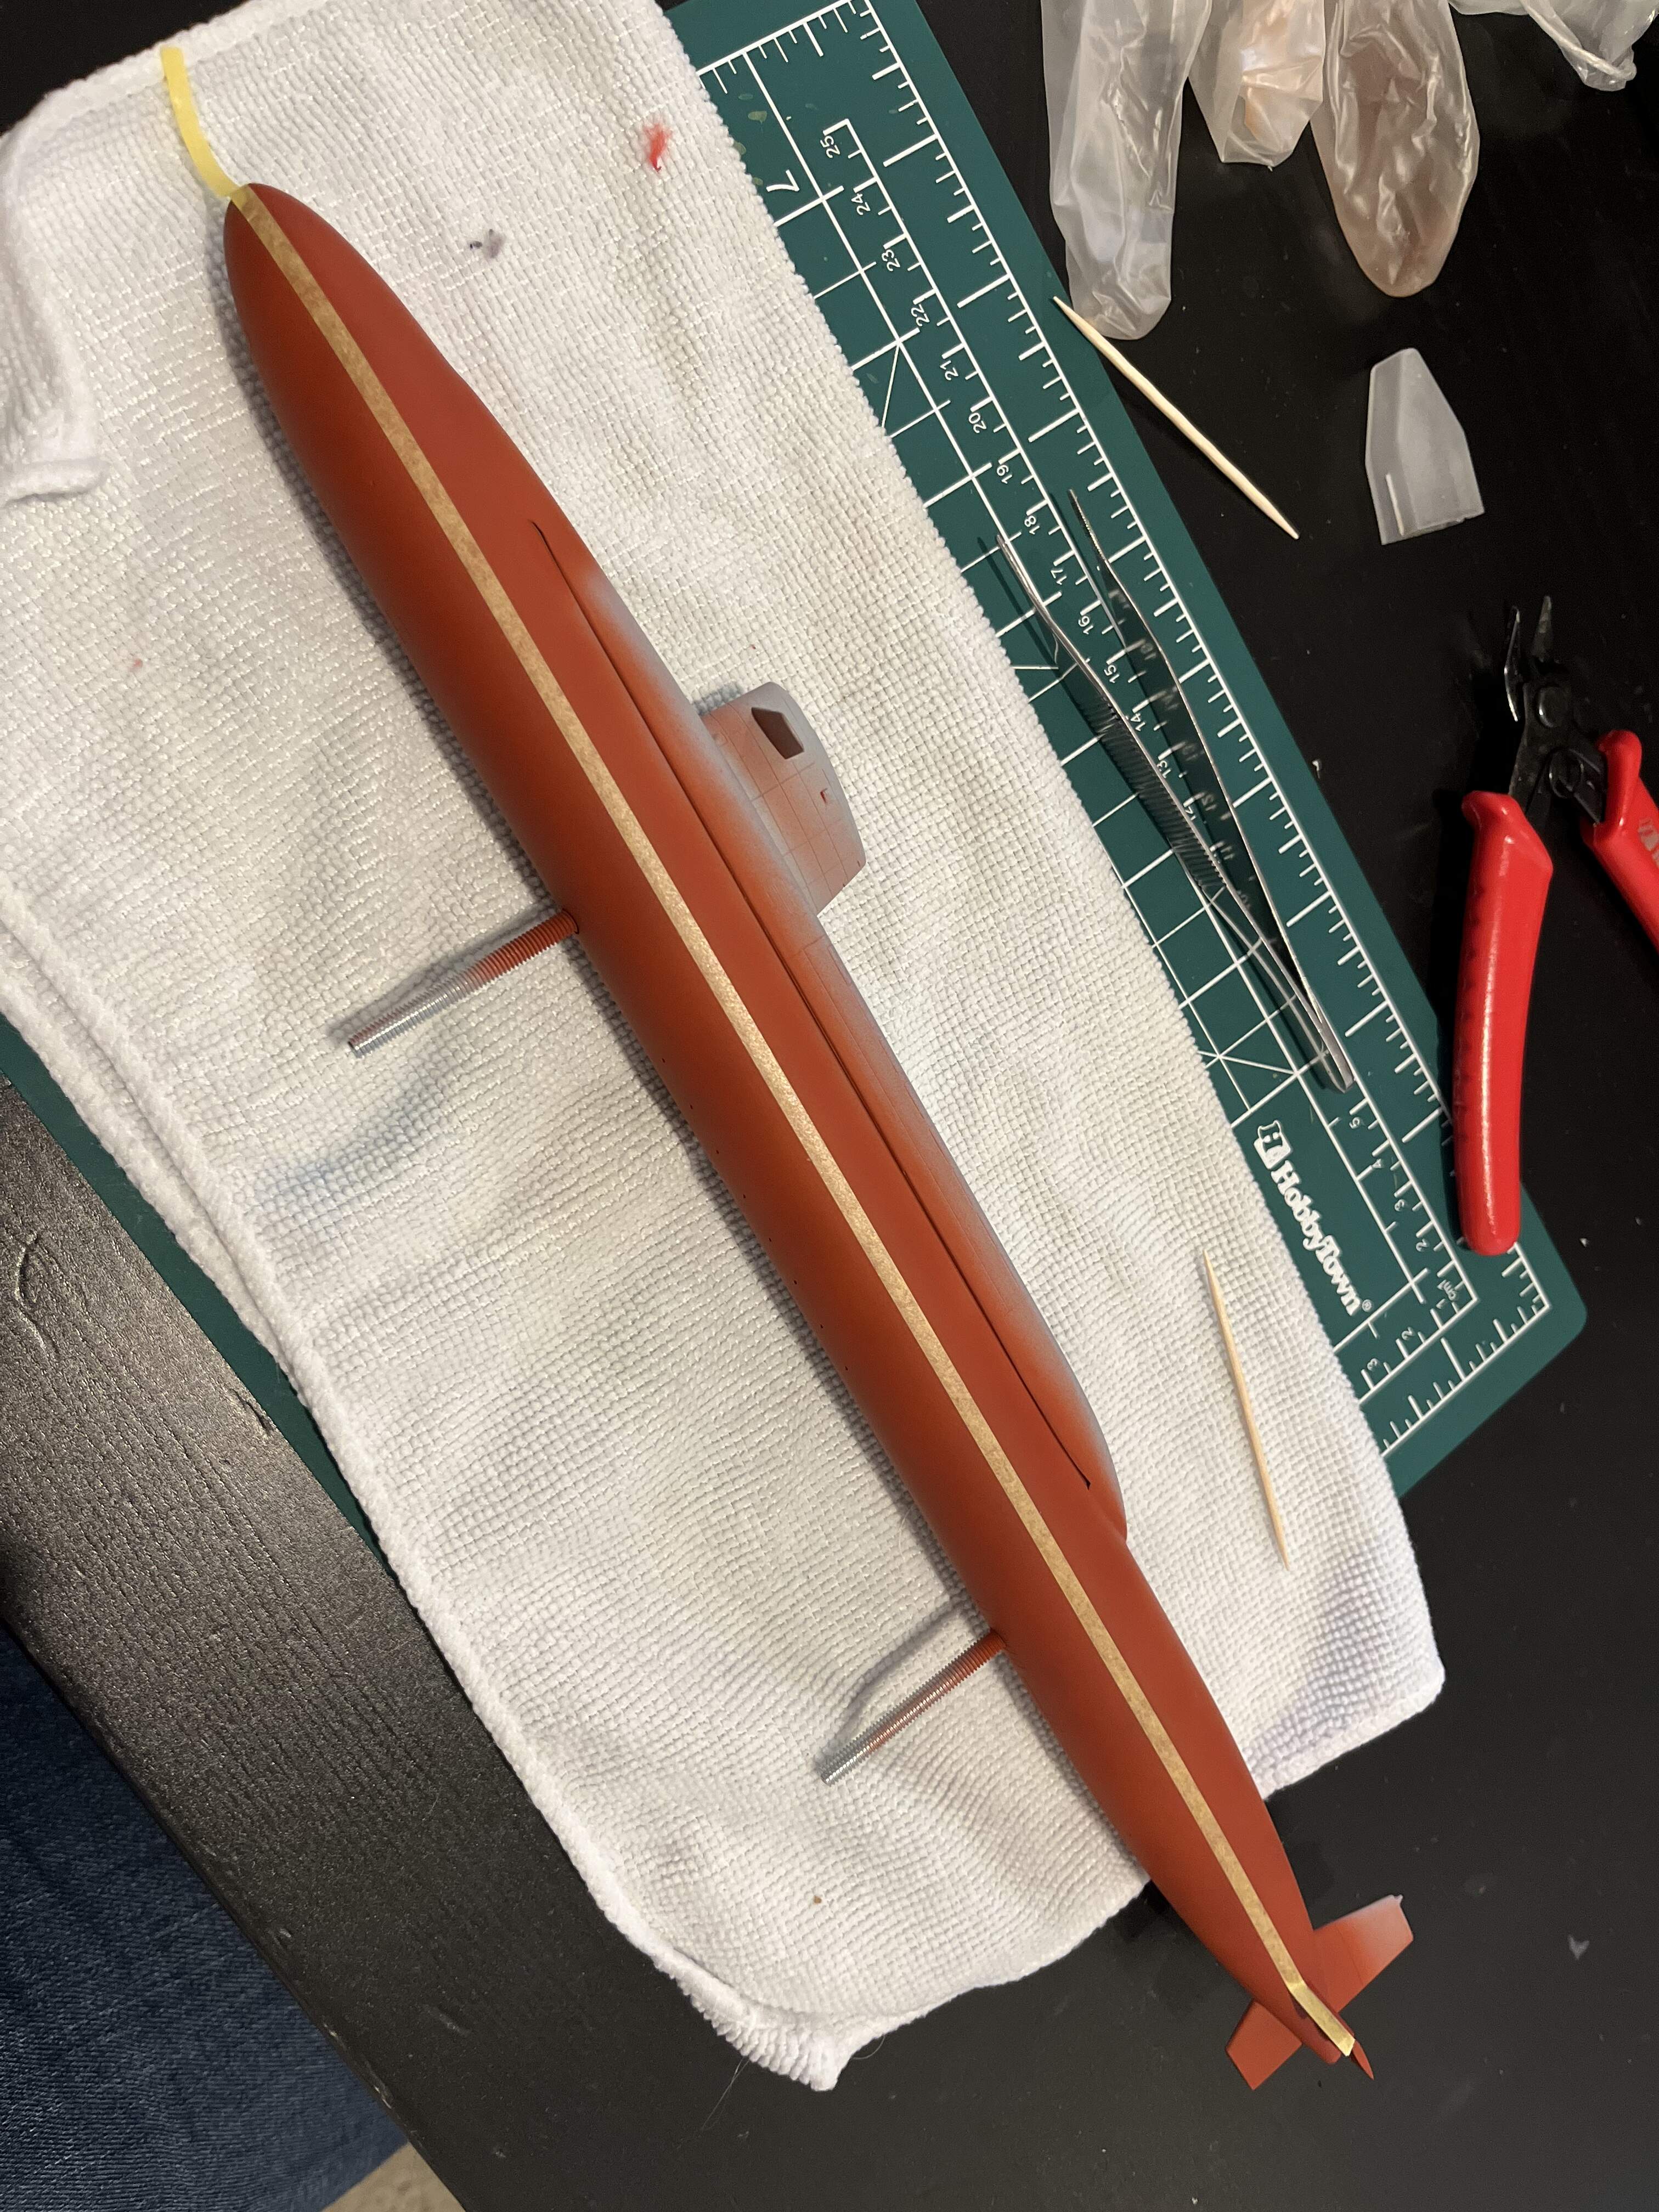
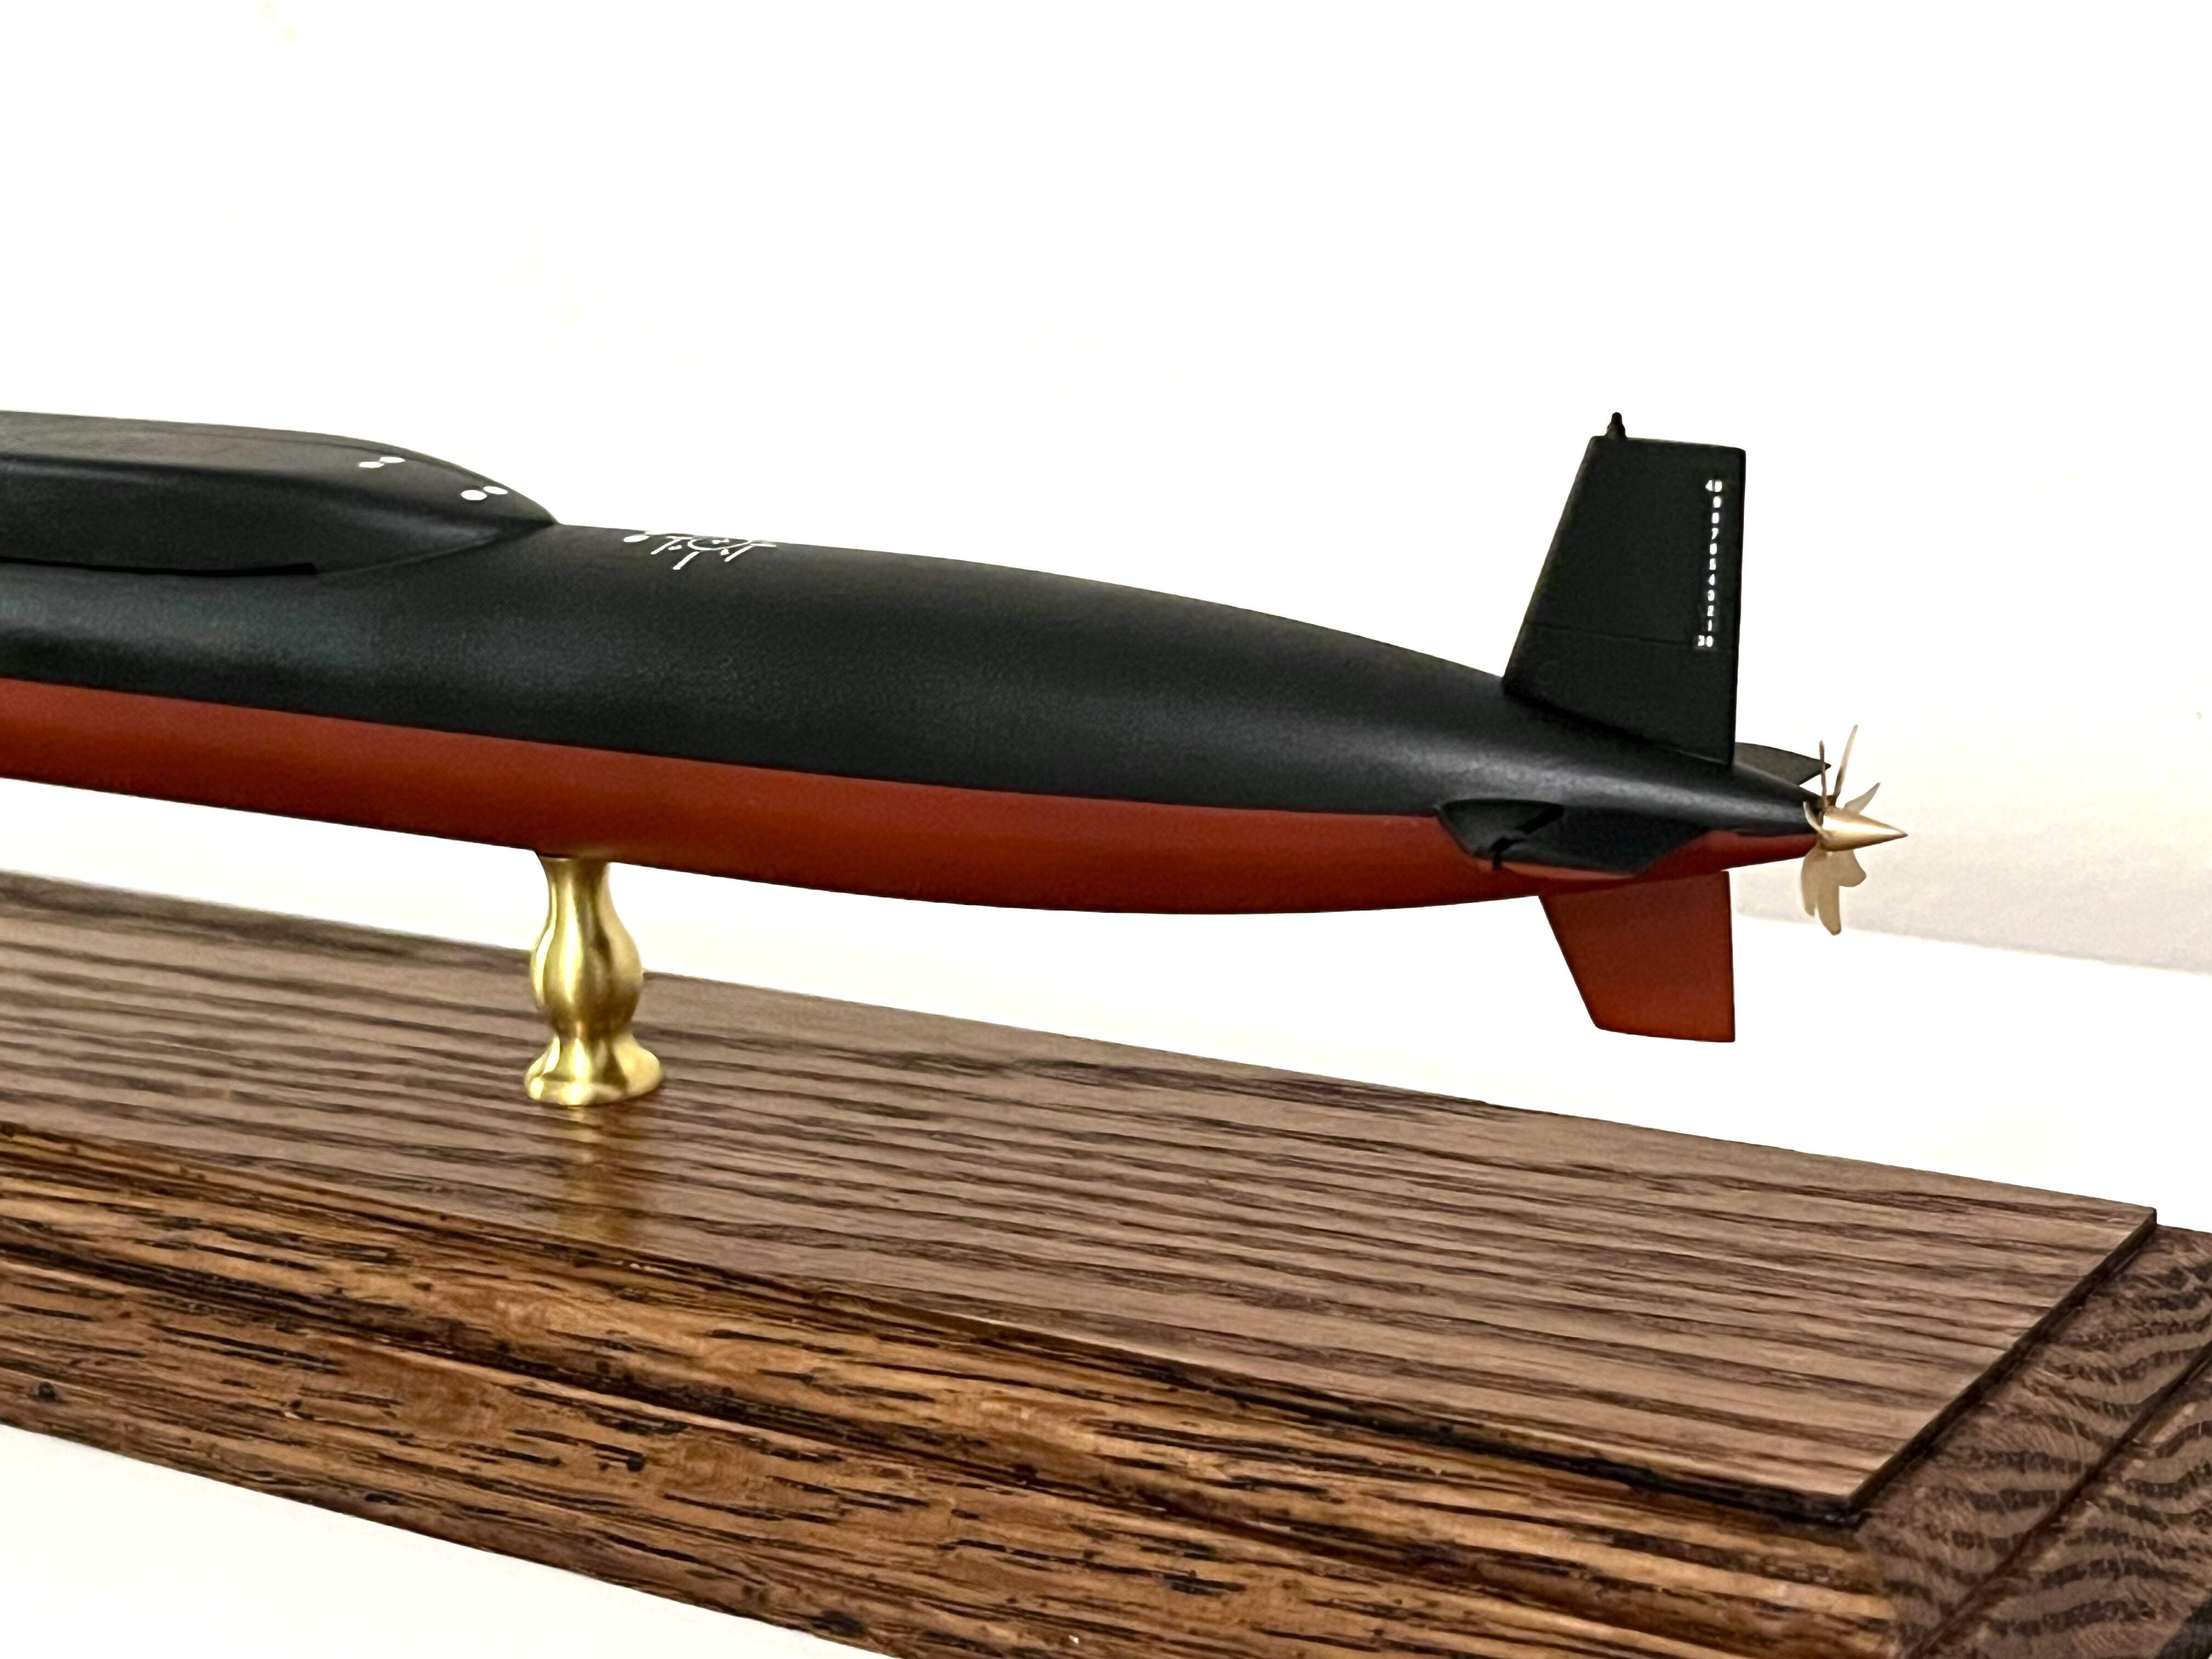
Got a solution for the pedestals. Epoxied some long screws that can double as handles for painting.
This kind of thing is my least favorite part about doing ships! Now just need to figure out what combination of basic router bits will give a good edge to the red oak base.
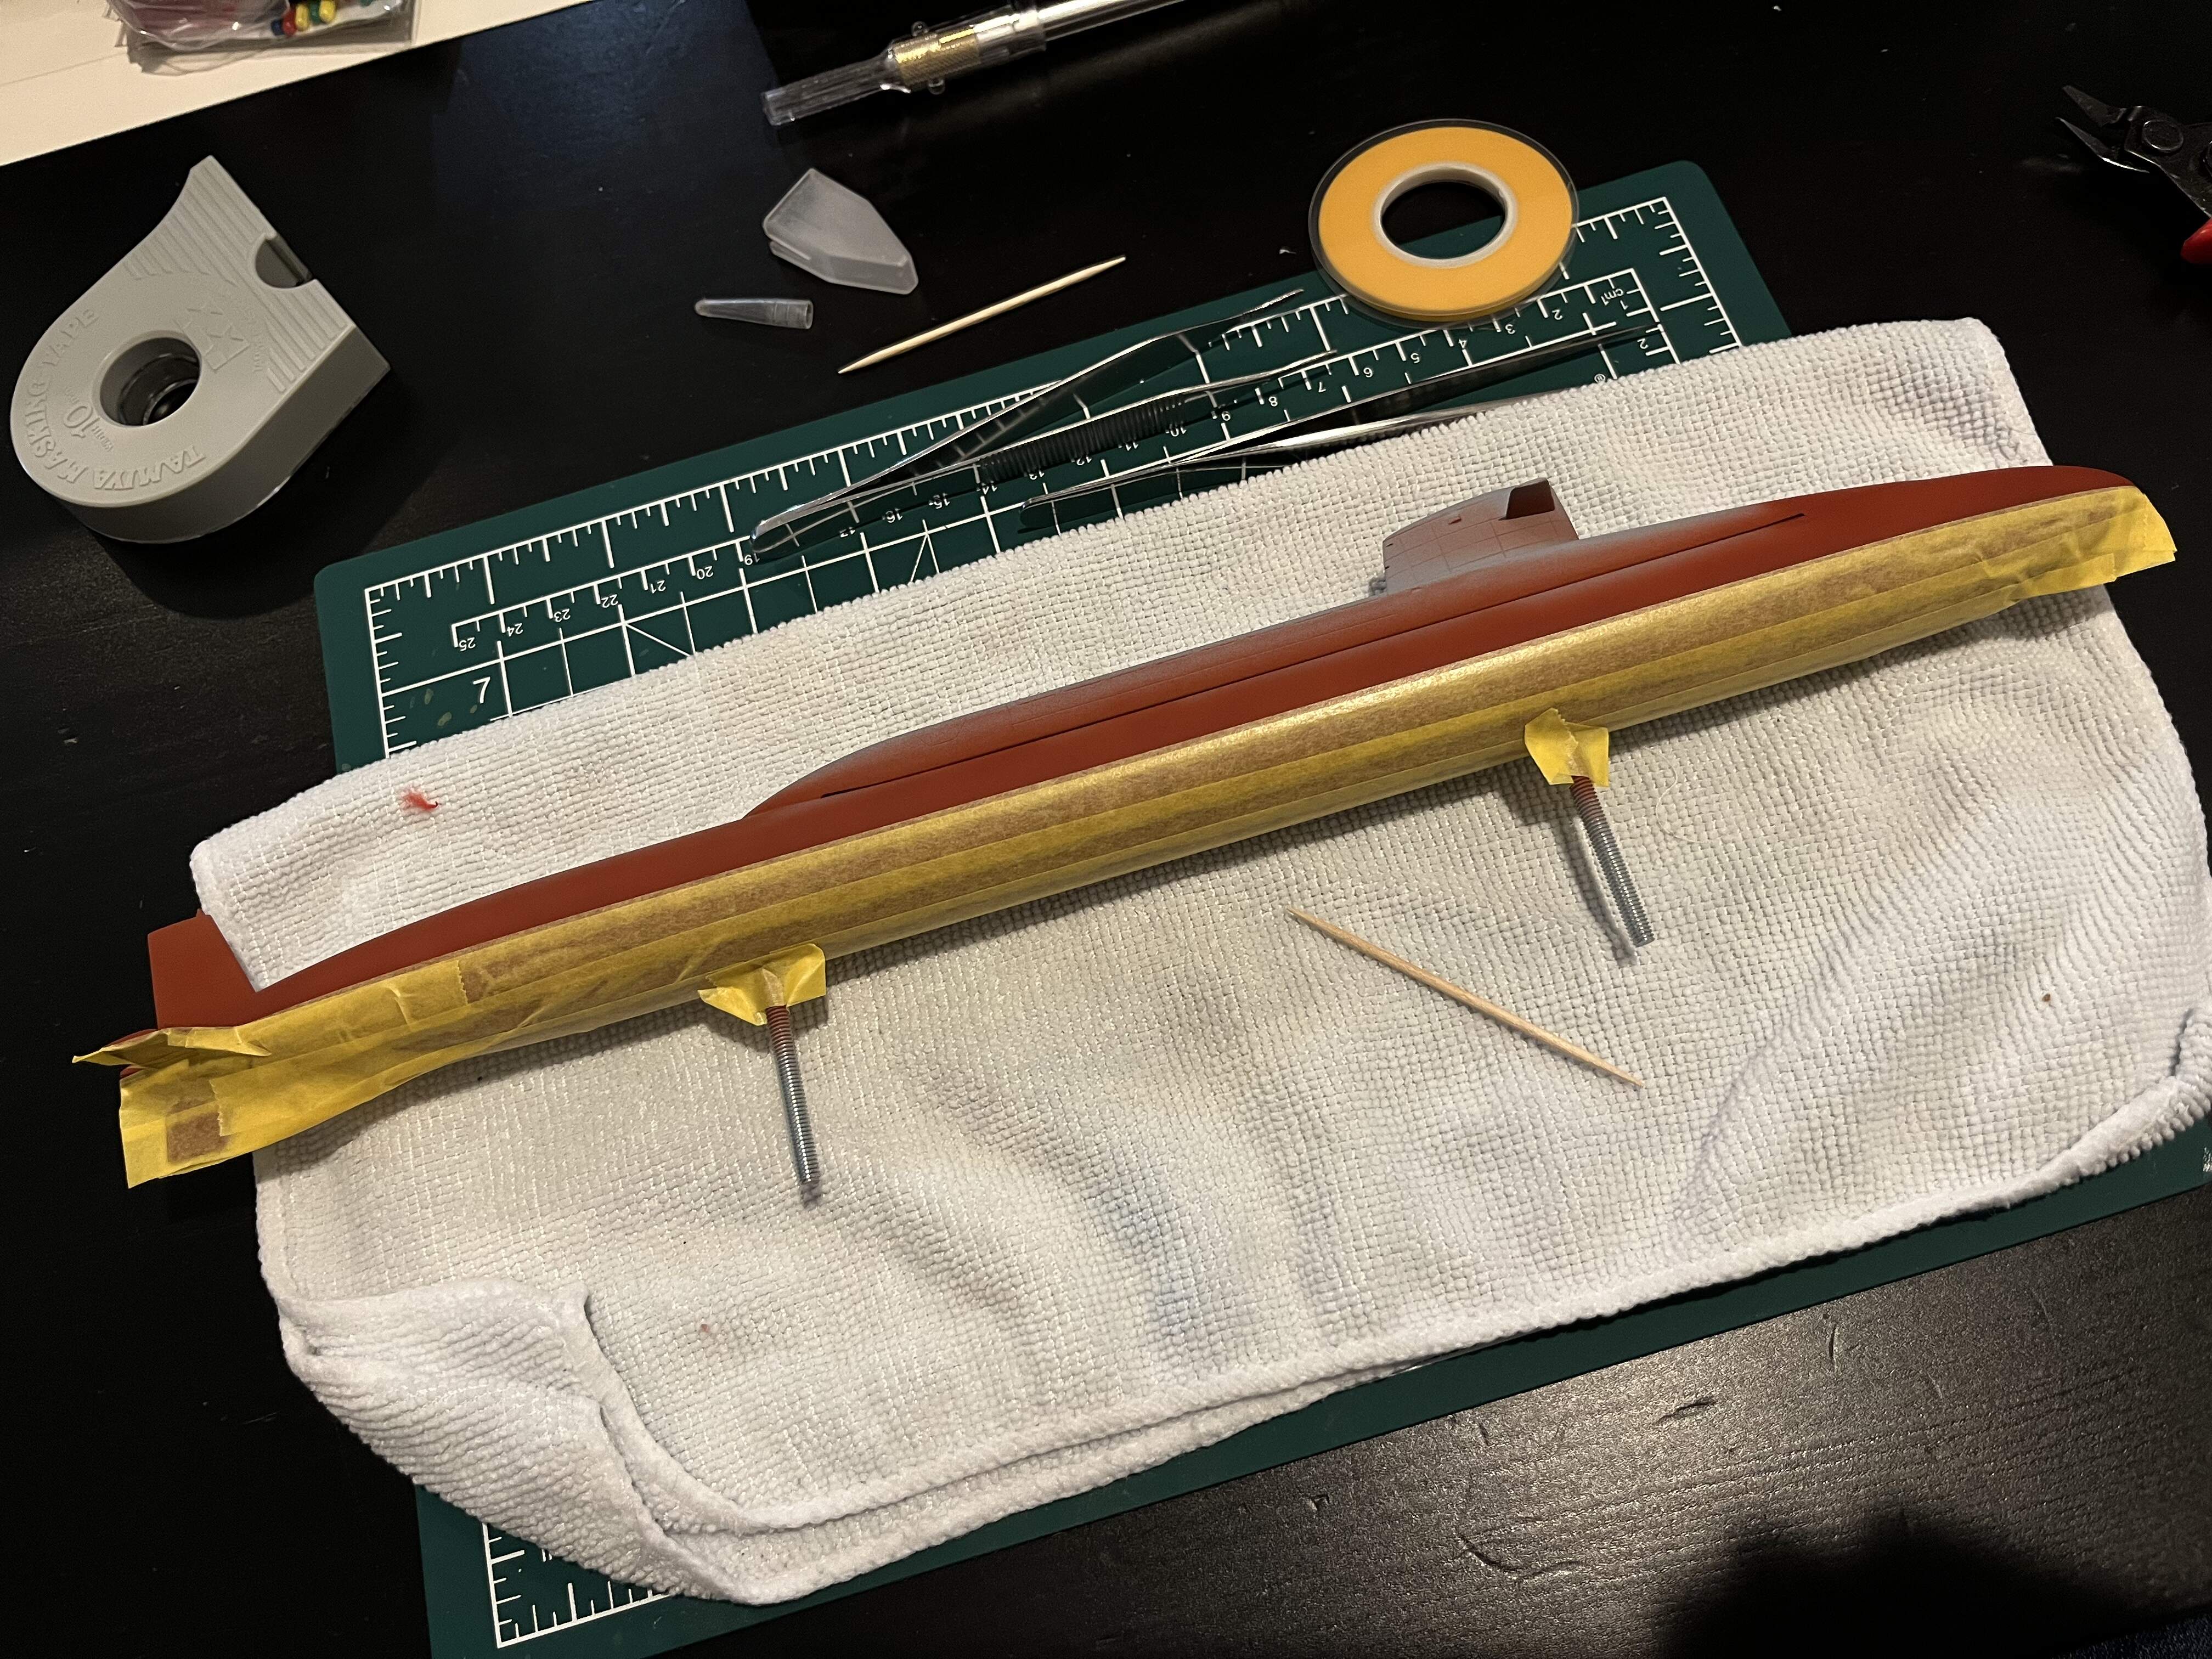
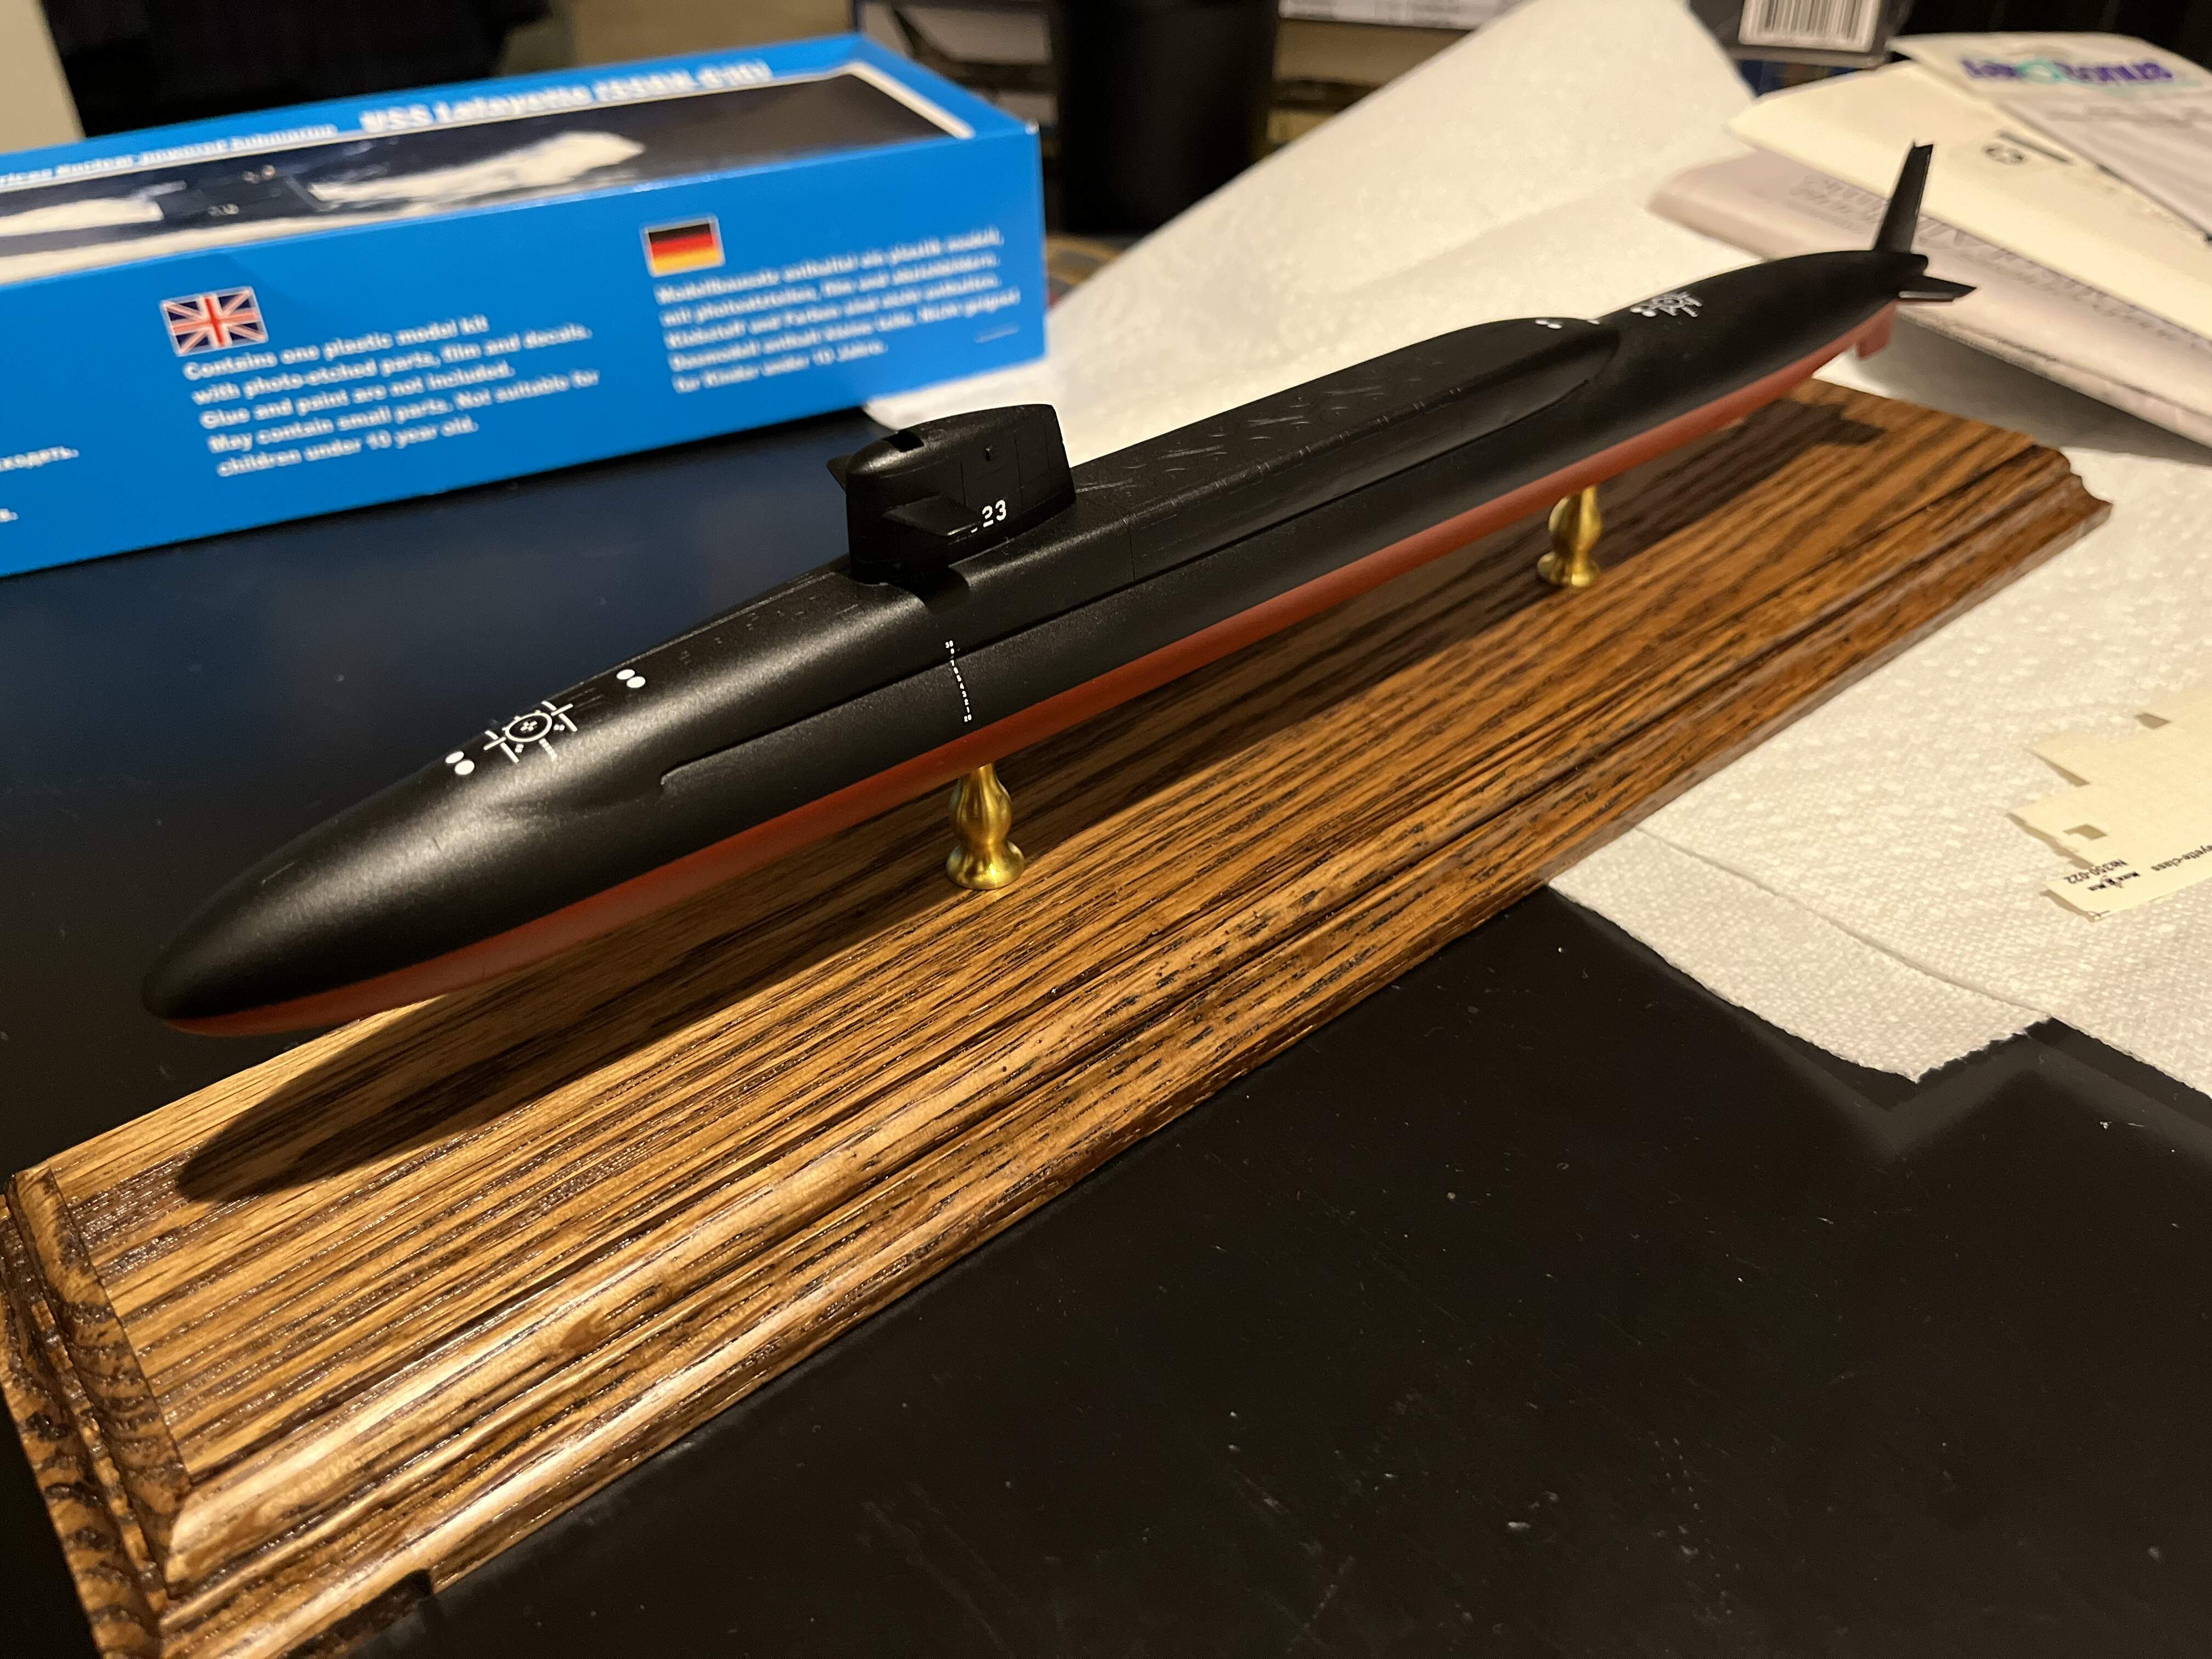
Last coat of red showed imperfections in the seam work. So, more putty, more sanding, another coat of Tamiya lacquer primer, more Vallejo fire red……and now masking for the upper hull color (black).
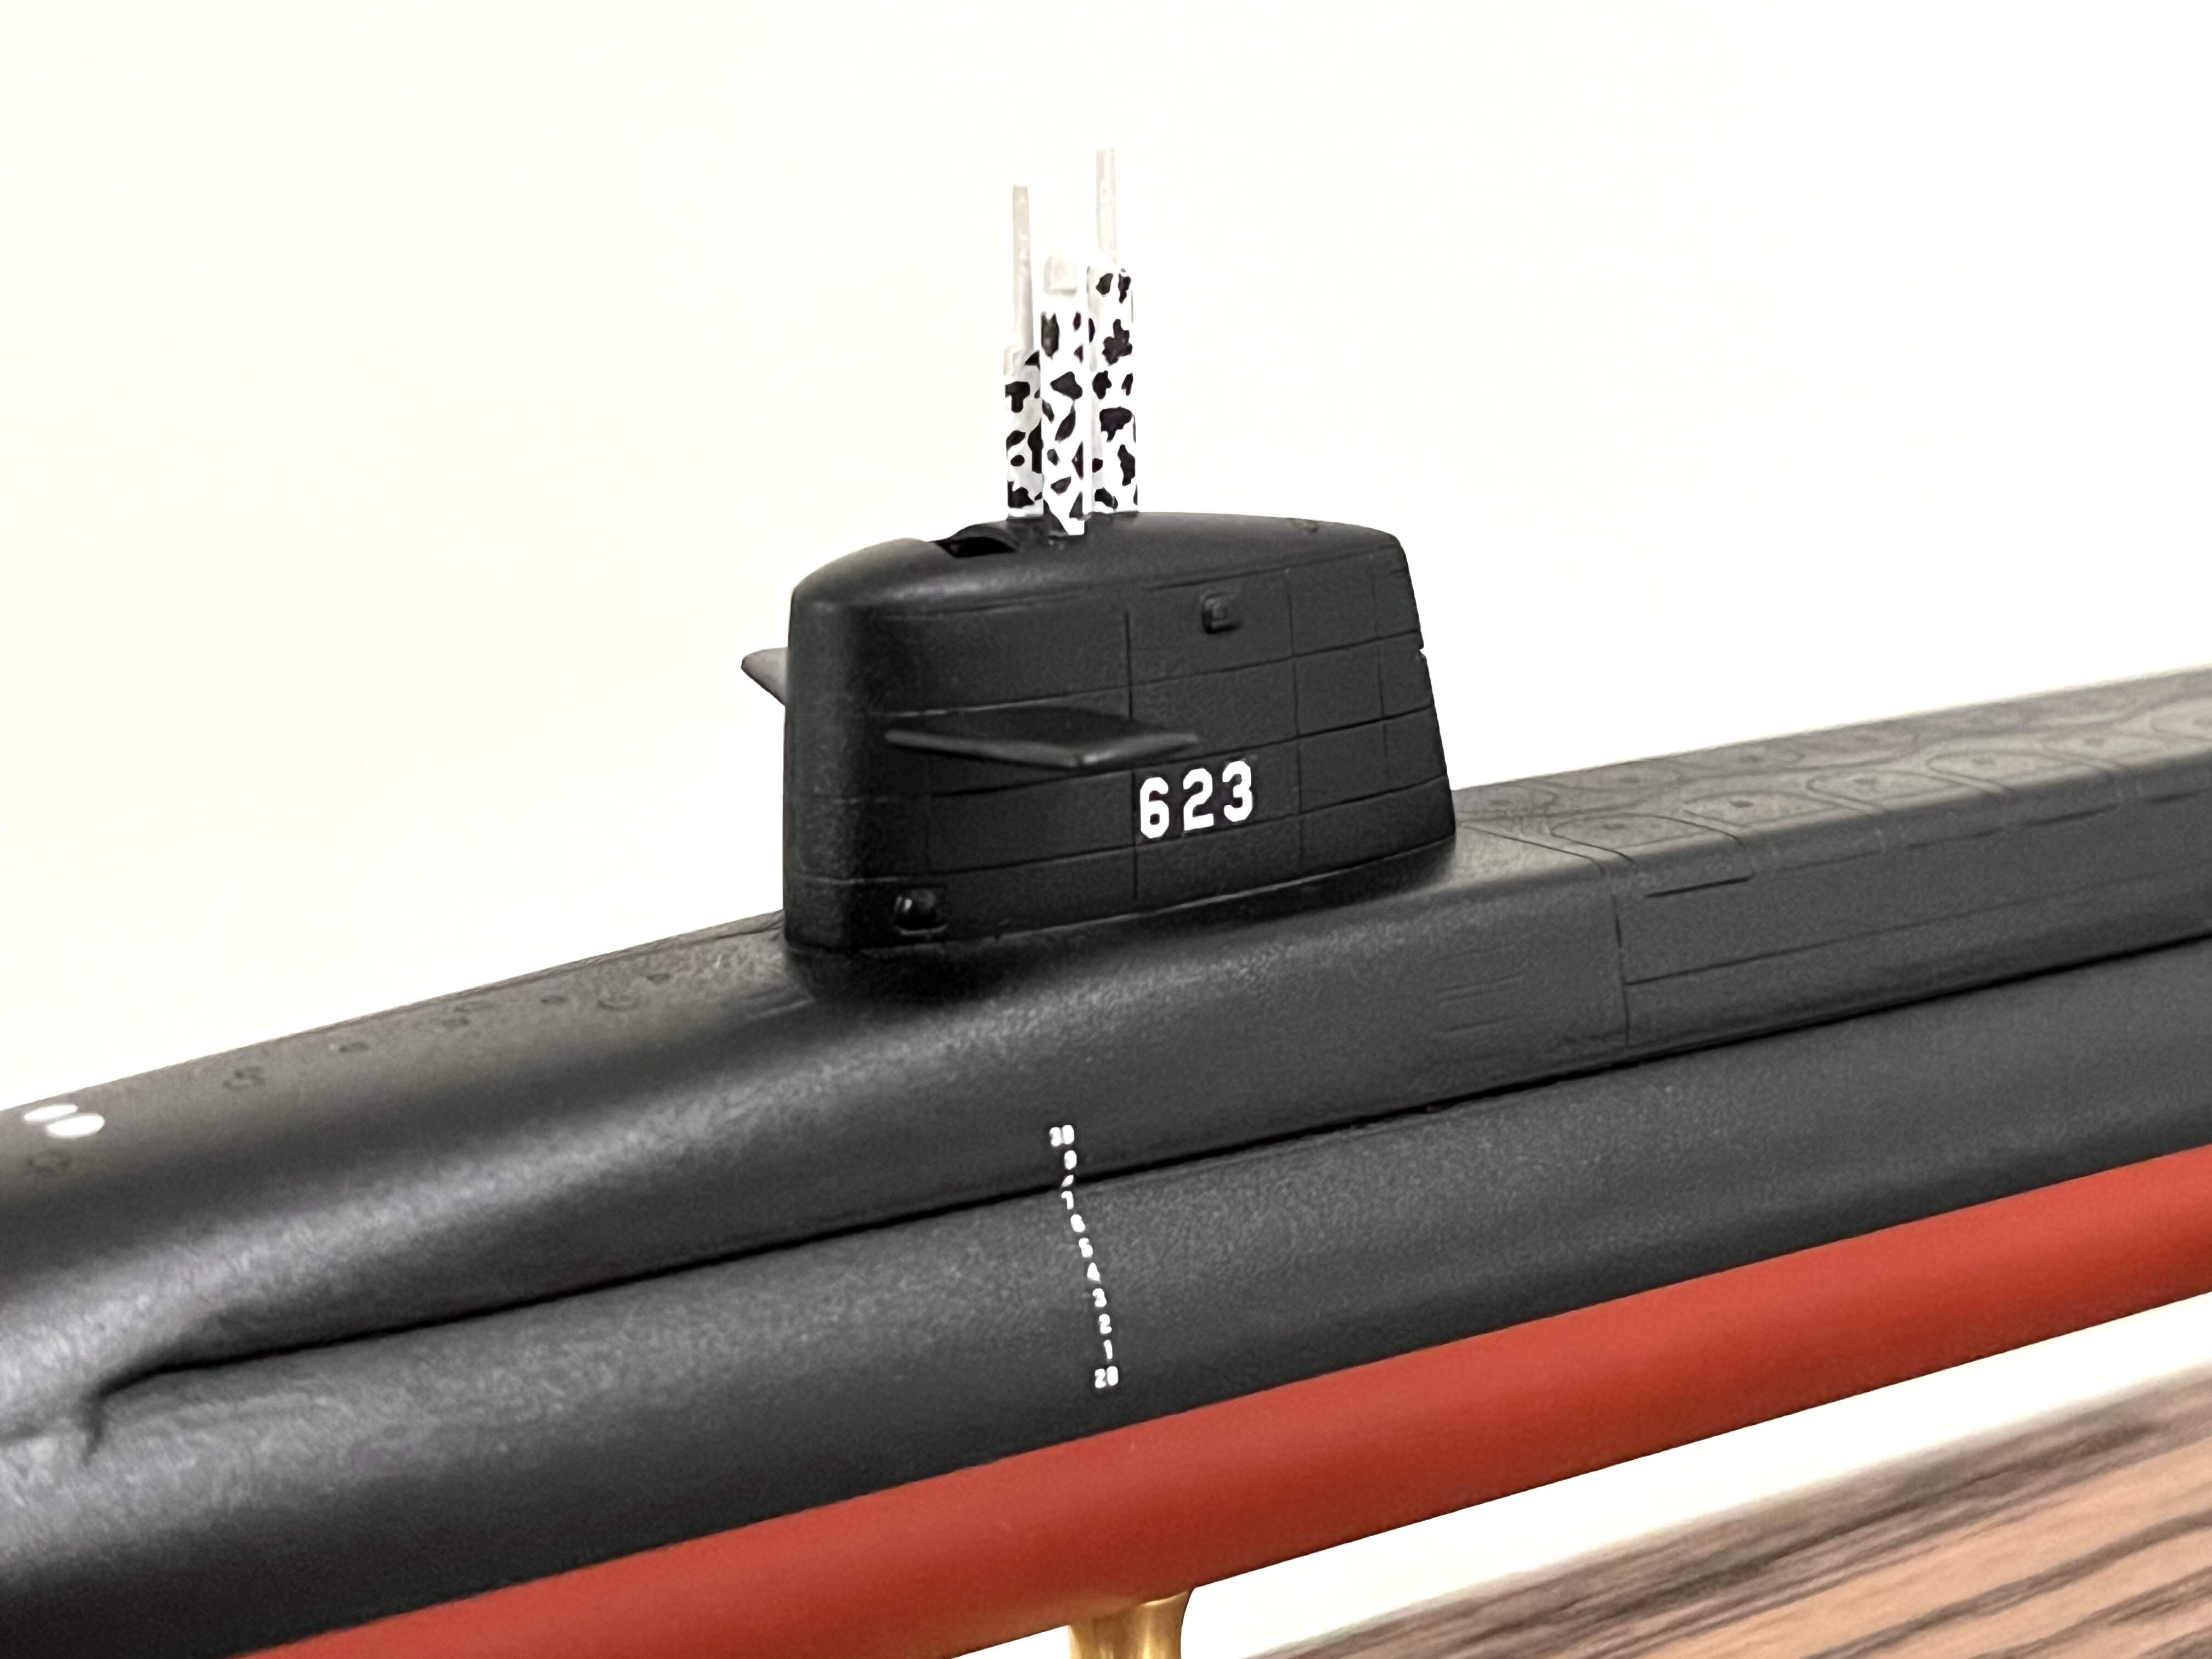
Finished up the decals over a couple coats of GX100 clear gloss. Not sure I love the busy look compared to just applying the hull number but I’ll take a few days and see.
Next will be a gloss seal coat and painting the (very fragile) PE screw and masts.
Considering leaving it gloss. Any thoughts on that?
Might work… Try it out on a piece of scrap plastic. Best way is paint the scrap plastic with the same paint as the Nathan so you can be sure of the result, prior to committing to the main build
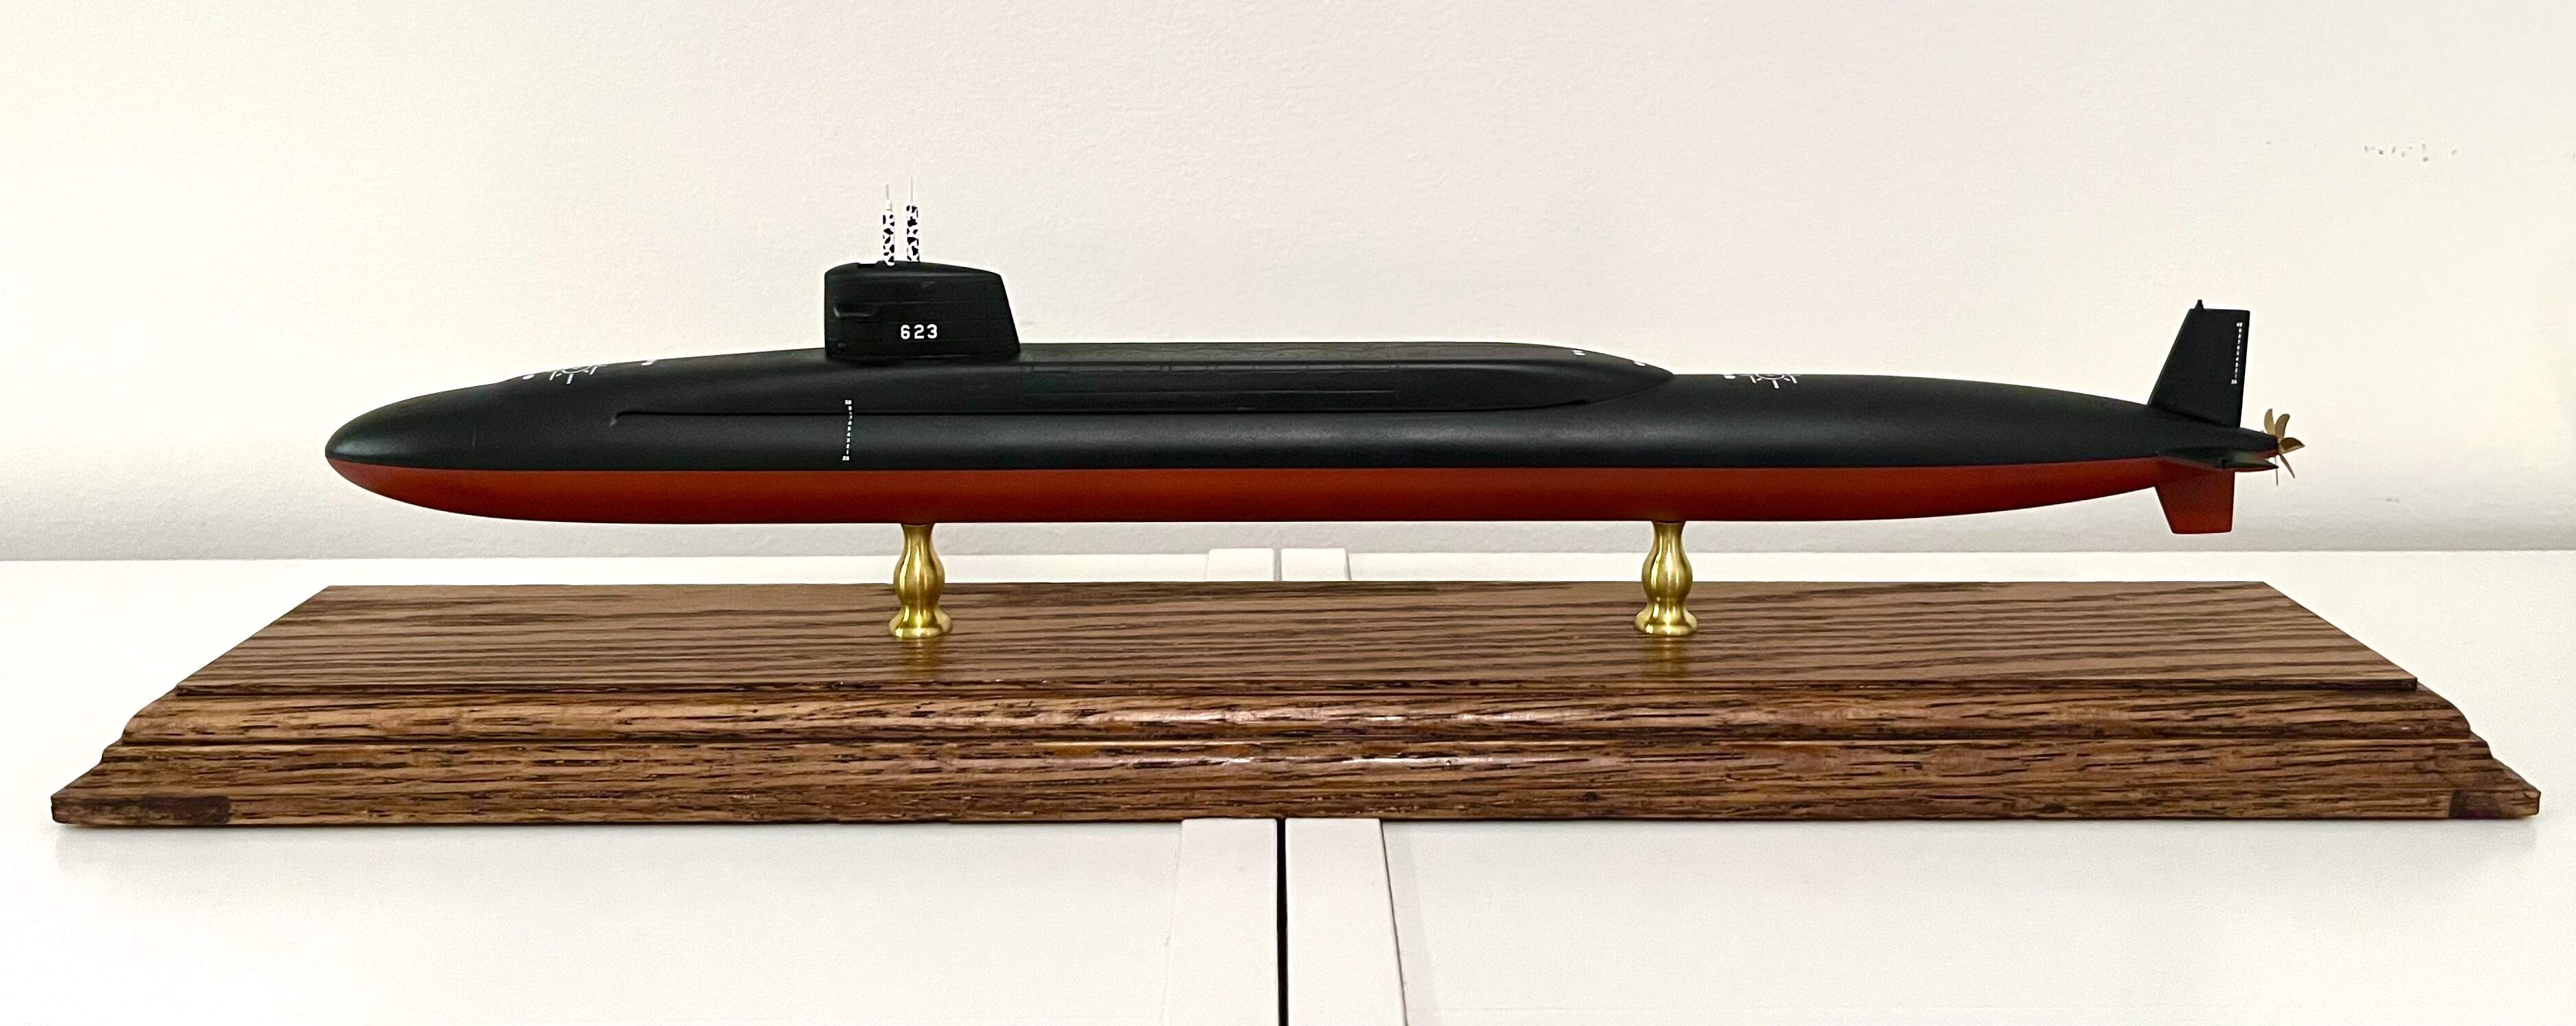
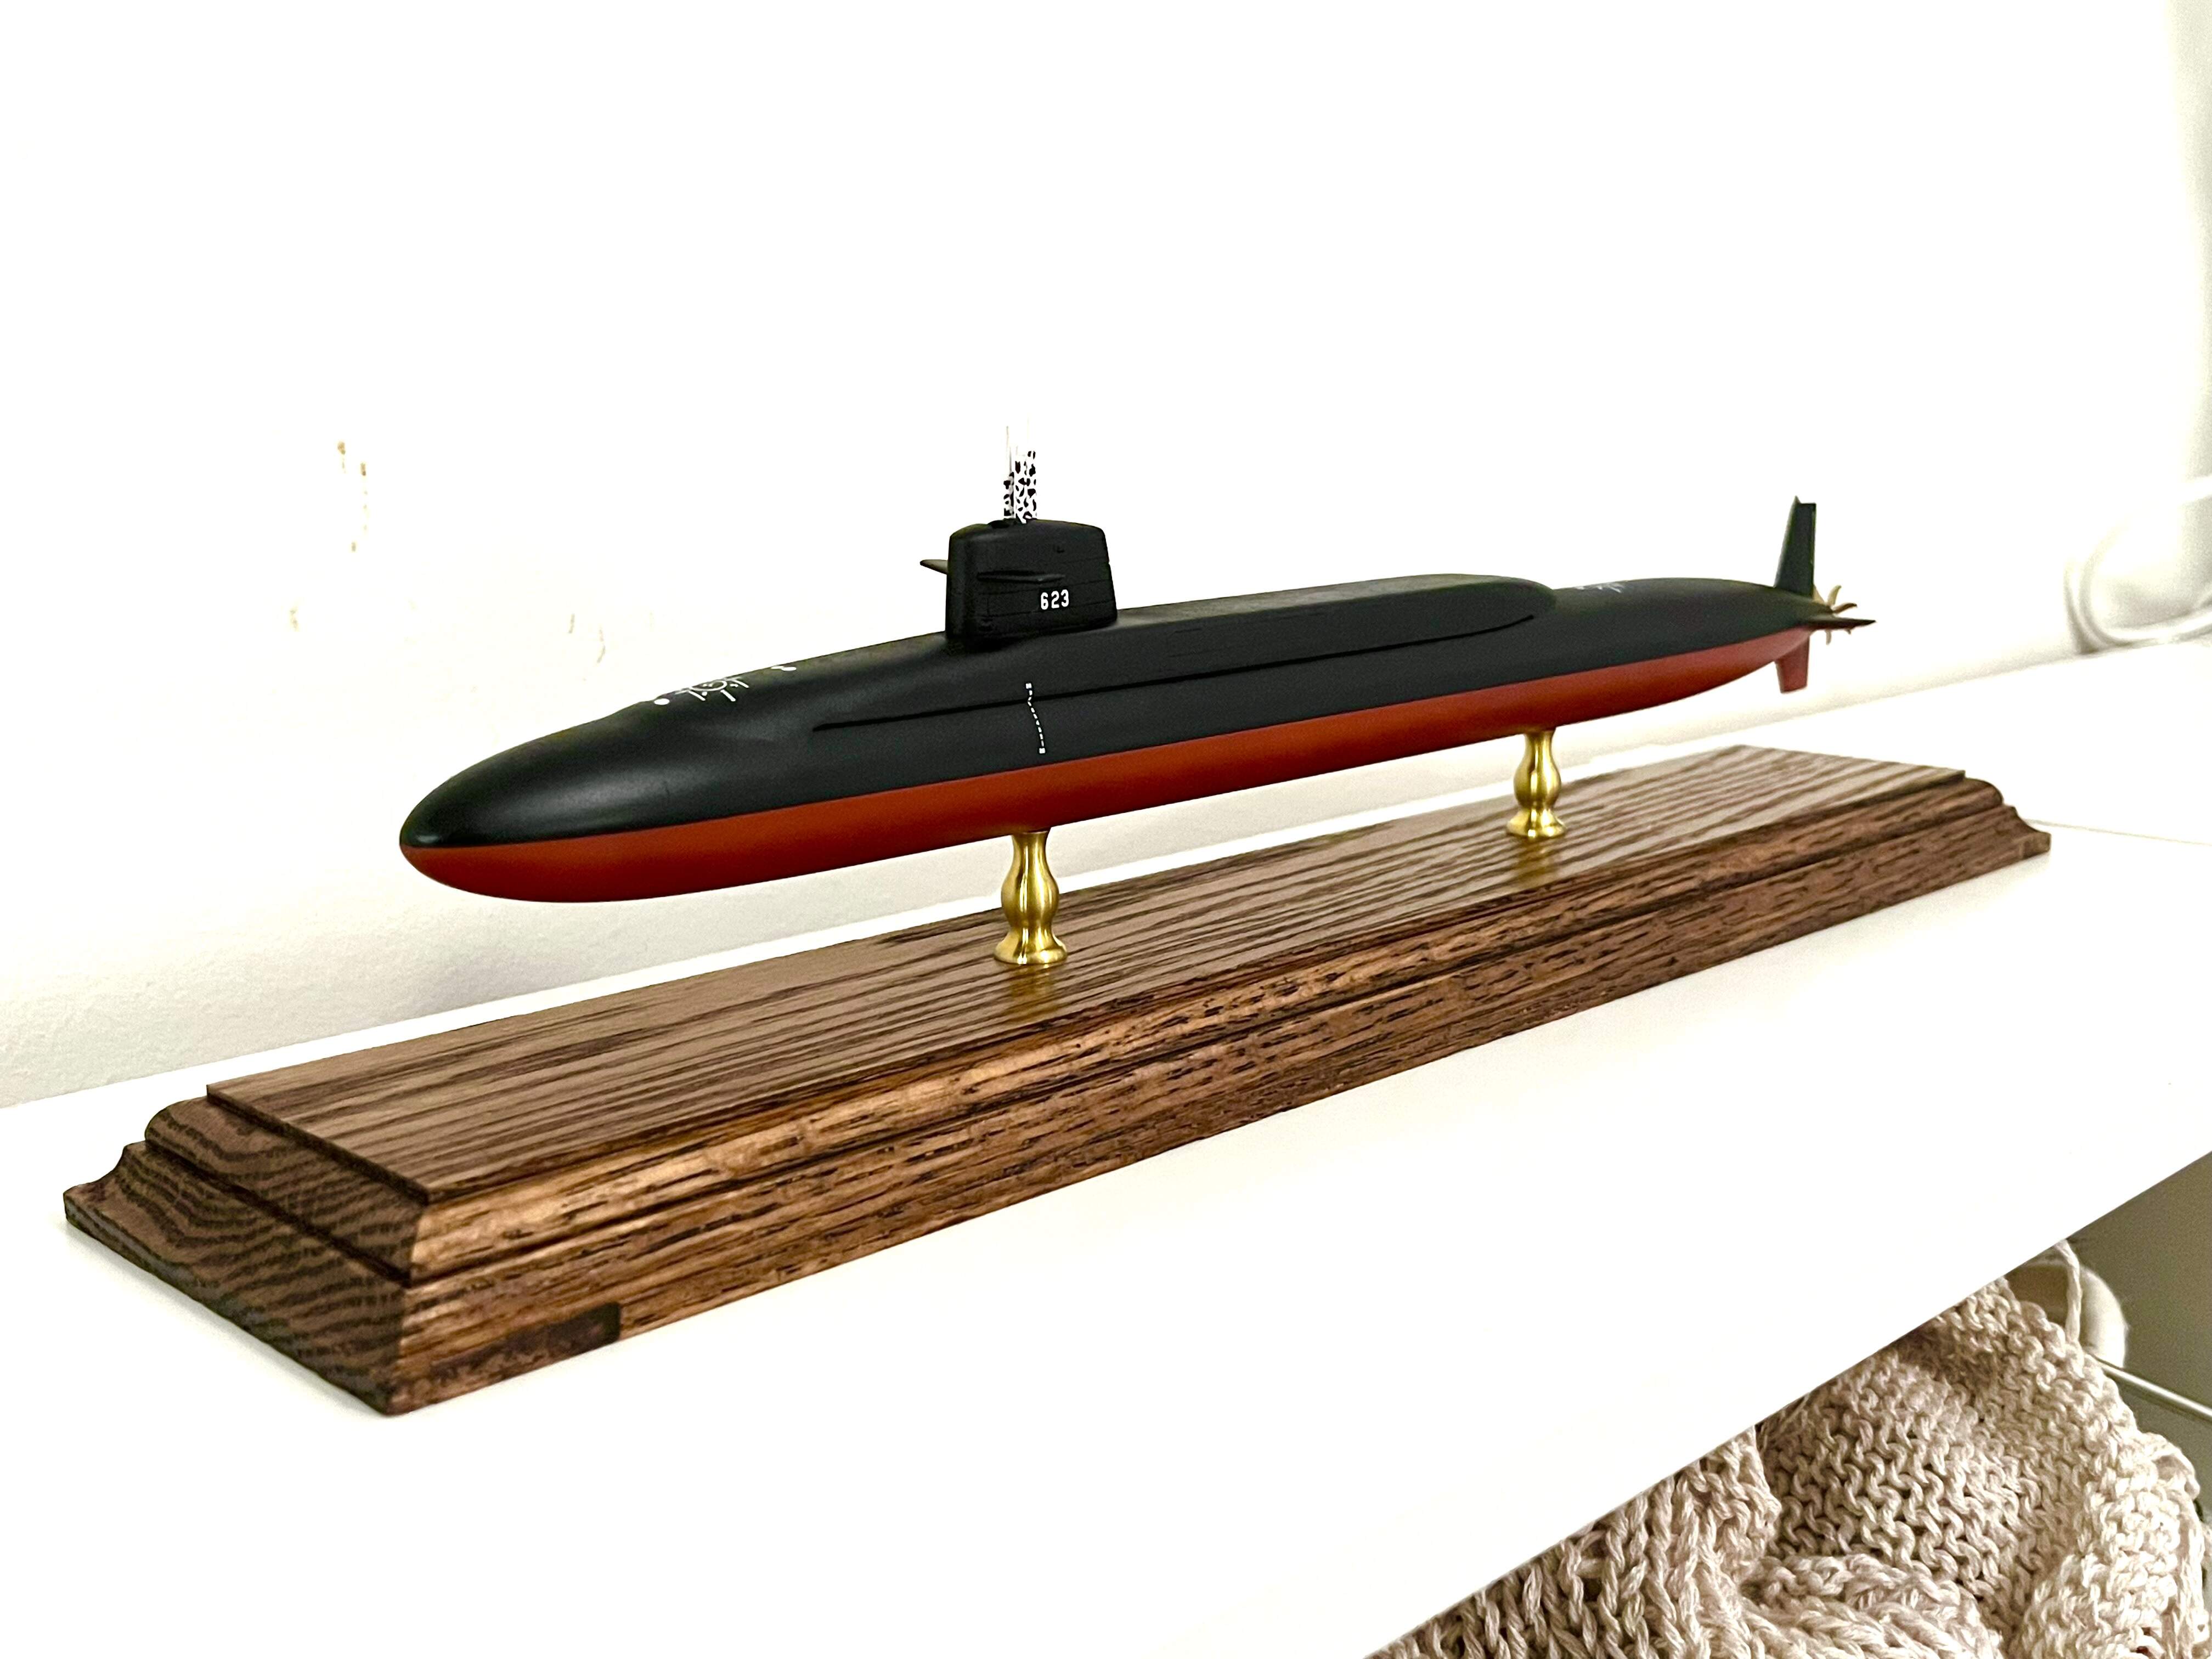
Calling this done. Actually quite happy with it, which is very unusual for a finished project.
I know you all recommended satin, but after letting it sit for a few days and viewing it in various lights, I’m leaving it as is. Because of the thin coats I used it’s not at all a high gloss. I think it’s a good desktop display sheen even if not technically realistic.
This was my first major use of an airbrush. Went better than expected and overall happy with it. The black and red have a slight texture (not nearly as much as the photos make it seem) which I’m guessing is orange peel. I’m worried about over coating and runs so tend to spray on the dryer side. Was also my first time spraying a clear outside a rattle can; I like the control but also need to learn how to get a wetter and more even coat.
It will get a nameplate and then go to my dad for his birthday later this month. Thank you all for your helpful comments throughout.