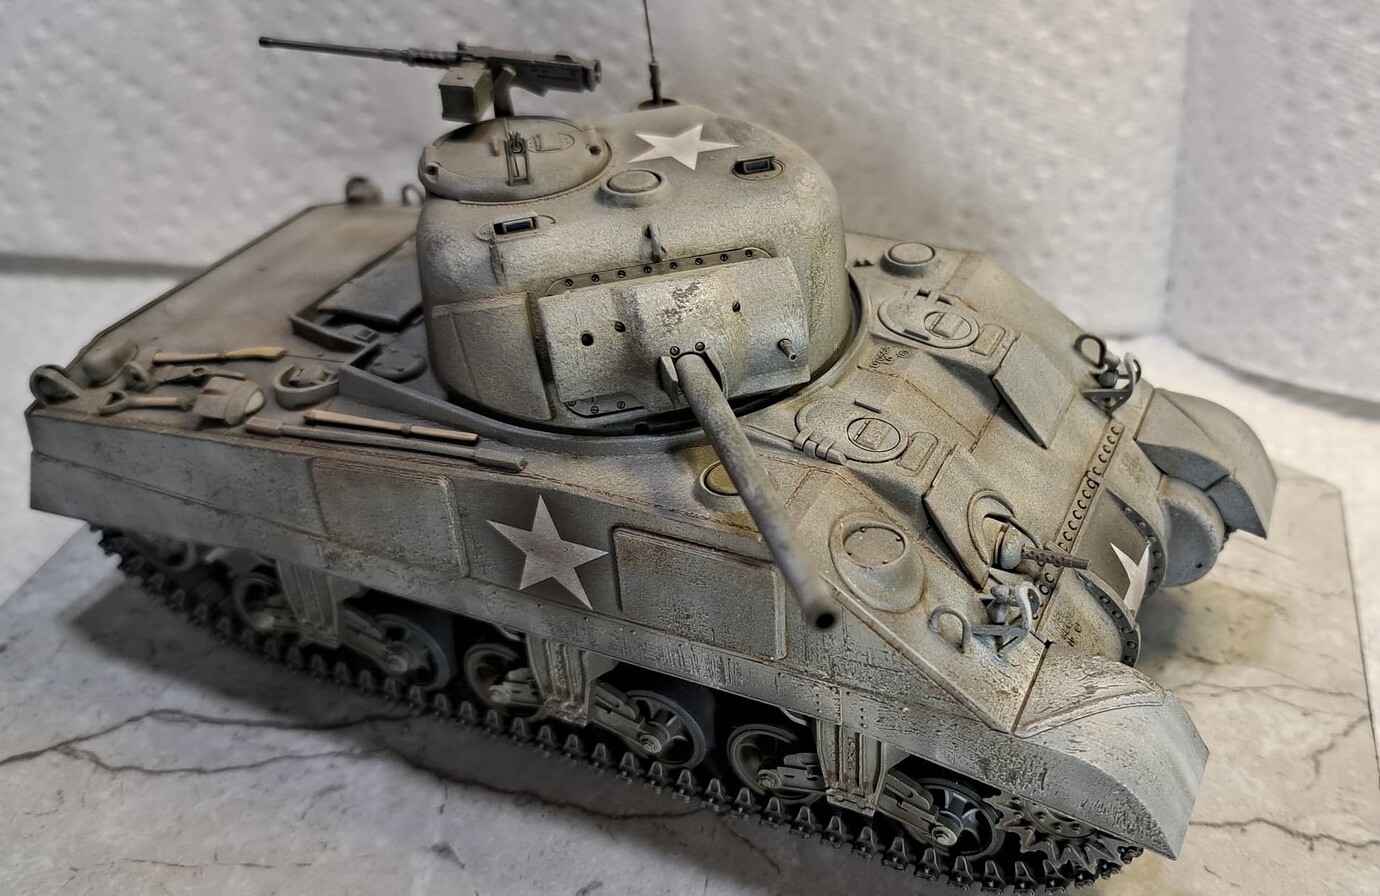
Decided to add a Sherman build thread similar to my panzer threads. The thread will focus on simple out of the box building with minor aftermarket upgrades on occasion.
The kit was just too cute looking to leave in the stash…and I’ll admit Ryefield’s box art sold me the kit. With vehicles from five nations covered the RFM M4A4 offers a refreshing variety of possibilities. It’s one of those kits that eventually might merit another build one day due to diversity
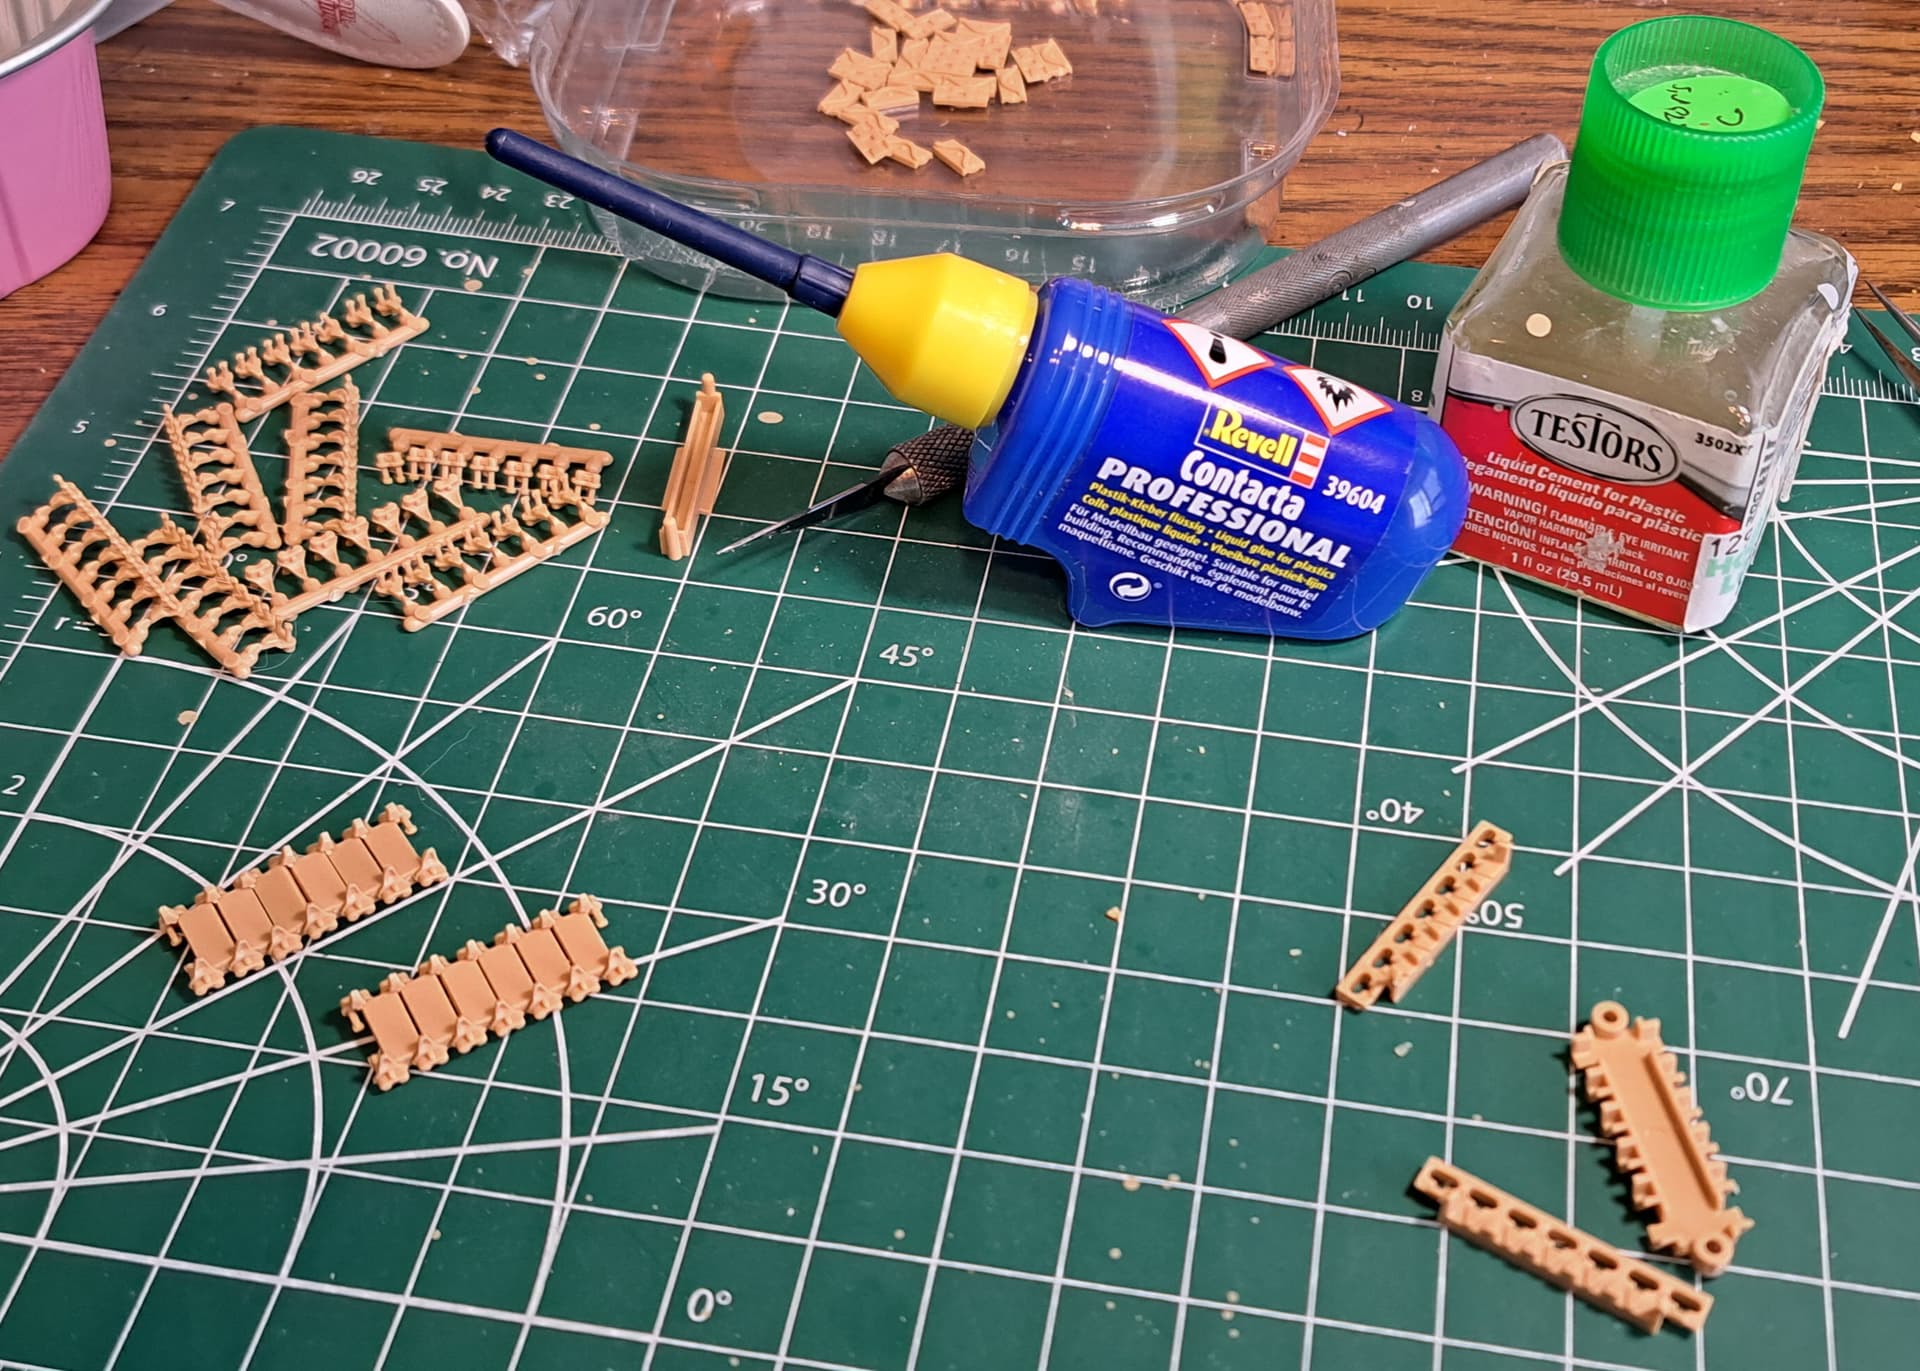
Decided the tracks look monotonous to build so started with those. 83 links per side and it’s well organized by Ryefield with 2 trees of parts per tracks.
Both tracks require ~660 parts wirh each link using 4 parts. I found Revell’s Contact Cement excellent but difficult to control with needle always getting more than desirable. Returned to my stalwart favorite of LC’s, Testor’s Liquid Cement in a Tamiya bottle.
Great start.I love the finish of the Tamiya M4.Looks nicely weathered.I must get the M4A4.Well knowing me about 5 maybe.A direct vision version would be most welcome.
Watching with interest.
Richard
It’s always a relief to get the hard part out of the way. Interested to see how the RFM kit goes together. Heads up, the barrel is around a quarter inch too long.
@dwnrng44 Kevin, thanks for the heads up on the barrel. I think with the tracks at ~660+ parts plus suspension & gear at ~140 it’s about ~800 parts to get to the fun!
Box looks pretty empty wirh those ~800 parts out of it for tracks & suspension!
@Richard50 Richard, thank you. I could probably see building another RFM M4A4 when time allowed but will look for 3D snap together tracks for the next one!
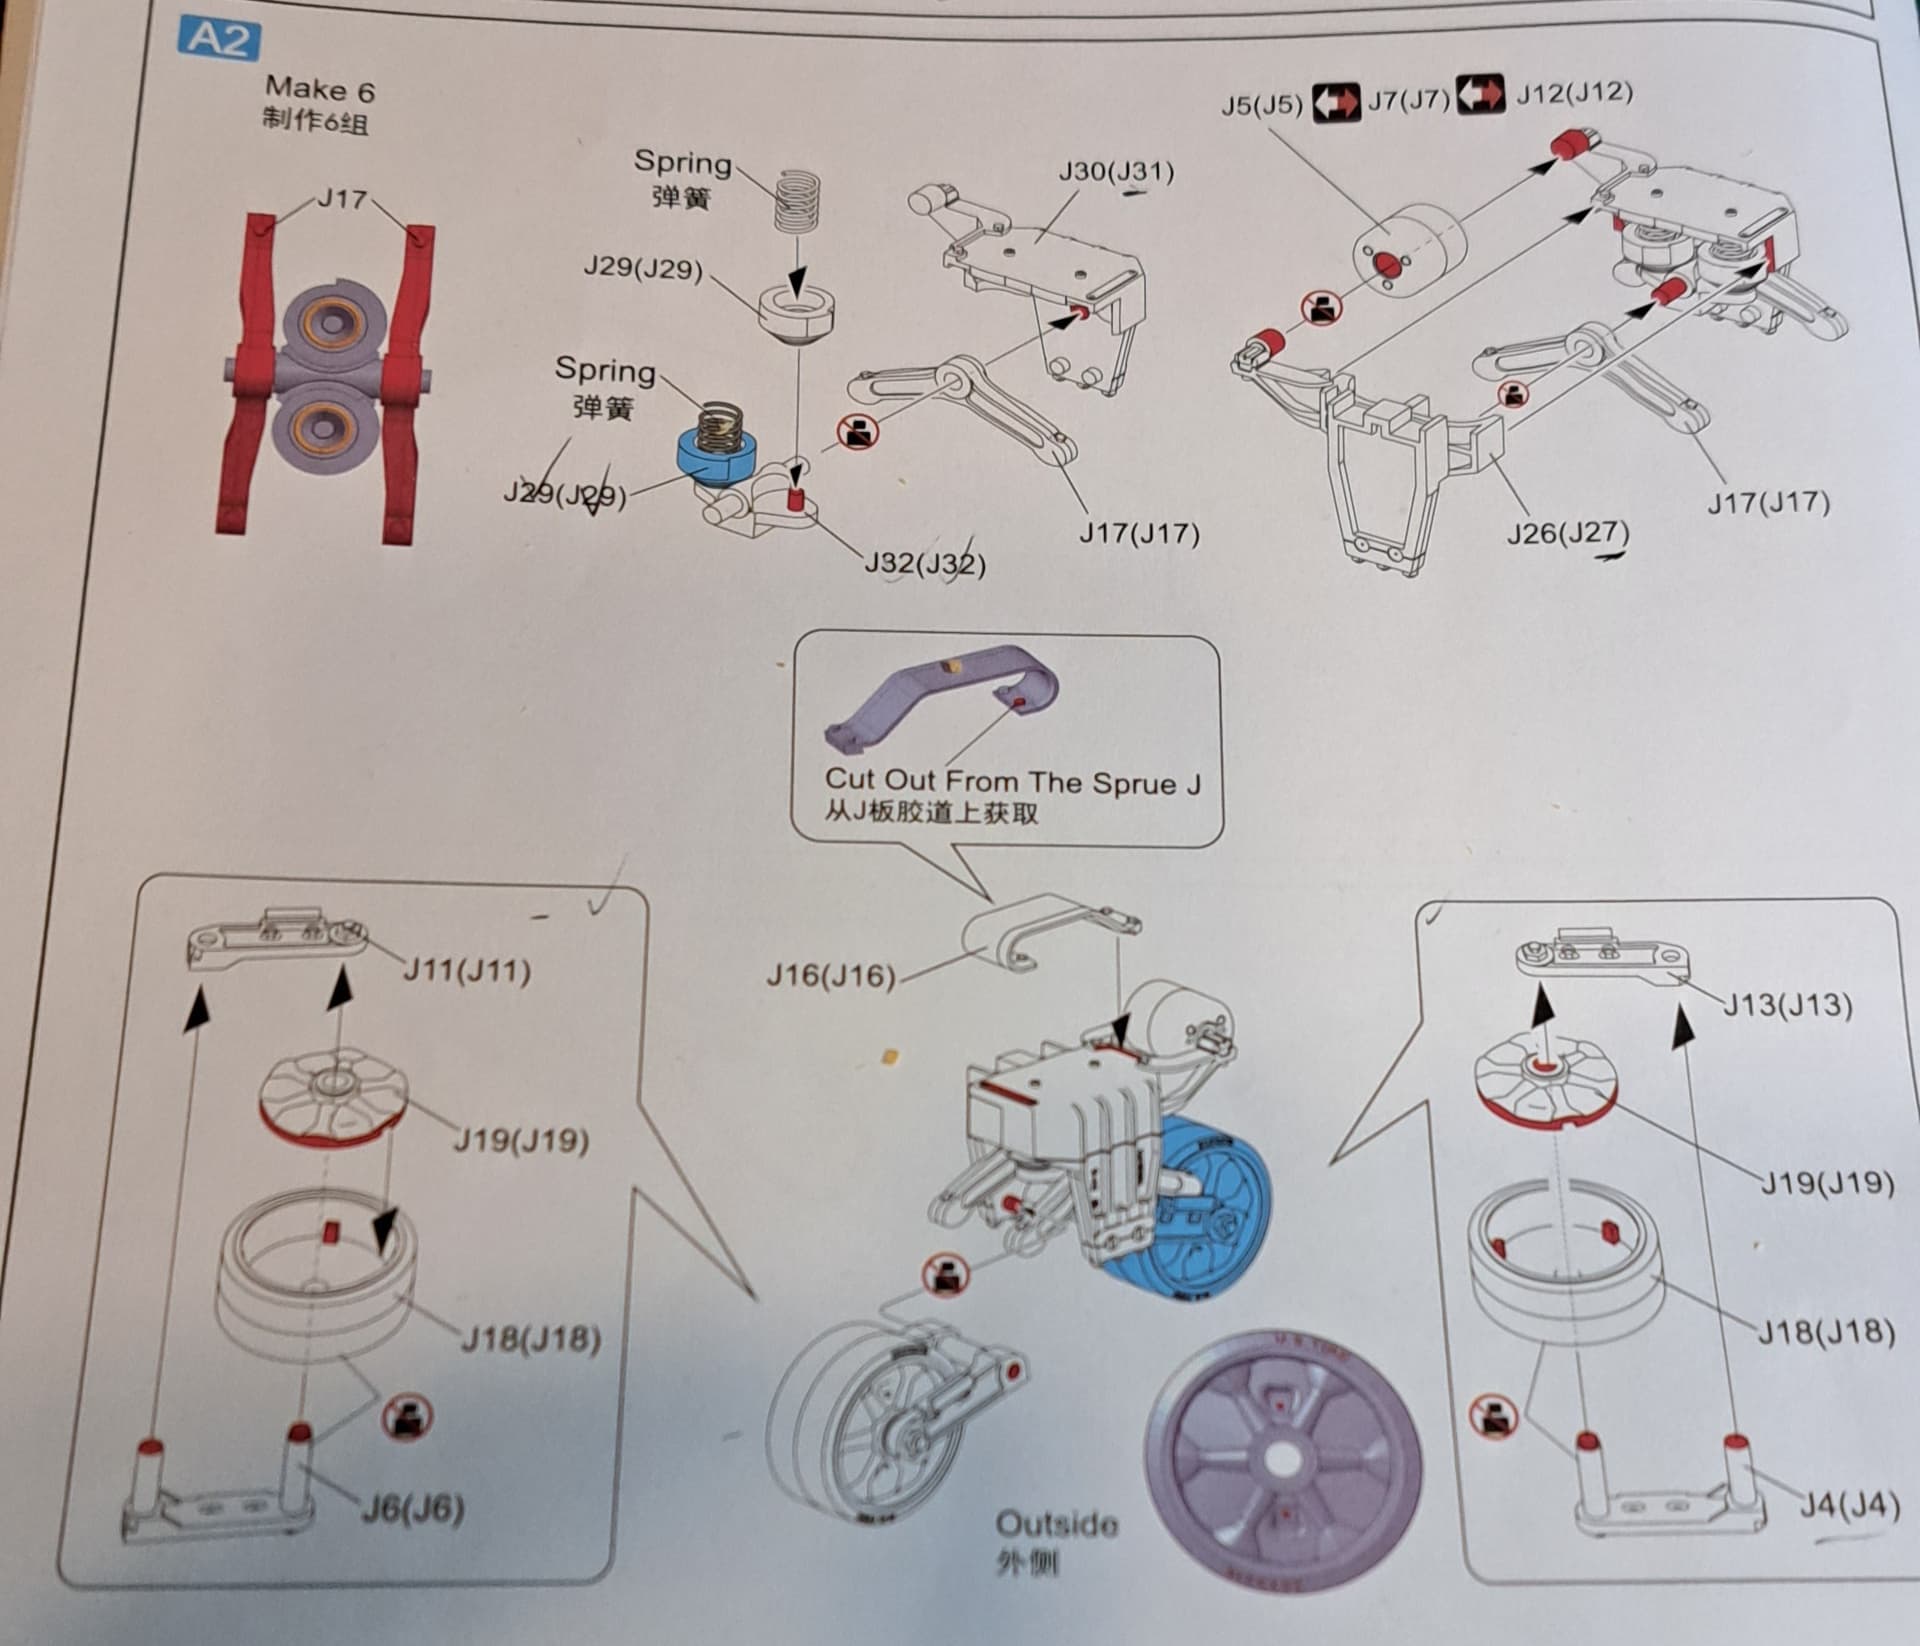
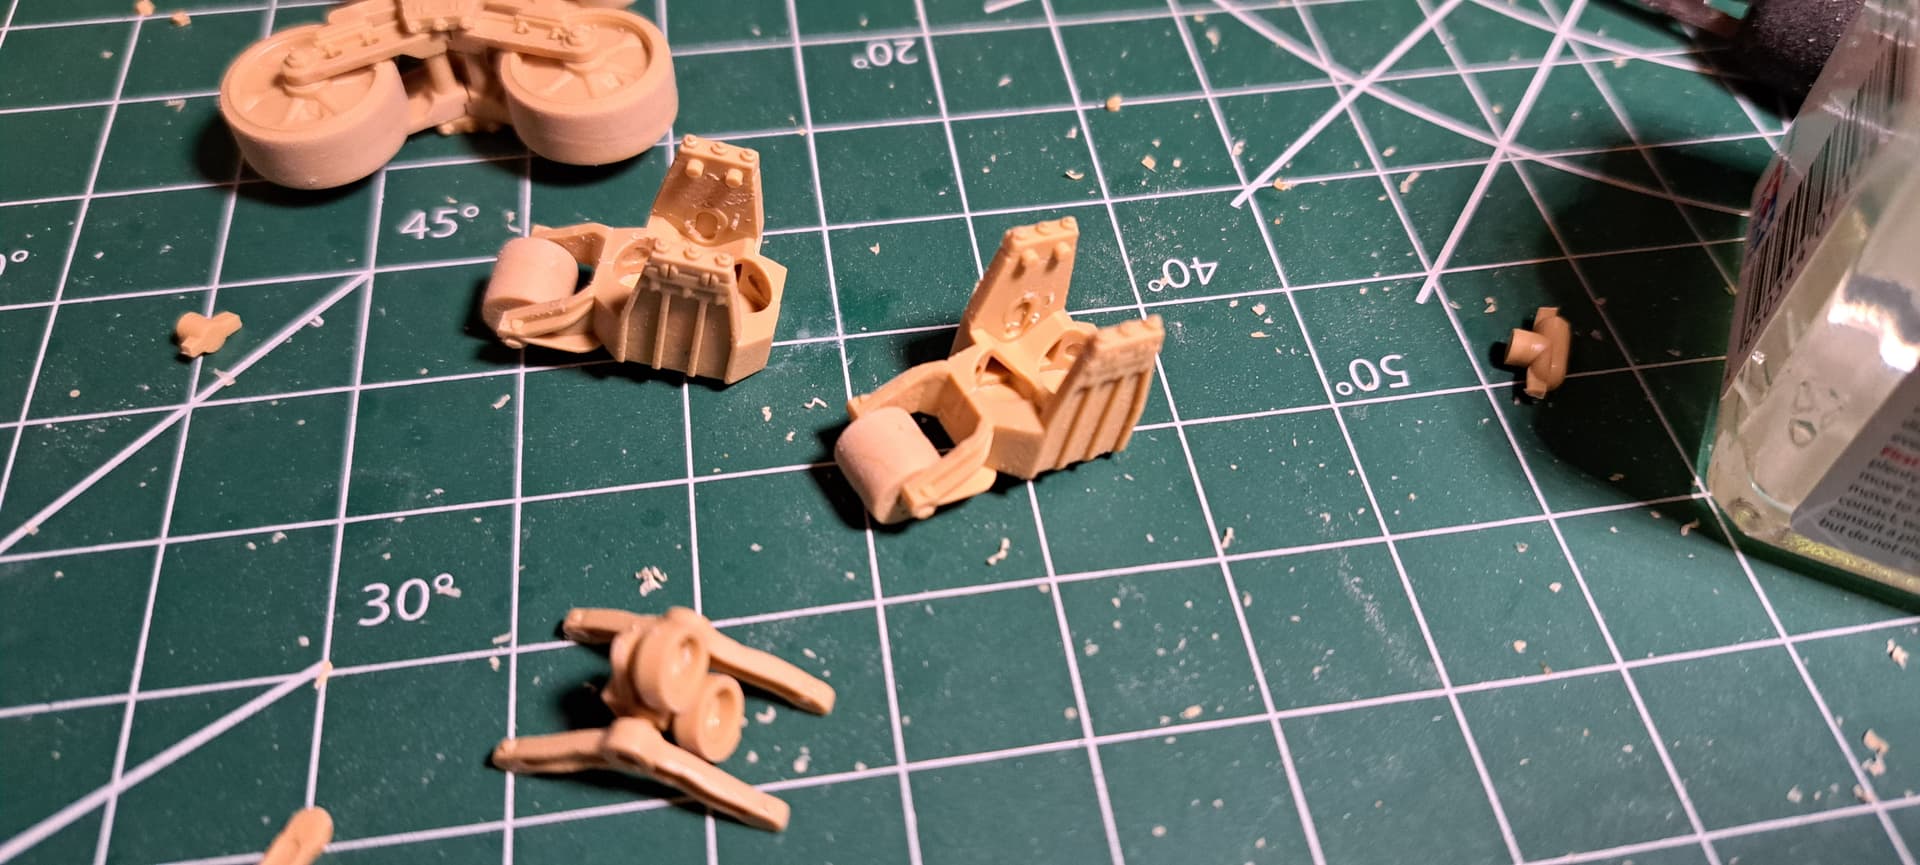
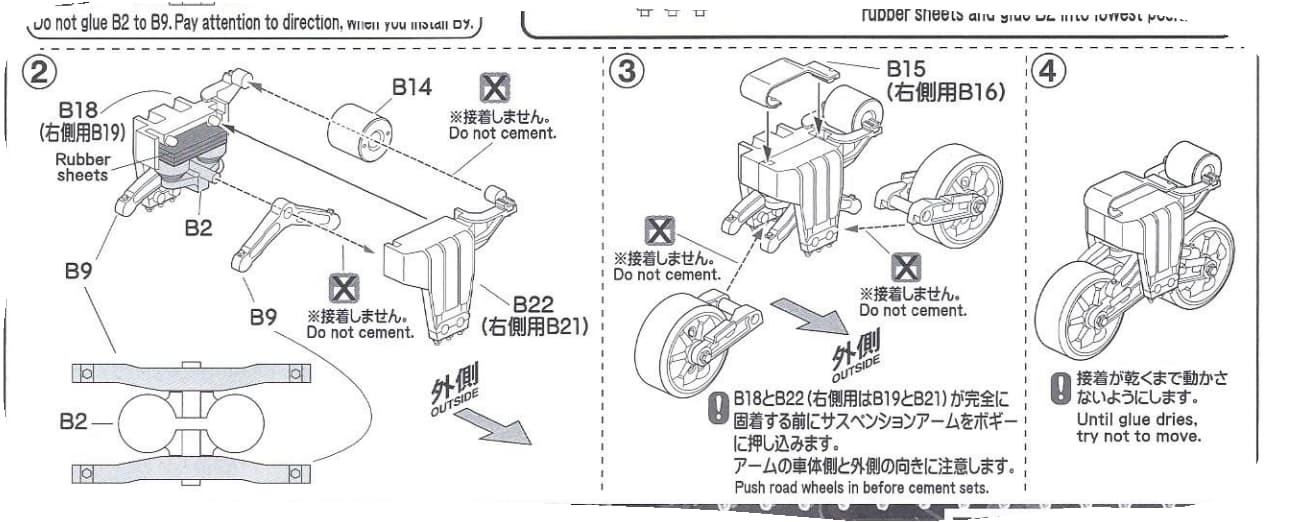
Found the RFM suspension bogie instruction step a little too unnecessarily complex which make the sequence fiddly for my personal tastes…some folks might like the kit guidance so YMMV.
…so Kali-Kat & I reinvented the wheel…we like to do between attending flat earth conventions (j/k)
This is probably the wrong way to approach the issue (Sherman ignorant) but it worked for me. Build the wheel subassemblies and clean up the parts needed for one sides bogies.
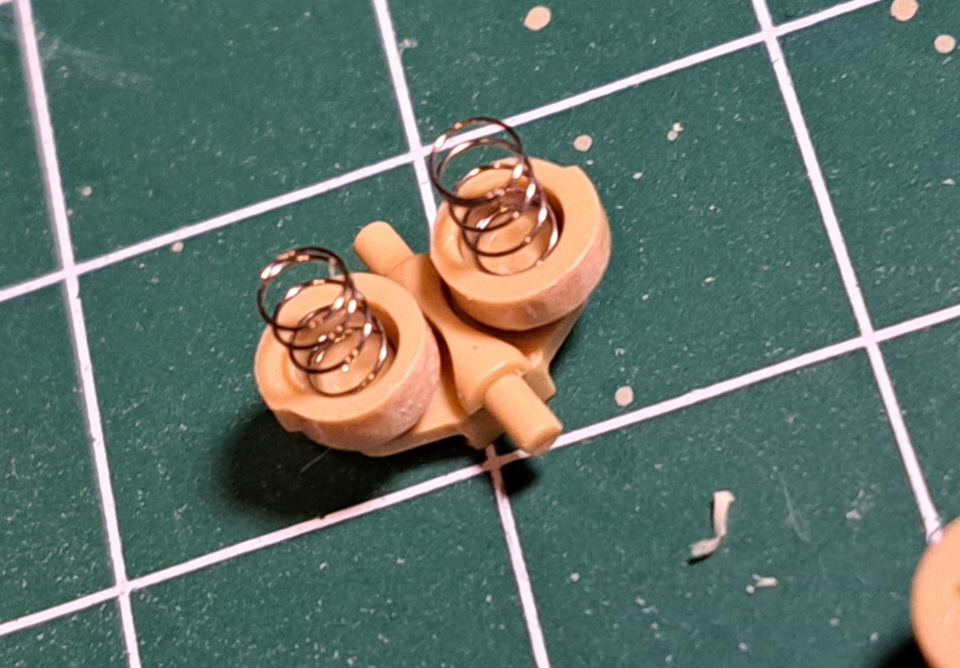
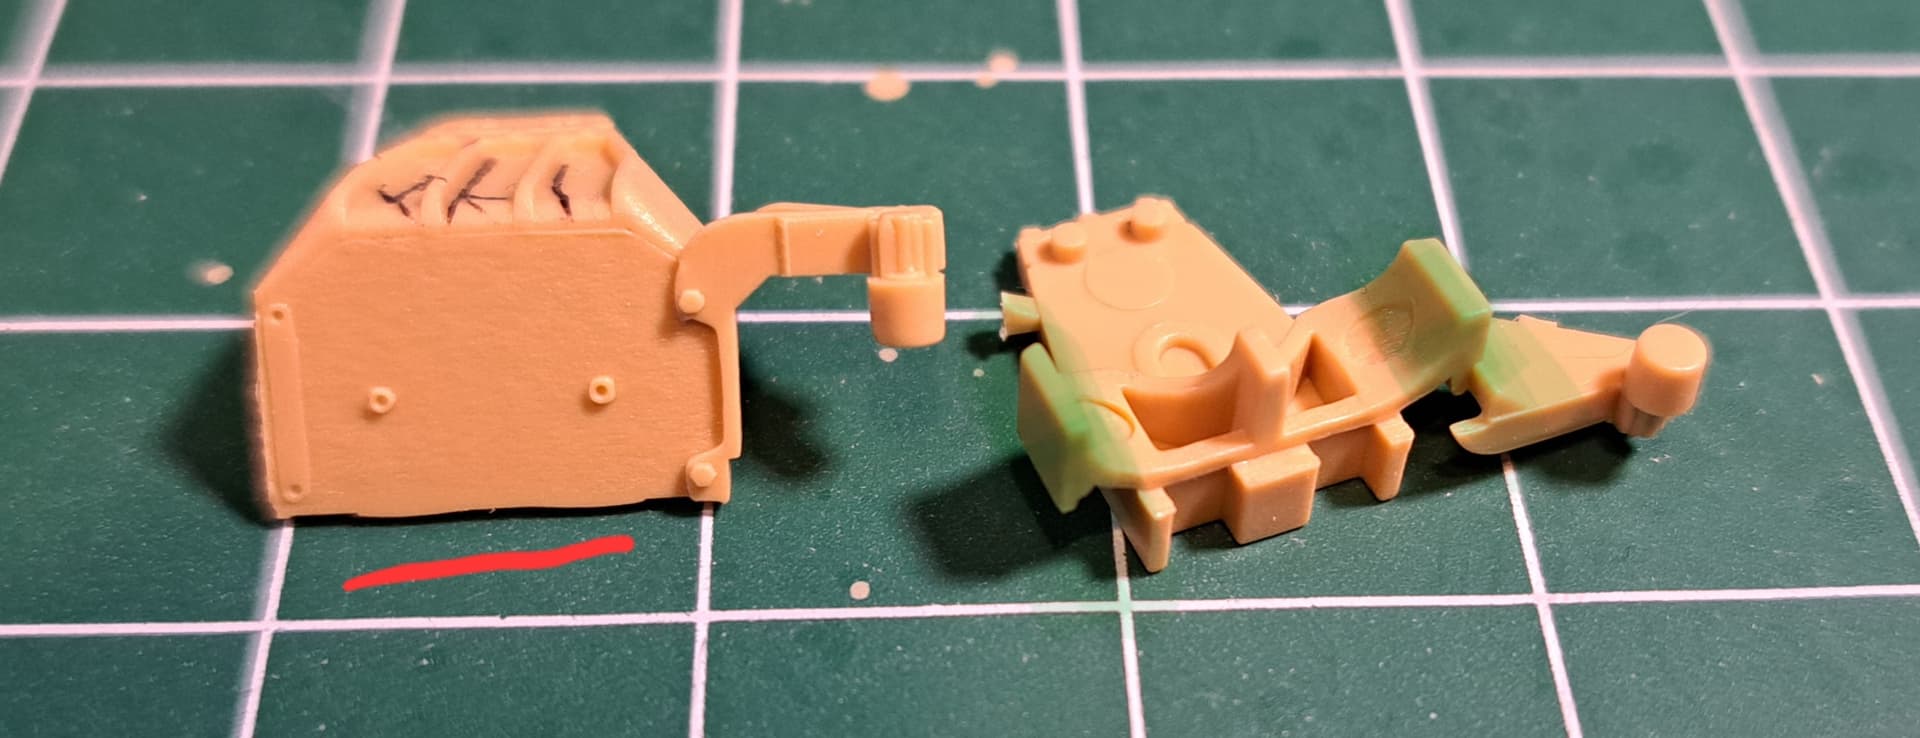
Tack J29,J32 & the metal springs all together with liquid cement. I was too lazy to open the CA.
Looking good. Might have been easier to clean the top of the bogie before adding the skid (j16).
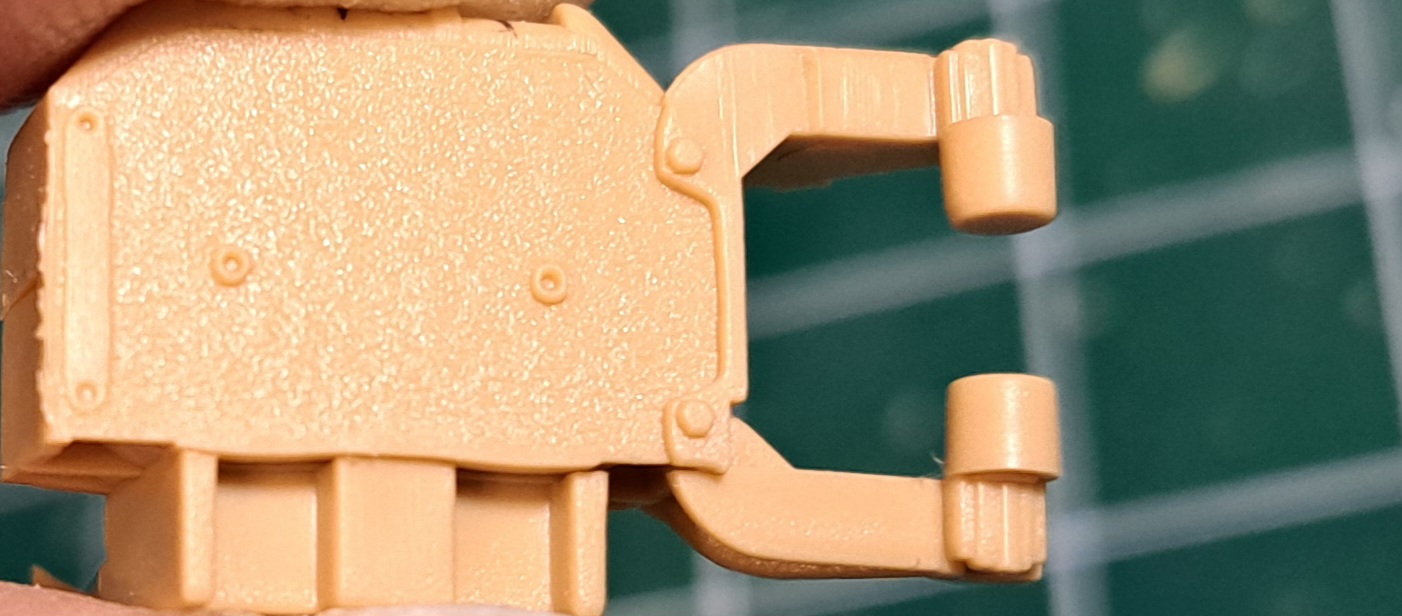
Wondering out loud why there hasn’t been an evolution of bogie housing construction from manufacturers. They did with the bogie wheel faces. Seems instead of having a middle join, why can’t they have the part match be on the backside of the housing. Added the four holes on both sides. Make the return wheel bracket separate parts for the three different styles and attach using those same holes like the 1:1.
I like your idea on how to mold the bogies halves. That’s an ingenious solution that would make modeler’s happy!
I wonder if RFM was concerned wirh creating short shots or would have needed a slide molding? Be pretty slick to slide mold and put the holes in the end @Dan mentioned!
Out Asuka, Asuka & out RFM, RFM in the next generation Sherman kits Hey, @Takom, there’s an idea for the SuperBlitz Sherman kit we’d all like to see.
Making the ends two separate parts might have worked too but it’s already a complex bogie assembly at ~20 parts.
The top is very clean as designed. Makes one wonder why they didn’t do the sides as you mentioned
The seams are fixable with the wheels snapped in place. My preference is fixing after the spring assembly is seated. I’d probably pop the seam snapping the spring assembly in place since it mounts higher
This build is definitely an adventure out of my model building comfort zone…may need a Panzer Police Approved Safe Spot…ie sit in the closet w/the Panzer IV kits! (J/k)