Darren did an in box review of this sample kit last year on the old site, then sent it to me to put together.
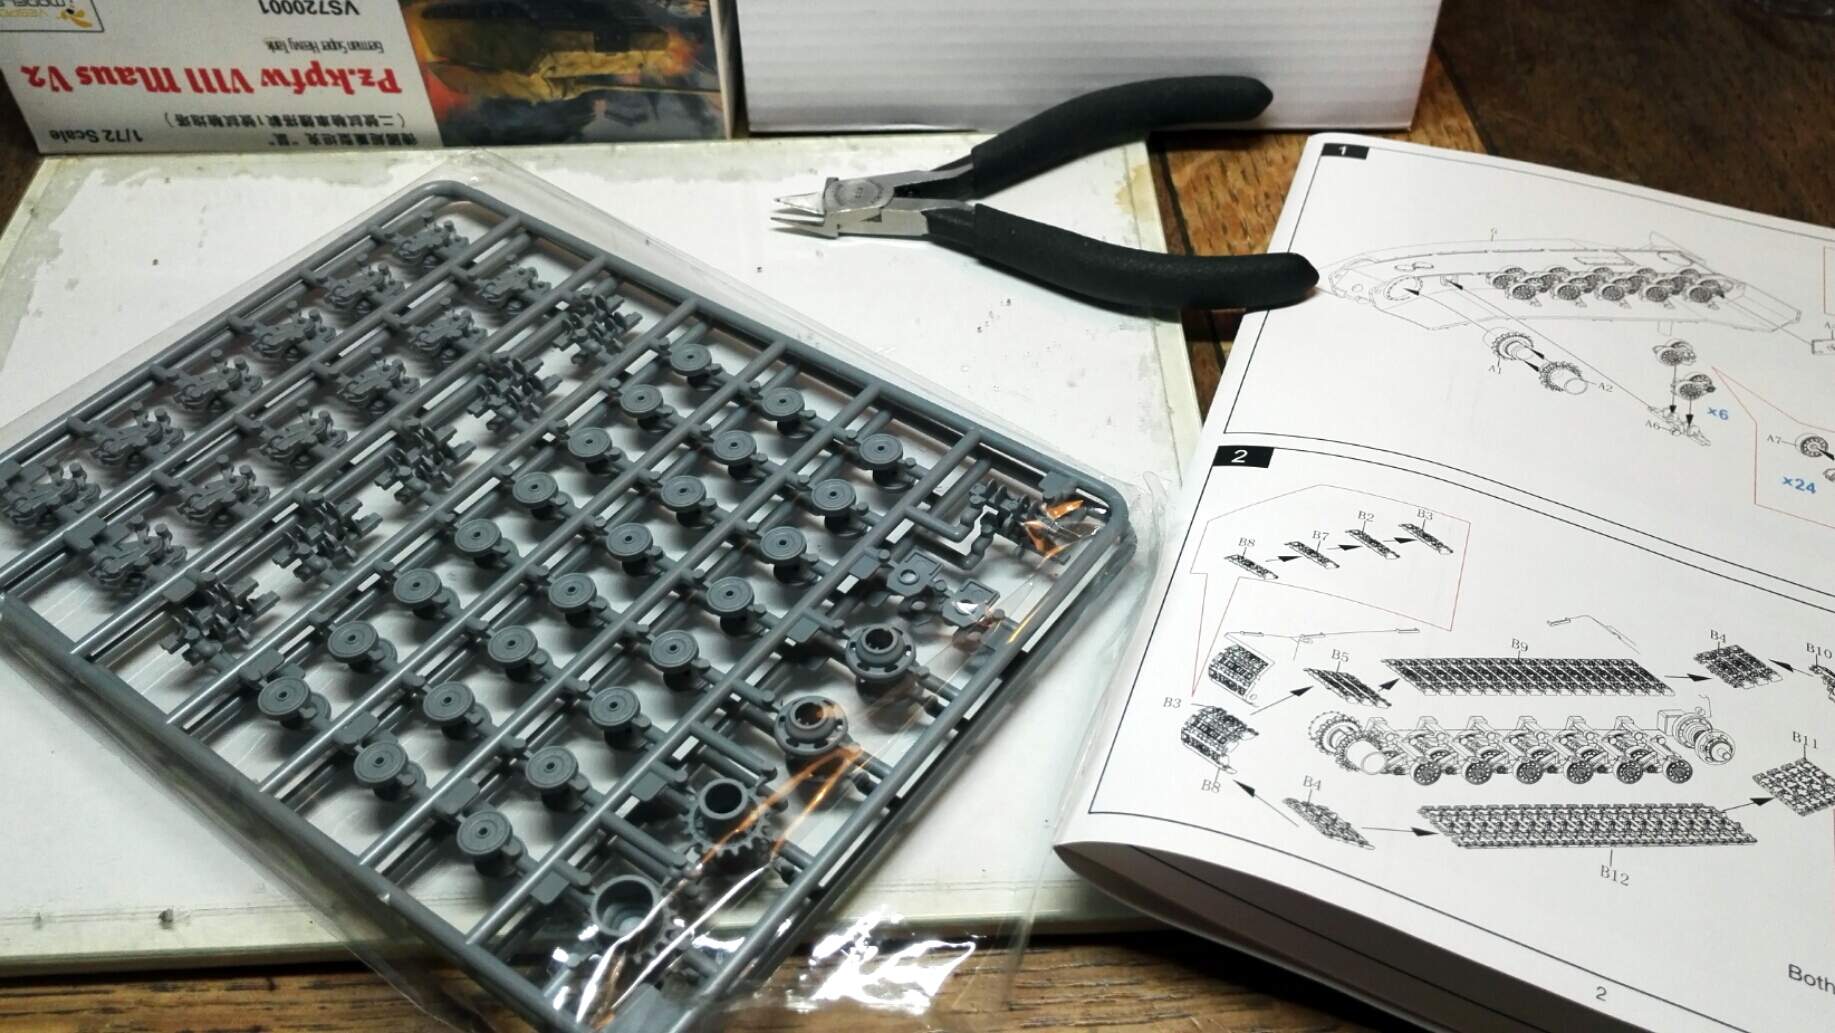
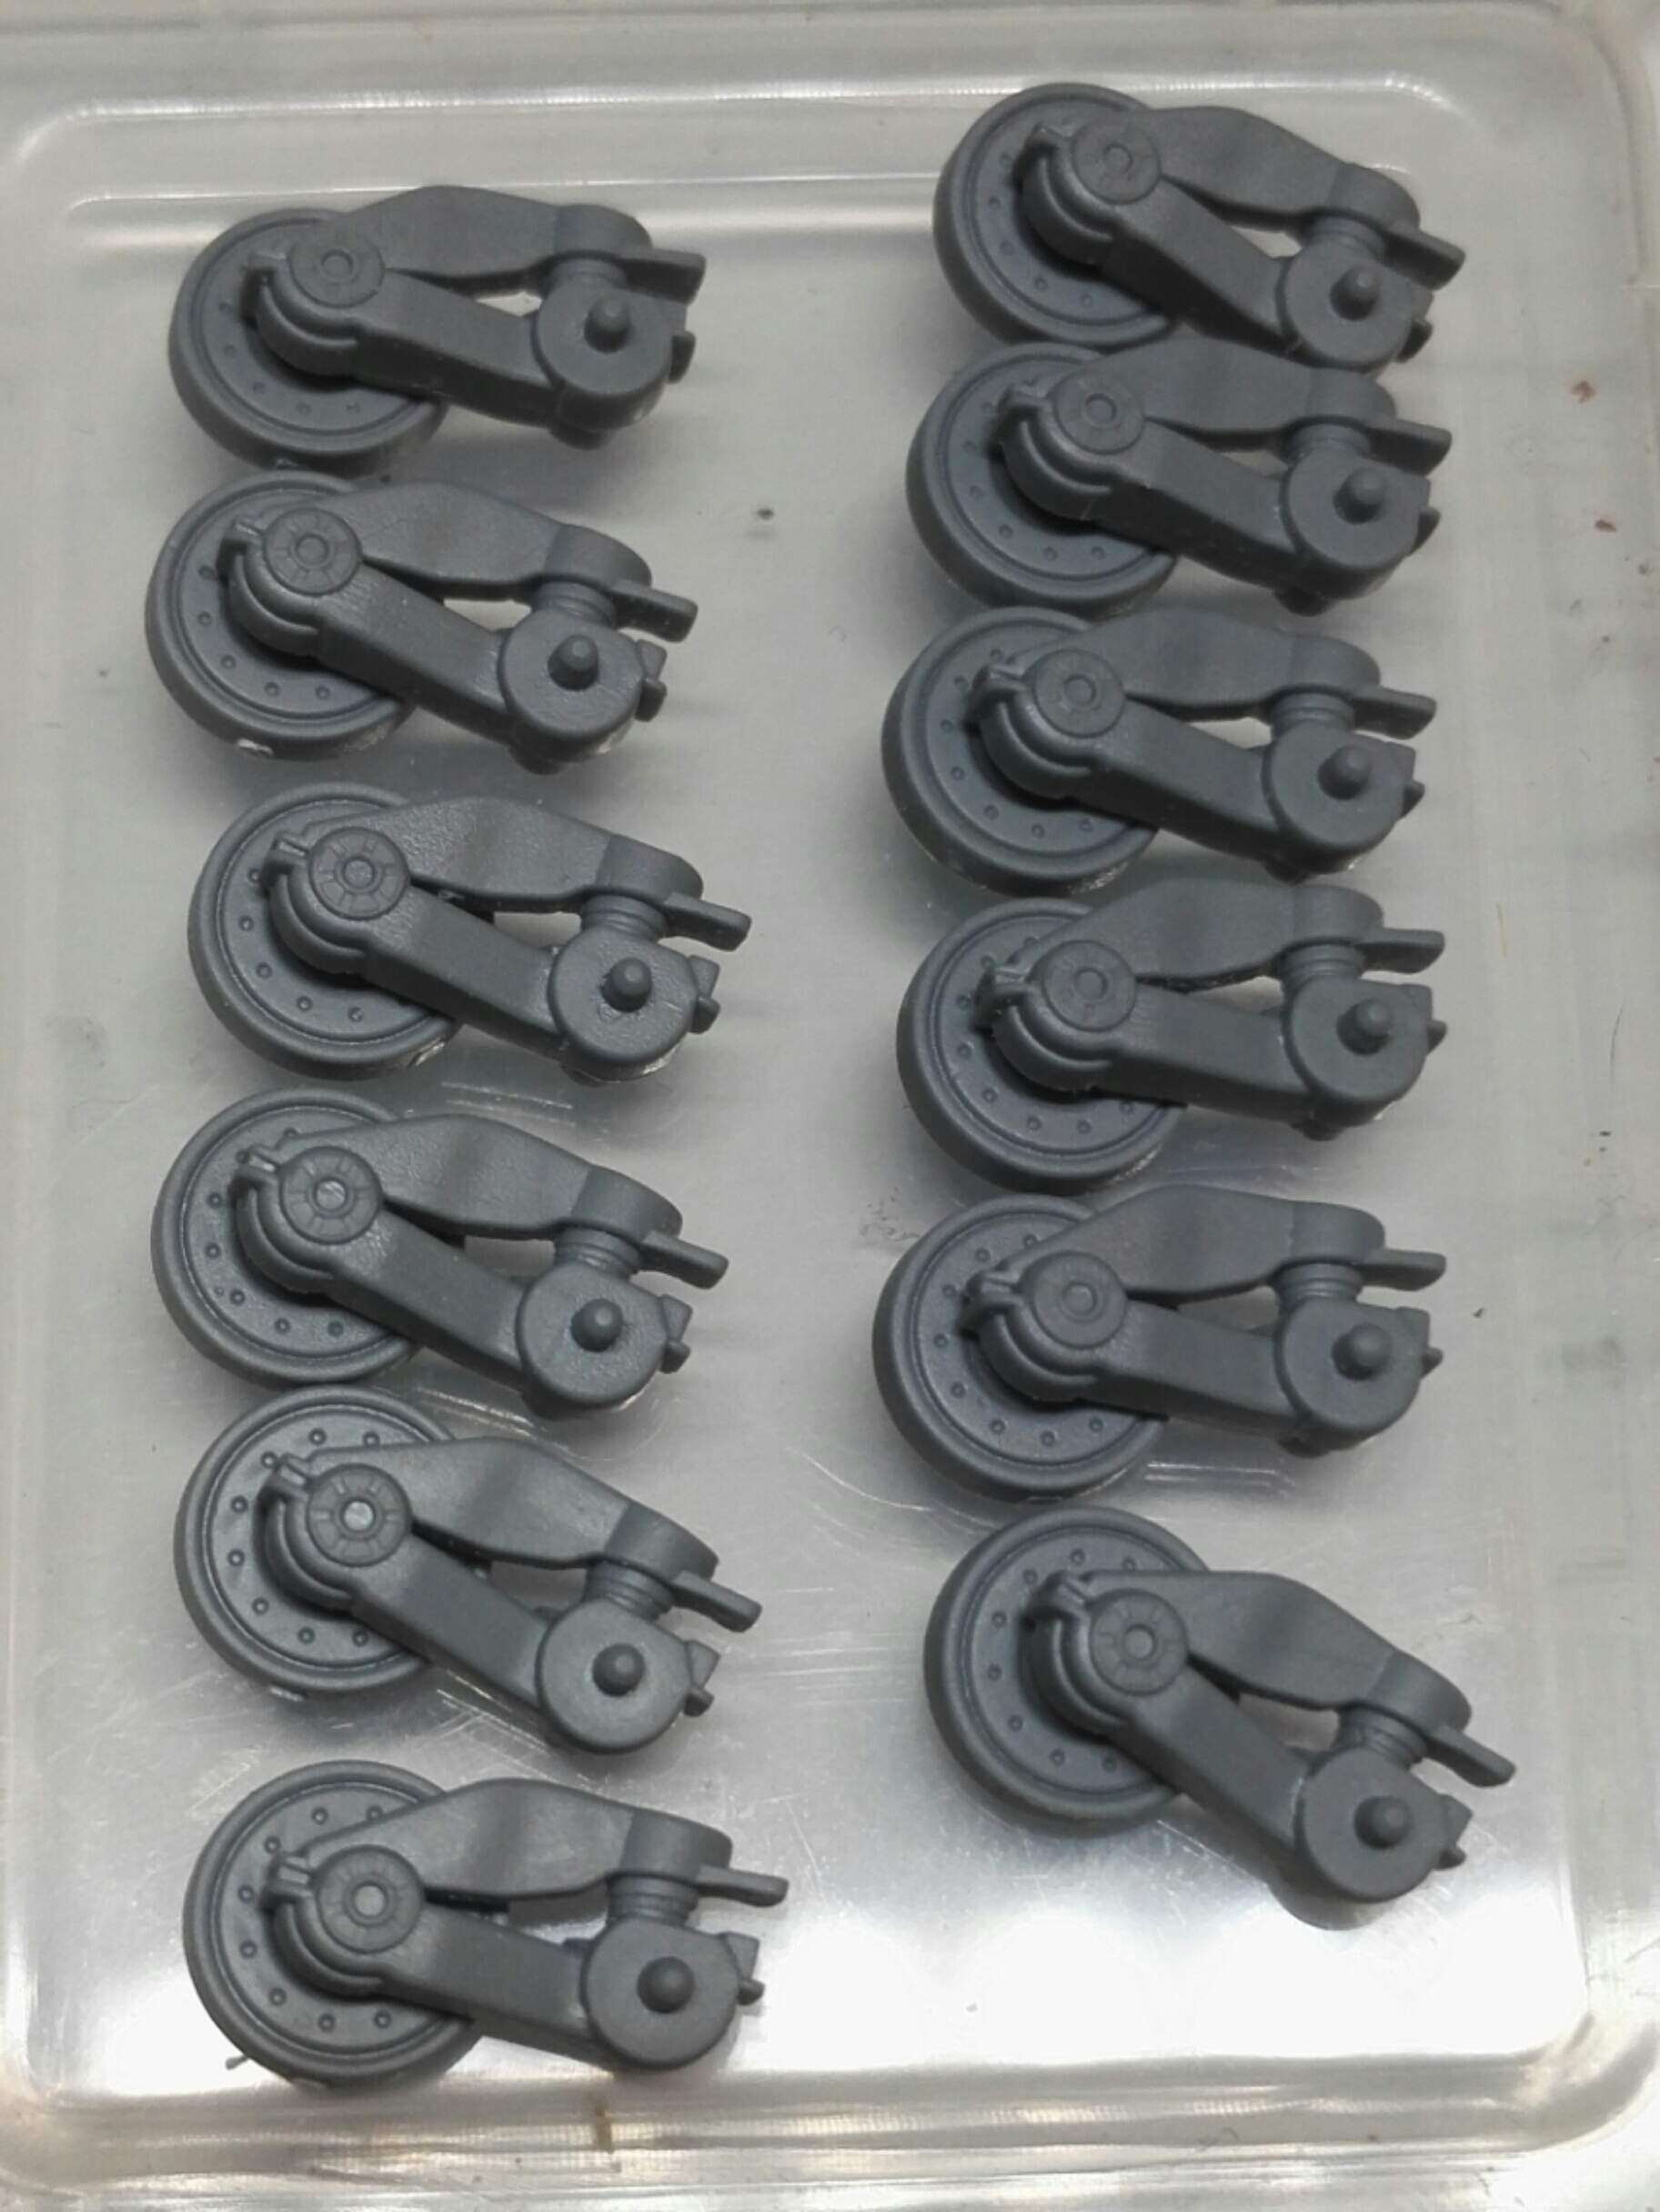
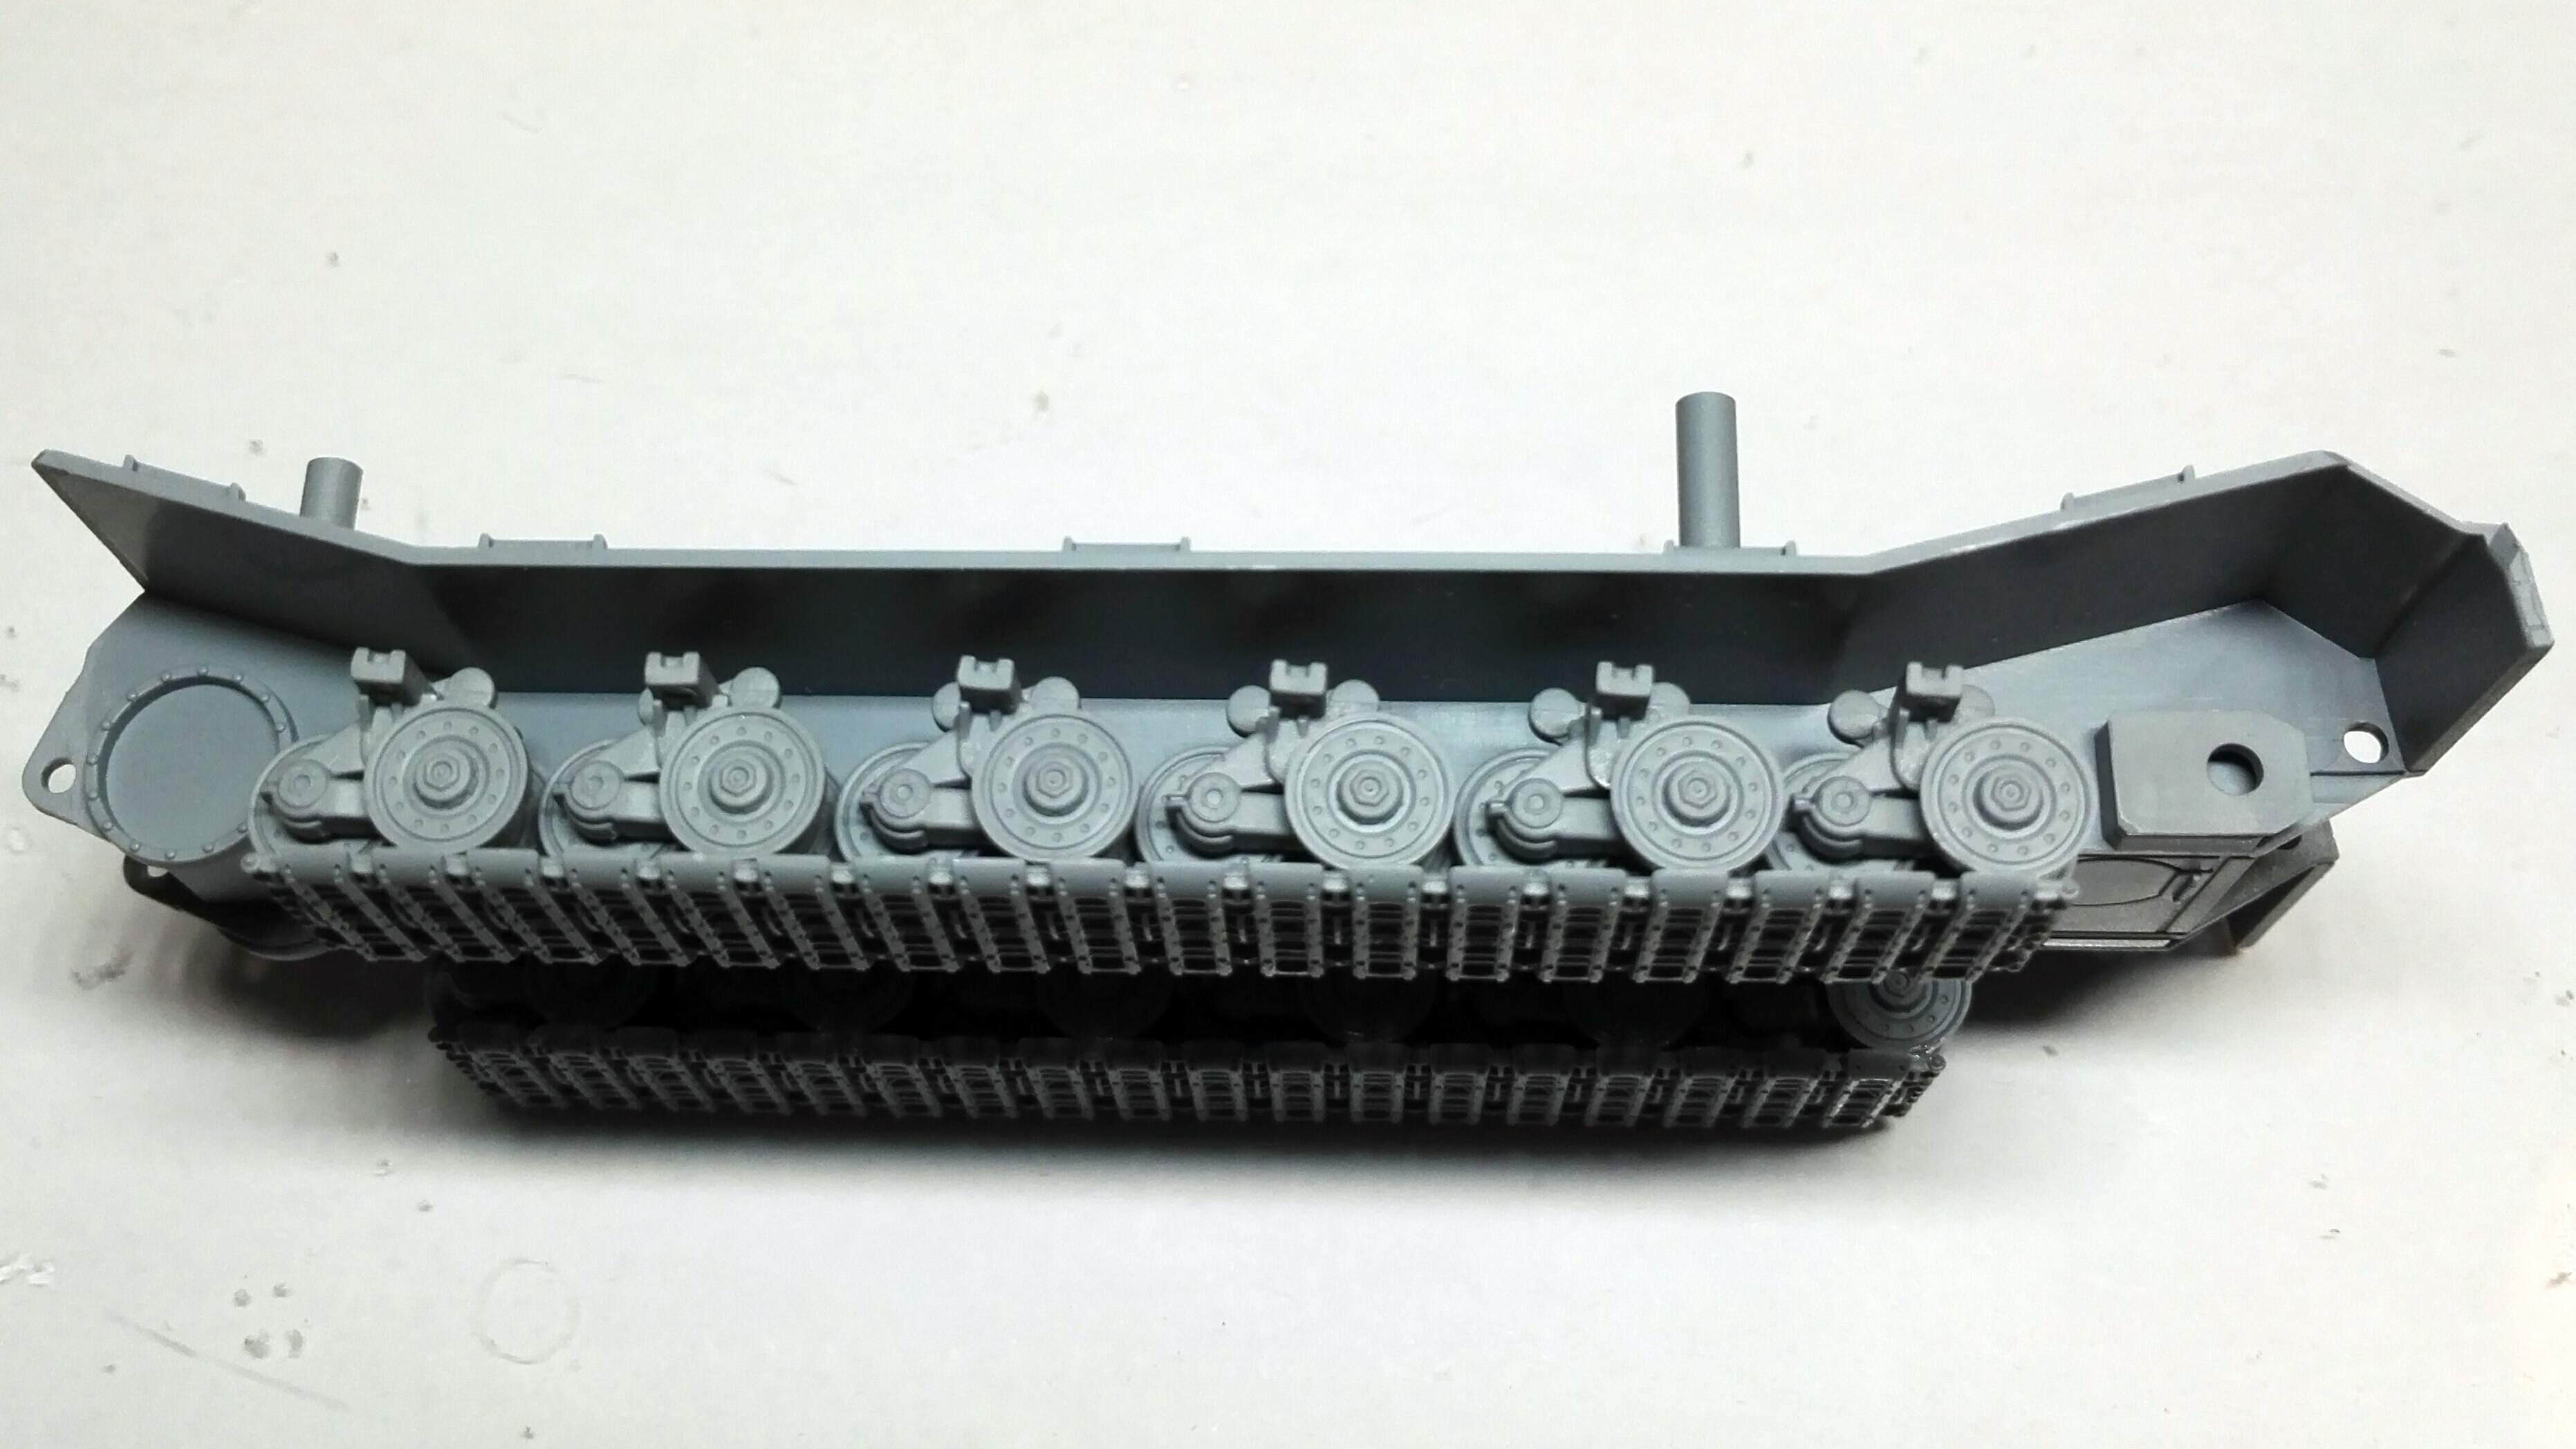
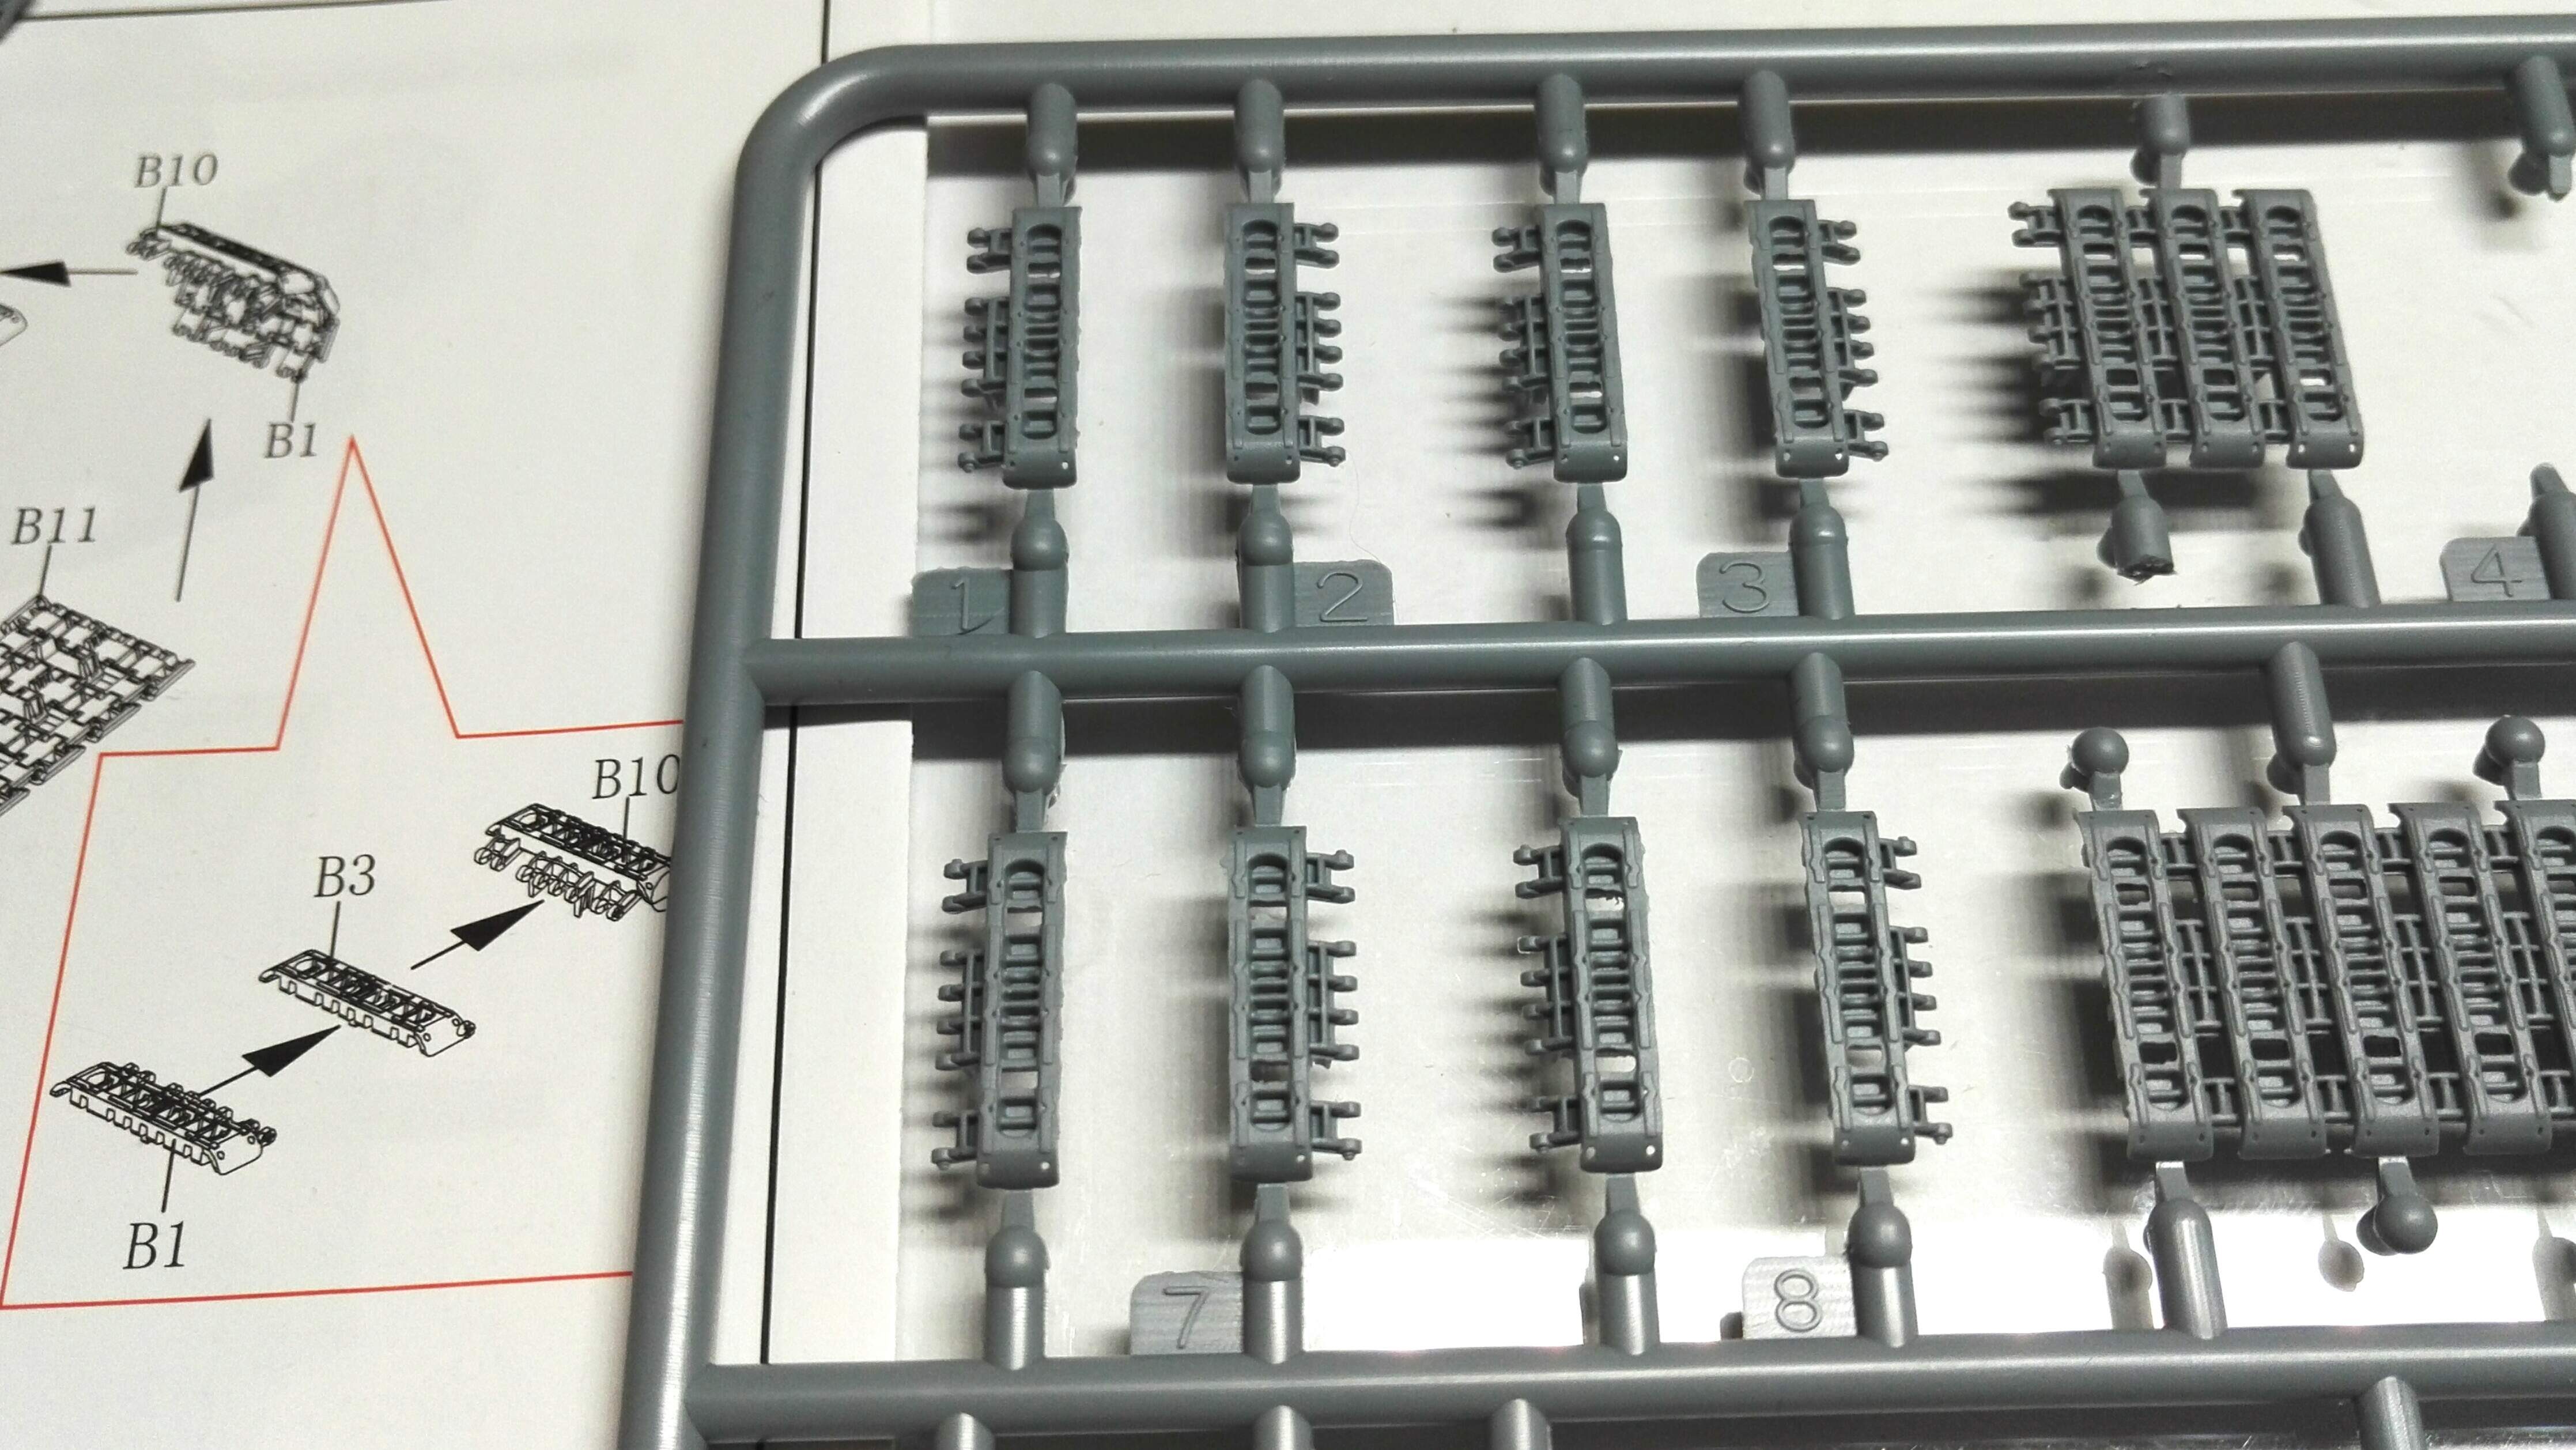
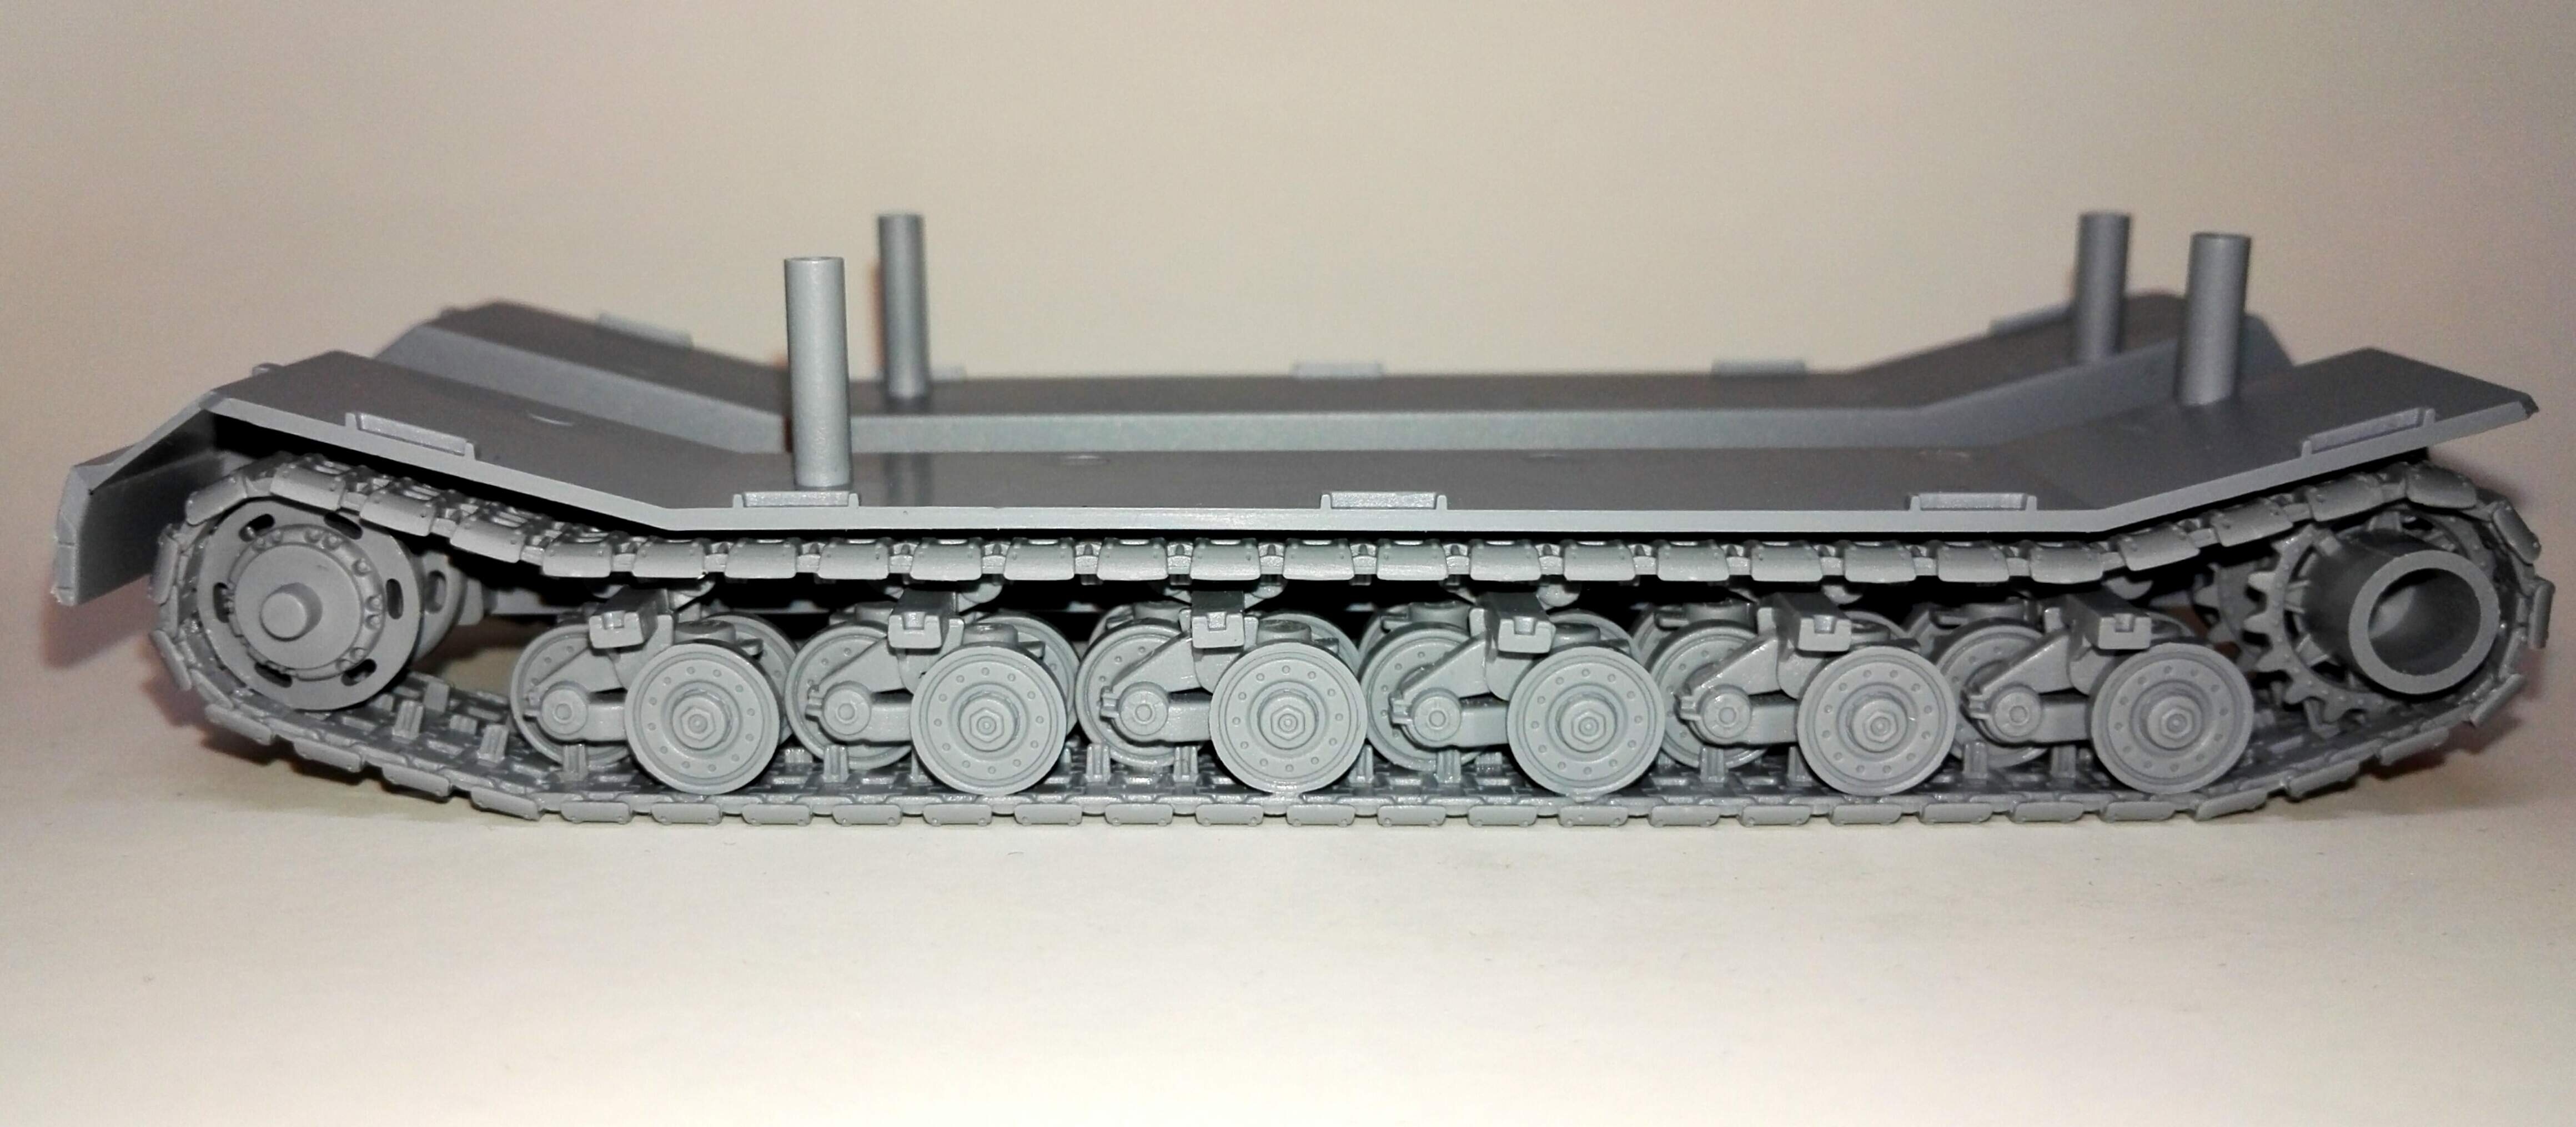
So here we are starting with this apparently small step which takes some time to get through as there are 24 bogies with a pair of wheels on each. There’s the usual clean up including three attachments on the bogie arm, but things are helped a bit by the fact that the tops will be pretty much invisible once the enormous side skirts are on.
Wheels:
Bogie arms:
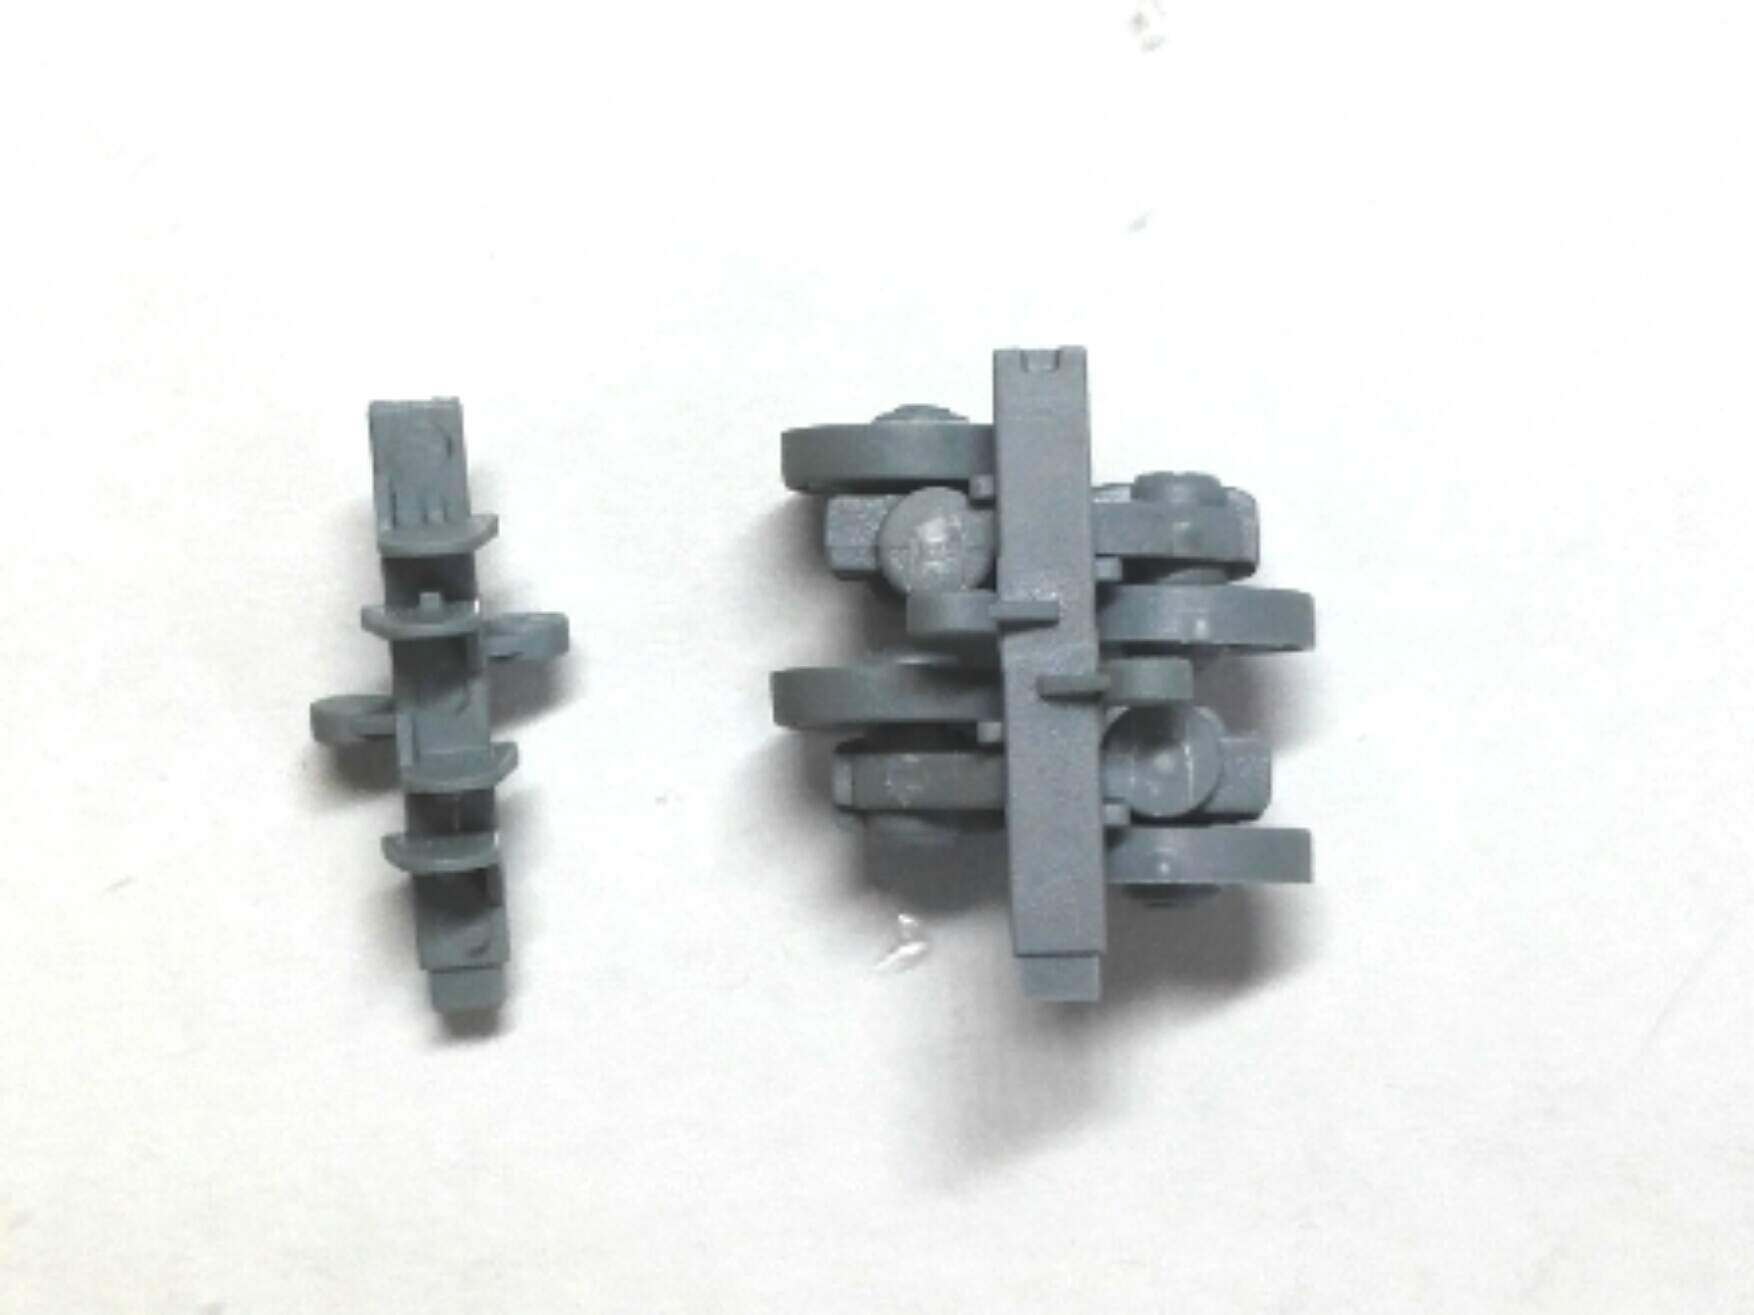
One wheel on (bogies for one side)
Two wheels…
Subscribed! Sweet looking forward to watching.
1 Like
I’ve built the Mauses (Mices??..Meeces??) by both Dragon, and Pegasus in the past. Pegasus was marginally better than Dragon. Is it safe to assume that this Vespid release is much better than either of them?

Hi, having not built the others (or this one yet) I’m not really in a position to judge, but I’ve had a look at reviews of those others and this one does seem to have some advantages.
I guess the Dragon kit is quite old now and didn’t use any slide moulds, so the turret is built up of five or so pieces, and had hatches moulded in place. The Vespid kit is more like Pegasus (and Trumpeter) in moulding the turret in one piece with separate hatches.
Both Dragon and Pegasus used flexible tracks while Vespid’s are link and length with very nice detail on both sides with small subtle ejector marks that I think will be covered by wheels.
Another slide mould is used for the external fuel drum which allows it to be split across the cylinder at one of the indentations, instead of length ways, which will make for cleaner construction.
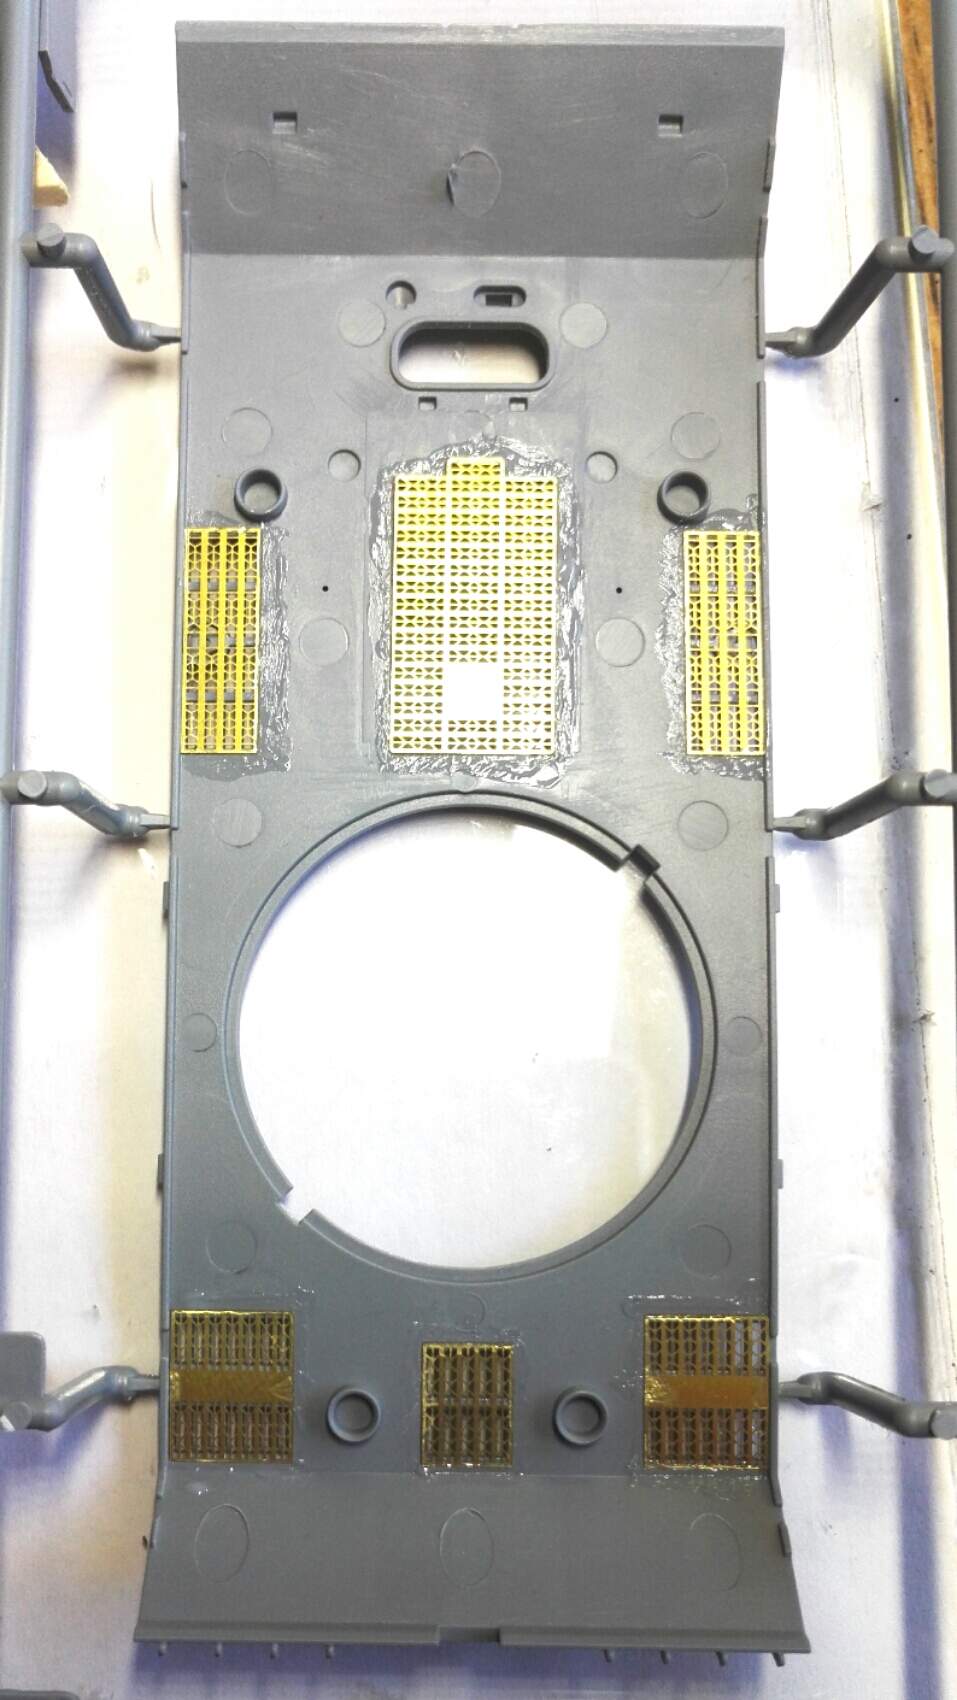
Vespid provide etched screens for all of the grilles, front and back, while Dragon only provides for the rear grilles, Pegasus provides none.
Vespid provide turned metal barrels for both guns, the other kits are all plastic.
The original Dragon kit included the test turret, step ladder and two crew members, though I’m not sure if that version of the kit is available any longer.
It looks like with Vespid’s high quality plastic tracks, metal barrels and the etched screens there’ll no need to be tempted by aftermarket accessories, except crew. It is more expensive certainly than the Trumpeter kit, double the price I think.
I guess a comparison is that this is like one of the better Modelcollect kits.
You got me curious now so I looked it up - plural of Maus is Mäuse. To non-German speakers that suddenly looks much harder to know how to pronounce than the simple looking Maus. 
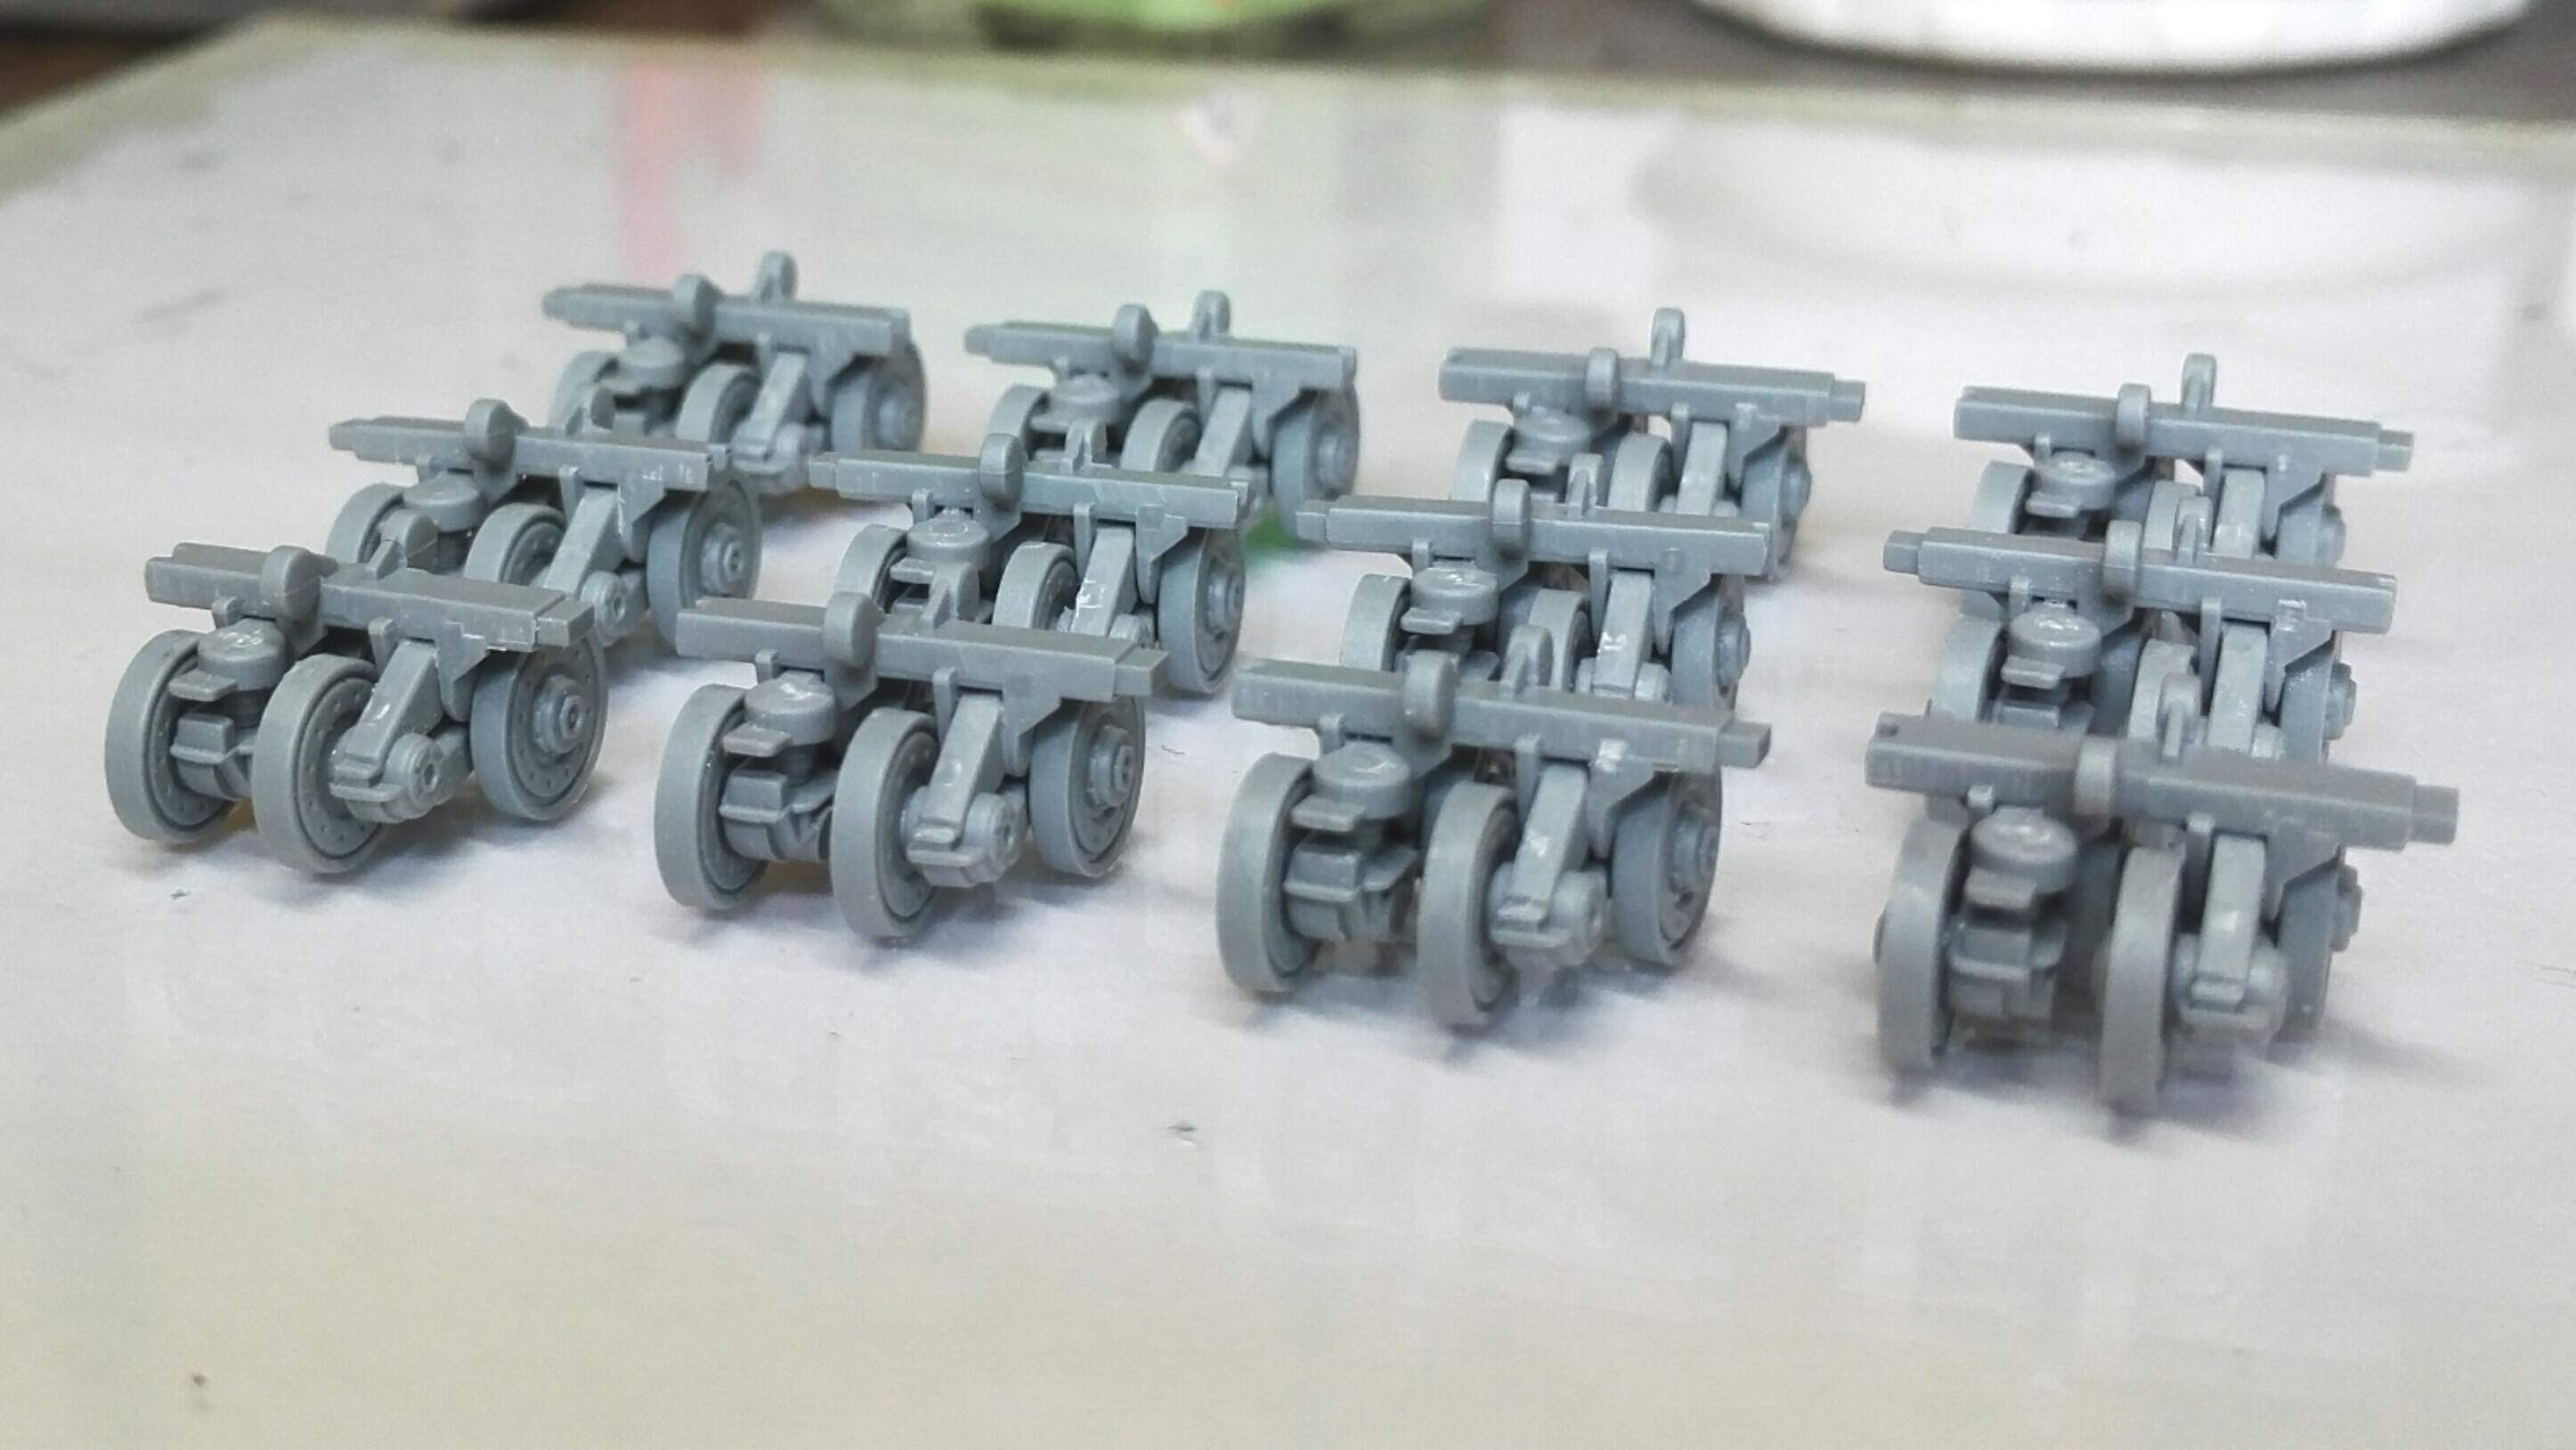
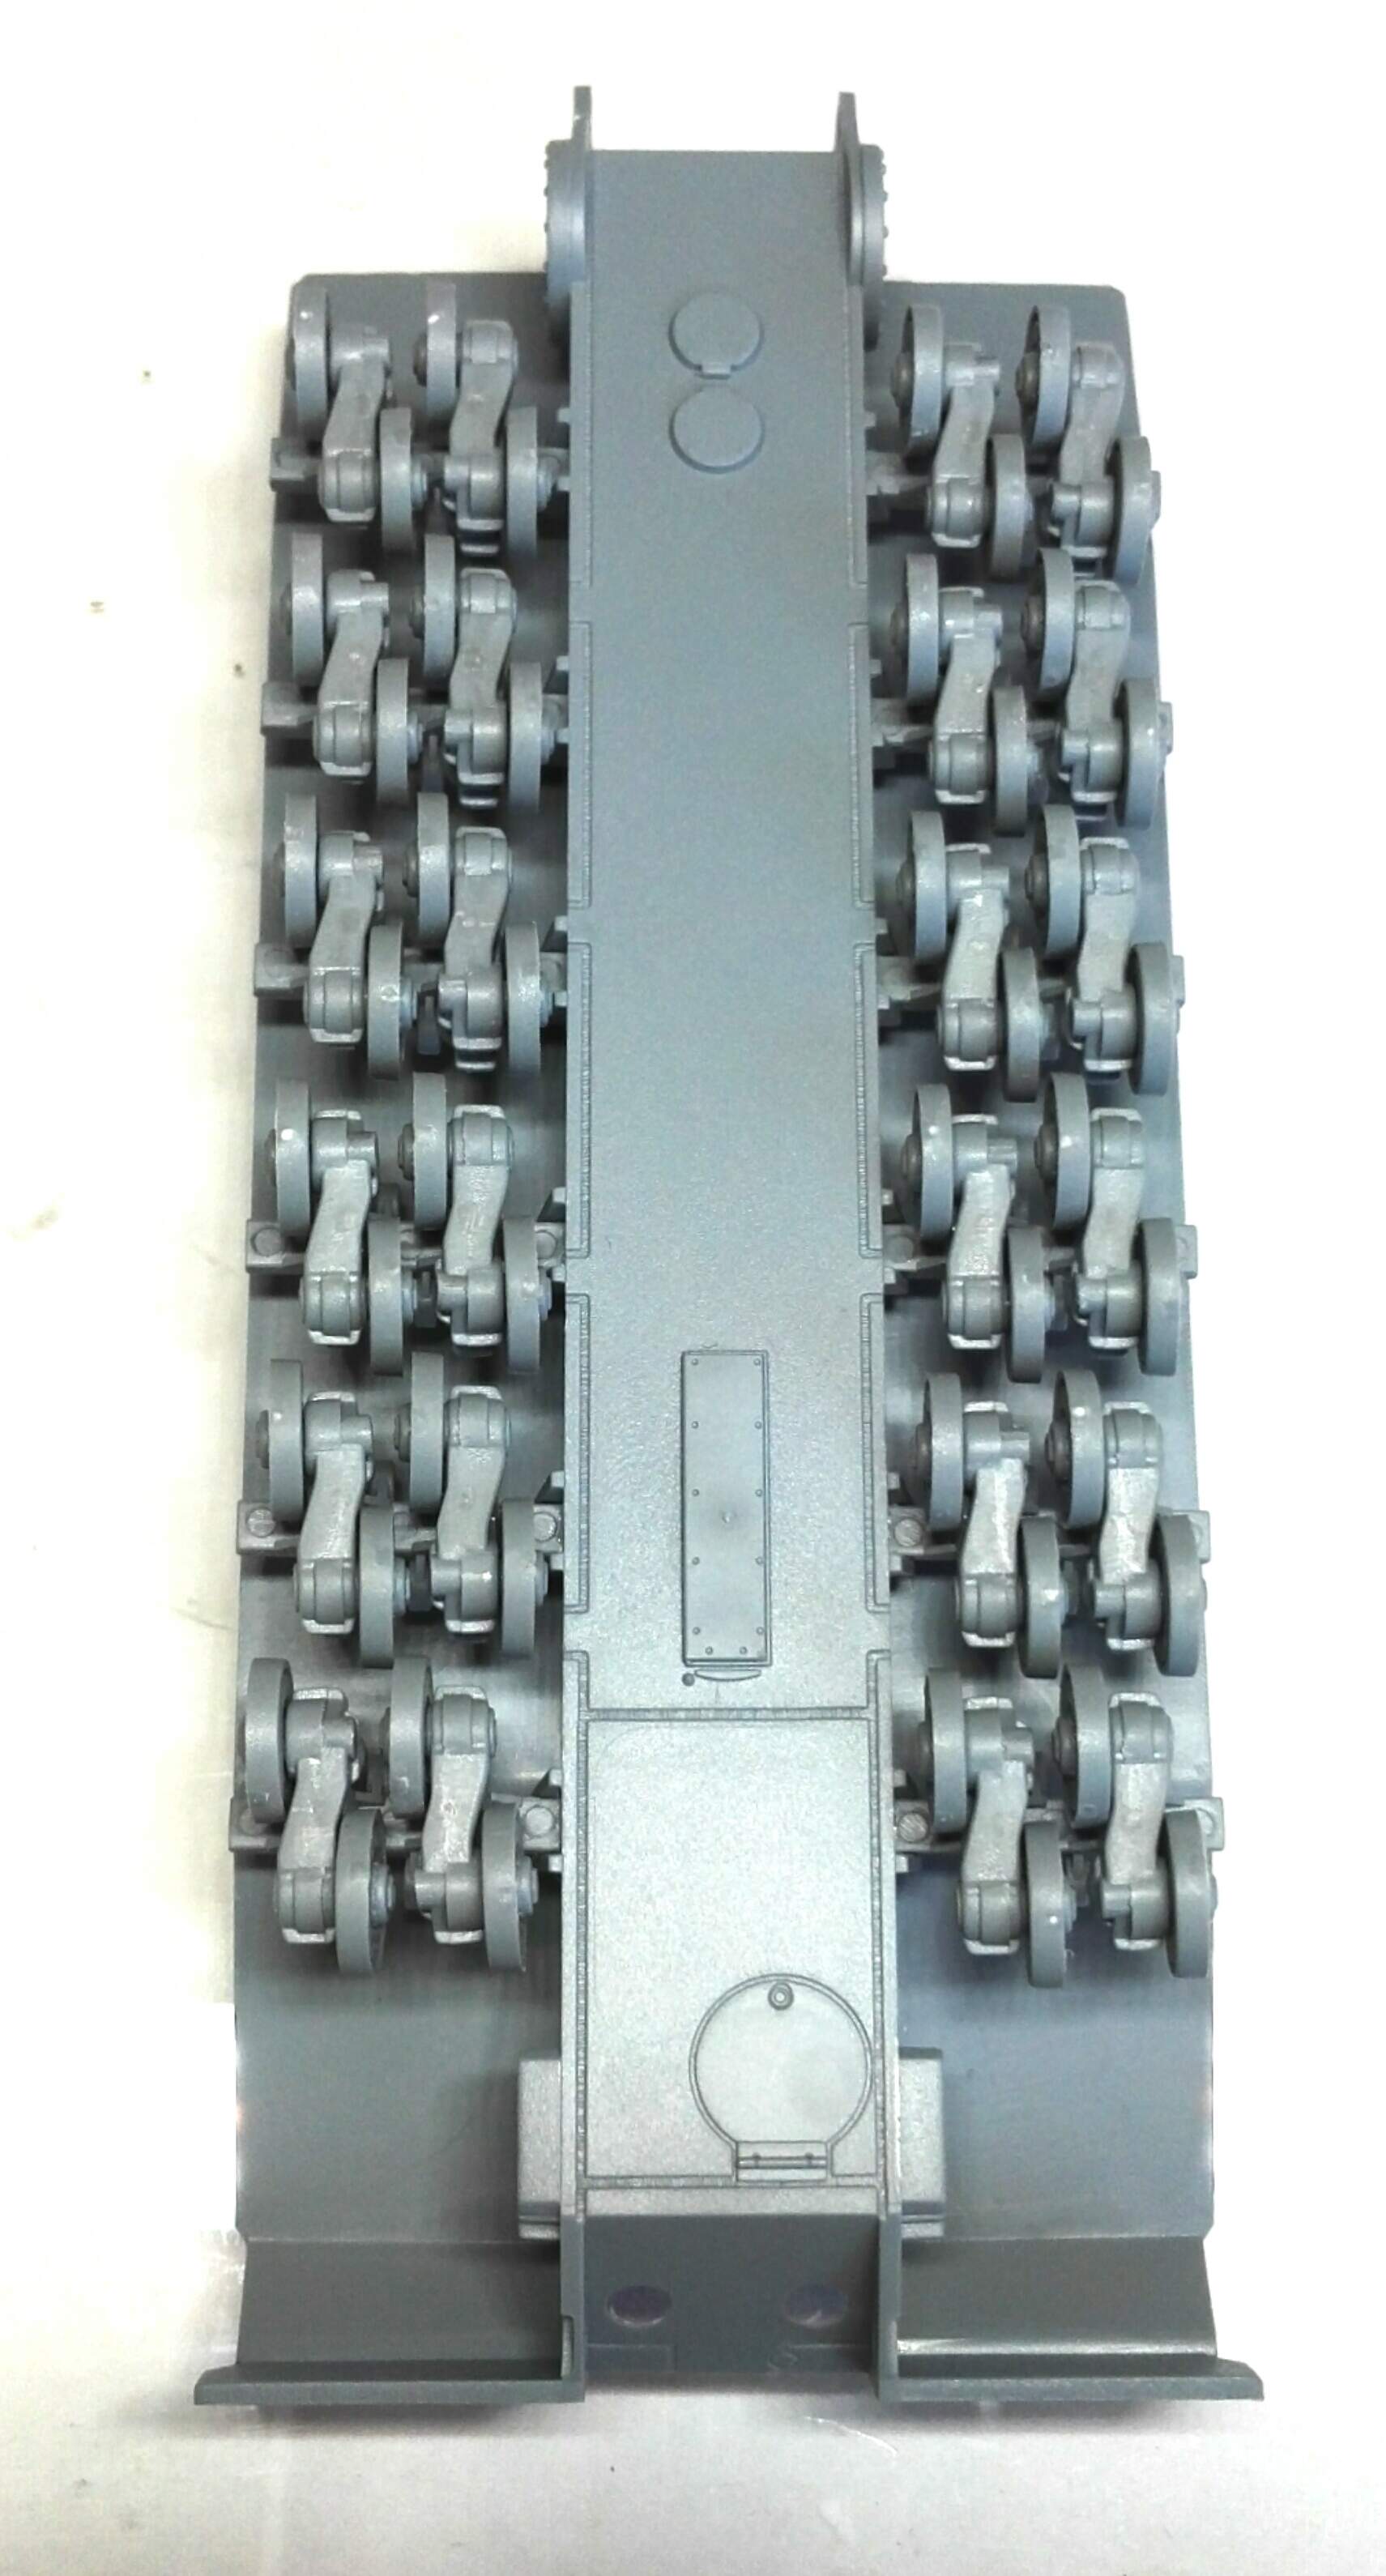
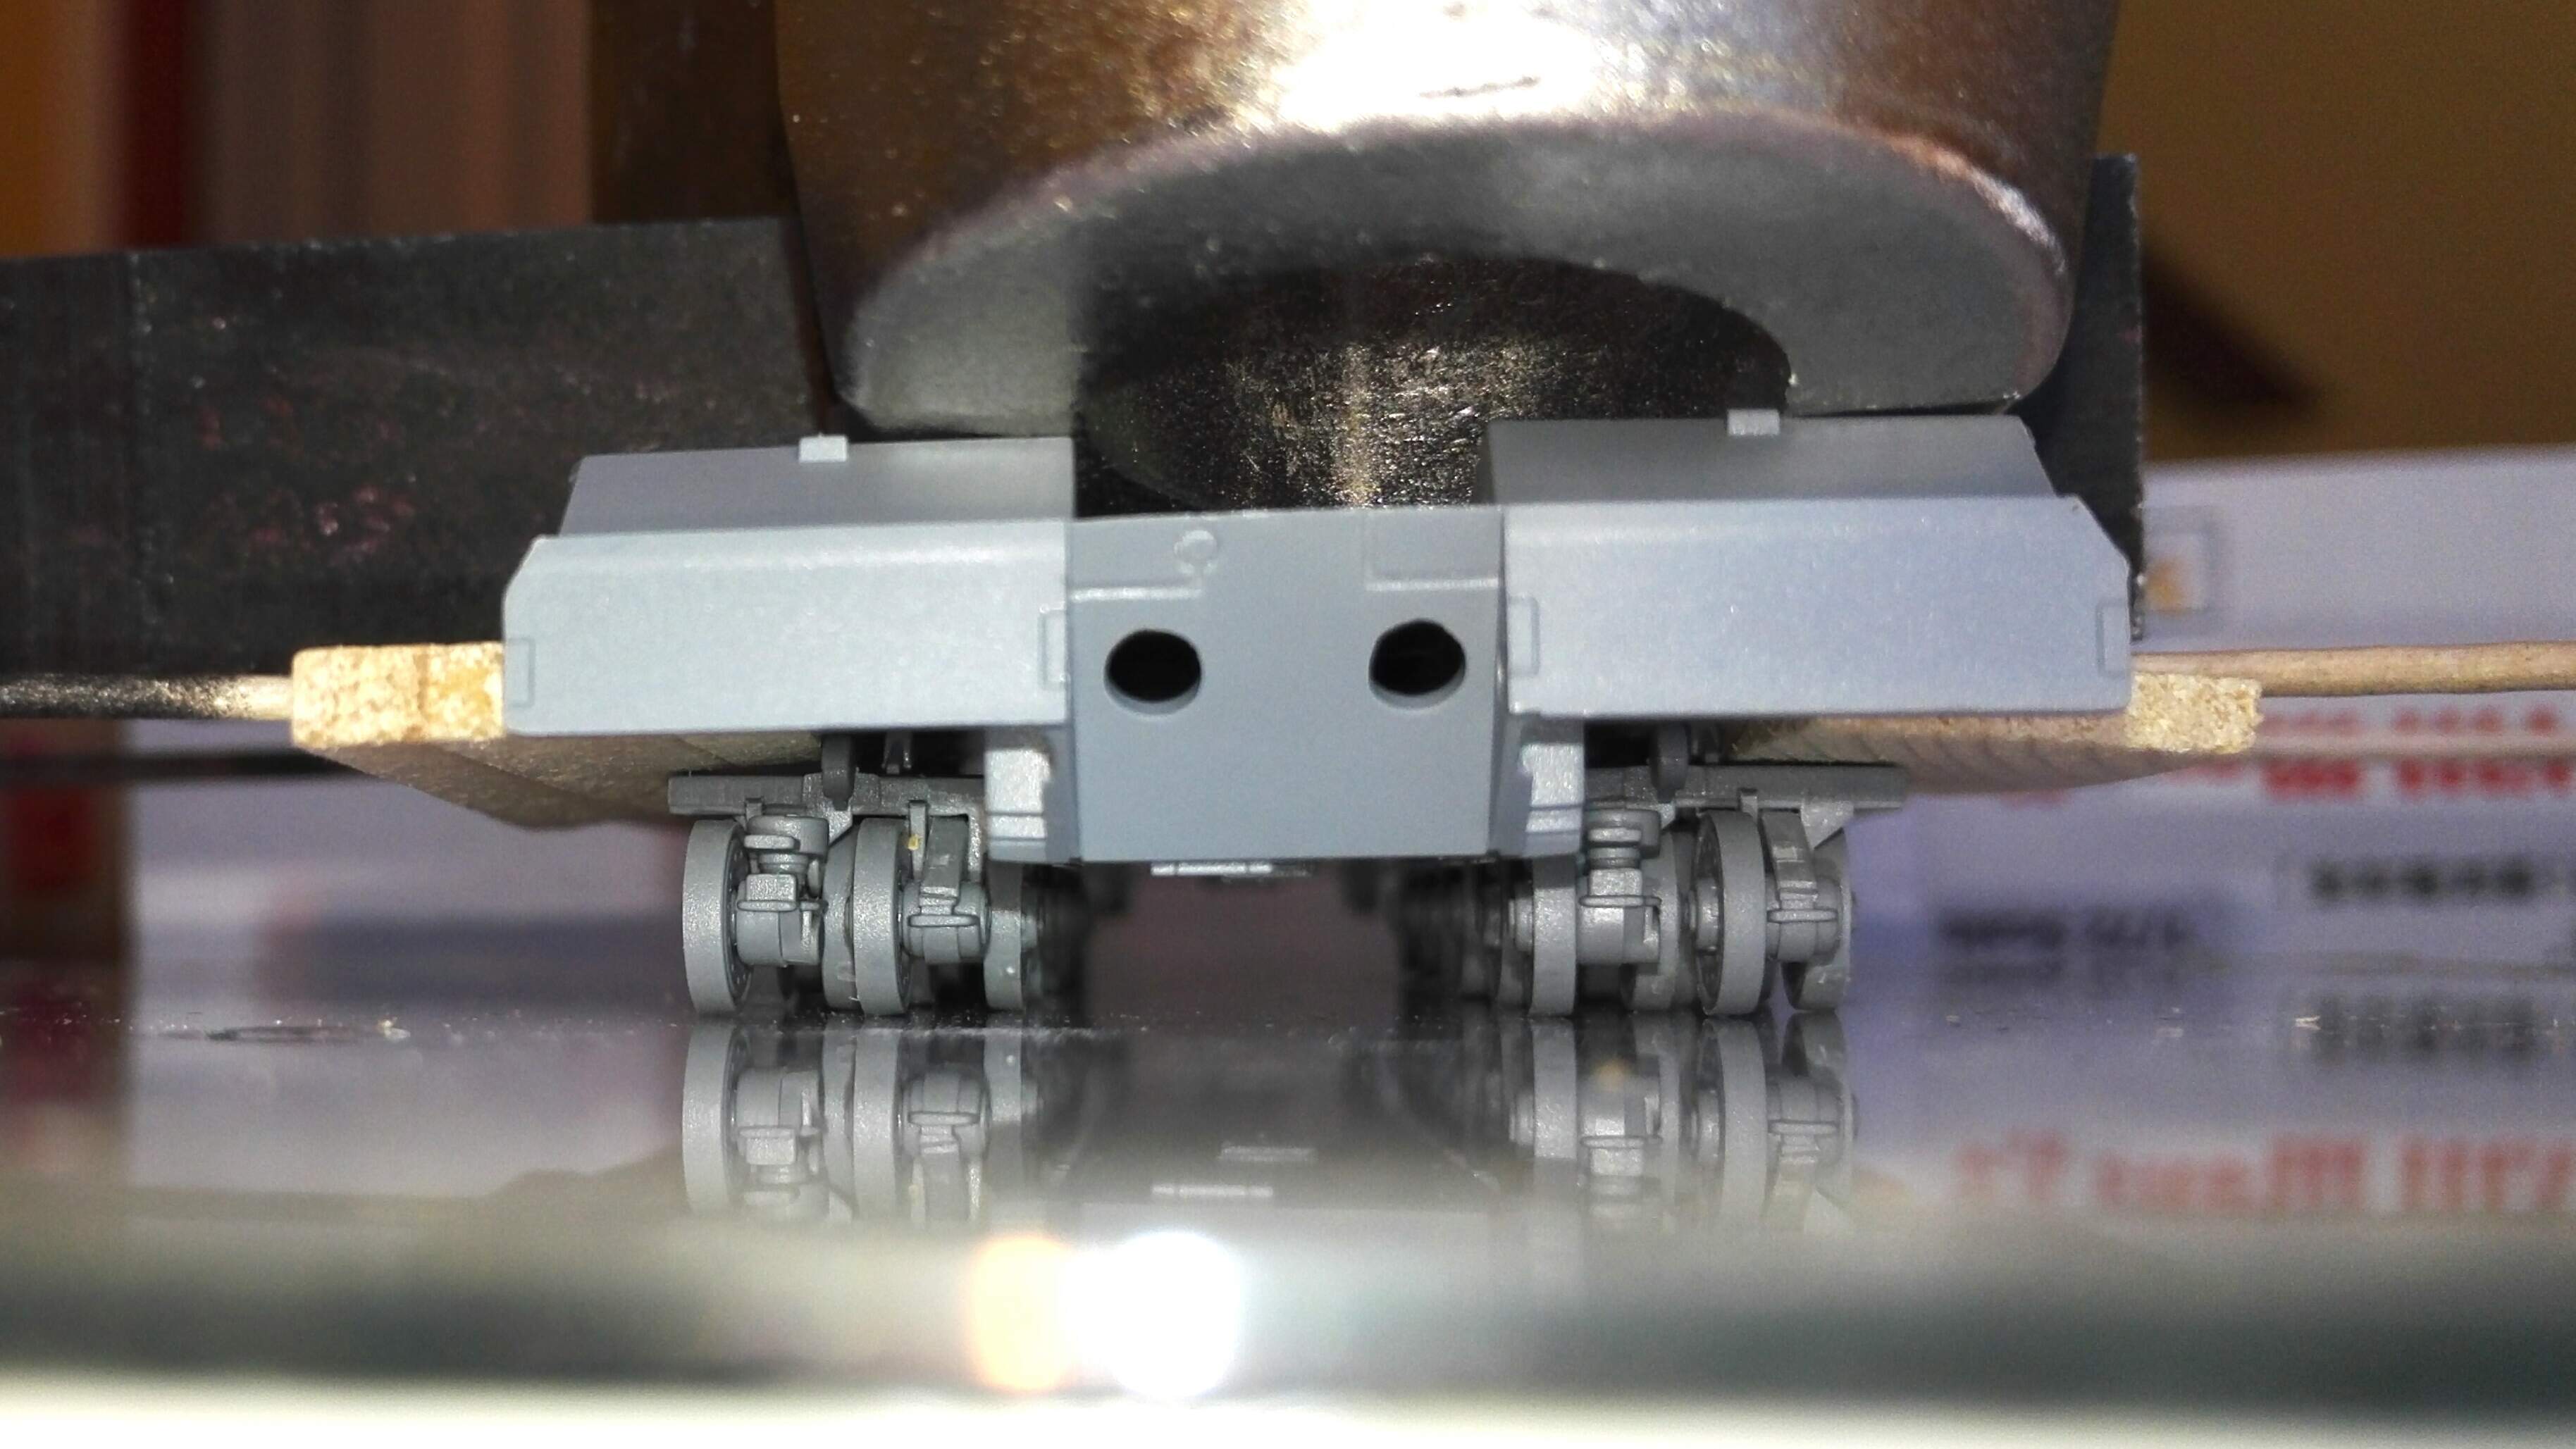
Still on step 1 then, the wheel pairs shown above are mounted on a cross member to form a four wheel unit. I toyed with whether the cross members should all be attached to the hull first, then the wheels added, but I noticed a tendency for the bogie pairs to twist slightly in the cross member so decided to sort those first, and make sure all four wheels are on the ground in each unit.
1 Like
Looking good Matthew with the start on this monster (even in 1/72)
Will be following with interest… I could be getting hooked on these kits in this scale.
1 Like
Looks like another one for my Maus collection!
1 Like
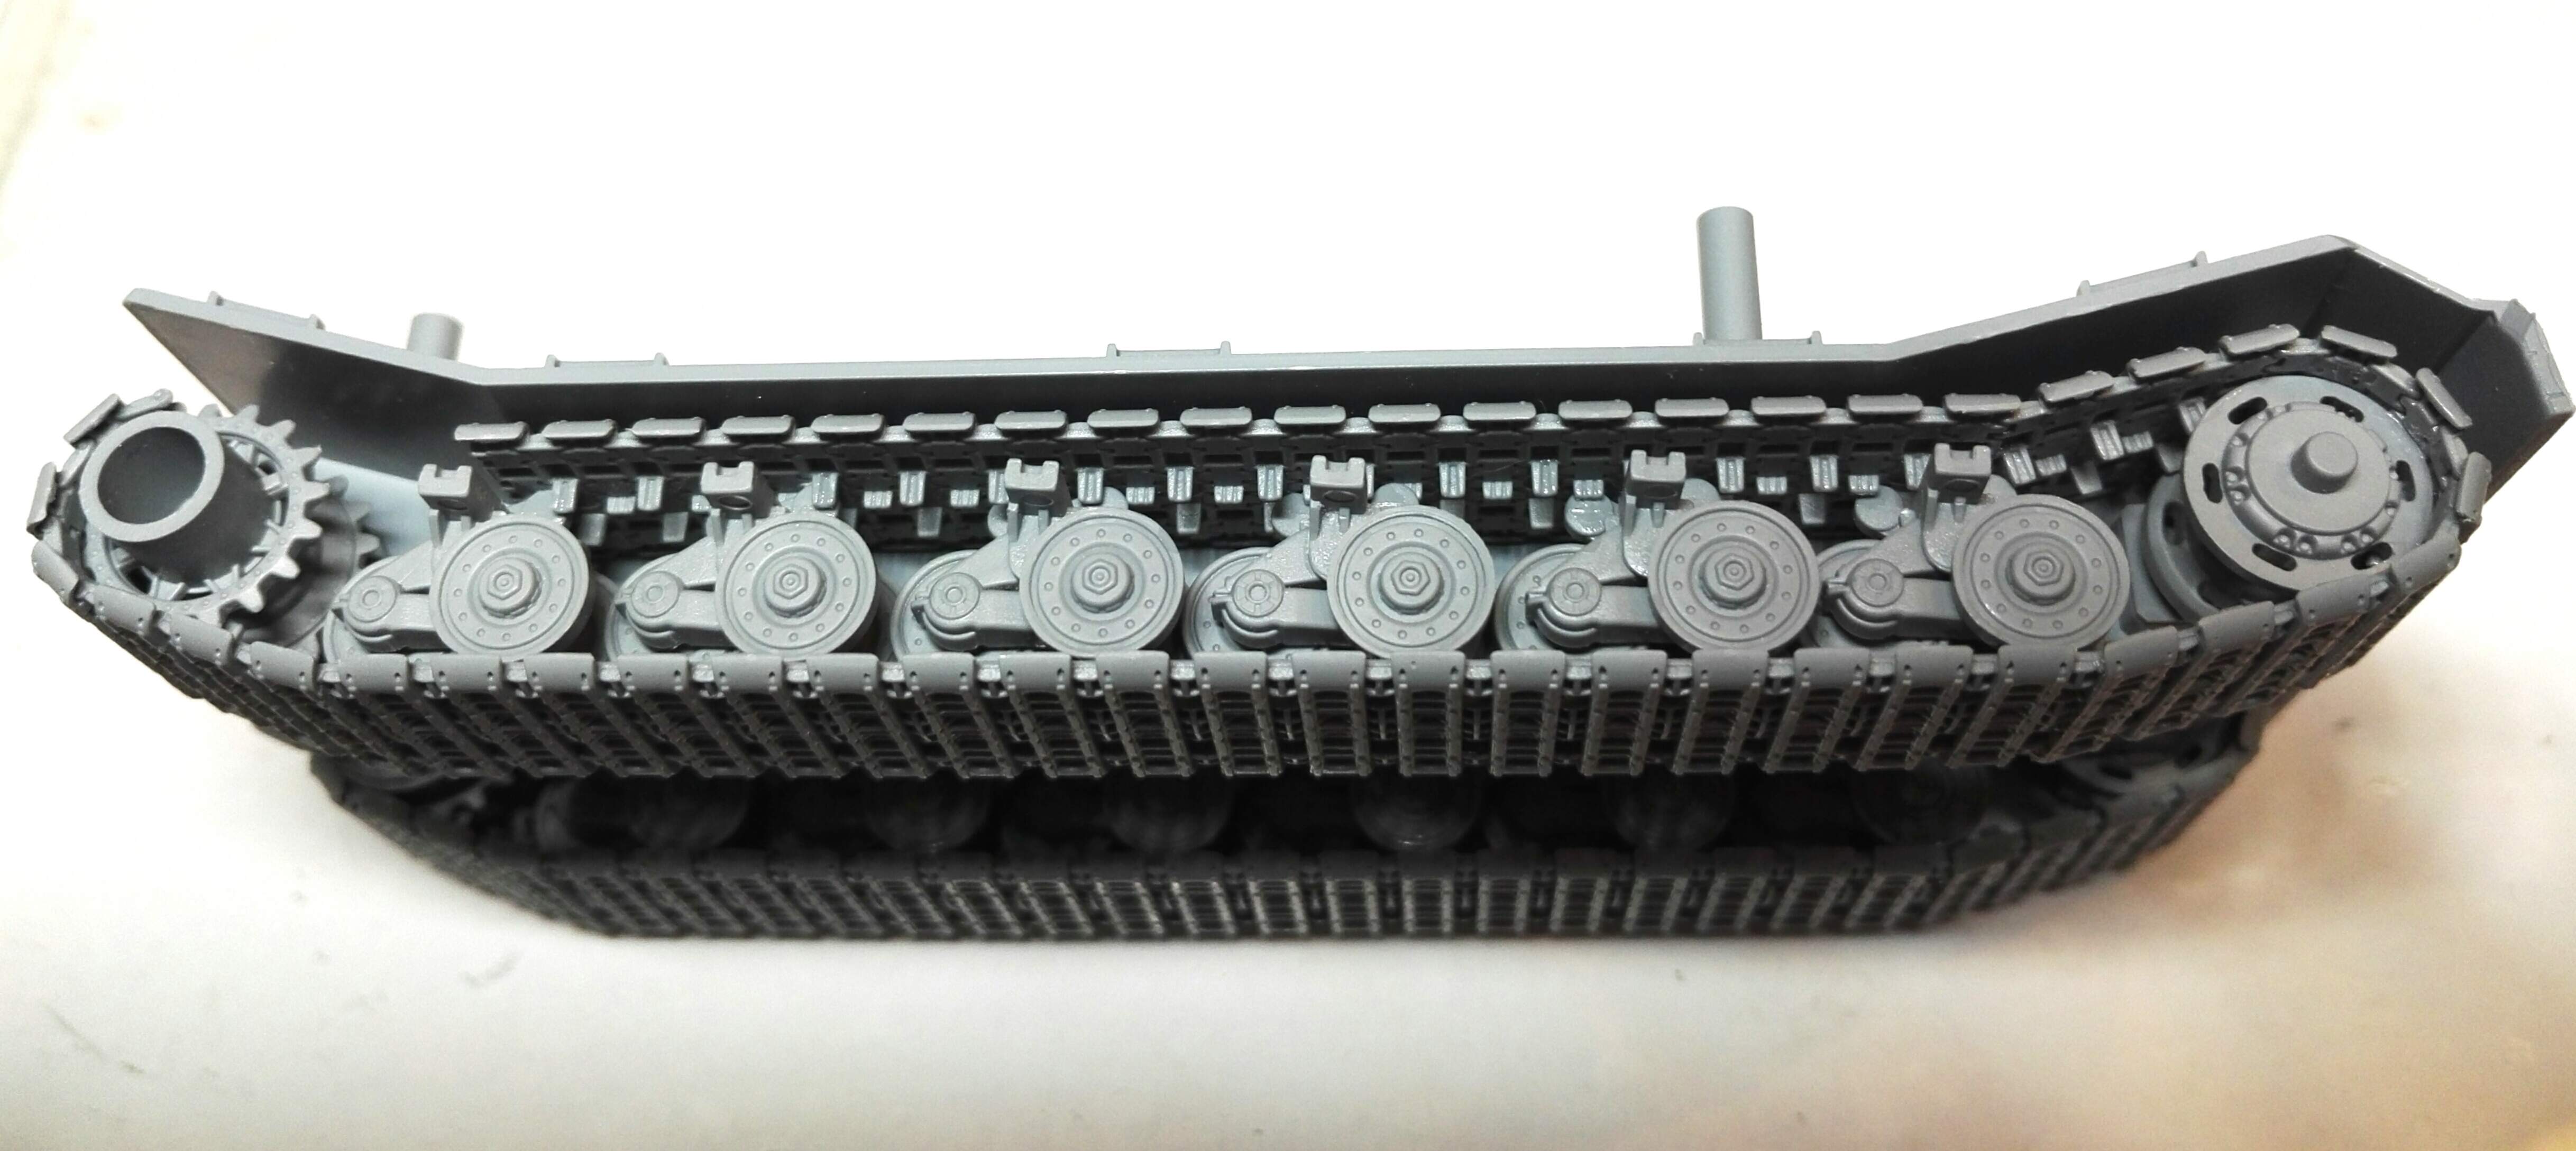
As usual with multiple part assemblies, repeated multiple times, it’s quite hard to keep everything completely aligned, and the wheels here are no exception. They are relatively easy this way:
… but getting them all flat on the ground is harder and I used some weights and wedges to try to hold it all straight:
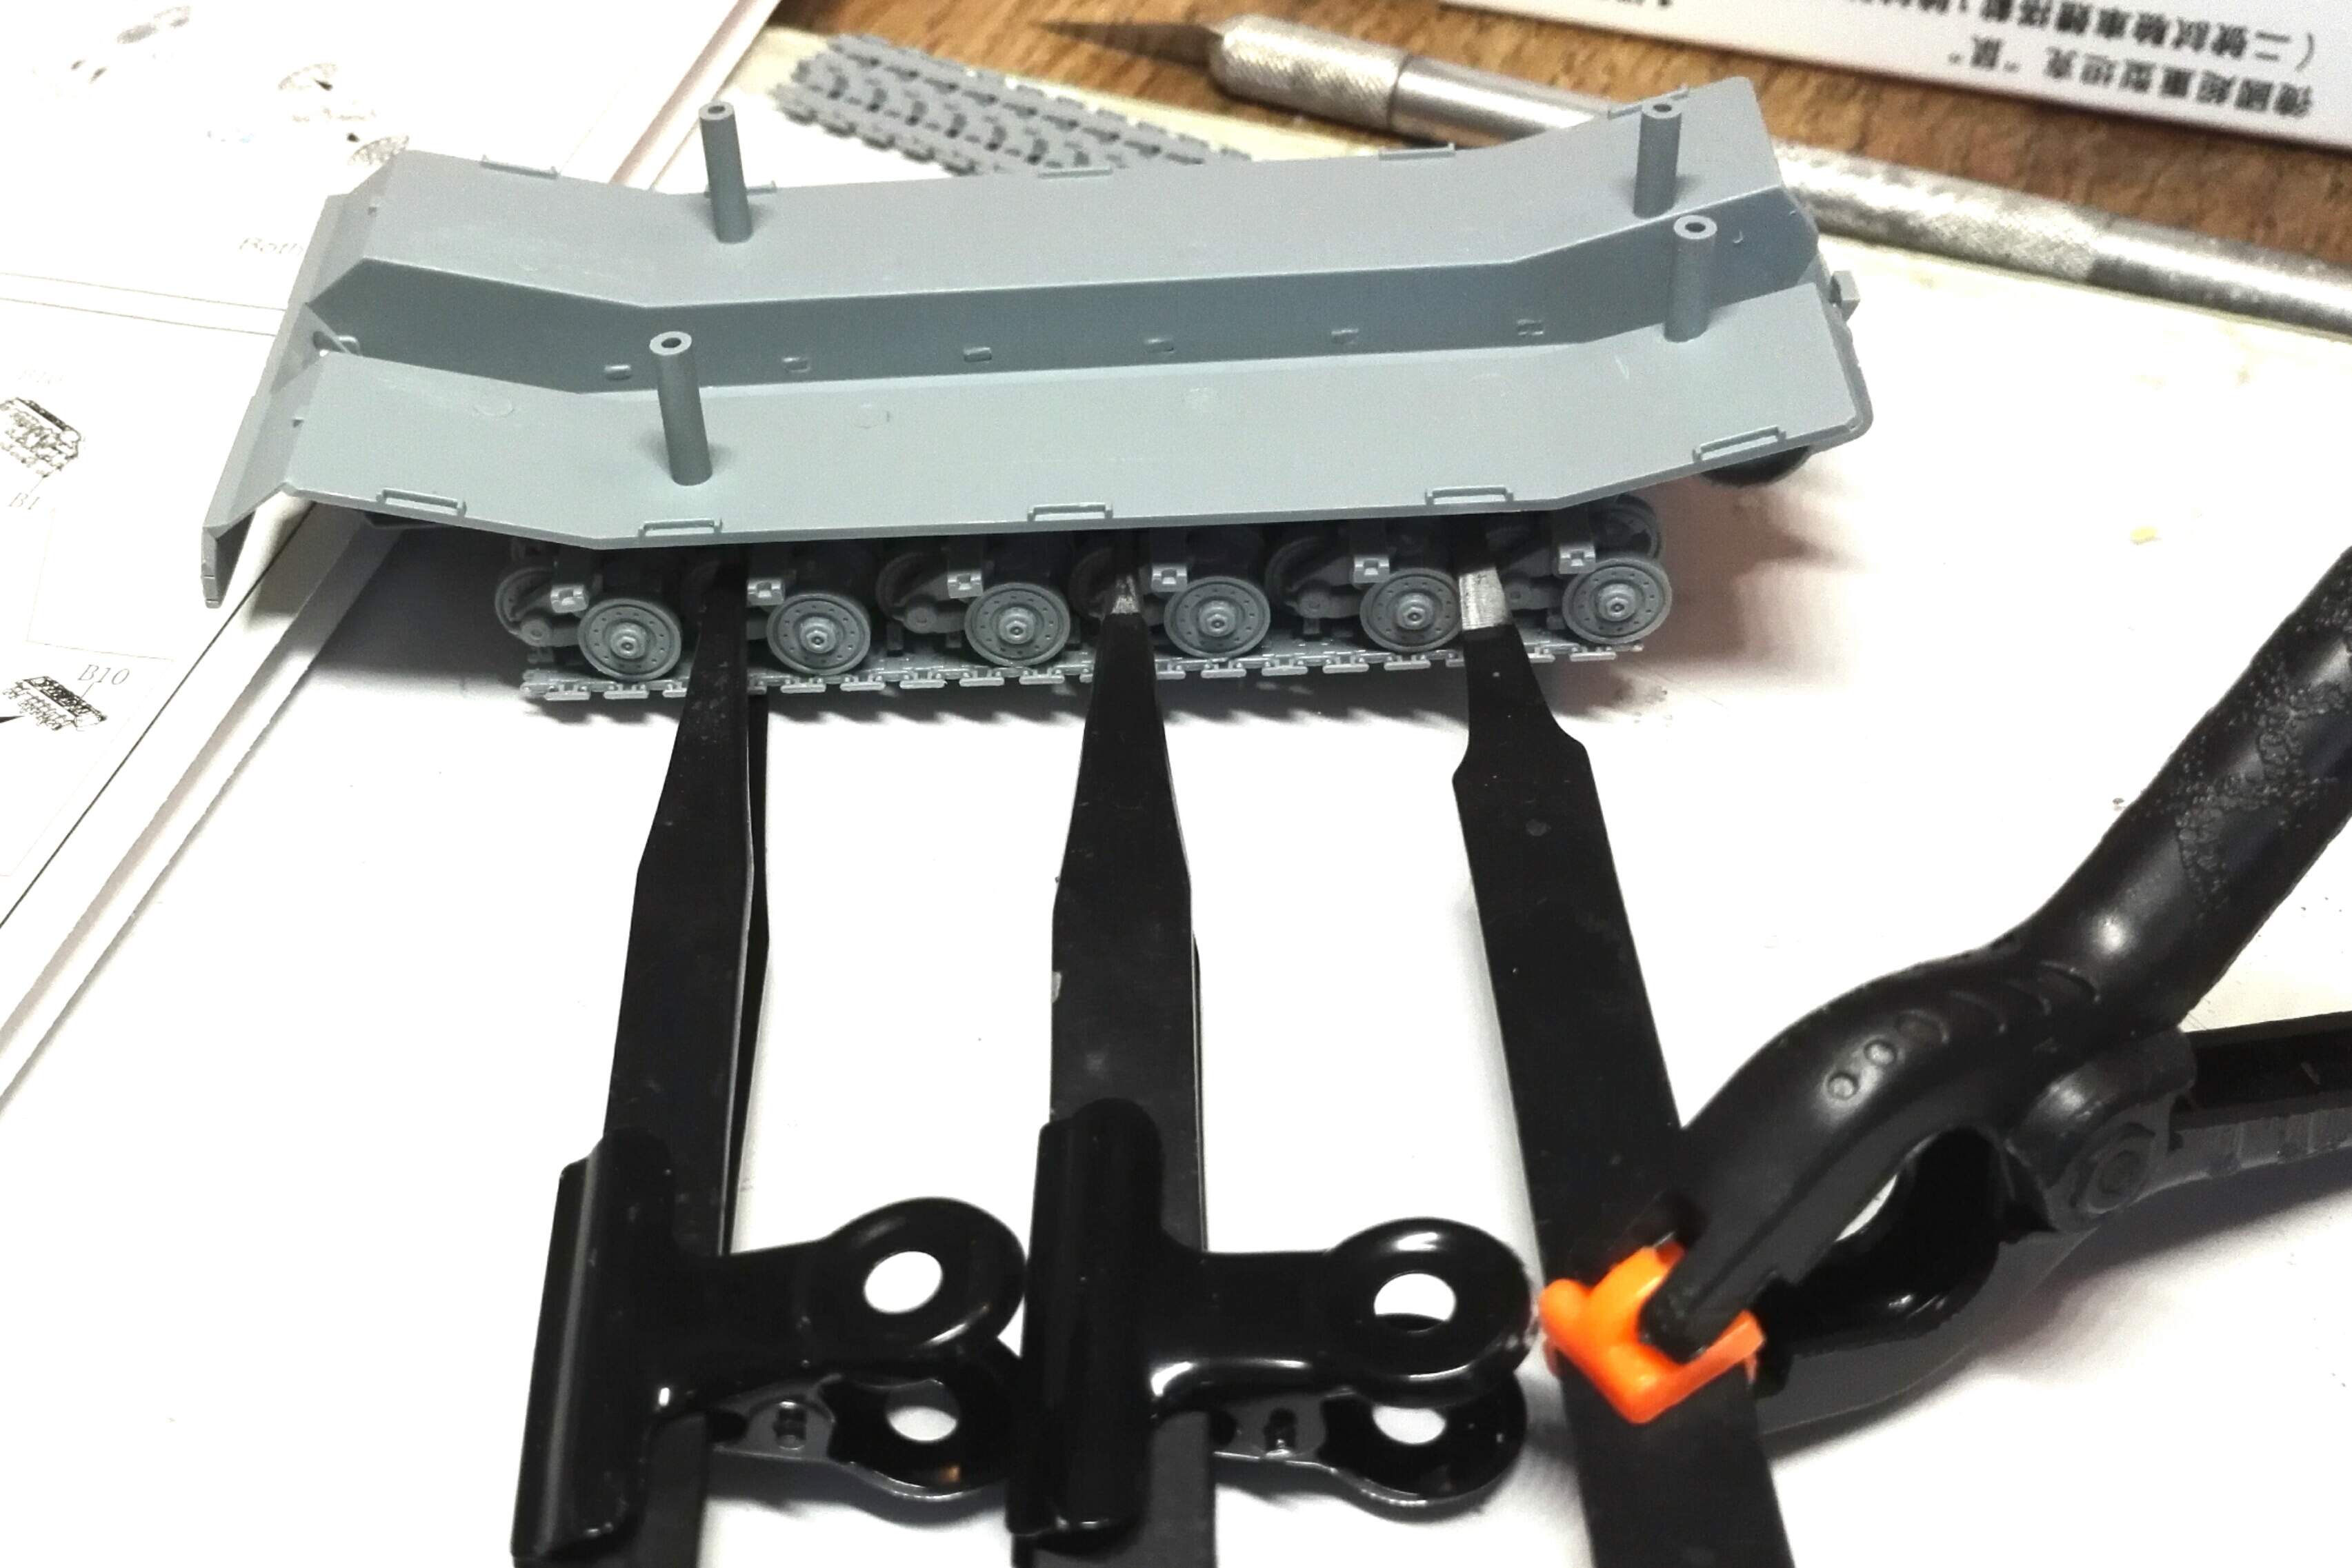
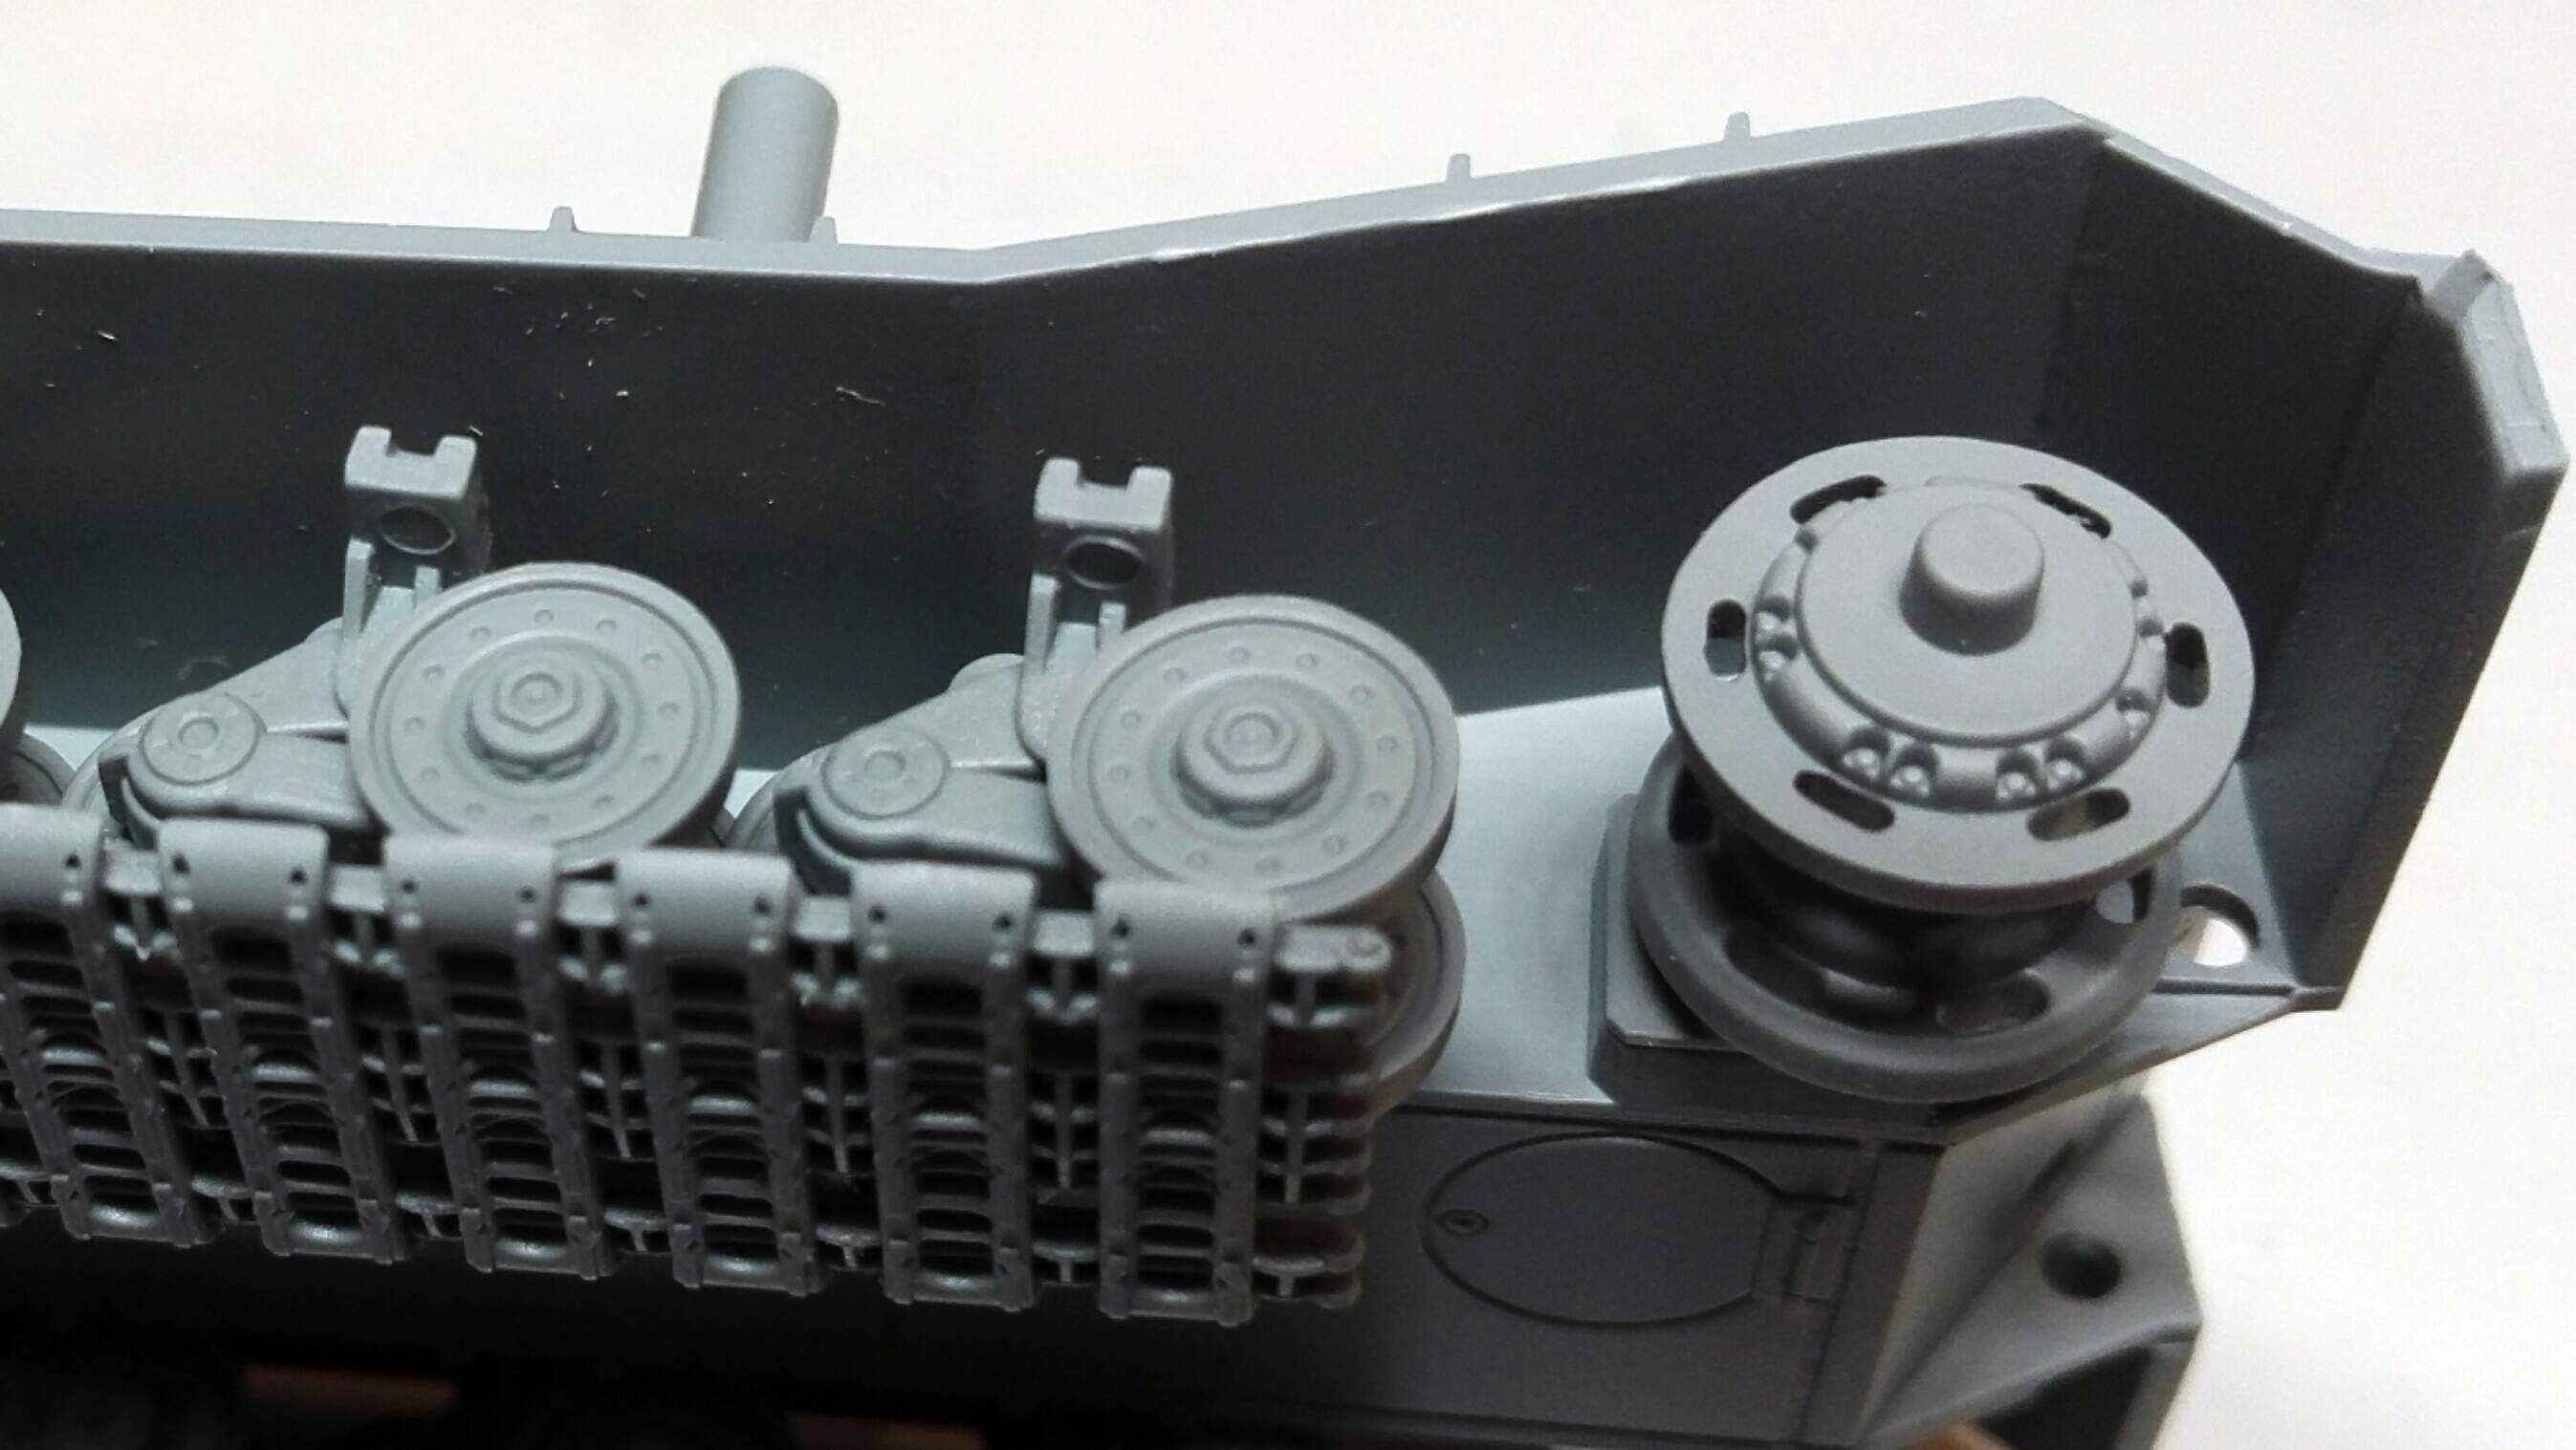
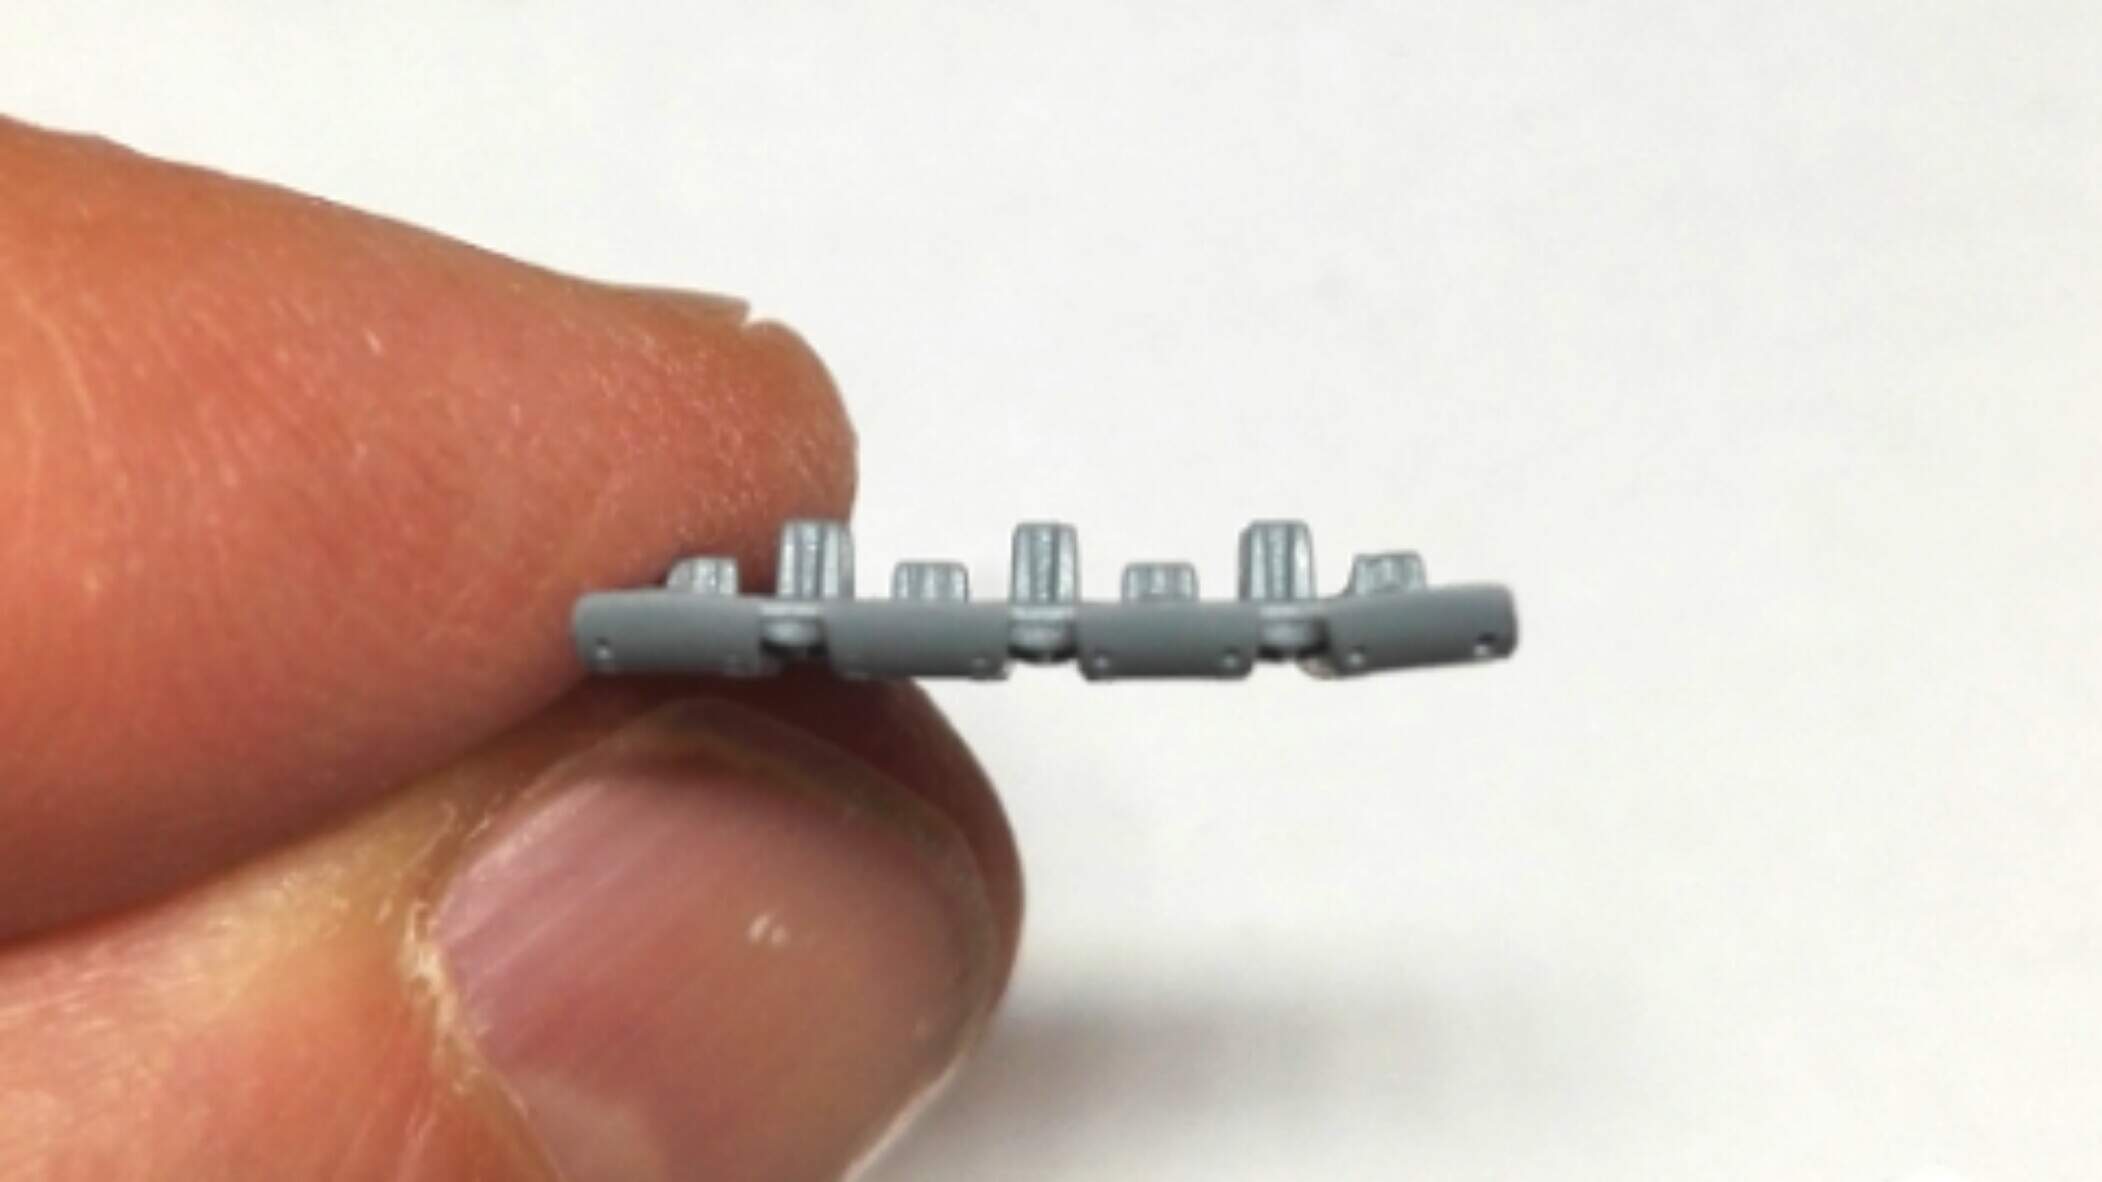
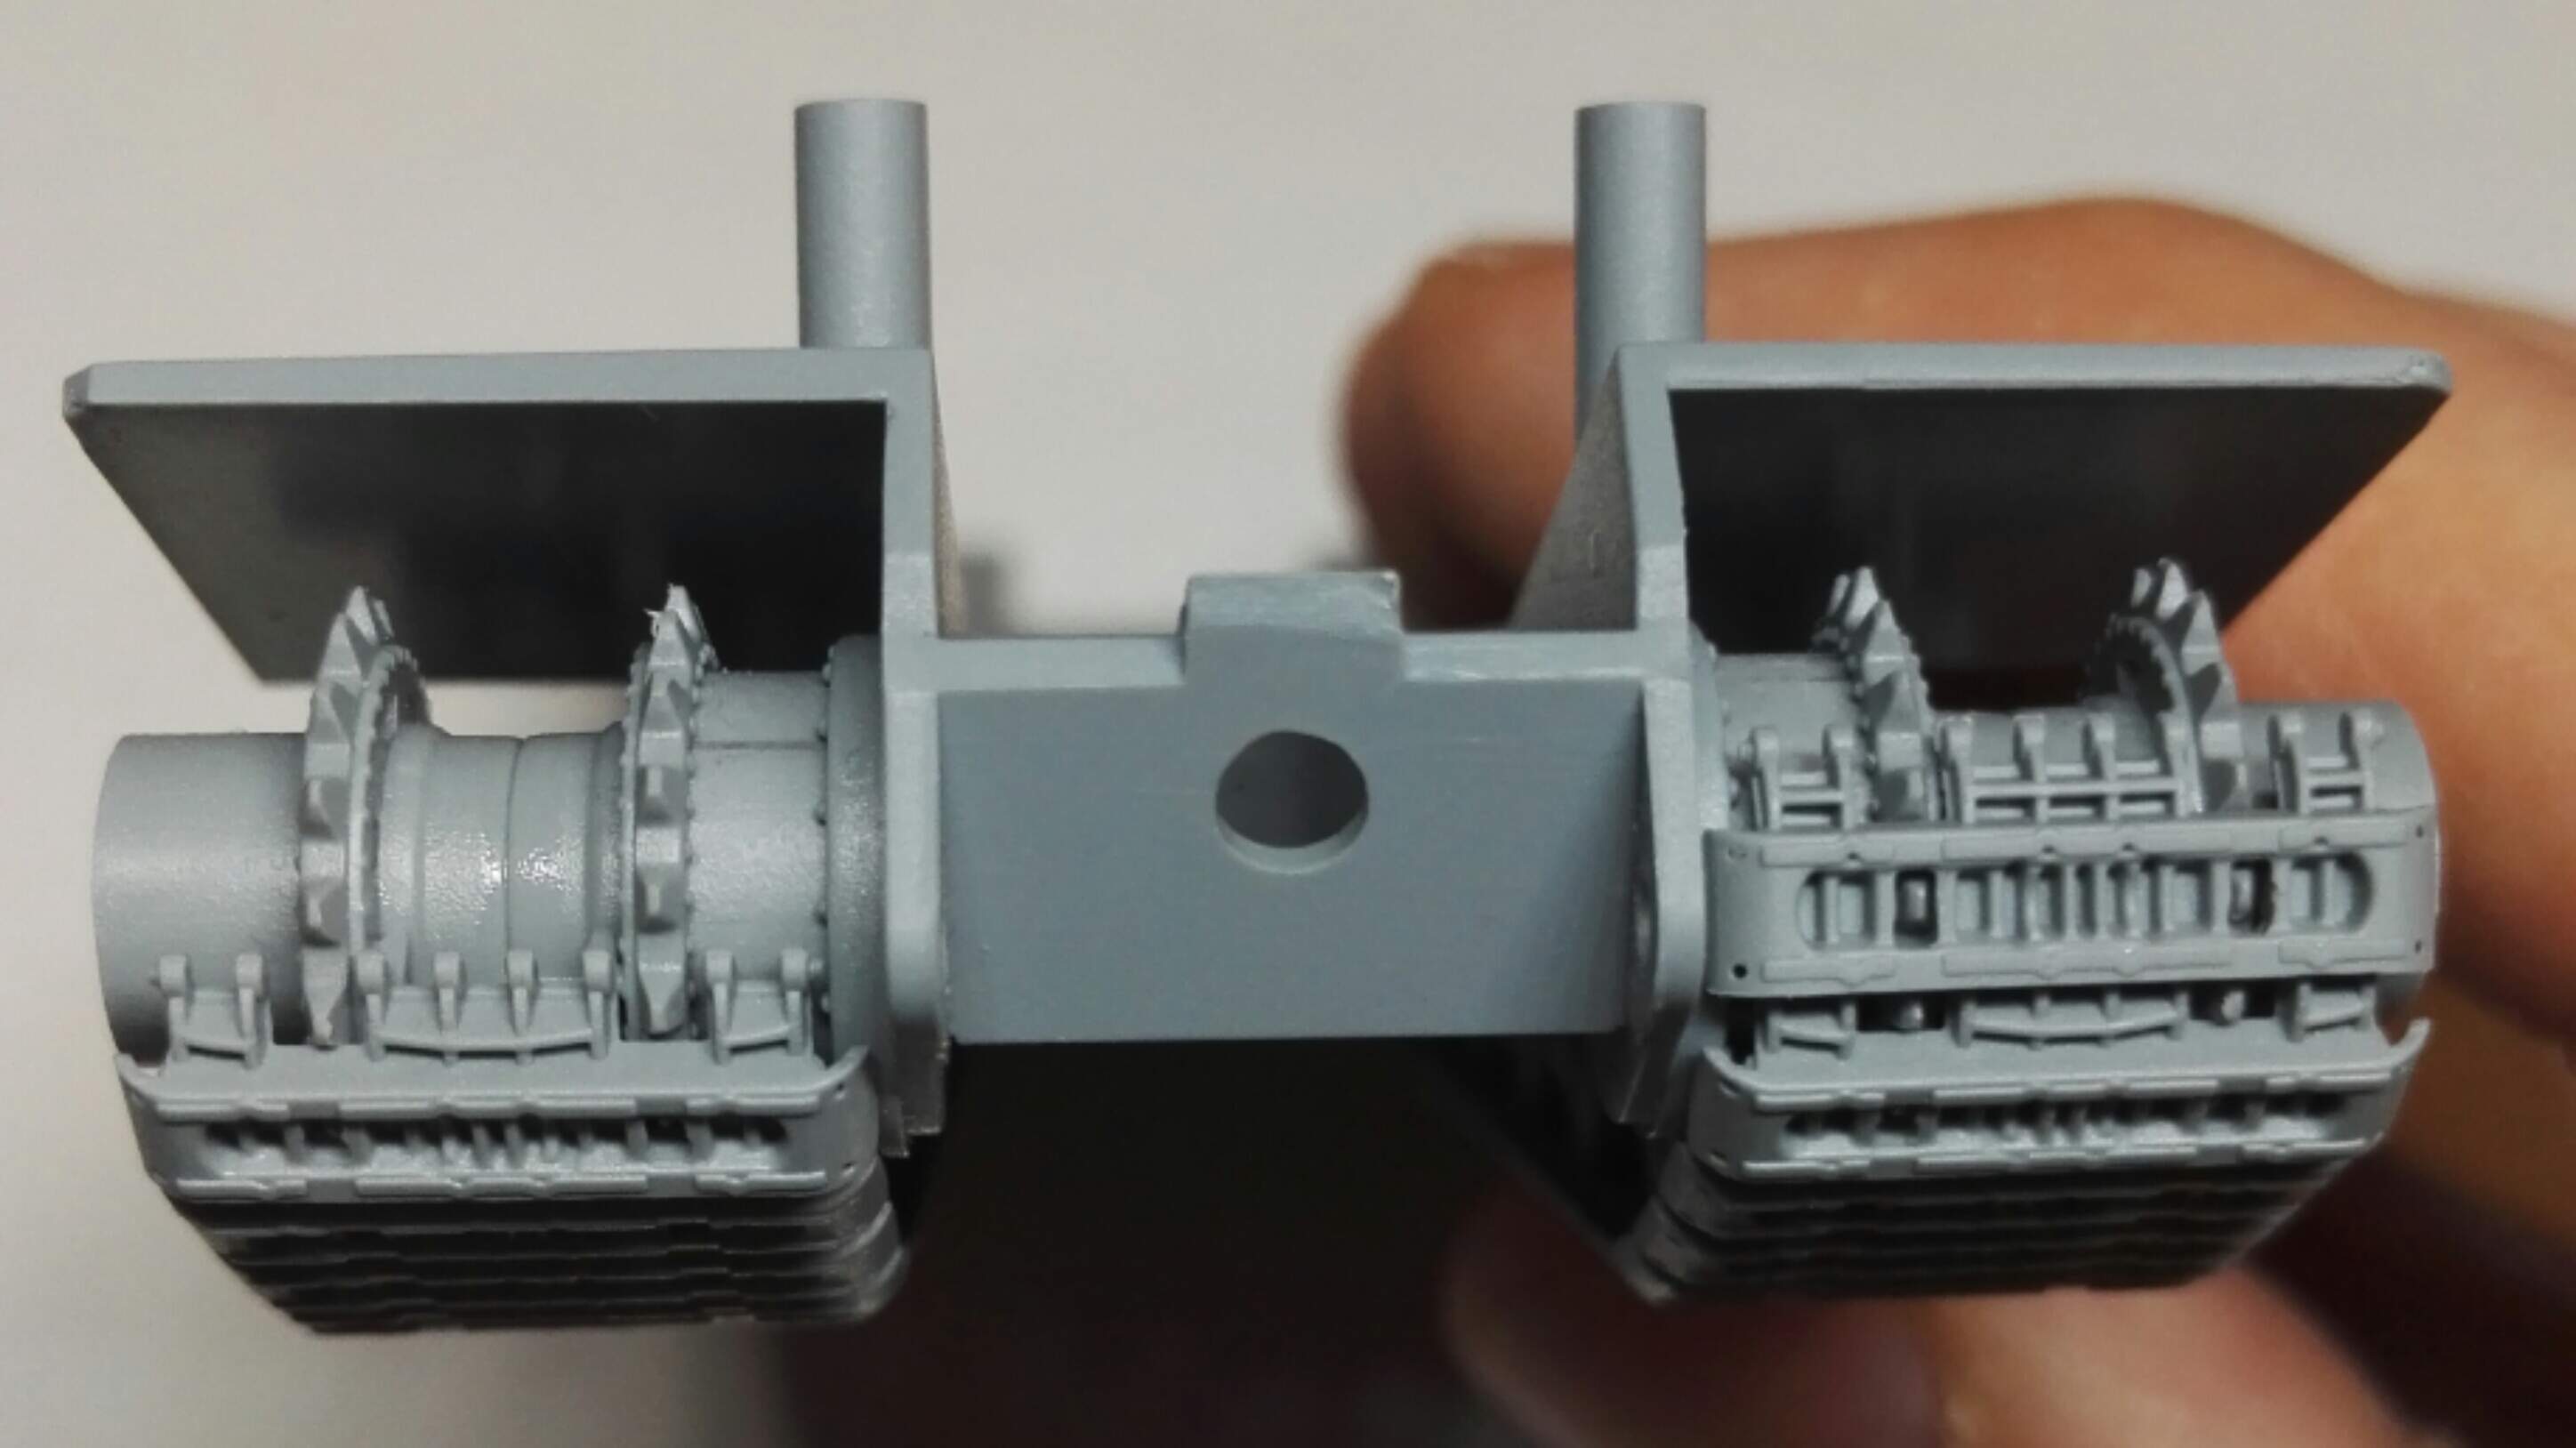
While that sets the sprockets and idlers were assembled. The sprockets are sensibly attached to the sprue by the points of the teeth.
All bar one of the etched metal parts are grilles for the various vents on the hull deck. All very easy ss they are flat and just fit into place on the underside of the superstructure. I used Ammo Ultra Glue, which is probably pretty much just high quality matt finish pva, but it was a nice change from CA fumes.
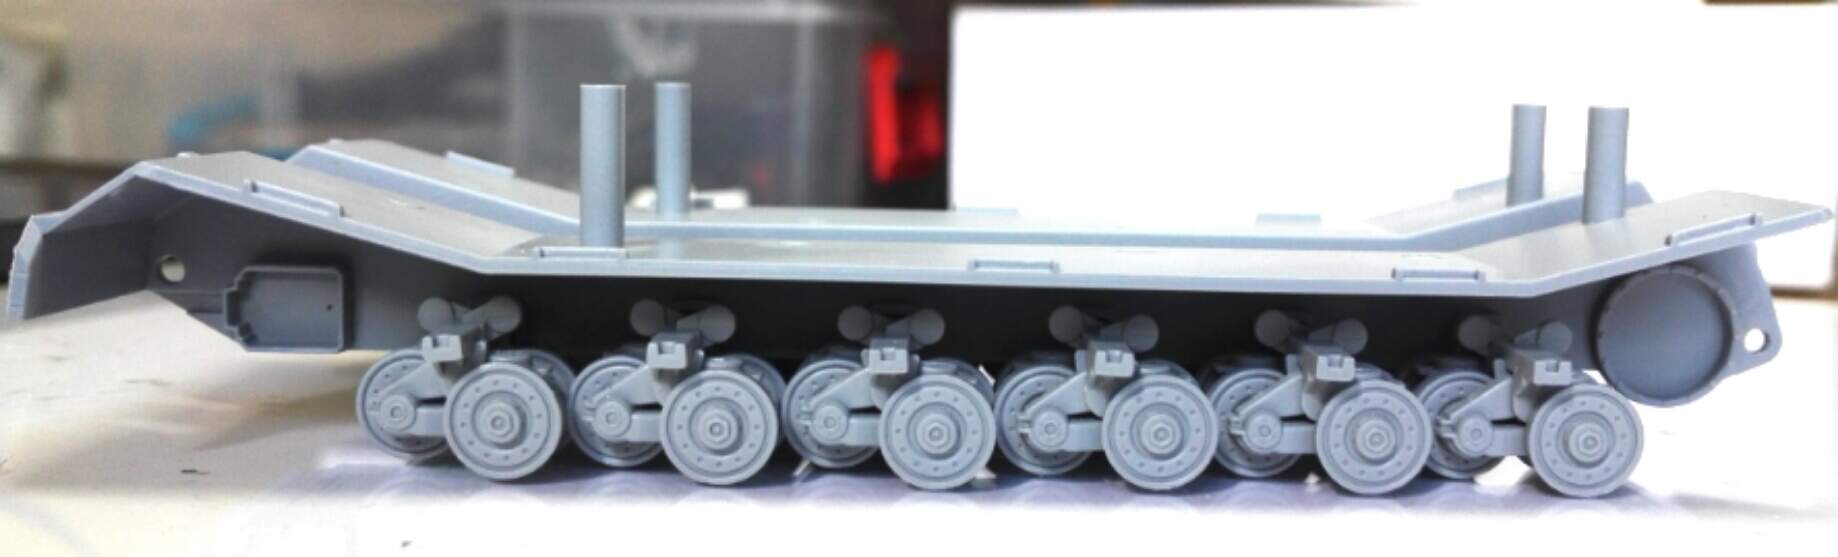
Before adding the idlers and sprockets I’m adding the bottom run of track first. The track seems to be completely reversible, so it doesn’t matter which way round it goes.
1 Like
Lower run of tracks set flat, plus idler mount cover in place:
Idler on:
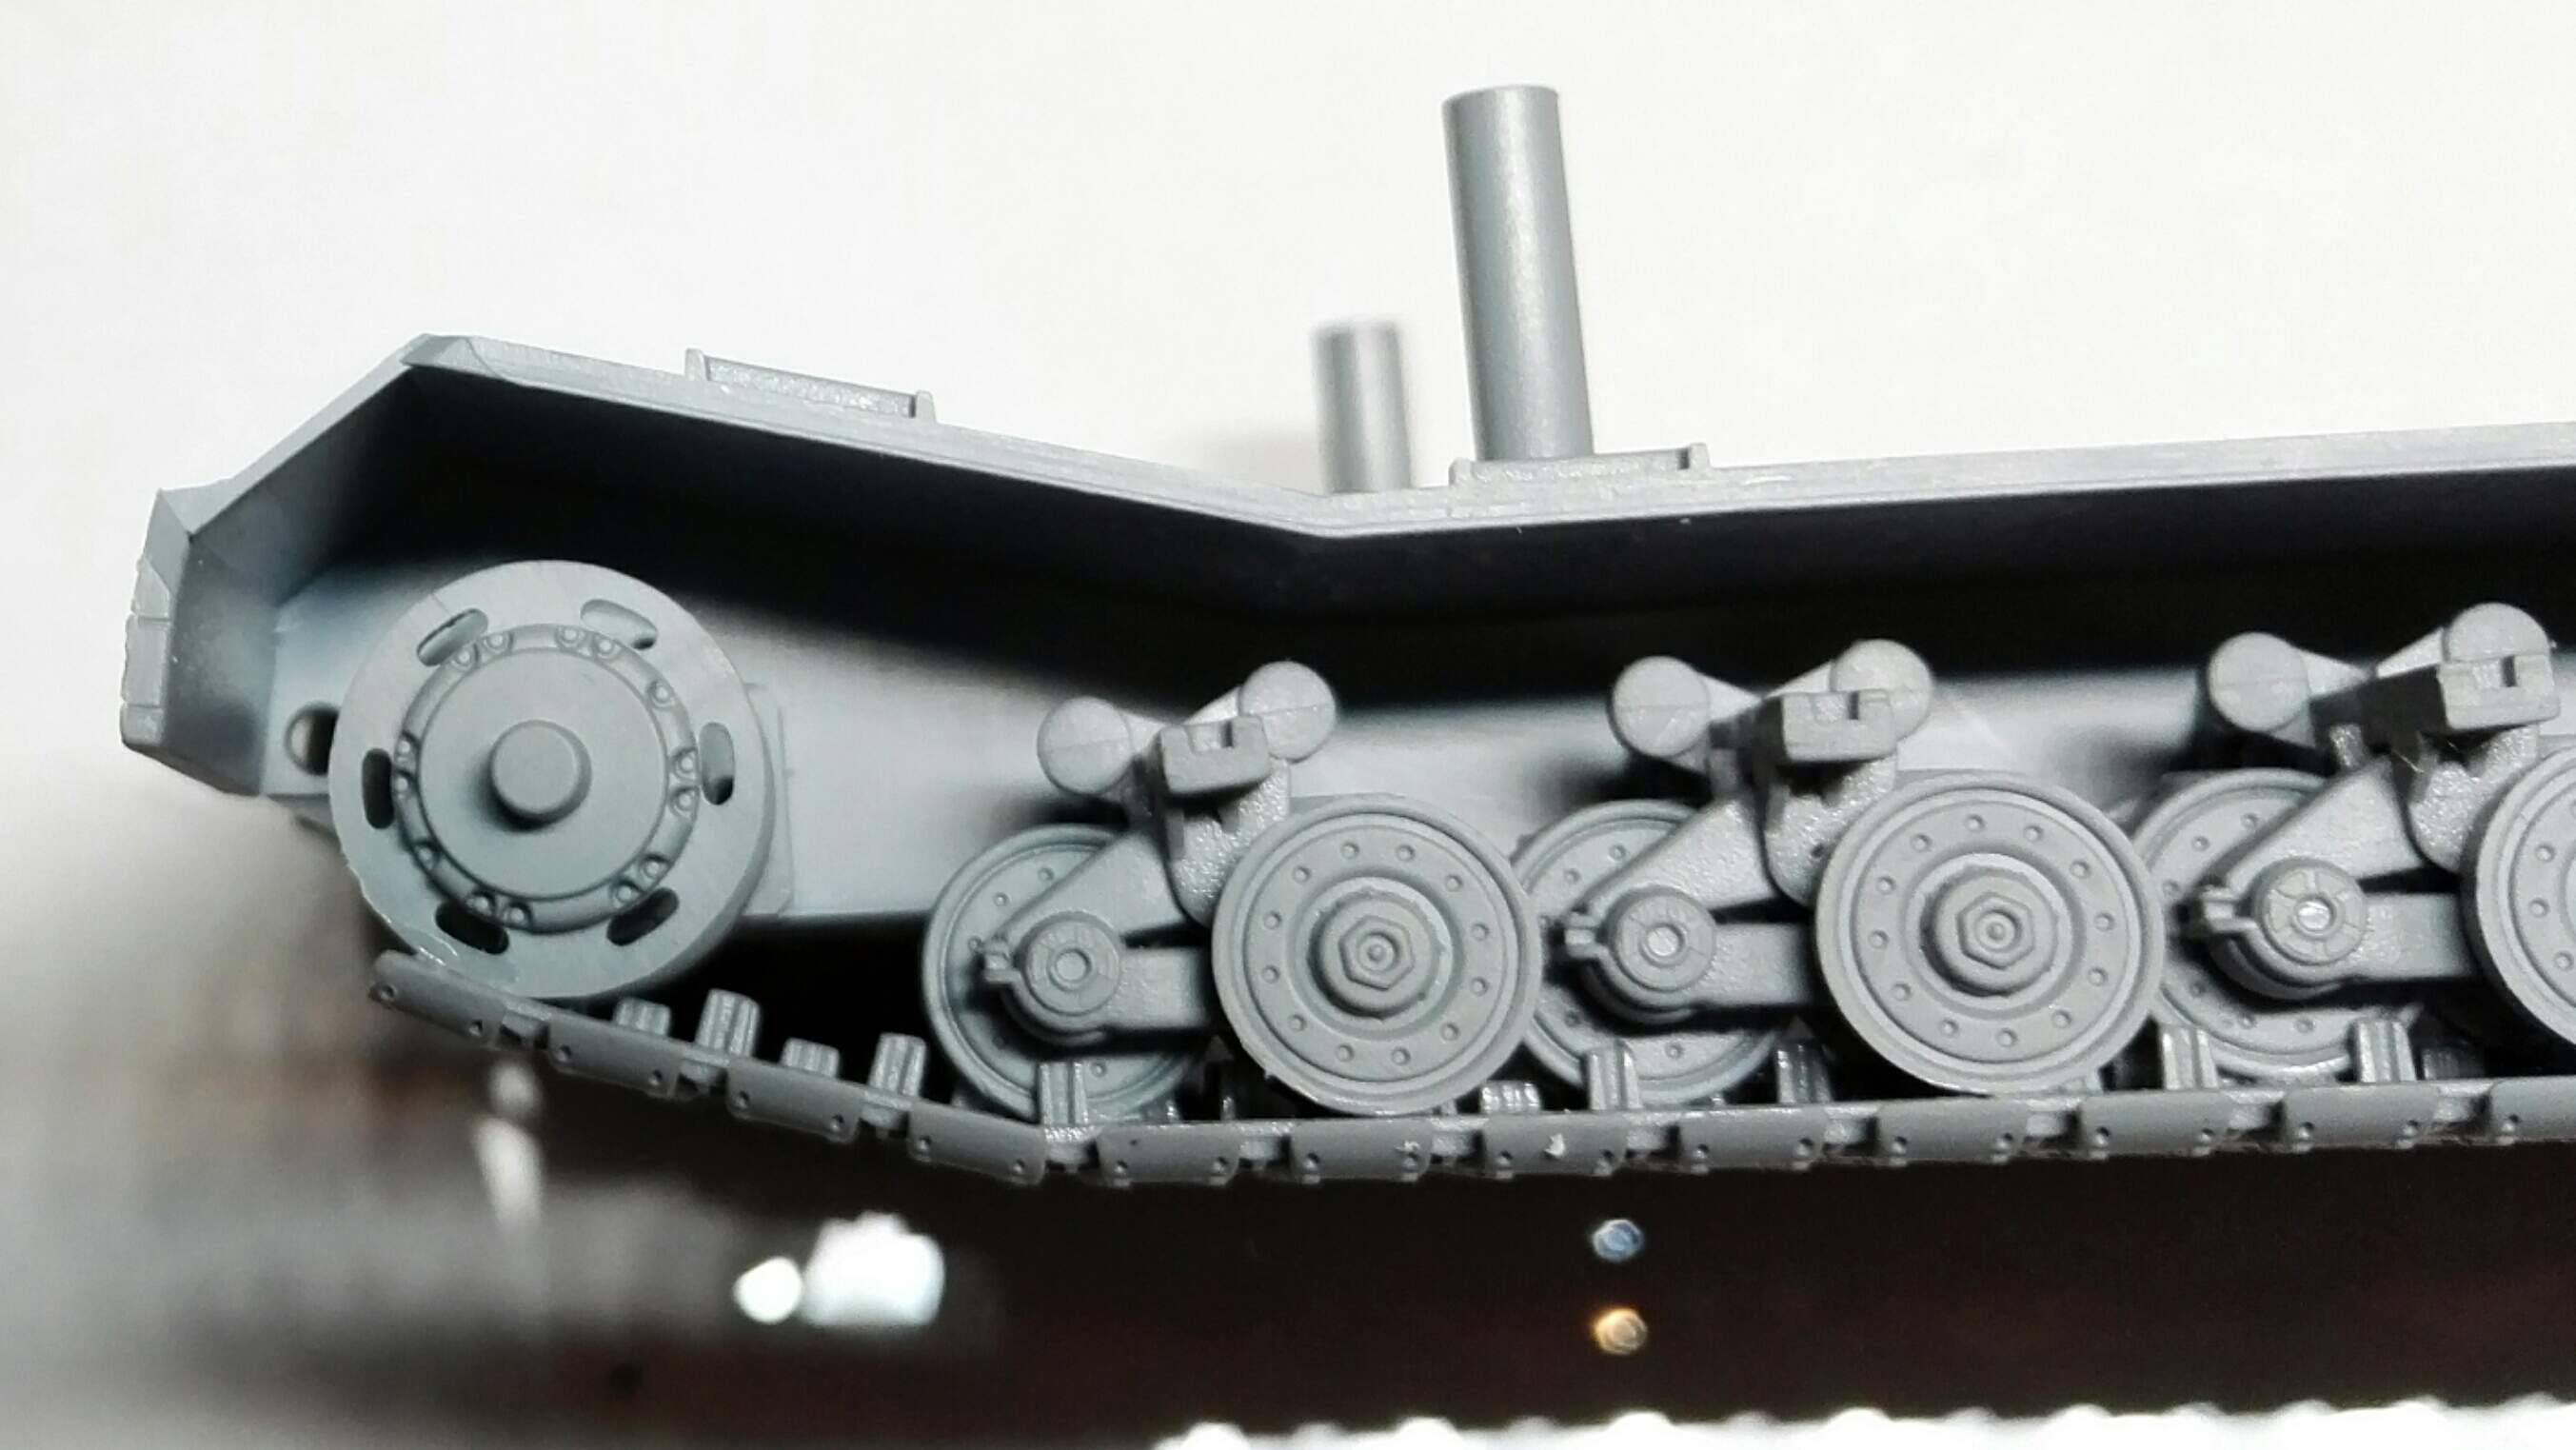
The lengths of tracks look flat but have a subtle curve, that can be enhanced with a bit of gentle bending:
The sprocket kept lose until it came to join the track so that the teeth align:
1 Like
With the slight differences in the curves of the individual links it’s important to keep track of which is which (I almost managed to… )
The top run was fed in from the sprocket end, before the last couple of links were glued in place.
… then linked to the idler end:
When checking how the final pieces would link up, it became clear that the last two individual links on each side weren’t needed. Bit strange, but I think it looks like it’s meant to:
2 Likes
Lovely work on the running gear… The real one must of been a real headache…whole thing is going to look great 
1 Like
Thanks Johnny, Jan.
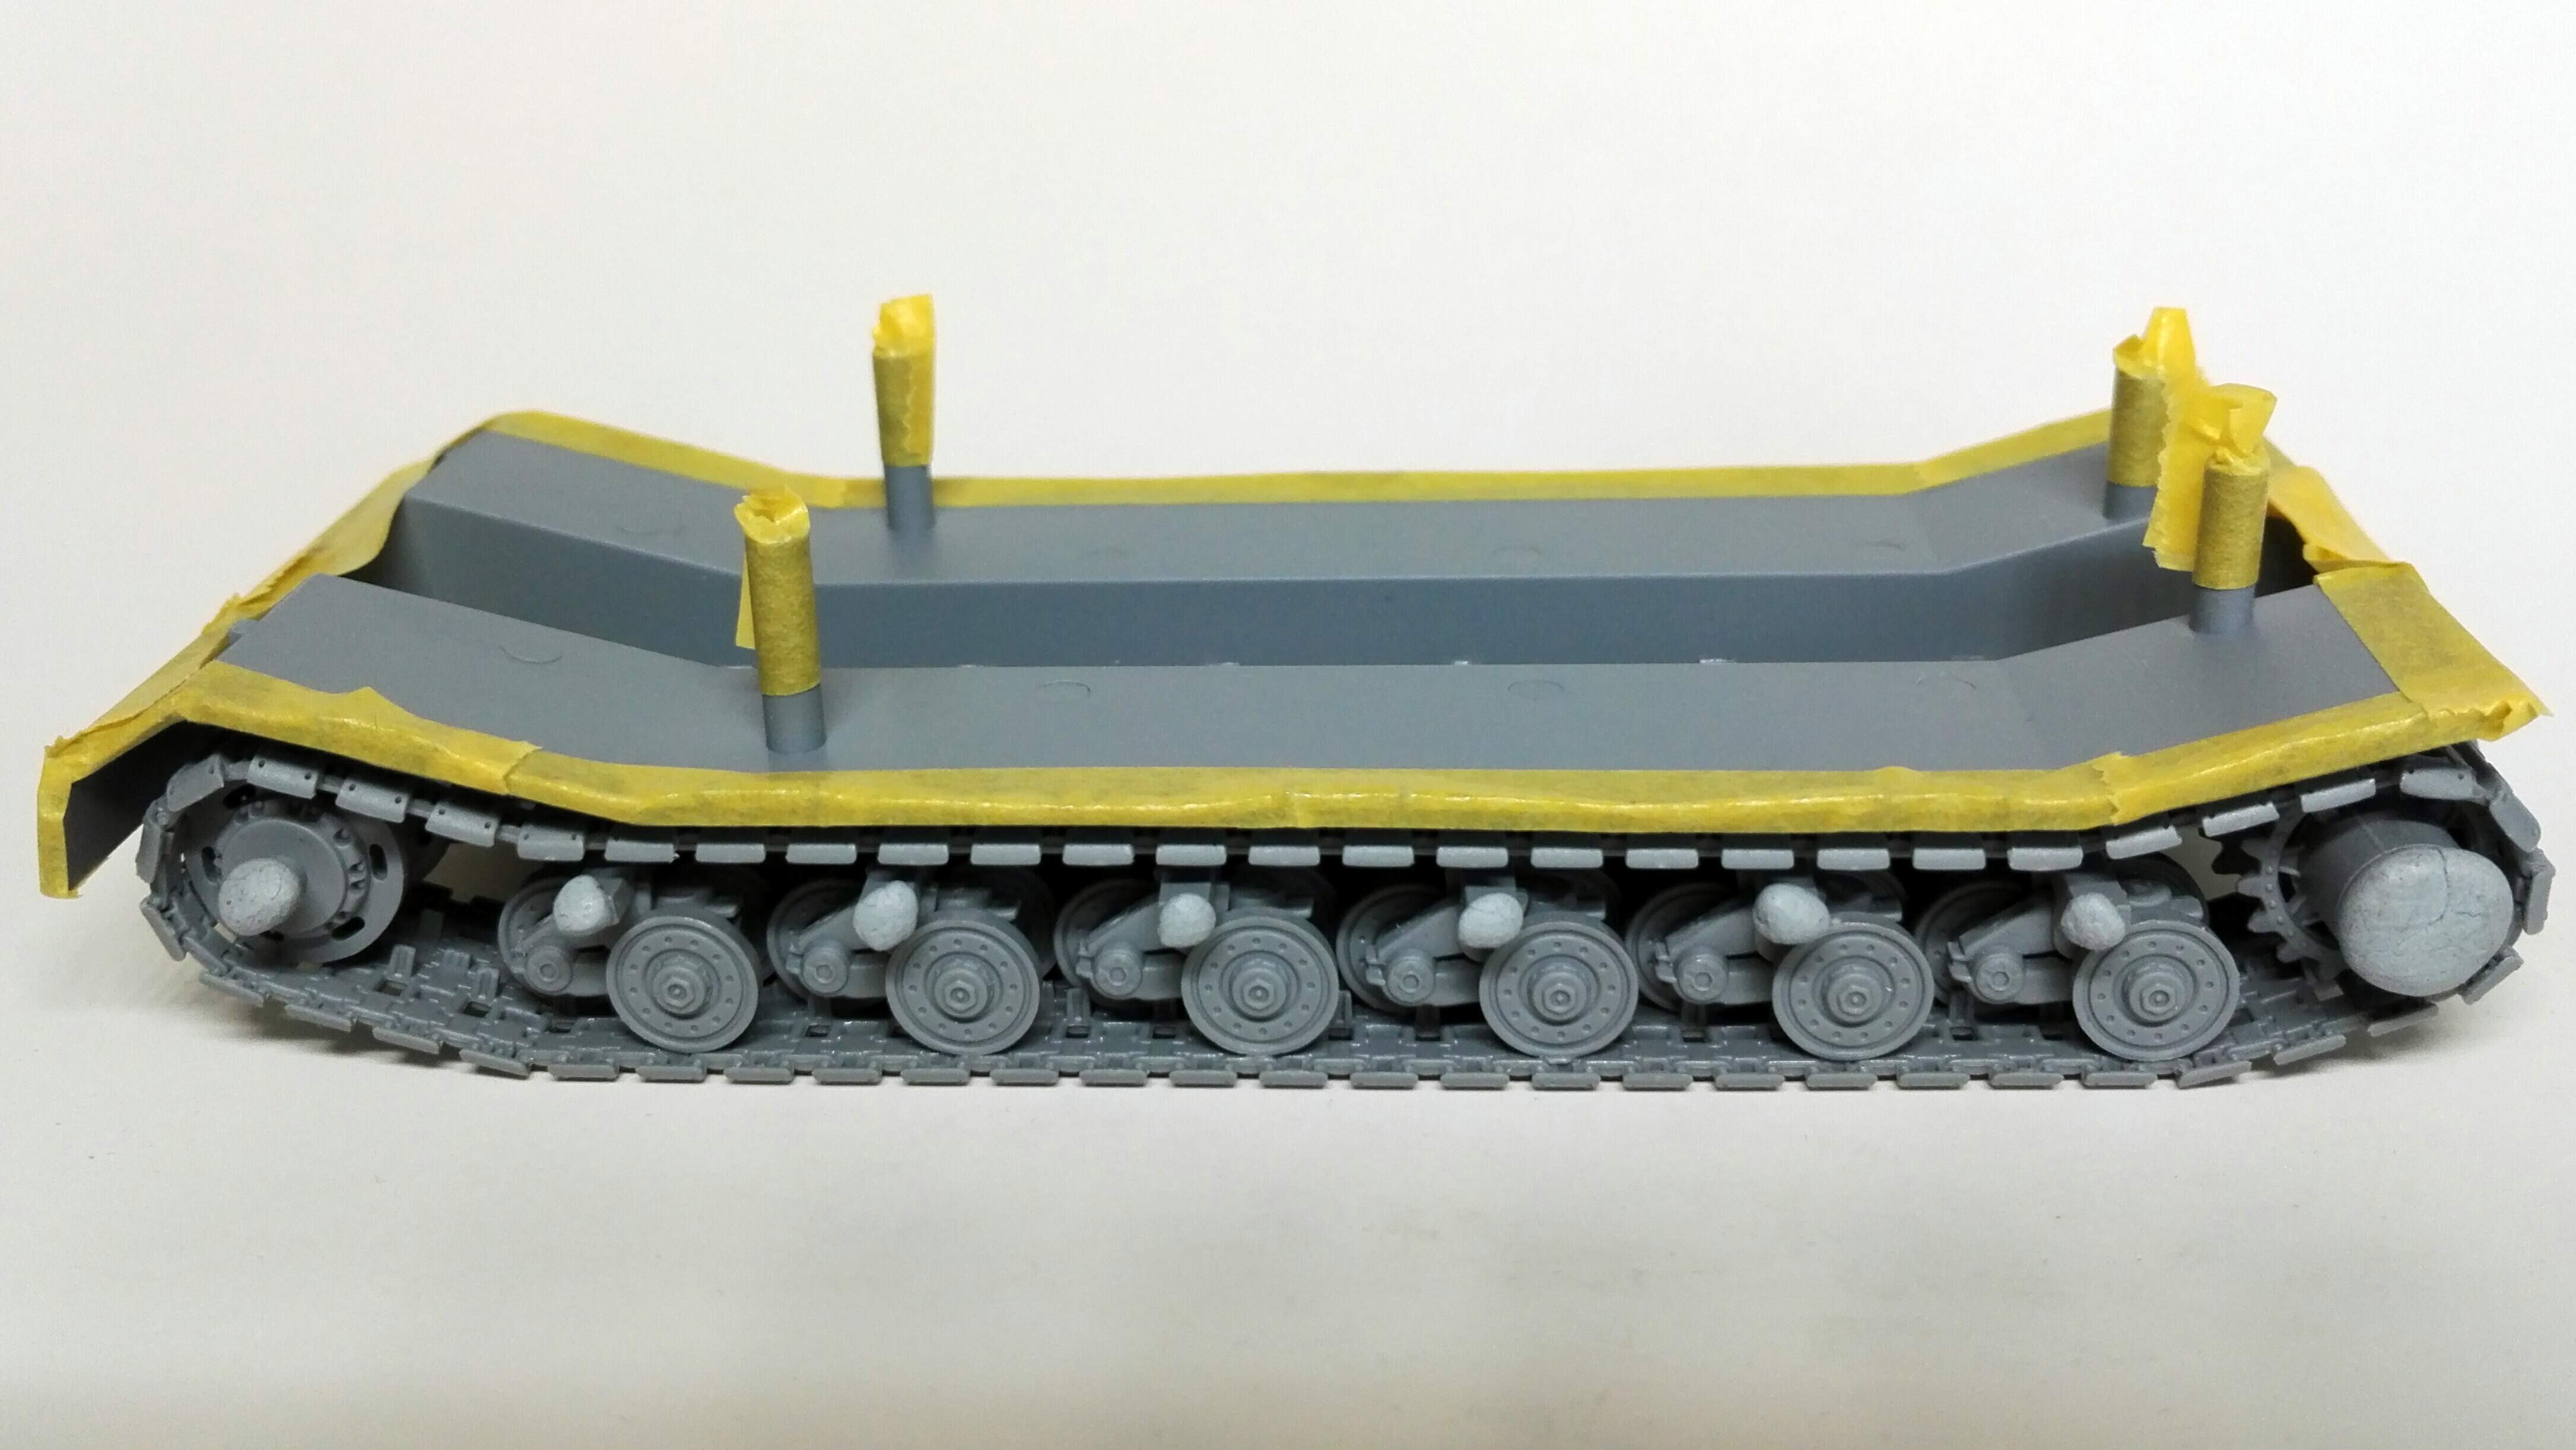
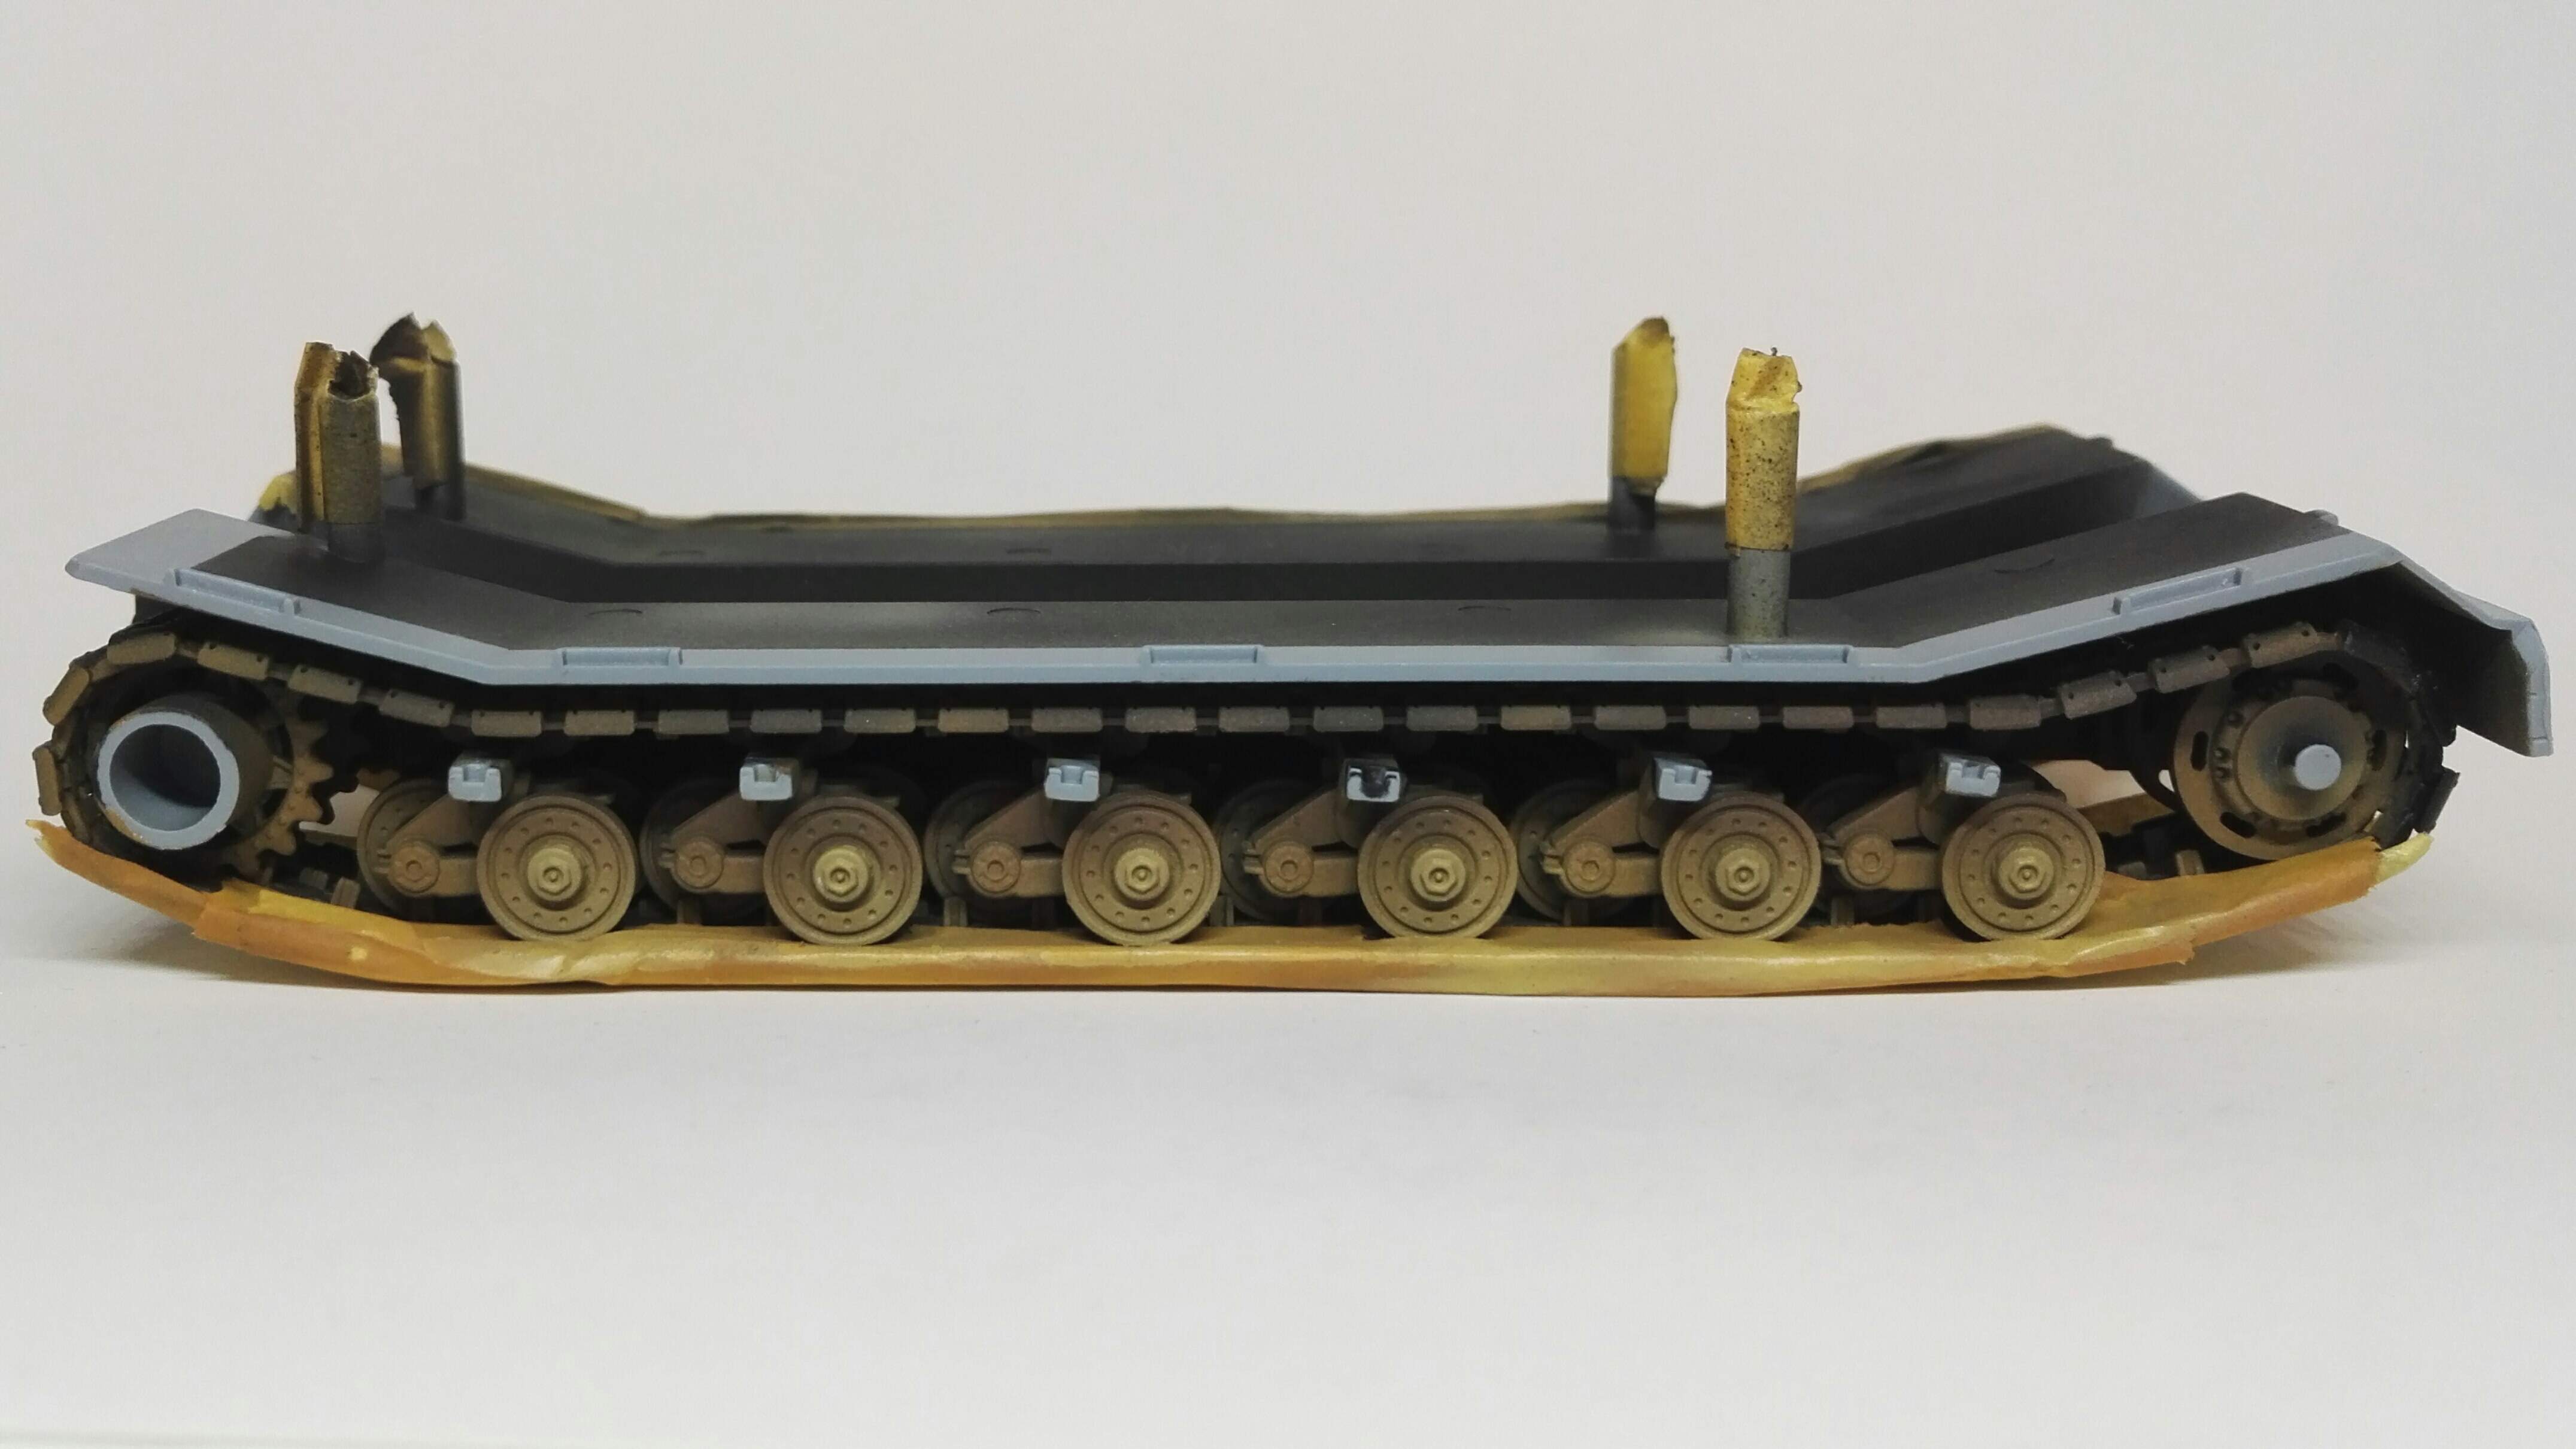
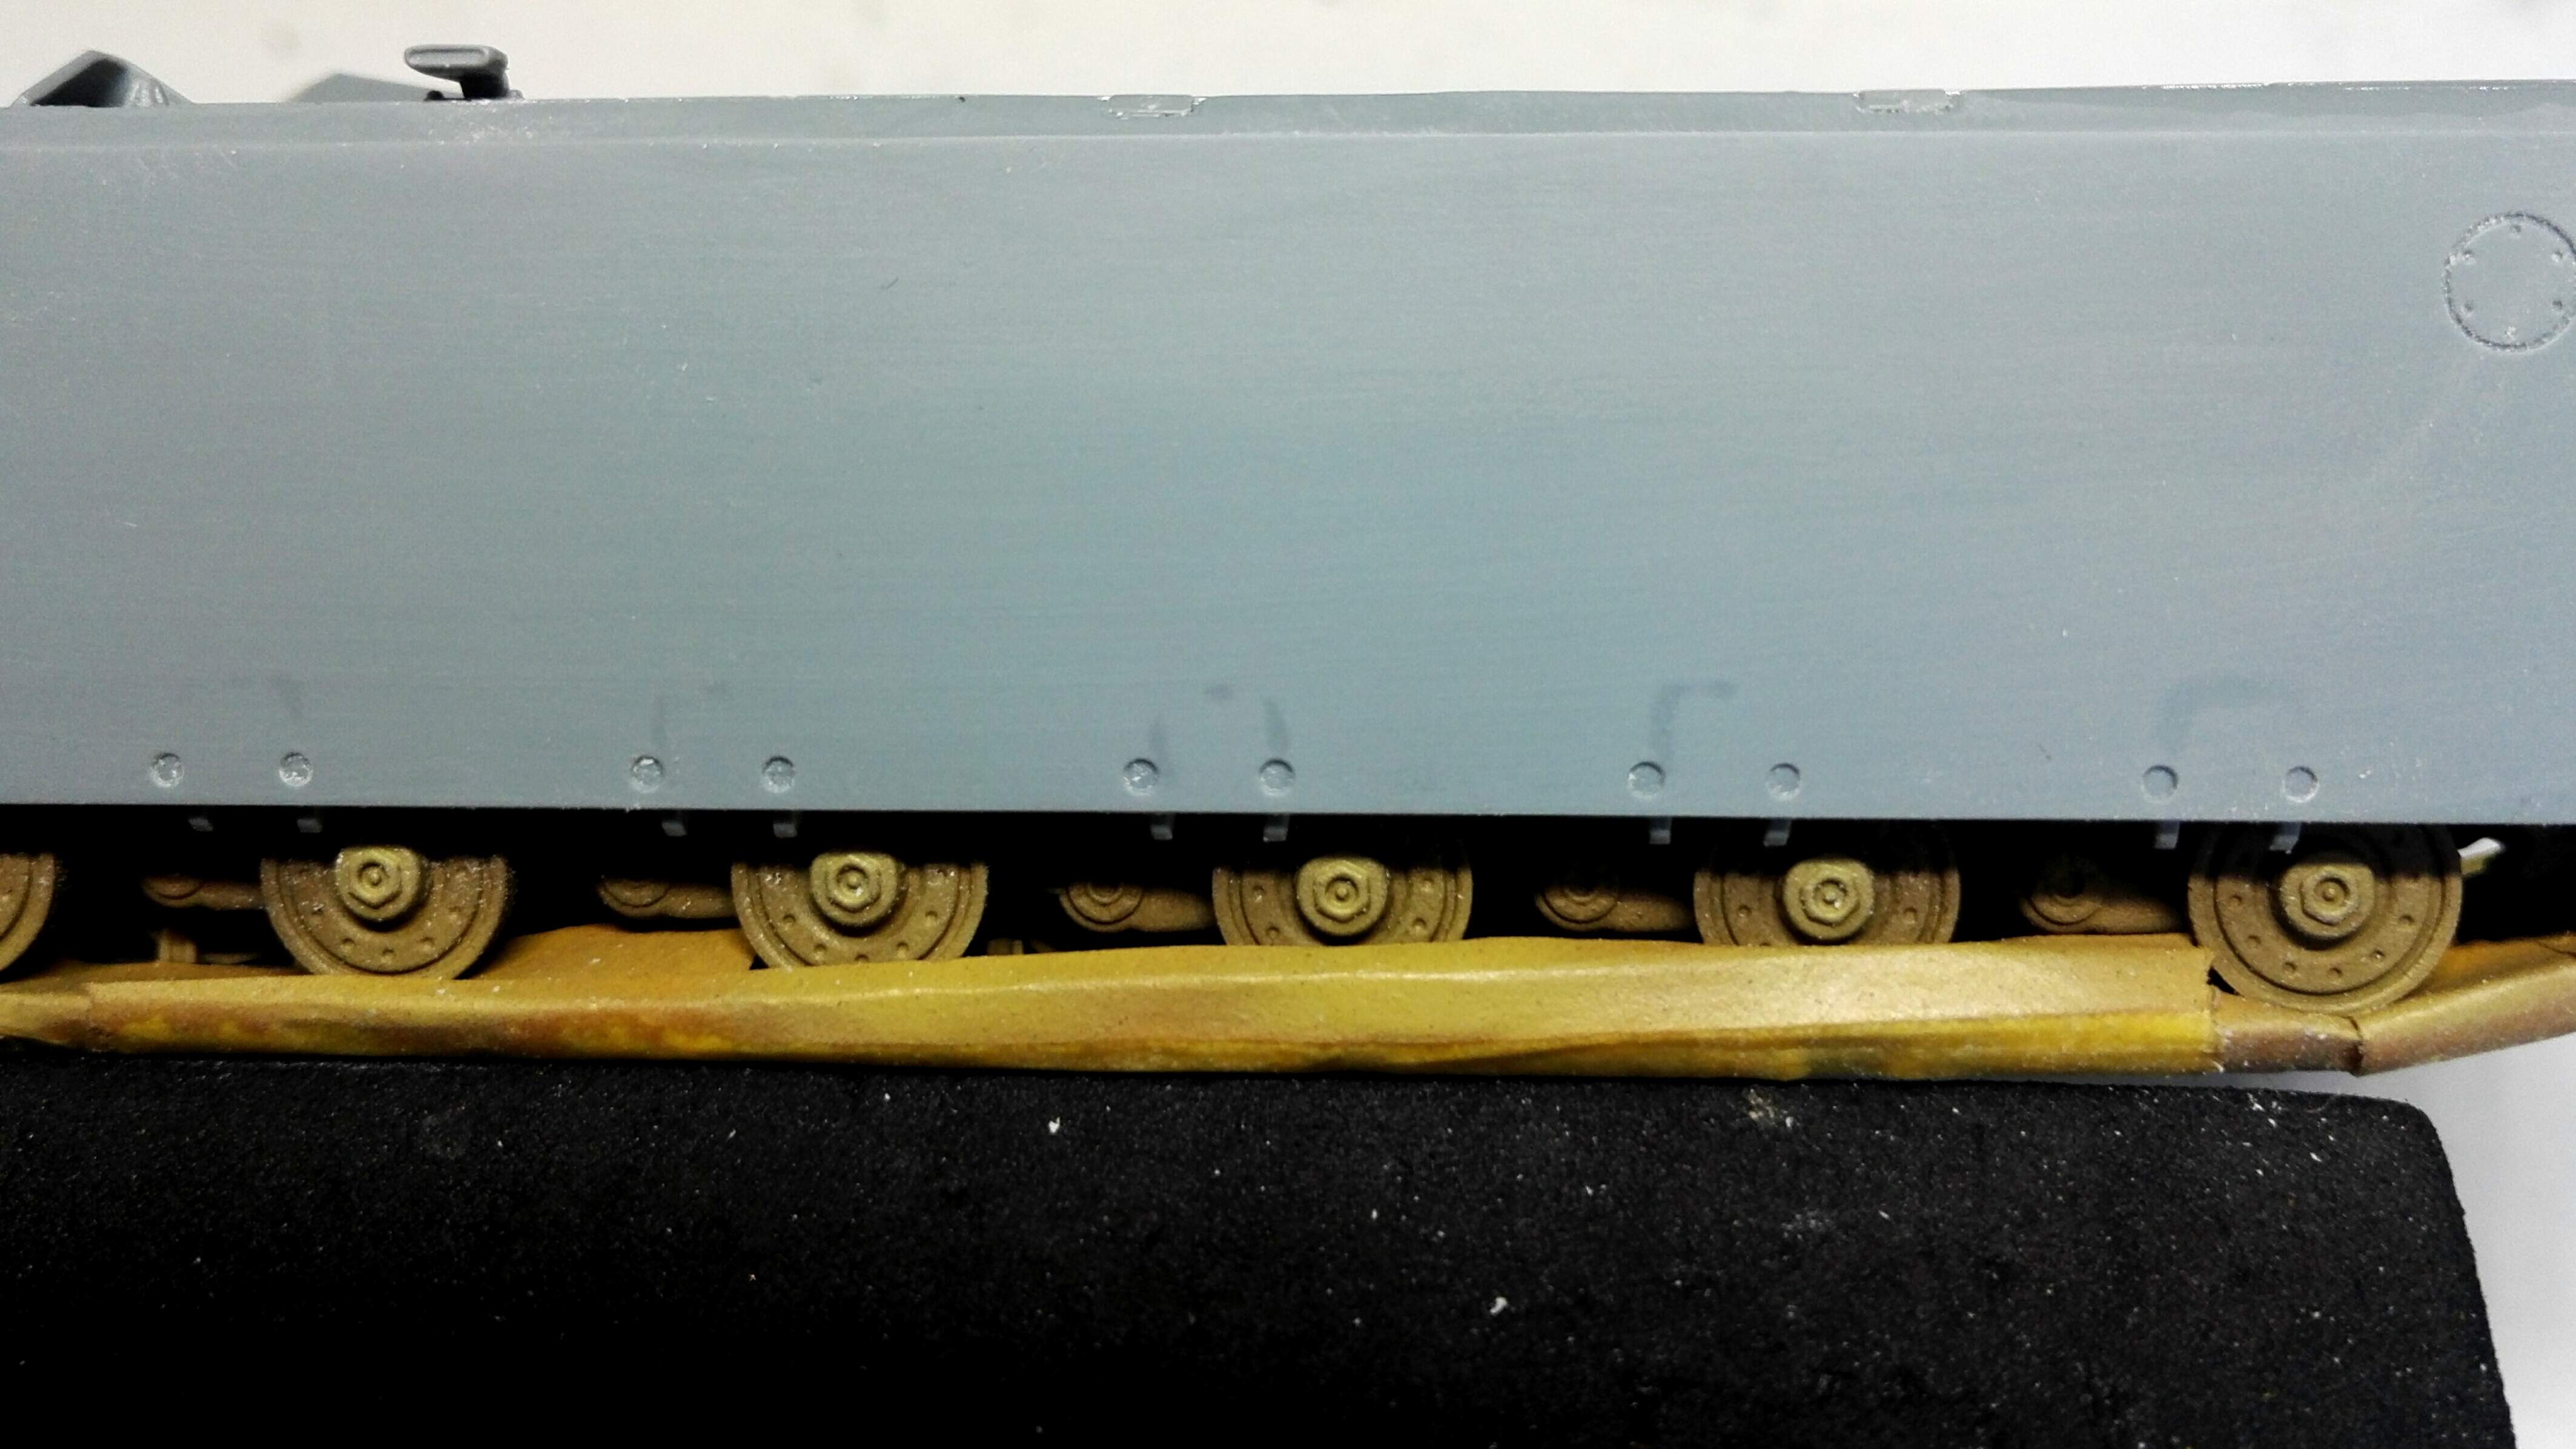
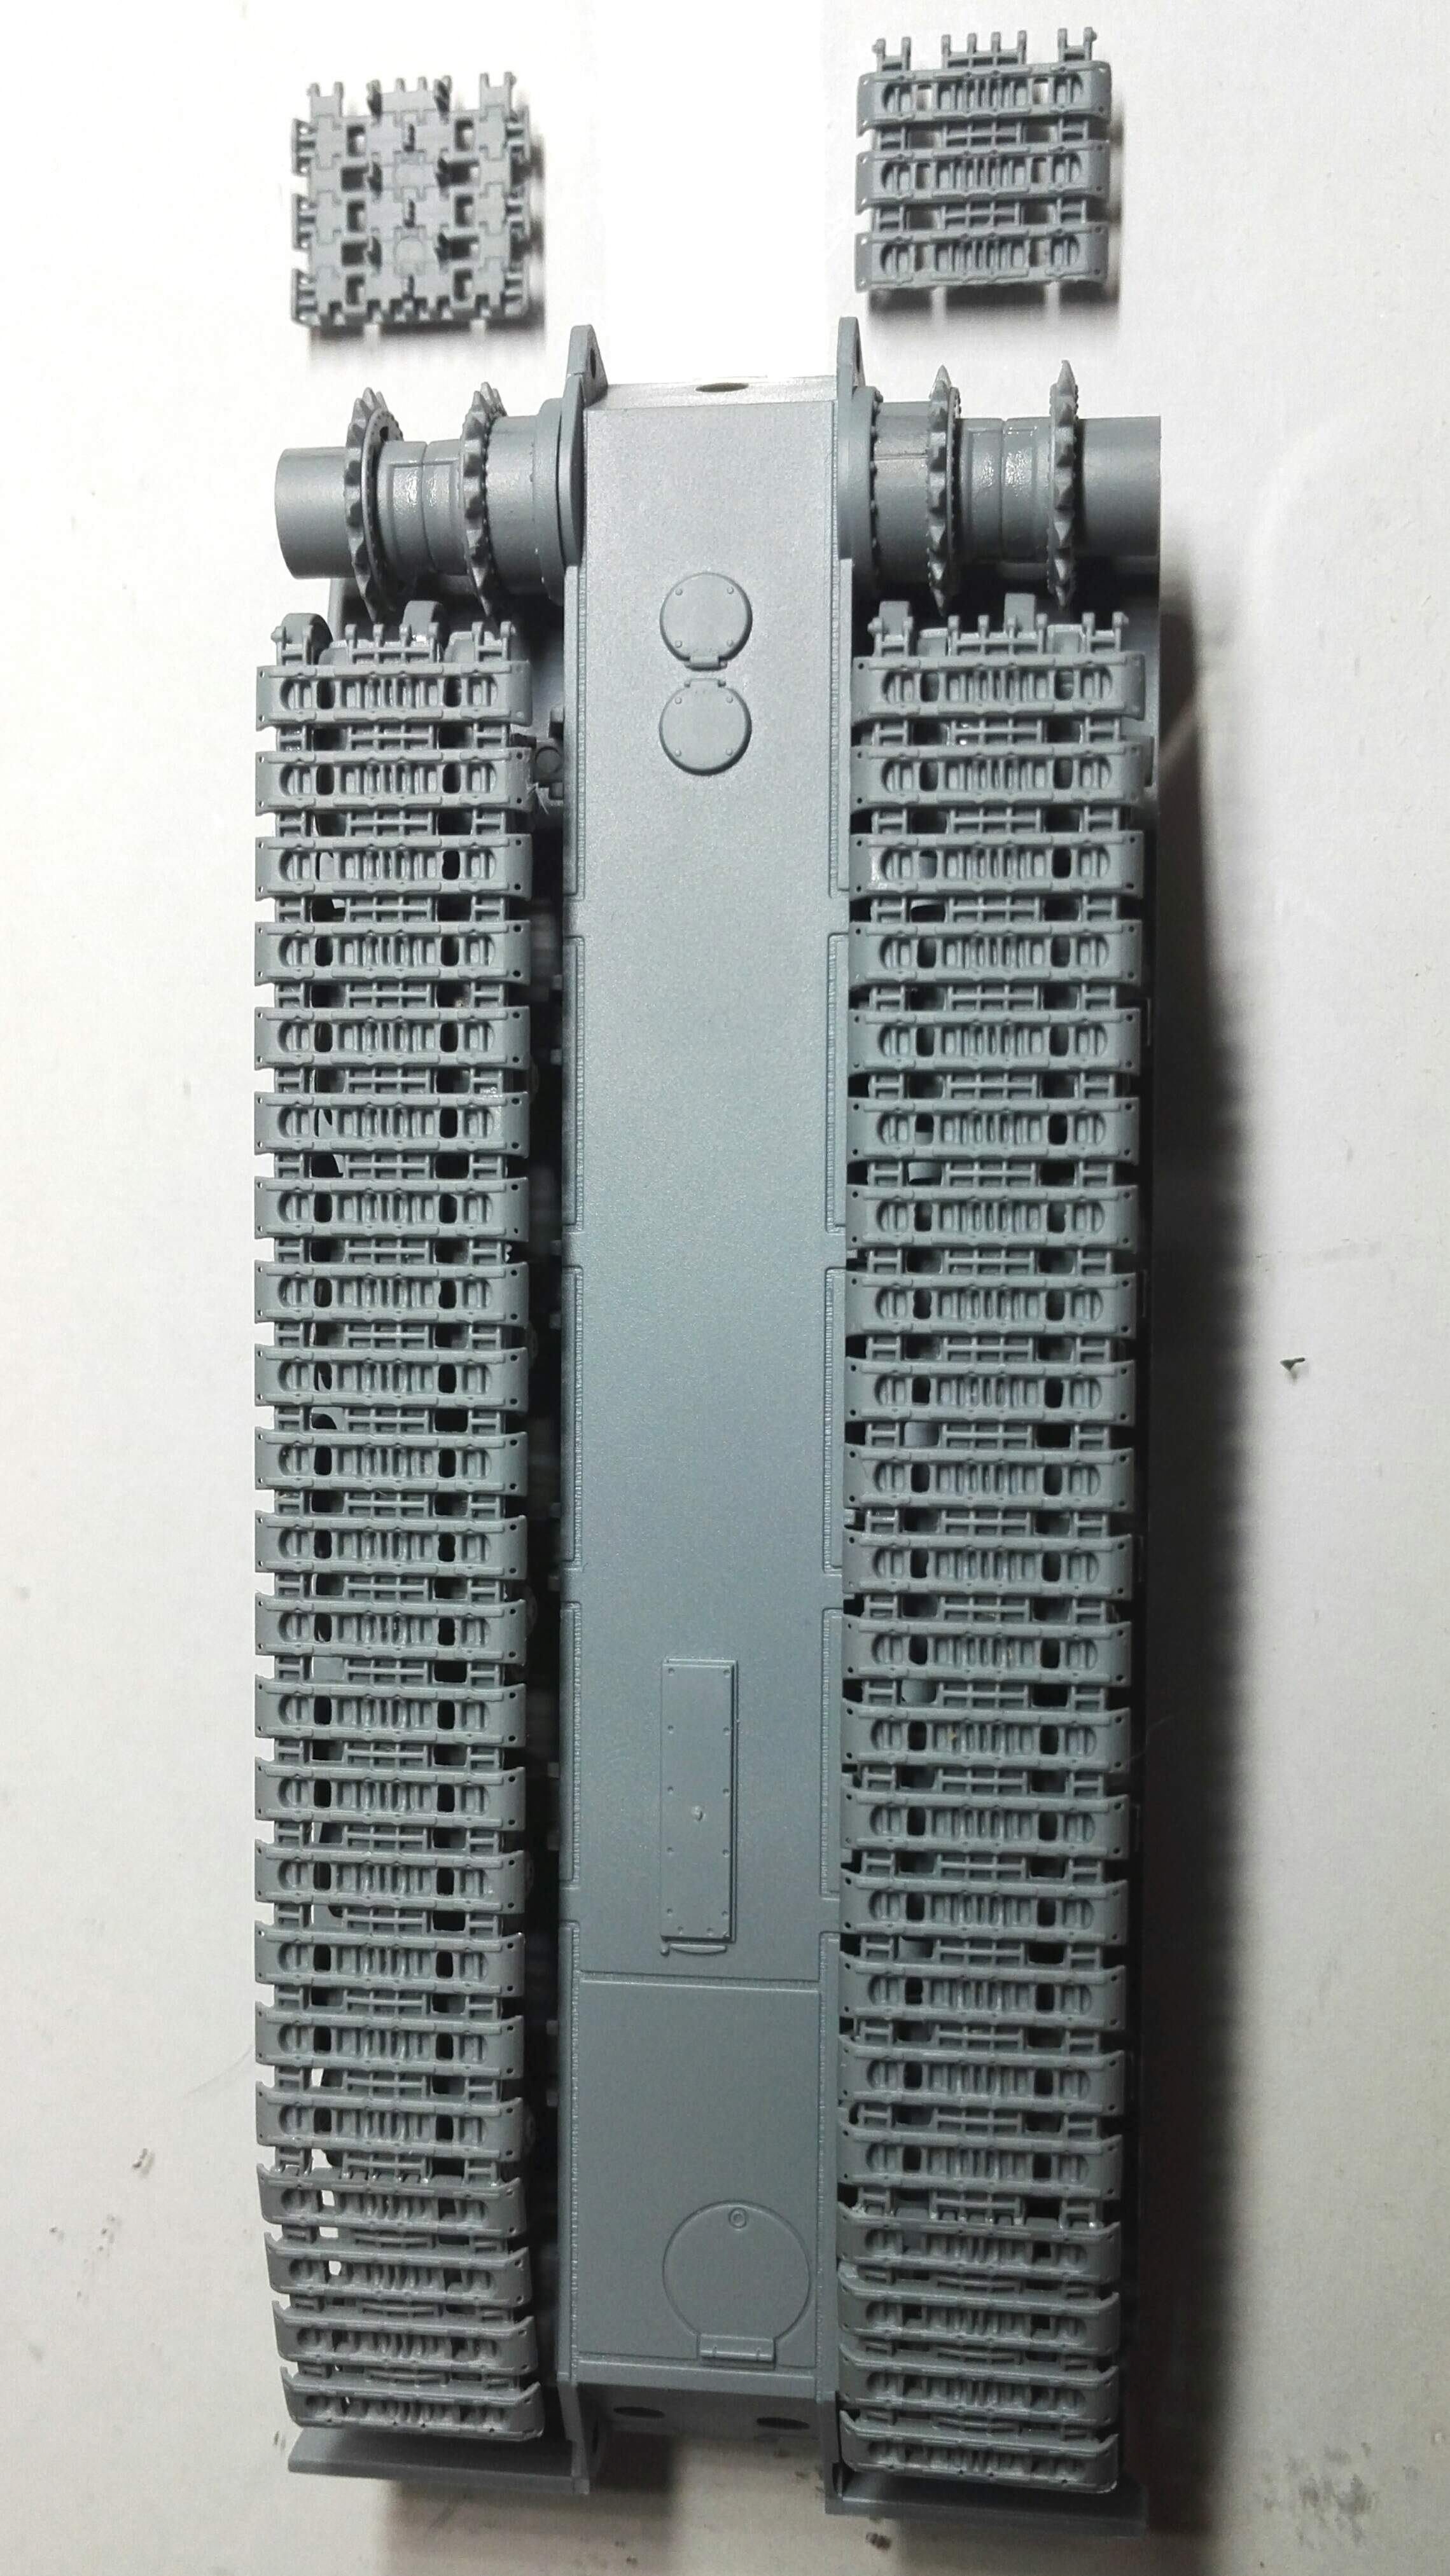
I’ll try to paint this in the same way as I normally do, which is painting the base coats for the tracks and wheels before adding the top. It’s made more awkward by the unusually dominating side skirts, but so long as I can get the masking in the right places, then the paint should follow.
Masking where the glue will go:
Mr Surfacer:
Three (or was it four?) colours from the AK dunkelgelb set (been waiting a long time to try these) :
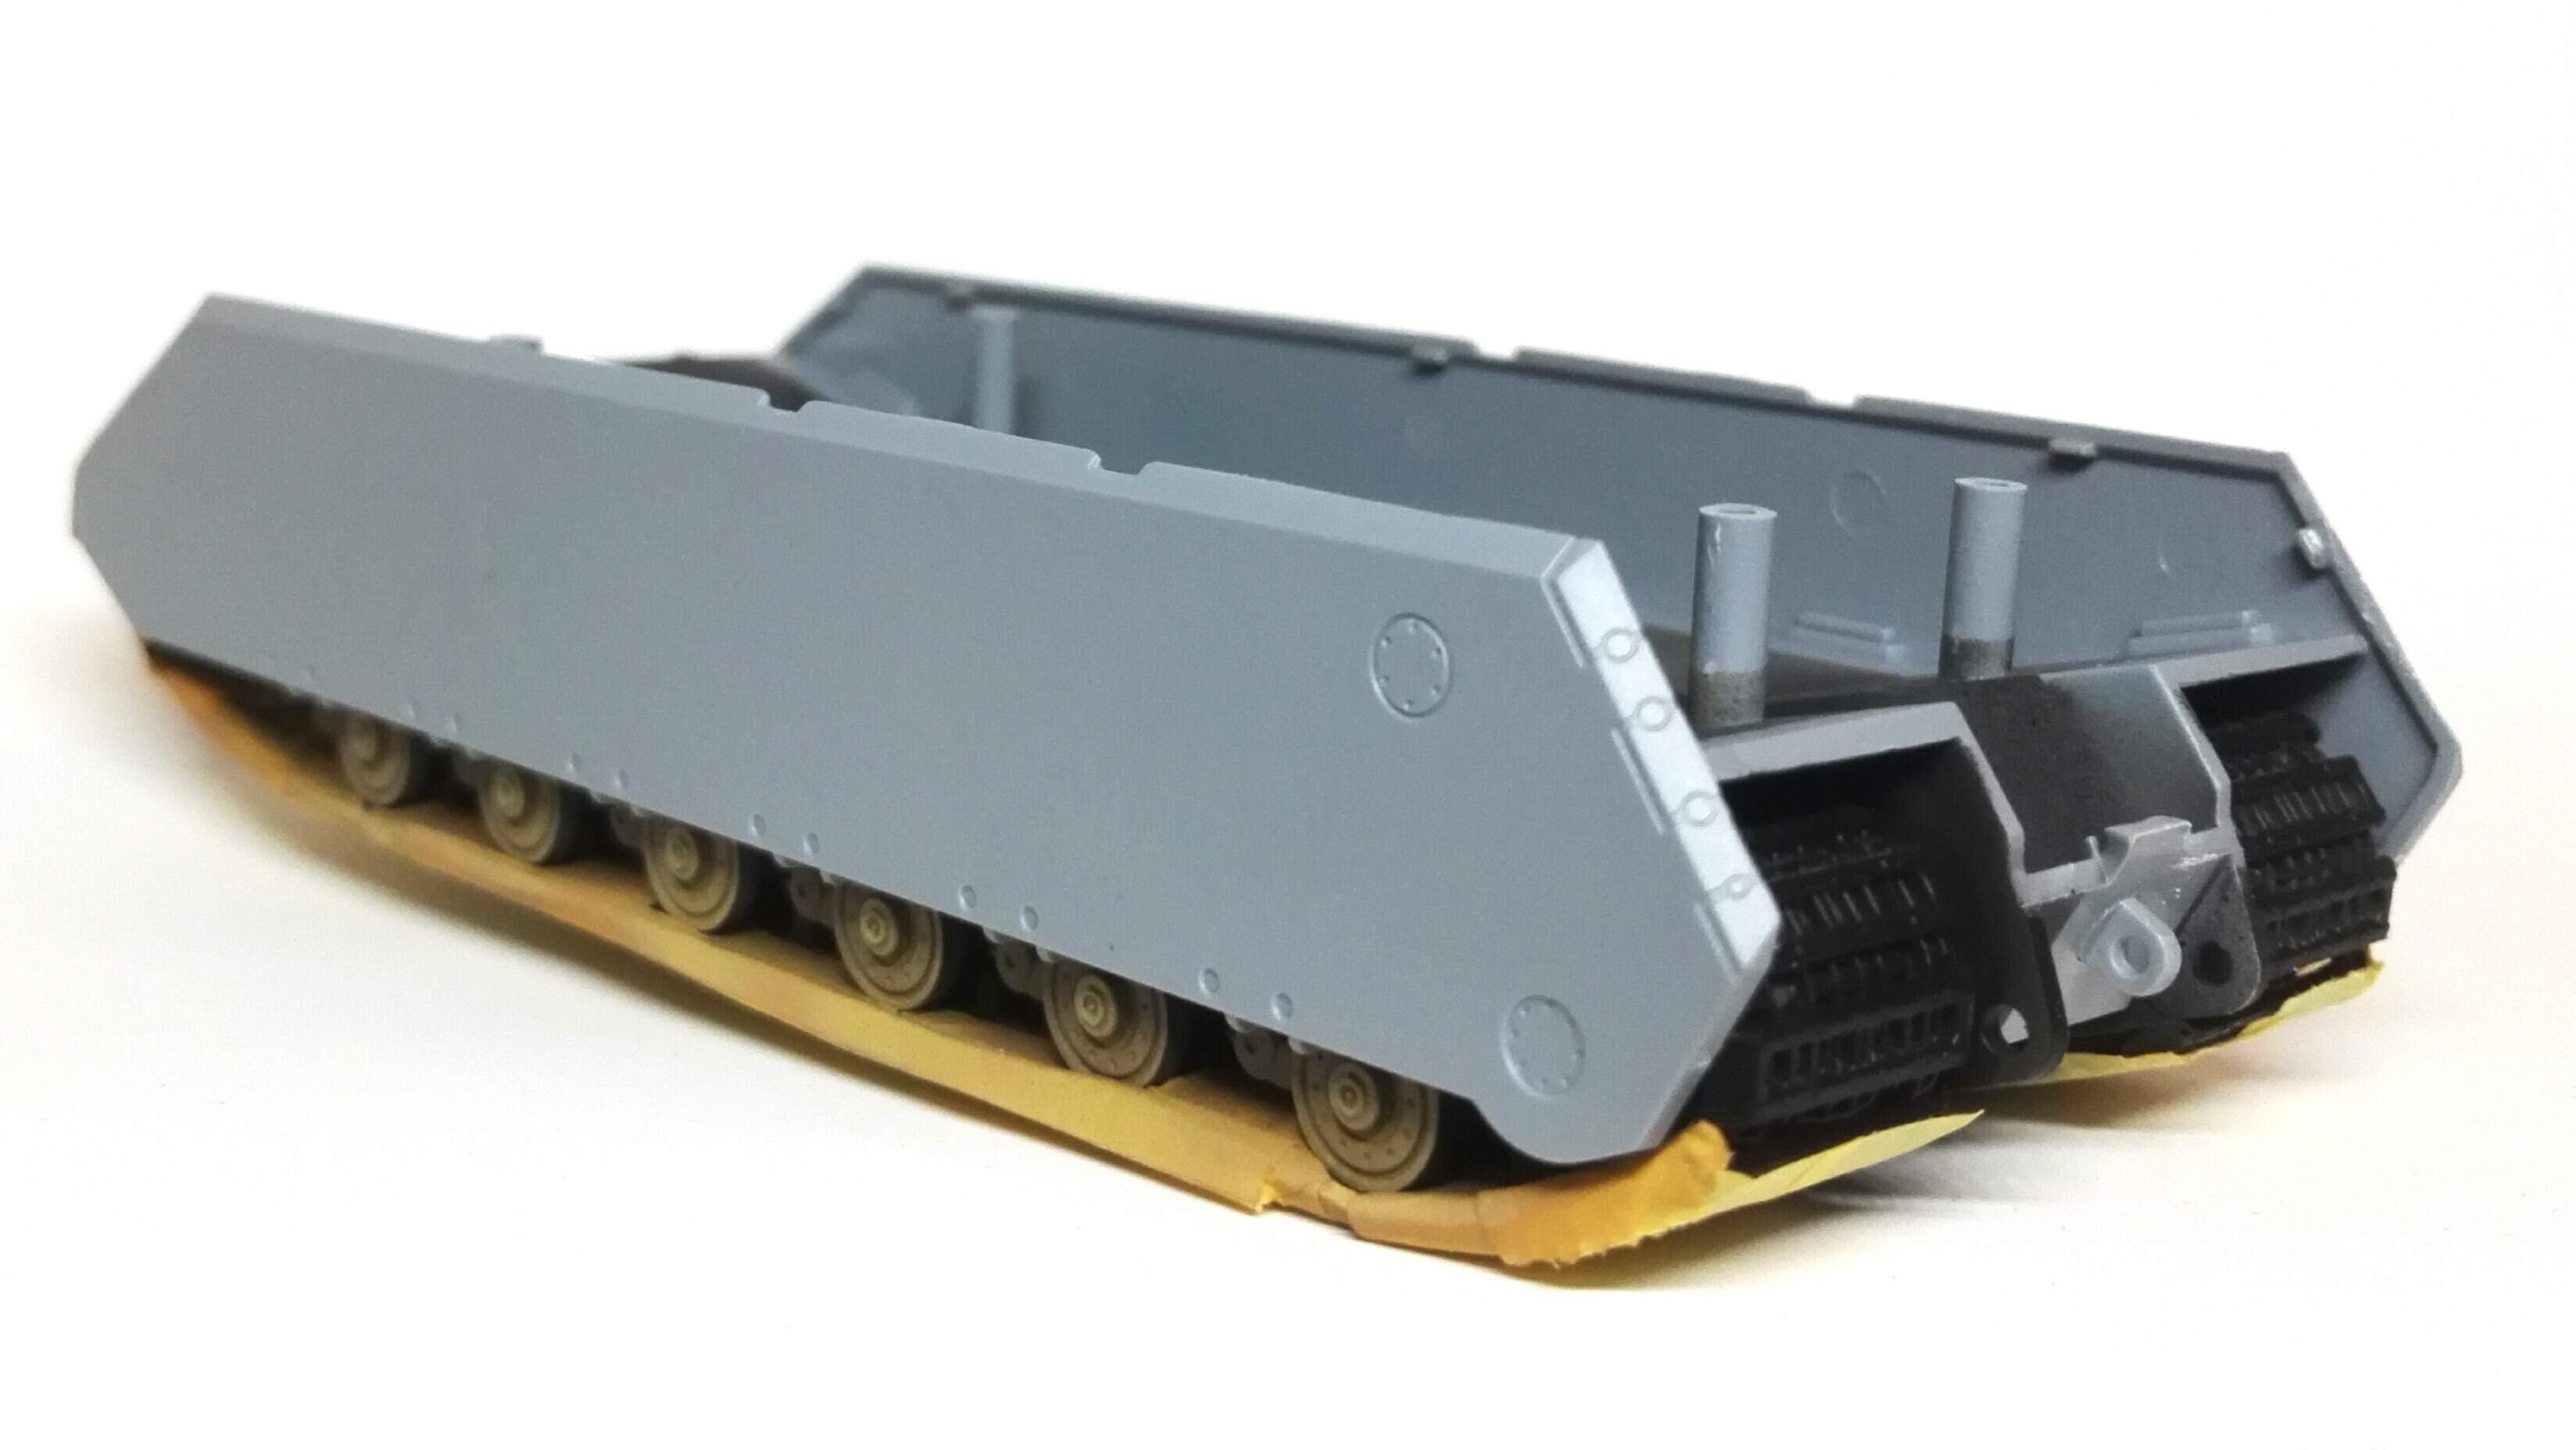
Monster side skirts on:
2 Likes
@FirstCircle looking great!
That fiddly running gear with the millions of wheels turned out excellent!!!
1 Like
Nice progress Matthew. Wheels look good after all that hard work keeping them level.
1 Like
Thanks - I was expecting the wheels to be the trickiest part of this kit, but a few things have cropped up.
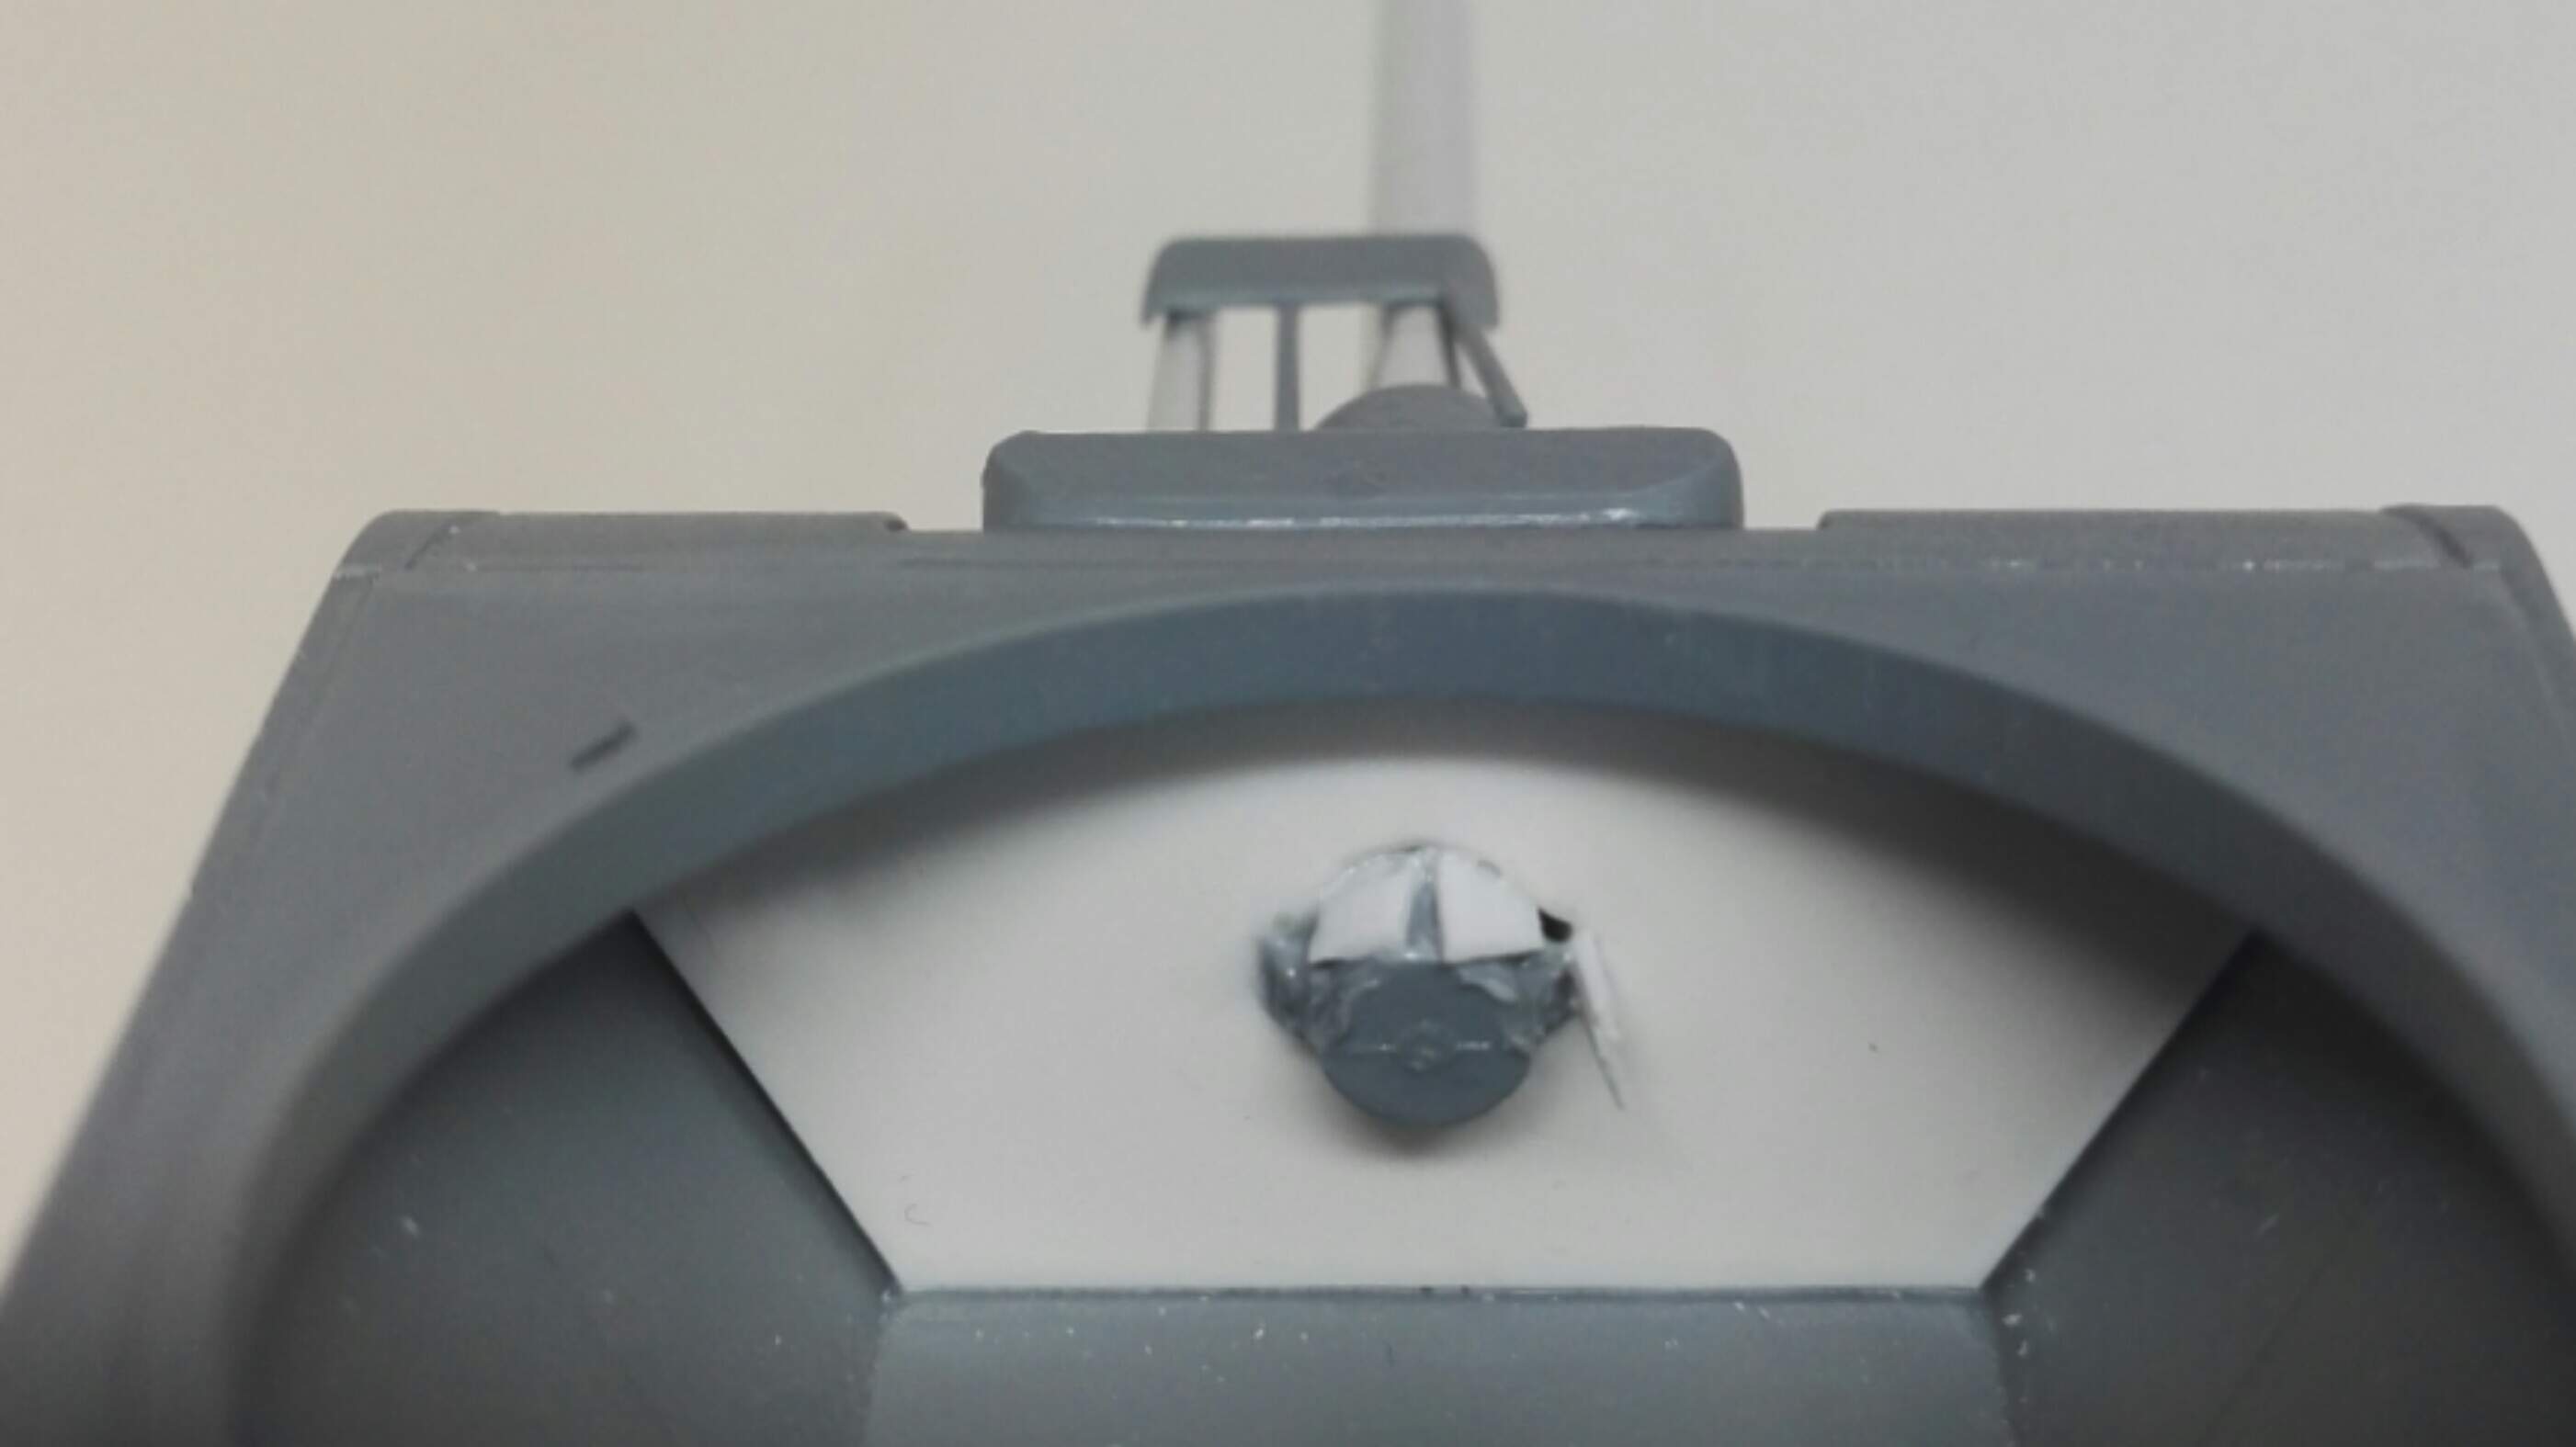
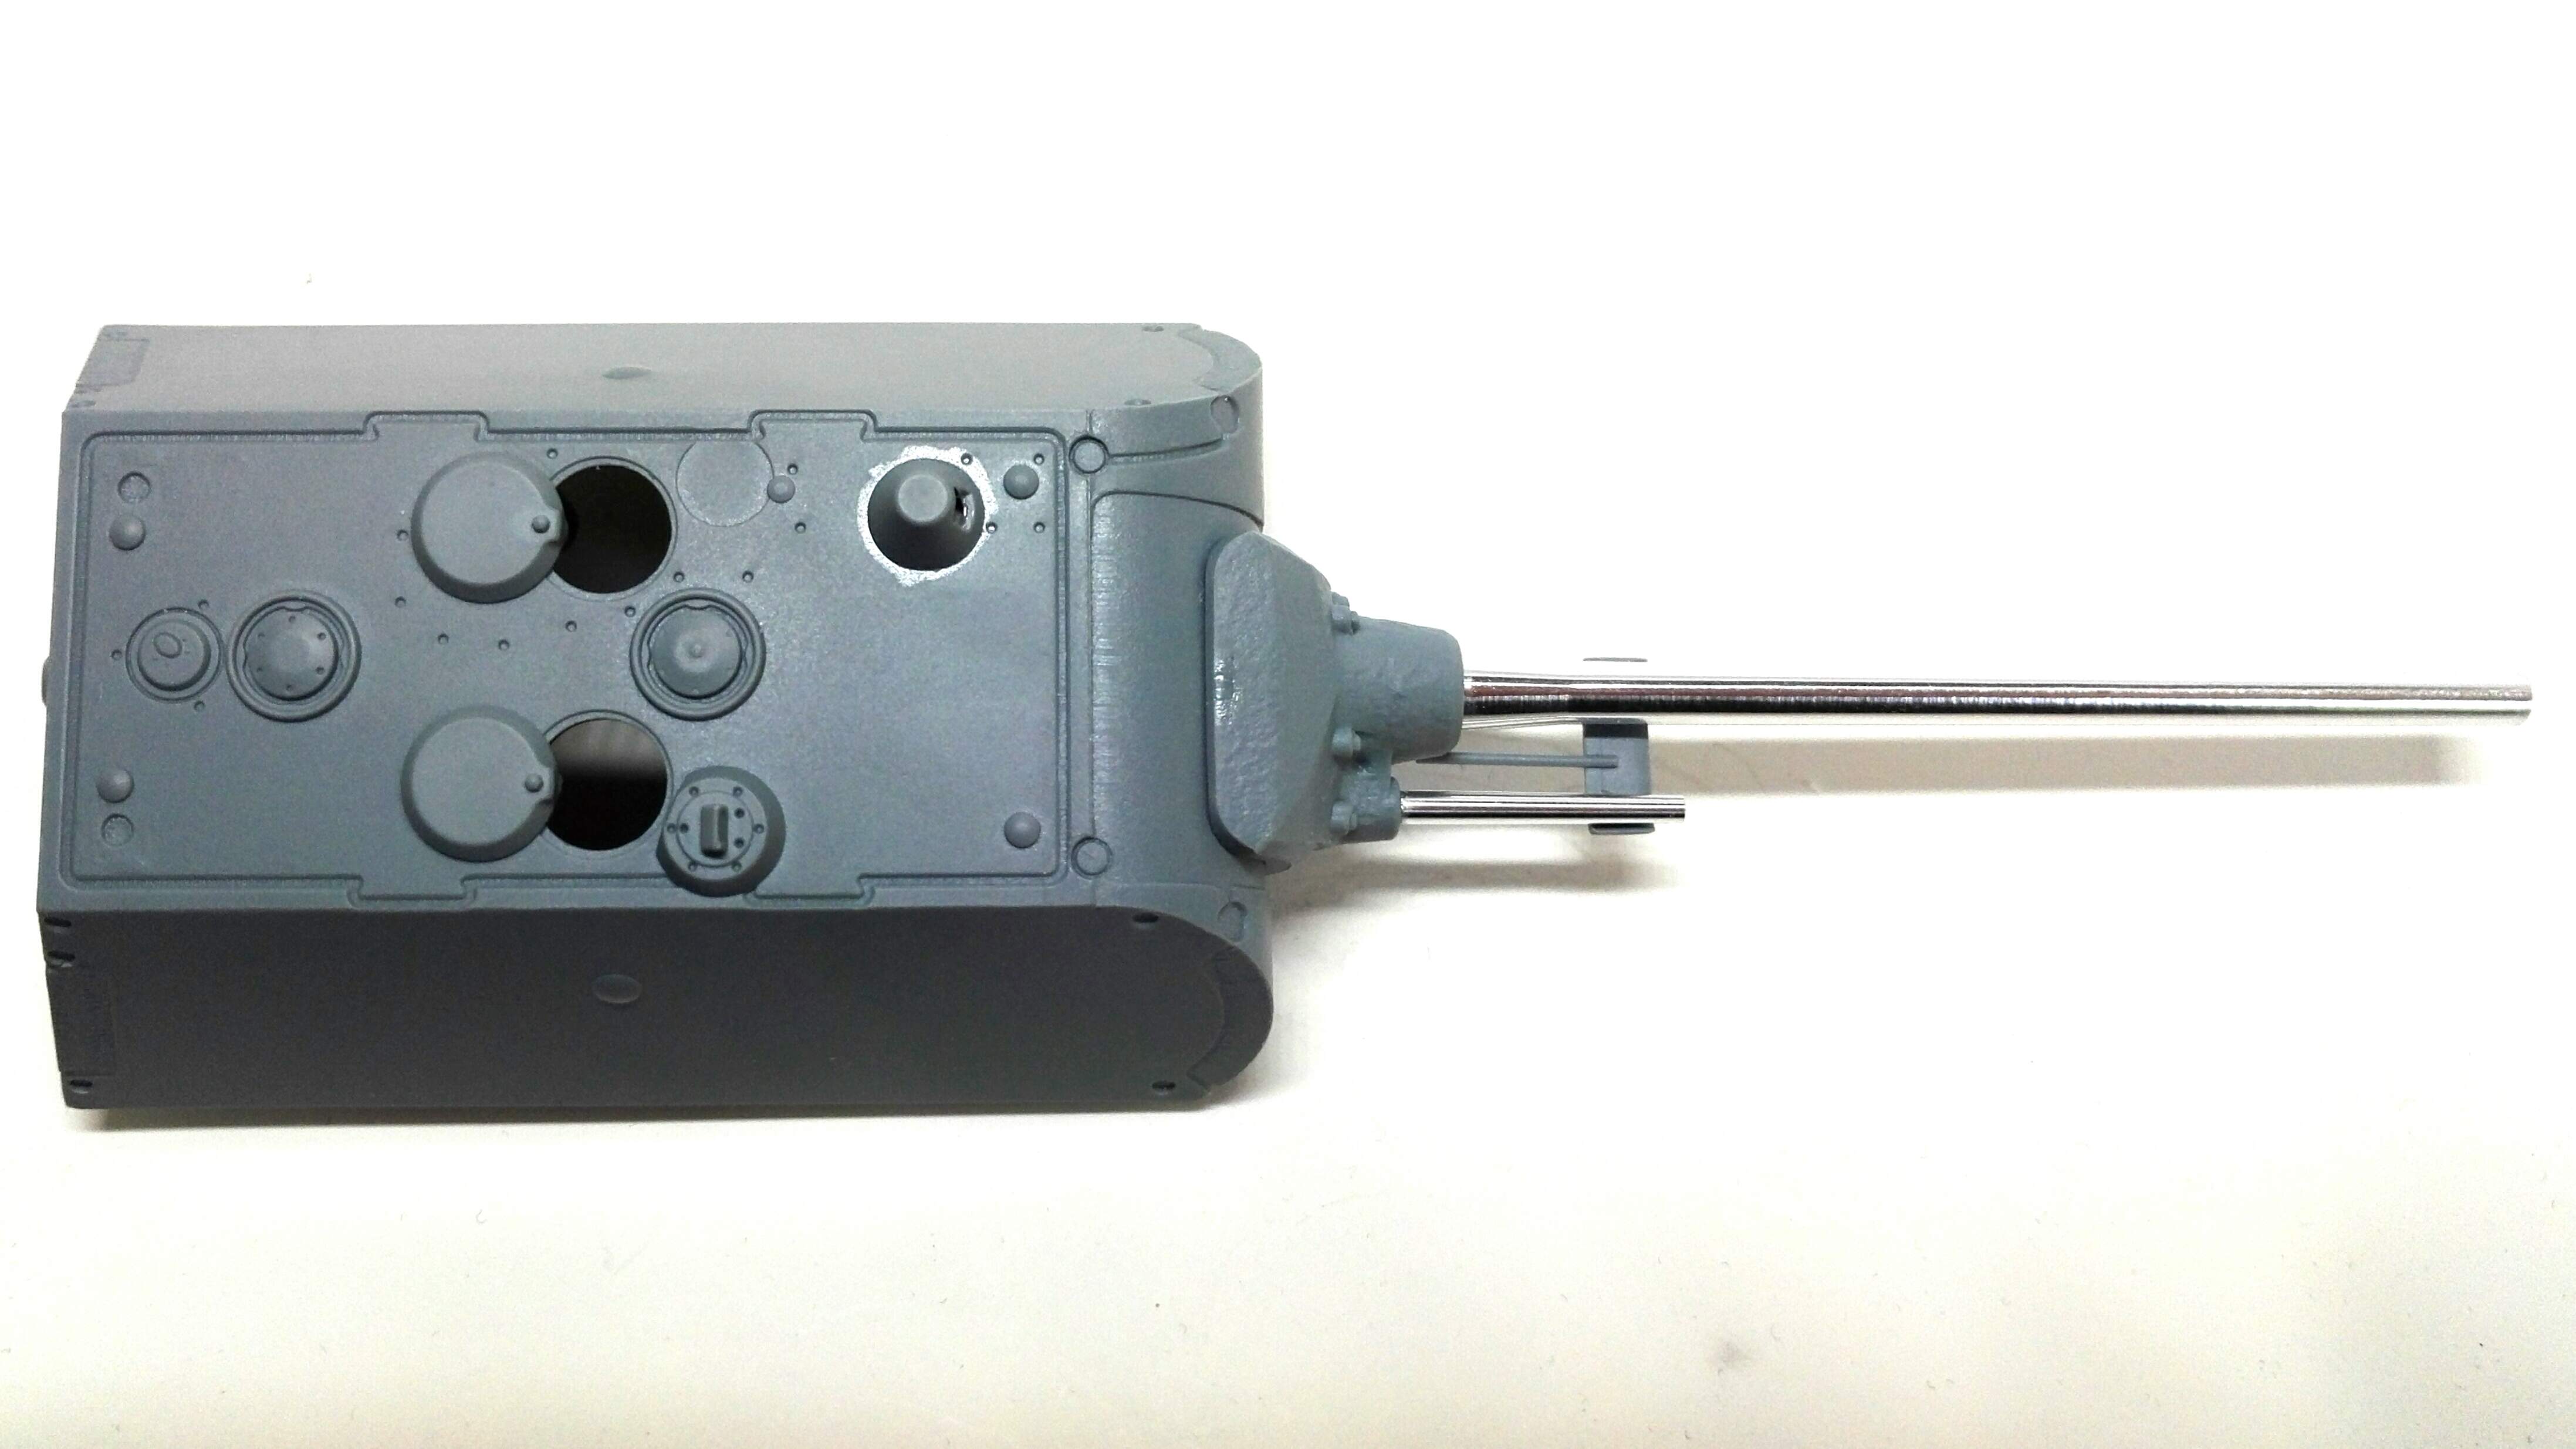
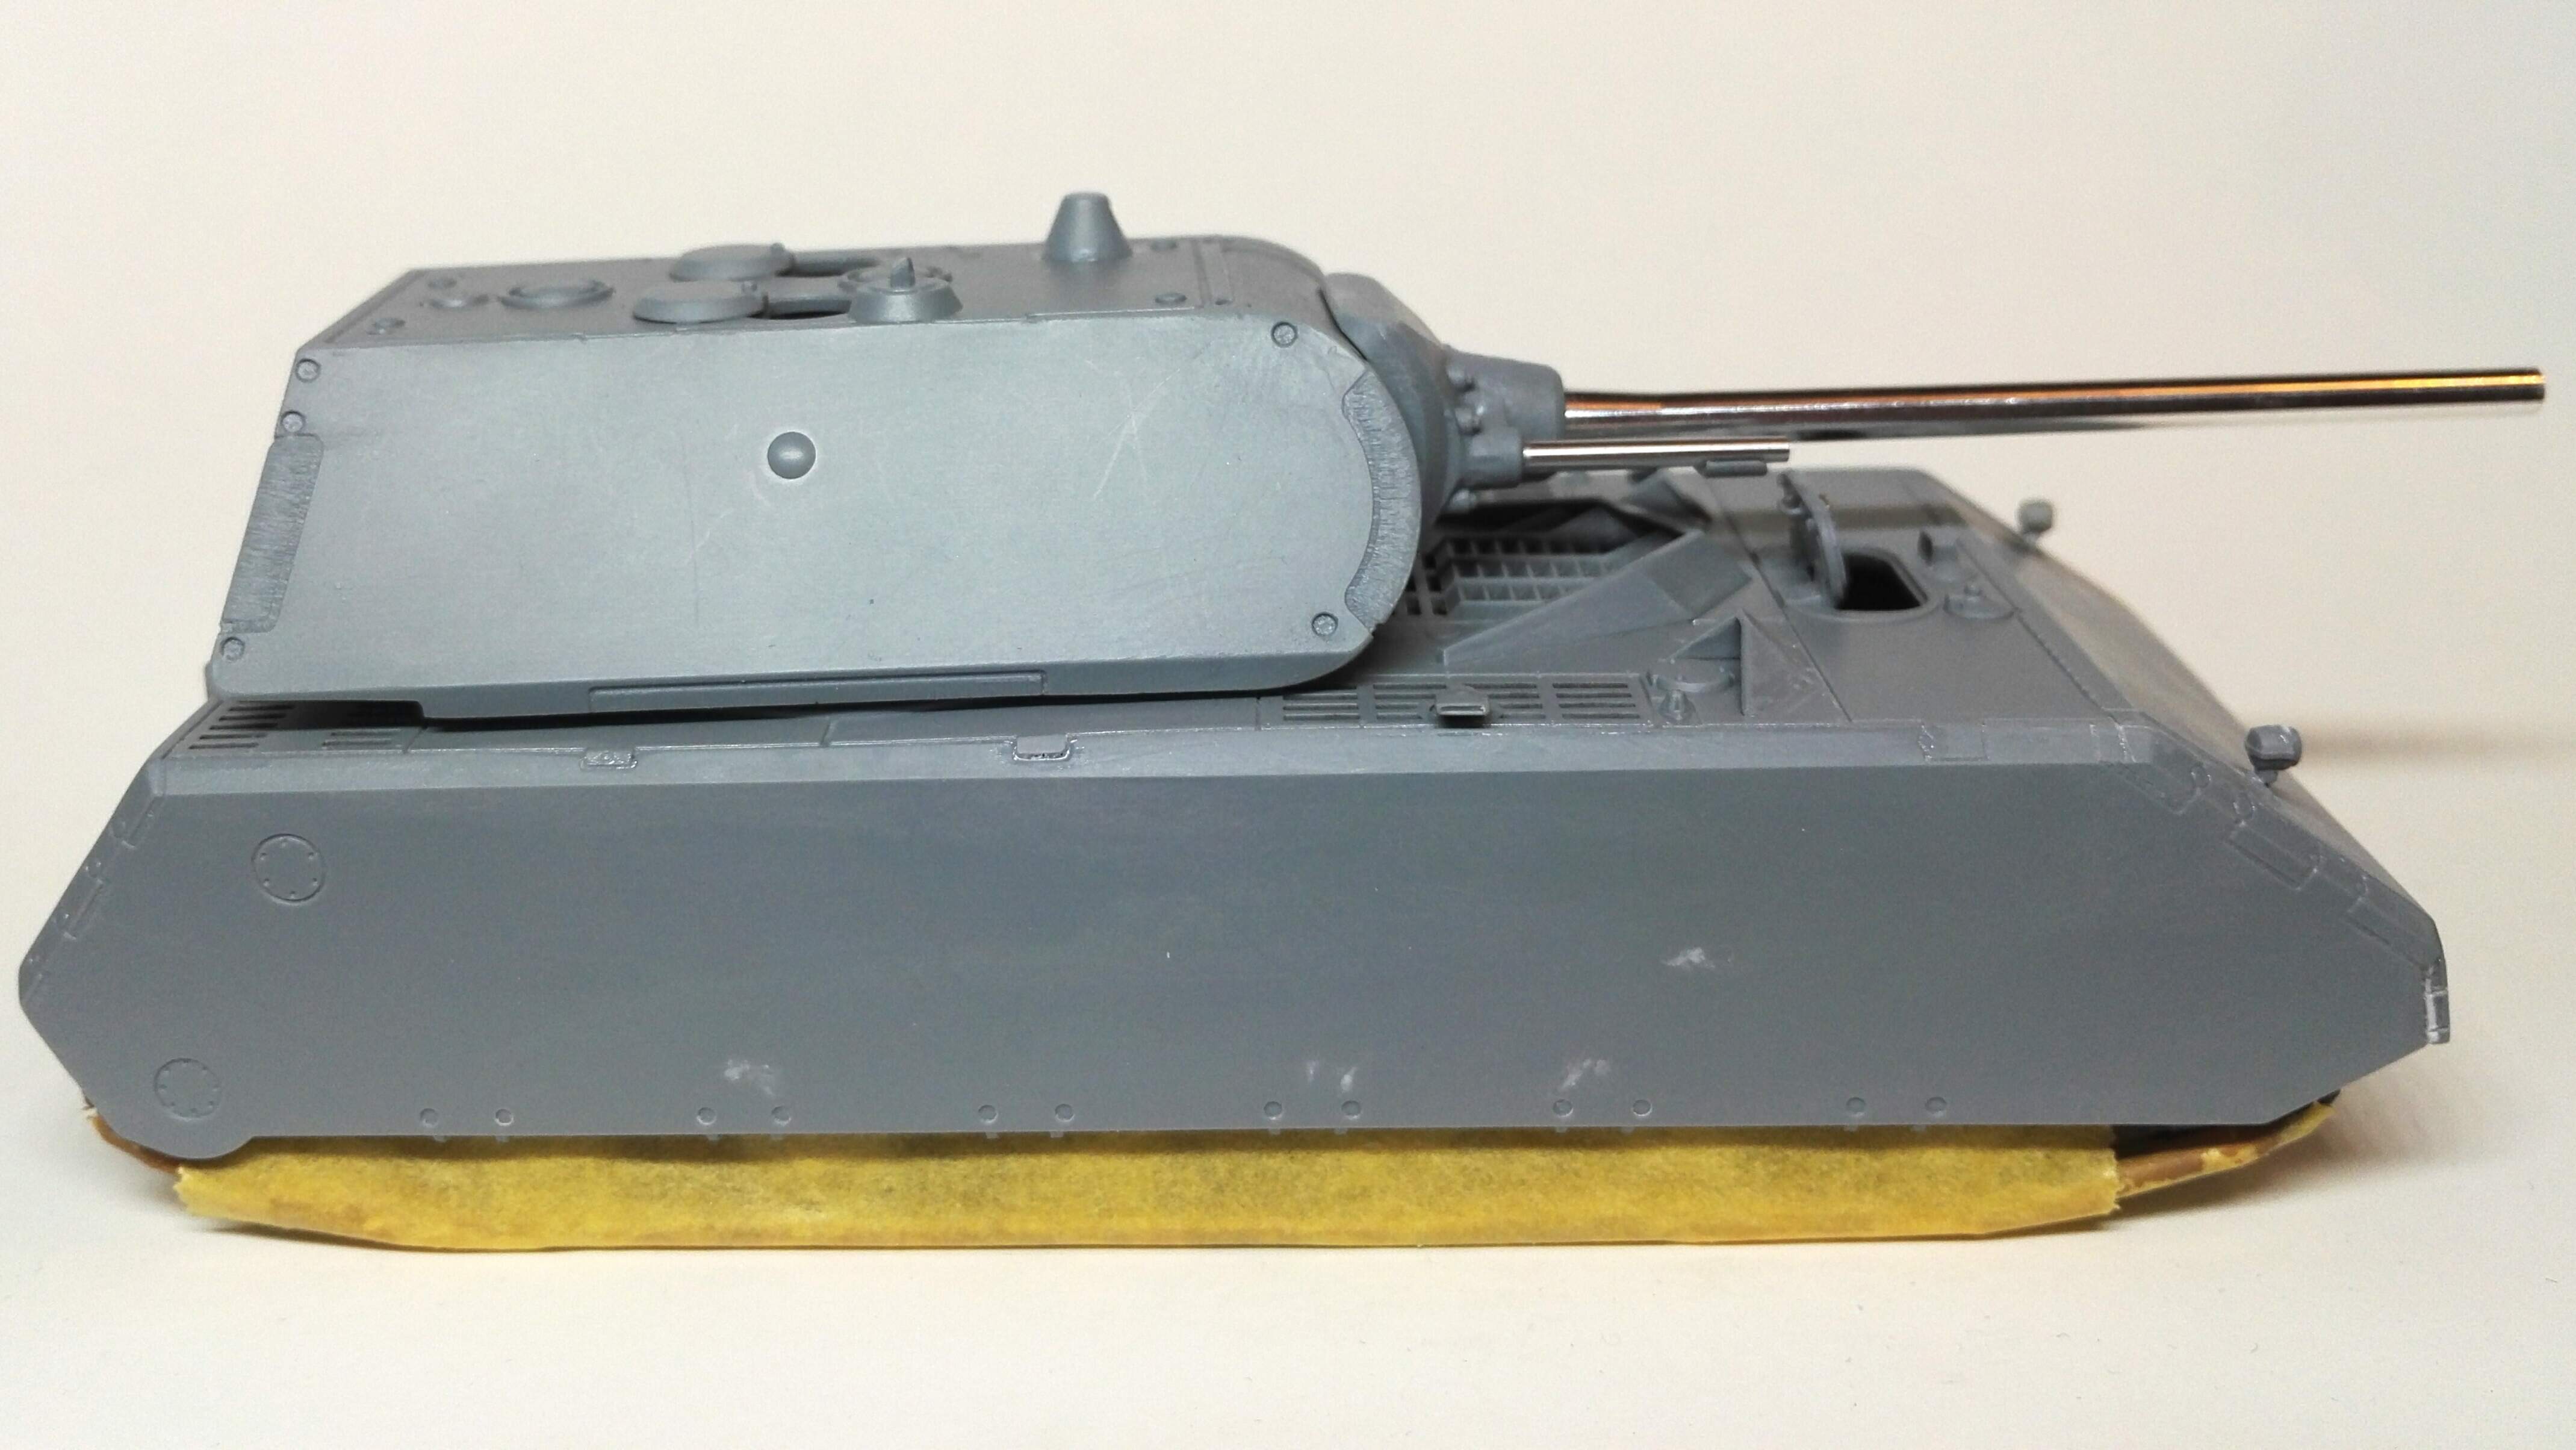
Given the gun and mantlet assembly is so big, the means of attaching it to the turret doesn’t seem very sturdy, it being these two little brackets that locate into two slots on the turret base, presumably so that the gun can elevate.
Simply cementing the mantlet to the turret risks completely sealing the mantlet / turret join, when it should at least look like it can move. Instead I’ve inserted a section of 2mm styrene sheet inside the turret for the end of the gun to fix into, using the slots to locate where the hole needs to go (the 12.5cm gun isn’t exactly centred in the turret).
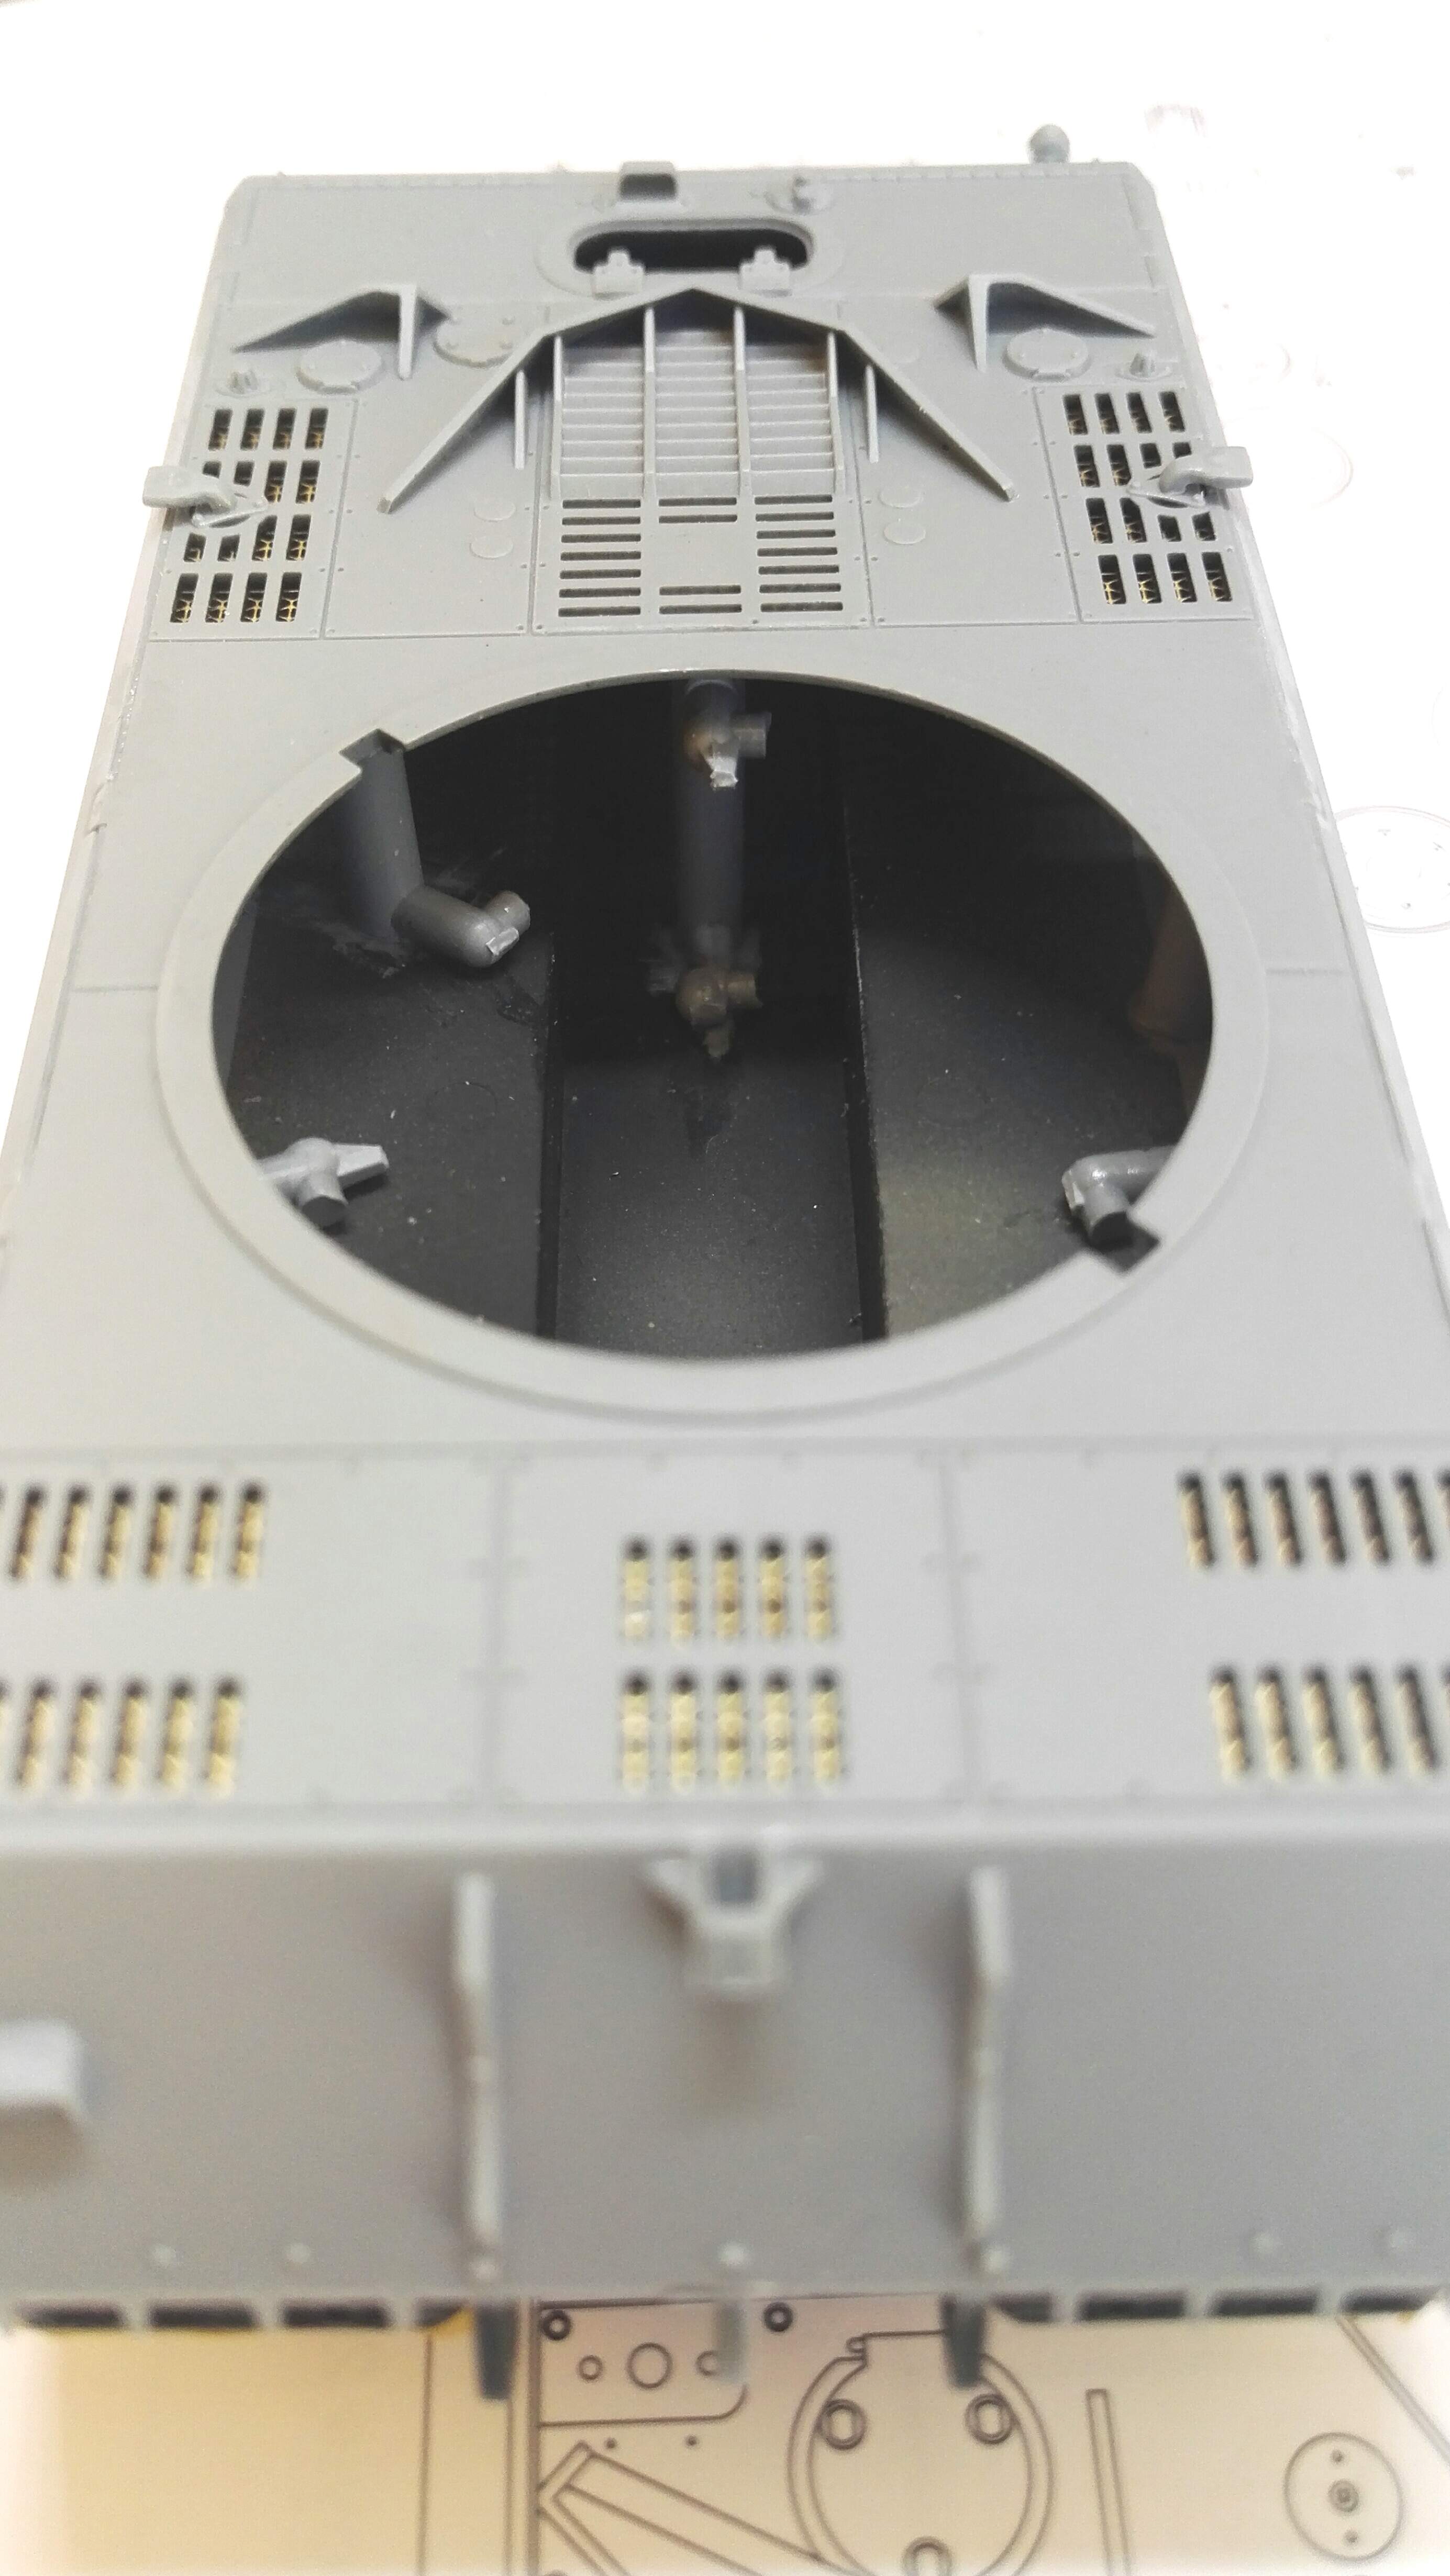
Another slight issue is that the big hull top plate is so big that it slightly warps, I think all of the vent slots in it make it even less rigid than it would be otherwise. So around the turret ring I’ve added several lengths of sprue to brace it and try to make the ring more perfectly level.
A further issue is slight sink marks just at the lower edge of the side plates, where the mounting points are moulded on the other side. Not sure if they will show much once painted, but best fix them anyway.
1 Like
Looking better each time Matthew and nice solution to barrel and deck issues.
1 Like
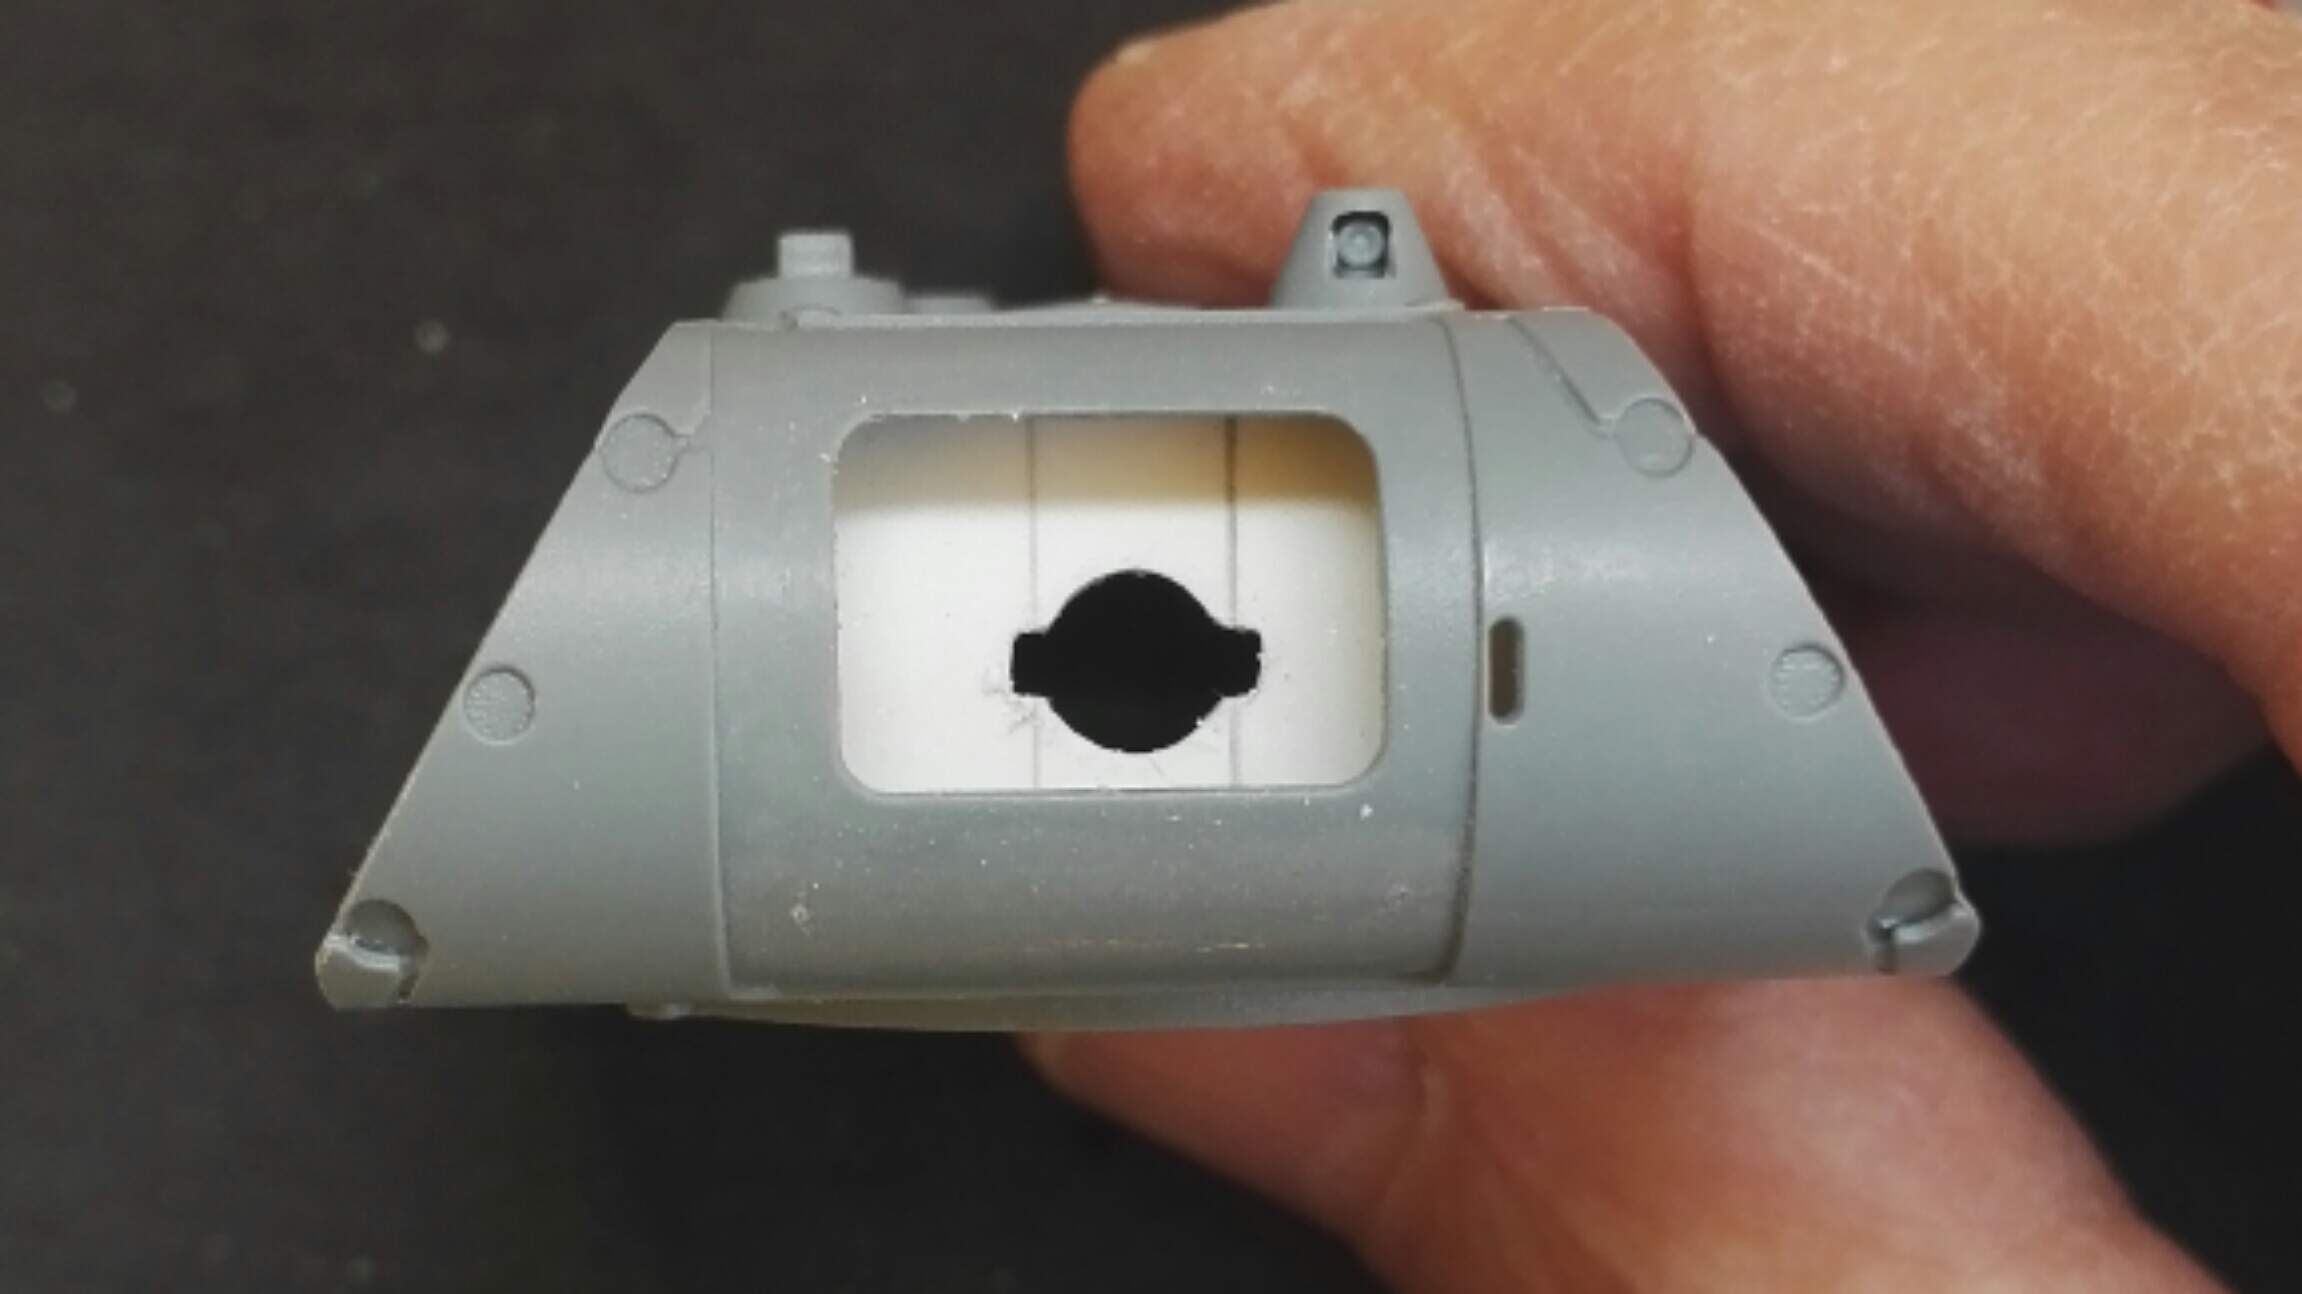
Having broken off and lost one of the lights (always lose at least one component for every build) it’s been replaced with a spare from a Dragon Panther kit. Fitted the driver hatch open, replacing the interior tab with wire.
Although the only completed Maus didn’t have them, as there are four track links over I’m thinking about mounting them on the turret, since every other German tank had them it seems to make sense. Can’t quite decide if it enhances it, or spoils the very clean lines. Wondering if it should really have tools as well.
2 Likes
On a personal note I would leave the spare links off it. And if you are thinking about tools, I would add an external bin or 2. With a wagon that mammoth in size, I would think any track maintenance will require a dedicated maint team as the side skirts would need to be removed and that isnt going to be a small task.


 However, as you mention early on that most of it will be covered by the rather imposing side skirts.
  As a previous poster mentioned, it would have been quite a nightmare to repair or even service the 1:1 version.
  I’ll be following this one and hope it proves to be far less troublesome than the Airfix Tiger!