i have the old dragon mule kit and I’m now somewhat nervous about building it lol.
3 Likes
I feel ya Travis @Apache26, I spent at least a couple hours just cleaning up the engine cage, the mold seams on that frail little bugger were exhausting.
Like you progress so far the PE will make it sparkle!
Cajun ![]()
4 Likes
Sorry to hear that you are sick, Travis, but hopefully you can get a lot done while you are off.
It is frustrating how a kit that should be a refreshingly easy build turns out to be something that requires a lot of extra work because the kit is not the greatest. I’m glad you were able to get ahold of the PE for the kit. I am sure you will make it look good and I look forward to seeing the diorama you are placing it in.
2 Likes
Hi guys,
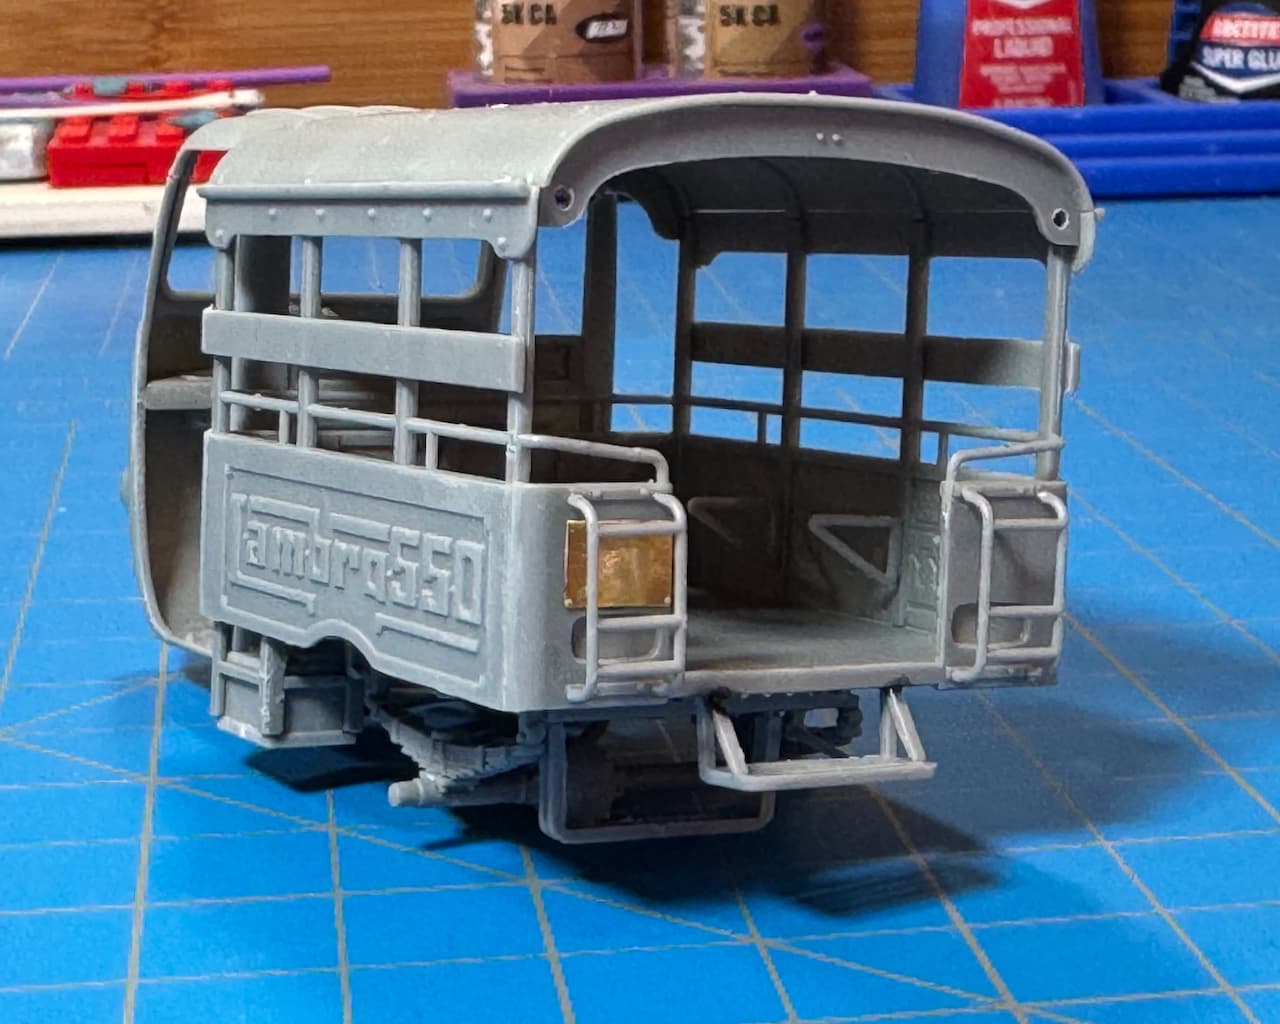
Here’s a little more work on the Lambro 550. ![]()
Tweezer weight-n-wedges are keeping the spine in alignment for overnight curing. The front steering yoke and wheel assembly crapped-out earlier-on — no surprise there. It’ll need to be reattached when handling is a little more stable.


Steps 5-10
Skipping around in the instructions a bit. The engine, handlebar, etc. are assembled and are set aside. Also, I’m omitting clear and other parts for handling purposes.
Tis a jinky little bugger! ![]()
Taxi!
—mike ![]()
10 Likes
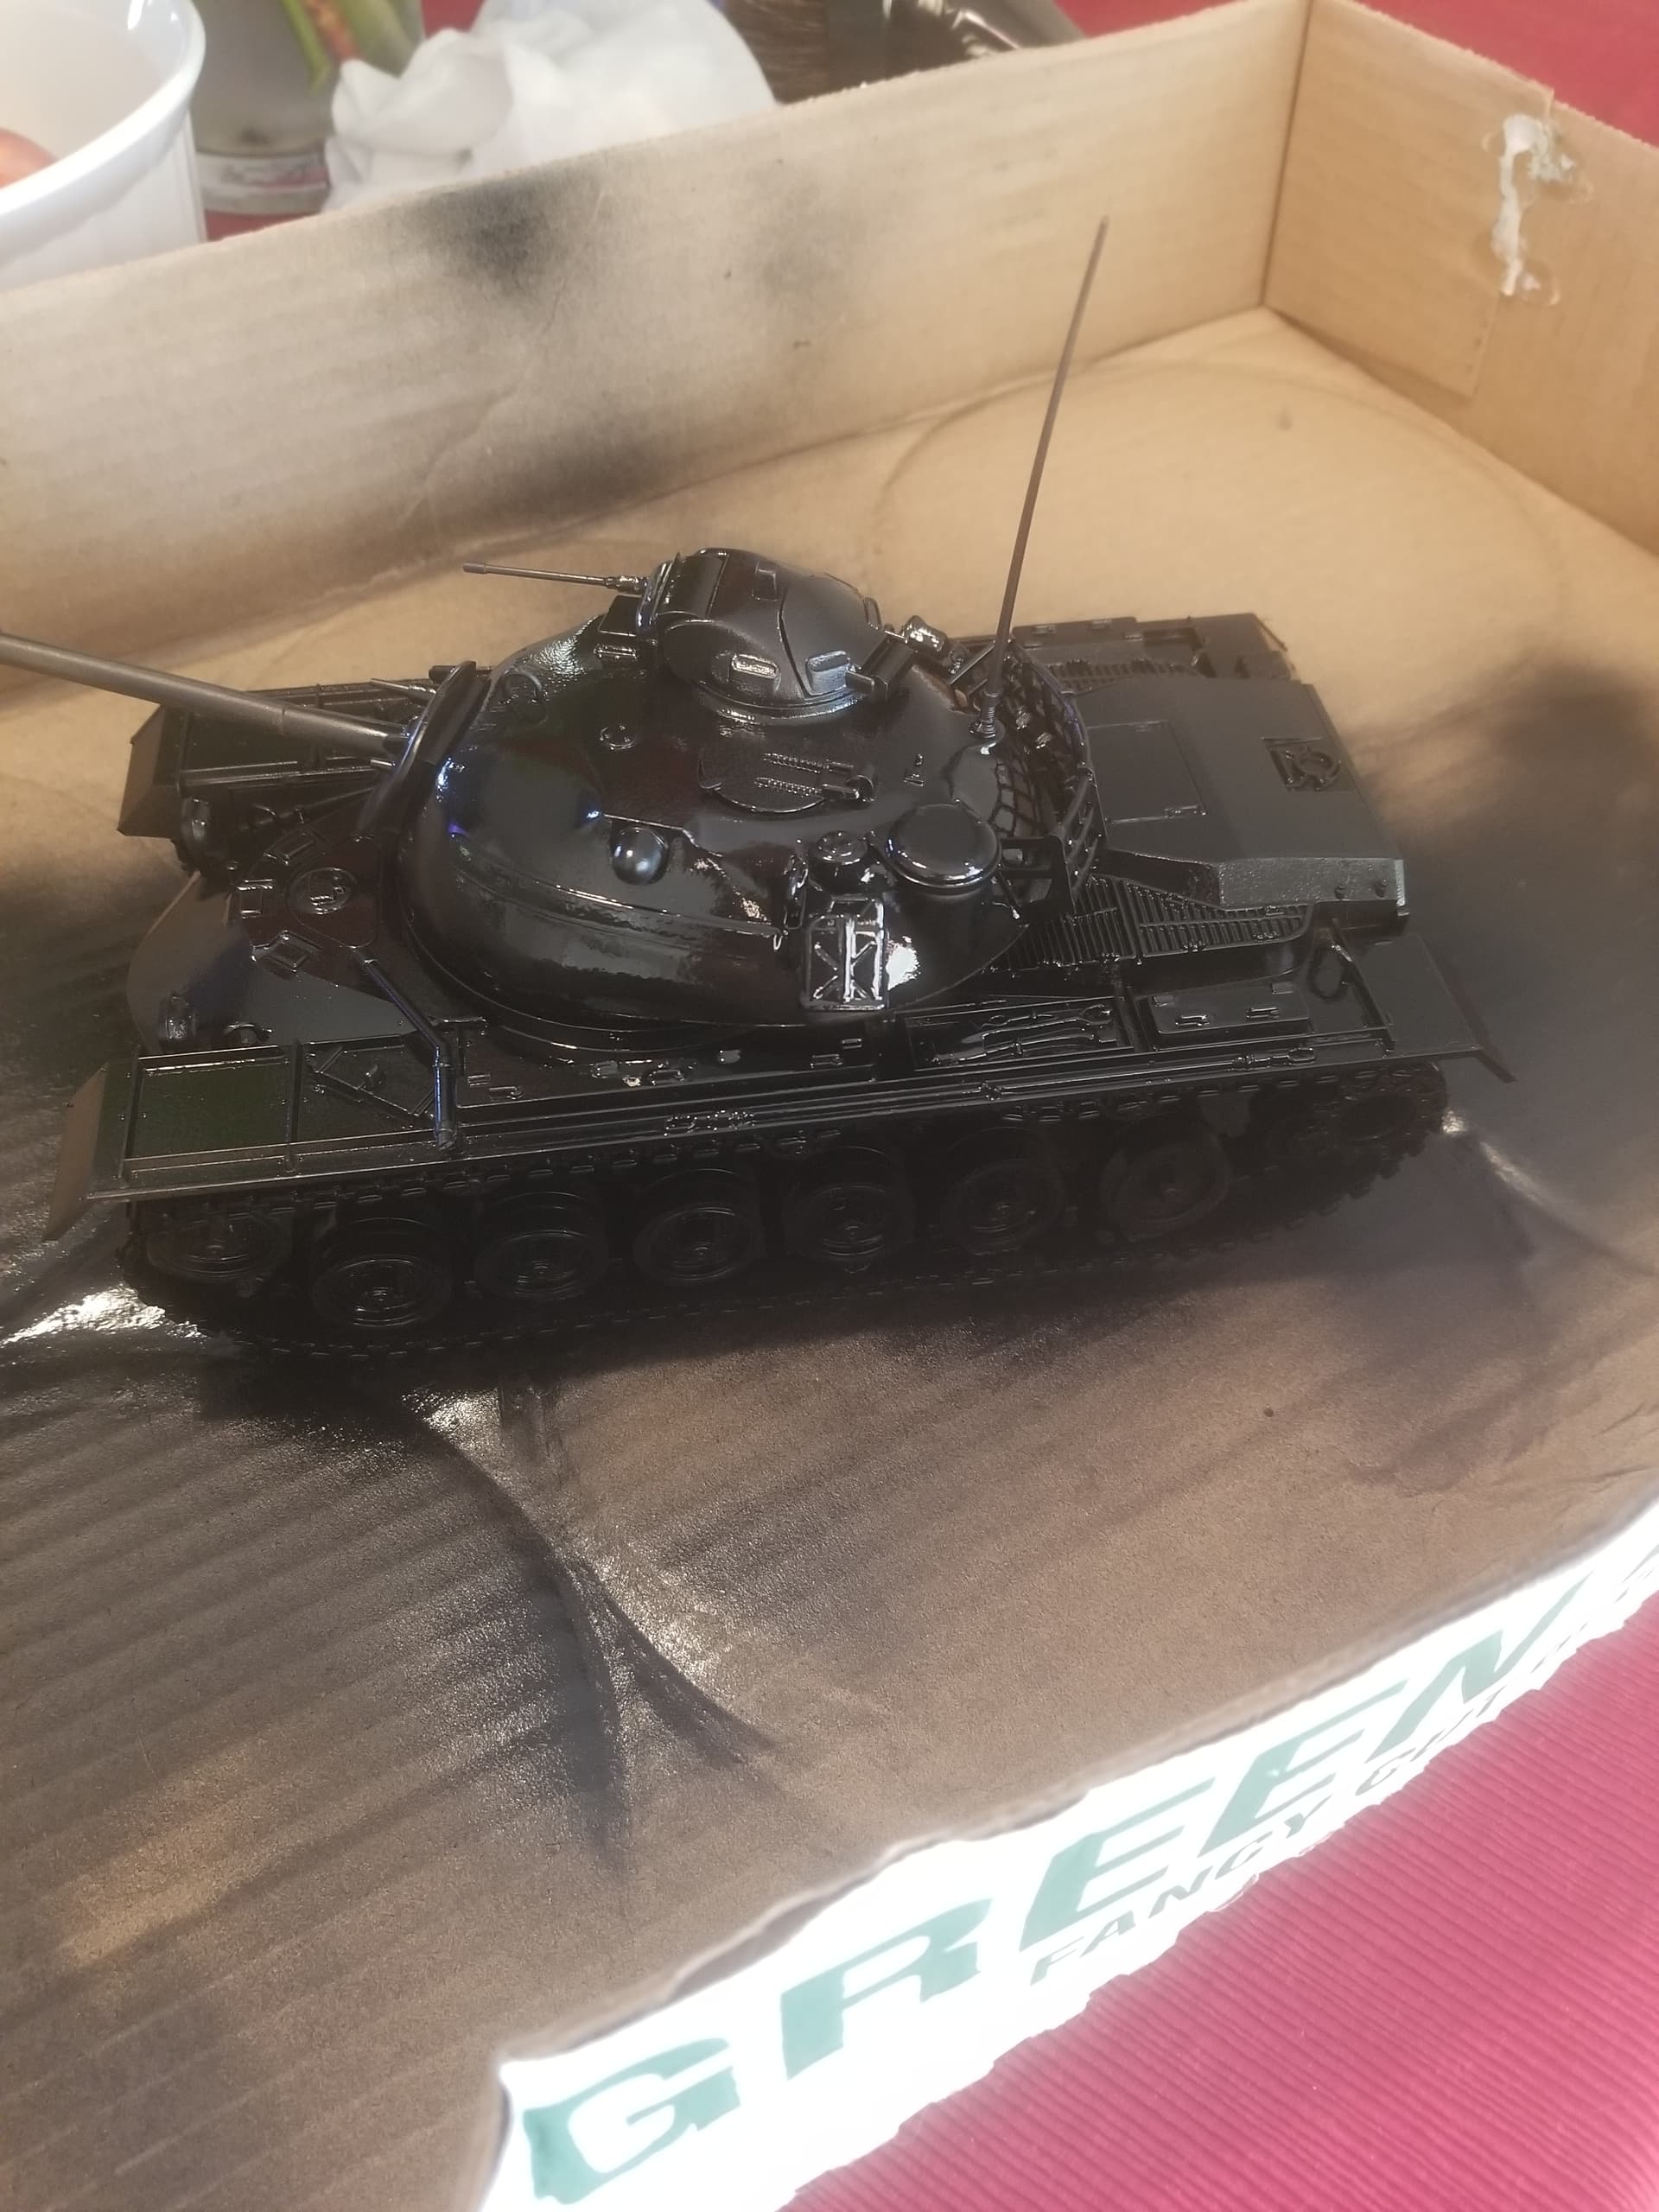
so finished putting on the small bits and applied the primer coat should have some paint and decals soon. May also try some mild weathering.
TinyDog01

12 Likes
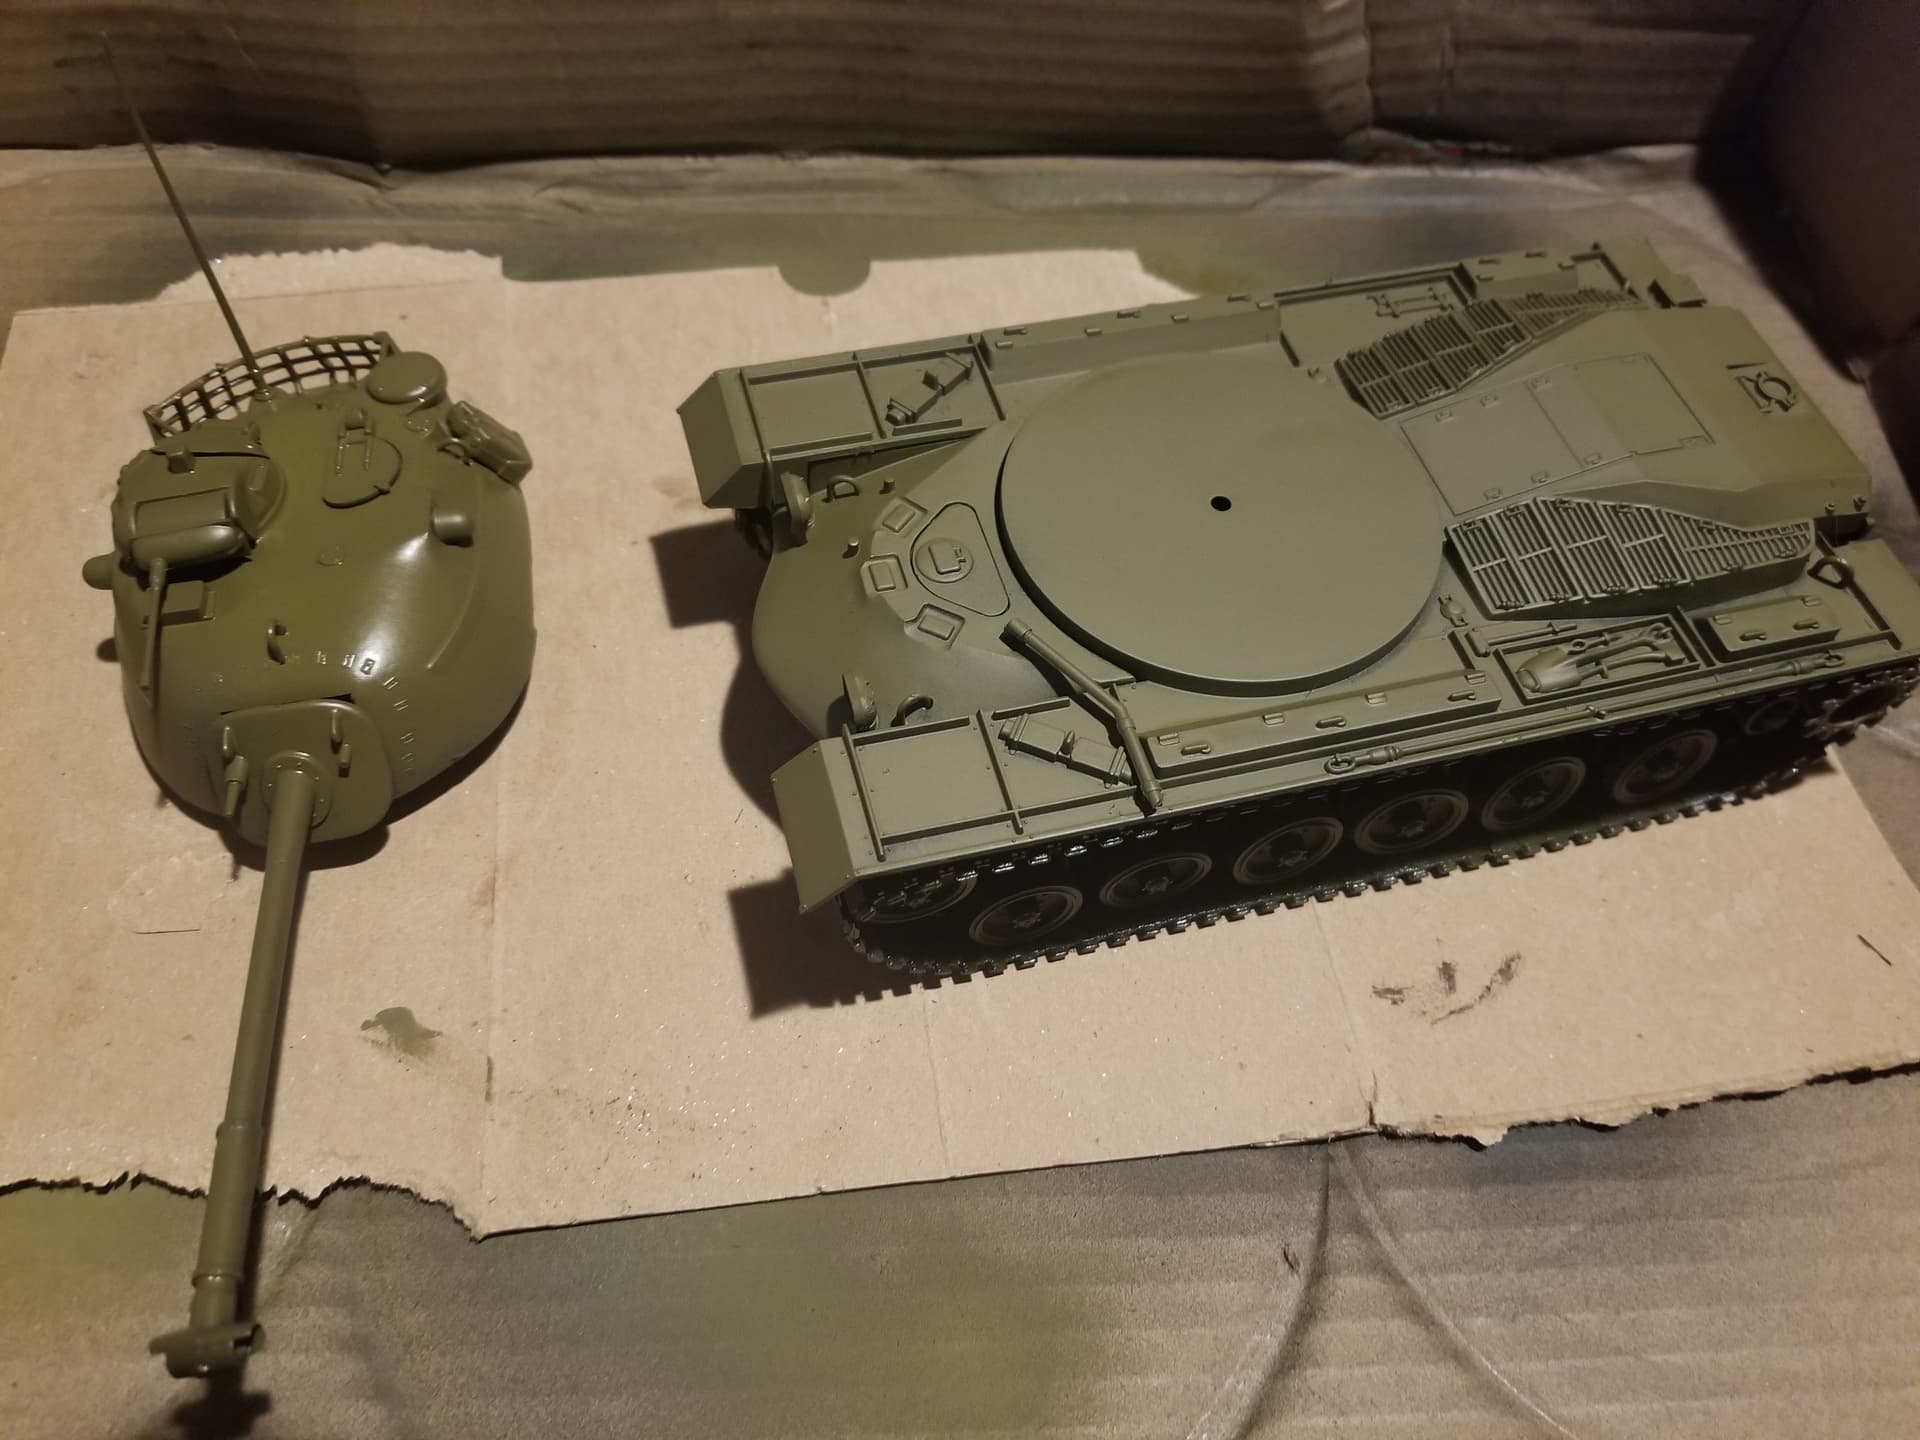
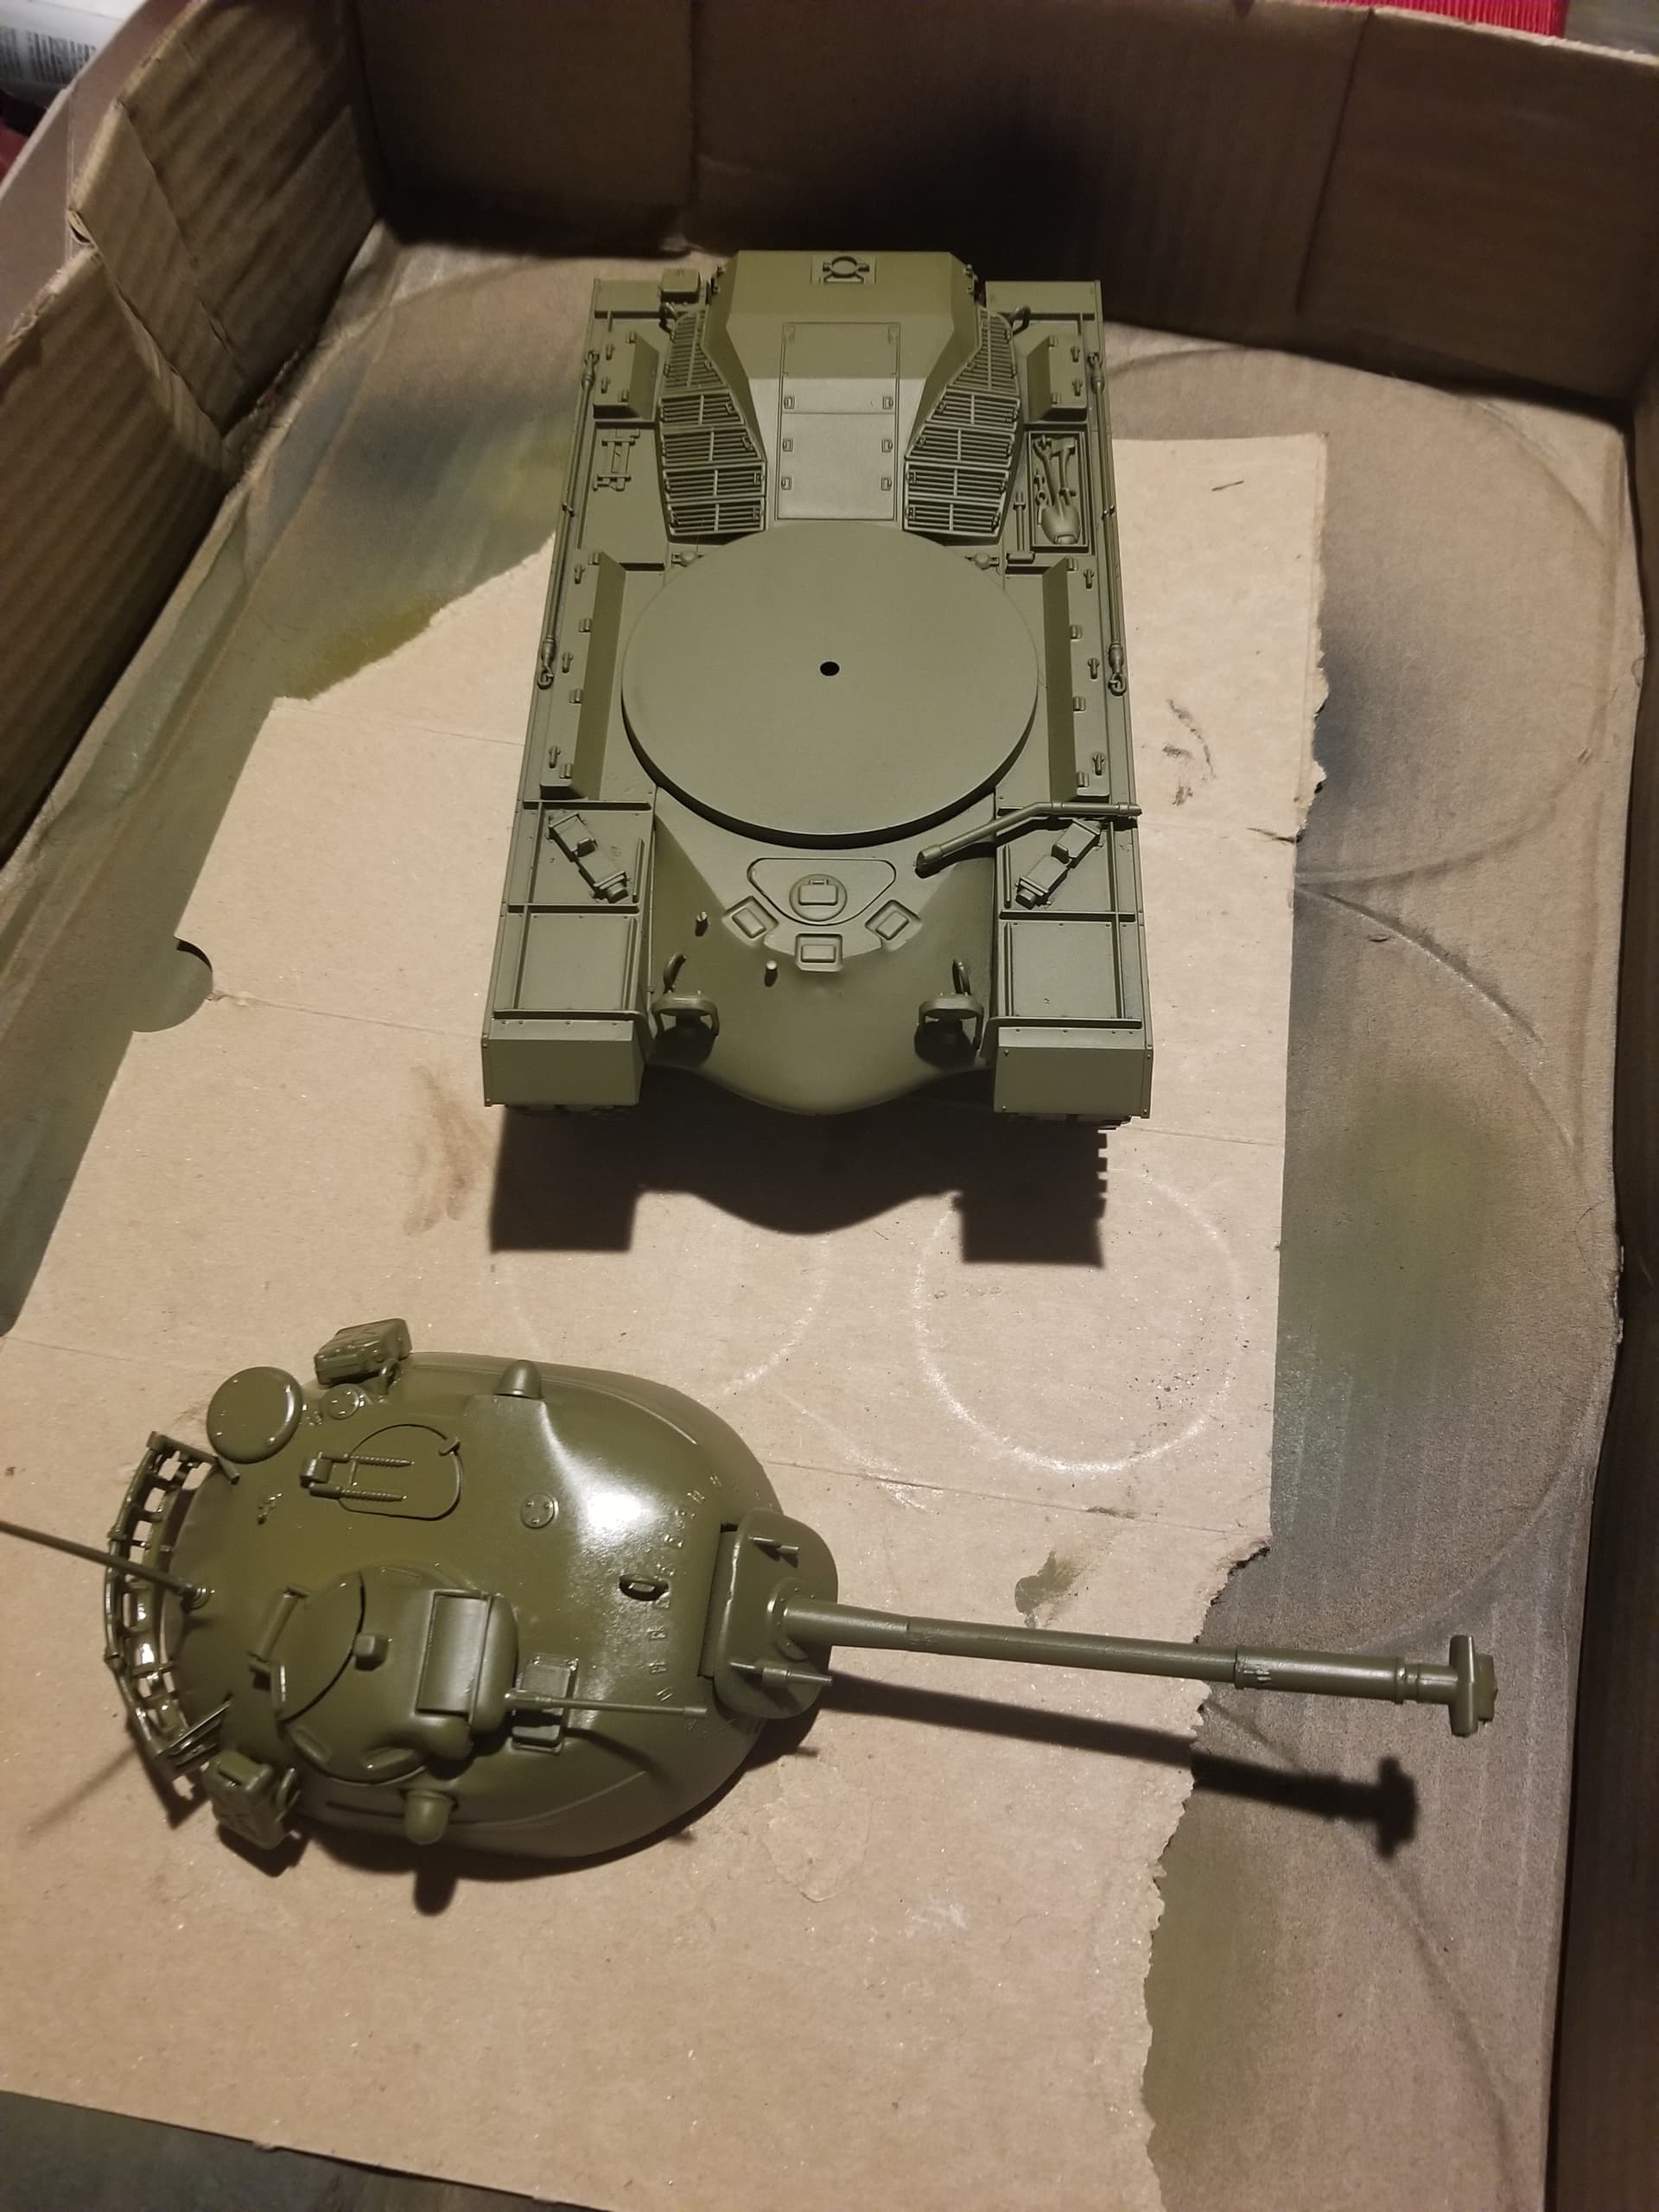
I’ve put on the main coat of paint should add decals soon and then try some weathering soon.
TinyDog01
13 Likes
Hi guys,
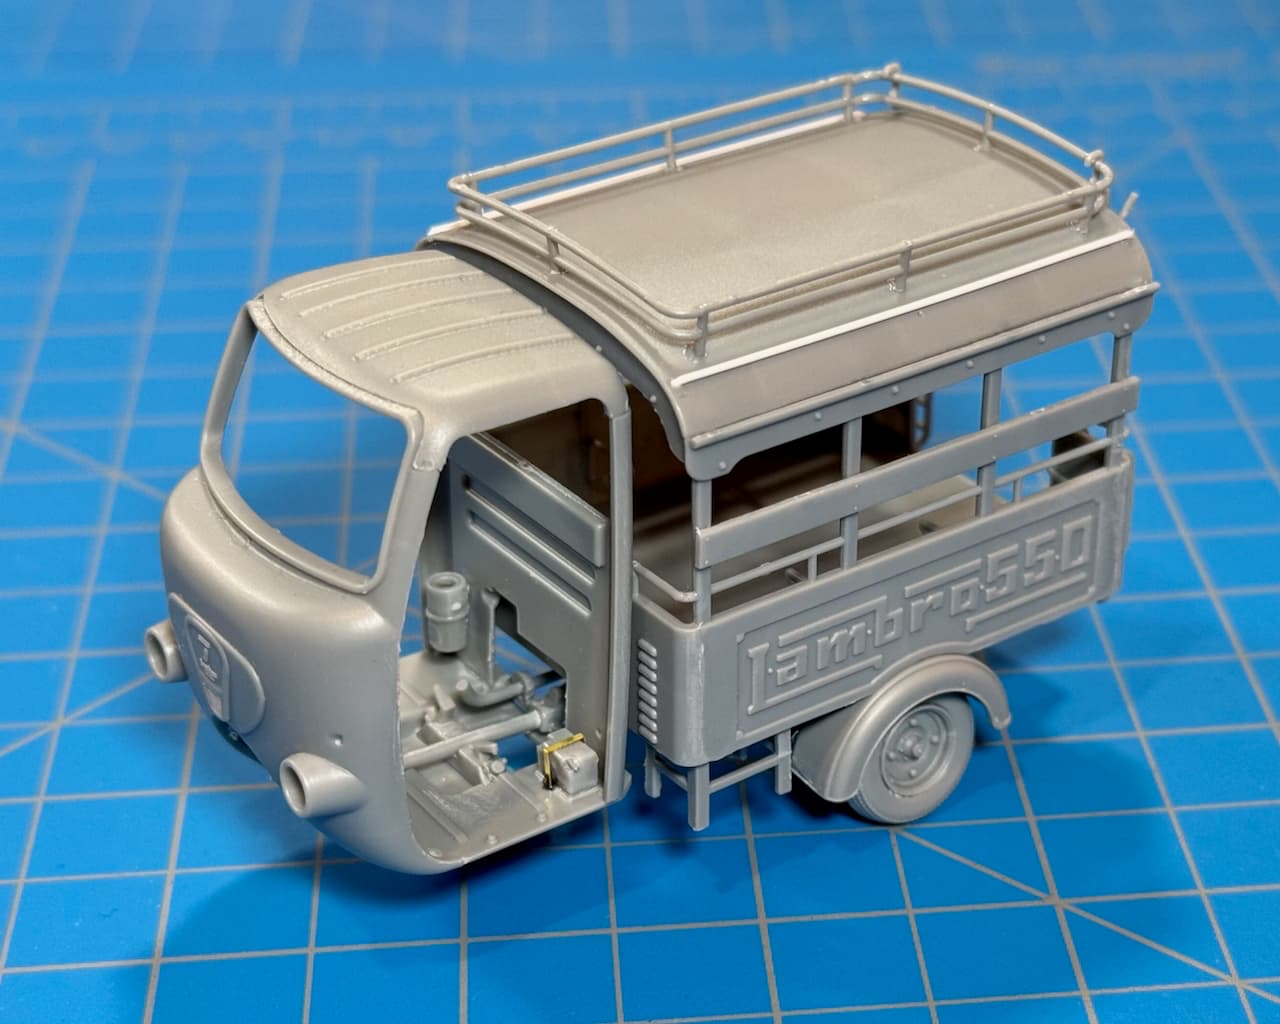
Here’s some more work on the Lambro 550. ![]()
Thought I’d do a quick dry-fit session. And once again, by jumping ahead a step or two, this brings progress up to Step 20.
Rather than hacking at those bamboo stalks with the No. 11 machete, I scratched-in some brass rod instead. ![]()
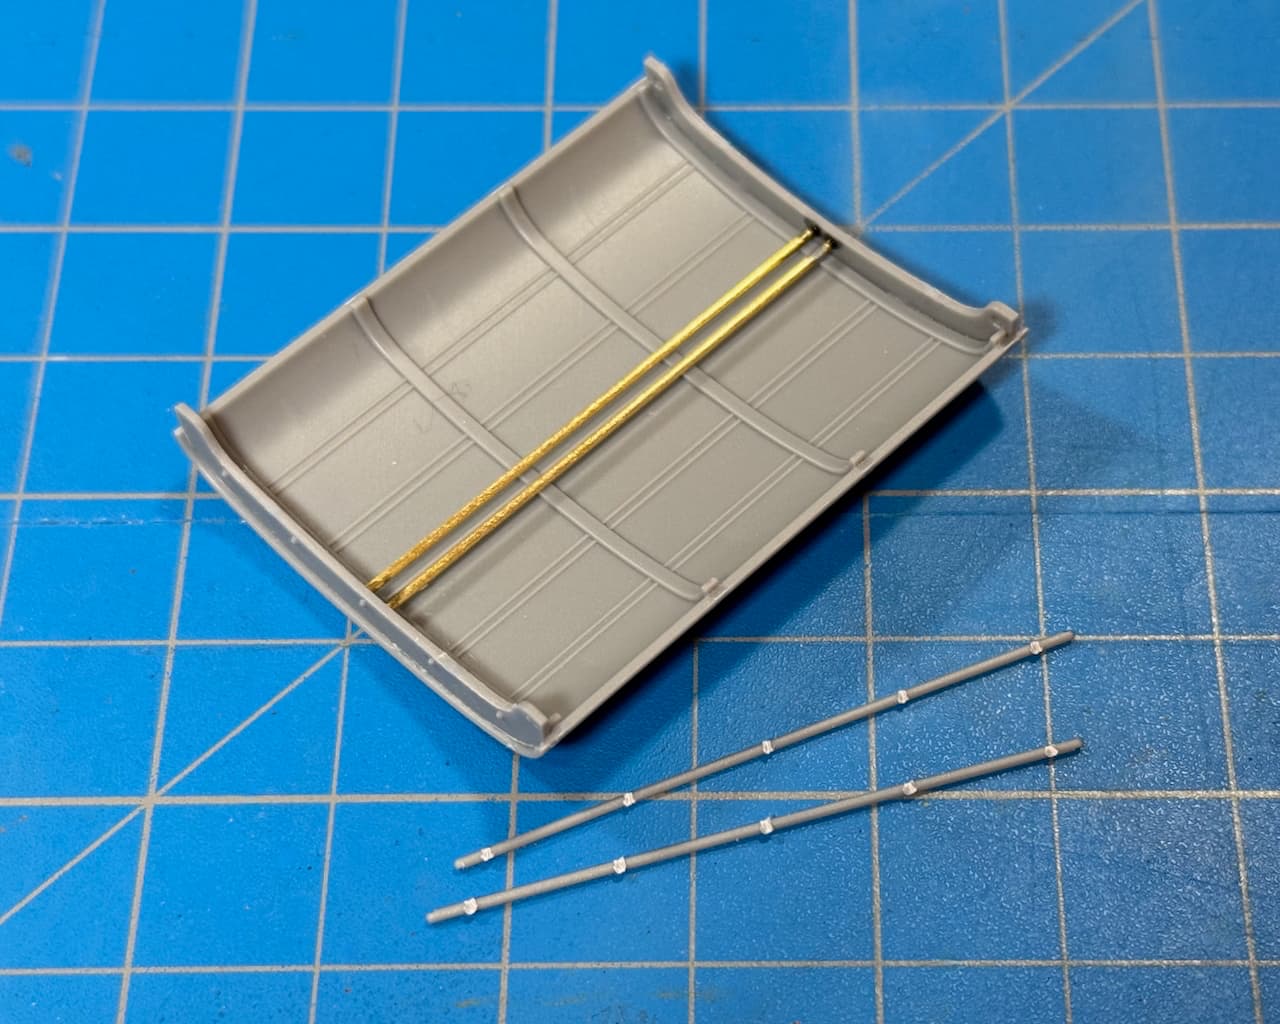


Taxi!
—mike ![]()
13 Likes
Mike, that’s a cool looking little kit ![]()
3 Likes
That Lambro is getting so cool, that it wants me to get my kit started! But I think I’ll stick to my plan and start something else - then I’ll have something to post in this thread at last!
Good luck with all your builds and have a nice day
Paweł
6 Likes
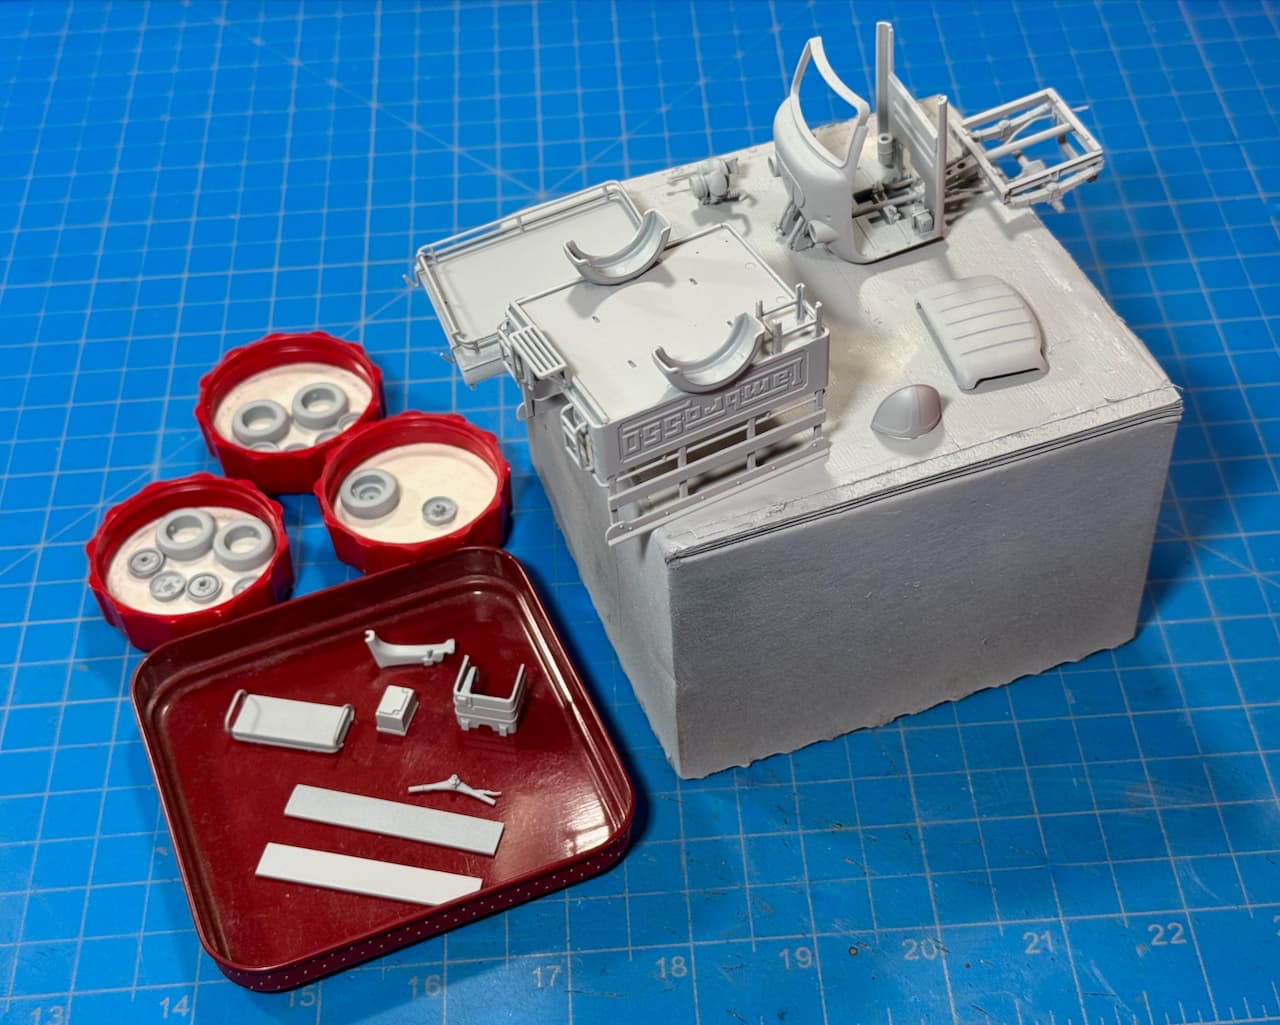
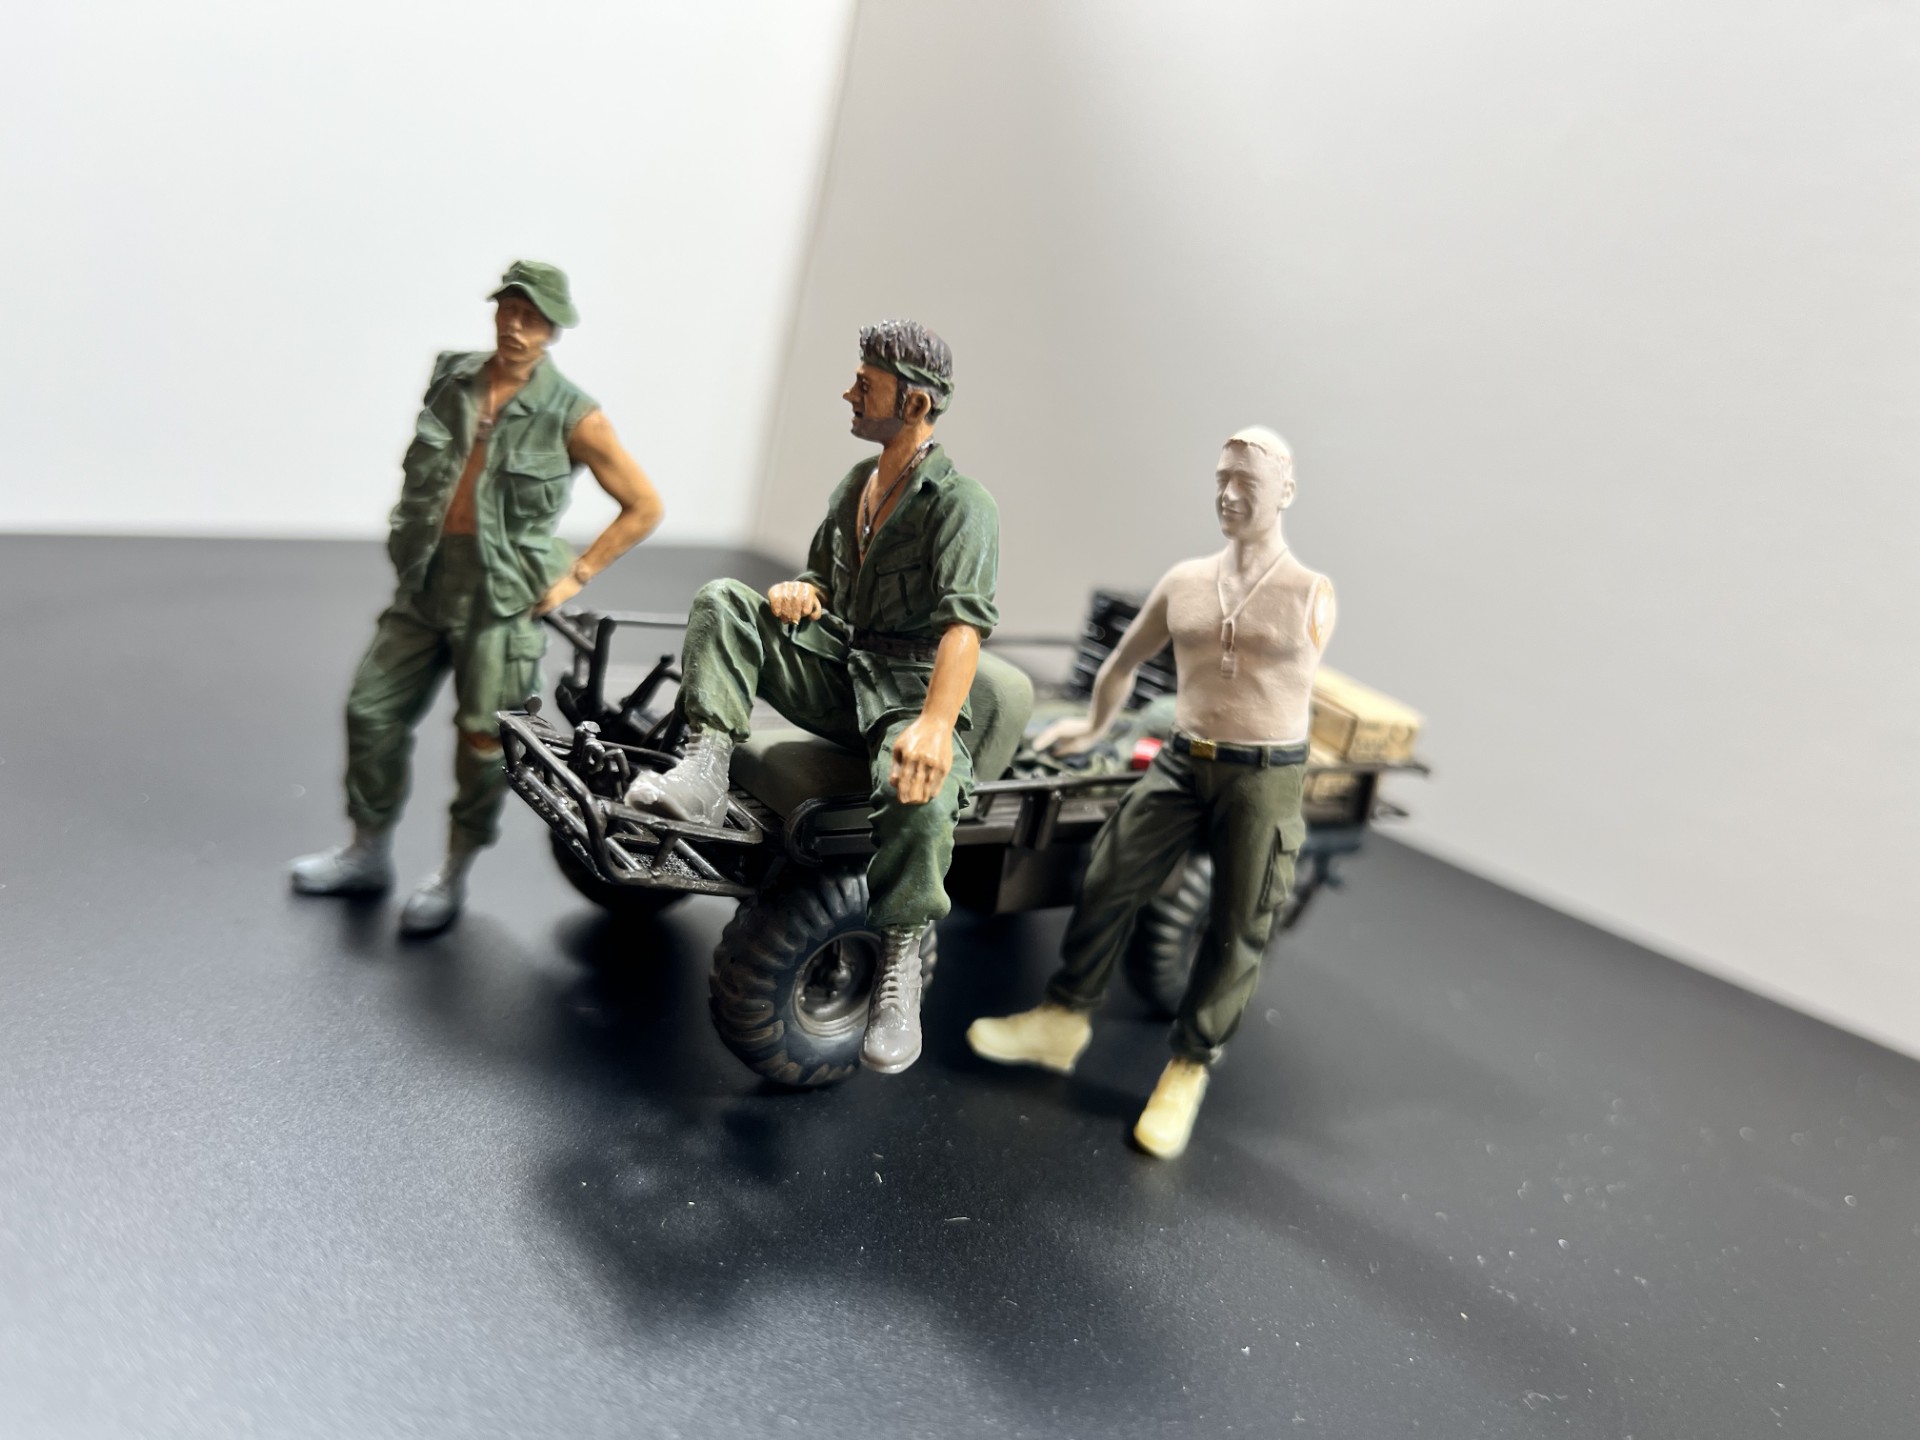
Here are a few shots to demonstrate progress. The ultimate goal is to get four more figures in there, but the time constraints may force me to narrow that down to one or two more men. There will be substantially more gear on the mule. The Mark Jury photo I posted is the most famous one as it’s on the cover of the book, but other photos from the same shoot show squad camp sites with poncho liners strung between trees and rucksacks, so I intend to get those in the diorama as well.
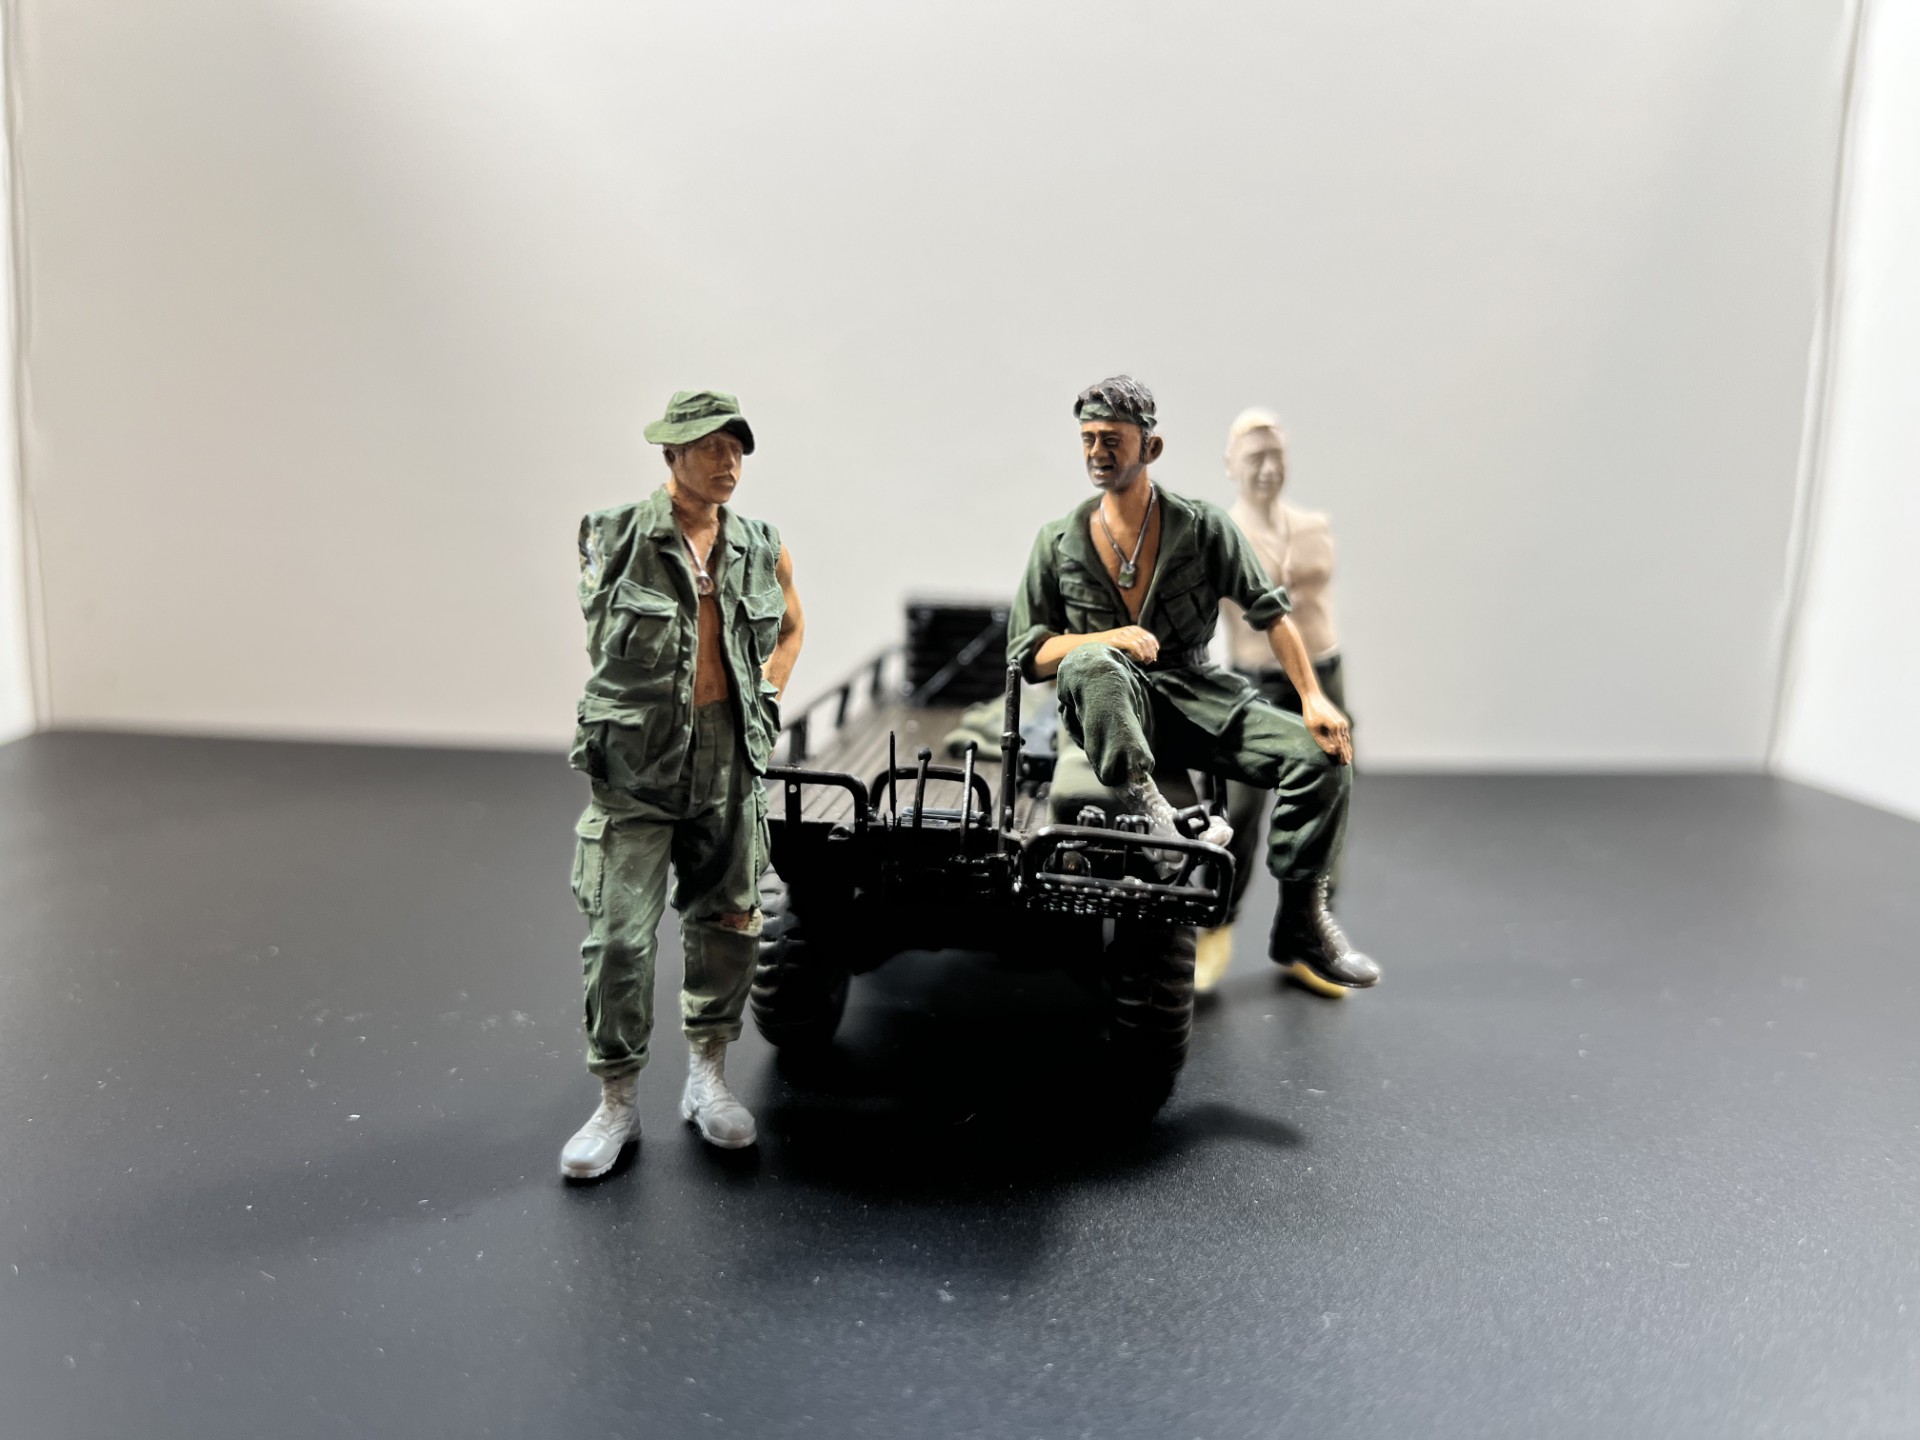

17 Likes
@ Travis (Apache26),
That’s coming along very nicely!
—mike ![]()
2 Likes
It’s good to see you making some more progress on this, Travis.
What are you thinking about using to make the ponchos and poncho liners?
2 Likes
I’m looking forward to seeing you complete your diorama
1 Like
Thanks all!
I’m thinking of using the 1/35 ERDL decals you mentioned to me and aluminum foil (if I can keep it flat enough). I’d consider lead foil, but I don’t have any sheets that large and that seems a bit thick. A last ditch measure would be to roll out an extremely thin sheet of putty, but I’m a bit leery of that. All solutions hinge on the successful application of the decals.
Can you please text (or PM) me the link to the ERDL decals again? Thanks.
1 Like
Hey Travis,
I messaged you on here with the link.
I have been wanting to make poncho and poncho liner hootches and shades but had never been successful using aluminum foil, at least not the types I tried, both regular and heavy duty. However, I wasn’t very patient about it either. I thought about trying to use a thin sheet of putty, and I did make an attempt, but it was too thick on that attempt. The putty I am using now seems more pliable, so I might try doing so with that.
1 Like
I received the PM. Thanks! I figured you probably had experience. I’m hoping with the thin foil the decals will be the key. It seems to me that painting the foil requires too much handling. Perhaps I can cut a clean sheet and drop the decal on it. I’ll post photos with my attempts. Putty would certainly be more workable and would permit mimicking the quilt seams and the center seams, but it seems to me that it would be really hard to roll putty thin enough to resemble a blanket at that scale and once hardened it might look too stiff - like sheet rock. I look forward to seeing your efforts. Perhaps we can crack the nut on an arcane scratch building topic!
2 Likes
Just want to pass on a compliment, the figure in the bush hat really captures the “look” of a VN era GI, looking forward to seeing finished product.
RVN 1970
5 Likes
Hi guys,
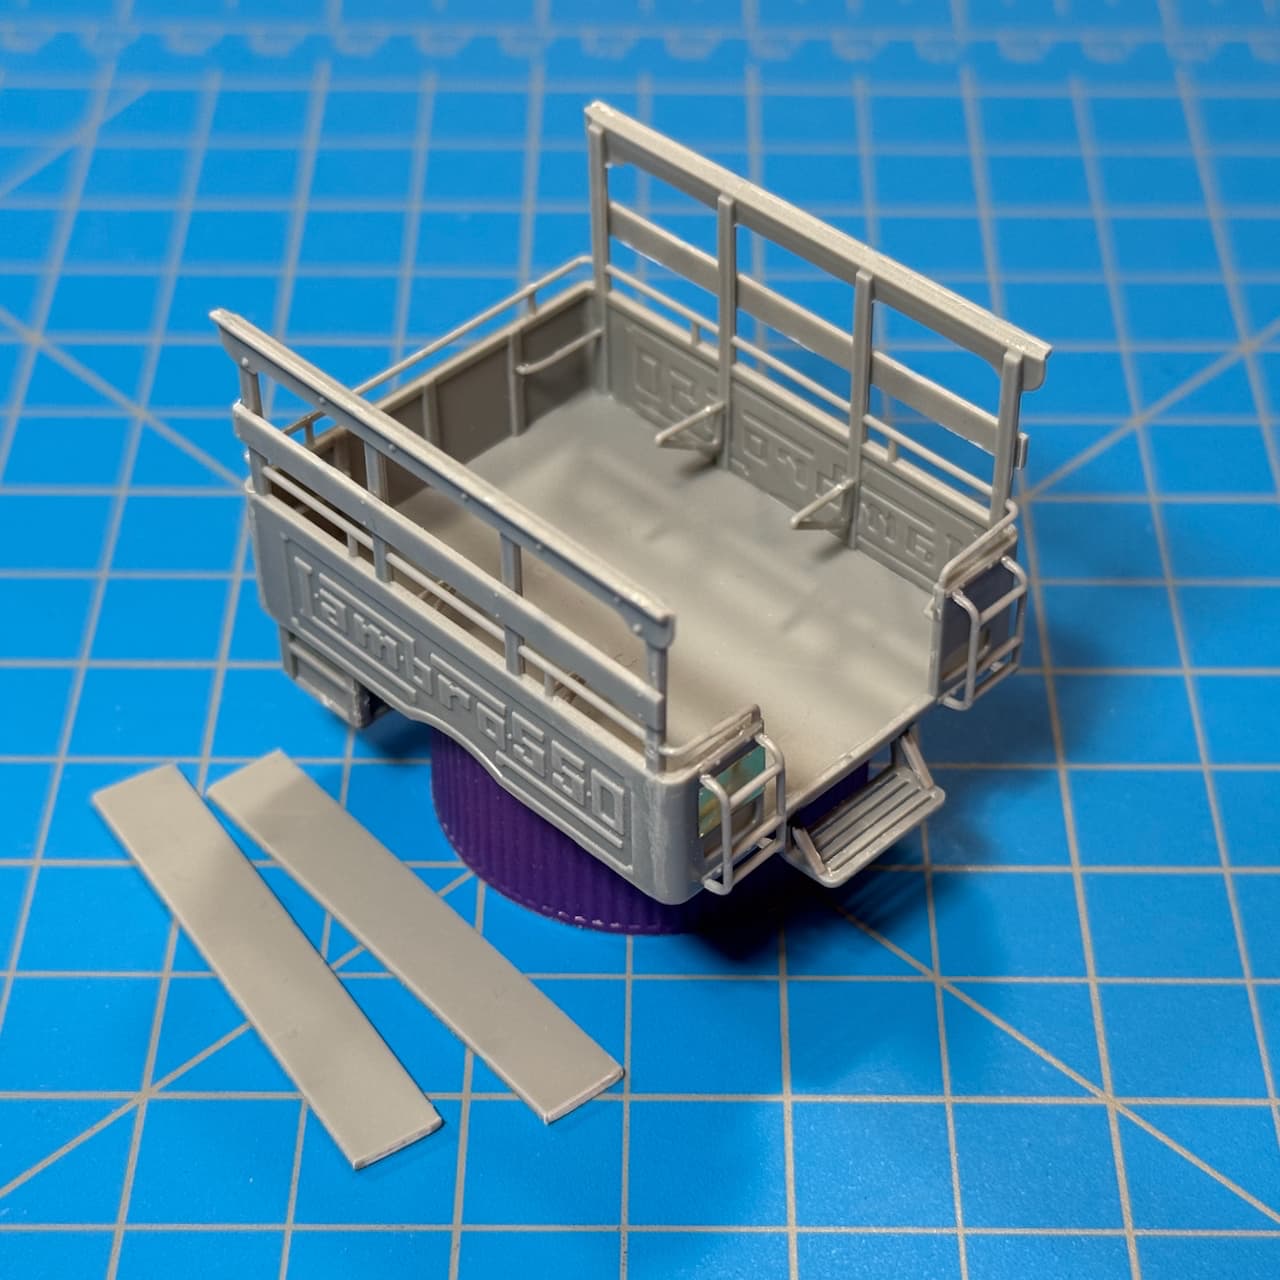
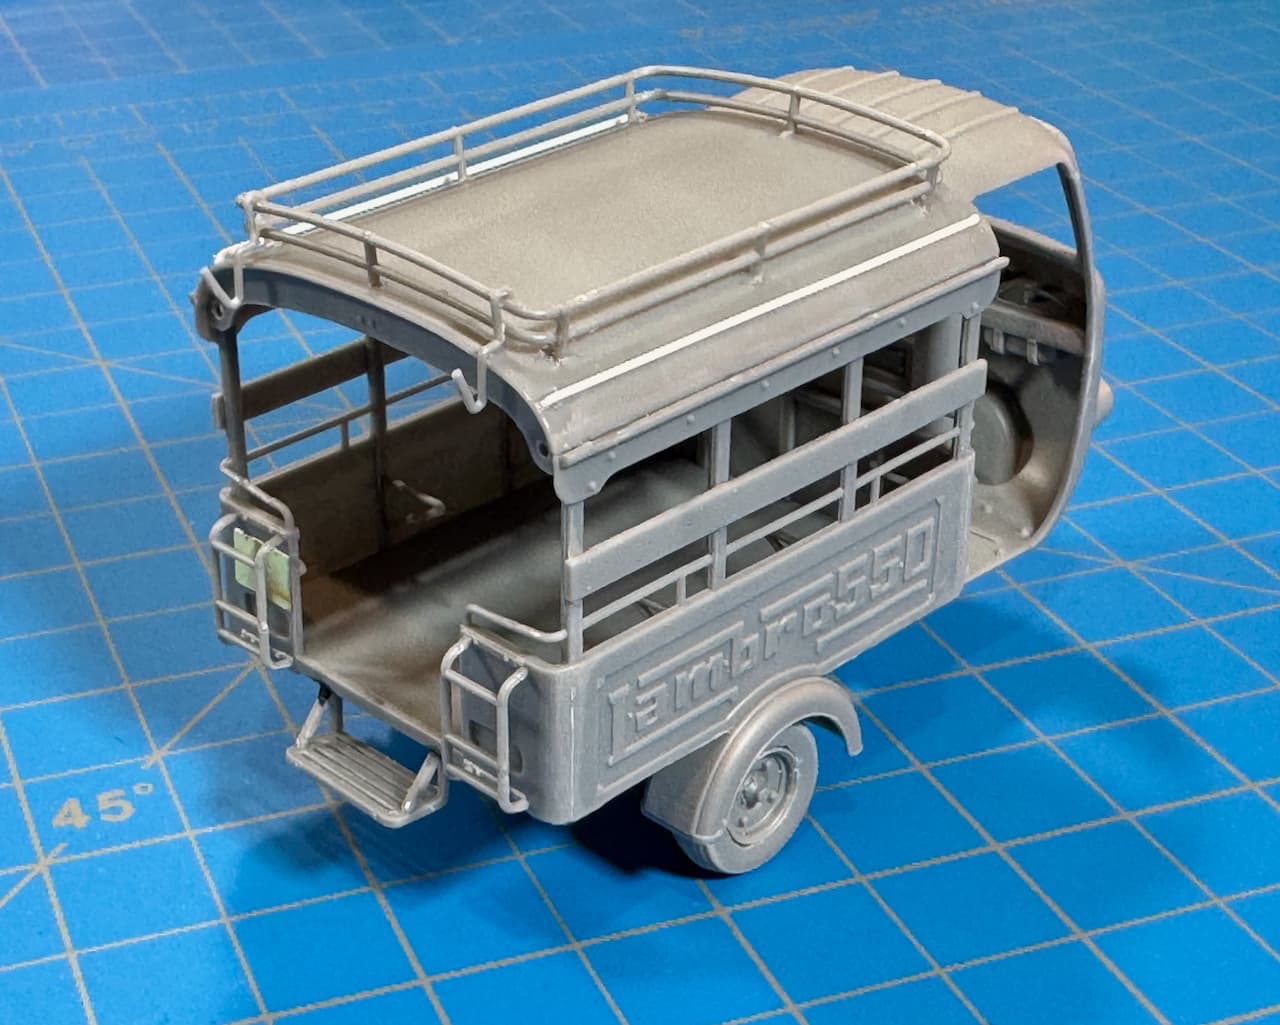
Latest Lambro 550 progress. ![]()
Here’s a dry–fit after eating-through the remaining vehicle sprues. Still left, are rolled-up canvases, stowage, clear parts, and figures if I can get to them. A few more sub-assemblies are lurking around the perimeter as well, but this is as far as I could go with the very delicate Lambro for now.
The roof rack parts were a PITA to remove the sprue connection points, but once the main (R&L) rails were glued in place and cured overnight, the rest came together fairly well. As one of the outer rails broke and launched into the jungle, I just went ahead and scratched replacements from Evergreen Styrene Rod (218) .020” (0.50mm).
Taxi!
—mike ![]()
16 Likes
Thanks! Although I suppose the credit doesn’t really go to me; it should go to Mr. Demchenko the sculptor. The figure is another one from Bravo 6 titled “Joe Boonie Rat”. I’m modeling him straight out of the box. That figure was the basis for James’ black soldier in his diorama, but he clearly switched out the heads and the right arm.
Years ago I had a conversation with James about figures, I was disappointed that when they addressed Vietnam, most manufacturers churned out “cookie cutter” figures with standard LBE and butt packs. I wanted to see more of the boonie rat types with multiple bandoleers and “non-standard” uniforms. James told me Demchenko had some in the pipeline and this guy was one of them.
3 Likes