I fully understand the time issue! Nevertheless your time is bringing up a very cool vignette. Proper work to enhance a small vehicle.
2 Likes
About time I made a start on mine
I’ll be building the KP Cessna C-180 from 161 Reece Flight, Australian Army Air Corps.
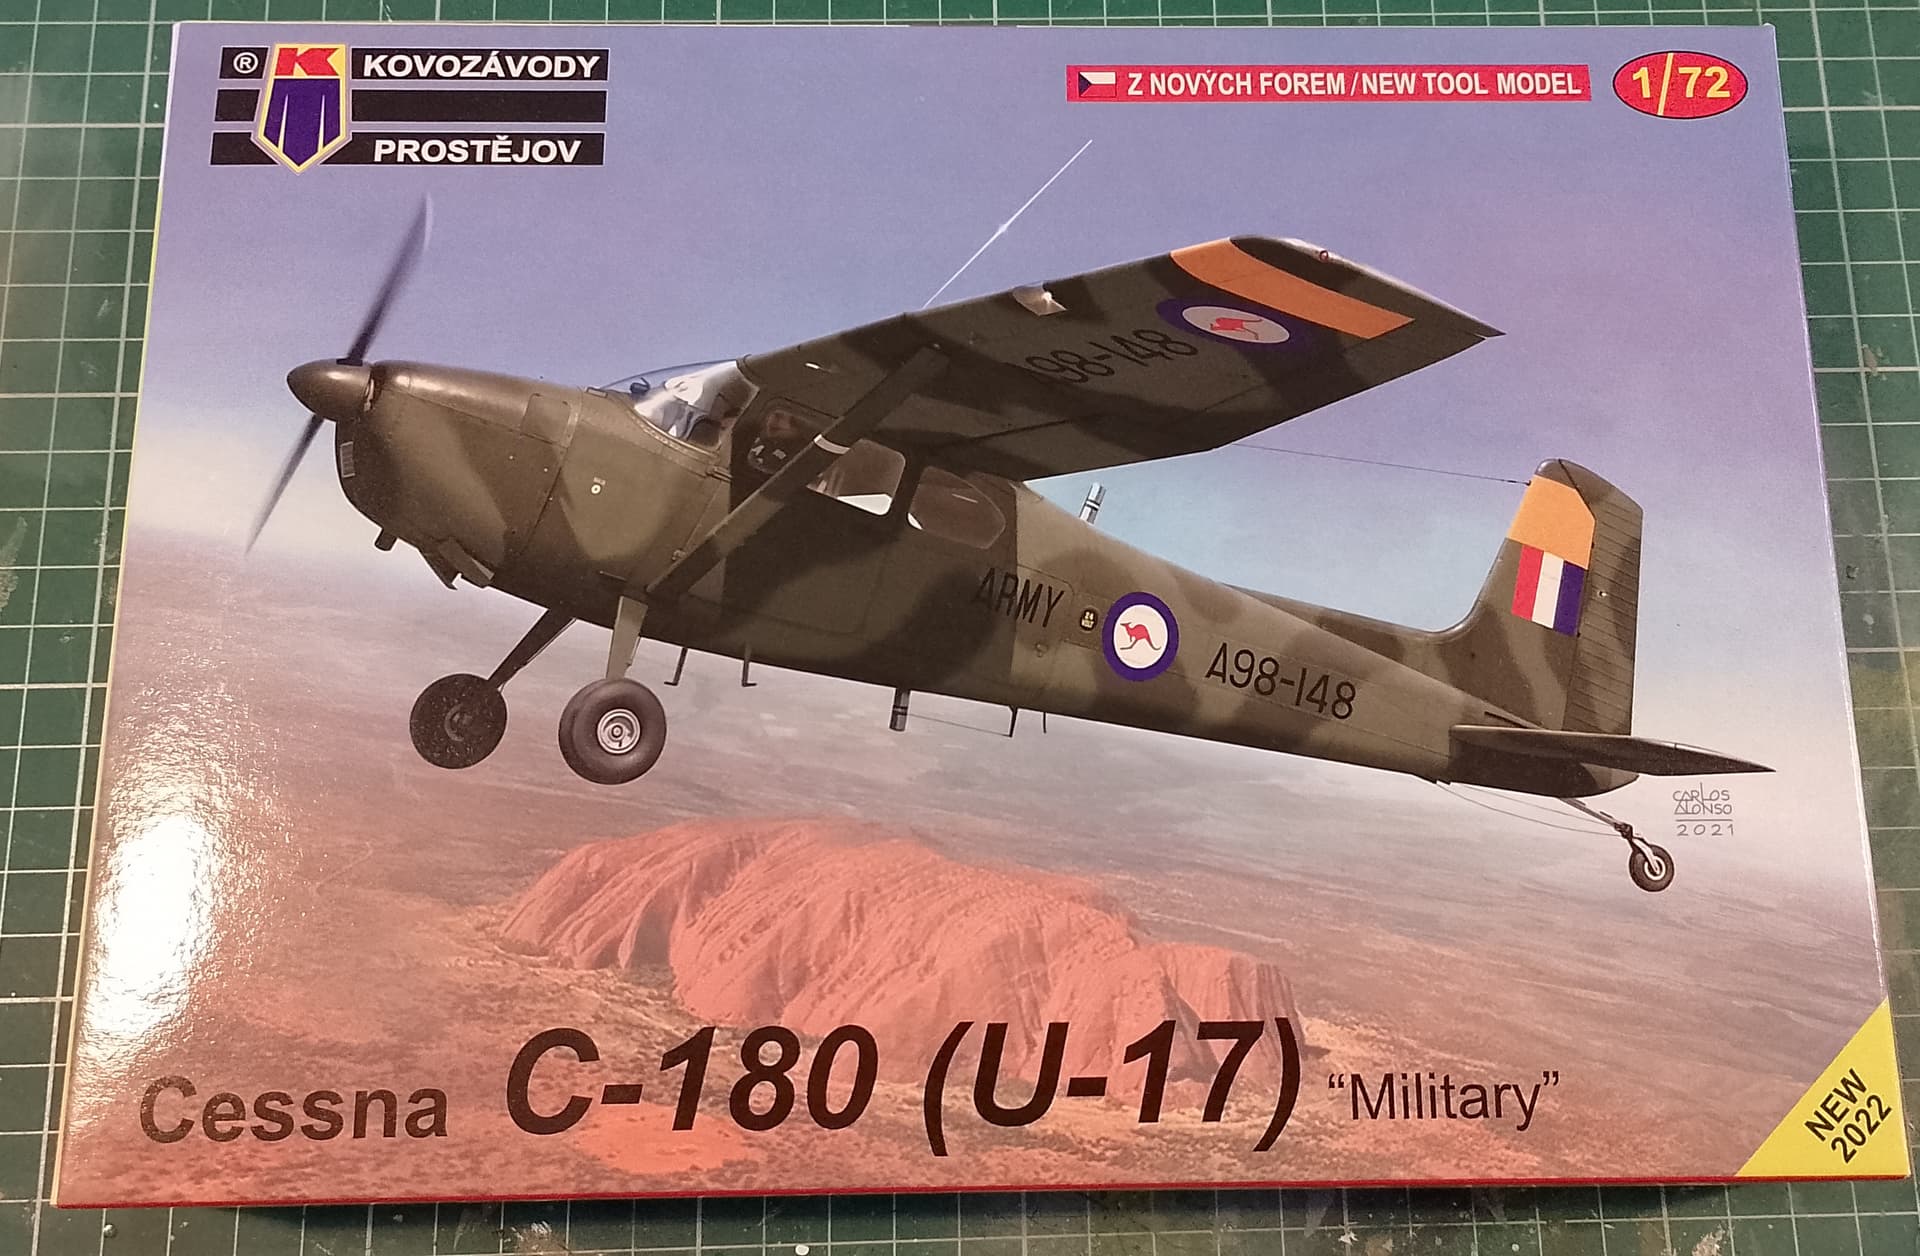

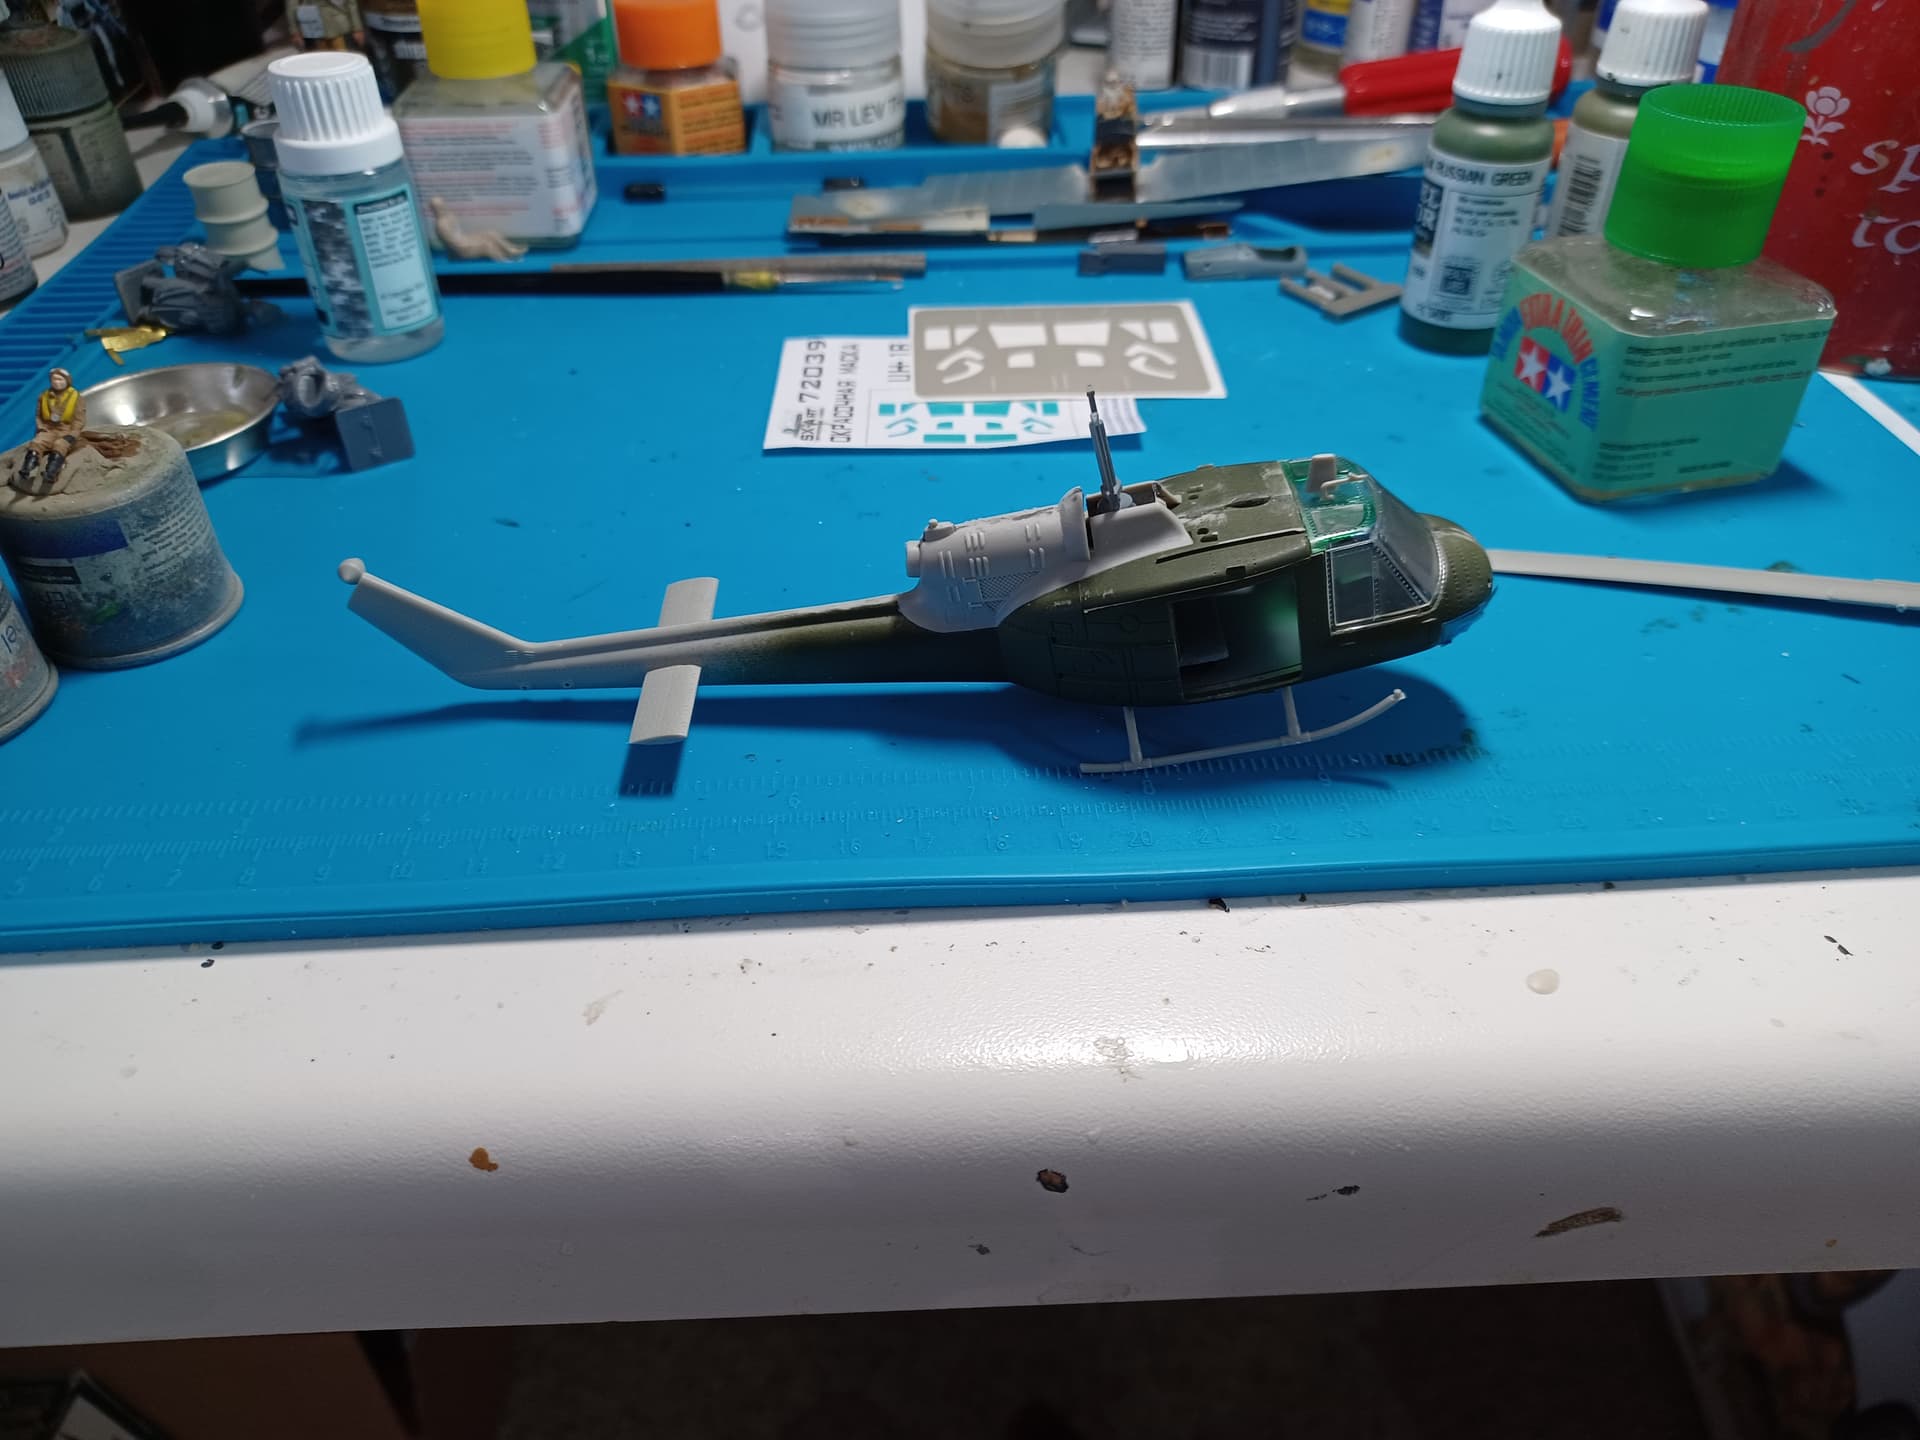
I think this originally an AZ Models tooling. Most parts have flash and big sprue gates, so some tidying up to do before assembly. But quite nicely detailed once you’ve got that sorted. Cockpit parts went together quite quickly.
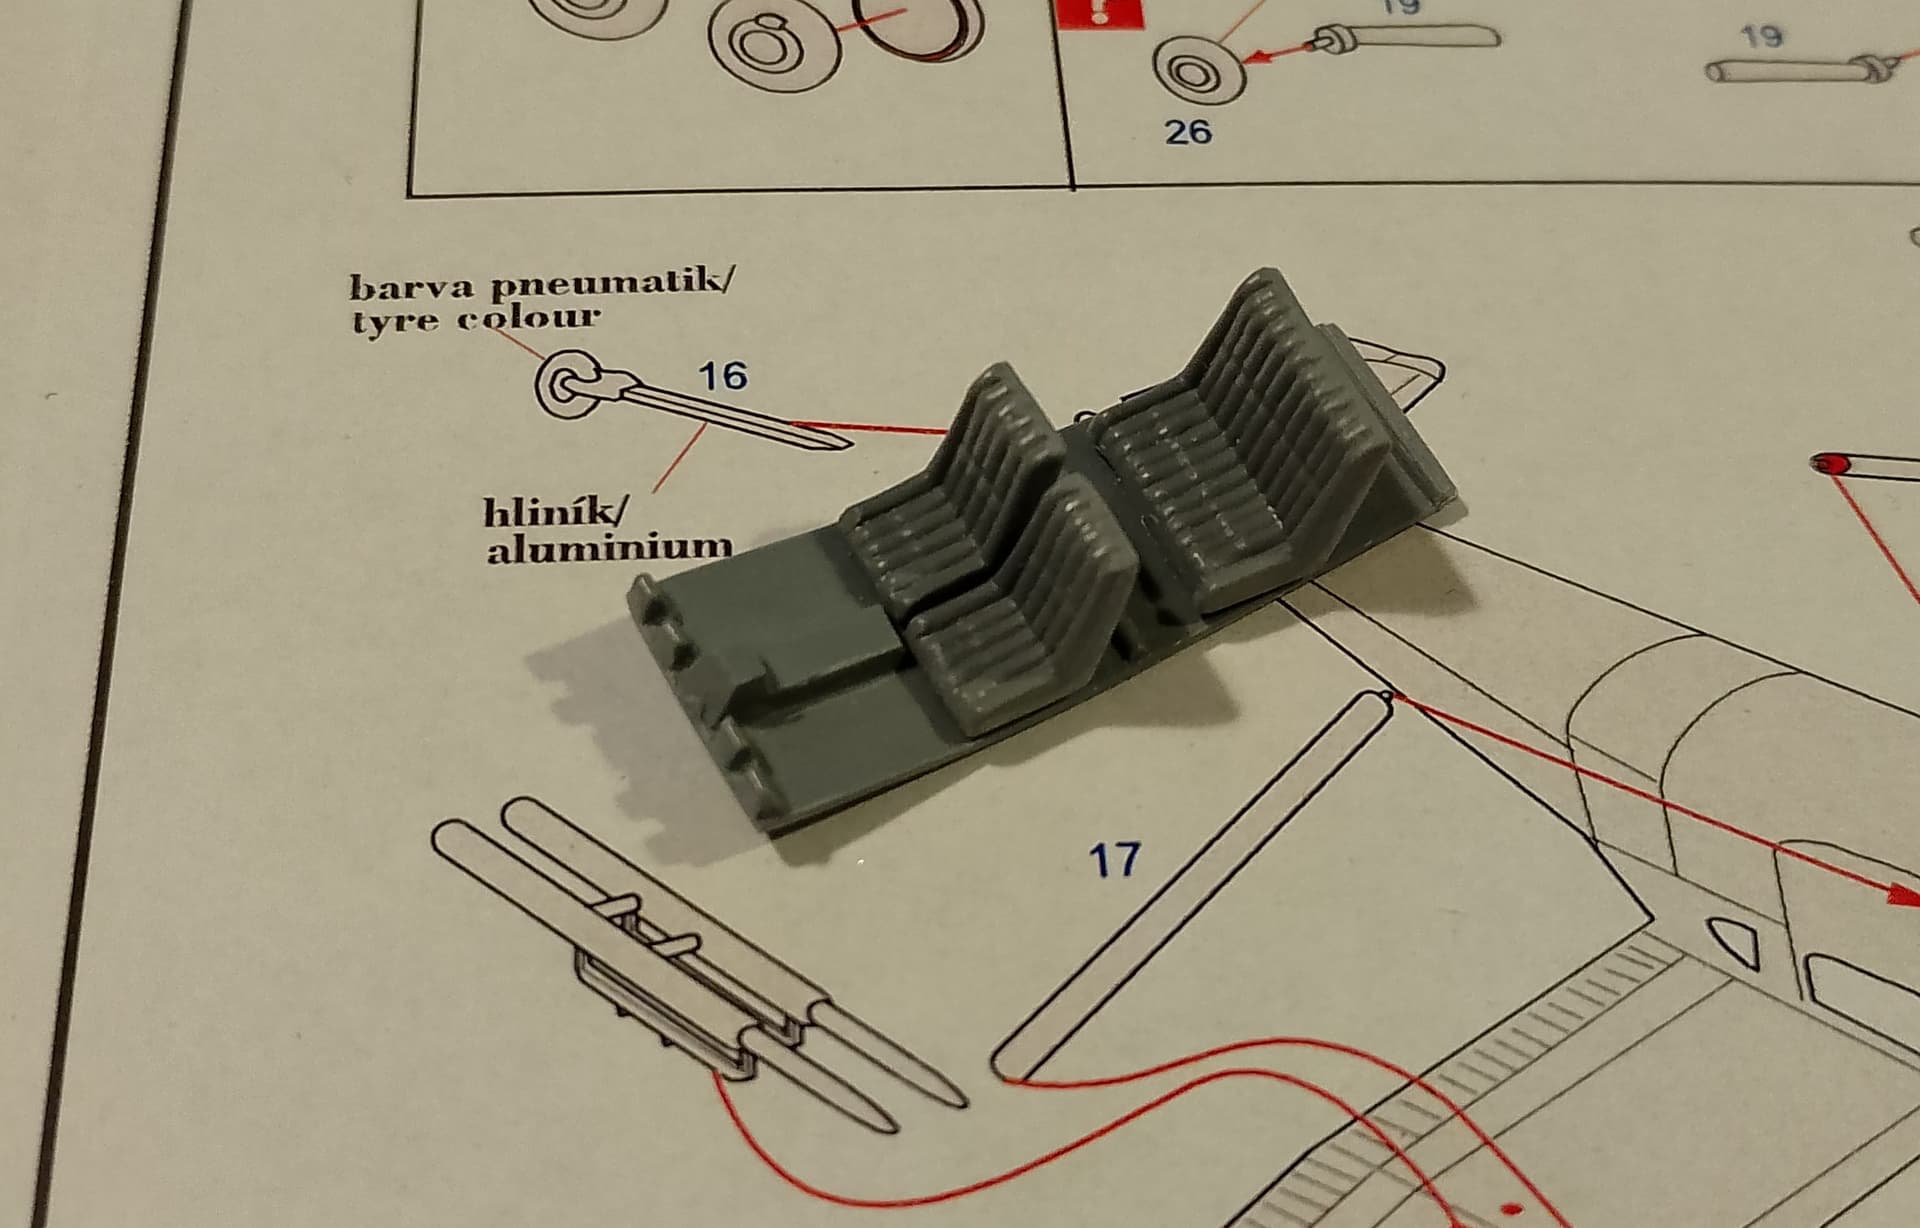
Some awkward flash around the window openings. Will need some careful sanding and trimming here.
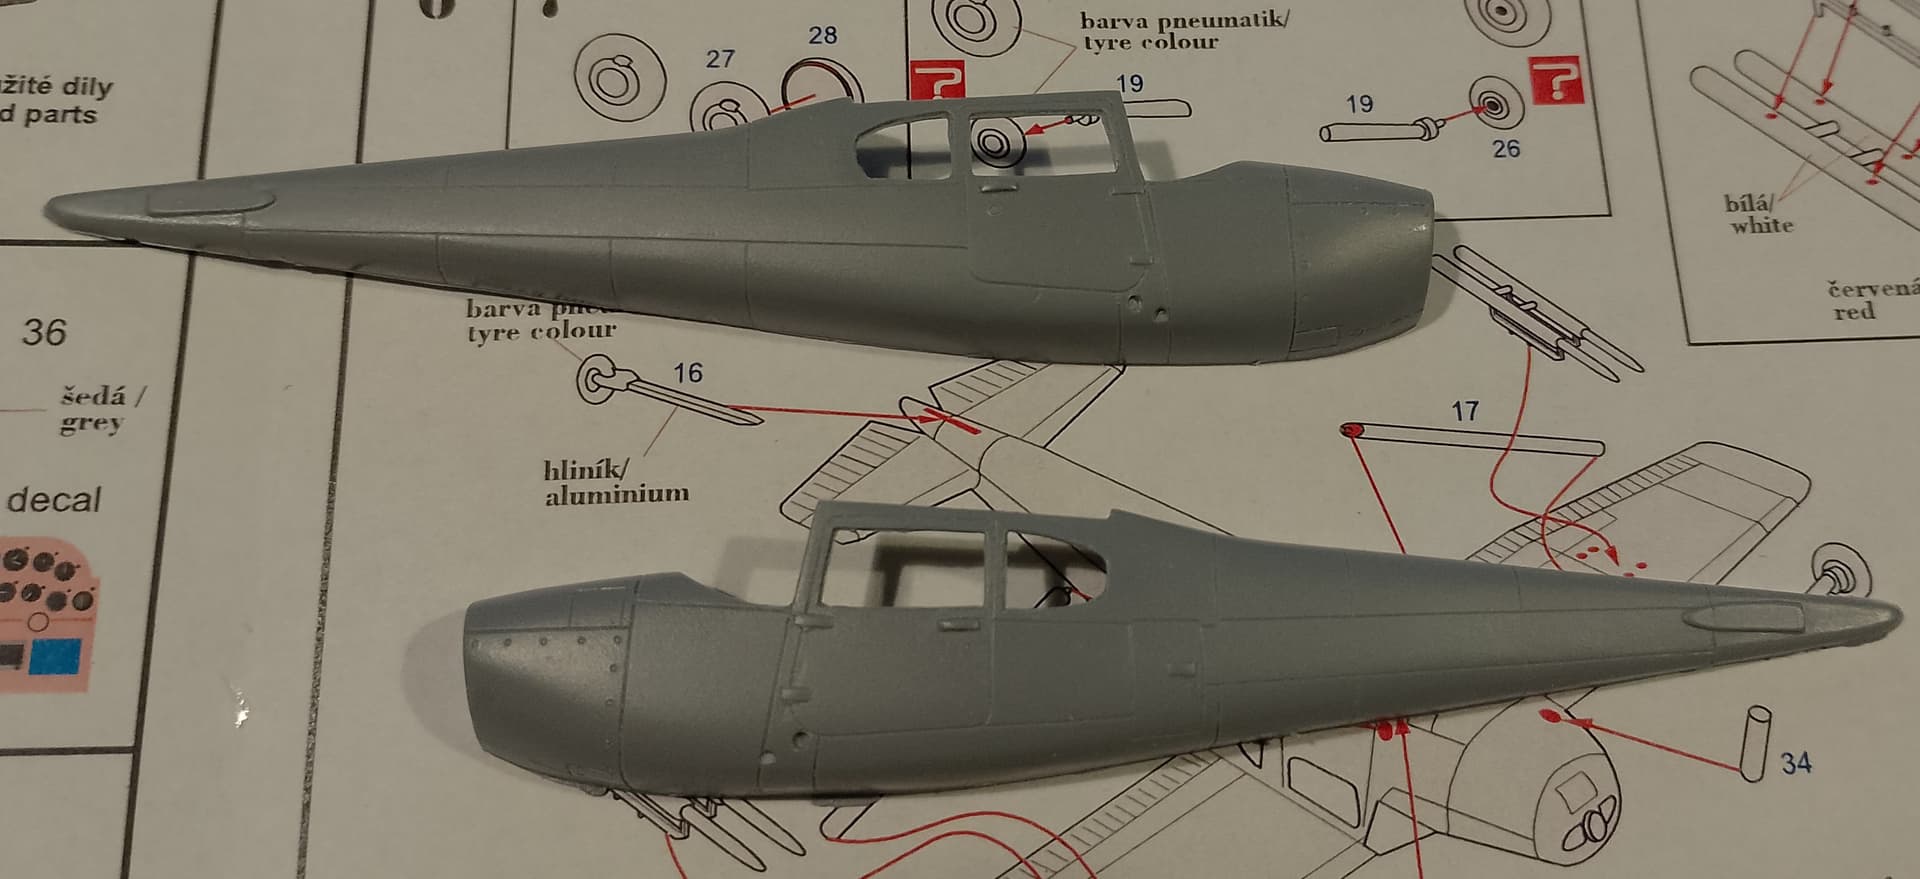
And yes, I will be fitting it with the rockets!
11 Likes
Some steps forward with the 107. I began some basic prepainting.
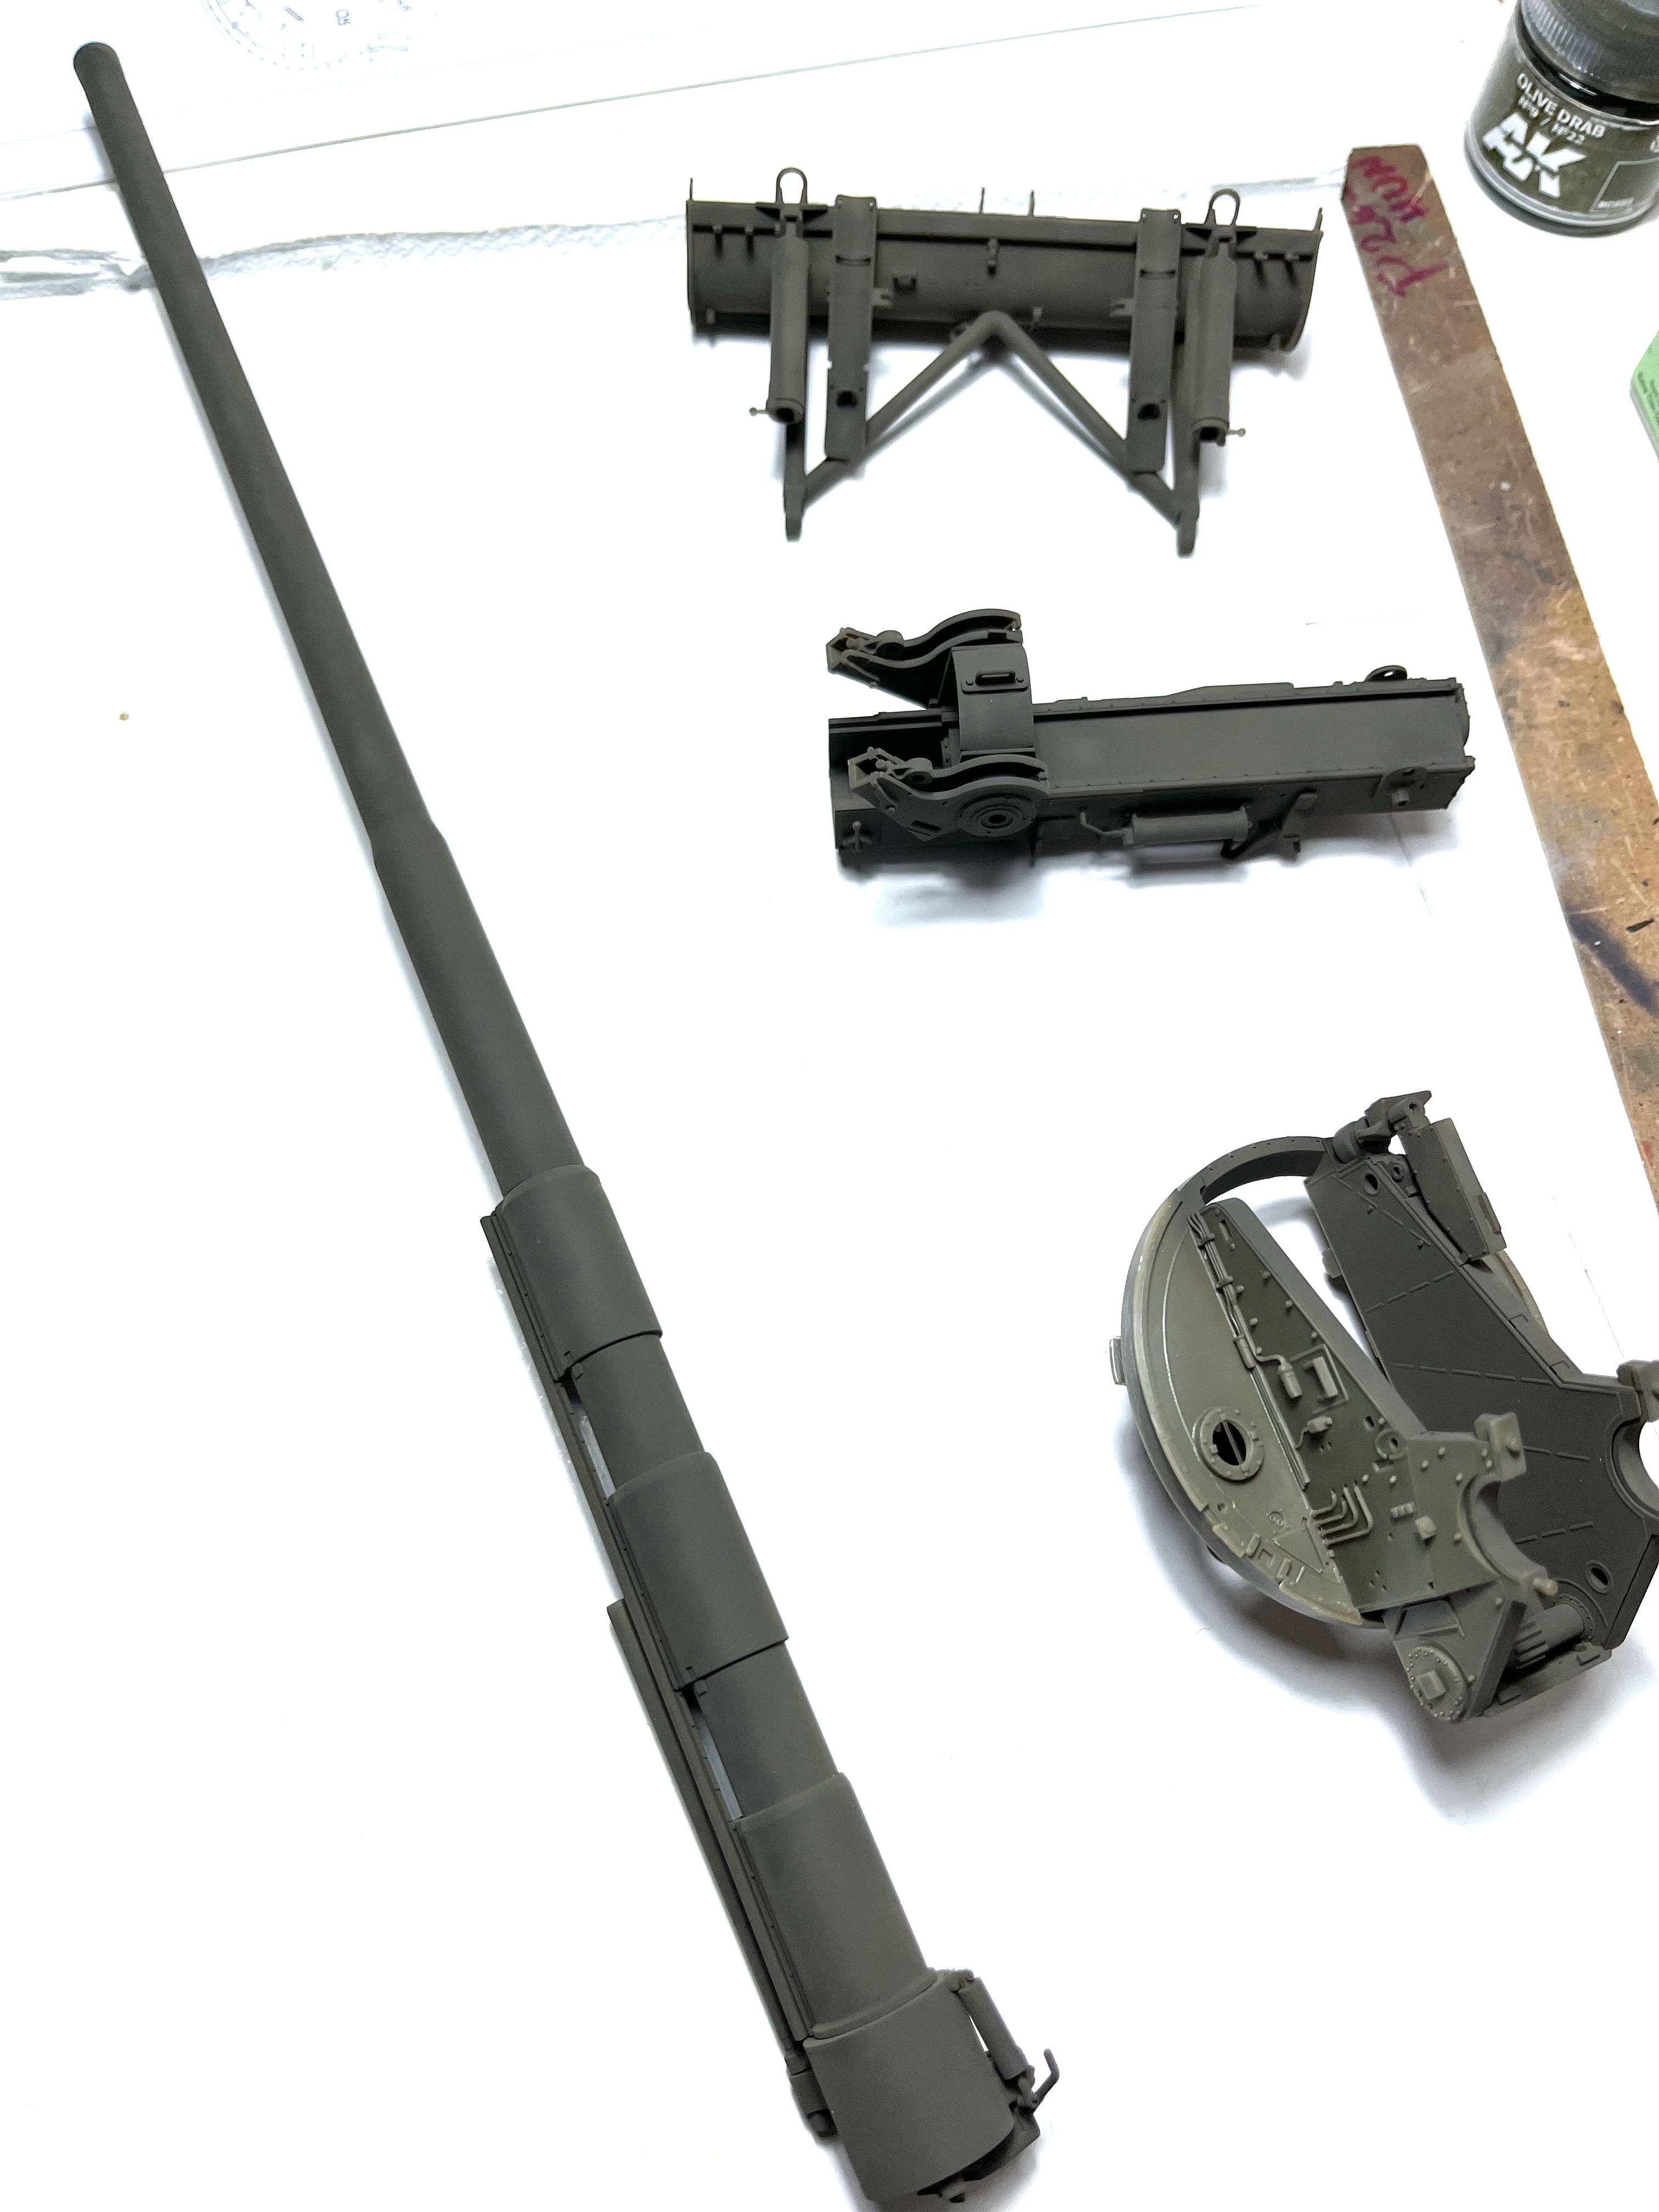
.

Now it’s time to decide what to do with it. I still like three tone scheme shown in that Korean base though I could not locate it in history despite searching.
7 Likes
Tempted to Join this GB as it’s probably my favorite genre. Since there is not much time left it would have to be a super simple build. Pondering the following 1/72 kits:
Airfix A-1 Skyraider
Airfix A-7E Corsair II
Hasegawa RF-101
6 Likes
I remember the Airfix Skyraider being a decent little kit. Just needs a swap of weapons from a Hasegawa set. Not that I want to sway you.
2 Likes
Looks amazing.
3 Likes

Nah, I’d rather have a new propeller and canopy …
2 Likes
I’m working from memory from I last built it about 20 years ago. Don’t recall any problems with fit of the canopy?
Weapons though? Probably ok for a Korean A-1, but definitely needs swapping for some mk82’s.
A new tooling is definitely needed at 1/72.
3 Likes
Thank you Reynier @SableLiger, trying to catch up with you my friend ![]()
Cajun ![]()
1 Like
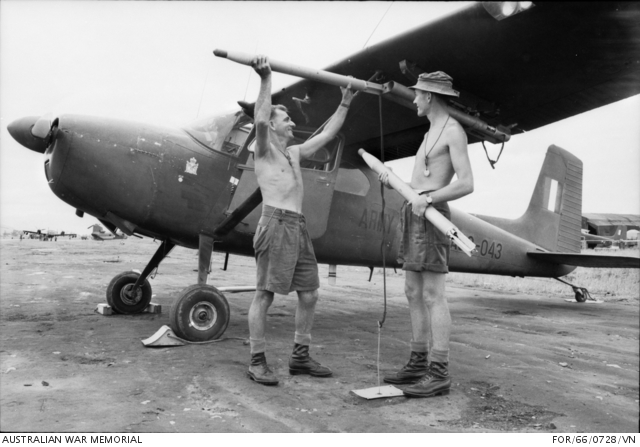
Canopy and prop are probably the most ‘toy-like’ elements of the kit. But, It’s an absolutely fine model kit for 1960’s tech and test fitting indicates quite good fit of all major parts. I probably won’t make any mods to it at all, except for maybe the guns – I just have to round gun barrels! Agree that the rockets are not that realistic for Vietnam, especially for a Non-Navy bird. That said, there is really no way to make it look accurate without replacing the whole kit. So, I would build this kit for what it is and not try to make it as what it is not. I think it’s good to remember where we came from and acknowledge that hey, that’s oh-kay ![]()
PS. Ok, fine, if it’s not too much trouble I cold add some period accurate ordnance ![]()
3 Likes
Hello!
Movin’ on with my Rome Plow - engine painted:


I’m also preparing the chassis to mount the engine:

Thanks for looking, have a nice day
Paweł
10 Likes
I really need to get my Tank Finished now that the Holidays are finished.
TinyDog01
2 Likes
Looking good, feel like we hijacked your build log. Sorry!
1 Like
No need to feel sorry - there are some great references in my build thread! @namengr - Wayne, does that engine look period correct, or can I improve something there?
2 Likes
Possibly a little over on the red/brown. The engines were a dark od and adding some oil stains, leaks would make it perfect. Also the turbo on the exhaust would be rusty from the heat.Same on the frame. A lot of it was od with a lot of scraped off paint dust or mud, depending on the season. Part of the daily maintenance was cleaning out the tracks with a spade and bars to keep the dirt/ mud from building up around the rollers and tracks. Wayne
2 Likes
Well, ain’t that a pity…
How much weight do you need? Maybe you could drill a hole in the front and insert some soldering wire through it?
Good luck with it!
Paweł
1 Like
I’ll just put it on a base of some sort…
It would not need much weight. There’s some nice space under the instrument panel for glueing in a lead weight or something.
1 Like
Hello everybody!
I tried to make some changes Wayne suggested, then I mounted the engine in the frame together with the radiator. The shaft from the engine to the transmission needed shortening about 1mm to fit. I also made the hose from the radiator to the water manifold. And here’s what it looks like now:


Now I’ll try to cover the engine a little and then mount the tracks permanently. Thanks for looking and have a nice day
Paweł
10 Likes