The Lambro looks like a pretty nice kit. I look forward to seeing it completed.
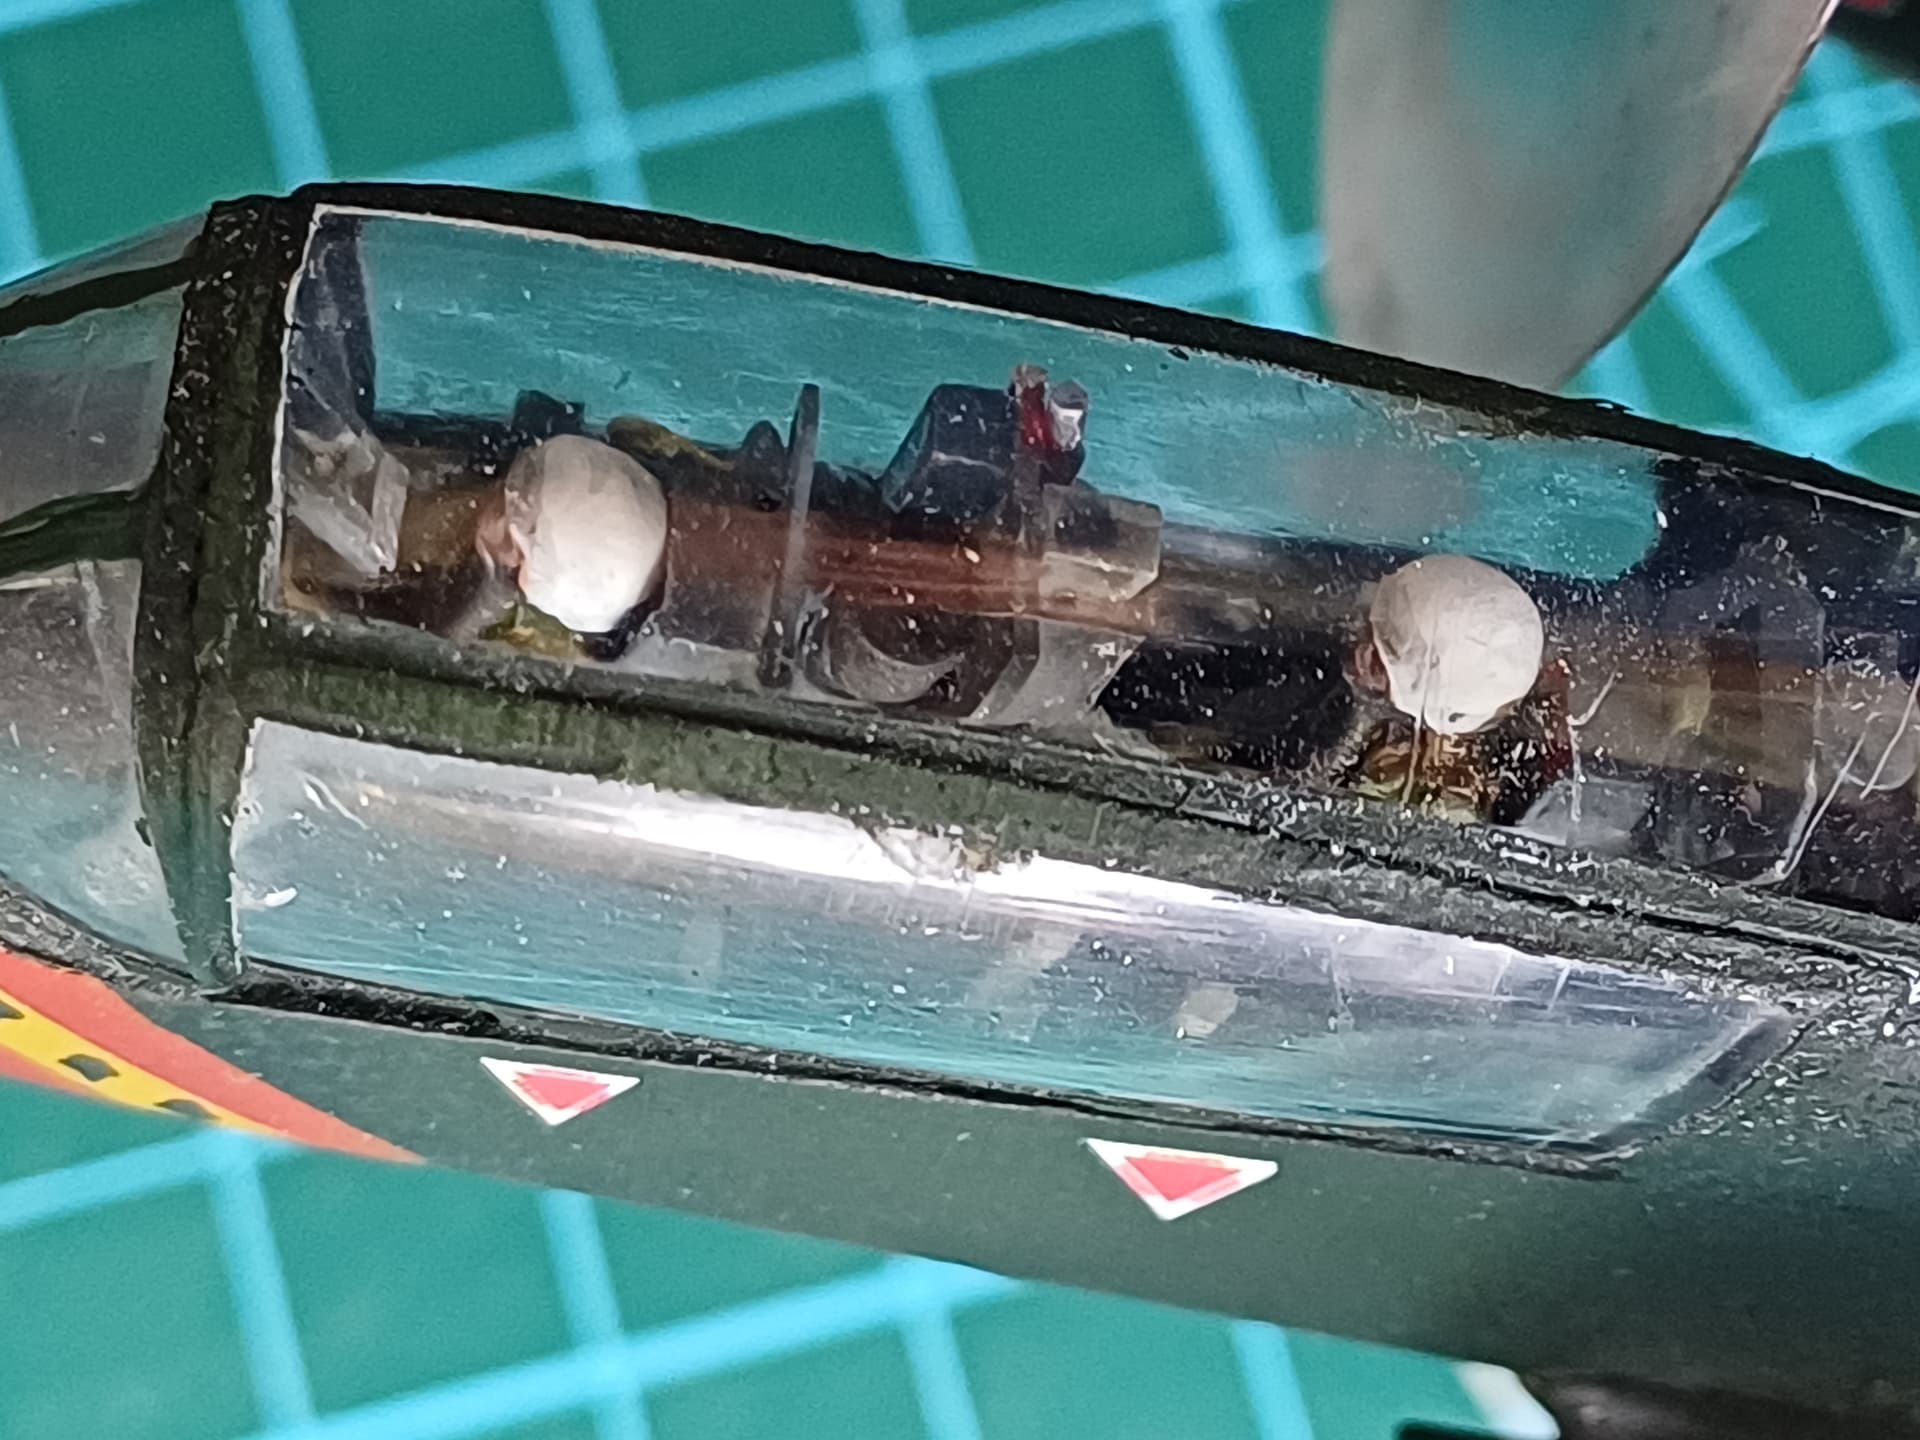
The figures that came with the kit seem pretty decent. Looks like there a a few mold seams that became visible with the primer, but that is one of the purposes of the primer. It sucks that the seam line runs along the top of the feet, especially on the ones wearing sandals. I have messed up more than one set of toes trying to remove such seams in those locations.
@ James (ReconTL6),
In my haste to get things to primer, I totally forgot to take care of those seams — still working on them. As far as painting goes, I’m going with “arm’s length” viewing … and I’ve got long arms.
Hey, Mike. I am starting to prefer arm length viewing in regards to painting figures. It sucks that I am kind of short with short arms. I wish I had longer arms in these instances. Lol
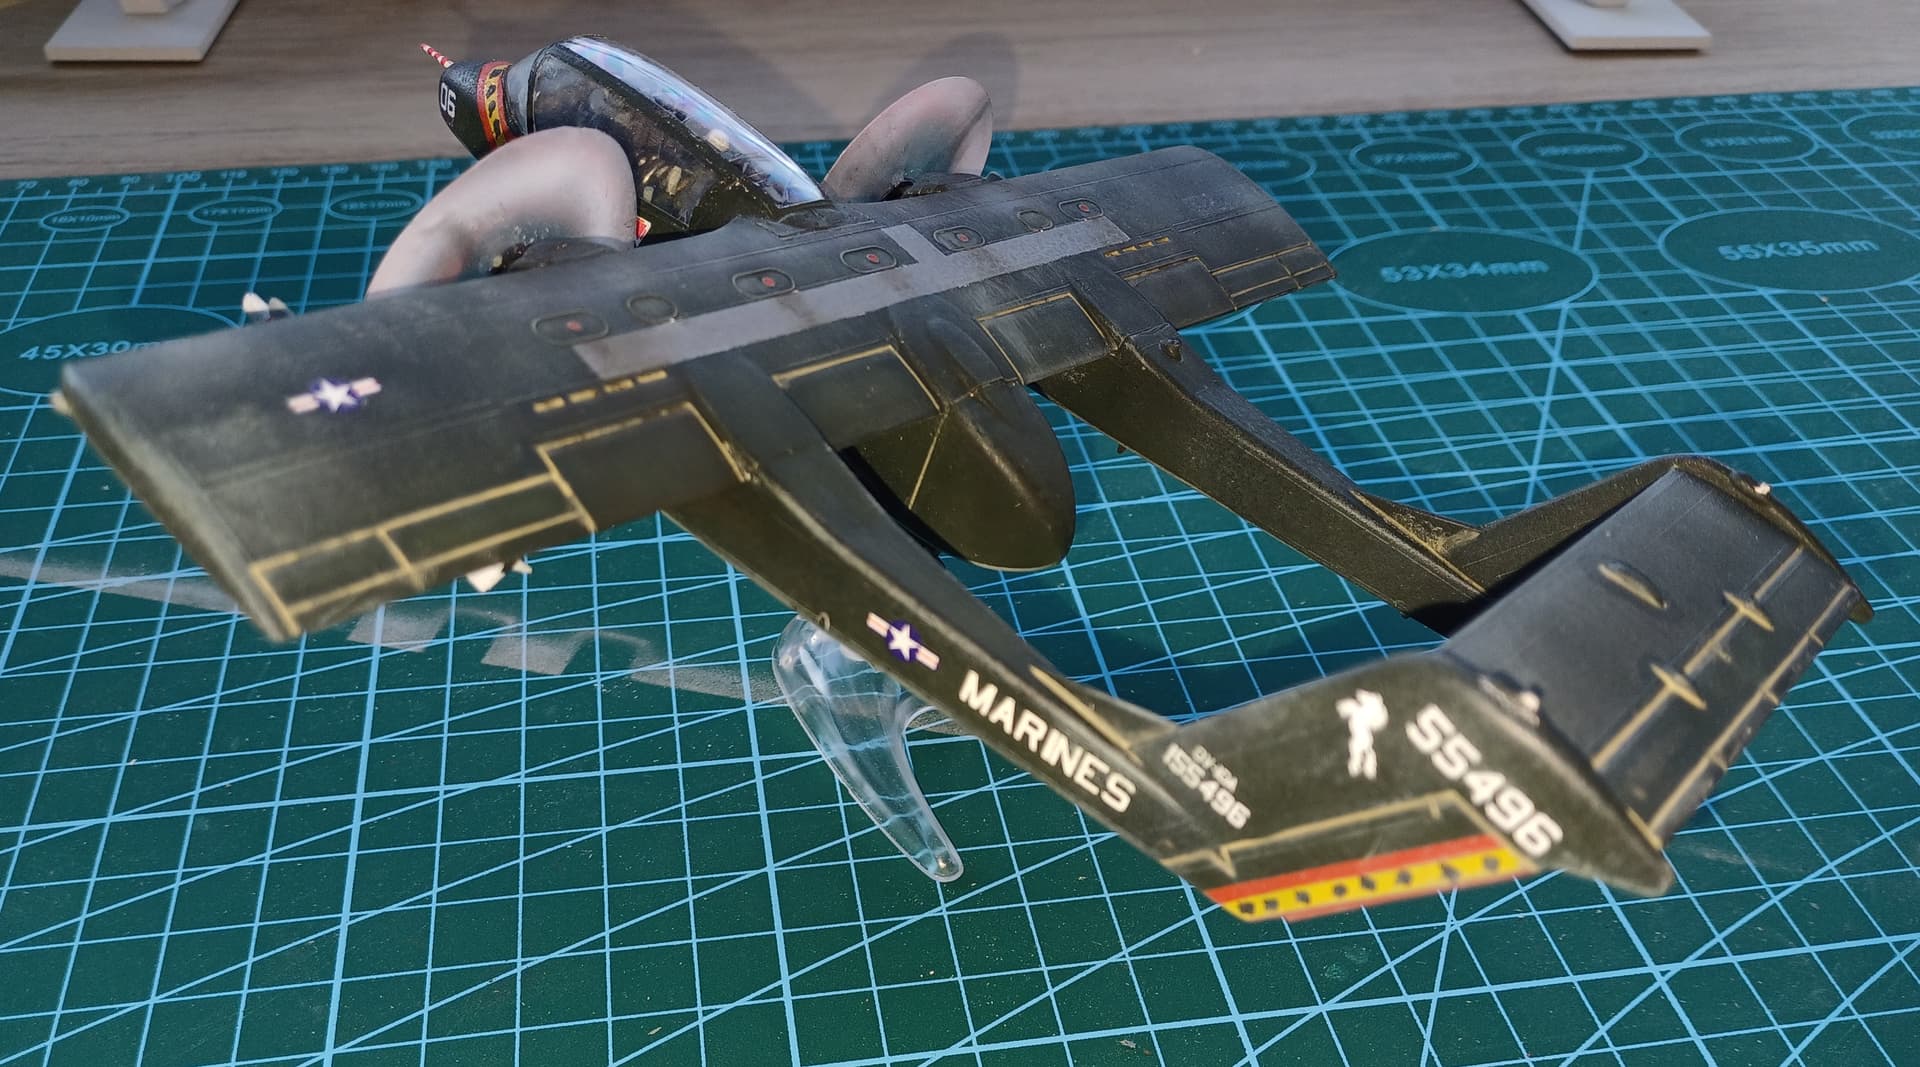
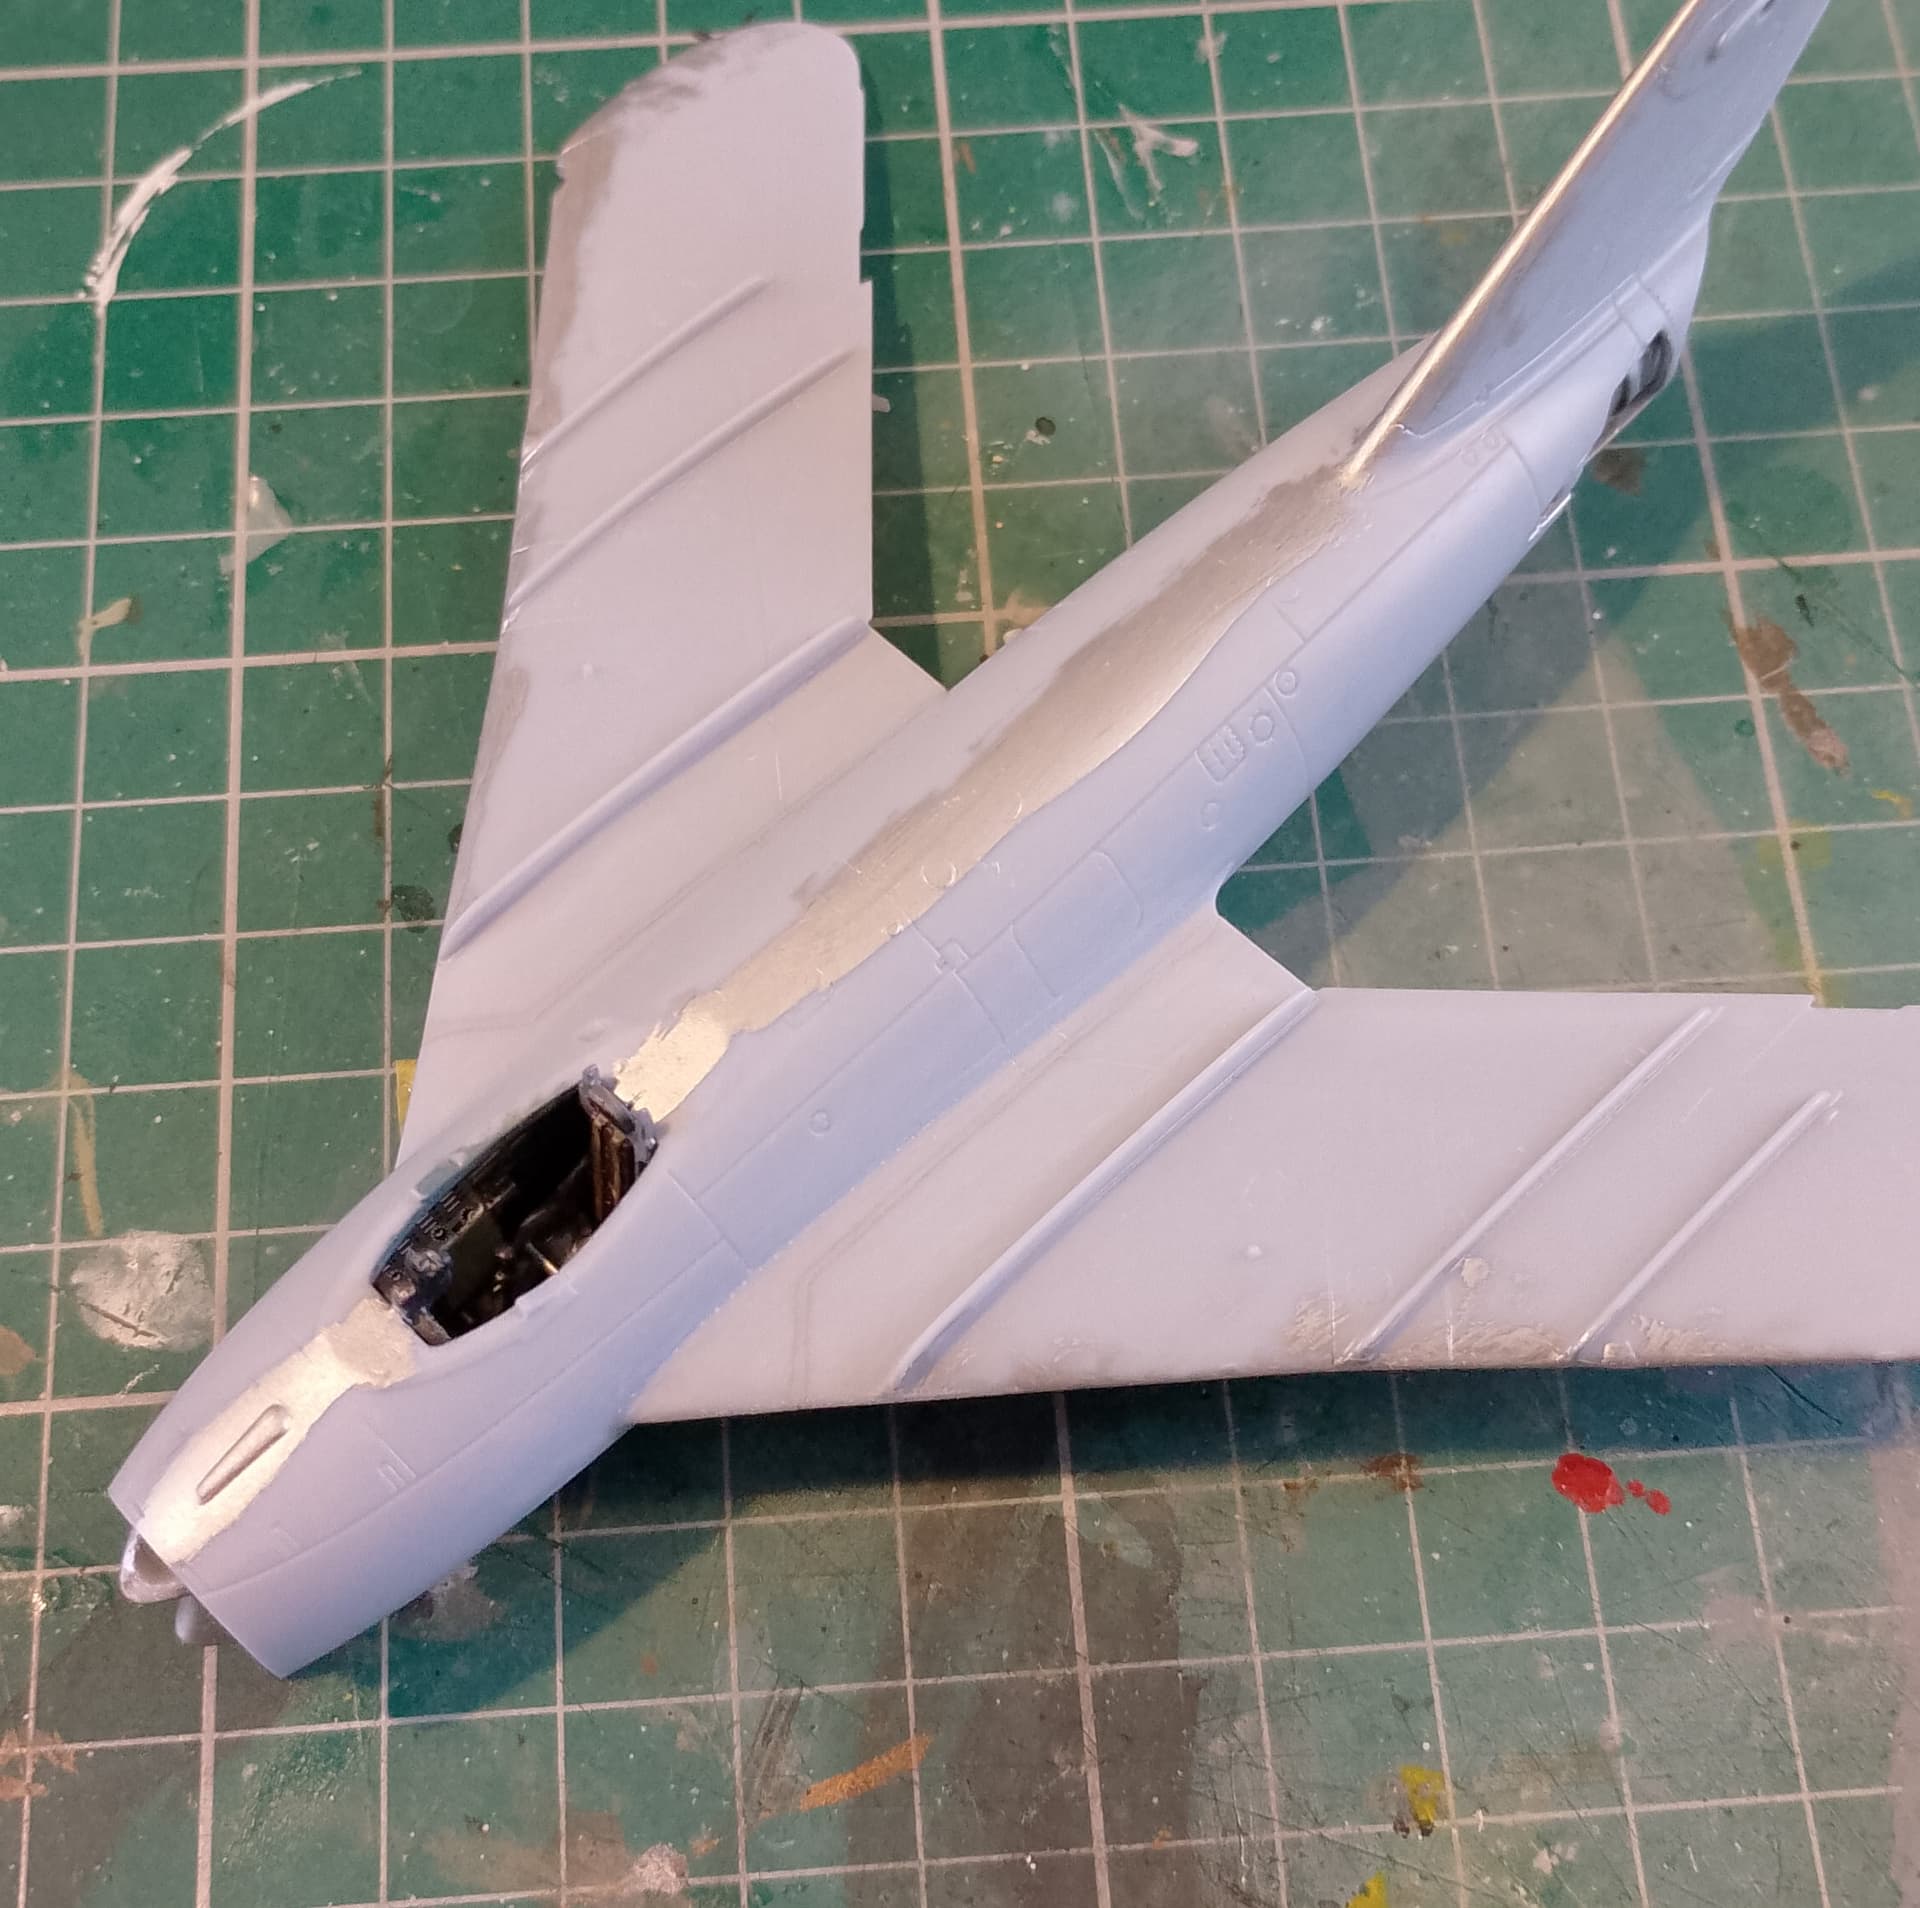
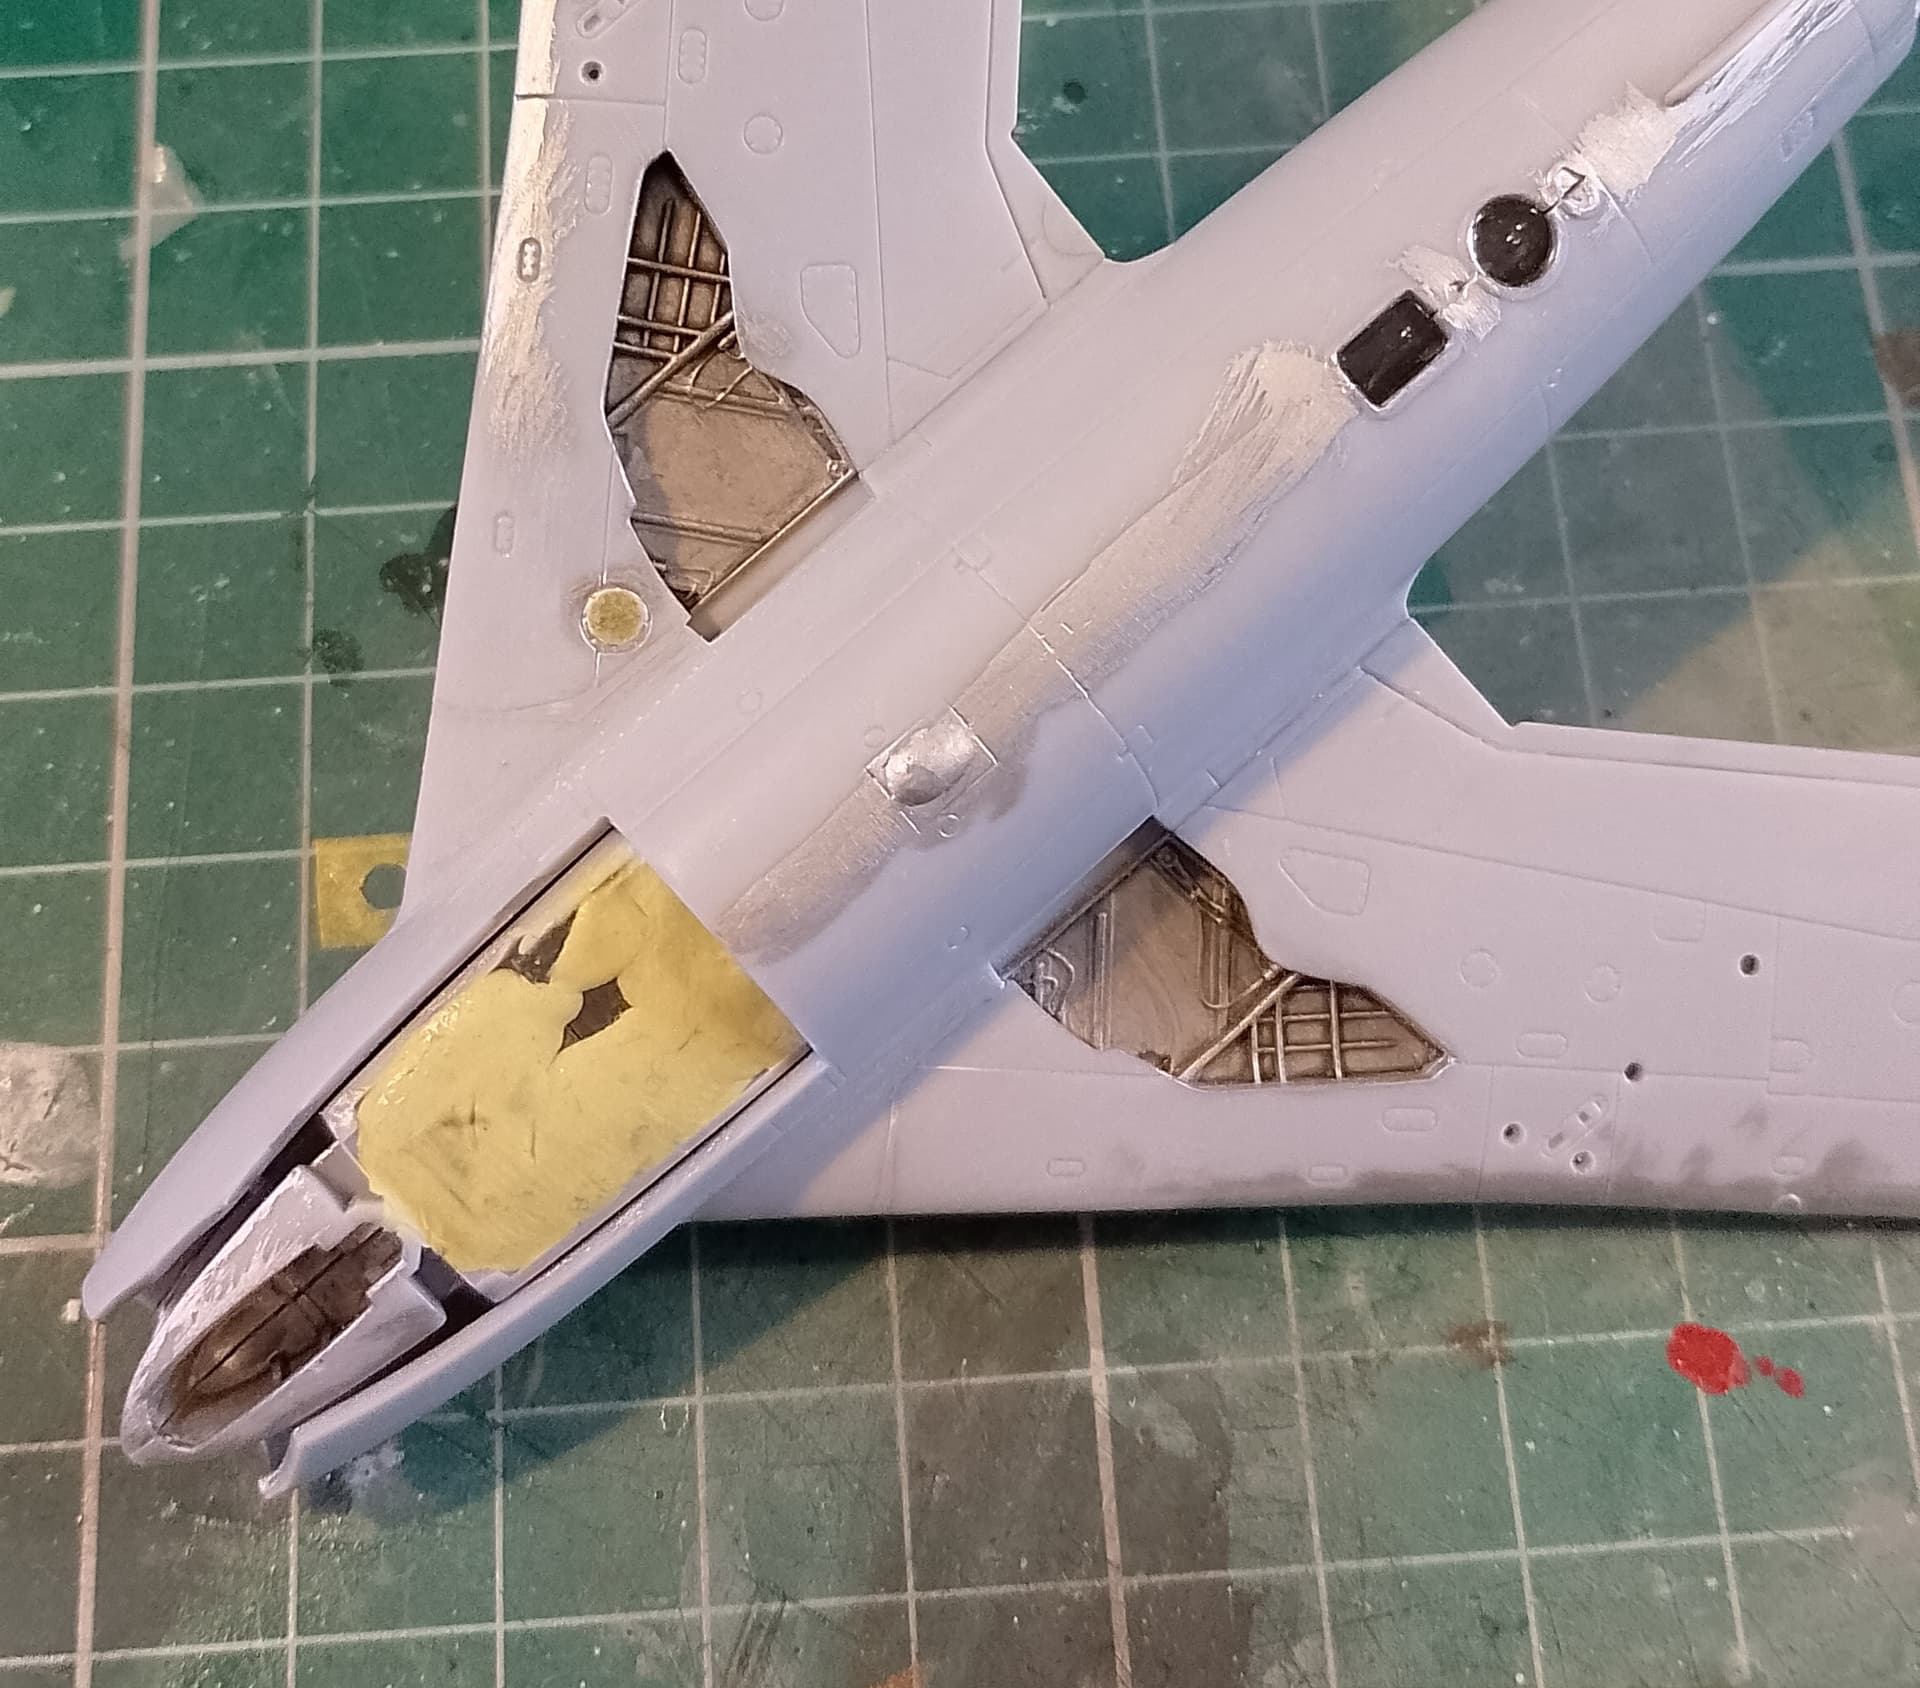
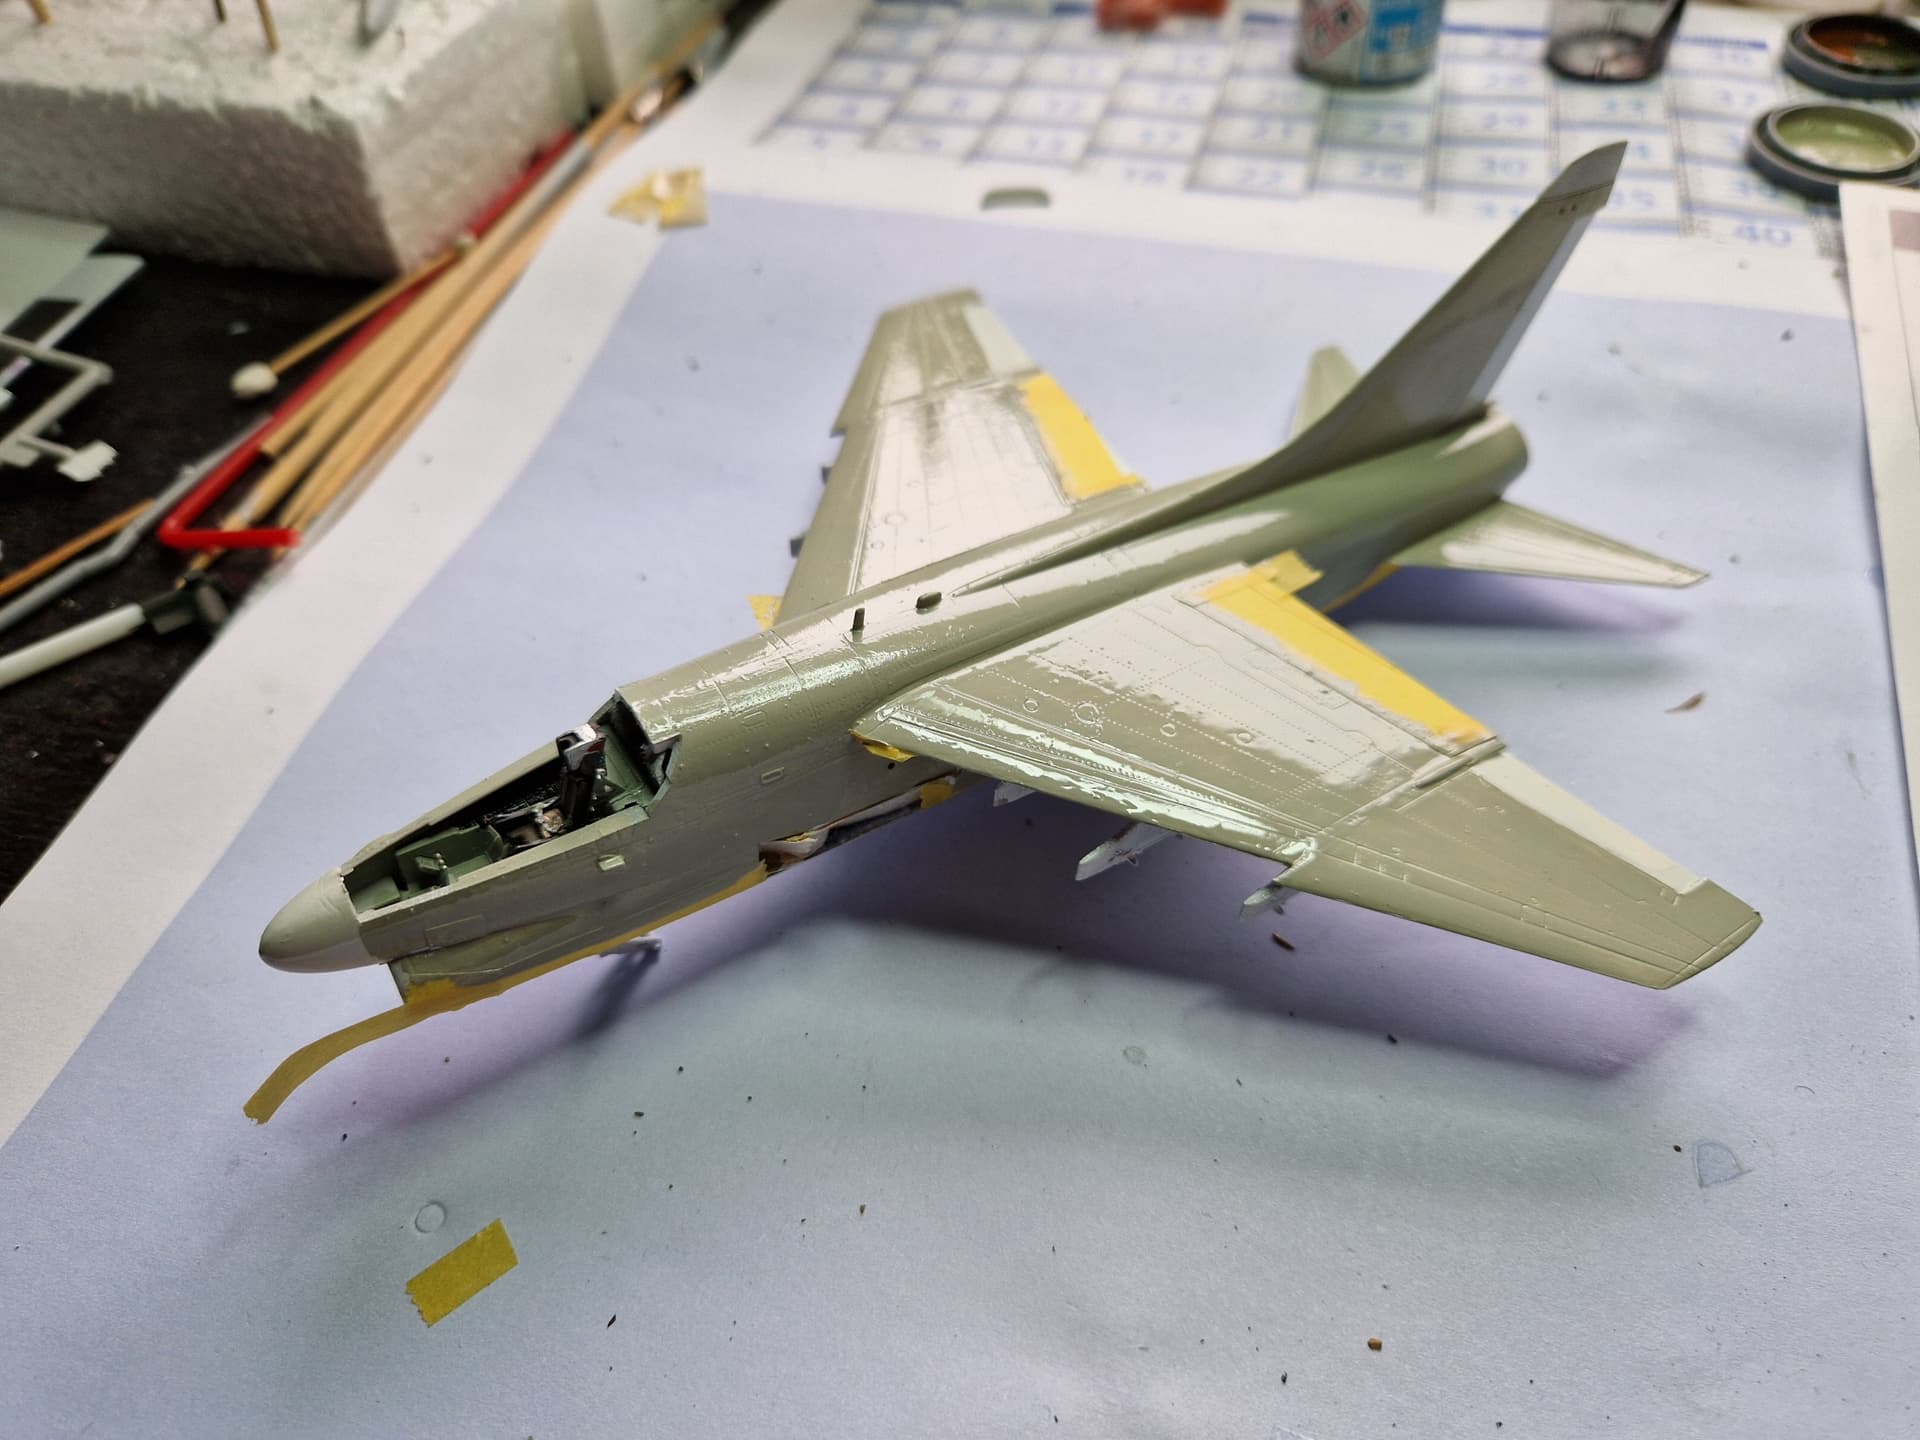
Had a bit of time to do some work on the Mig this afternoon, so got the fuselage closed up.
A little bit of trimming is needed on the edges of the cockpit tub to get it to close up. Not a major problem, but something to look out of anyone else has one of these in their stash.
A little update on my Vietnam-themed projects. More details in their respective build threads.
The Dozer:
I was working on the blade:
I also started to scratchbuild the “house” to match the pictures I have:
As you can see I also detailed the hinges of the battery boxes. In case of the later model “house” they would be covered, but here they will be exposed. I also started to build my own roof.
Dry-fitting looks OK to me:
The tanker:
I installed the 3D printed parts for the chassis and also the cab:
I also started working on the tank. First I had to cut off the later sides:
Then I had to do some fixes and tweaks:
I’ll soon have everything ready for the 3D printed older sides.
Paint Specs:
Body Color
• Vallejo Highlights US Army Tank Crew (70.322)
Railings & Trim
• Vallejo Prussian Blue (70.965)
Driver Seat & Benches
• Vallejo Red Leather (70.818)
• Vallejo Silver (71.063)
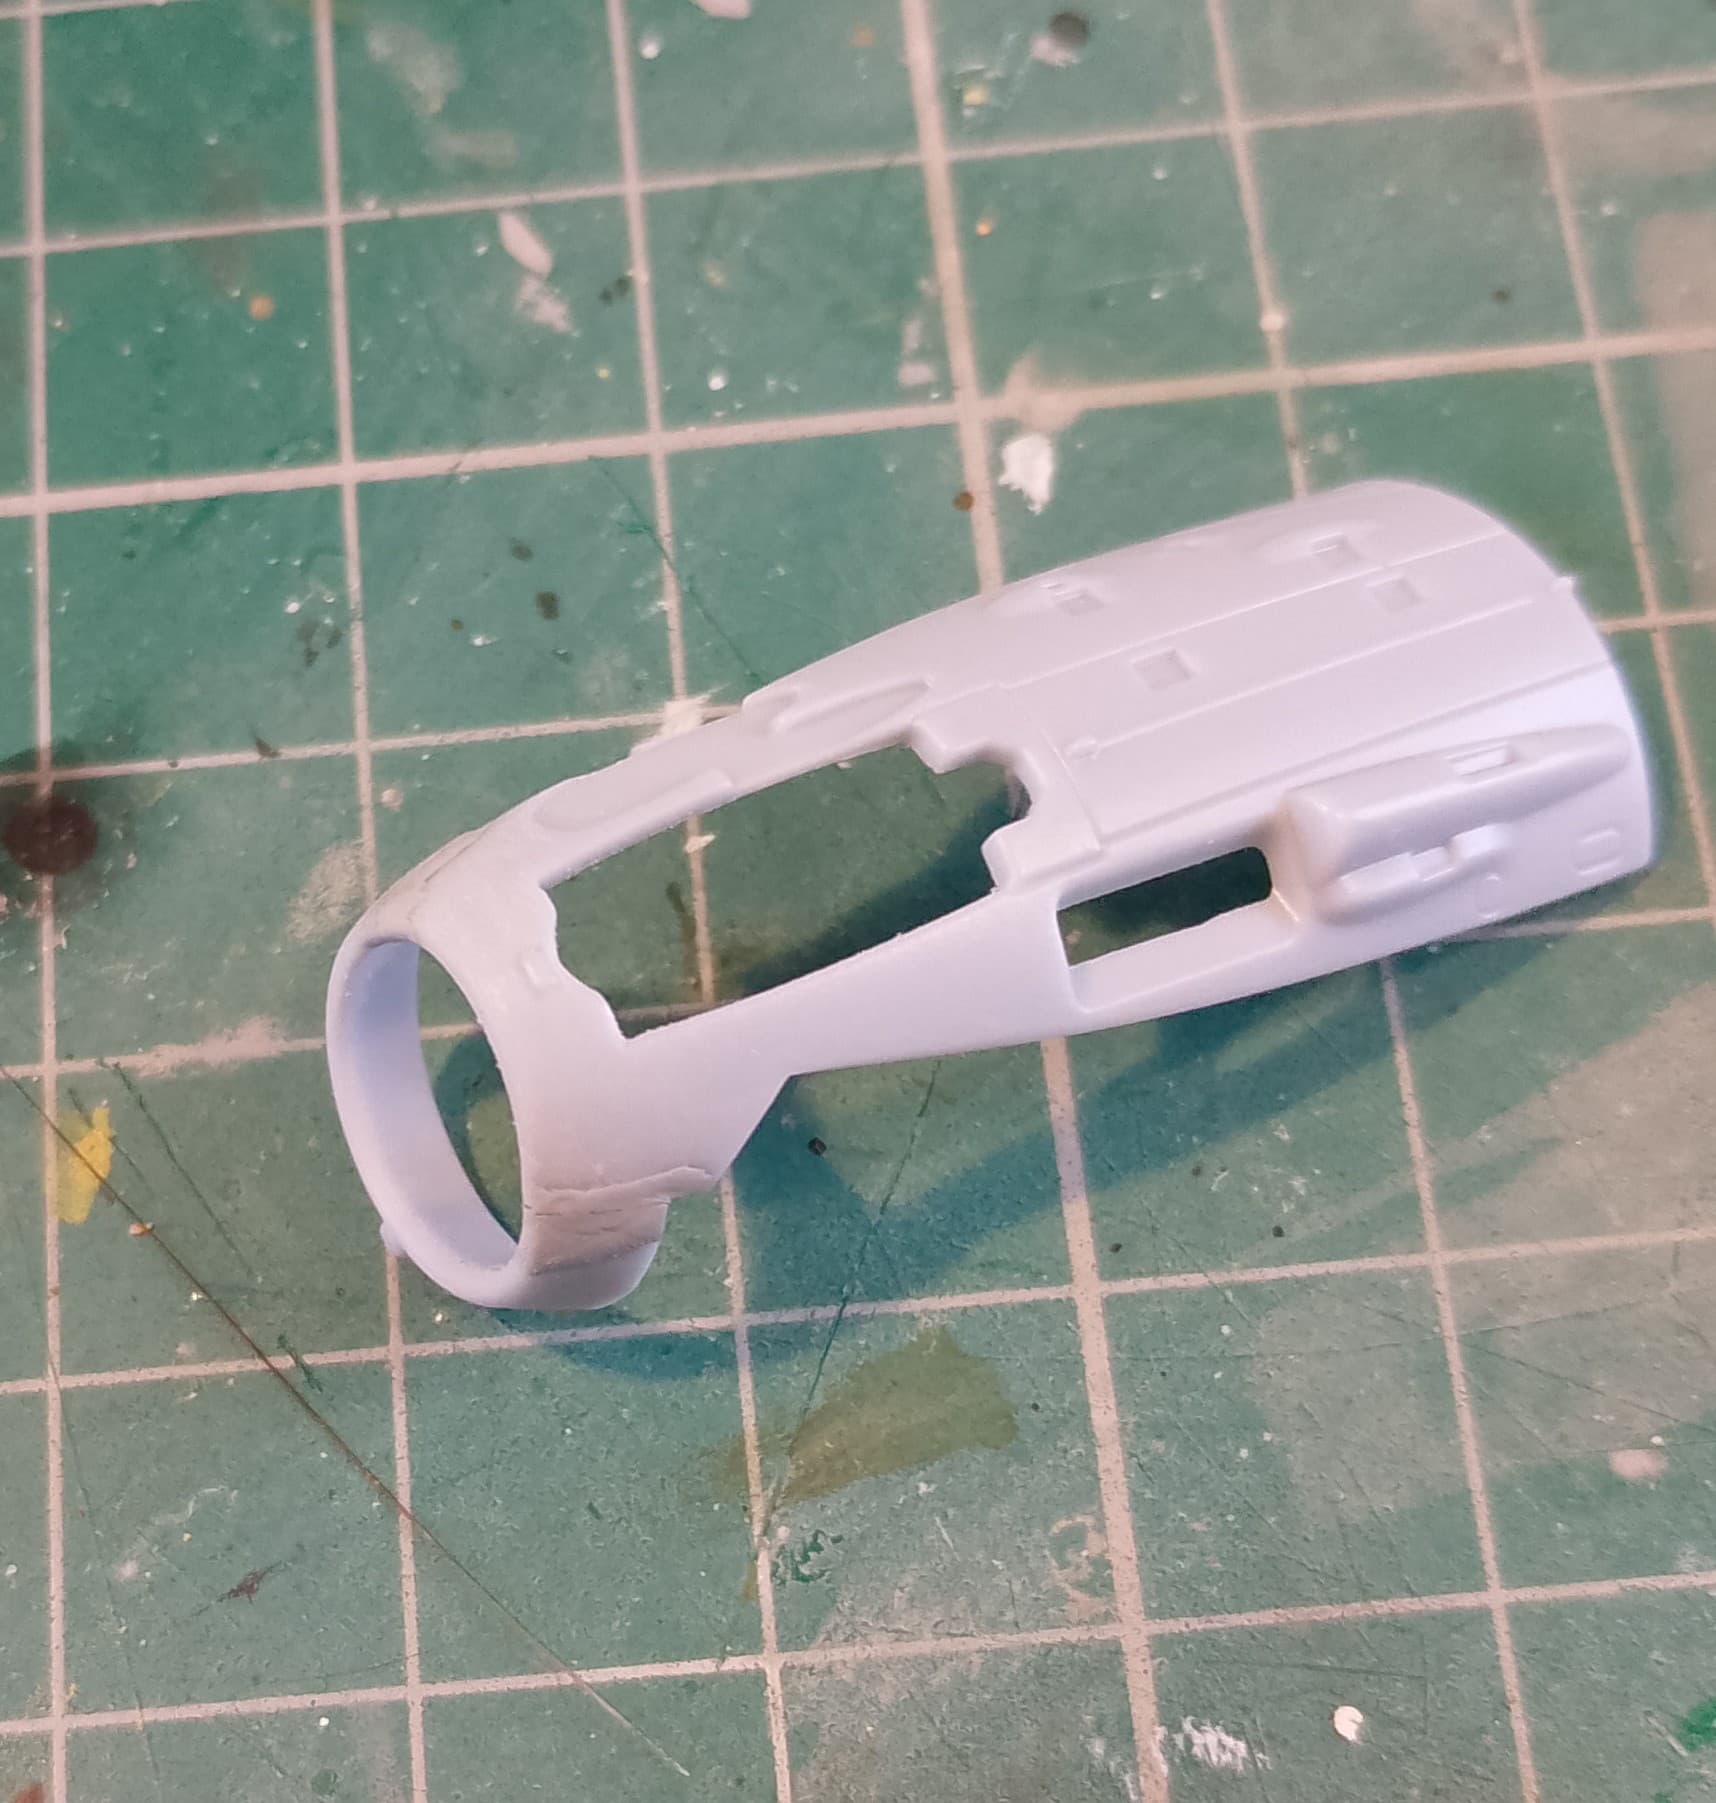
Personally, I think it would have been better if Airfix had moulded the ring as a complete part that fits against the lower fuselage. Bit awkward to clean up the join as it is.