@Armor_Buff @Armorsmith @metalhead85 Thanks for the compliments guys. Yes, it’s an excellent hotel but the elevators would have to be 3 times better to rise to the level of totally sucky. They’ve been that way for 4 years now and they’re constantly fixing them.
If you come to Armorcon, PLEASE introduce yourself! I like to meet Armoramazonians in person and exchange a few words, maybe spend some time in the bar, after conversing for years on the forums.
By the way Wade, sorry to get off on a tangent on your thread, your scratch work is incredible. This is obviously a labor of love because you’re doing a lot of work that only you will notice when it’s done. Your level of detailing is just amazing. And turning a barrel in a drill powered lathe - old school genius.
2 Likes
I’m sure you would recognize me or at least some of our contingent. One of the guys is missing a leg and rides a buggy. I’m the guy with the long last name that everybody mispronounces.
Matt its all good, I enjoyed reading and sharing contests stories. Thank you for the kind comments. That really helps keep me stoked and motivated. When Covid boogaloo wraps, I’d like to make the AMPS show. Seems like an excellent road trip. Looks like about a 13 hour drive which is manageable.
One more contest story, long ago mid 90’s at a show in Atlanta a close friend we’ll call MP noticed a fantastic A7. While not an airplane modeler I too could appreciate this one was a true master piece. MP found the builder and they had a very long airplane guy conversation. MP studied the A7 like a hawk and dragged me over to it again and said, flashlight pointing, 'Look there a tiny divit of super glueetc YOU remember I showed you that and exactly where its at."
The A7 won gold, best aircraft and I believe best of show. We congratulated the builder and told him we looked forward to seeing him and his outstanding A7 again. He said this would be its only show as it was a commissioned work.
On the way home I asked MP if he felt there was an issue with the A7 winning like it did given the super glue digit. He was like no at all easily the best model at the show. His concern was the model would show up on the contest circuit in our area of Region 3 and be entered by the buyer as the buyers work.
Sure enough a few months later the commissioned A7 showed up alleged built by a guy that never finished anything but talked a big game. It was entered under the buyers name not the builders. MP had a field day talking to the head judge and getting the model DQ’d under the contest rules thanks to that super glue divit proving it was exactly the same model.
Later at another show it happened again and MP had another field day.
MP said if the guy would just entered it under the builders name he wouldn’t have said a word. MP just couldn’t abide in his own words - plagiarism
1 Like
Just ordered the JLC saw, thank you for the info.
The only contest story I have is the last time I went to an IPMS regional show I got skunked. I learned a lot though so I’m not disappointed. Now if I can find some quality Build Time.
Take care and stay safe friends,
Don “Lakota”
1 Like
First day back at the bench in over a week. Started to work on the Pz IV but decided to address a nagging issue. Almost lost this model to an over turned bottle of Liquid Cement. Cobbled up a pair of LC bottle holders.

Back to the Pz IV tomorrow
3 Likes
Ok great to see, can’t wait to see the finished model. Yeah lol , be careful with that glue ! I’ve done it before but got lucky there were no models around.
Didn’t like the ventilation fan cover for the turret due to missing flat head screw and sink marked. Drilled out, thinned & new flat screw heads from .020 rod

3 Likes
Love what your’e doing with this Wade. All this intricate detail will really make it pop out. The screw head details do look really good. Well done with those.
Thank you John. I appreciate you taking time to look.  The fan housing cover was one of those things, I was going to skip until I realized there was a sink mark.
Trimmed the styrene rod to equal length. Had to add a little sheet styrene to fatten the lip so the housing could be held up by the screws like on the actual tank.
Added to turret roof.
Another angle.

5 Likes
I think sometimes it is actually a shame that kits like this that have had so much extra attention to detail areas added, and tiny new scratch built/made items made to measure, then put in place to almost replicate a near perfect mini version of the real thing have to be painted at the end of it all. I like seeing a kit like this with all the new screw heads, weld seams, lathe turned barrel etc etc etc in the nude … you really appreciate the time and effort thats gone into it then.
2 Likes
6 Years ago the theme of Armorcon was “Naked Models”. People entered models that were complete but stopped just before primer. You could see all the work that went into them - all the brass, resin, plastic, lead, and scratchbuilding on the kit. And since people were presenting these kits without paint, they really cleaned up the putty work etc. to show off the build. These models were exquisite. The theme category was the hit of the show, people couldn’t stop looking at these models and the hundreds of different parts that went into them, and the intricate craftsmanship that created them.
We also got a lot of hotel guests wandering into the show to see our “Naked Models”!
4 Likes
Wade, your craftsmanship is impeccable. Your attention to detail is exceptional and your quality of work is just outstanding. I am truly impressed every time you post an entry. I can’t wait to see the working pistons on the engine! 
2 Likes
Wow even more amazing details! Cant wait till the next update!
1 Like
Matt, John & Ezra,
Thank you very much. This original 1975 Italeri Pz IV waited a long time to see the bench. Back in 80’s when this was still the best Pz IV kit, I’d collect parts for it. I’d pull the kit out yearly think about starting it. Each time, I didn’t feel my skill level was up to the challenge. Back in the stash it went. I think that’s nicknamed a Holy Grail sort of build these days. As my skills improved, I focused on competition and wouldn’t consider building it. One of my close modeling friends keeps saying why build that thing…lol
In summary, your comments are very meaningful to me They fuel staying motivated and that’s invaluable.
I like the “Nude Model” theme that rocks! An old friend Dave Lockhart who was a true master modeler used to scratch build vehicles. He scratched an M9 ACE in the late 1990’s. He used to say it was a shame to cover up all the work in a model with a cost of paint.
Today’s a trying day, the On The Mark, photoetc says use 1/8 inch plastic tube for the smoke grenade dispenser. Finally found the 1/8 I stashed 30 years ago just for this…and its too big! Needs to be 3/32 diameter to fit the PE base.
Hobby Lobby didn’t have 3/32 rod or tube.
Looks like its off to Starbuck’s and the local coffee  shops collecting stir straws to try to find something suitable.
Edit - looks like a DML Imperial Pz IV G is going to donate the necessary parts and save some time. I have a set of newer aftermarket smoke dischargers so the Imperial G won’t be short changed.
Edit #2 - Tamiya to,the rescue! The 1997 Tamiya Pz III Ausf L kit #35215, has the Stug III smoke grenade discharger tubes on the A sprue. That looks like the solution.
1 Like
The signal flag hatch in the kit is overall a nice part. Only 2 nasty divits to remove. Used #11 to enhance hinge details a bit. Added a little weld seam for back of hinge.

The kit lifting hooks on the turret side are very nice. I really hated removing them to add the smoke grenade launcher. A pair of replacement lifting hooks had to be added from On The Mark photo-etch Pz IV set from 1990. A couple of old school Grandtline nuts were added to the new lifting hooks. These hooks are my favorite part in the old OTM PE
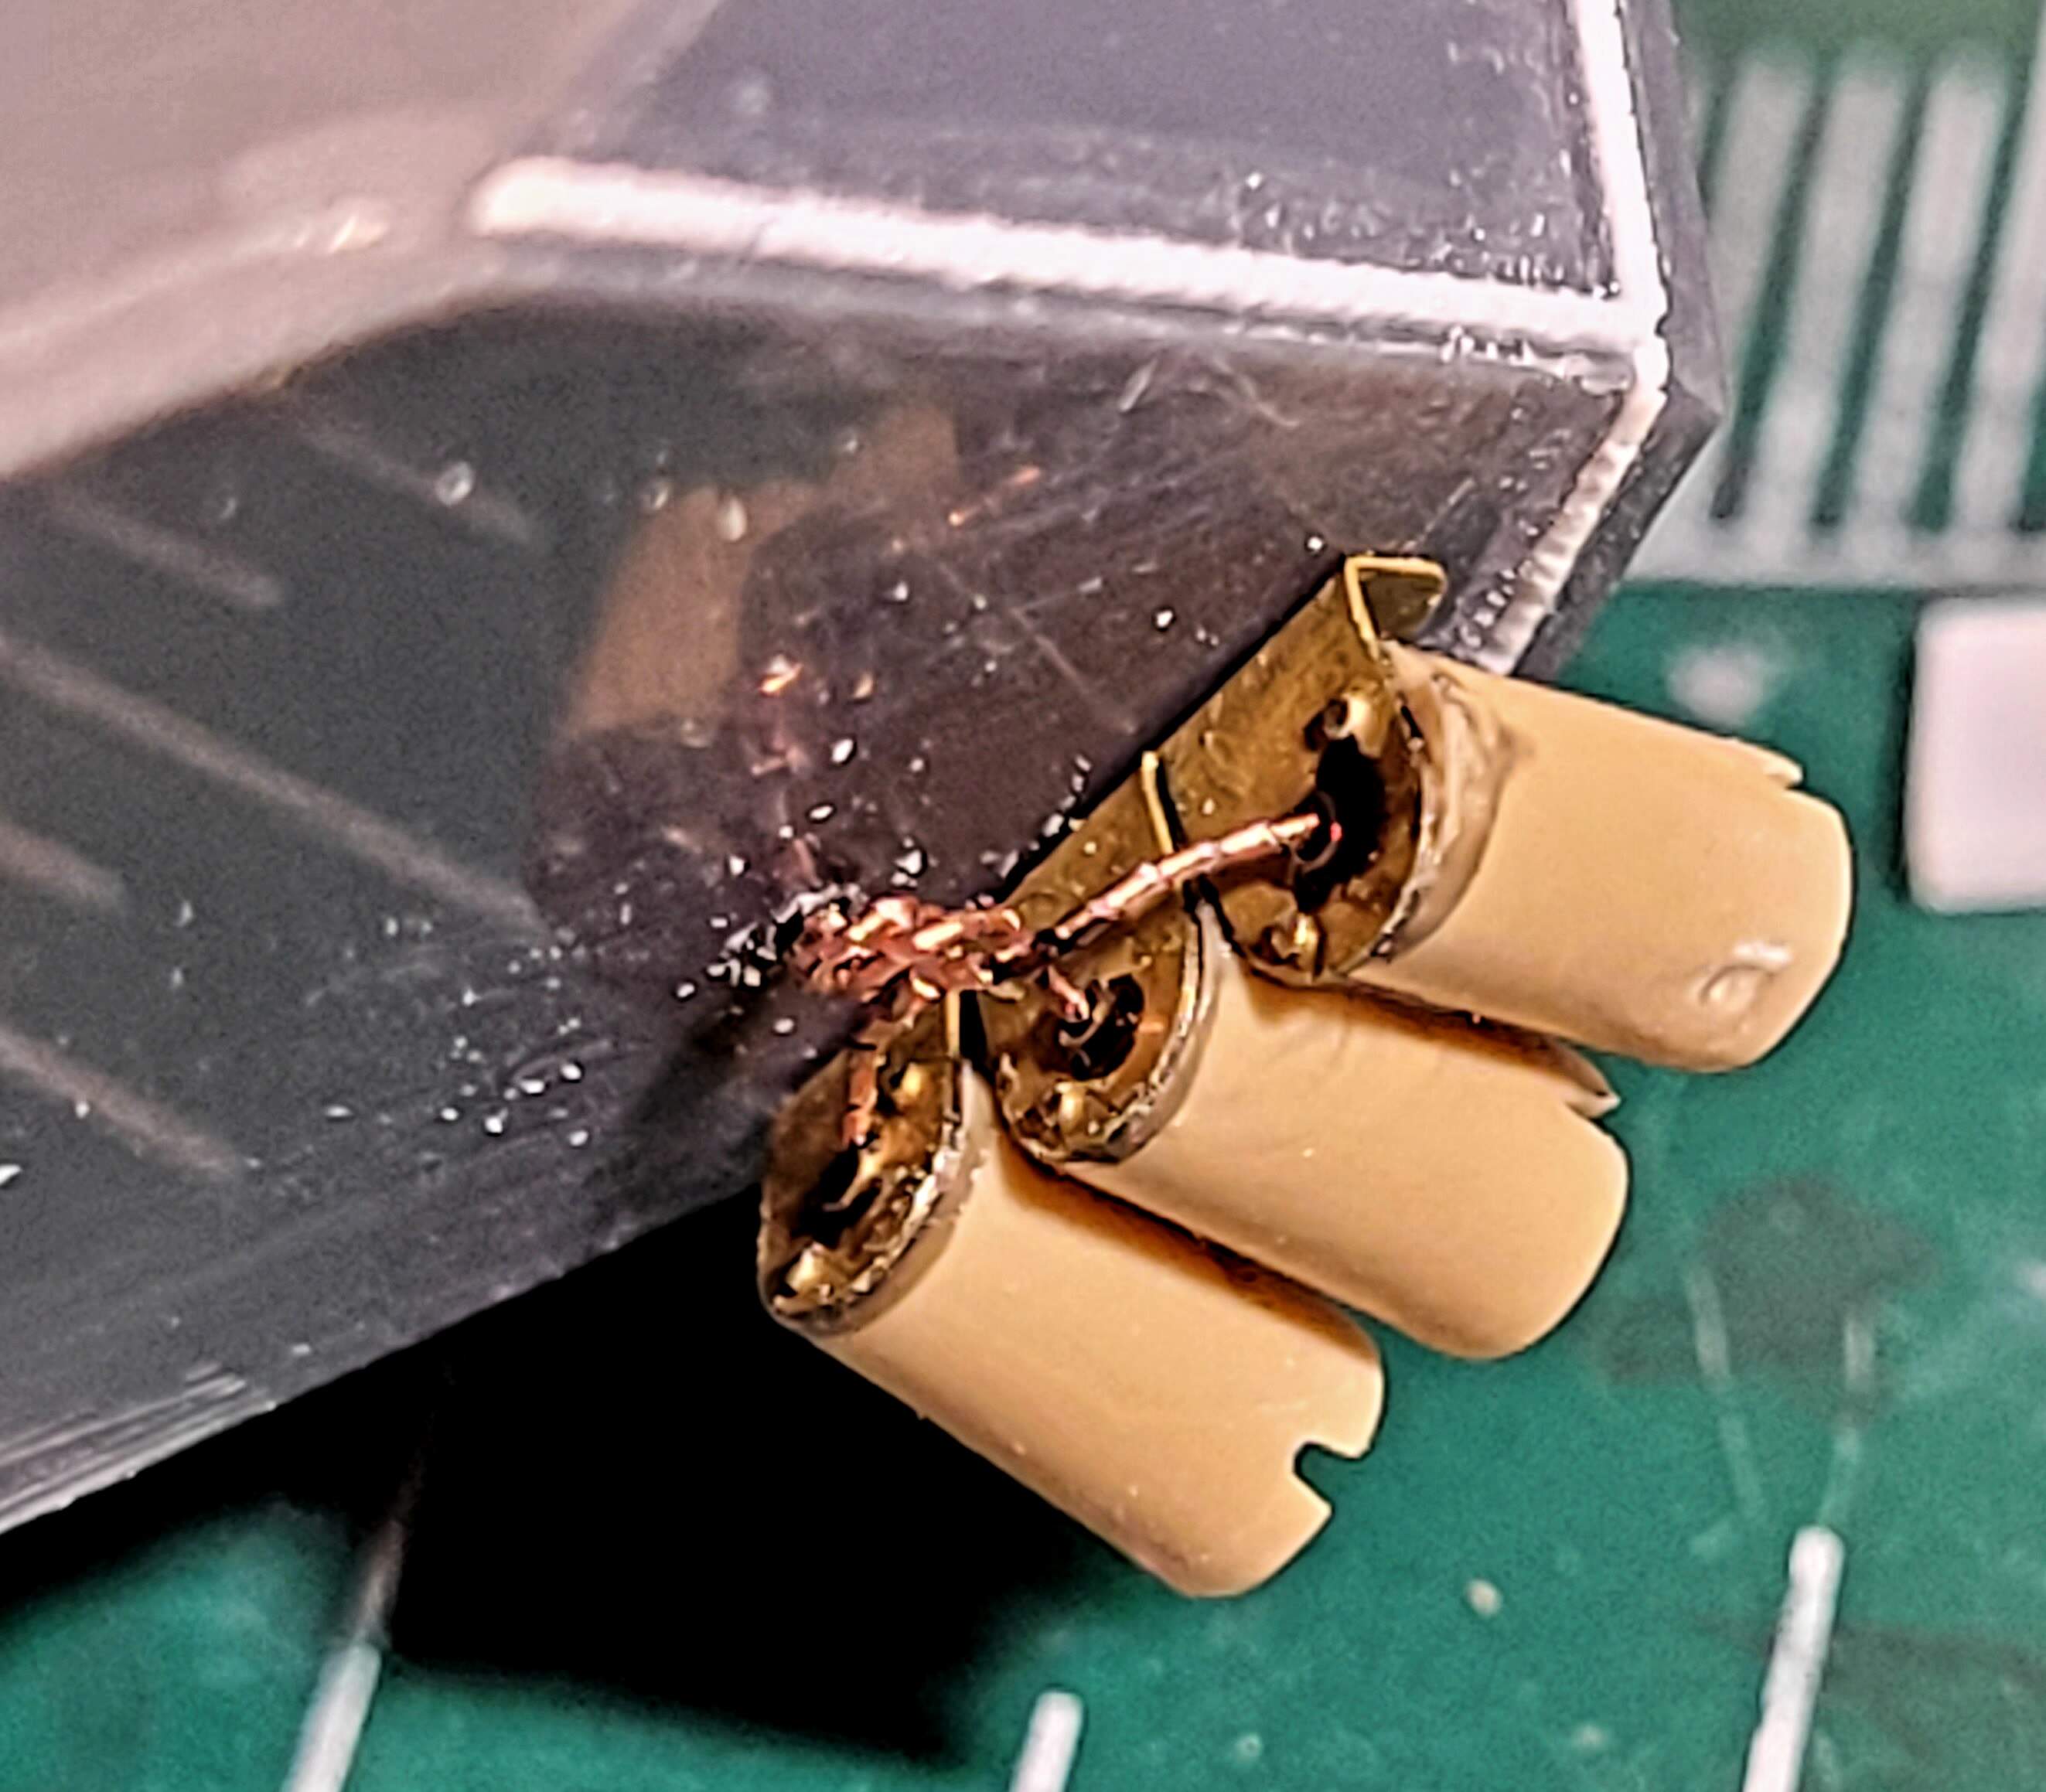
I got wrapped up doing the smoke grenade launchers and scrounging up parts for them. The bracket is from the OTM set. I used the Tamiya brackets in the #35290 Pz III Mas a guide for bending the PE. The tubes were spares (A5) from #35215 Pz III L. Notched the tubes with a razor saw and sand paper.
Added the SGD’s to the turret sides then the lifting hooks.
I’m not a big model researcher, Achtung Panzer #1 & #3 on the Panzer IV have been invaluable helping with fiddle  bits.
bits.
Not sure if I can wire up the back of the SGD. First two attempts have failed. One was too and the other prefect for 1/8 scale 
4 Likes
Dont’cha just love it when YOU know that every single little detail is there, whether everybody notices it or not?
2 Likes
LOL Yes, indeed.
Especially when one of those pet favorite details!
I can sleep tonight 
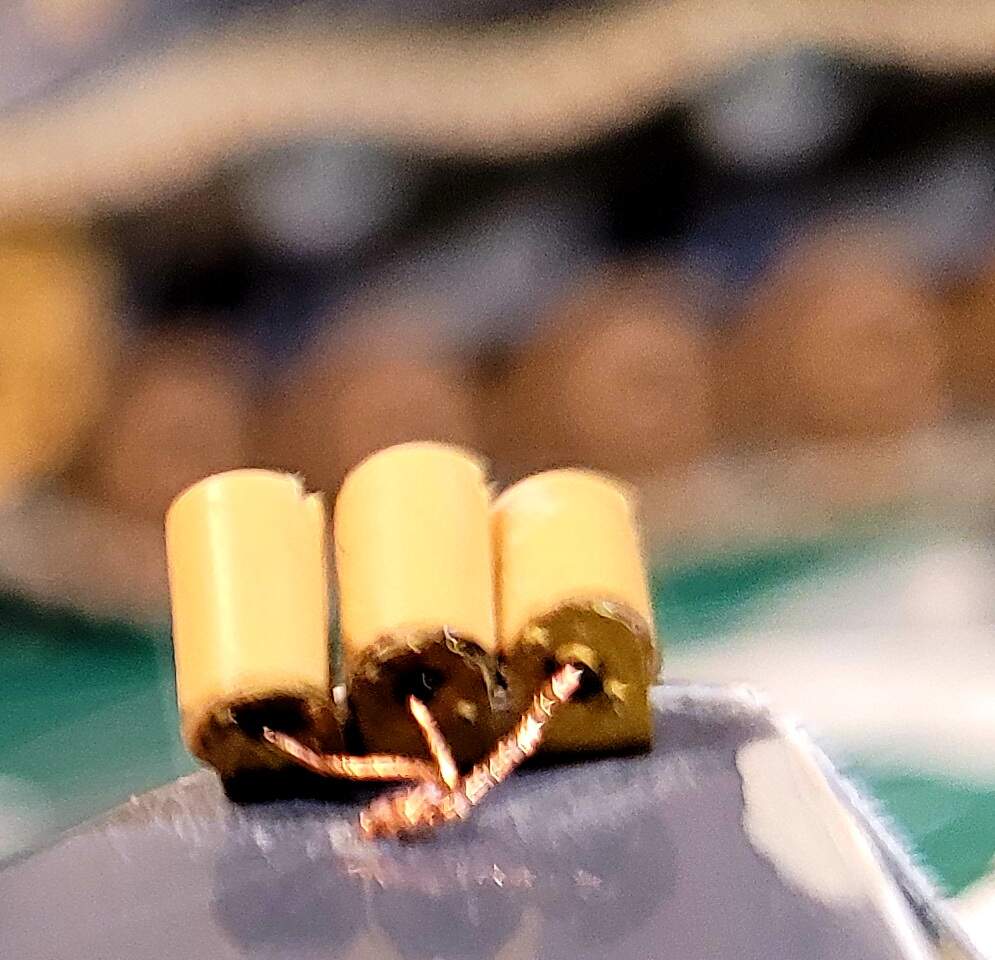
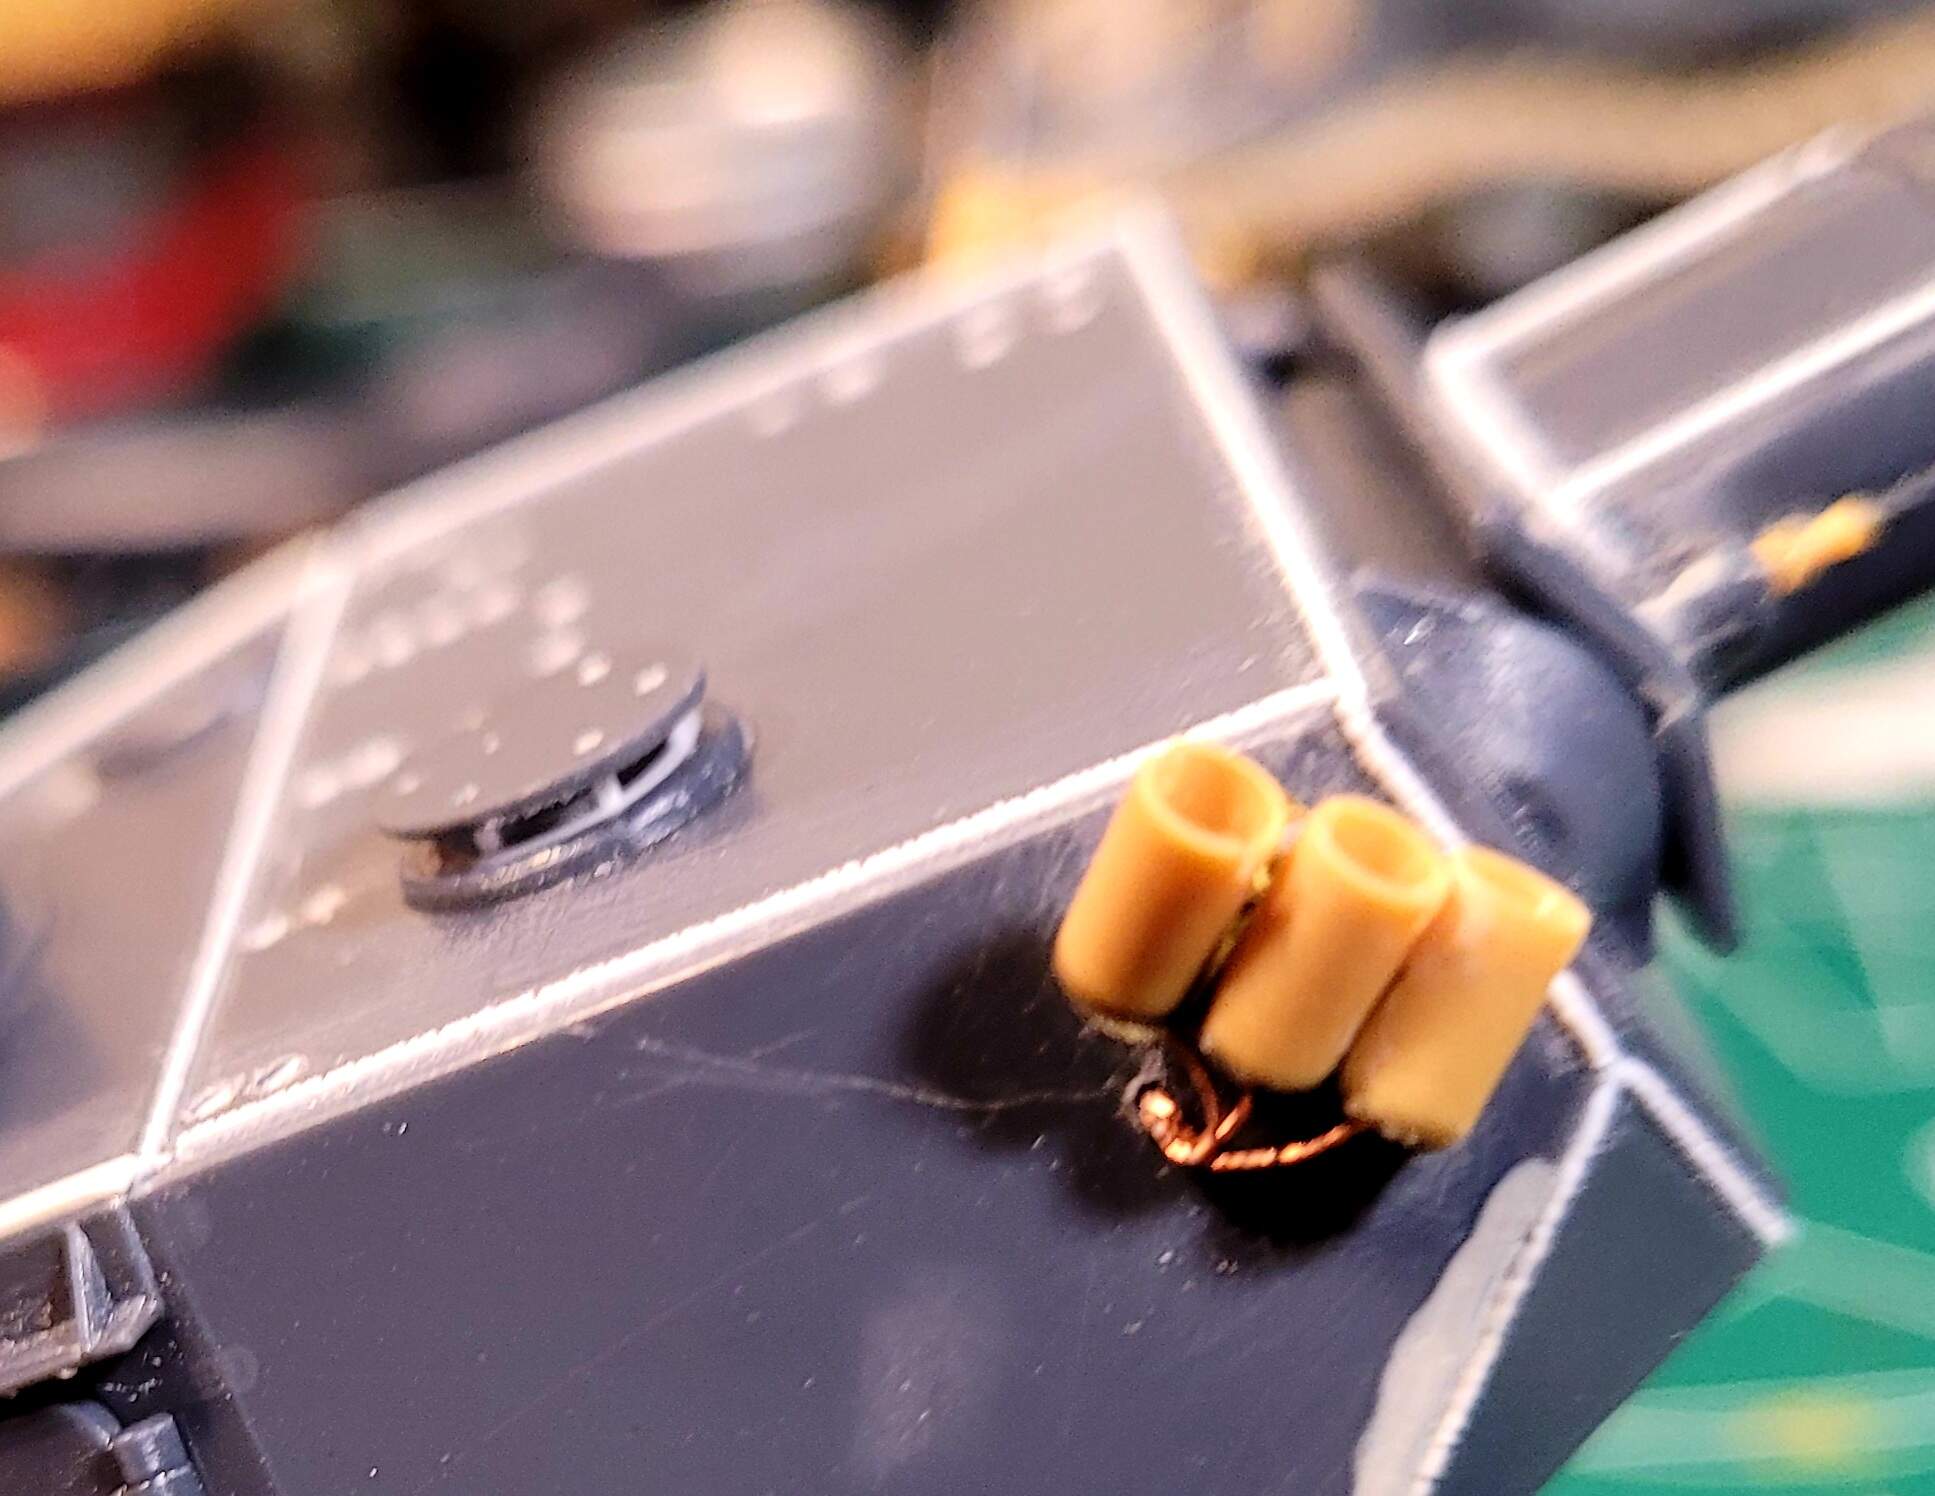
Attempt #6, worked.
Will do other side tomorrow & clean up this side.
Edit - other side
3 Likes
This just gets better and better. While I enjoy a retro build now and then I don’t think I would have the gumption to put all the work into it as you have. Hats off to you. 
2 Likes
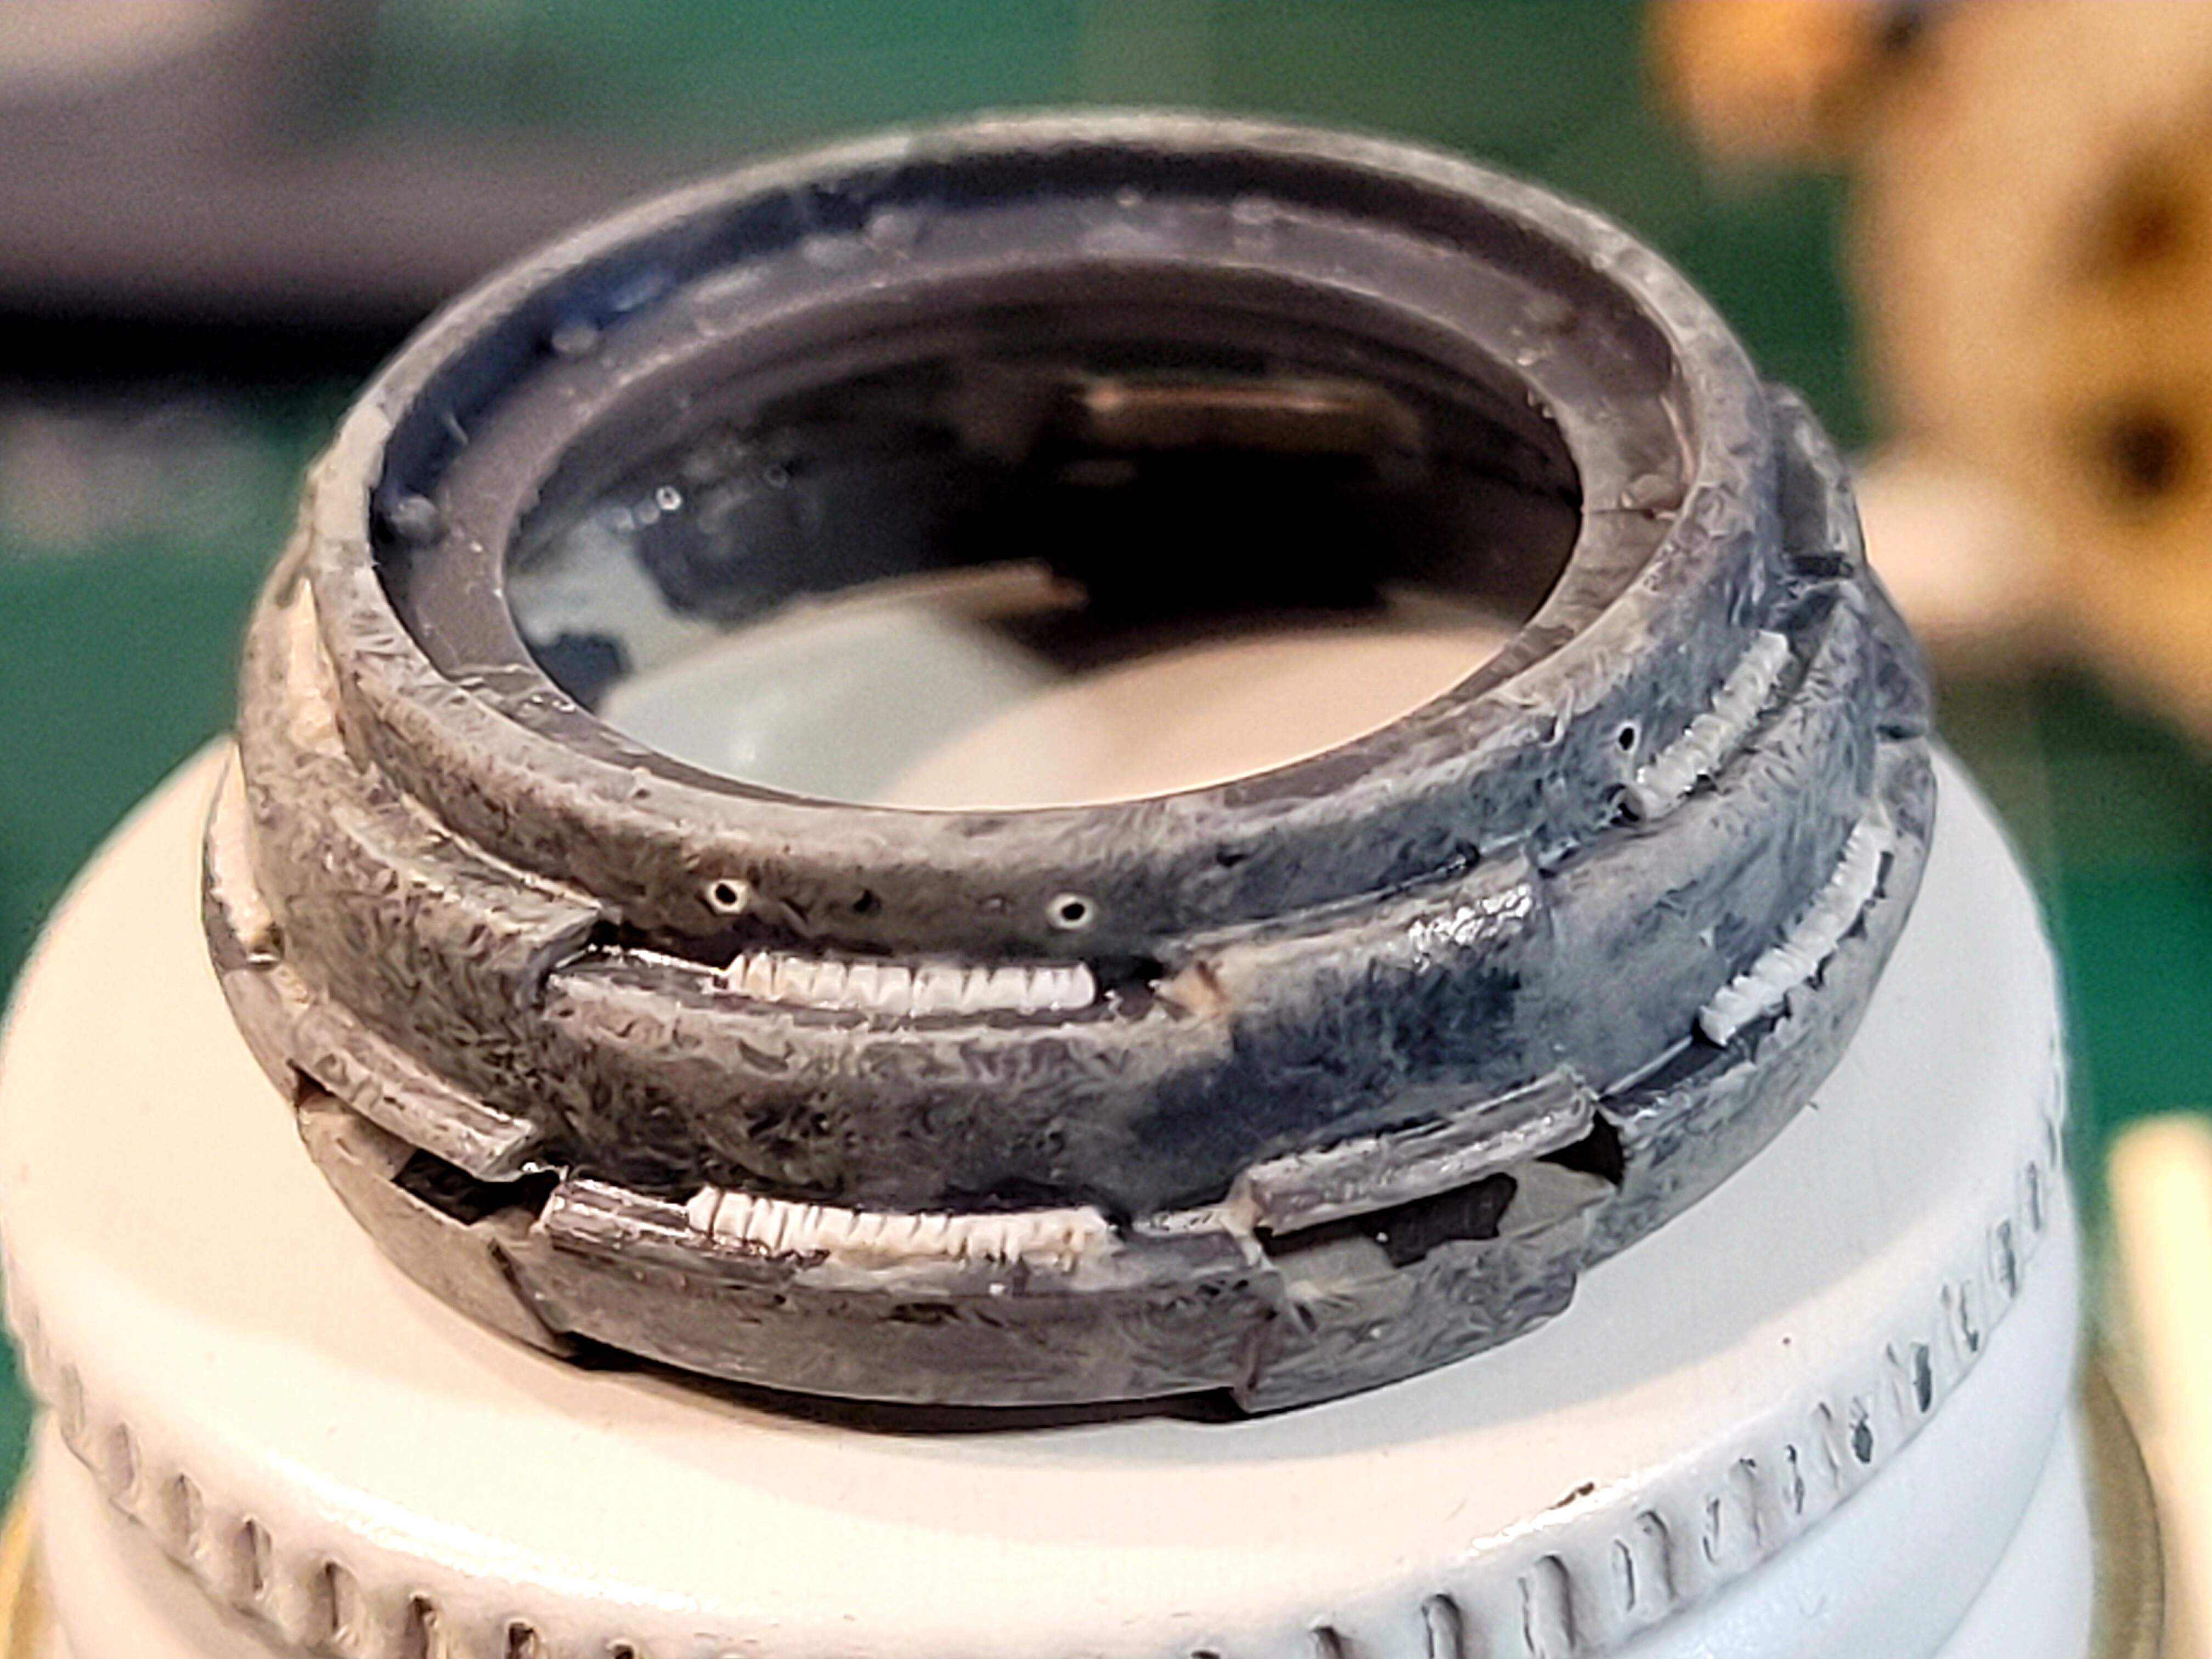
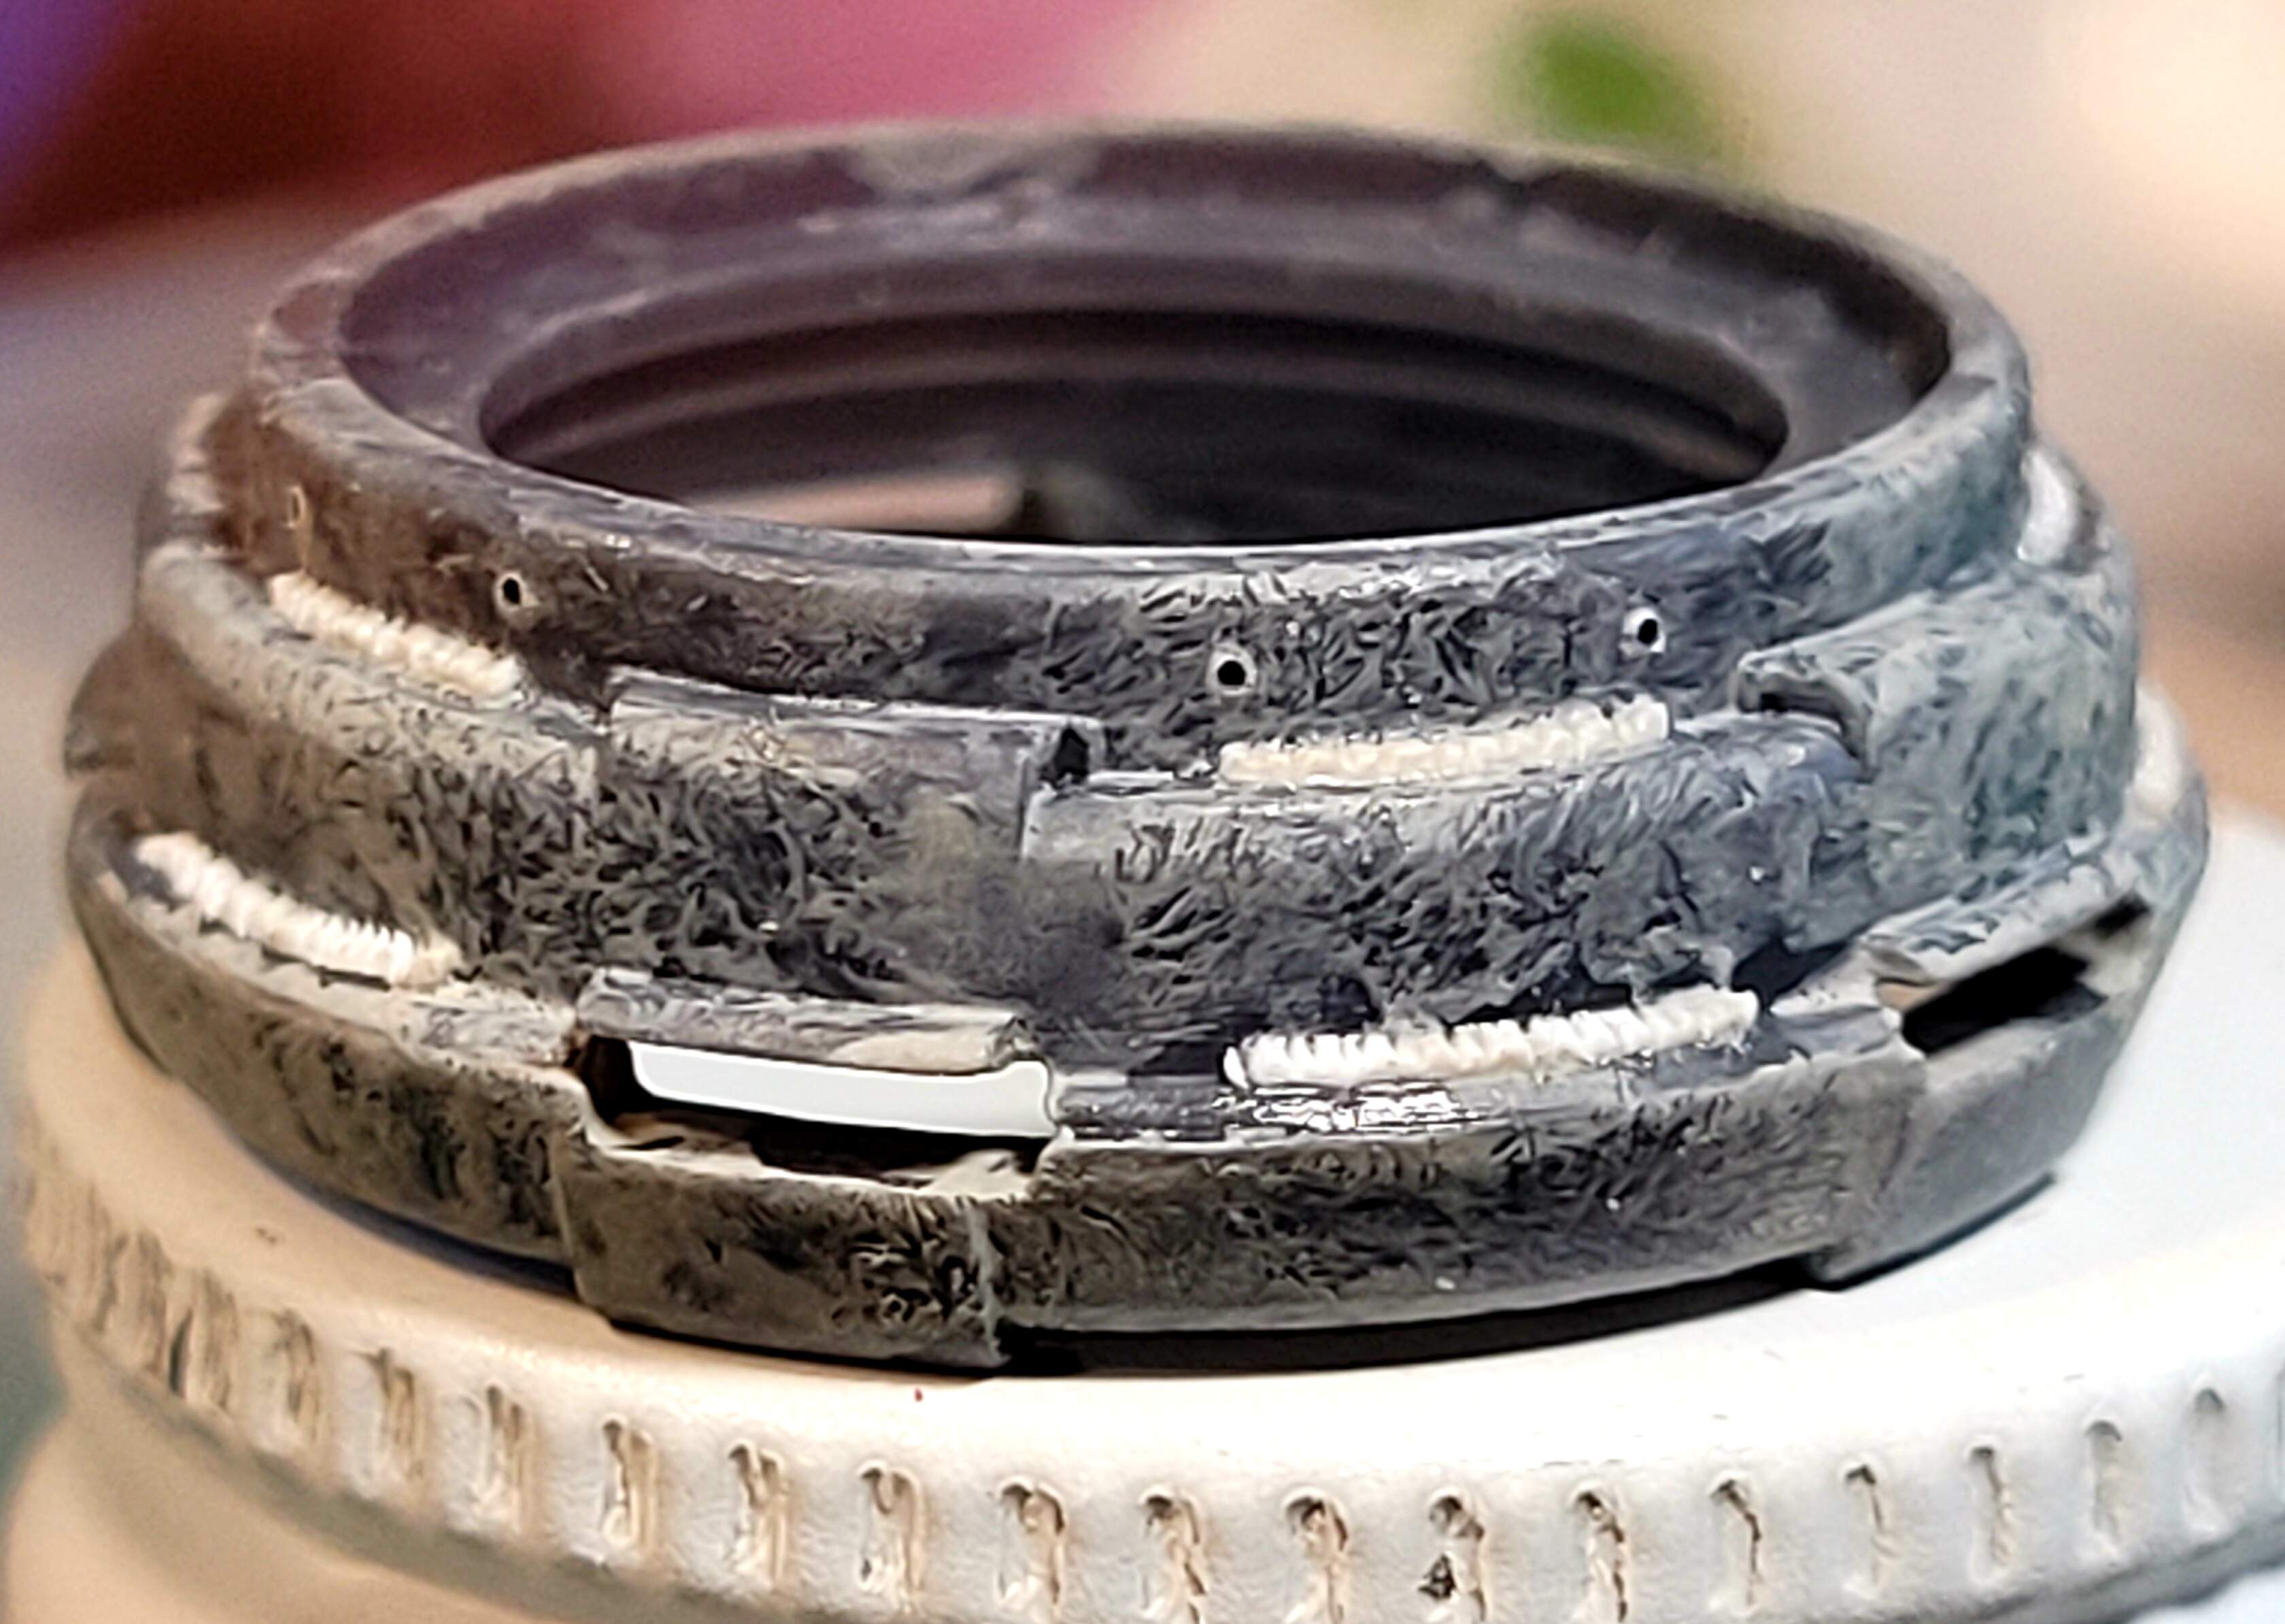
Another pleasant surprise the cupola is pretty good out of the box. Added cast texture, welds seams with a little artist license and rain drain holes.
The top row of welds is accurate, but I added the welds to the lower section. Caught it when doing the rain holes as they more or less line up with the end of the welds. Decided to leave the “undocumented illegal” welds and add the the top layer.
The result…
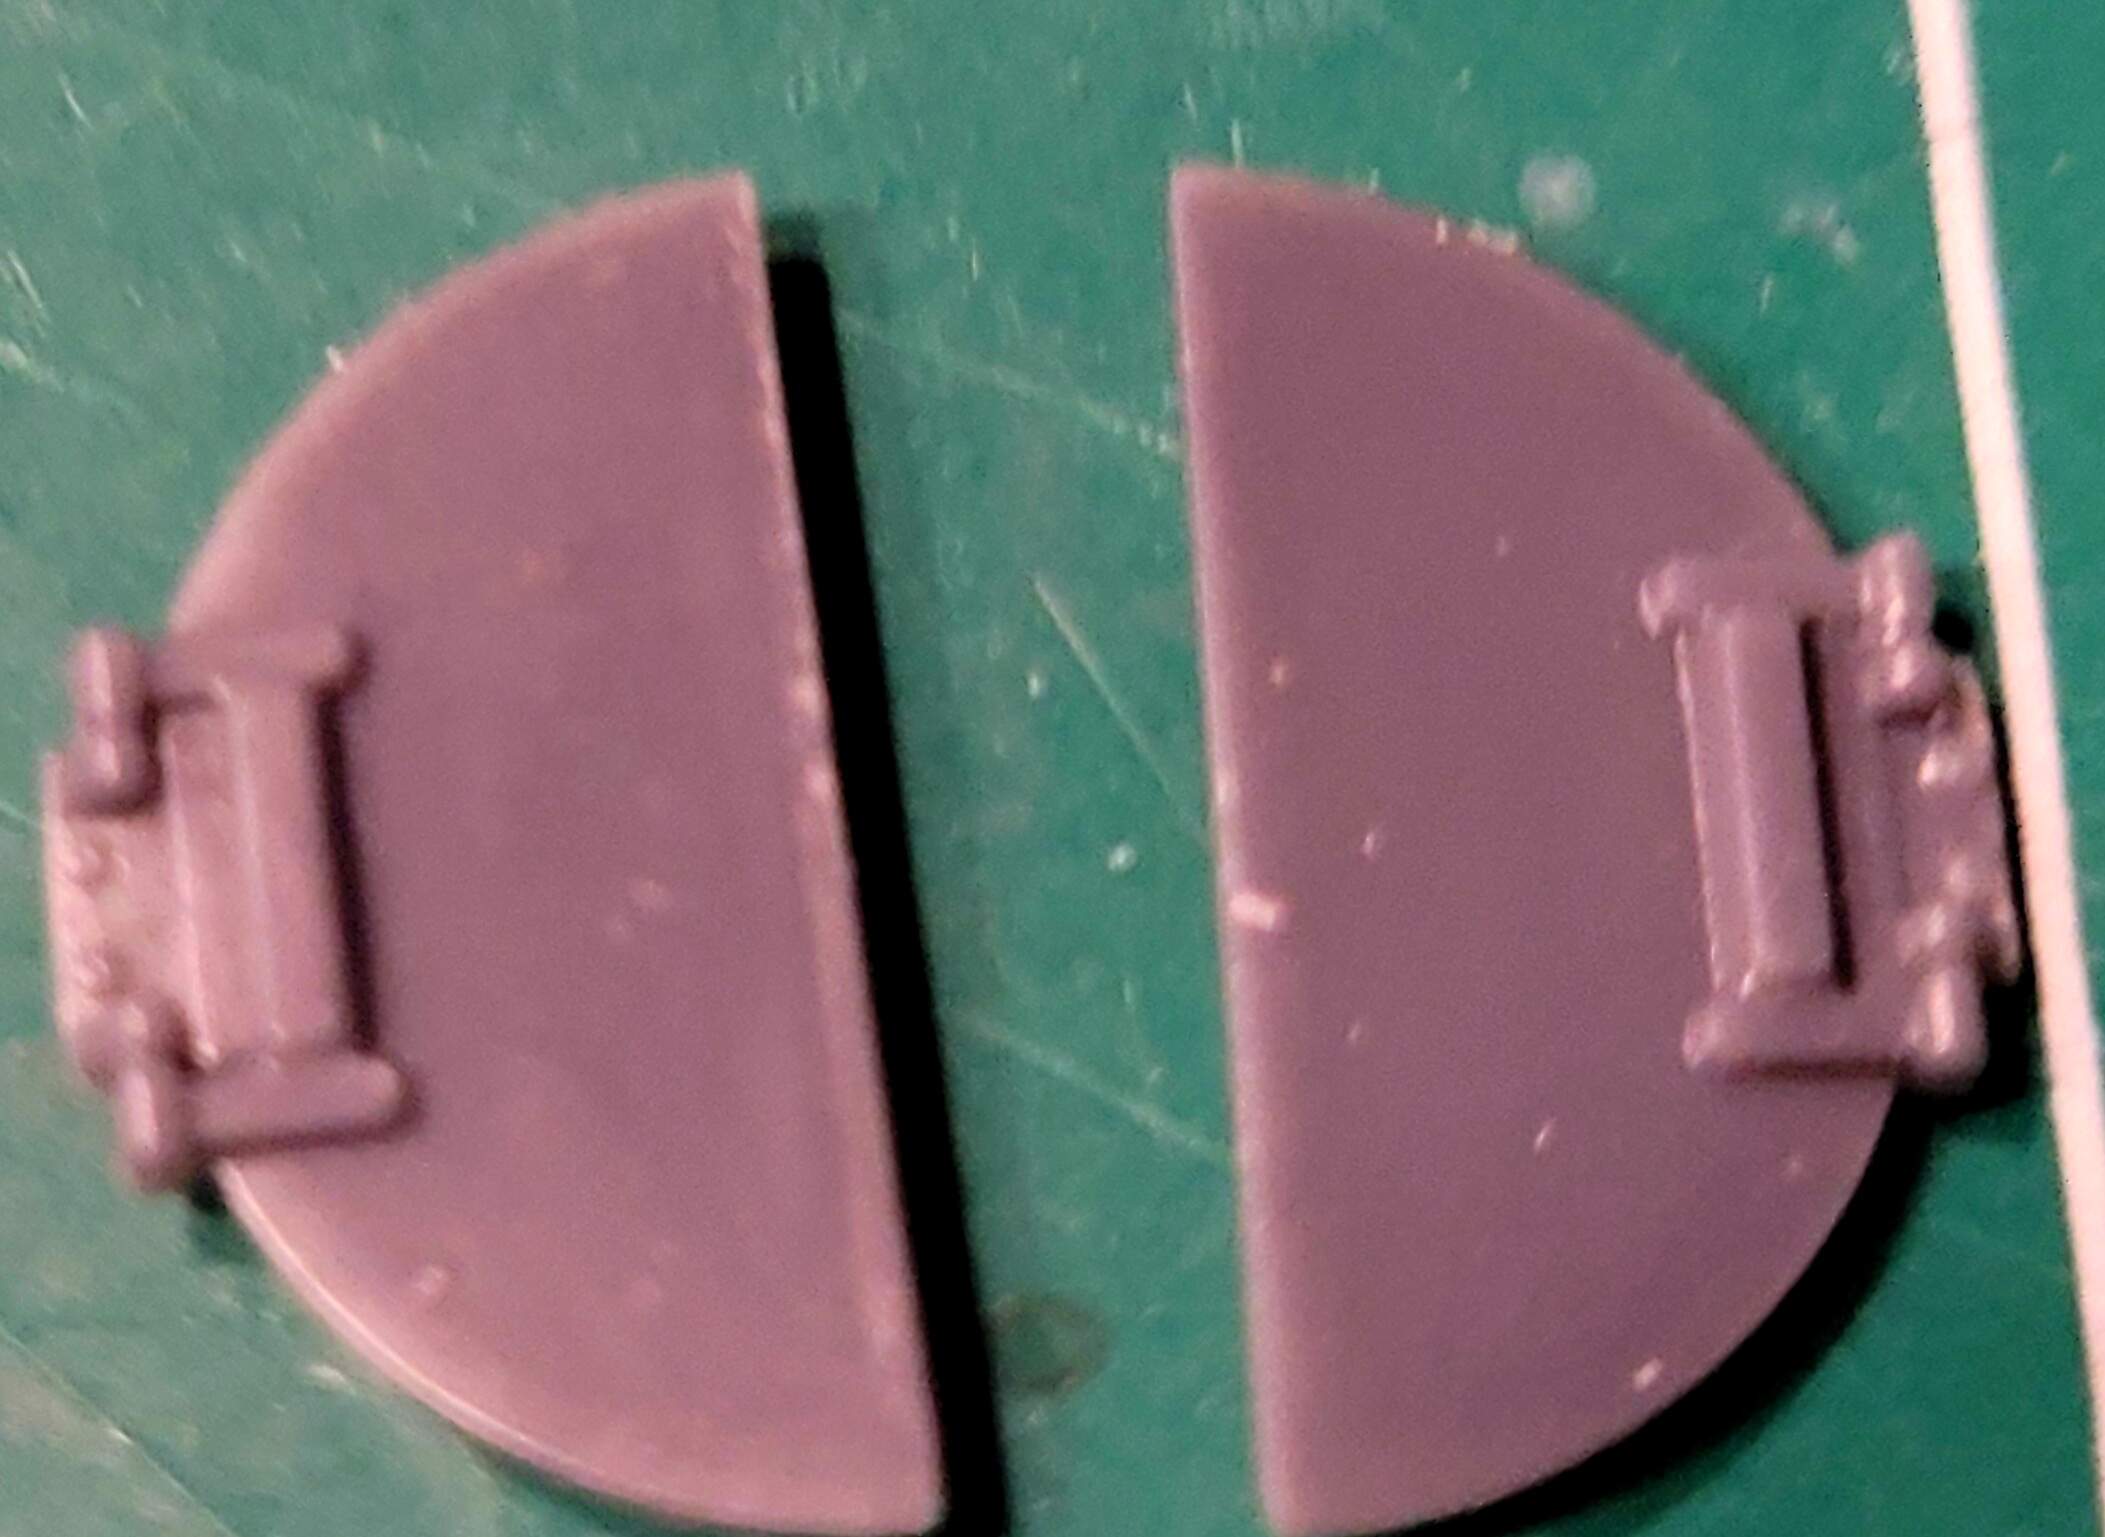
Next step is to try tweak the hatch covers.
To look a little more like this.
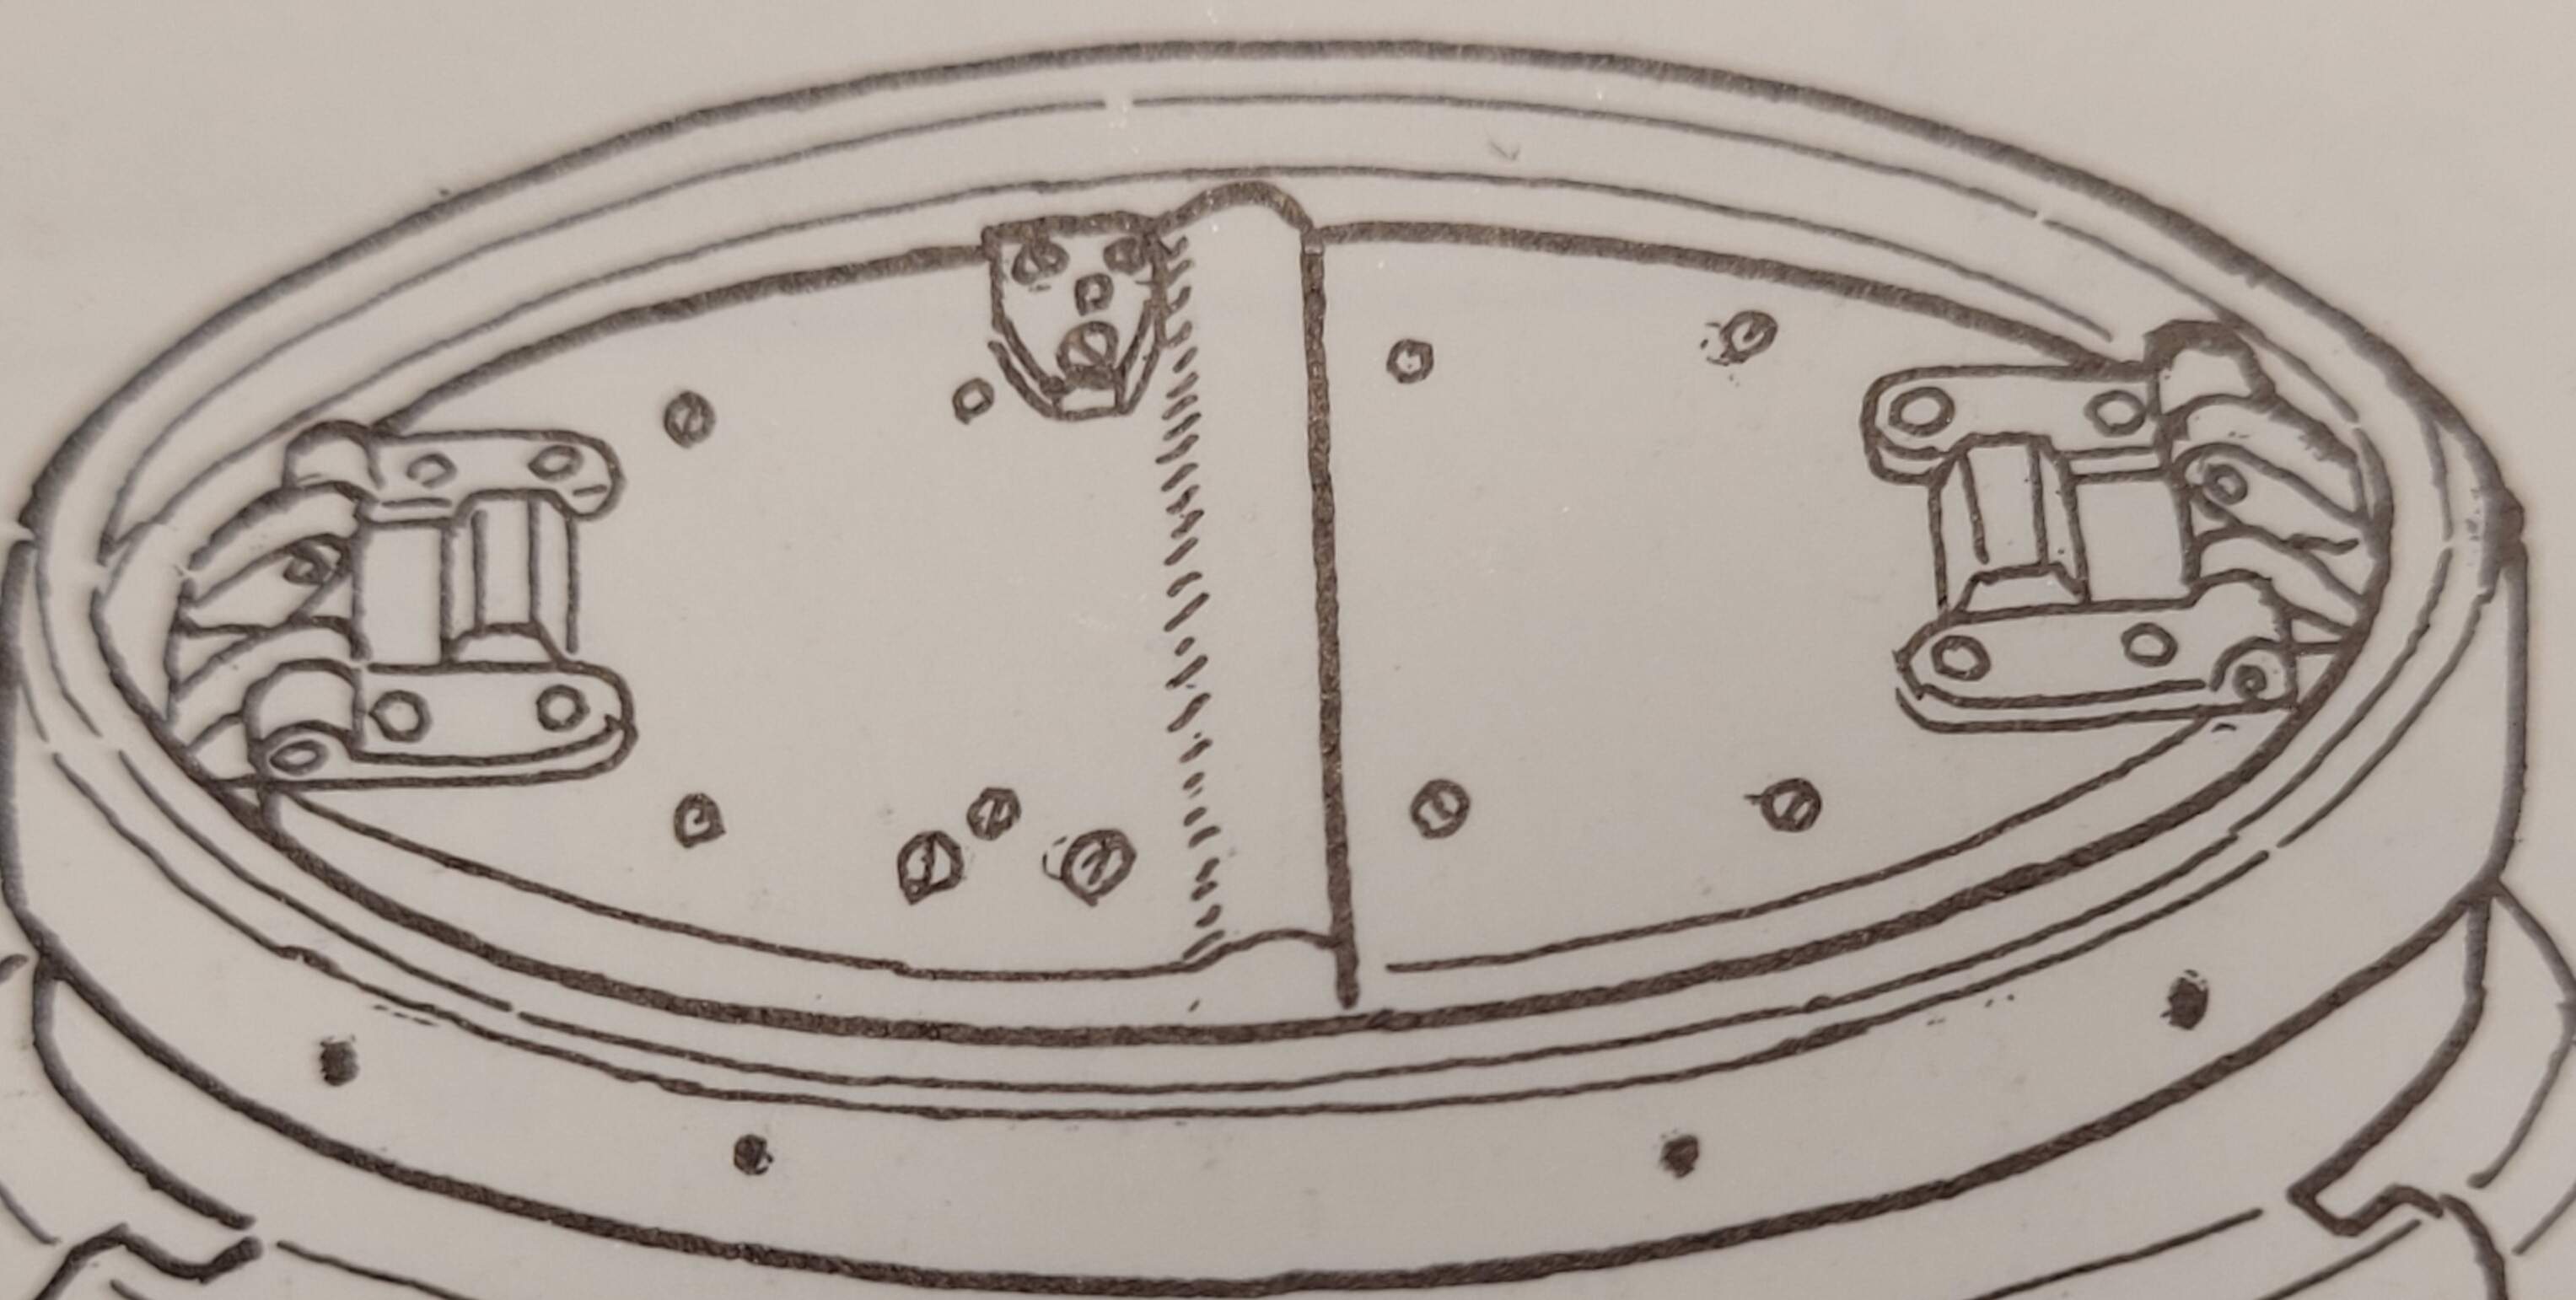
(This part of Achtung Panzer 3, page 56 drawing is post for discussion purposes only) The Achtung Panzer books are easily my favorite model references.
4 Likes