Another little gem Wade. Weld seams look very nice. I have always been very hesitant to do these as I know I will arse it up lol. Let me get it straight… You use a small piece of plasti strut or rod… Then a thin layer of super glue till the plastic softens ?? Then cut into gently to create the weld cuts ??
1 Like
John thank you, its slowly making progress:)
Basically yes but I use liquid cement not super glue. It has to sit and dry basically over night.
Its straightforward technique with a little practice on and old part or two. I’m wordy trying to explain.
I like the soft Plastistruct. 010 x .010 square rod for most welds. The .020 × .010 works good for big welds.
Round rod, half rod & stretched sprue work too. I personally don’t like sprue. Its hard like kit plastic less consistent. Others like stretched sprue.
Technique
Measure the length and cut the strip accordingly. If a little long it can be trimmed later.
Get the strip placed where you want to add the weld. Tack it in place with a little liquid cement like Testor’s or Tamiya extra thin. With the tip of a #11 blade the strip can be adjusted slightly.
Once tacked in right place, apply a little liquid cement so it flows on both sides of the strip. The fine brush from a Tamiya bottle is nearly ideal. Let it all dry and set for a few hours. I like over night for long welds.
Use a #11 blade to make the little cuts in the strip for the weld bead. Sometimes I have to go back and make extra cuts. I also use an optivisor to helps see since this is fiddly:)
If the weld looks too stark or pronounced a little liquid cement will soften the appearance. After it dries a few hours it can be retextured if desired.
None of the welds on the Pz IV have been toned down with liquid cement. They are a little harsh but I like dry brushing the raised details 
1 Like
Thanks Wade, I will test that way on some old model parts 
1 Like
One half of the hatch.
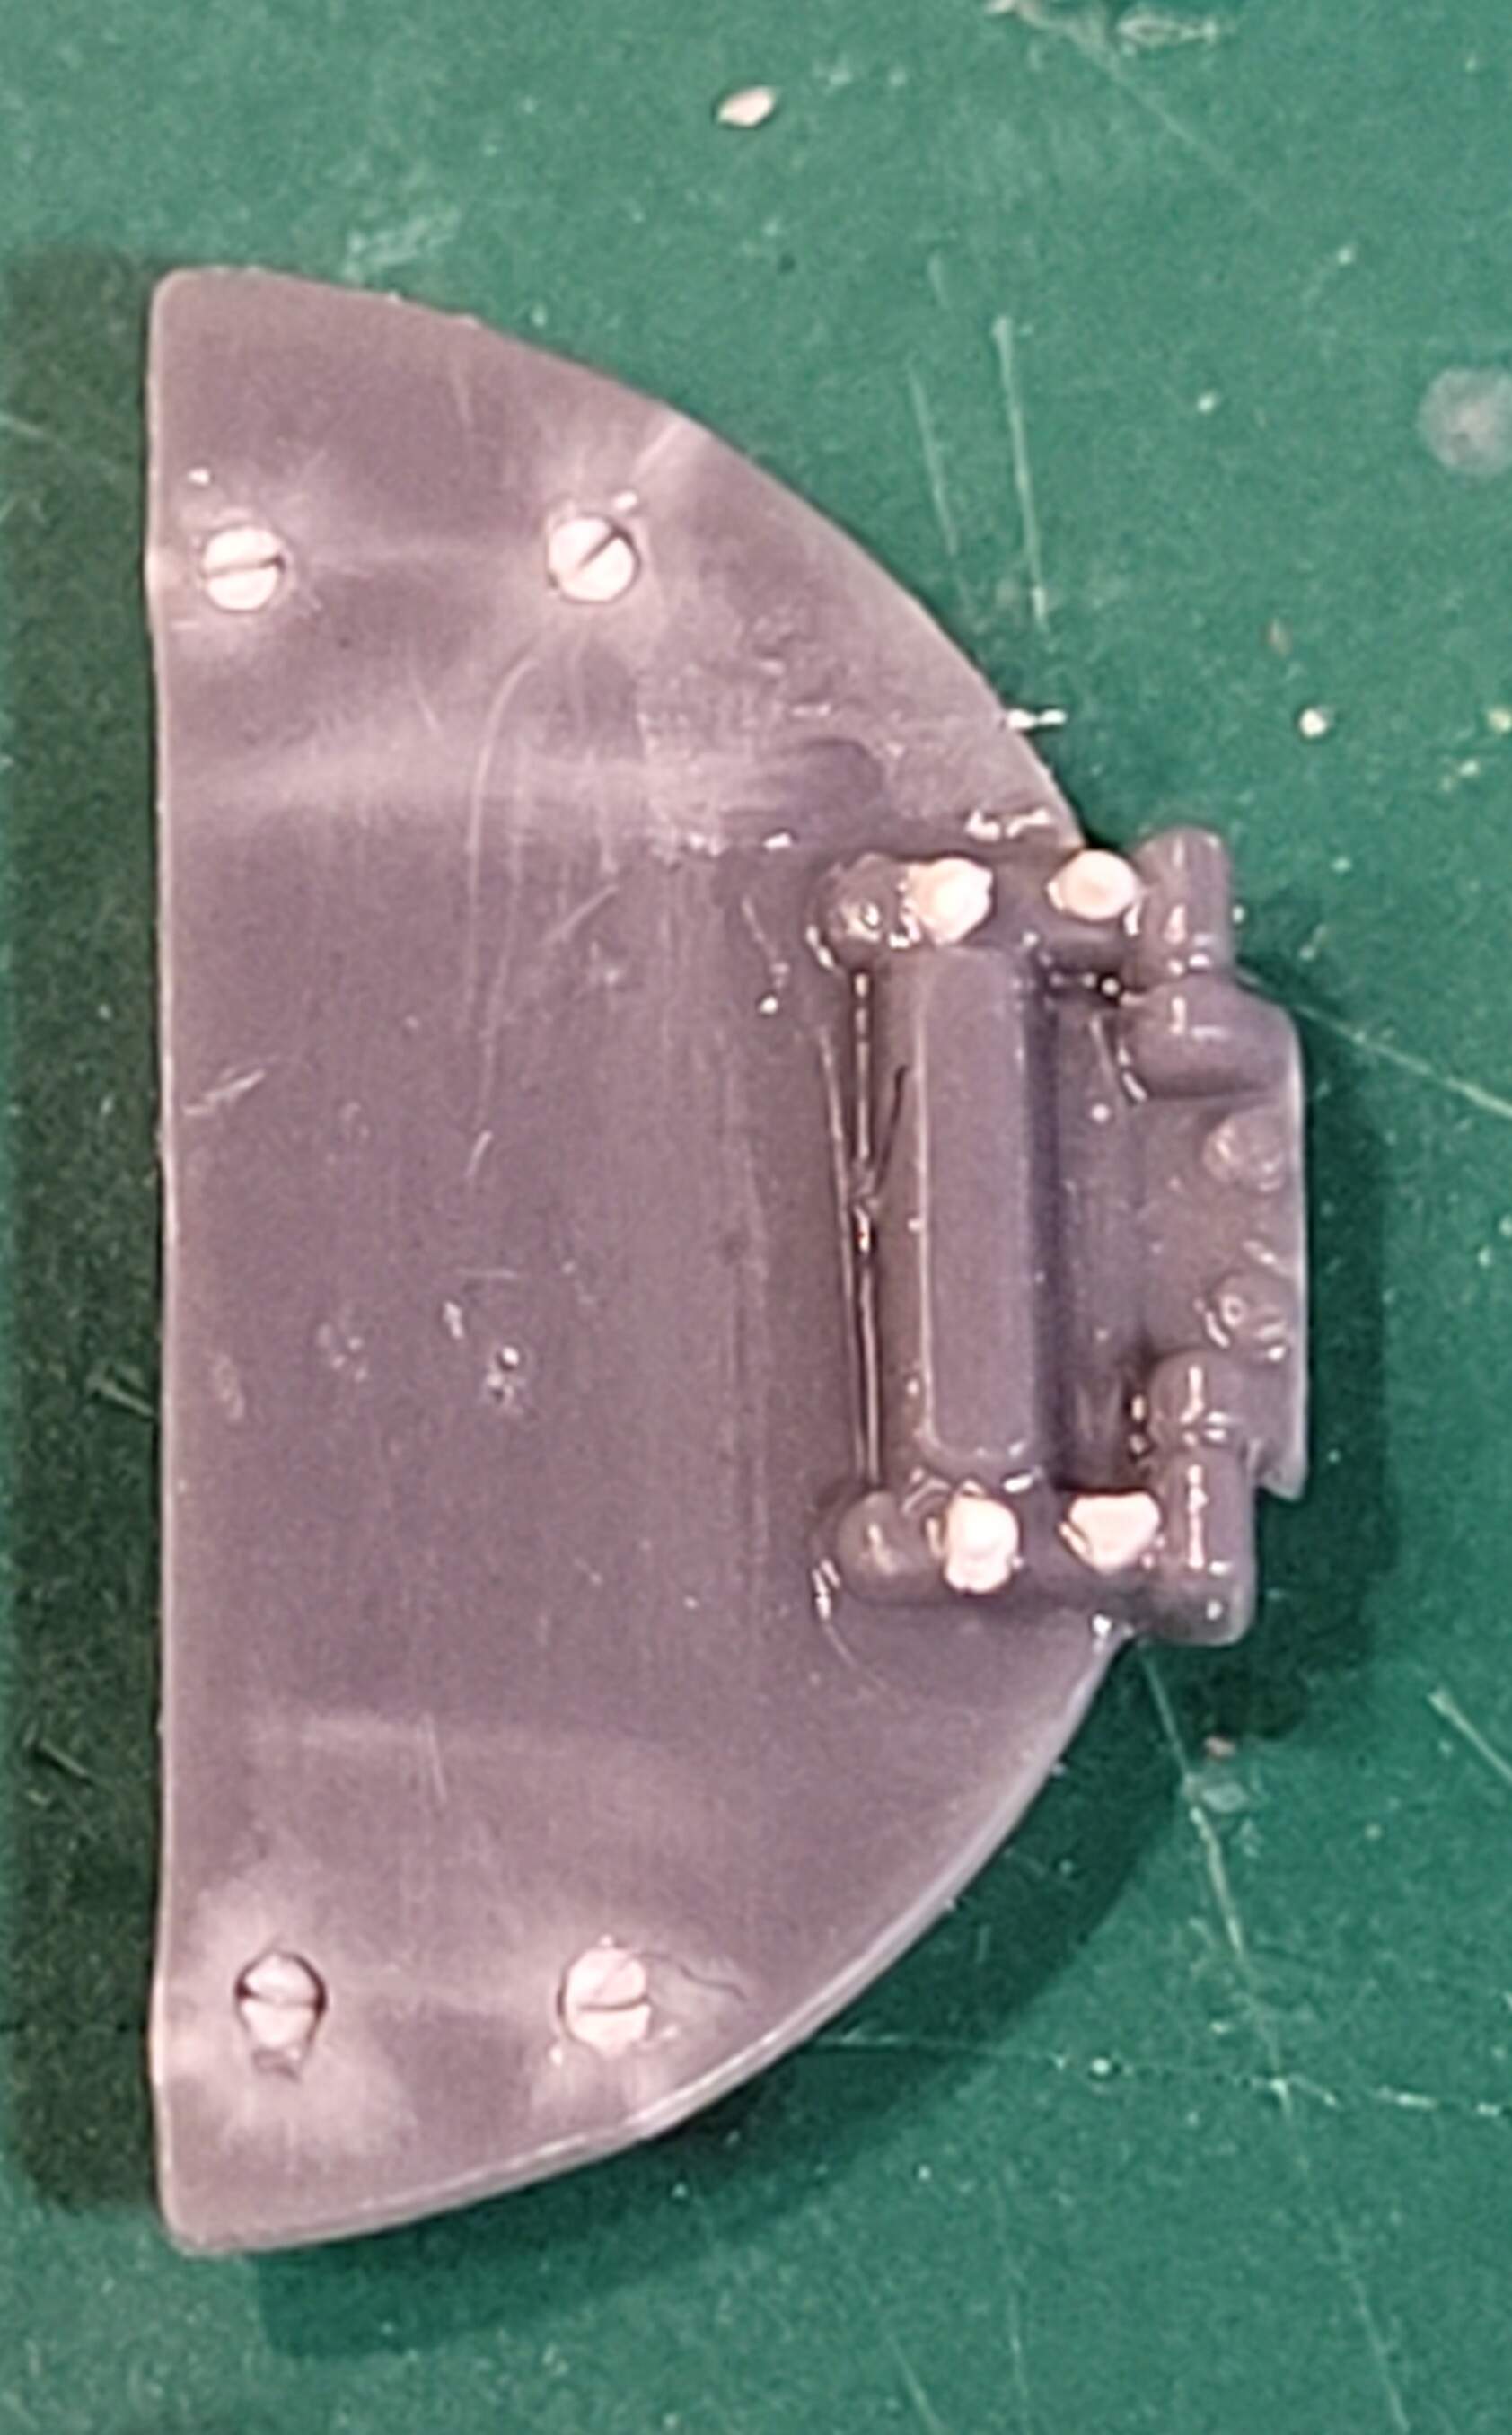
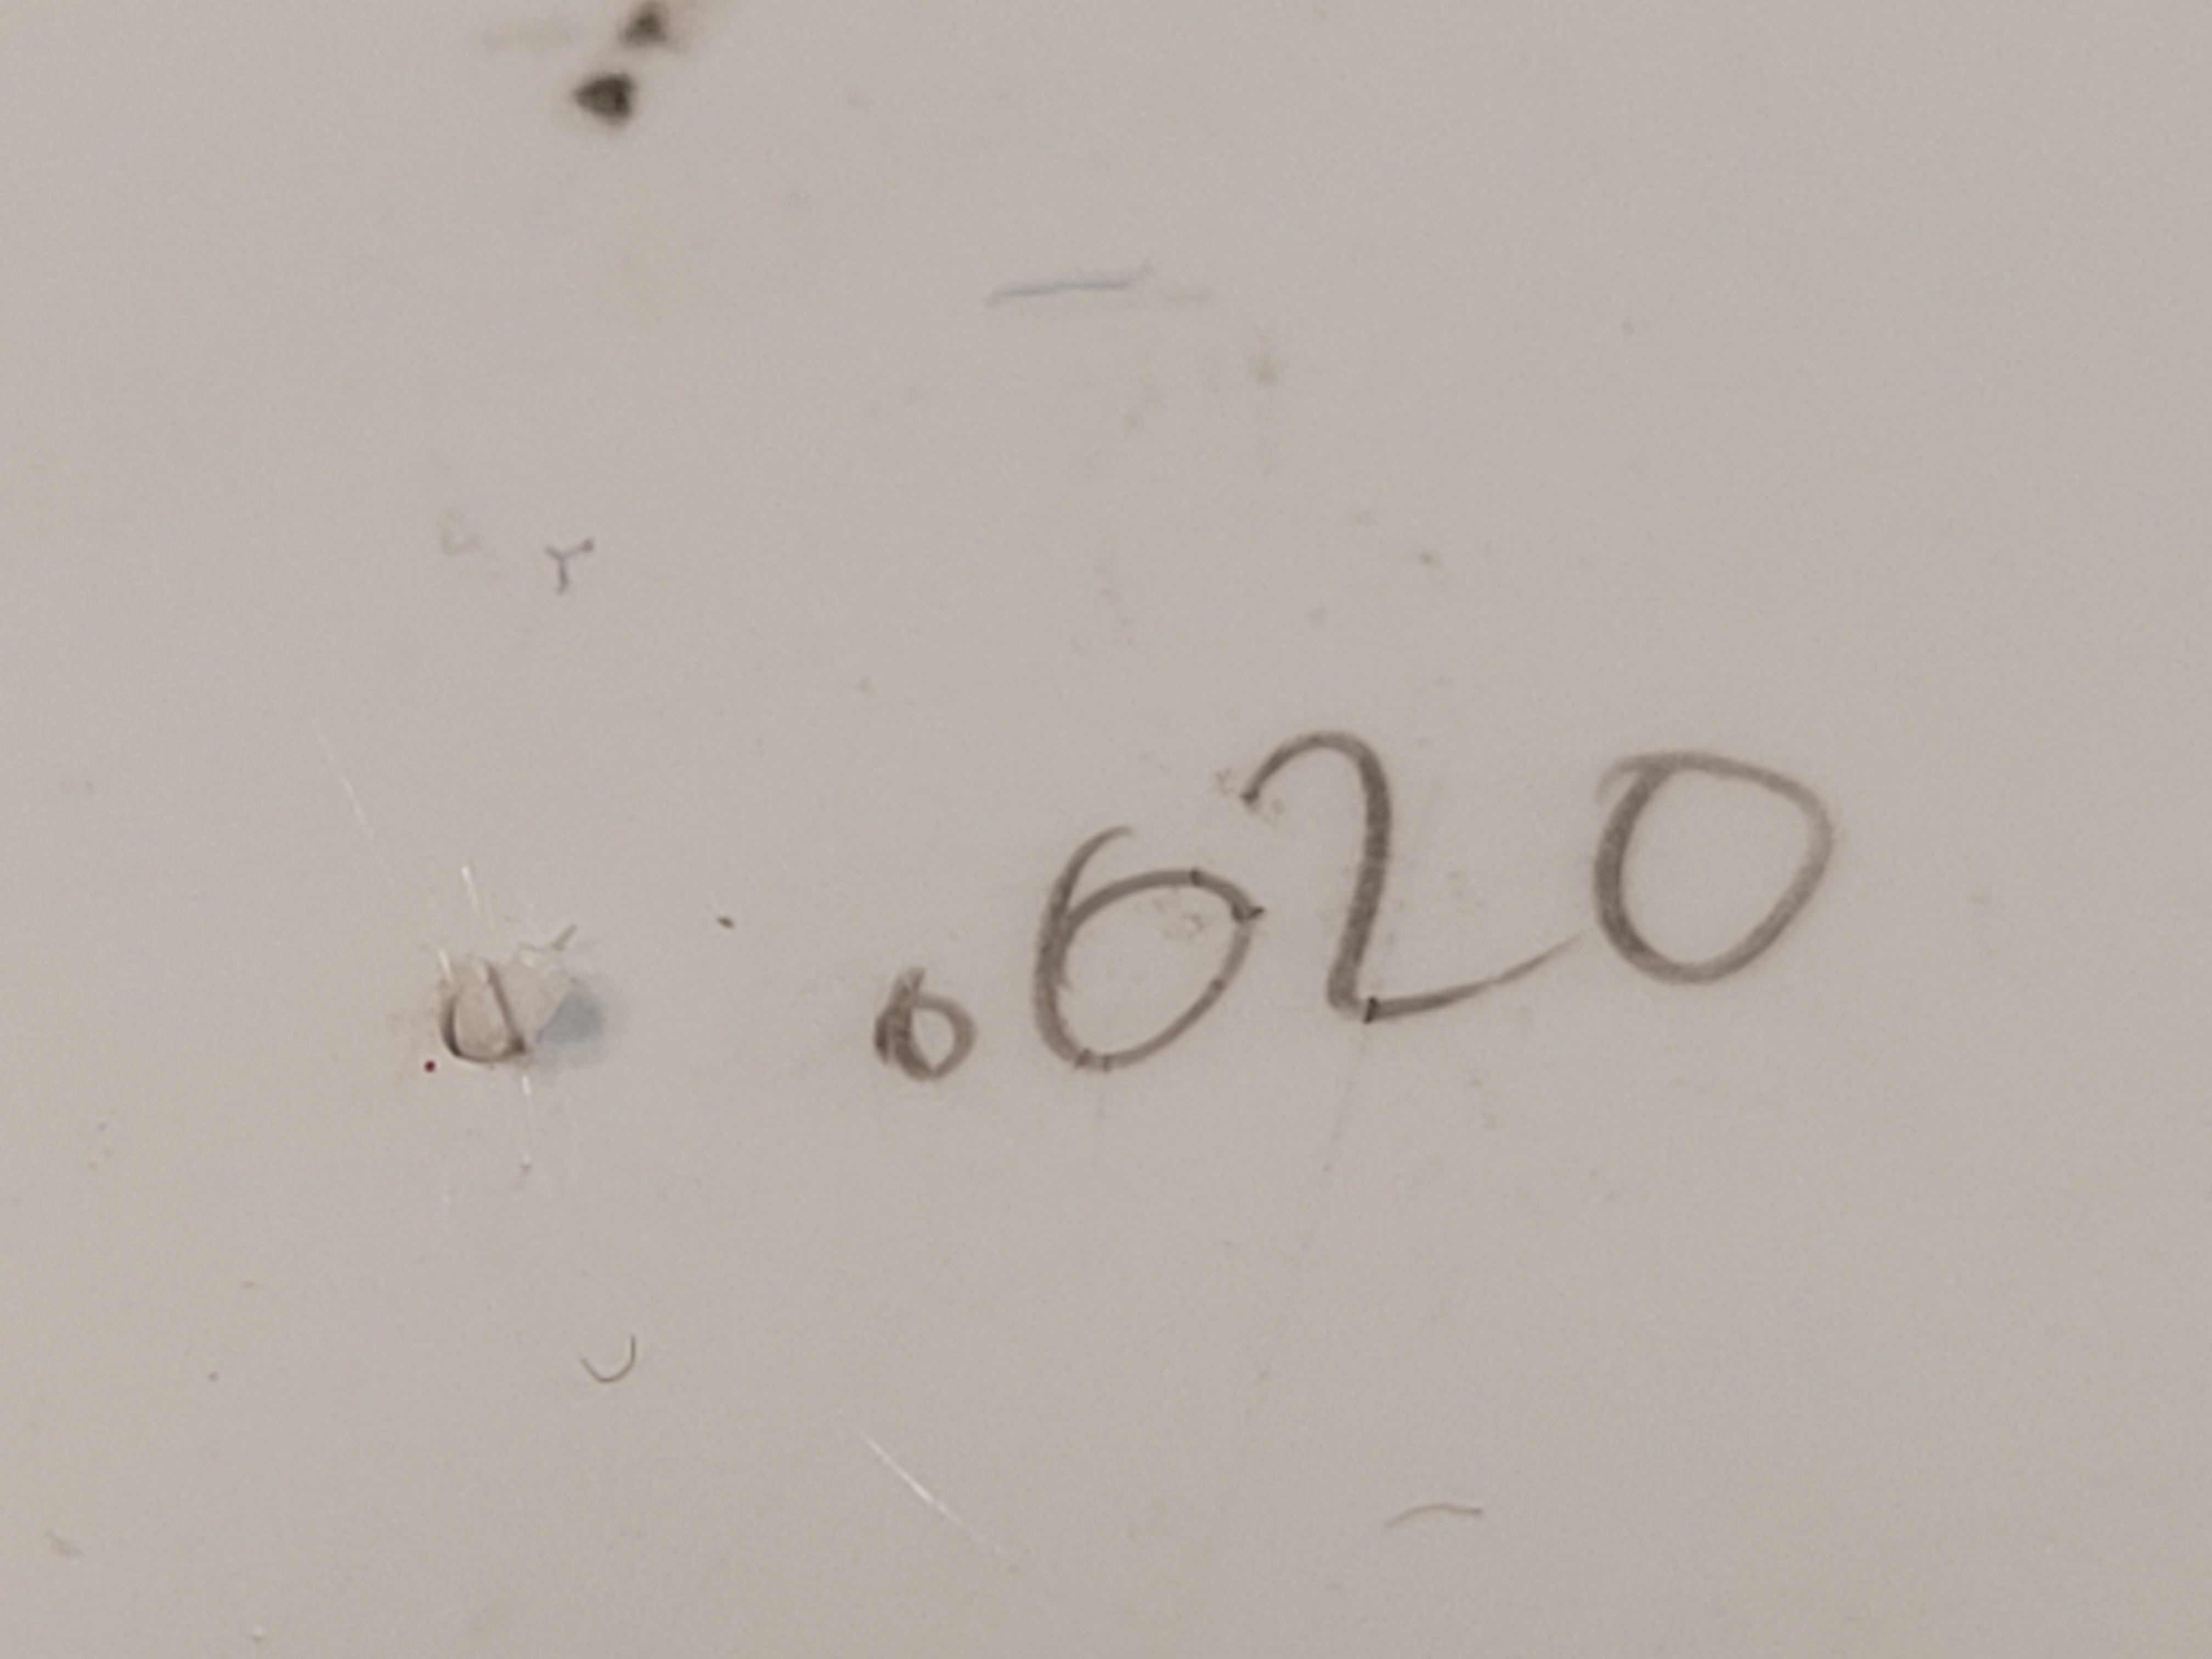
The jig for making .020 rod flat head screws. Cut rod to 1mm and insert in hole. Cut slot with #11 blade.
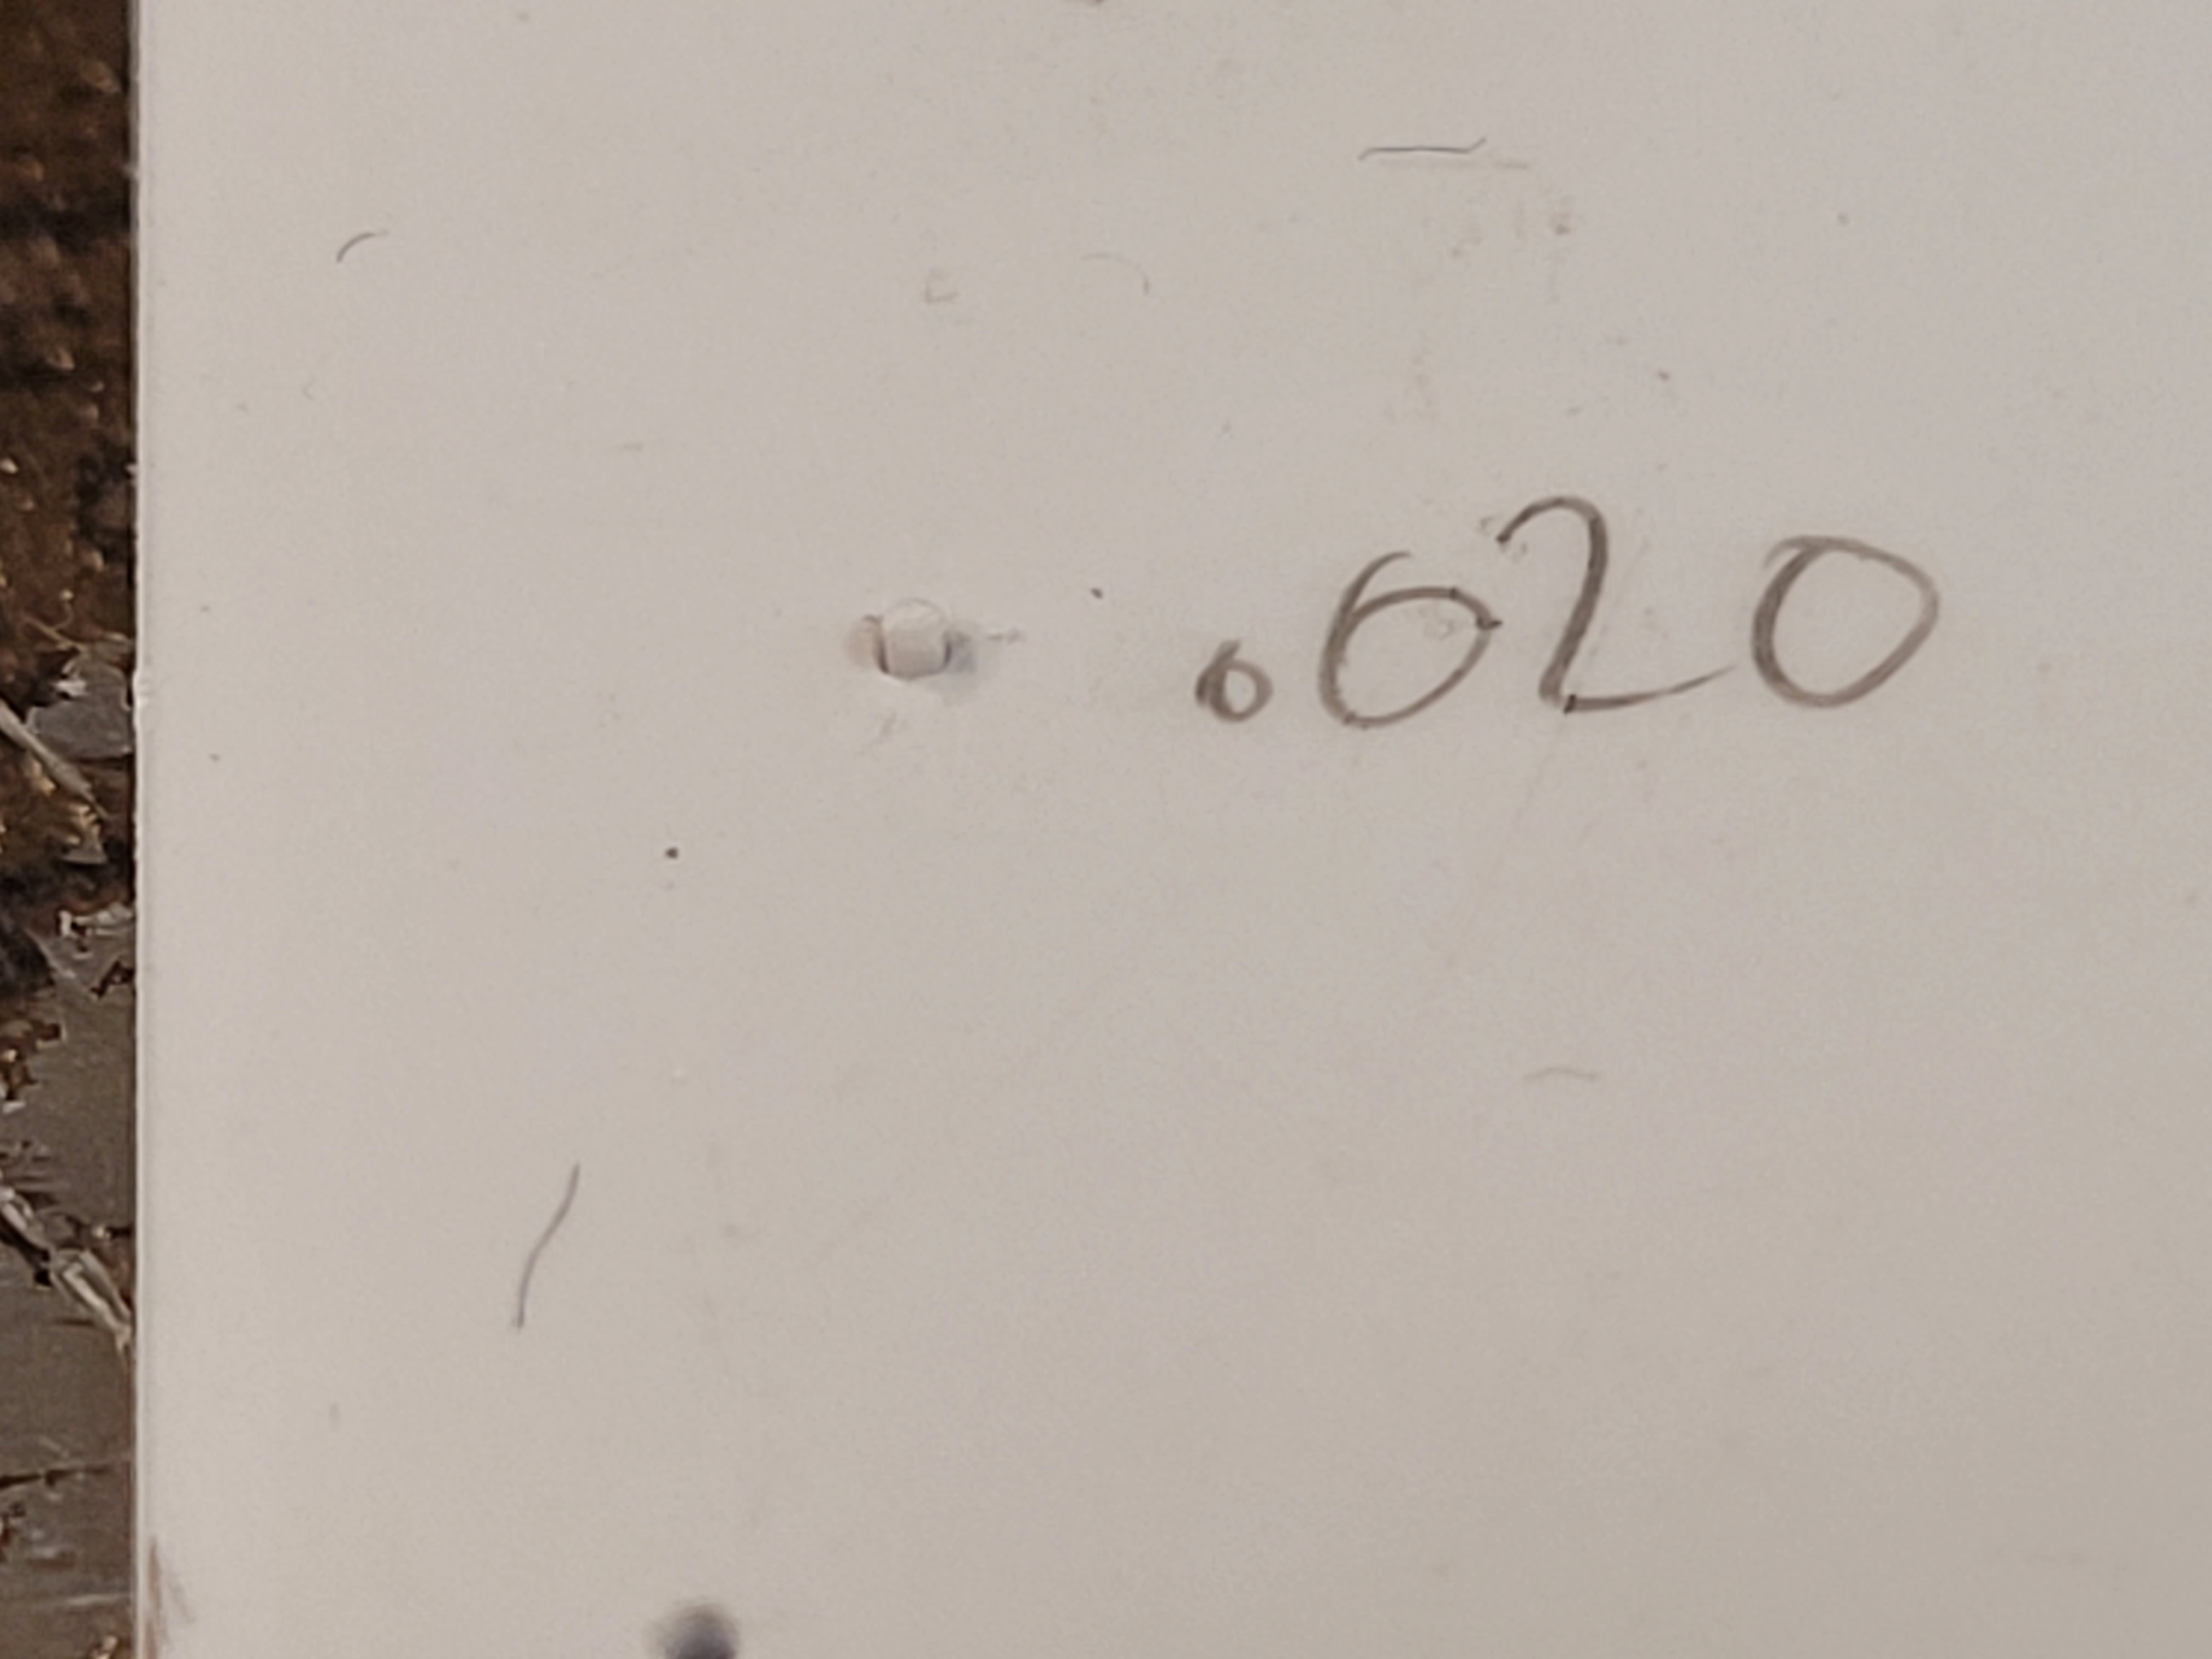
End result
2 Likes
Other half of the hatch.
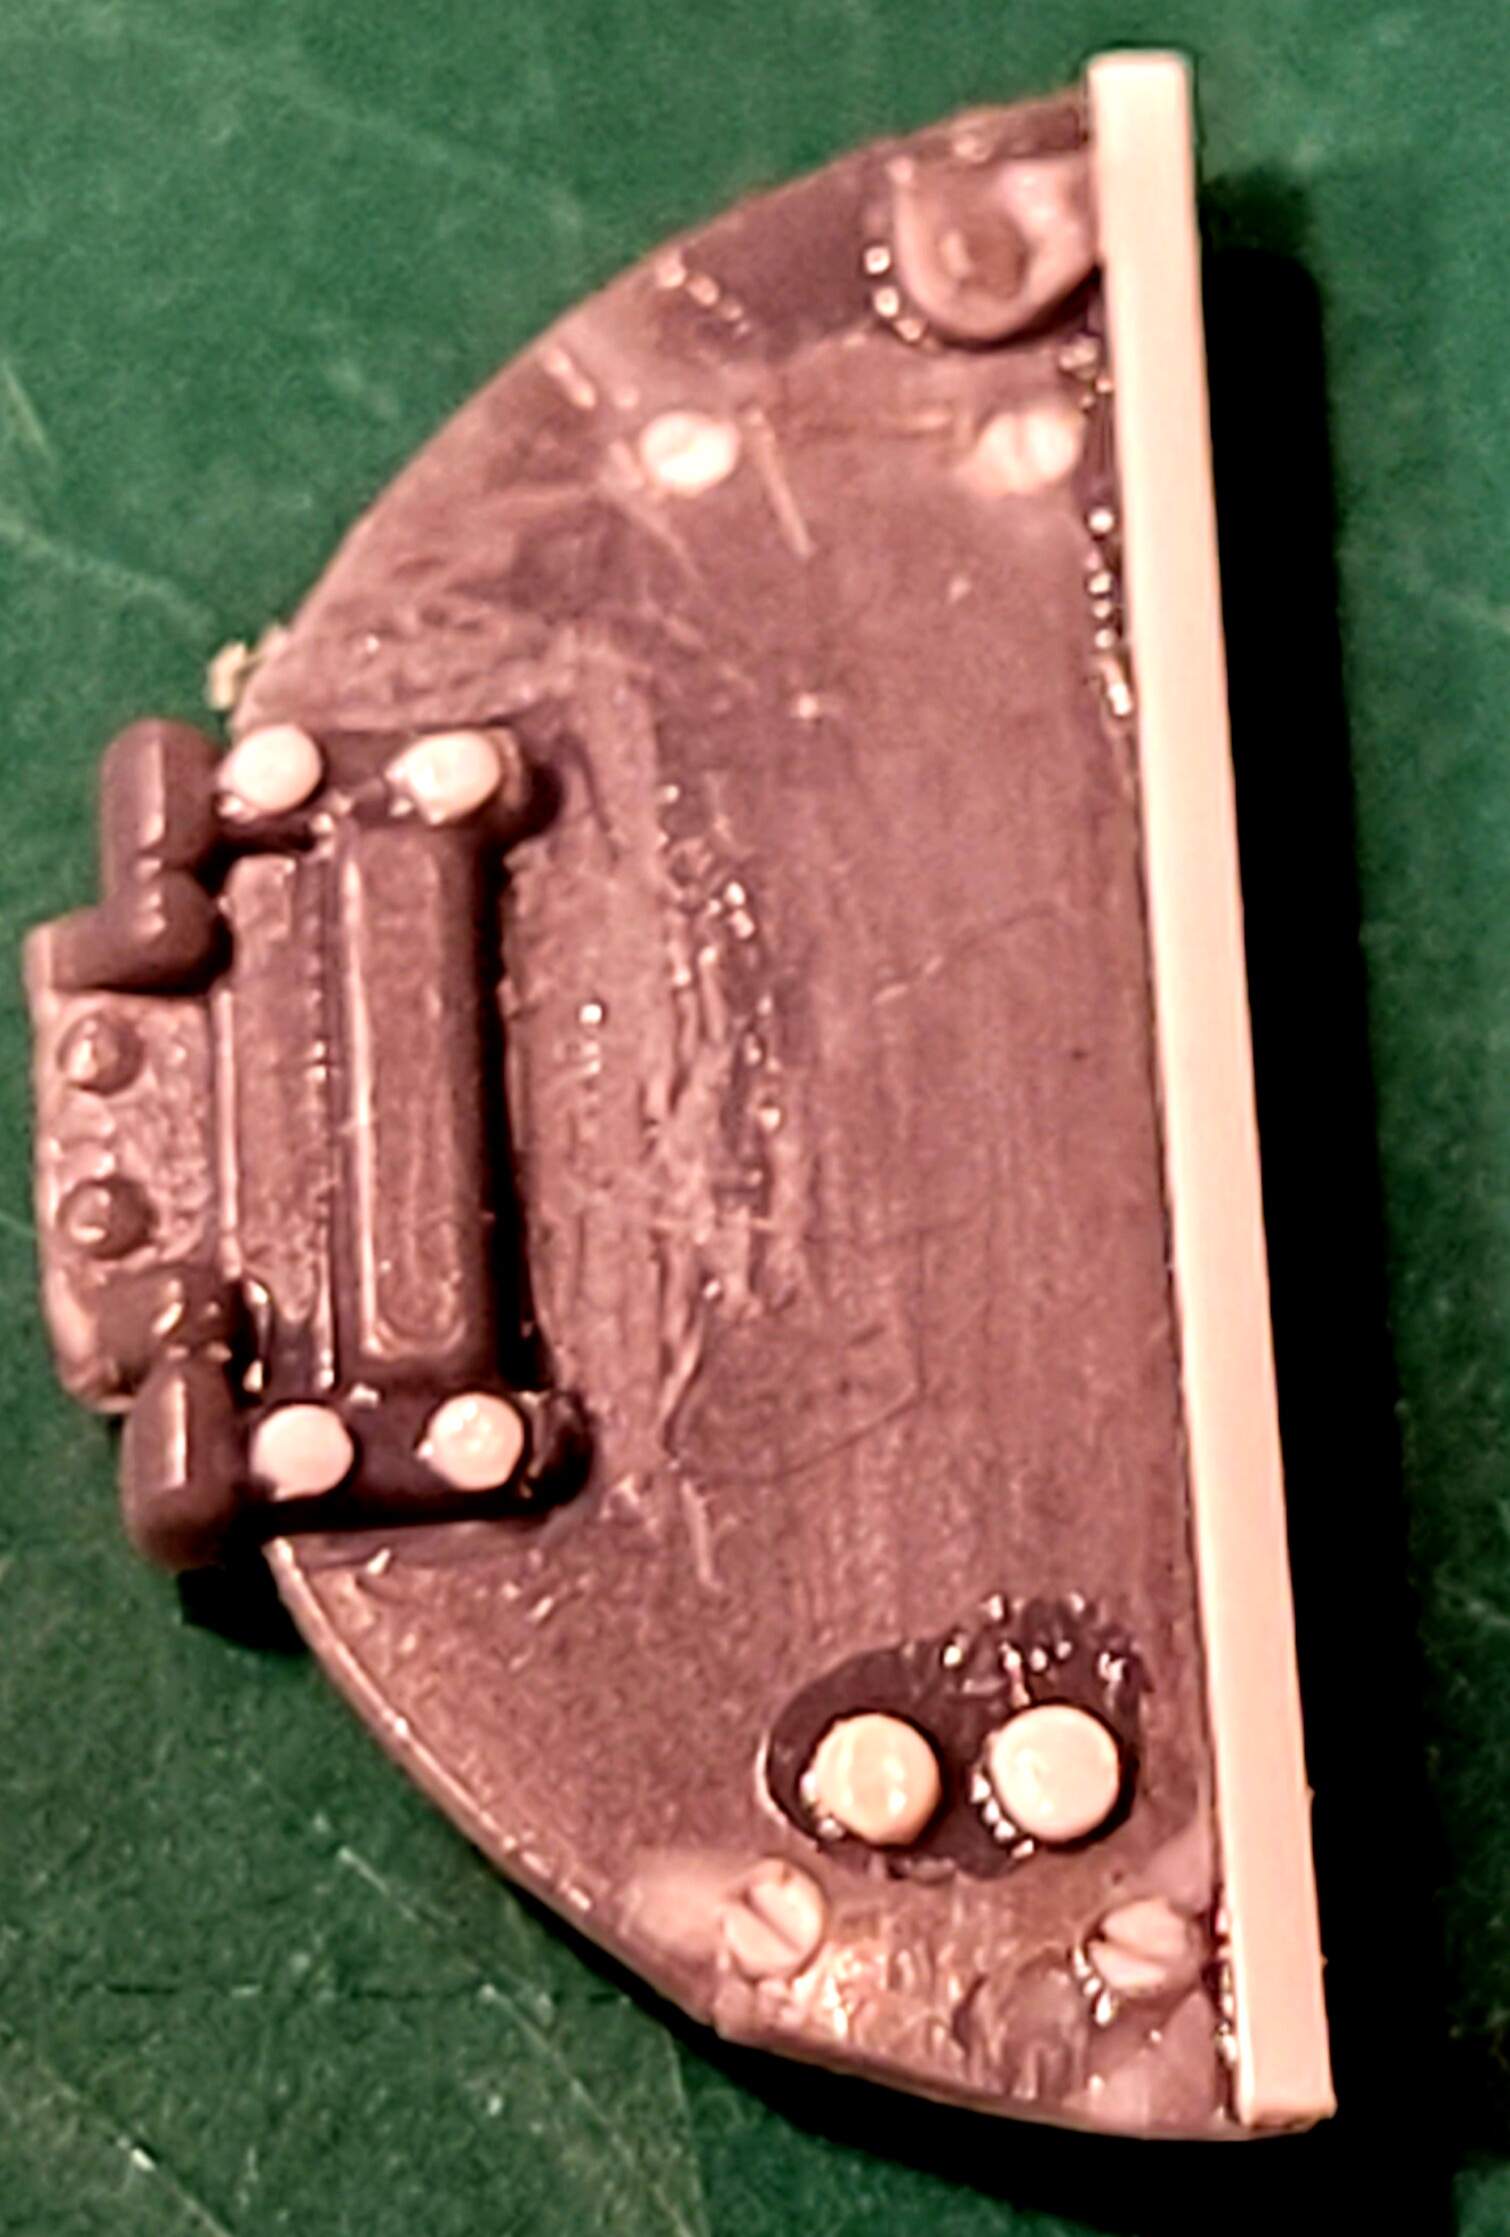
The cupola completed.
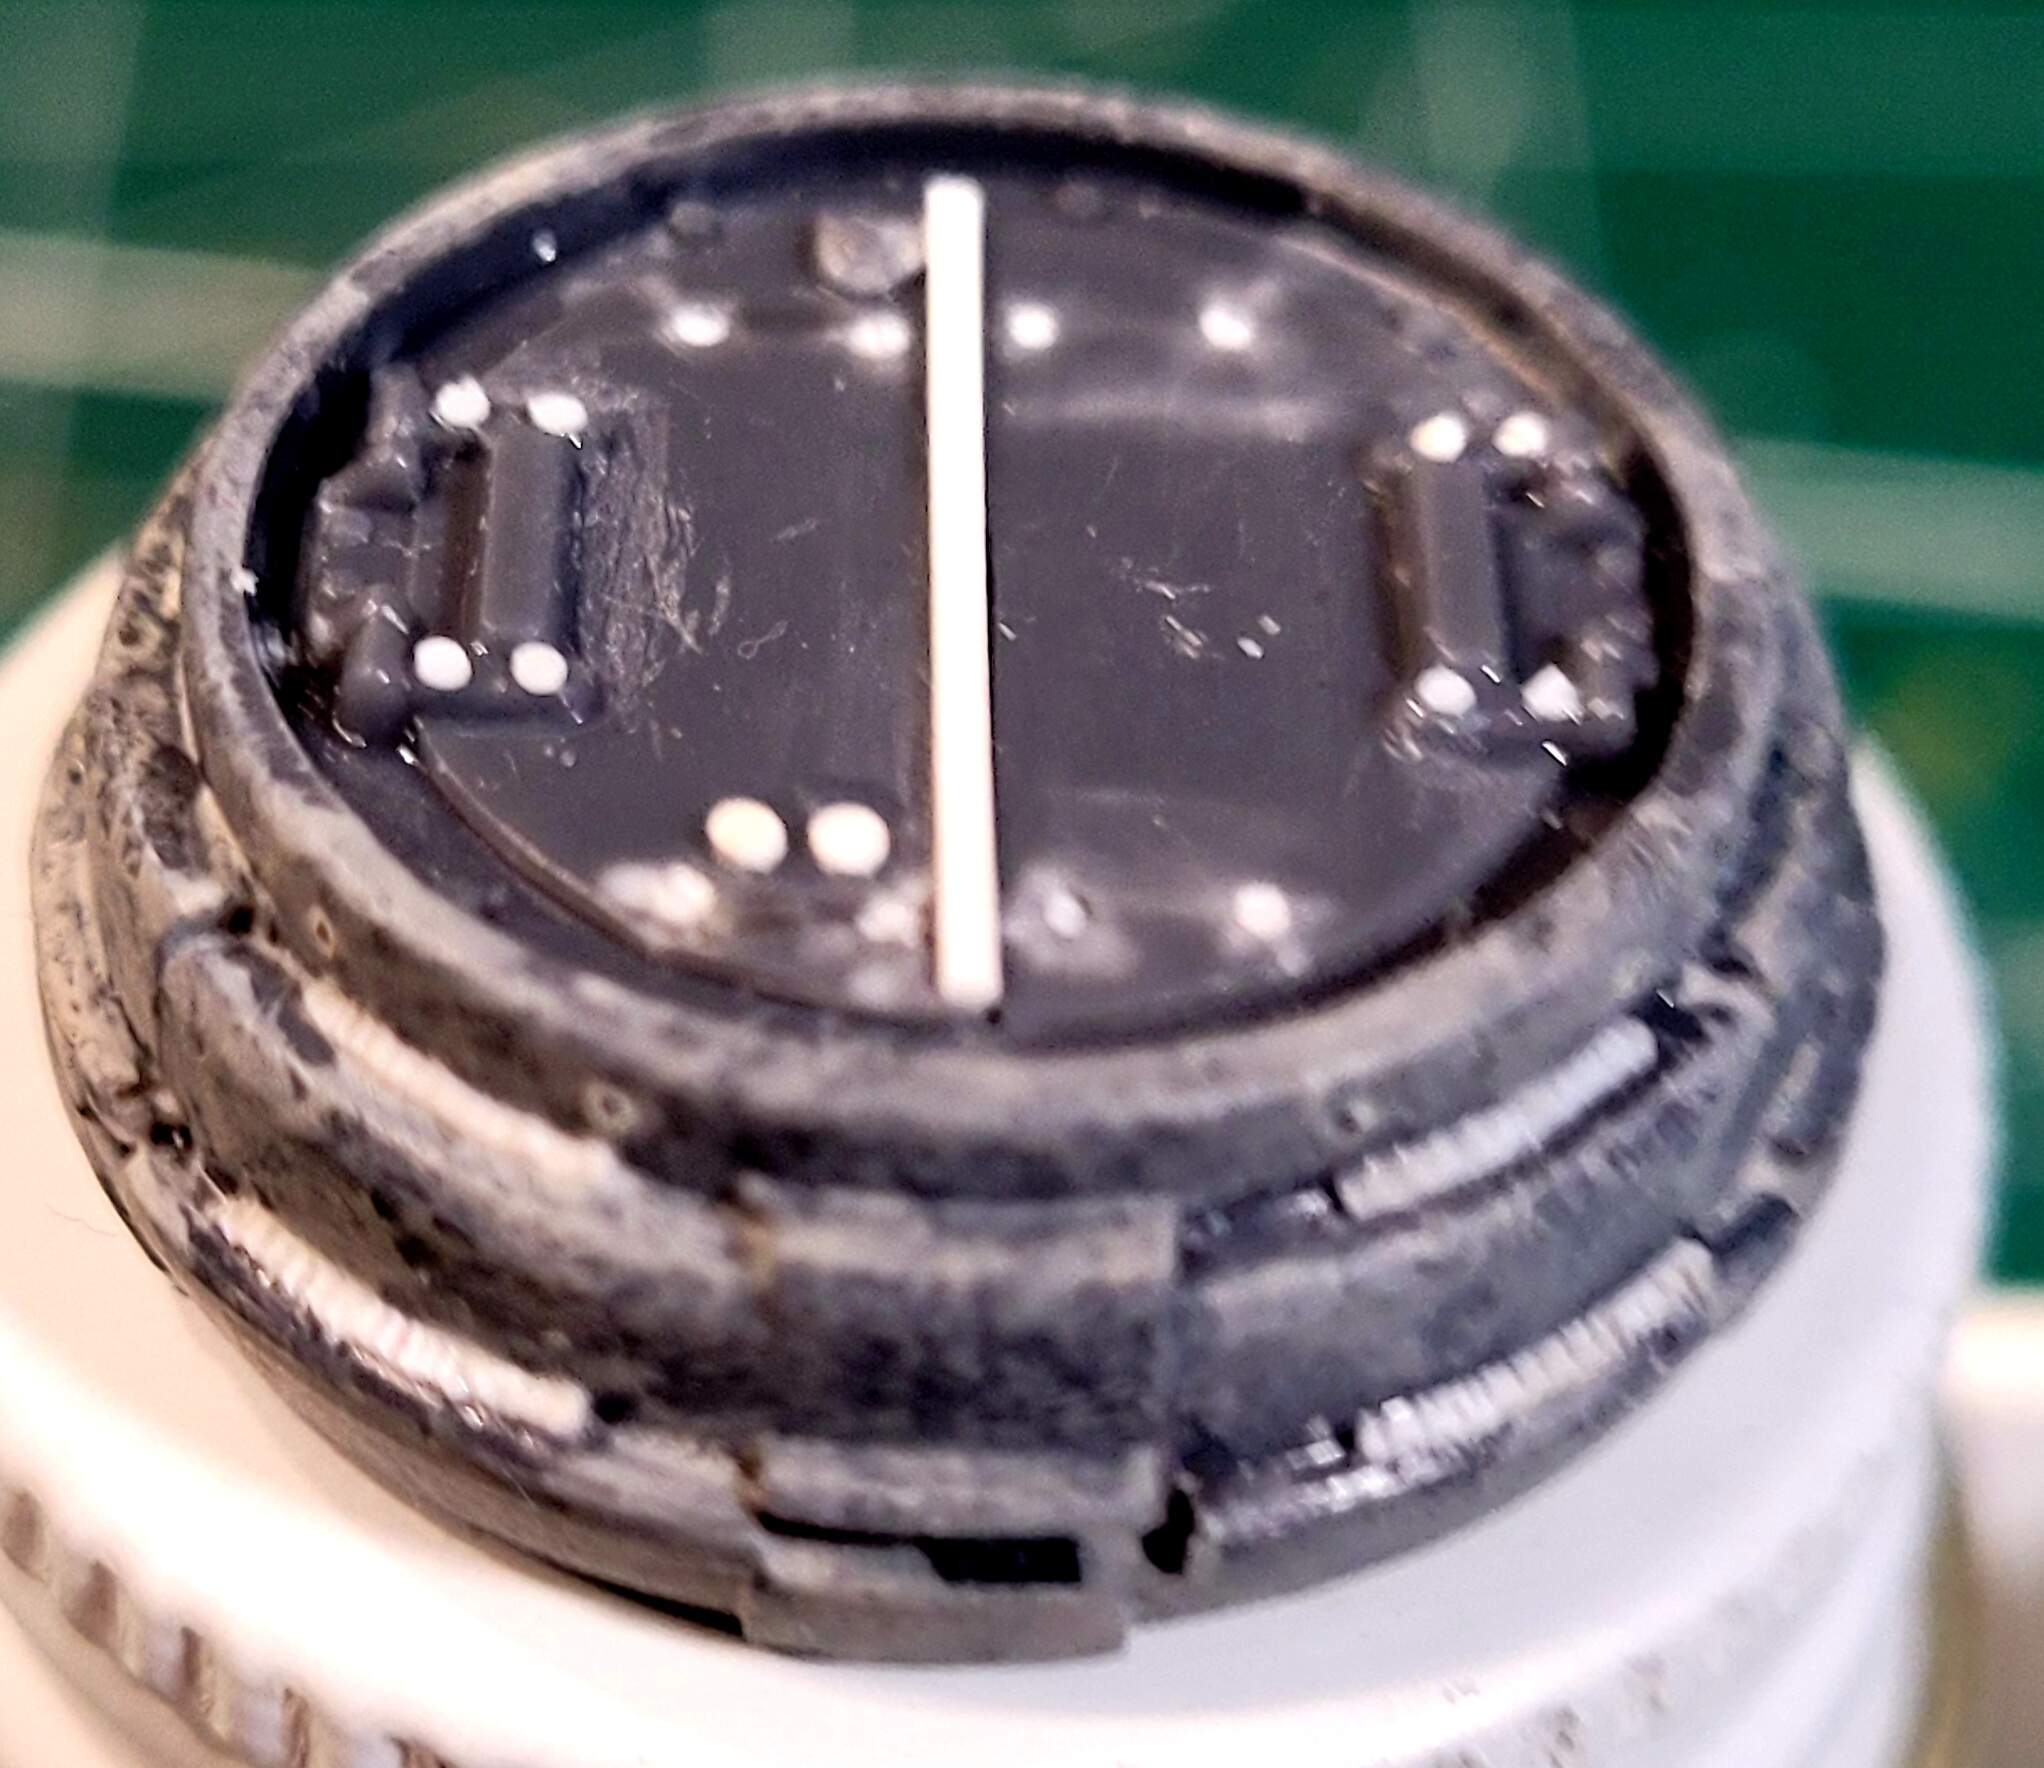
Cupola added to the turret.
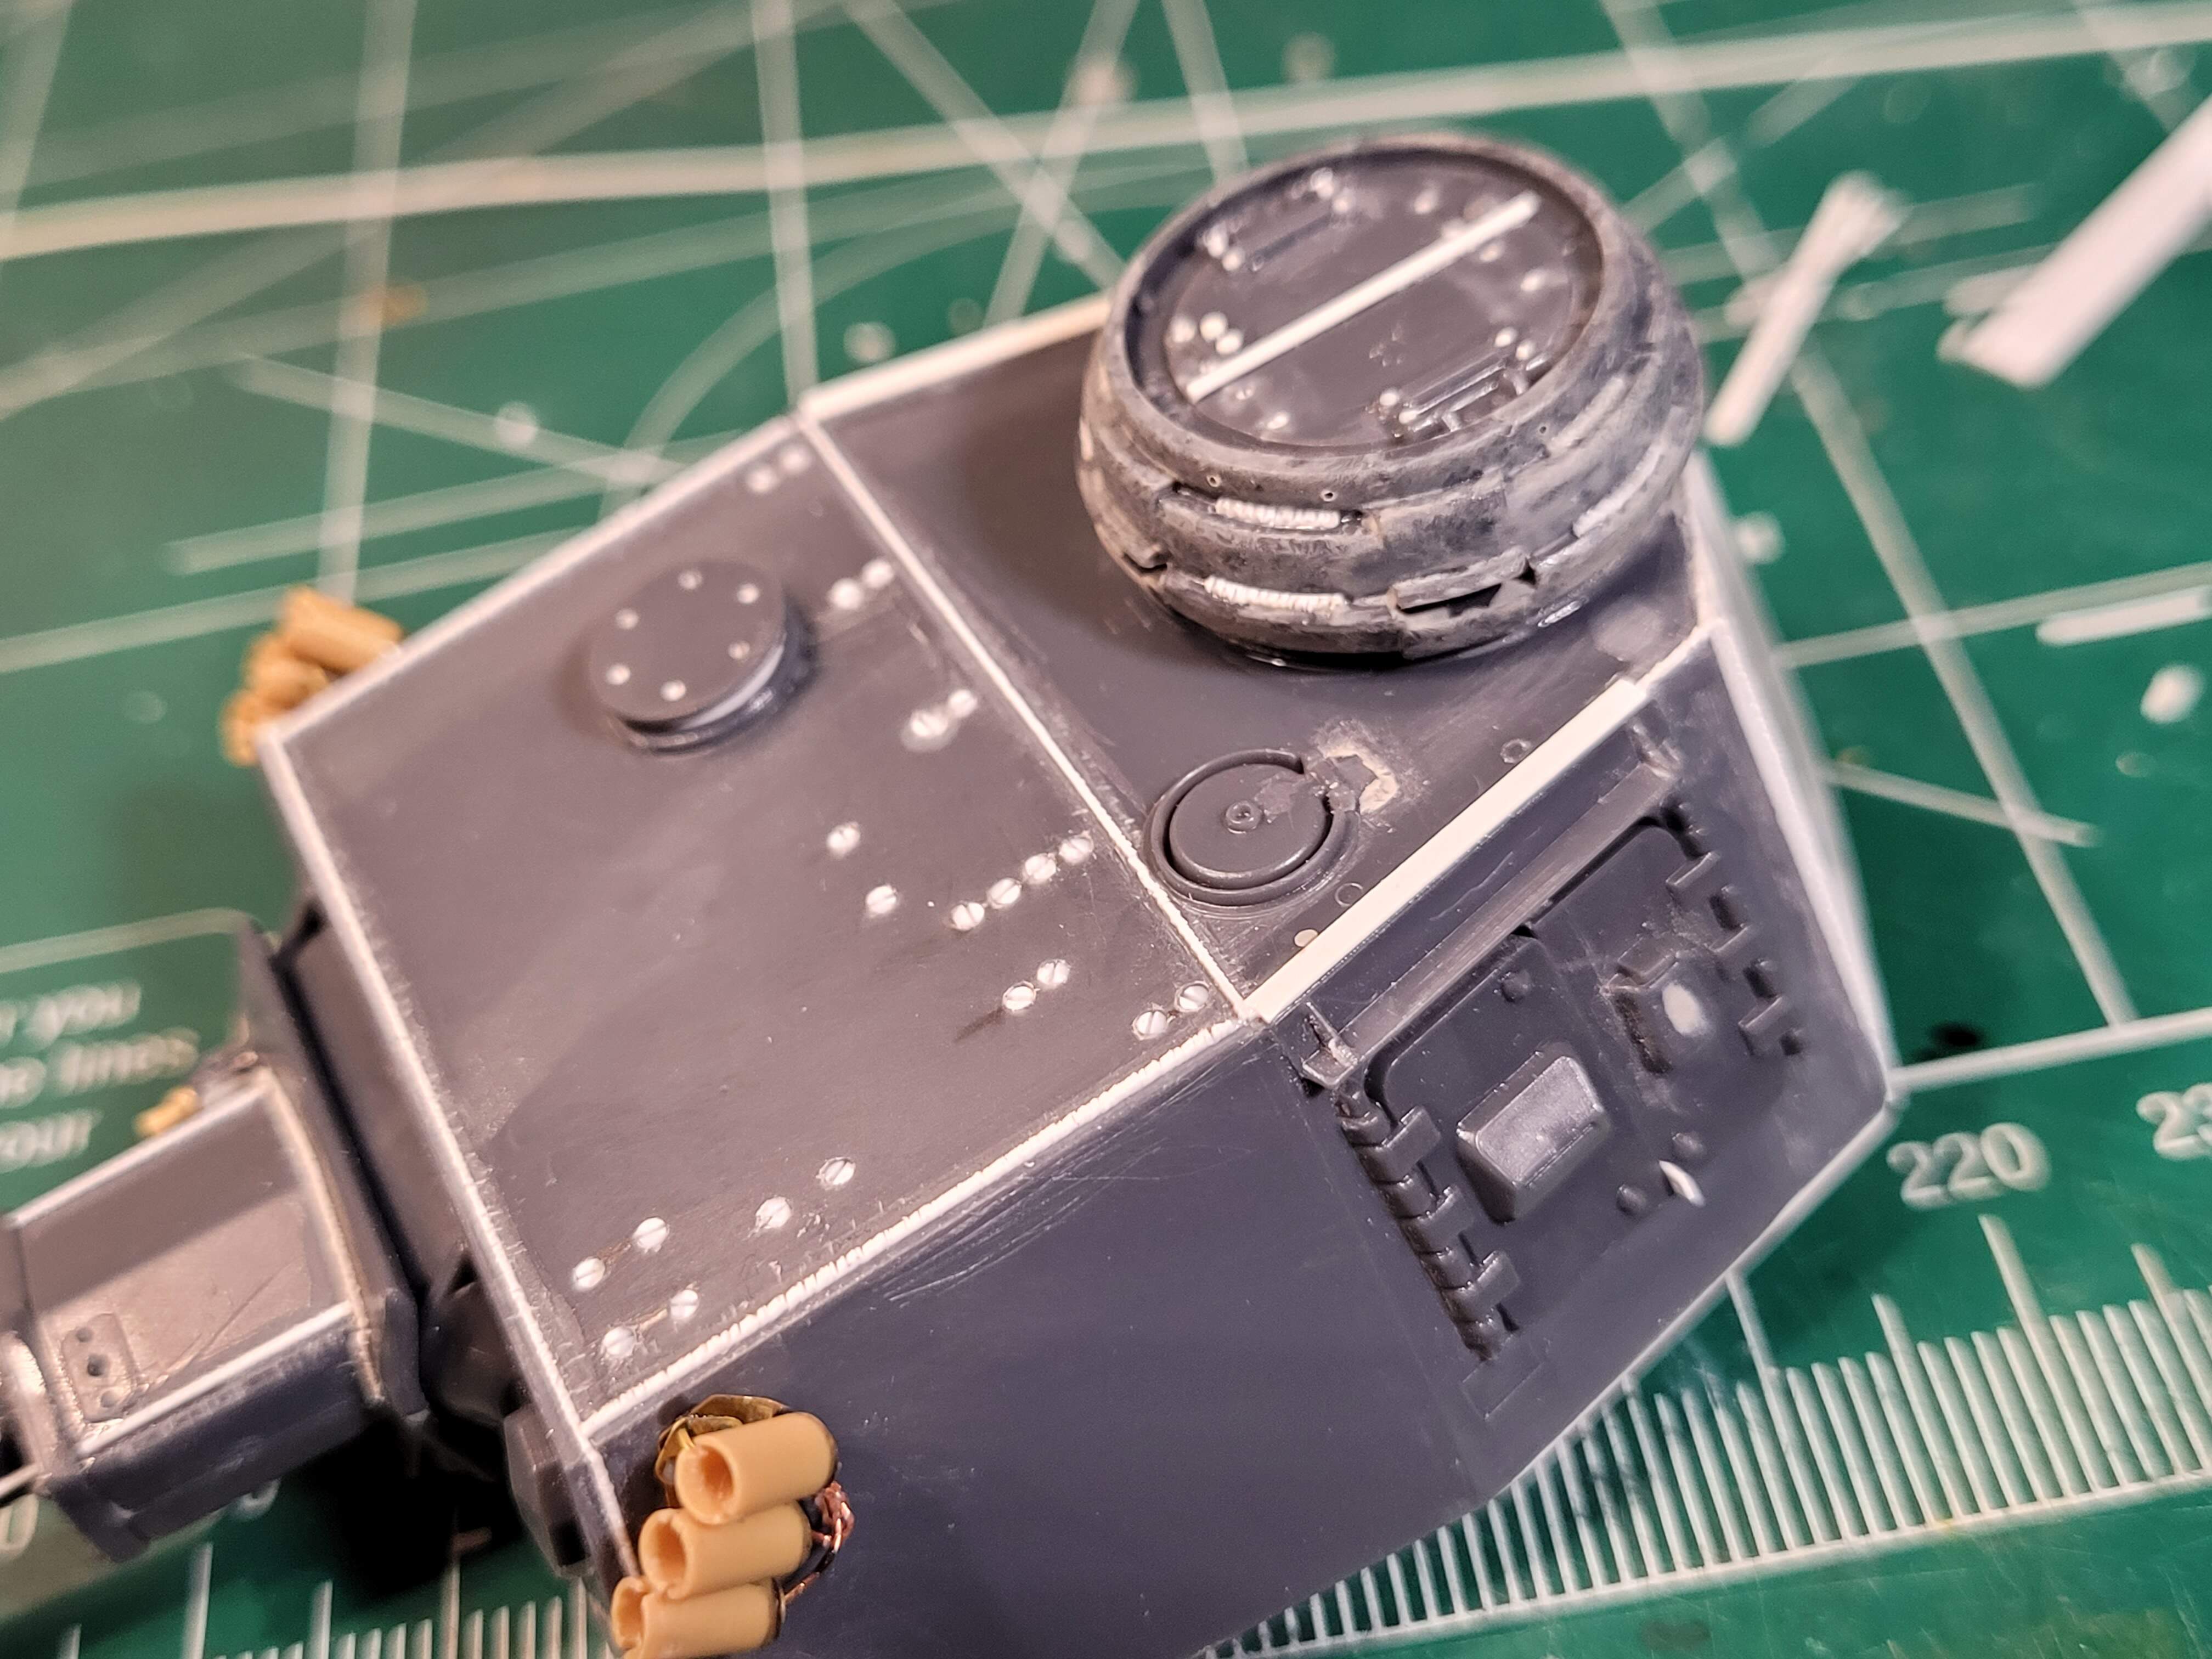
Still have a little clean up to do in the morning. After that will finish hatches on the turret sides.
4 Likes
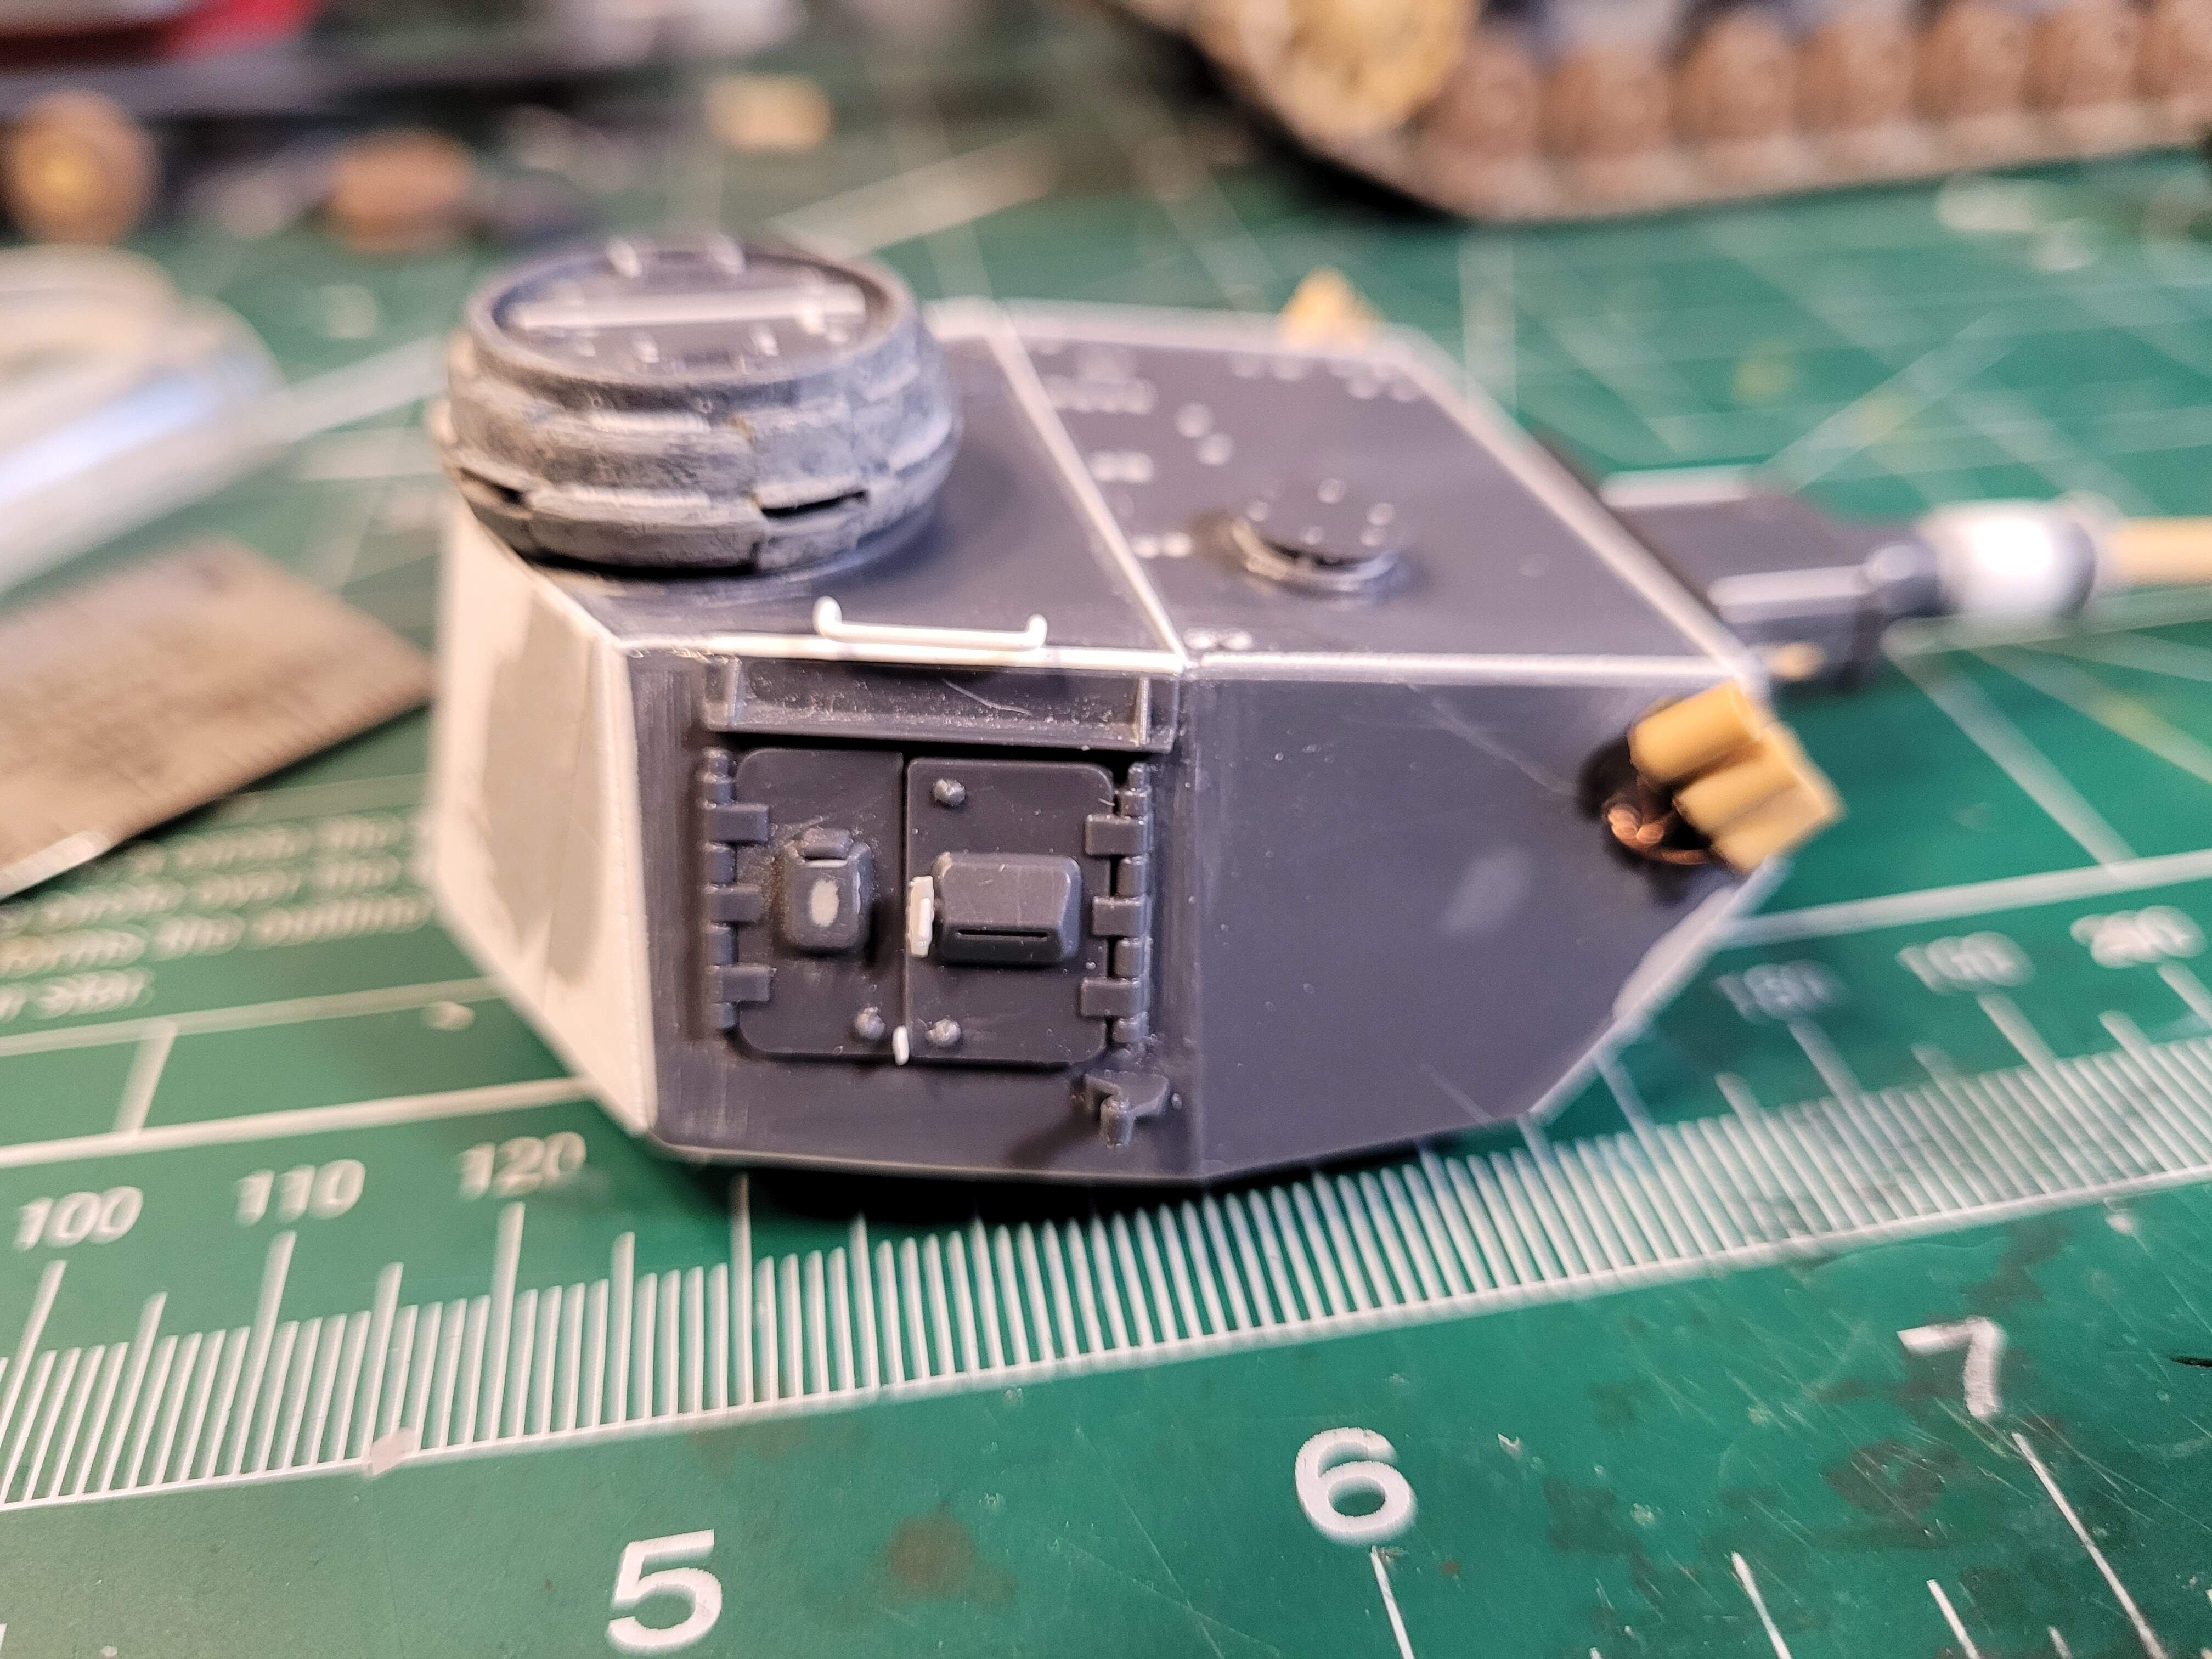
Wrapped the turret hatch doors & hand rail. Added the grab handles to door plus tab for the lock. New grab handle for .025 rod.



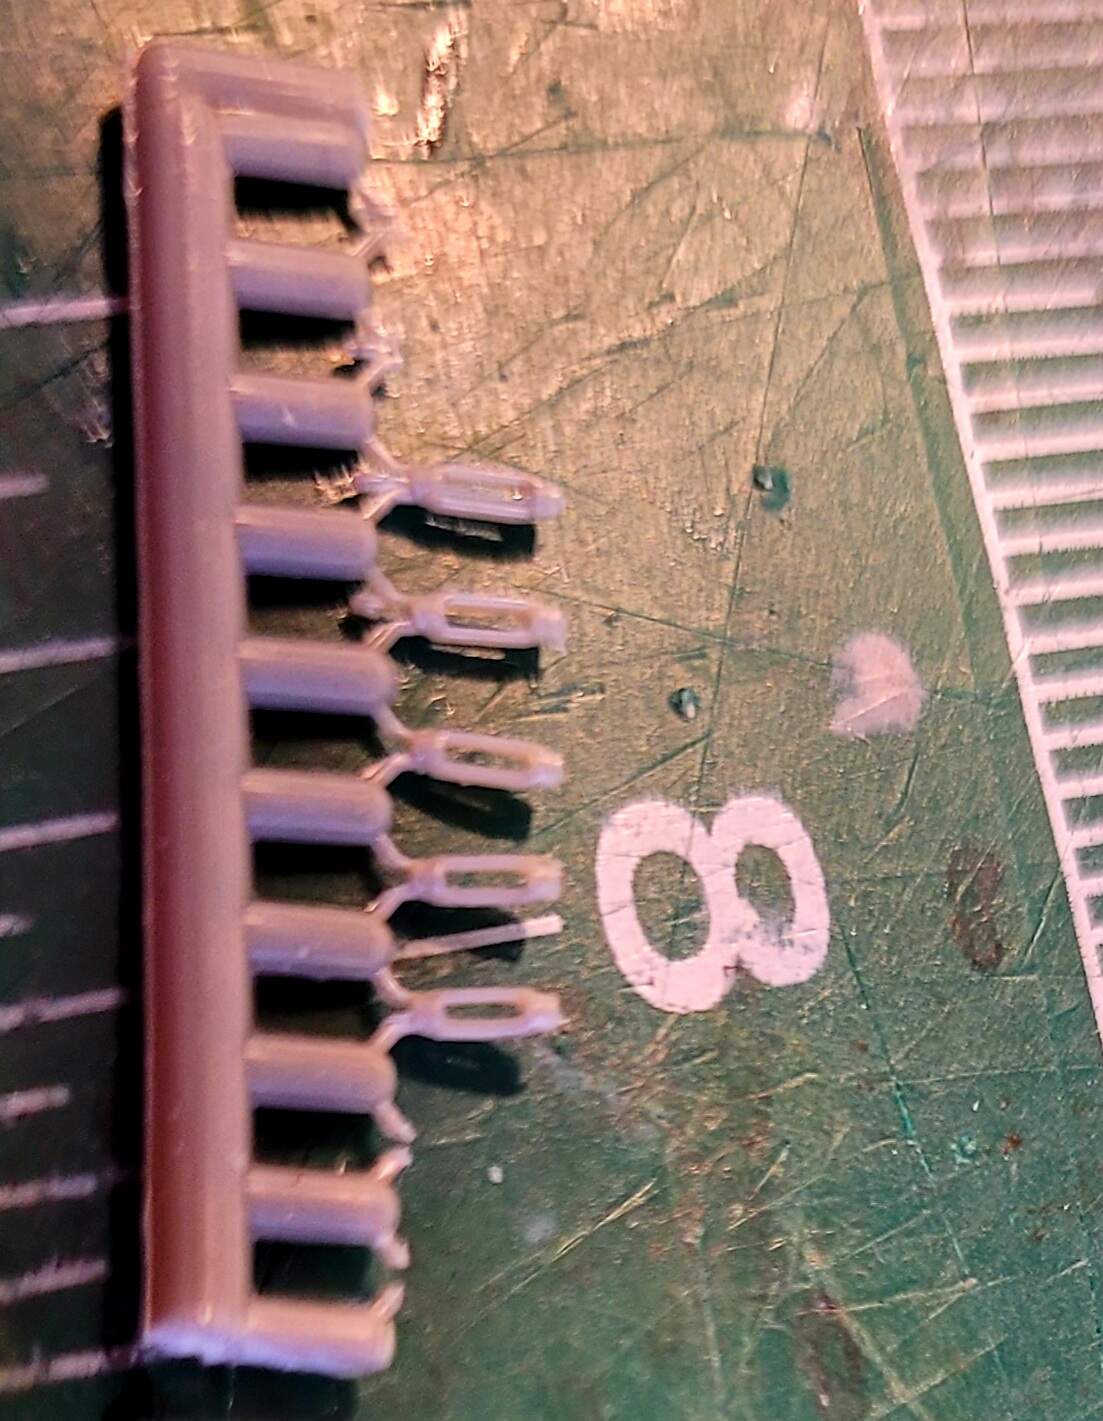
Finding parts for the door grab handles was annoying due to the taper on each end. I think these are for model ship rigging or model trains and worked nearly perfect in size & taper.
5 Likes
Amazing work as always Wade!
2 Likes
Man, i wish i could get in the zone you are in. 
1 Like
Thank you both!
Marc, I discovered it’s much easier to find the zone if it’s a favorite vehicle type like a Pz III, Pz IV, Panther, Tiger I or T-34, M60, Chieftain or Challenger.
You’d have laughed yourself silly watching me struggling and cursing newer Tamiya Pz II. It was just a simple nearly out of the box build. Doing laundry was more fun than that build:)
Some thinking out loud follows…feel free to comment and suggest.
Working on turret stowage box currently but thinking ahead about the fenders…the fenders are starting to look like a hurtle.
- I’d started leaning toward making fenders out of a old sheet of On The Mark tread plate. Turns out the pattern is embossed at 45 degree angle. In short I don’t think there’s enough material if the pattern is oriented correctly.
-
The kit fenders in dark gray fit well but look like puke. The very front looks OK. See below pics…
-
The light gray fenders scrounged from an old DML Imperial Pz IV F2 look pretty good except at the very front. The hinges are horrible much worse than the Italeri. They are also molded 2x thicker than the Italeri fenders. They have good test fitment.
The shapes of the front of the fenders are different. The DML one seems less wrong.
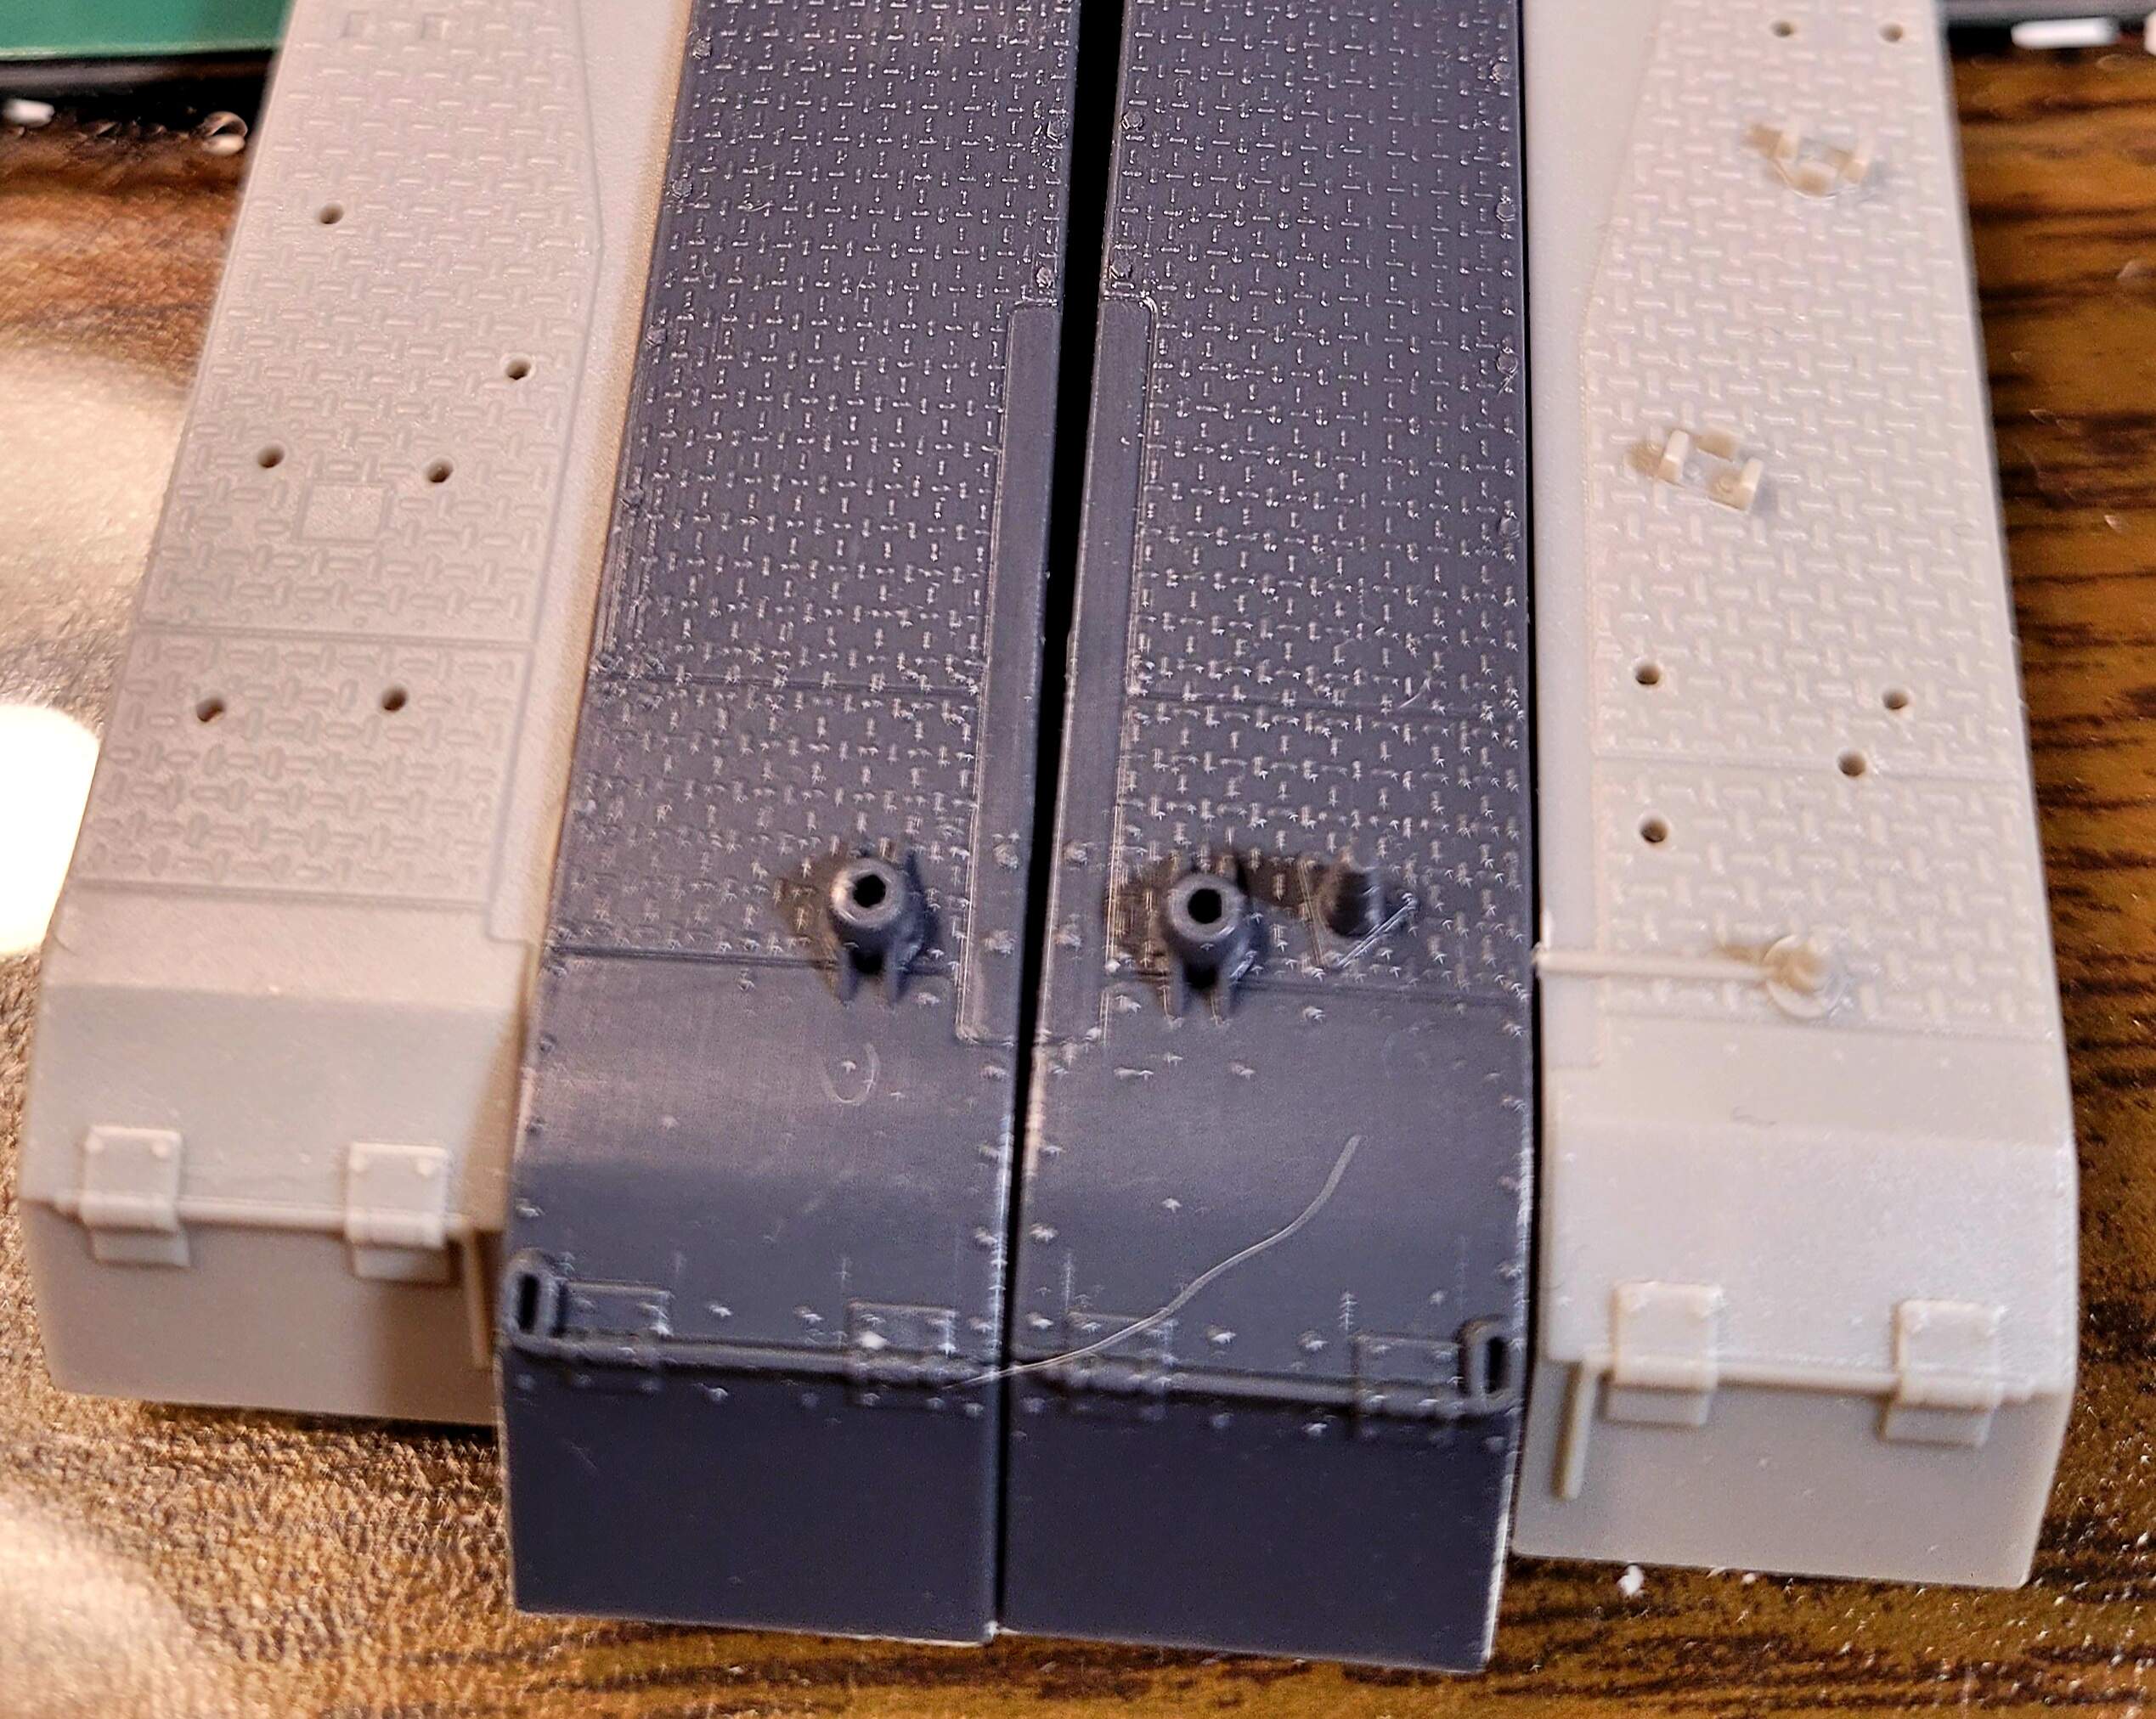
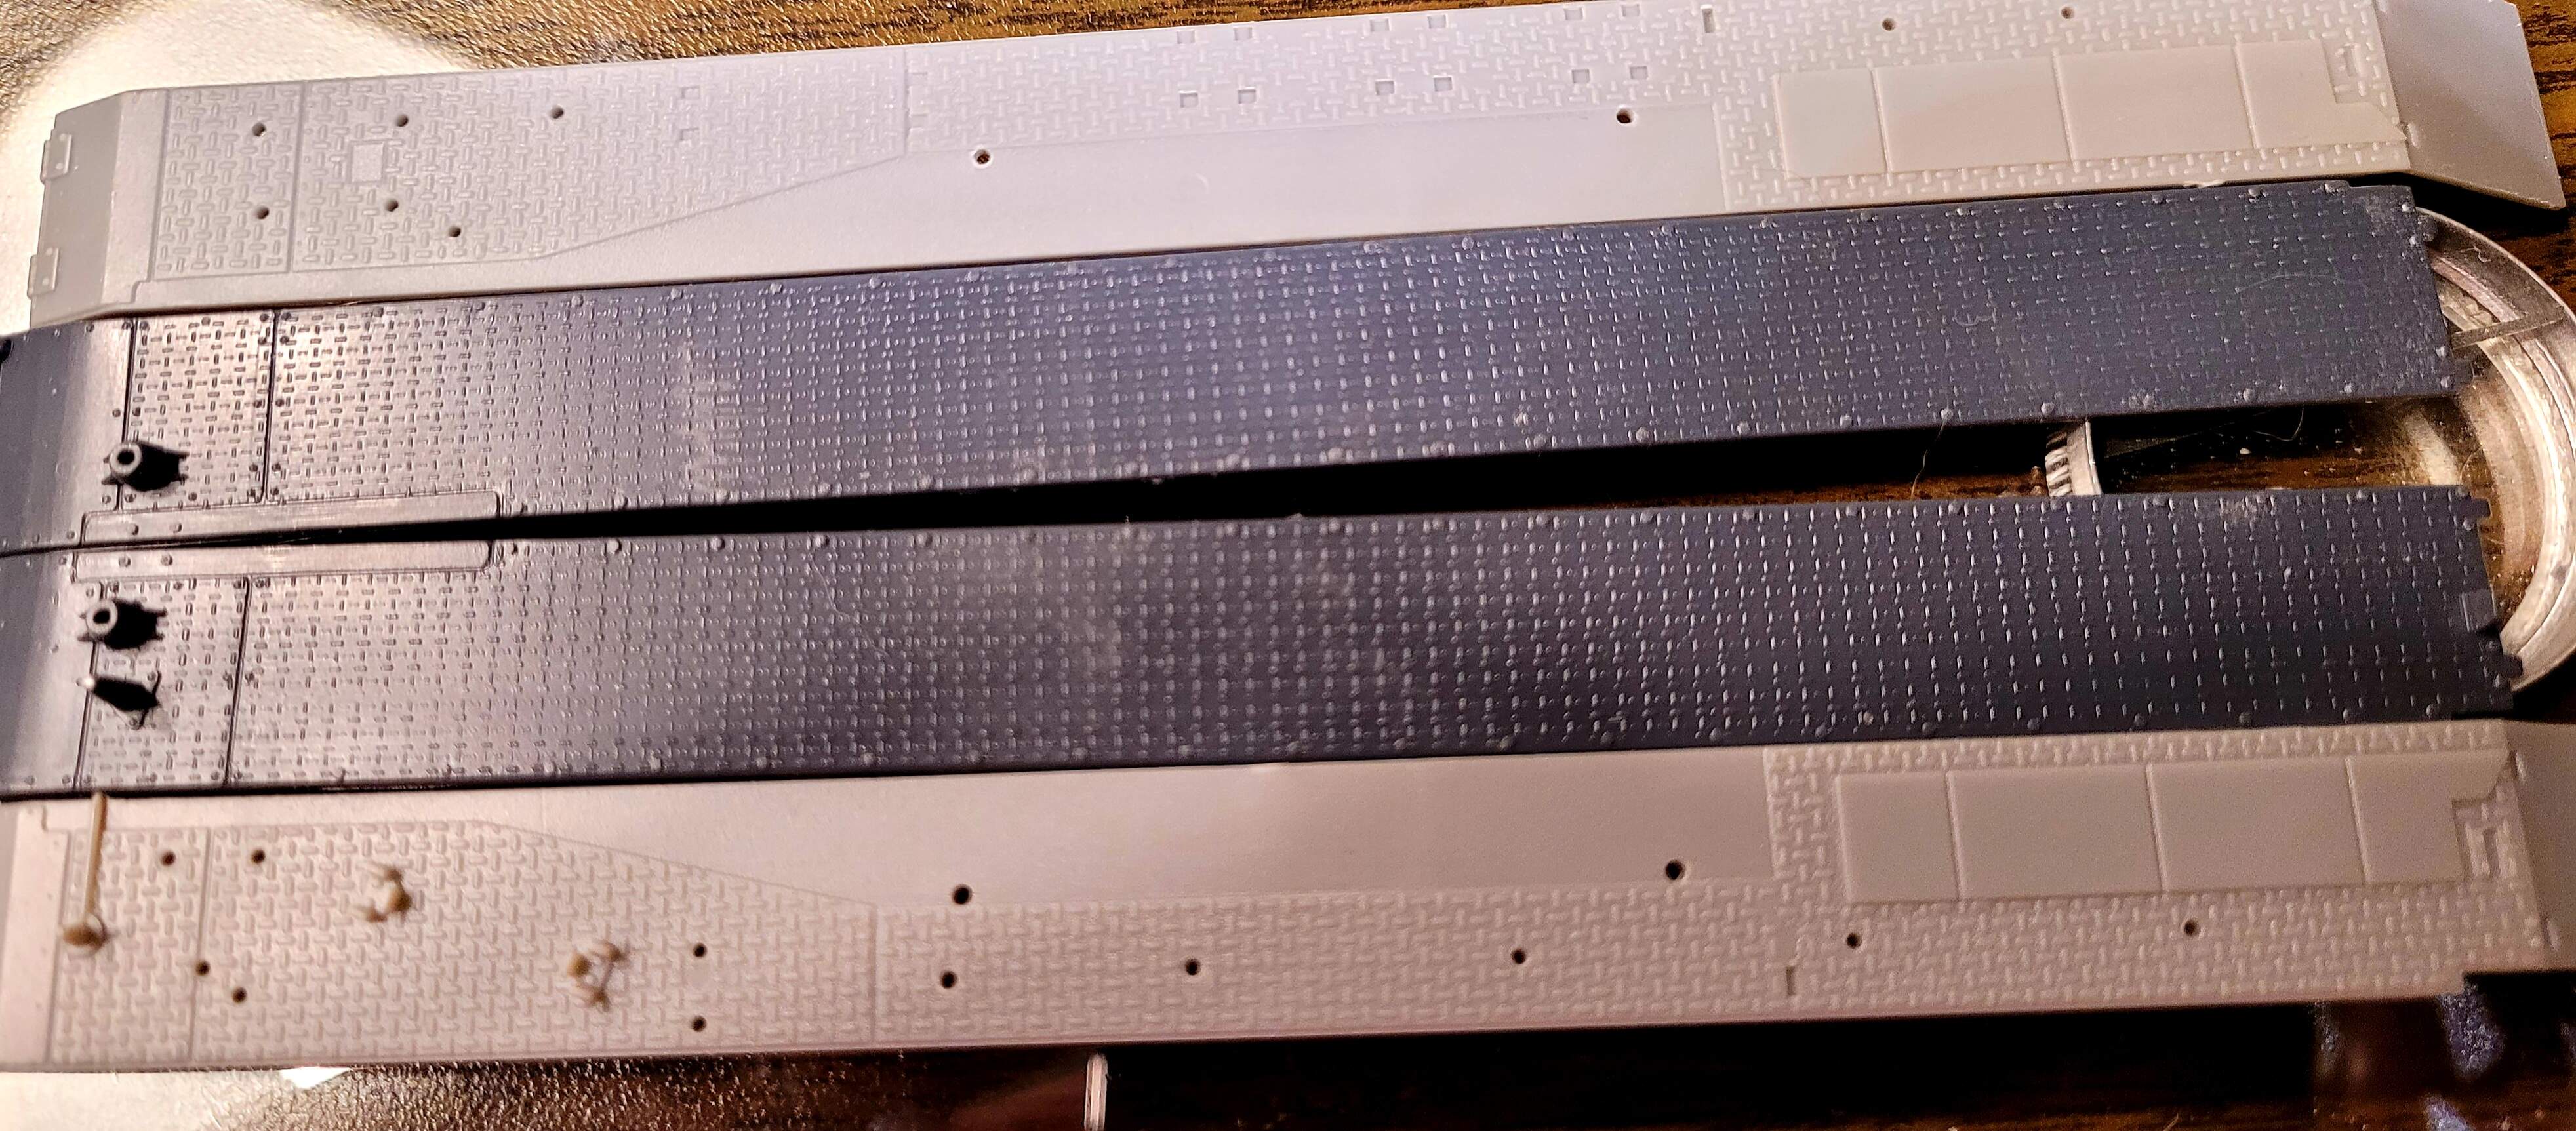
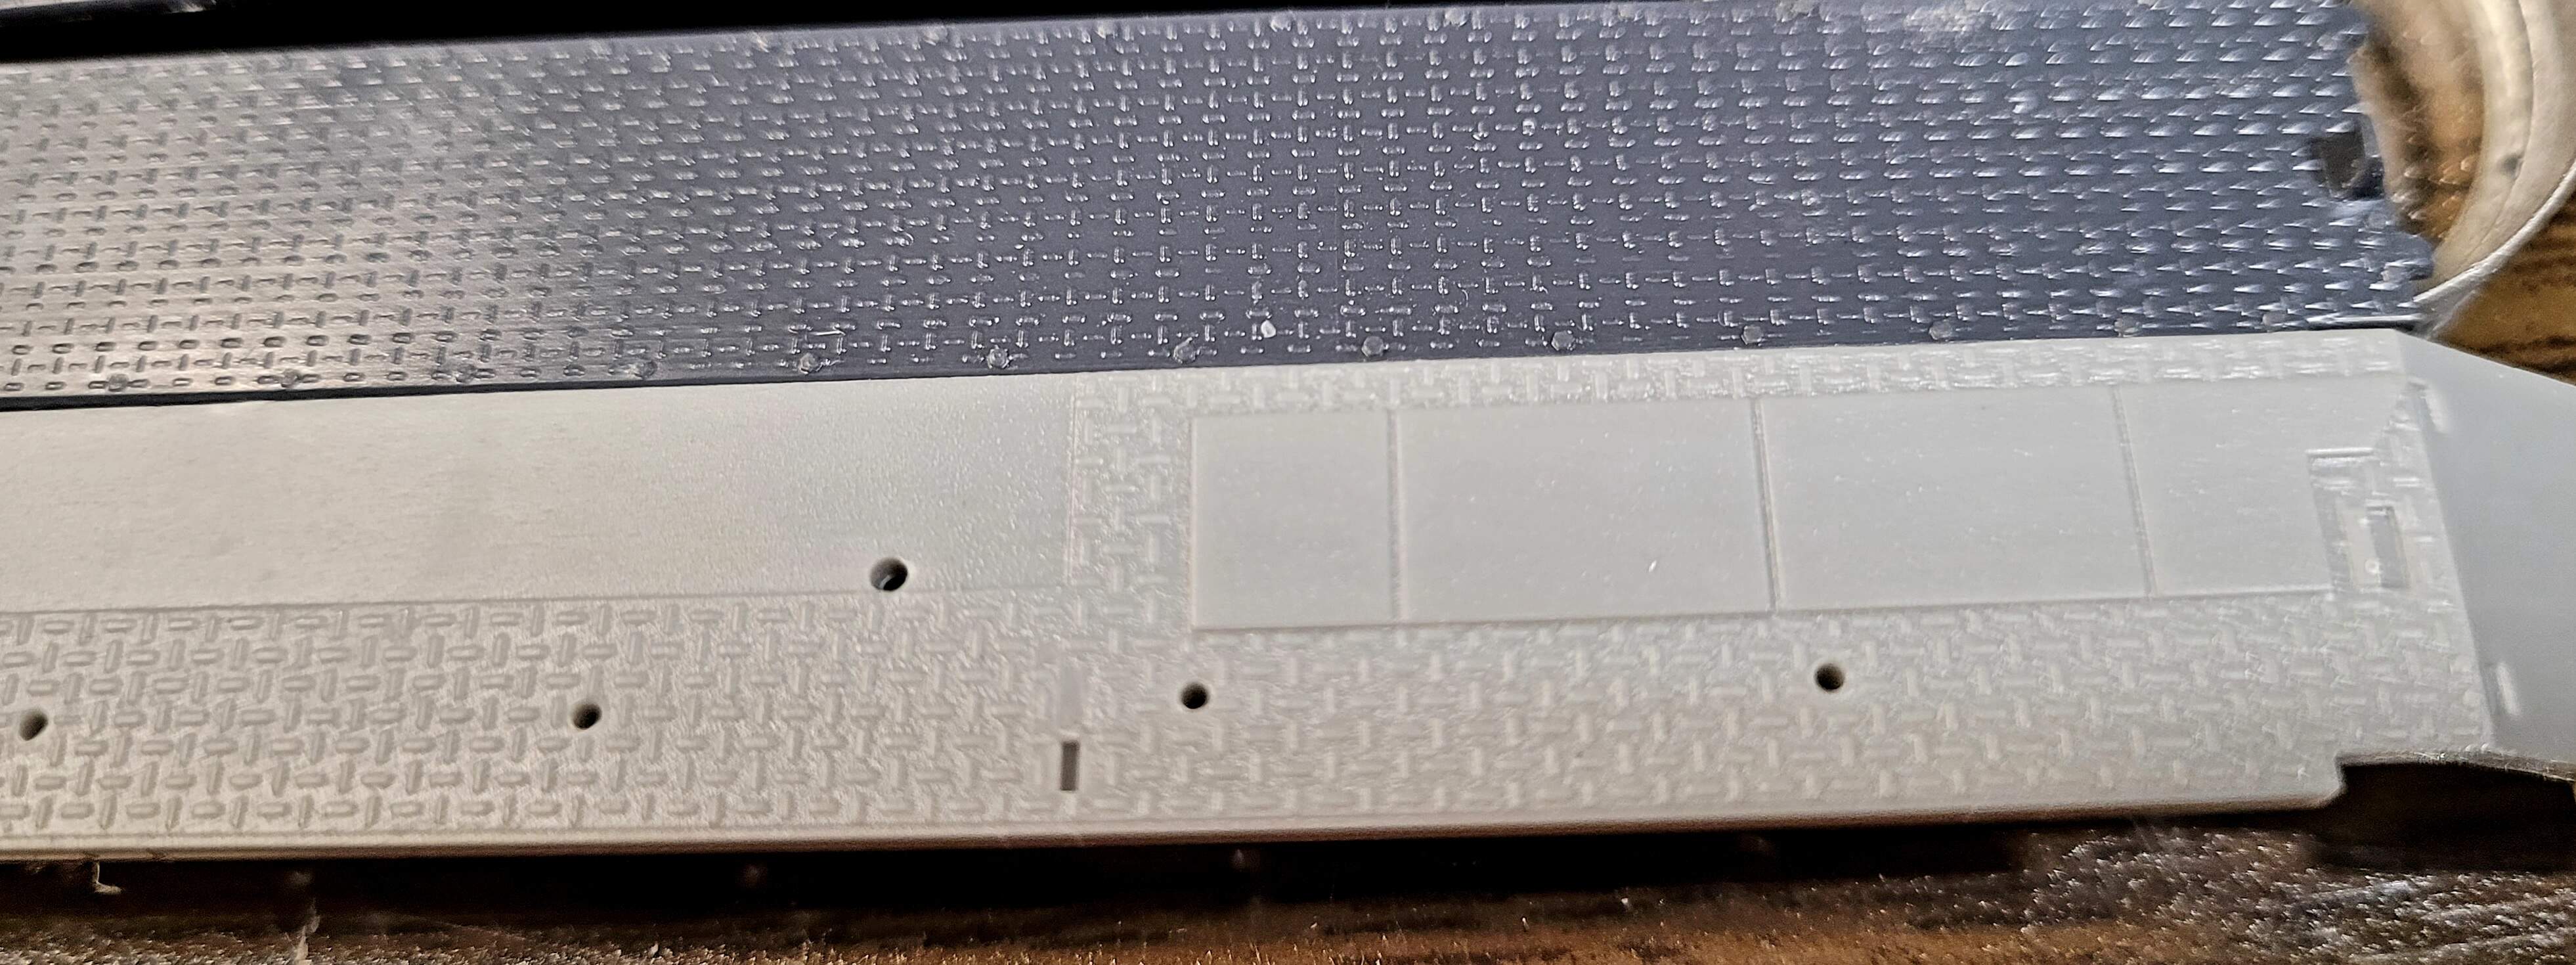
A) I think the path forward is th light gray DML fenders with the hinge replacement.
B) The other option is a set of 1999 Aber Pz IV photo-etch fenders. I greatly dislike Aber’s typically very complicated PE sets. Not sure I could slug through their PE fenders. I also don’t have the correct tools for doing 6 inch fenders.
If I goof up the DML fenders looks like Aber will be the last resort.
3 Likes
Wow, those dark gray fenders look horrible.
Maybe you could try taking the better parts from the two and mashing them together then add some extra details? I agree though they do look horrible,
Darth,
The DML fenders win by a landslide.
Obi-Wan, agreed DML fenders it is.
Those DML fenders - to paraphrase will learn “I am altering the deal and be praying I don’t alter it any further.”
DML’s need new hinges at least…
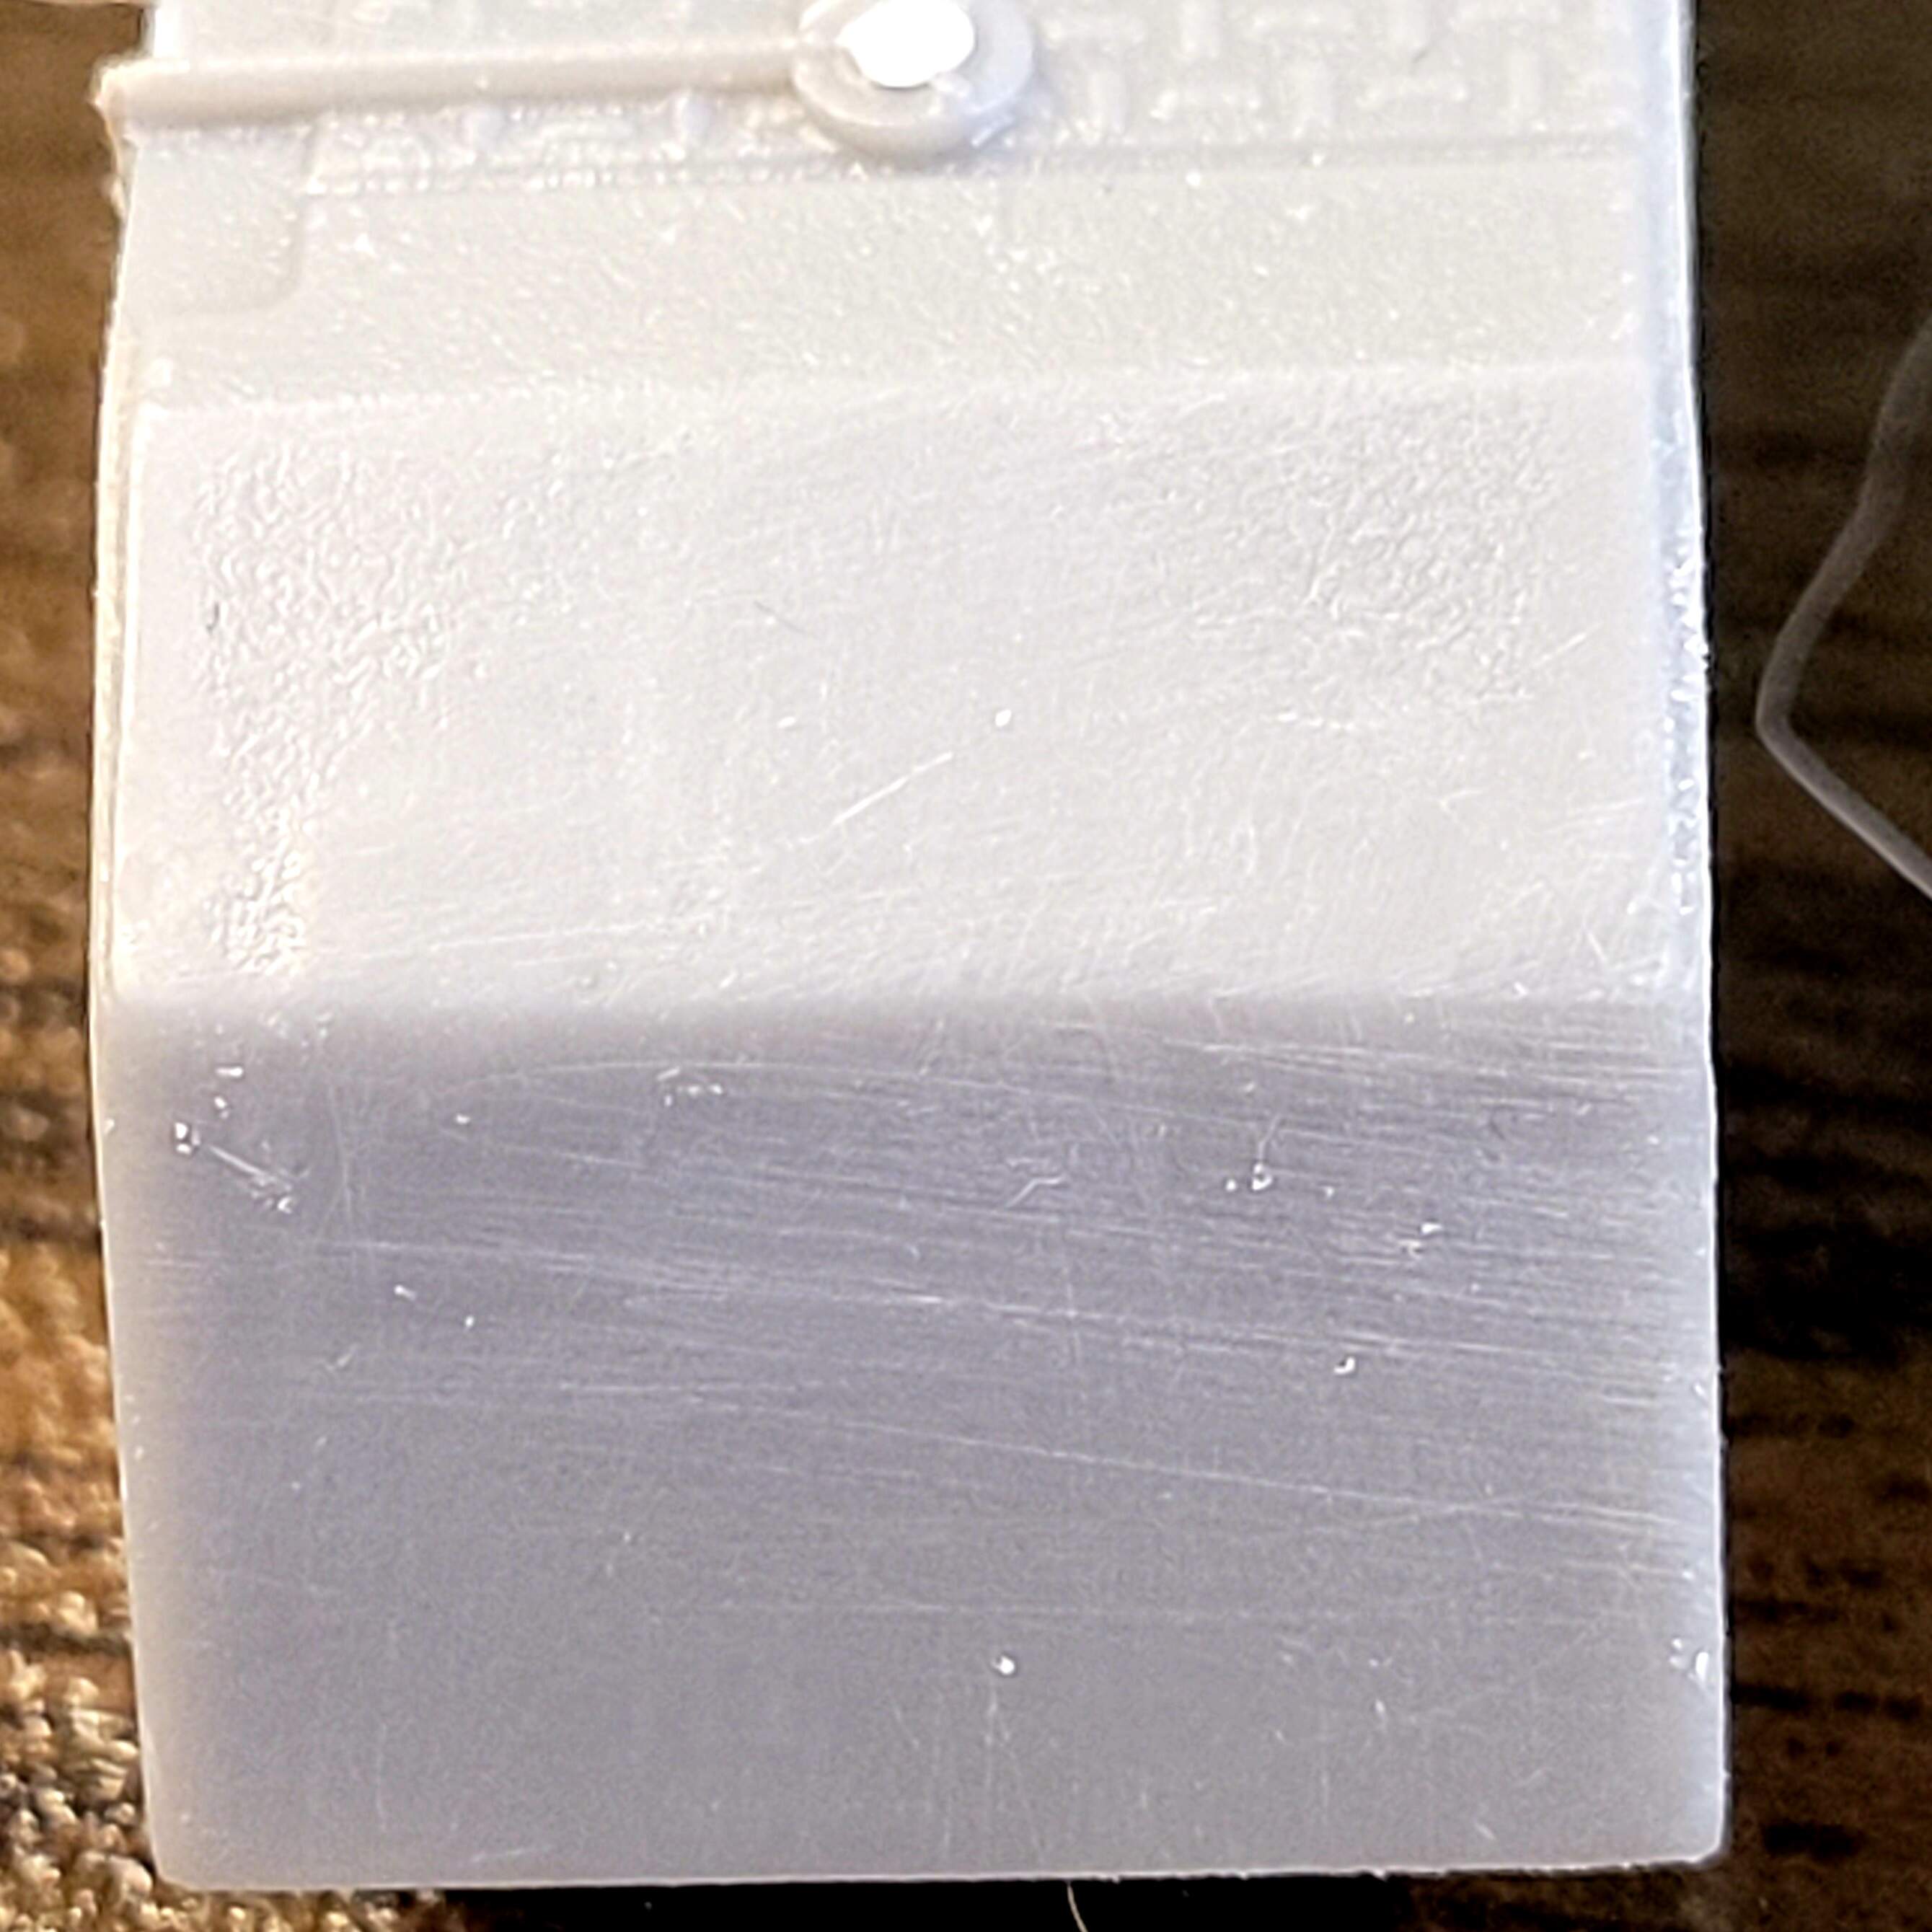
Comedy Time - Can’t avoid the Photo-Etch any longer…
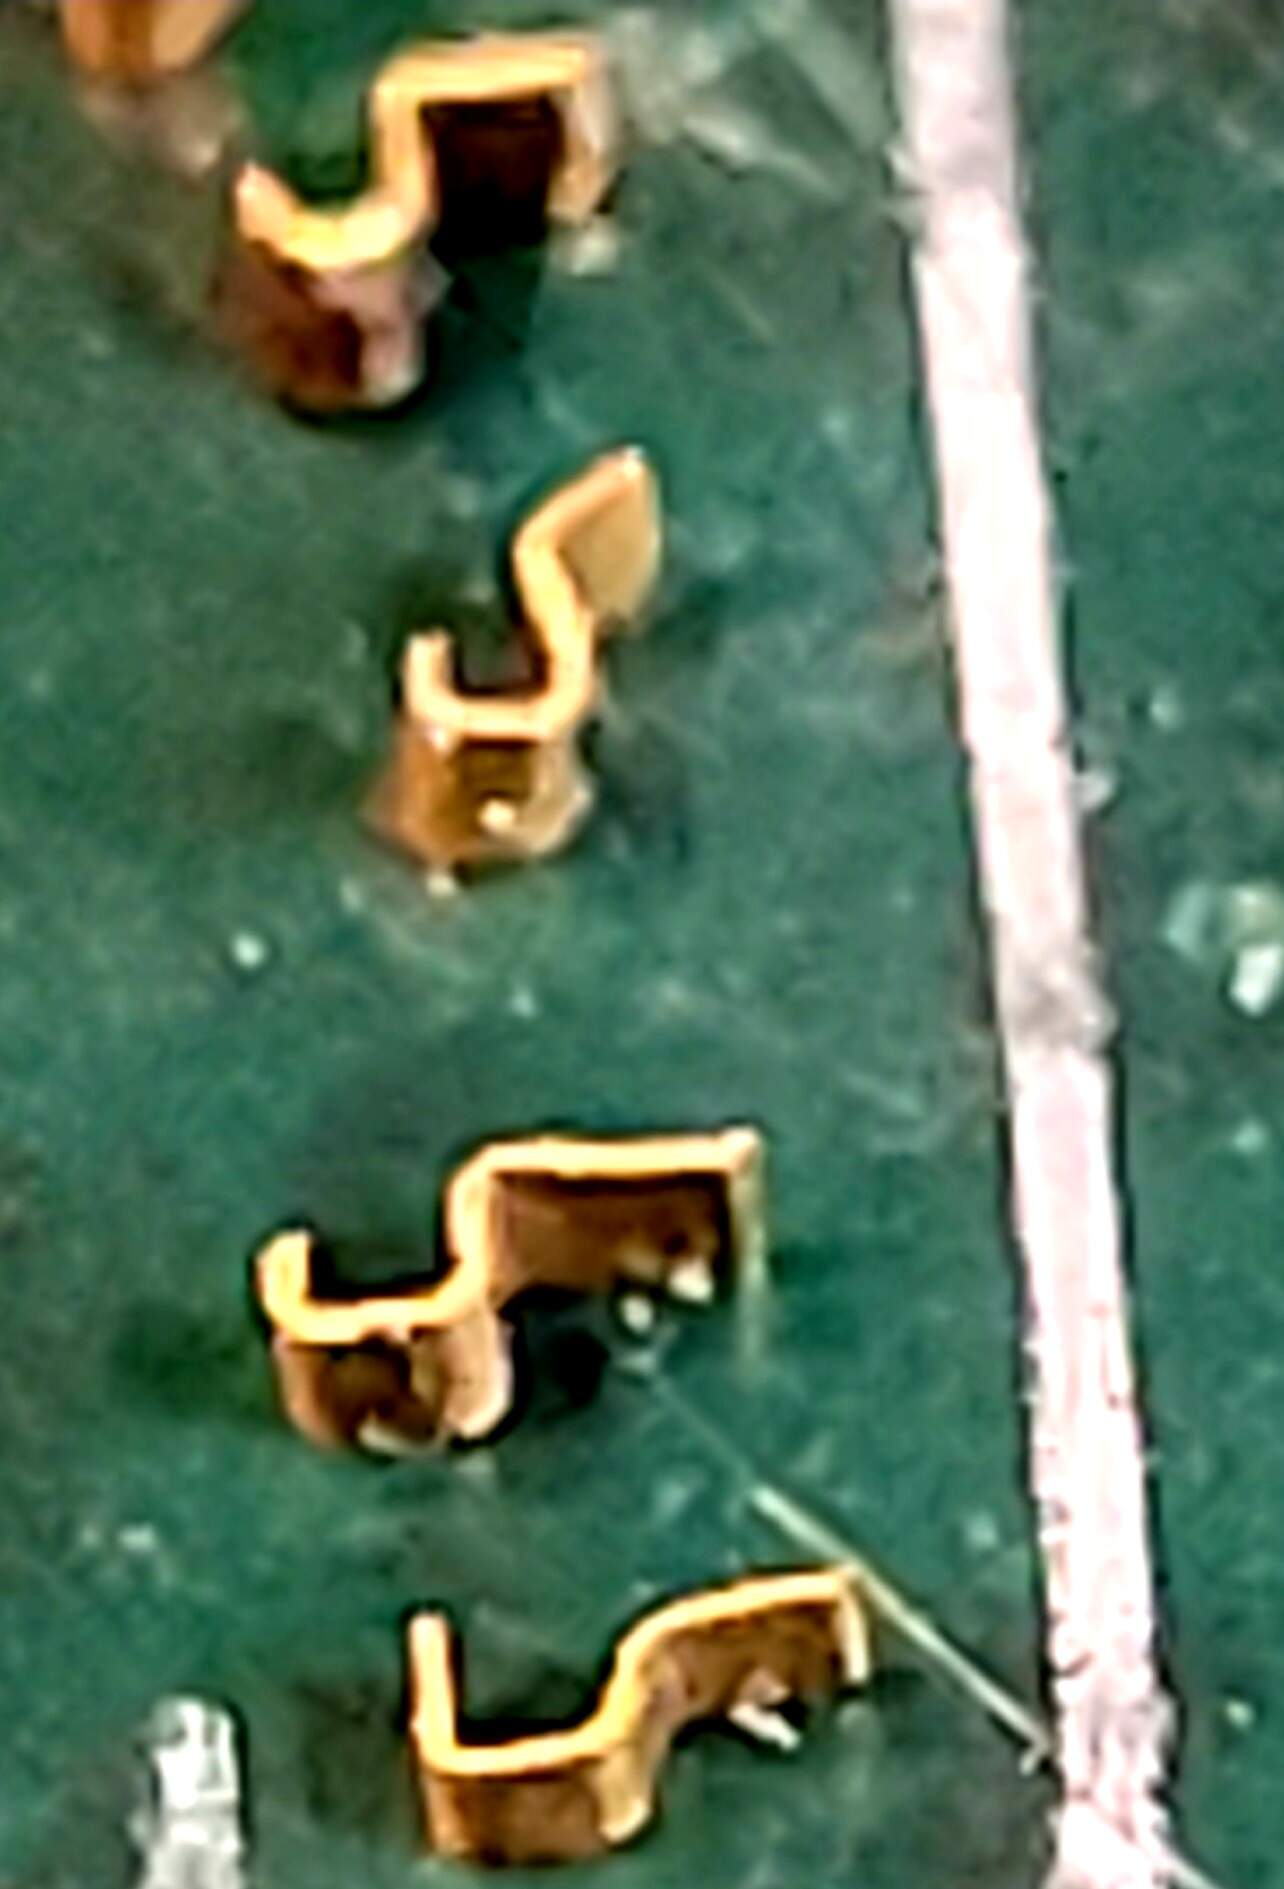
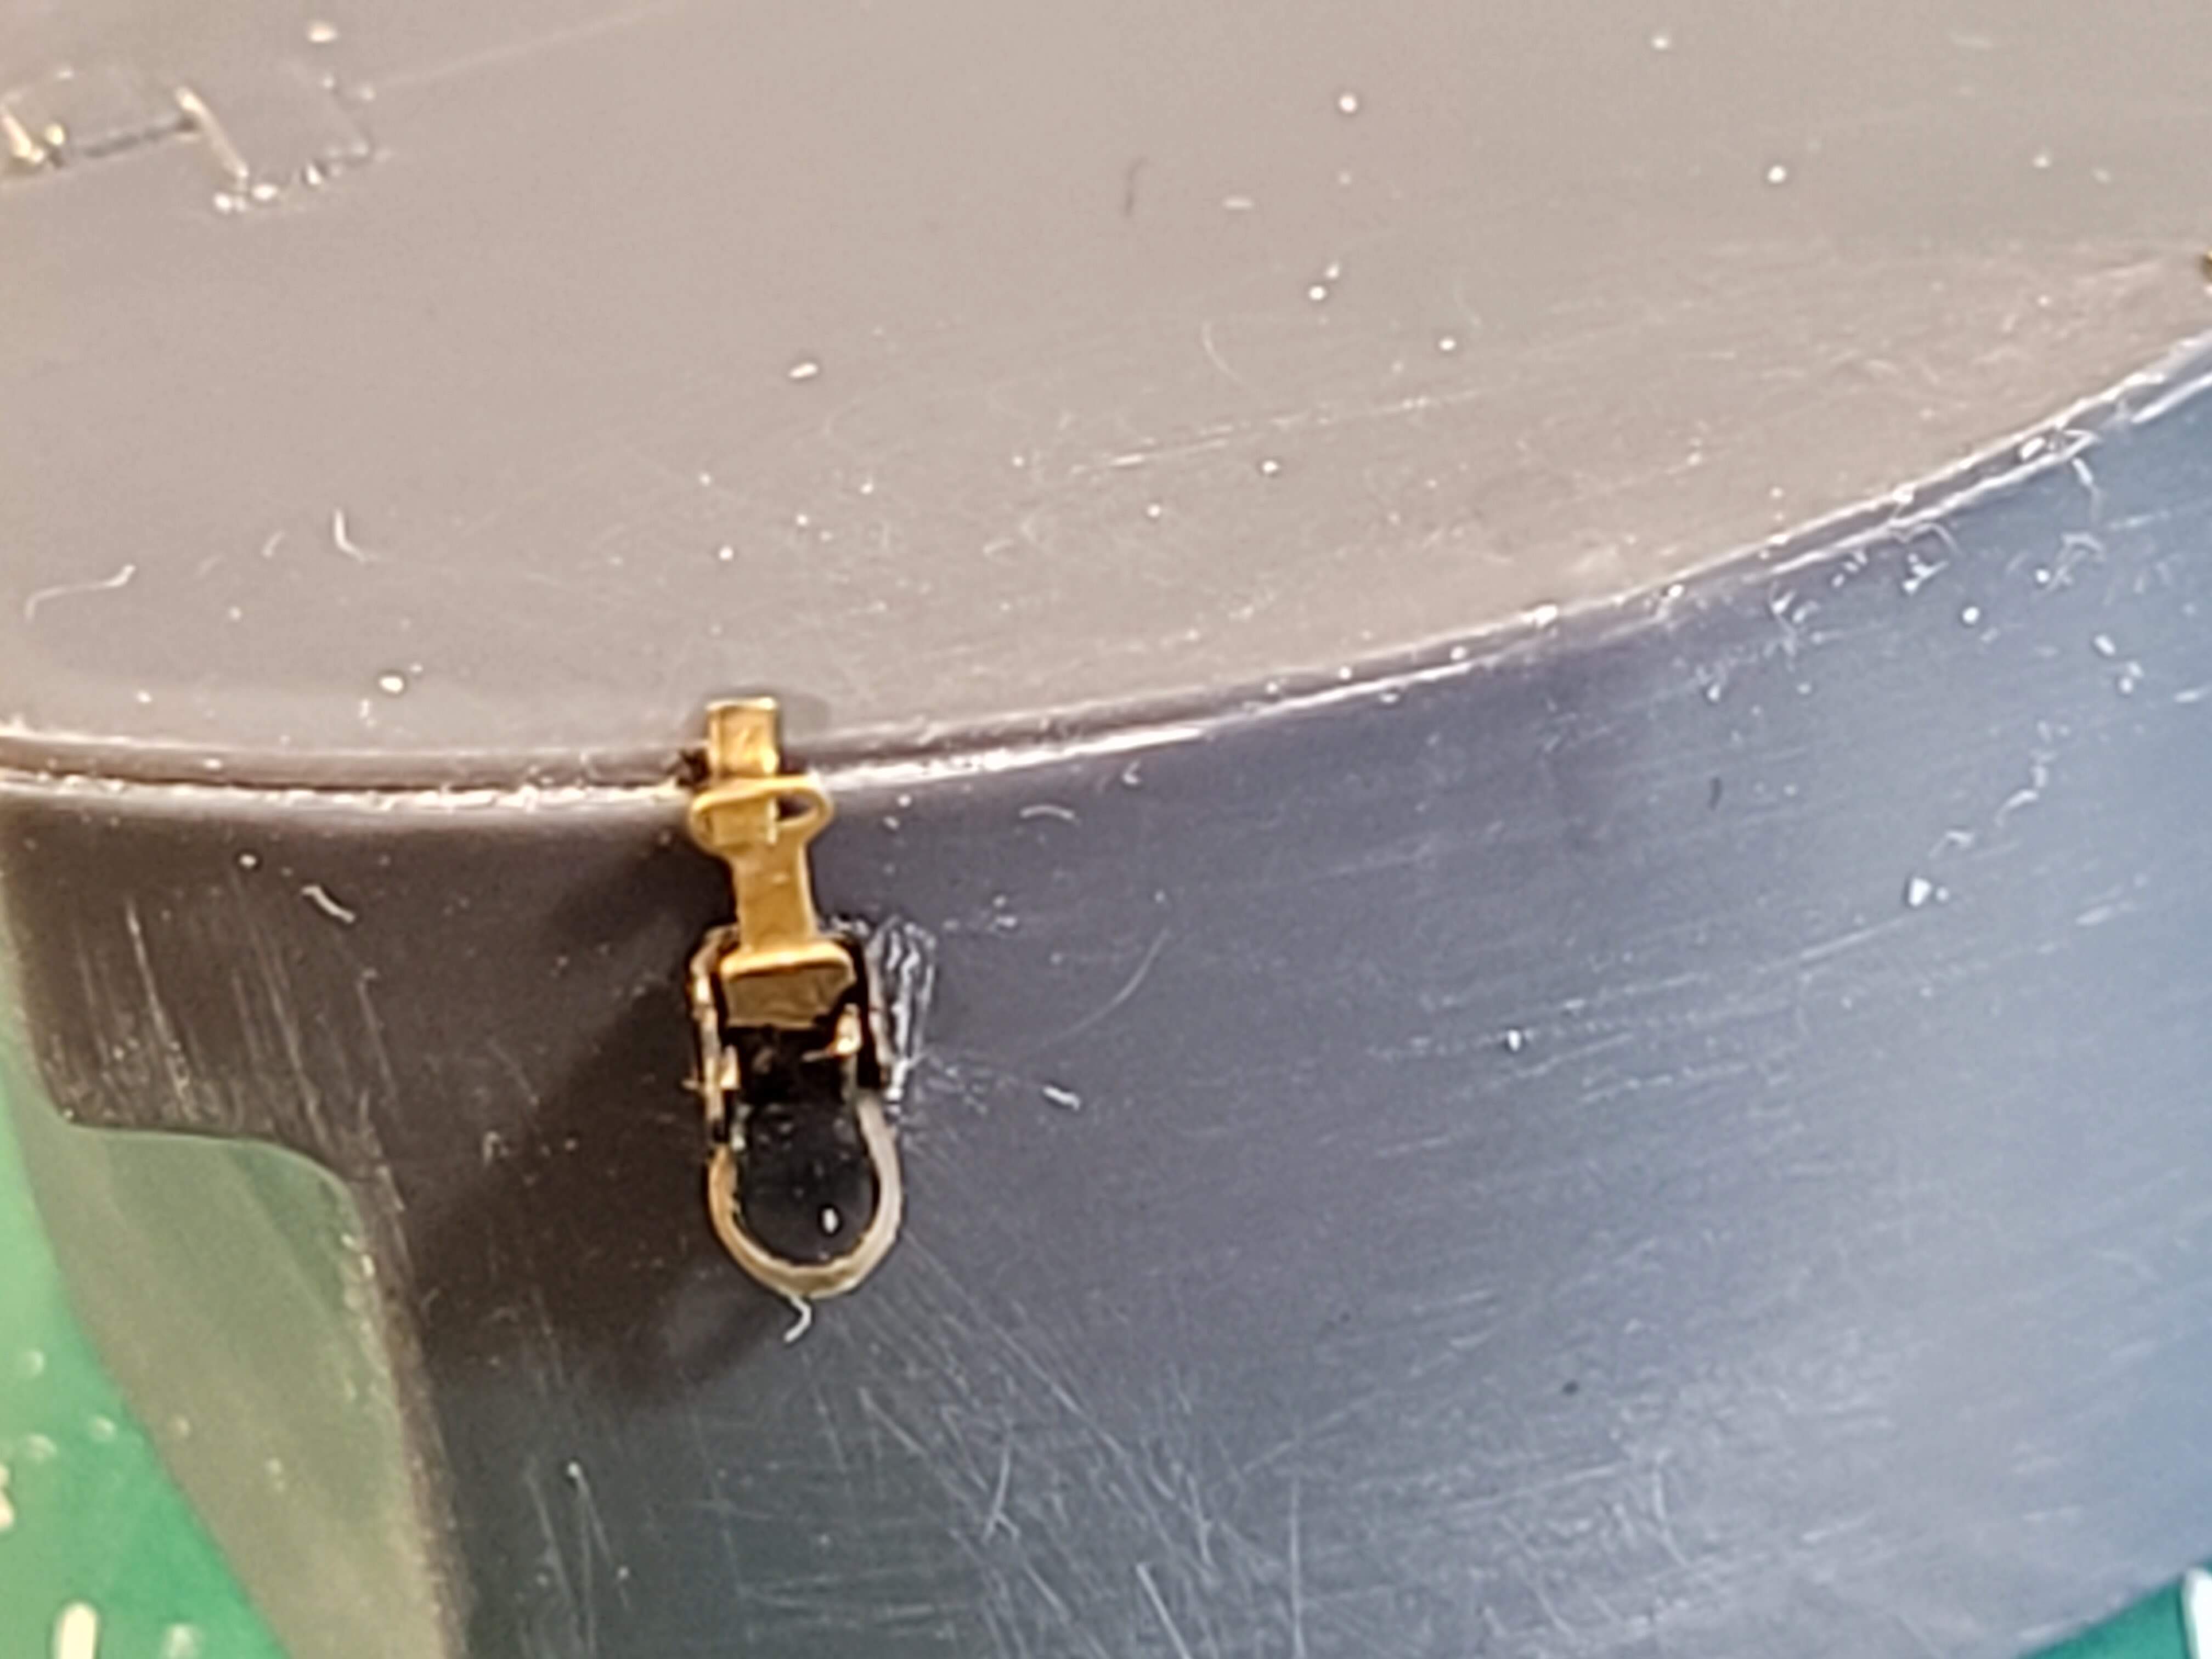
Wasted a lot of time today with the OTM PE set trying to find parts for the 23d on the fret. 23d is a pair of hooks on the back of the turret stowage box. Turns out you have to make 23d OUT of the stupid fret! It says so in the instructions that I didn’t this morning 
 LOL
LOL
These are the best four of my half dozen ham handed attempts. I picked the bottom two to use as #23d’s.
On the back of the box grinding forward…
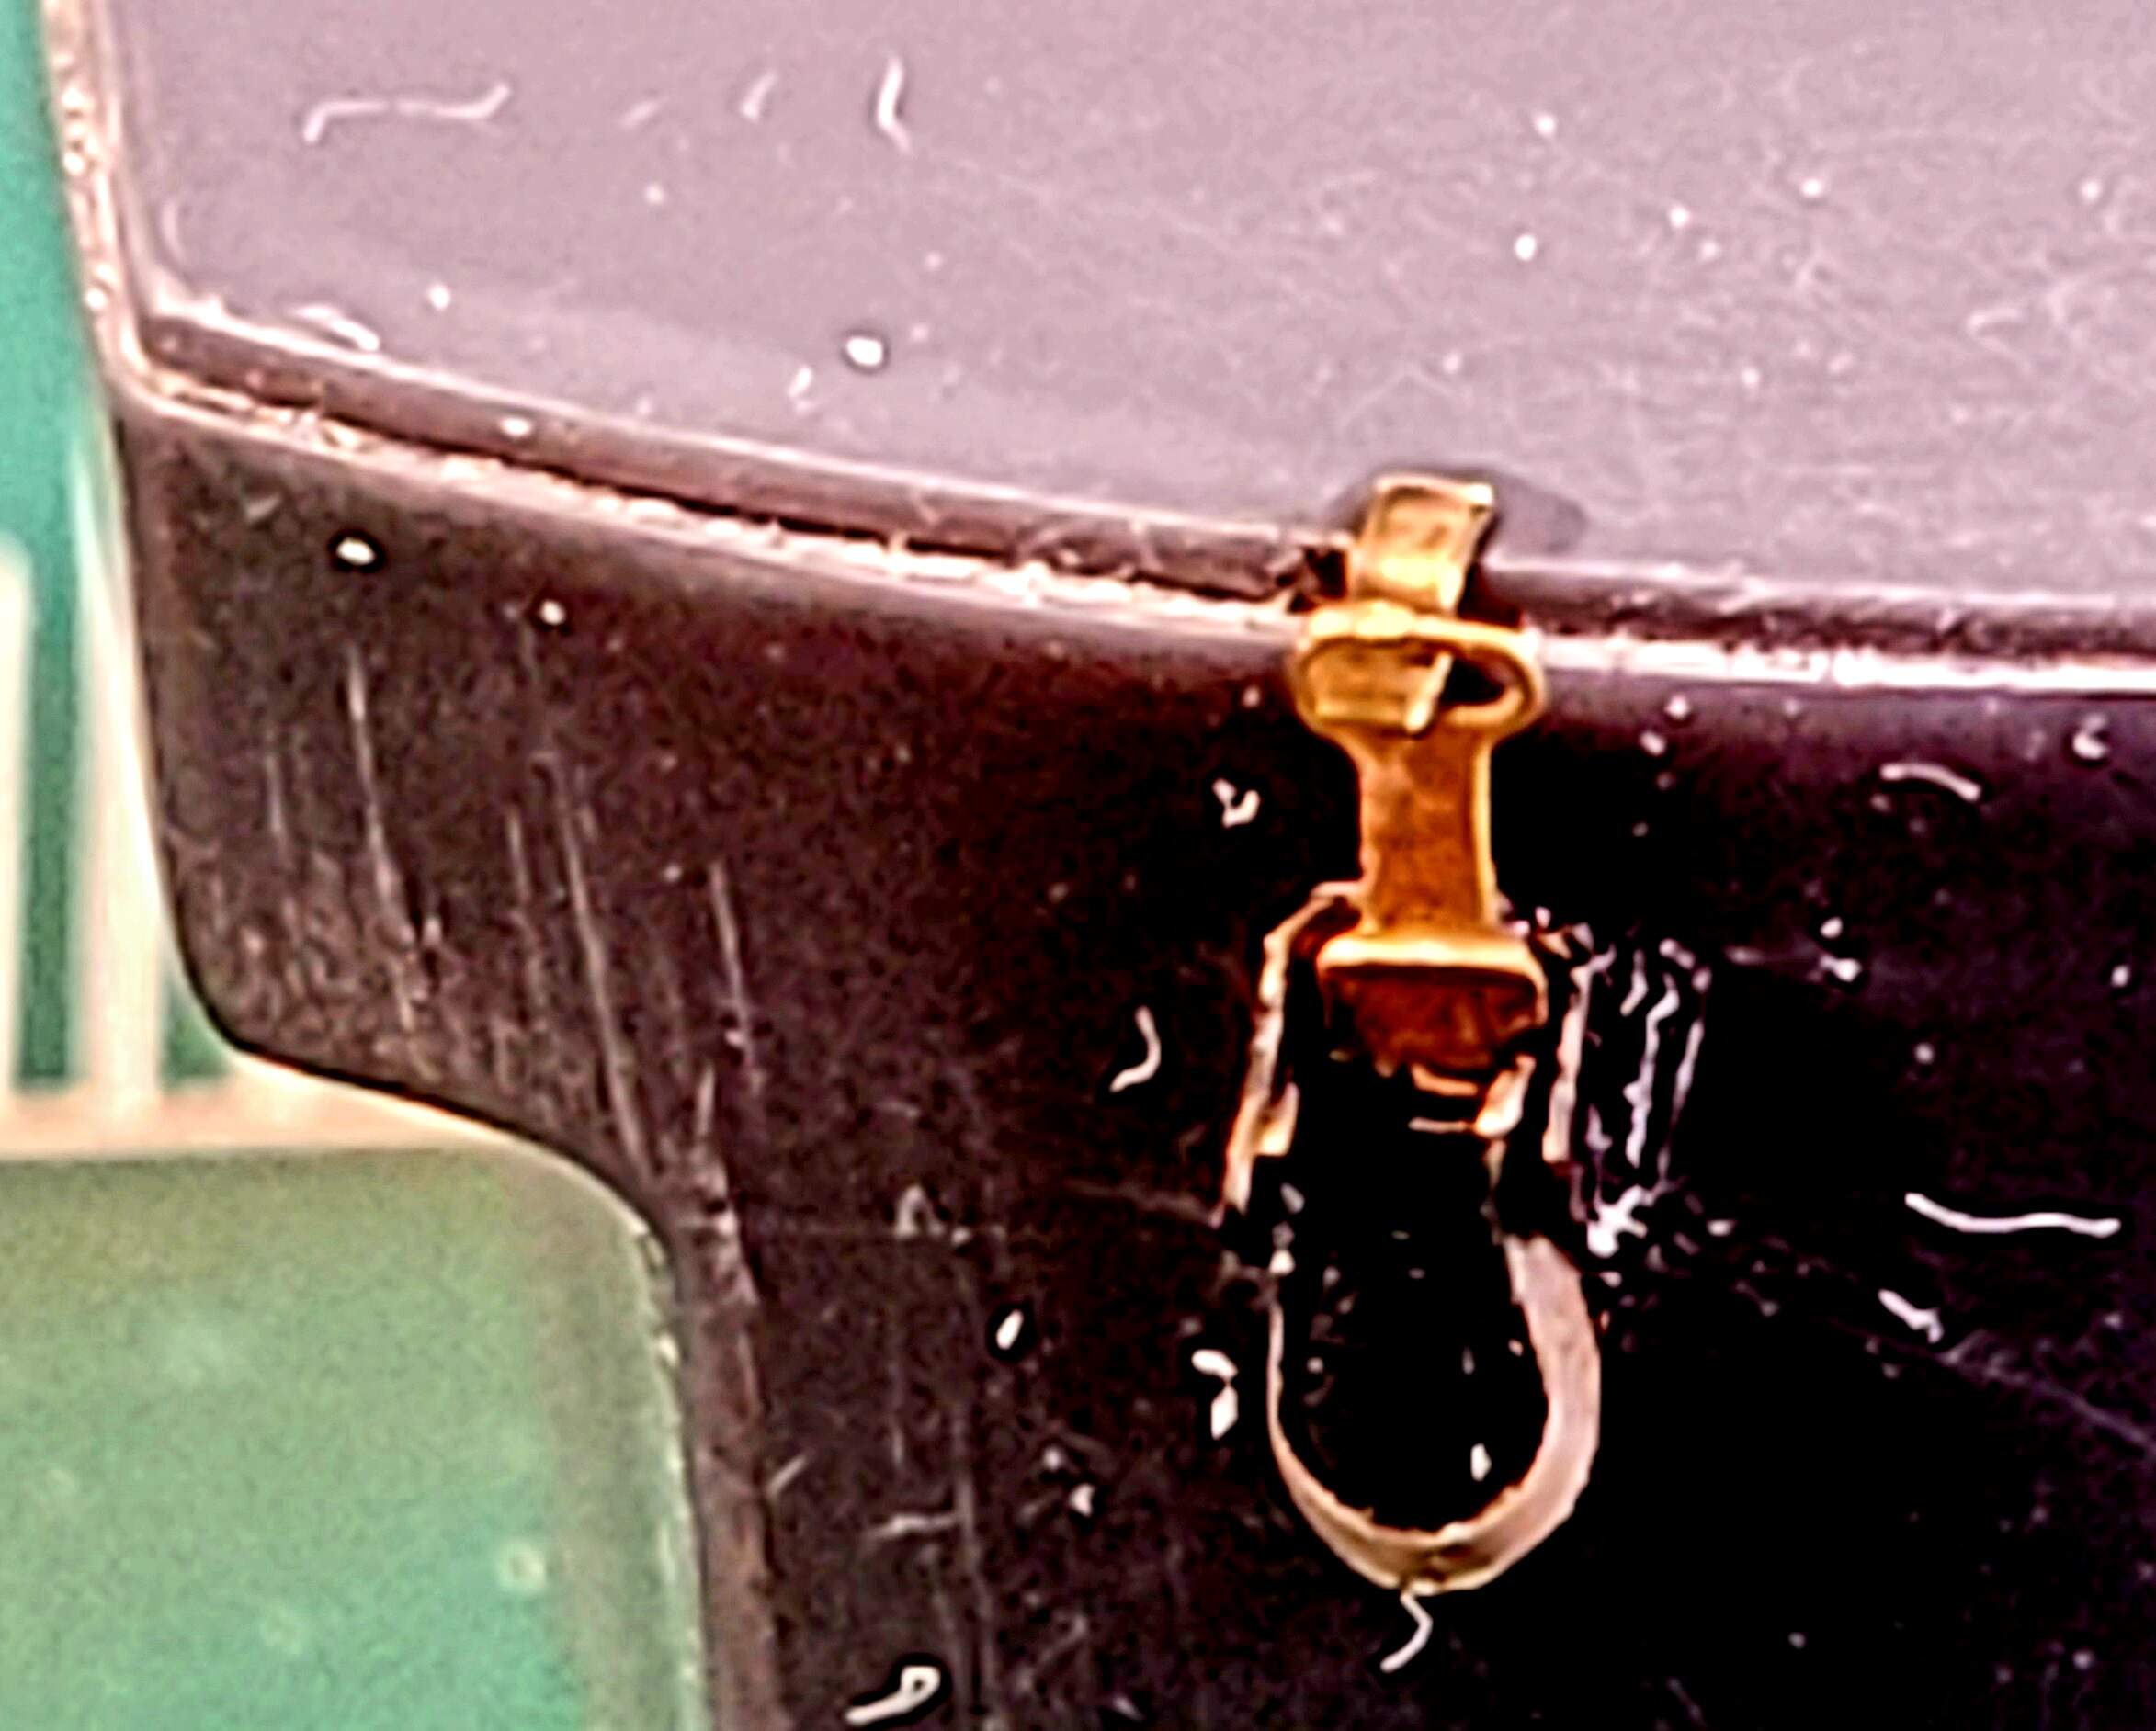
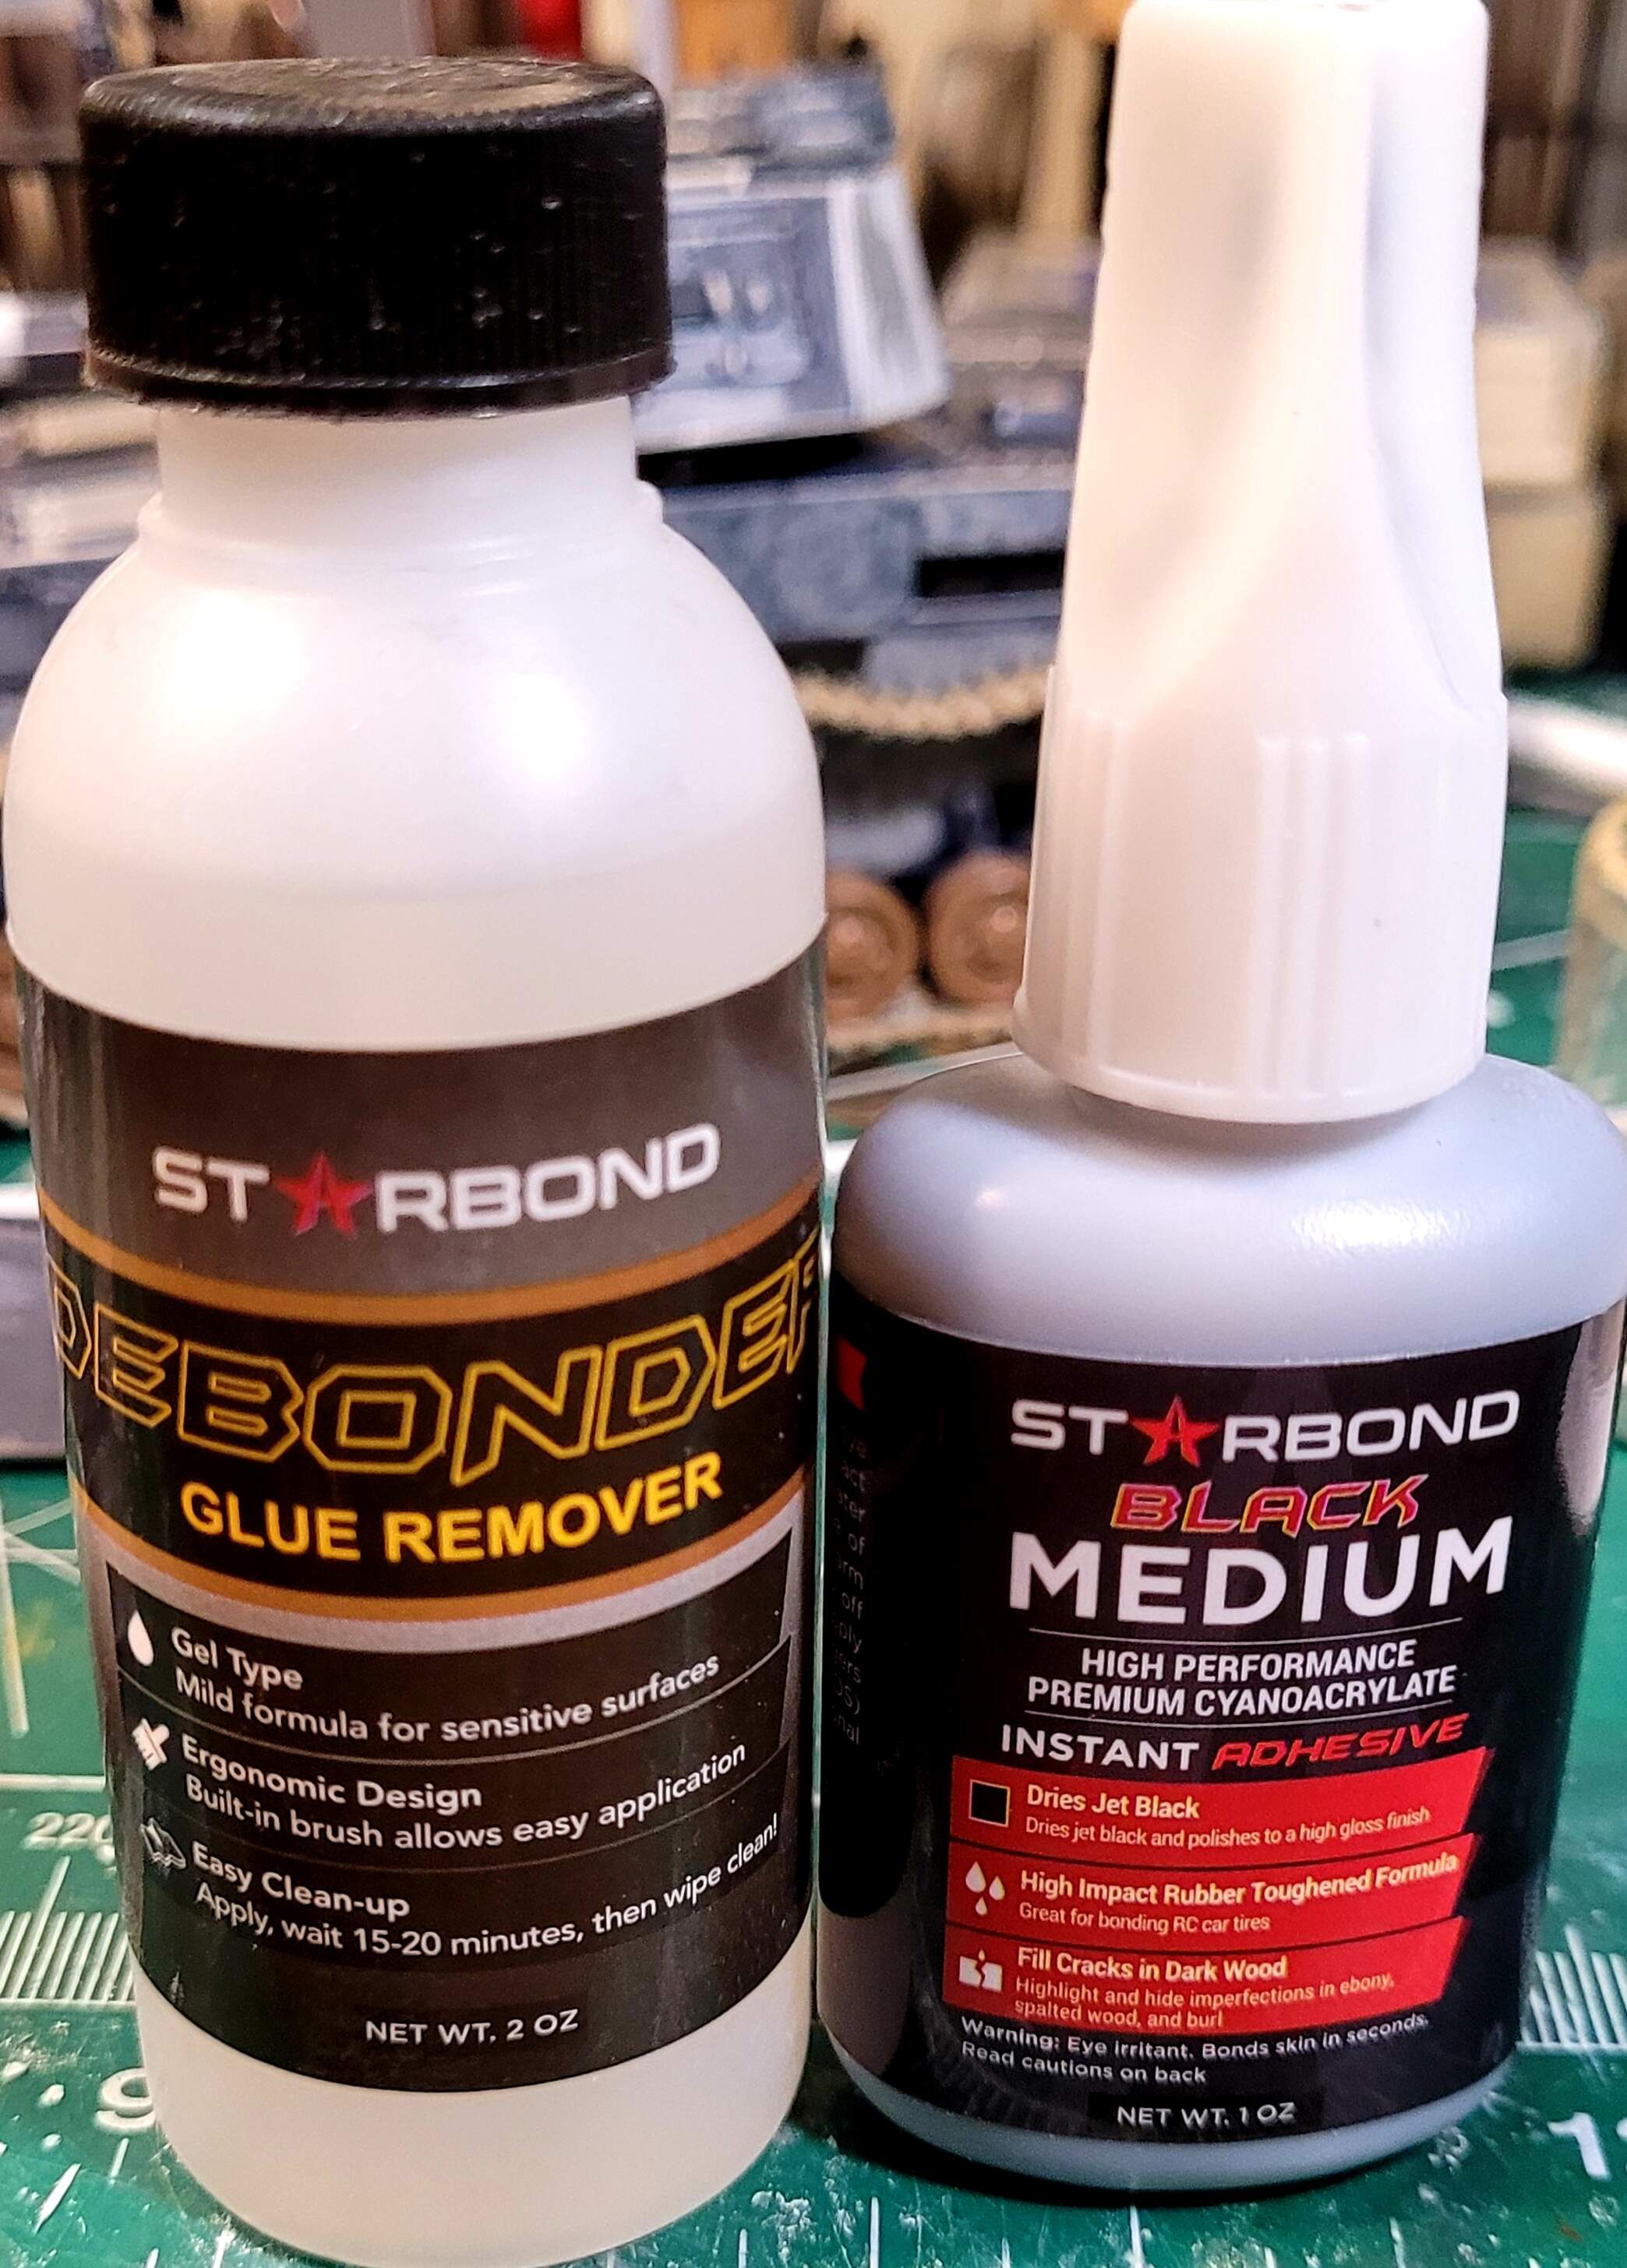
The star players in sorting the fiddly PE has been the StarBond Medium Black super glue & Debonder. The StarBond Black has rubber in it and makes a more durable bond if the part gets bumped than regular CA. I’ll use a little debonder on a brush to clean up my messy CA application when the other one is done.
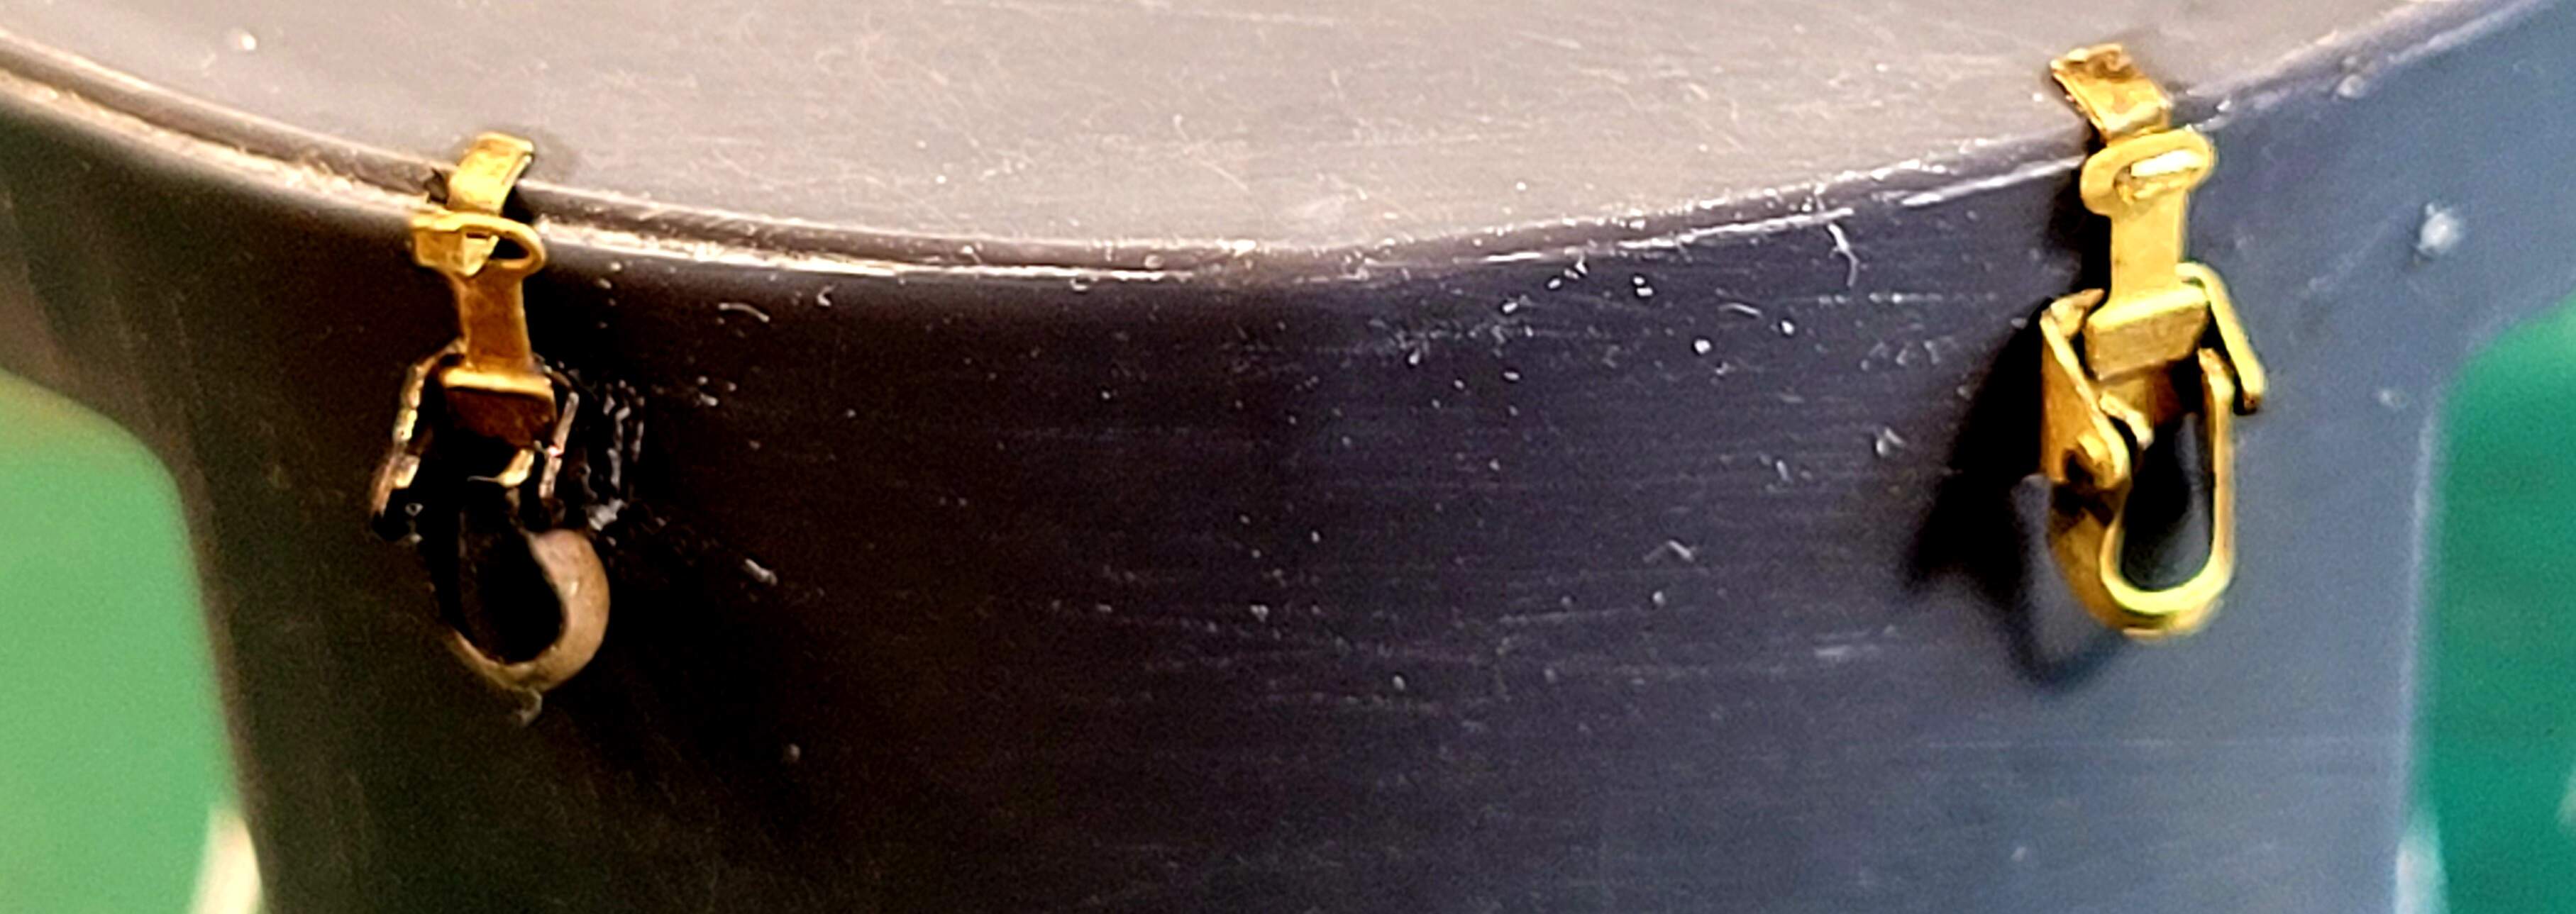
3 Likes
Oh that cleaned up clamp is SO pretty Darth. Feel the Force flowing through you! Find some of this black CA I must…
Starbond sells direct with free shipping. Bought a 1 ounce bottle of the black medium CA and a bottle of debonder.
1 Like
The locked the stowage box.
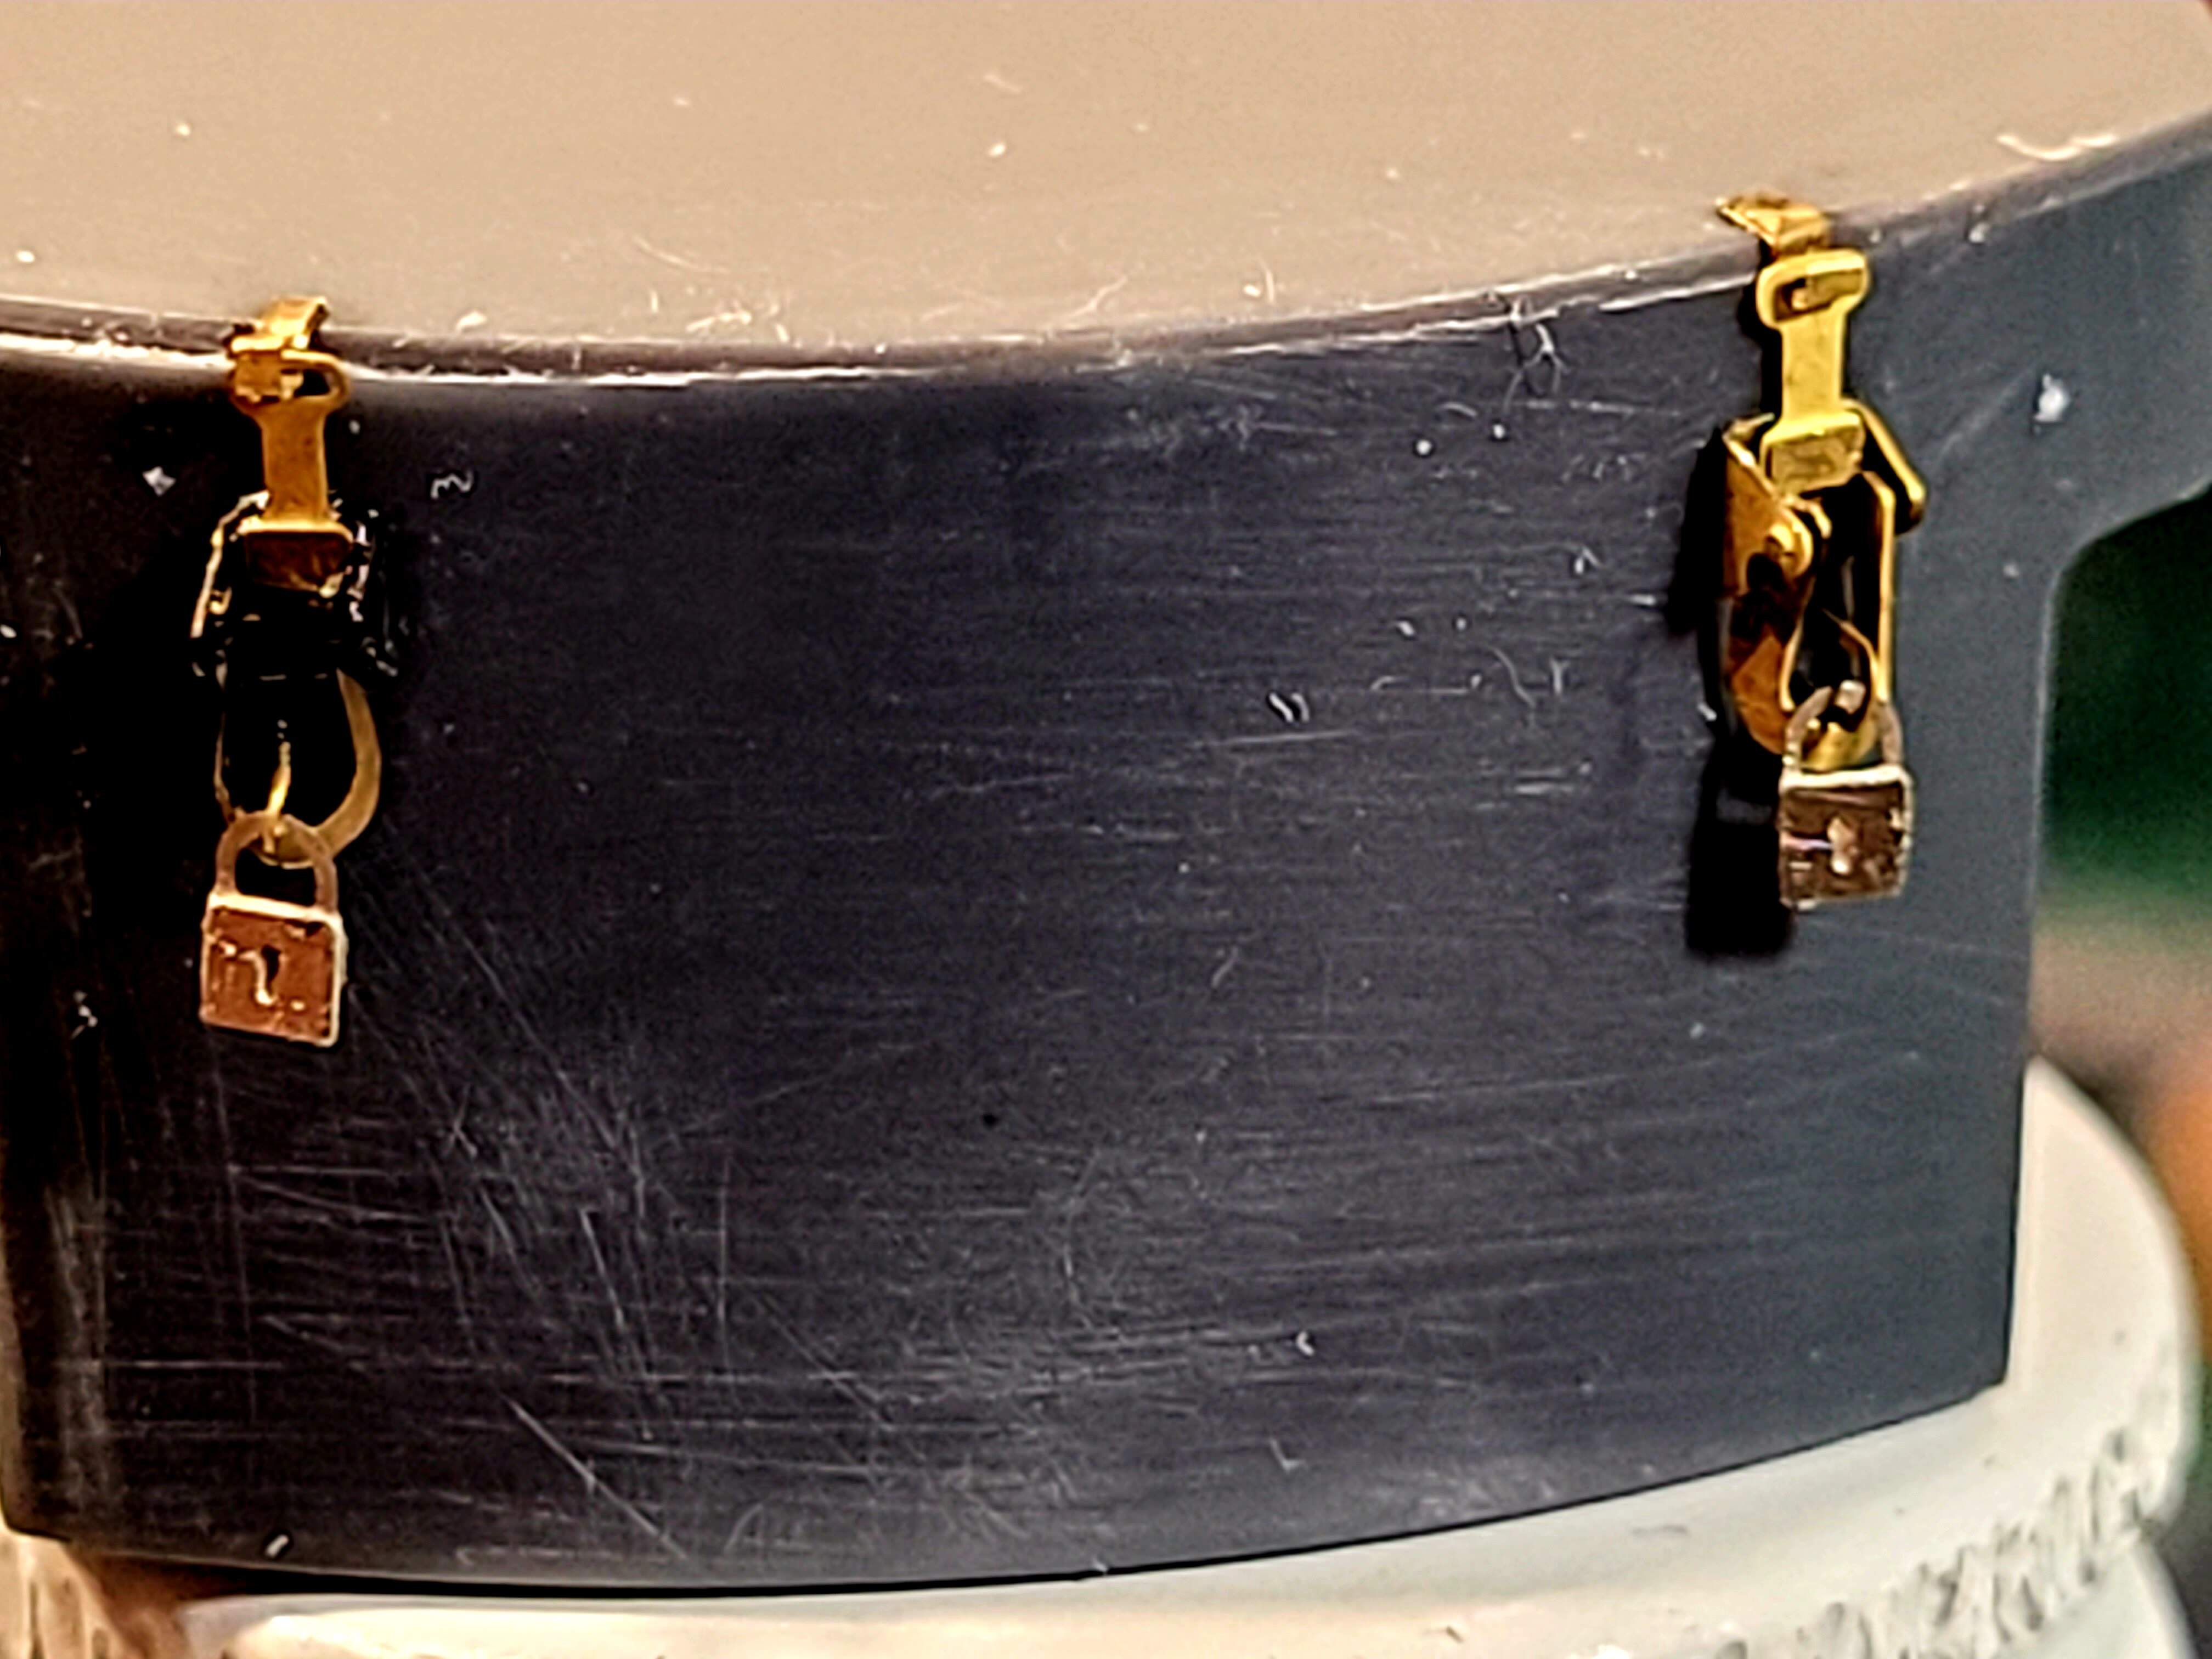
On The Mark latches with The Show Modelling  . I got myself an unwanted refresher course in vintage PE. None of the parts had etched bend lines. Etched bends lines definitely help.
3 Likes
Did stowage box brackets & lift hooks, then added assembly to turret. Slapped a coat of paint on the back or turret & inside face of stowage box. Afraid it would be hard to get paint coverage on inside faces after the stowage box was mounted.
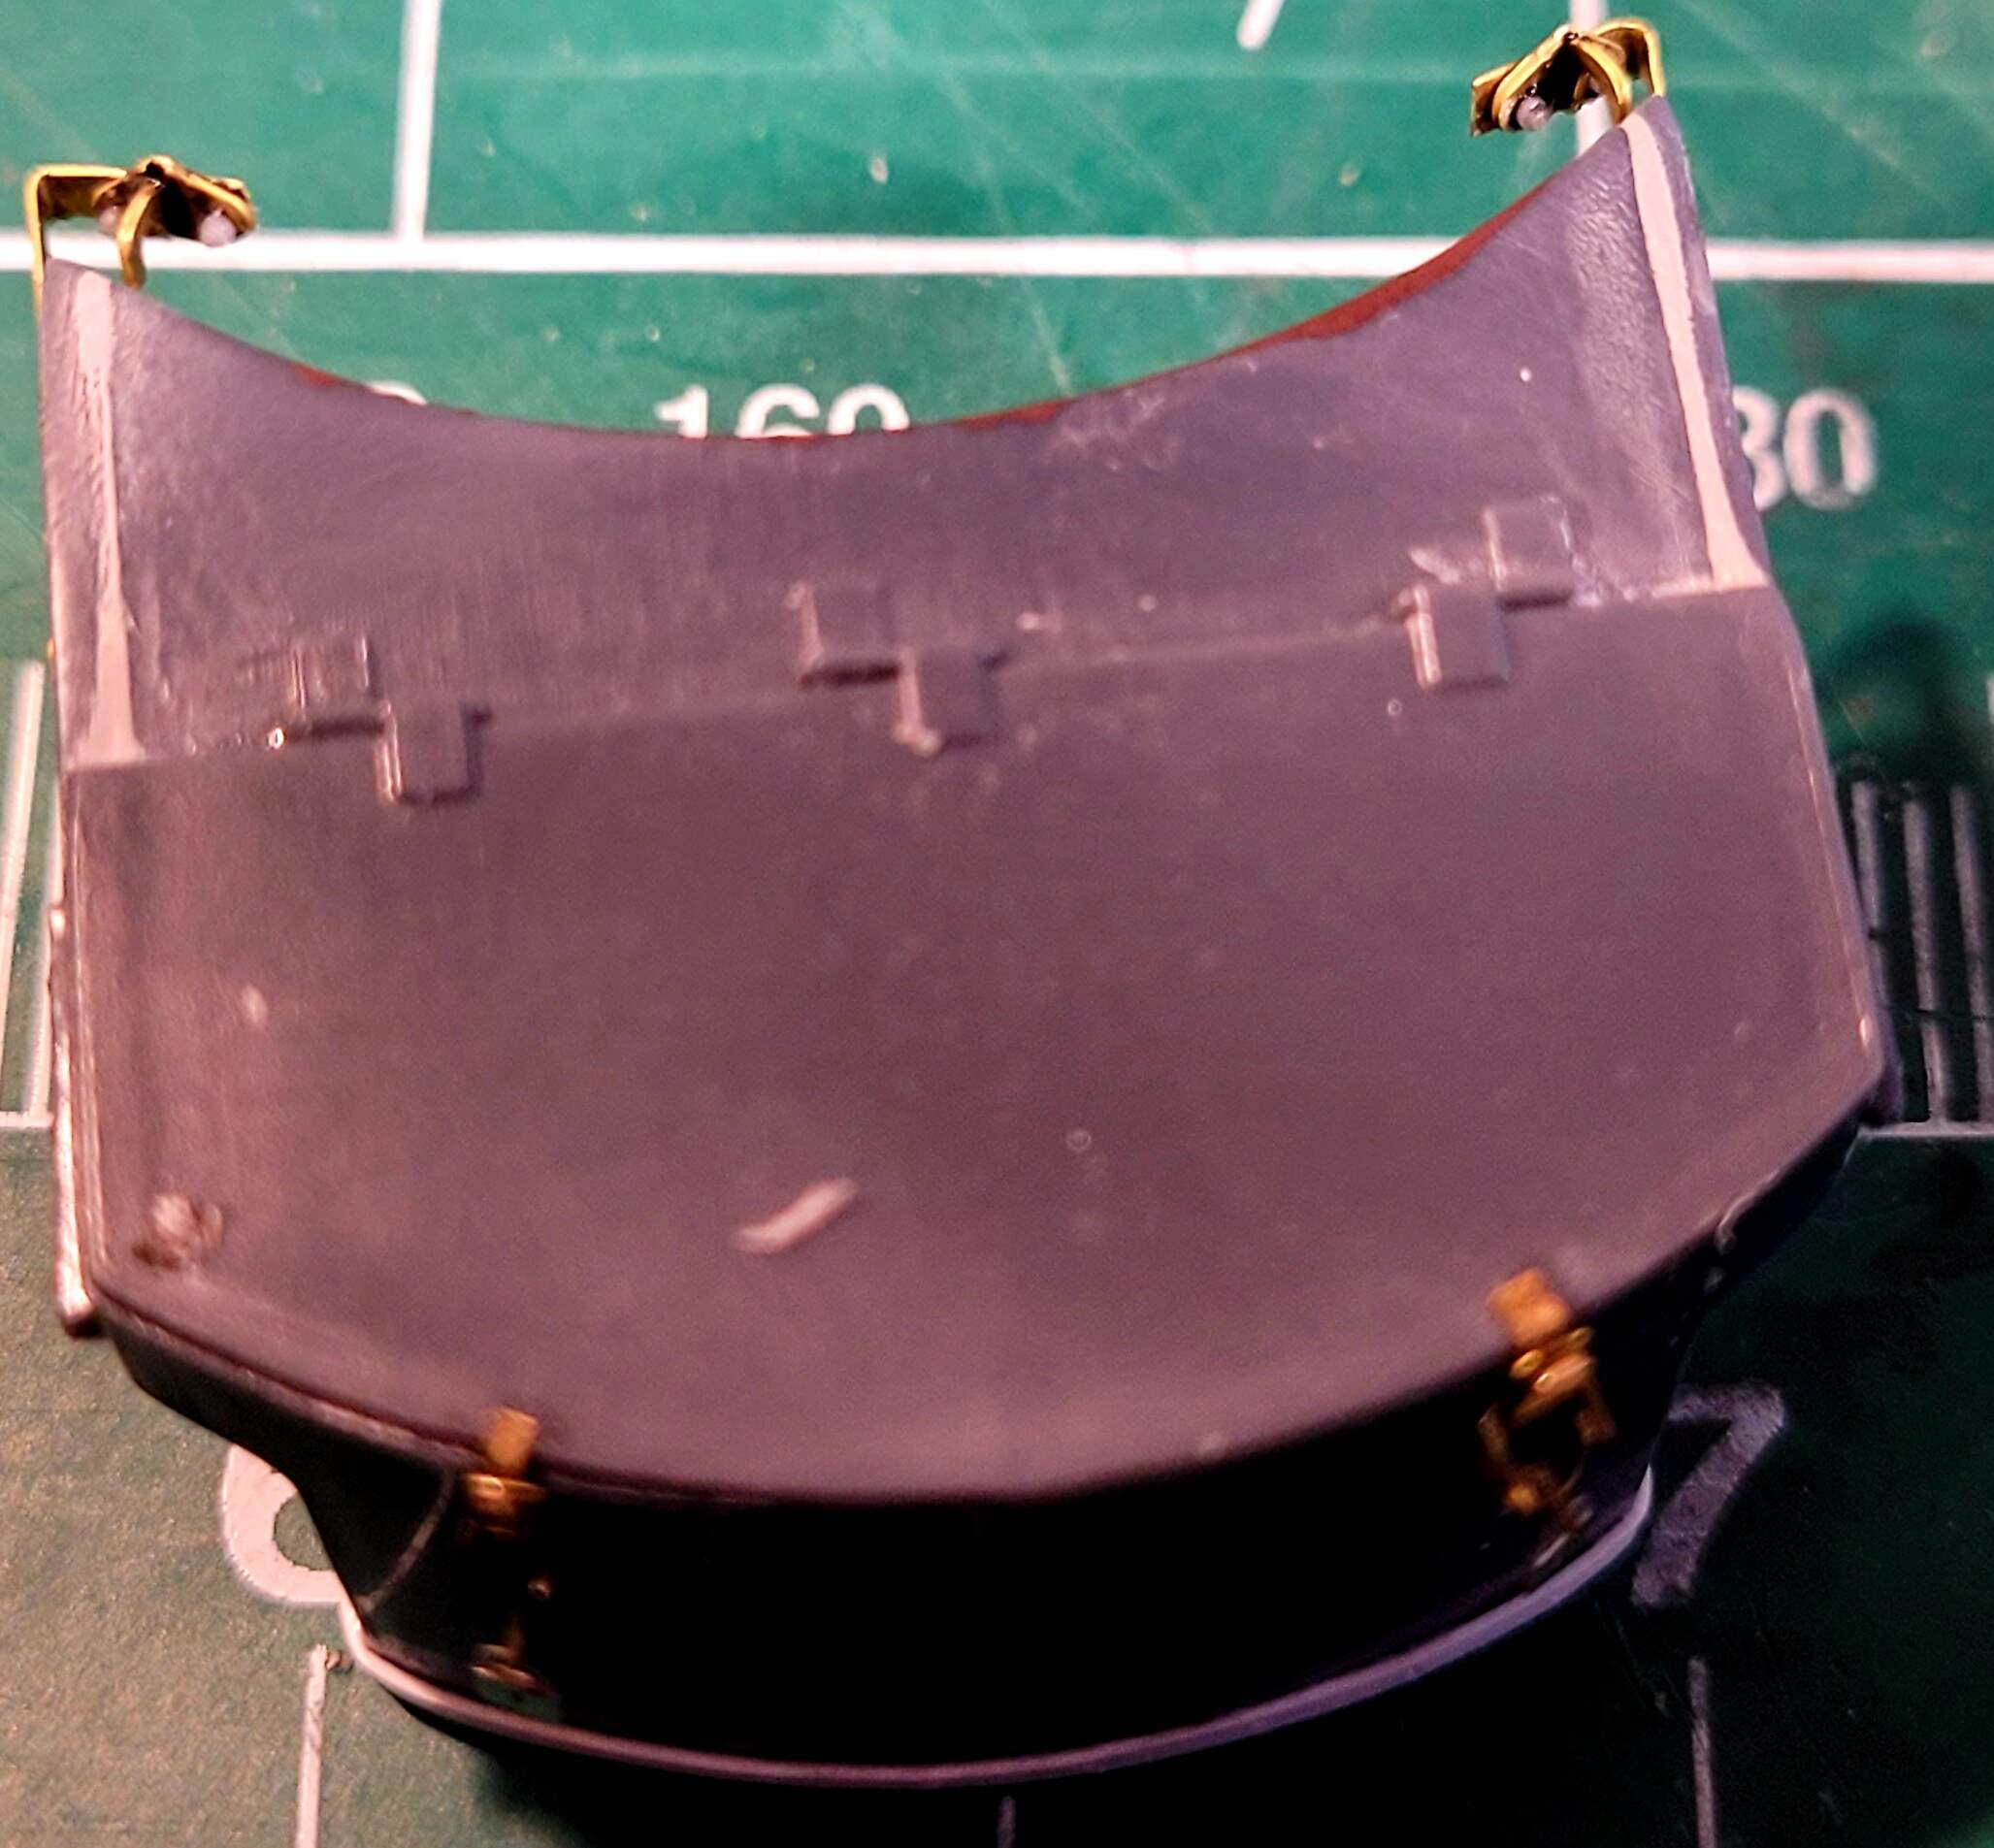
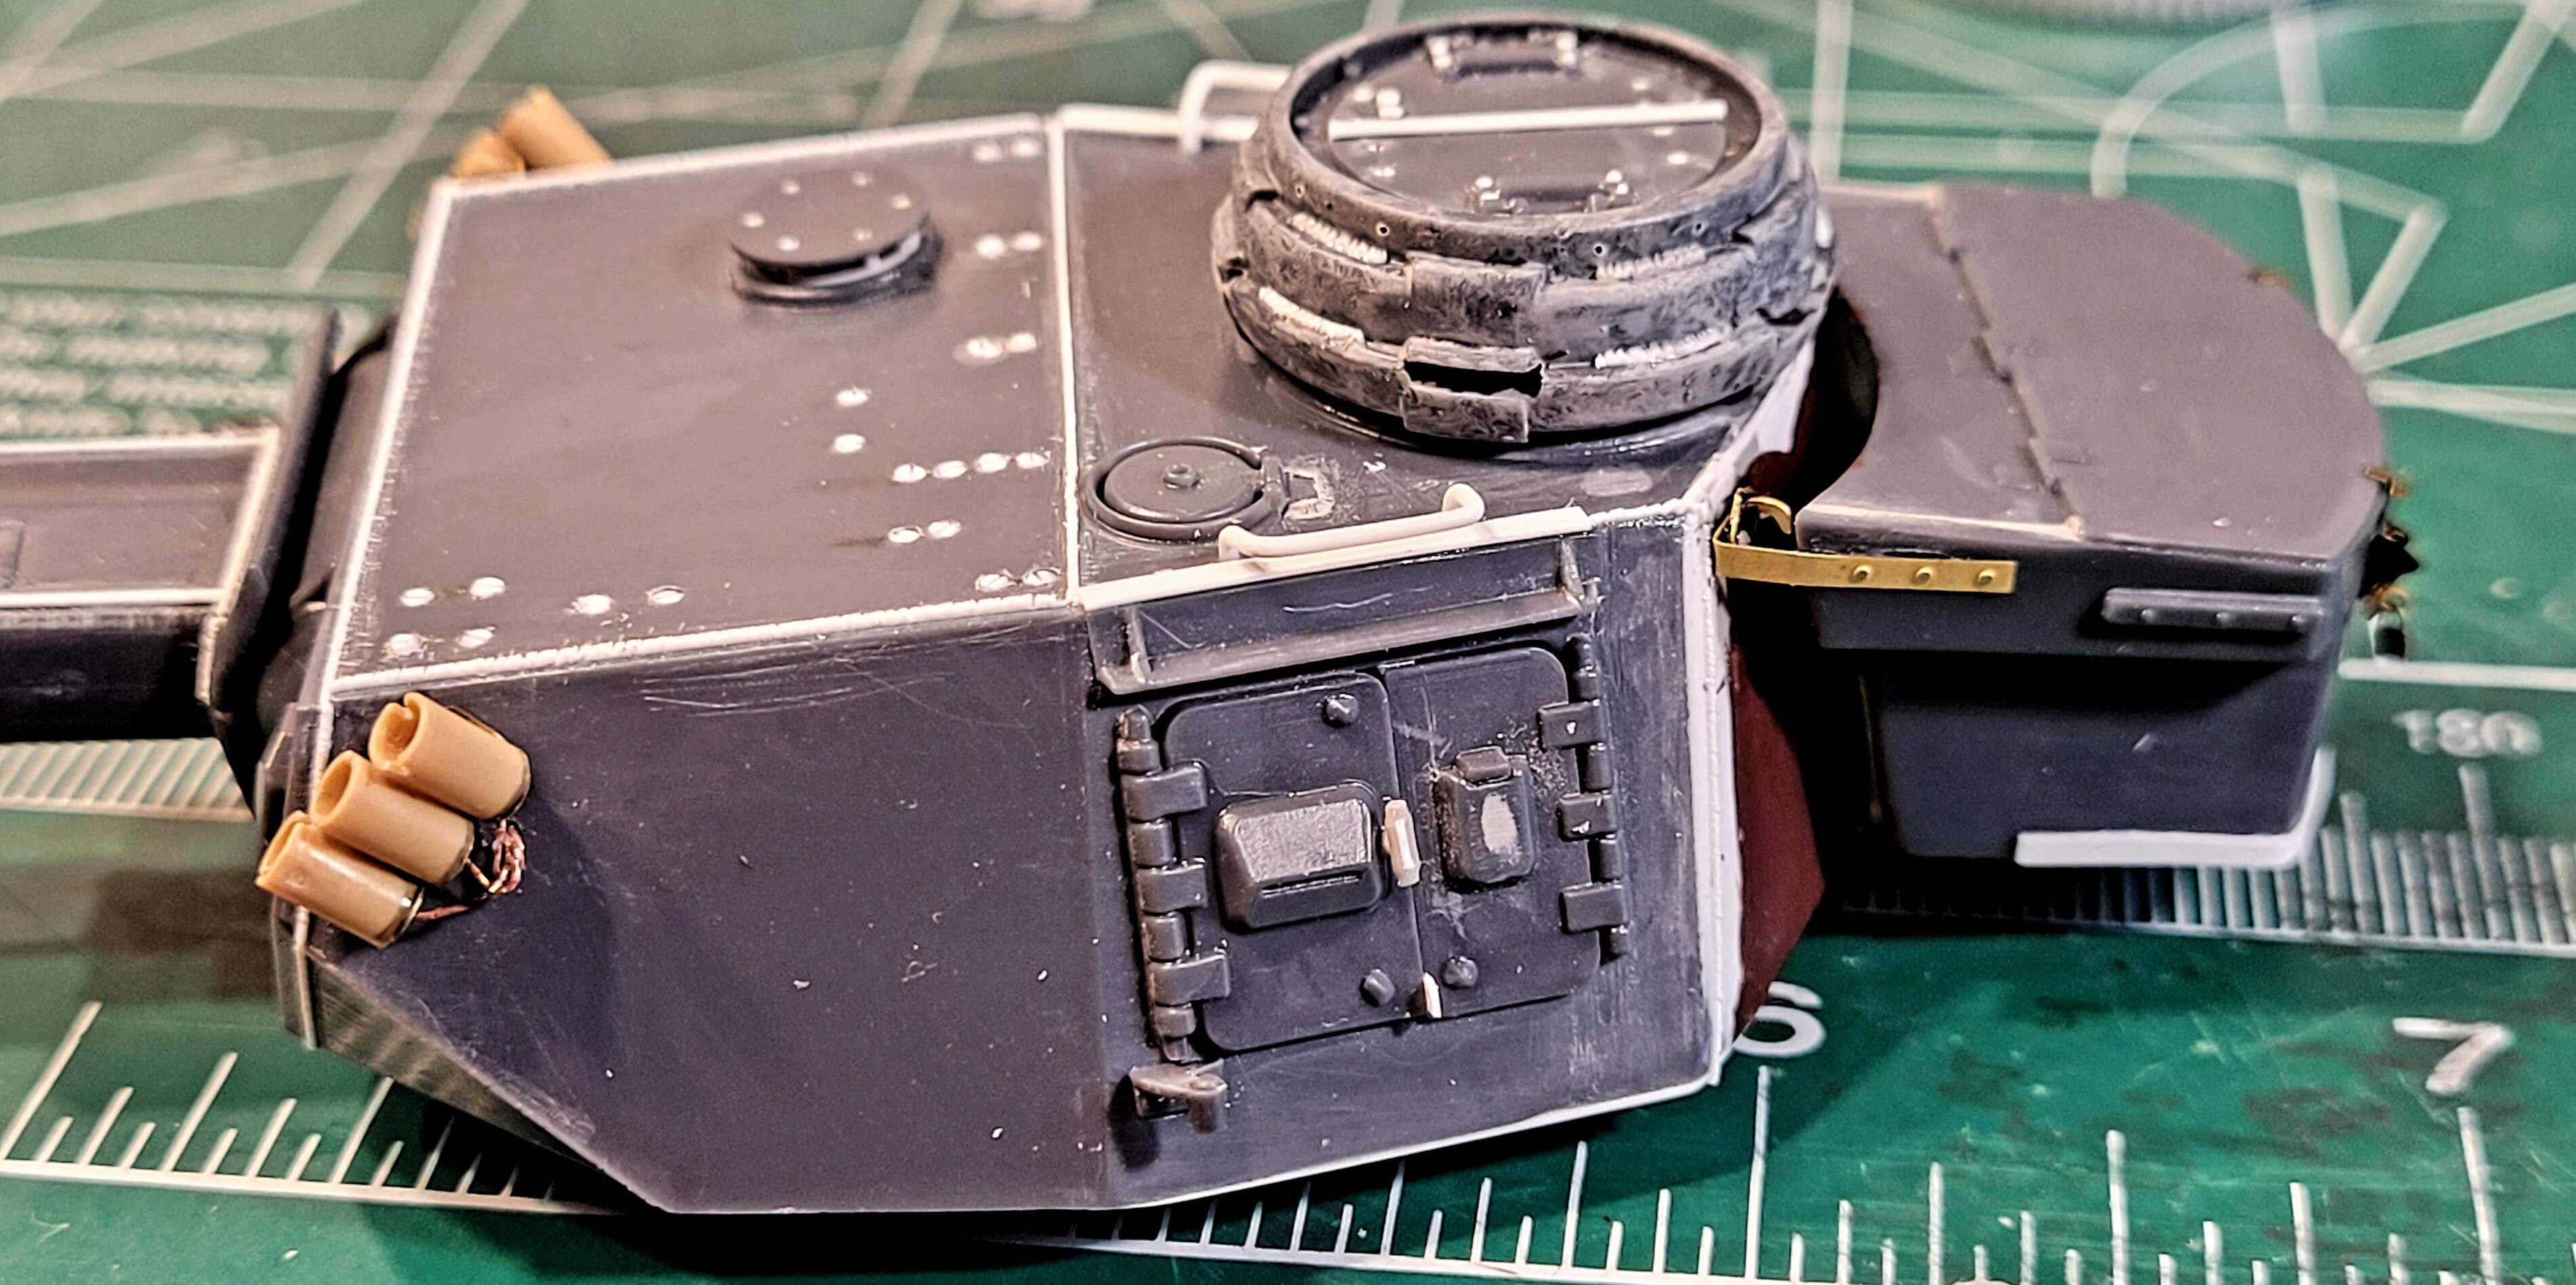
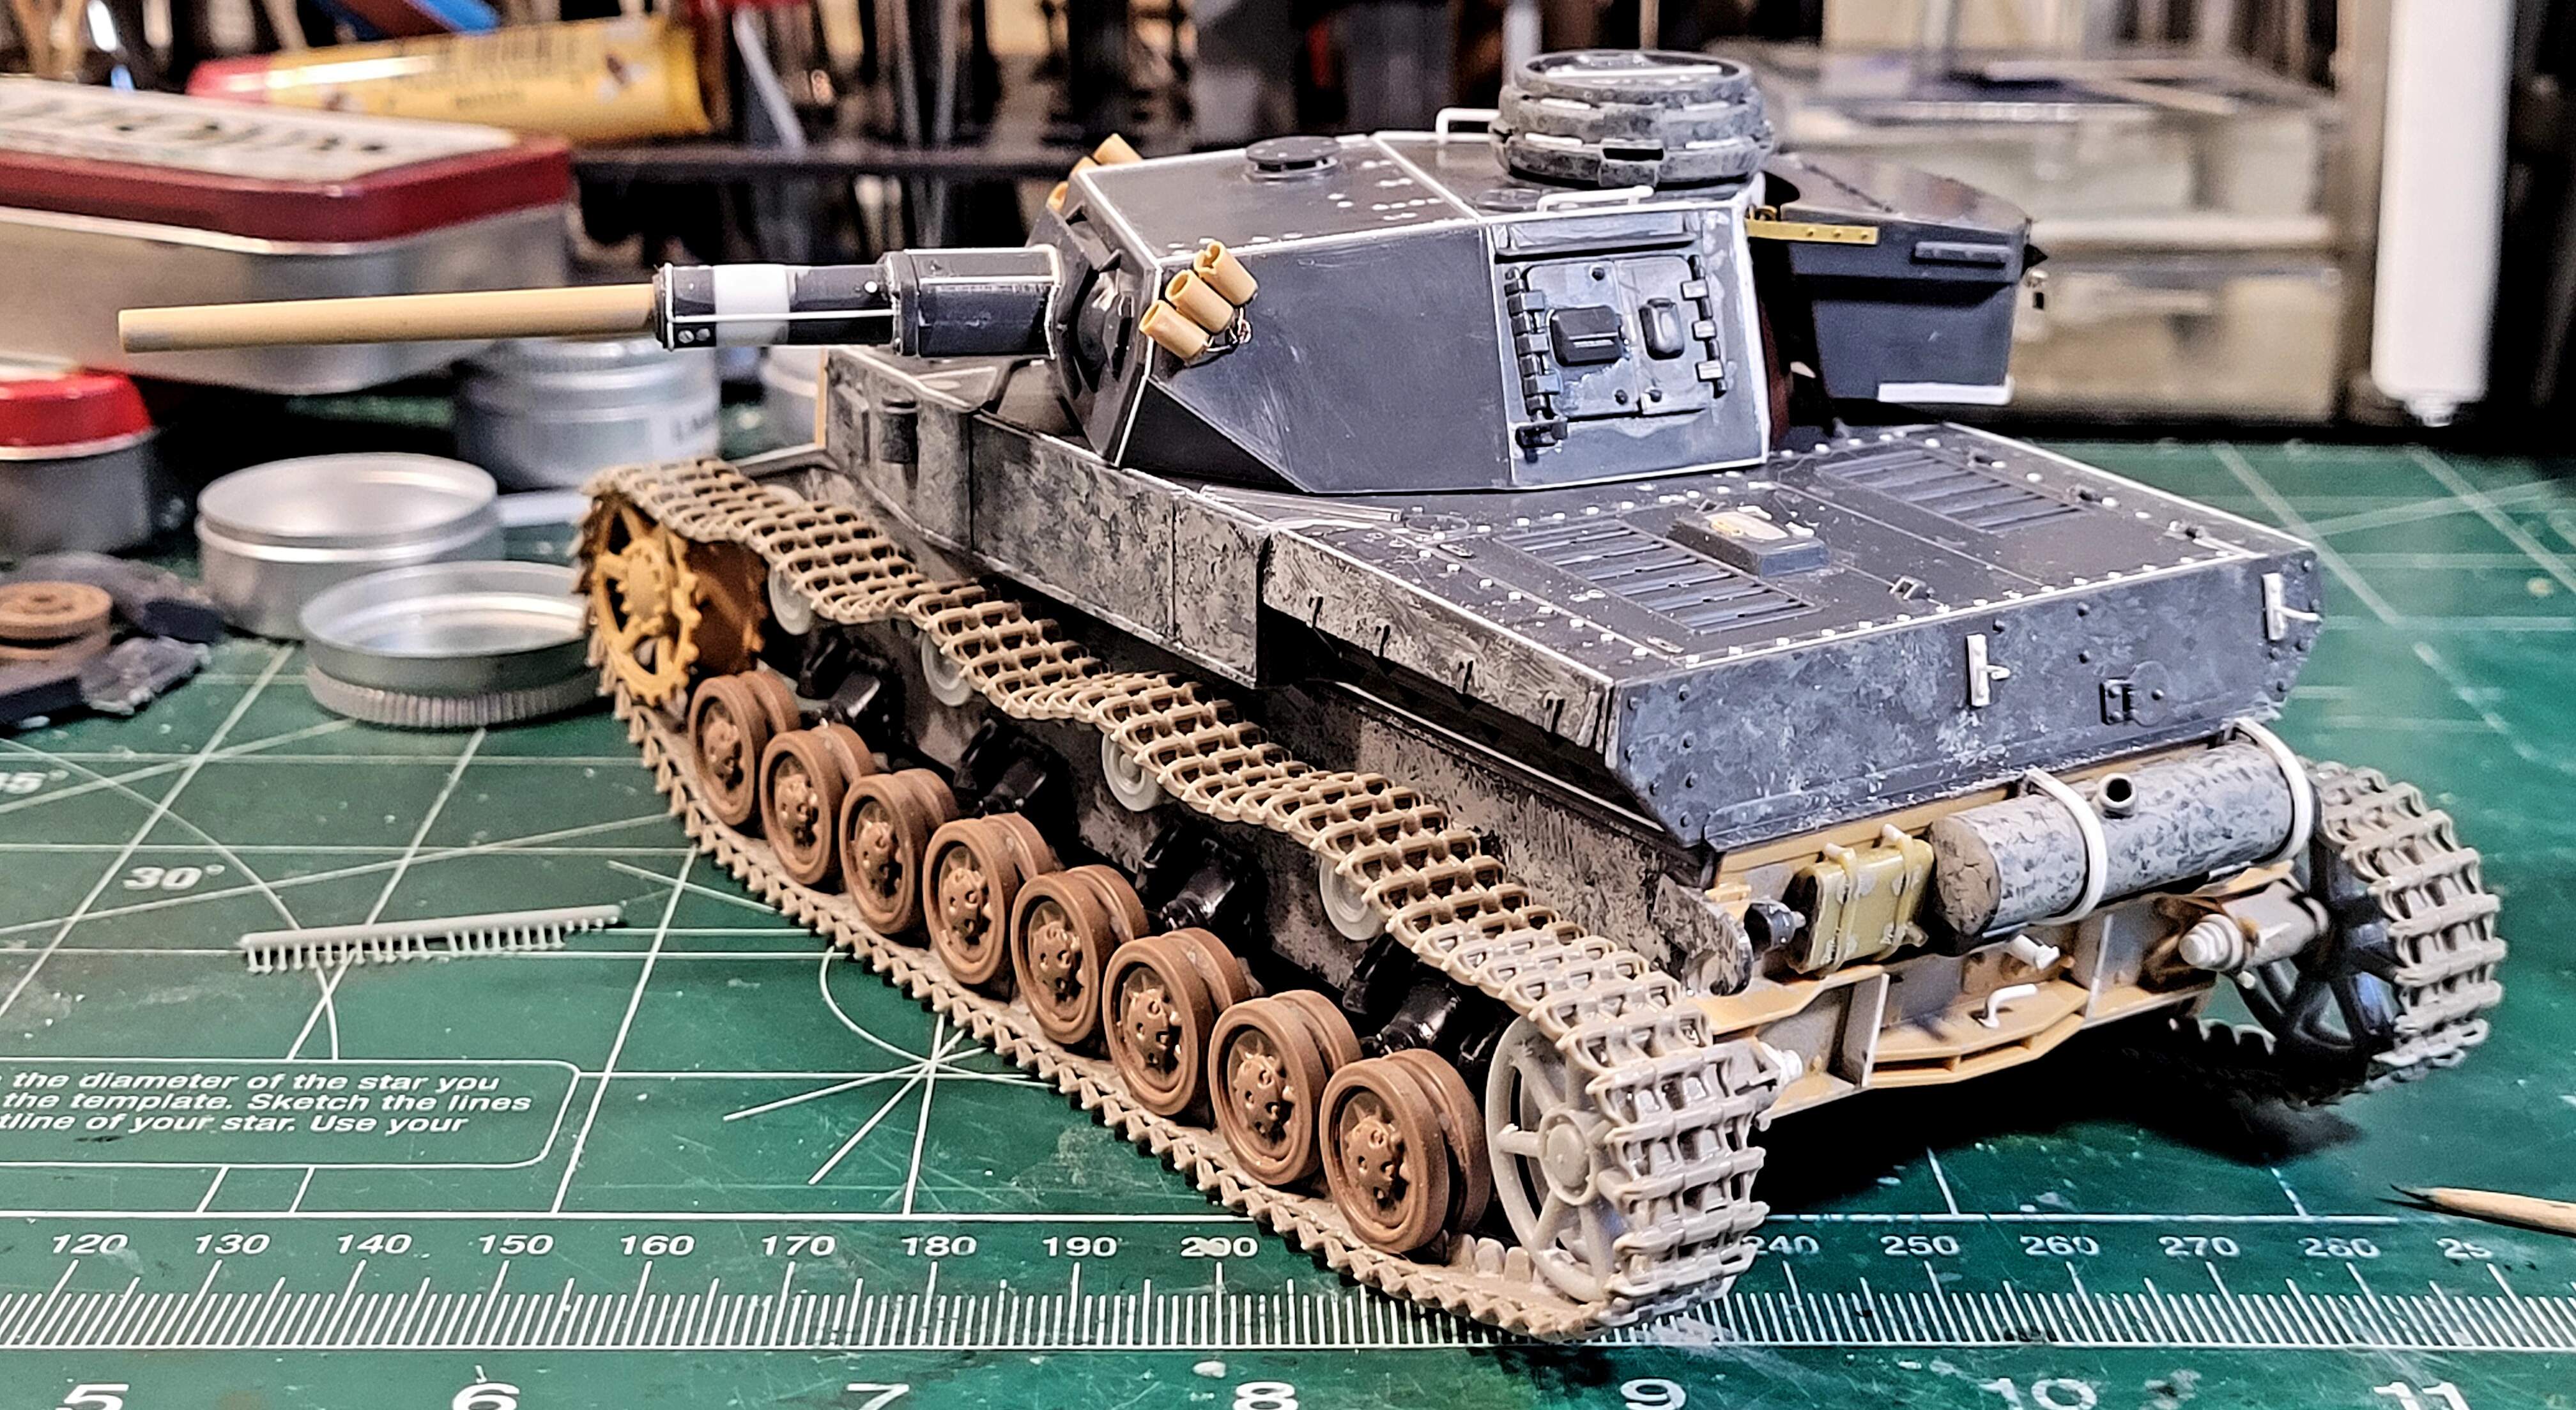

Two fenders to go plus touch ups and assembly complete.
2 Likes
Looking really good.
I assume you plan on removing the tracks for painting?
1 Like
Just keeps getting better.
1 Like
@Petro, the original was to break down into turret, hull, tracks, wheels & sprockets all for painting.
However, I got little too crazy with the track sag. Now it isn’t possible to fit the saggy tracks if the fenders are attached.
So the fenders will have to be test fitted then come off for painting along with the wheels, sprockets & idlers.
Honestly, I’m not excited about shooting panzer grey on this one. I may leave the model unpainted for a while and call it complete.
Edit - Looks like the main gun is off axis, need to check and fix that next. If someone sees an issue or problem like the main gun barrel alignment please point it out.