The latest 1/35 scale detail sets from Voyager Model -- for WWII and modern AFVs.

This is partial text from the full article (usually with photos) at https://armorama.com/news/voyager
The latest 1/35 scale detail sets from Voyager Model -- for WWII and modern AFVs.
I can’t imagine why any modeler, safe for the greatest of masochists, would want their slat armor to be in PE. These parts are so fragile and easily bent out of shape that it’s almost impossible to get everything straight and square. And if not it looks amateurish.
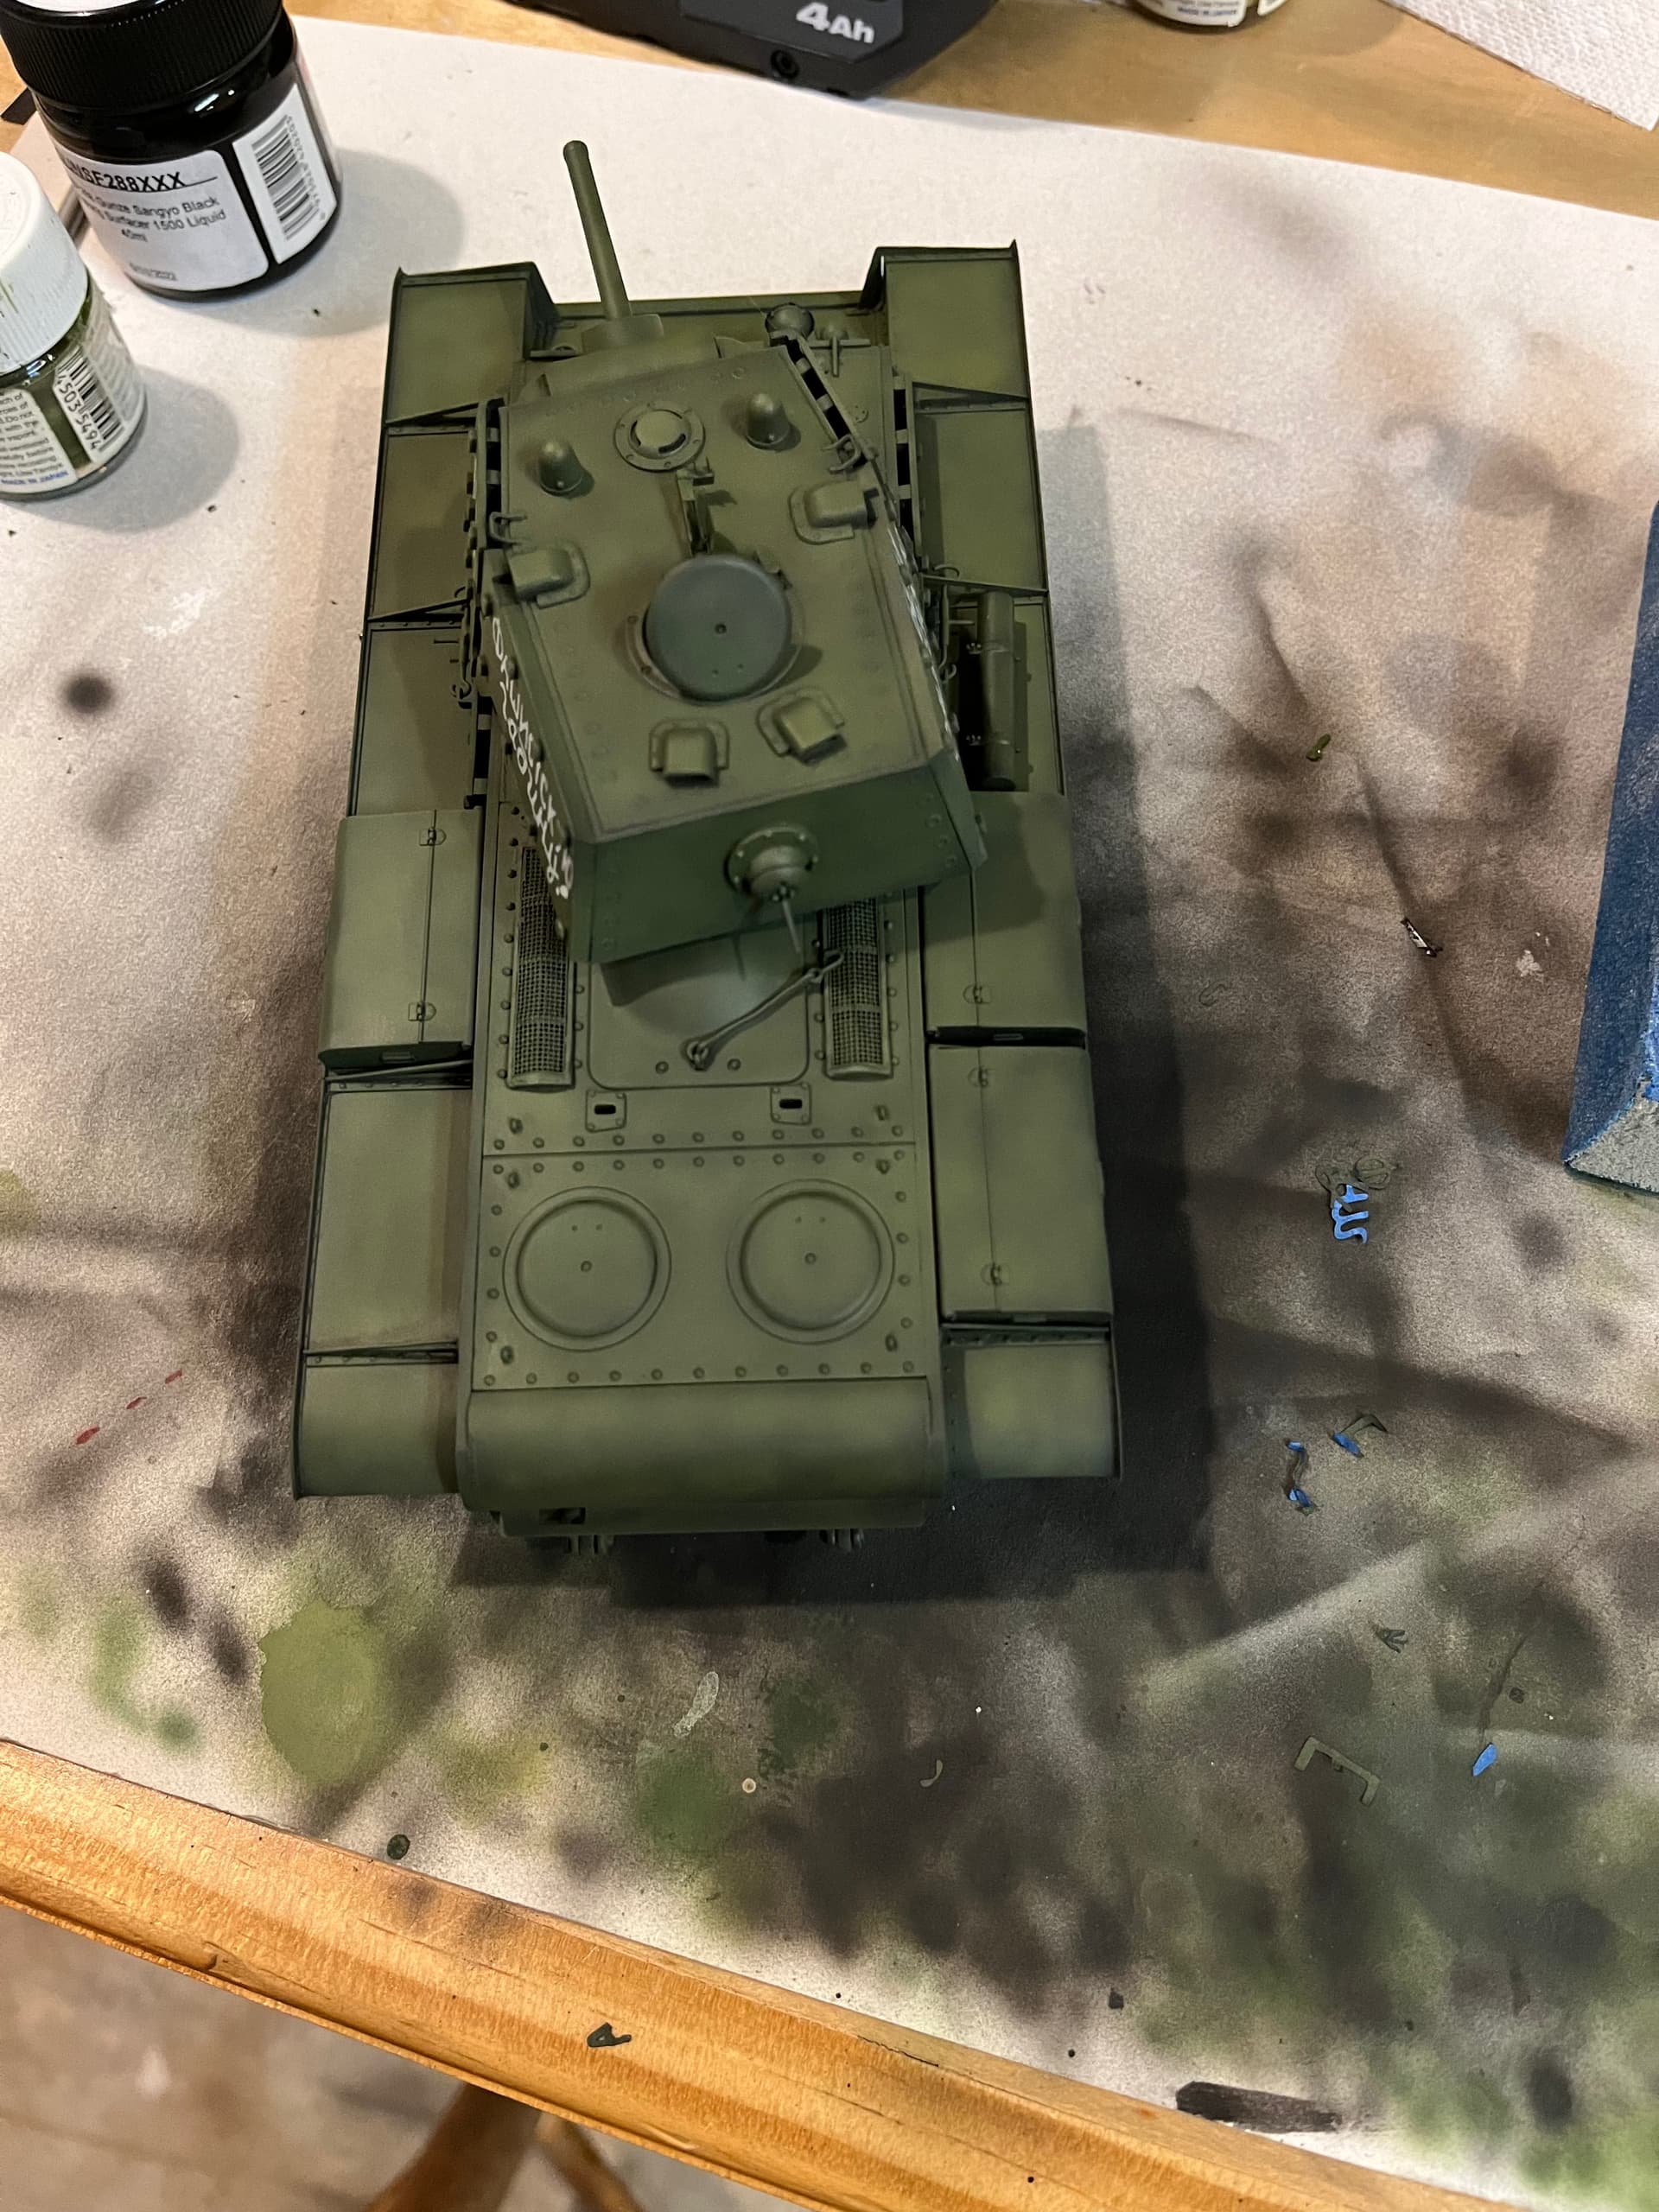
Currently I’m struggling with something as simple as engine intake grills on a KV-1 - very poor engineering on Voyager’s part!
Slat armor is clearly a case for 3D-print, or laser-cut like the Rescue Models brush guards.
Iagree, even some other PE is the same, it just comes out to flat and 2 dimensional. Tank wing mirror arms are a great example.
if you’re not suffering, are you even enjoying the hobby? ![]()
SLAT armor is not suitable for 3D printing. It should be about 0.3-0.4mm thick. Which is off the scale. You can print 0.2mm, but it’s not straight, it’s bent because it’s too thin for 3D printing. Etchings are ideal.
Well, thank you for killing that hope (sarcasm), at least for the time being.
PE kv-1 intake screens are a pain in the butt. I like to think I’m at an intermediate skill level when it comes to PE and those things drove me insane
The slat armor on the Hobby boss kits is probably a tad out of scale thickness wise, but I agree I’d much rather have slightly thick slats than deal with squaring up all that PE
Agreed on your last point!
For the KV-1 I recommend the so-called Zoom sets from Eduard - much better engineered than the Voyager ones.
With PE it’s always difficult if you have to join parts on the edge side.
I used eduard for my Kv-1 not too bad but a bit of a PITA
They turned out okay, but like you said, edge joins are a challenge
FWIW, I love PE and welcome any and all releases. Not all PE is designed or manufactured with equal care, and not every PE part is necessarily an improvement over the scale appearance or detail of the original kits parts, but in general, PE does add a lot to most models.
Voyager PE sets are among my faves, and if I have choices of sets from more than one manufacturer, I’ll almost always go with Voyager first. They’re generally fairly well designed, and the assemblies go together nicely. Voyager often demonstrates that their designers have the builder in mind with features like lines of bolt heads that fold over the base part to keep them aligned and make soldering them in place quite easy (once soldered on, the excess folding tab material is easily removed).
On the other hand, like a lot of PE manufacturers, Voyager does often require the modeler to incorporate some amount of scratch-building into completing sets. At least Voyager usually includes the necessary plastic rod and wire. Voyager’s instructions are not too bad. They’re certainly not the worst, but also perhaps not the best. “Sketchy” instructions are, unfortunately, the norm for most PE.
Working with complicated PE assemblies can be challenging but learning the techniques and developing the necessary skills are both rewarding goals. There are some “standard” or “common” techniques and methods that have to be learned, and unfortunately, there’s very little “instructional type” information out there. Modeler’s pretty much have to learn this stuff on their own.
(At one time I was working with an author-editor on a PE techniques and methods book, but his deal with the publisher fell through. Very unfortunate because I think the book would have done a lot for the modeling community.)
Still, nobody forces anyone else to use PE if they don’t want to or don’t like dealing with it. For those of us who do enjoy the challenge and appreciate the results, these sets from Voyager are a good thing.
I hope I didn’t come off as whiny! I used to hate PE but have slowly learned how to work with it. I am by no means an expert. I think these sets are fantastic too.
I just shudder at the thought of me trying to build PE slat armor. One thing I need to improve is my soldering
No worries. It really is unfortunate that there’s not a greater body of information for modelers on using PE.
I did present multi-hour seminars at two different IPMS Nationals on the subject (2016 and 2019), but AFAIK, there are still no really good books on the subject. Almost none of the PE manufacturers offer any useful SBS information on building their sets, which is also unfortunate. One might imagine that if they offered better information on techniques and methods that they might build a larger consumer base.
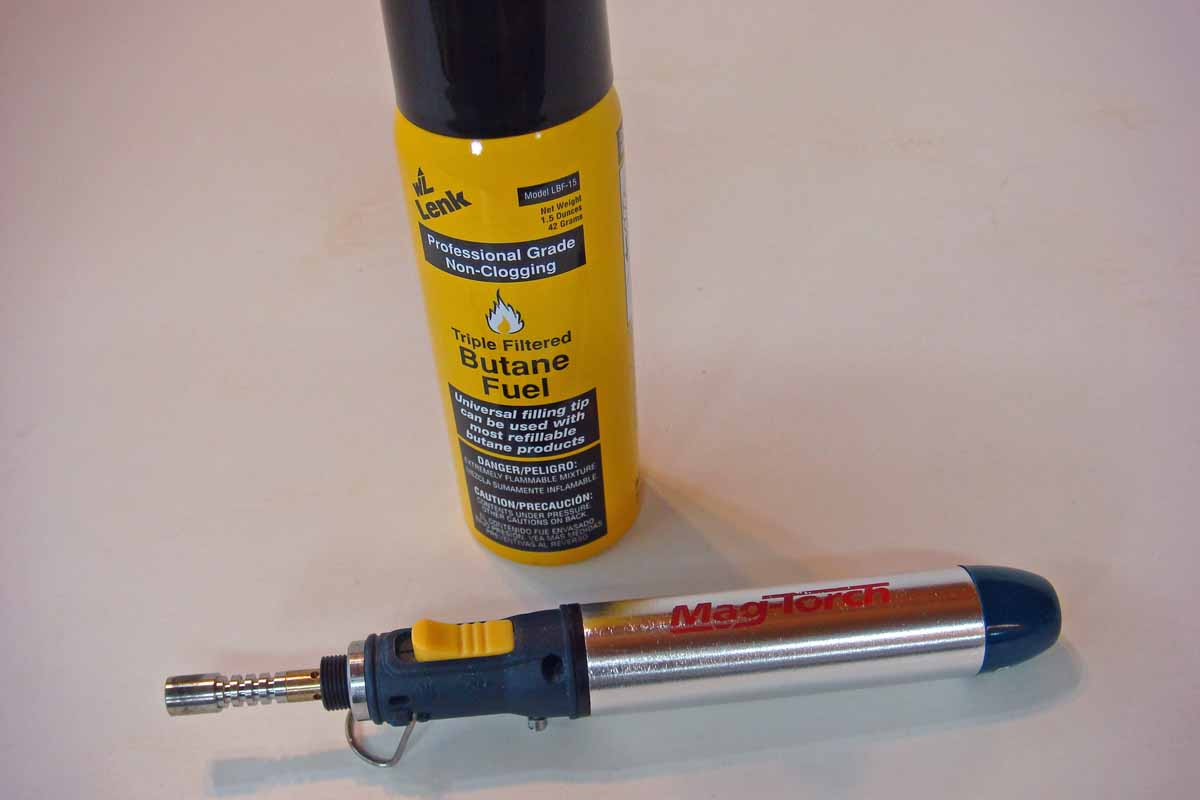
Soldering PE is one of the most useful techniques to learn. My best advice on that front is to get a small, refillable butane torch to use as a heat source. A torch is much, much easier to use than an electric soldering iron (although one of those can also be used effectively).
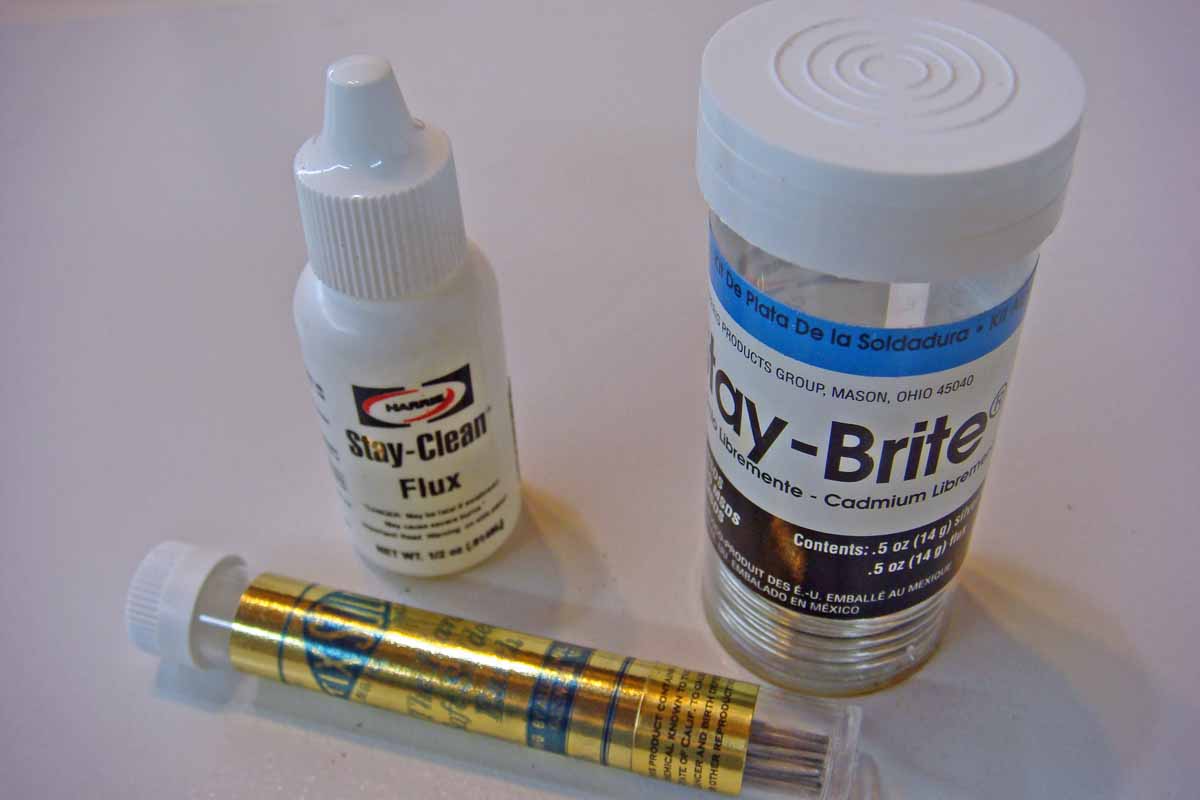
Another tip is to source both low and high temperature solders. Tix brand low temperature solder is the most common. Any silver solder (I use Sta-Brite) brand will require high temperatures. Most 60-40 solder (“common” solder) will fall in between these two with regard to melting temperature. Using different temperature solders can help with many challenging jobs that require multiple solder joints on the same assembly (start with the high temp then move to lower temp solder).
Simple heat sinks made from twists of wet paper towel material can be used as can cross-locking tweezers to protect previous solder joints. It sounds strange, but a water-soluble surgical lubricant also makes for a good heat sink and the gel-types will stay where you put them.
Learning to use the LEAST amount of solder needed to fill the joint is also a useful skill. Cut small pieces of solder from the wire, then flatten them on a piece of glass or ceramic tile. The flattened pieces can then be easily cut again into even small, less voluminous pieces that will melt even quicker.
I use a liquid flux (Tix or Sta-Brite brand fluxes work well). A paste type plumber’s flux can be used, but it requires heating after applying to get it to flow.
Finally, remember that the melted solder will ALWAYS flow towards to heat. So, position the solder chips on the opposite side of the joint from where you will apply the heat. As soon as the solder melts and flows, remove the heat. There’s no point in adding more heat once the solder melts and flows. All the excess heat will do is burn the flux and potentially burn up the PE, itself. If the solder didn’t go where you wanted, clean things up (lacquer thinner and 4x0 steel wool), re-flux and add another solder chip, then reheat from a better direction.
There are also a number of techniques for bending and forming PE that are quite logical once you learn them. Learning to properly anneal PE is also almost a critical skill. Remember that once the PE part has been heated to anneal it, IT IS NOT QUINCHED. Simply allow it to cool naturally. A butane torch is especially useful for annealing, allowing the heat to be selectively applied only to those areas where the metal needs to be softer, but allowing the rest to remain tempered to resist unwanted deformation.
Thanks @SdAufKla ! This is the best soldering guidance I’ve heard. I ordered the pen, solder and flux. My previous attempts with my old electronics iron and solder have been less than satisfying. This should work better. So, put me down for a copy of you PE book ![]()
Well, at the risk of going waaay off topic (which, of course, are the new Voyager PE sets), here’s a bit more on the soldering side. These are examples of some of the basic soldering tools and supplies that someone might consider if they want to start using a butane torch rather than an electric soldering iron.
This is my actual favorite torch, but unfortunately, the MagTorch pen is no longer available. The sliding on-off trigger was not durable enough. I’ve owned at least three of these and each one failed in the same way.
These are the two solders that I use most often. Tix brand low temperature and Stay-Brite silver solder. The Stay-Clean flux works equally well as the Tix flux.
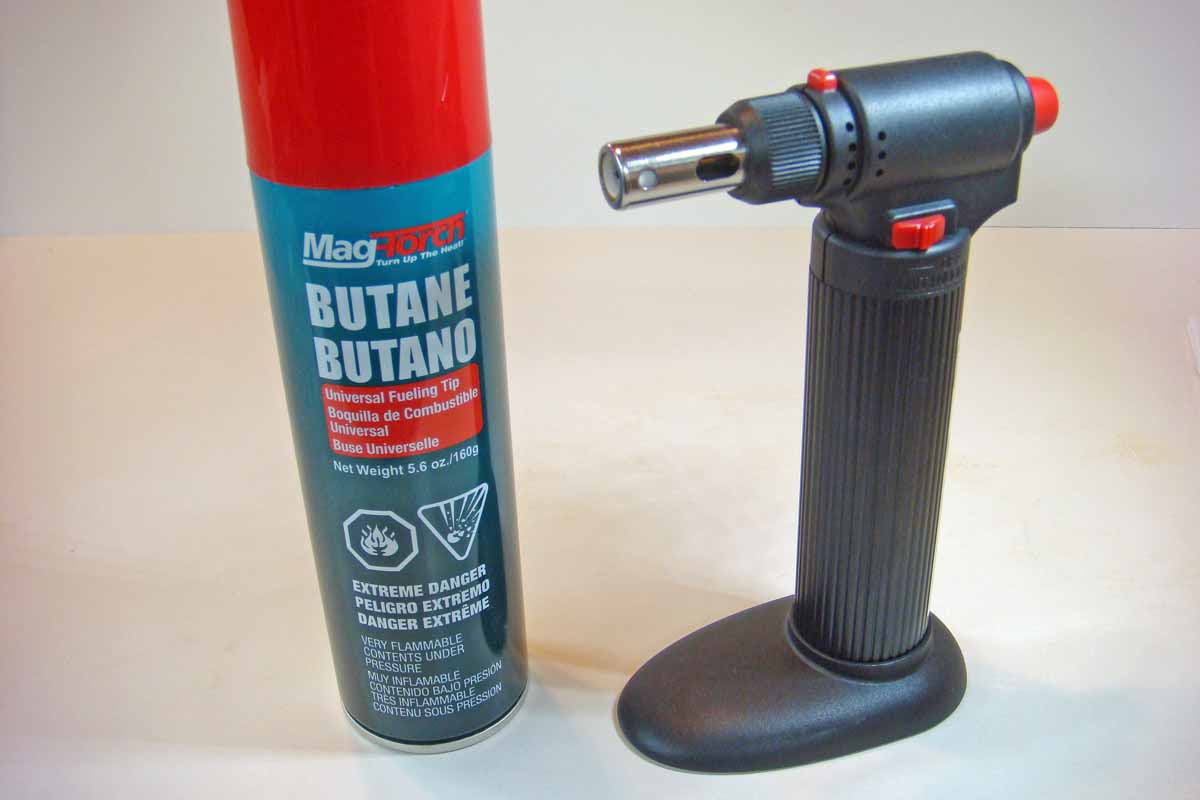
This is the next larger MagTorch. It’s a good piece of kit. The ability to lock it “on” and use it hands-free is a useful feature. Unfortunately, it will not adjust the flame size down as low as the MagTorch pen.
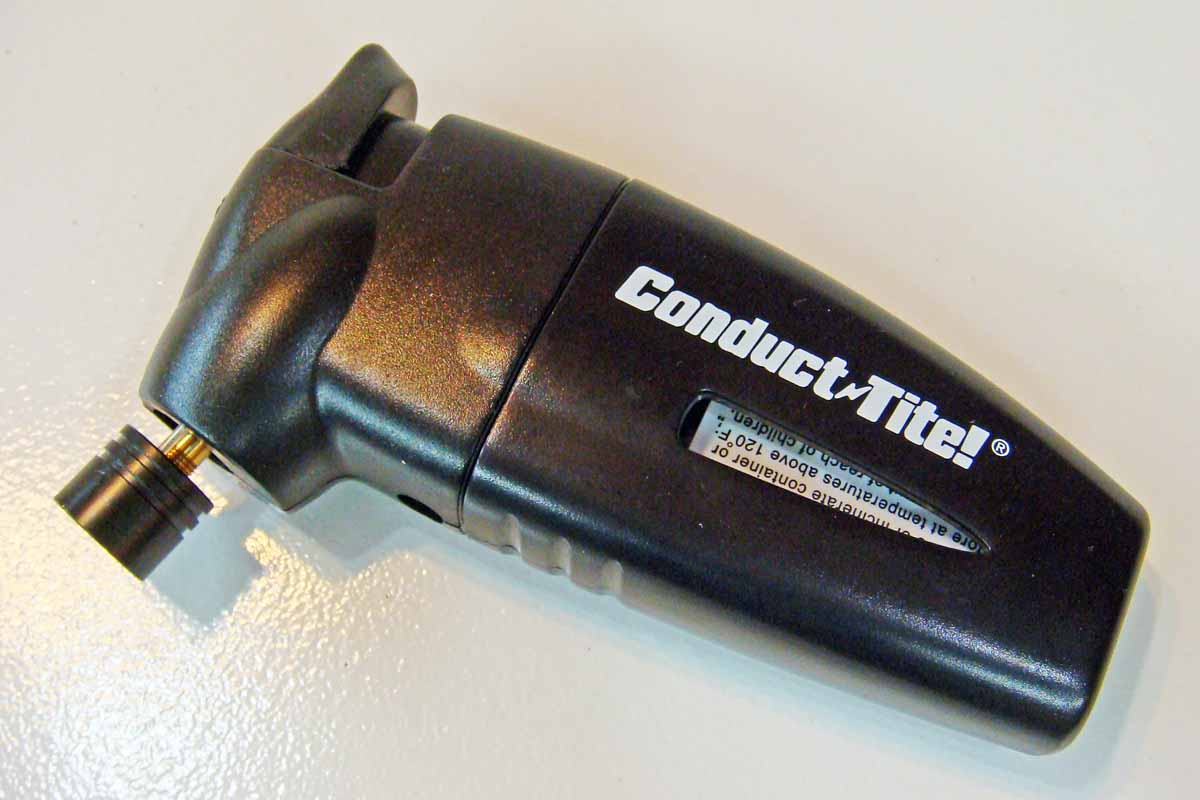
This is a very inexpensive refillable torch sold at many auto-parts chain stores. This one is actually designed for auto electrical work to provide a heat source for shrink-wrap tubing. It will work pretty well for soldering PE parts.
All of these photos are from around 2014. I now use a Blazer brand torch that’s very similar to the larger MagTorch above, but a bit scaled down in size with a flame that can be adjusted quite small.
If there’s enough interest in this subject (working with PE), I’ll start a separate thread, posting up the parts of the IPMS seminars.
I would say there is interest in a how-to / tips’n’tricks of working with PE article. ![]()
Mario
I would be hugely interested! I’ve got a lot of PE on some upcoming ship builds so any tidbits of knowledge would be greatly appreciated
I’ll have to give this some thought to see how it might be carried off.
I’ve just gone through my draft photos and captions for the parts of the proposed PE book and see that I had nearly 400 annotated photos and about 40-odd pages of detailed captions. The IPMS seminar presentations were several hours long (comprised of more than a dozen small, linked PowerPoint presentations that each covered some particular PE challenge), so the material is… well, I suppose “voluminous” is the best description.
I’m not sure how to post all of this up.
I agree, something like what Archer Fine Transfers did for the dry transfers when they had that line or ICM did for the 1/48 OV-10.
Maybe assembling a PDF file as an electronic book?
Back in the day, “On the Mark Models” PE (one of, if not the first to offer PE sets designed for armor models) had some pretty good instructions with their sets. (I believe the owner/operator was Mark Persichetti who’s now the IPMS/USA Chief Judge.) These made their first appearance in the mid- to late '80s.
(Next up in the armor PE que was, I believe, “The Show Modeling” out of Japan which offered some very interesting stuff, but alas, their instructions were horrible even by today’s standards. They also clearly didn’t have the modeler in mind with their designs which were VERY difficult to assemble, and their PE material of choice was often a sort of stainless steel which was essentially impossible to solder together. These made their appearance in the late '80s at about the same time as Gunze Sanyo started to release their multi-media armor kits. Verlinden came close on The Show Modeling’s tail with their PE, but in comparison, all of the Verlinden sets were quite crude with even worse instructions. Eduard pretty much drove a stake into the hearts of their competitors and owned the PE market soon after. Any hoo…)
The “On the Mark Models” instruction illustrations were hand drawn (as was the artwork for the PE), and they included some rather detailed step-by-step guidance on forming the brass and assembling the parts. All very basic (but at the time it was marvelous!), but also almost totally necessary since the medium was essentially brand new. There had been some PE offerings for civil autos, aircraft, and model RR but even those were mostly just single enhancement or replacement pieces. The OTM PE sets were truly complete and comprehensive “up-date” sets, and they were packaged and presented as if they were kits in their own right.
I’ll give some consideration to Carlos’ suggestion about a PDF e-book. I’ve skirted around with that several times but always got distracted with some other project.