Hello friends!
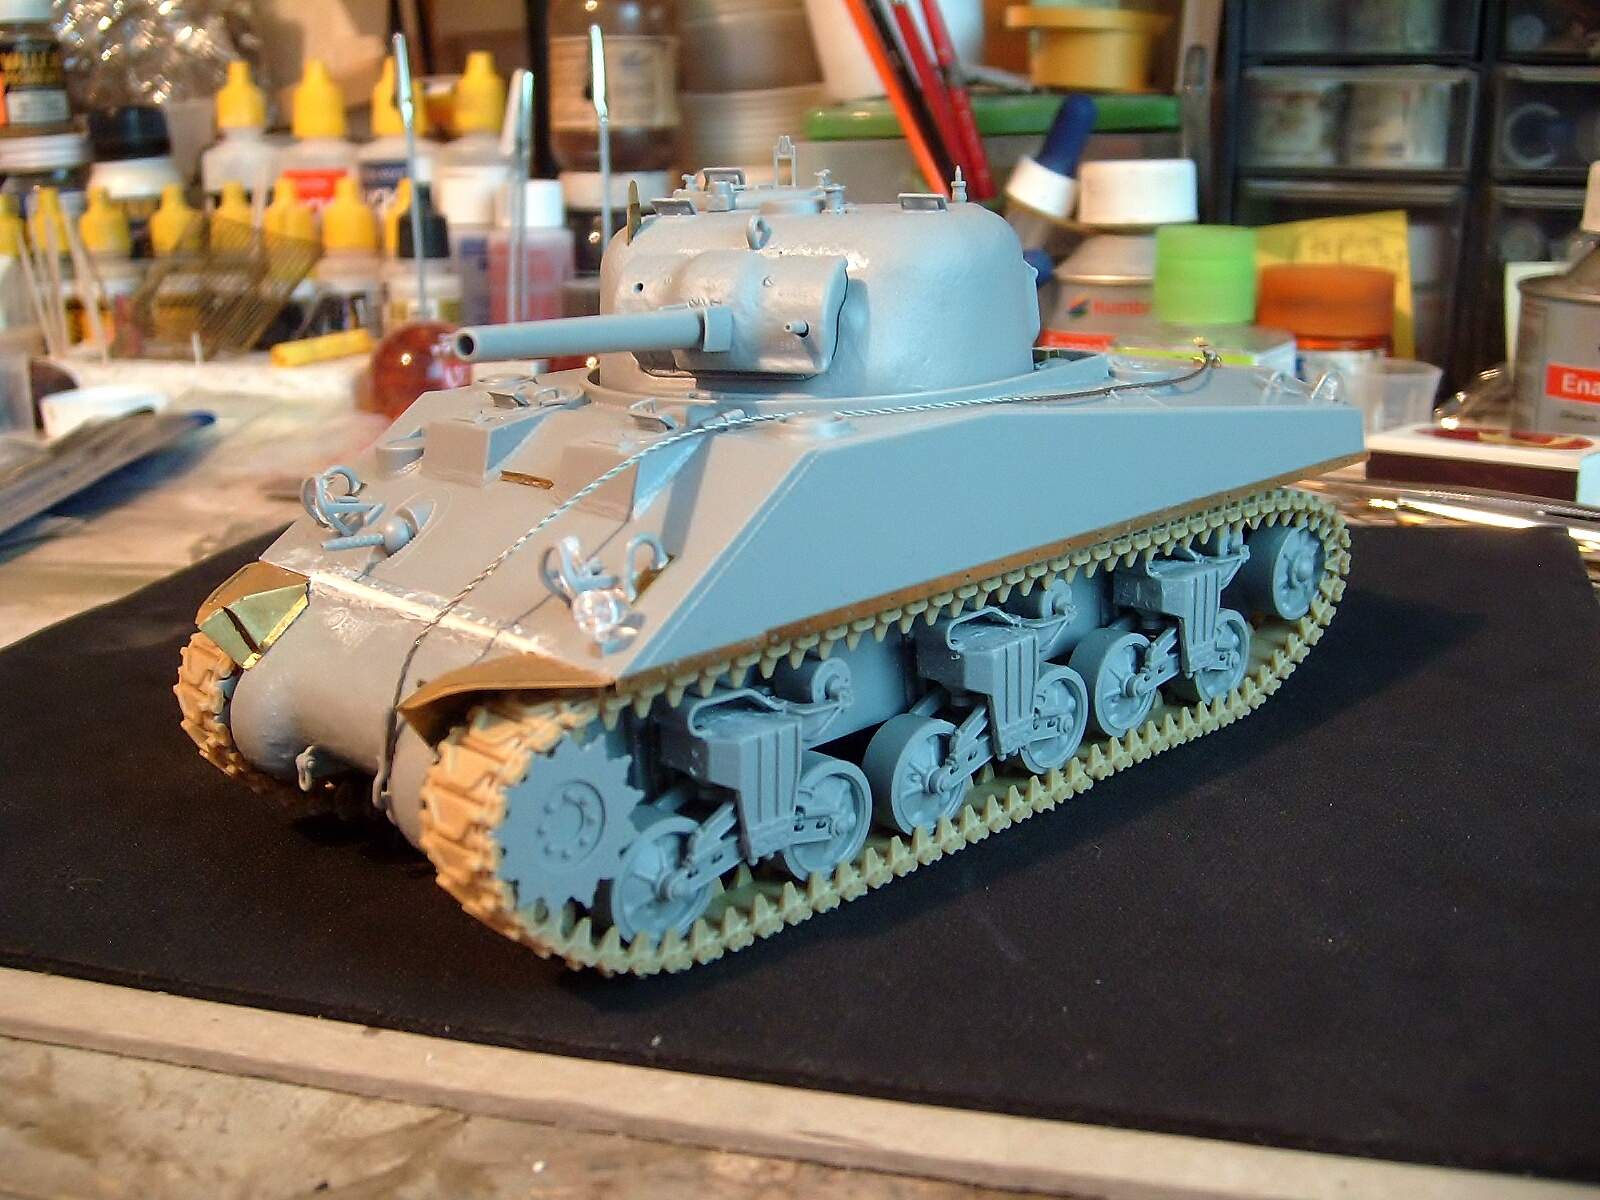
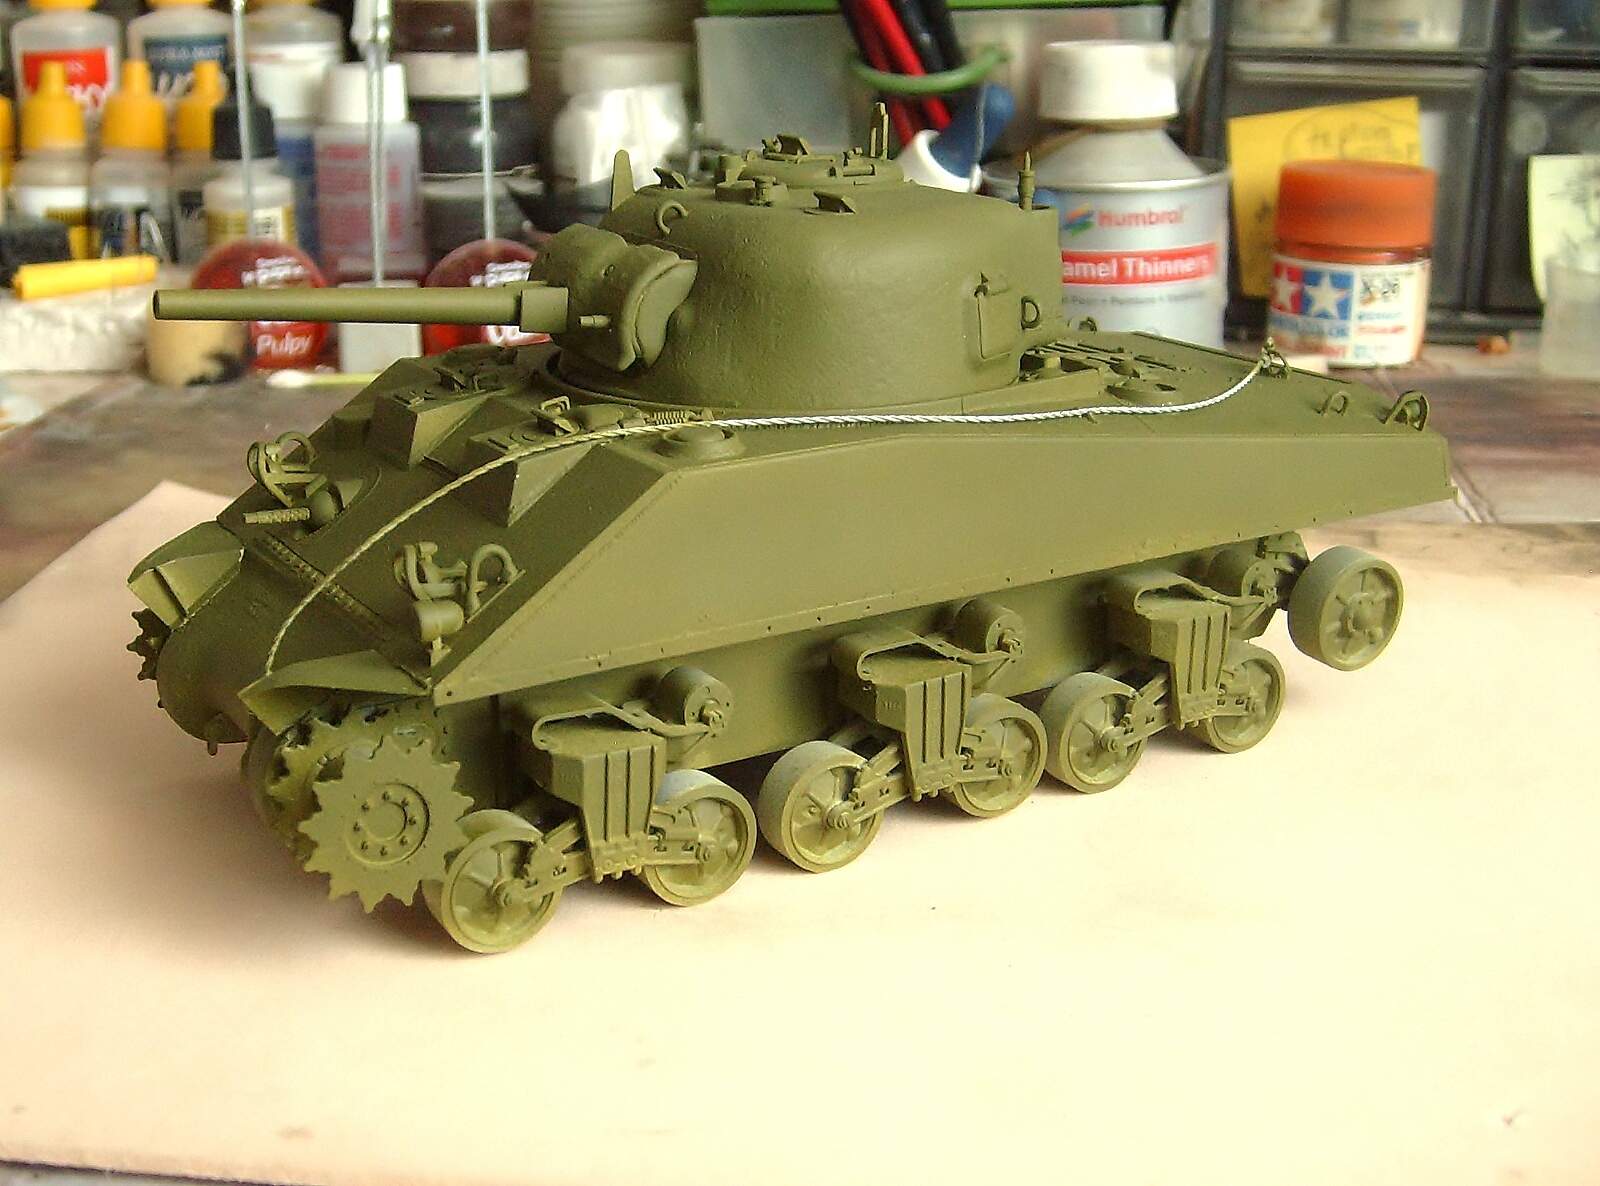
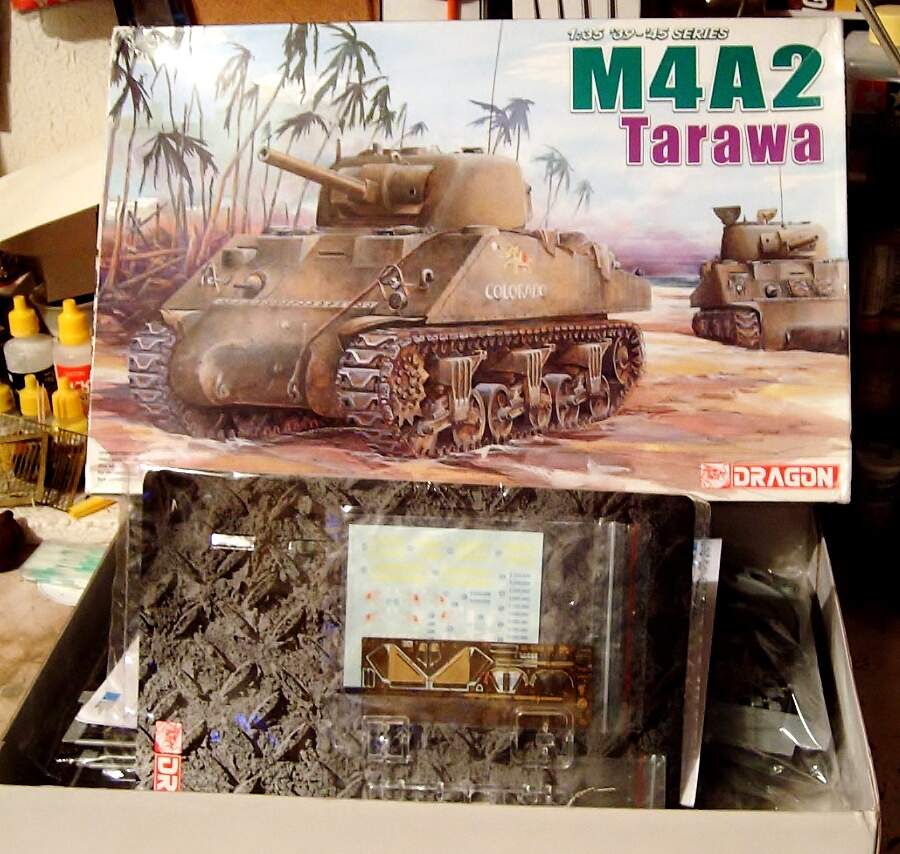
I will start my next project: Sherman M4A2 Tarawa, Dragon #6062, 1/35.
Regards!
Rodolfo
Hello friends!
I will start my next project: Sherman M4A2 Tarawa, Dragon #6062, 1/35.
Regards!
Rodolfo
Hello friends!
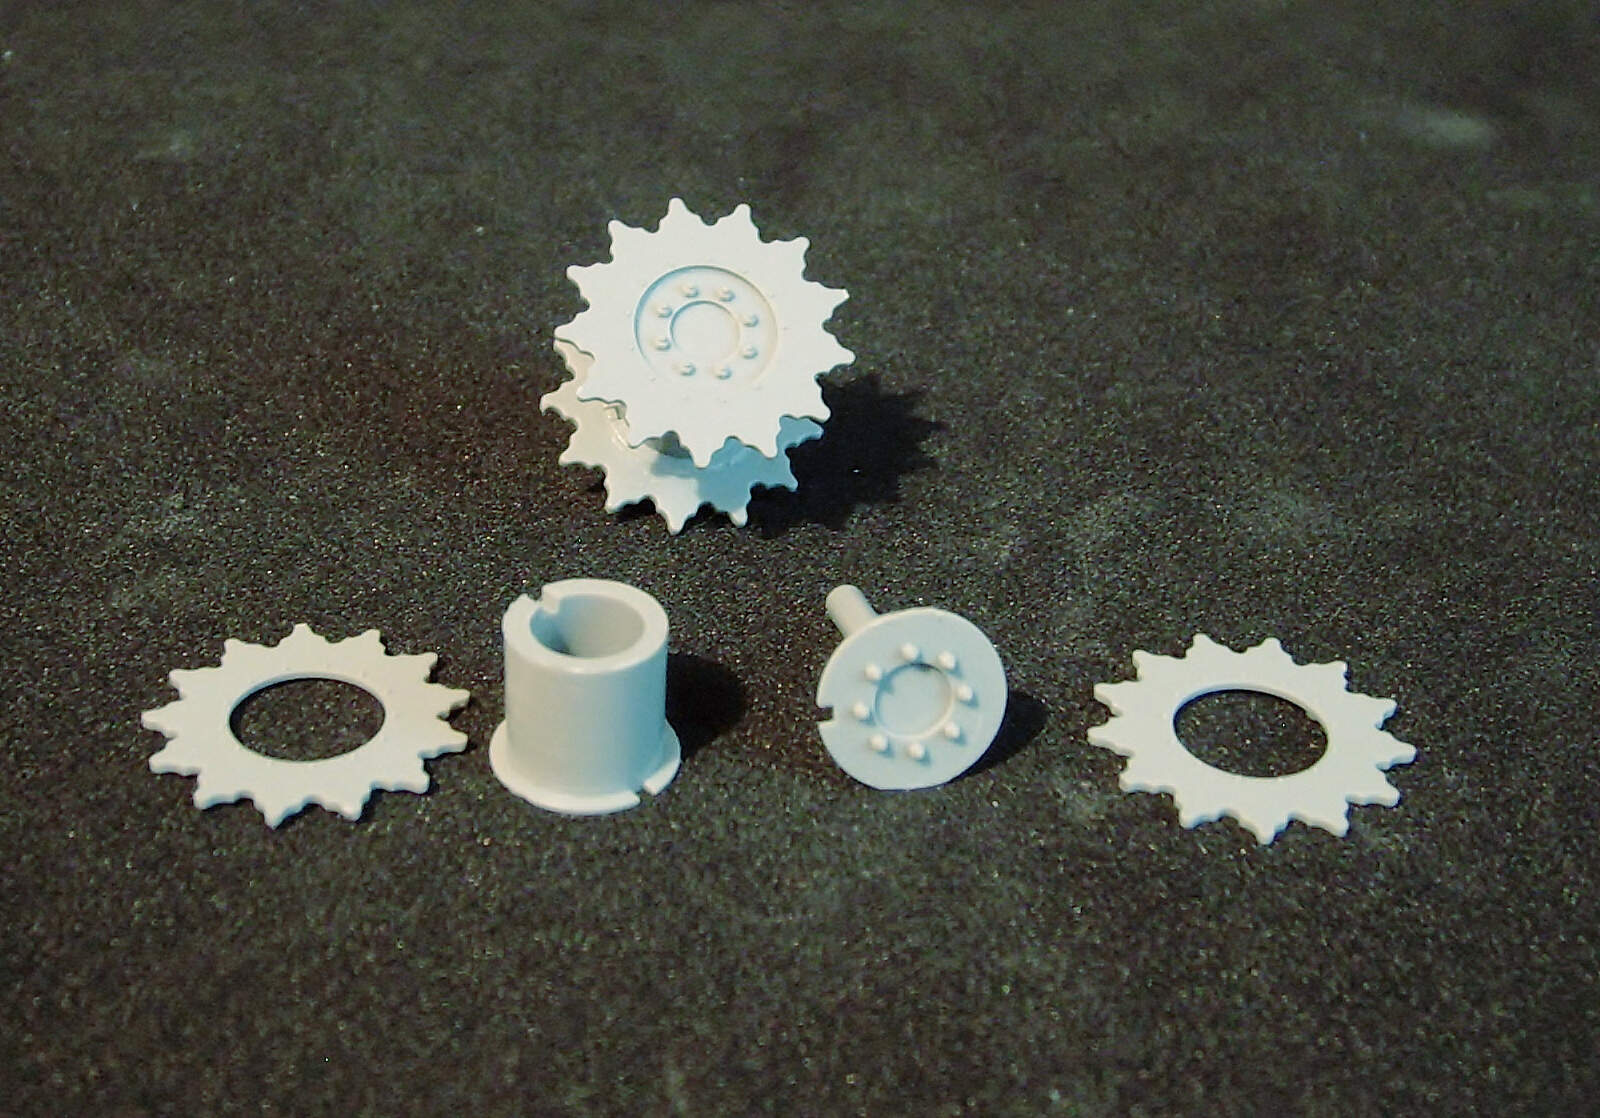
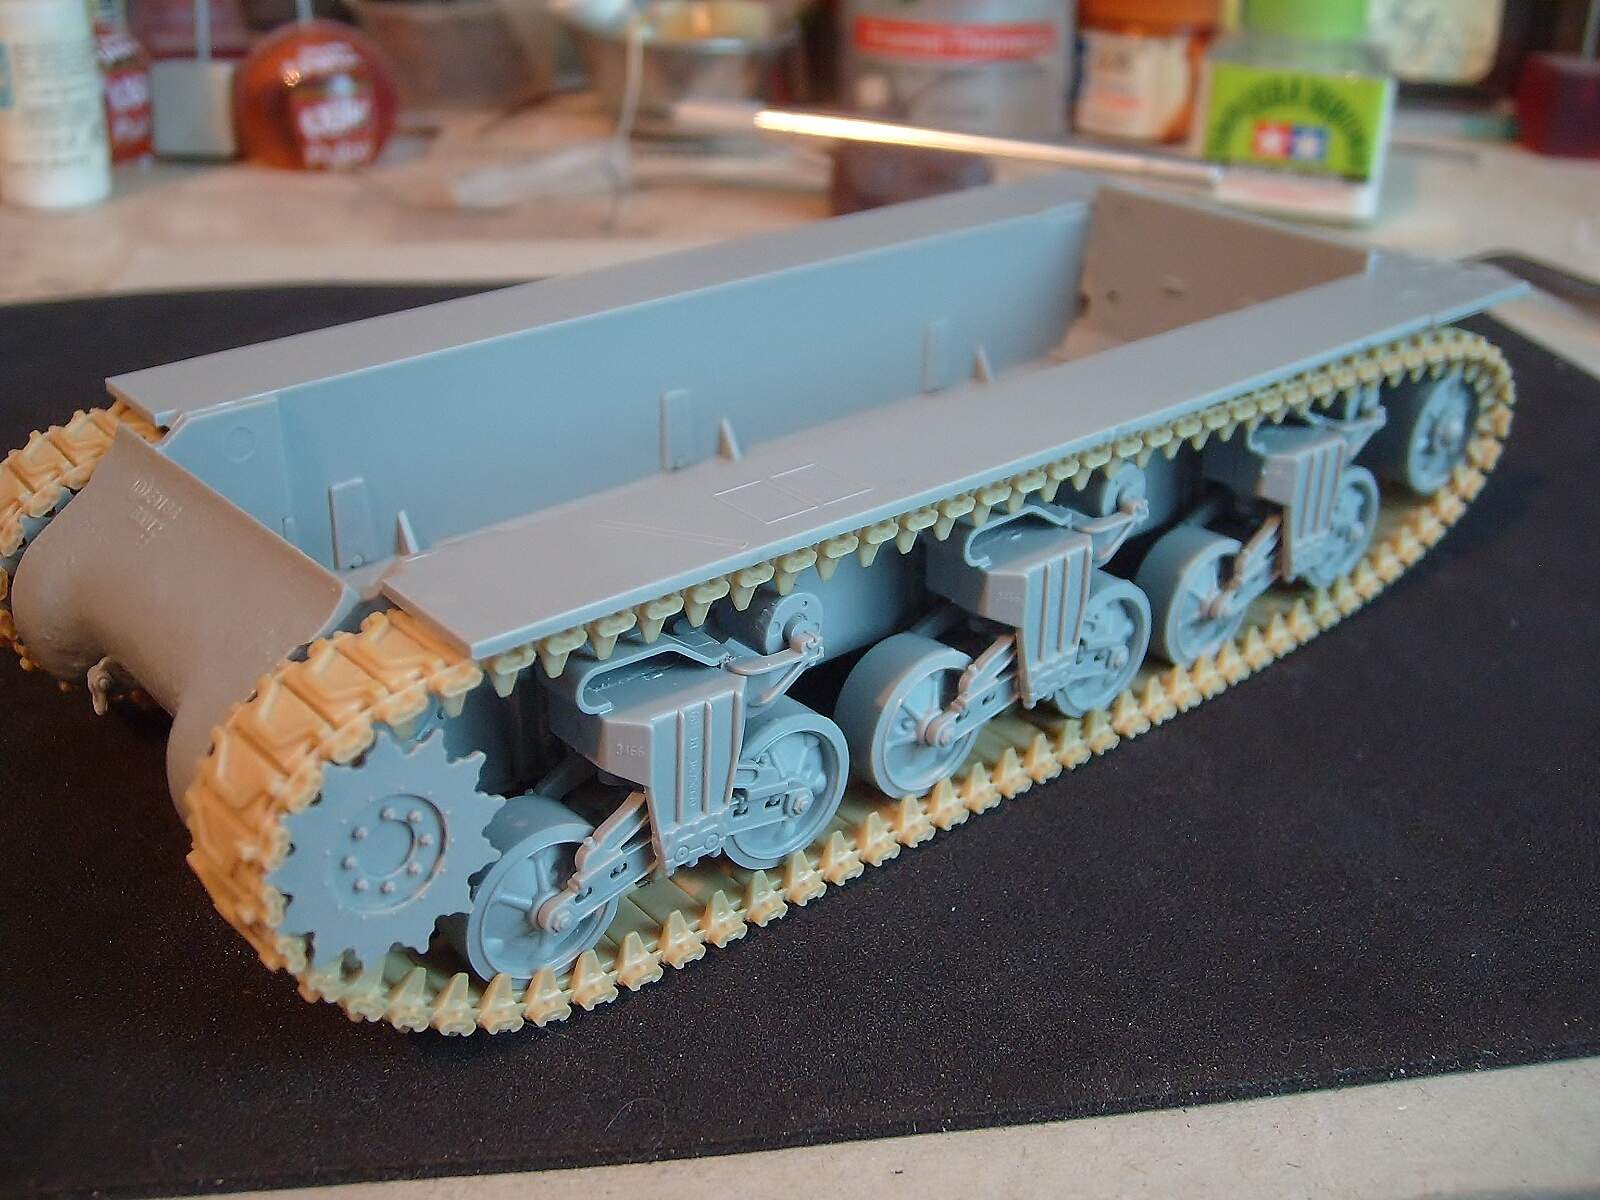
The start with the suspensions and wheels has been pleasant and without problems, the detail is good.
Regards!
Rodolfo
Hello!
More pics!
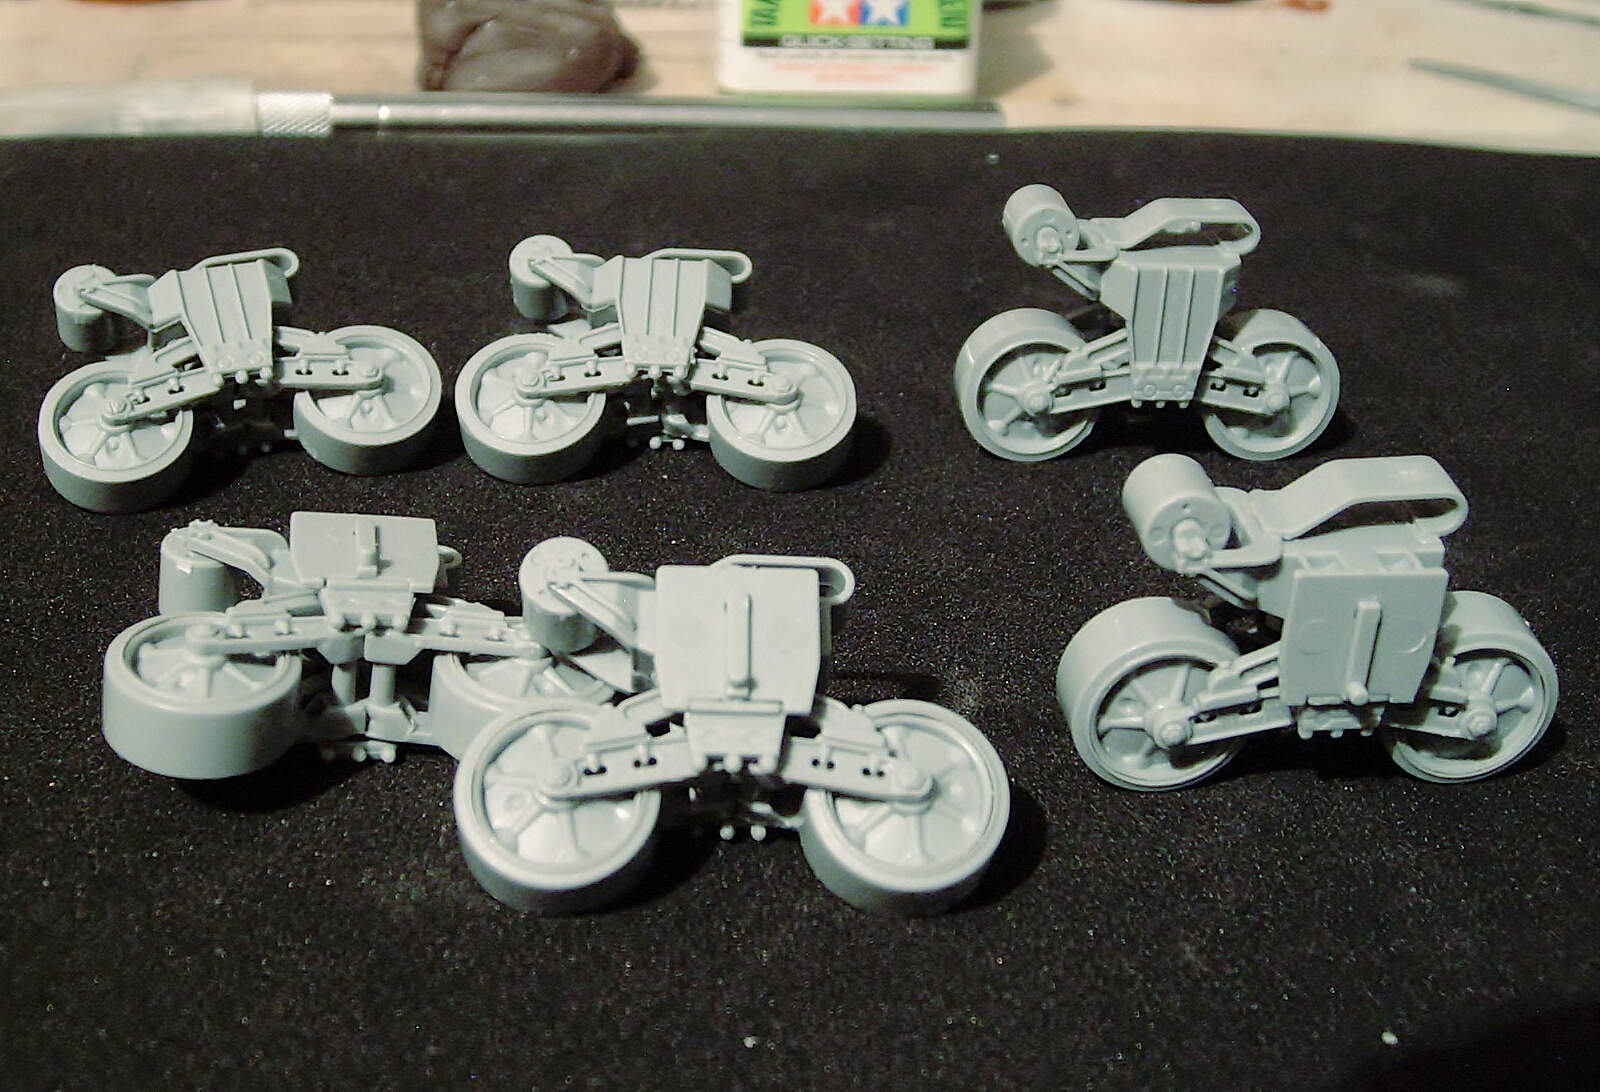
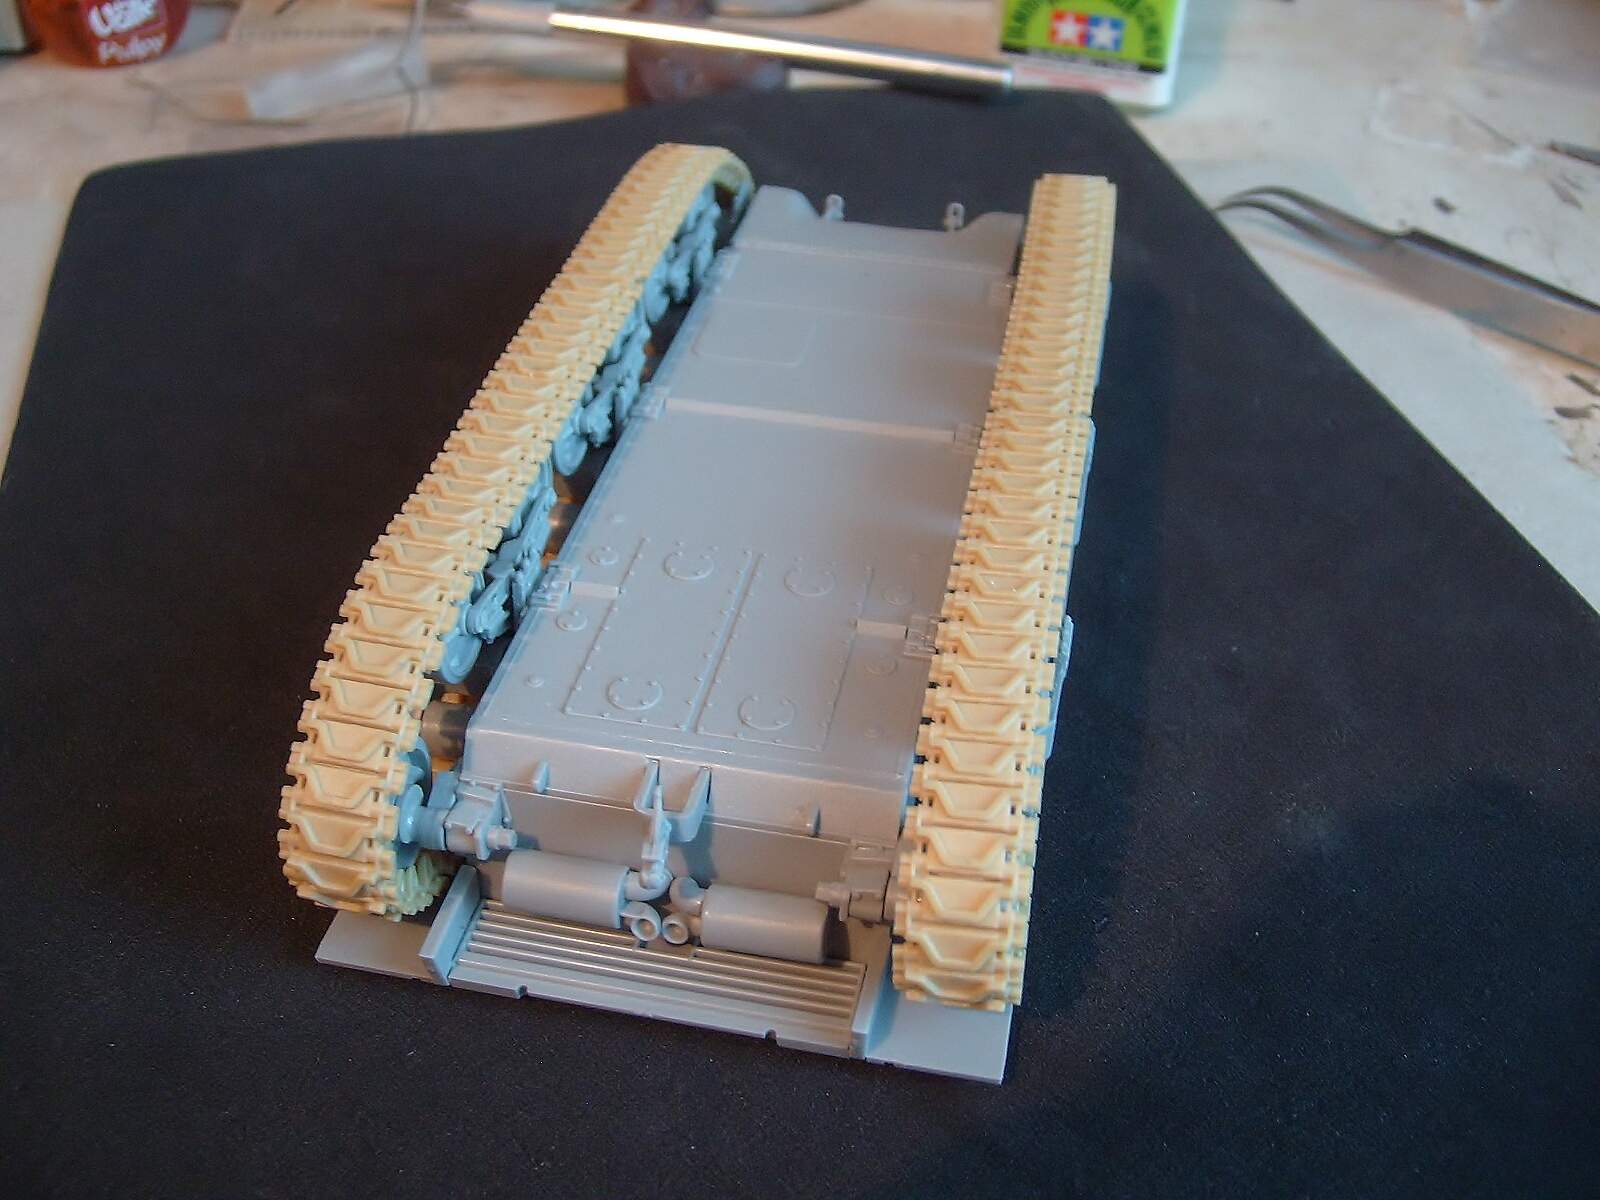
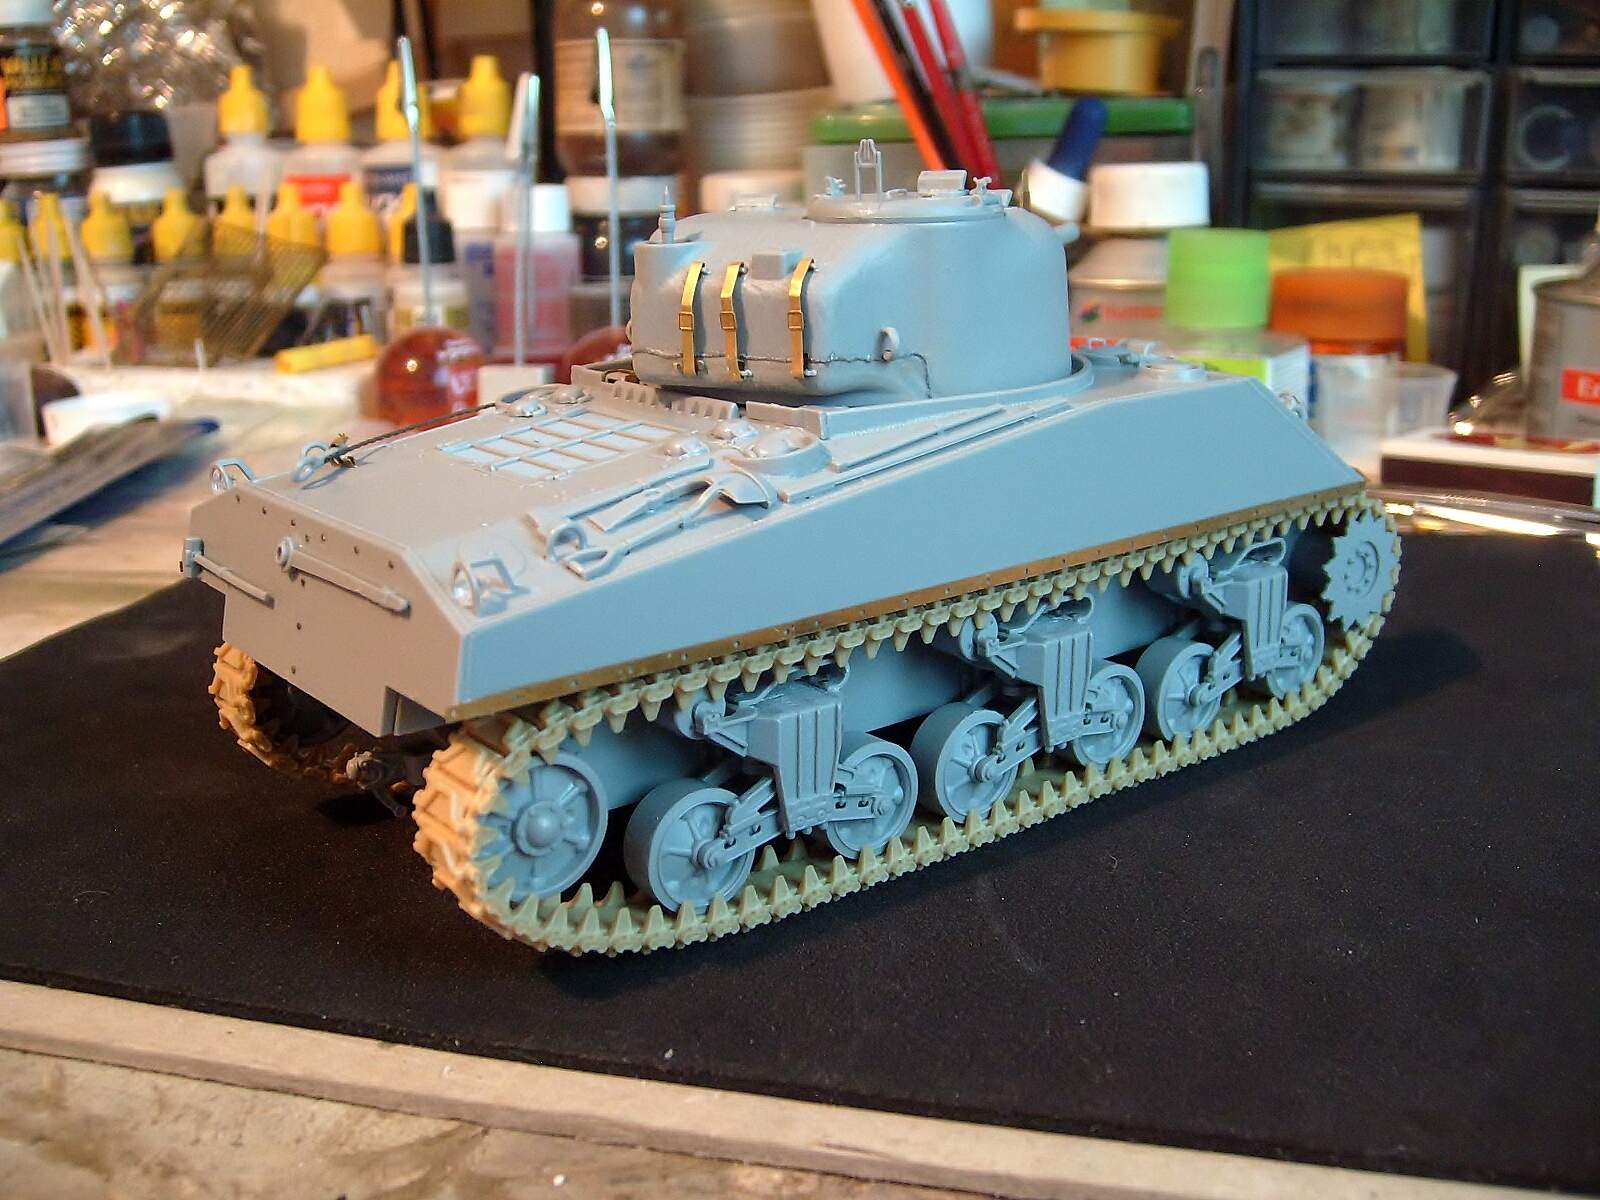
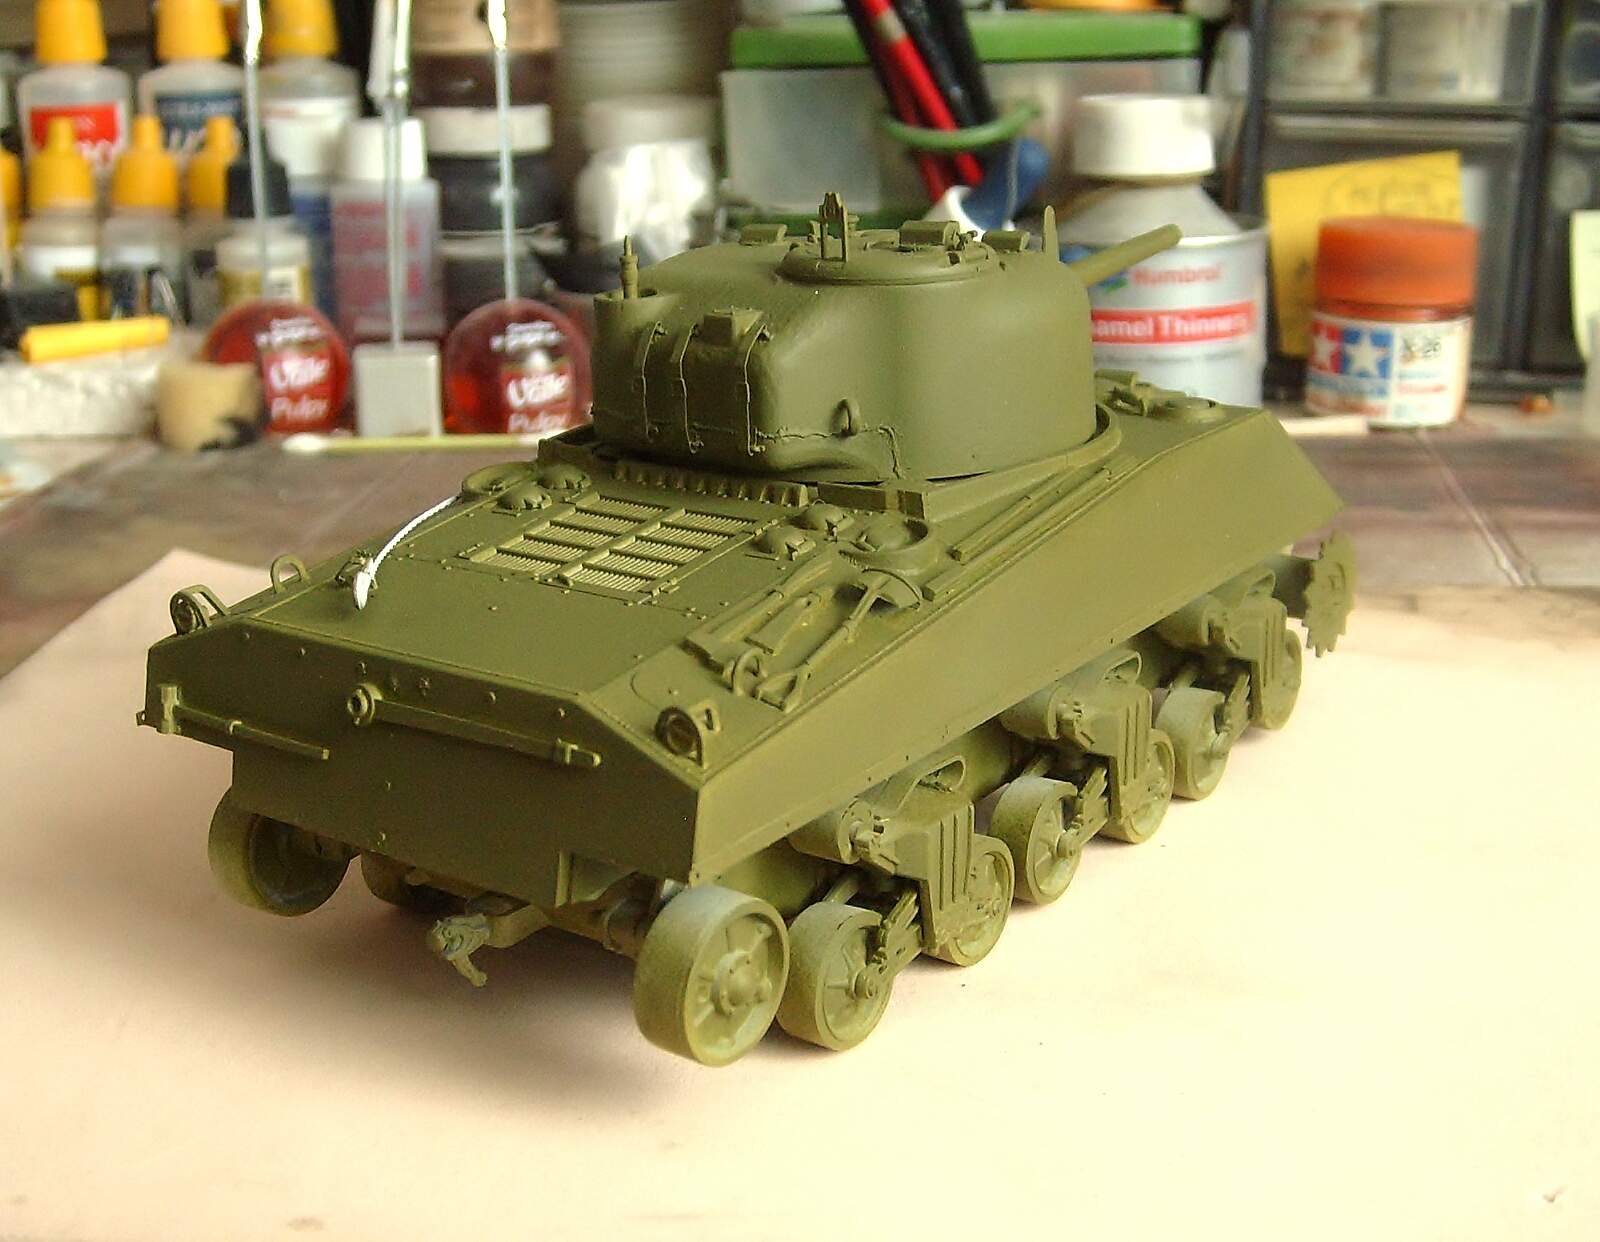
Chassis, wheel and suspension system have been assembled without problems.
Regards!
Rodolfo
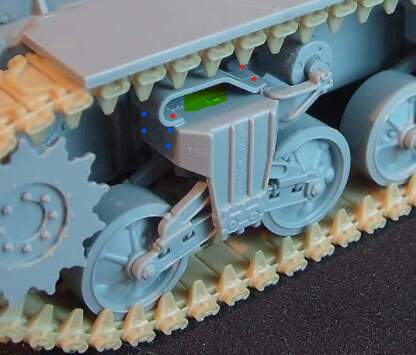
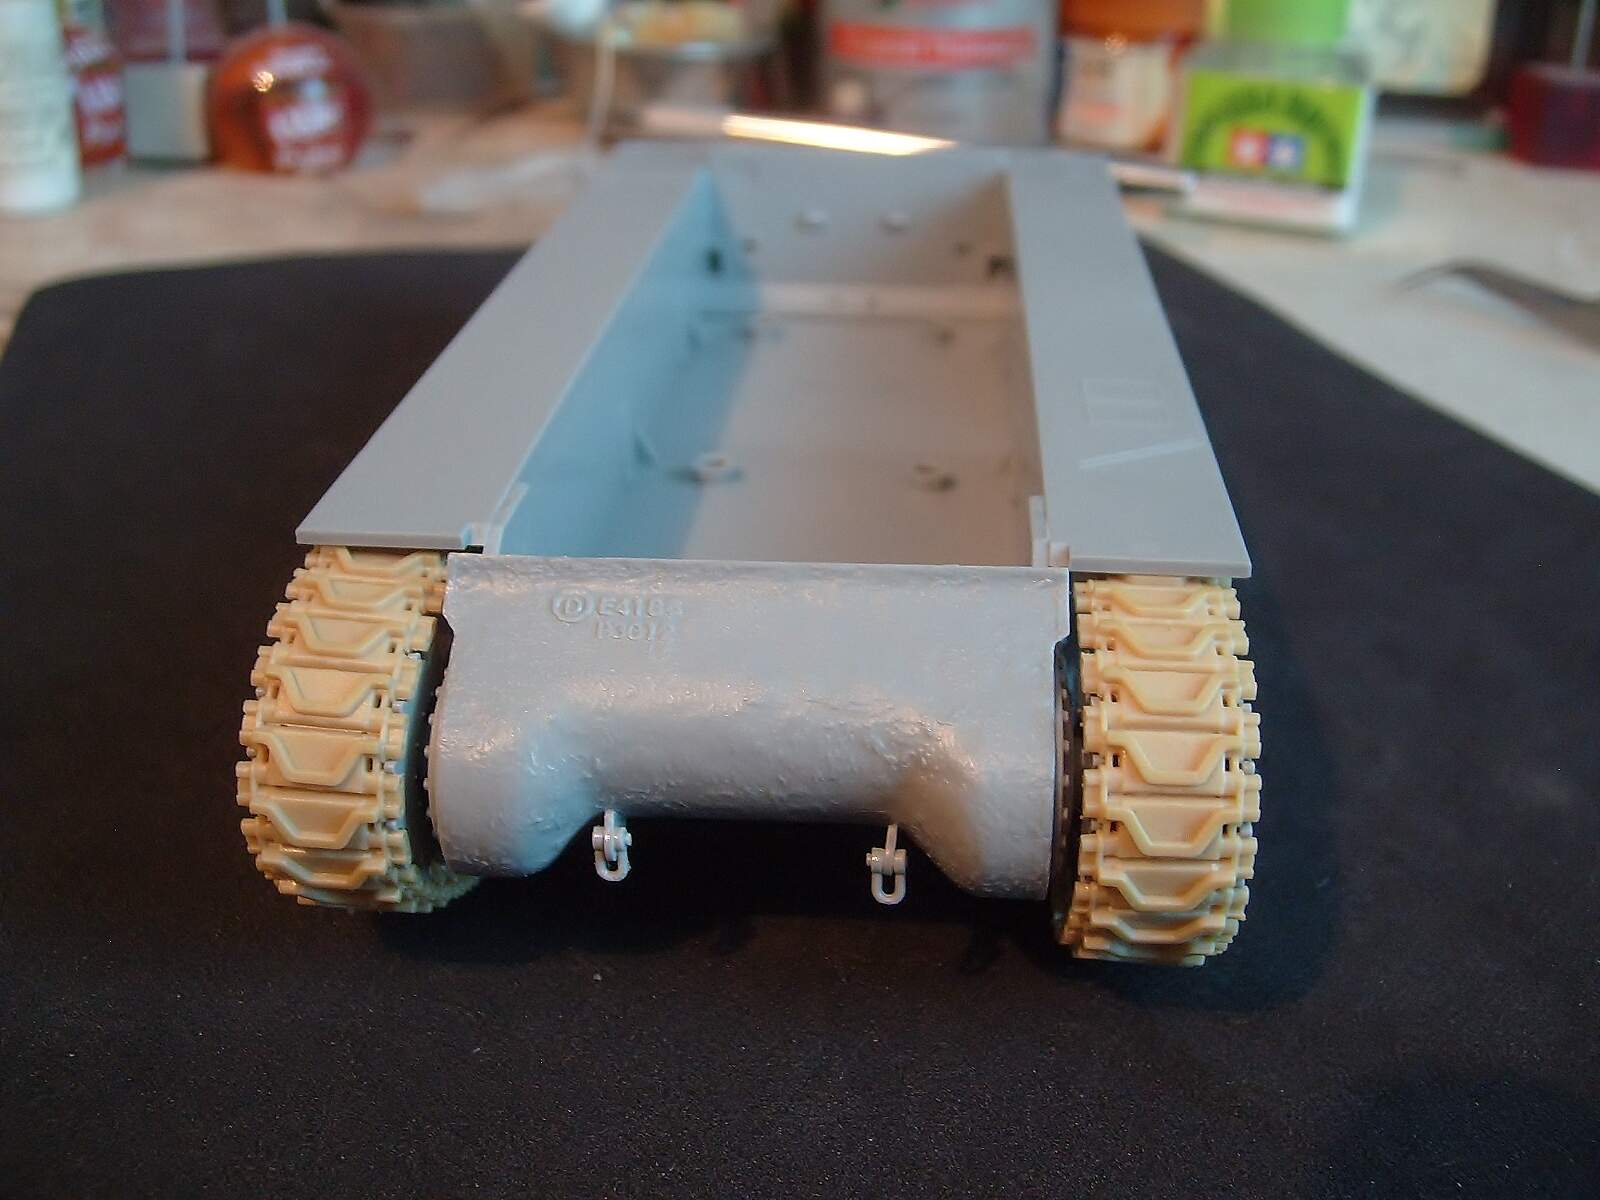
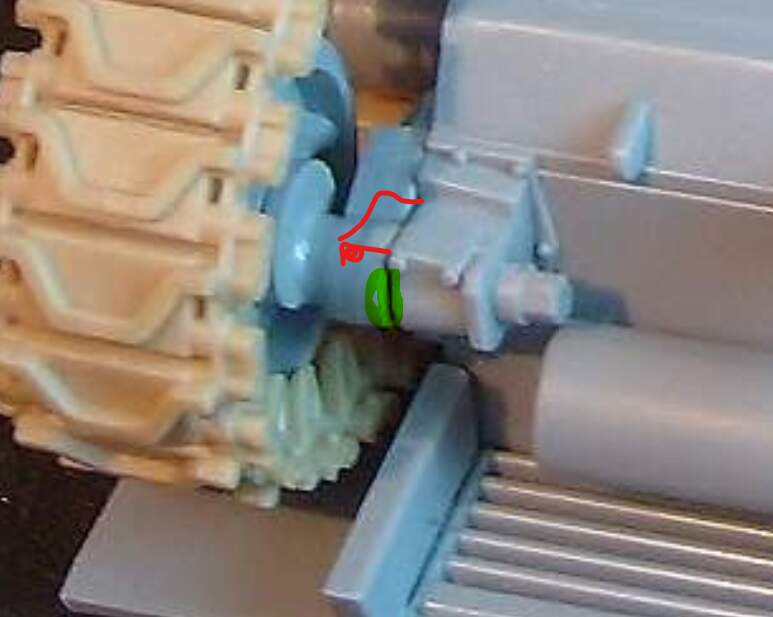
if I can support:
you you can add 4 nut in red points, and 4 holes in blue points (also by hot pin) and file the green zone
Hello smolensk!
I really had no intention of doing any details on this model but with the photo you sent me you convinced me, right now I start, at least with this. Thanks for the suggestion and help!.
Regards!
Rodolfo
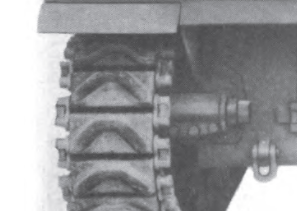
a little more…you can spend a little time to upgrade the return roller support
my personal sugguestion is to gluing the frontal bolting pad before fixing upper

The seem on the bogie is easier to deal with before the skid plate is added. Something for your next Sherman family kit. For holes on the front of the bogie, make a little jig to at least keep them consistent on all bogies. That will visual trick any dimensional issues.
Hello friends!
Last minute change: I glued the pieces and I have to remove them because of how uncomfortable making the holes, this time I better leave it in an “out of box” without modifications  . Thank you very much for your advice that I will apply to the next Sherman that I assemble. In the past I detailed many tanks, full of photoetched, white metal, resin, nuts, rivets, etc., now a better break from that, sorry, thanks again!
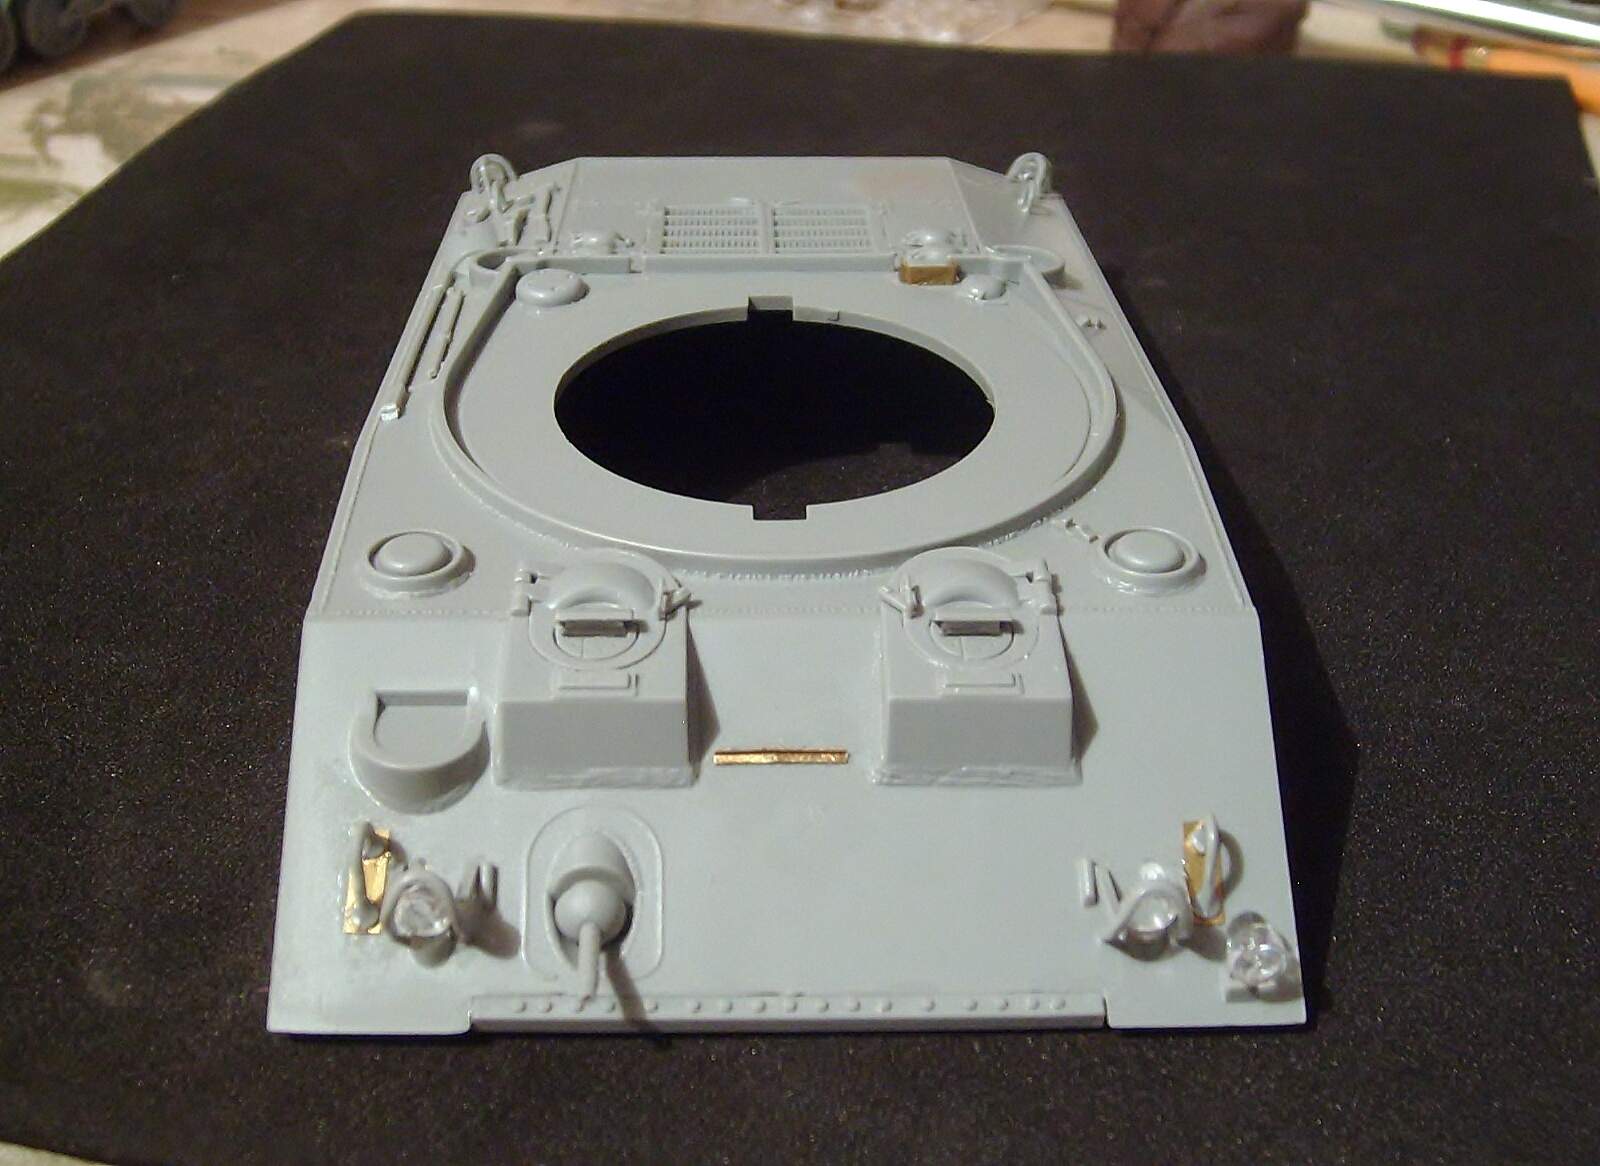
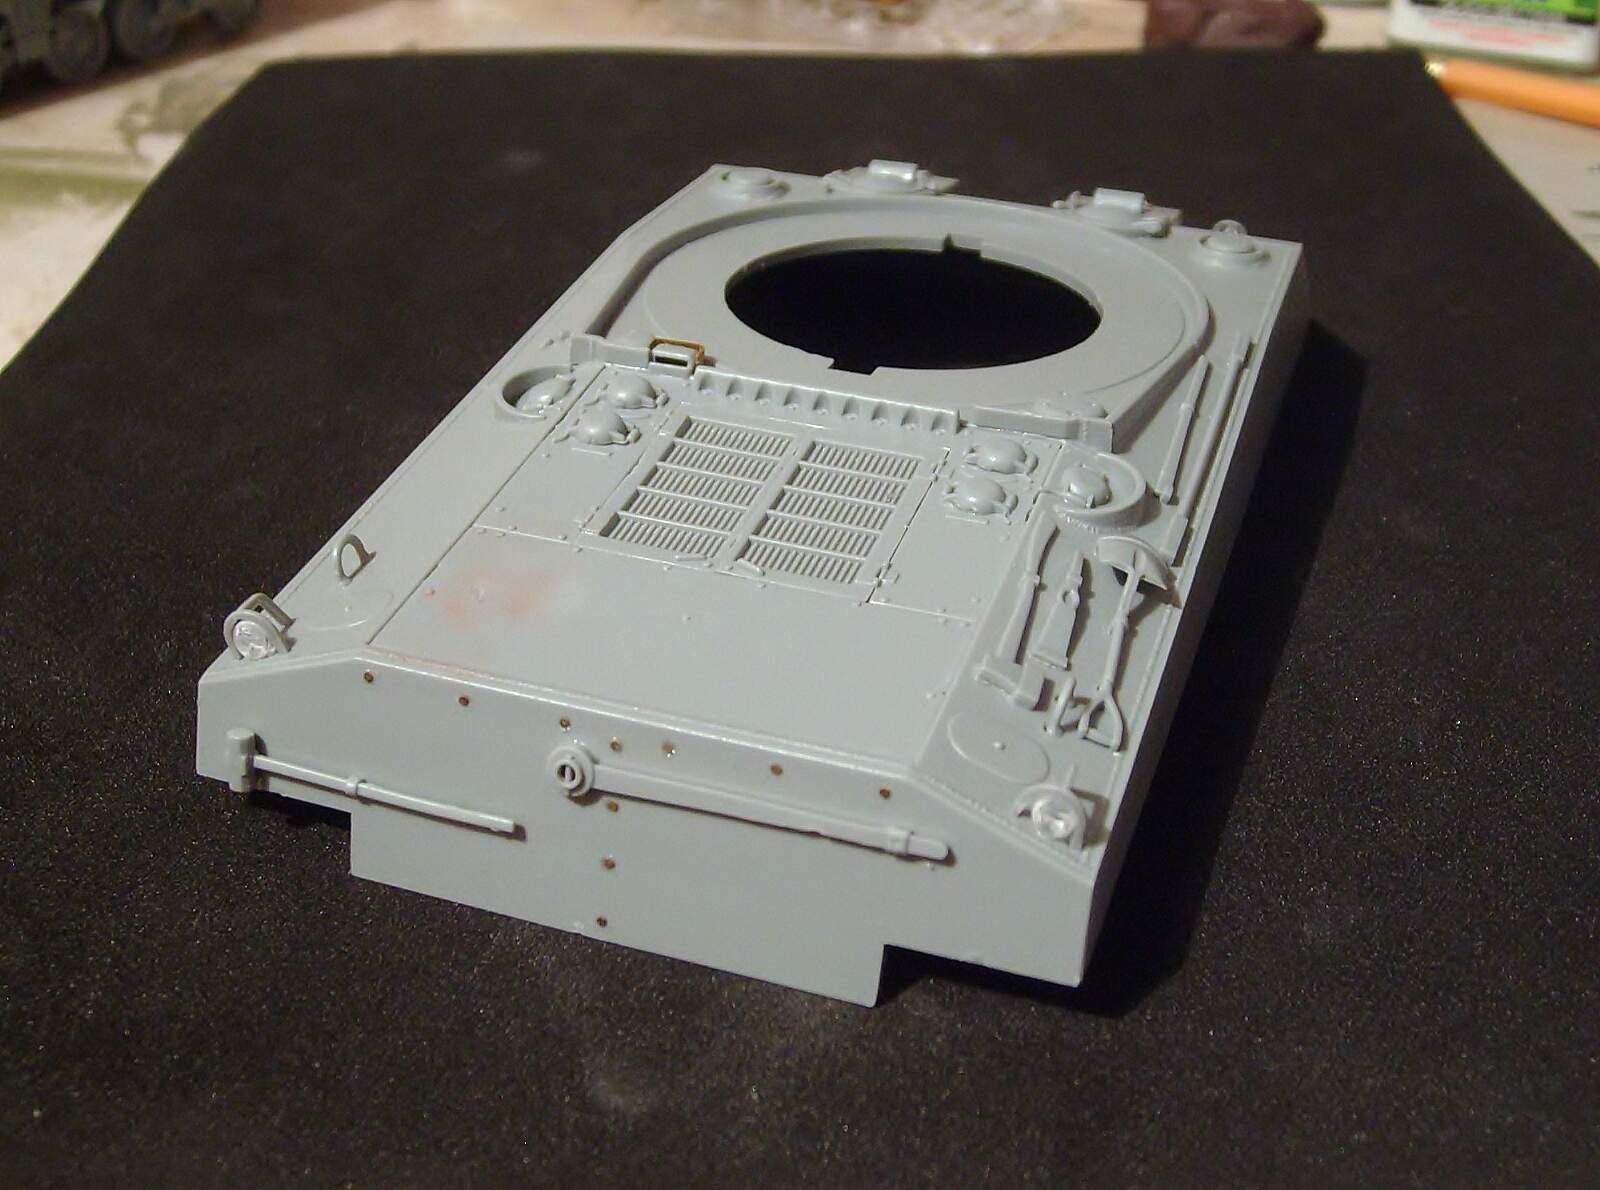
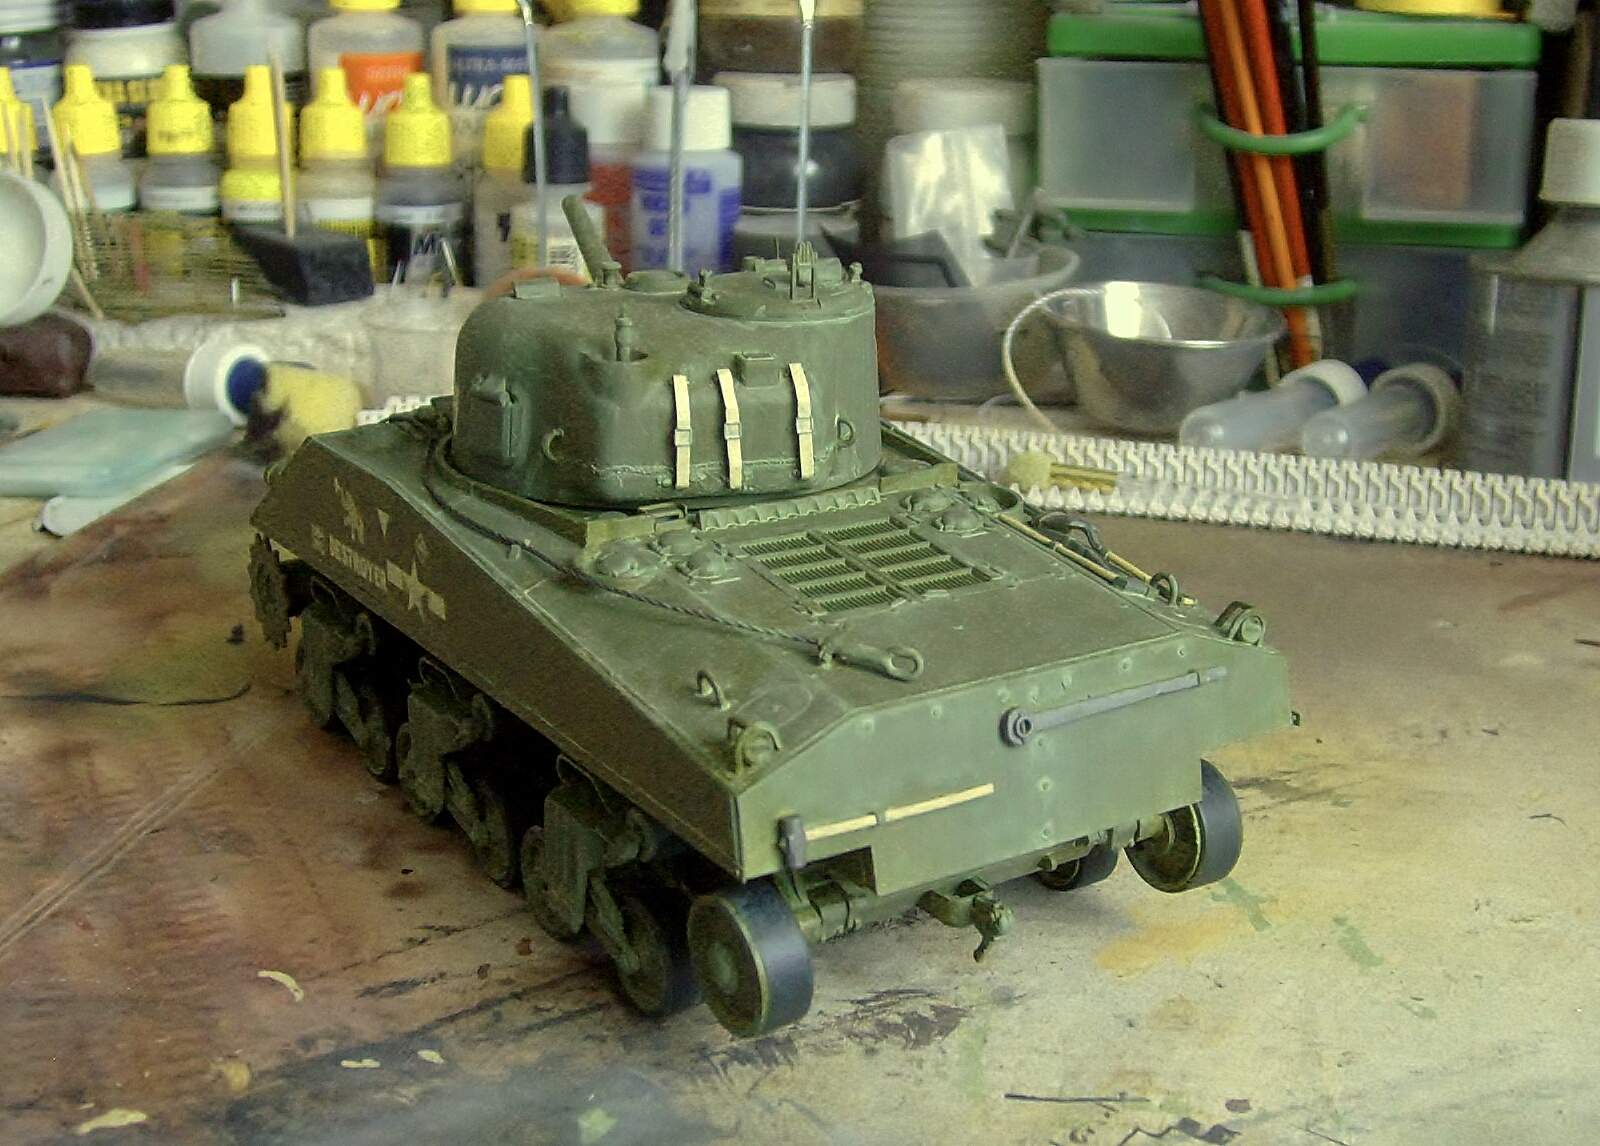
More pics!
Hull near ready, added PE nuts on rean plate.
Regards!
Rodolfo
It’s all good, not every project needs to be a ams rivet counting project. If your having fun, that’s all that matters. Keep going.
Thanks for your comments Ryan, That’s right, I better take it on the fun side.
More pics:
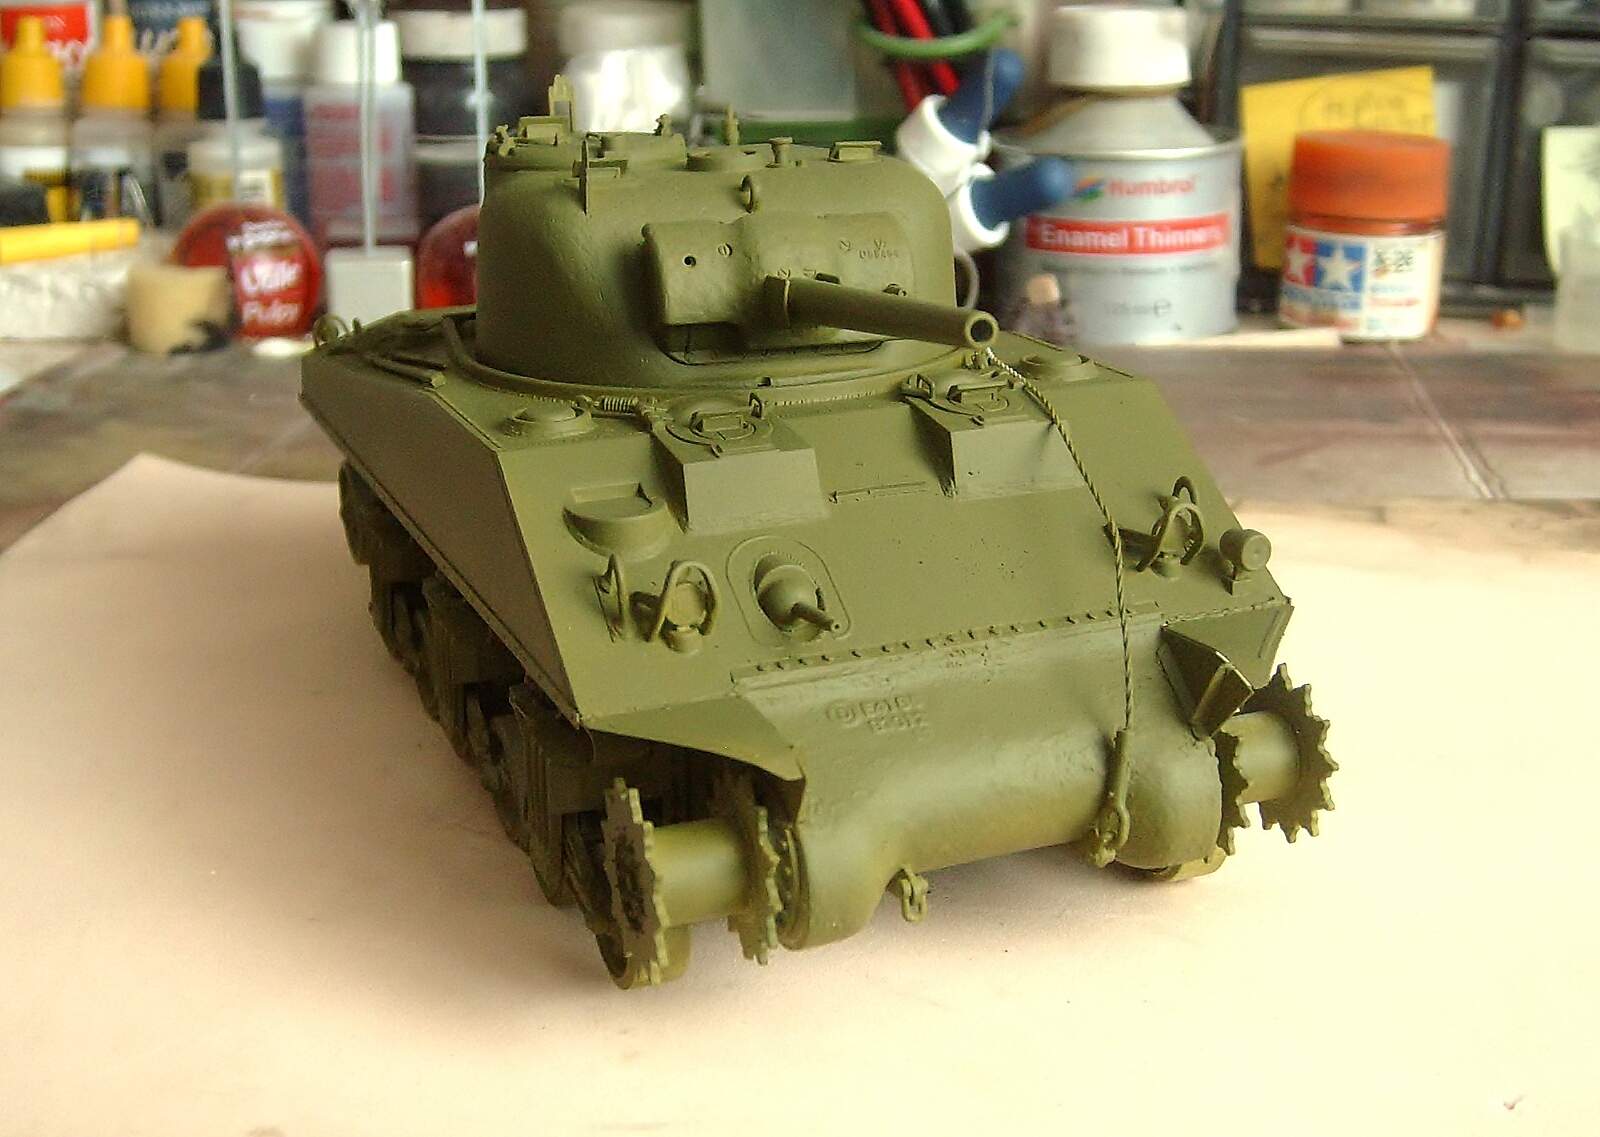
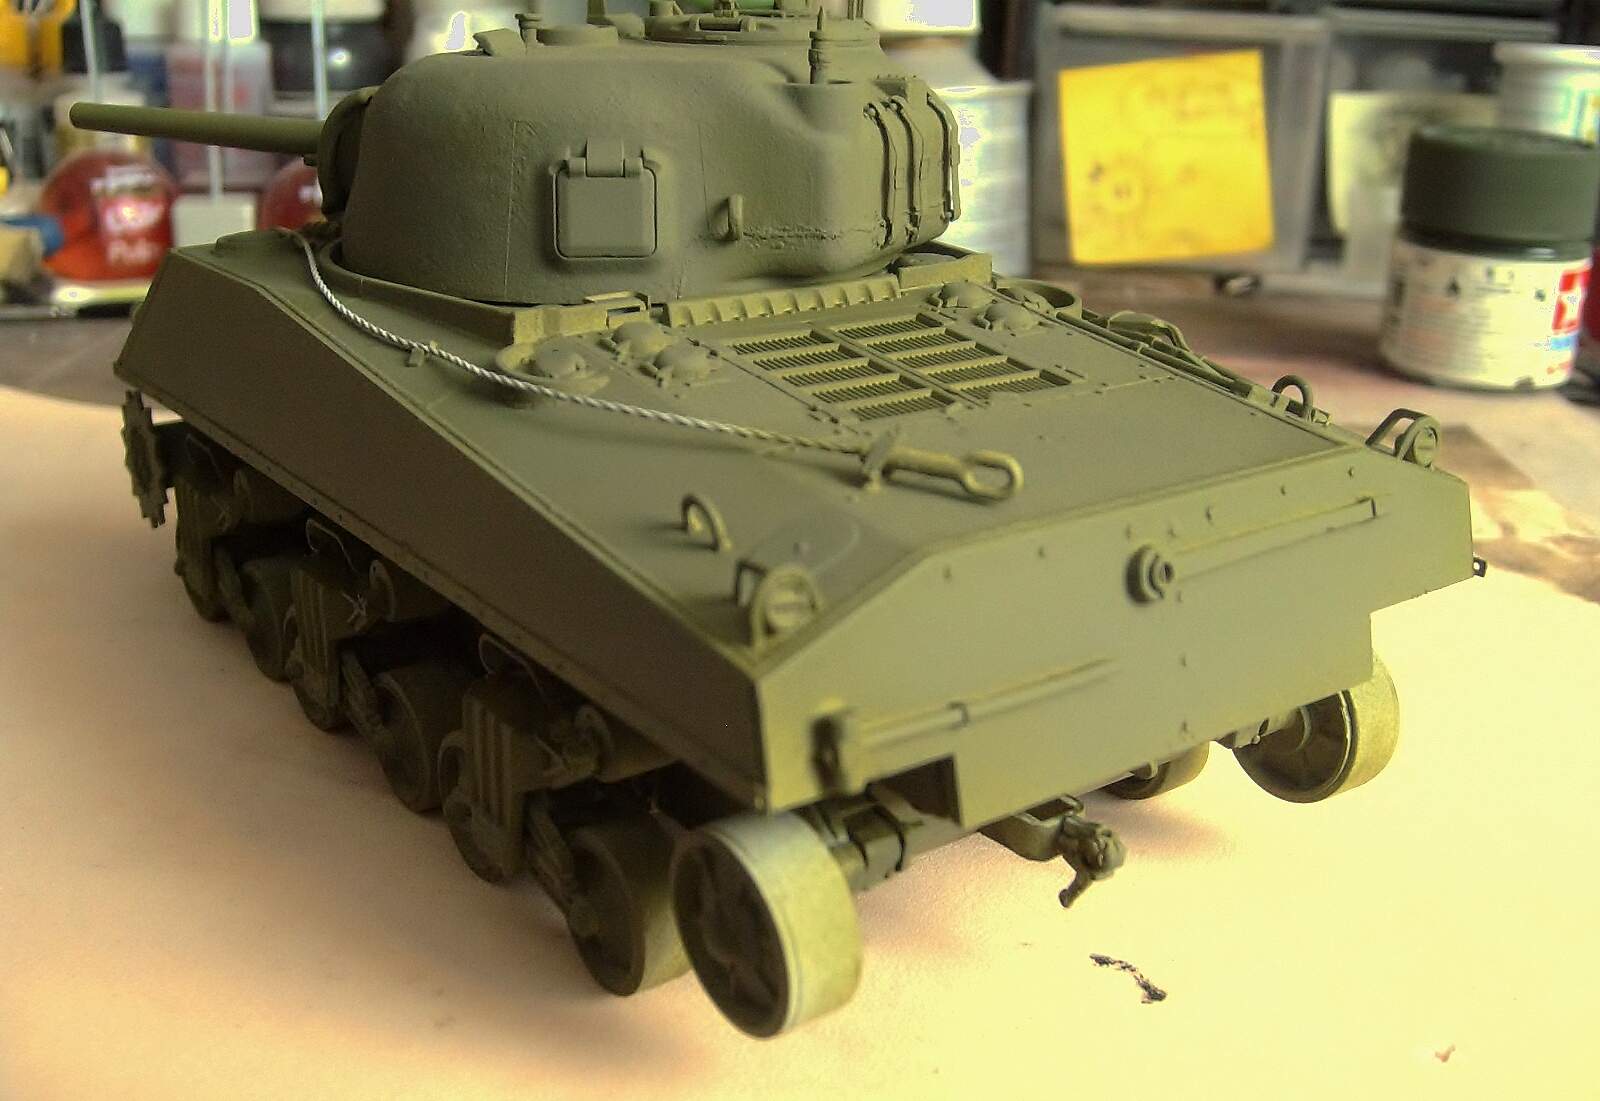
Sherman ready !, I had problems with the front fit is crooked and short, apply putty. A friend from Canada had the same problem and I didn’t think it would happen to me, he told me that it may be the wear of the parts plate. Most modelers have had no problem with it.
Regards!
Rodolfo
Looking good Rodolfo! 
It could be but Dragon Sherman’s can be creeky at times. For your next Dragon Sherman builds. Should have remembered them sooner.
I do like how yours is turning out.
Thanks for your kind comments friends!
More pics:
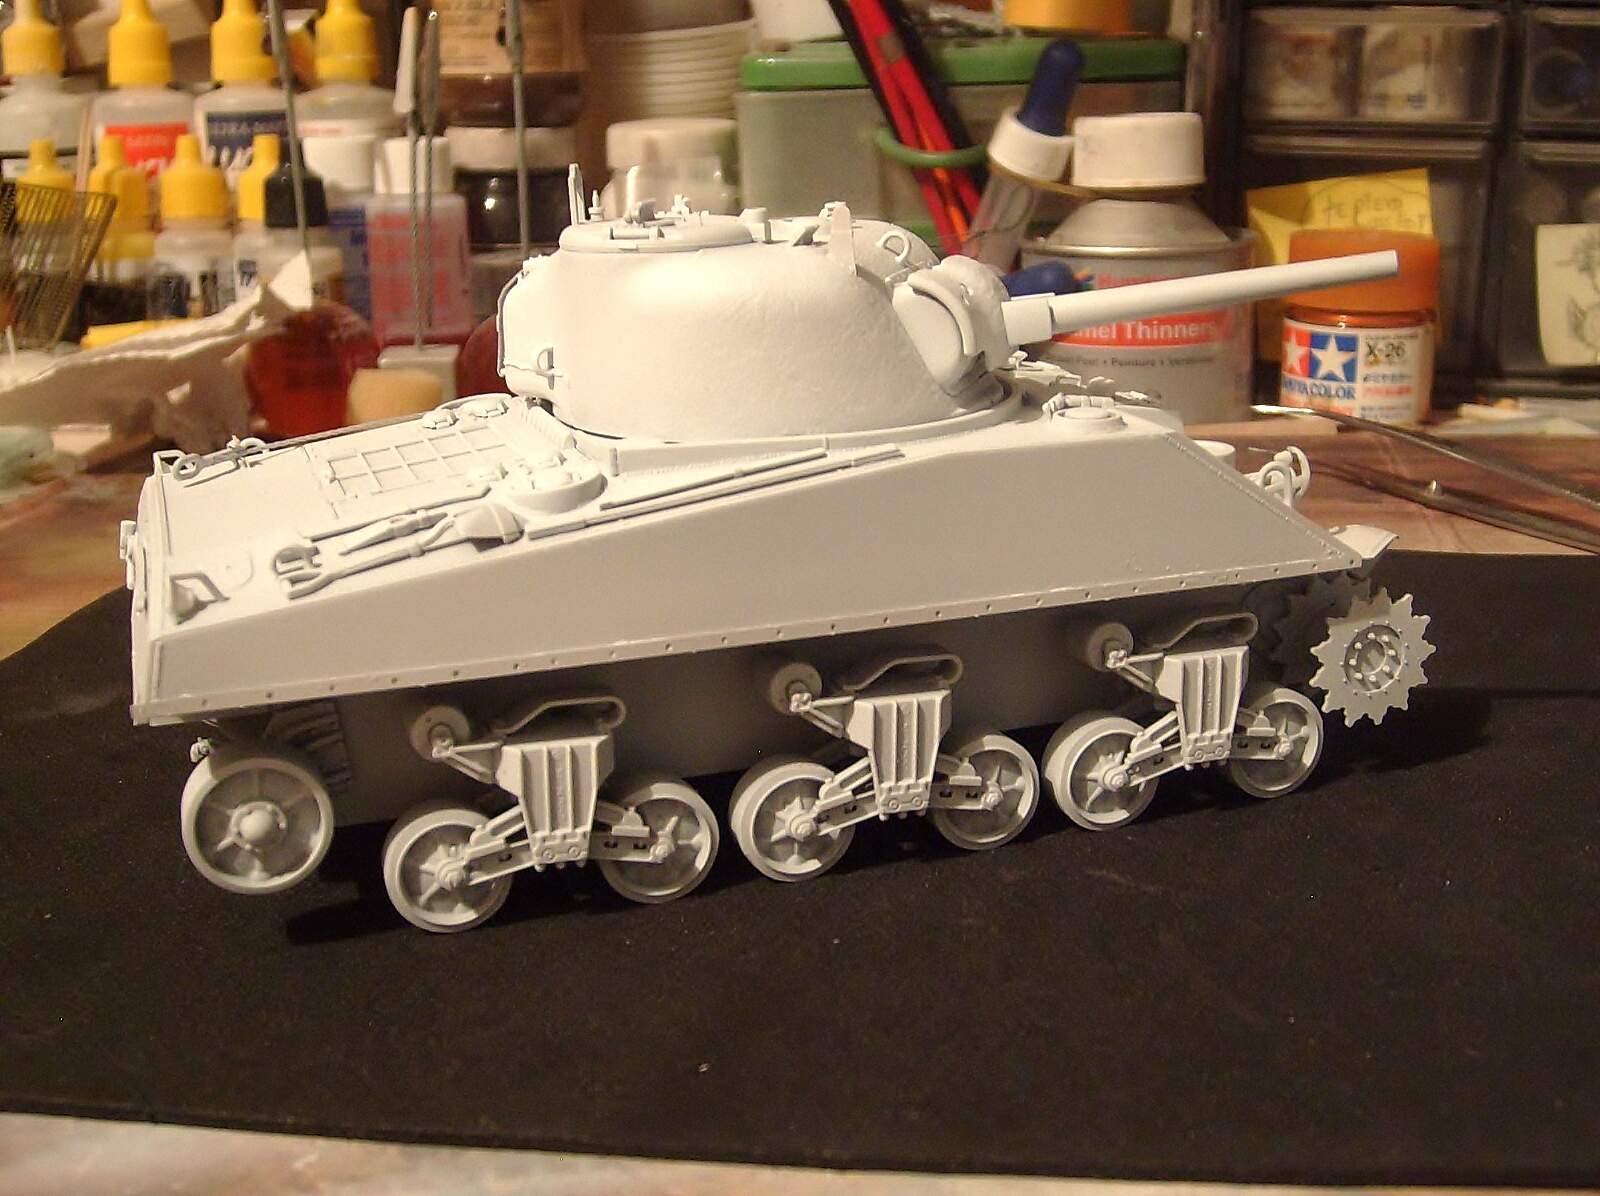
Here was applied a coat of A.MIG-2001 White Surfacer Primer thinned with A.MIG-2000 Acrylic thinner for a best fluid.
Regards!
Rodolfo
Hello friends!
More pics!
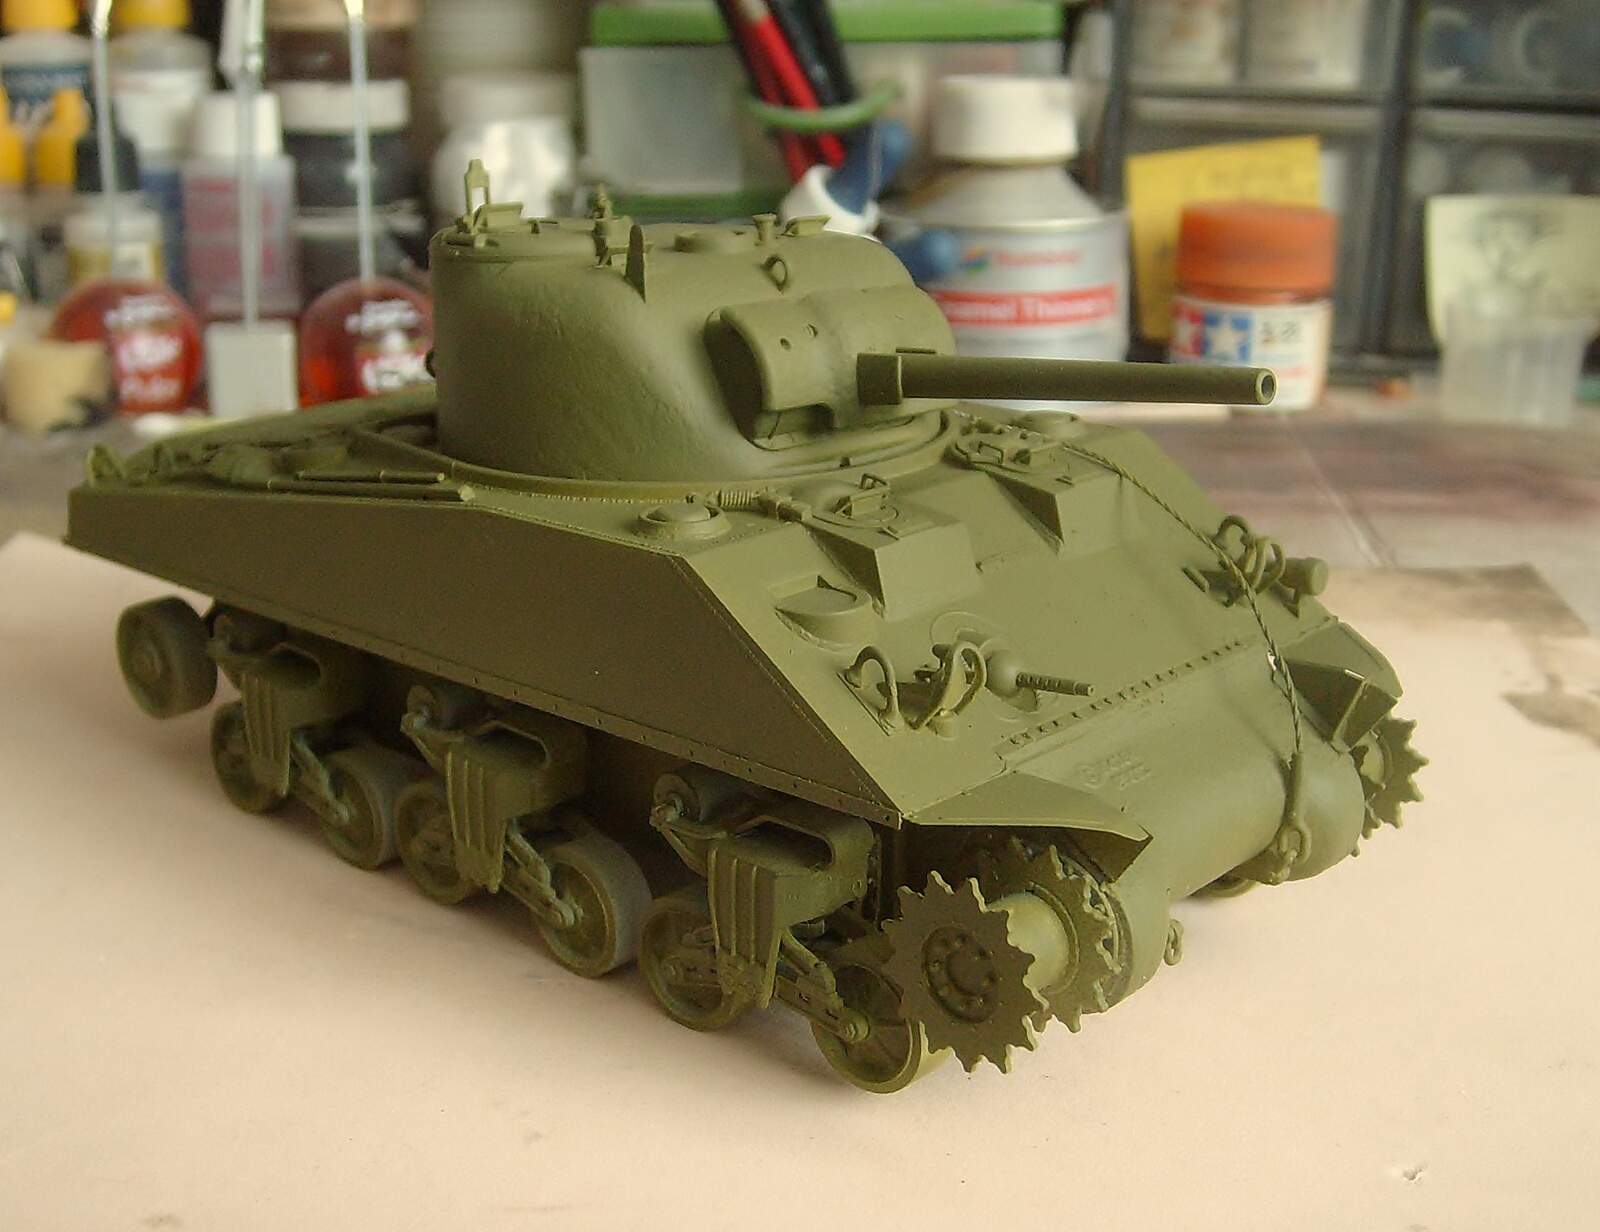
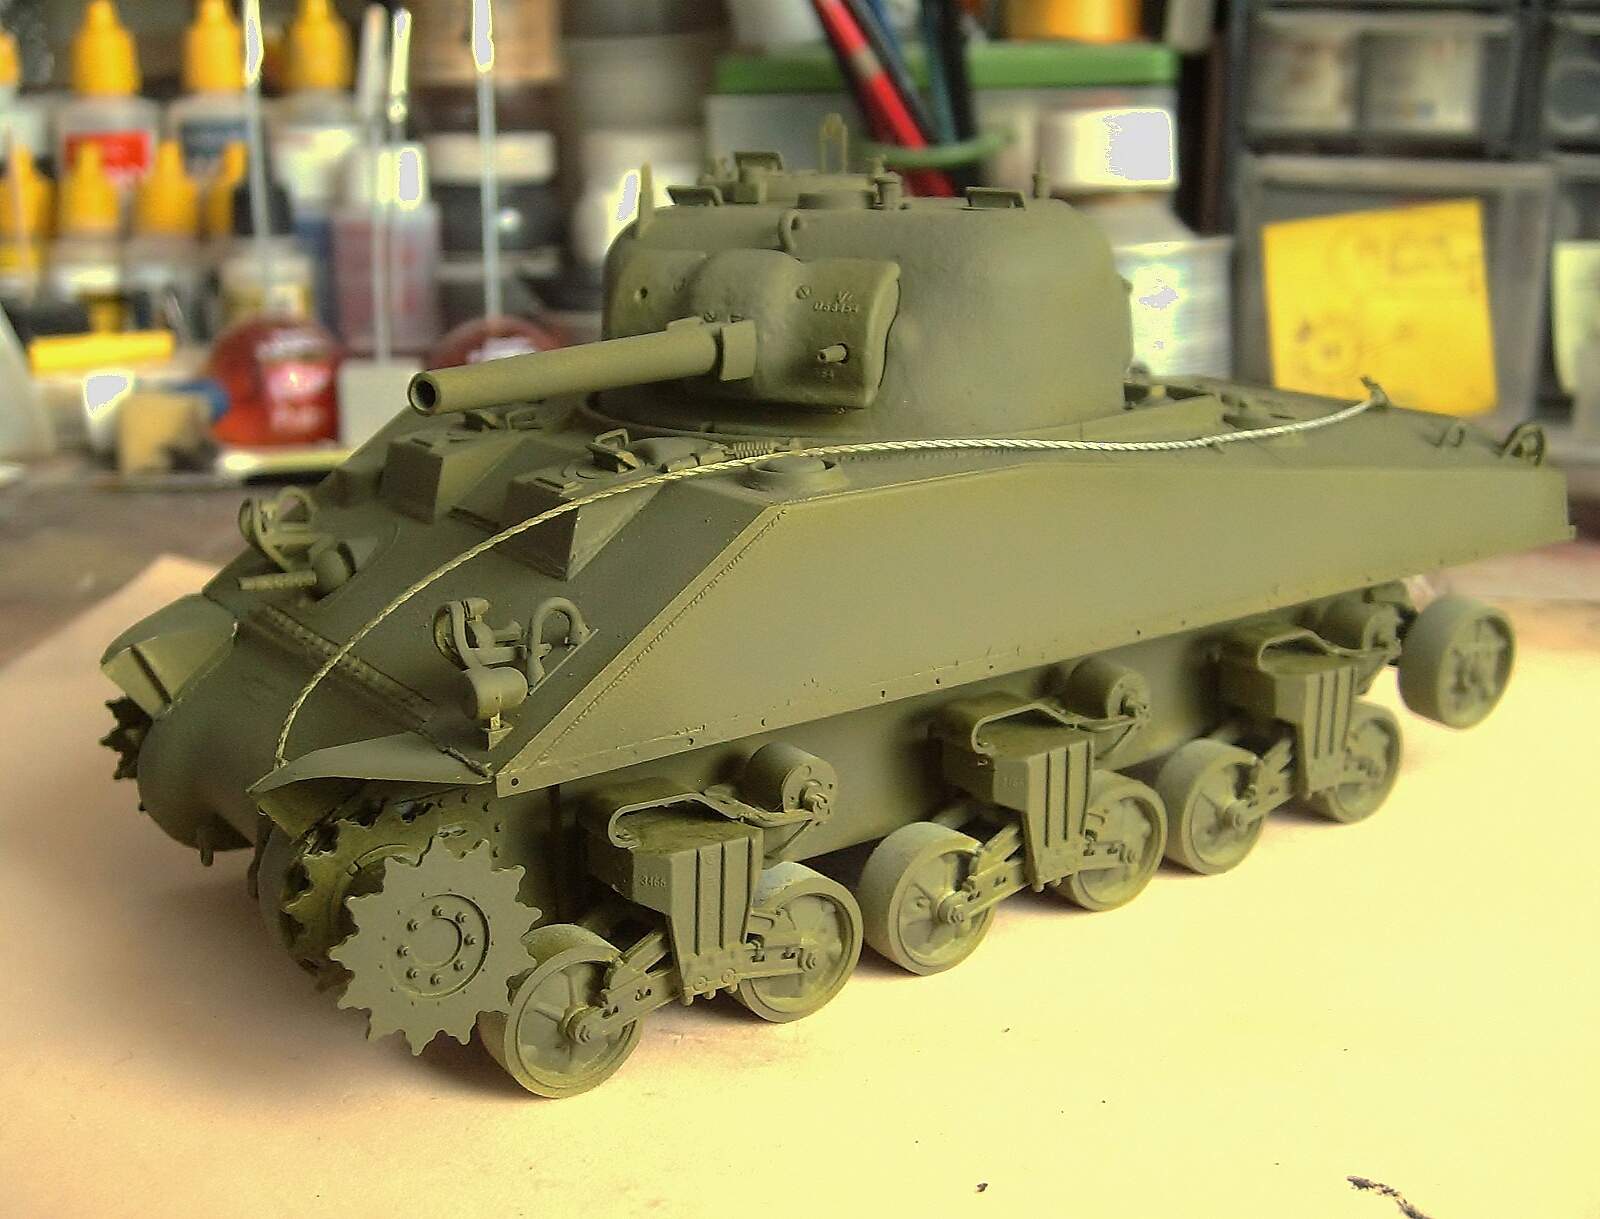
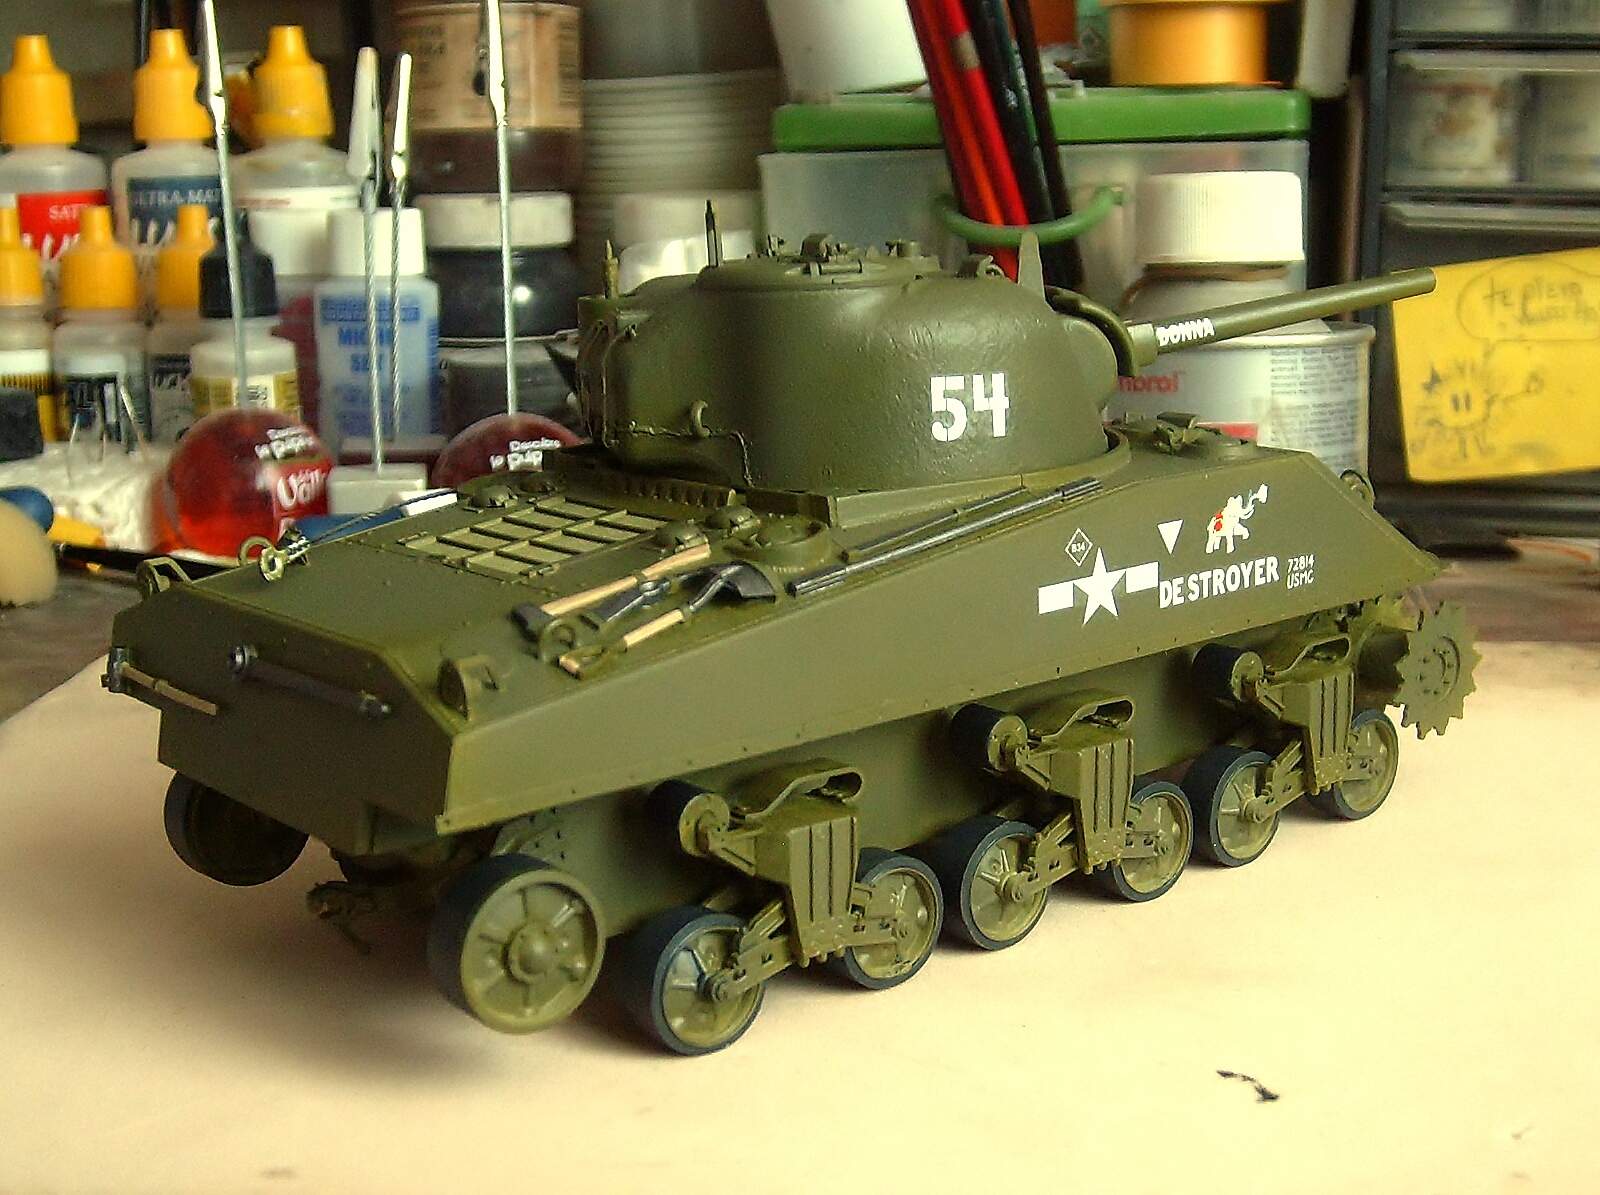
Here was applied Vallejo / Model Air 71010 Interior Green instead of Olive drab (for me more similar and suitable to the O-drab) adding some drops of Vallejo/Model Air 71028 Sand Yellow for lights.
Regards!
Rodolfo
Hi!
More pics!
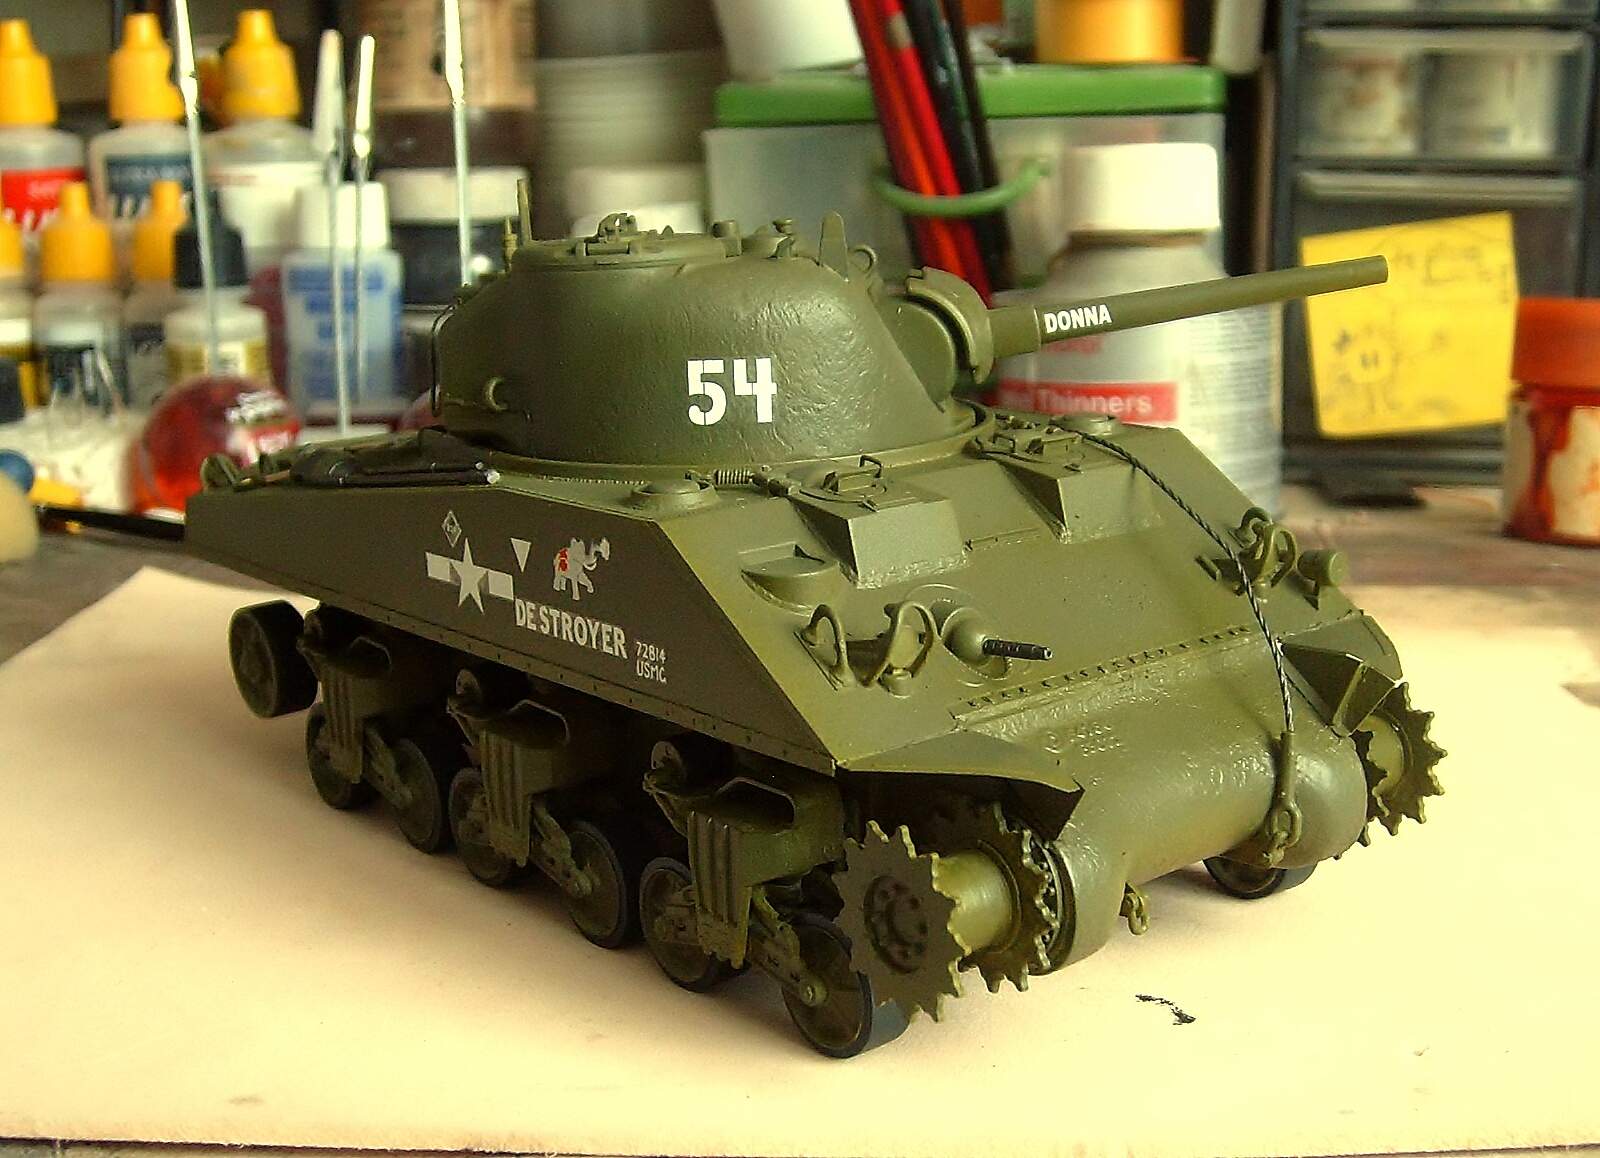
Aplying lights using: Tamiya XF-49 Khaki + XF-2 Flat White + XF-58 Olive Green diluted with Tamiya Lacquer Thinner (yellow cap).
Regards!
Rodolfo
Hi!
More pics!
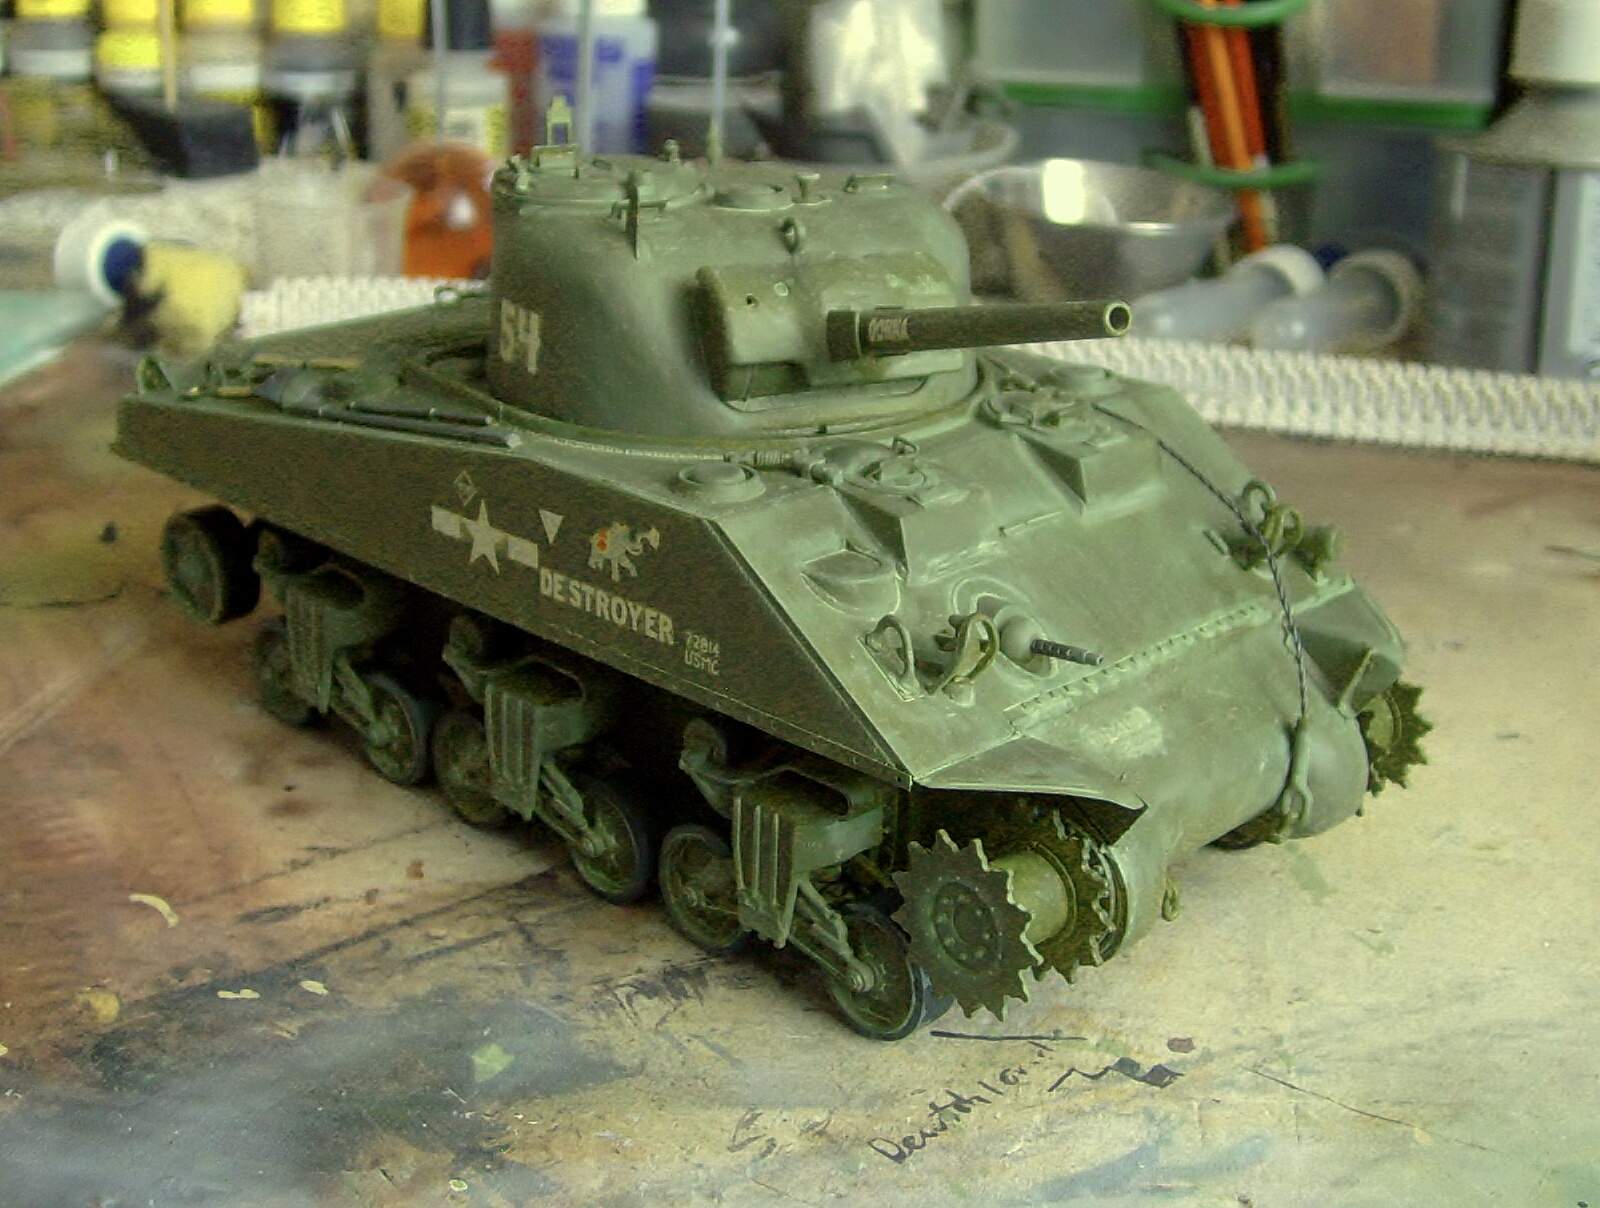
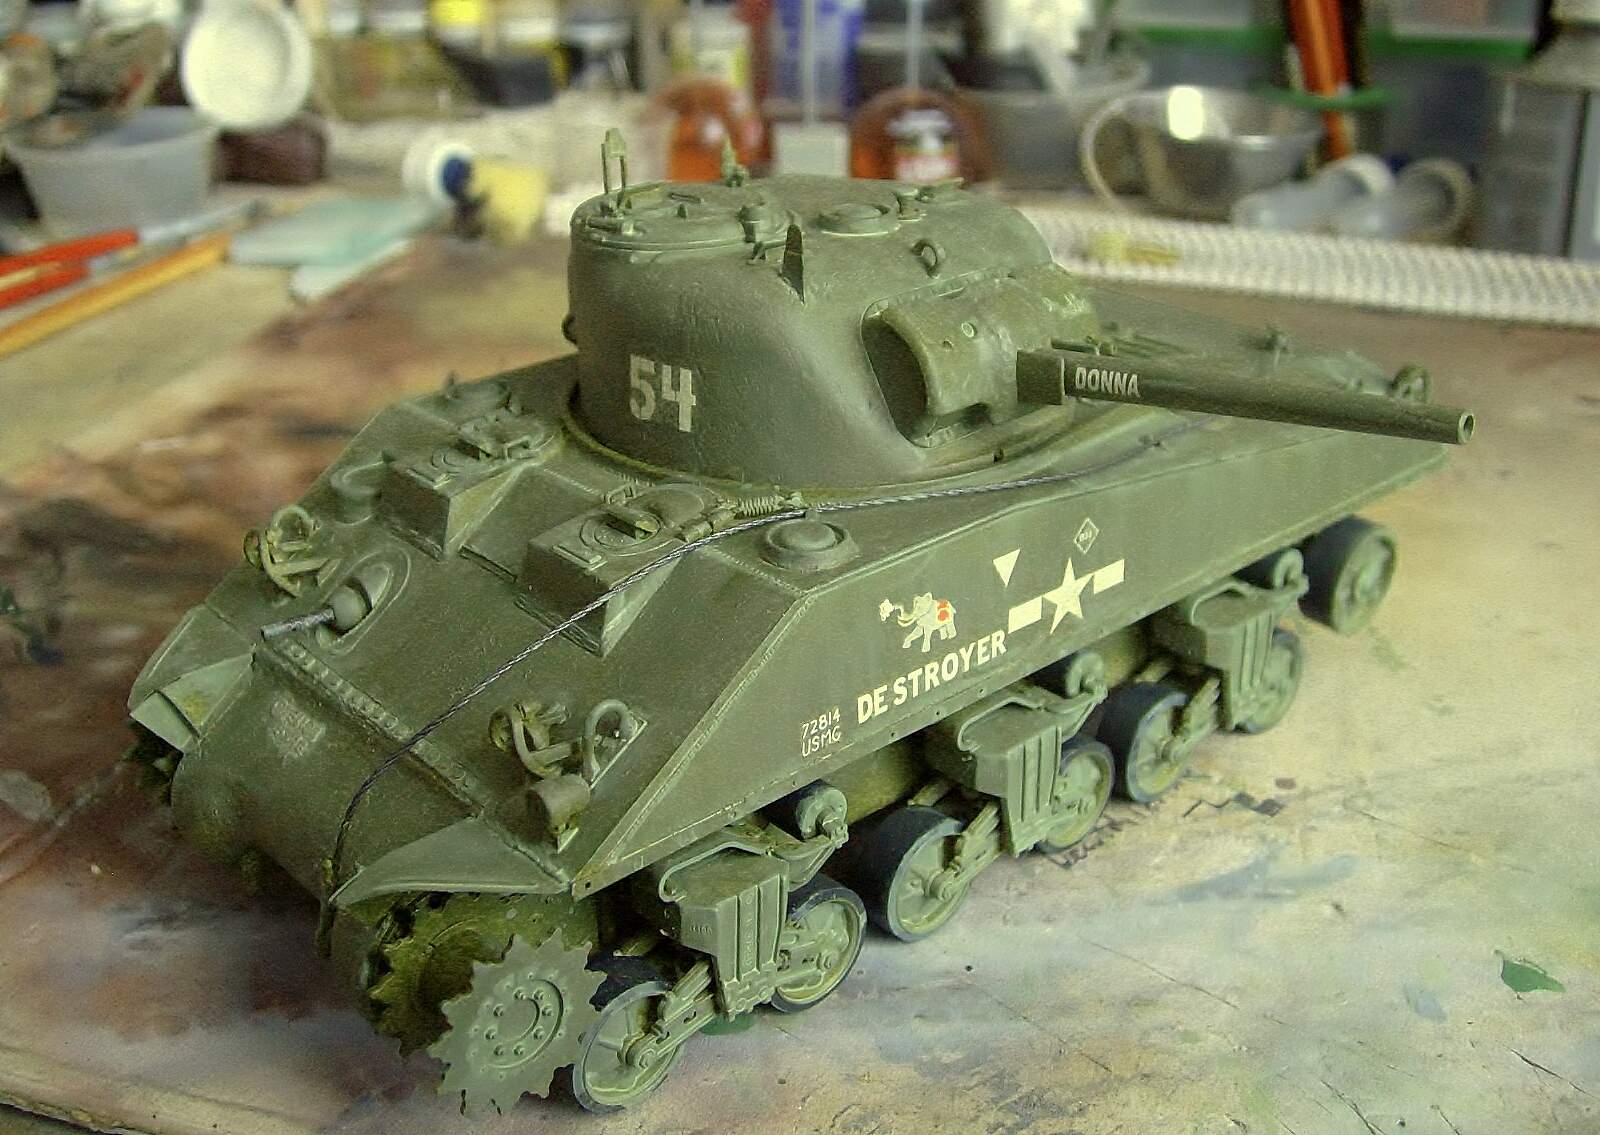
Details painted in tools and tow cable using A.MIG, decals applied using Micro Sol and Micro Set, finally was applied a coat of MIG/Satin Lucky Varnish before to start the weathering. Pics with Natural light.
Regards!
Rodolfo
Hi friends!
More pics:
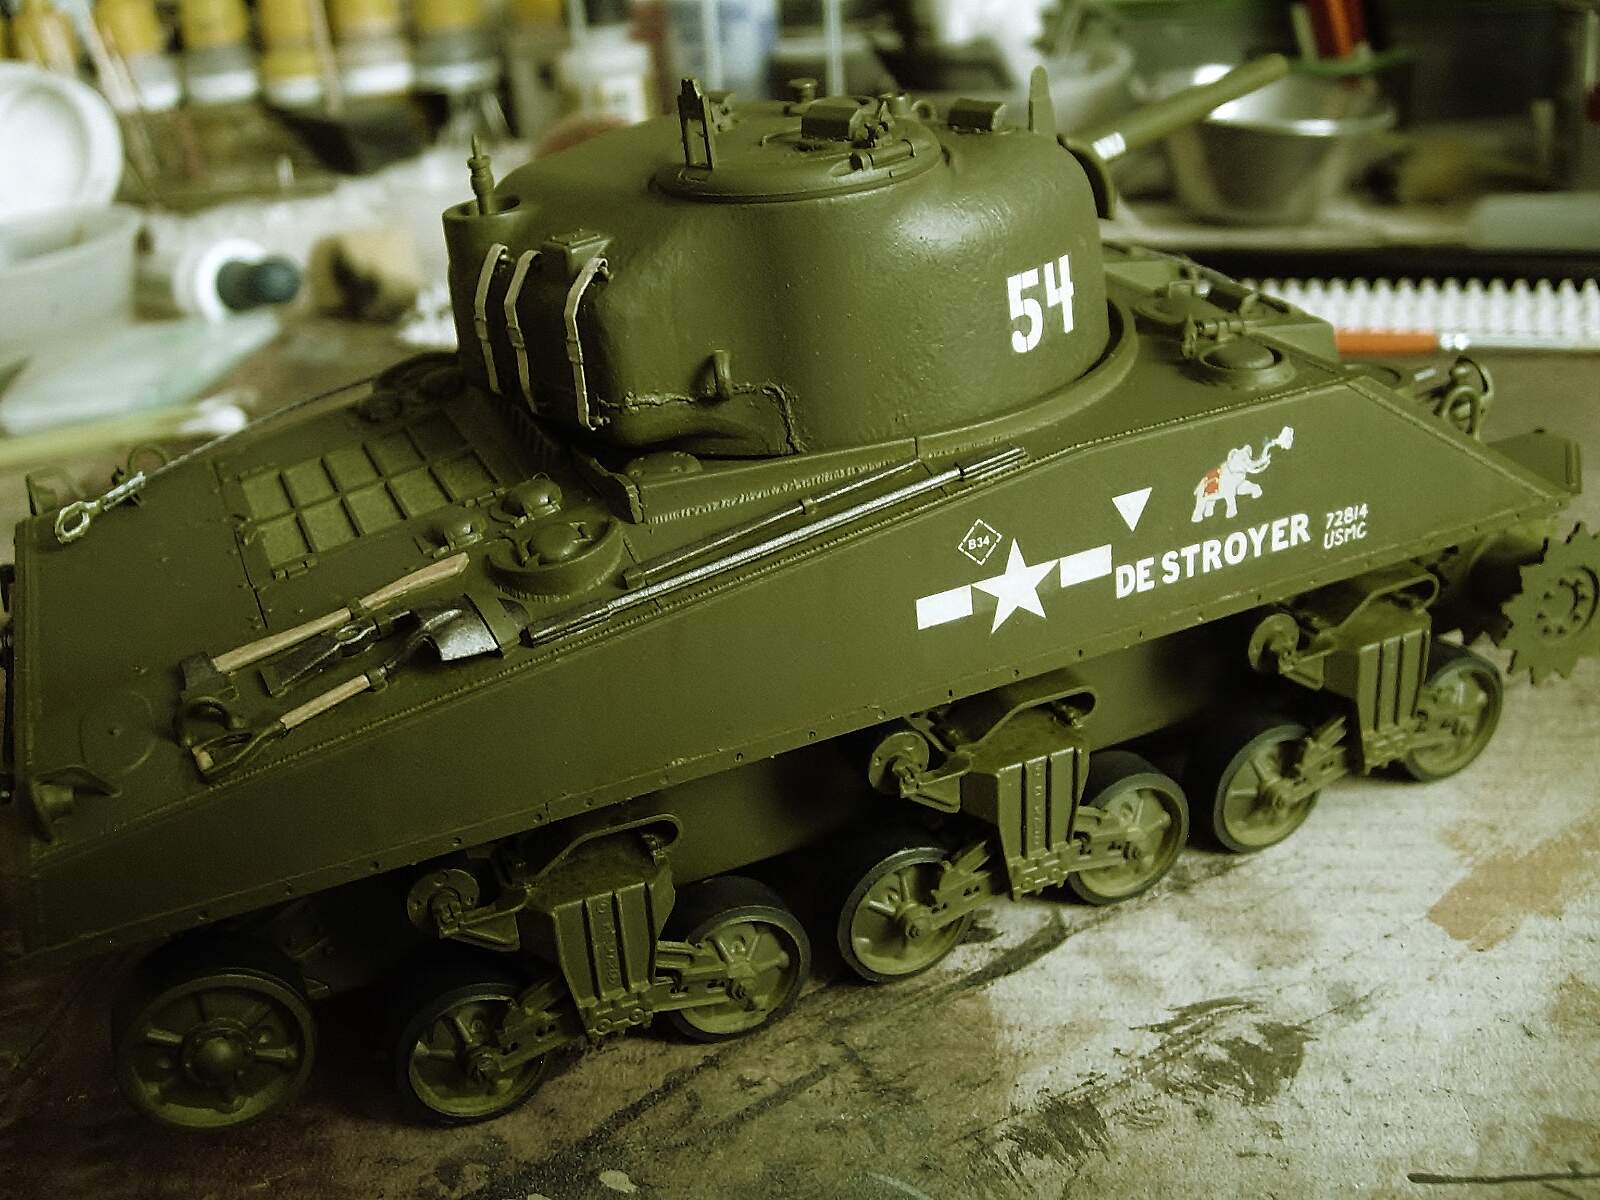
Applied a filter to old style, Humbrol Matt Khaki # 26 thinned con Humbrol Enamel Thinner.
Regards!
Rodolfo
Wish I’d caught this thread earlier. Dragon goofed on the drivers’ hoods in the initial boxing of this kit. The front of the hood needs a slab of .040" styrene added to bring it to the proper thickness. When you look at the top, the periscope is right behind the front edge of the hood, so the front armor would have no thickness at all. Reviews pointed this out, with photos to back it up, and when the kit was rereleased in British markings, Dragon corrected the molds. Presumably, if they have offered the Tarawa kit since then, the new kits would have the corrected upper hull part as well.
Ill be watching this . Like what your doing