Just stumbled onto this thread:
Hummmm . . . . . somehow that thread looks familiar!
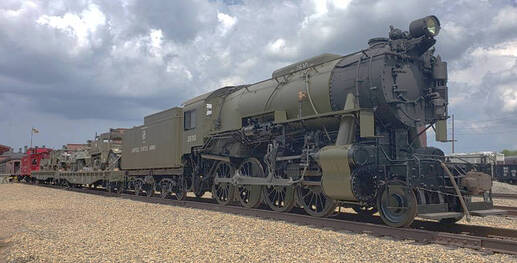
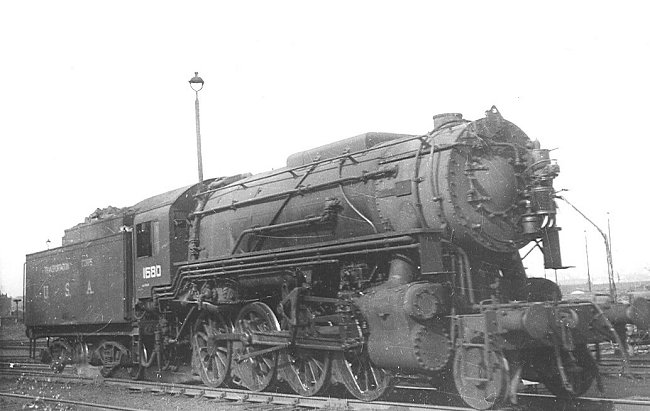
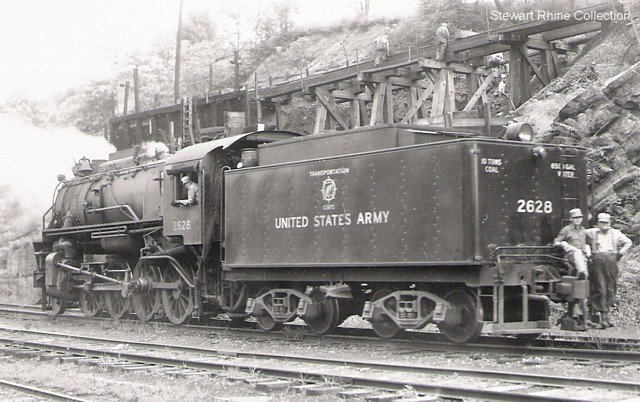
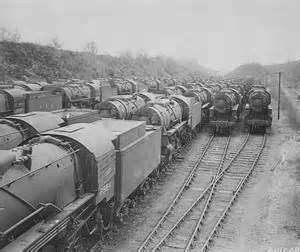
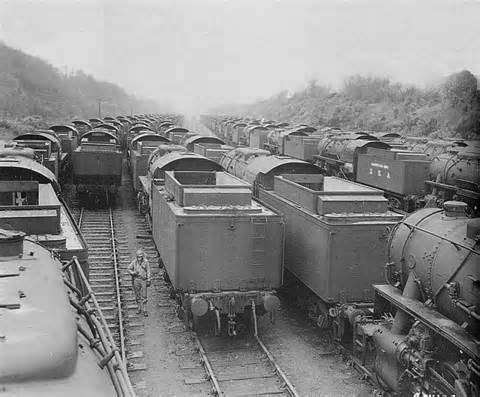
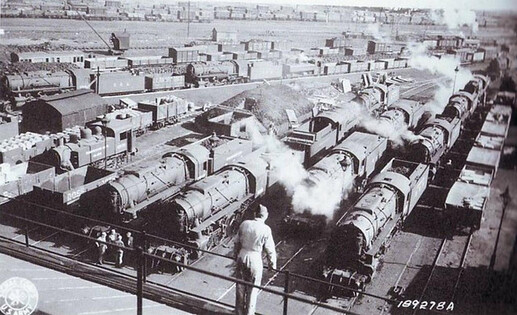
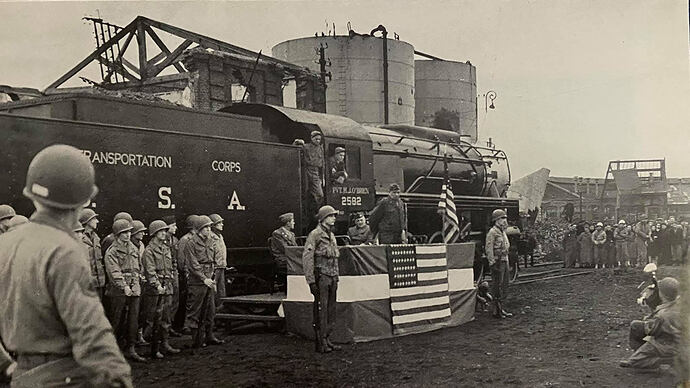
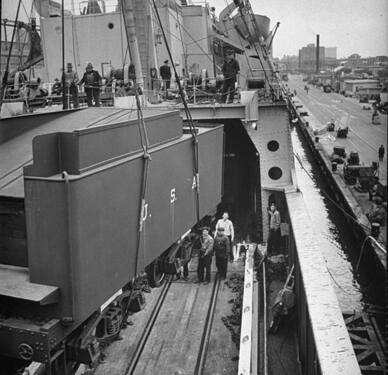
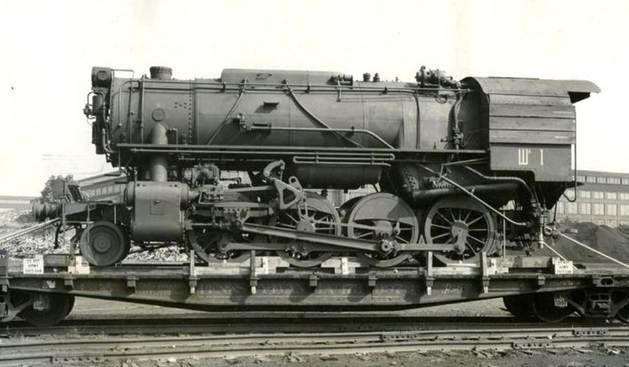
S-160 USATC Locomotive (2-8-0, 5 foot gauge) bound for wartime Russia:
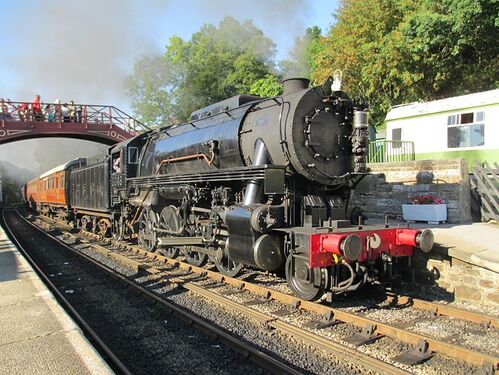
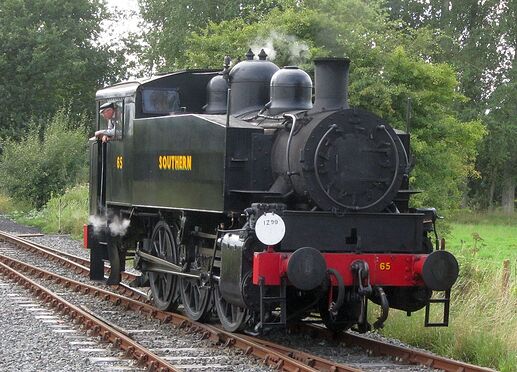
This compact steam locomotive of a standardized design was exported to all corners of the world and in all gauges, both before the US entered the conflict as well as throughout WWII.
p.s. - Resin model of S-160 coming one day from Commander Models!
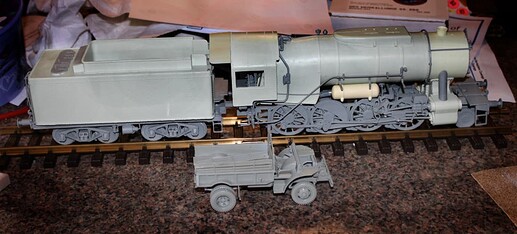
p.s. - Resin model of S-160 coming one day from Commander Models in 1/35th!
Seen here with their very nice “Burma Goat” resin model in the foreground.
Commander Models Photo
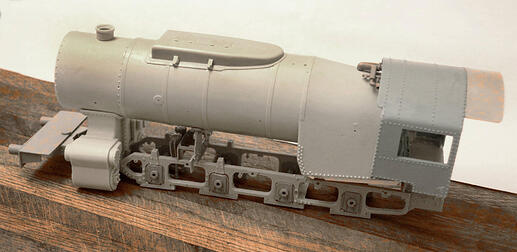
I was (lucky) able to get my hands on a pre-production issue of the Commander’s S-160 offering in 1/35th scale. Assembly has for the moment (week, month, YEAR) been bogged down due to my own personal issues but here are a few early construction shots:
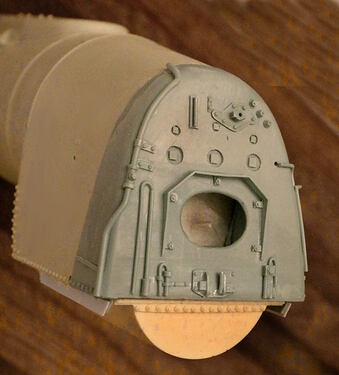
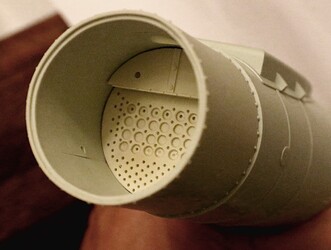
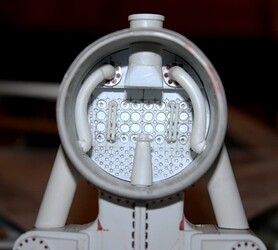
. . . .Working now on the smokebox interior of my Commander Models “Military Scale”, 1/35th, S-160 wartime lend/lease locomotive.
One of these days I will have to decide if to cover up all this nicely done detail by closing the smokebox door or to keep it visible by making a maintenance vignette.
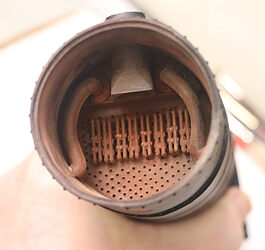
. . .On left is my model . . . . On right is the Commander Models’ original pattern.
Seen here is the forward flue sheet. Superheater pipes. Main steam feed pipes running down to the cylinders and the smokestack bell cone assembly.
The only thing missing at this point is the exhaust nozzle coming up from the steam chest (cylinders) below.
p.s. I did not overly clean up the superheater pipe castings because this is exactly what they would look like as they become clogged with soot with extended use.
__________________________
Something you might find interesting:
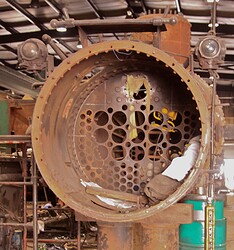
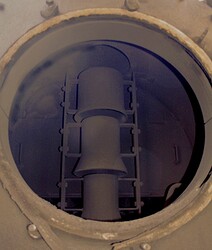
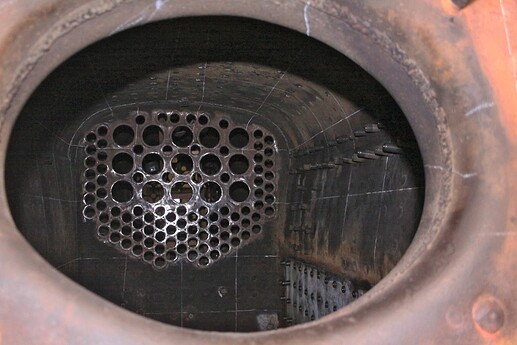
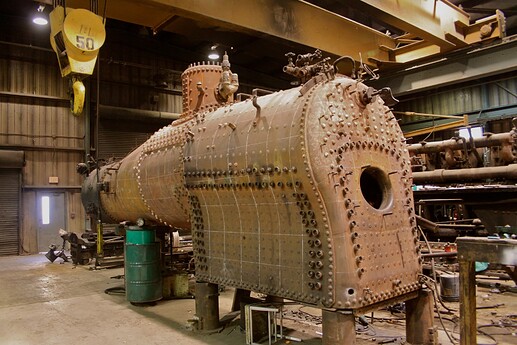
Forward flu sheet seen during restoration of, I believe, the Climax Geared Steam Locomotive at the Cass Scenic Railroad in Cass, West Virginia. And the “Exhaust Bell” arrangement on a Shay Geared Locomotive also seen at Cass.
. . .And just below, the rear flue sheet as seen through the firebox door.
Of course the flues have been removed at this point and boiler inspection has begun.
Michael, this is really an exciting build. Thanks for showing the scenes from Cass Scenic Railroad. I think those photos are useful not only from the steam locomotive engineering standpoint, but also for saying how metal exposed to high temperatures for a long time weathers.
I’ve been looking at your image of their original casting versus remodel. What am I missing? I don’t see a difference
Fred, the right hand photo seen far above of the smokebox interior is literally the Commanders’ original scratch built pattern for making the molds with all the separate parts and bolt head castings, etc. I thought this might be of some interest to the model builders out there as in showing just how the “bread was made”
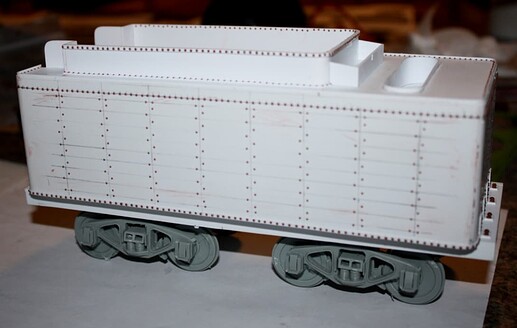
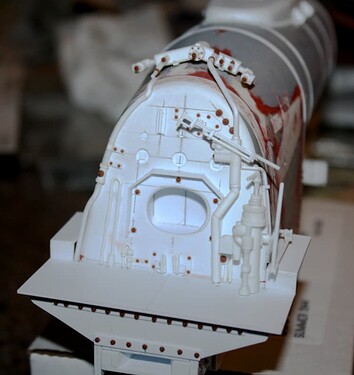
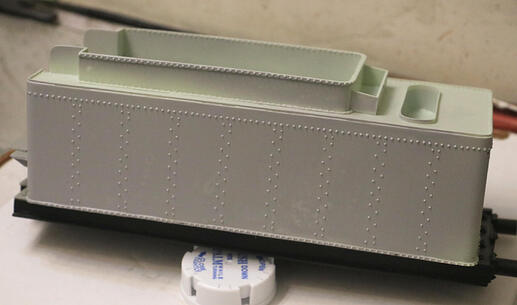
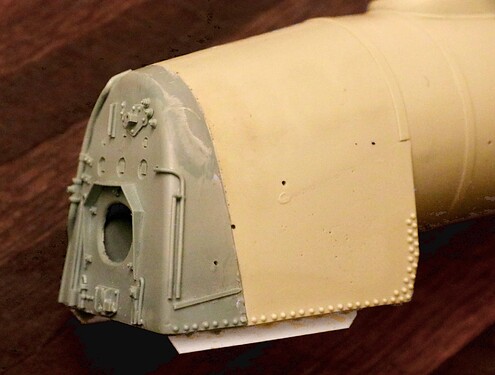
Similarly; the photos below showing the HUNDREDS of hand placed rivets, attached to the original tender block or the original scratch built patten for the boiler backhead.
This is the kind of masterful scratch building that has to happen before any molds can be made.
(At least before the advent of 3D Printing!)
Both photos Commander Models
The finished tender molding with a light coat of Tamiya Gray Primer:
And the locomotive backhead:
How Commanders manages to make such large massive resin moldings without warpage or shrinkage is far beyond my understanding!
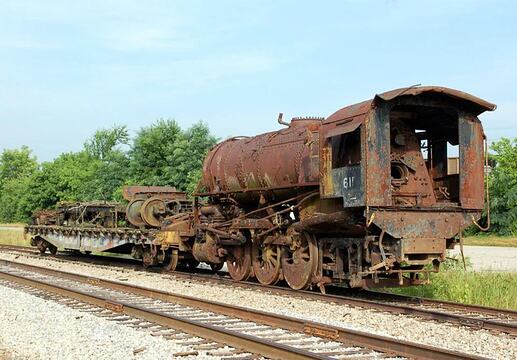
A SAD Day!
Photo found online.
____________________
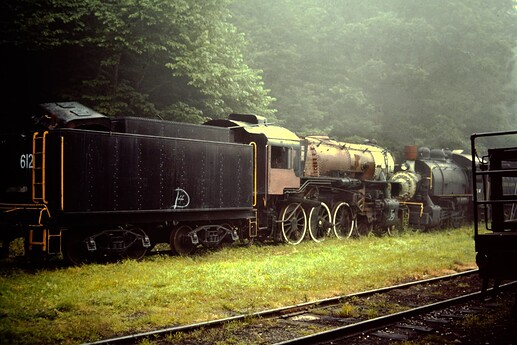
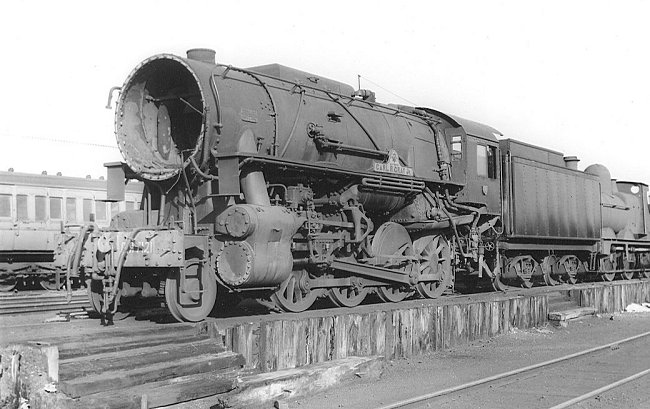
This S-160 was on the rip track at Cass
However this was many years ago and has since been sold off and has received a full restoration, I believe!
Mike Koenig Photo
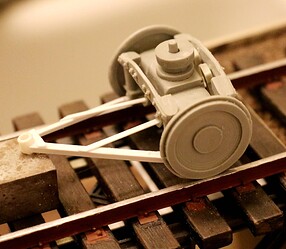
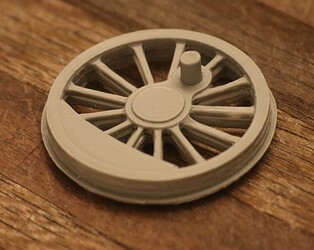
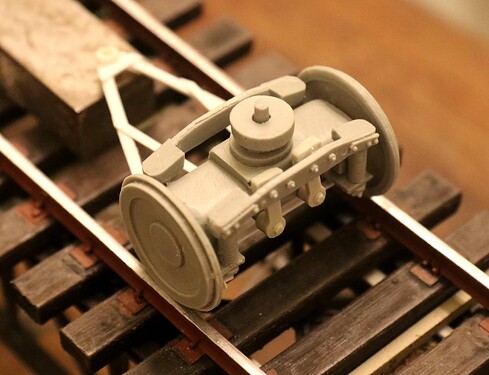
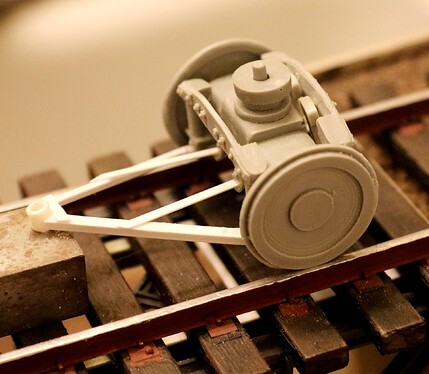
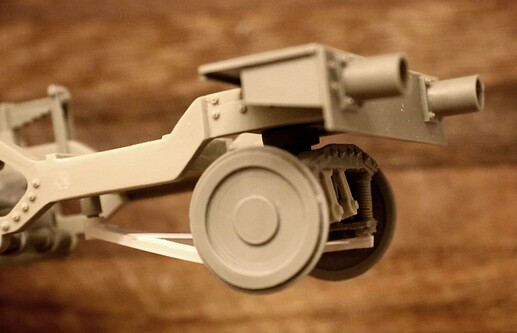
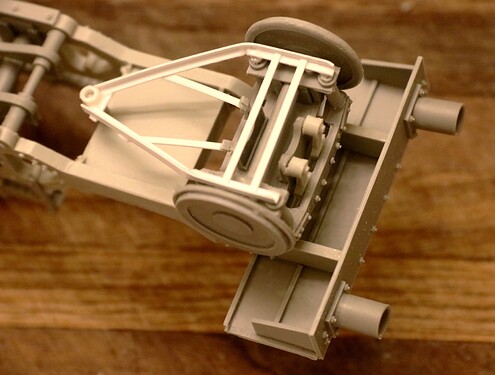
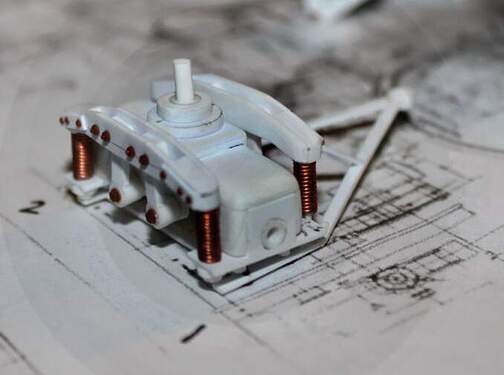
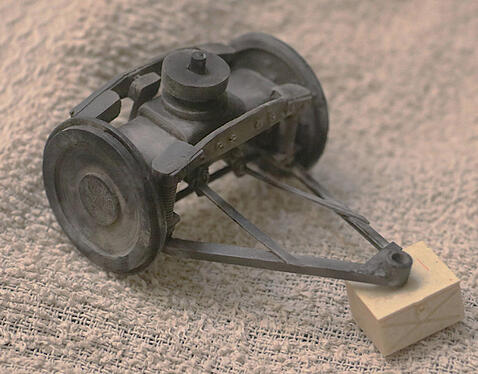
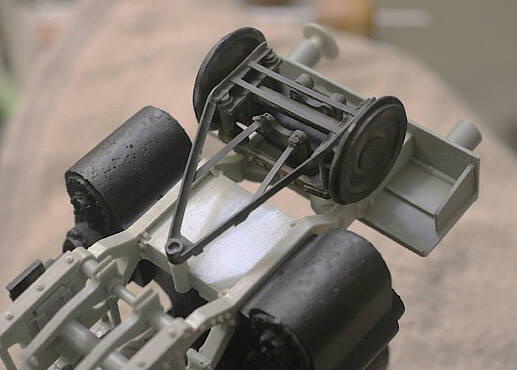
The forward two wheeled Pony Guide Truck:
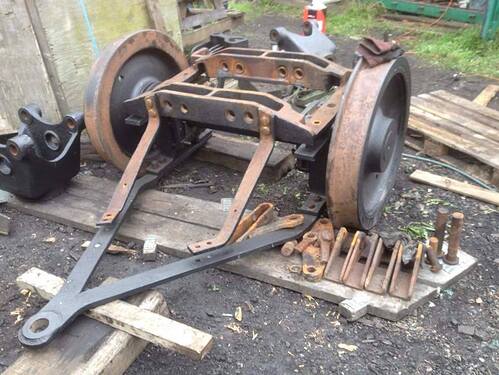
One comment I have now made back to Commander is that I feel, the wheel treads much too narrow to meet proper scale thickness. (See prototype photos below.)
I believe Commander is now in the process of up dating the finished kit parts.
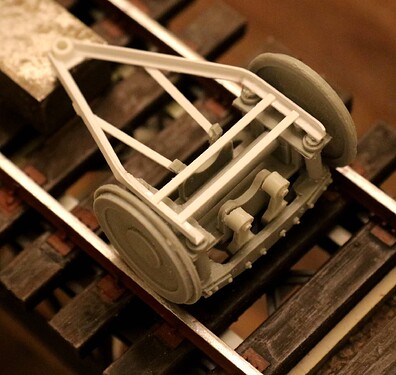
The ONLY part to be broken in the shipment of this very large, very heavy cardboard box were these delicate trailing arms for the pony guide truck. I had to rebuild these using some Evergreen angle.
Truck is upside down in this photo,
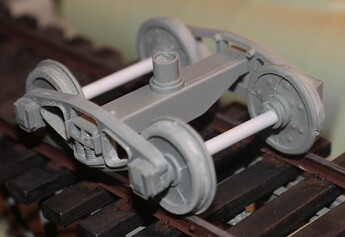
Truck is upside down in this photo,
Looks like the truck below had the addition of angled metal “rock sweepers”. I might have to eventually add this detail to mine.
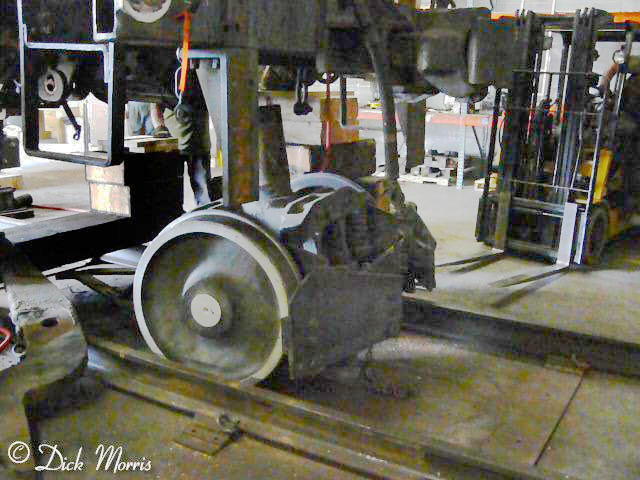
Photo Dick Morris
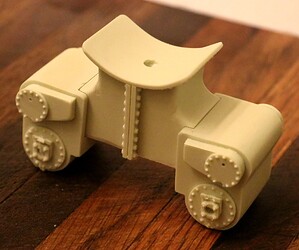
This shot below is of the original scratch built truck used to cast the production resin product.
Photo Commander Models
.
Finished, painted and weathered Pony Truck:
Dry fit into locomotive frame:
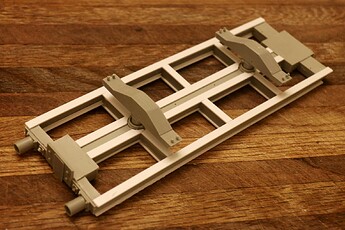
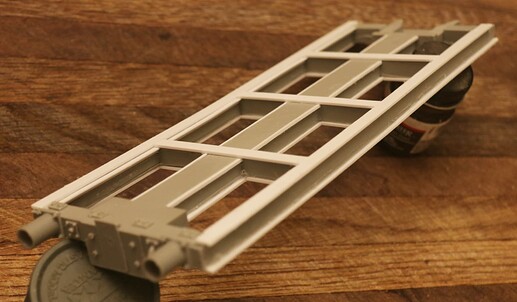
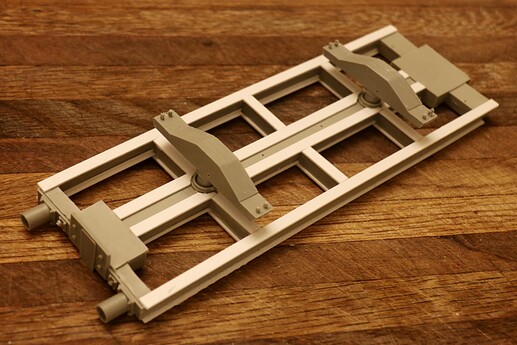
Working now on the tender frame and underpinnings:
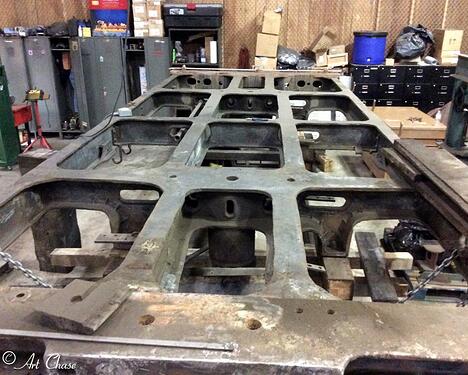
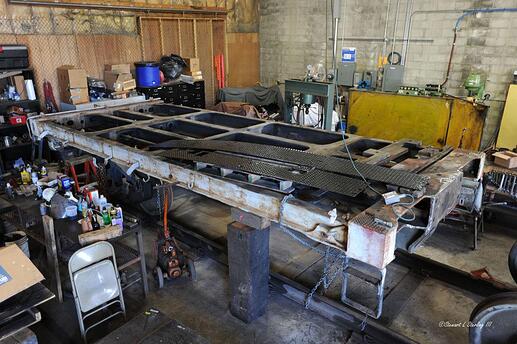
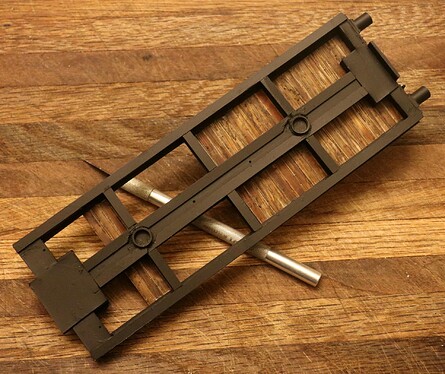
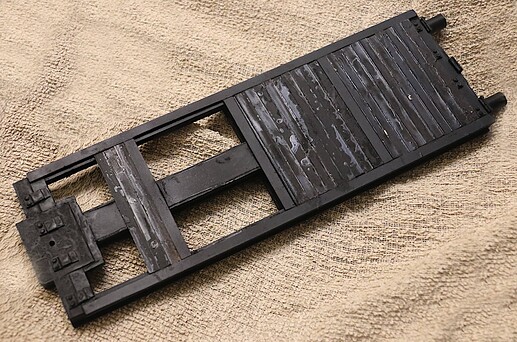
The actual frame appears to have been made of one large central casting with two massive “C” channel beams running, one down each side. Or perhaps the entire frame is just one large casting. (Not uncommon in Locomotive construction of the day.) So again Evergreen to the rescue; I added strips above and below the frame to represent the “C” channel flanges. (Hint: I should have used thinner stripes than these as the tender might now end up sitting a tad too high!)
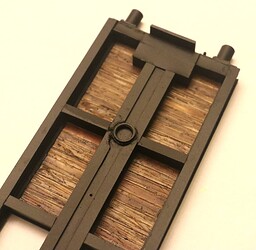
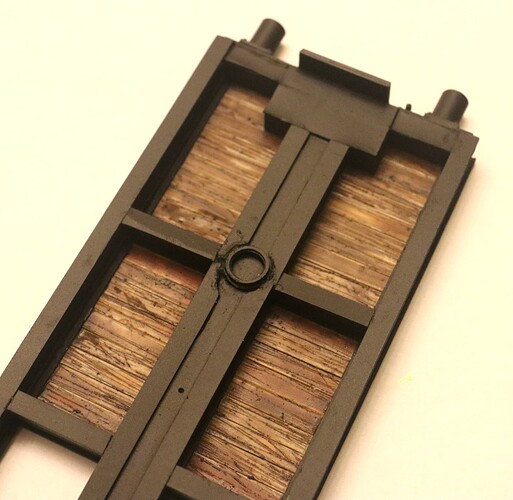
Also I wanted to add some indication of the wood flooring that is used on a tender to support the weight of all that water pressing down on the wide metal bottom sheet of the water tank. (I admit I am probably over doing things here just a bit, but it would not be the first time I have added detail to a model that would possibly never be seen once completed!) As you will often hear me say: “I know it’s there!”
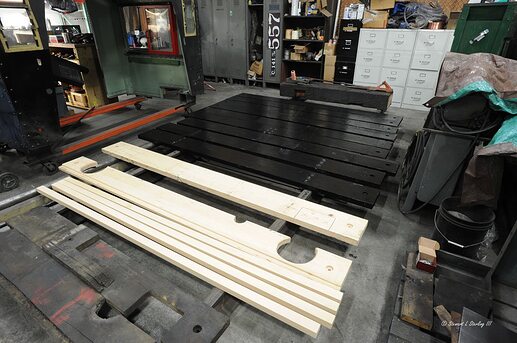
Below; New wood being cut for the restored tender frame:
Individually distressed and stained “boards” (More Evergreen) to form that flooding.
I first drag a saw blade over the plastic strip a number of times to create the wood grain. I usually give the “wood” a light sanding to knock down the largest of the grain and then apply a buff or German dark Yellow base coat. Then I use a variety of washes (stains), usually sepia or a combination of sepia and black (Citadel Products from the DnD stores.) to create the final effect.
A view of the top side of the tender chassis. The rest of the wood flooring will soon be in place.
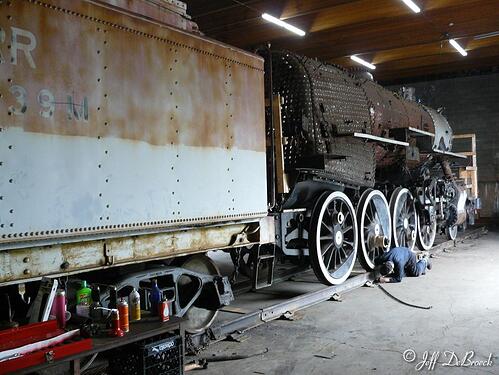
Some more Tender Reference:
Unloading at Port:
.
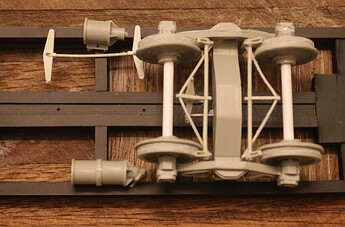
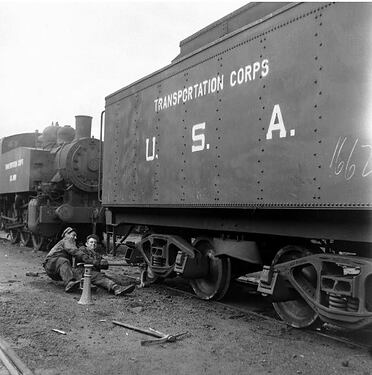
Trying to “Re-rail” a slipped tender wheel:
The object hanging between the tender trucks is known as a “re-railer”. It hangs on two hooks and is used as a ramp to try and roll a car wheel up and back onto the rail. These two men have probably placed the left side re-railer under the far wheel and are now trying to jostle the wheel on this side up, over and back onto the tracks.
The cylindrical object in front of them is known either as a “screw jack, tower jack” or a “car jack”.
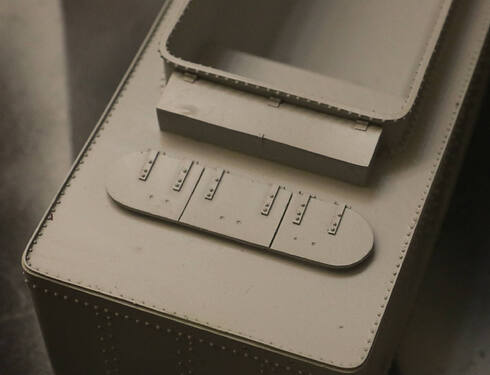
Slight bit of tender construction work this evening:
Added top deck Toolbox and Water Fill hatches.
(Again beautiful casting quality here!)
________________________
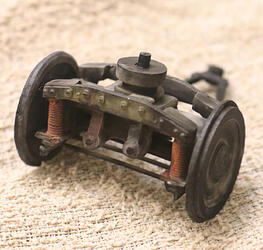
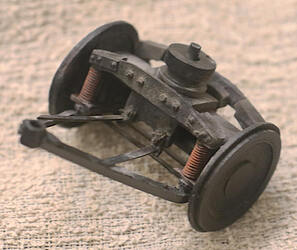
p.s. One more detail: I had forgotten to add my usual “rust treatment” to the pony truck suspension springs.
. .I admire your attention to detail and accuracy
