I’m a beginner about to weather their model.
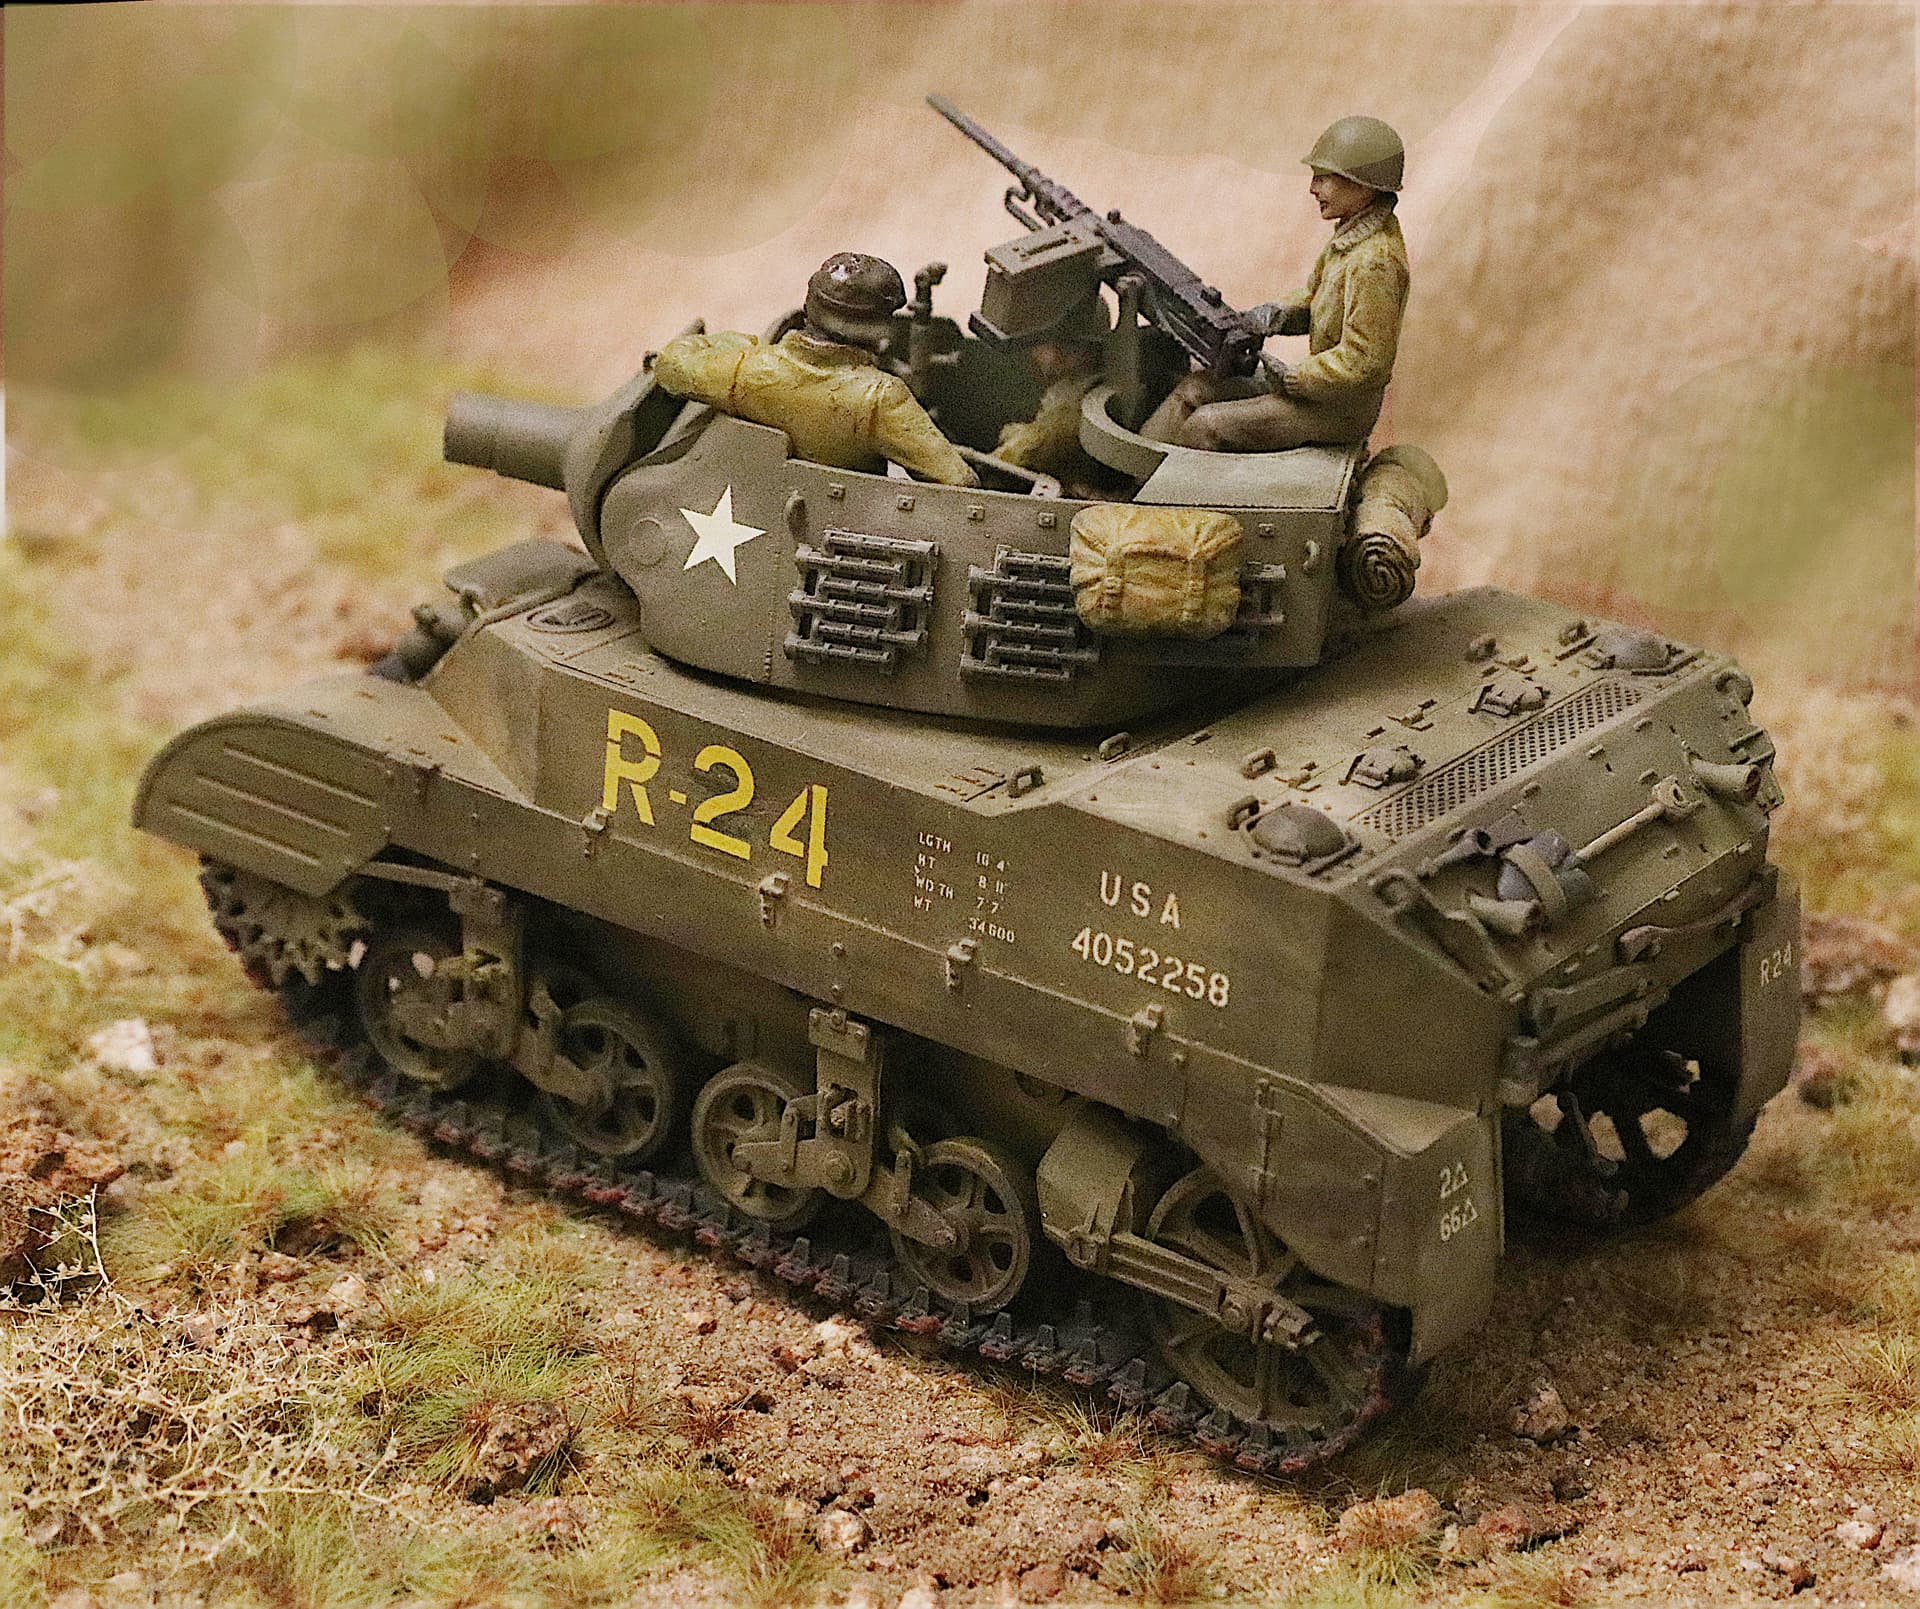
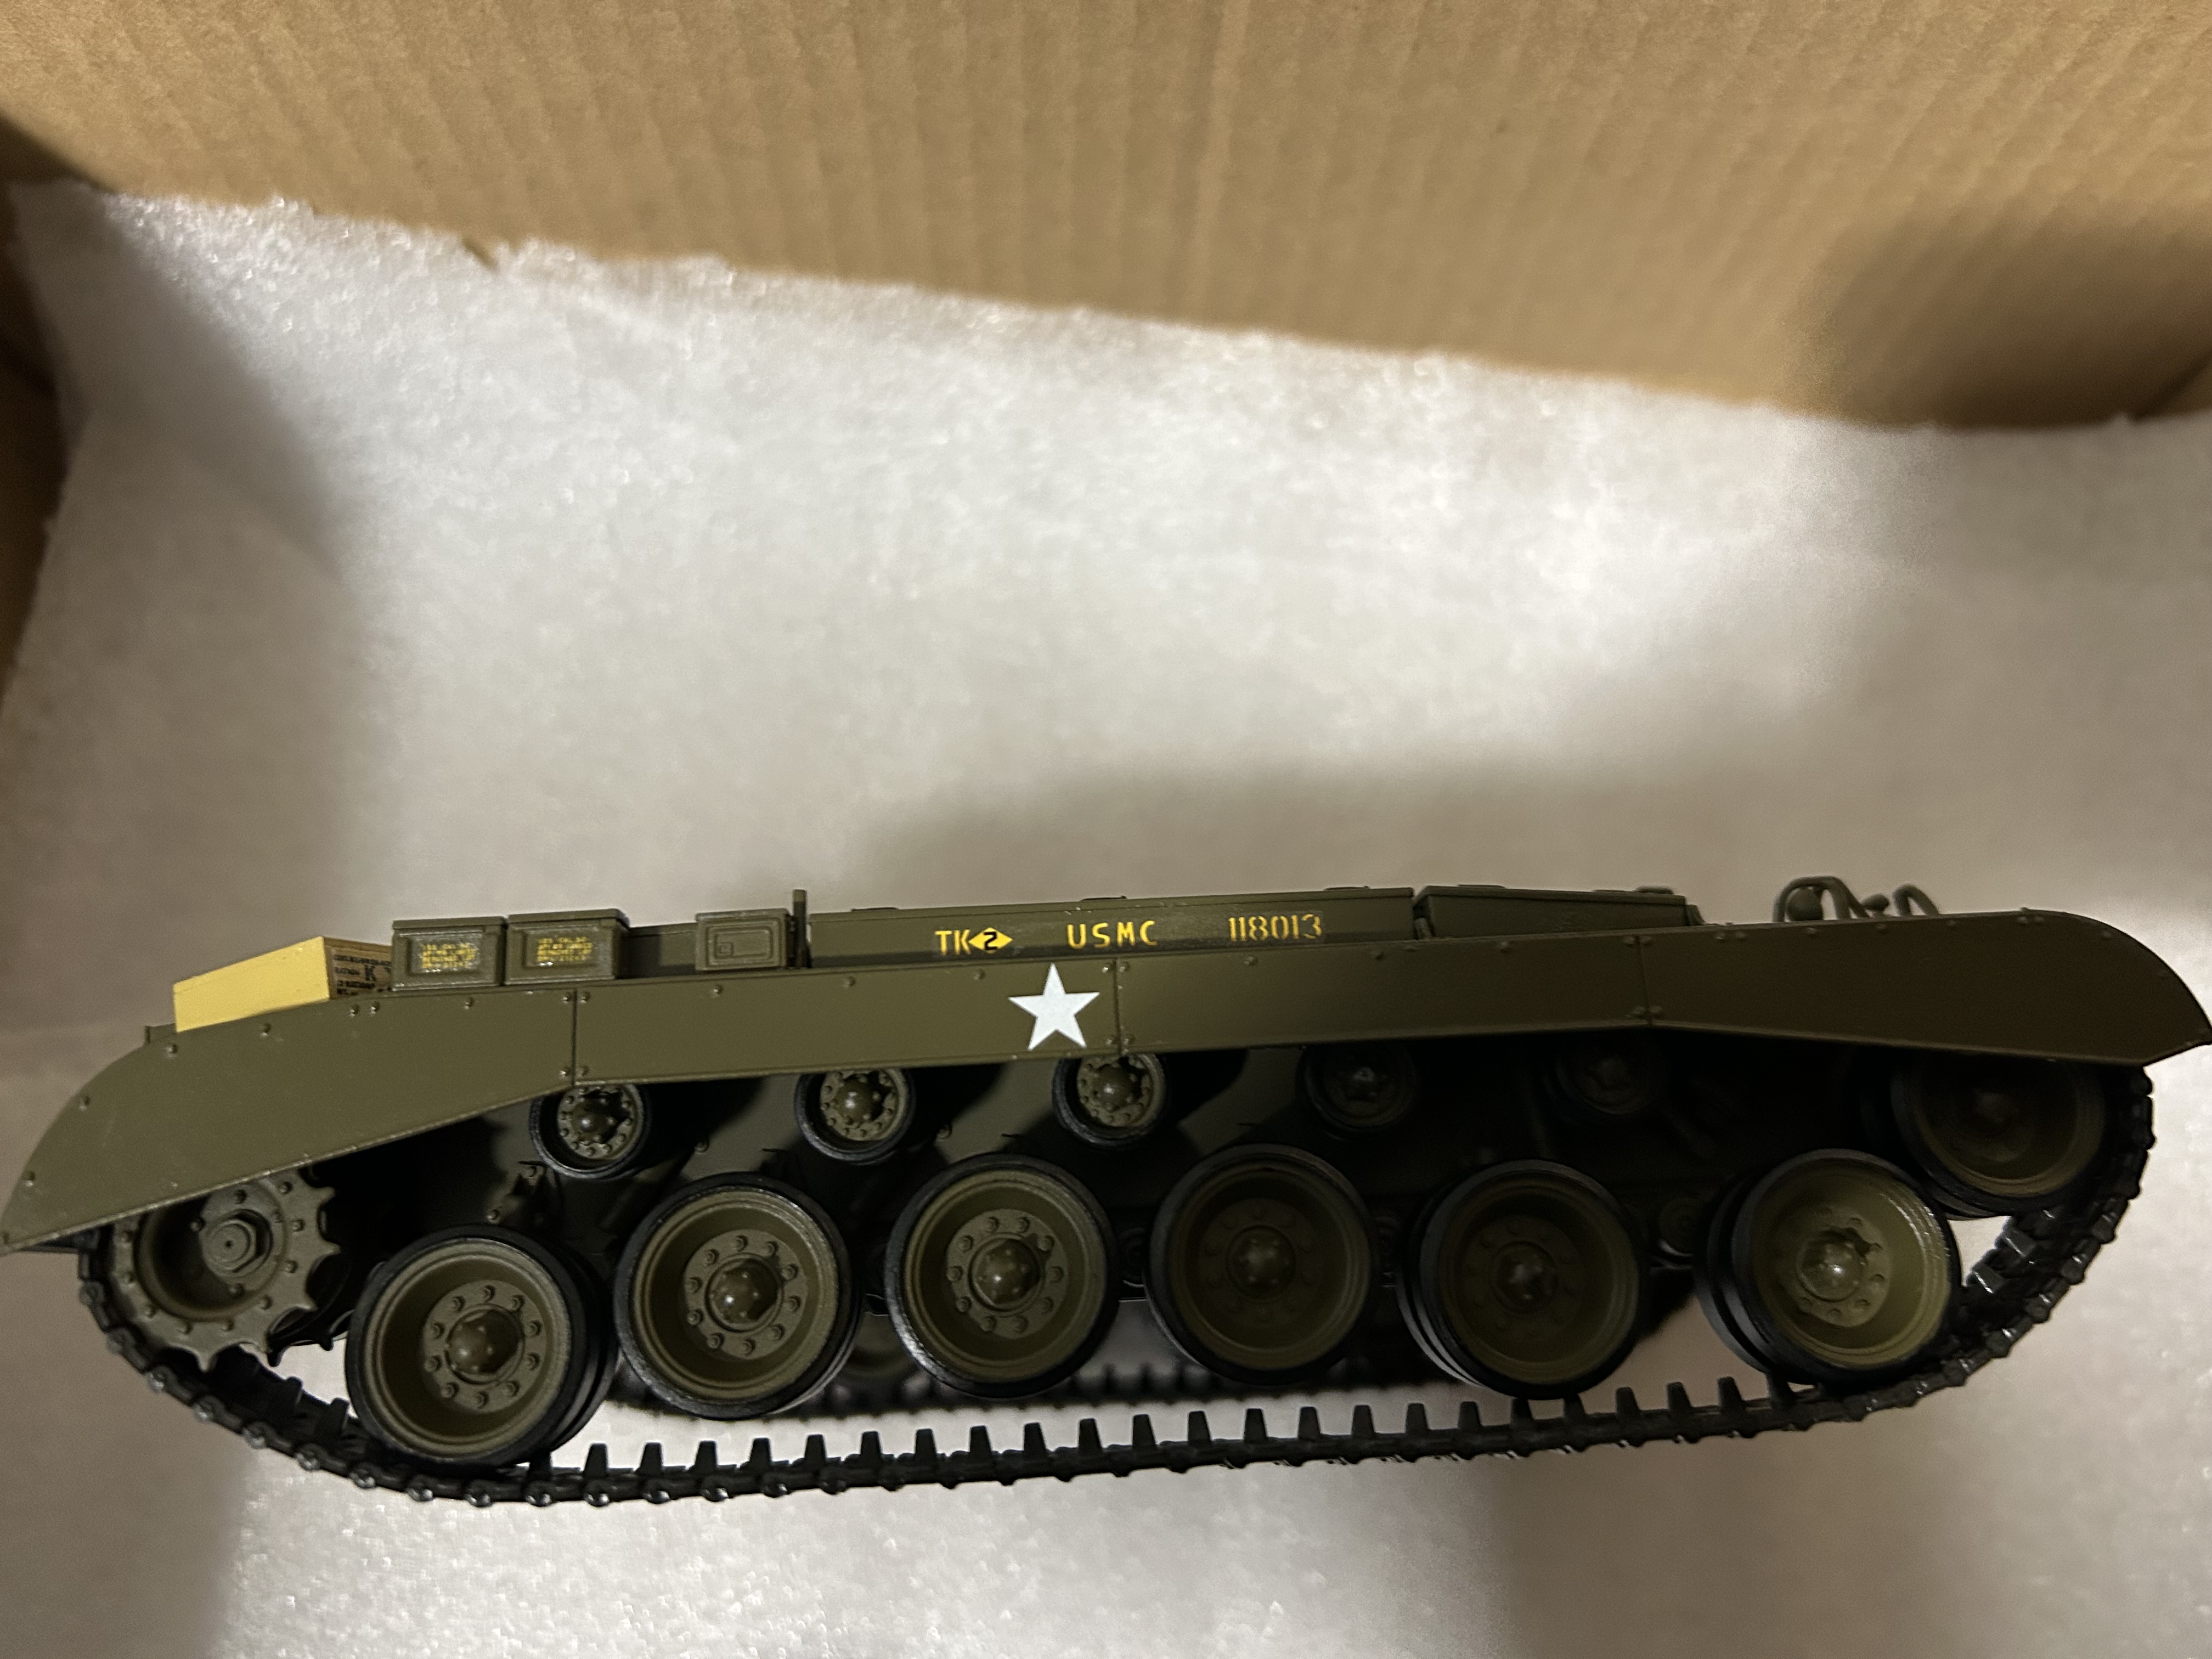
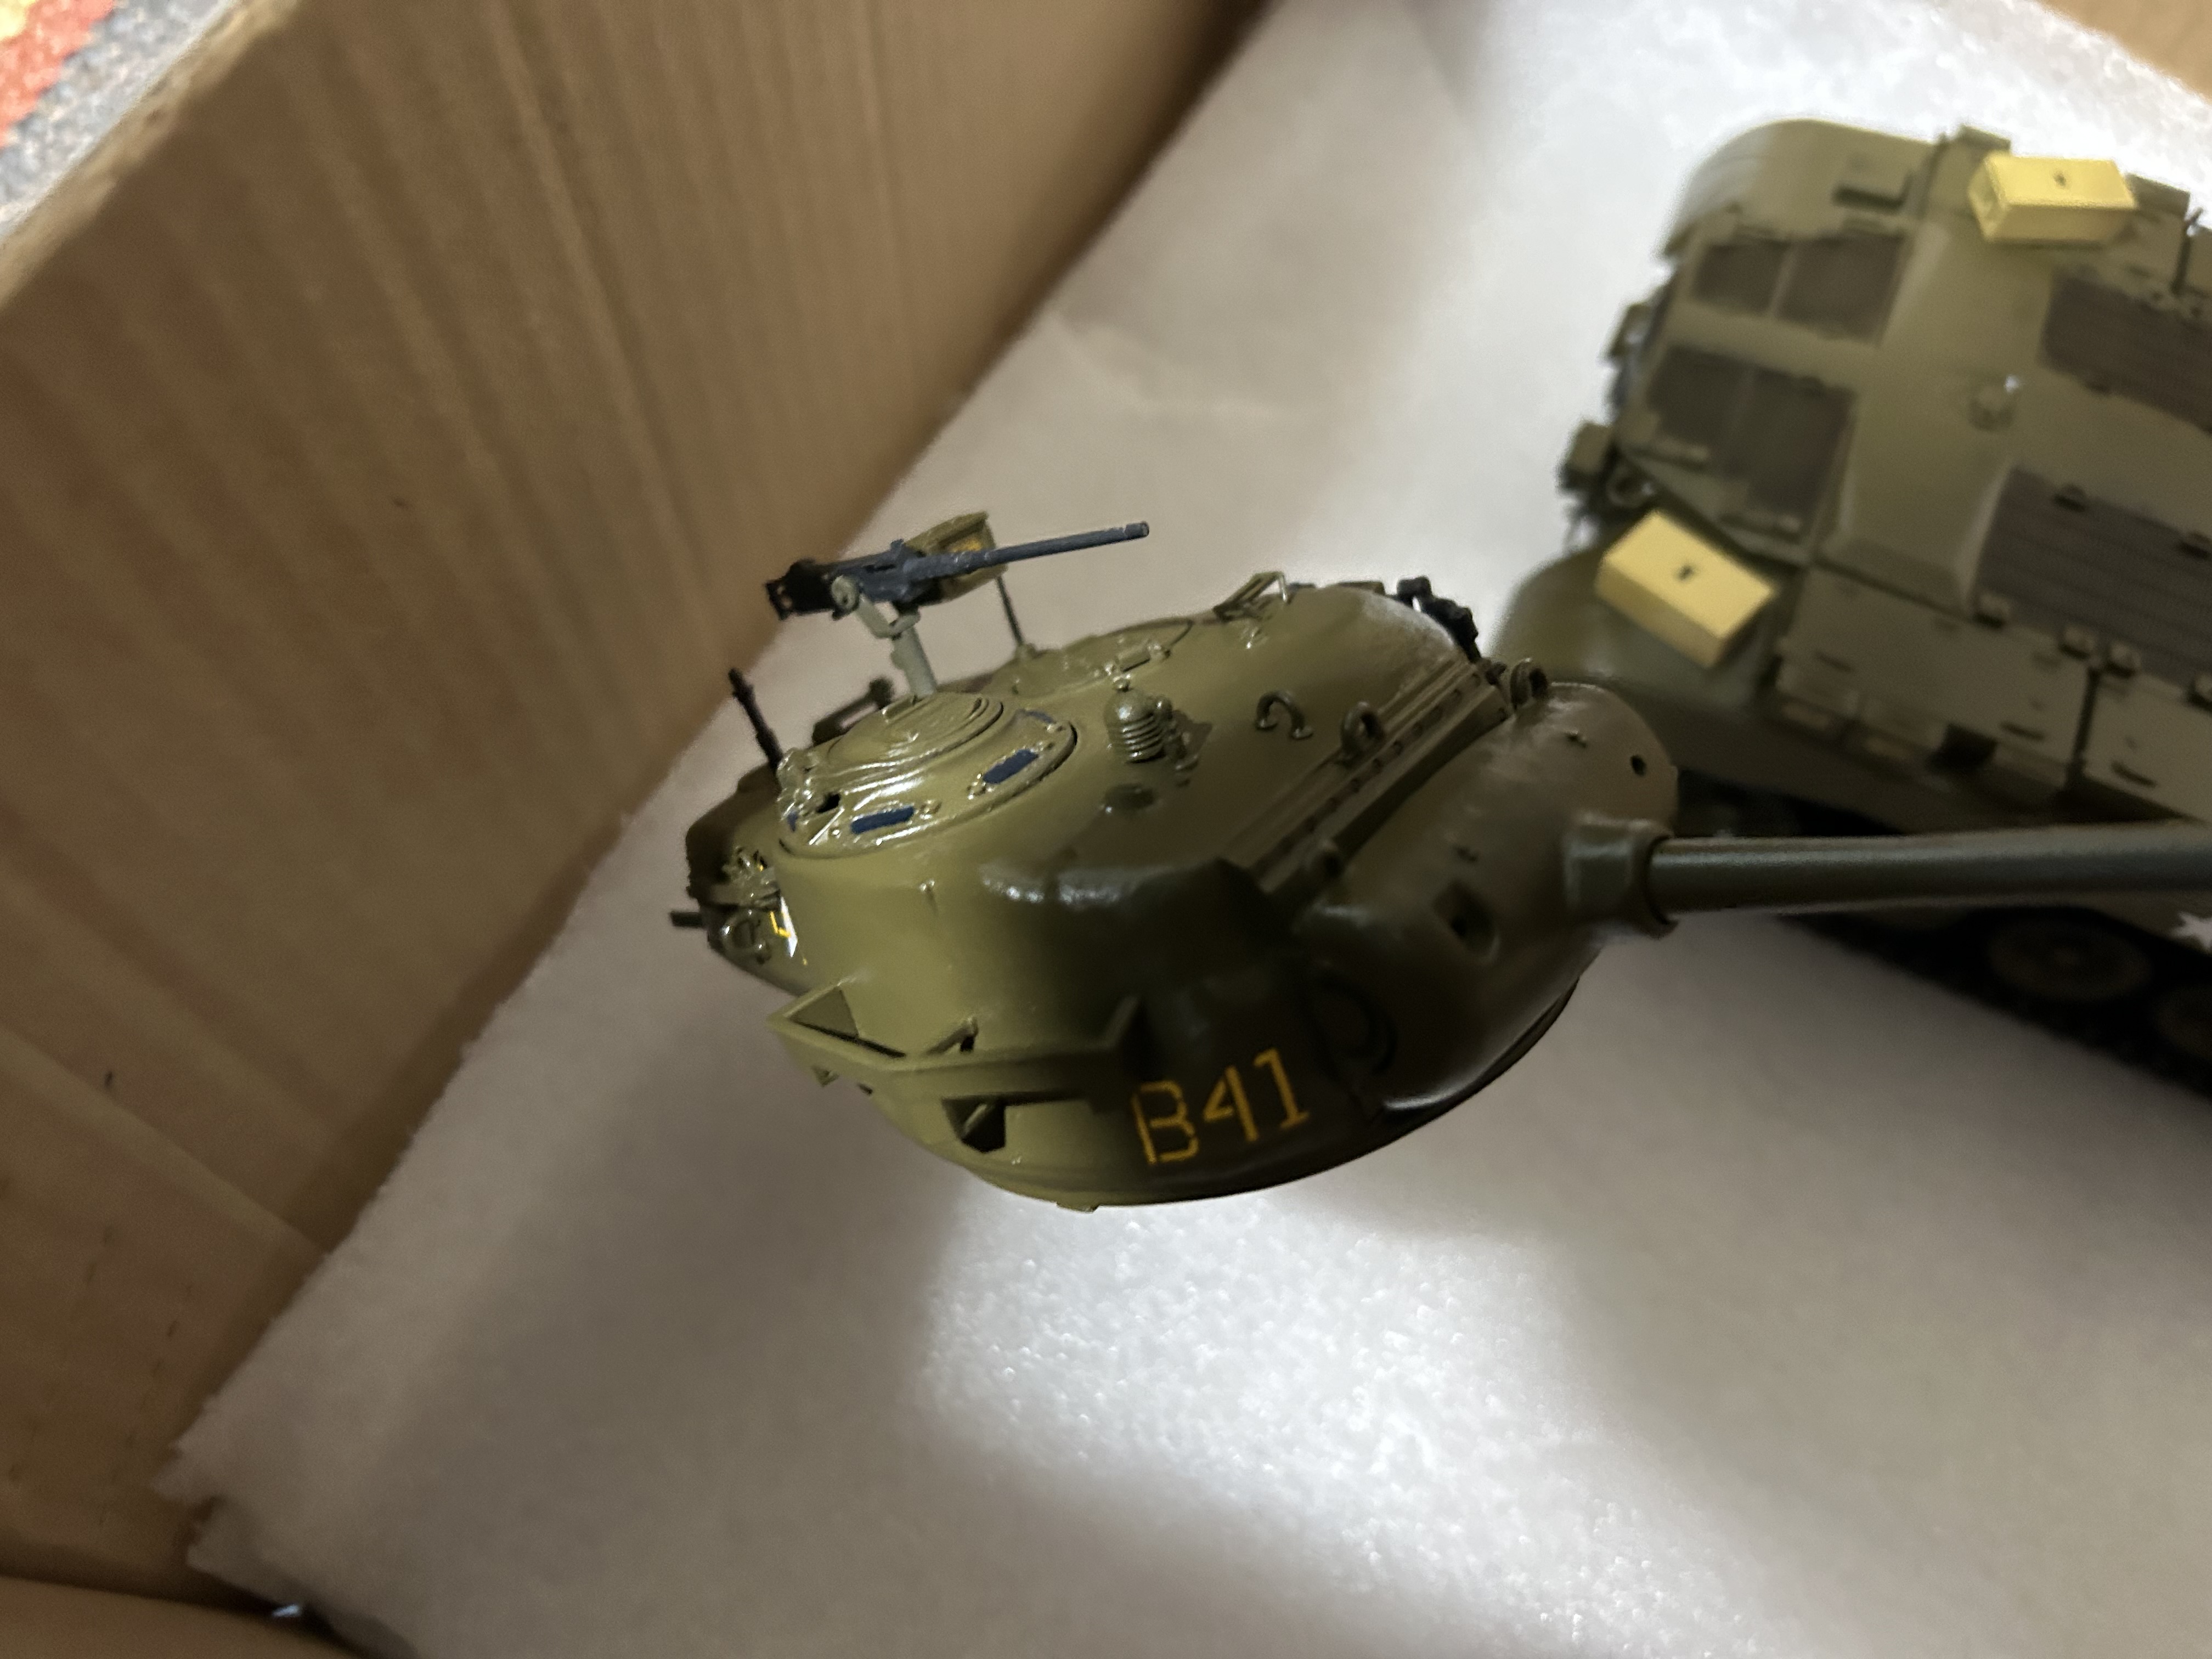
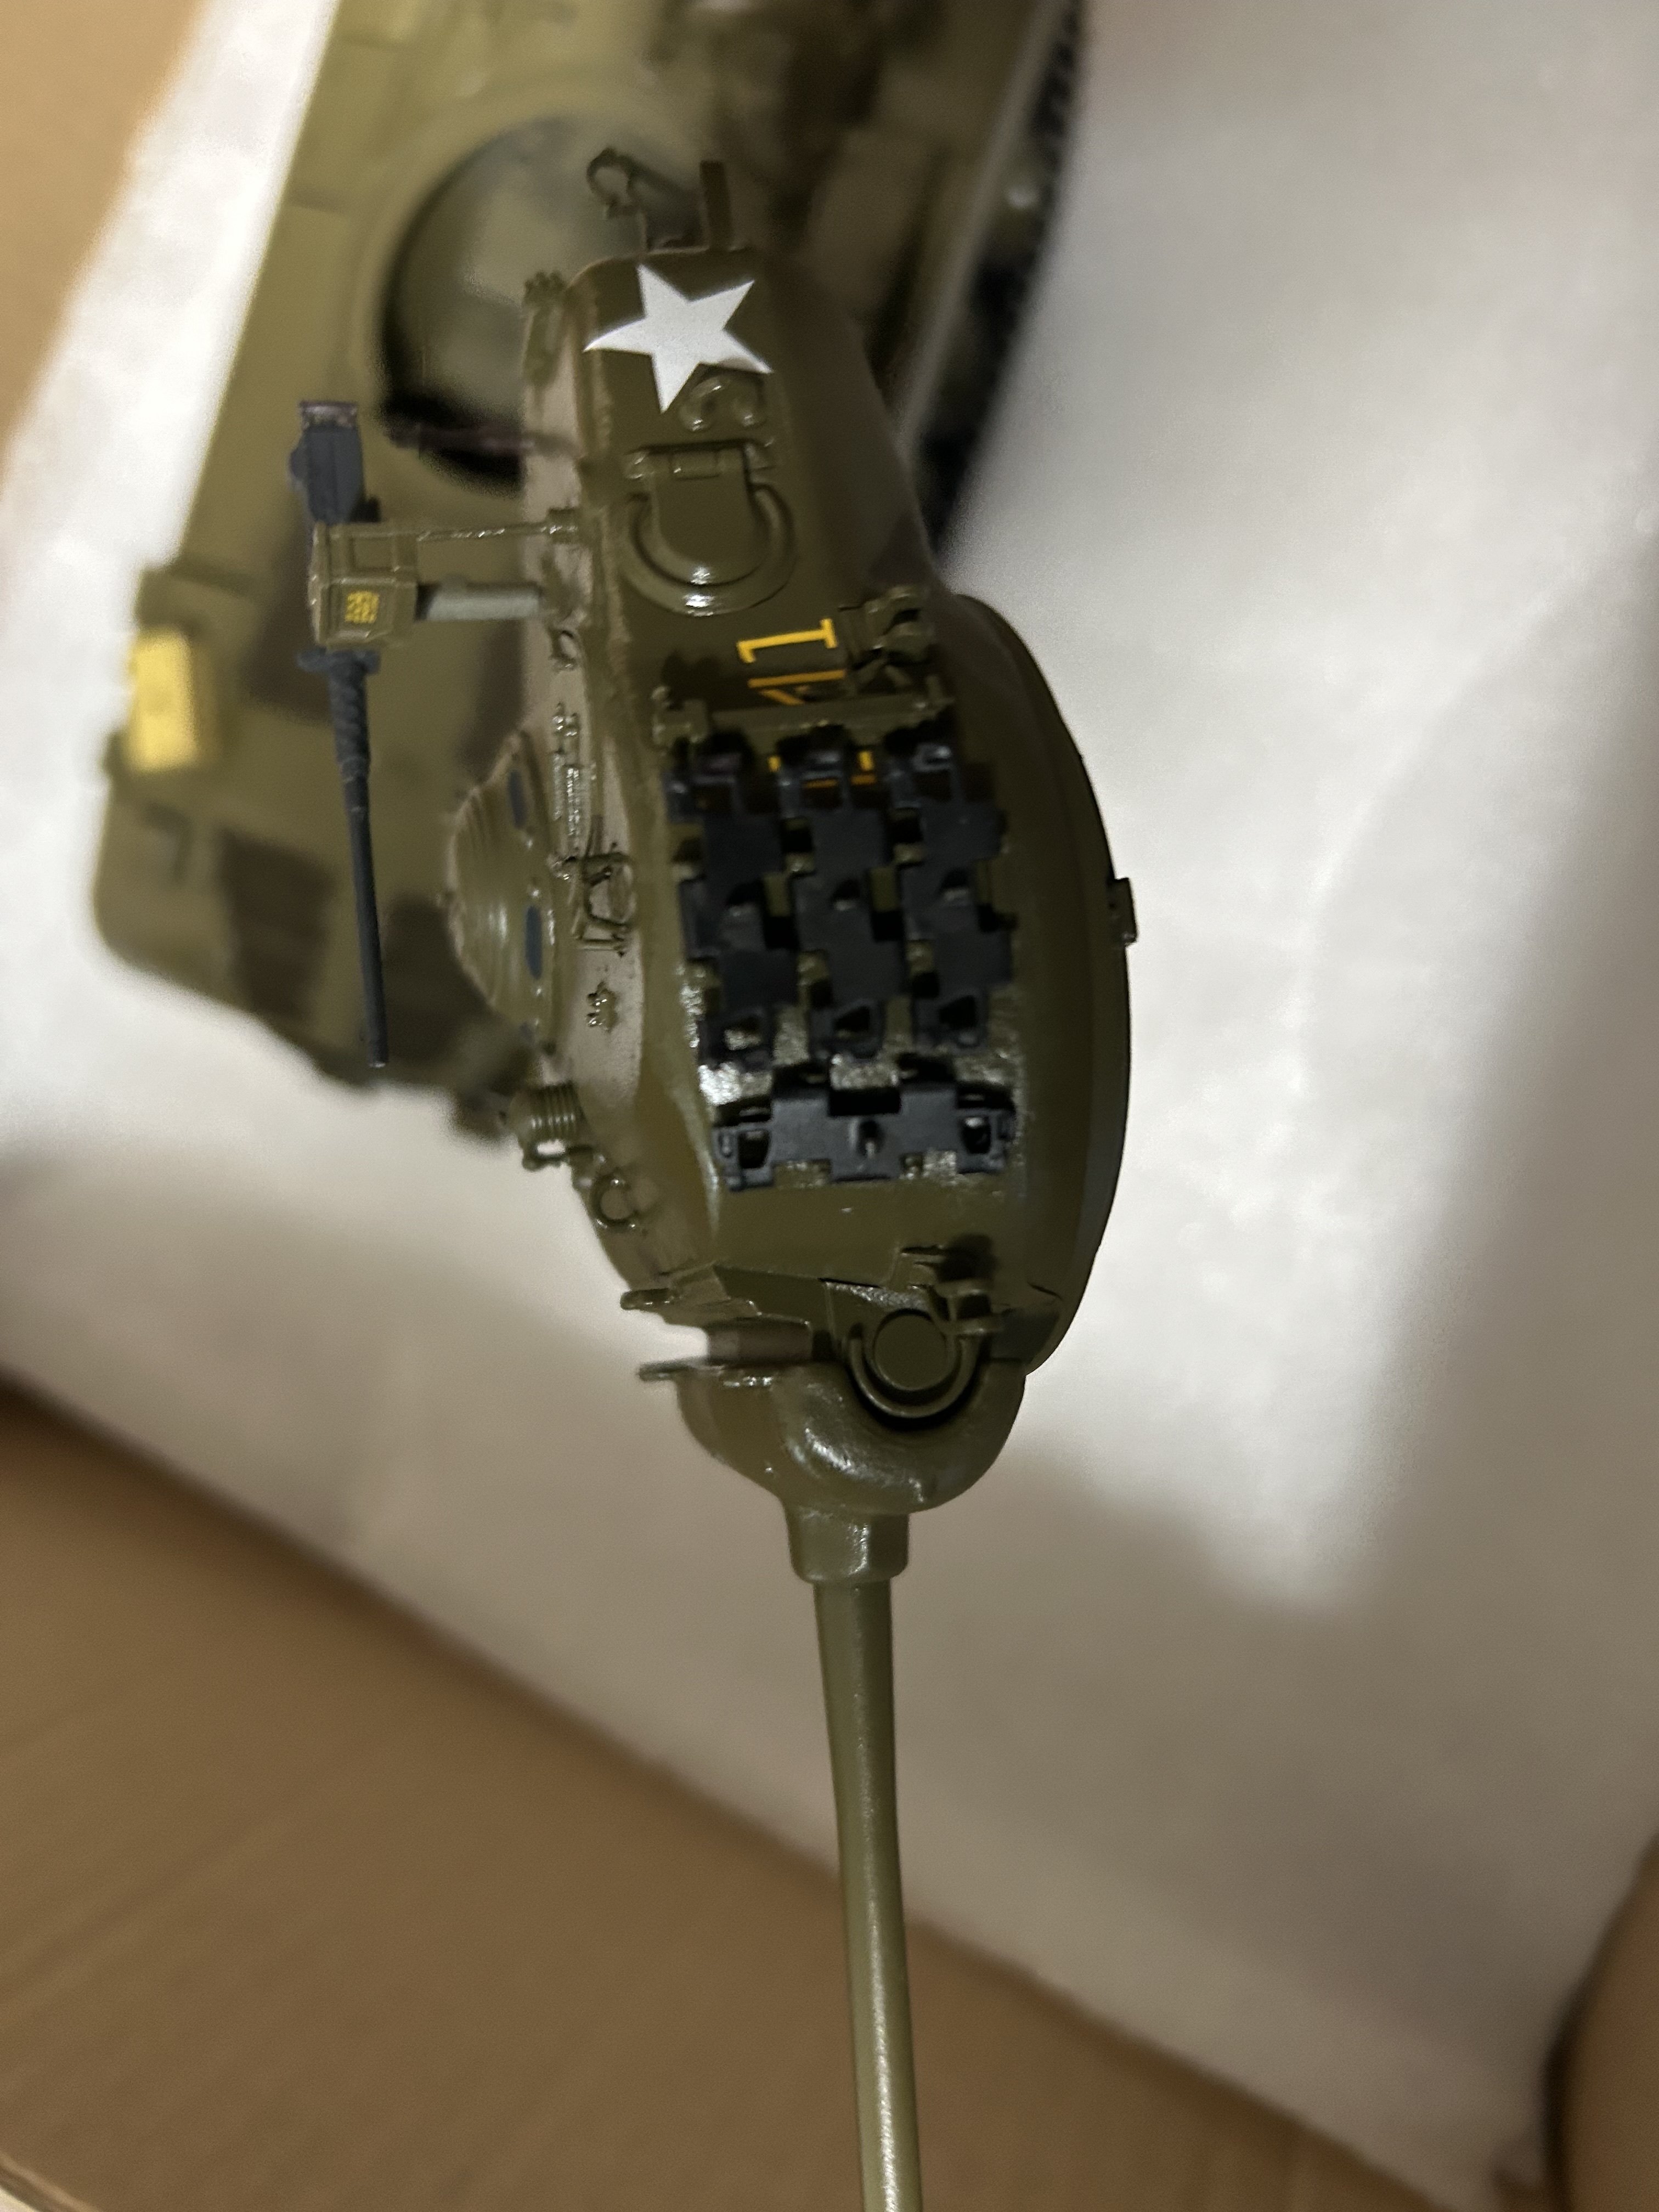
I have some MIG pigments I can use, as well as some Vallejo paints. The model is a USMC M26 Pershing of Company B, 1st Tank Battalion.
I heard Korea was a really dusty, so I plan to use the pigments to use a dusty effect.
How do you use the MIG pigment? How would you go about weathering the model?
Did you sealed the base paint with clear acrylic varnish to protect it?
After that you can start with weathering using enamel or oil based colors and washes,
I never use acrylic colors for weathering, they dry very fast and can not be removed or changed. When using pigments, I mix them with vms weathering liquid to apply them as they can removed completely when it went wrong. Maybe you check my weathering Andy’s Sherman for inspiration
If you want to replicate “dust” forget all the airbrushed pigments/filters/yaddayadda. Go for chalk pastels (available from many sources) ground against coarse sand paper, applied with a brush, fixed with thinners and reapplied as need to achieve the effect you desire.
Have any of you ever mixed pigment with watered down acrylic flat clear and applied that as dust?
My thought is that the binders in the flat clear will cement the pigment grains in place, but since it is watered down, it will not cause the pigment grains to settle into a uniform layer of binder, resulting in a tint.
Doug, that won’t work quite as you envisioned. Pigment + thinned Clear (carrier) = thinned paint. What you get is basically a wash. However, it will dry less uniformly than a wash.
Since this is your first model, that means you don’t have a “test mule” to try new stuff out on. So, you’ll have to experiment with the pigments on the bottom of your tank model. Since you want a very dusty effect, you want to use the pigments dry, as is, straight from the bottle. Mixing them with a binder or carrier (thinner or water) will effectively turn them into a thin paint, and spraying a clear coat over them will darken them or make them completely disappear.
Open the Jar of Europe Dust. That’s a good color for Olive Drab. Take a round brush, like a #4, and load it with pigment, not too heavy, you can always apply more. Brush the pigment on the bottom of your tank model and observe the results. Load the brush again and adjust pigment, pressure, and stroke accordingly until you achieve the results that satisfy you. Then you can start applying pigments to your model.
It is important to note that dry pigments contain binders so that they will stick to the surface, but they are easily rubbed off. To maintain the dusty effect, you don’t want to touch a pigmented surface, so wear gloves or hold the model with paper towel while dusting the model with pigments. Try not to touch the areas where you have applied the pigments.
After applying the pigments, it is best to mount the model on a simple base so that nobody touches the model and puts fingerprints in the pigments.
You can use applications of several different colors of pigments on your model so that it isn’t dull and monochromatic. Test them on the bottom first.
Pigments have much wider uses, mixed with thinner or special pigment carriers, or fixed with pigment fixer they can be built up into crusty layers. There are many other effects you can achieve with pigments besides “dusty”. Just search YouTube for “Model Pigment Effects”.
Have fun and don’t be afraid to experiment. Real tanks get incredibly dirty!
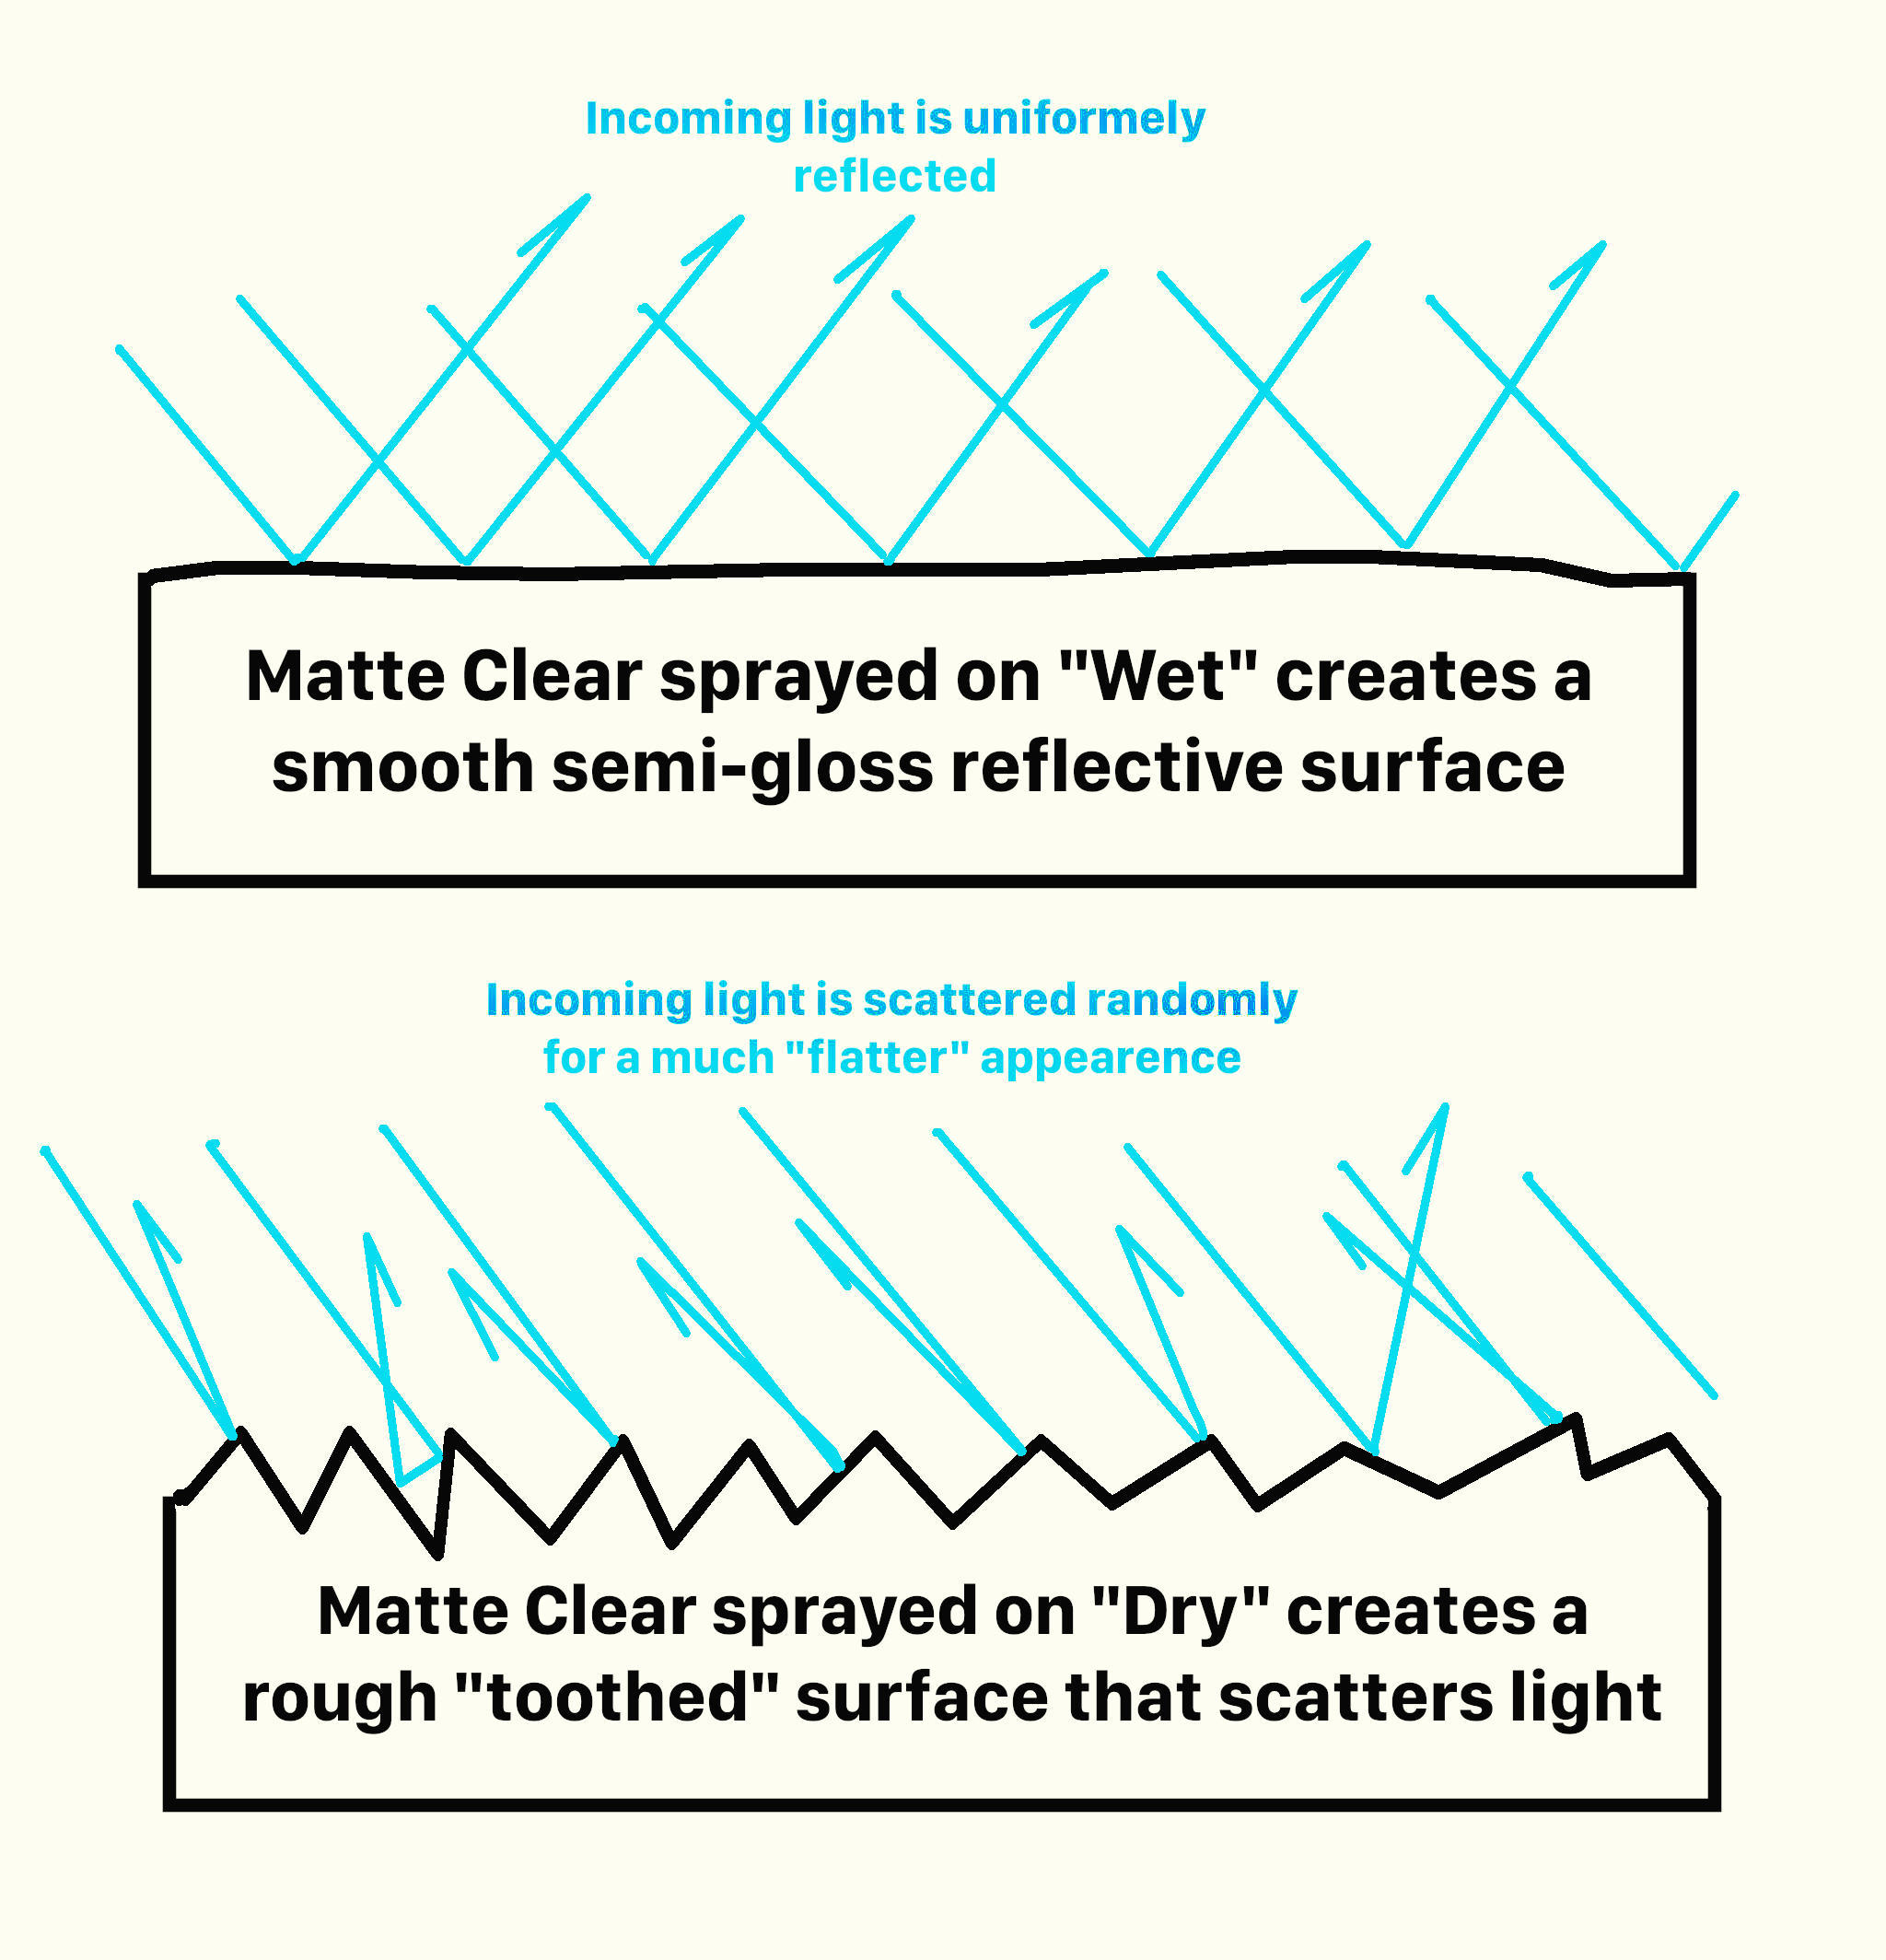
That would certainly be my recommendation: Gloss clear first, then apply decals, then matte clear to kill the shine. One suggestion: when you spray the matte clear hold the can well back from the model so the matte spray falls almost dry onto the model surface. This will create a microscopically fine rough “tooth” to the matte clear. Your pigments applied dry will then have a texture they can adhere to and “hunker down” into, often then requiring no further over spray or fixative.