What did you do in your modeling workshop today?

Not a tank, not a gun, but on a 1/35 scale. Weekend model - just over a hundred parts.

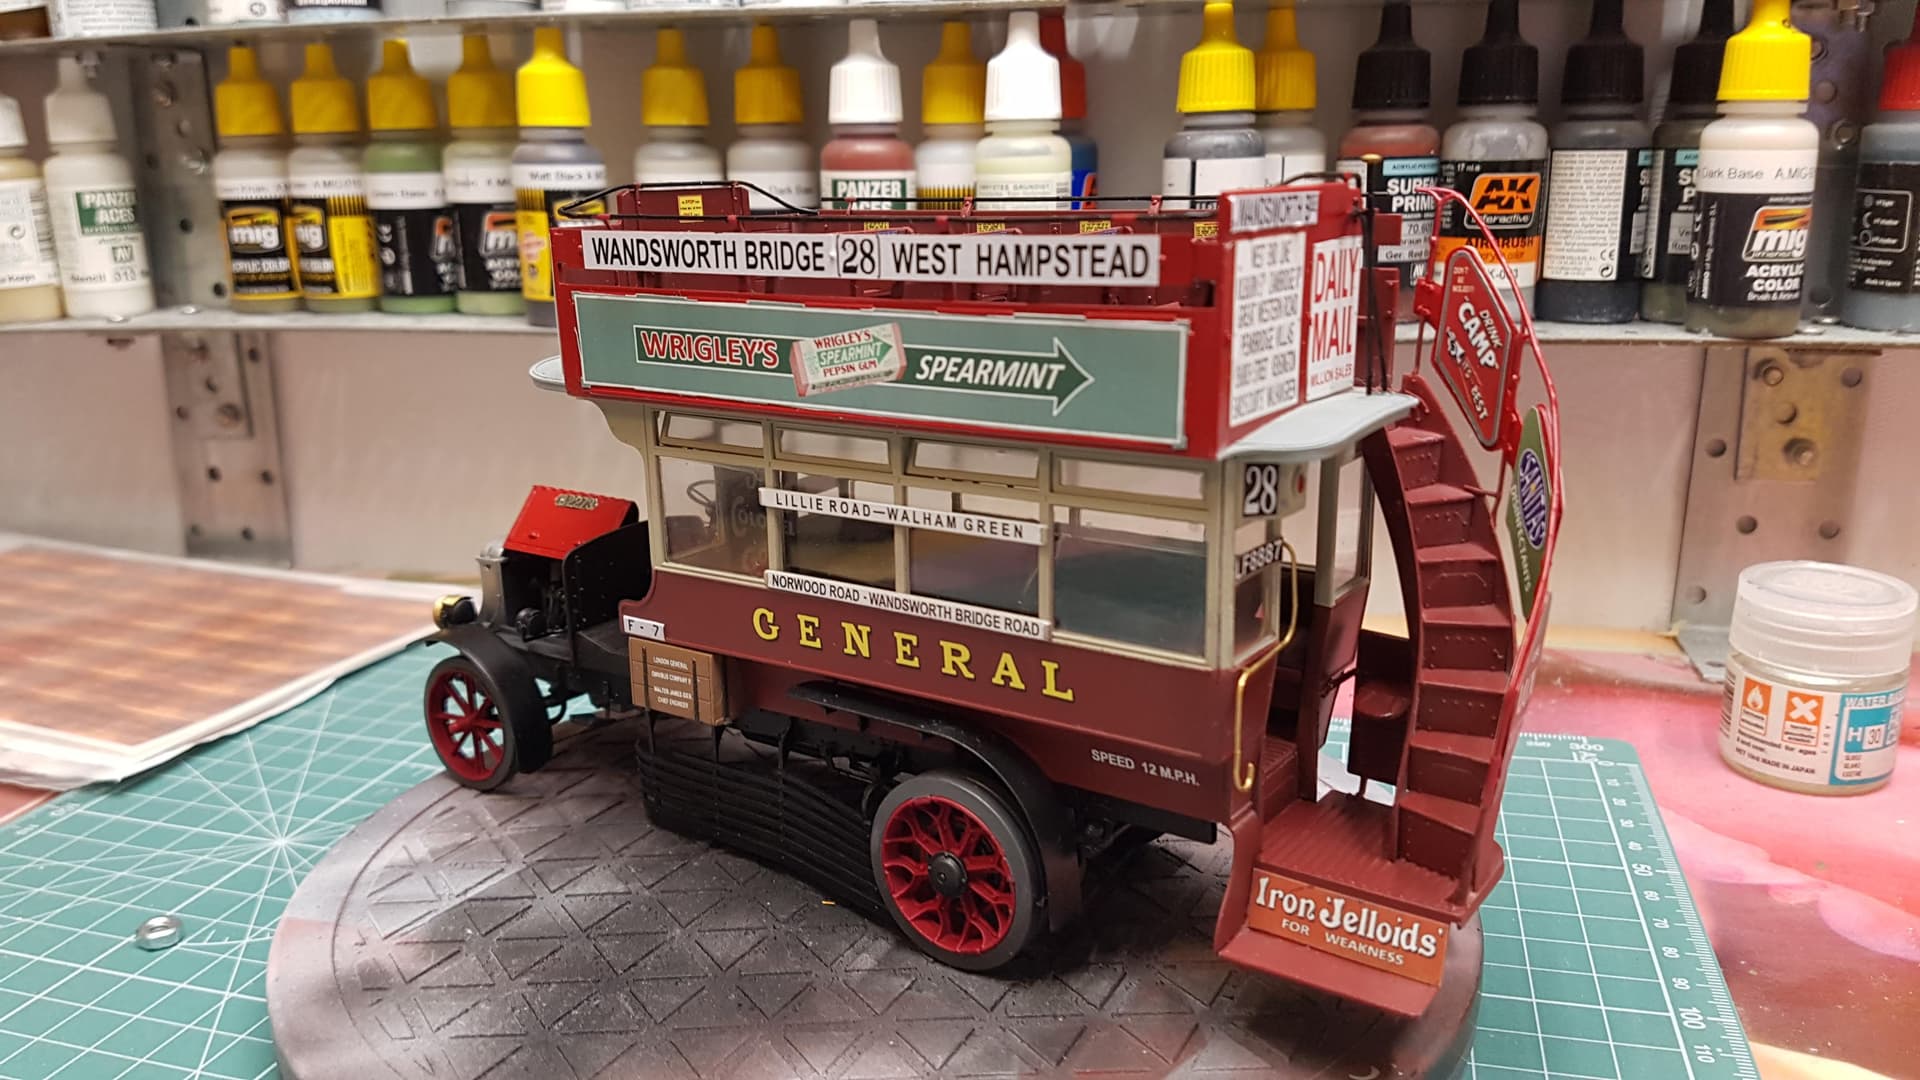
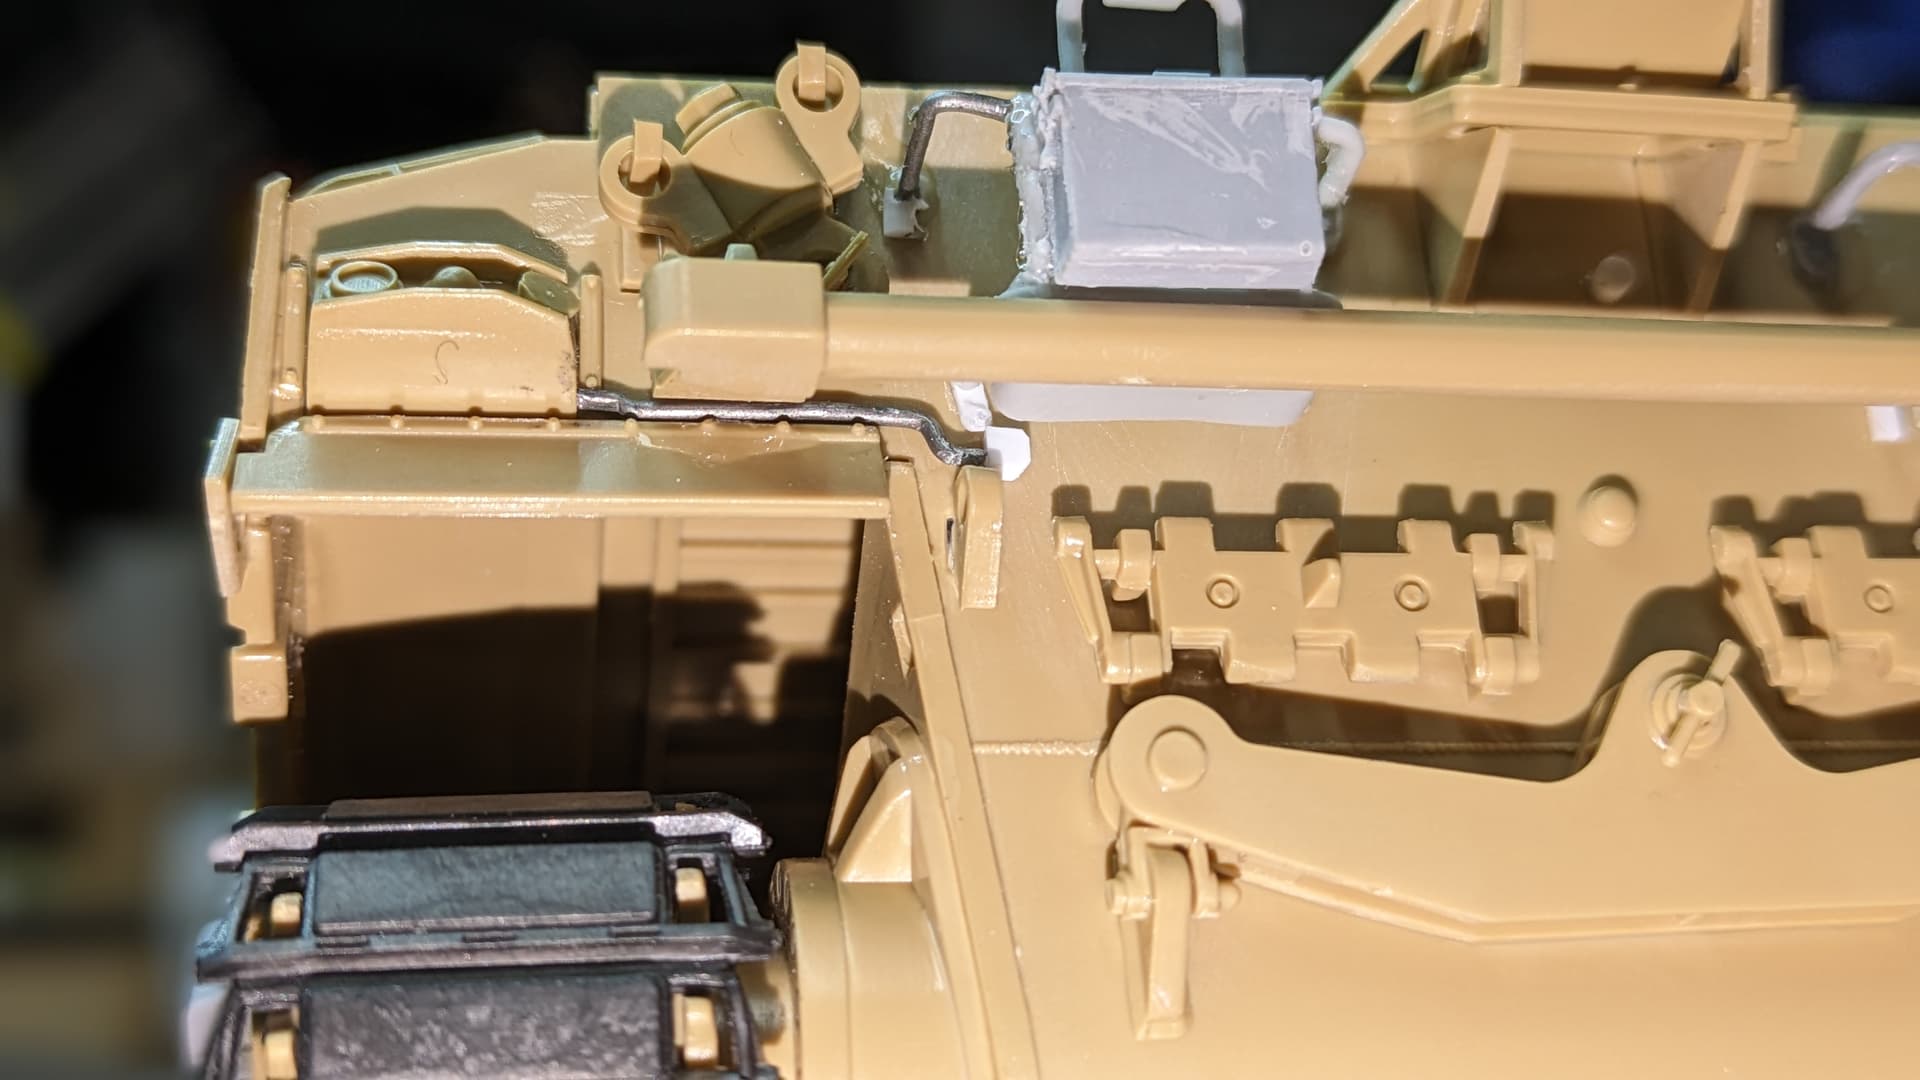
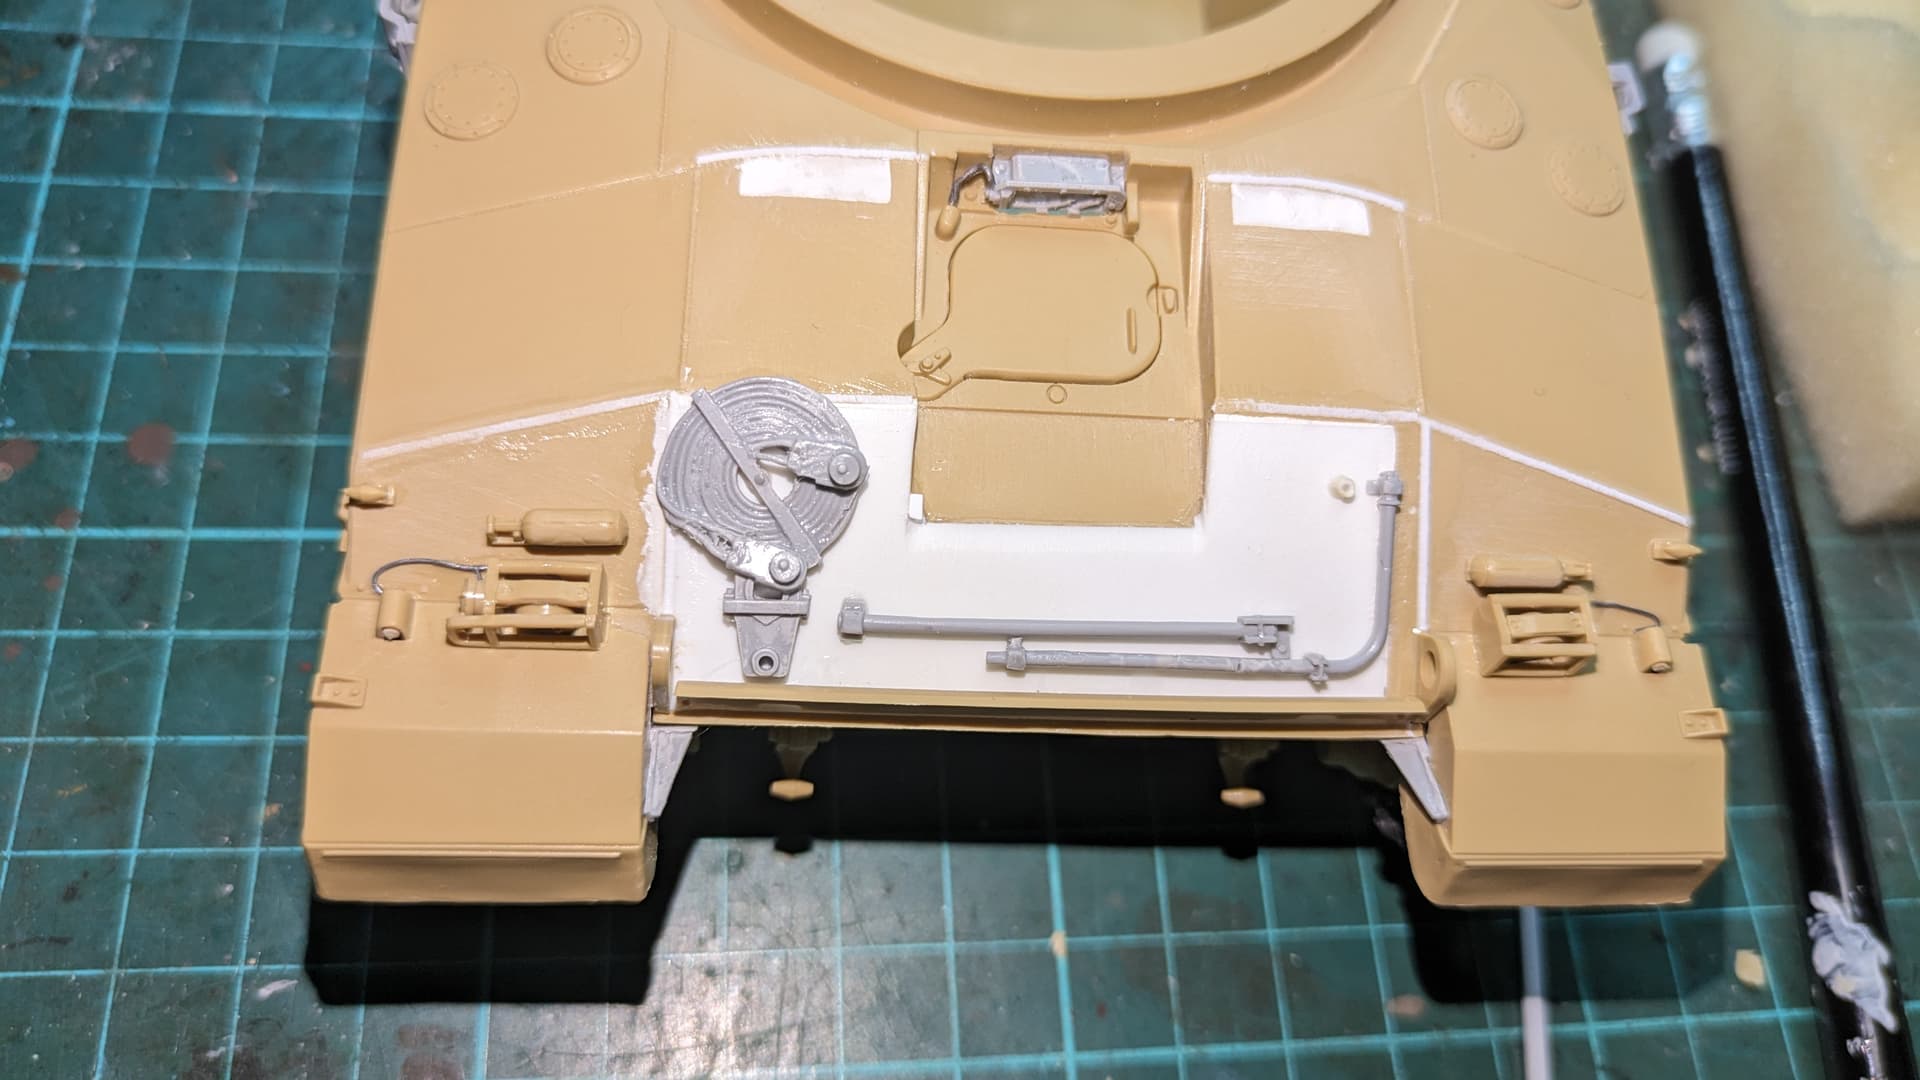
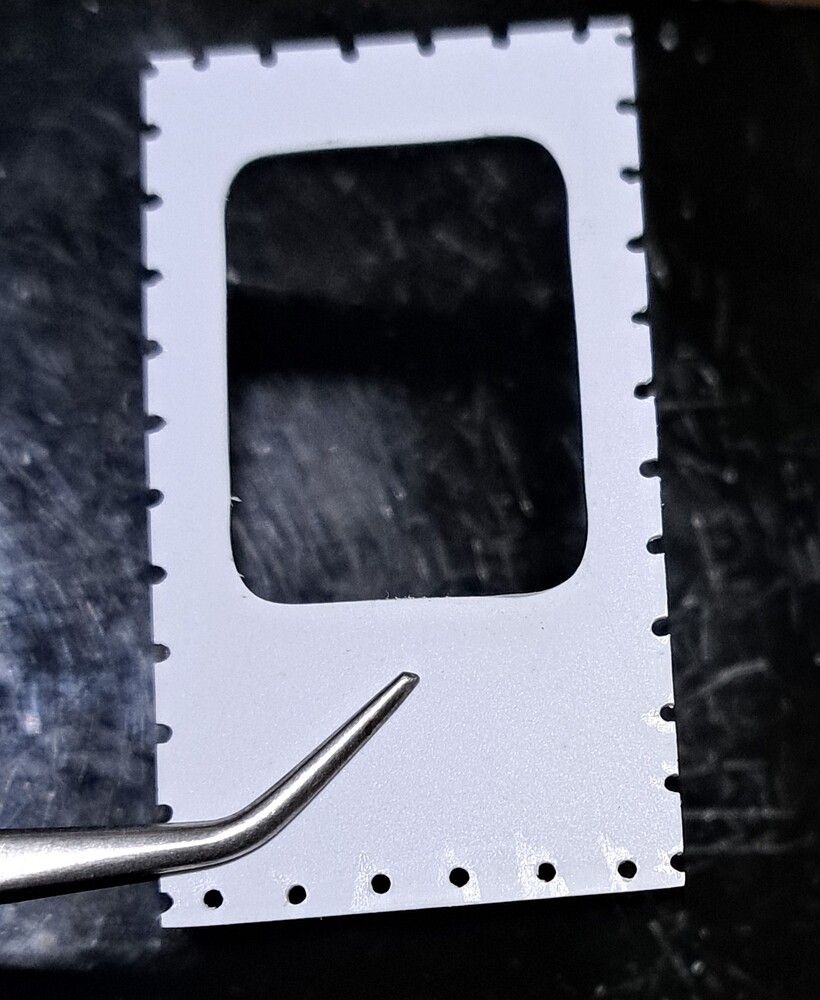
The handrails take some fiddling with. It seems to me that it is simply impossible to work with such thin and fragile parts without perpendicular cut pliers. This was recently clearly proven by Uncle-Heavy. I have already tested this on a model of a double-decker bus from Miniart.

I ordered the production of decals that are not in the kit - I’ll wait, there’s a long queue.

15 Likes

The Grizzly build looks good.

It was a chore to put those together. I use micro saws to remove the parts.

What color is the ship?

1 Like

Still needs fine tuning…

:gear: :bomb::bomb::bomb:
—mike …

11 Likes

…bolts added to the front…

…welds added or tweaked…

…hatch details…

…and handles…

12 Likes

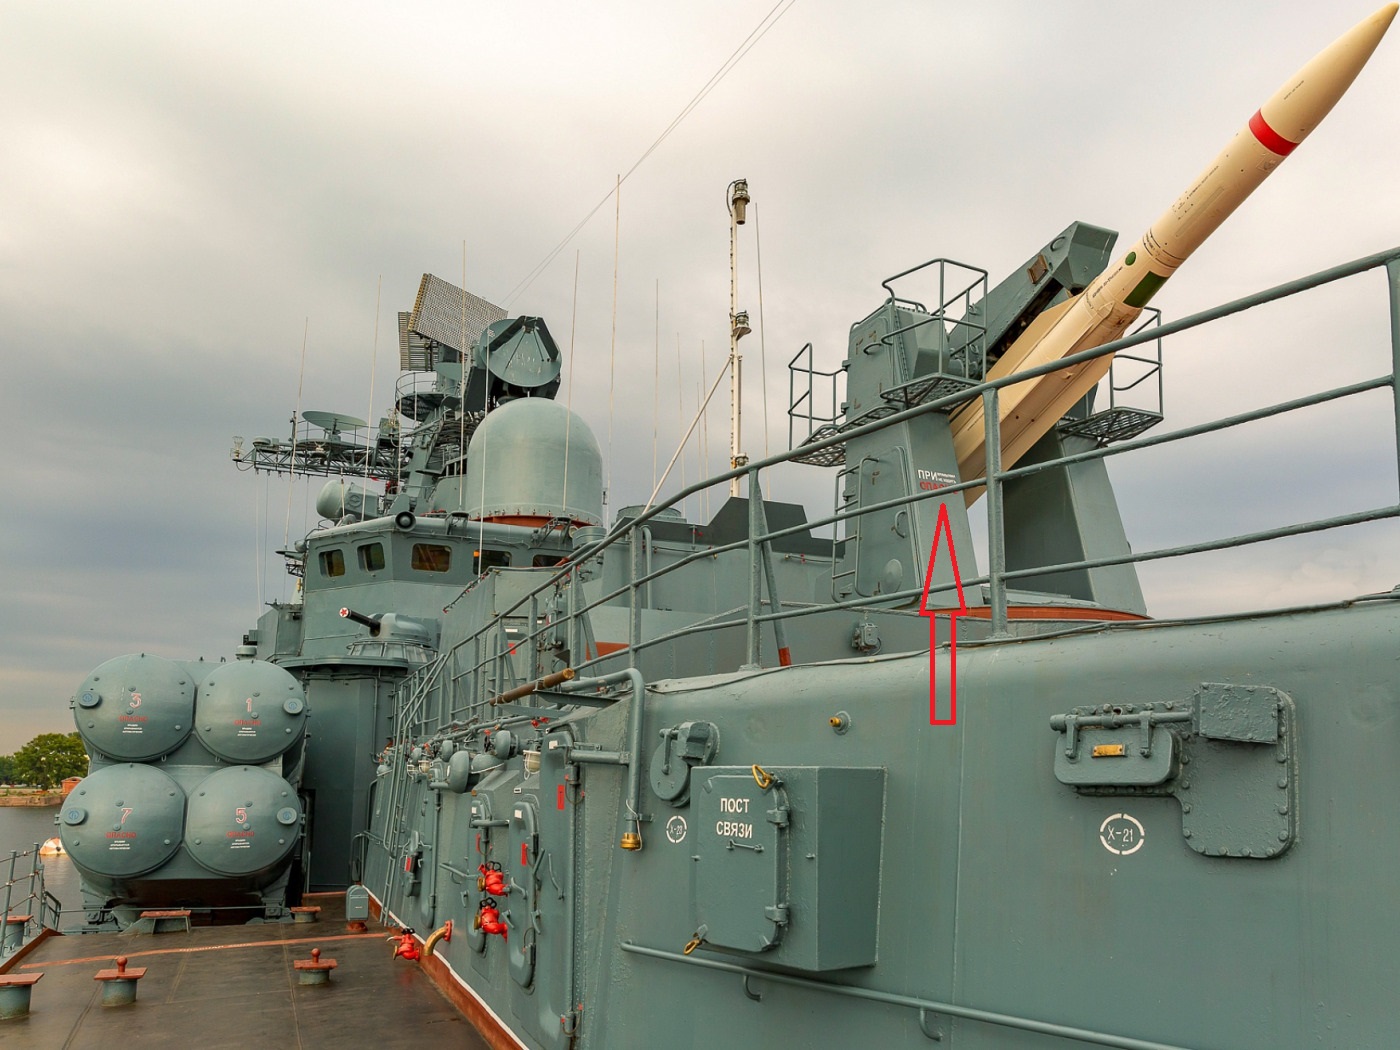
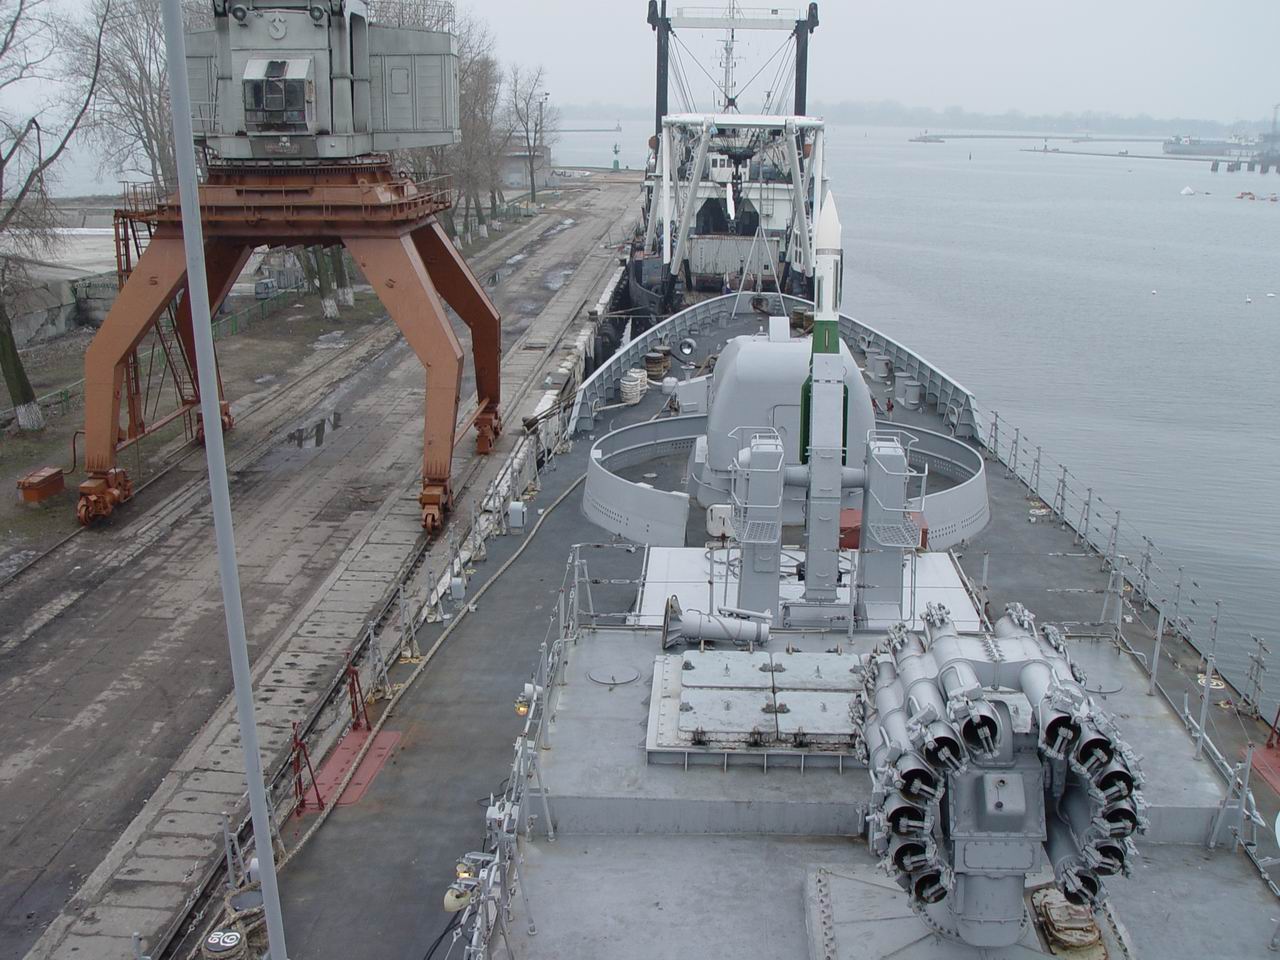
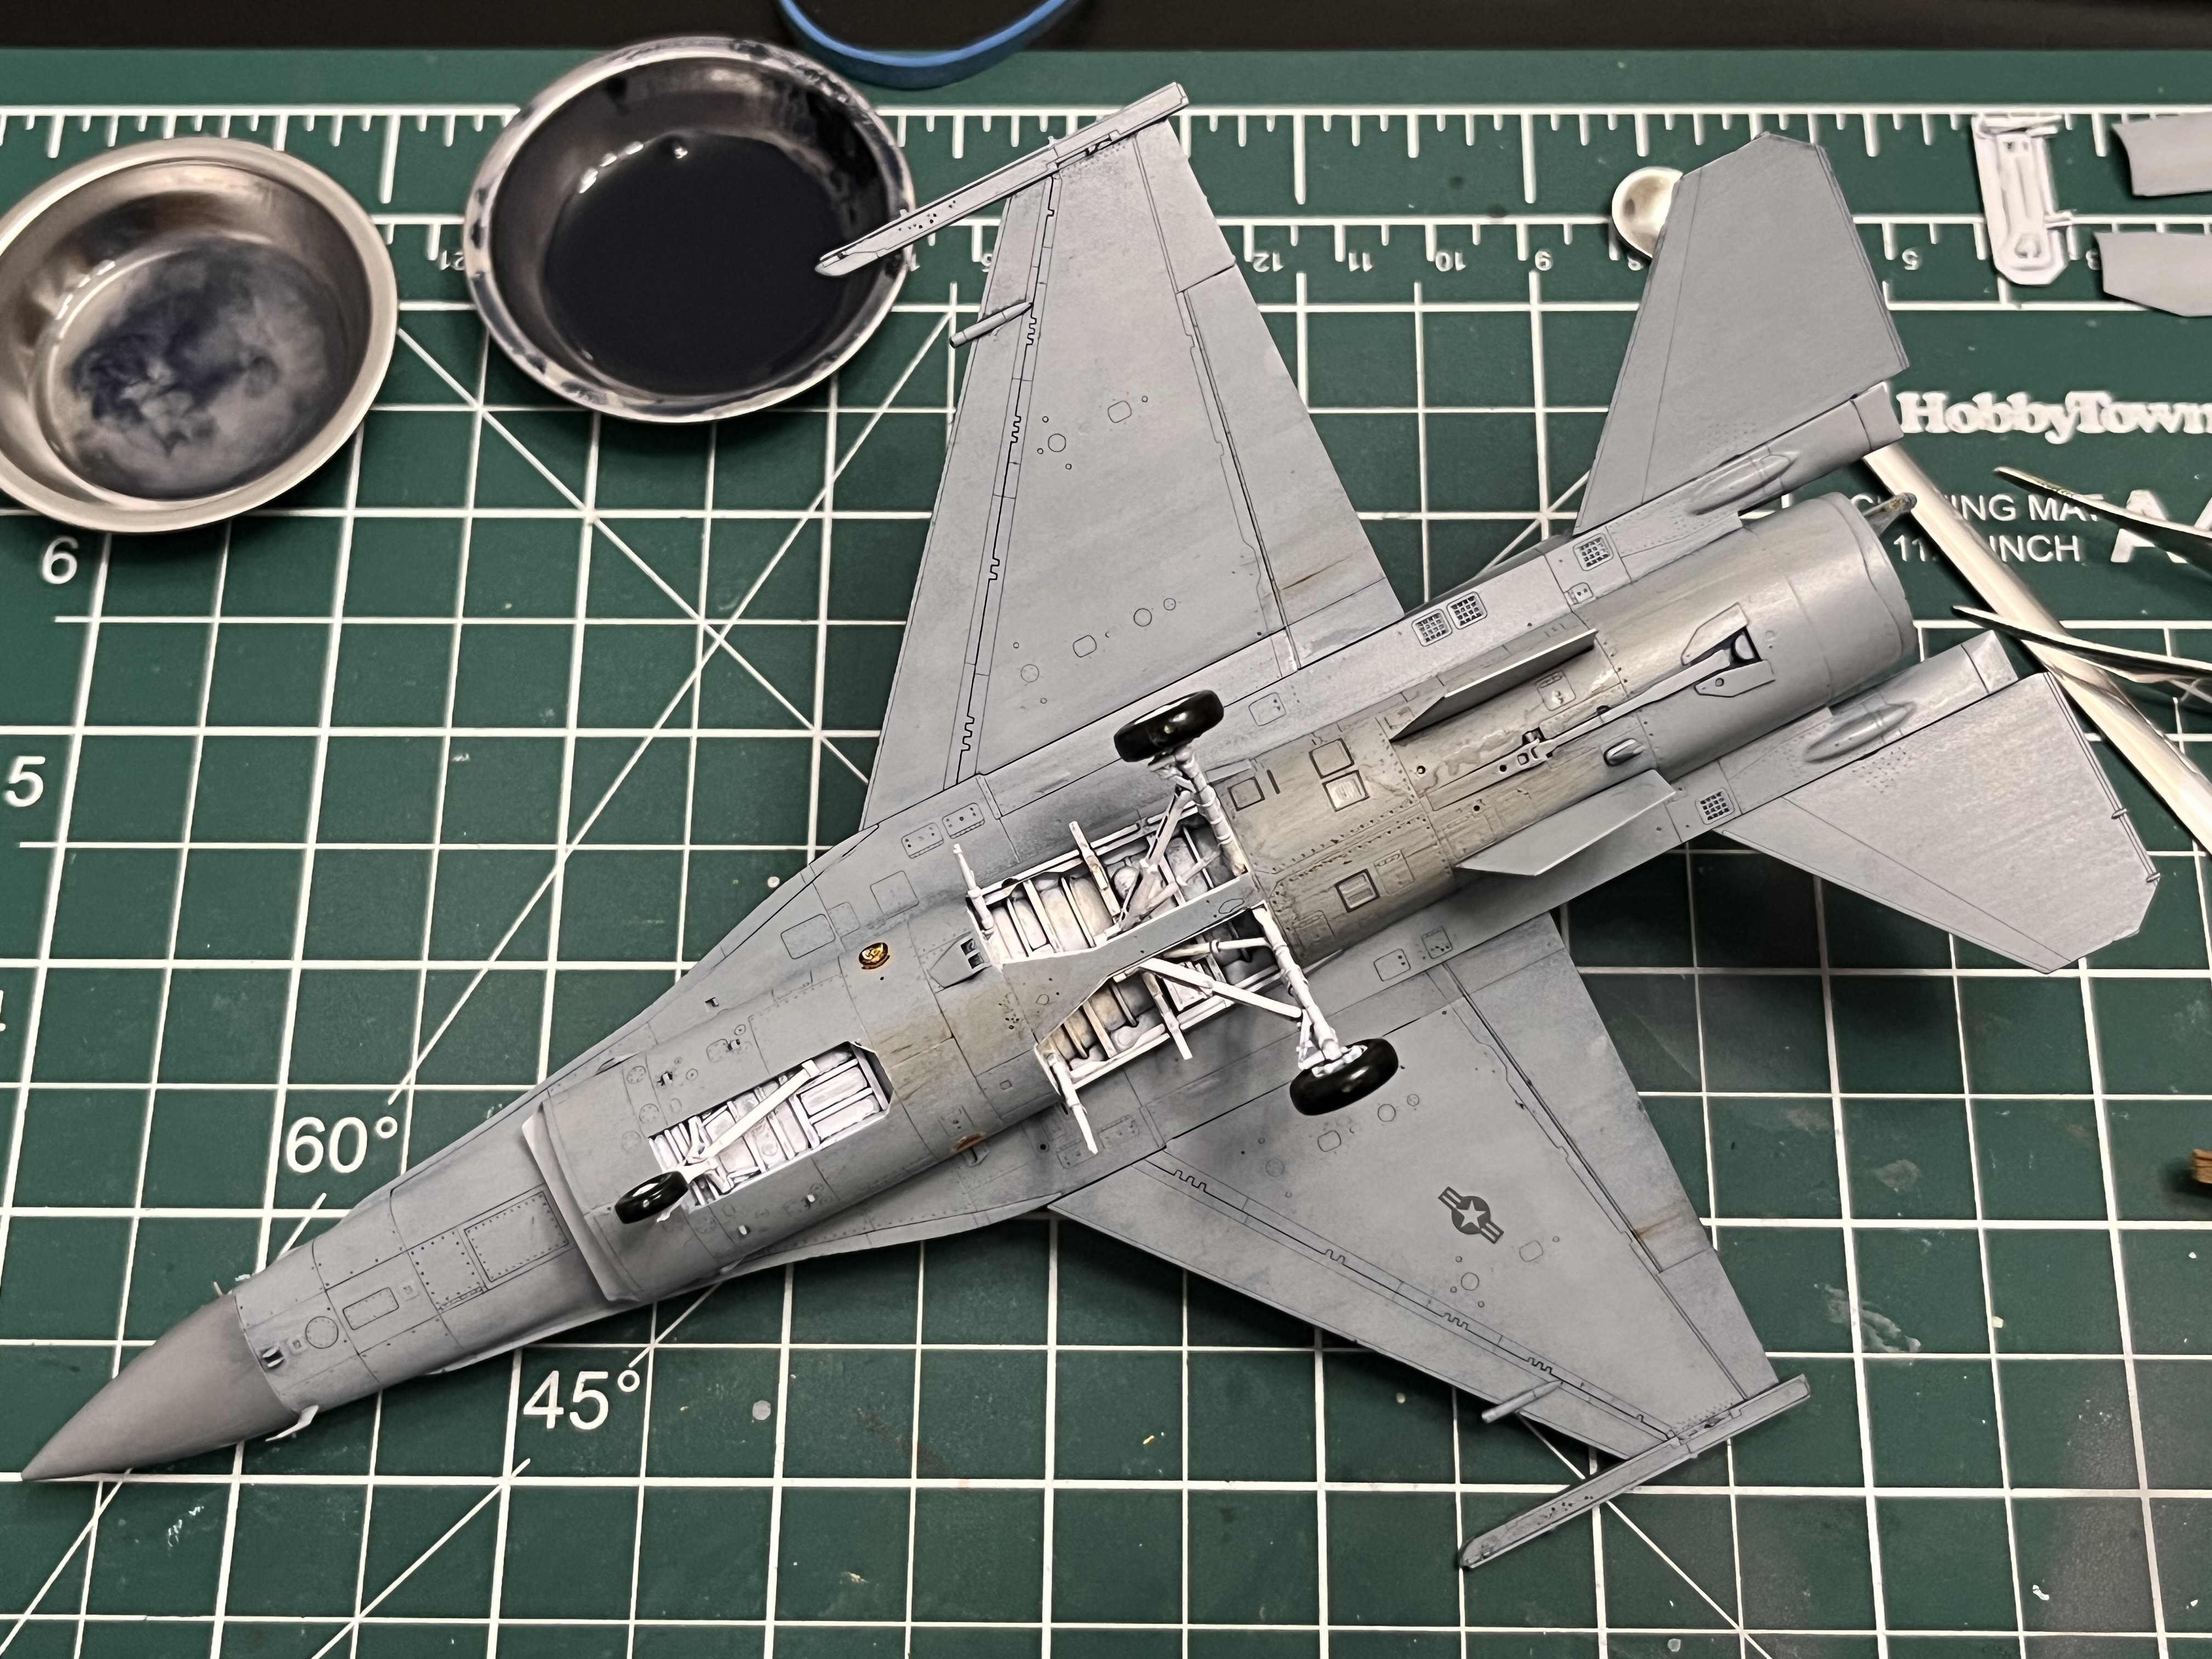
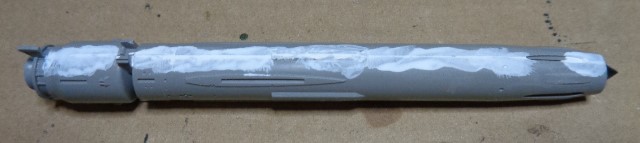
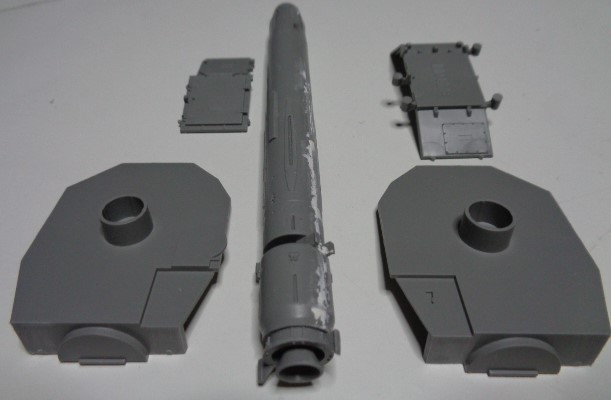
Good question! This is my first naval-themed product, so I don’t have an answer to this question. Moreover, I am now like that centipede who was asked how she walks and she can’t walk anymore. The manufacturer recommends A.MIG-0208 FS-36320 Dark Compass Ghost Gray or A.MIG-0204 FS-36118 Medium Gunship Gray paints. I was going to paint it with some light gray color that I have. Moreover, there are corresponding samples.

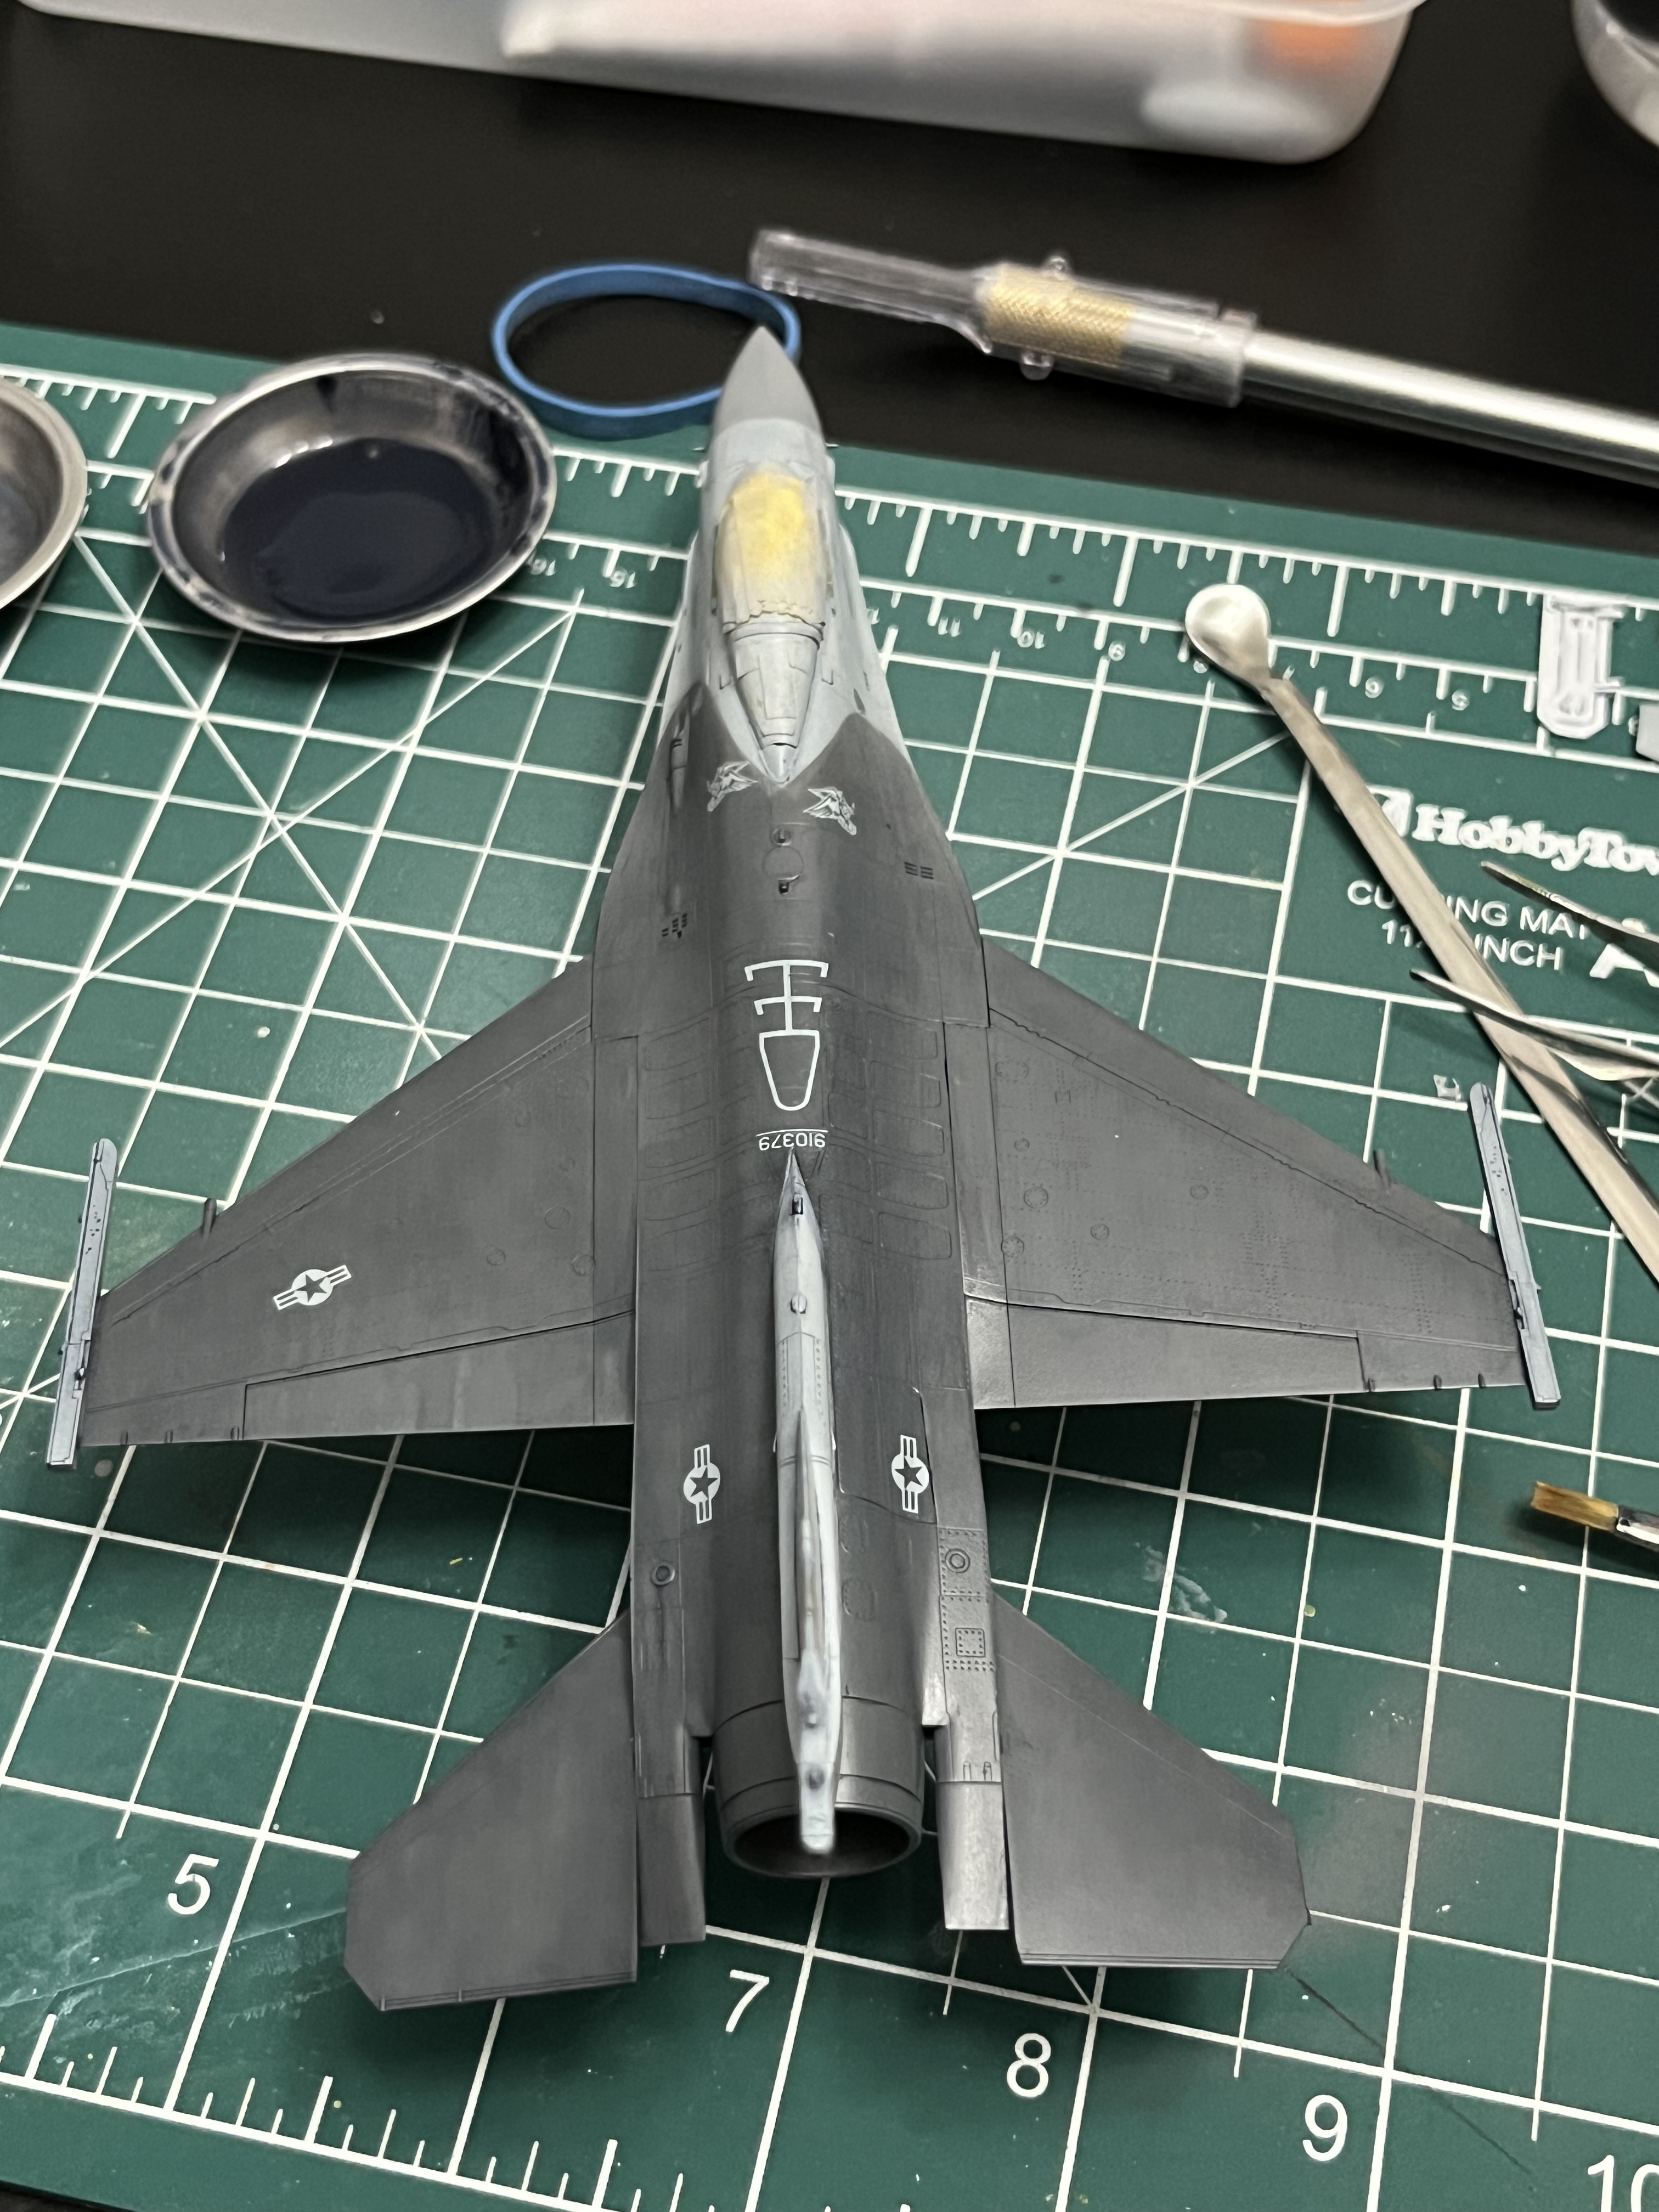
The color in the photo could be considered strangely faded, especially since the color of the rocket is “wrong”, but the other colors (white, red, etc.) in this photo look normal. I have other samples from my photographs - I will look at them.

So, sorry, I have no answer!

6 Likes

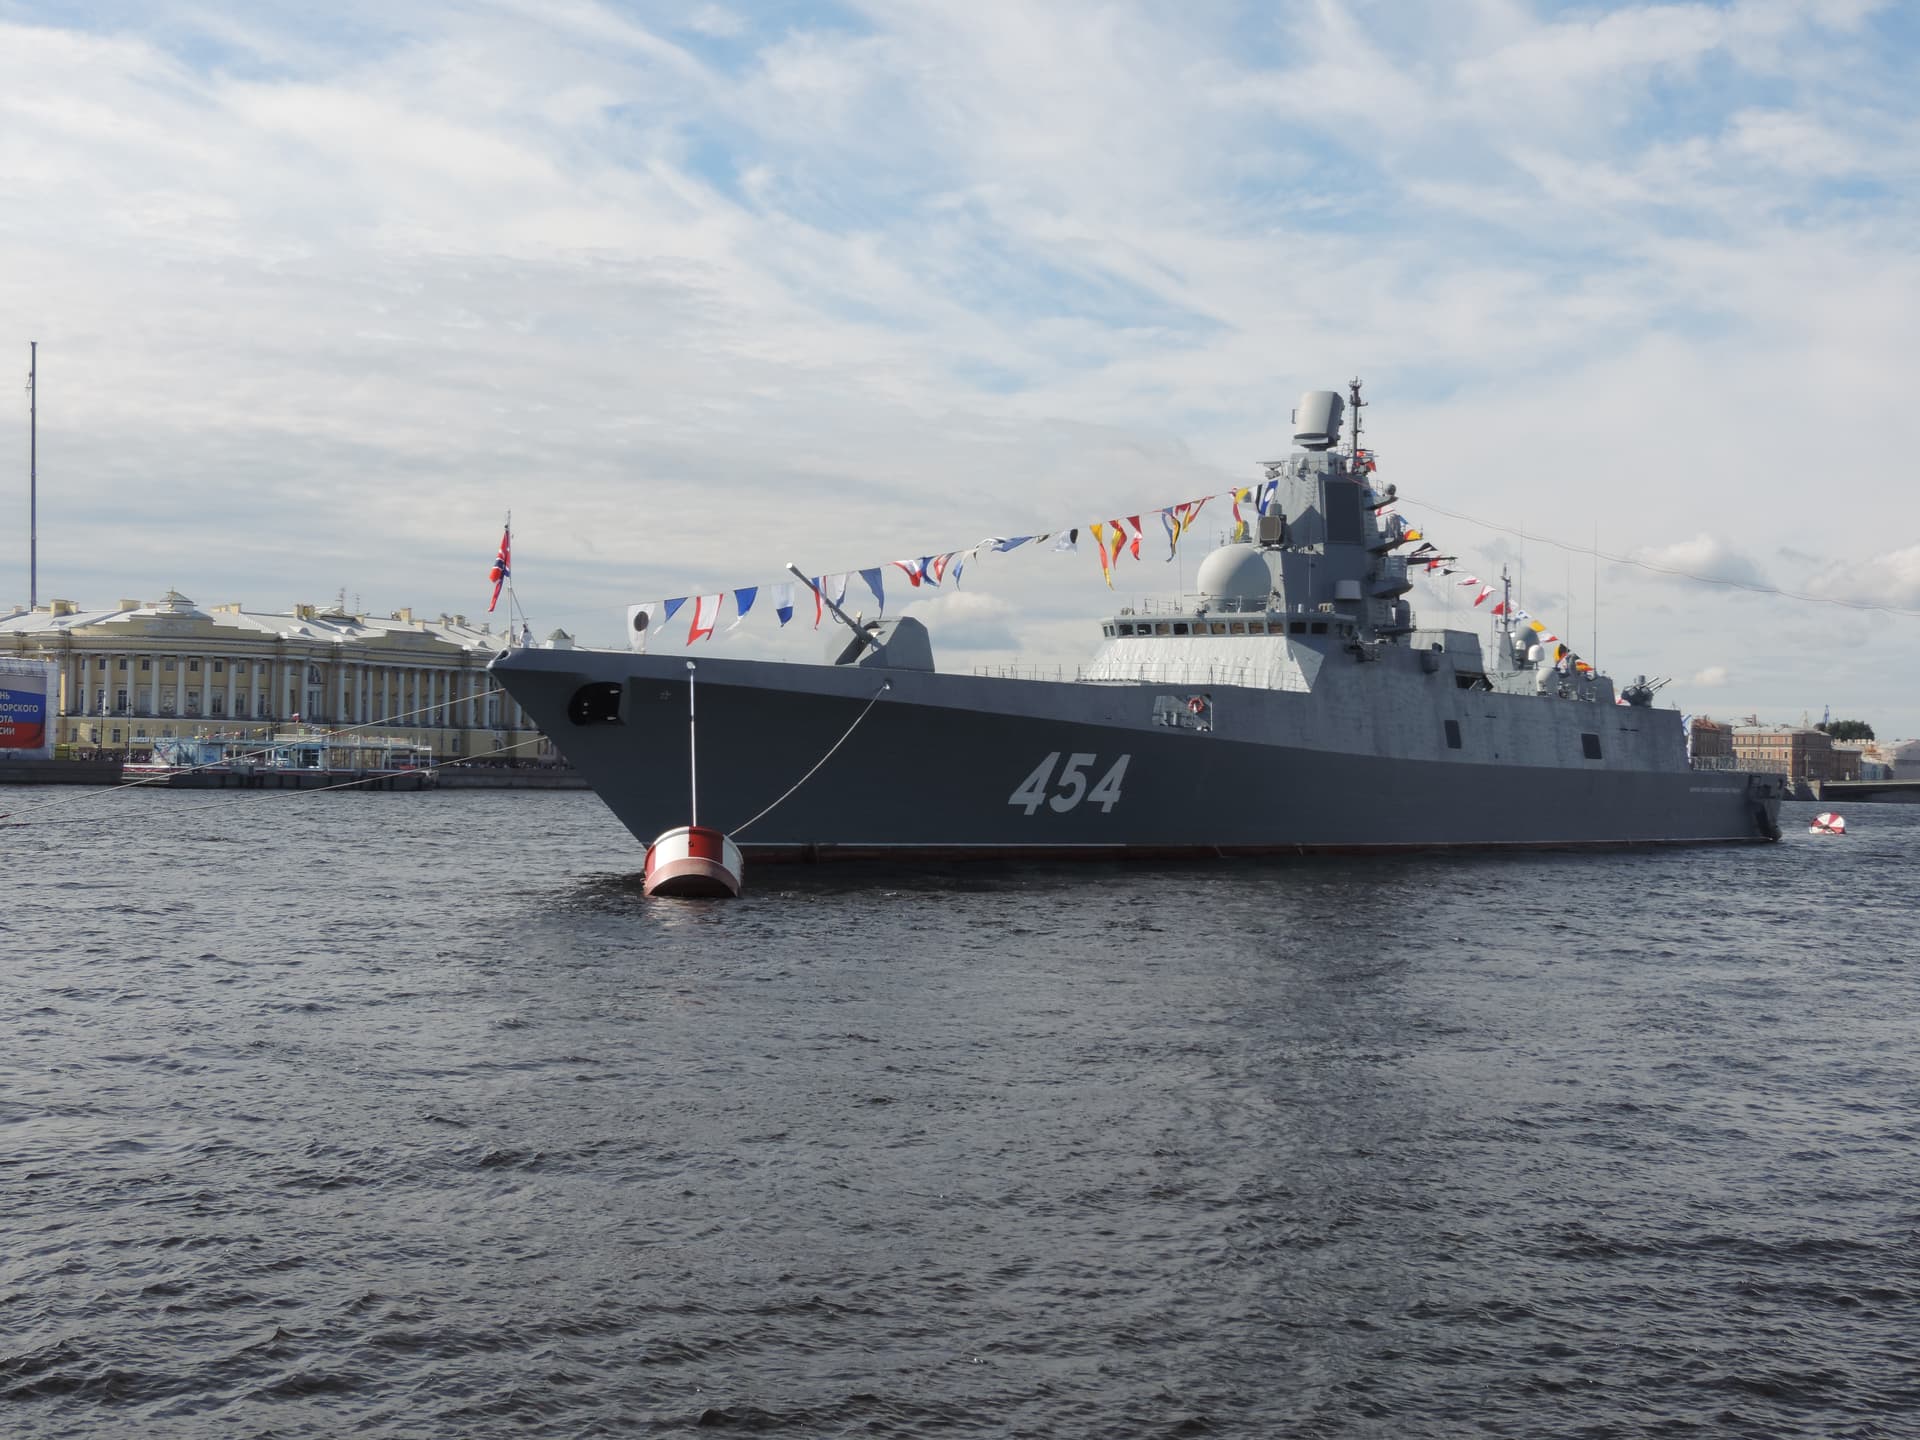
Wasn’t sure if that was on my end of viewing as it appeared a strange color, hence the question. Thanks for the information. A light gray color in the Tamiya line is what I was looking to use. I had not picked what missile or color I was going to paint my build. Need to finish some more projects before going back to that one.

4 Likes

Painted some horses for the Gruson gun cart I’m building:

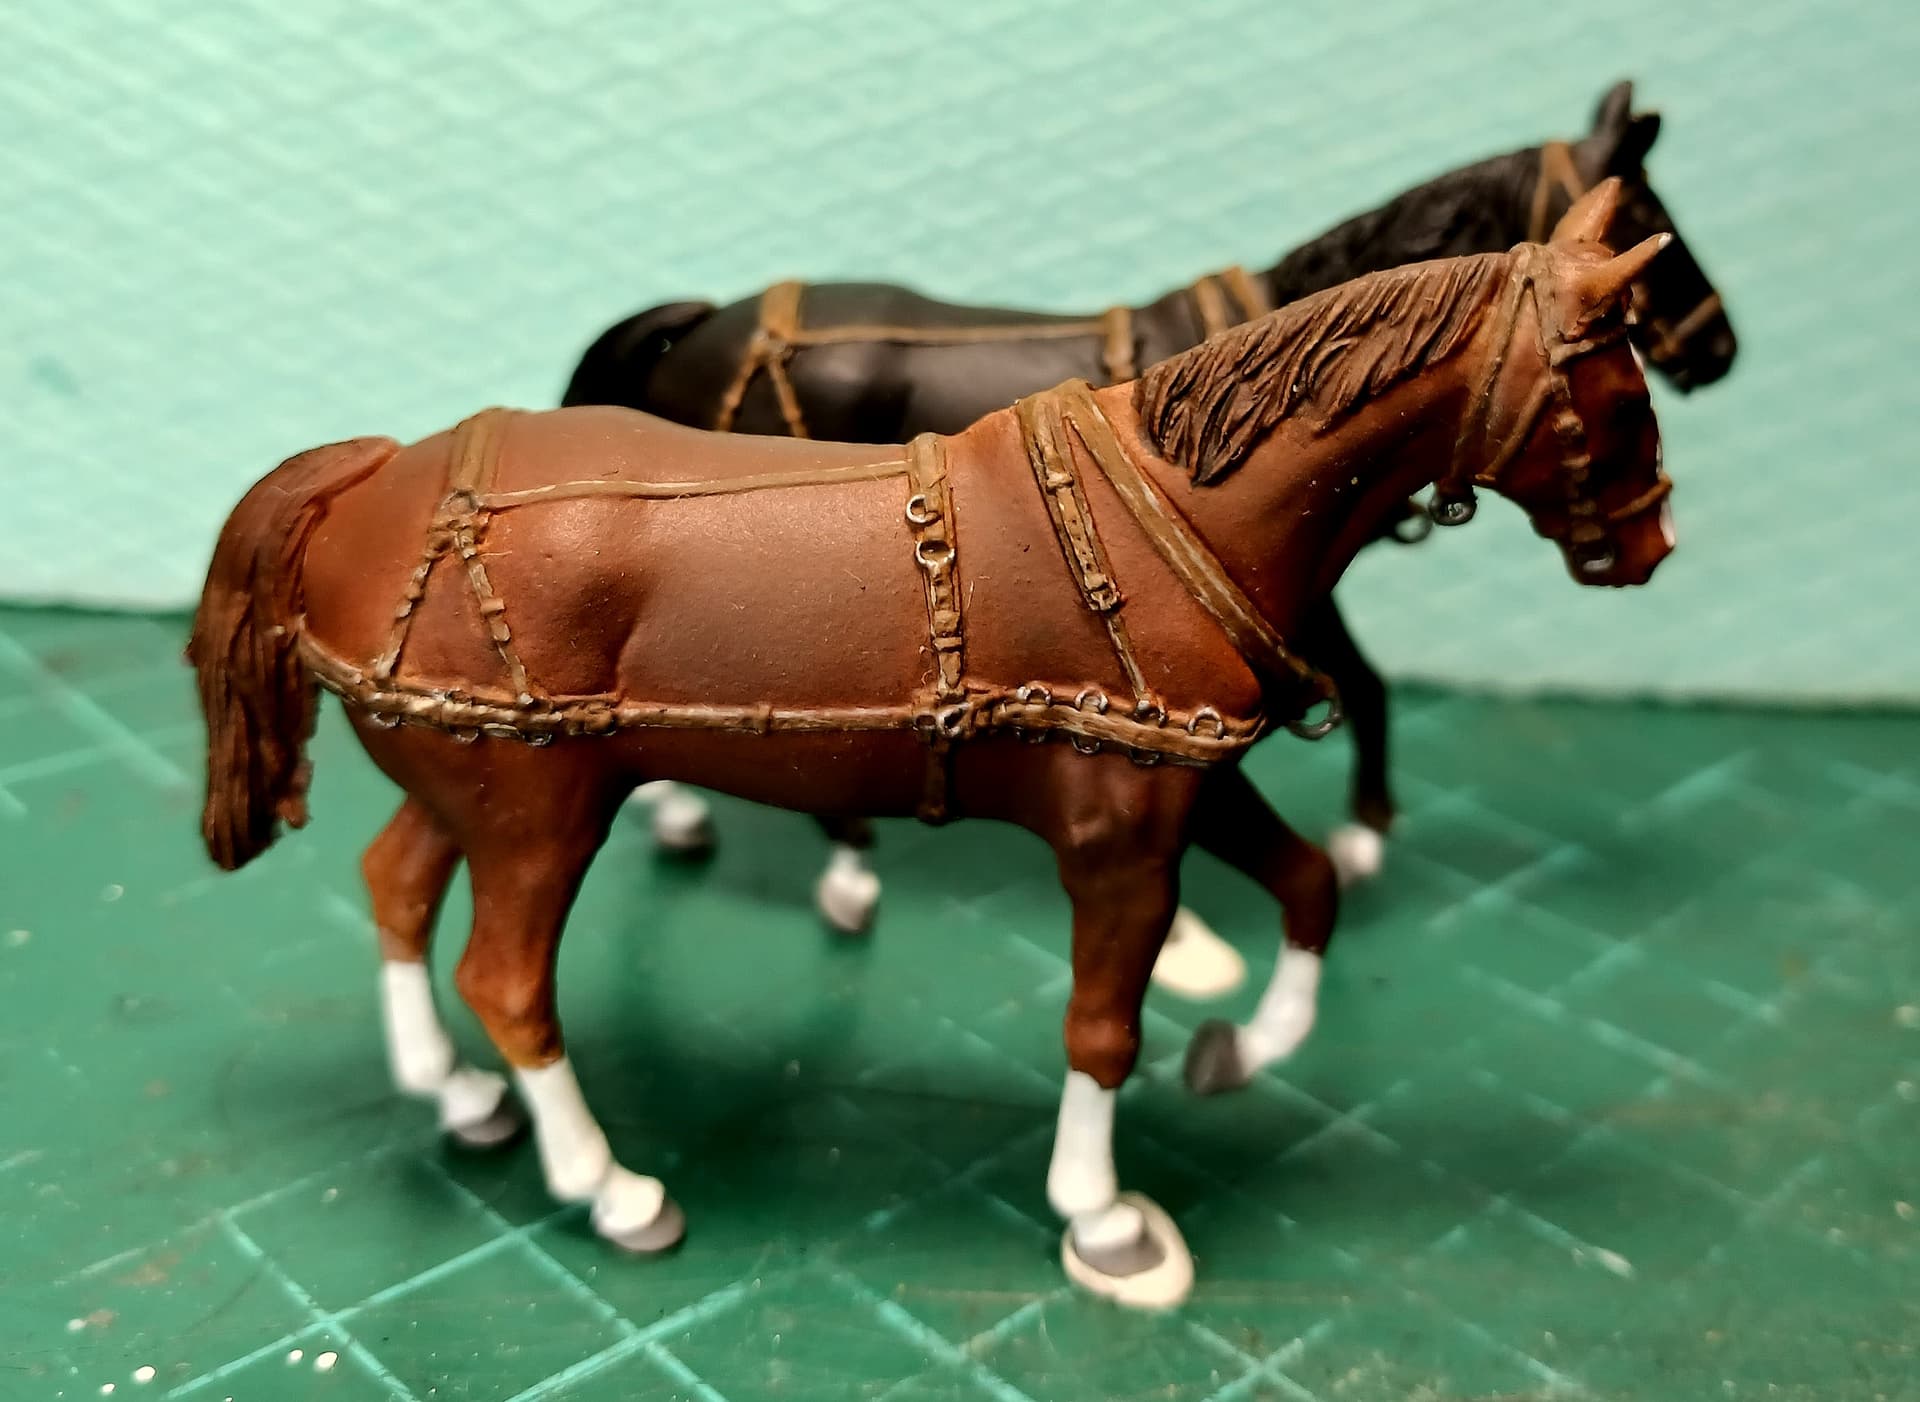
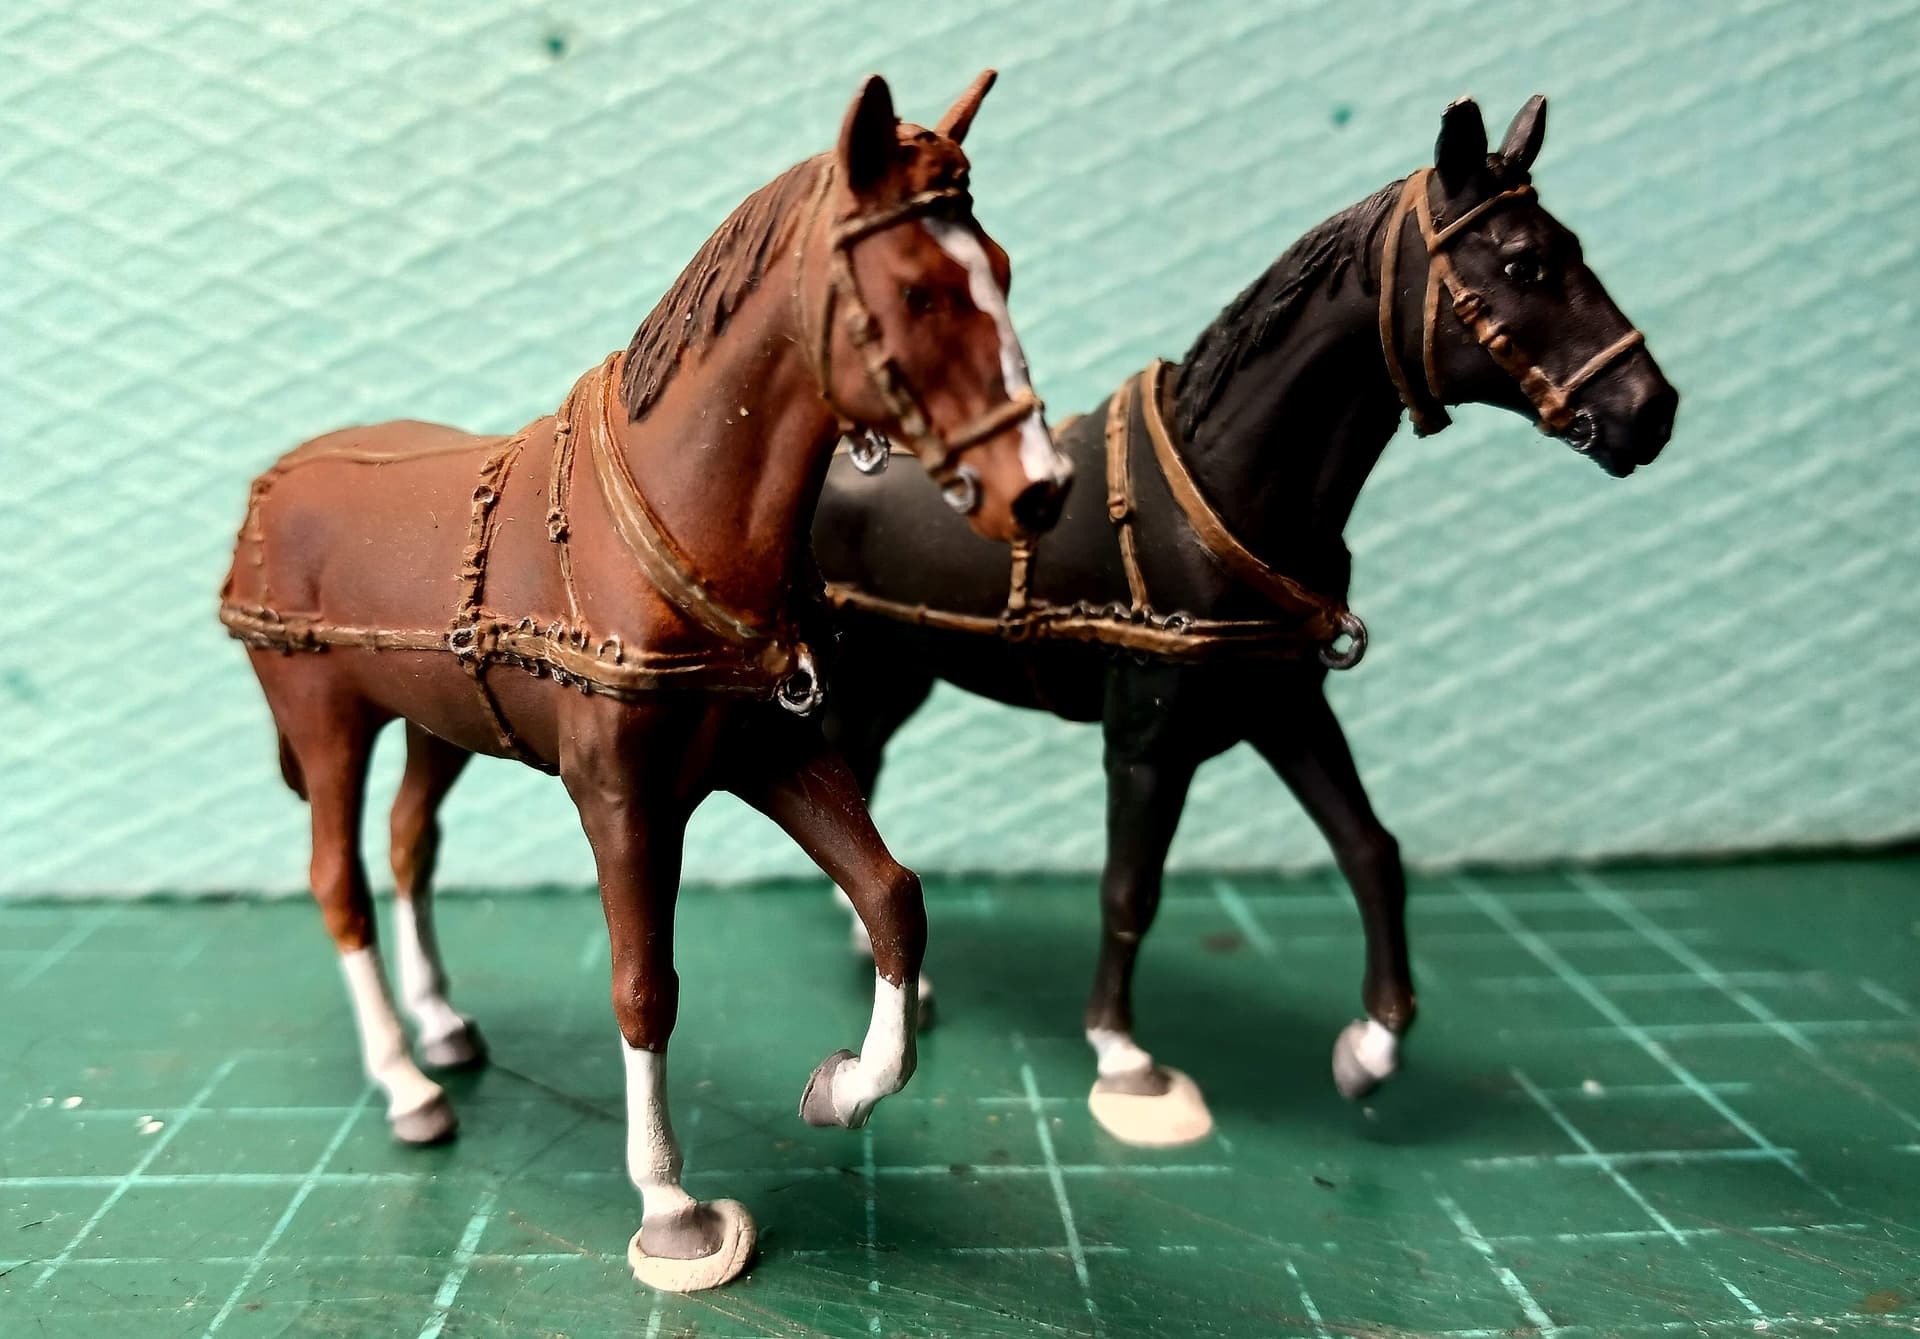
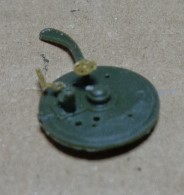
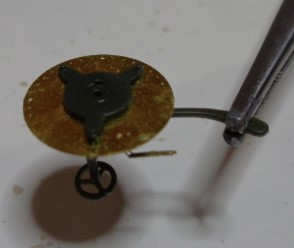
The brown one is a Pleven horse, while the black one is a East Bulgarian horse- these 2 breeds were essential for my country’s army in the first half of the XX century.

Those were my first 2 horses to paint(and I have plenty of resin horses waiting) and I even managed to paint their eyes, thus extremely happy :smiling_face:

Cheers,
Angel

14 Likes

'Love that, just love it!

2 Likes

Better than Museum quality finish on the eyes Angel’

The Museum quality:
image

10 Likes

Stunning piece of work, nice one :+1:

2 Likes

Thank you! :smiley:

—mike

1 Like

Finished the work at the chassis of the Clubmobile, and the sidekick is a Jagdpanther G1 from Takom, with nice zimmerit

10 Likes

Dragged of the queen shelf, chally 1, adjusted front and other items, SSM update sets, eureka tow cable, wired lights and L37,


11 Likes

:metal:t4: Added graphite to Metal rods :metal:t4:

:jack_o_lantern:

5 Likes

Took a crack at weathering with oils on my 1/72 Viper. Fairly happy with it, but it’ll definitely be a lifetime of practice.

I’m not quite sure what to do next. It needs more on the dark grey, but I don’t know what that is.

8 Likes

…make new hatch latches…

…reworked gun travel lock…

…wrapped front of hull…

…discovered part (50c) of the engine deck was lost over the last ~25 years…oops!

…used pattern to chop out a replacement…

…working on details for replacement…

Edit update

…erstaz 50c cobbled together…

14 Likes

Working on the Sea Dart missiles. I’ve been puttying the gap between the missile body halves.
DSC00843

But, I’ve also started the Sea Wolf.
DSC00849

DSC00847
Some work on the ZPU-1 base. And some more parts added.
DSC00850

11 Likes

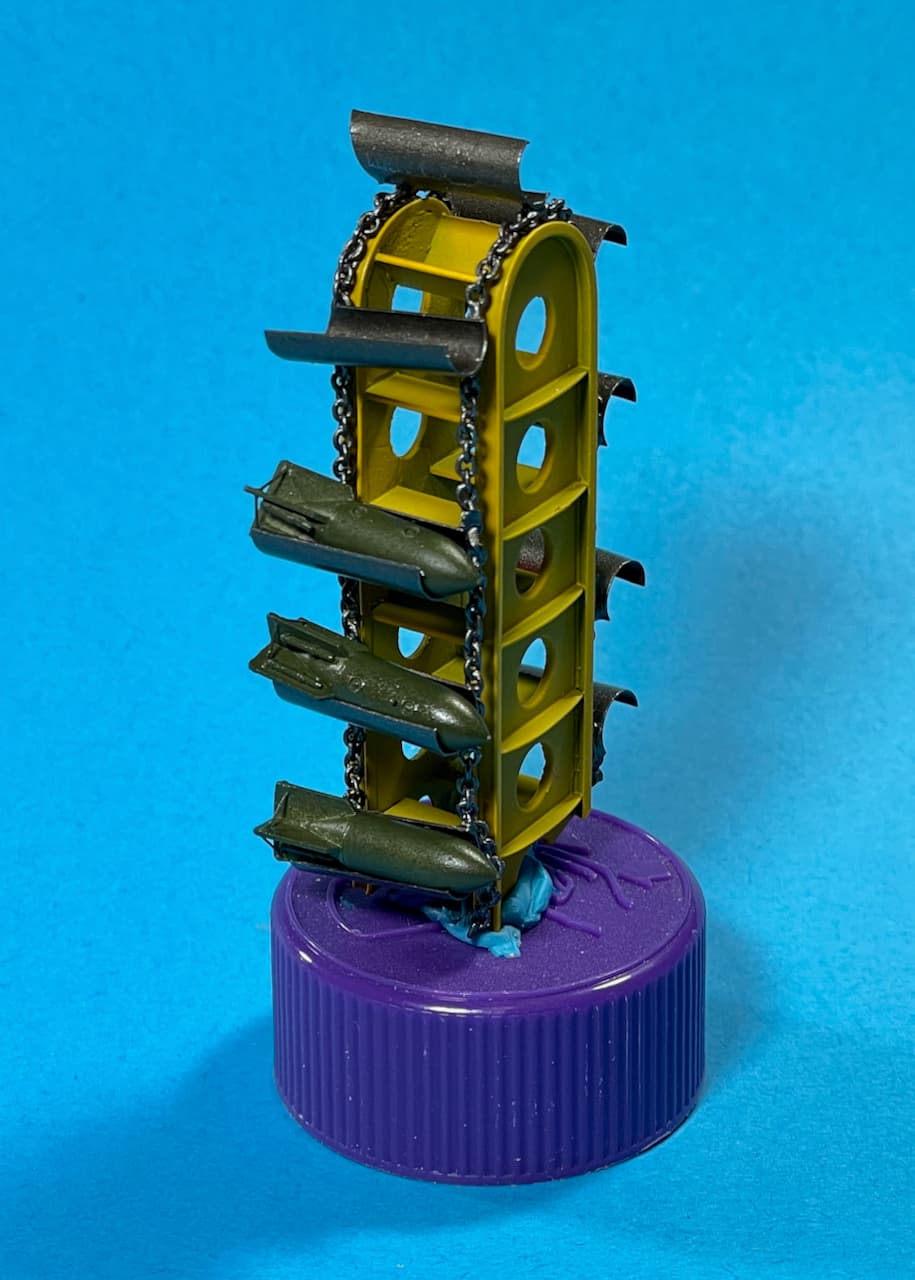
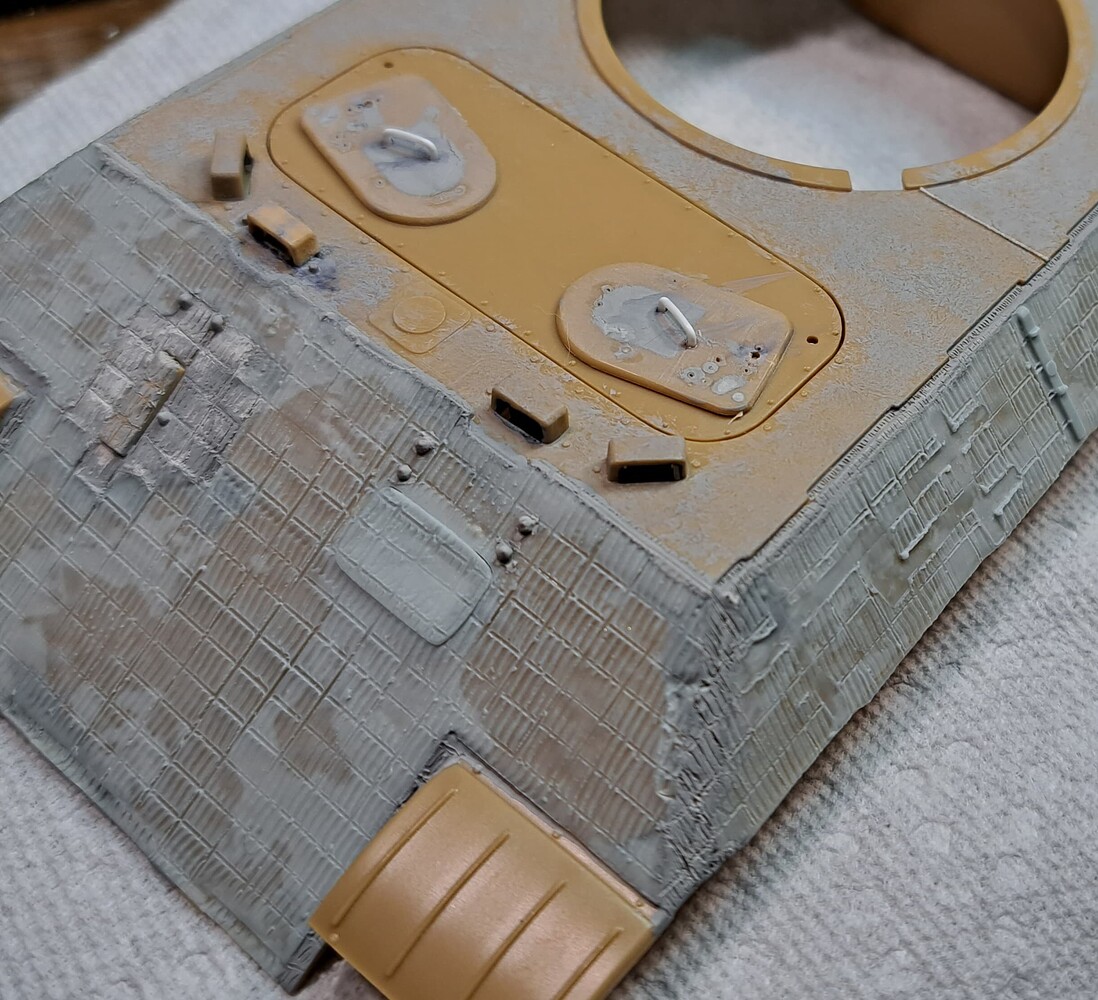
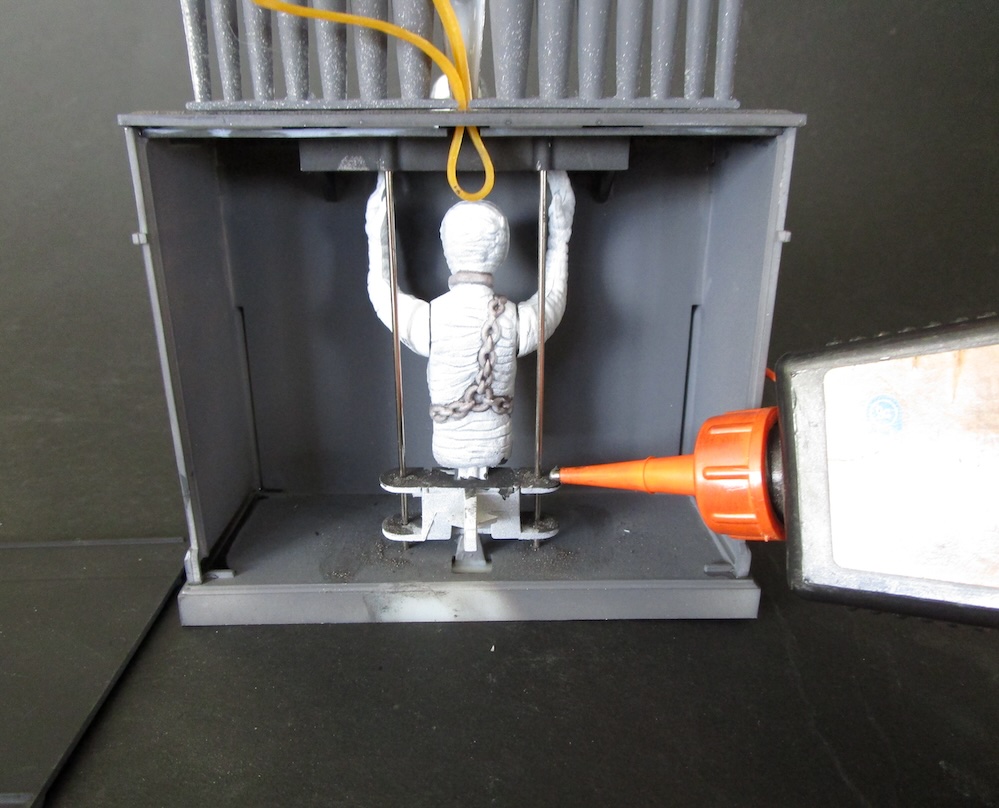
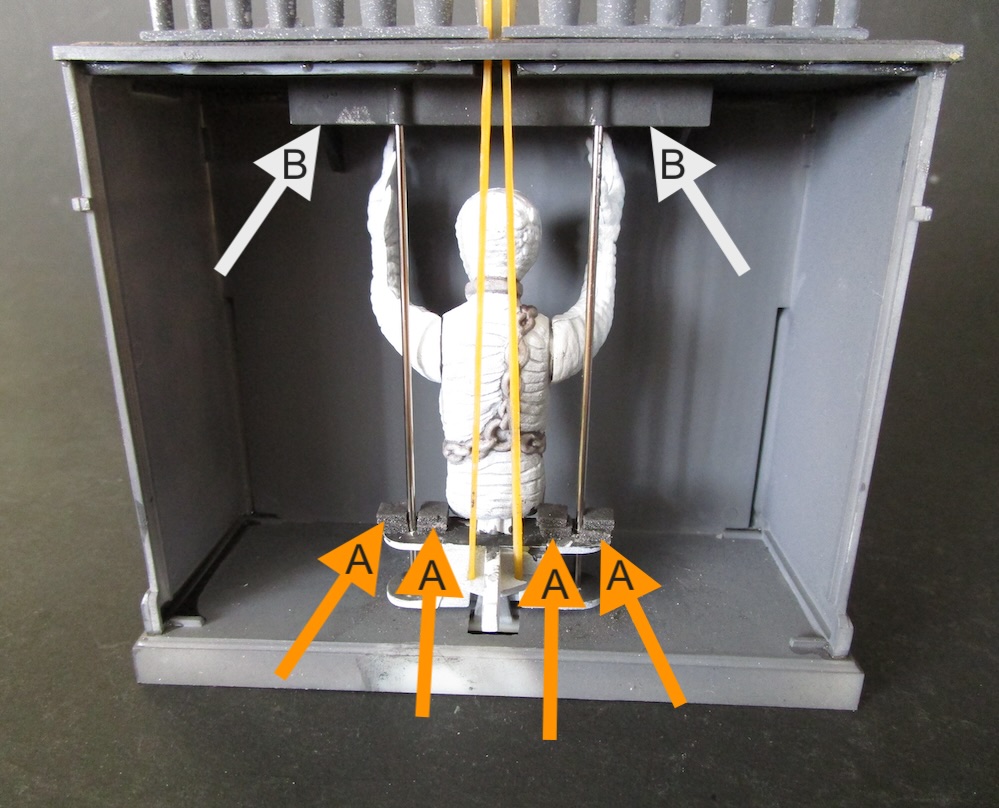
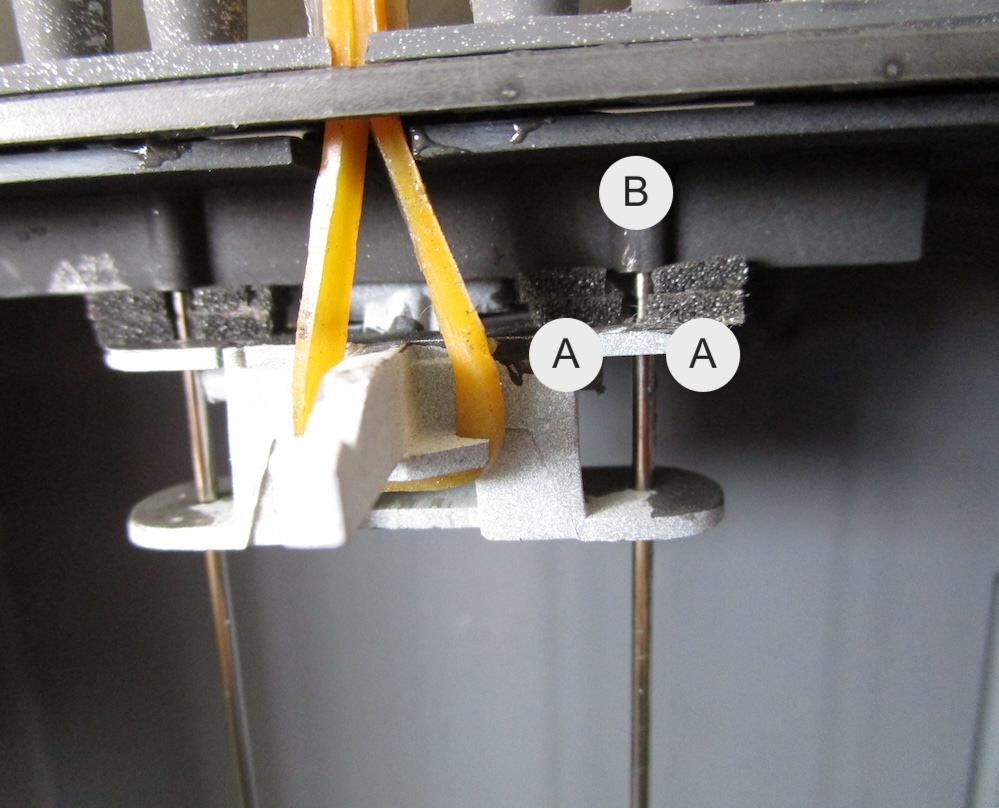
Added neoprene material to the striking points after the added graphite to the metal rods. This is to dampen the violence and plastic clack noise as well.


A) neoprene tape locations
B) rapid travel stopper

:jack_o_lantern:

9 Likes

DSC00851
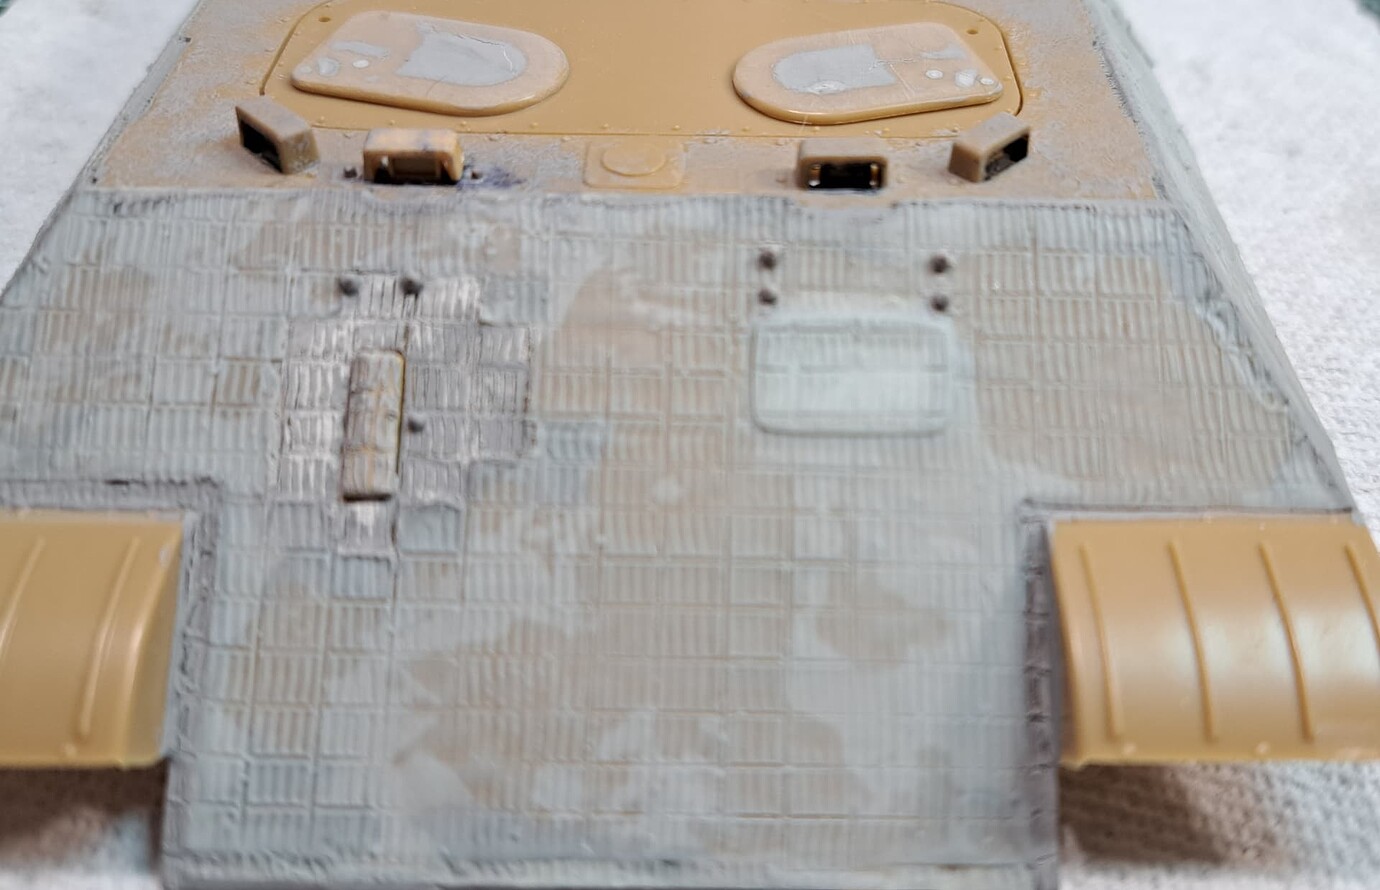
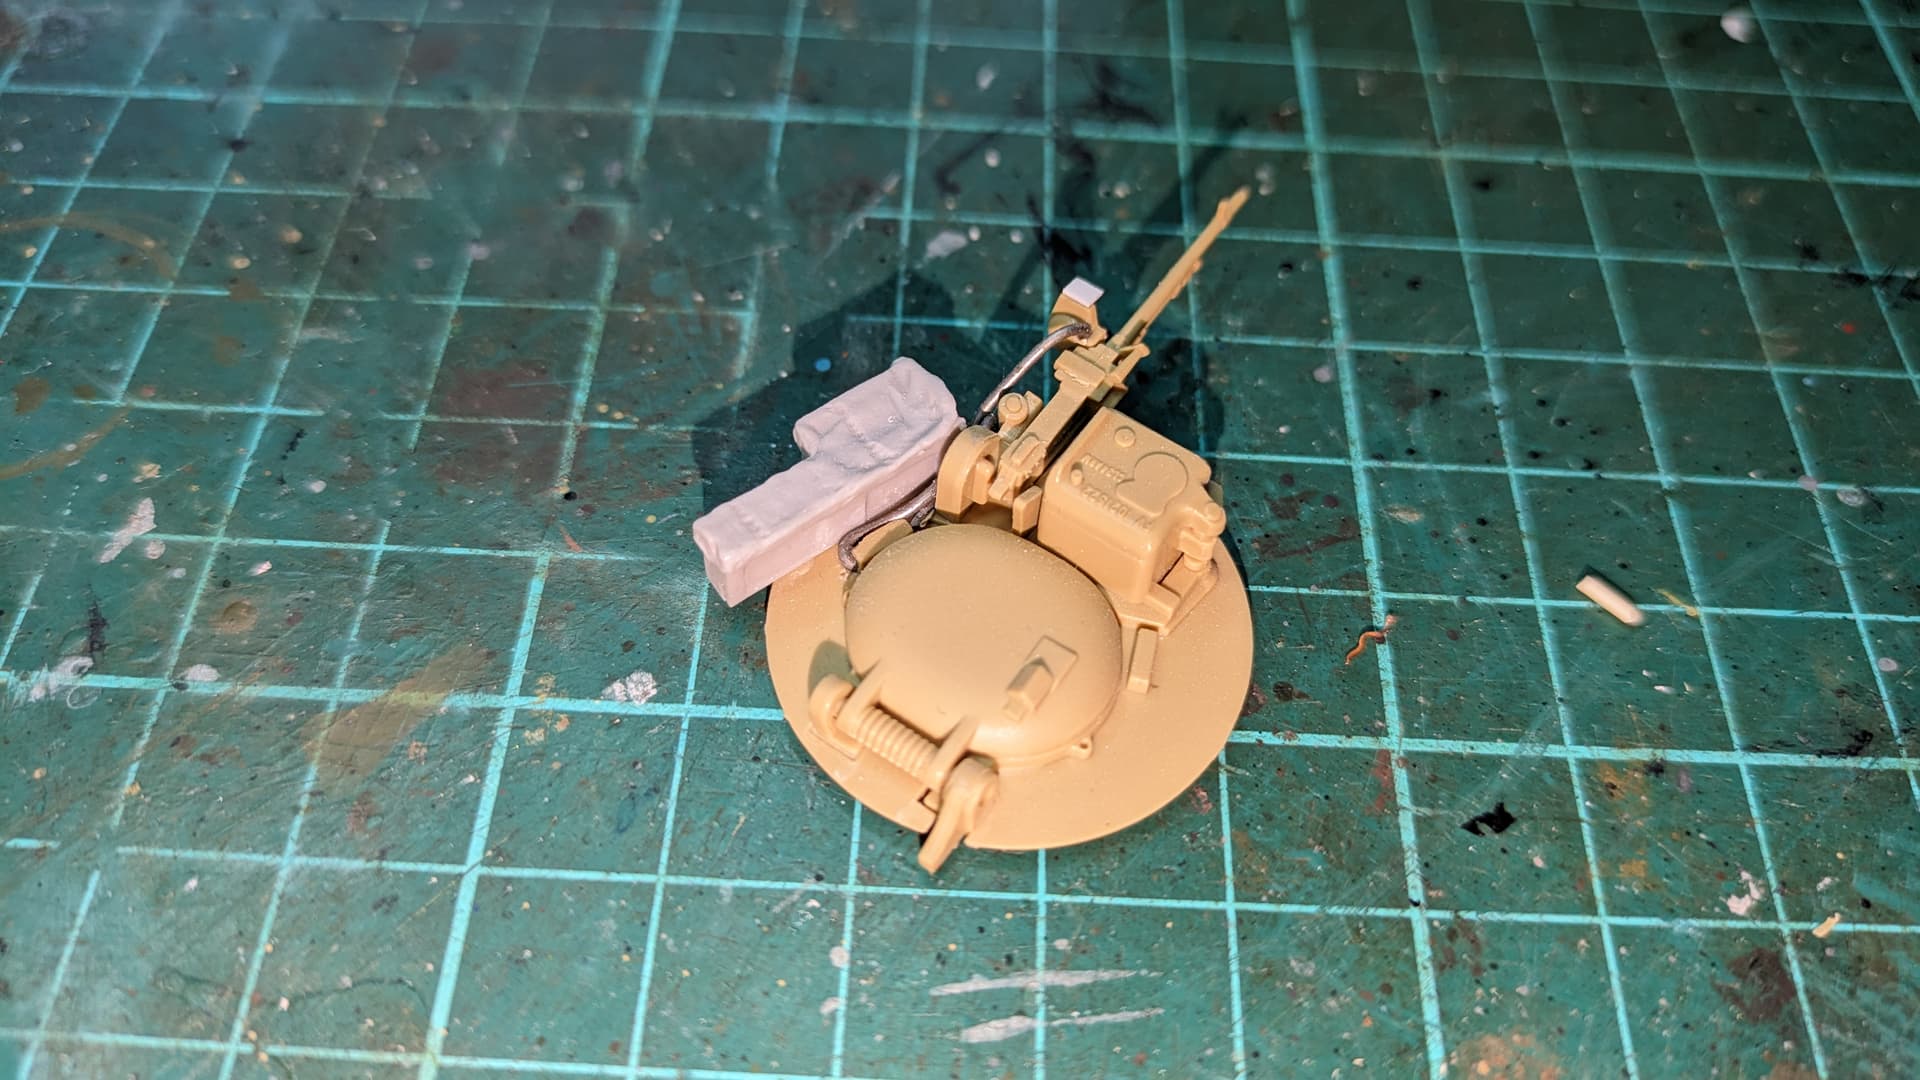
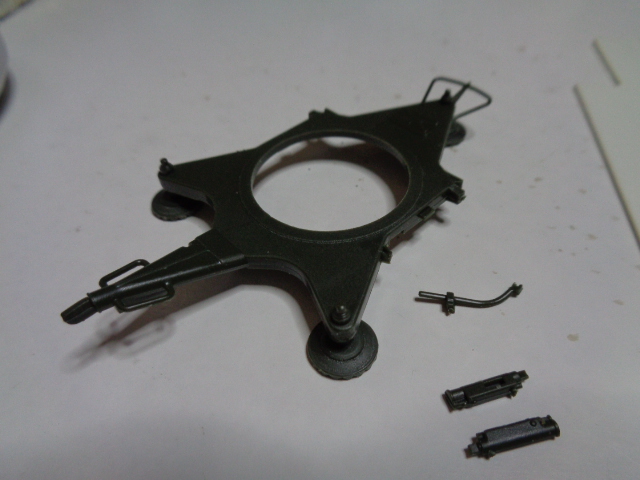
Got the legs onto the base of the ZPU-1. If you look at the picture, you will notice a lot of the parts on the top are no longer there. They all got knocked off putting the legs on. Grrr.

DSC00852
Added feet to the ZU-23-2 base.

8 Likes

Drilled into the Bomb Room floor and installed the Safety Railing. :hammer_and_wrench:

I also gave the Wheel Chocks a bit of weathering. :paintbrush:

Thank’s for having a look!
—mike …:flying_saucer:

15 Likes