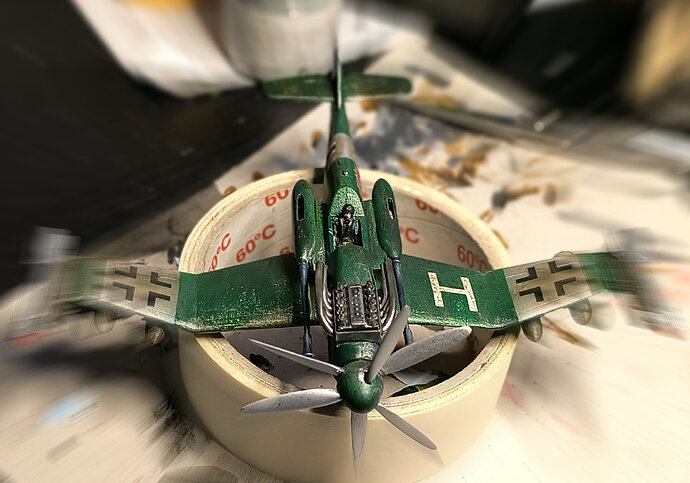
Another 48 hours build , a Me 109 with some advanced Features .
You must live in a tough neighbourhood - round by us they only steal the wheels! ![]()
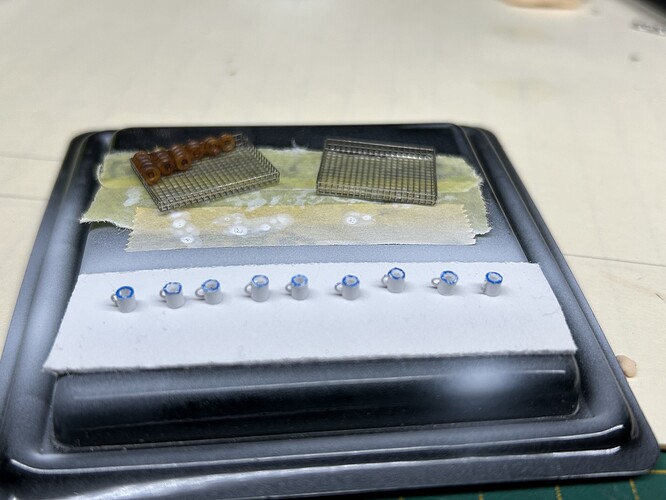
Seriously, that’s some amazing scratching! And I love the jig to keep it all straight…
It is big💪🏼
Just lovely!
Anthony, that’s an outstanding looking cockpit! Very sweet!
Thanks a lot. Pretty basic cockpit but after painting thr buttons and gauges it looks pretty good.
Wade you do terrific work. Where do you find the time to do all the scratch and conversion work?
Thank you sir, we’ll see how it looks under a coat of paint.
Thank you, Randy that’s very kind of you.
Luckily, I’m retired with a wonderful wife. On a good day ~ 2 hours of hobby time. Ideally when wife is watching something I don’t like on TV, like the Young & the Restless or whatever it’s called…lol
Kali gets upset ![]() after that, feels attention needs to be feline focused.
after that, feels attention needs to be feline focused.
She’ll ask nicely for attention ~3 times, then claw the daylights out of your leg at the bench.
I put together all the stuff I need to start painting my 1/16 Jagdpanther tomorrow, no excuses to put it off anymore…
Wish you all merry christmas and a good time✌️
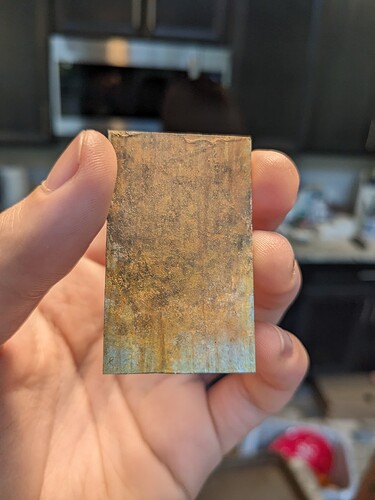
Merry Christmas everyone! I received LifeColor’s rust and dust set for Christmas, so I decided to play around with them for a little bit. Here’s a half hour of work, would’ve liked to spend a bit more time on it but I had a Christmas lunch to attend ![]()
Looking very nice, Richard! ![]()
––––––––––––––––––––––––––––––––––––––––––––––––––––––––––––––––––––––––––
Small bits of paintwork for me. …![]()
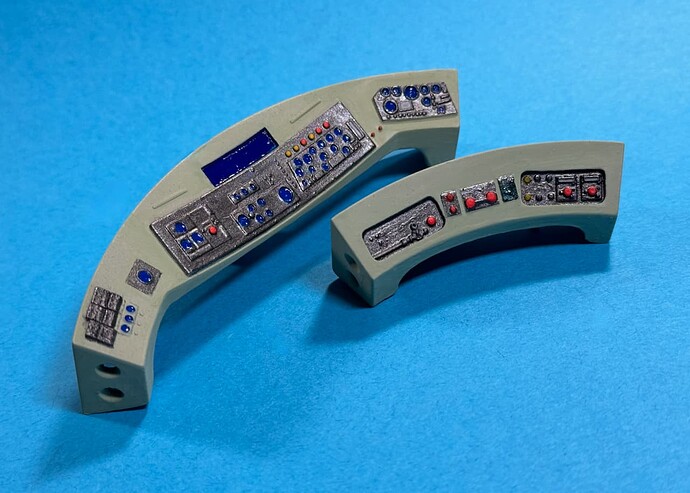
Painted the Bride consoles and instrument panels.
—mike …![]()
![]()
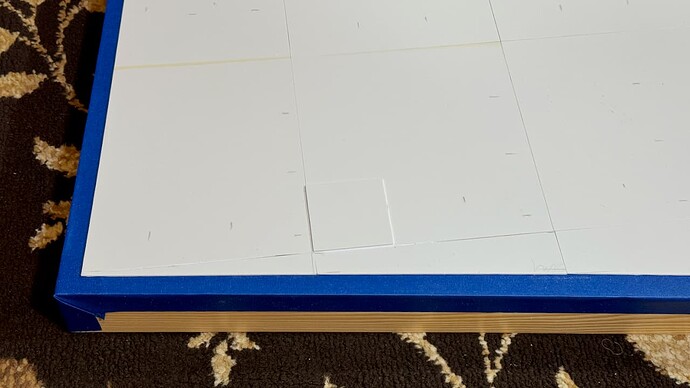
Laying-out a concrete base for the saucer.
Reference tile is 50 x 50mm square. ![]()
Scribing to follow…
—mike …![]()
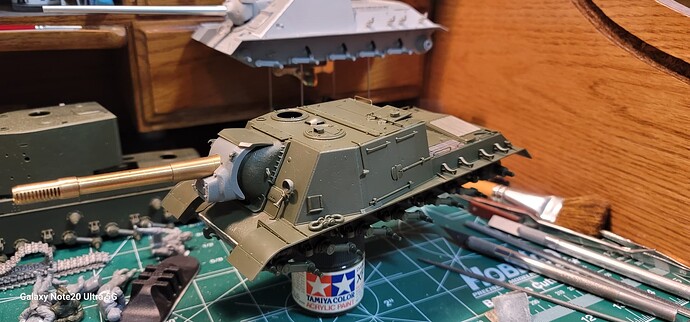
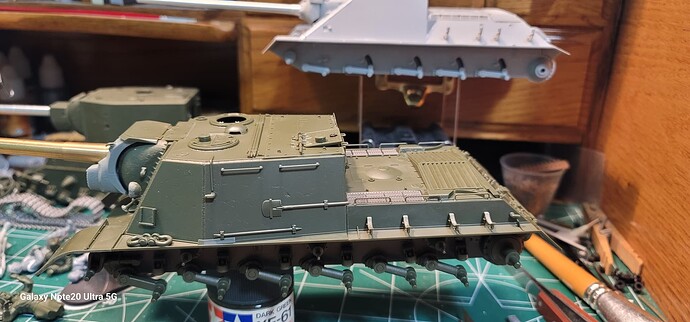
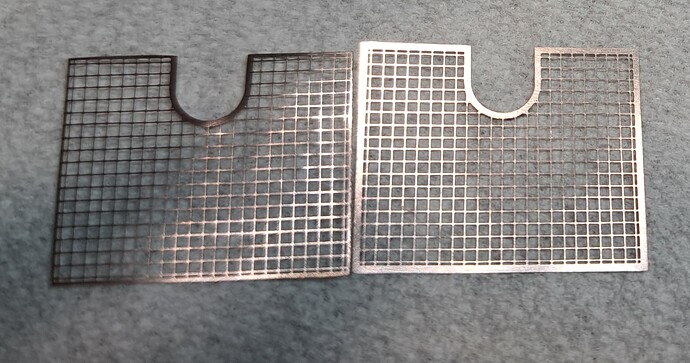
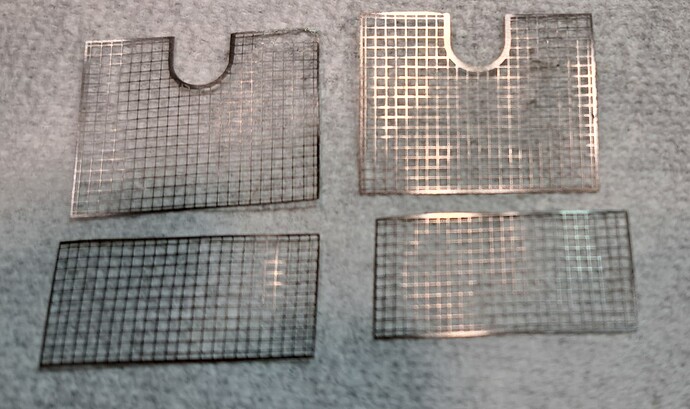
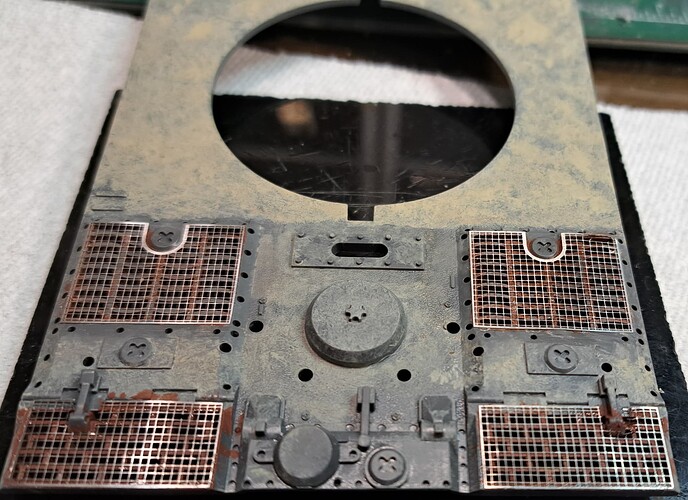
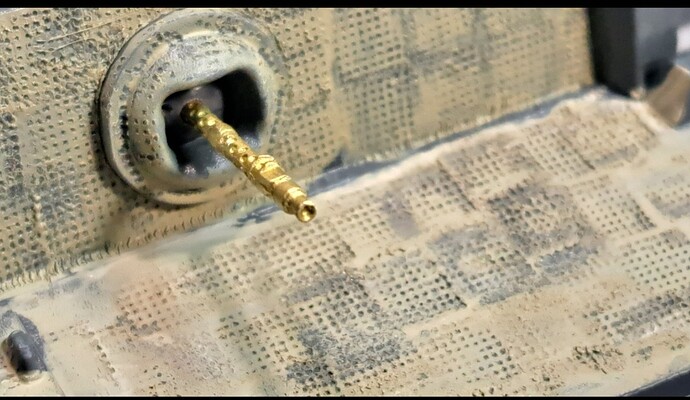
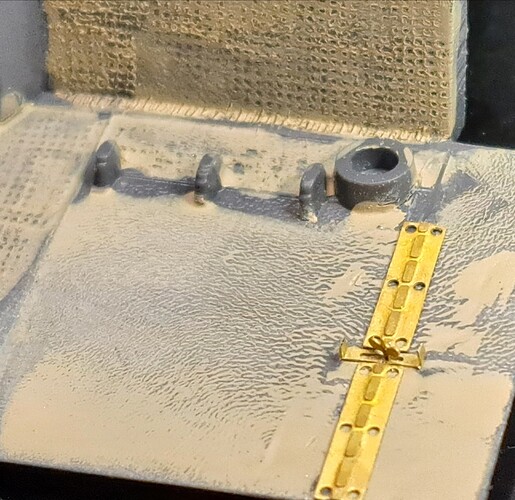
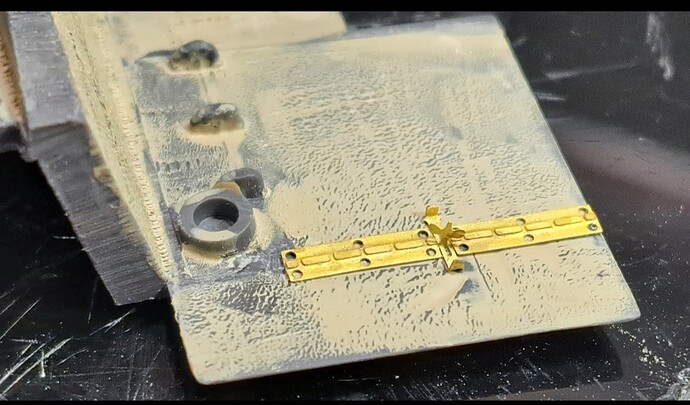
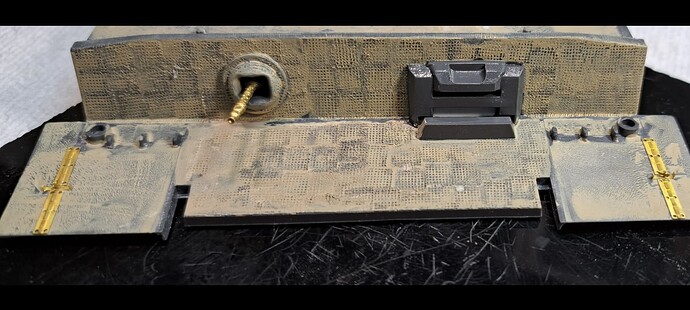
OTM screen chopped down (left) to fit better.
Chopped an amazing but ancient Cal-Scale MG34 to the barrel for the bow MG.
Grossly molded kit fender hinges replaced with OTM PE but the wing nut that looks more like a Sombrero than a wing nut.
Added flame cut texture, more artistic license.
Added waffle zimmerit, tweaked the texture of a couple of the kit welds with putty & #11 blade.
I wonder how many folks on here have this kind of hobby/life story to tell?
I loved the description of his day, with the other stuff going on ![]()
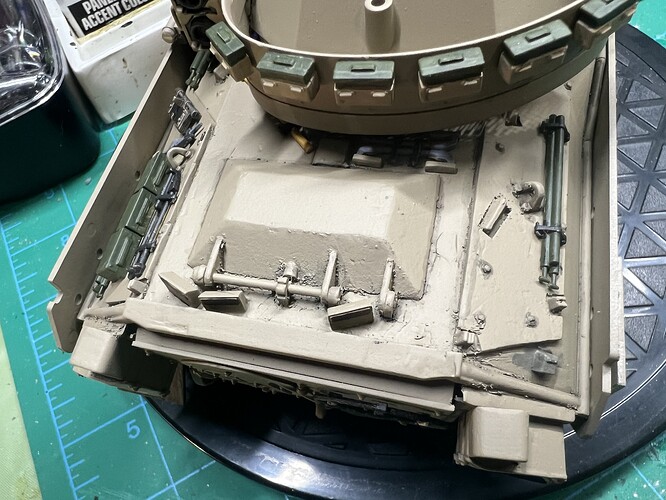
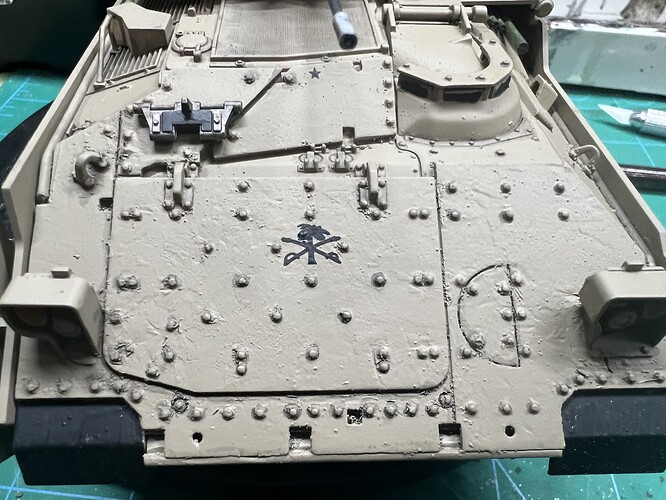
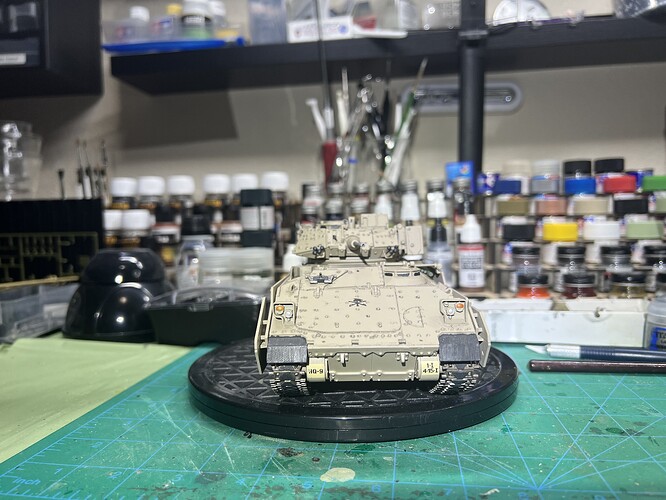
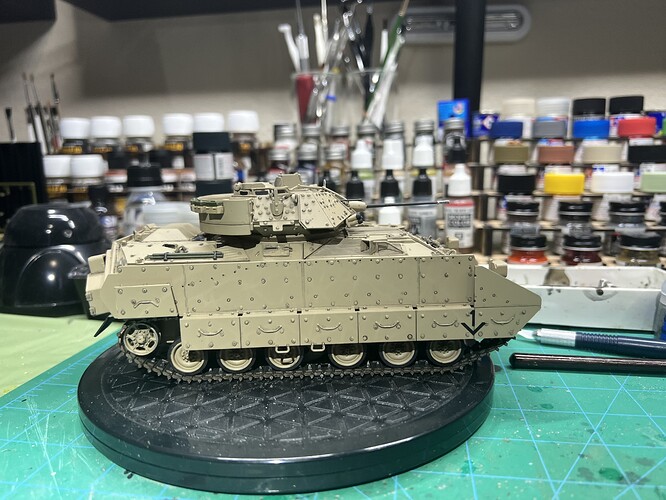
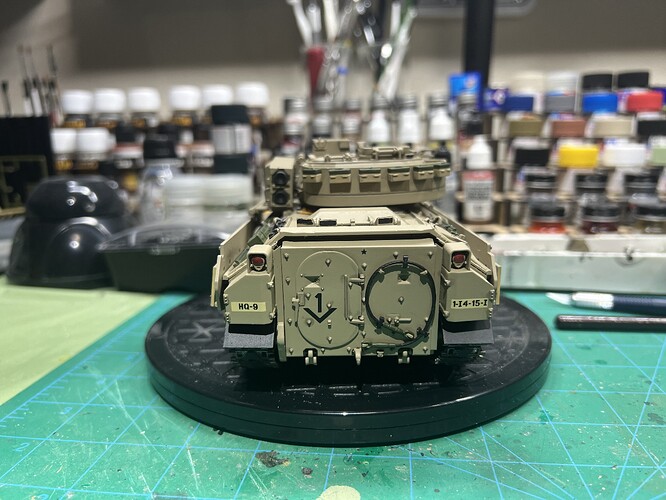
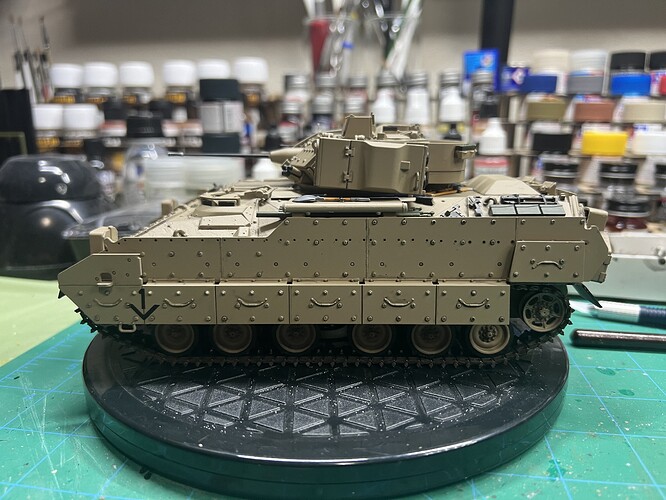
Well this is the first time I’ll post a build. I really messed up this Brad and had to strip off a failed non slip surface disaster. So I’m not asking for nice comments just understand I got tired of seeing it and rather than toss it I pushed on and from a distance I think it looks nice. The president of the chapter where I am a member always says completed is better than perfect. So here is my less than perfect Bradley.
It looks pretty good. One small issue though, you have the bumper numbers swapped. The DIV and Bn (1 I, 4-15 I) should be on the left side when looked at from the front and rear. The Company and Vehicle # (HQ-9) should be on the right side. The right side tracks are on backwards as well. The V on both sides should point down in the front.
