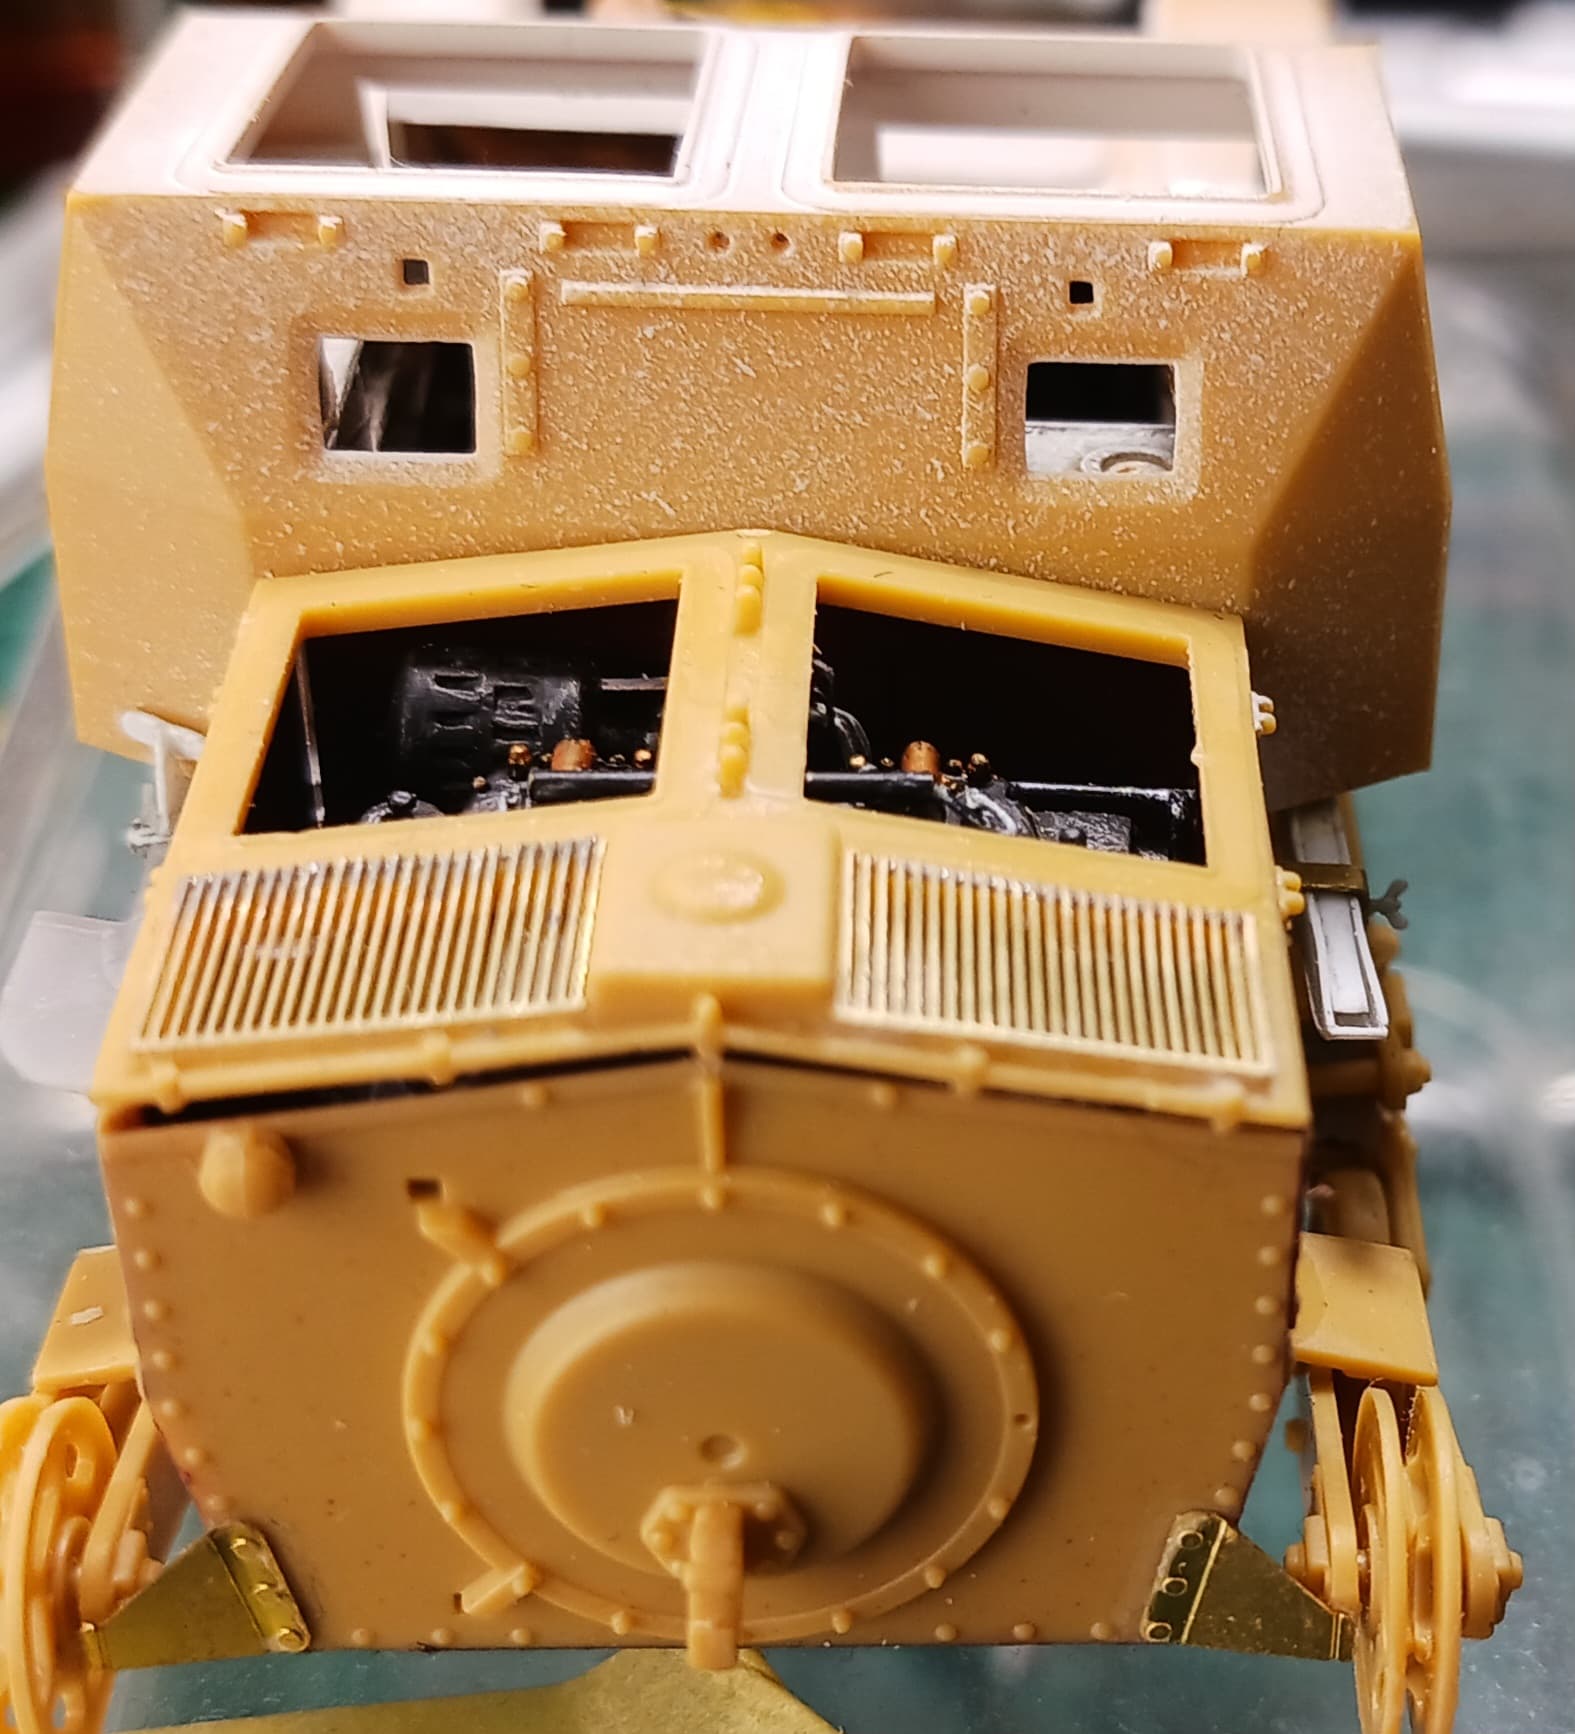
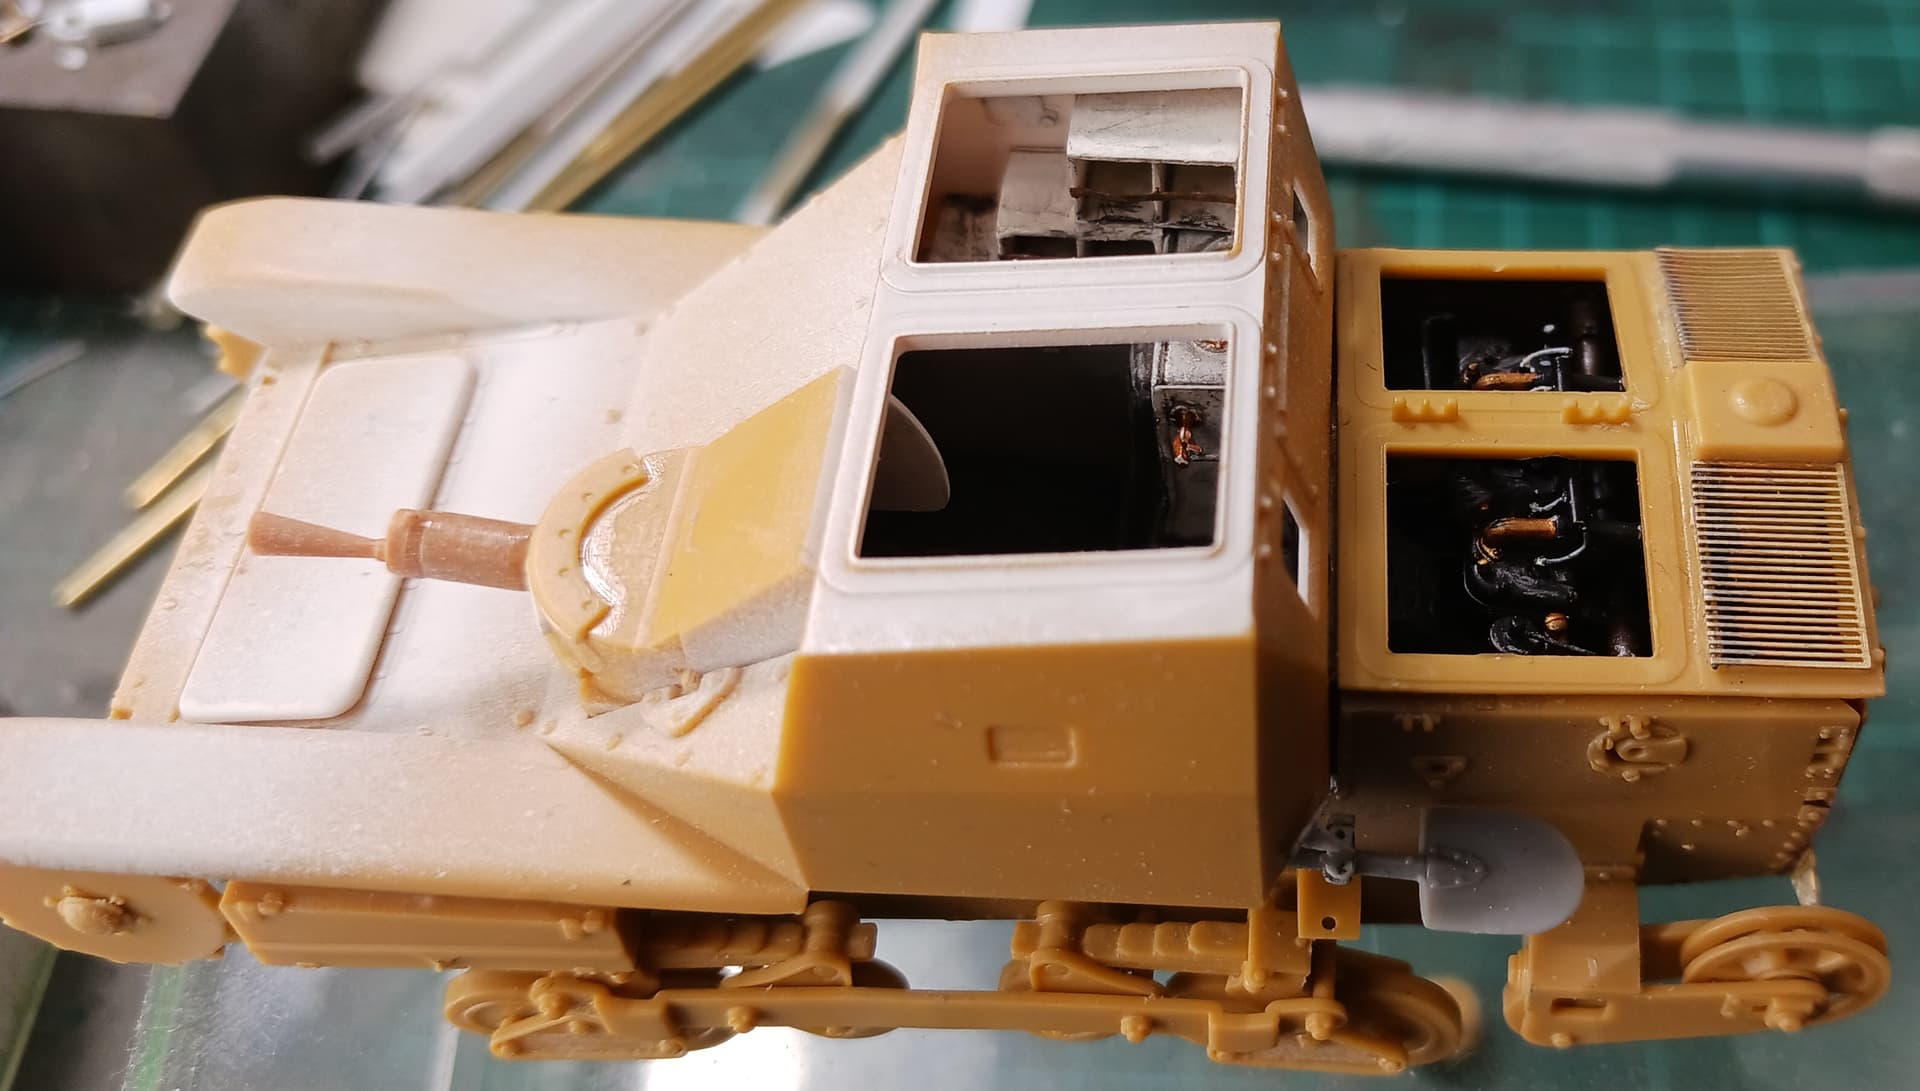
4 months ago I ordered a set of PE grills for the Ansaldo radiator compartment with a modelling buddy of mine.And shelved the build until they arrive.
Unfortunately, my buddy is quite busy, so I found another solution to the problem- the radiator mesh for IBG’s Lancia 3RO fits the bill perfectly, I have one set of PE given by another buddy of mine.
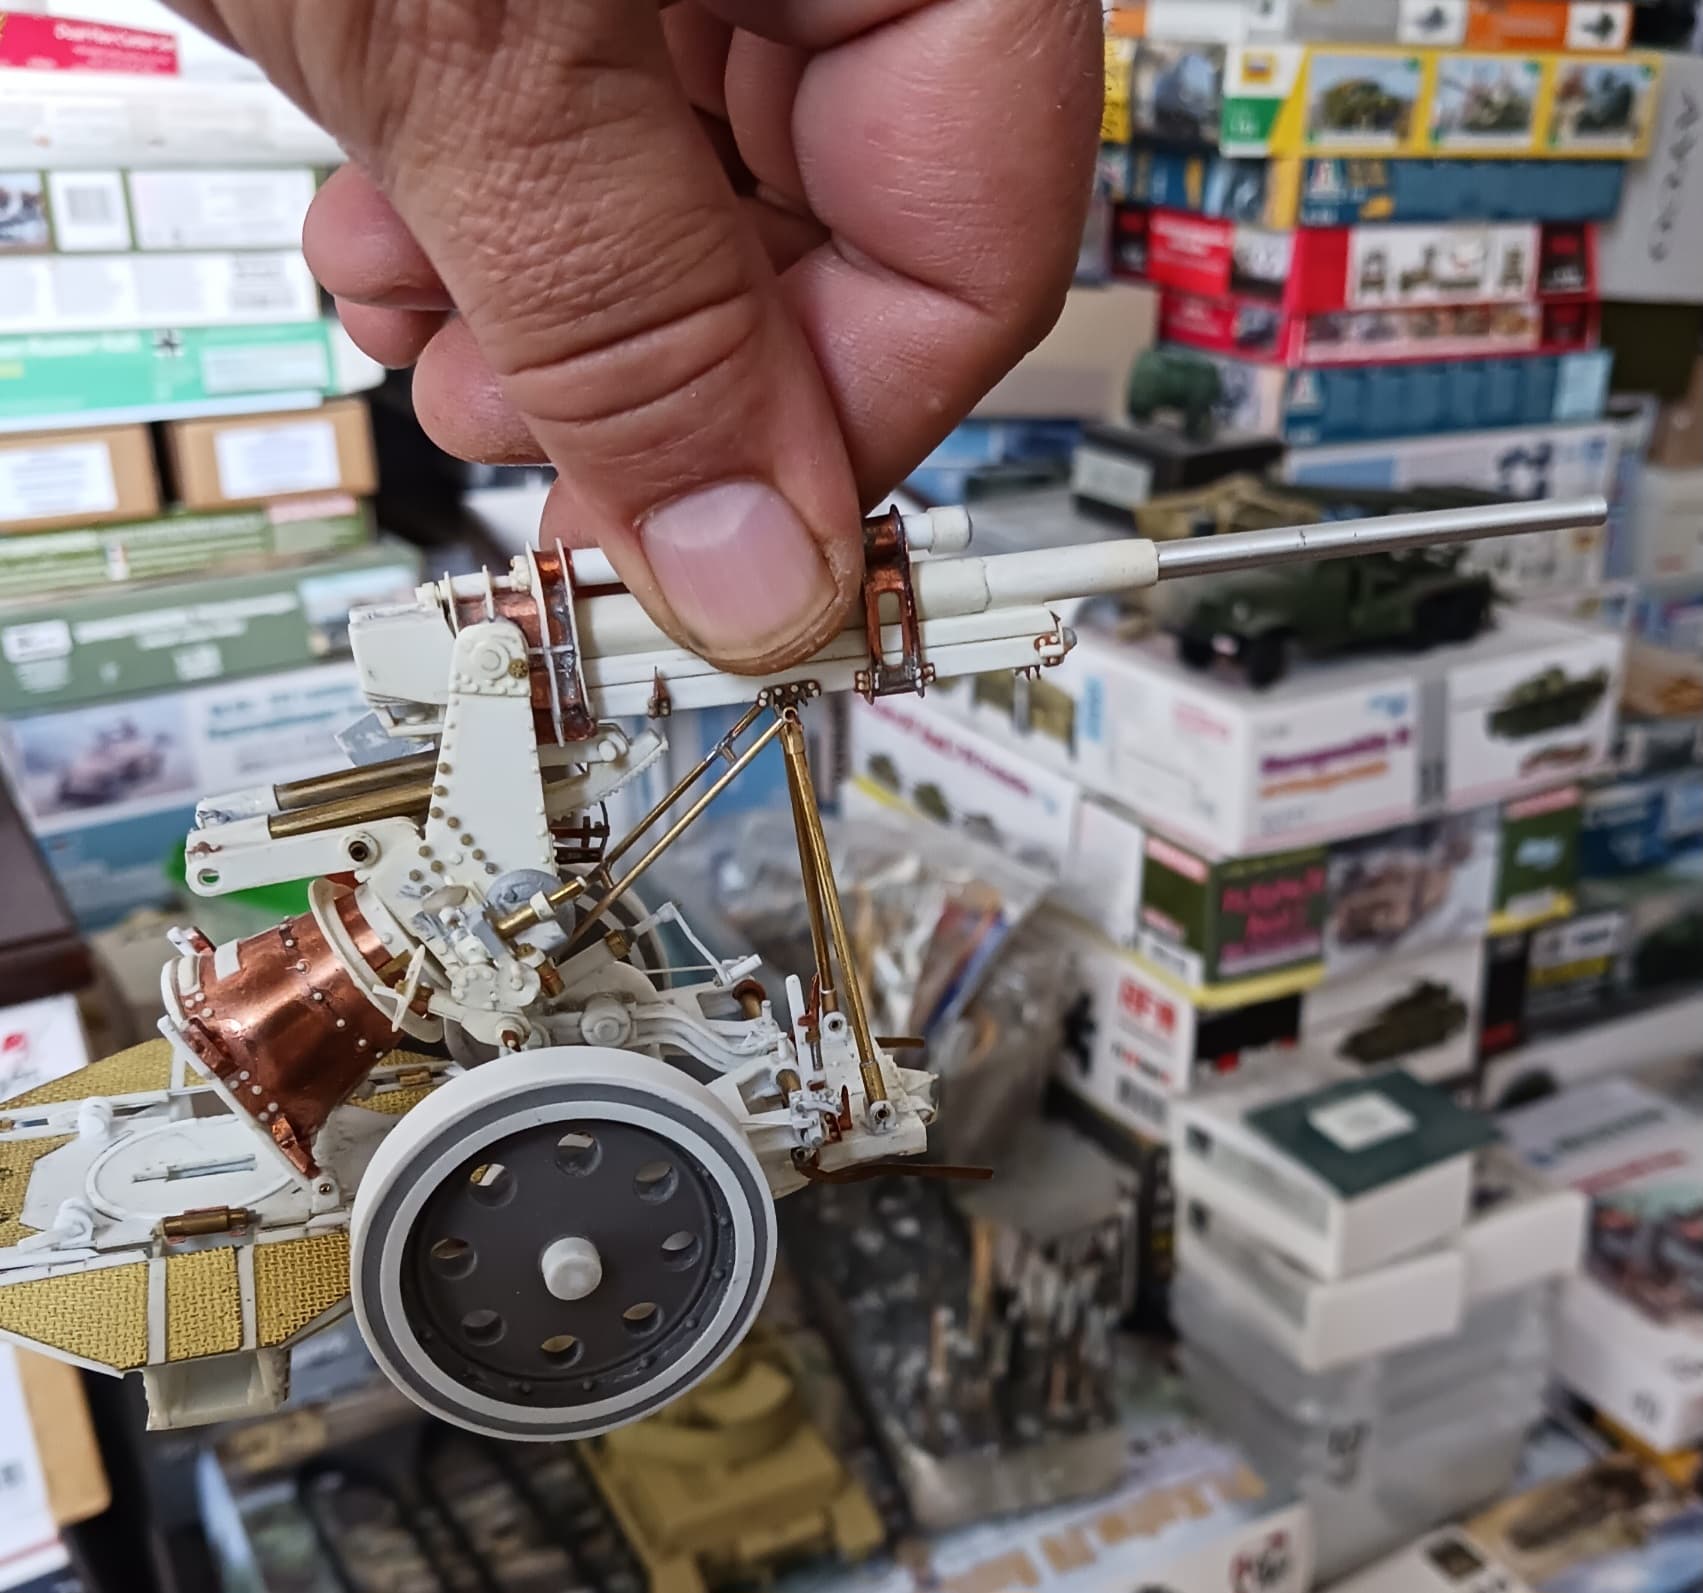
So a short drawing, cutting and soldering session yesterday resulted in my Ansaldo finally having the
radiator grilles:
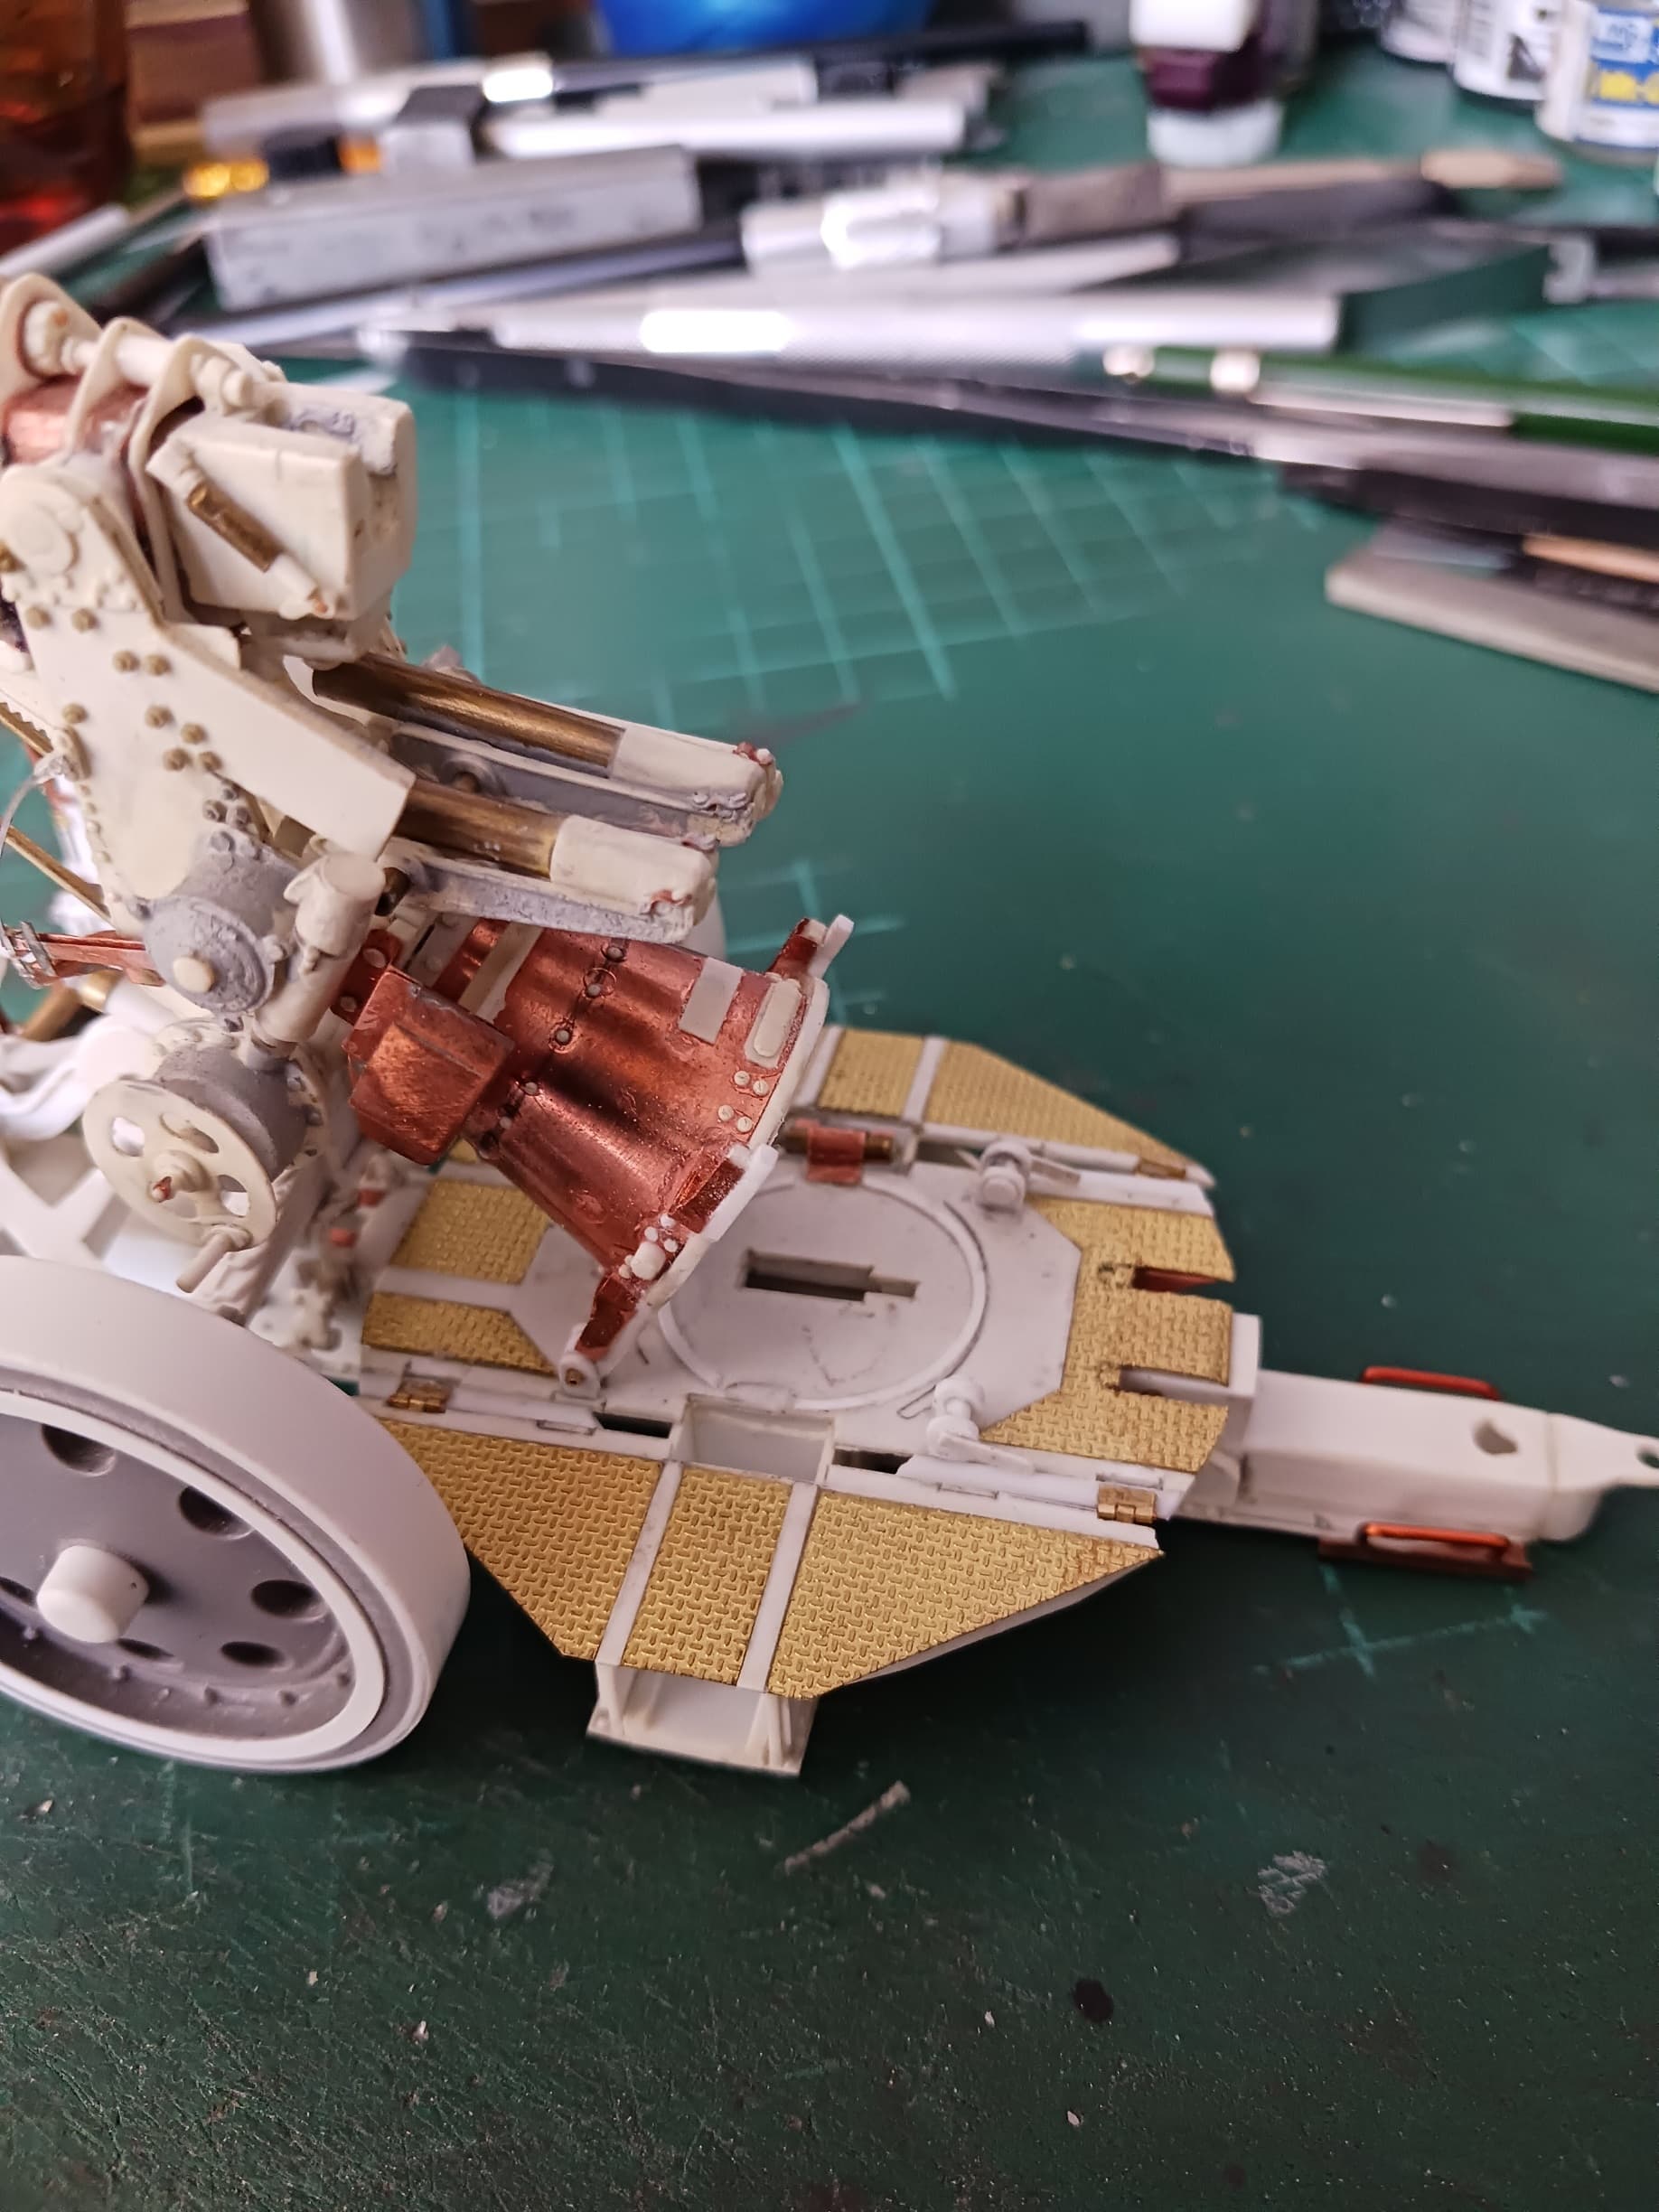
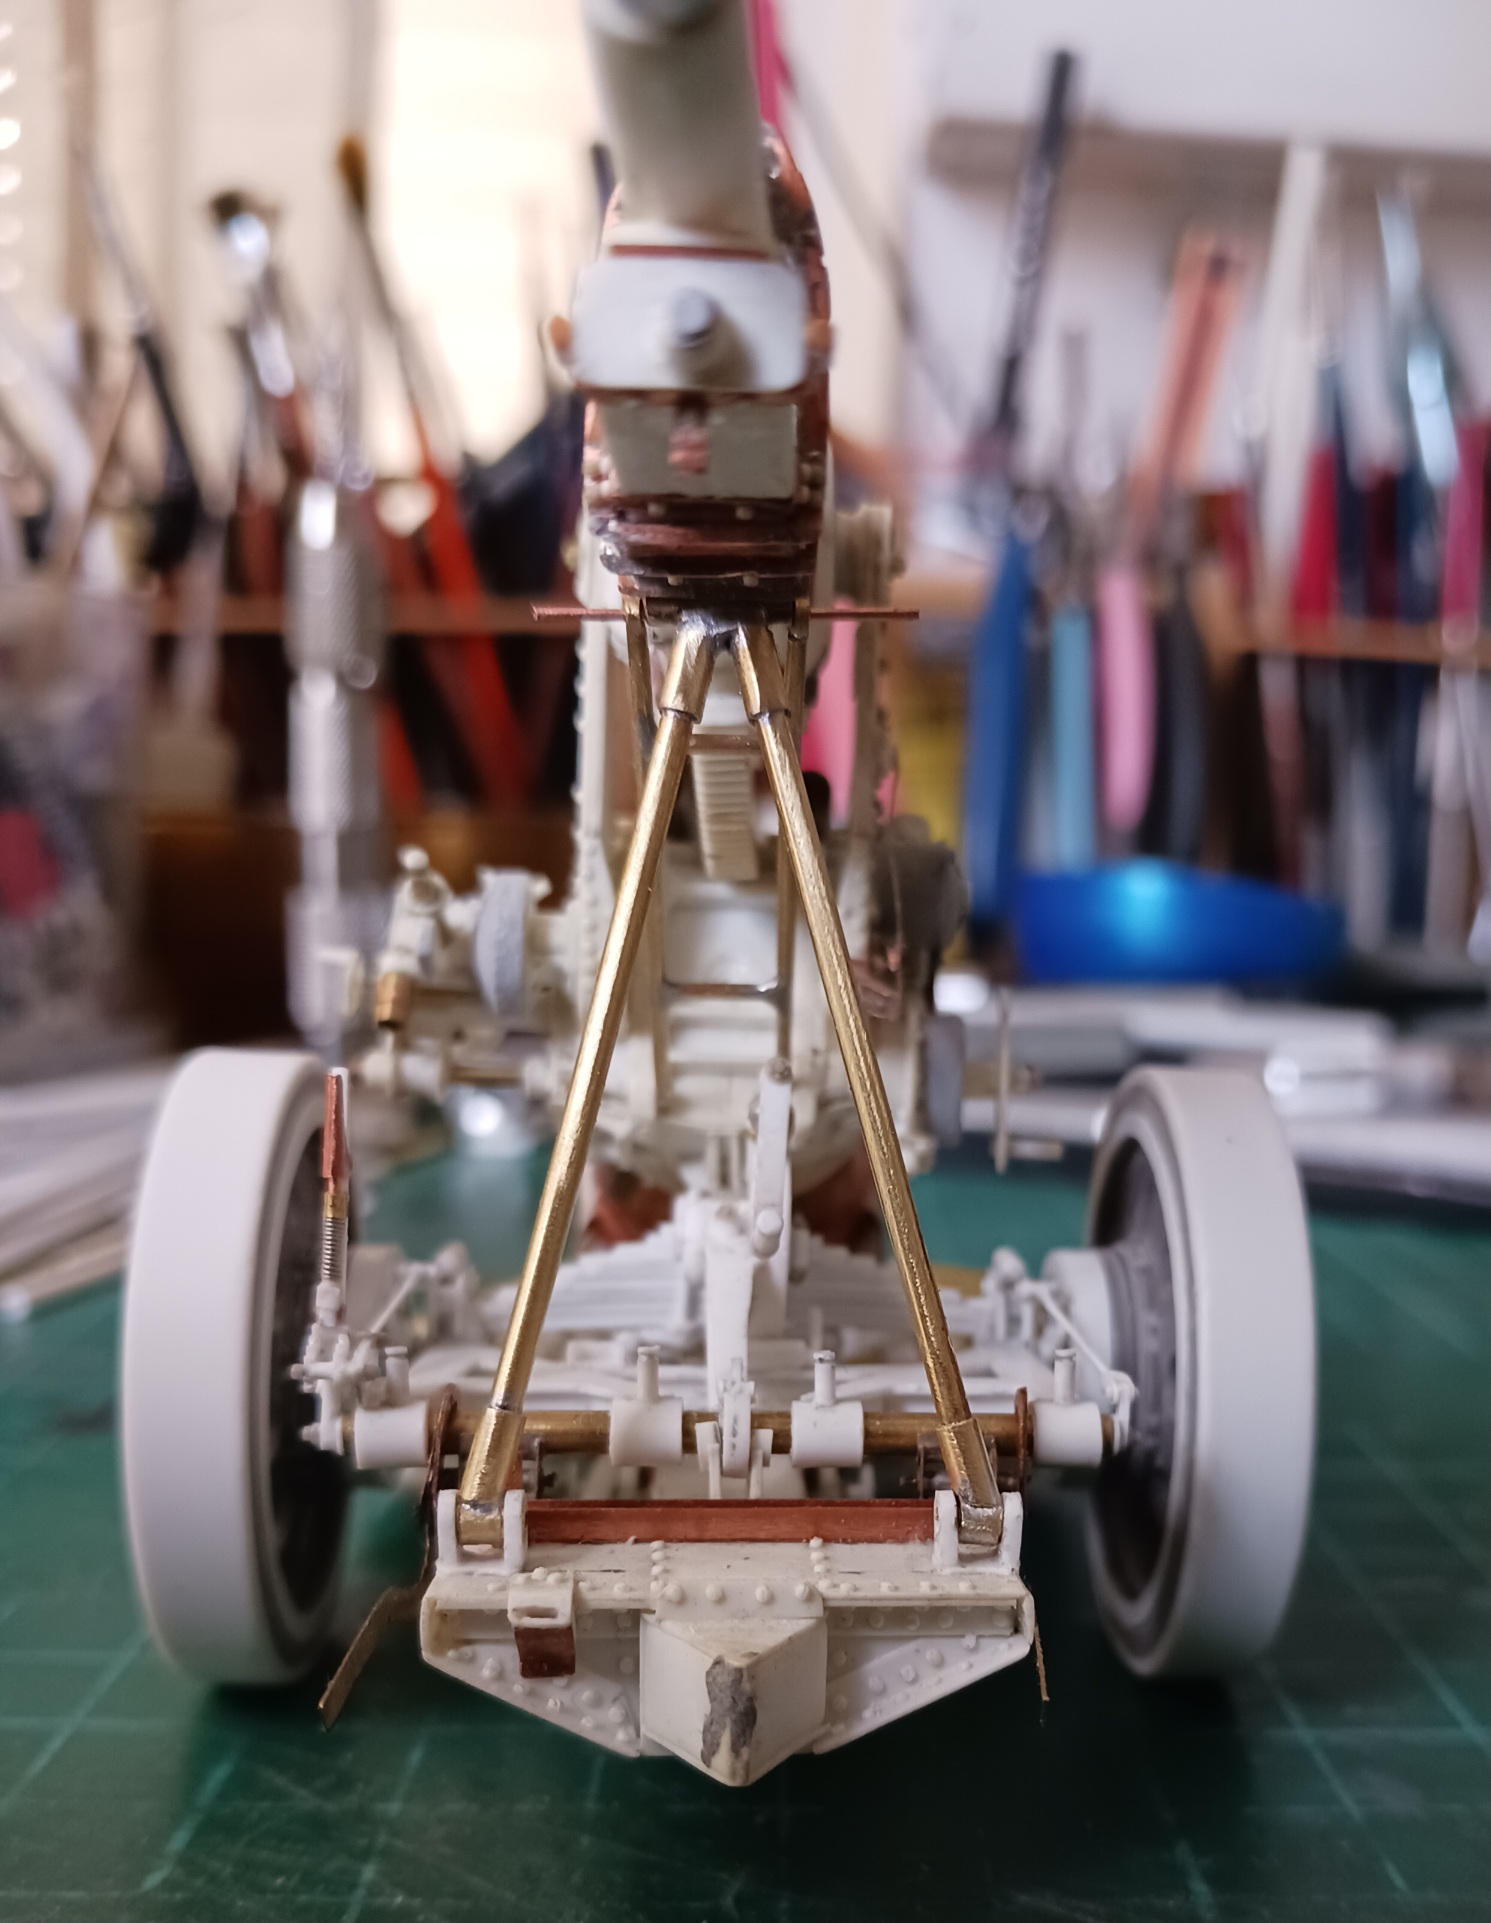
I’ve also done some work on the 3-K AAG, I’m building.I’ve built the forward connection points of the gun stand and the locking features at its rear.These are all working, so the gun stand can be tilted(transport mode) and locked in upright position(firing mode):
I have done a basic paint job of the interior although you really cannot see much at all but at least you can tell there are seat, levers, and dials. I just got finished putting in all the clear plastic and will wait until I paint the exterior to apply the masks – no sense rushing things.
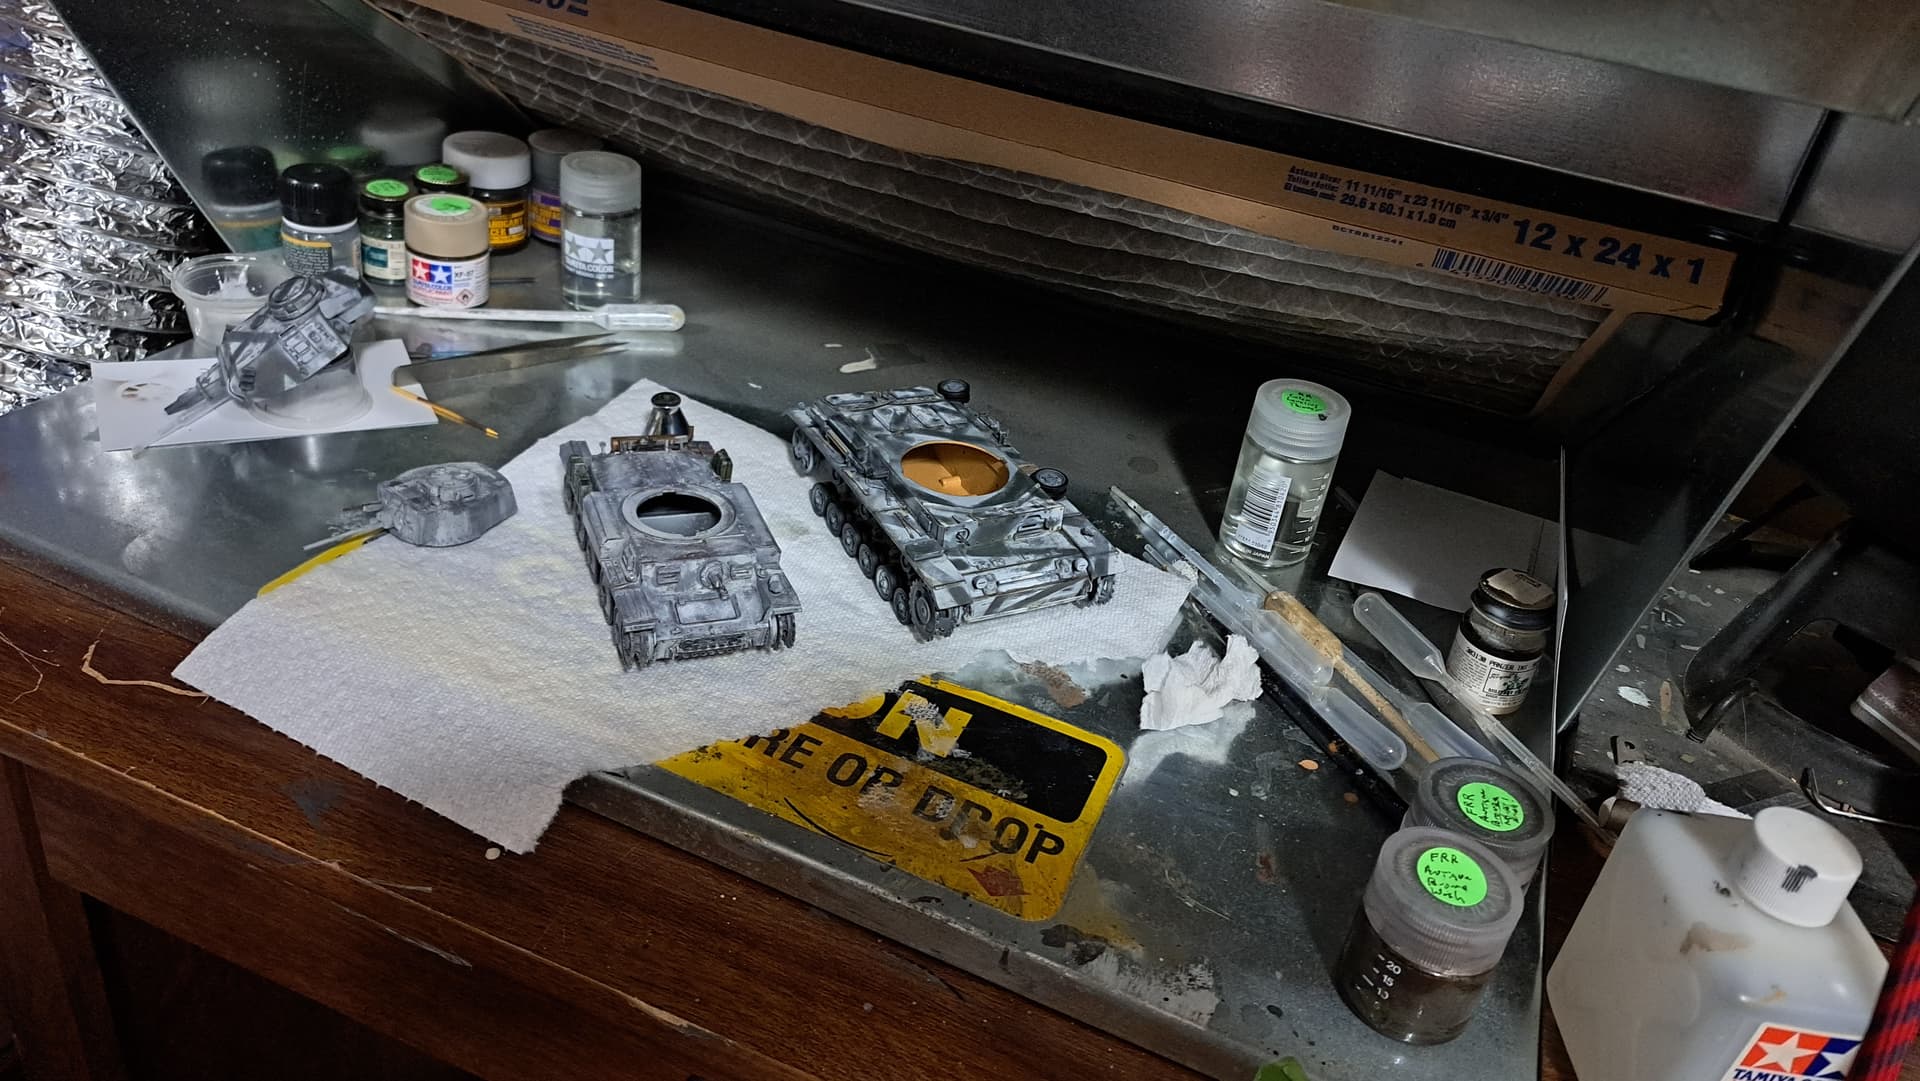
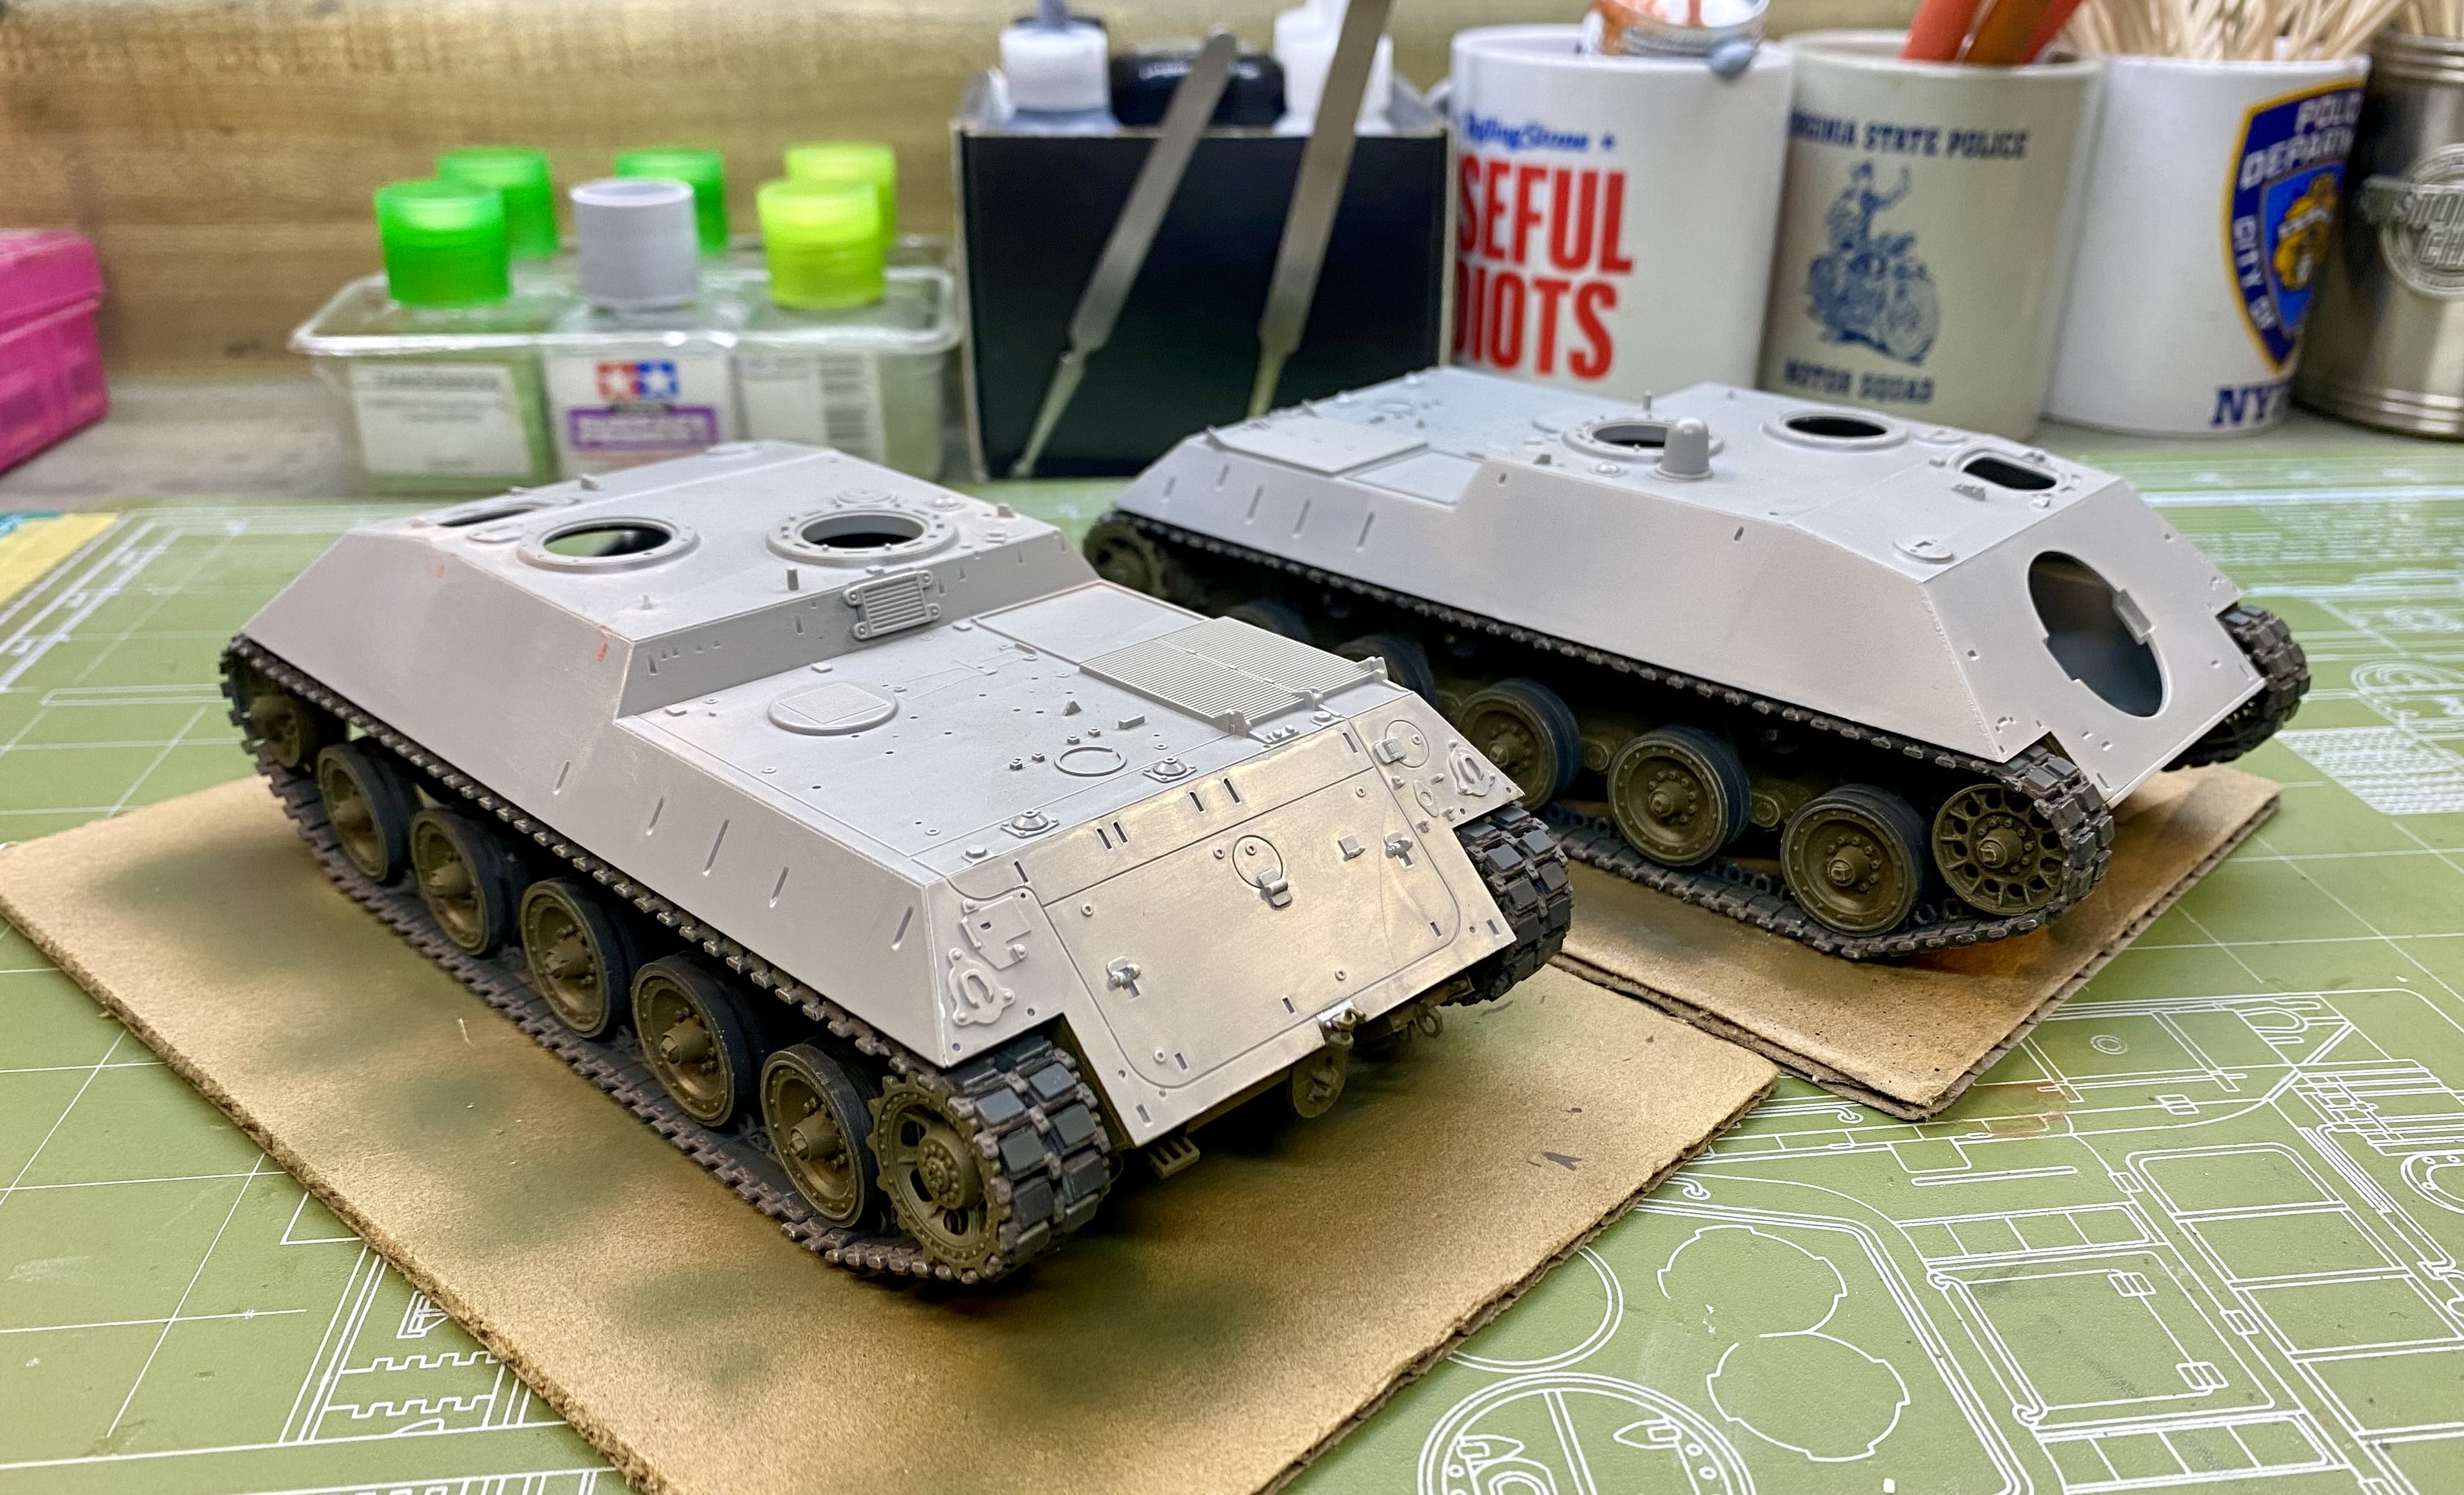
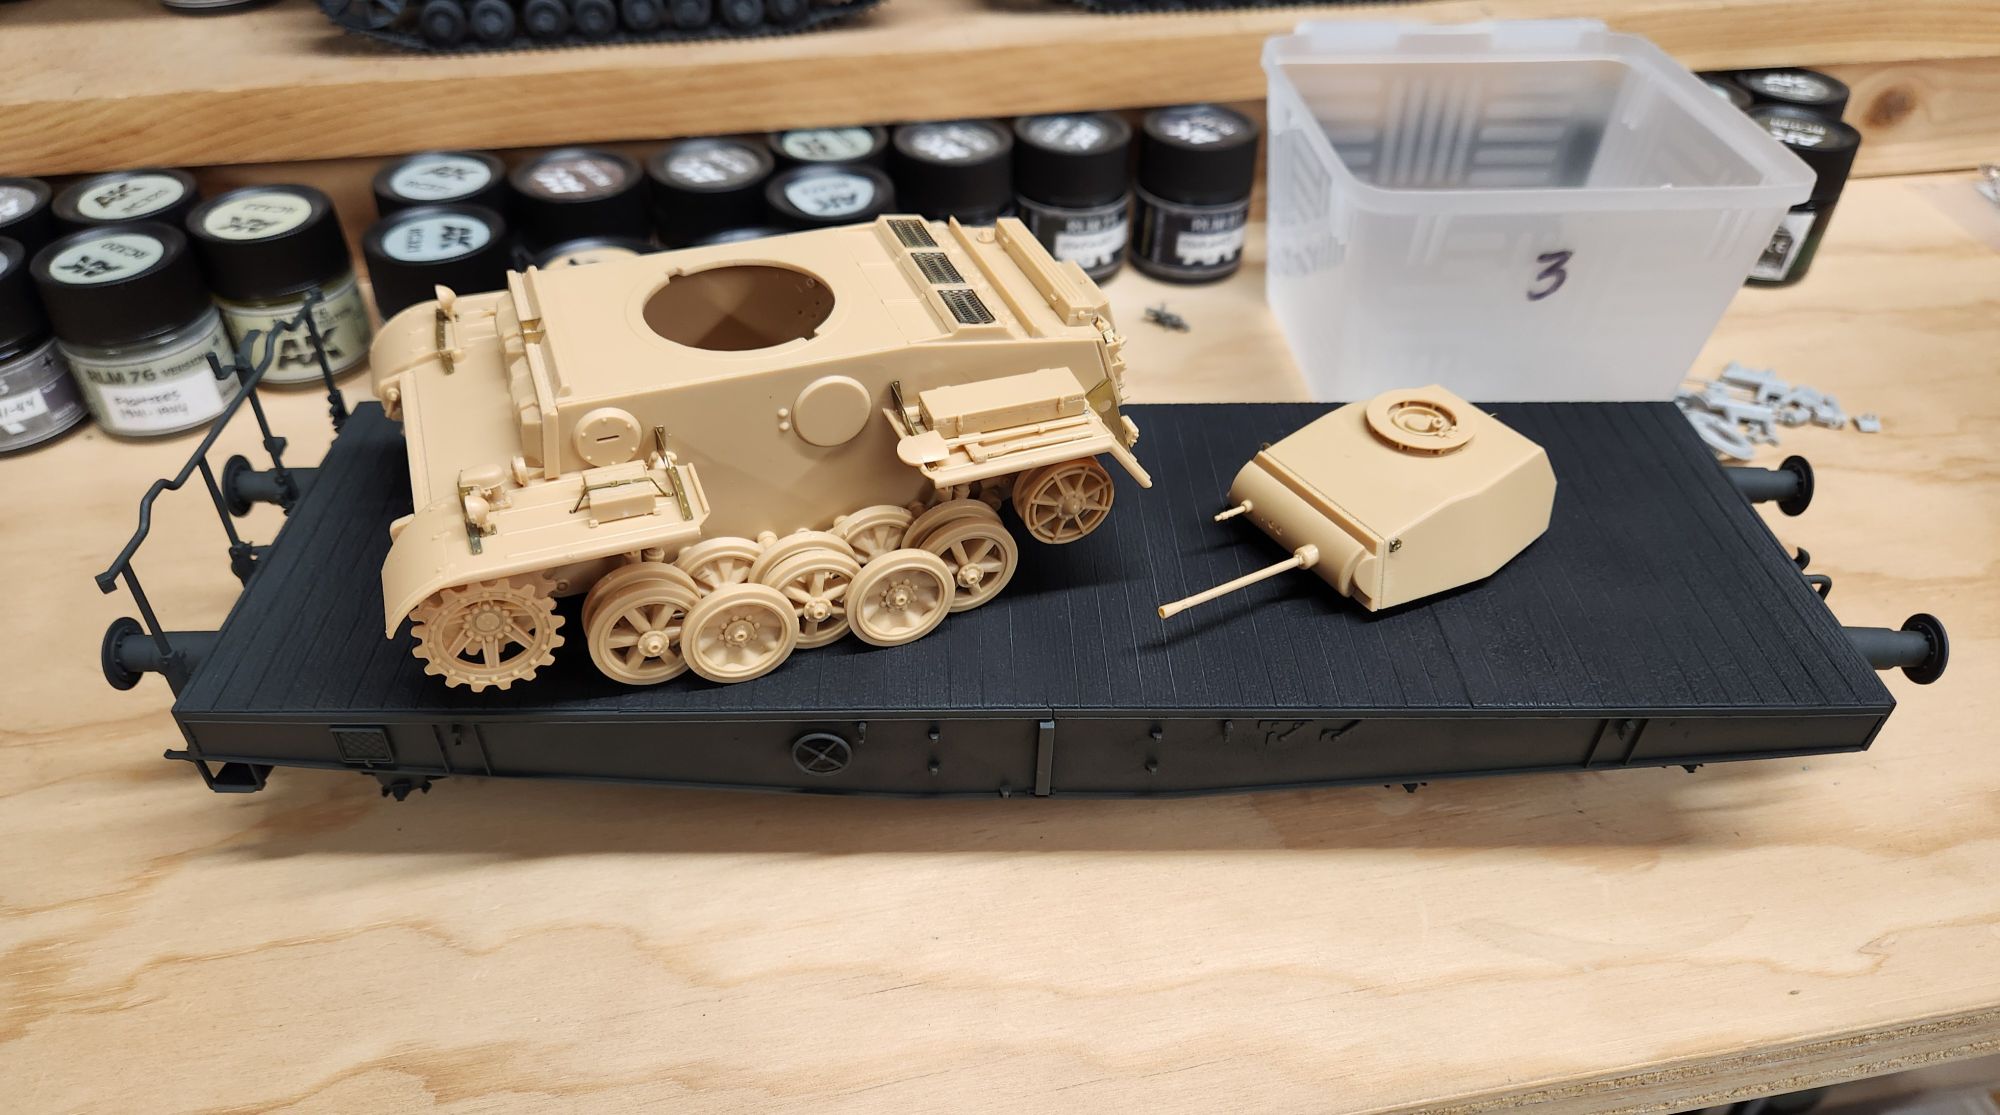
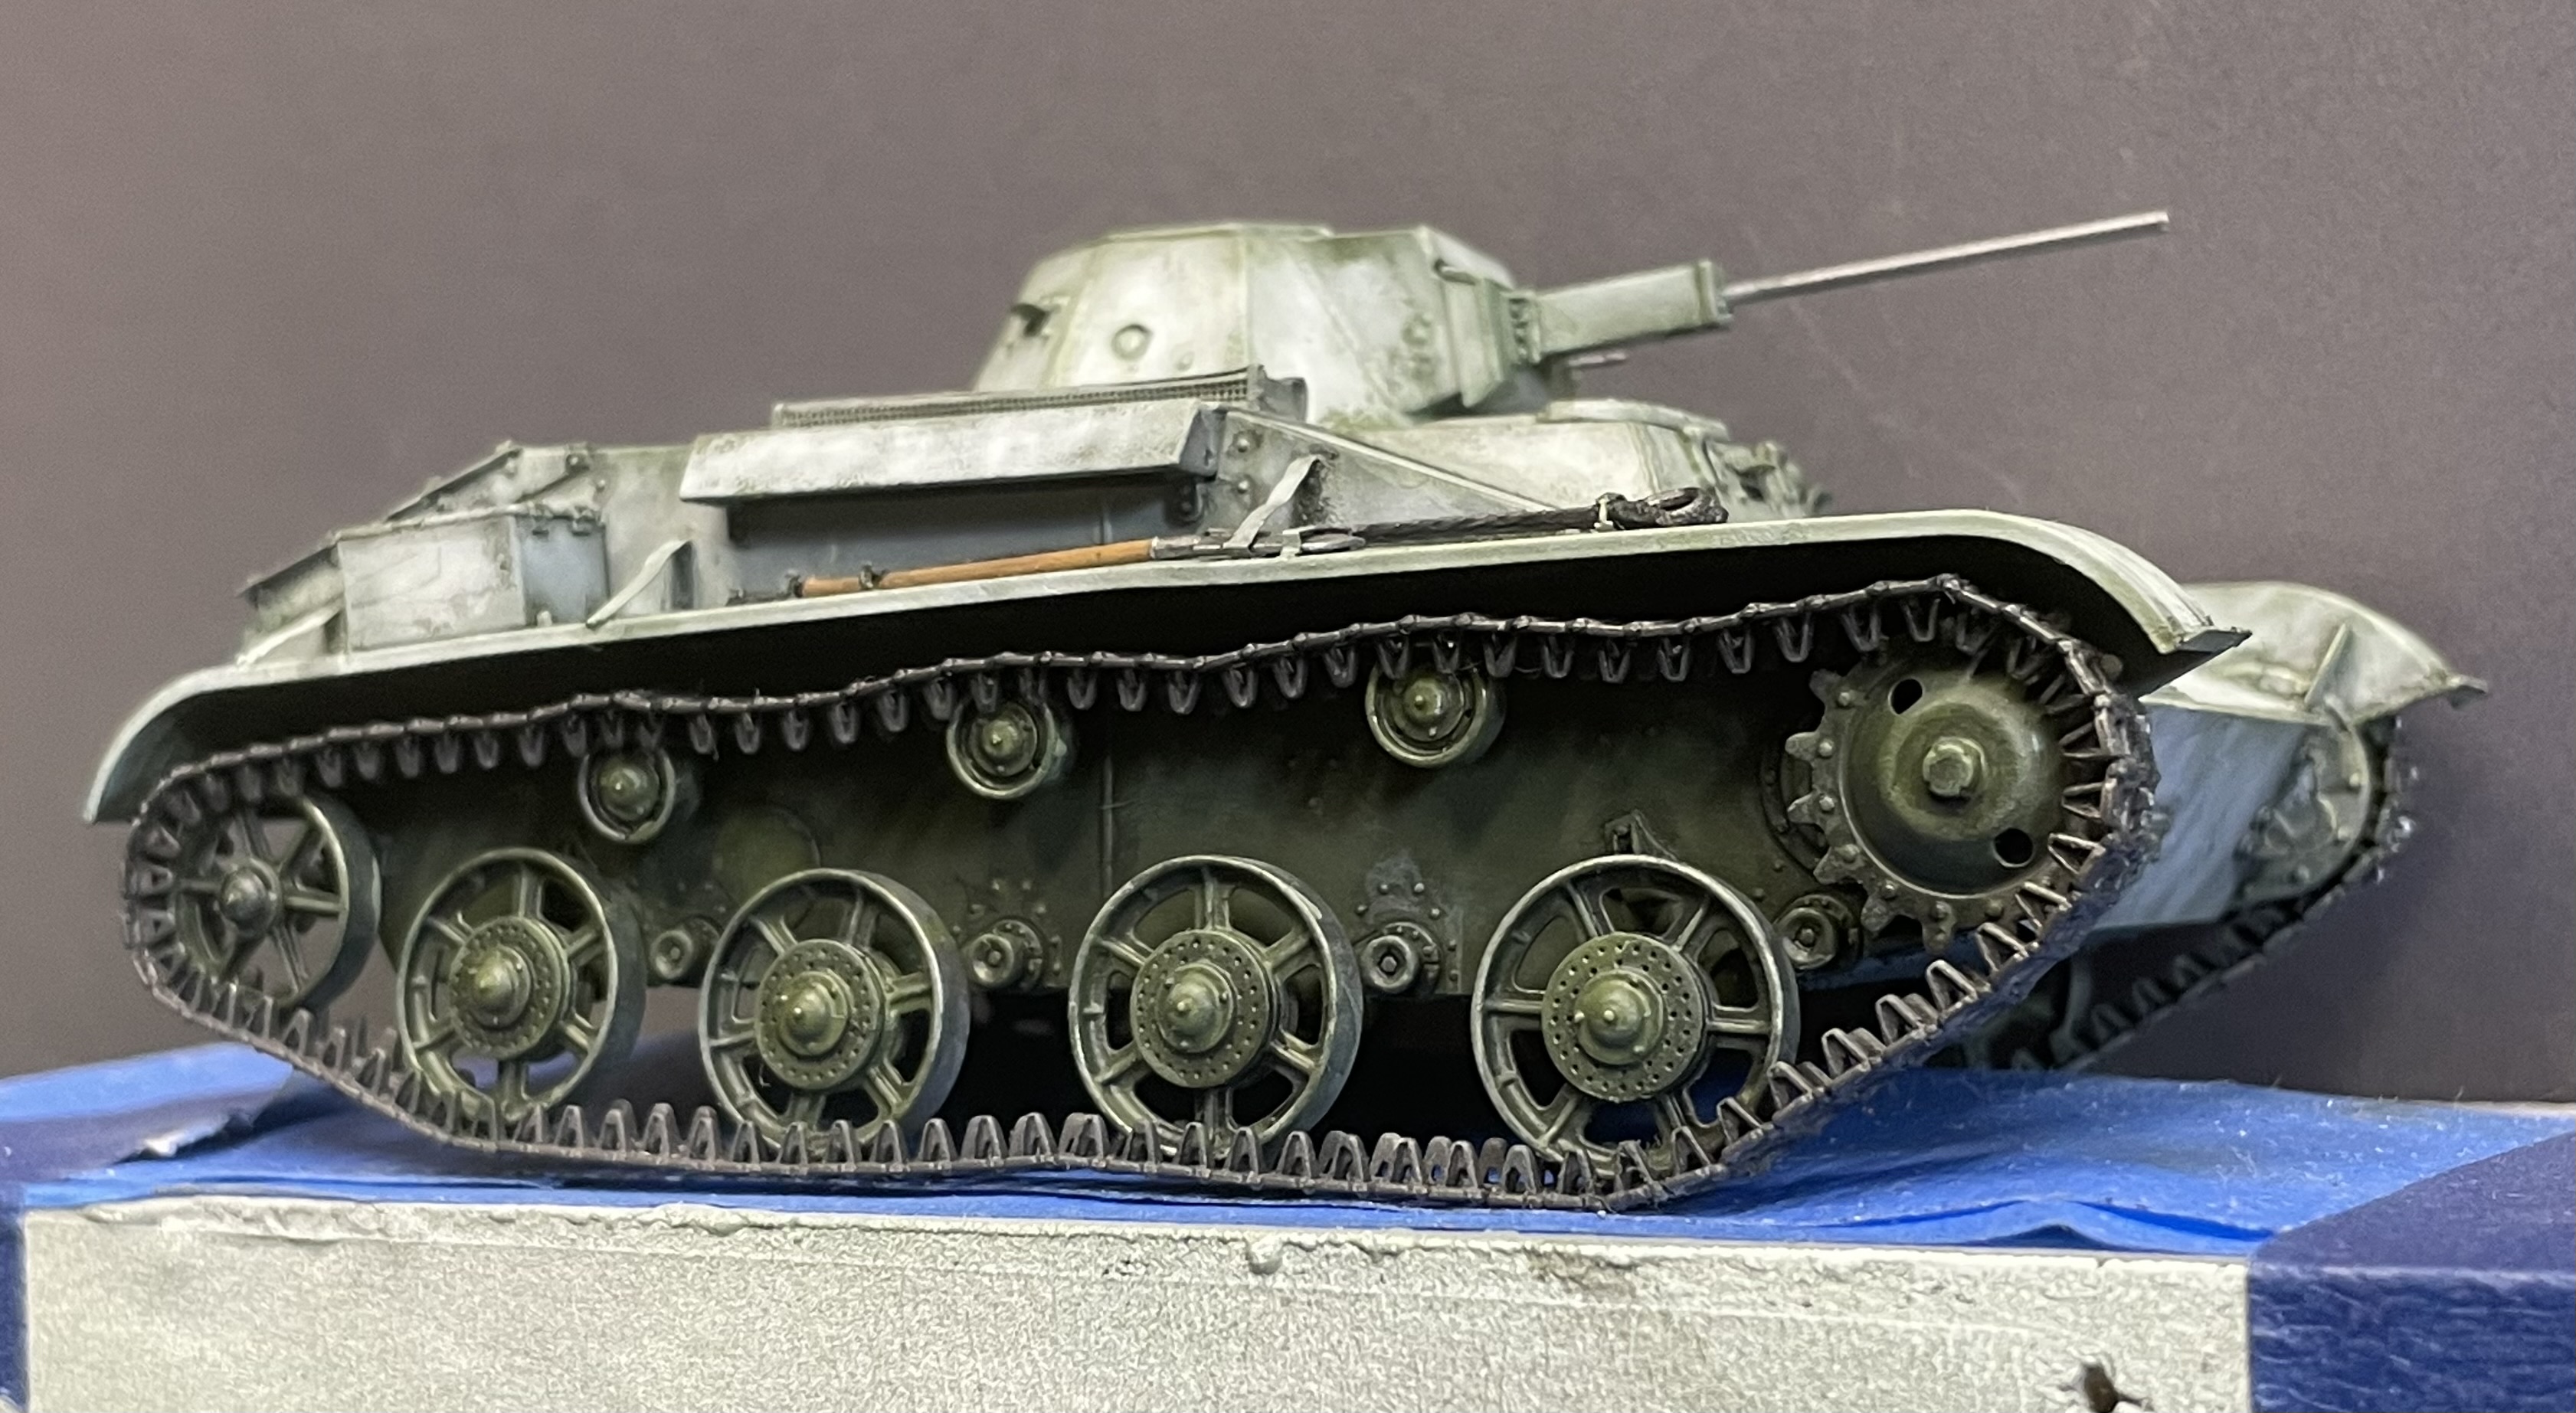
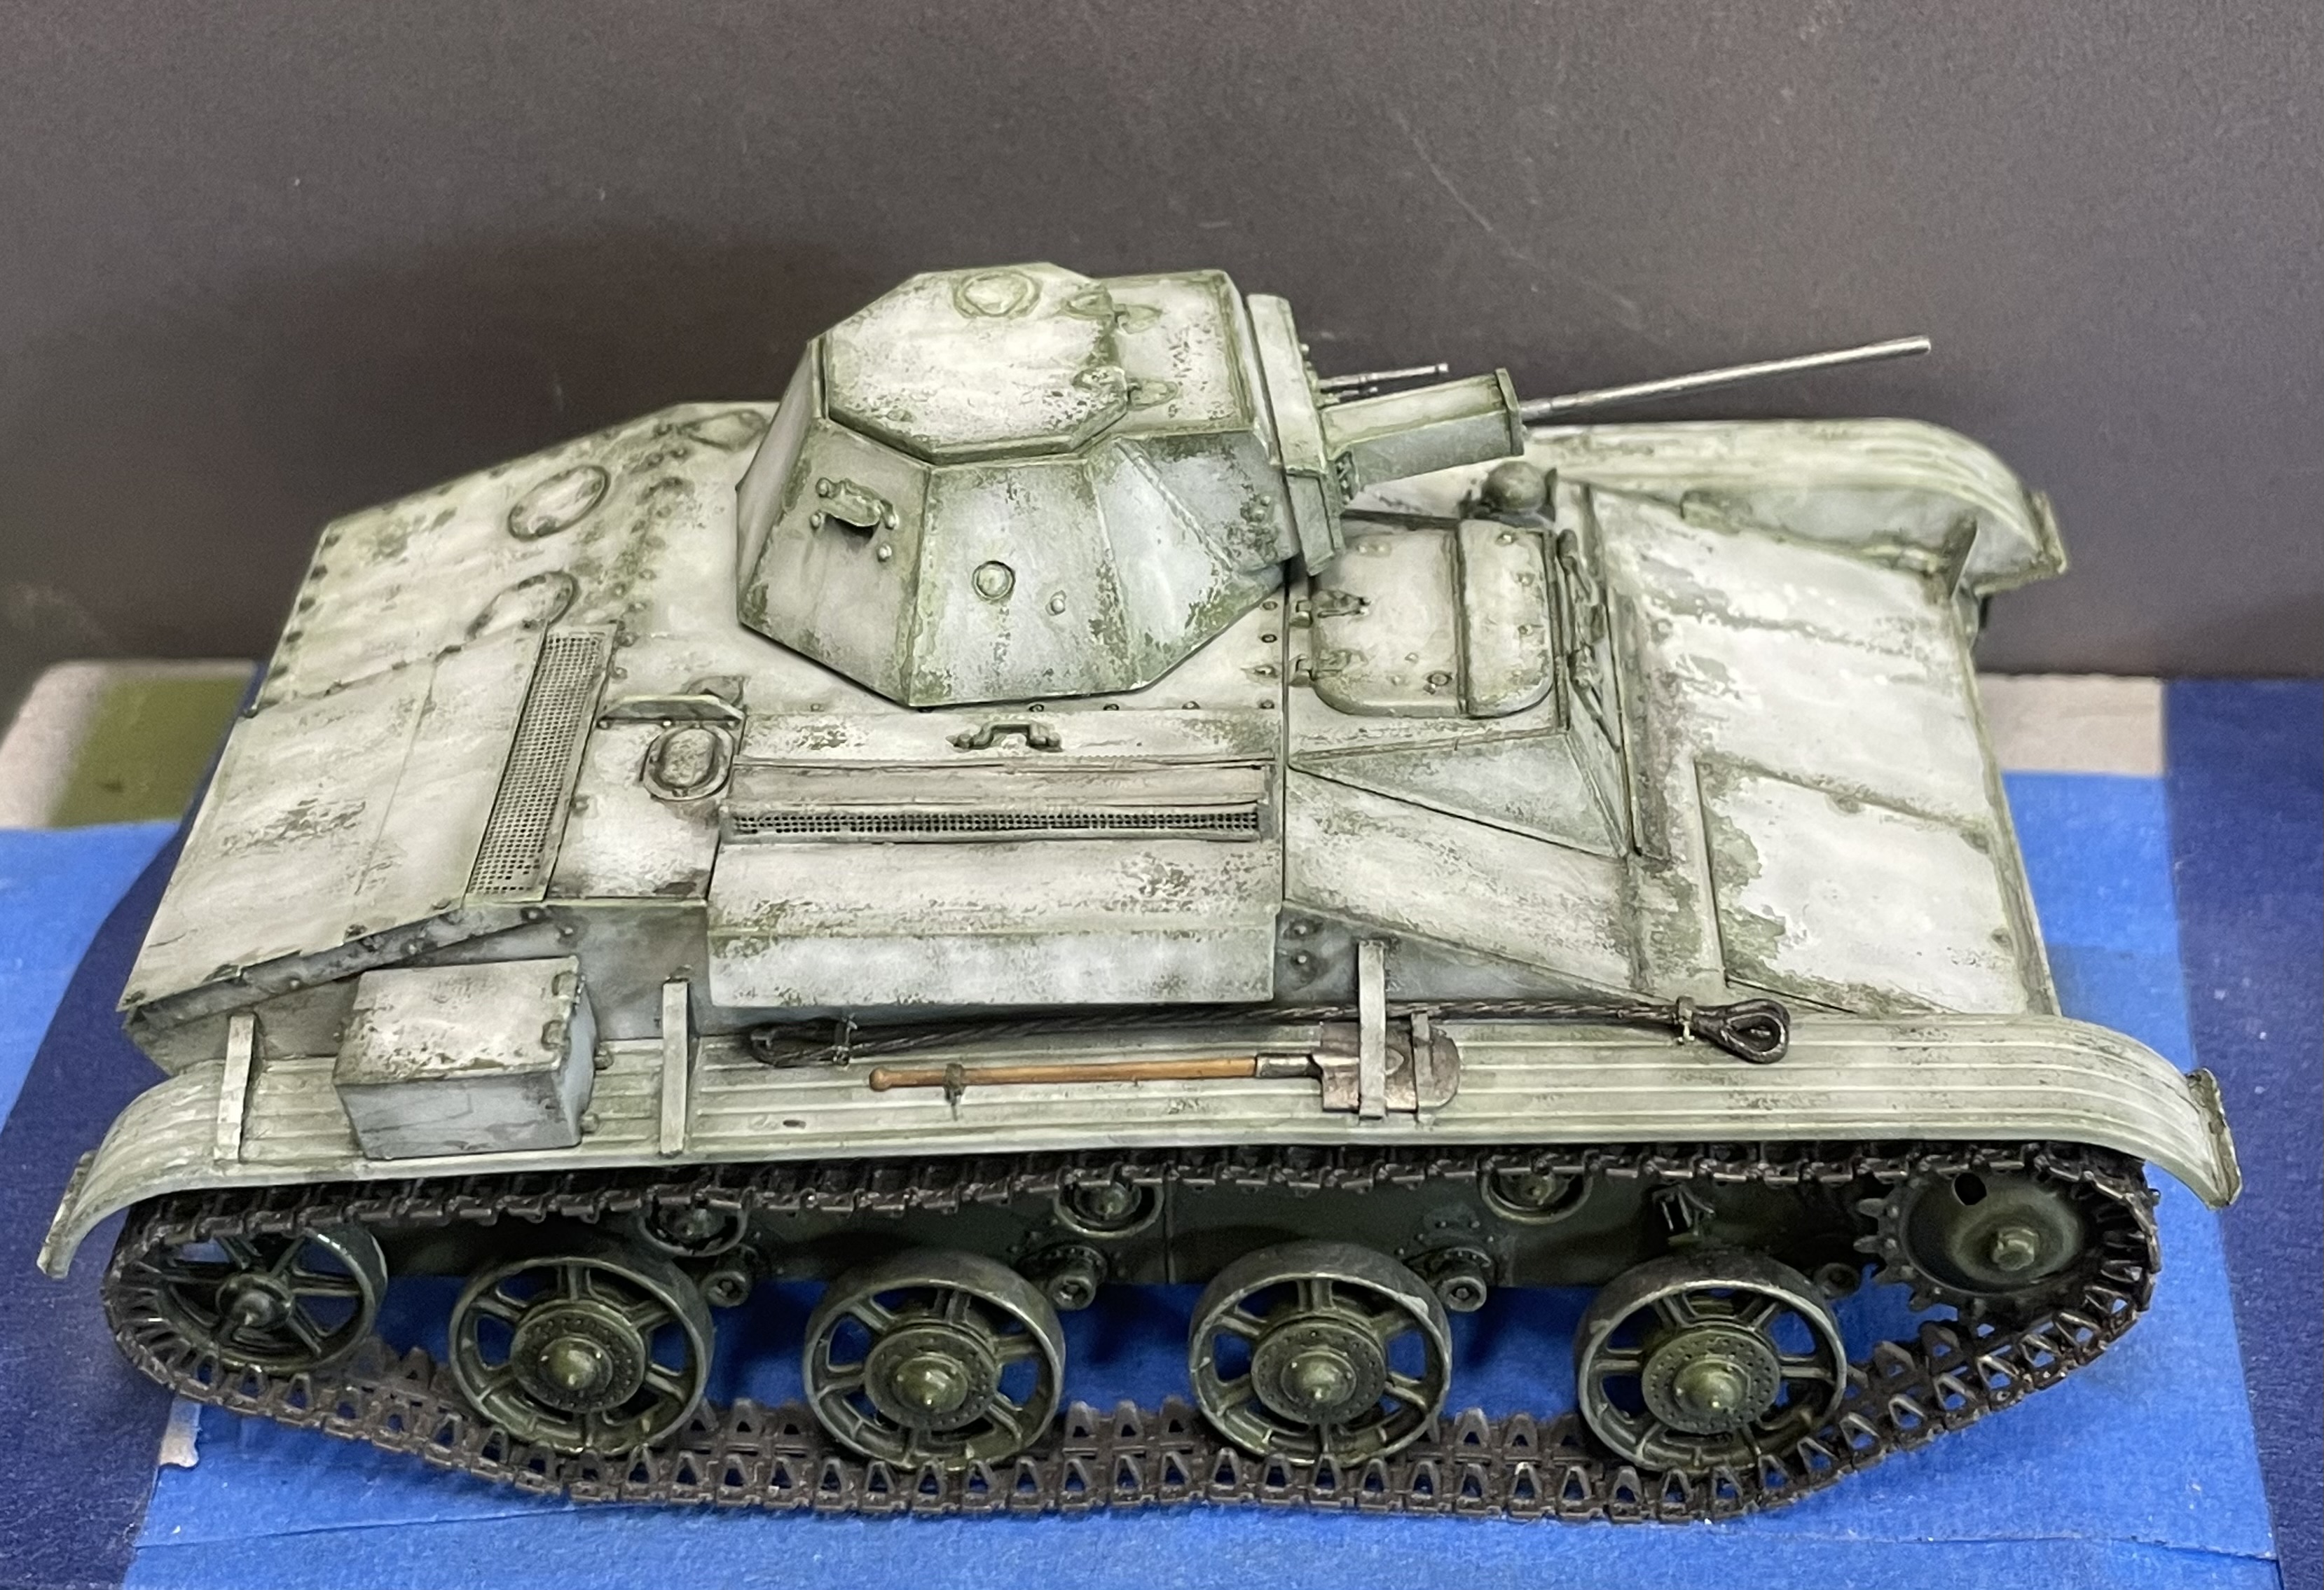
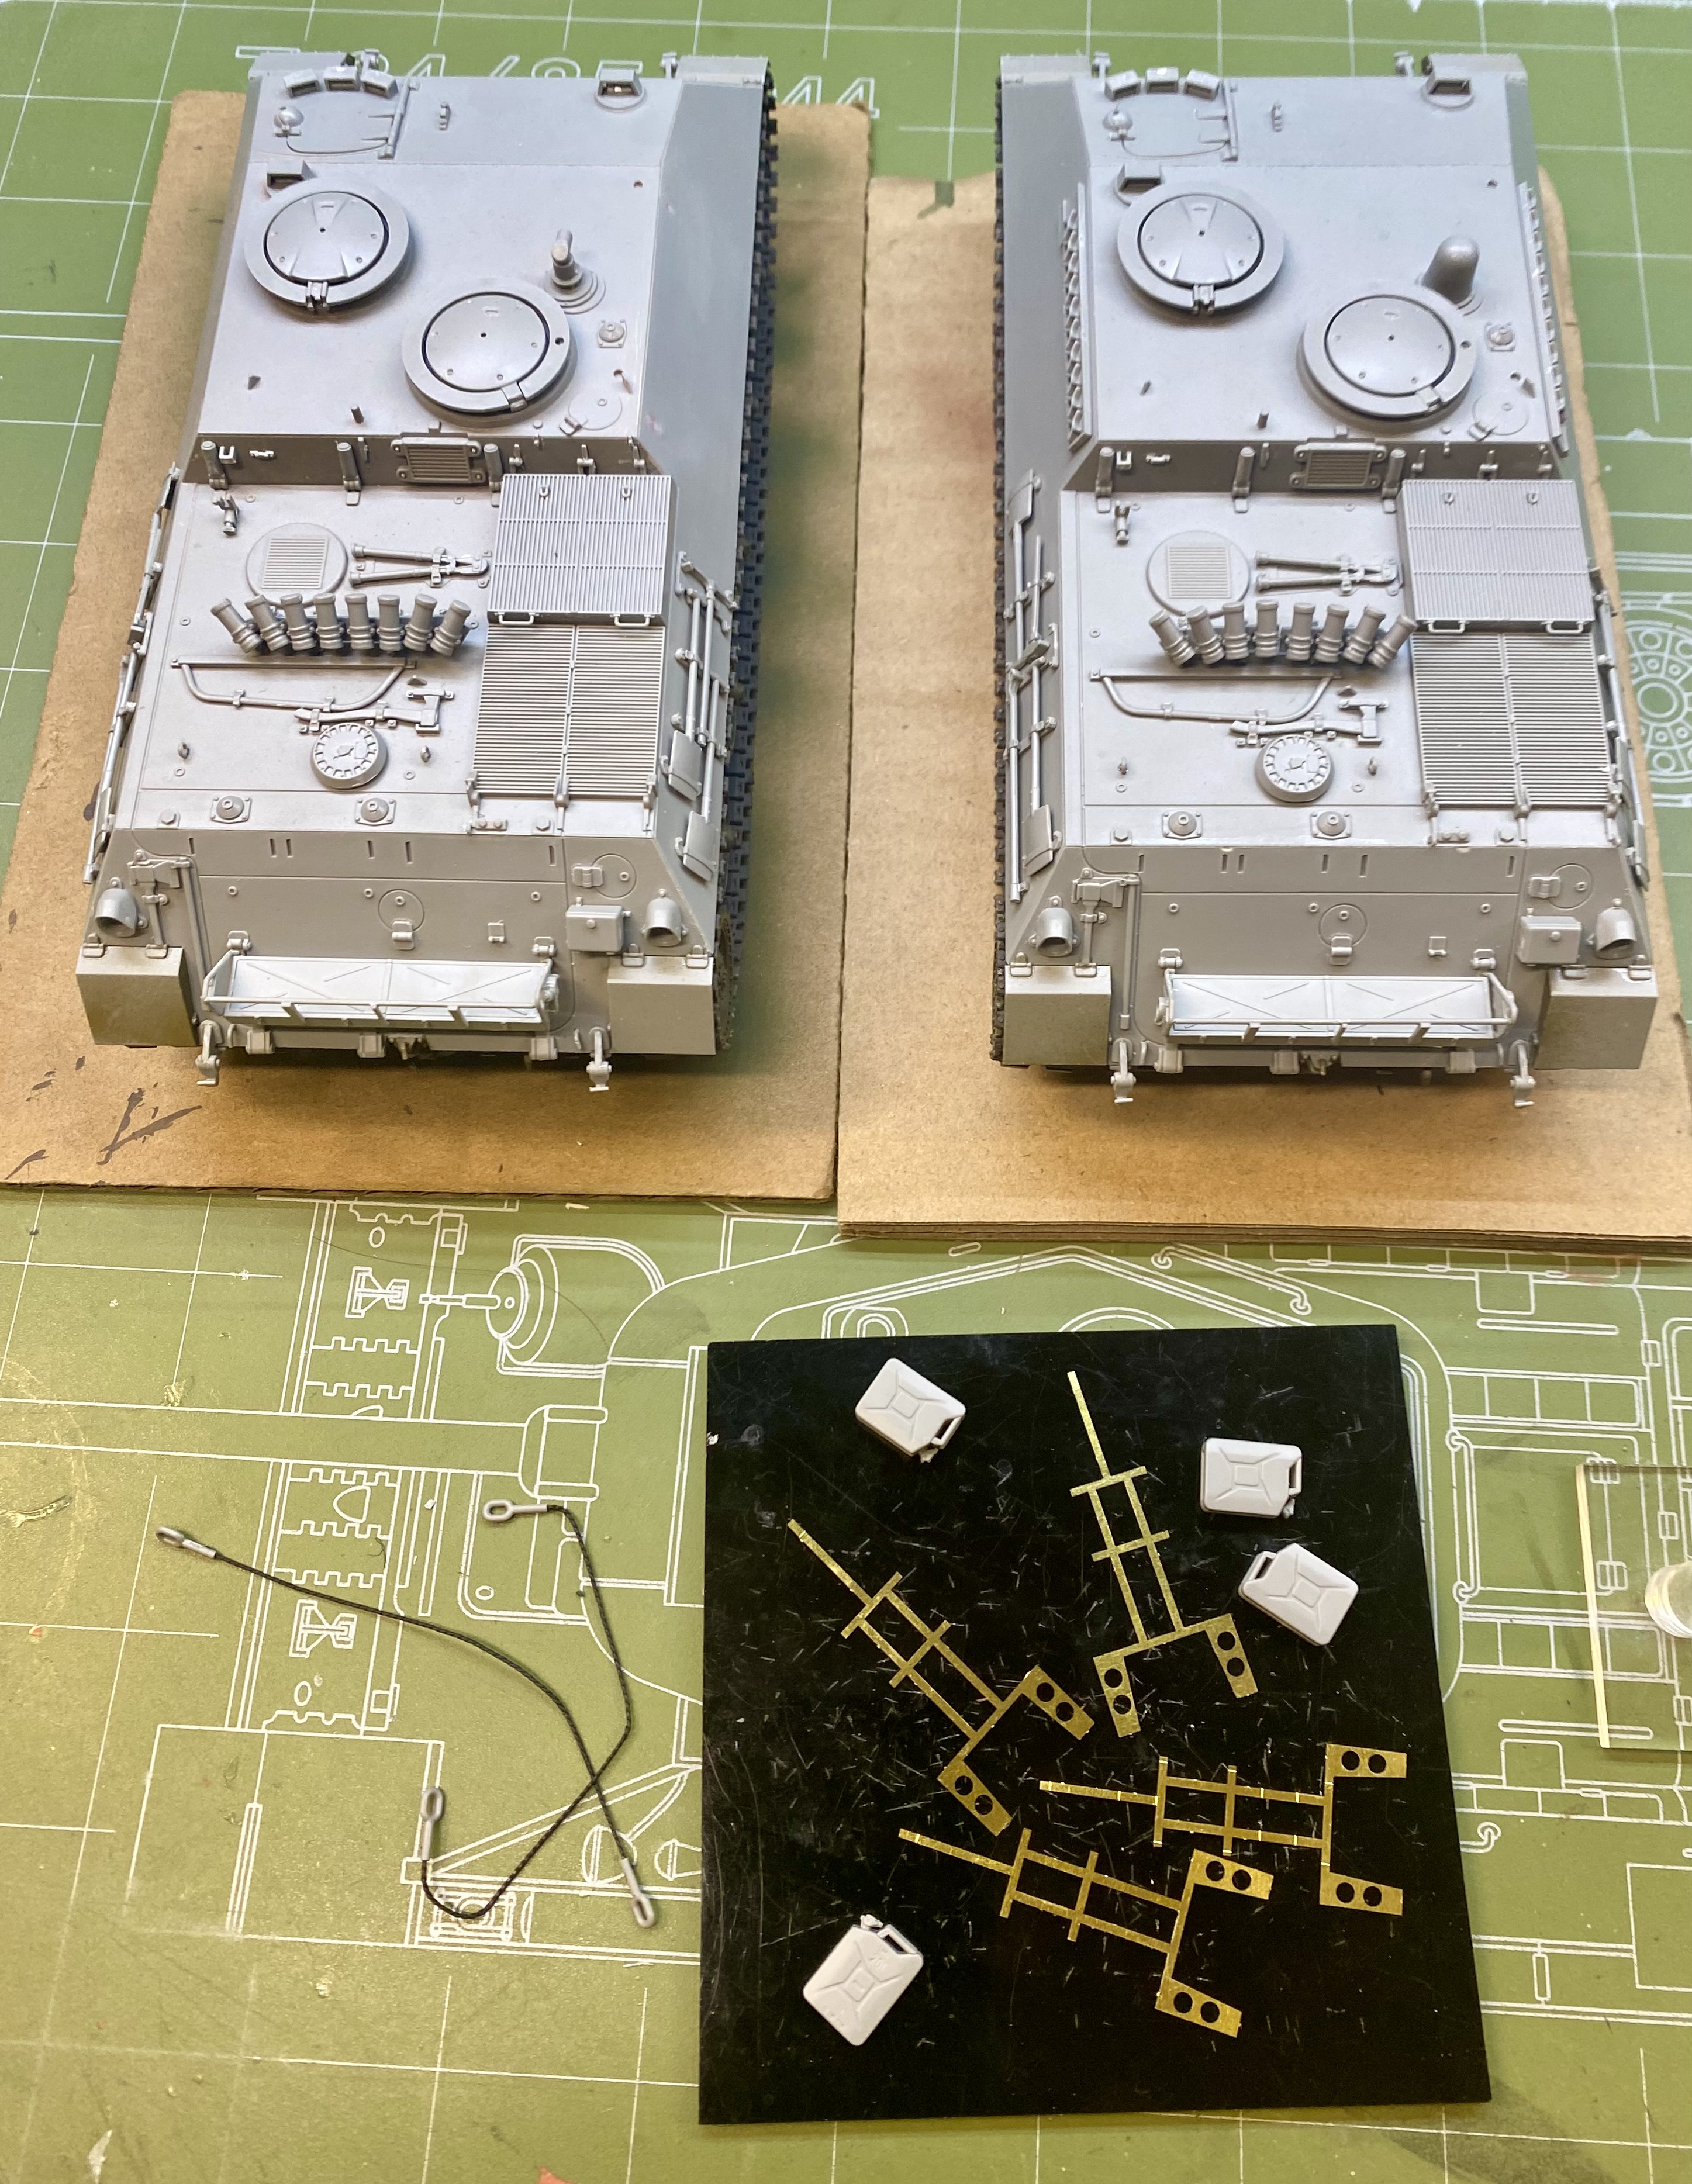
The pair of Pz II D’s I am doing are progressing; they have their basic factory paint jobs on and I am about to apply markings, and then I commence a little weathering and beating up the wood a bit.
The Mercedes for the LUV’in build is pretty much painted and is waiting to be assembled. Of course, I knocked off the driver’s side windshield so that has to be fixed. I left the chassis and engine in black as they are essentially unseen unless you pick it up. I want this to stay fun. I have only broken two parts so far and that is a Master Box record for me.
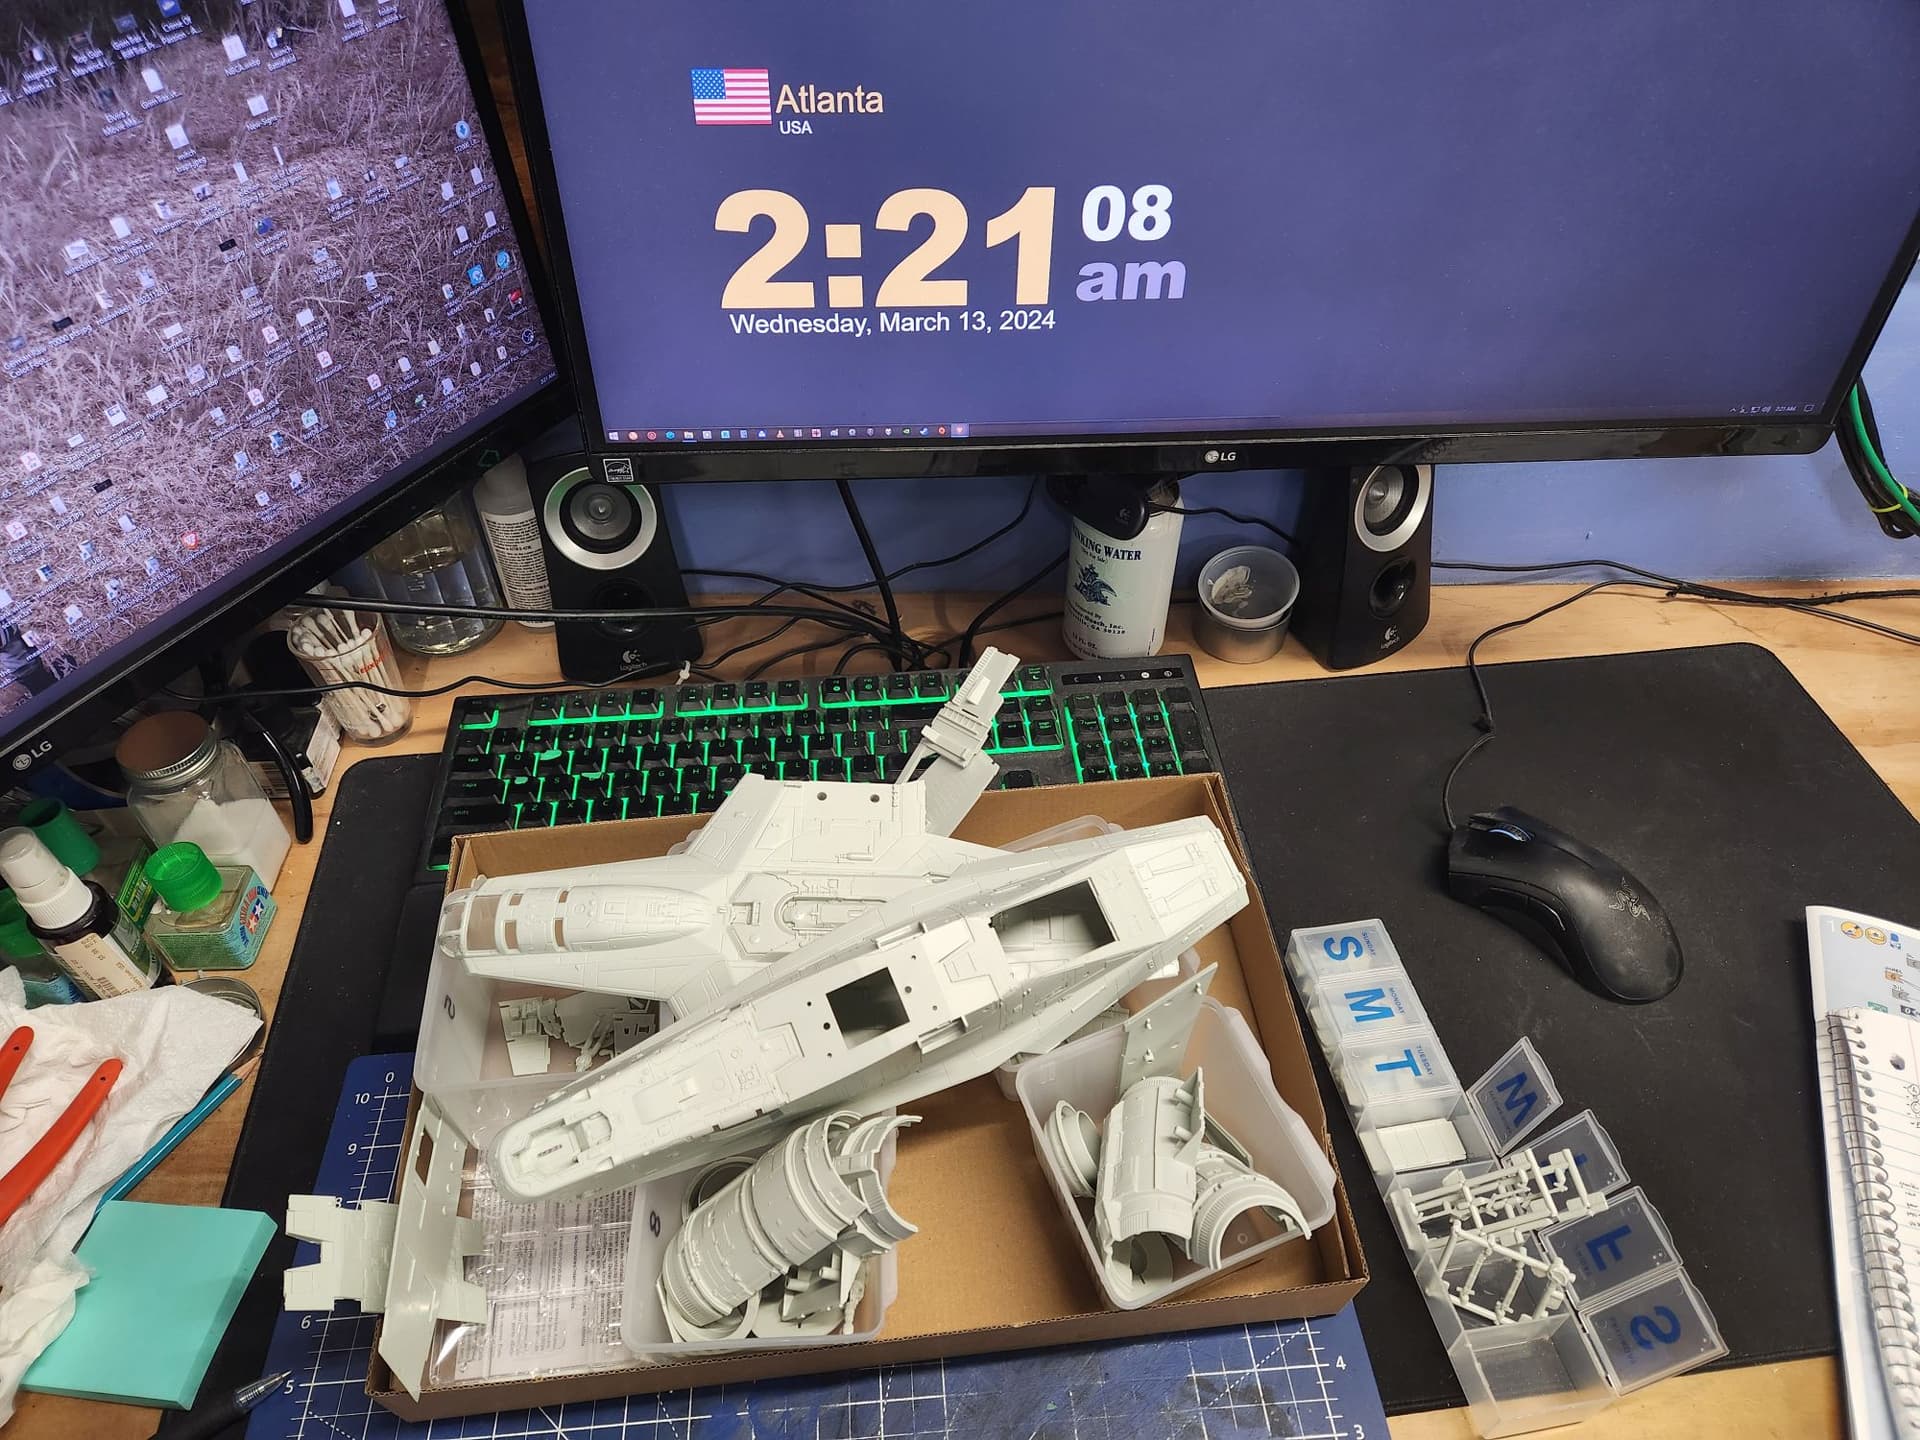
My entry for the Railroad campaign is in its gray base. Now I have to decide which technique I am going to follow for the decking. I want it to look good but I don’t have much hair left and am loathe to put it at risk. Atop the flatcar might be my ‘1942: Turning of the Tide’ or maybe not. It is waiting for primer.
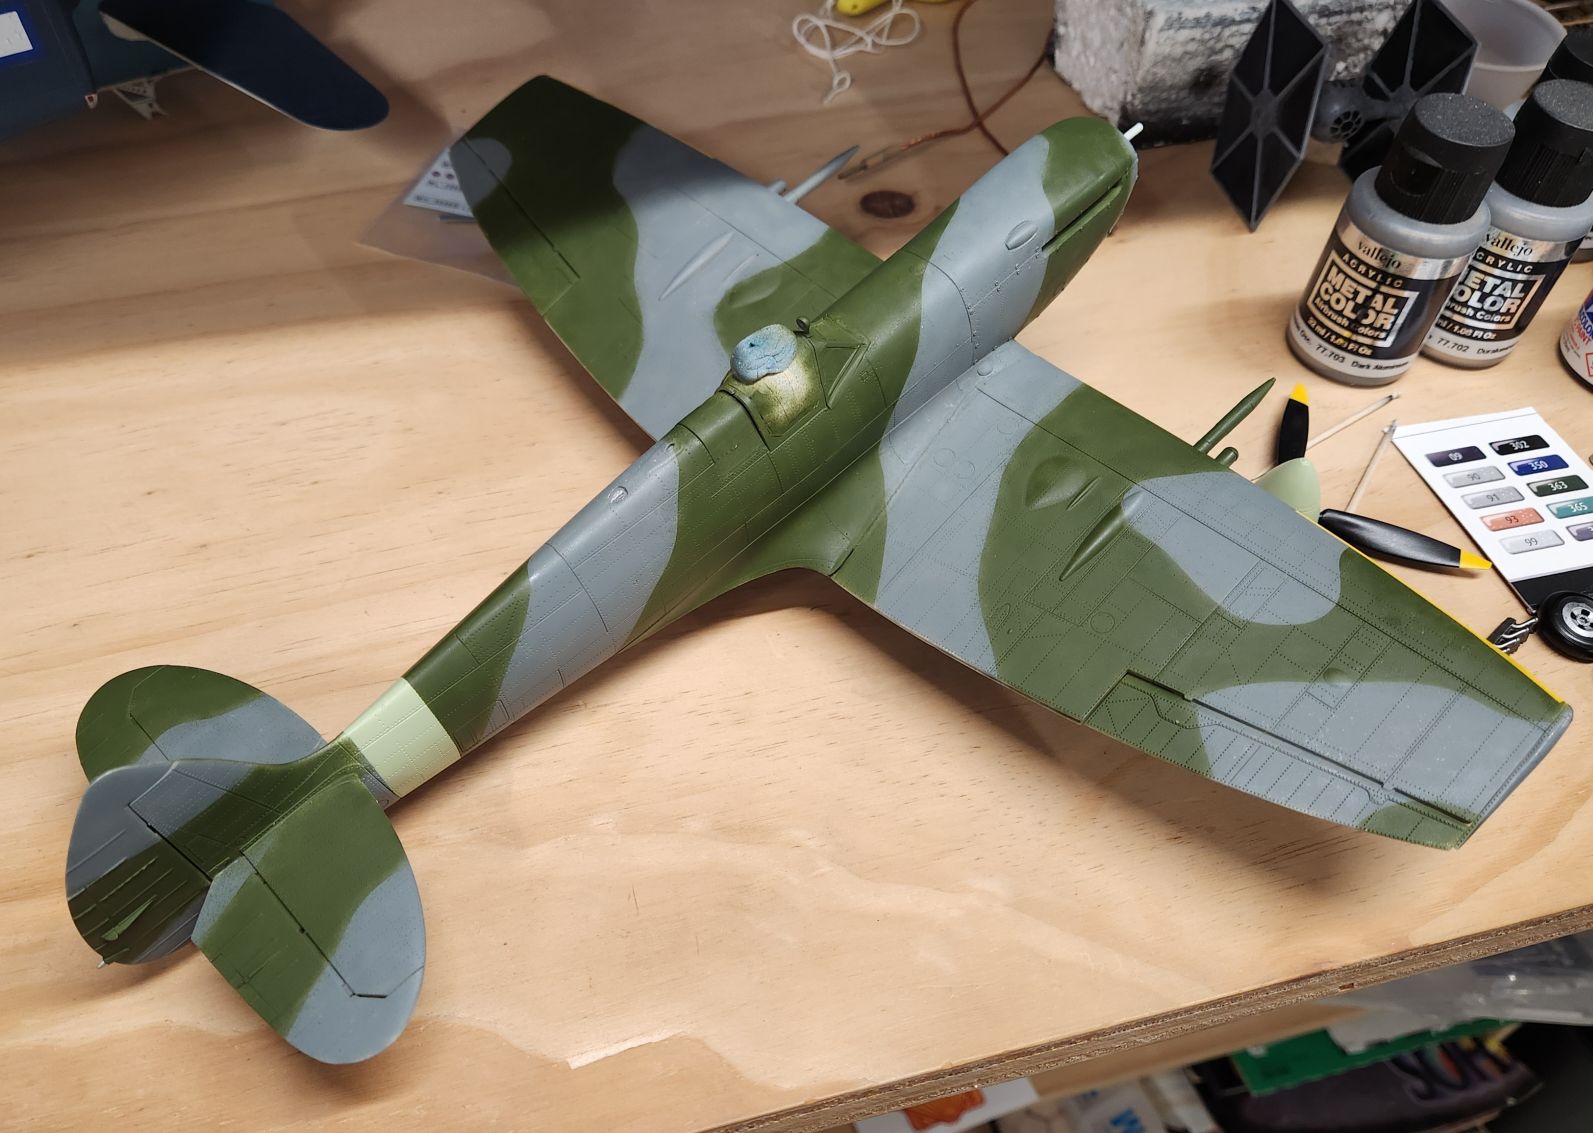
I think I am actually going to finish this Spitfire in much less time than the four and a half years the first one took. I was doing pretty good until I broke a main gear, which is actually a feature of Revell kits. The fun part was snapping my drill bit halfway inside the strut, which made it difficult to remove or drill further. I cobbled a fix but the stance is now a bit off so there’s that. I may take a go at replacing them later with aftermarket gear but I am going to finish it ‘as-is’ for now. I did the camo freehand to emulate the box art which really isn’t accurate I don’t think, so I went back and touched it up and tried to give it a slightly distressed look. I have not applied anything over the colors yet as need to touch up the yellow on the leading edges in a couple of spots.
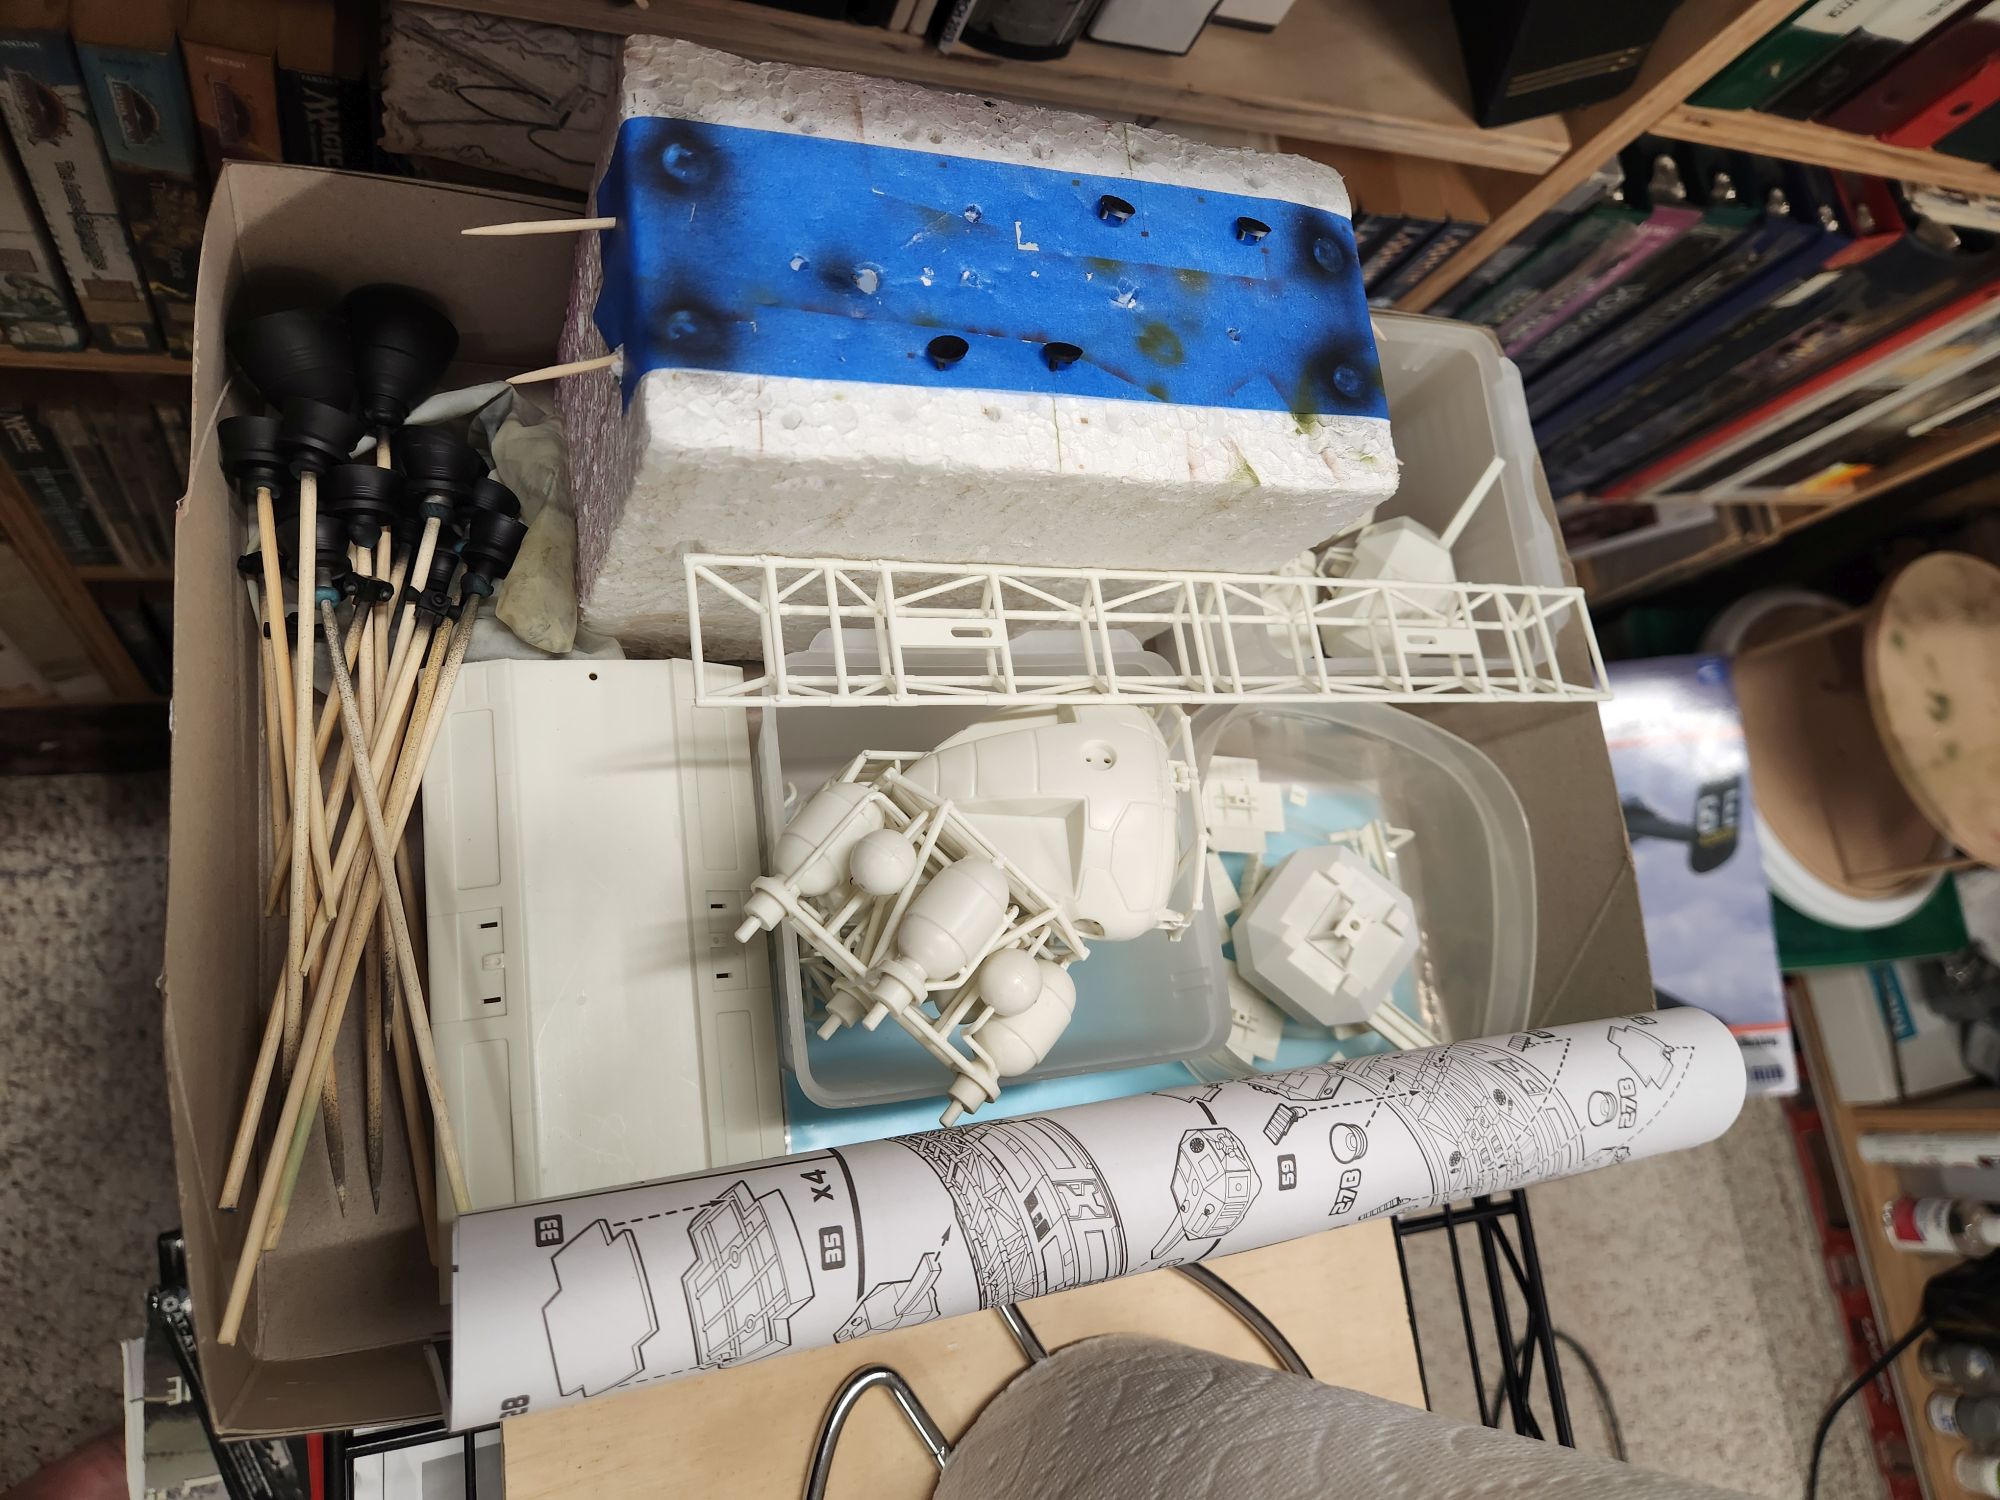
My Eagle for the SF X build awaits a primer coat after I filled in and sanded down what needed doing. I remember building the Fundimensions kit when I was 11 or 12. The MPC kit is bigger and if 1/72 as advertised supposedly can pose with my Bandai Star Wars kits.
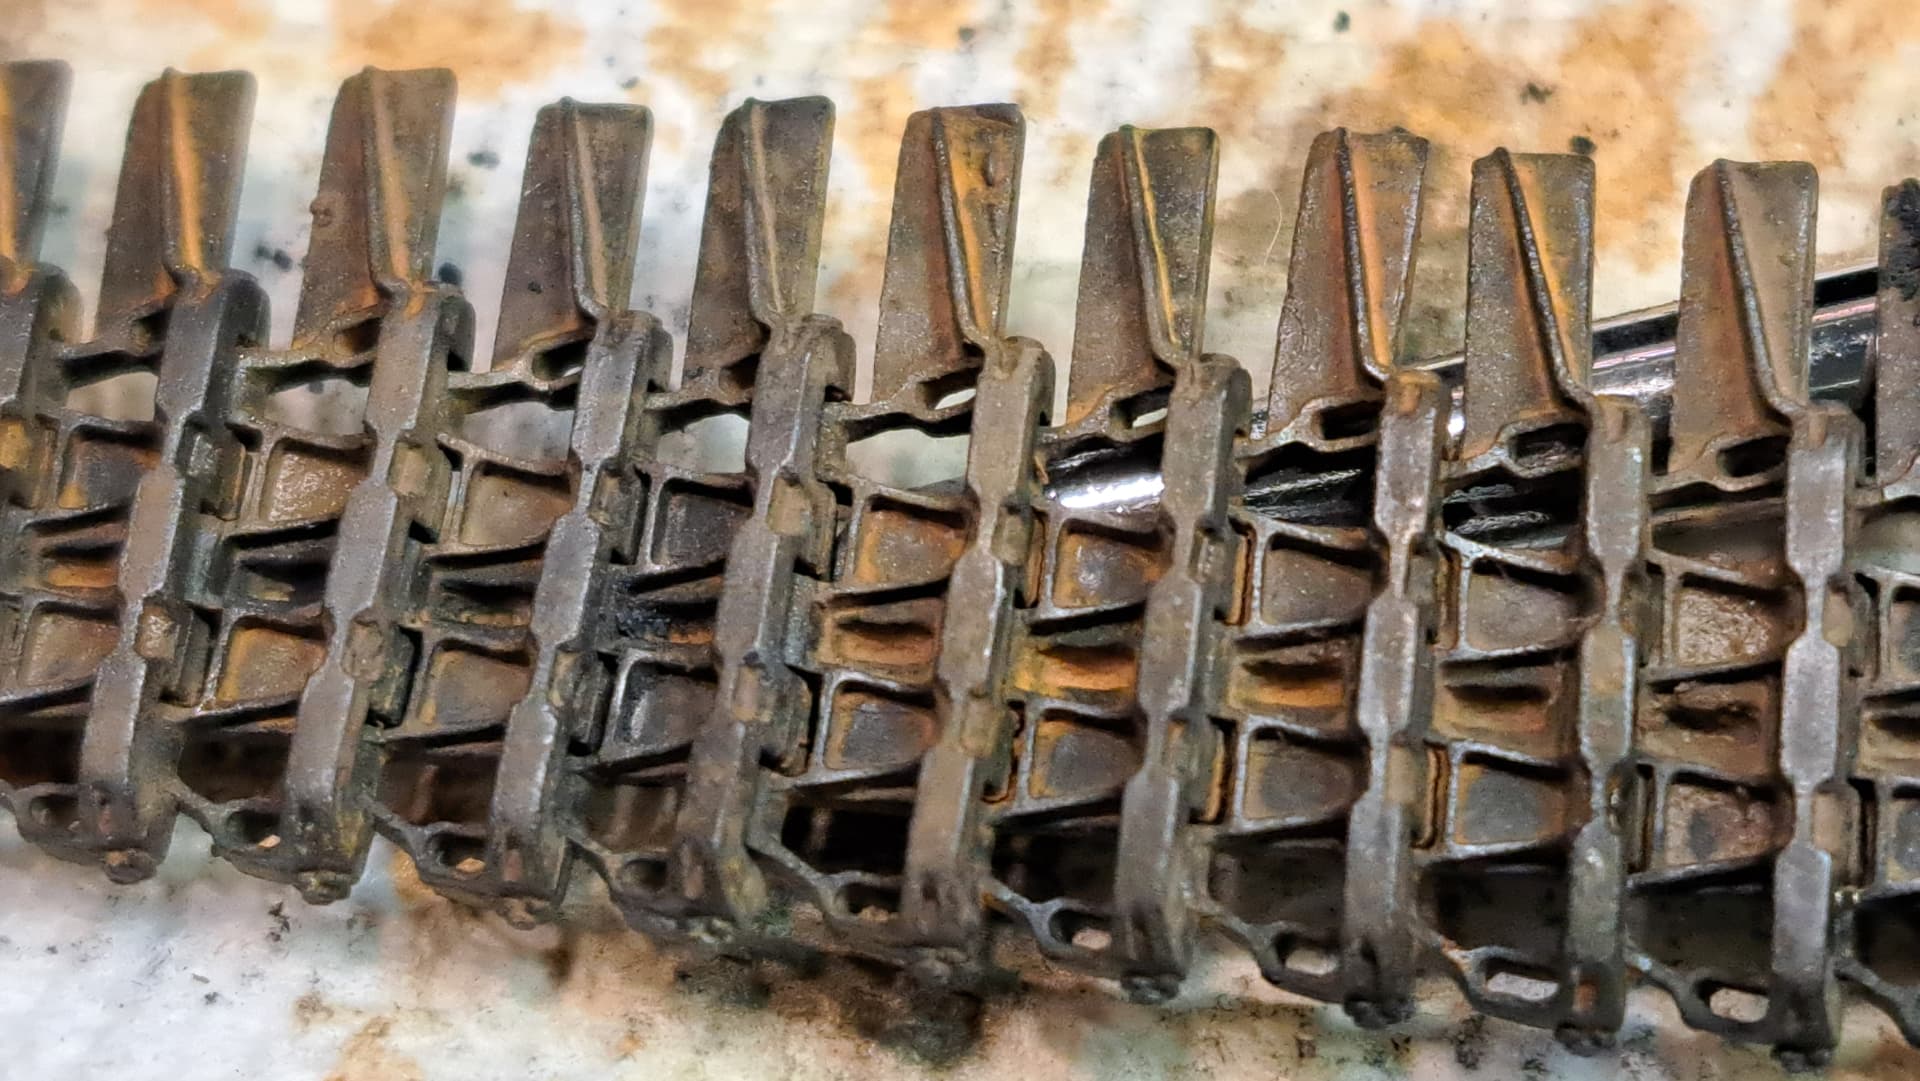
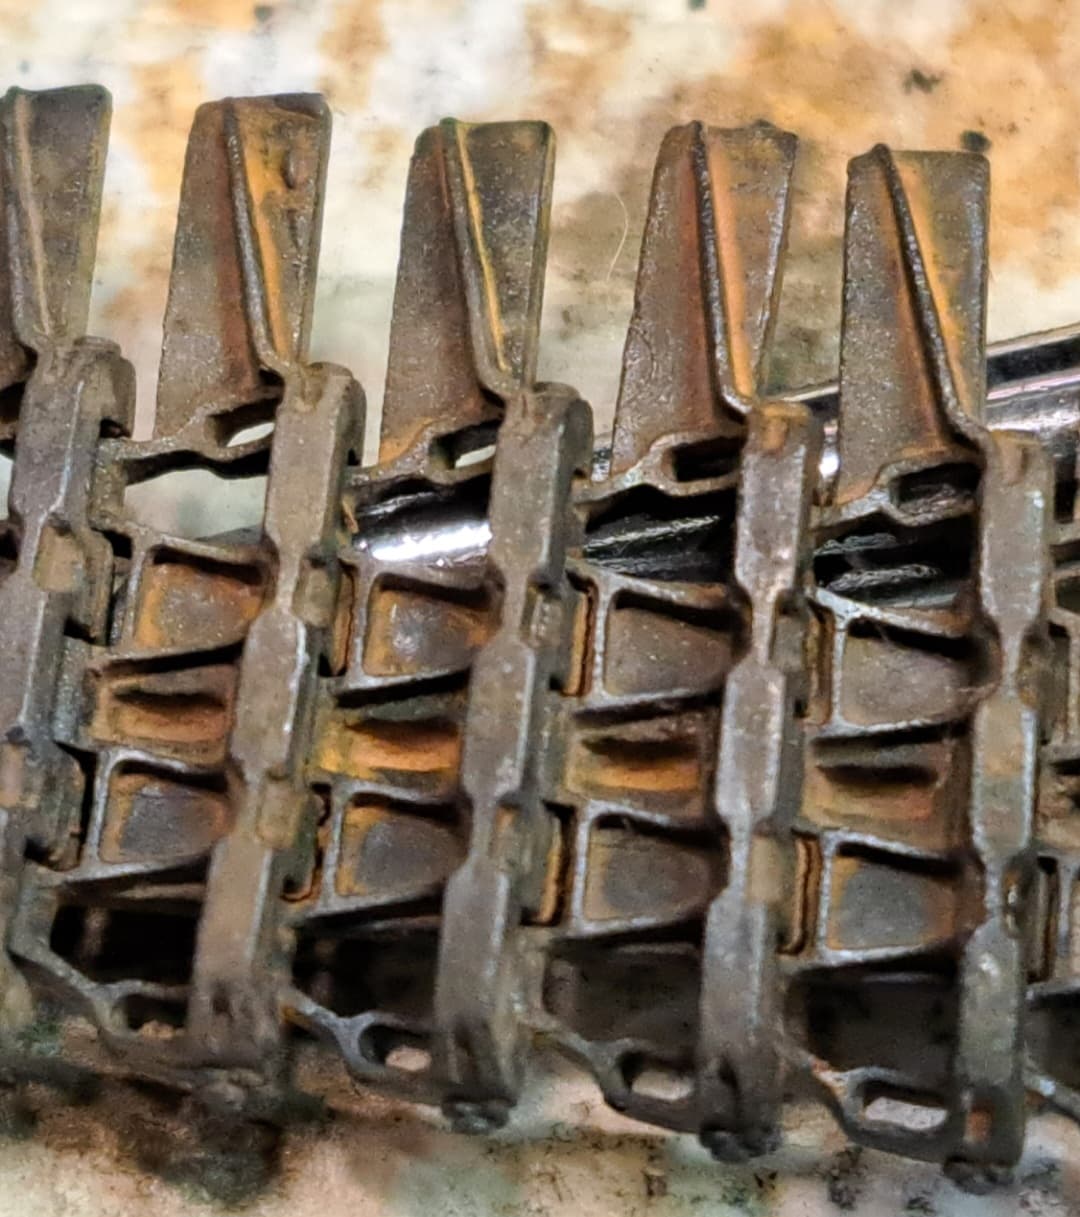
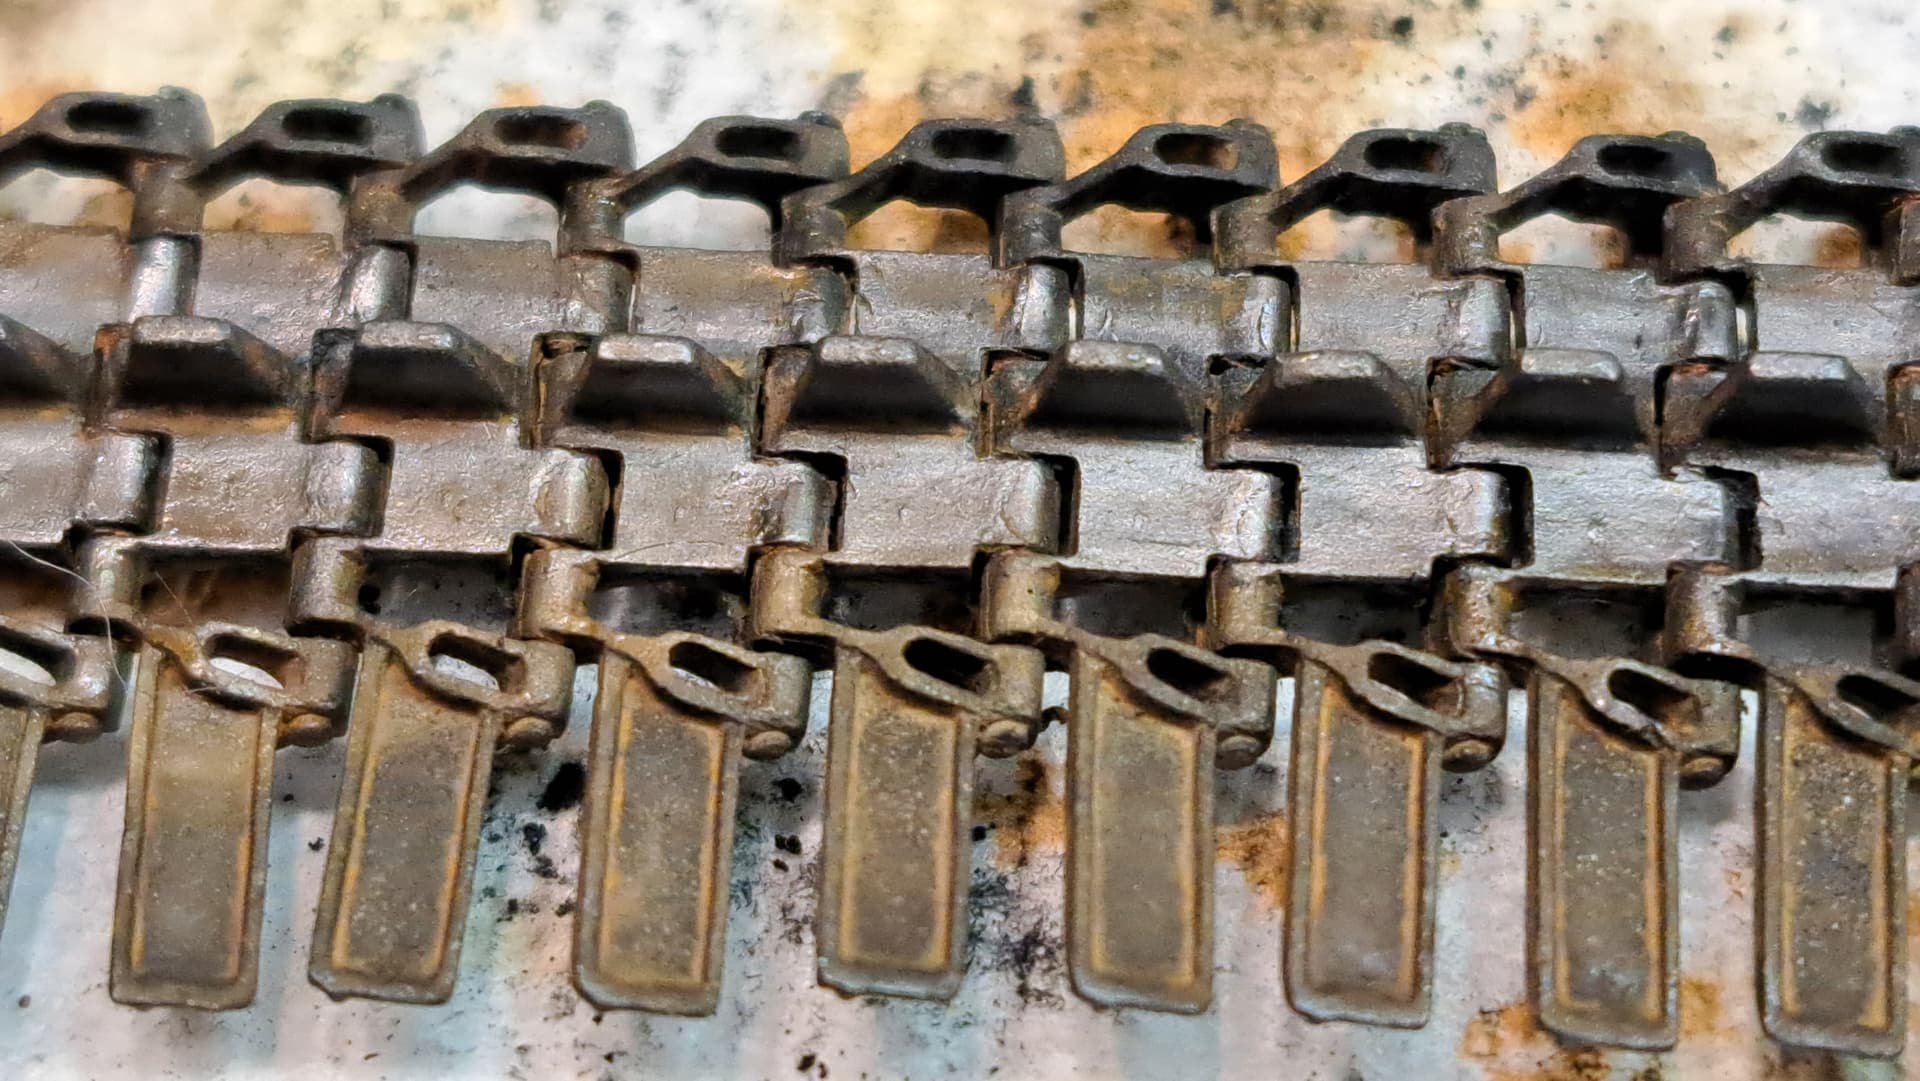
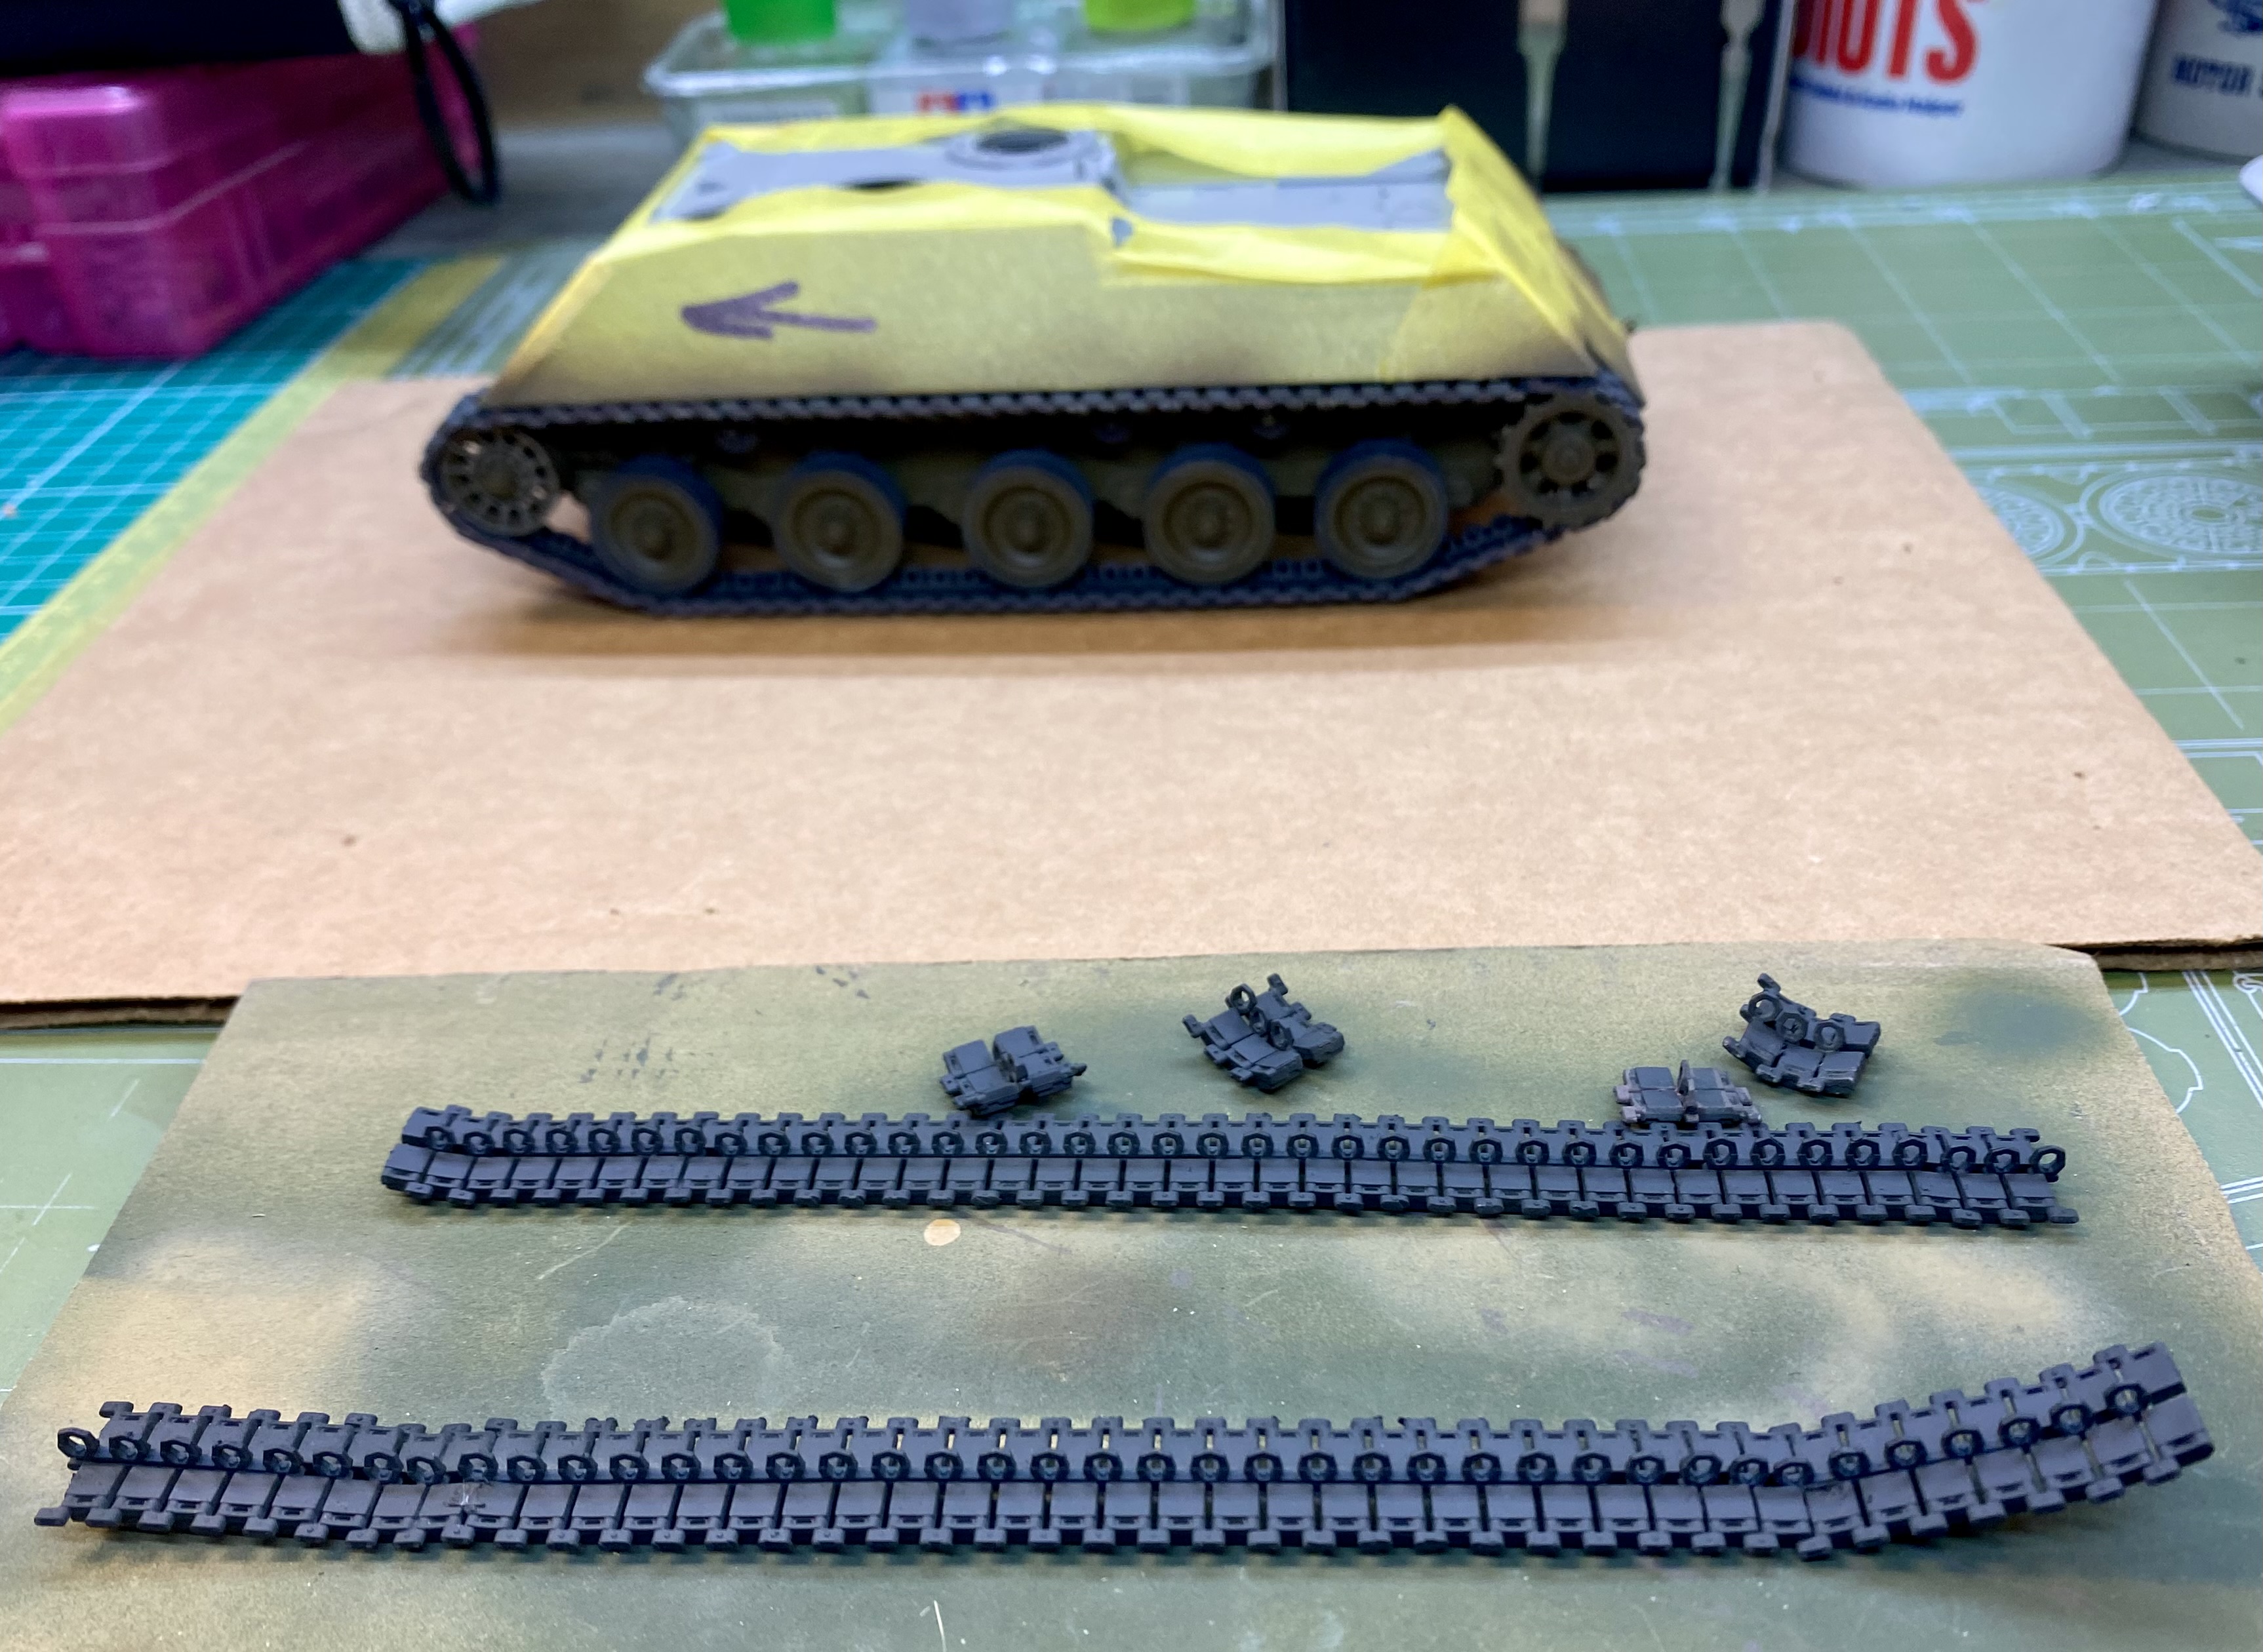
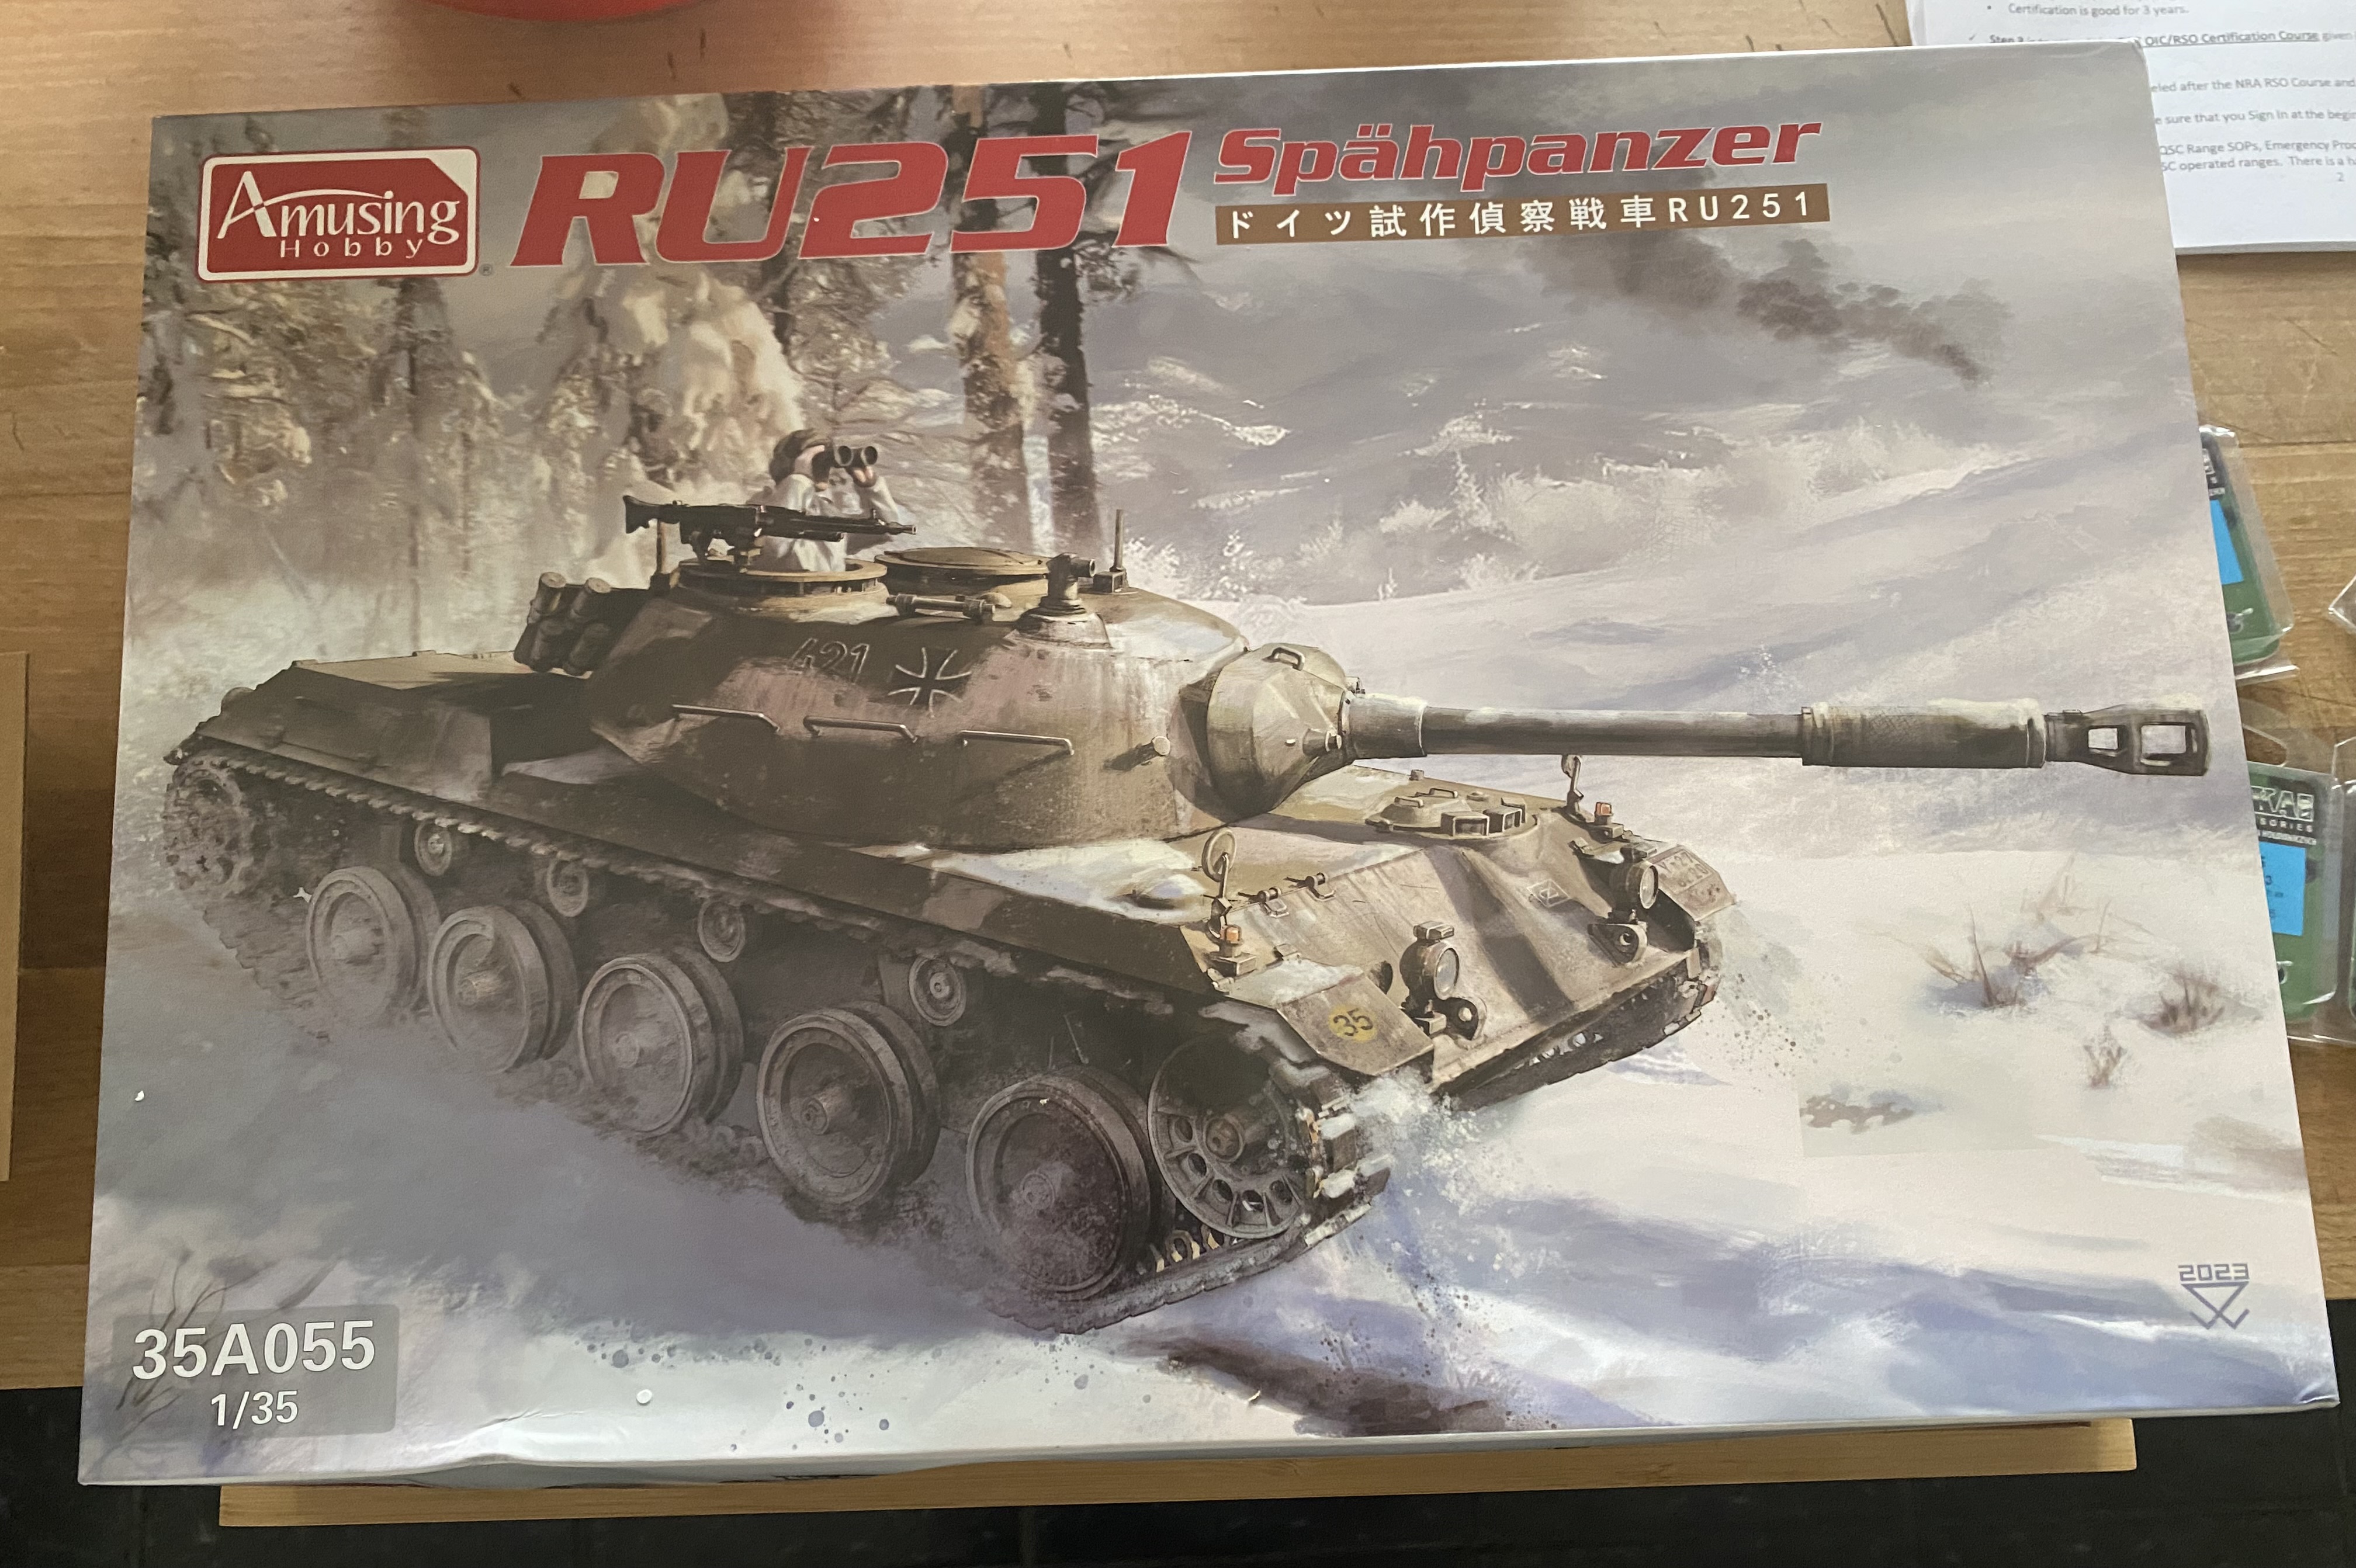
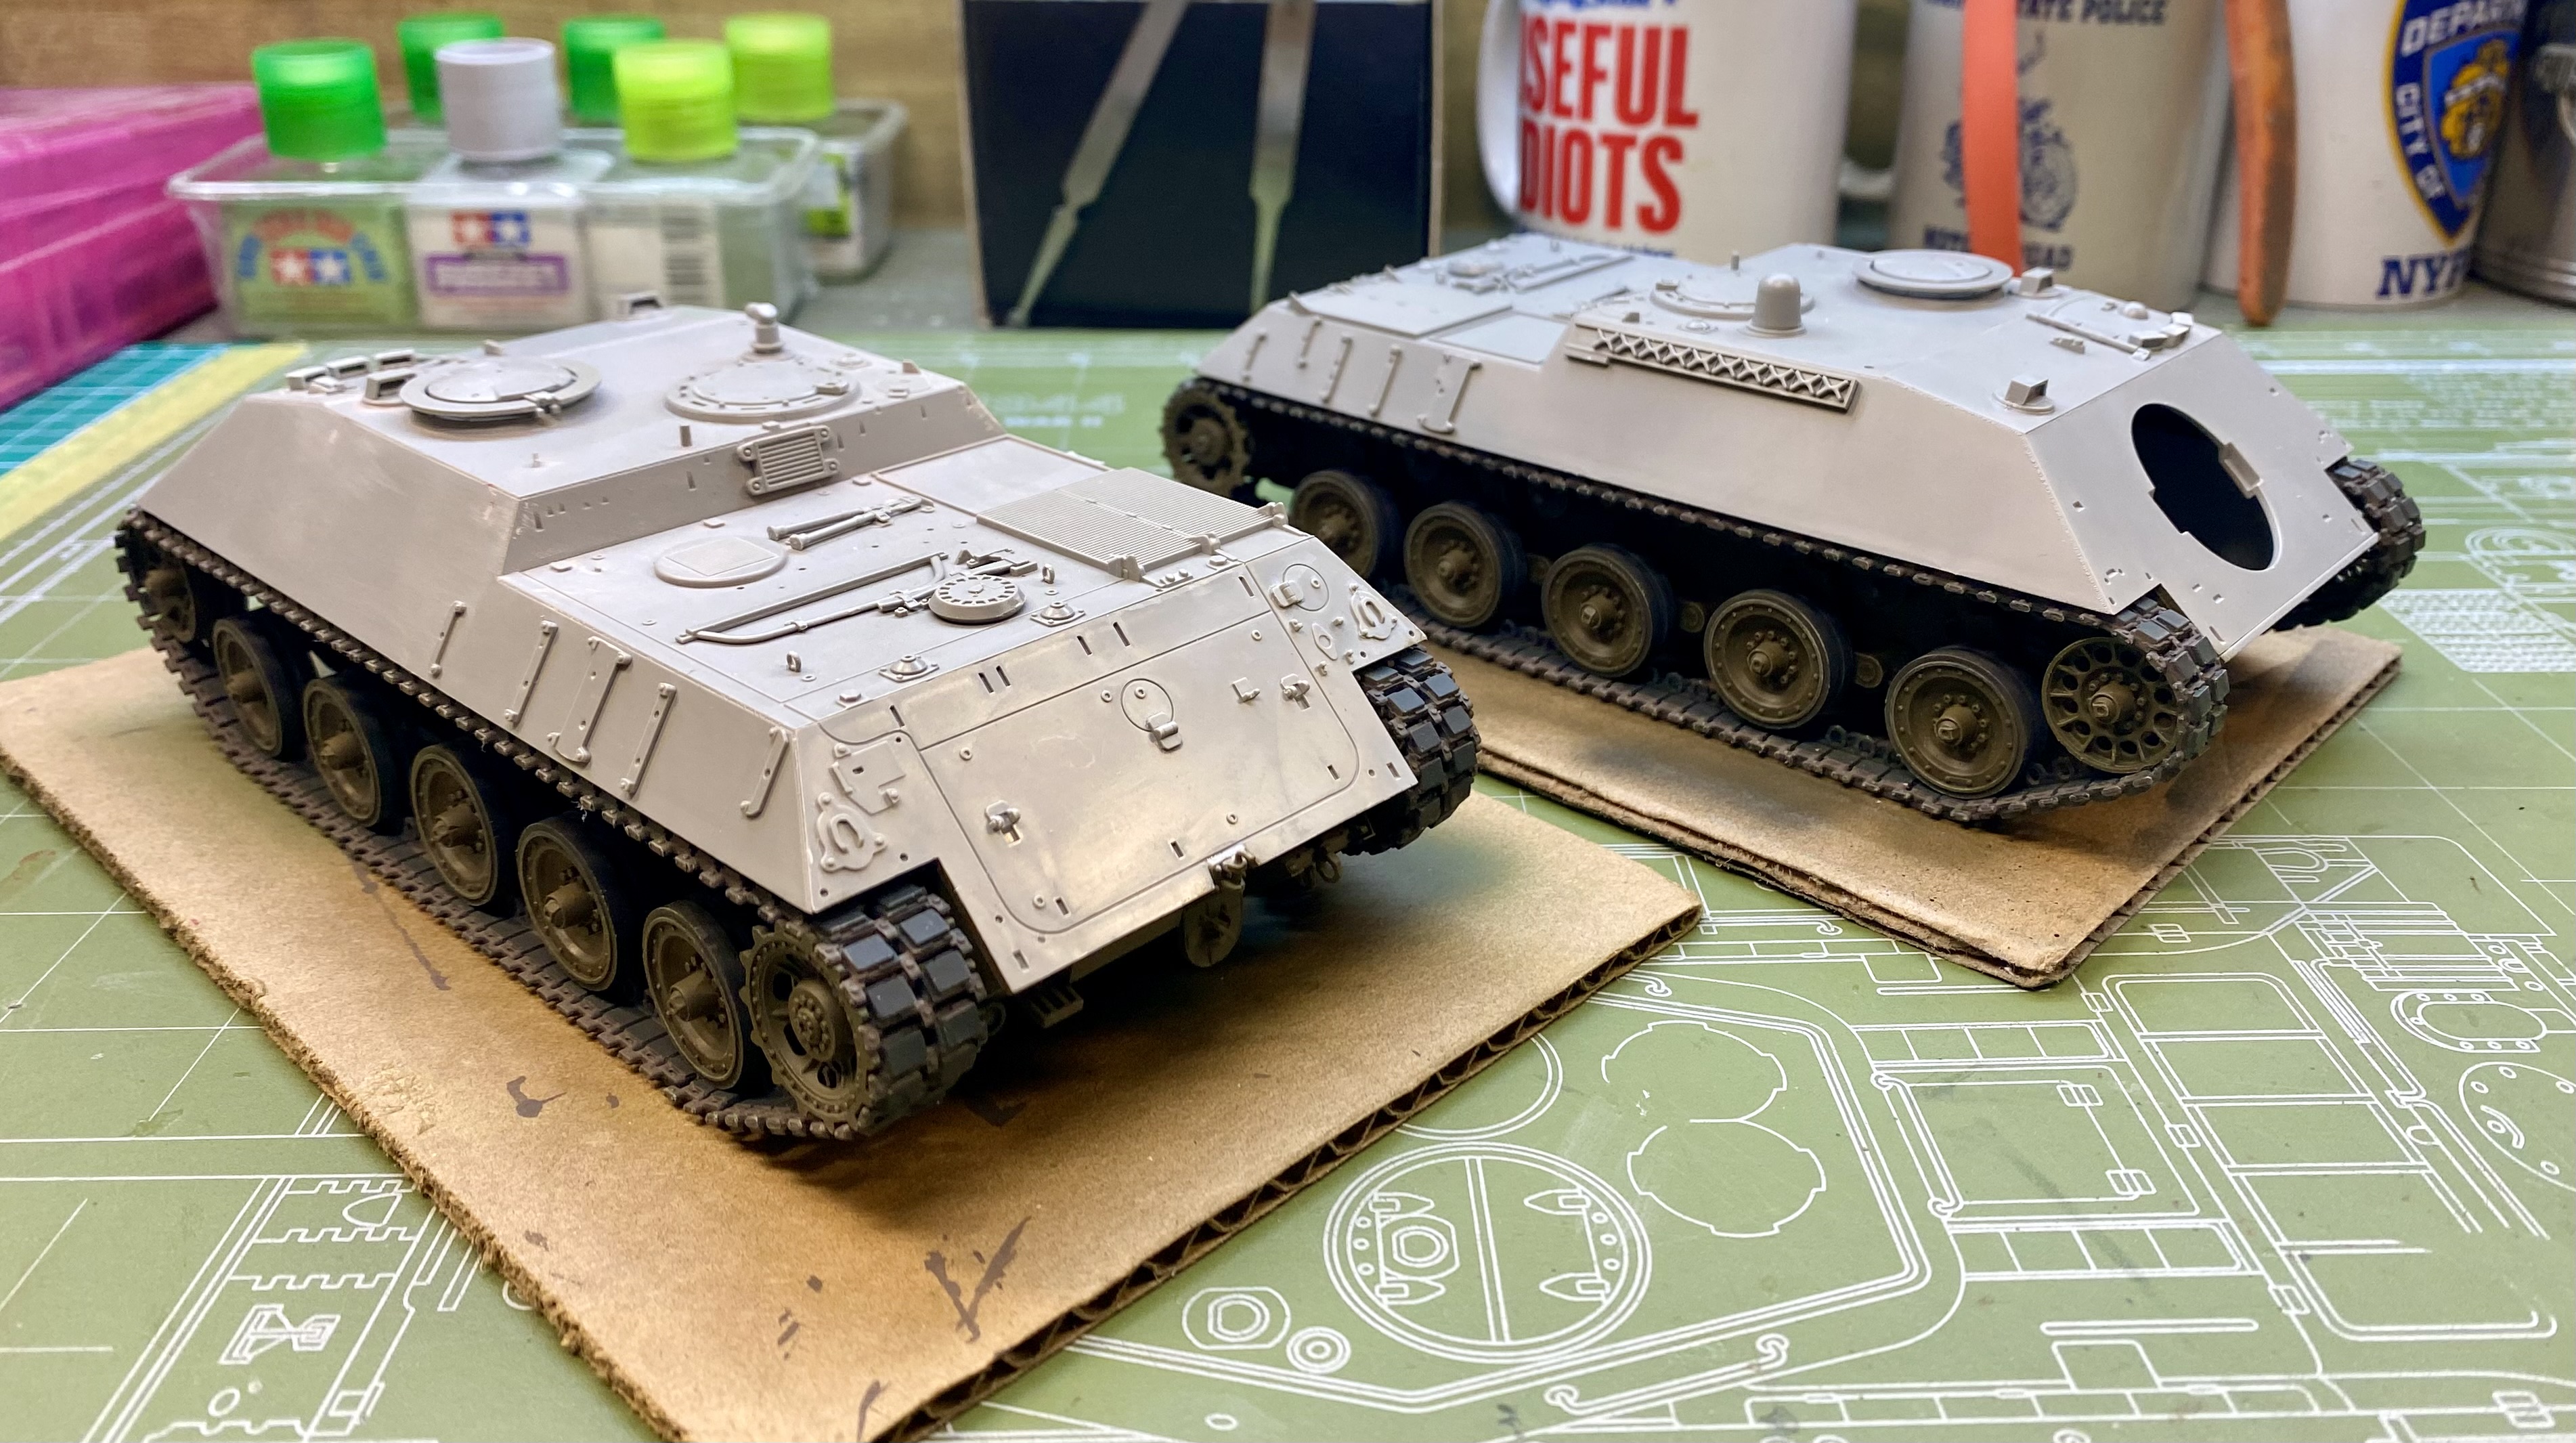
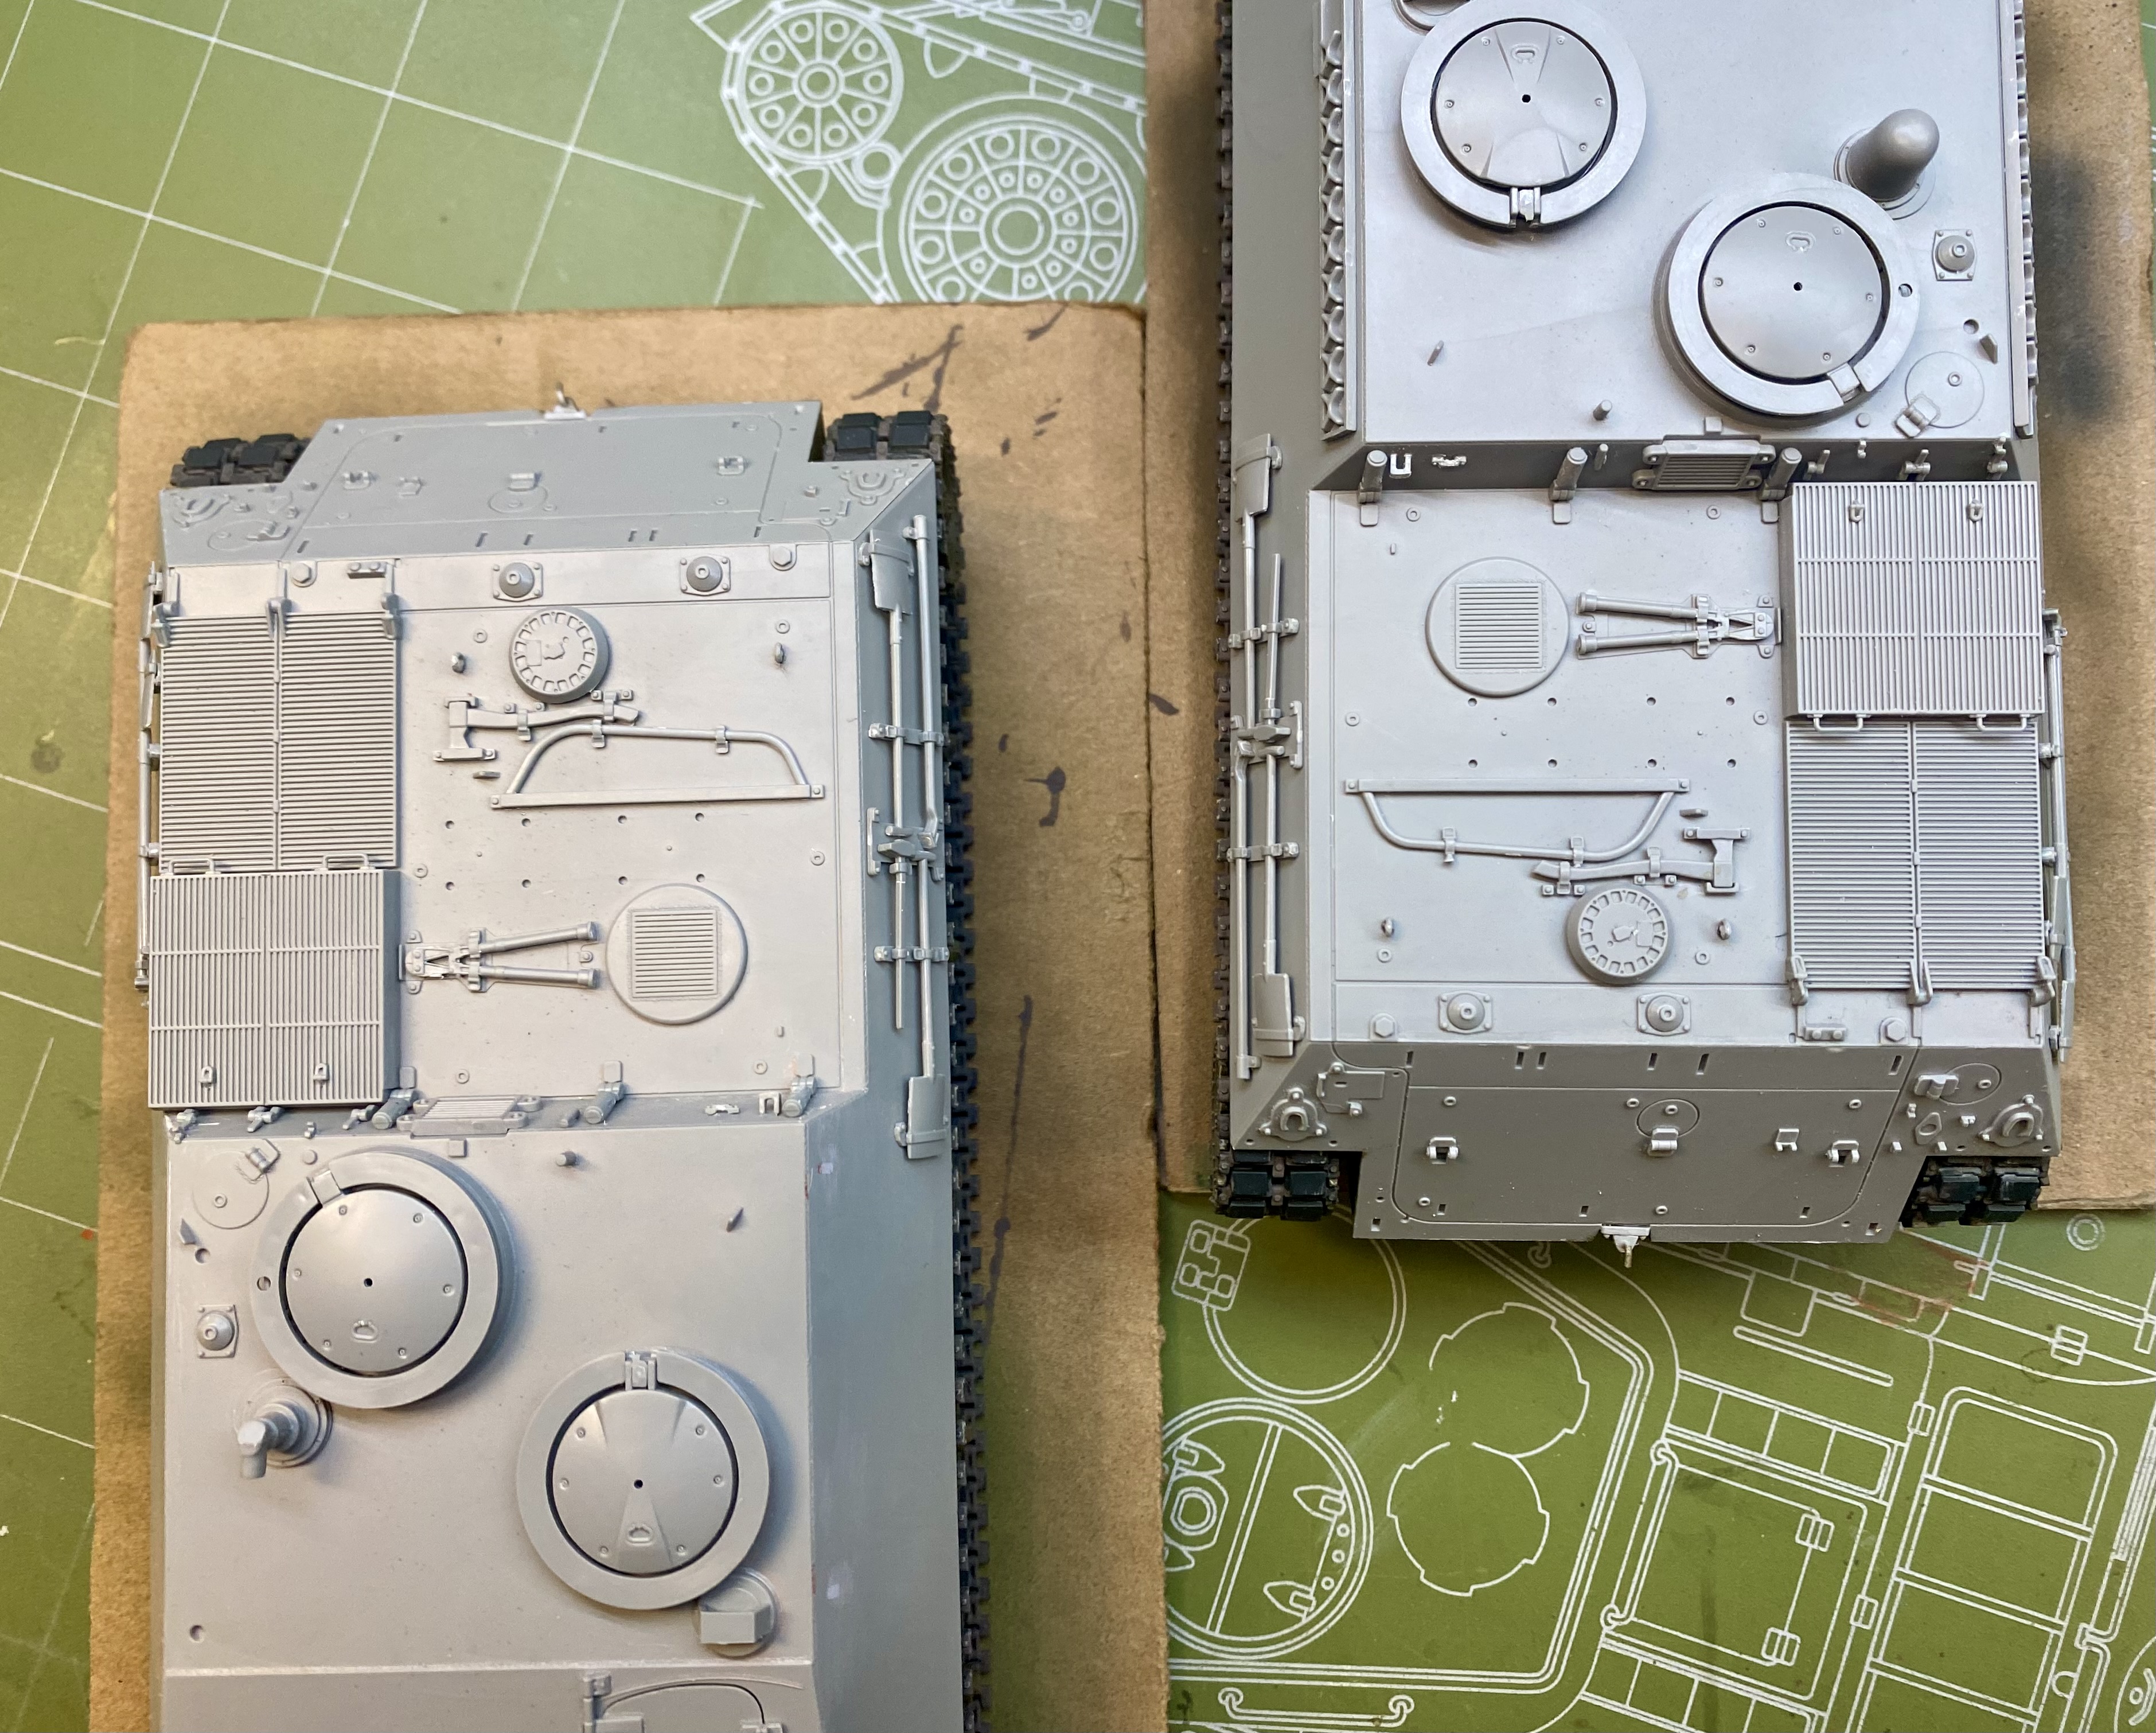
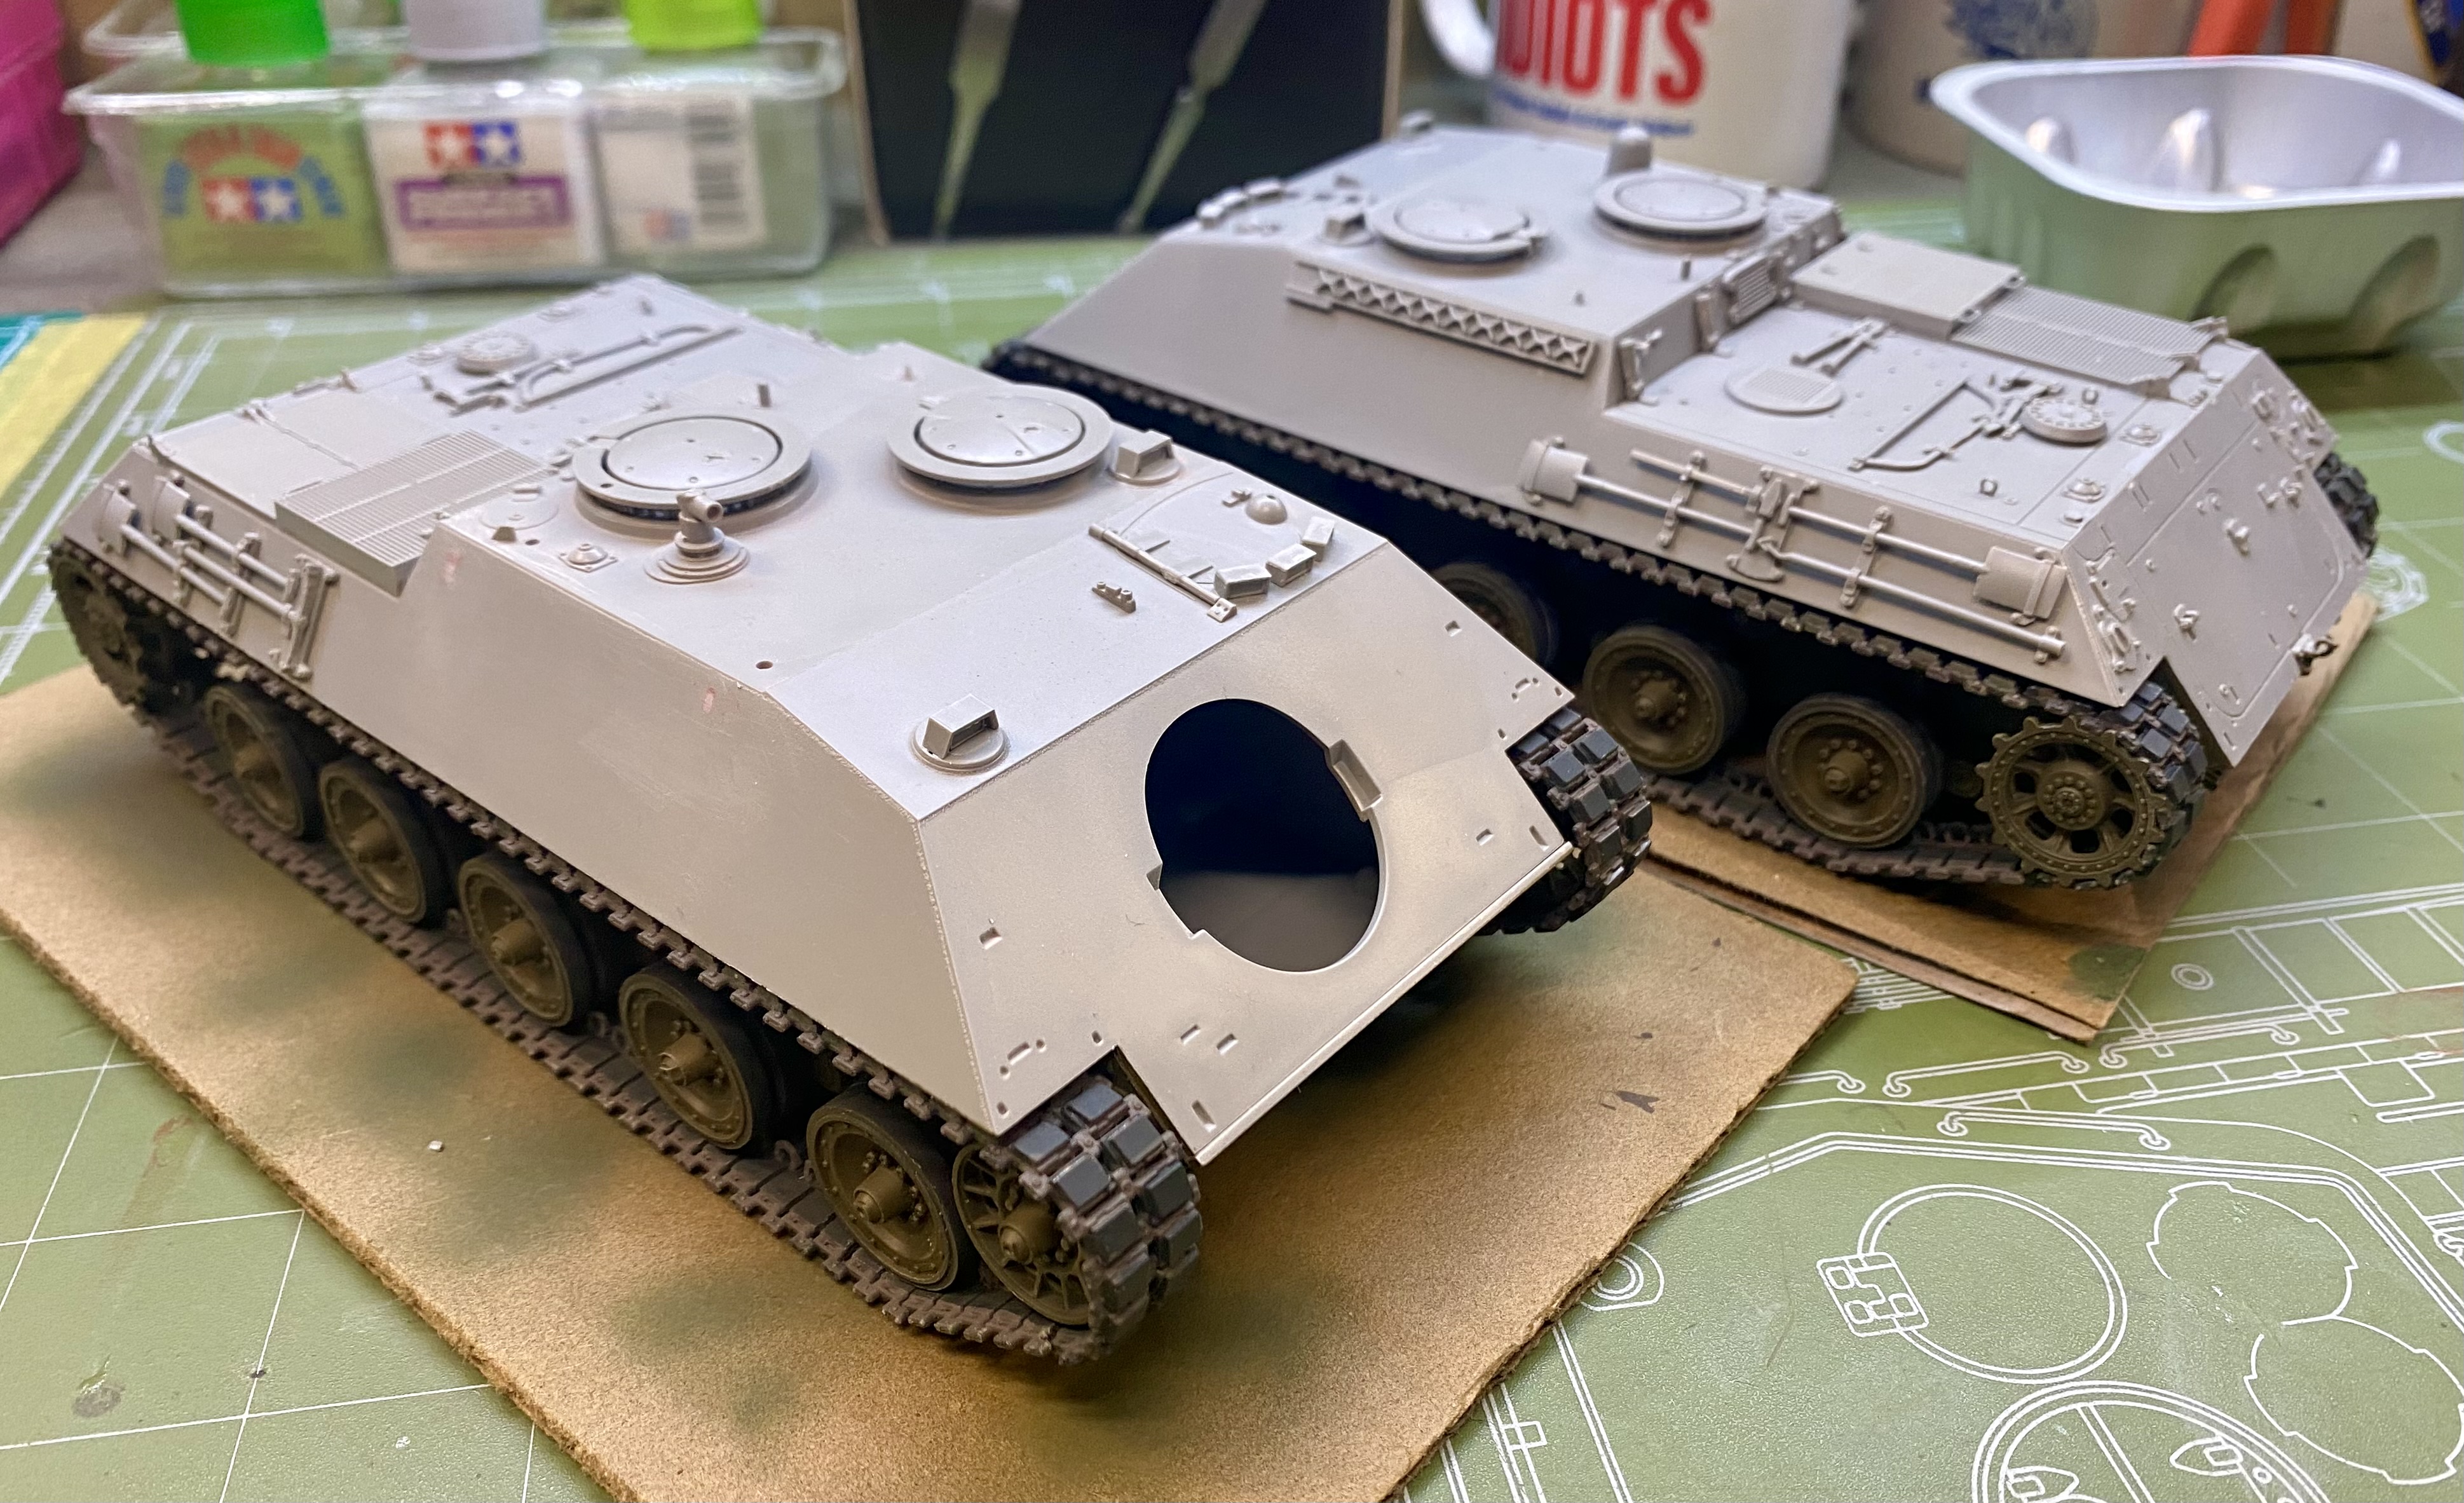
I dunno @Denimo . Since this Bundeswehr RU251 prototype is made from the exact same molds and has the same hull and running gear, I almost started on this too but I was confused enough already what with all the little pieces of curved and mostly straight track sections and road wheels and idlers and sprockets and all….
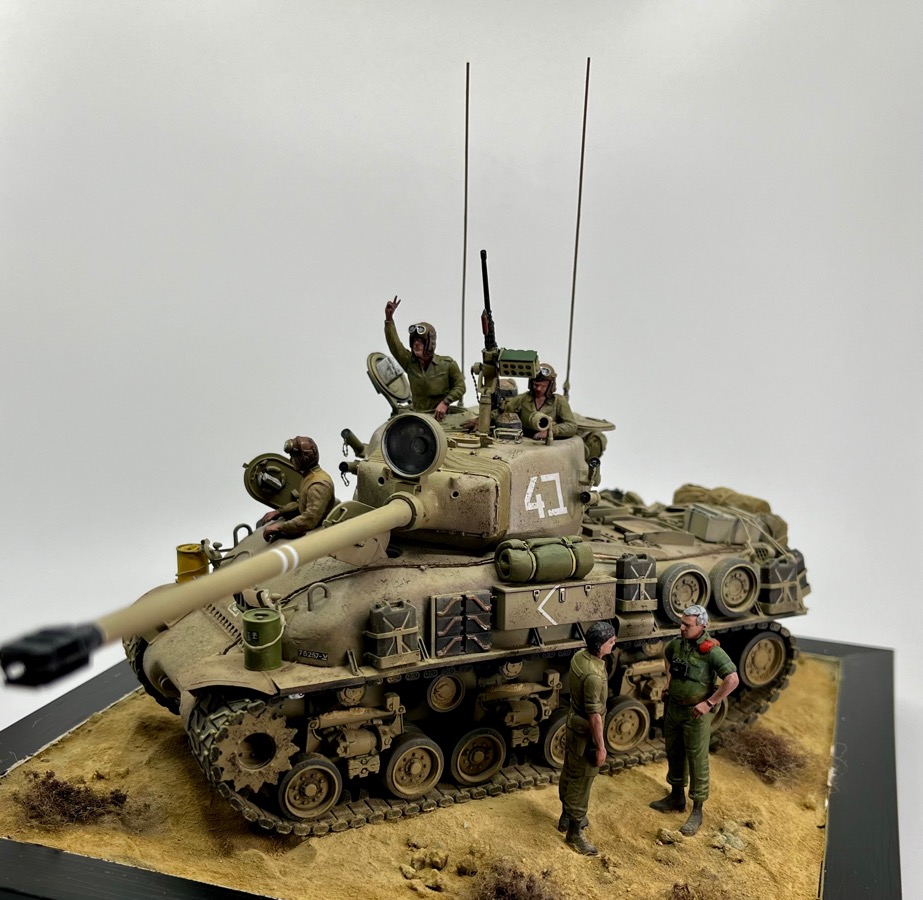
I did some highlights yesterday. Did a wash too, but not photographed.
I’m still trying to come up with a plan for mud, and dirt. I have some steps to do before hand though.
Another whatif project went on , it will become a 4 engined He 111 with stretched fuselage , and after endless sanding , and putty again and again , and around 10 layers of paint it became okay to me .
I also made a lot of prop blades for it to the right size .
And some additional air intakes for each engine , to look bigger and more aggressive .
So…update. In the pic above the turret was still in black primer. Since that pic, it has been painted, stripped, primed, painted and stripped again. I am waiting for the temp to warm up some to prime it once again. I tried using masks, that worked really well, I just couldn’t get them off without all the paint underneath coming with them.
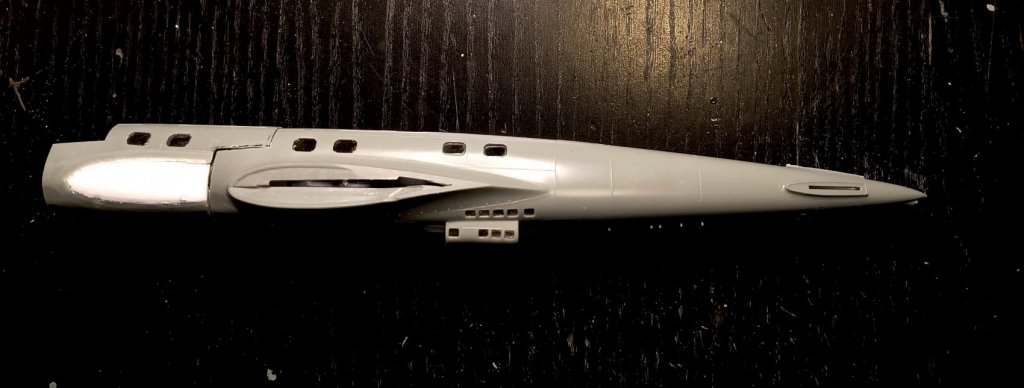
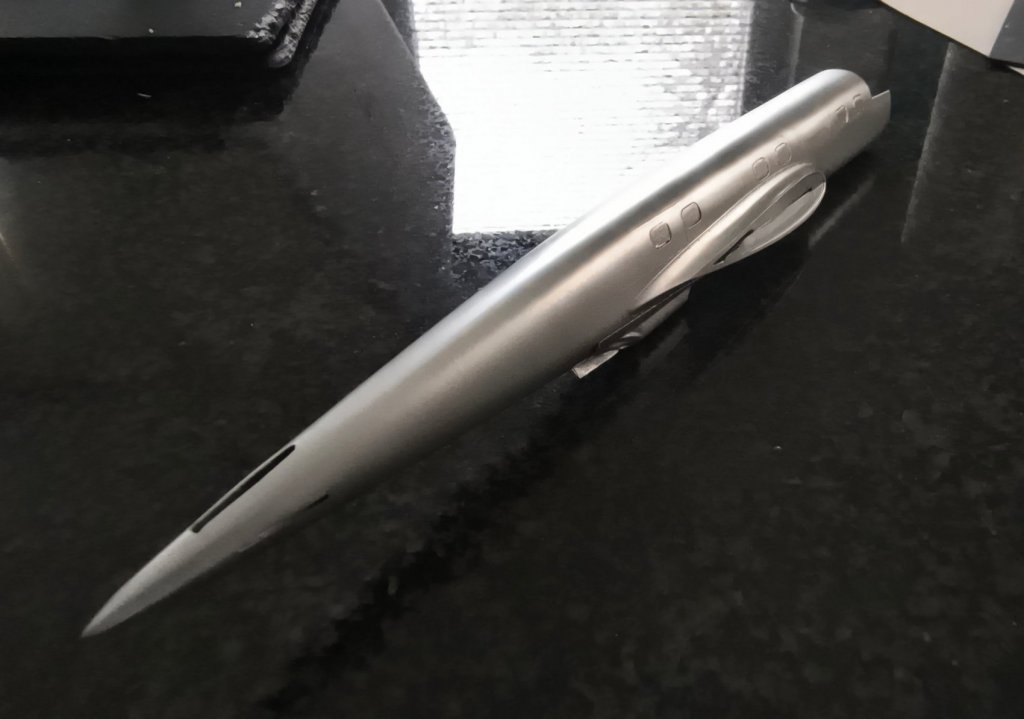
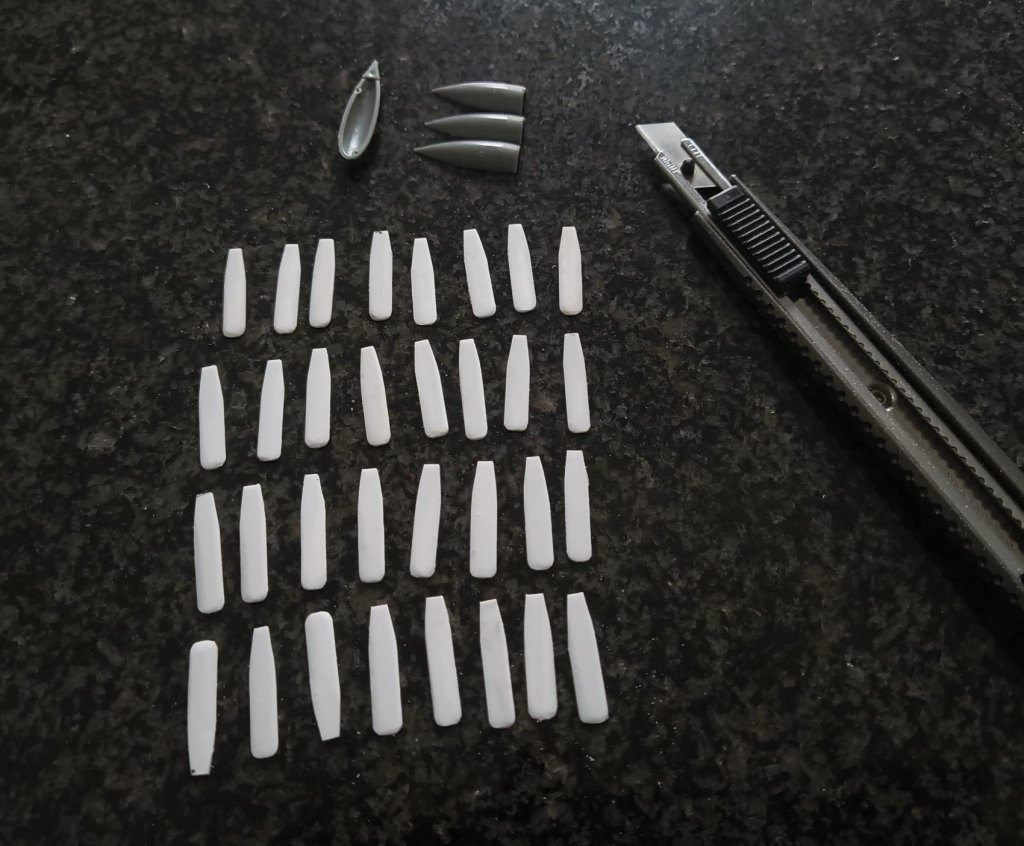
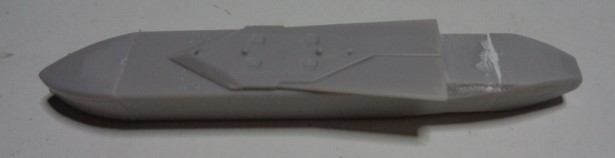
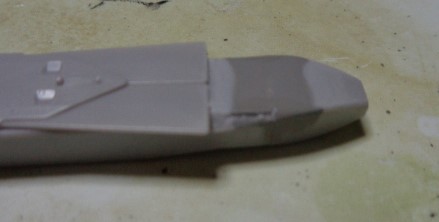
Puttied and sanded the gap in the 1/72 Taurus cruise missile. Painted some grey to see if it needs further work. If not, I can add fins (4 of them) and the intakes (2). Then I can do the same for the other missile in the kit.
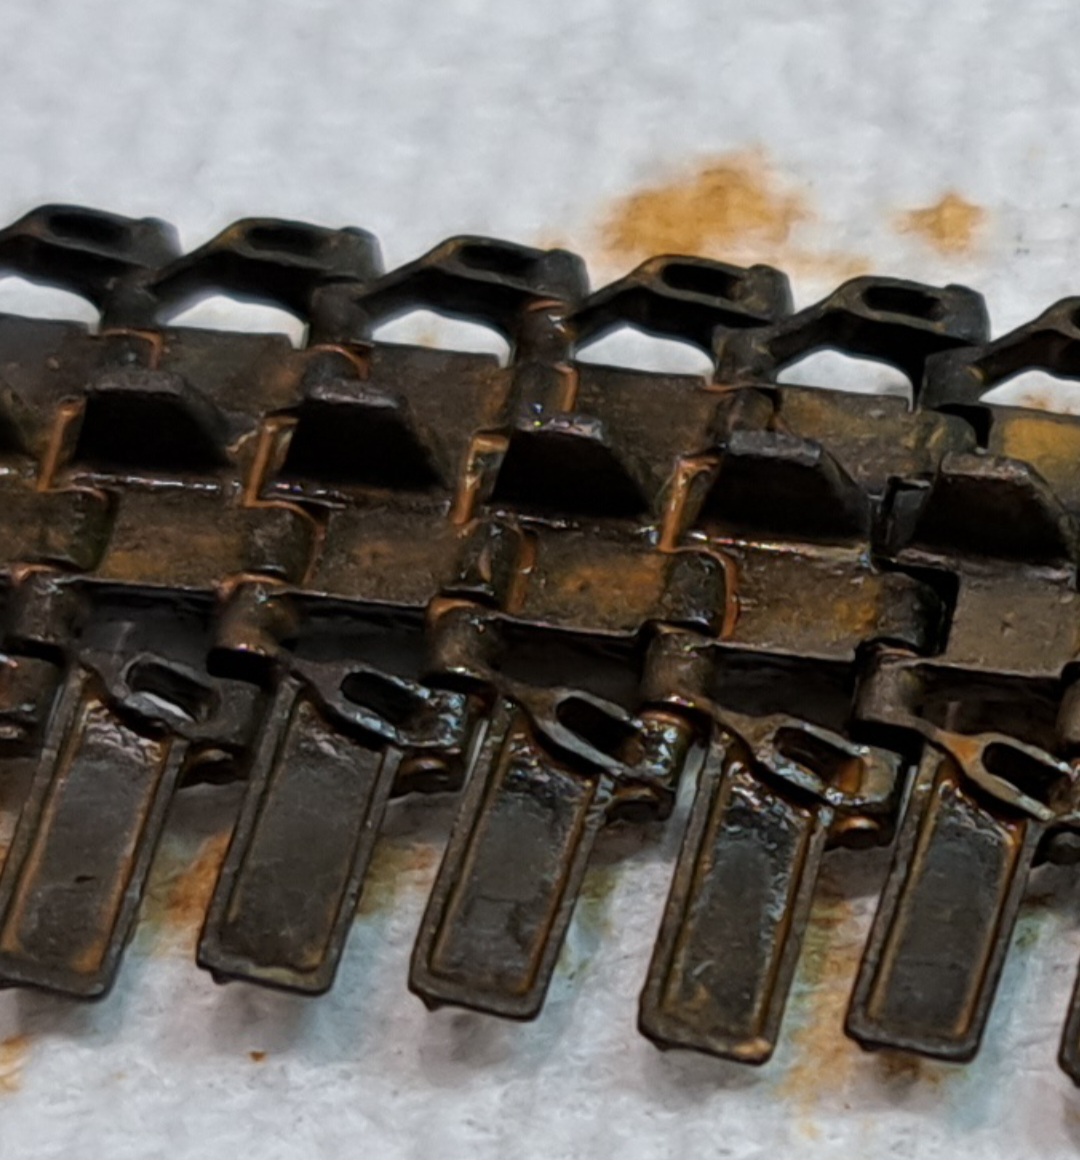
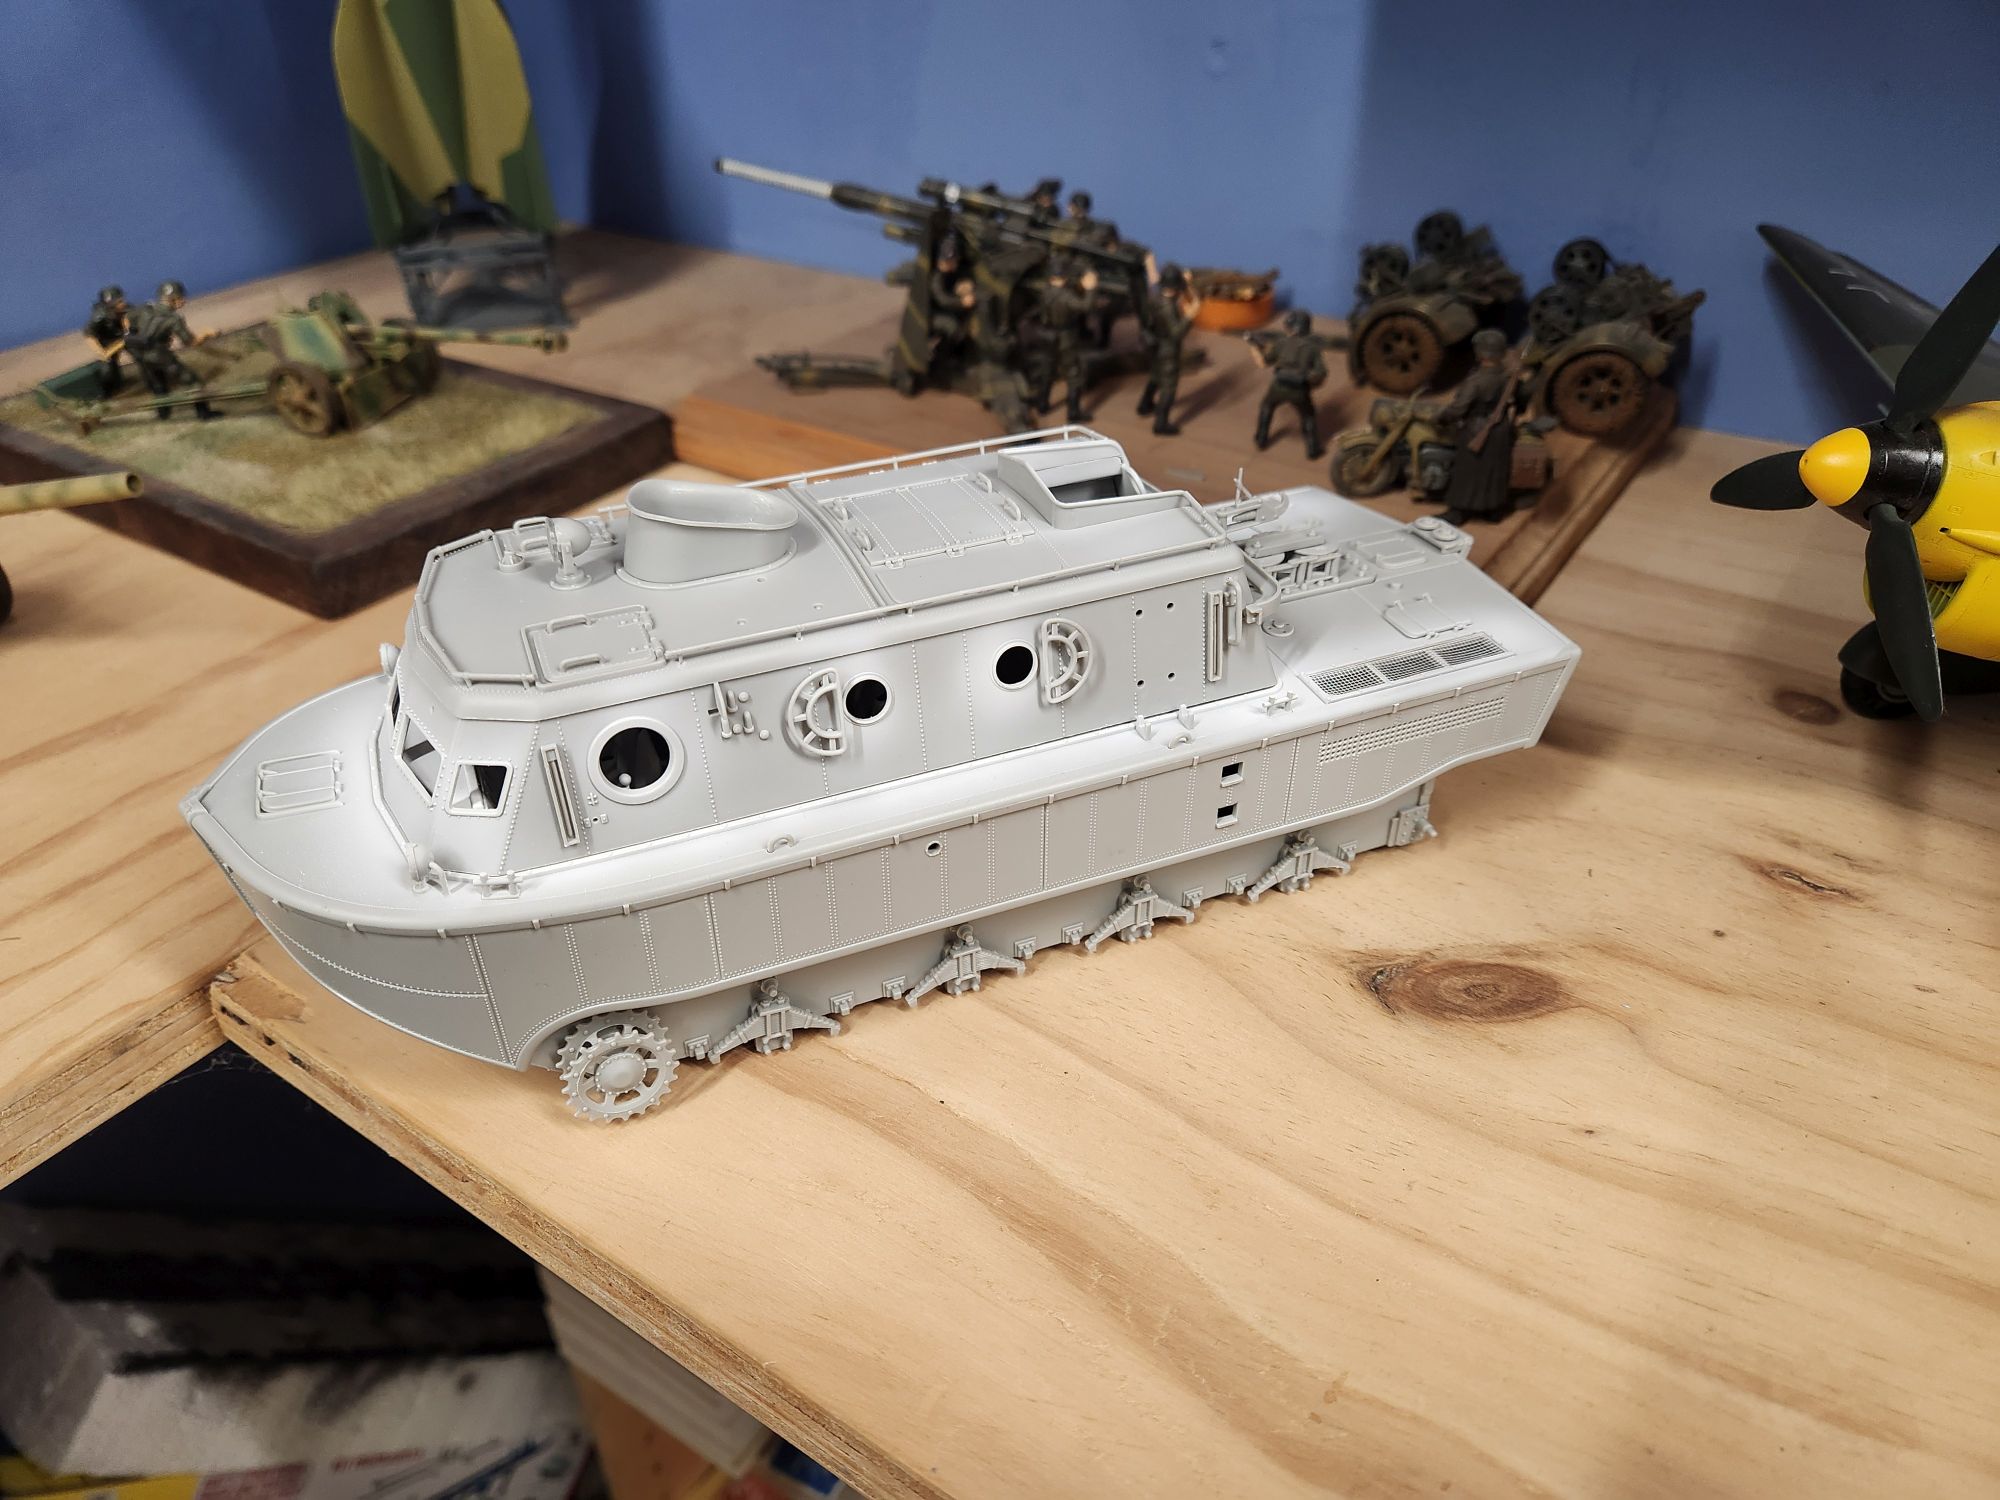
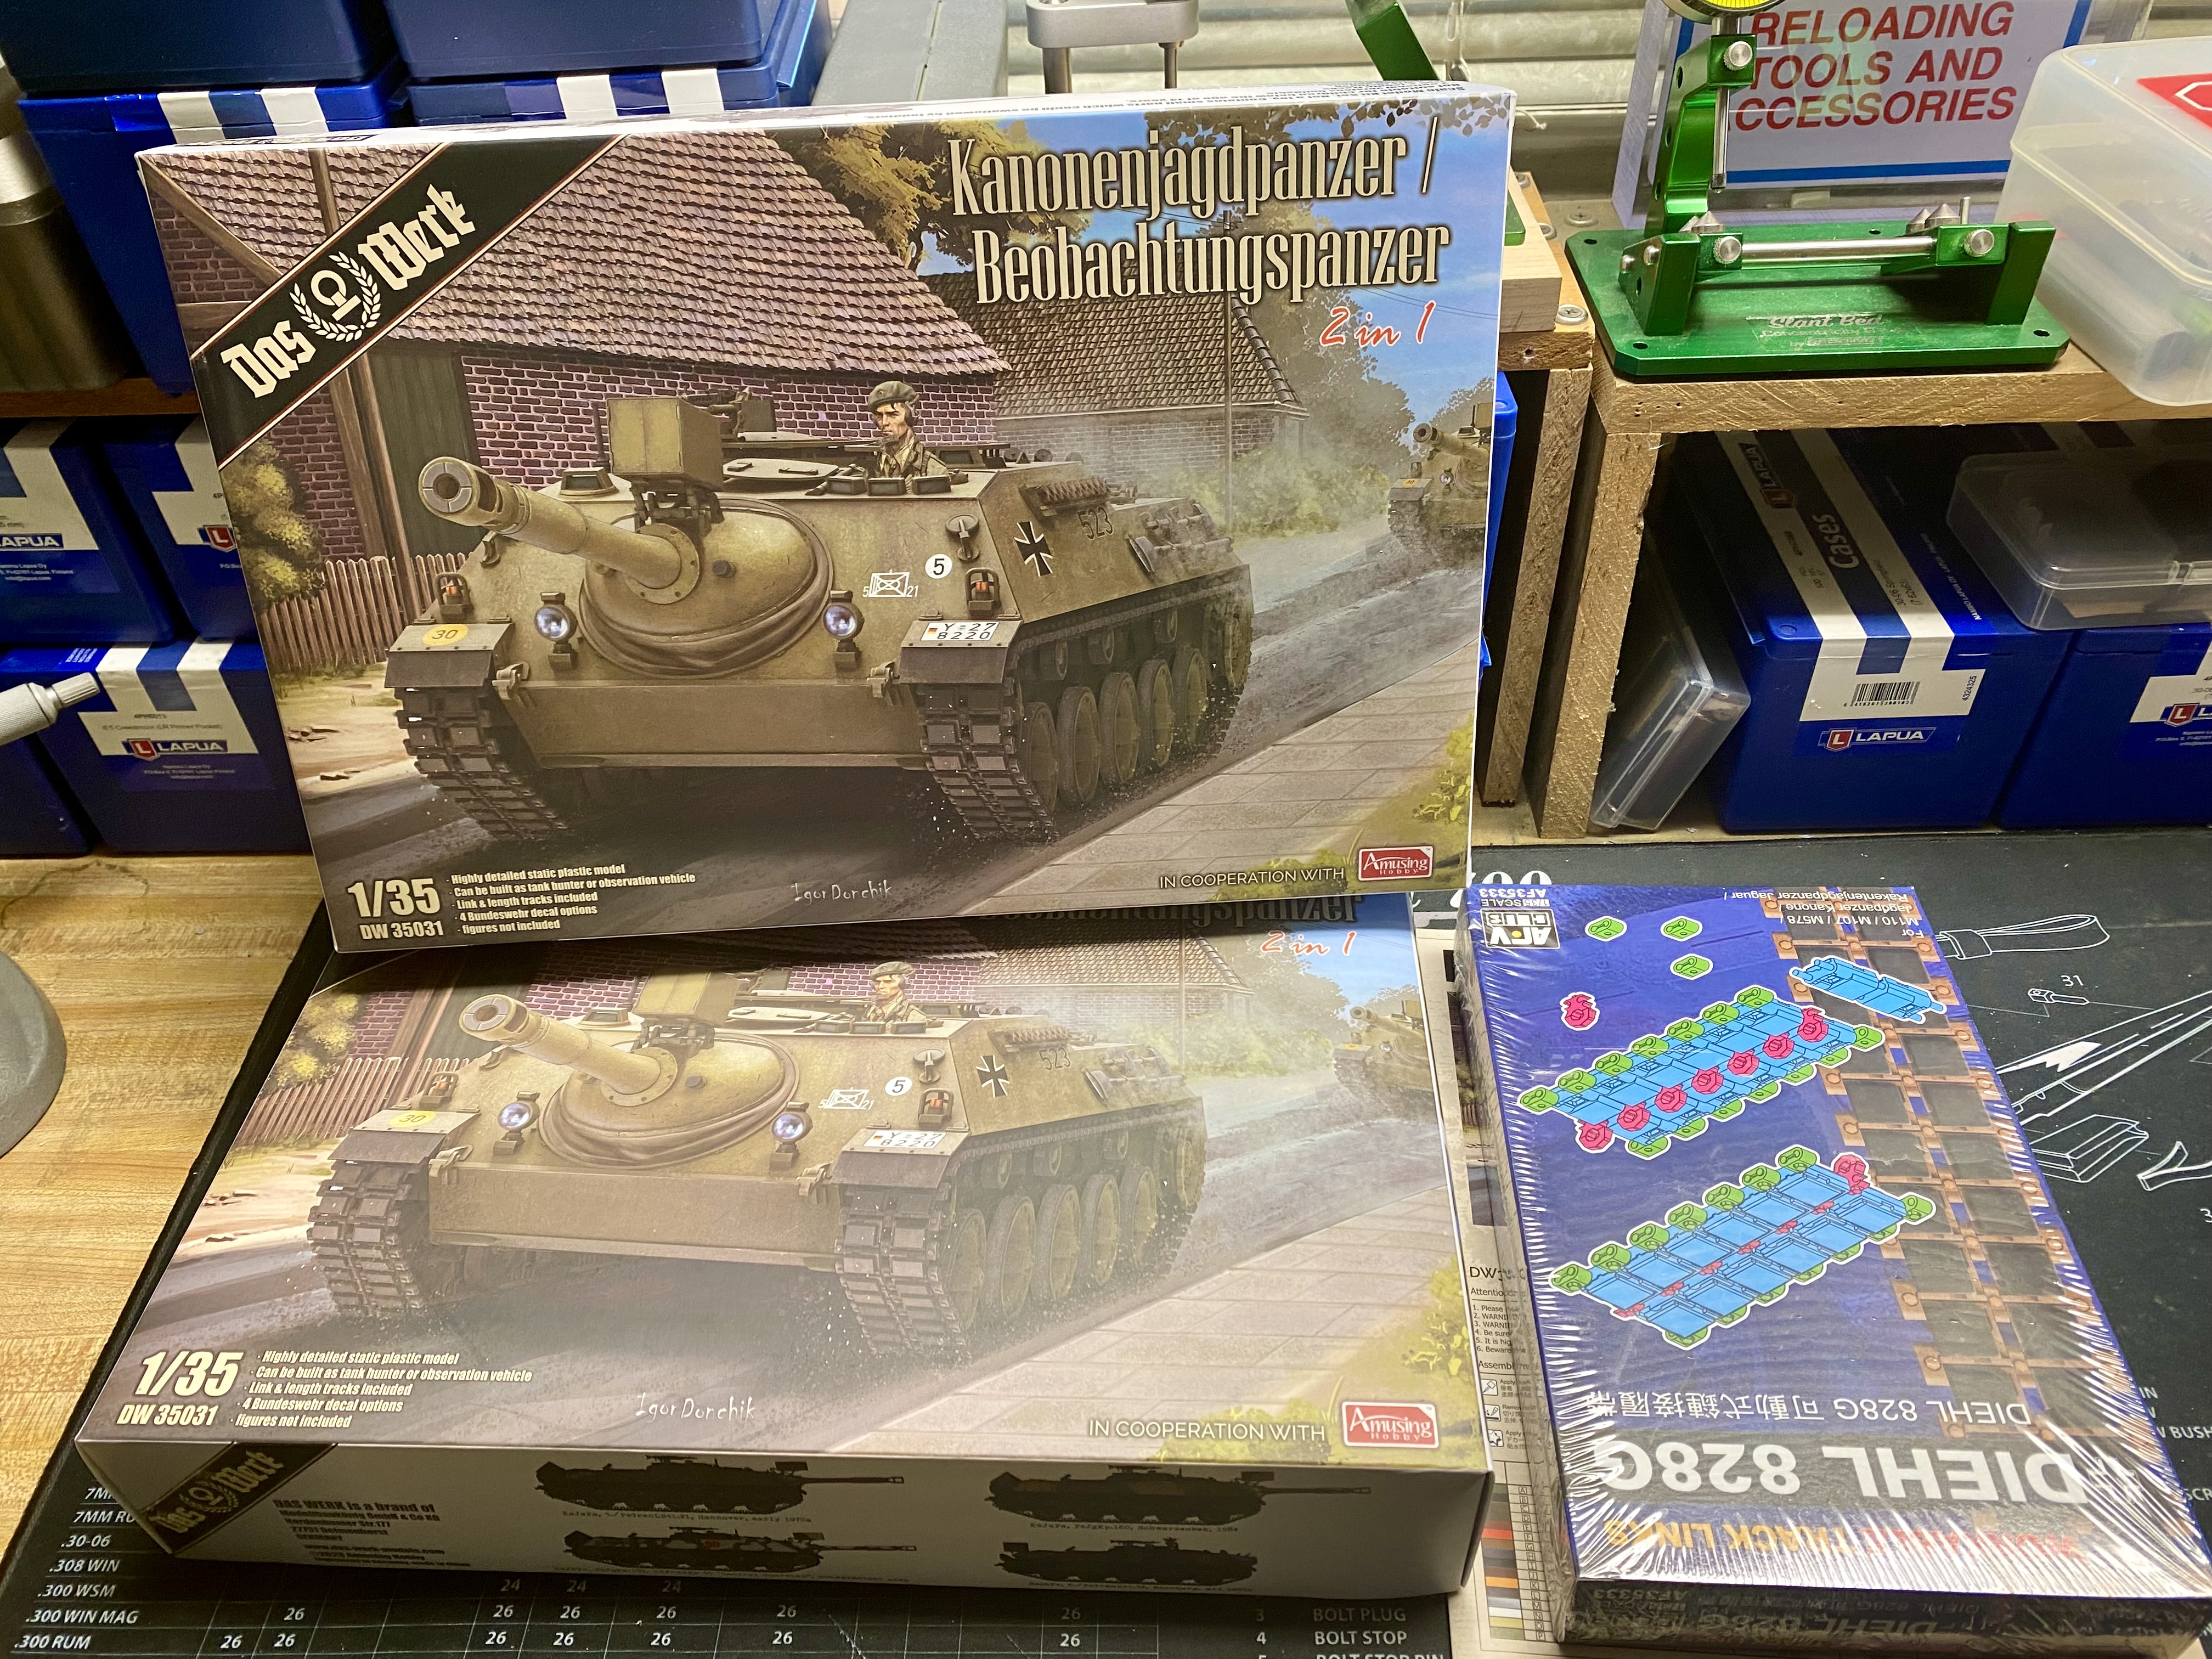
It’s reminiscent of a Dragon kit as far as the actual plastic goes but with much clearer instructions, although I could do without the faux oil and coffee stained sepia tint of the sheets.
It’s pretty well engineered as far as assembly goes, too. The only negative so far are the tracks and even they weren’t hateful; only time consuming.