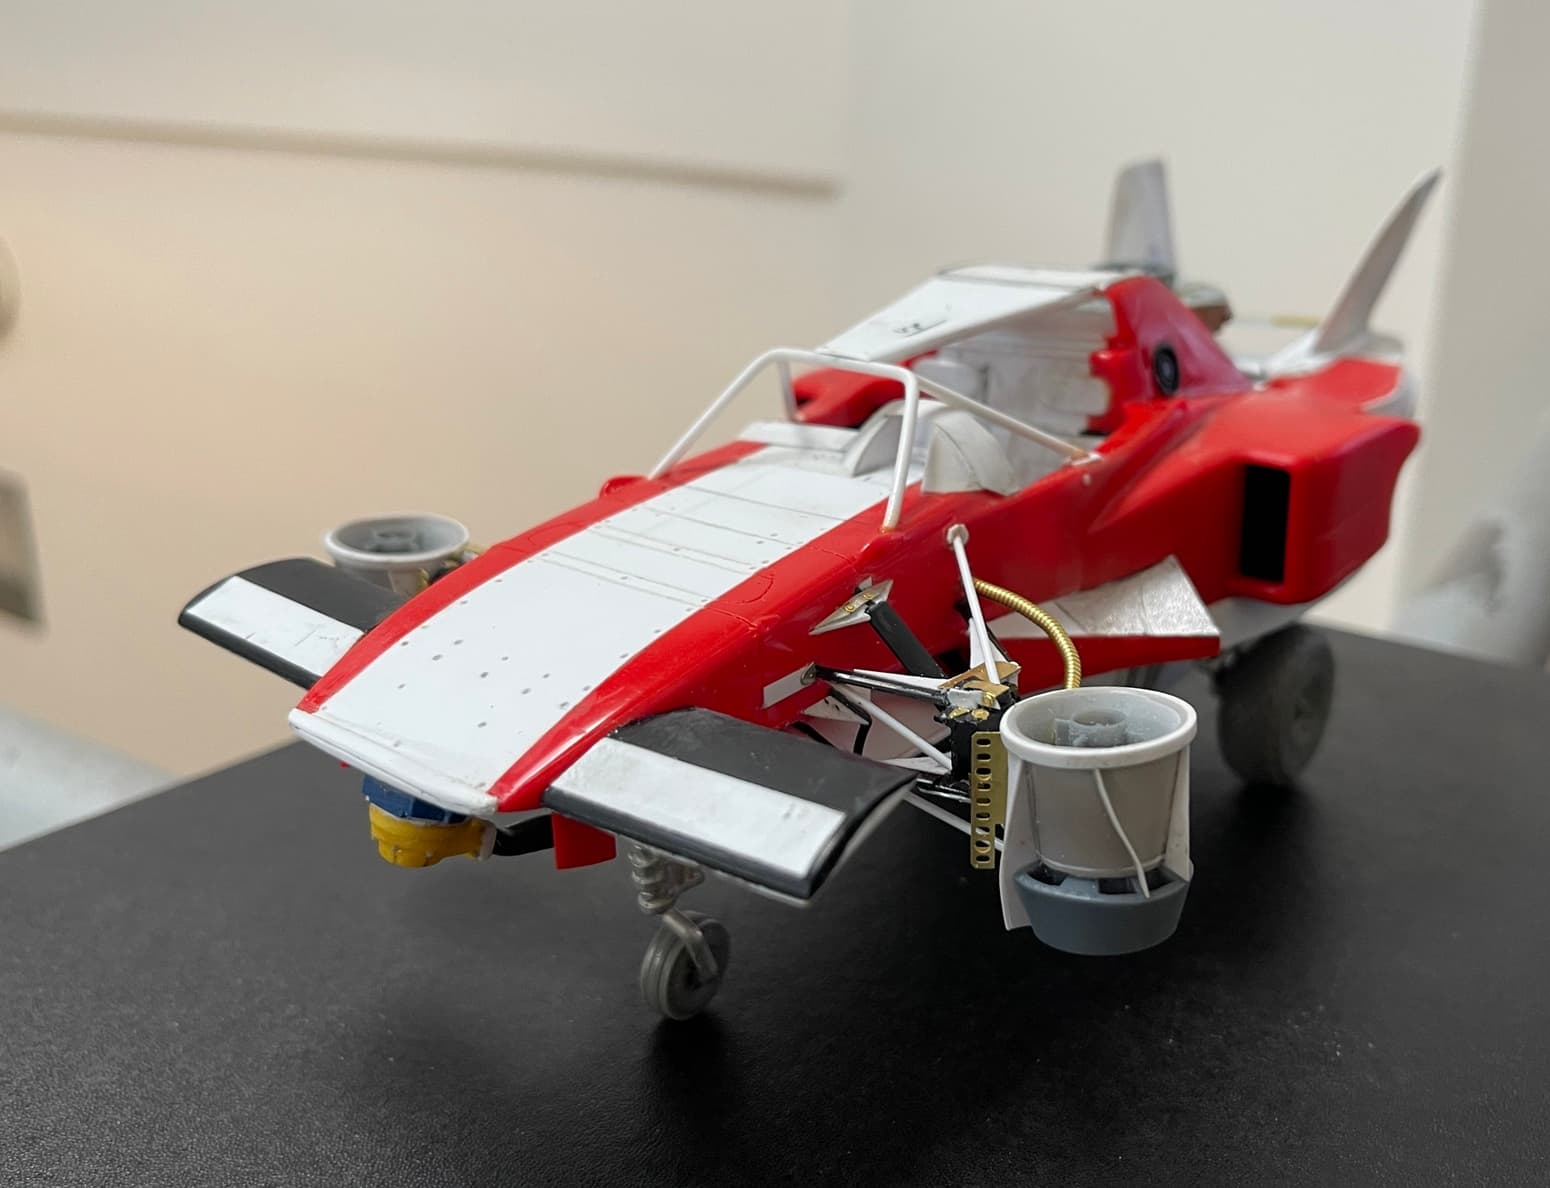
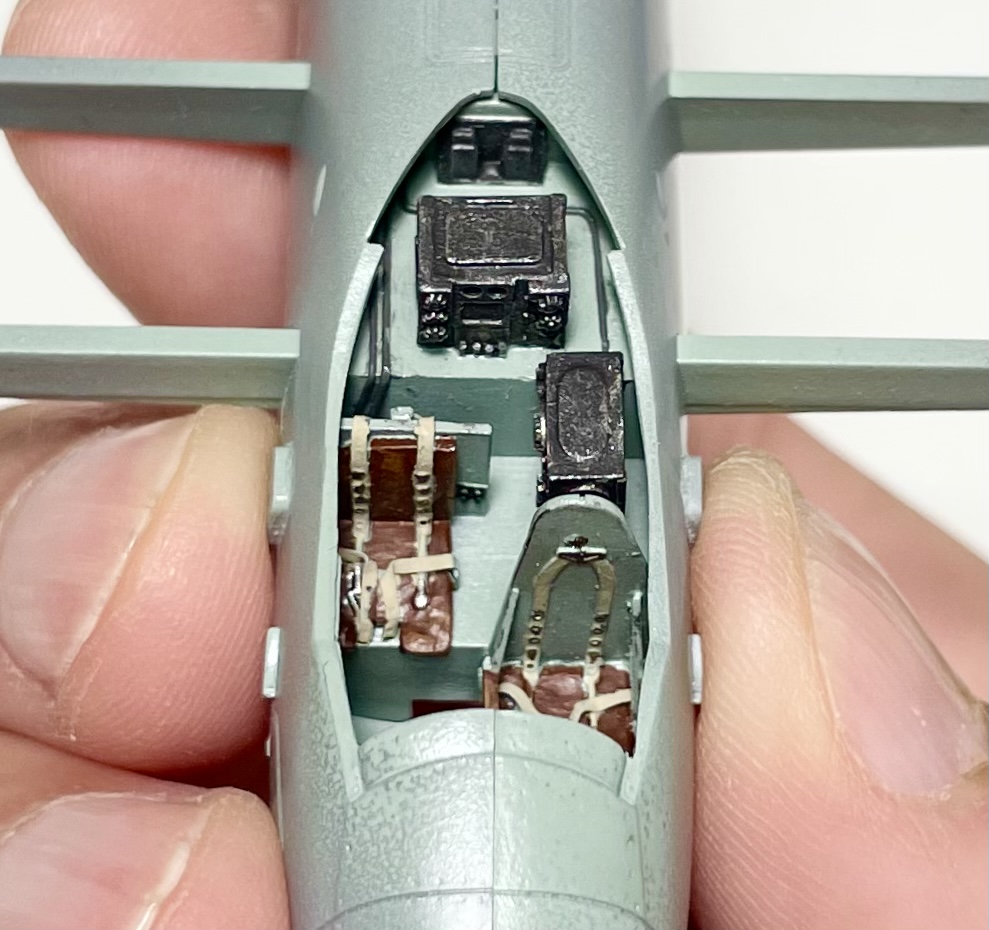
So, while this likely looks about the same to some of you, or if you haven’t seen it, no big deal - but, over the last few days, it was brought to my attention that the nose on this was sloping to the right.
I’d seen the slope, but pretended not to see it. Well, a guy couldn’t live with that so went about trying to fix it, which naturally led to snapping the majority of the right side anti-g unit off the fuselage - not to worry though, it didn’t fall to the floor, because it was dangling from the body panel by what was now a severely bent strut arm - oh what a treat.
It’s now fixed - the nose is level, the anti-g unit back in place and we’re good - except, another “feature” which I had also selected to ignore was brought to my attention via PM - the cowling behind the cockpit was also not level - it is now level. Oh what good news!
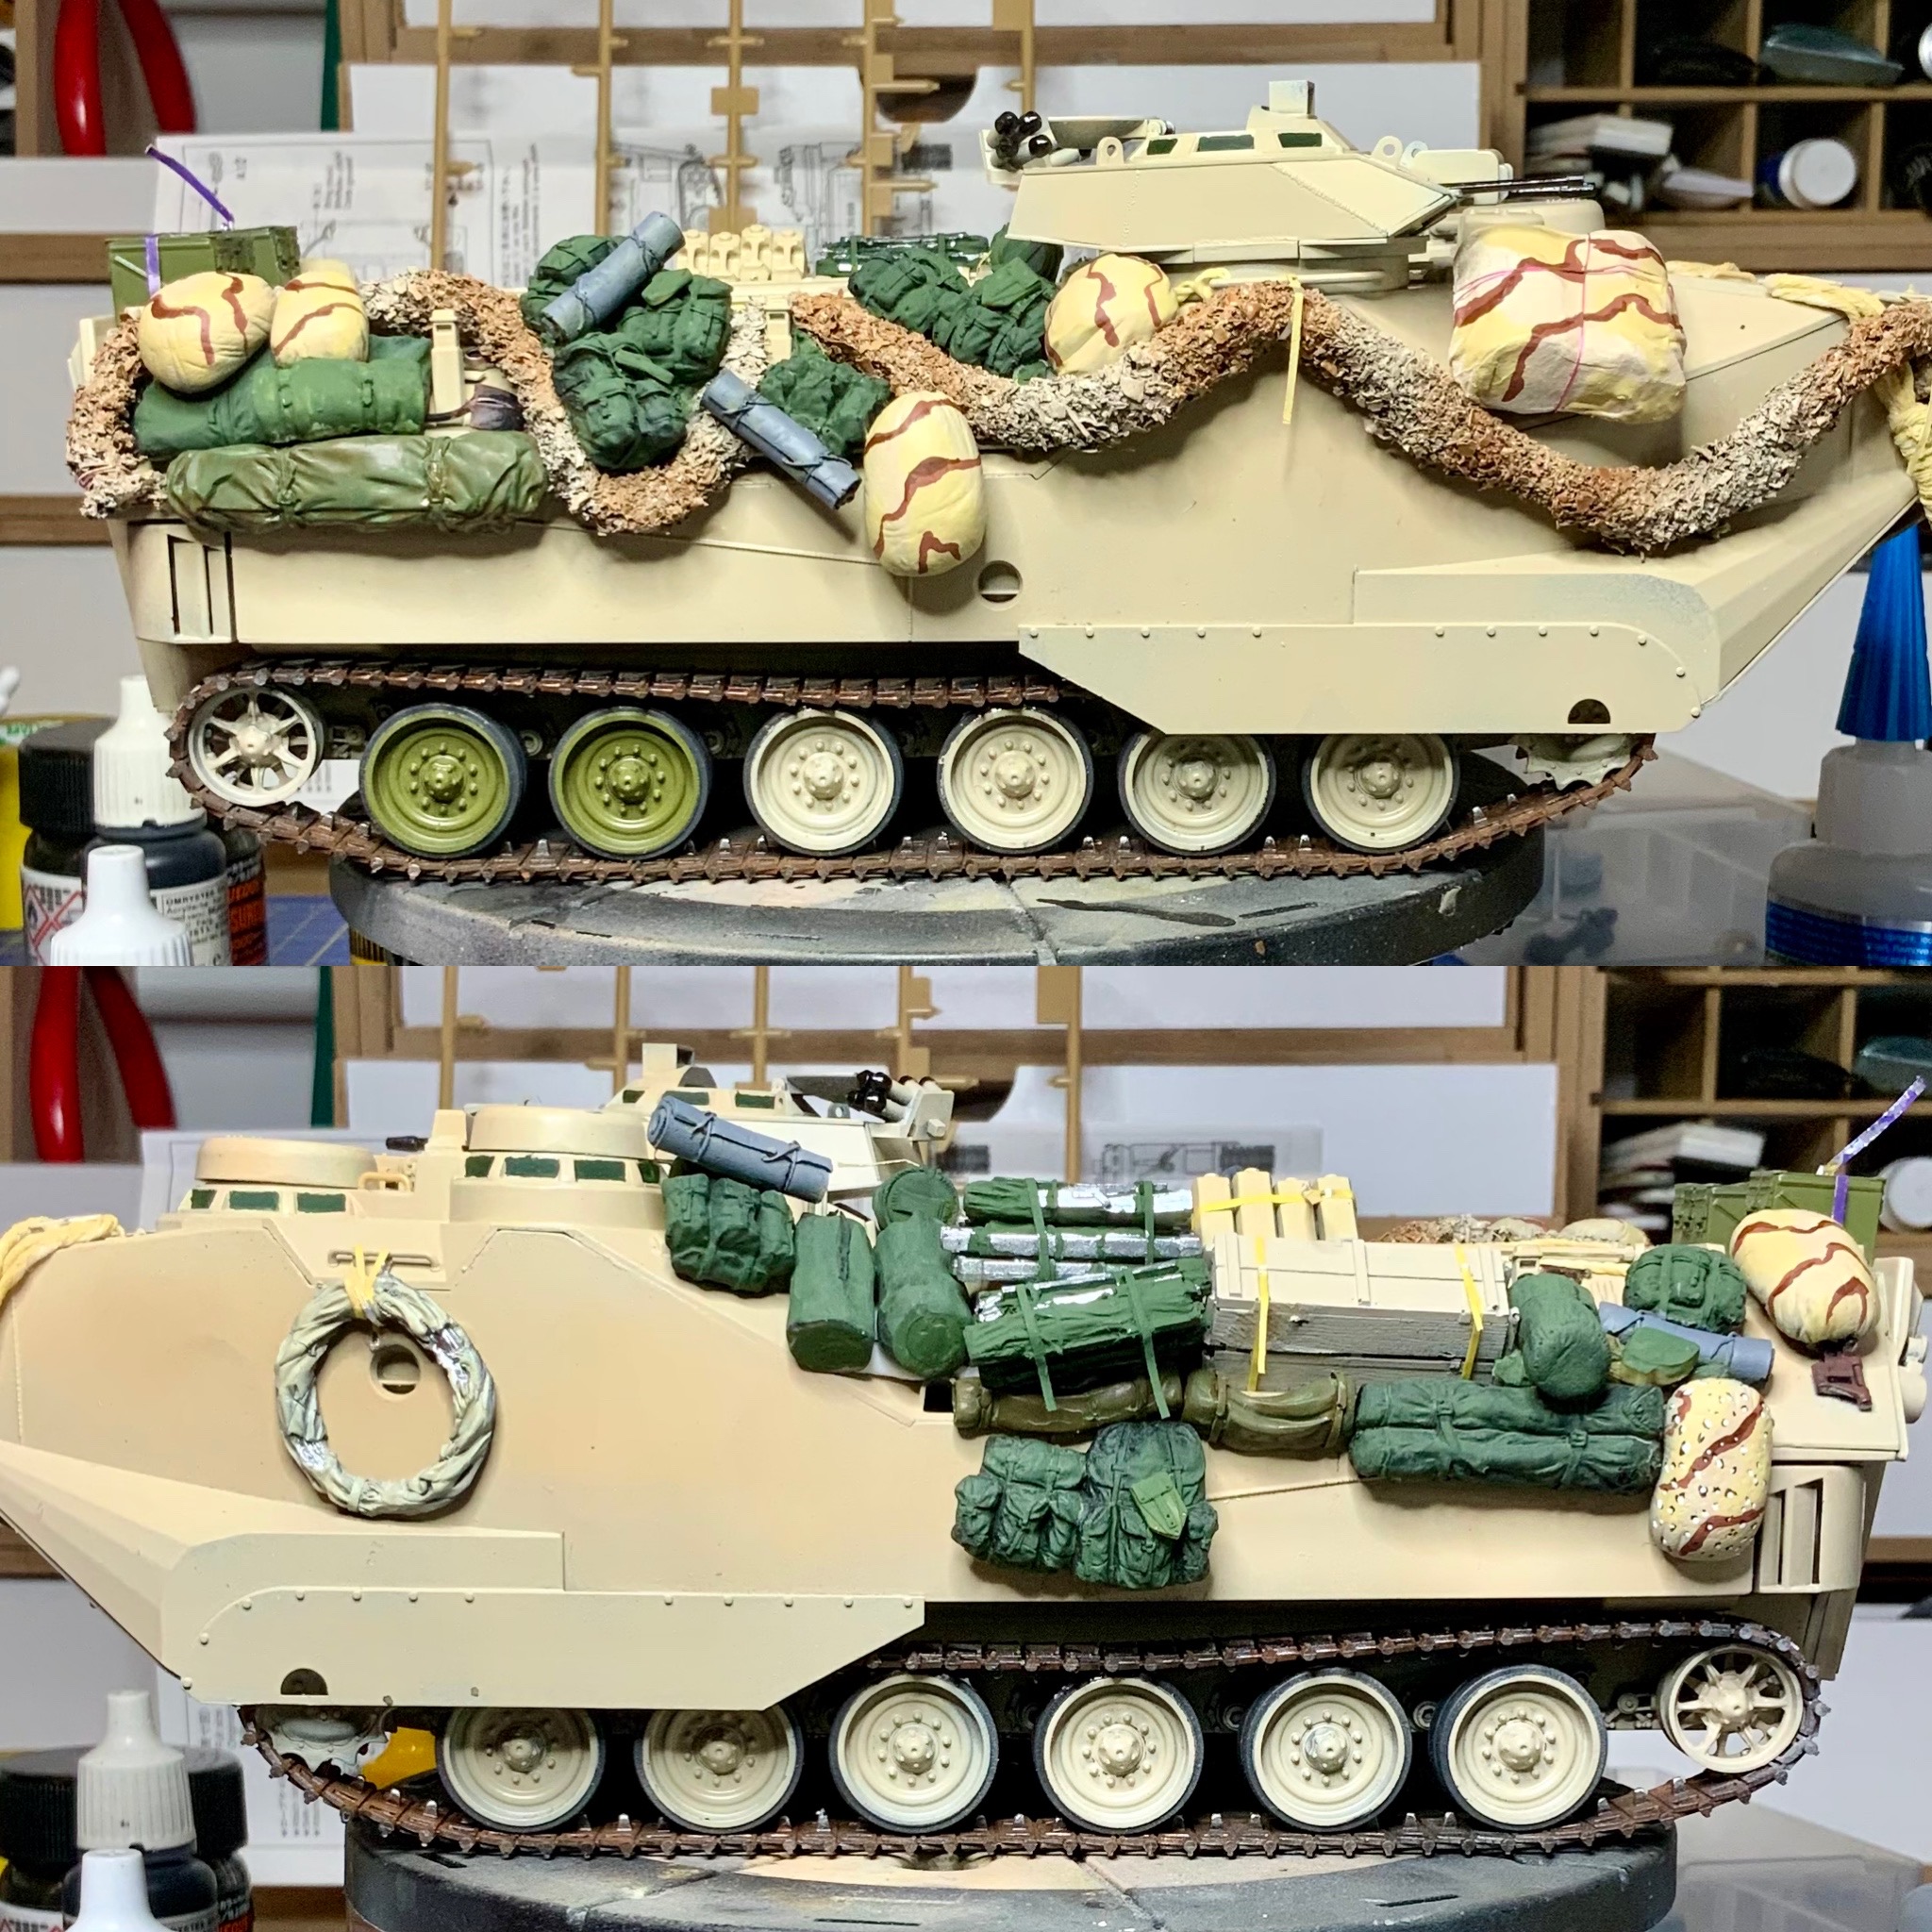
@Armor_Buff , I agree! For a long while, I would just live with it (unless it was really bad). Somewhere along the way it occurred to me that if I could get the build this far, chances were good that short of destroying (all of) it, well, fixing it could be done. I also found the first step was the hardest and should not be pondered for too long - take out the knife or saw and get after it I have found that if I ponder for too long, well, I’ll chicken out!
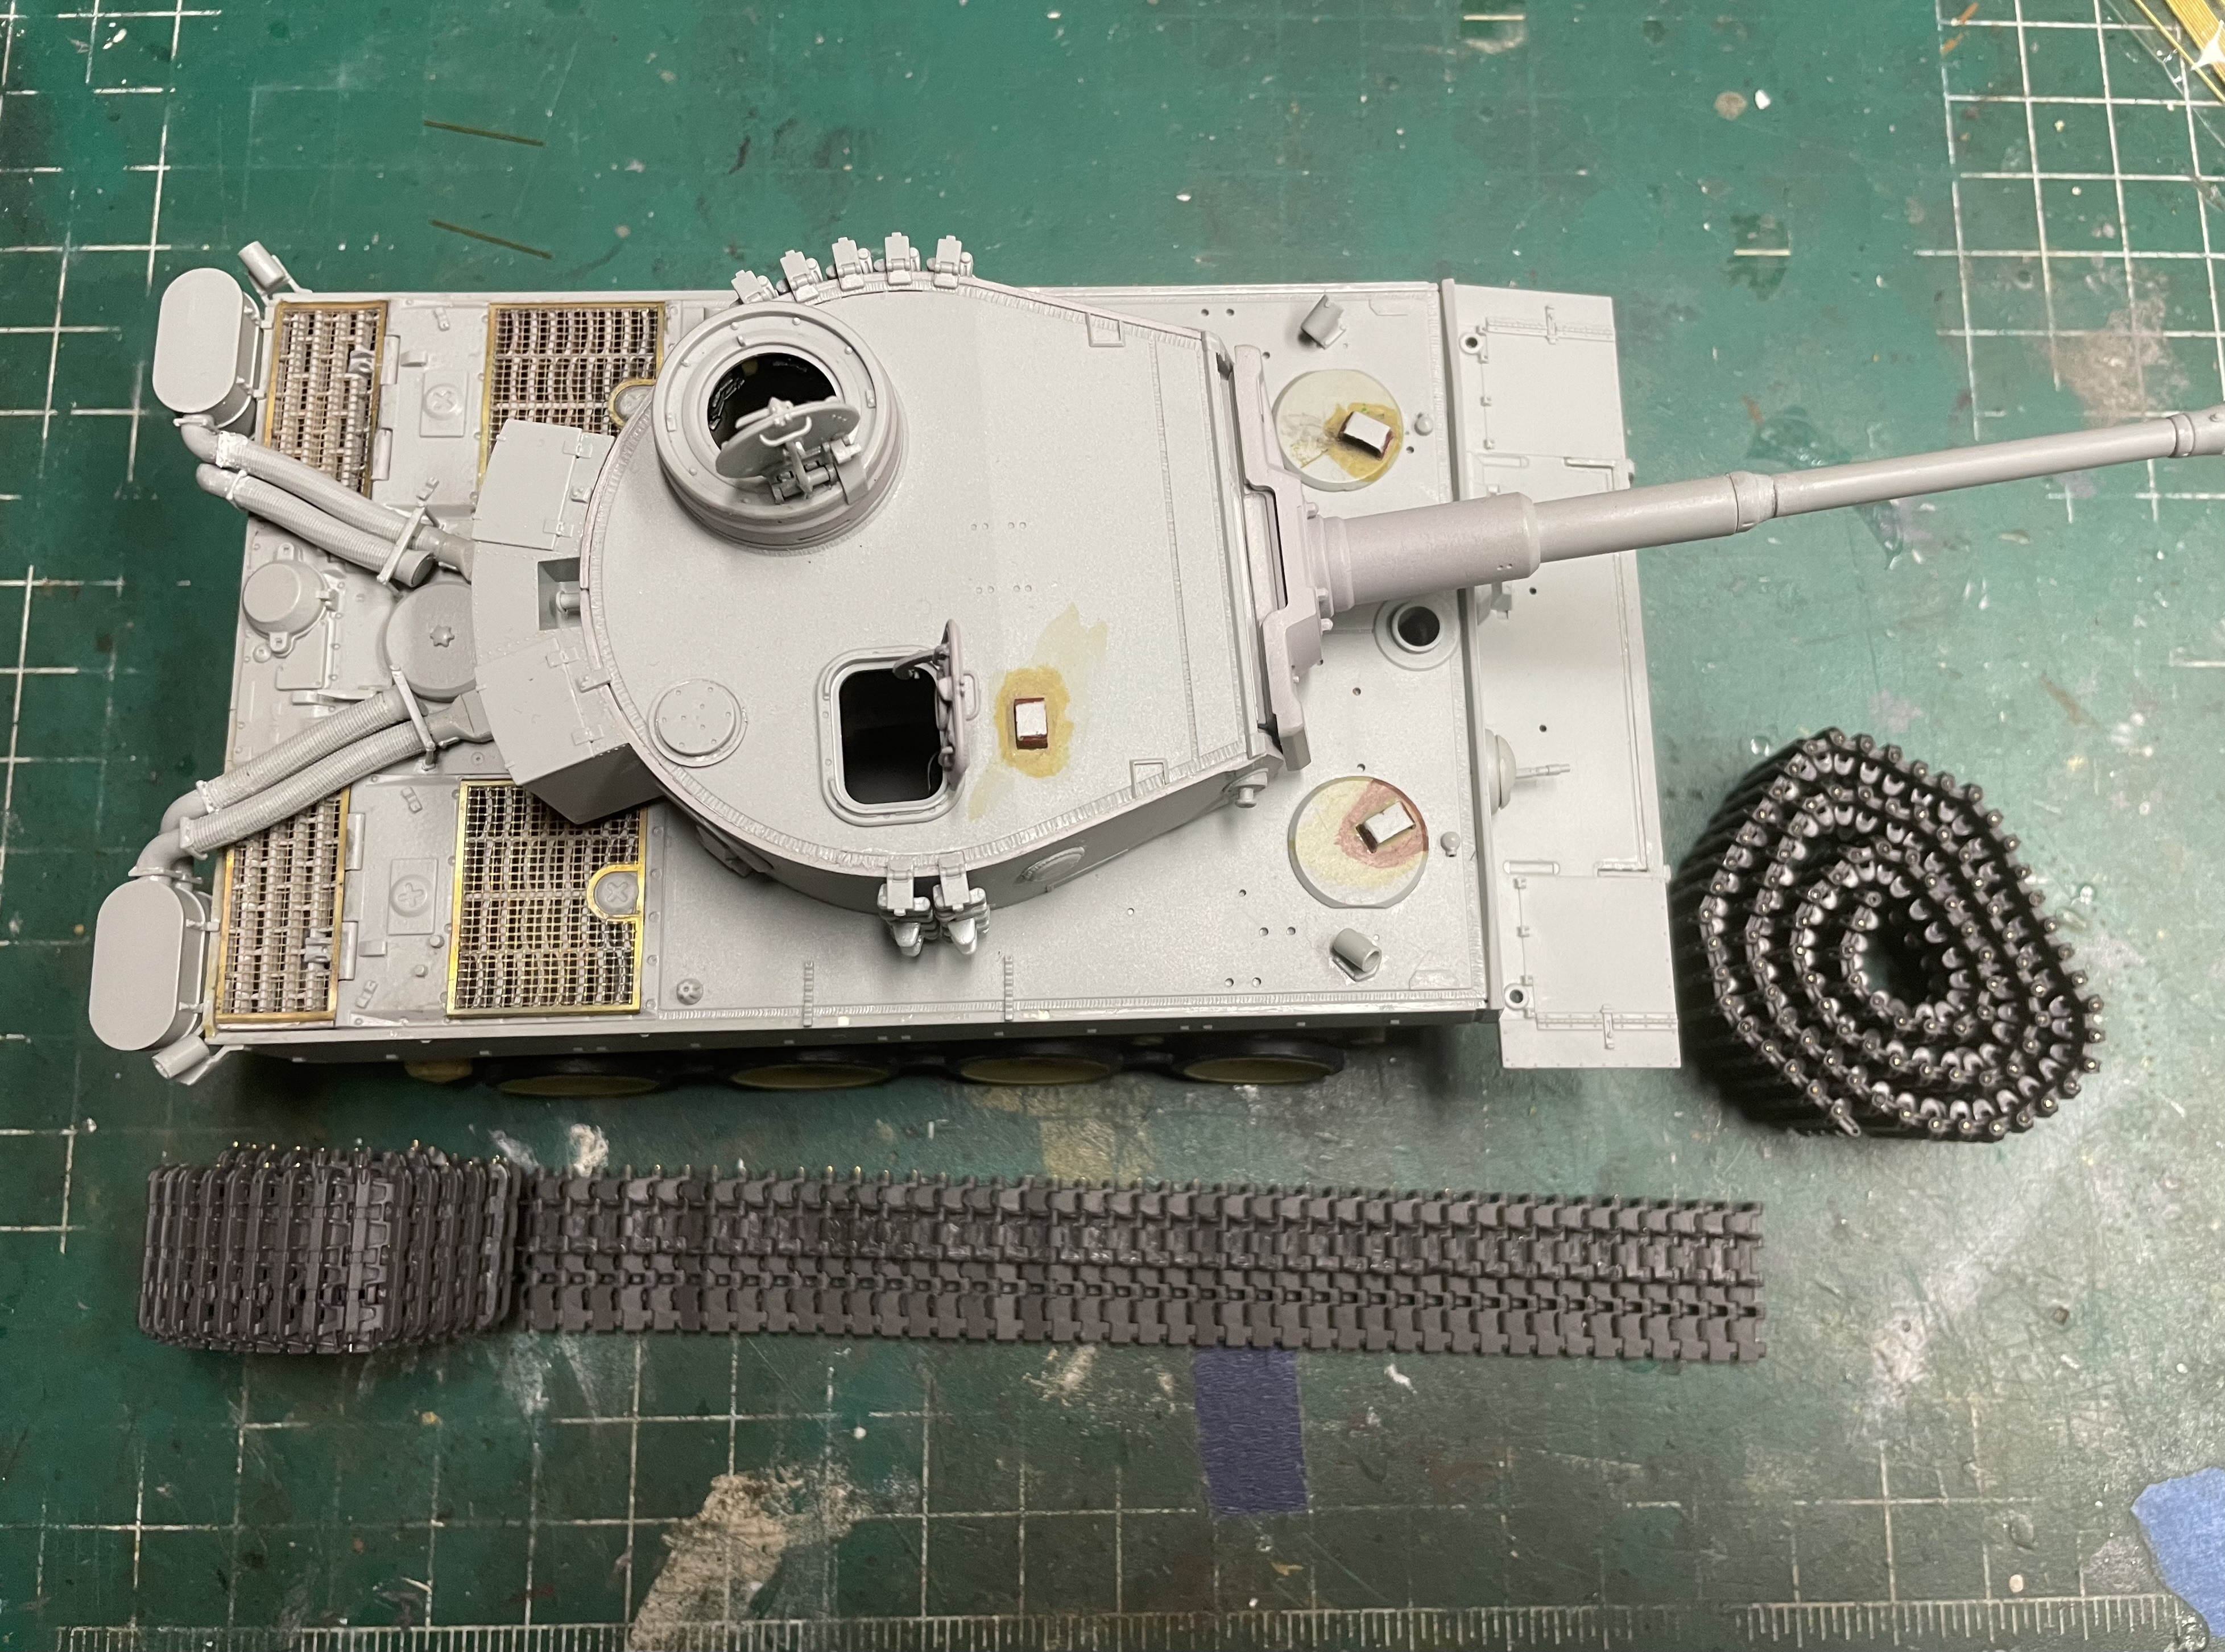
On that note… I discovered approximately 36 clearly visible sink-marks on the catapult left and right outer surfaces (per each side). How did I not see those until tonight?! Do I leave them? Me thinks not!
On the bright side… Now that glue has been set for a while, the cured chunk of Styrene framework has become much easier to handle.
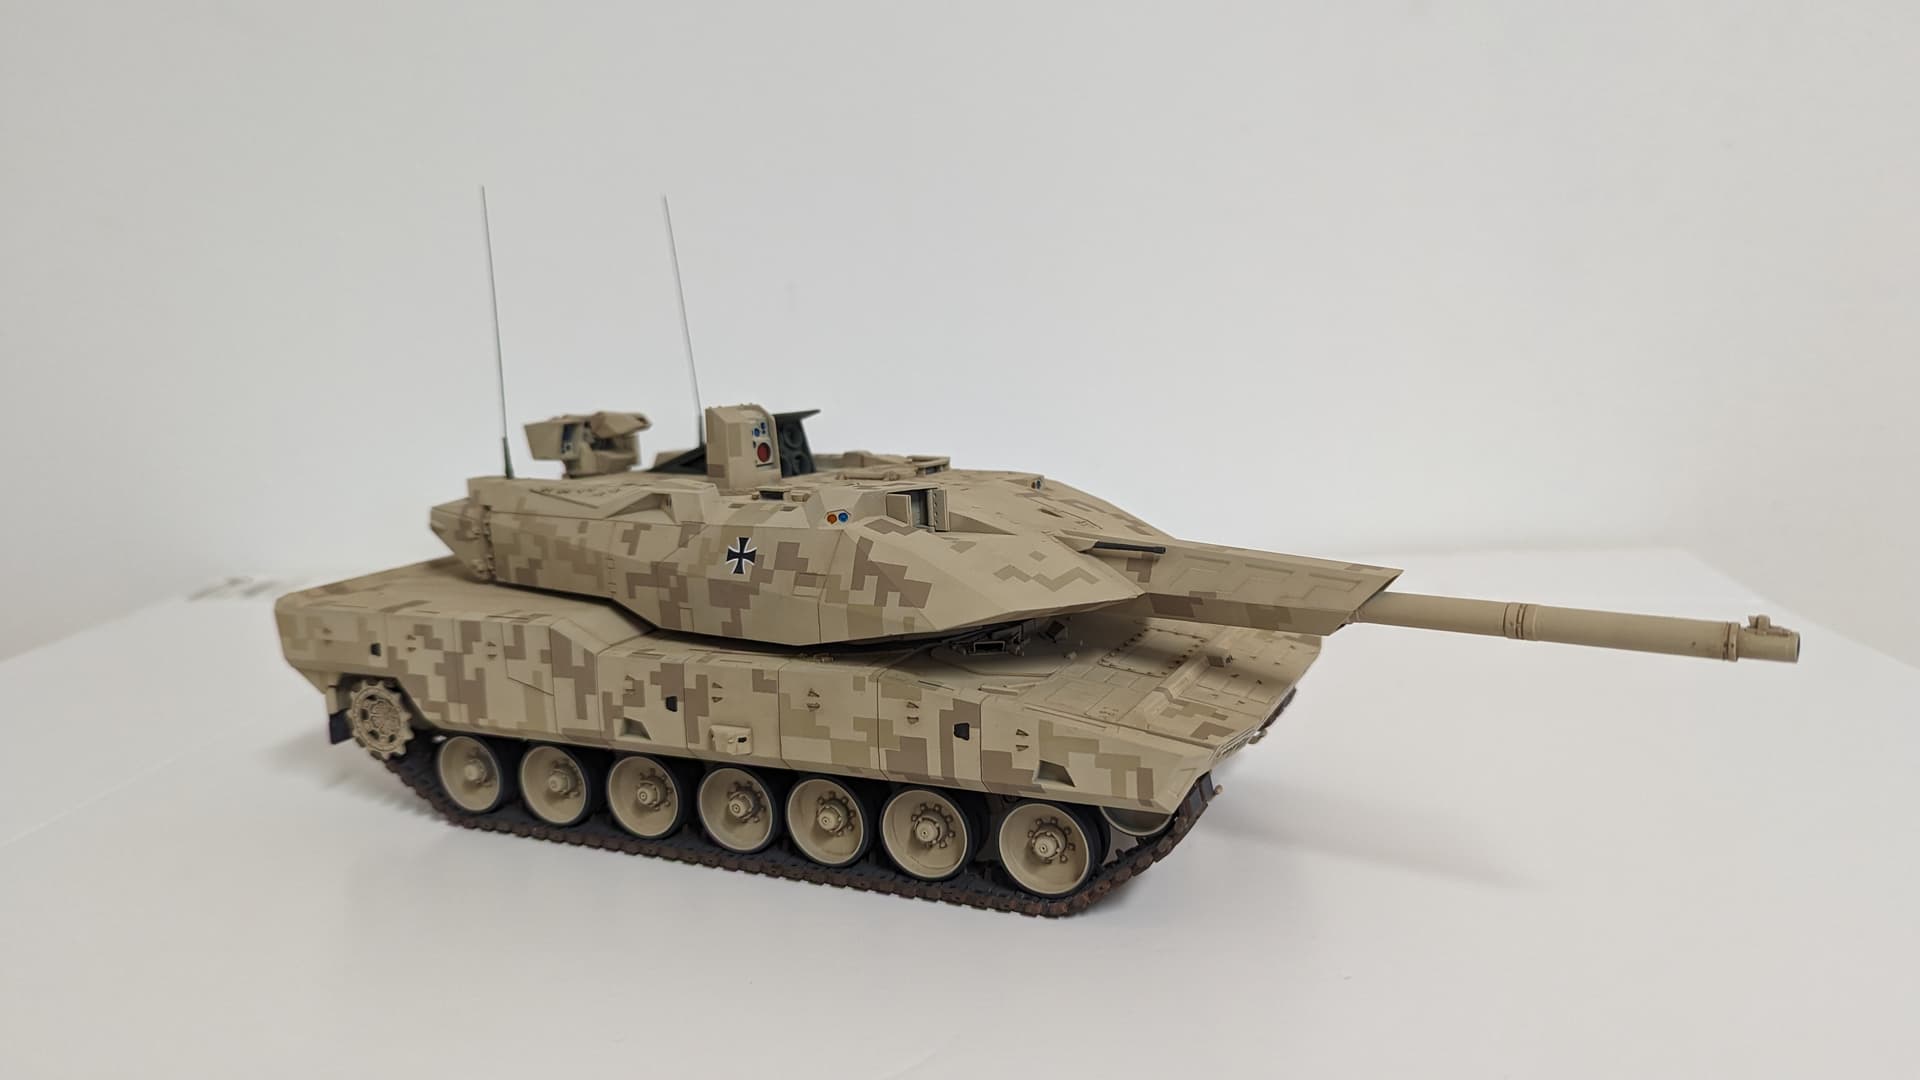
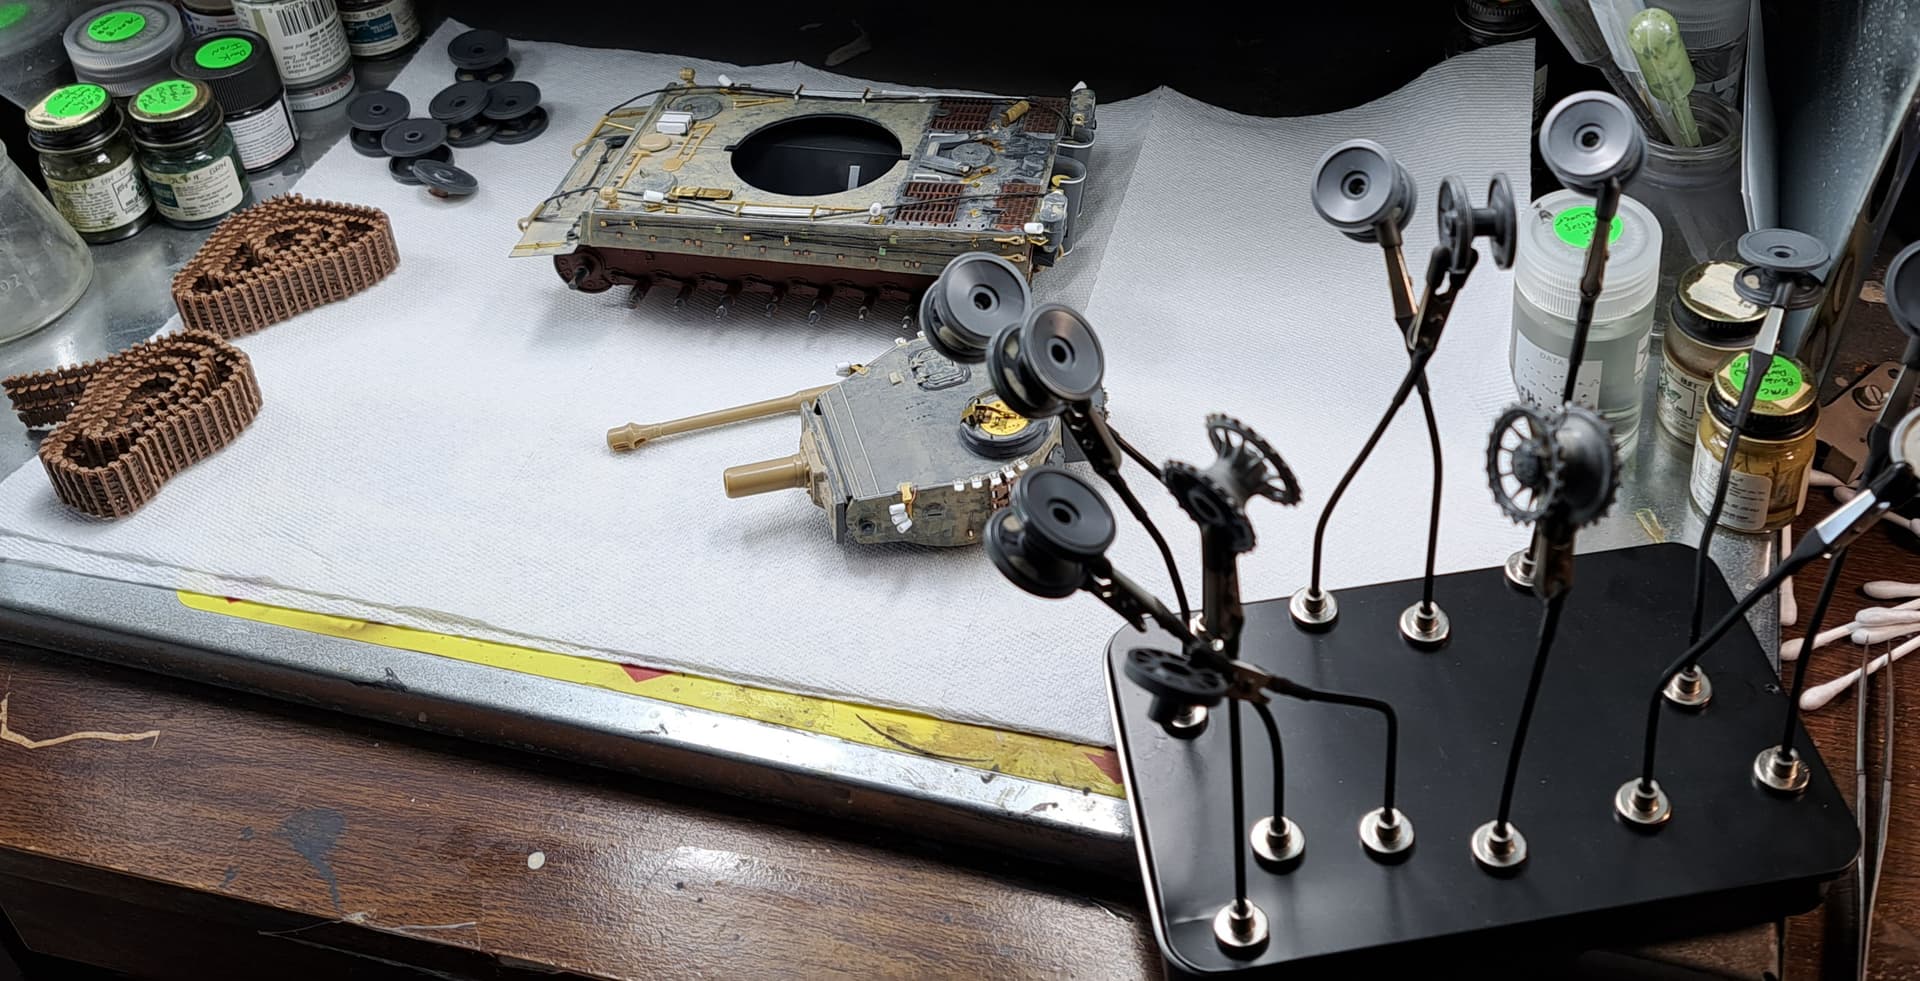
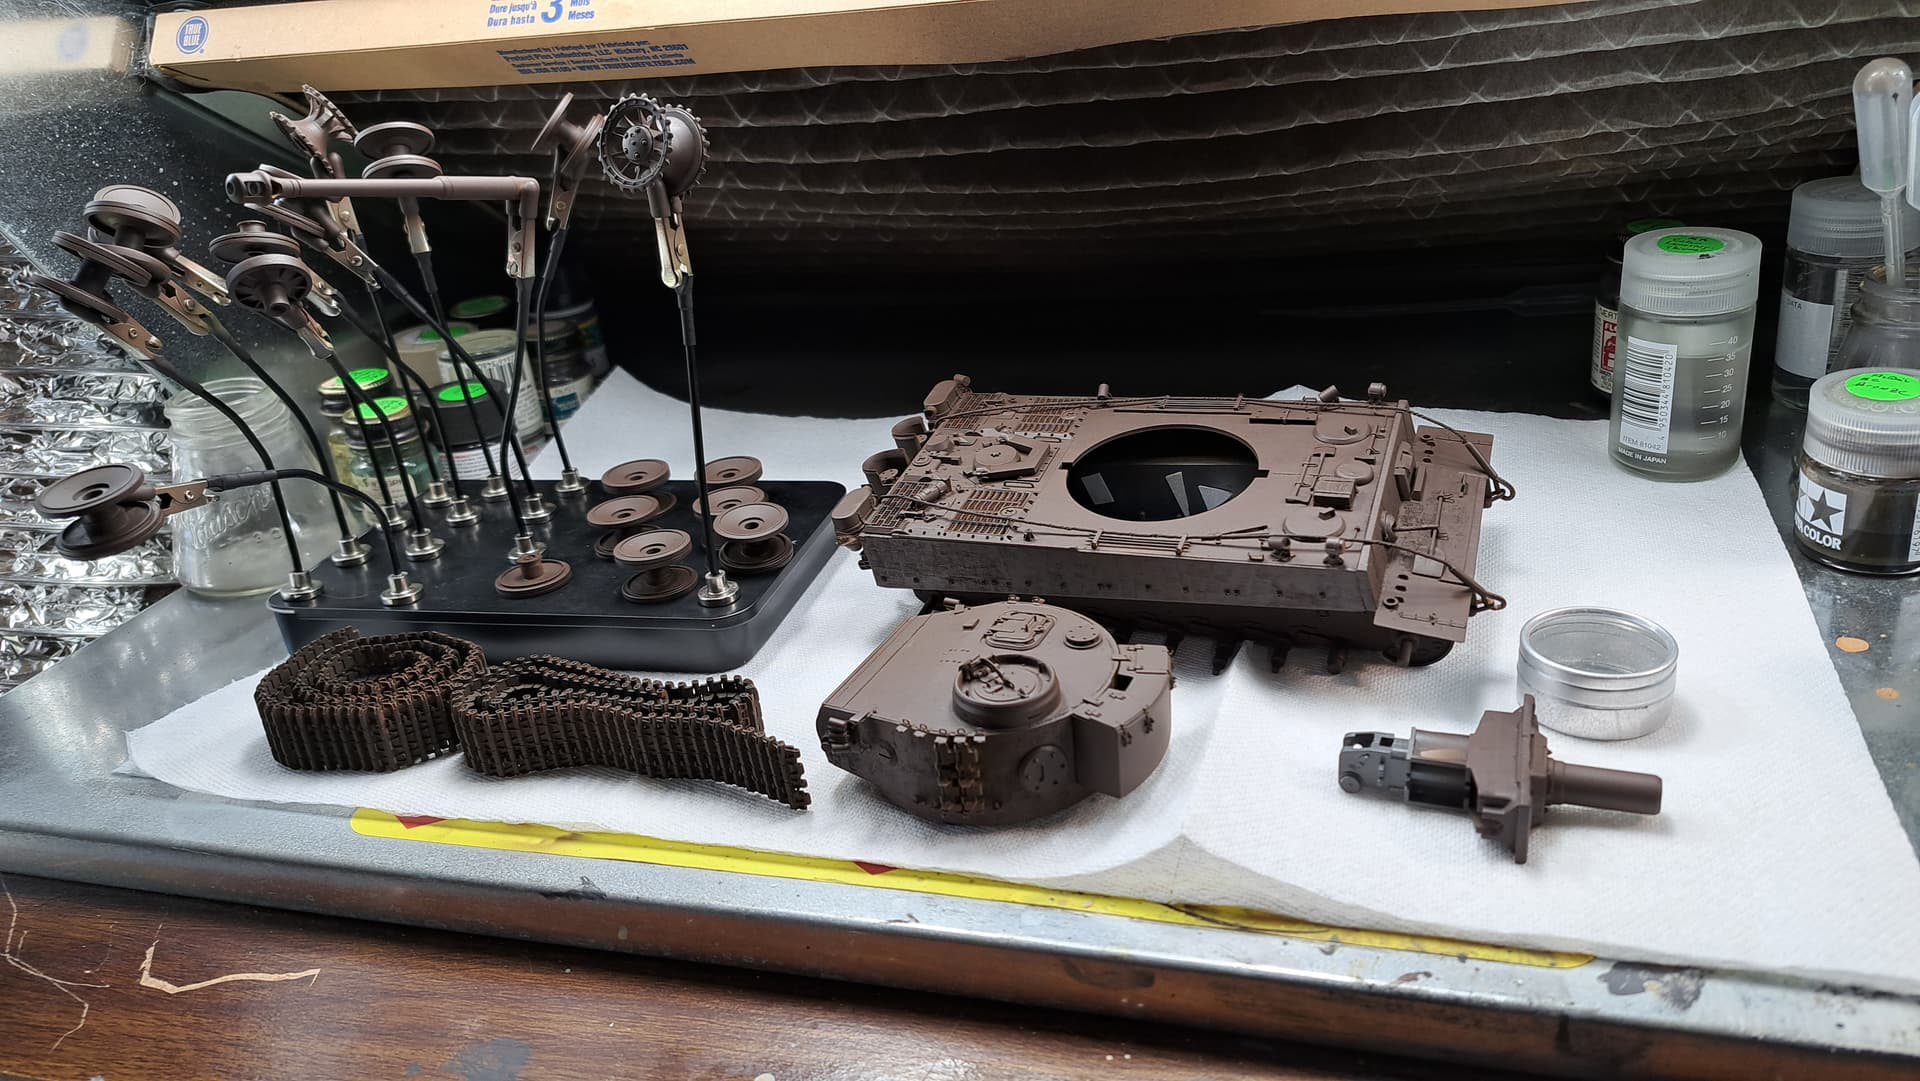
I finished my KF 51 panther this morning
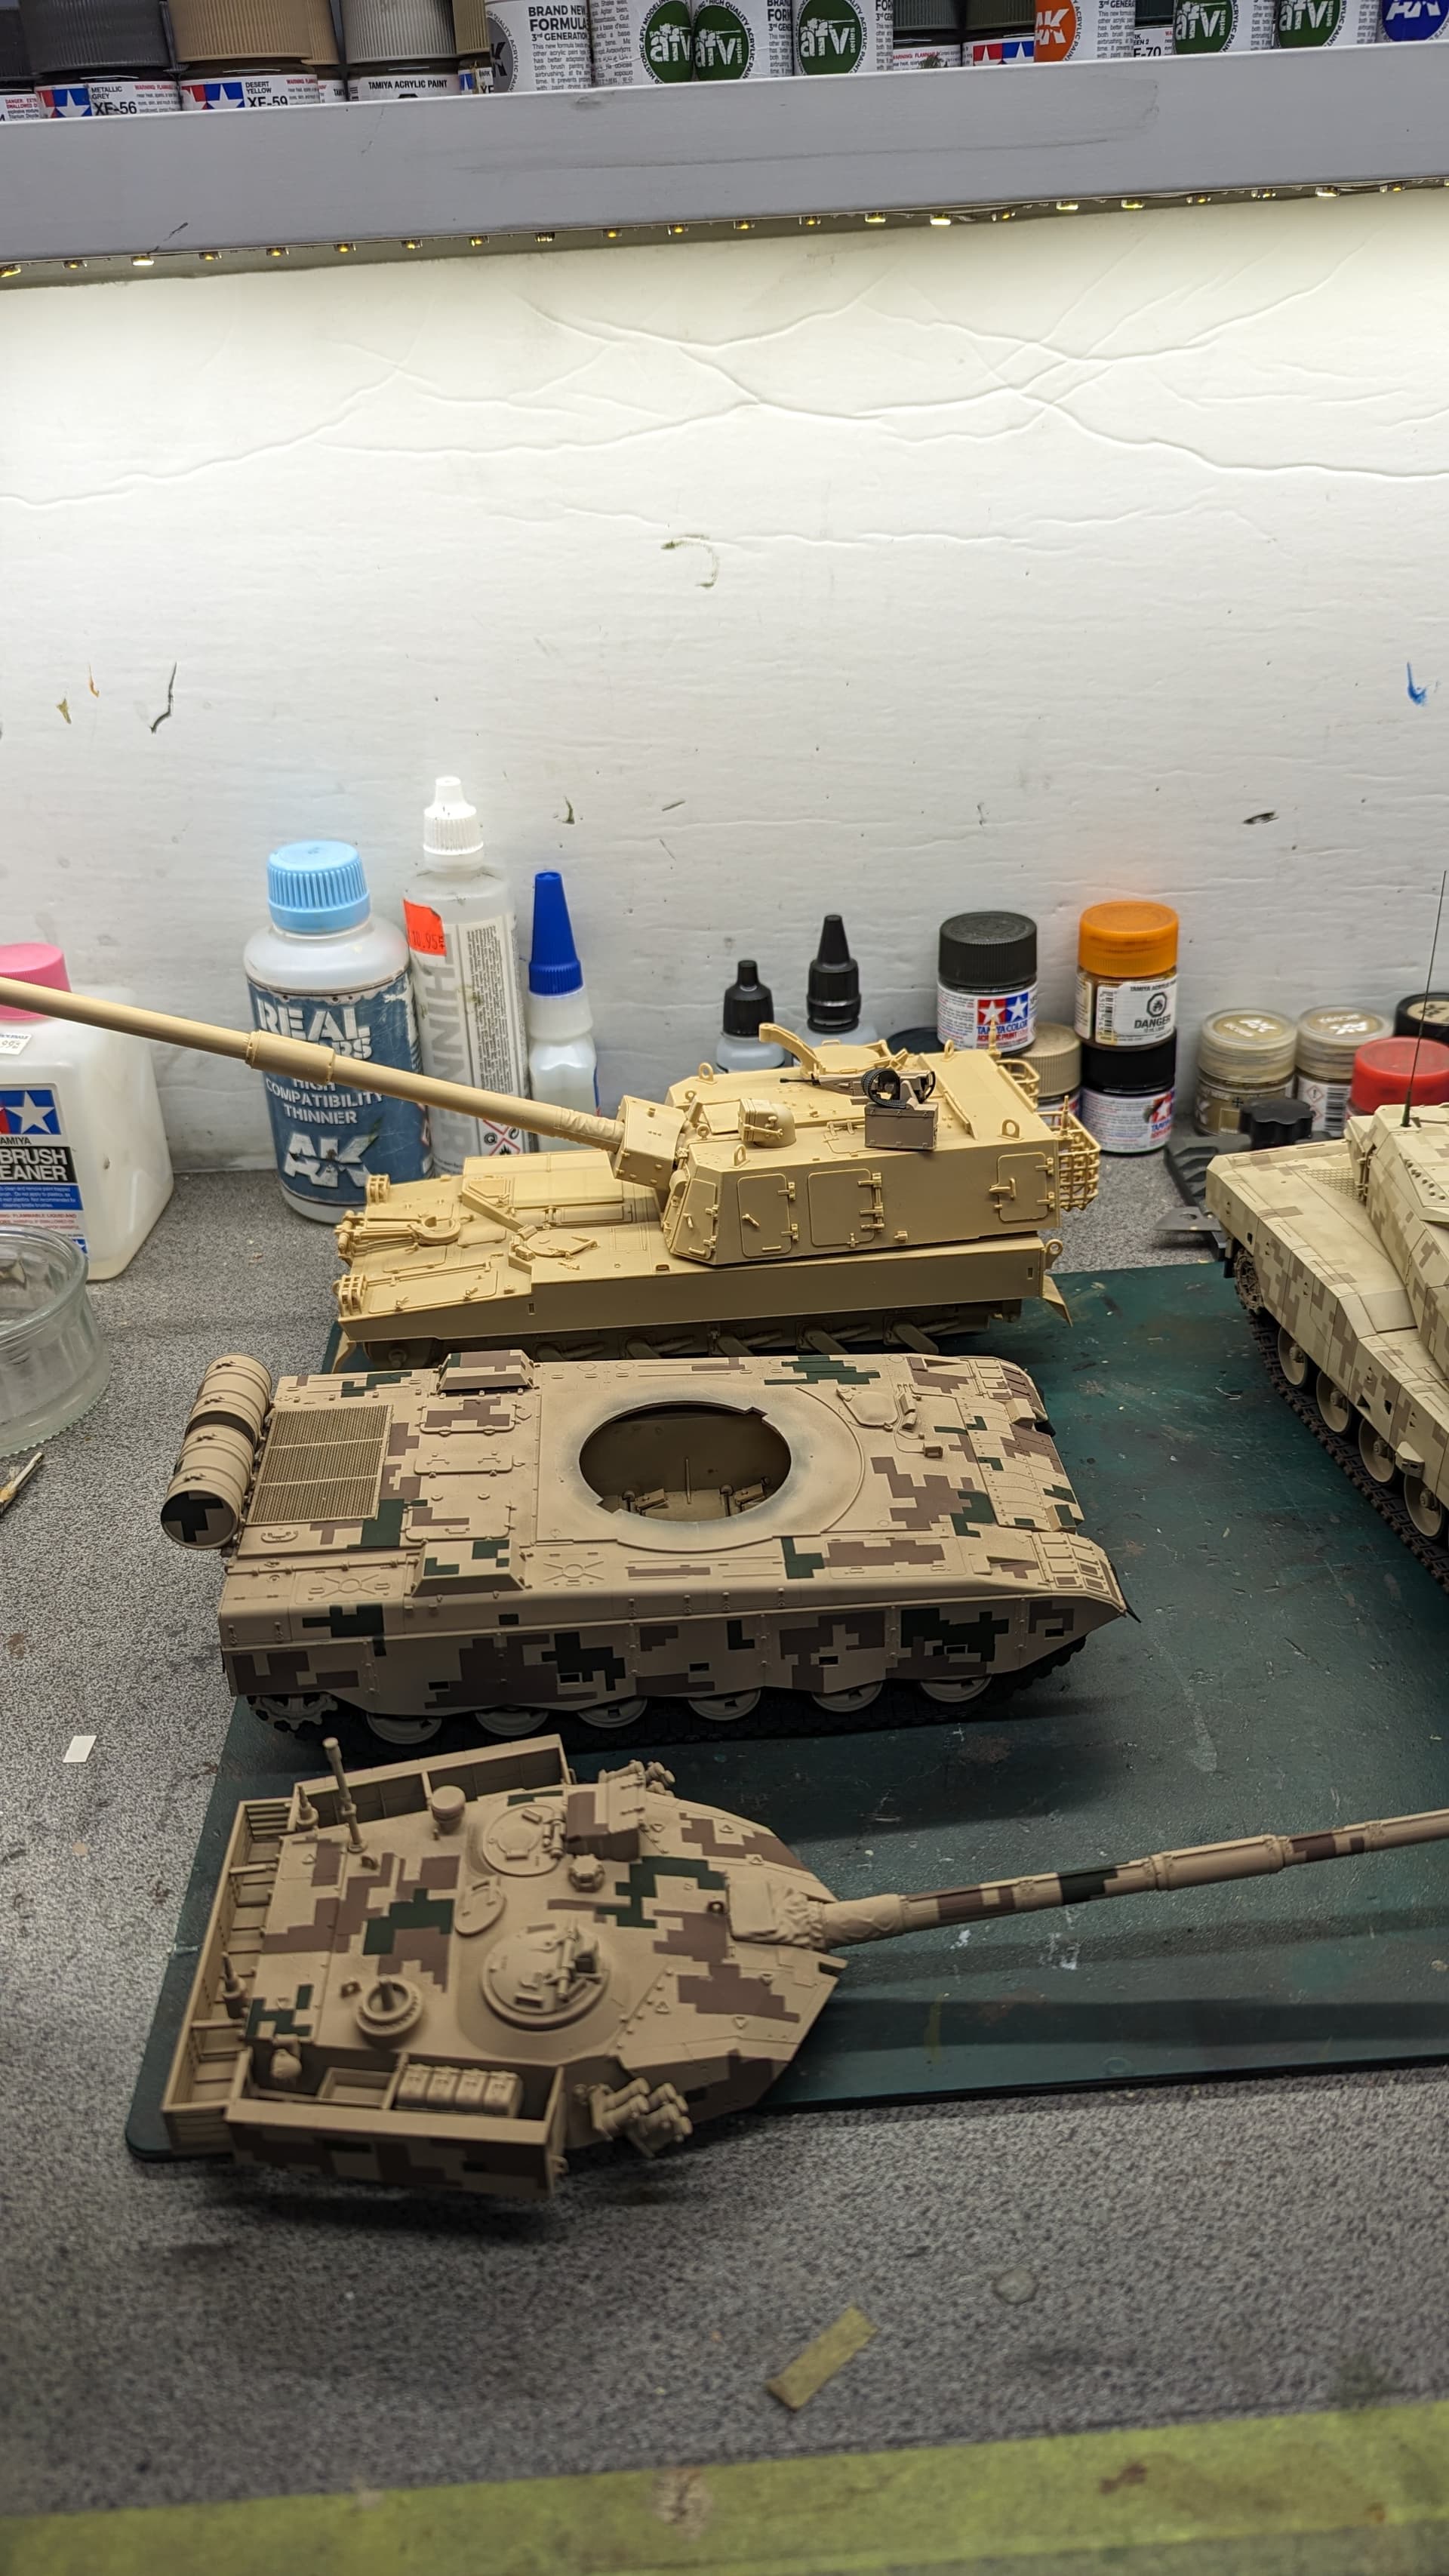
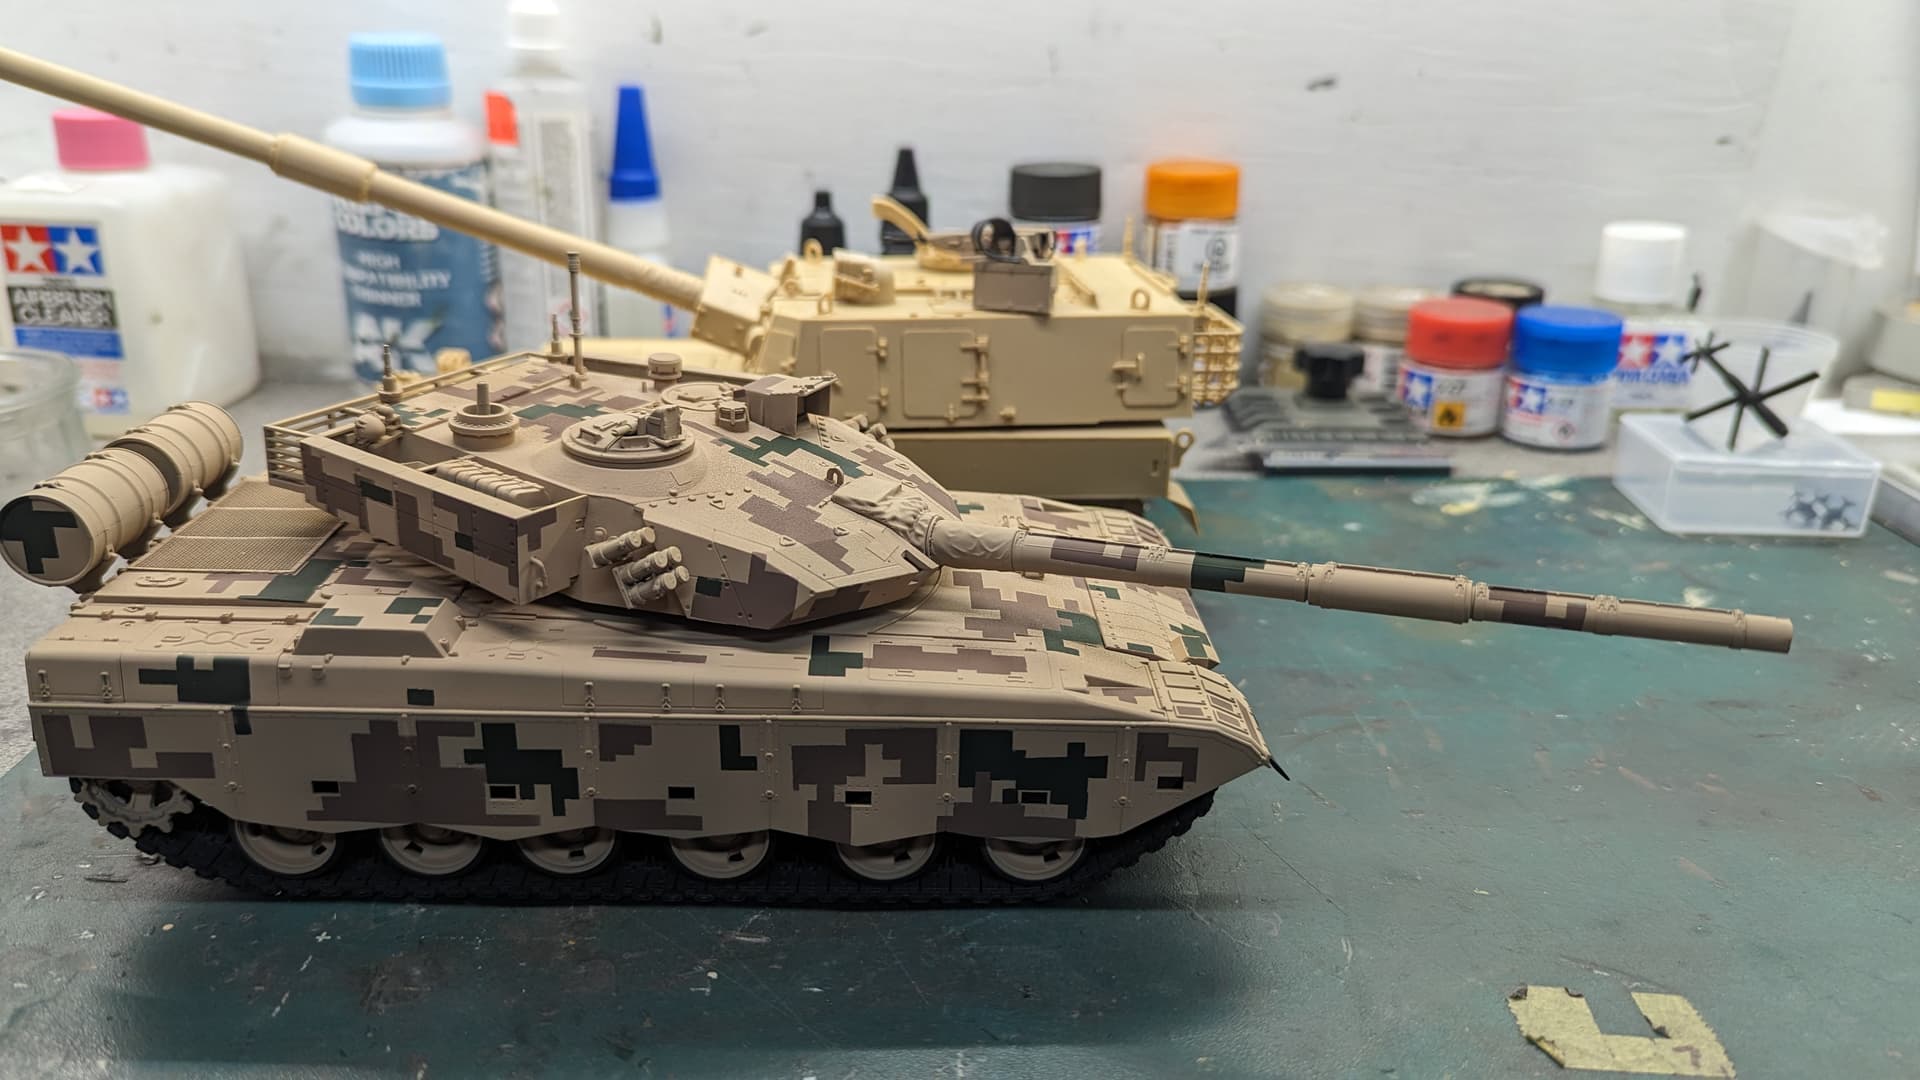
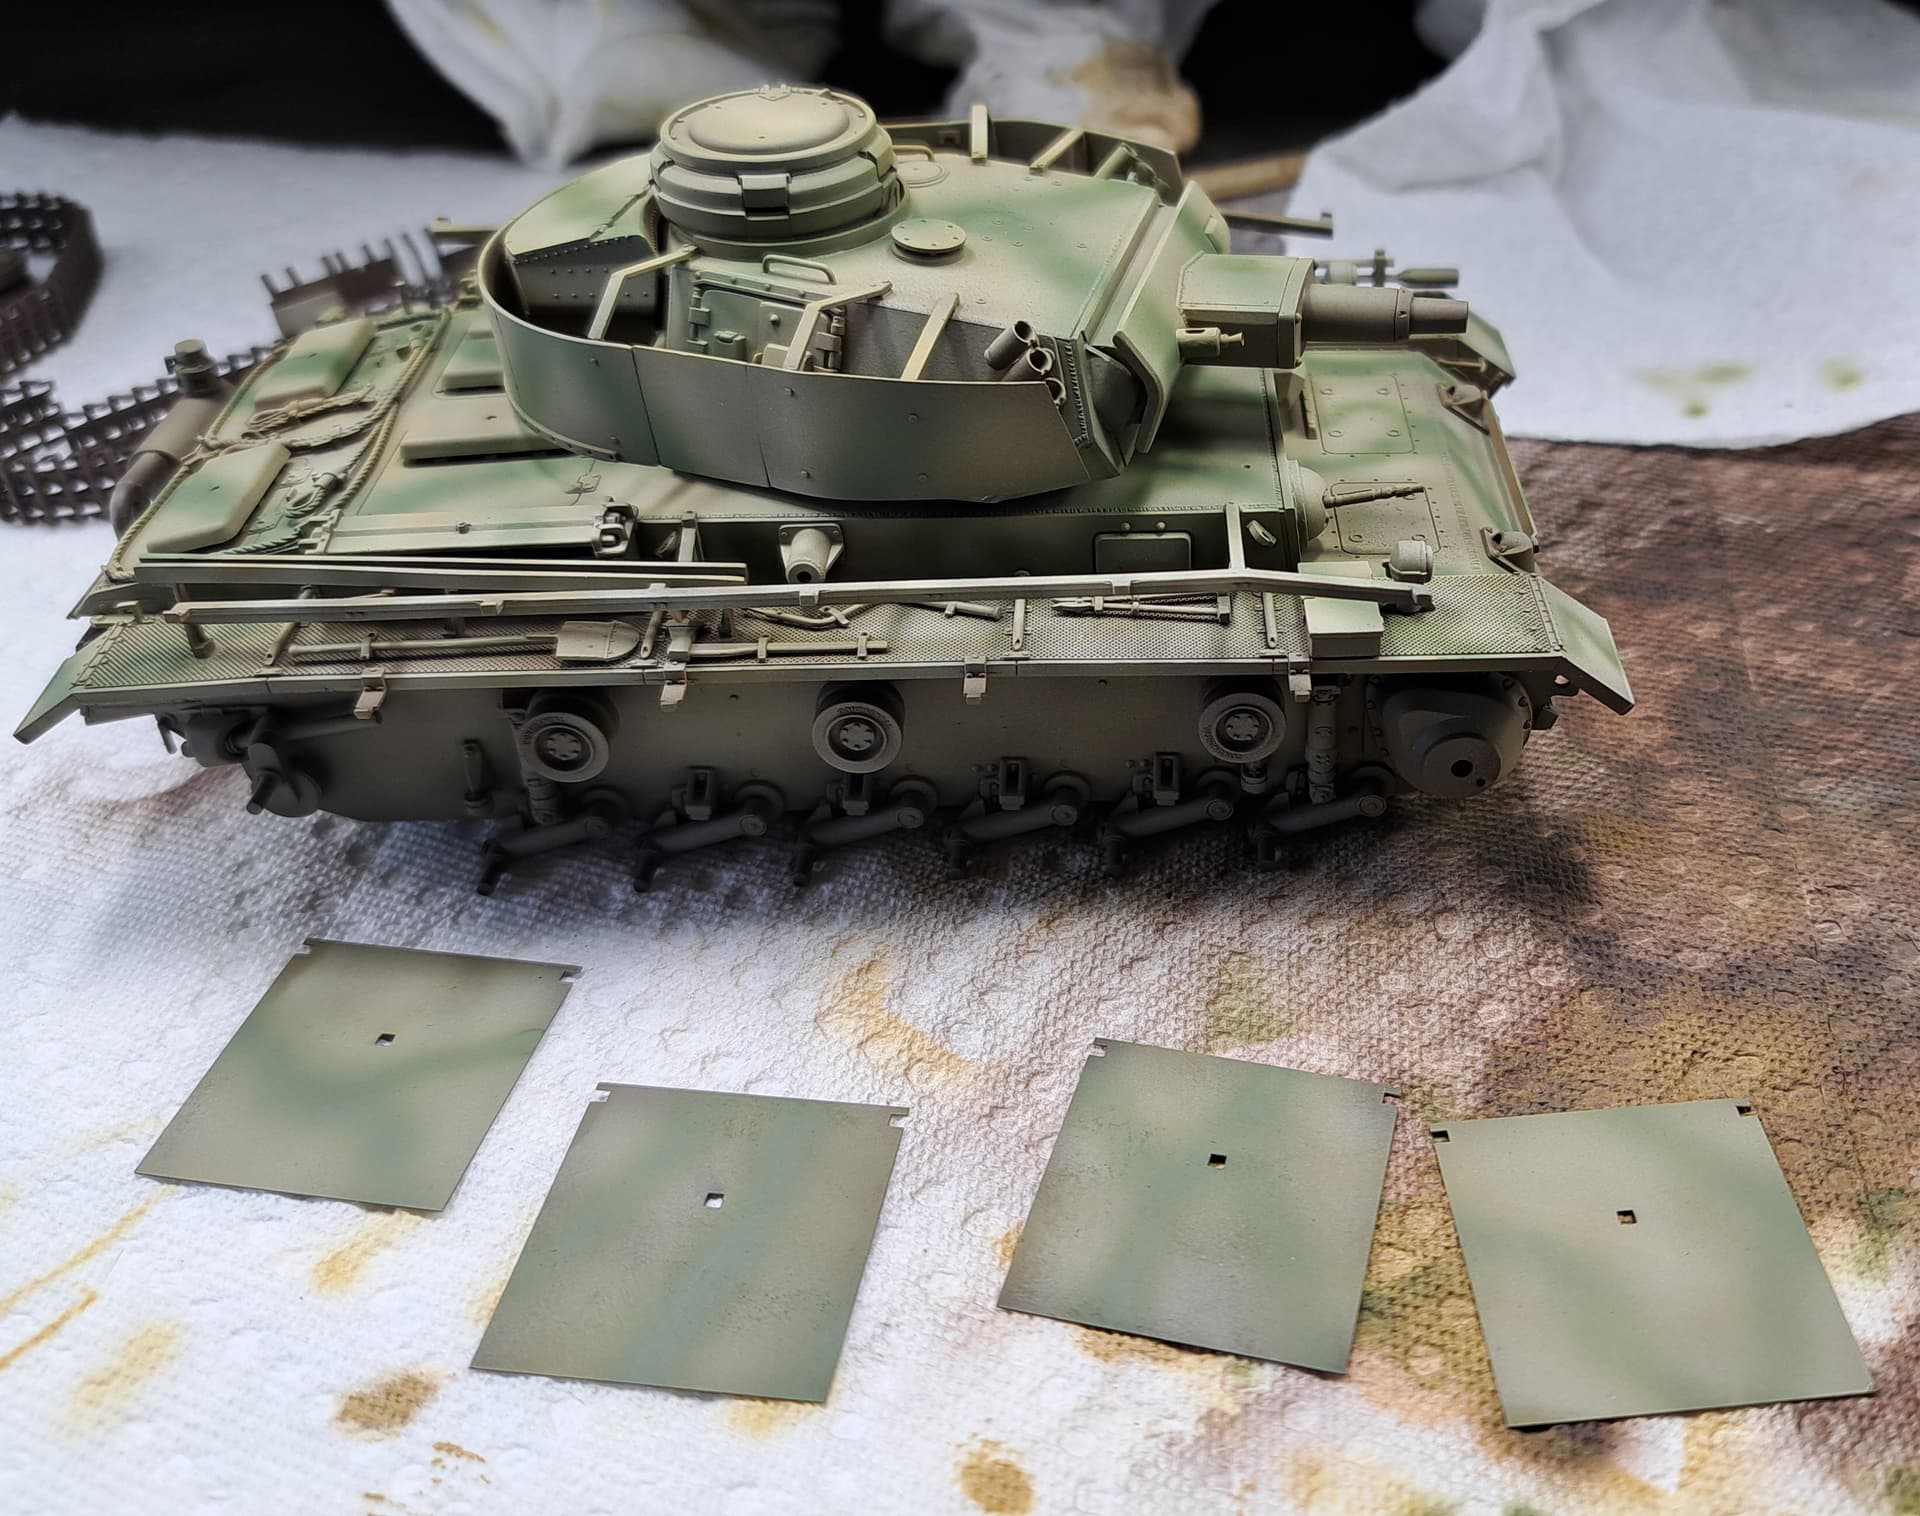
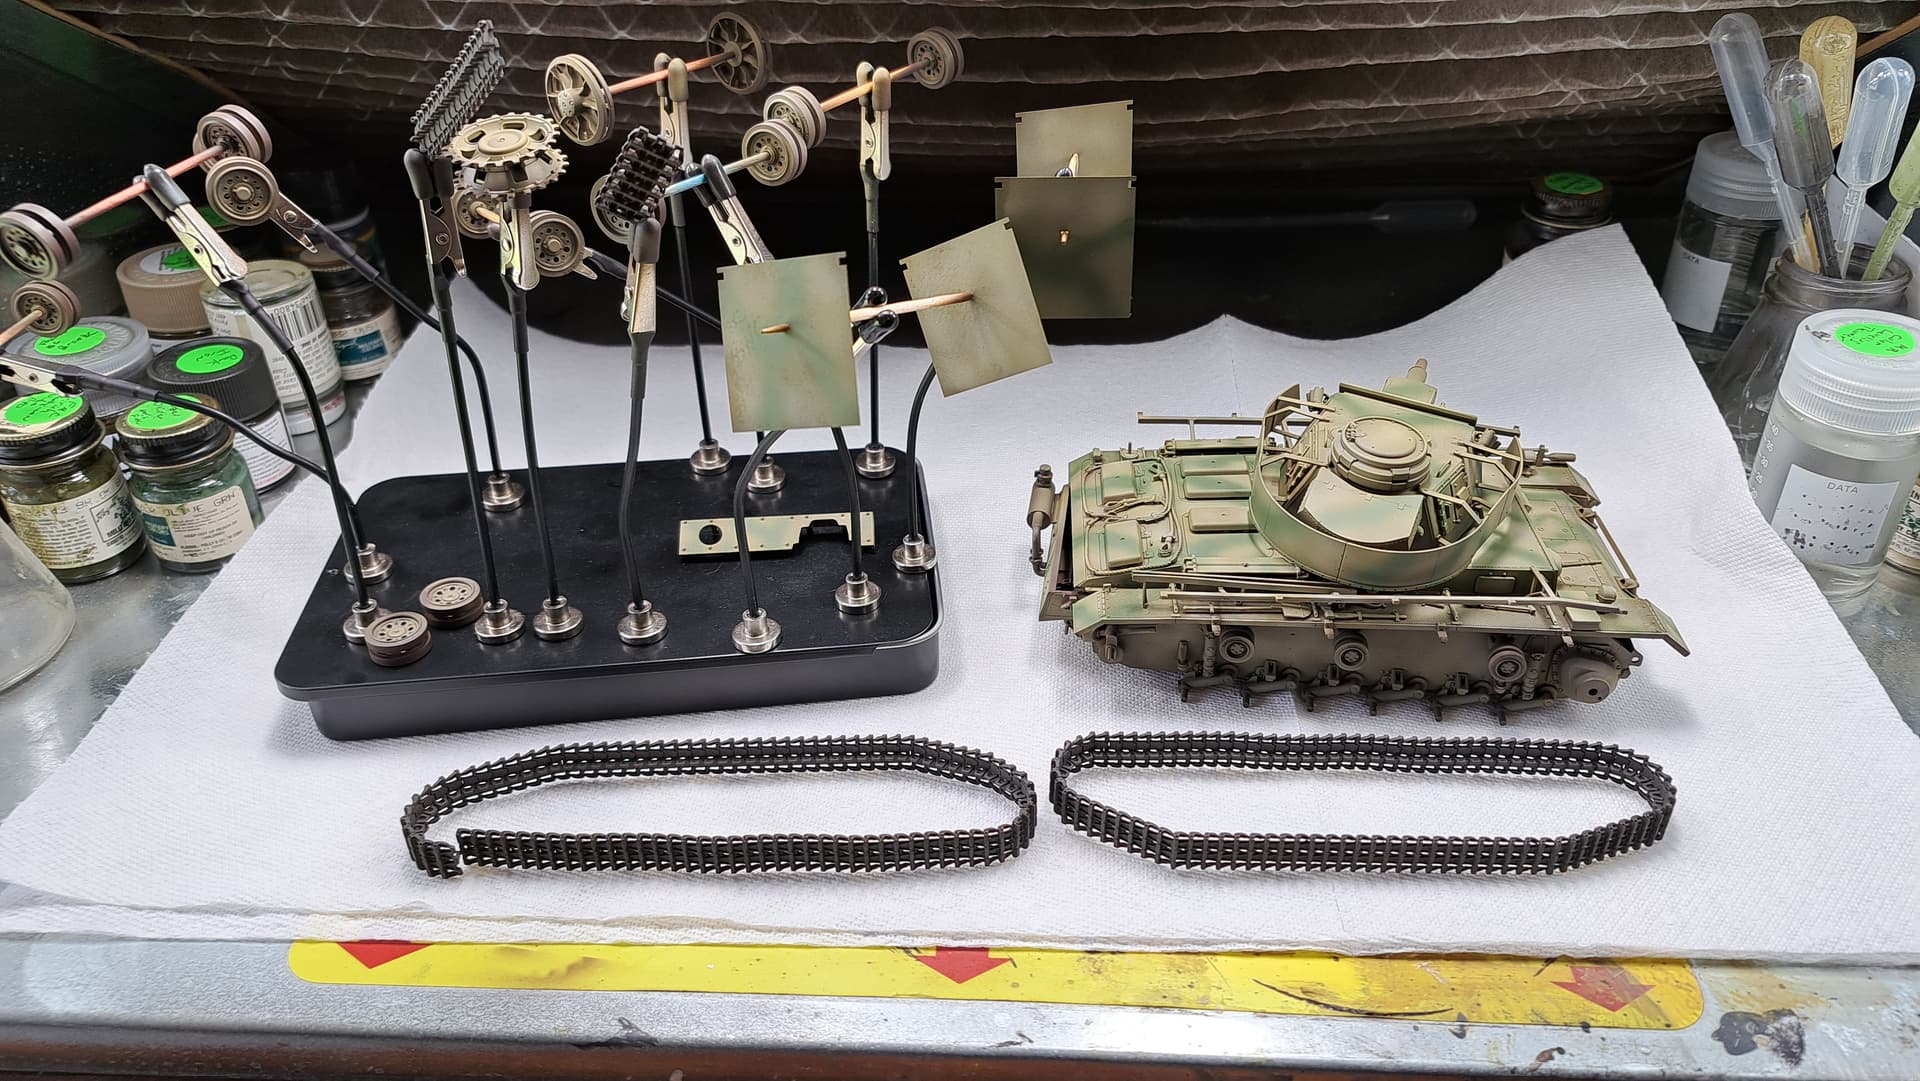
I used the rest of the laser cut masking tape that was included in the KF 51 kit to make another pixel camouflage on my ZTZ 96B there are still a few touch-ups to do
THANKS. the KF51 kit includes the masking tape already cut by laser which makes painting much easier and the installation plan is precise. for the painting I used ak real color I chose to do a desert camouflage because the original camouflage of the prototype was not very attractive