I am on the other hand, am limited to a one finger typing wizard … and that will always be my best effort lol
3 Likes
Me too these days! All that expertise, touch-typist, all gone somehow.
3 Likes
Went on a little trip to Bielefeld , some days with time for model work .
This is how i move my stuff , just a box with two new Kits and a standard toolbox . The bag is for clothing .
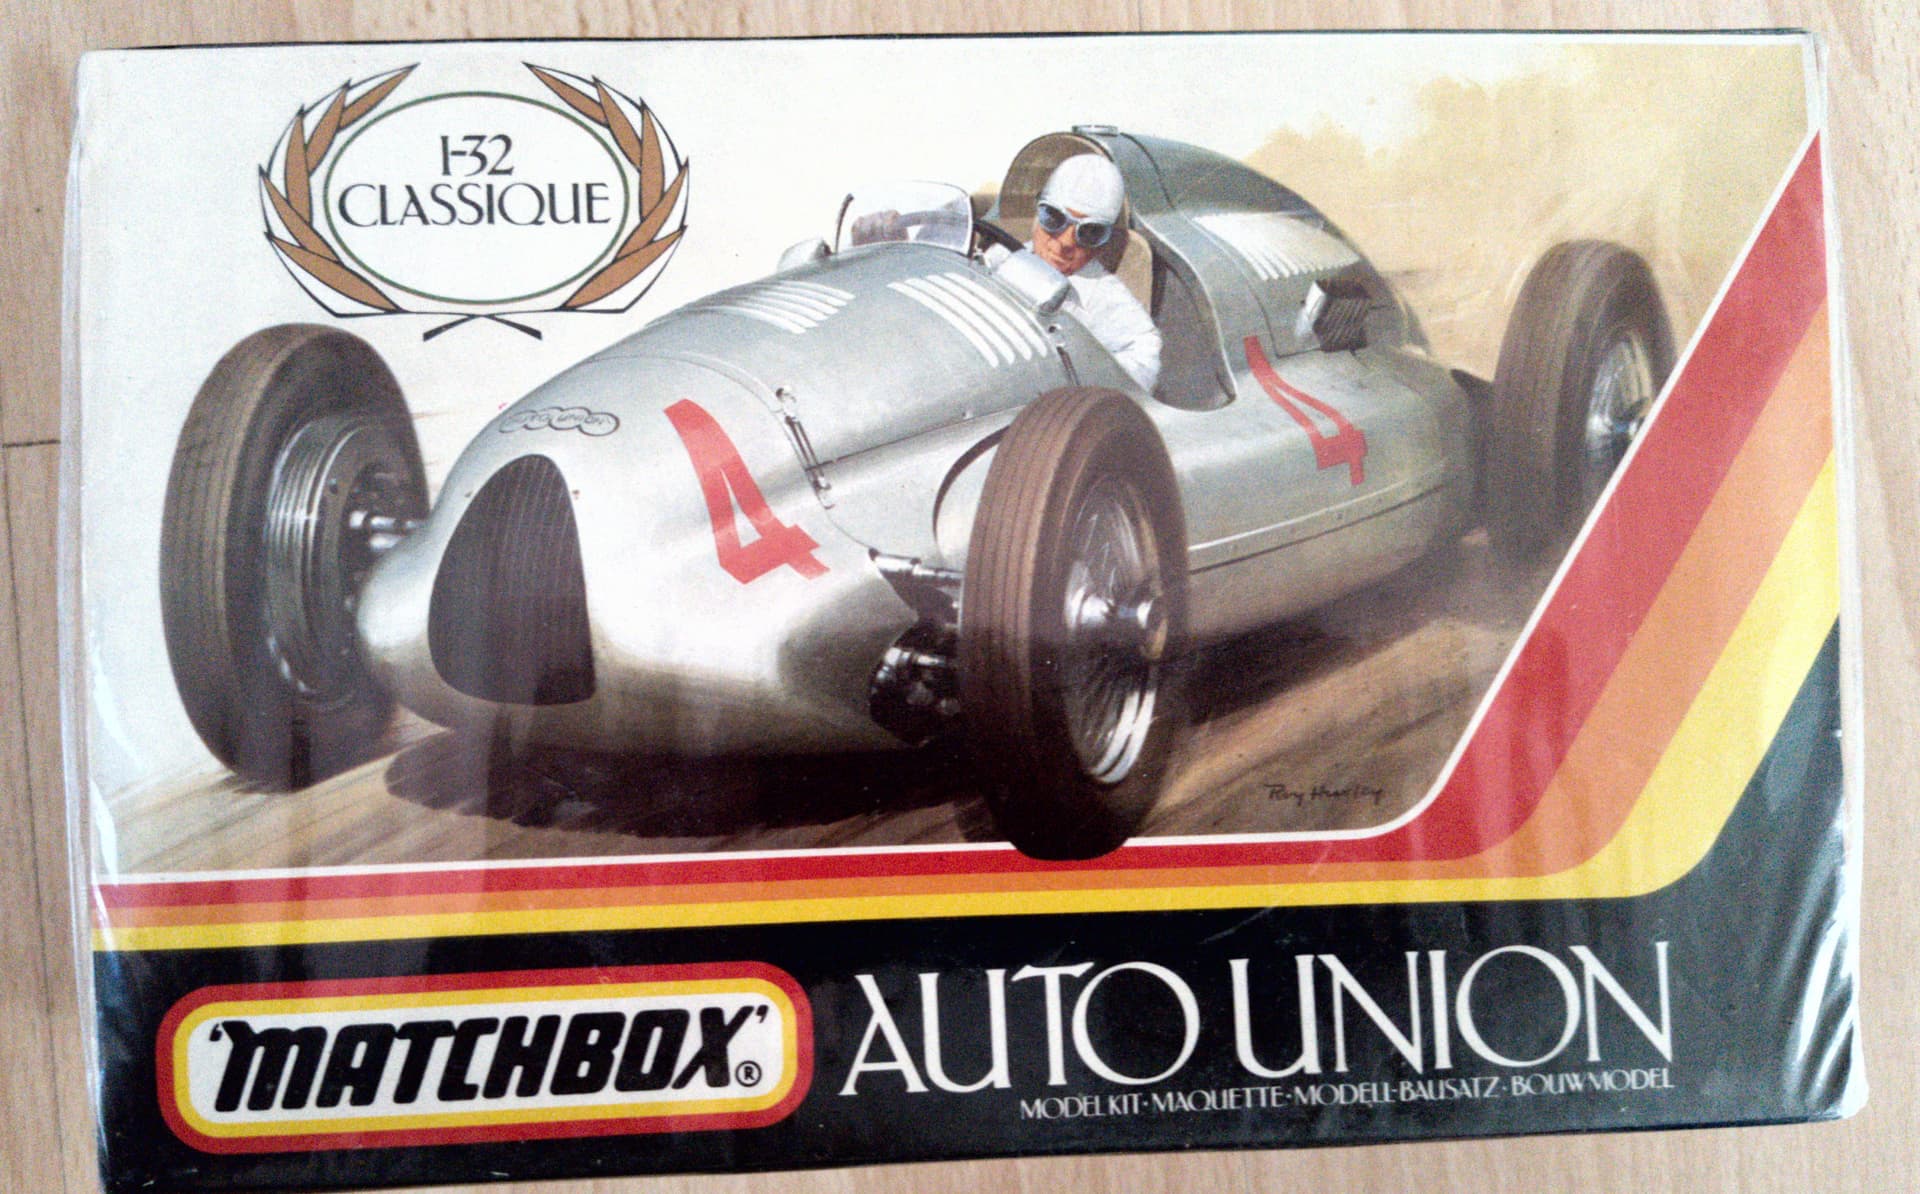
I try to make a concept for the coming Auto Union Racer ![]() .
.
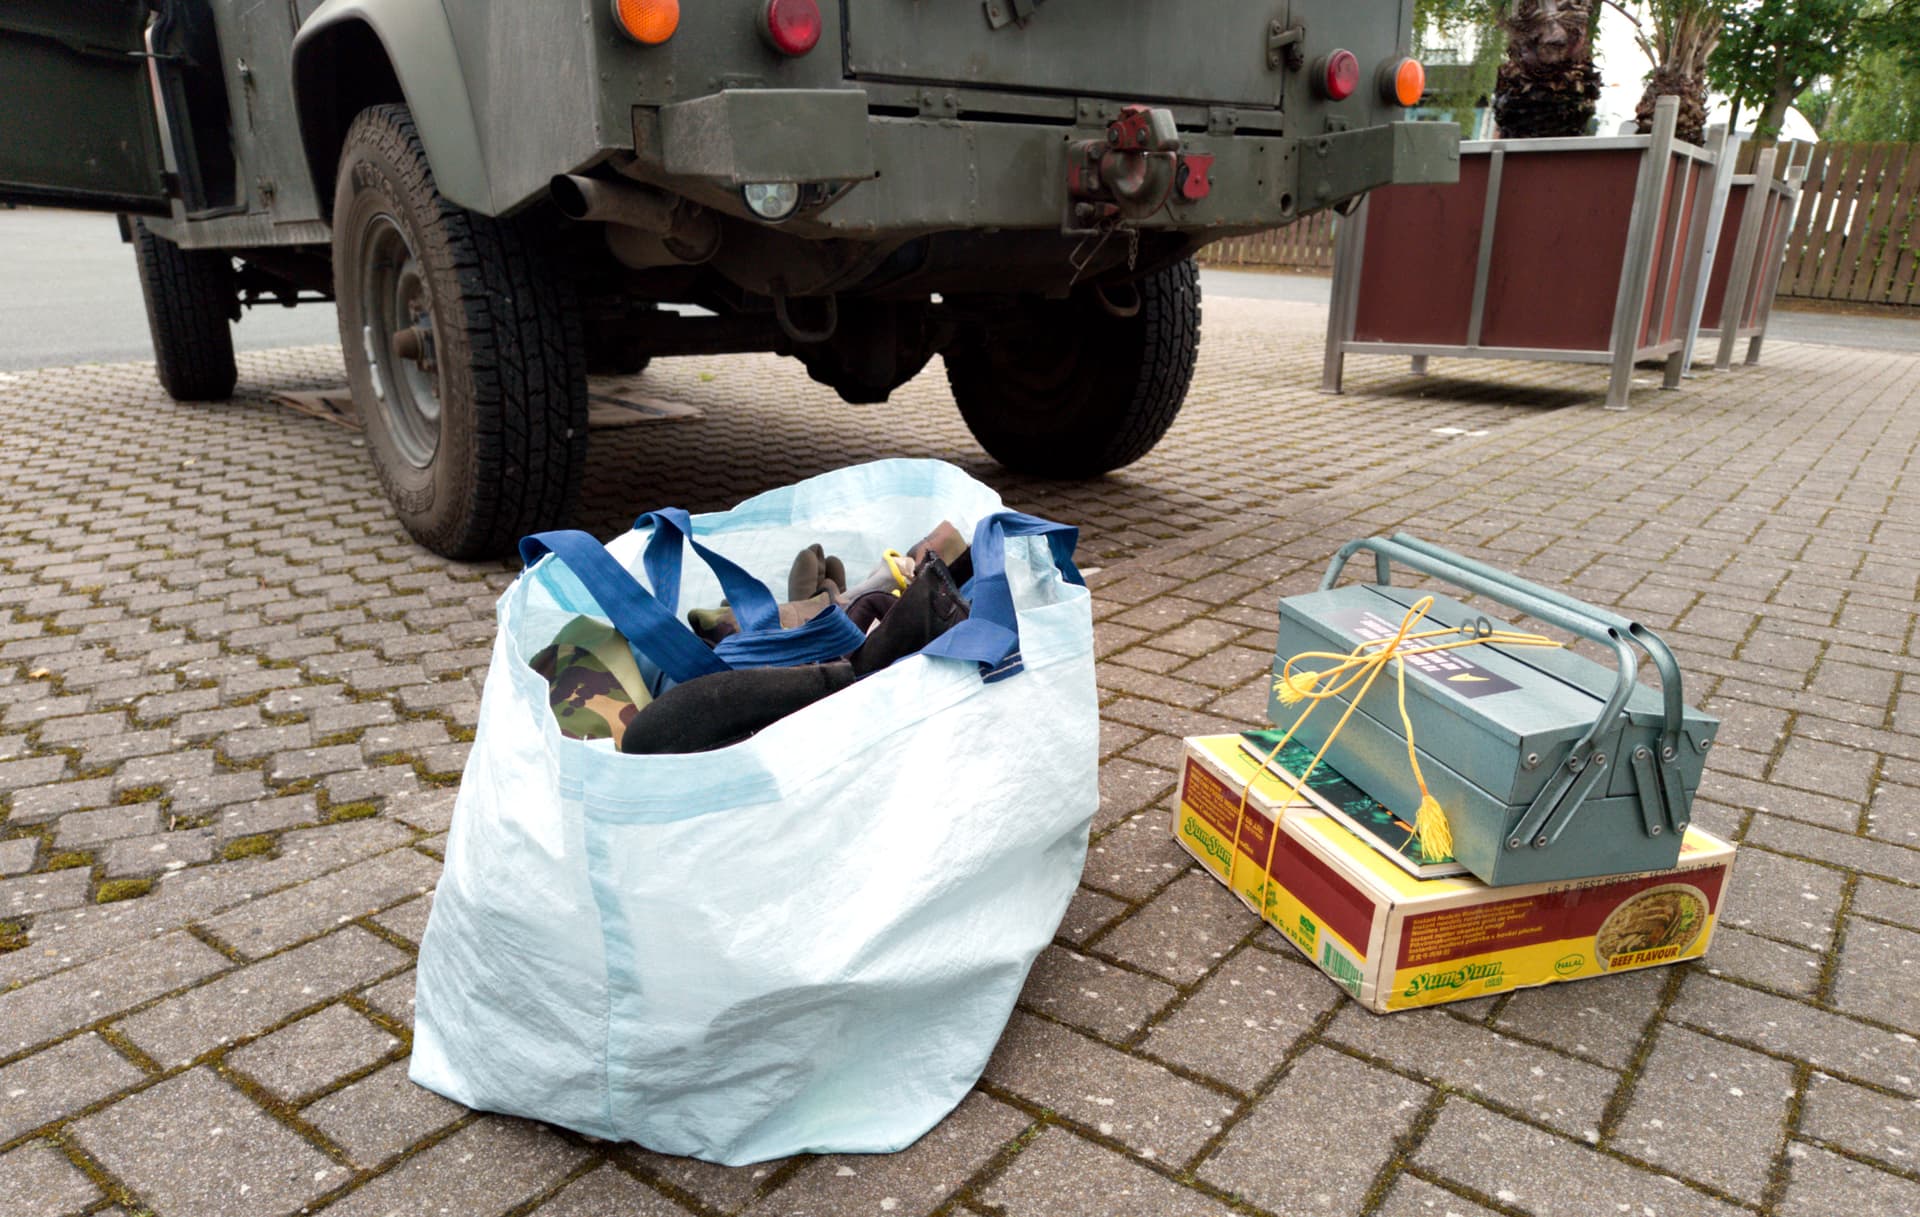
… and the Defender runs perfect 1,5 hours on the german Autobahn ![]()
![]()
8 Likes

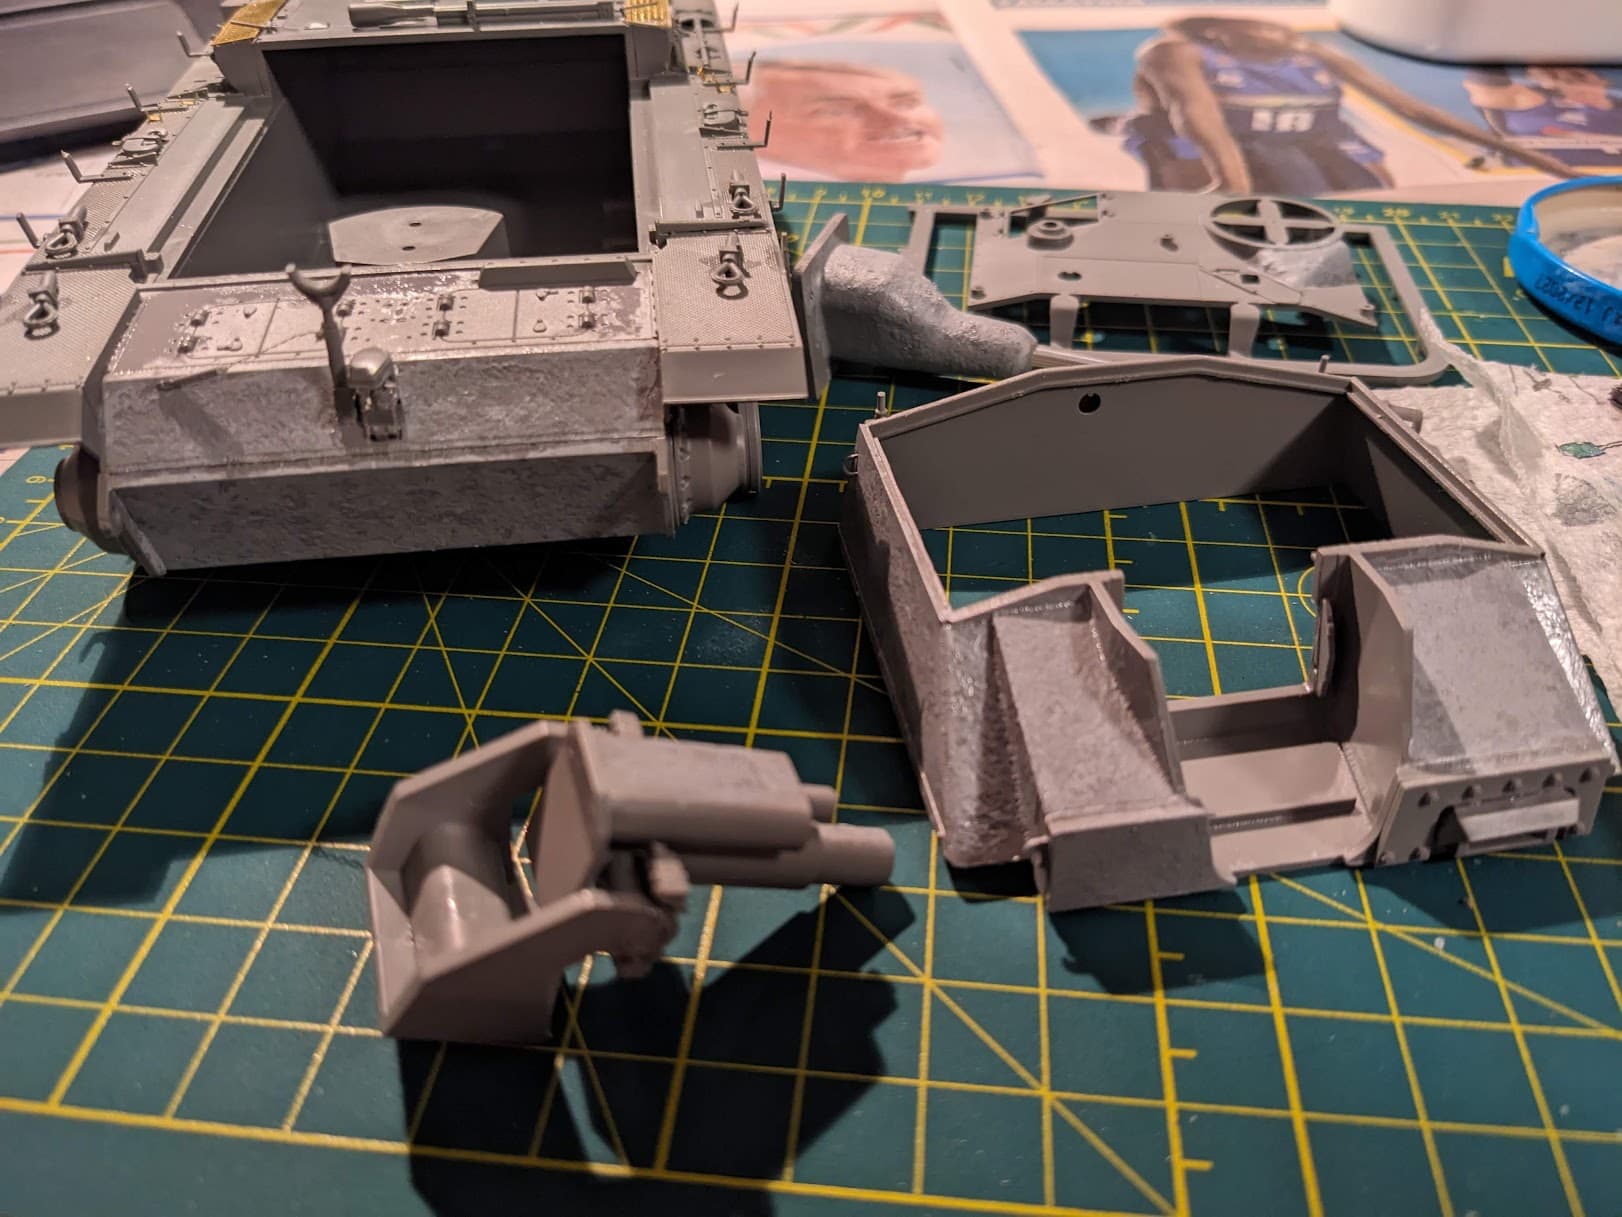
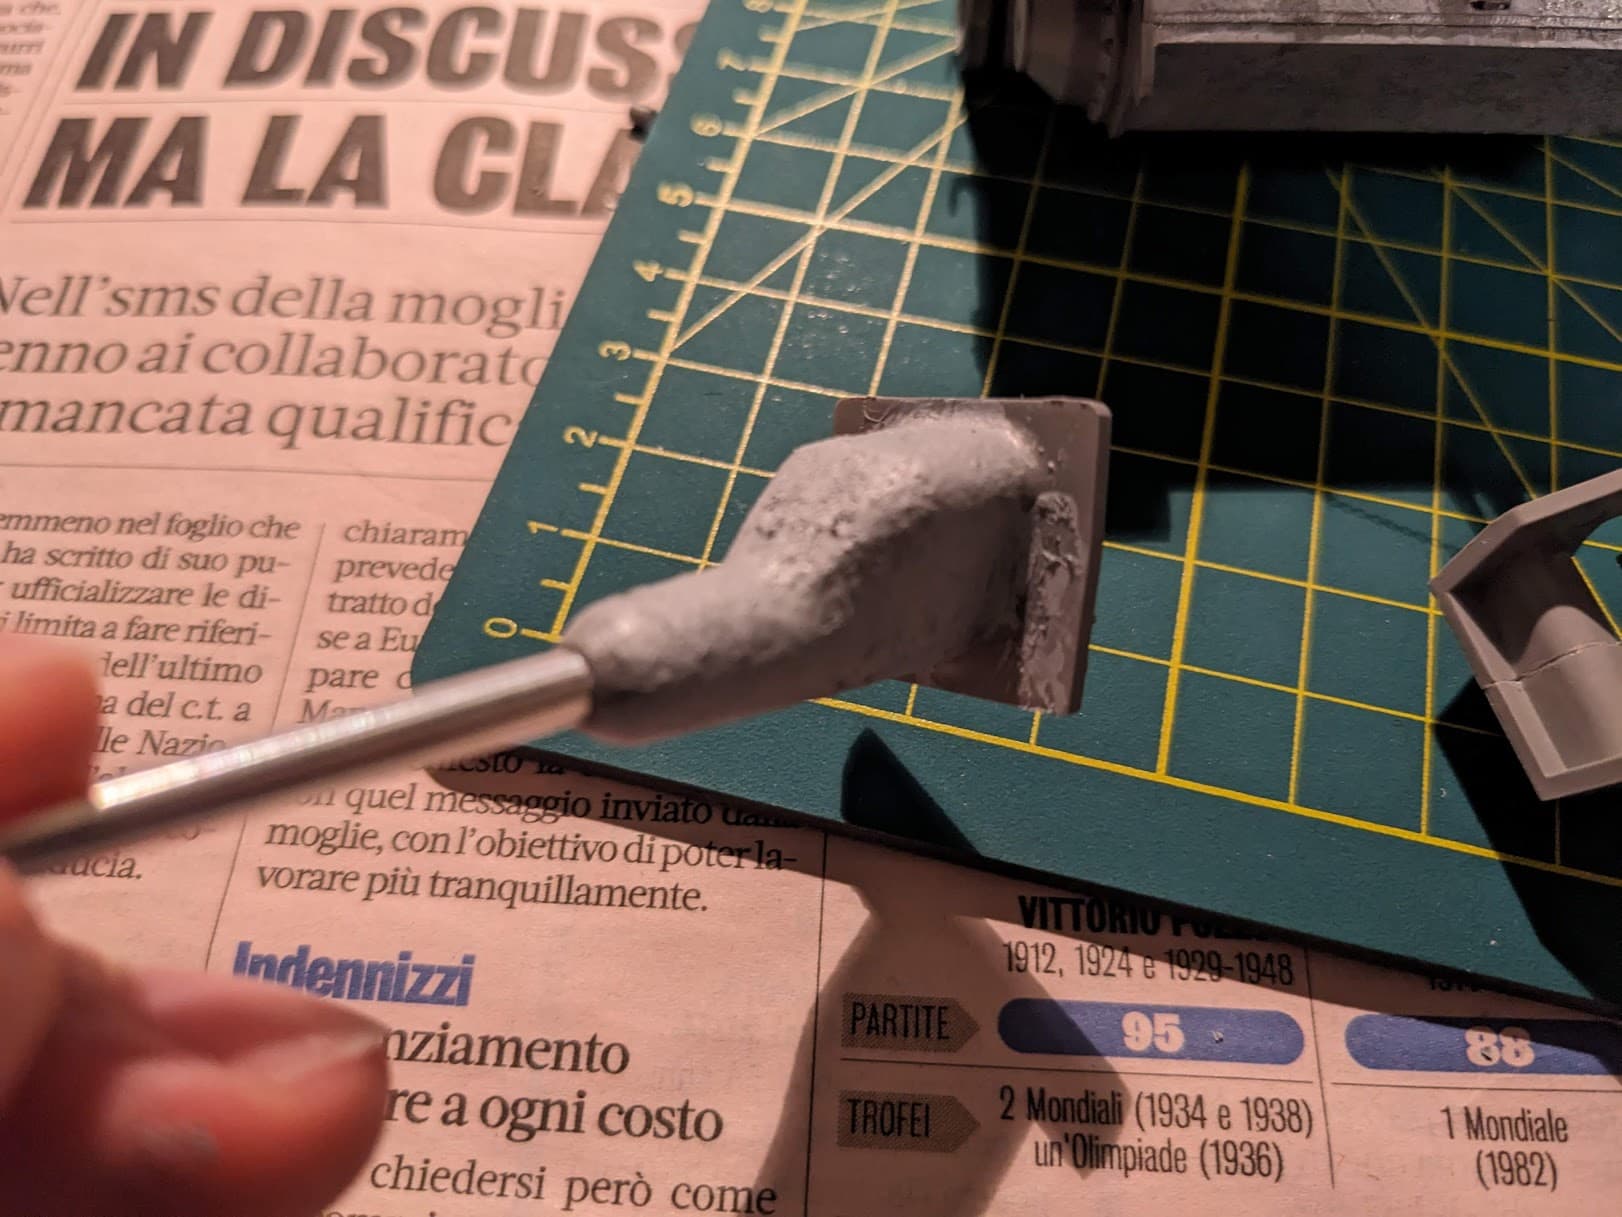
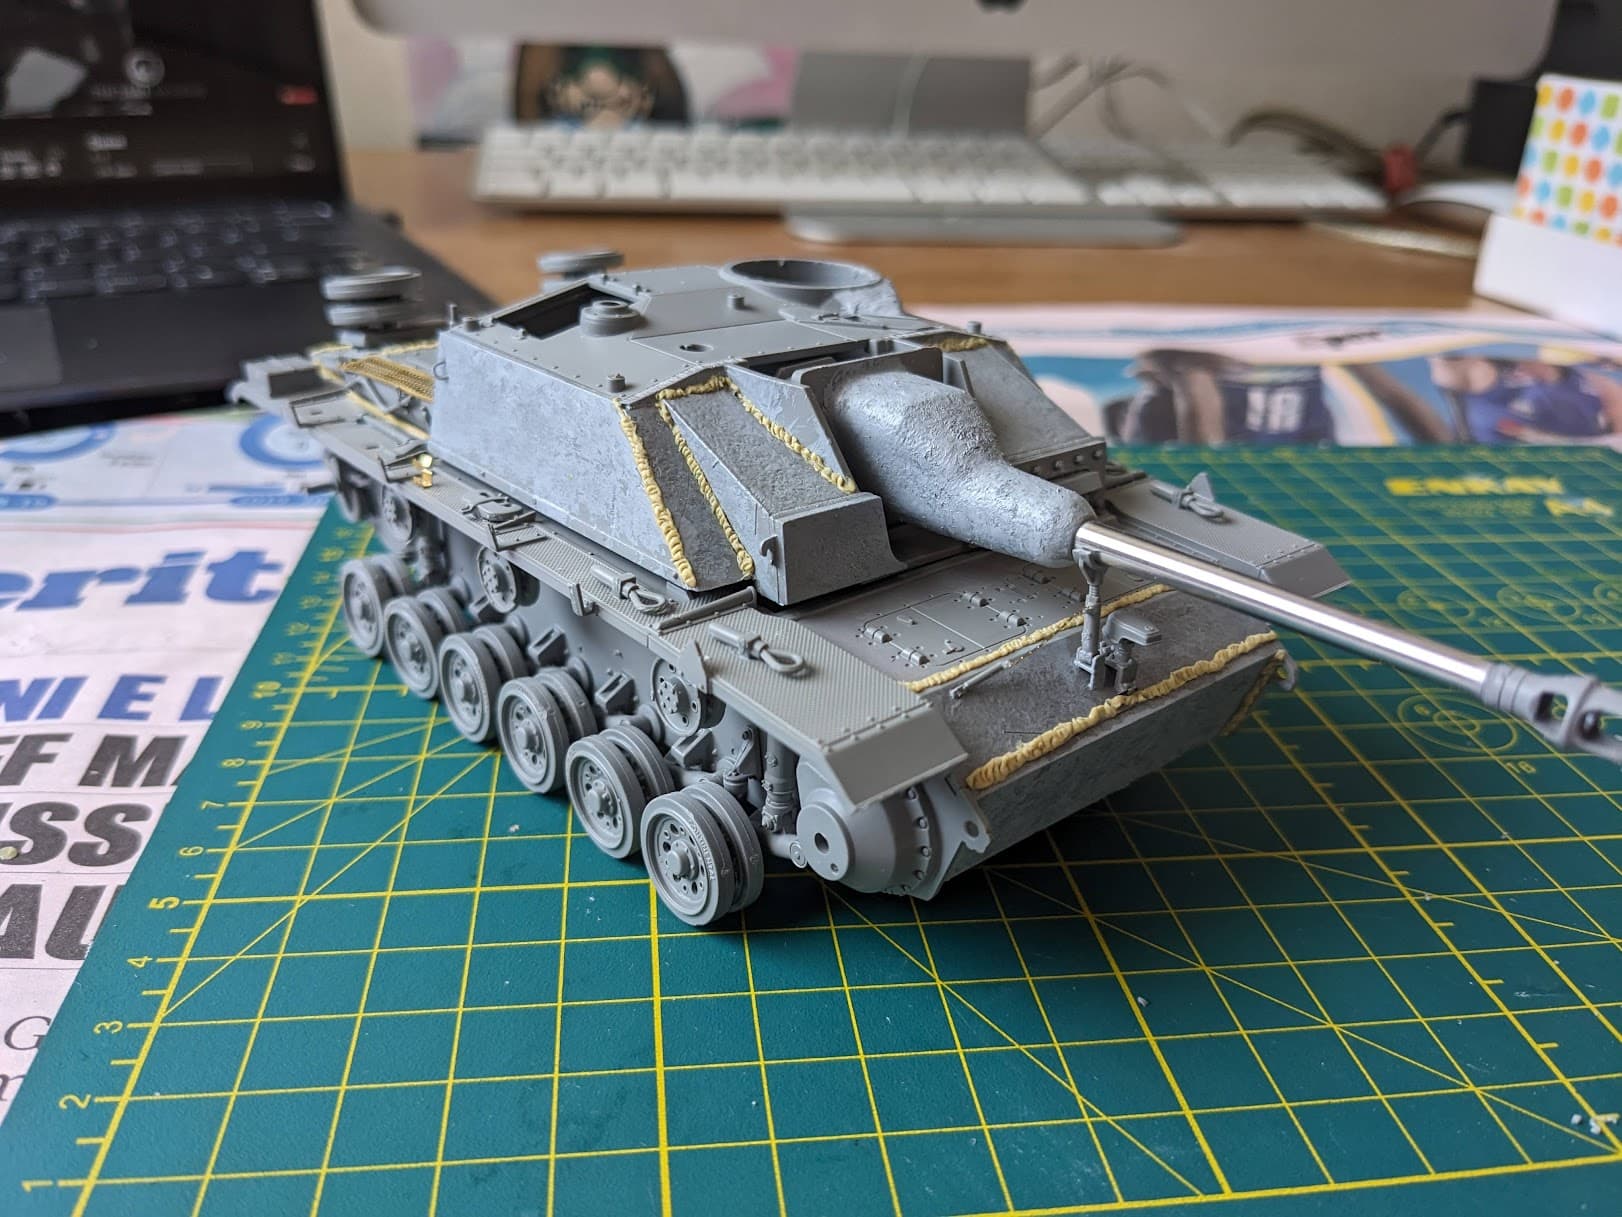
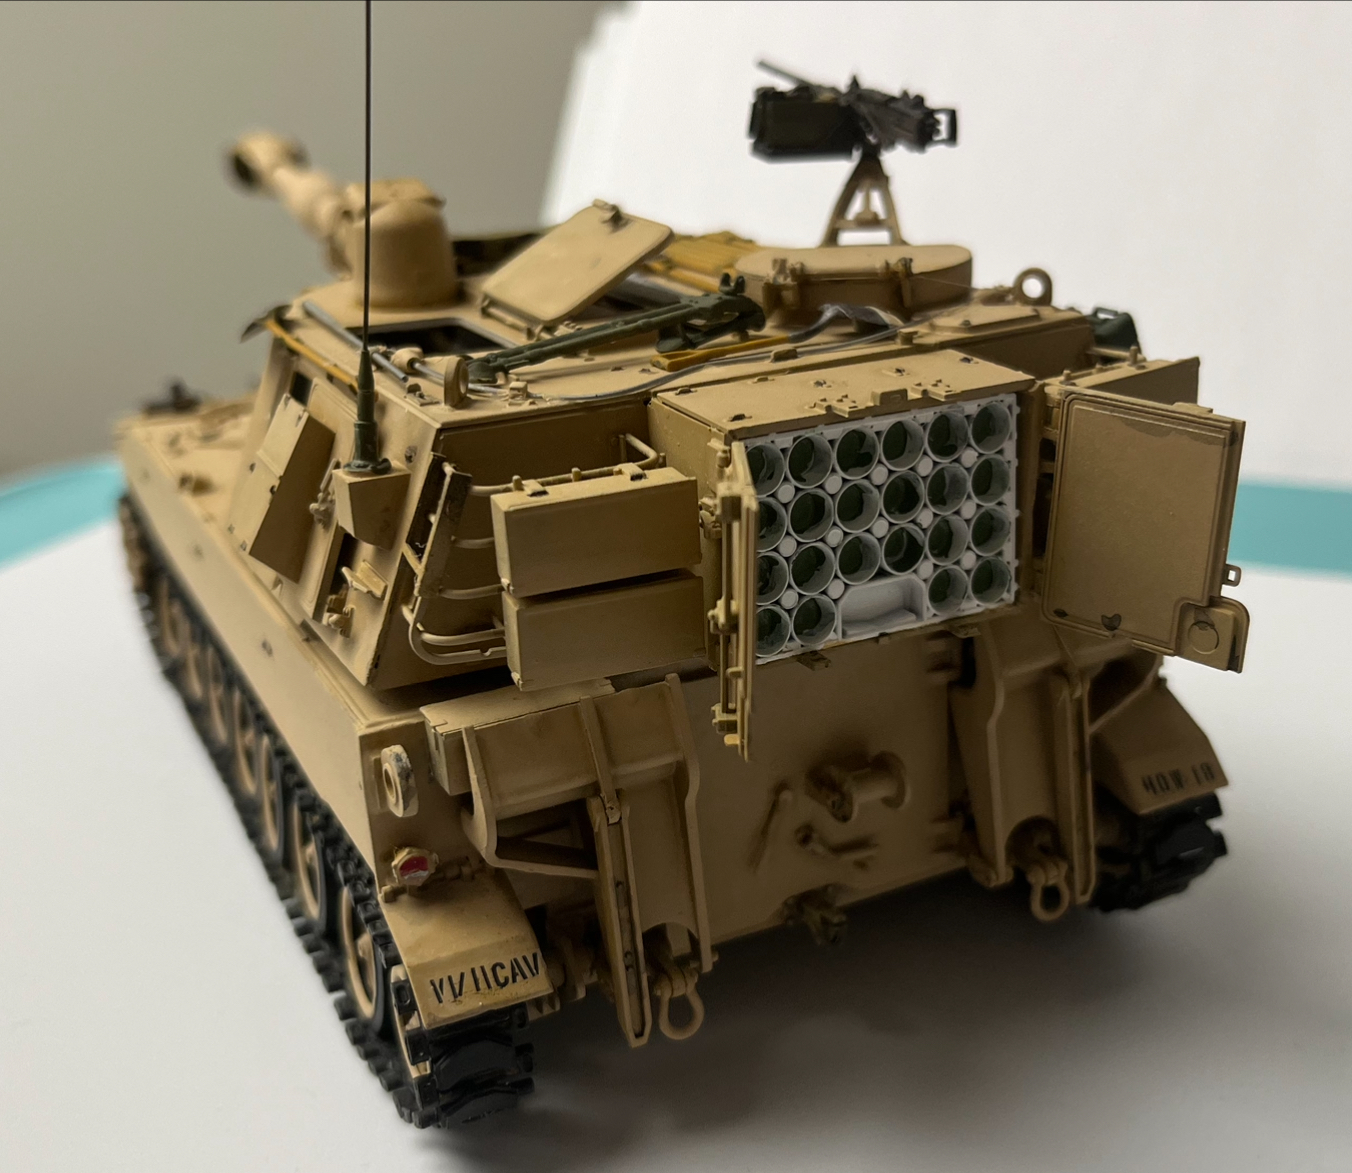
Discovered that my Tamiya putty was dried out at the cap end, so I had to cut the tube open and rush on the armor/cast texture tonight. A little messy, but I think it went alright for my first time doing it in 1/35.
8 Likes
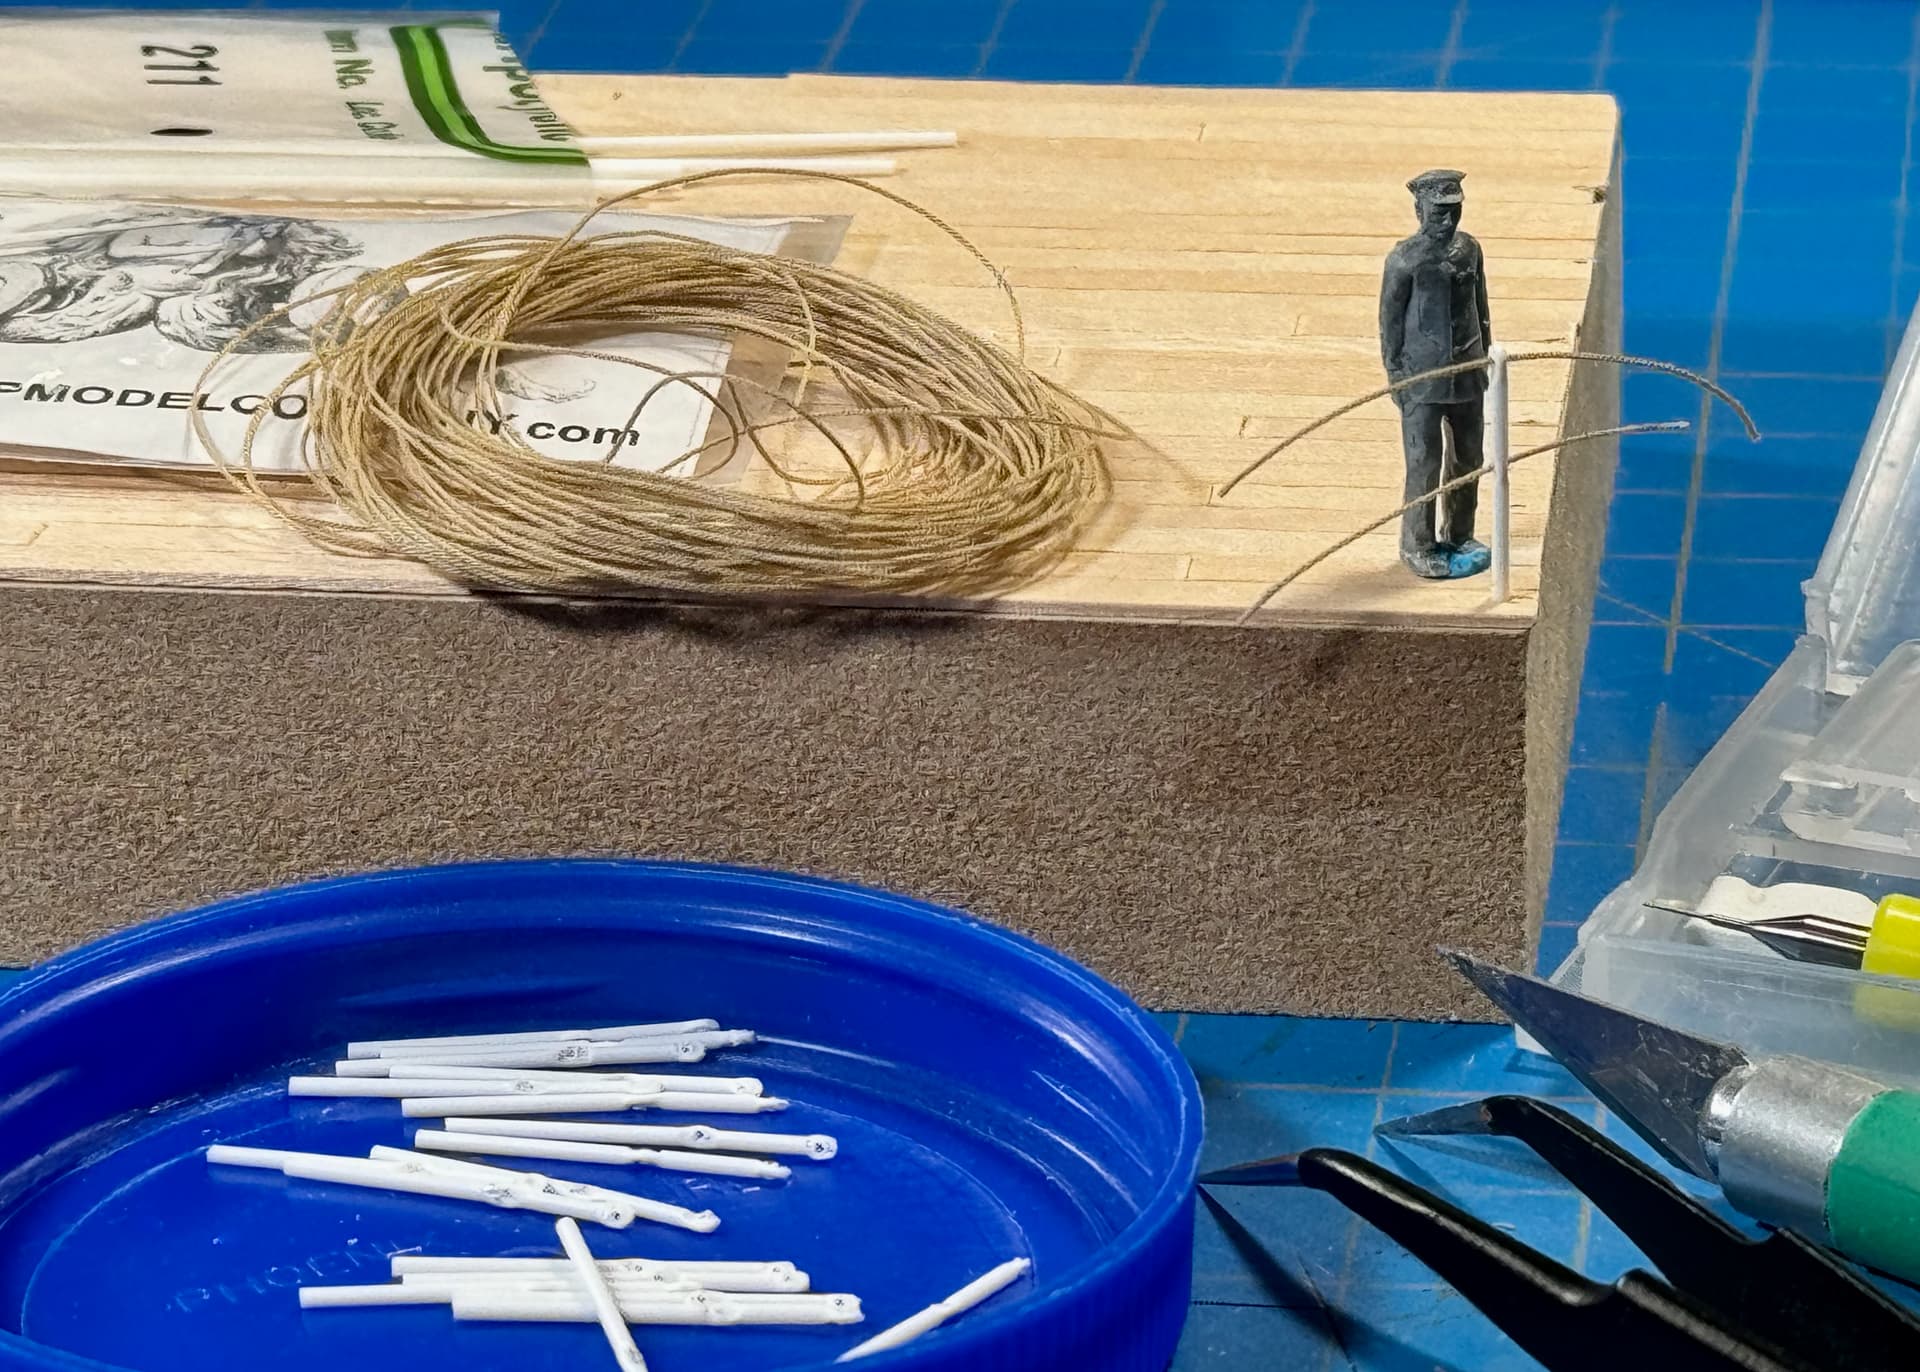
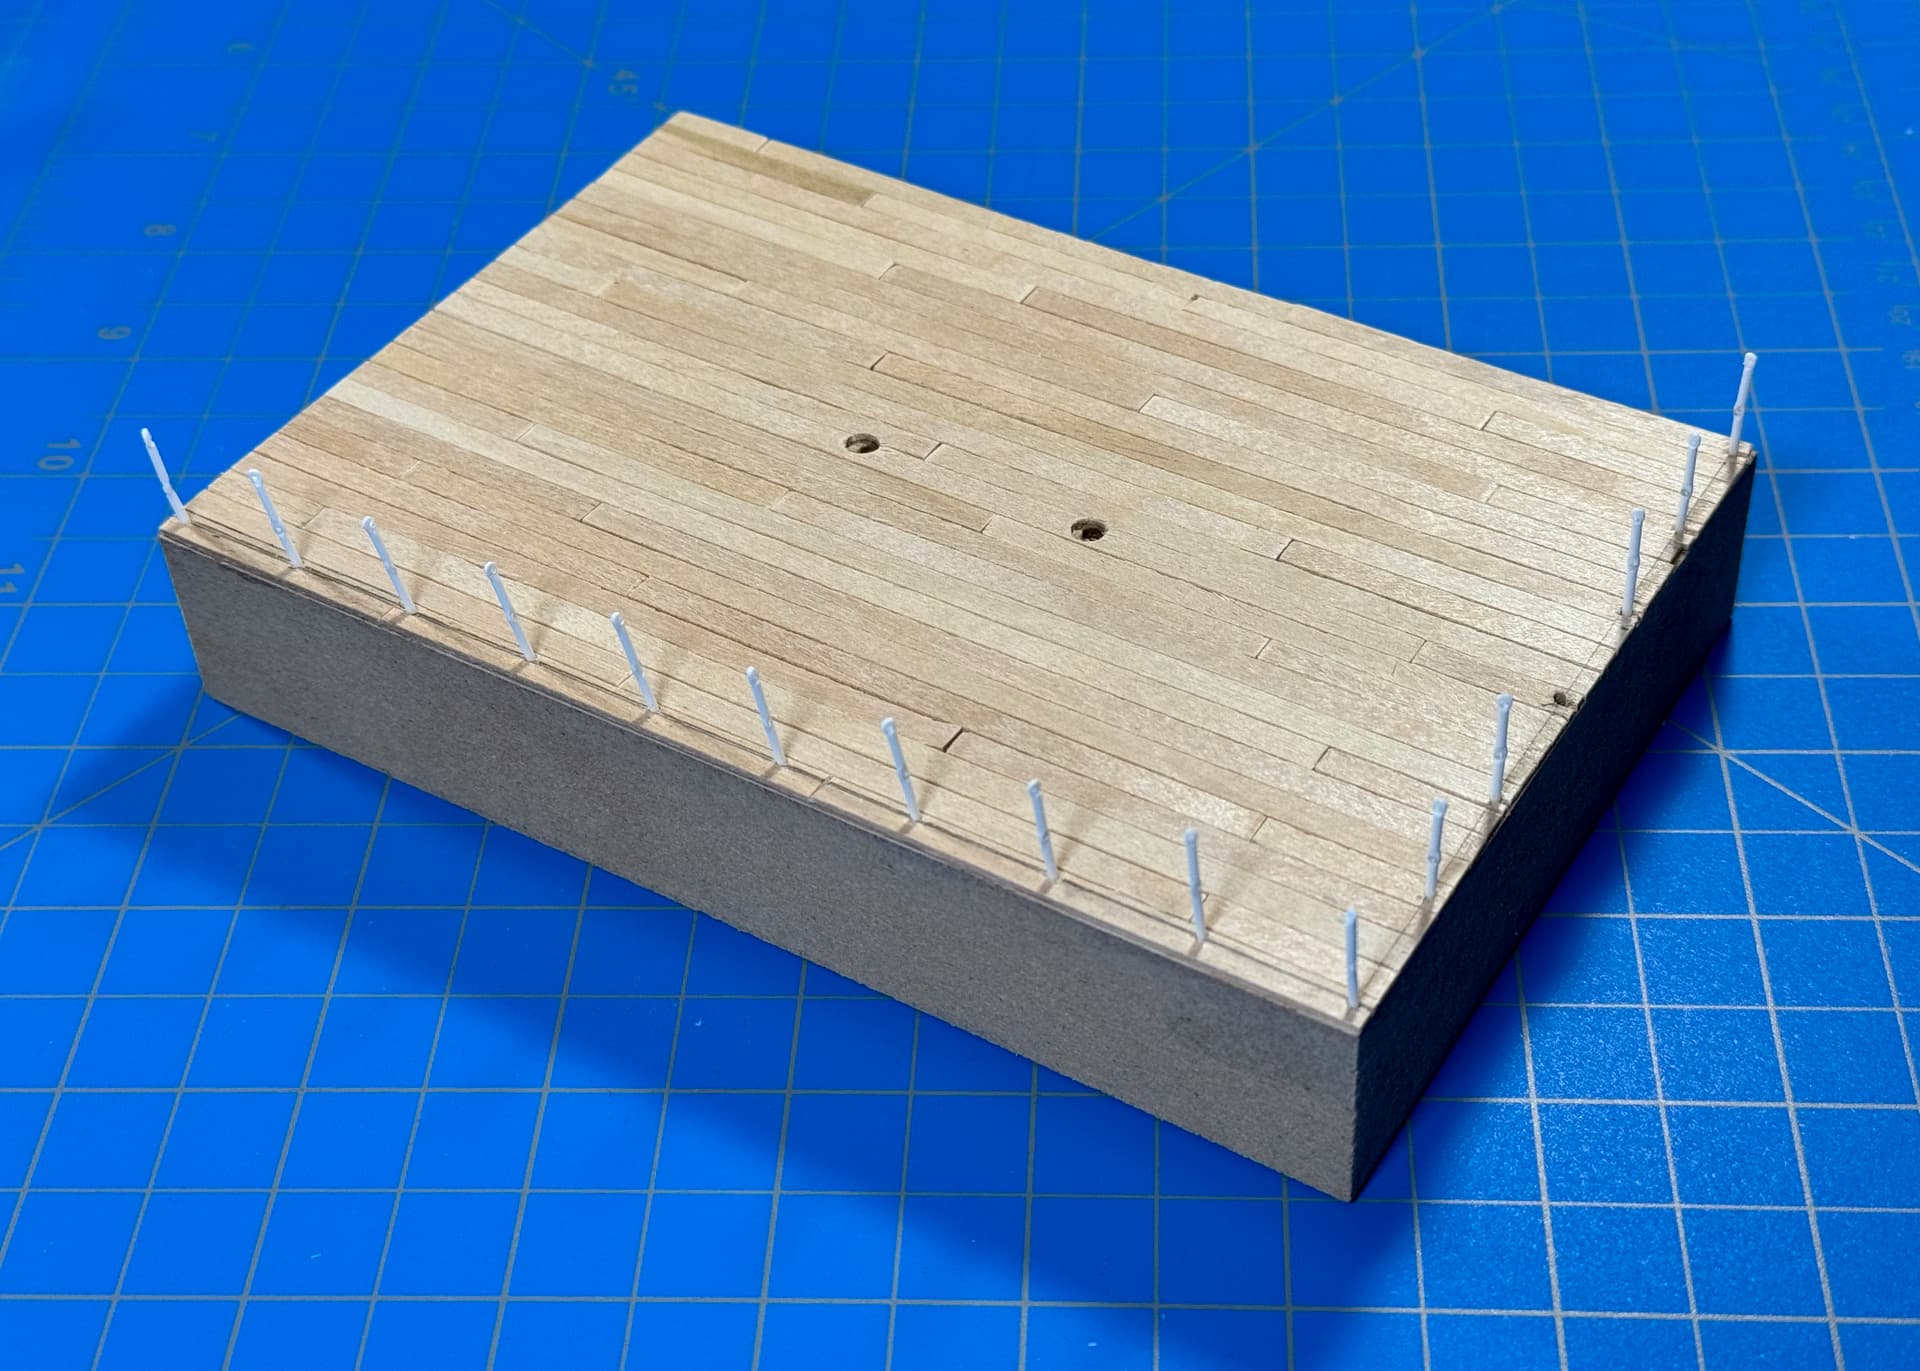
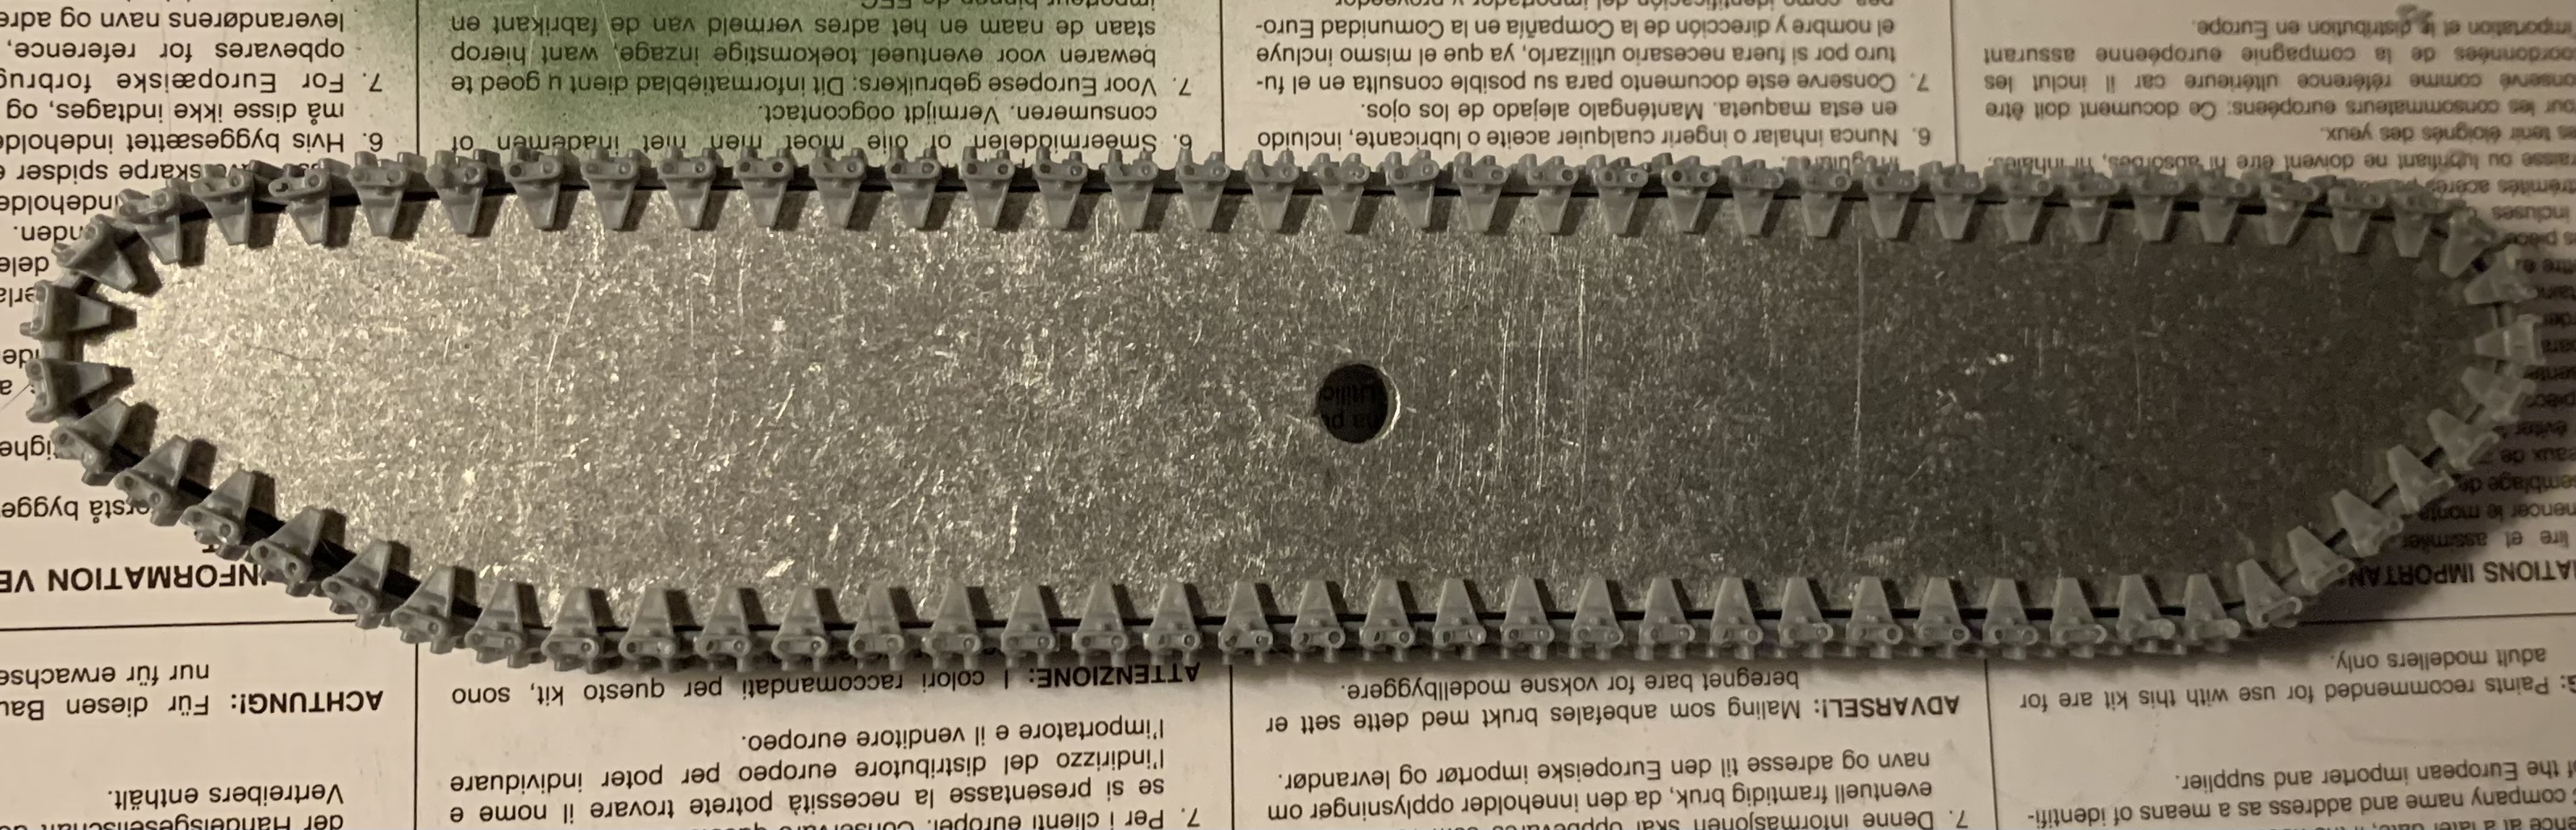
Almost as much fun as track links… stanchions. ![]()
![]()
海に落ちないでください。 ![]()
![]()
—mike
––––––––––––––––––––––––––––––––––––––––––––––––––––––––––––––––––––––––––
[EDIT] image added.
Yup… broke a drill bit!
I’ll just have to deal with it at rigging time. ![]()
Stanchions are in for a sea test…
To be continued…
フライネイビー! ![]()
![]()
—mike
10 Likes
Thank you, Watto. Much appreciated.
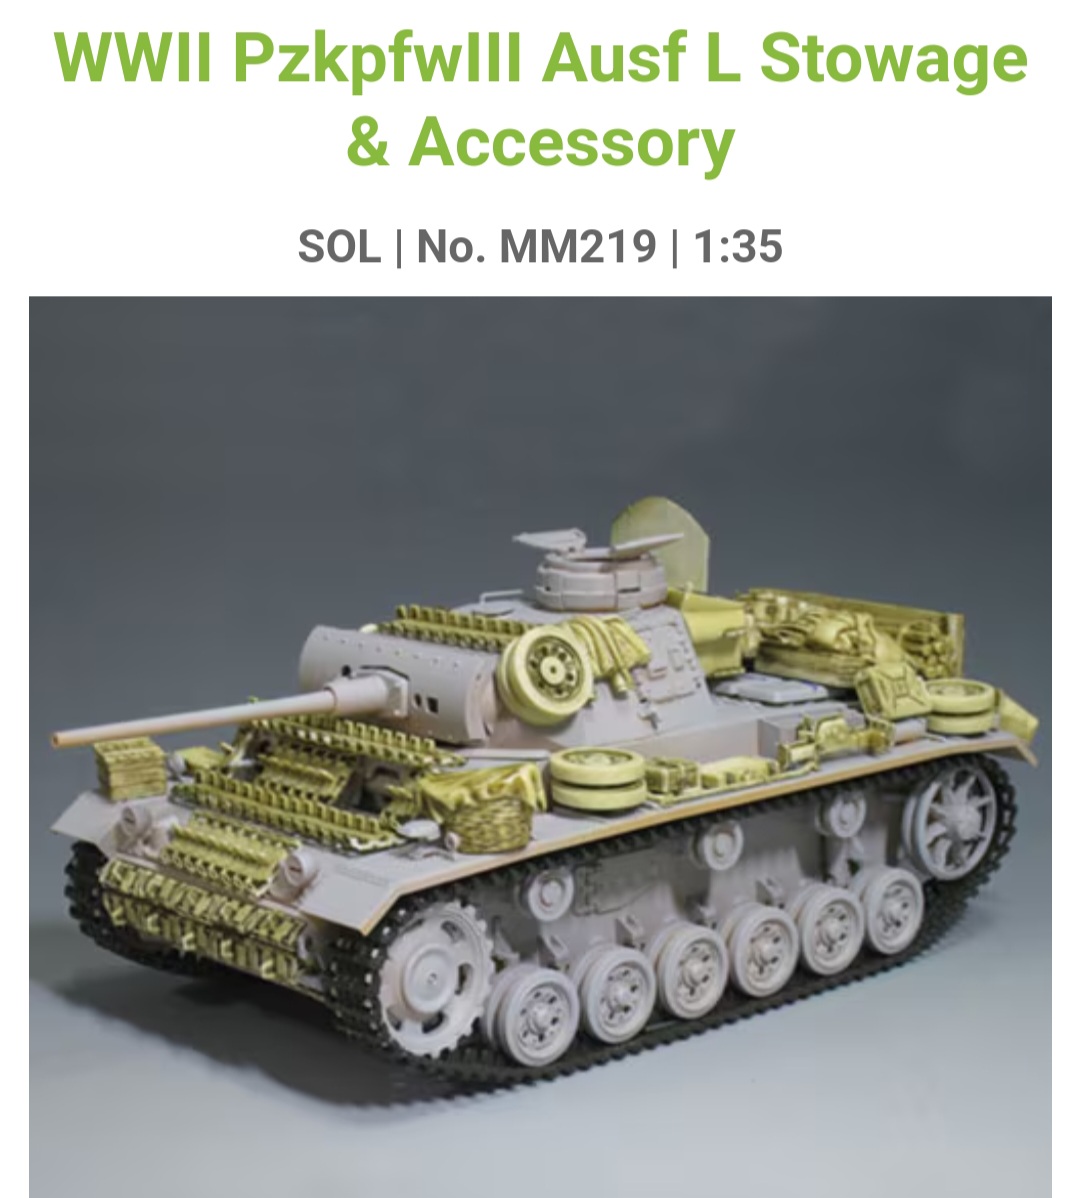
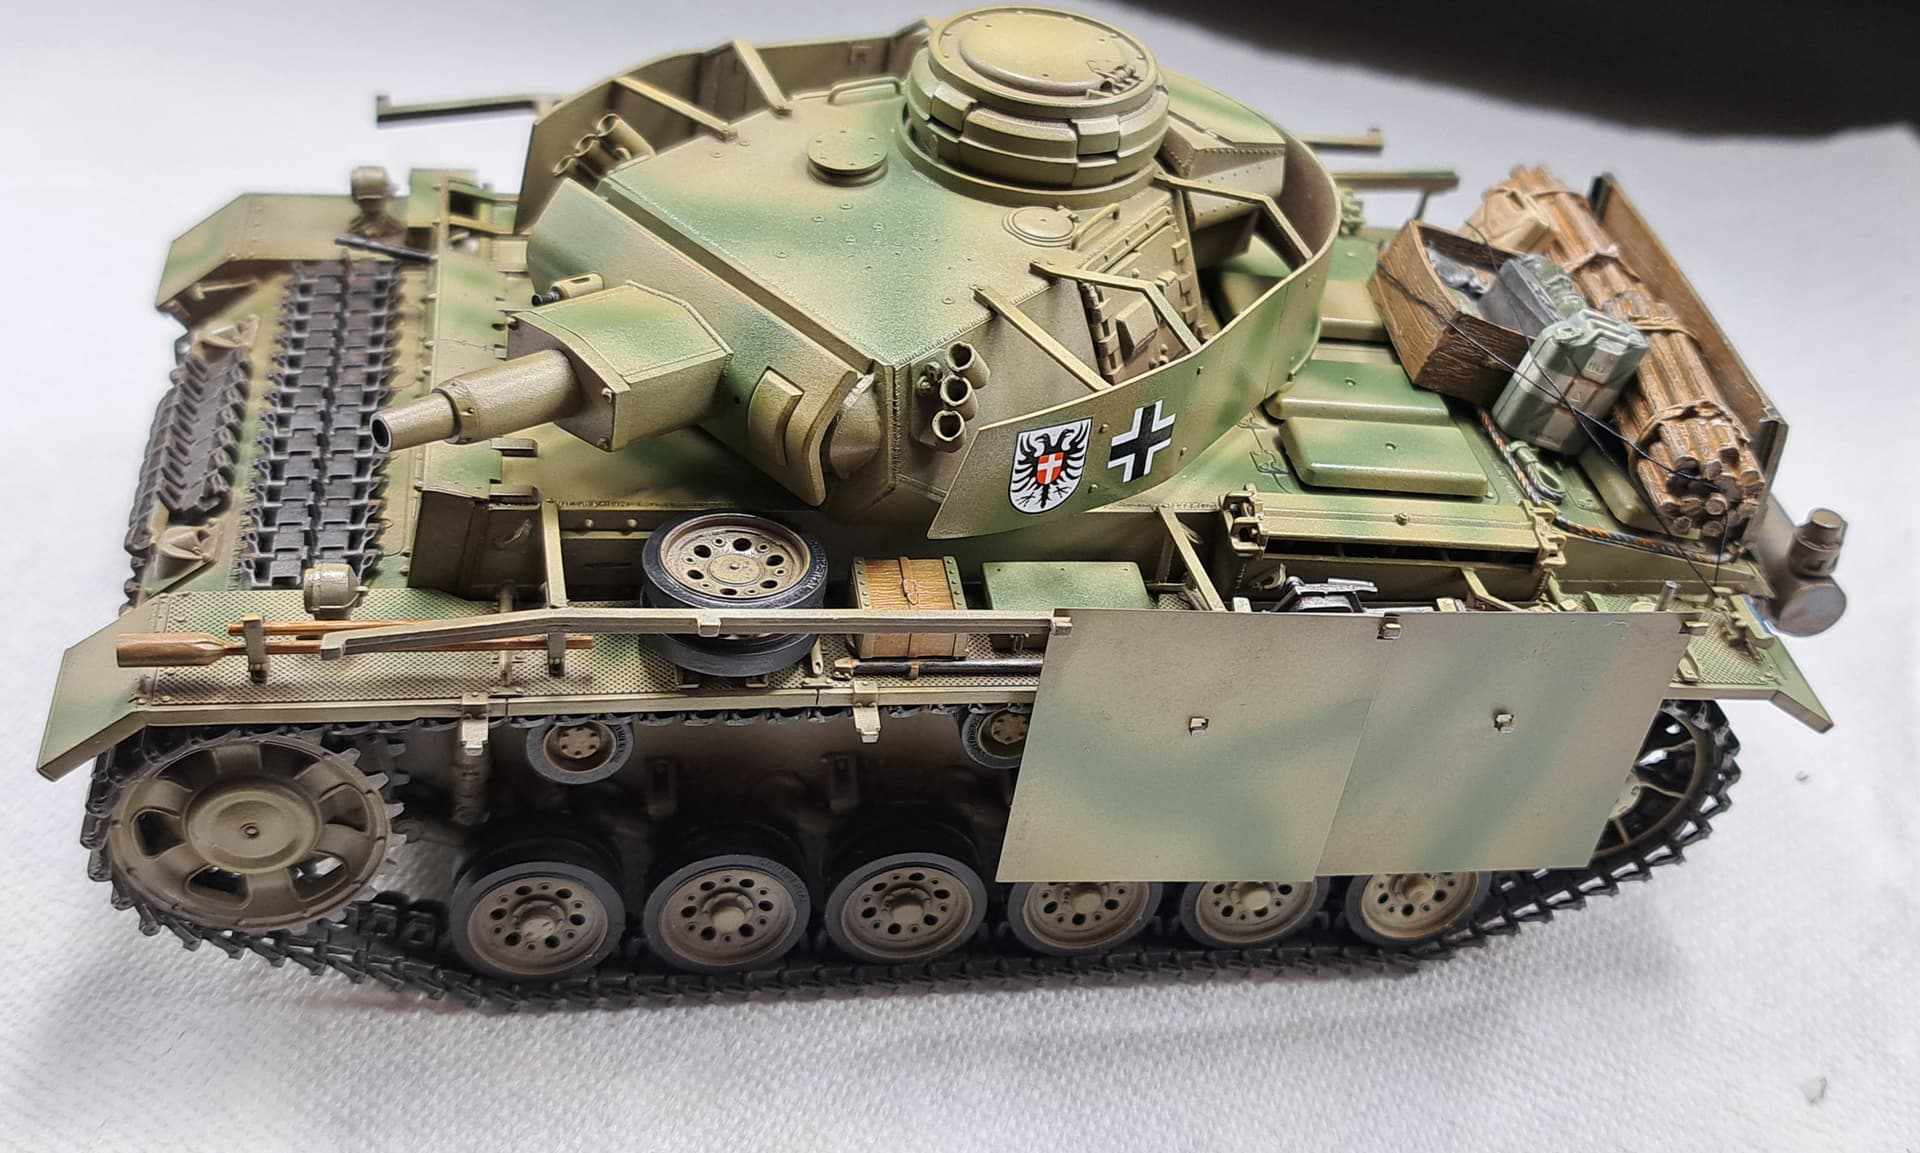
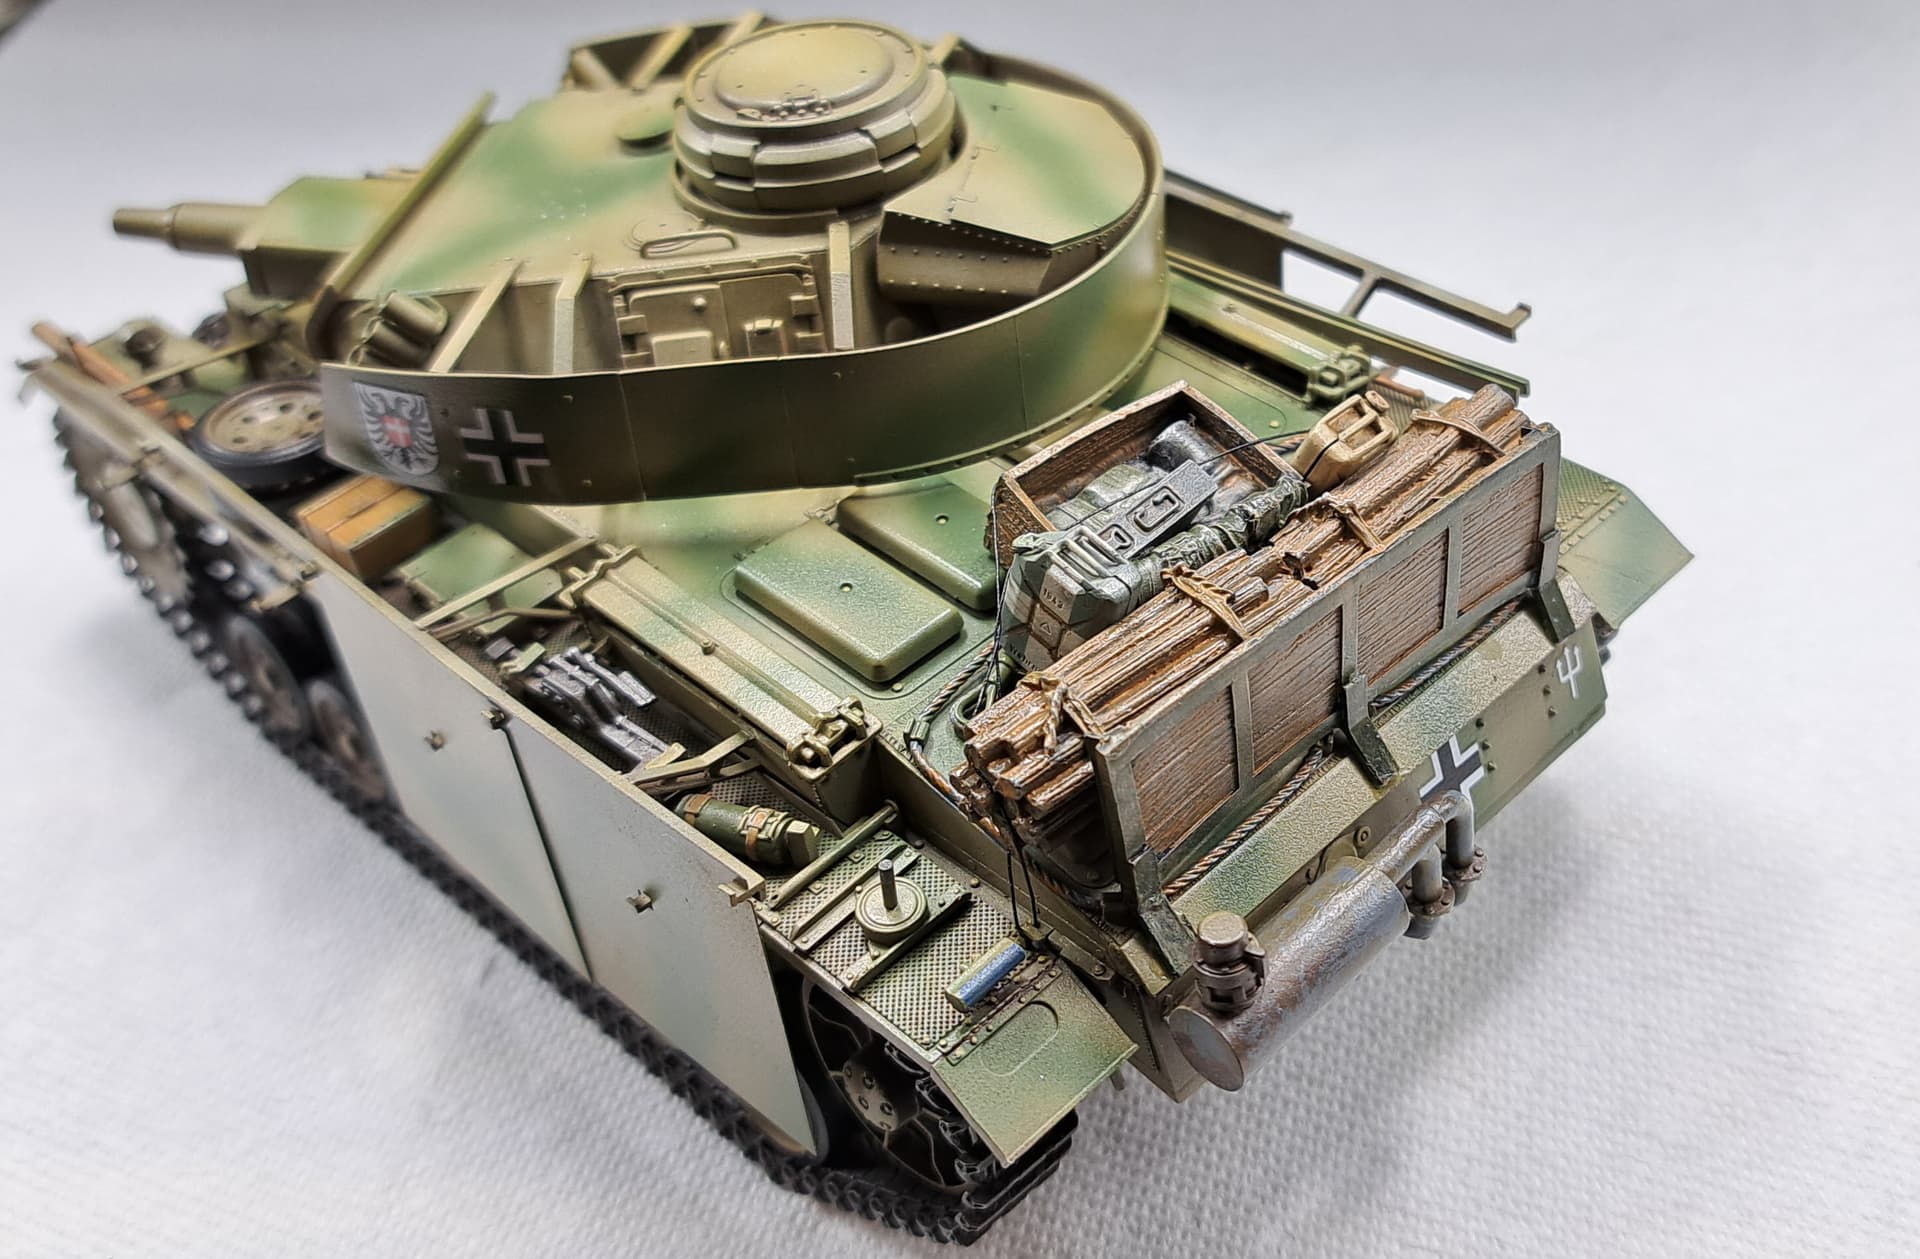
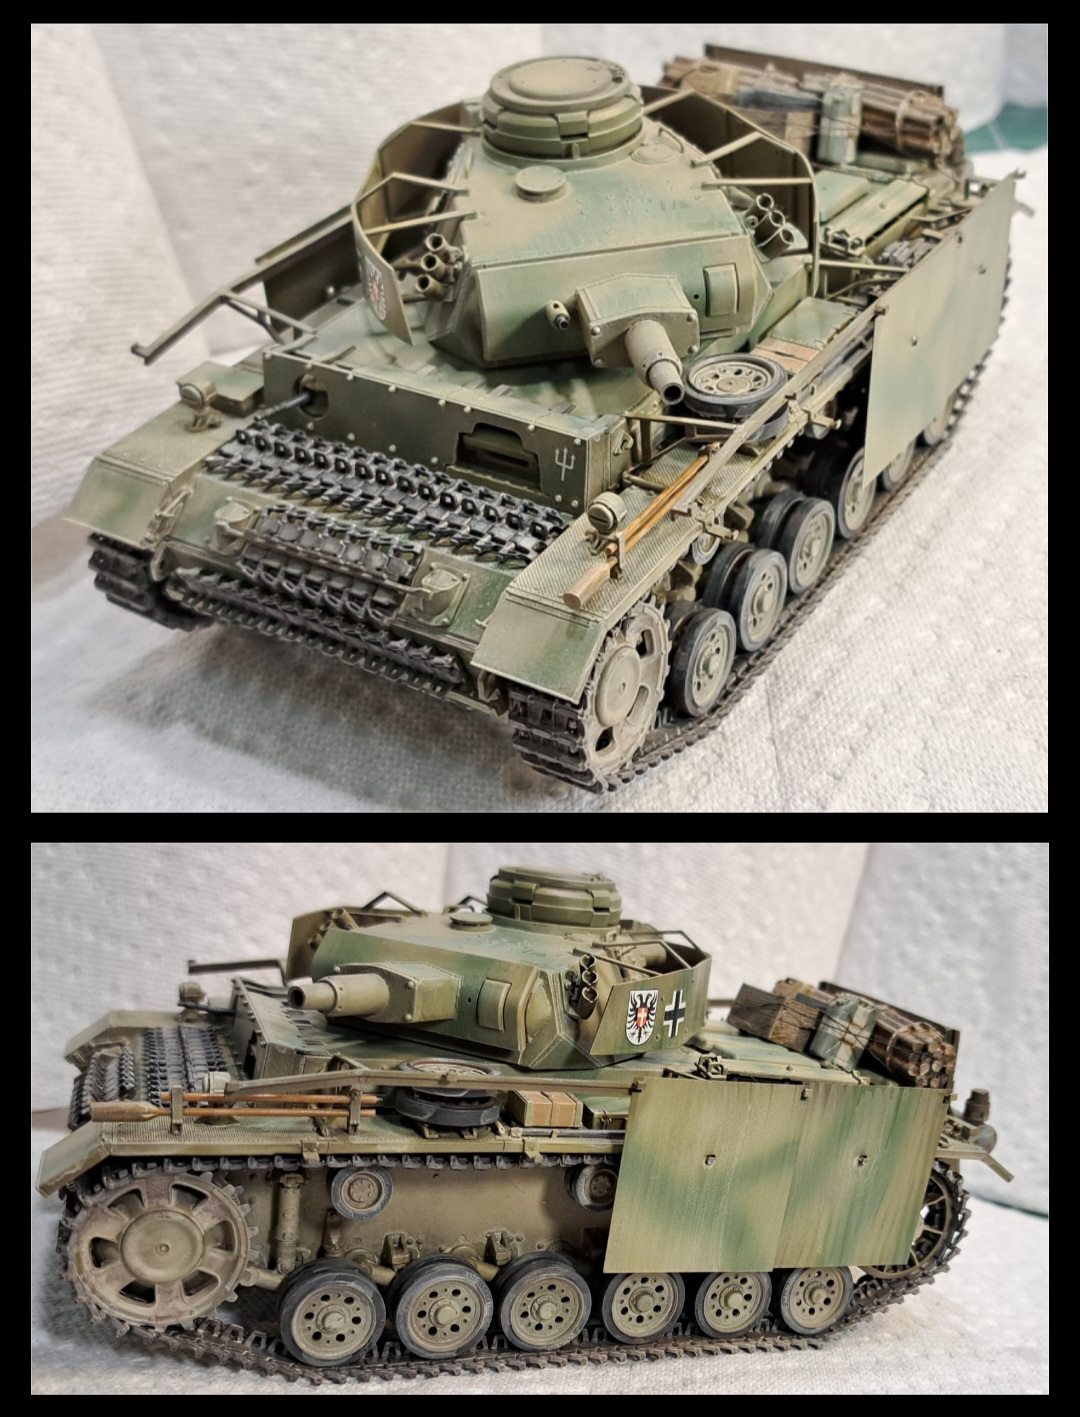
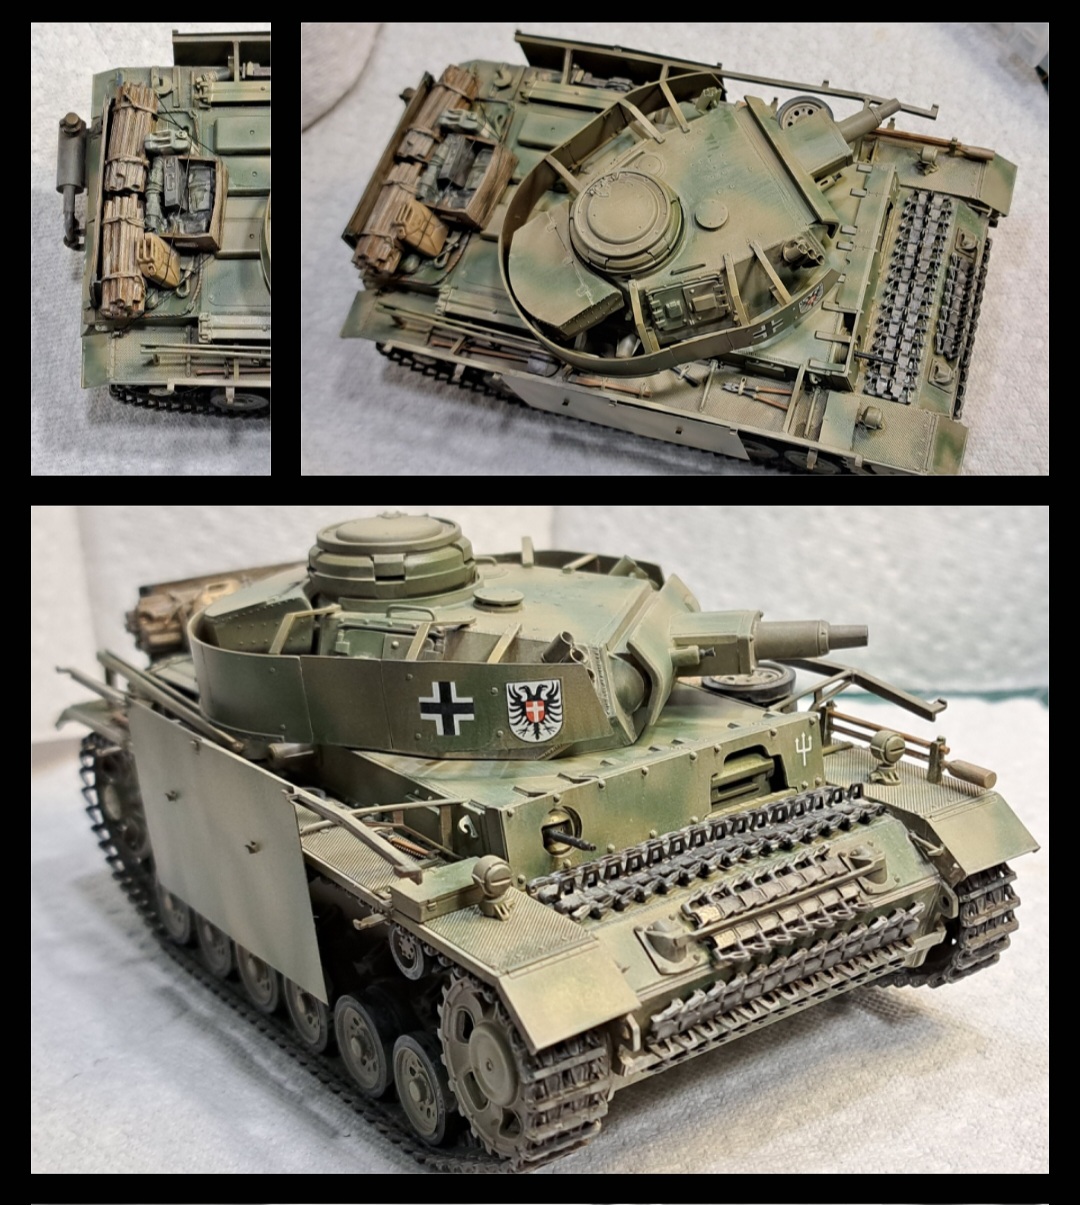
SOL’s Tamiya Pz III ausf L stowage kit was in the stash. Picked a few choice parts, plus two Italeri Jerry cans & a Tamiya ammo box leftover from a prior build. Used RFM indy track links over the resin molded tracks. Not “Trash Panda” status but wanted some clutter. SOL had good quality, light years better than Black Dog Pz III garbage I’d purchased.
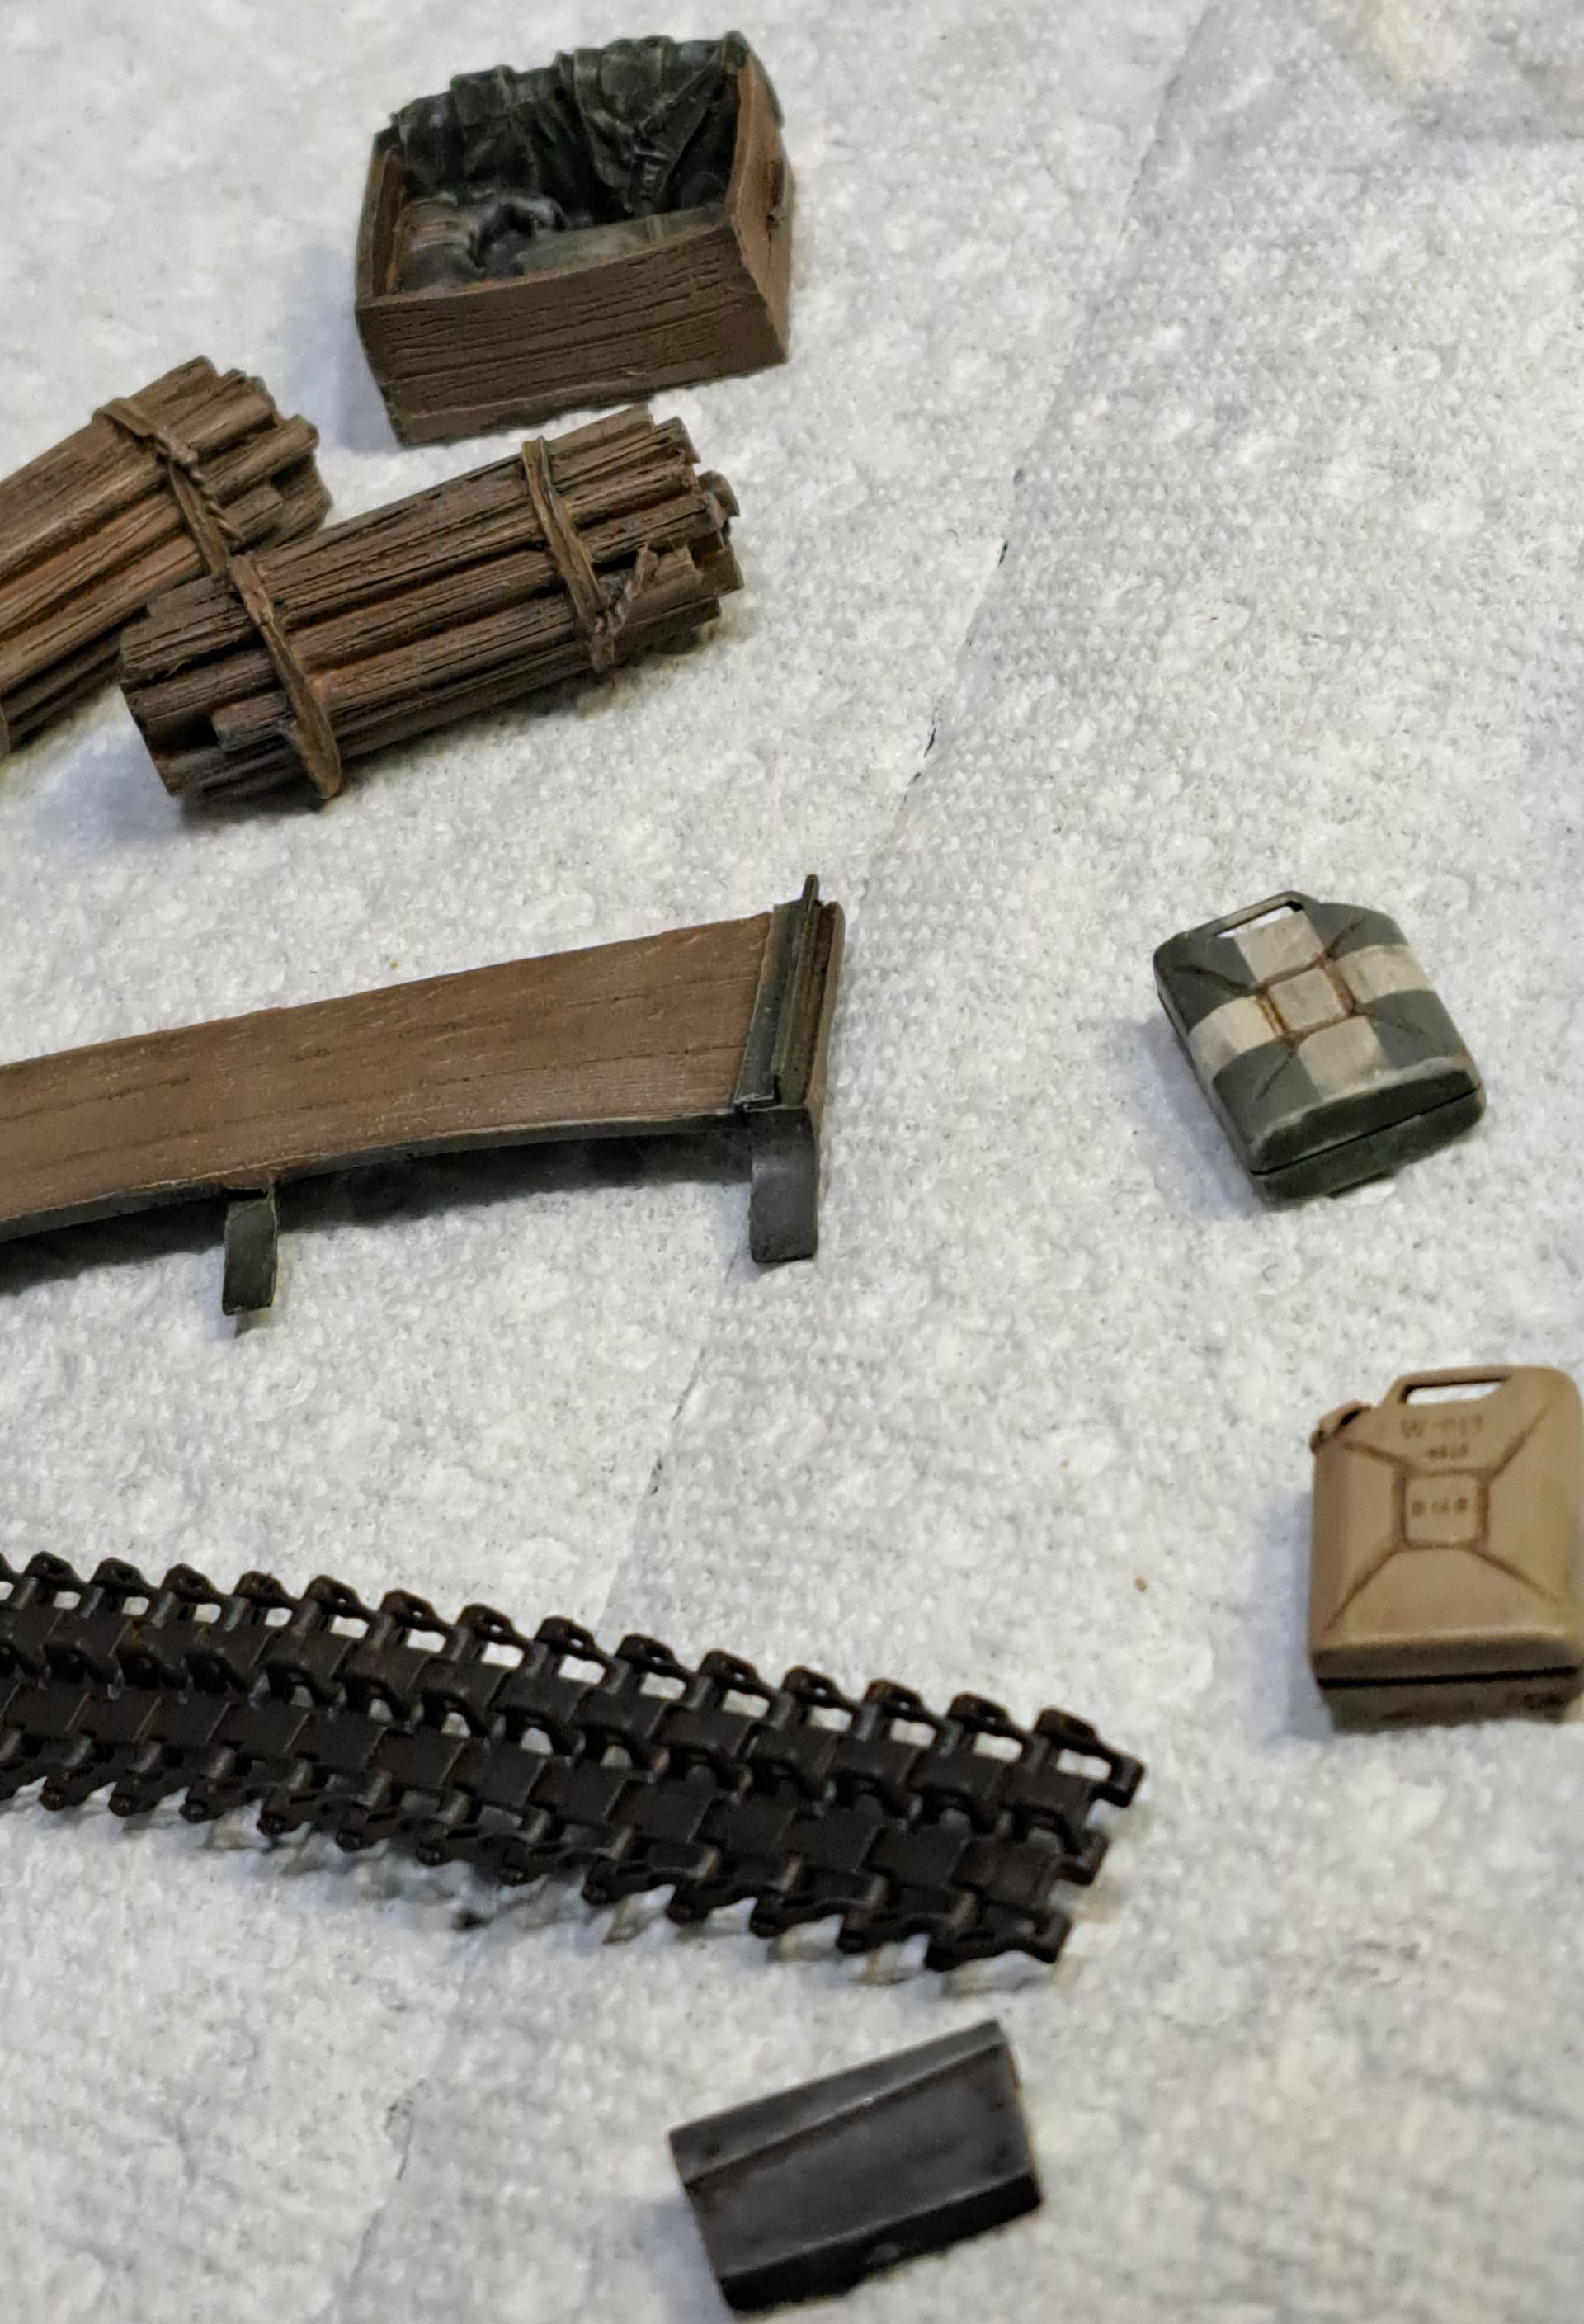
Brush painted black base coat, wash of color coat plus drybrushing a highlights.
Attached to Pz III
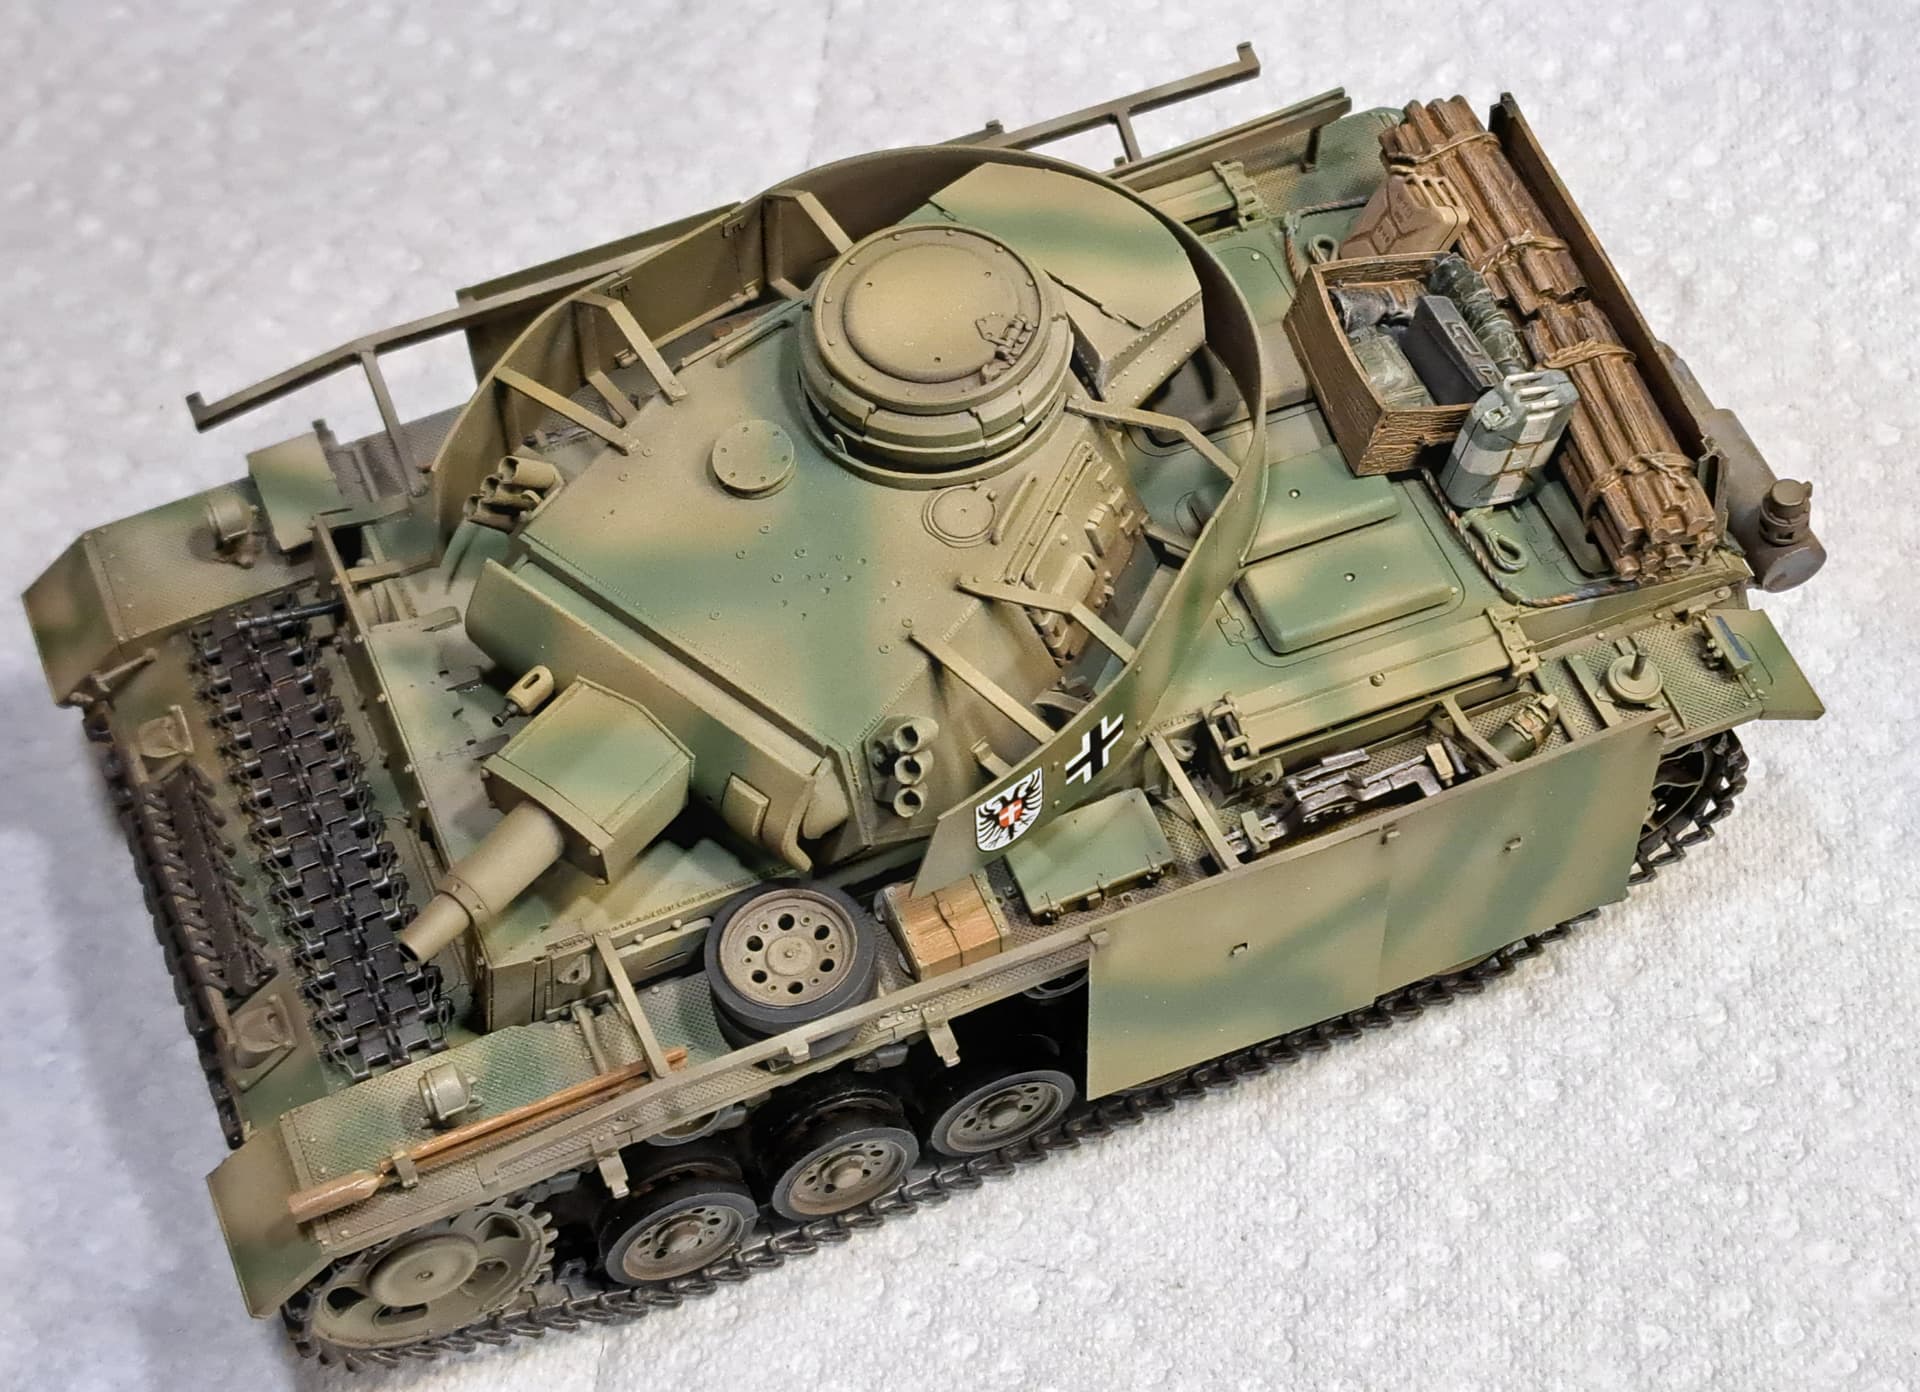
Needs tie downs etc.
Edit
2nd gloss coat to seal decals plus tie down.
15 Likes
@165thspc and @Johnnych01, thanks gents -
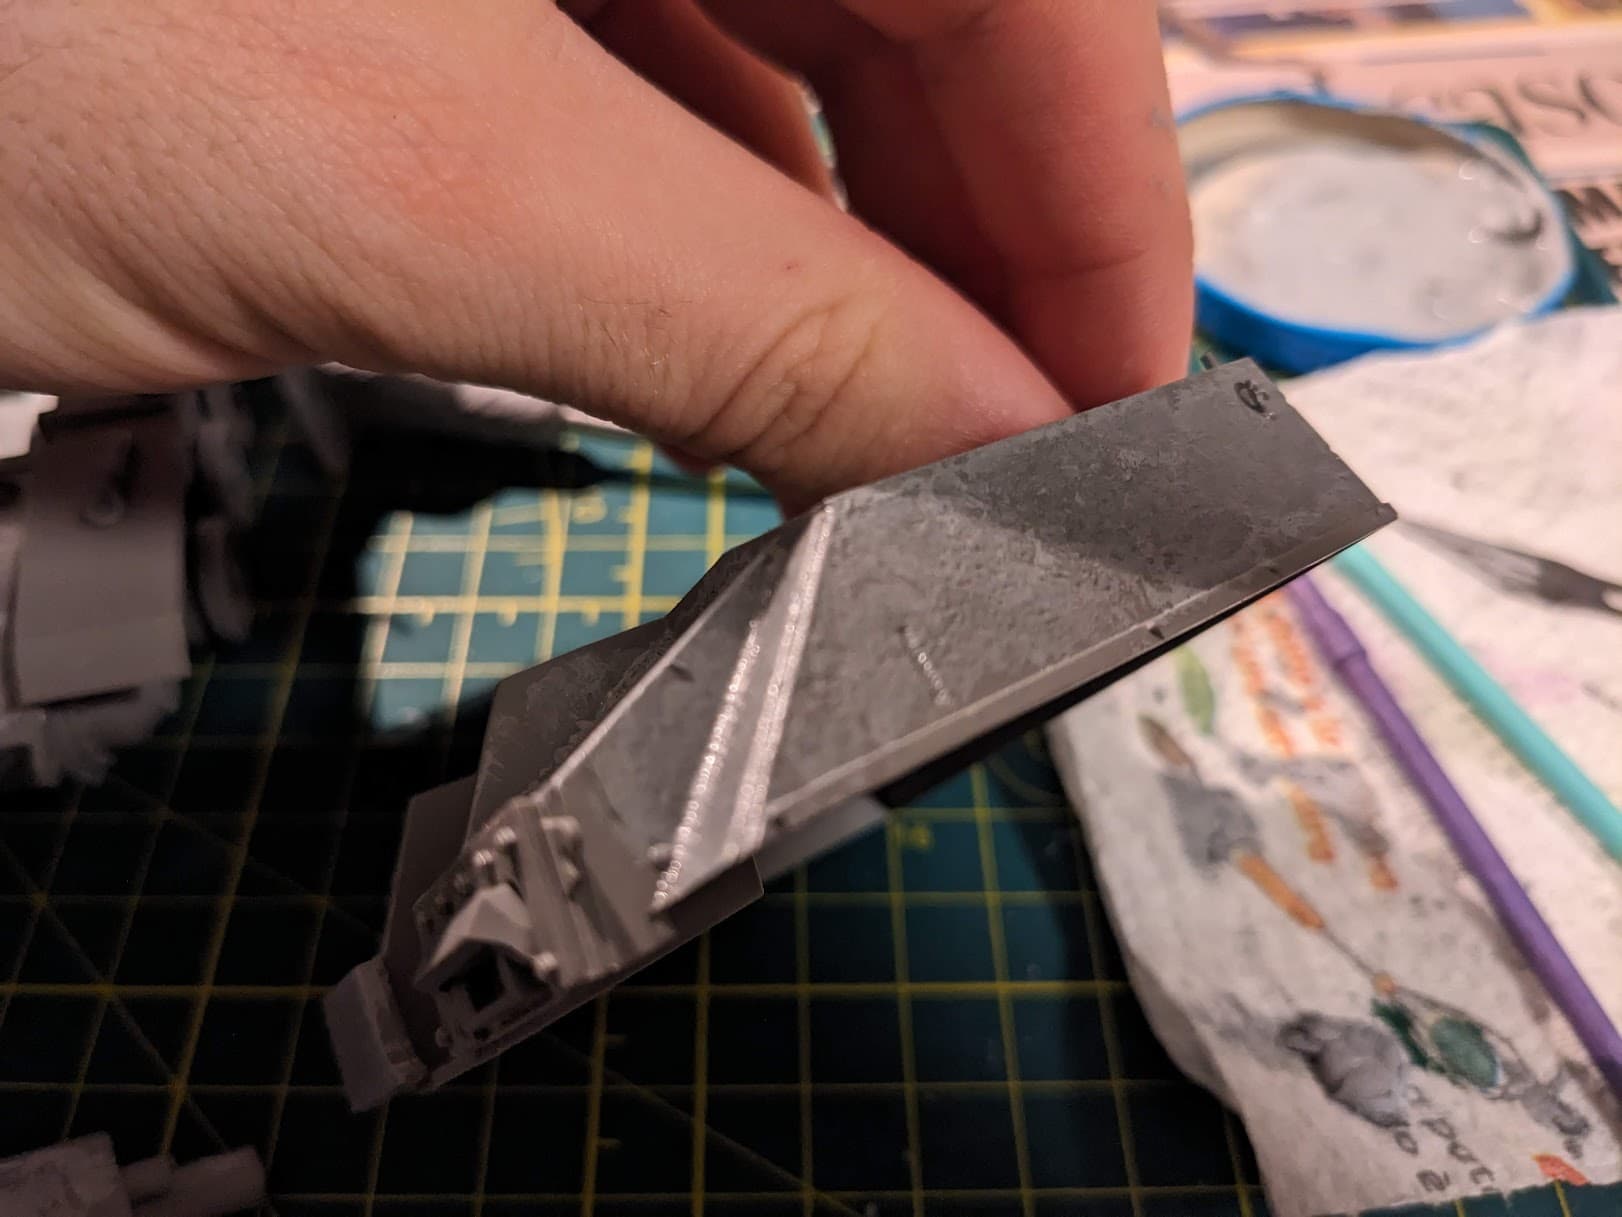
I enjoy taking final pics, and fooling around with how to best show the project…ahhh, admiring the craft, skill, and excellence of the build - what a treat! but, wait, something isn’t right here - the photos are fine, but the build - less fine - I don’t like what it looks like…:
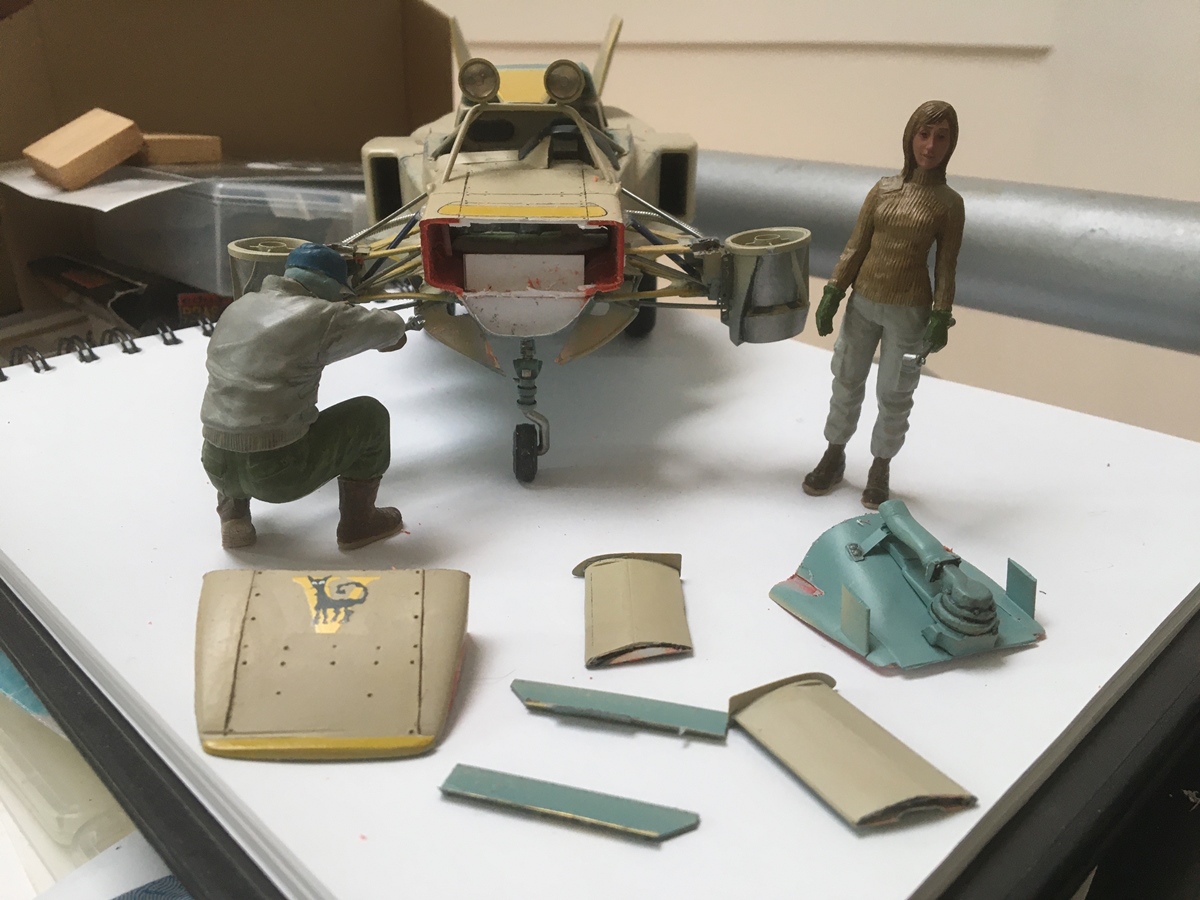
So, only moments ago, well, off came the nose! Knife and razor saw in action! and with limited collateral damage!
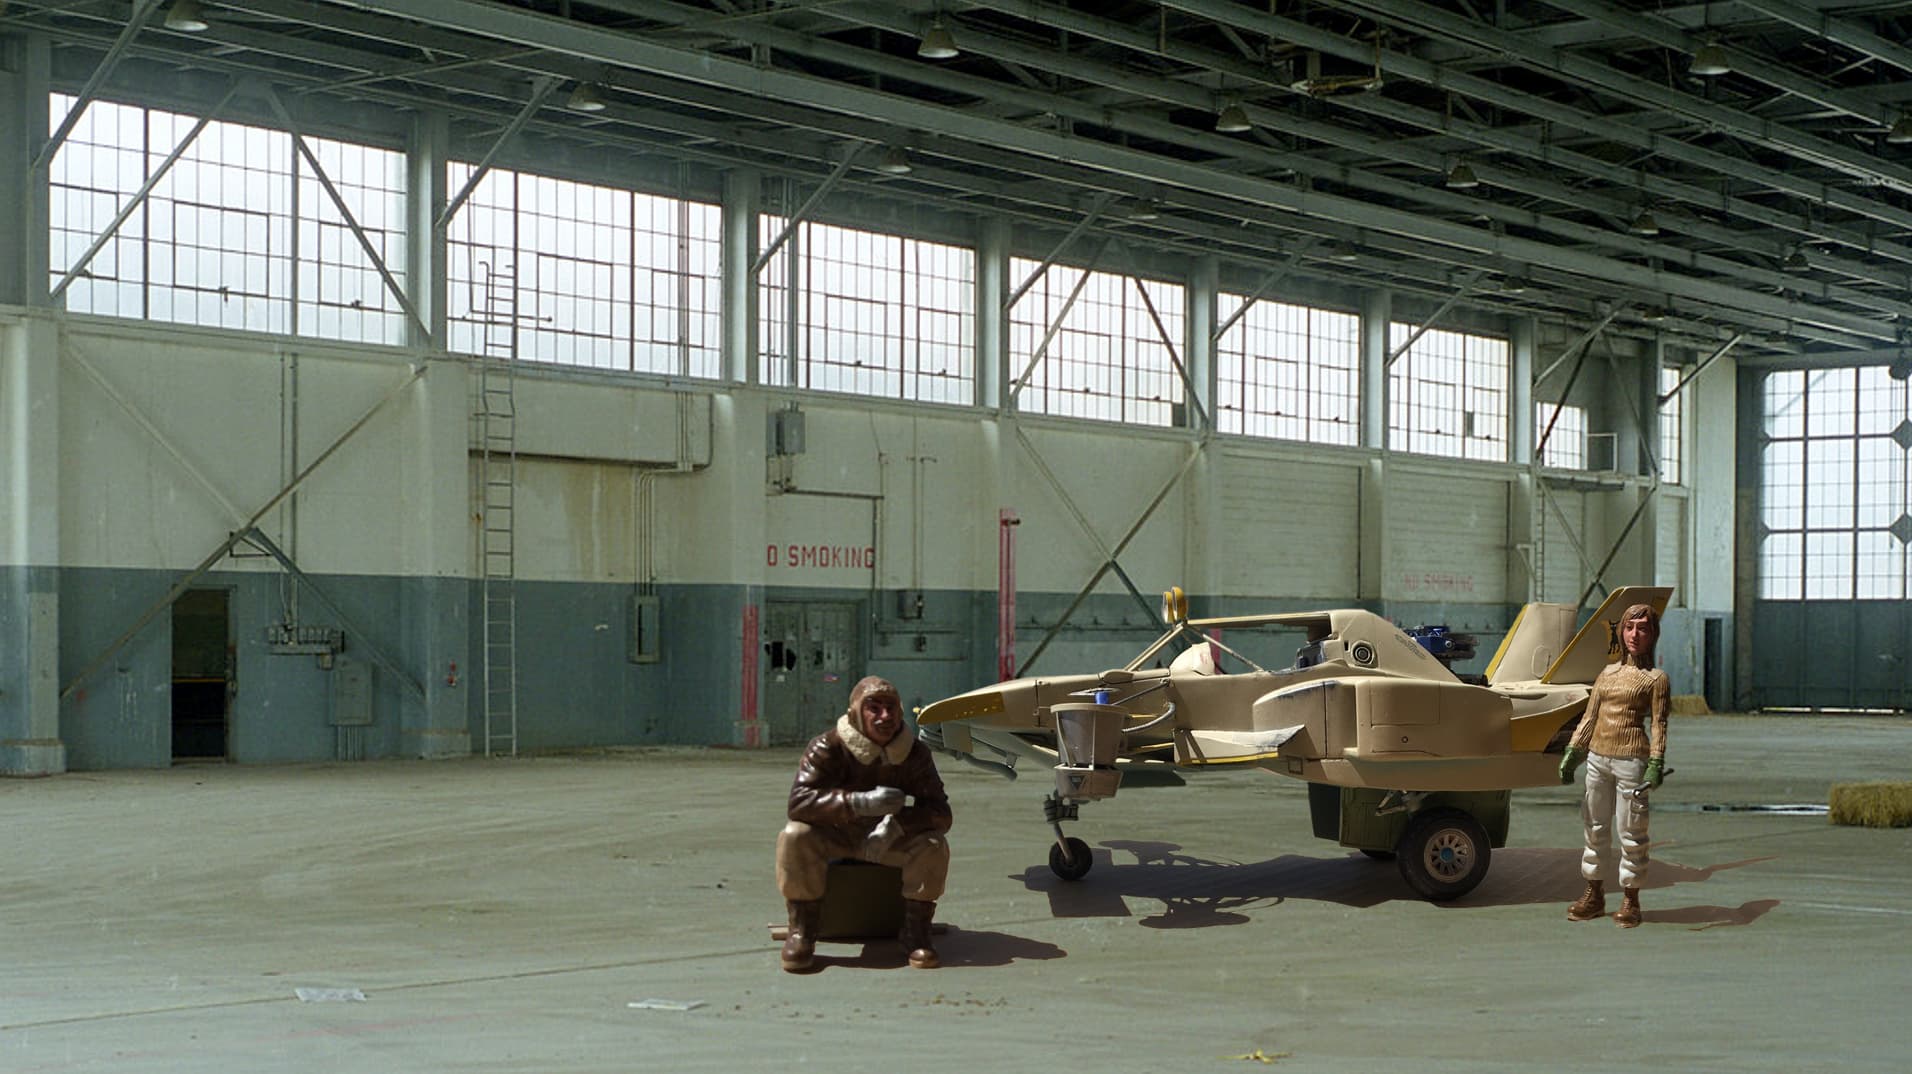
Why? well, I think it looked too short - so much so that it became a distraction and not just a thought. In reality, the anti-g units and landing gear should probably have all been cut off, and although a guy might be able to figure all of that out, nope - that would let this digress to a full on dumpster fire and not just a bit of a mess, hence here we are - so, wish me luck!
Cheers
Nick
11 Likes
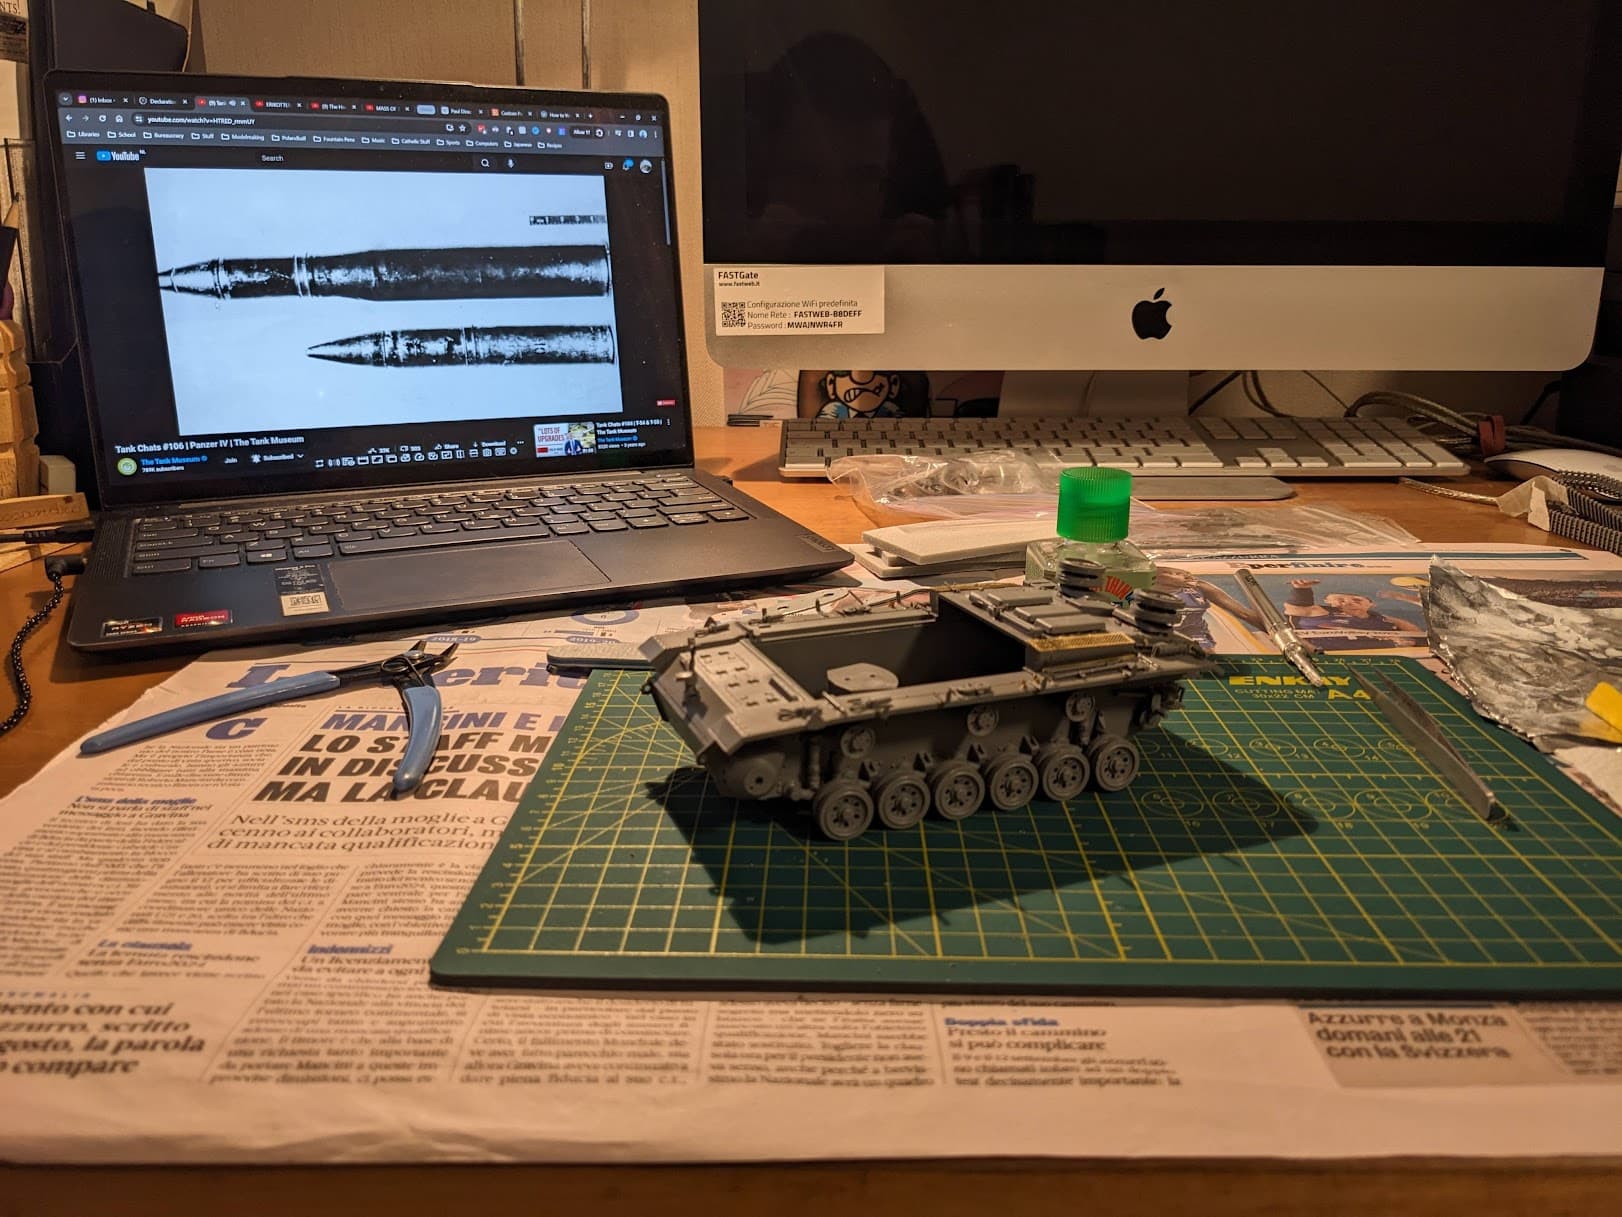
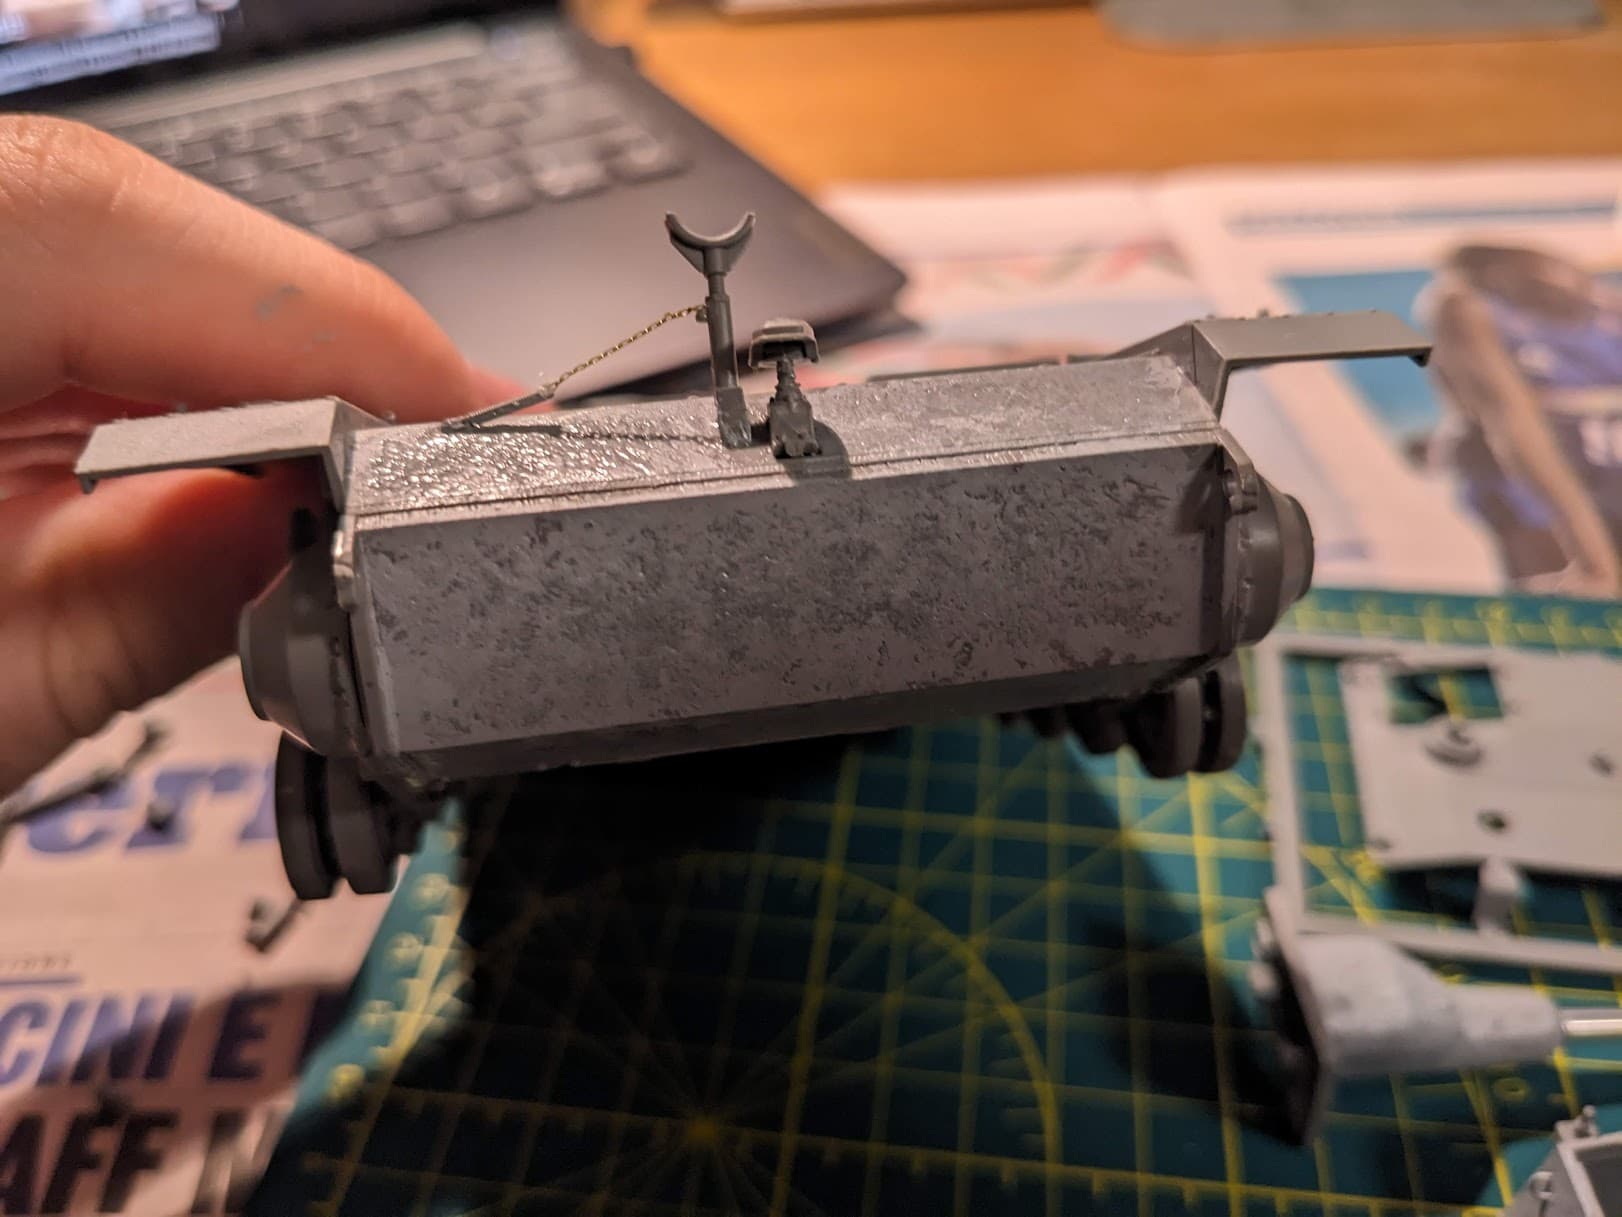
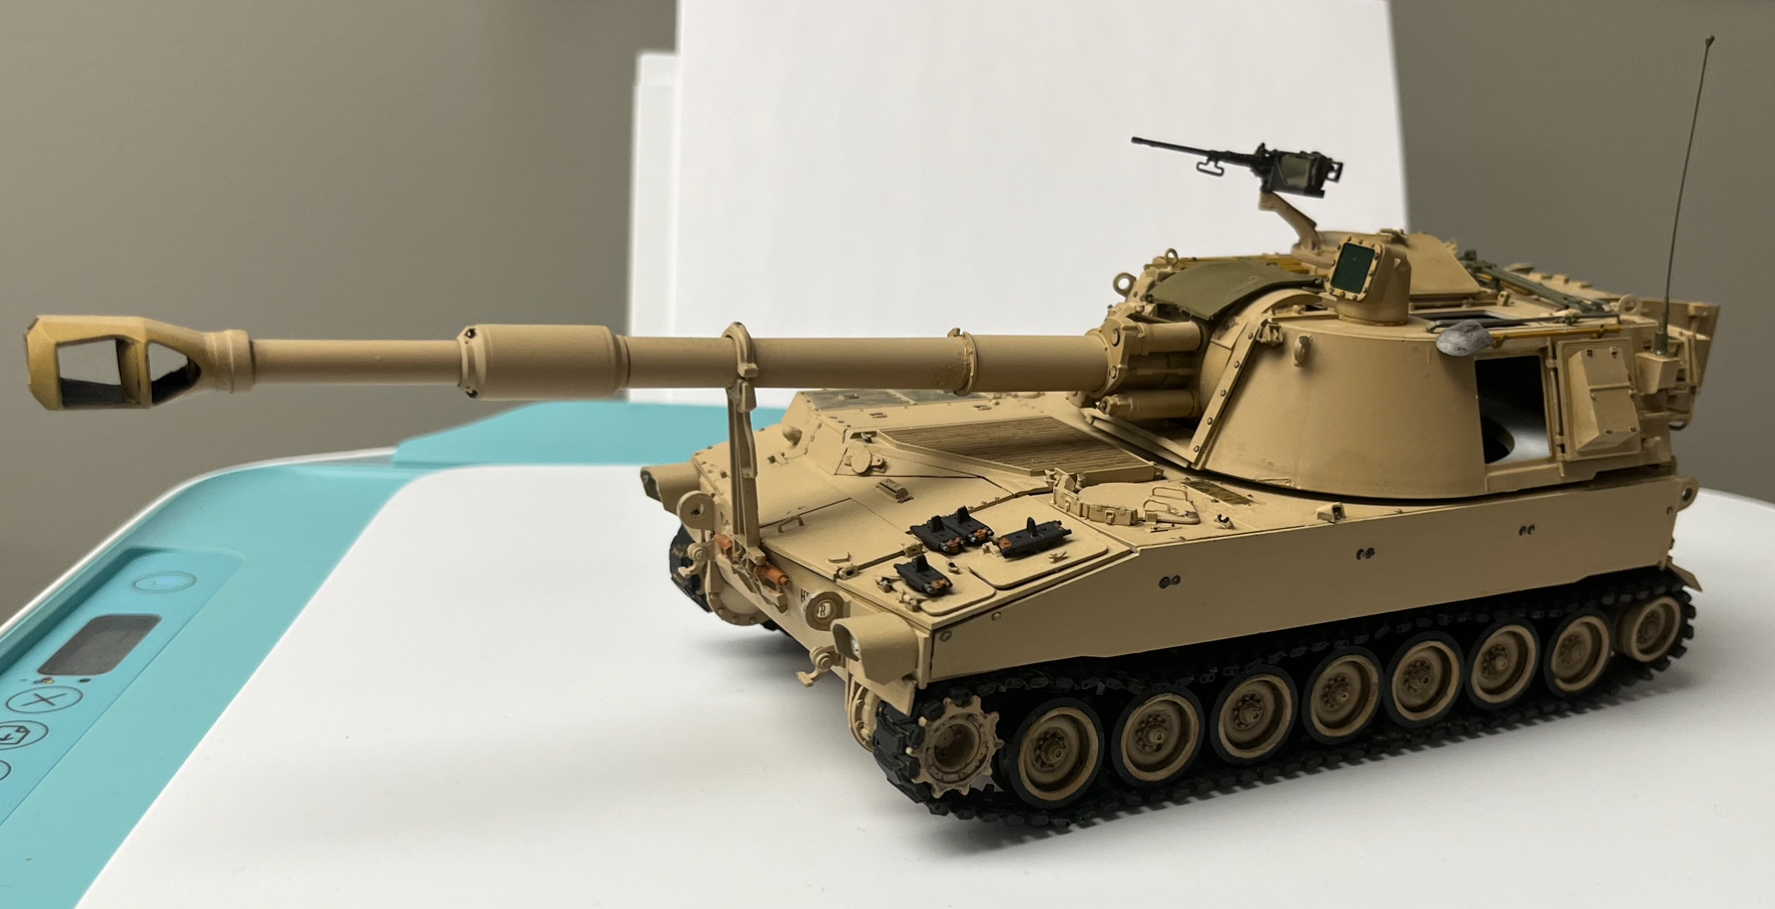
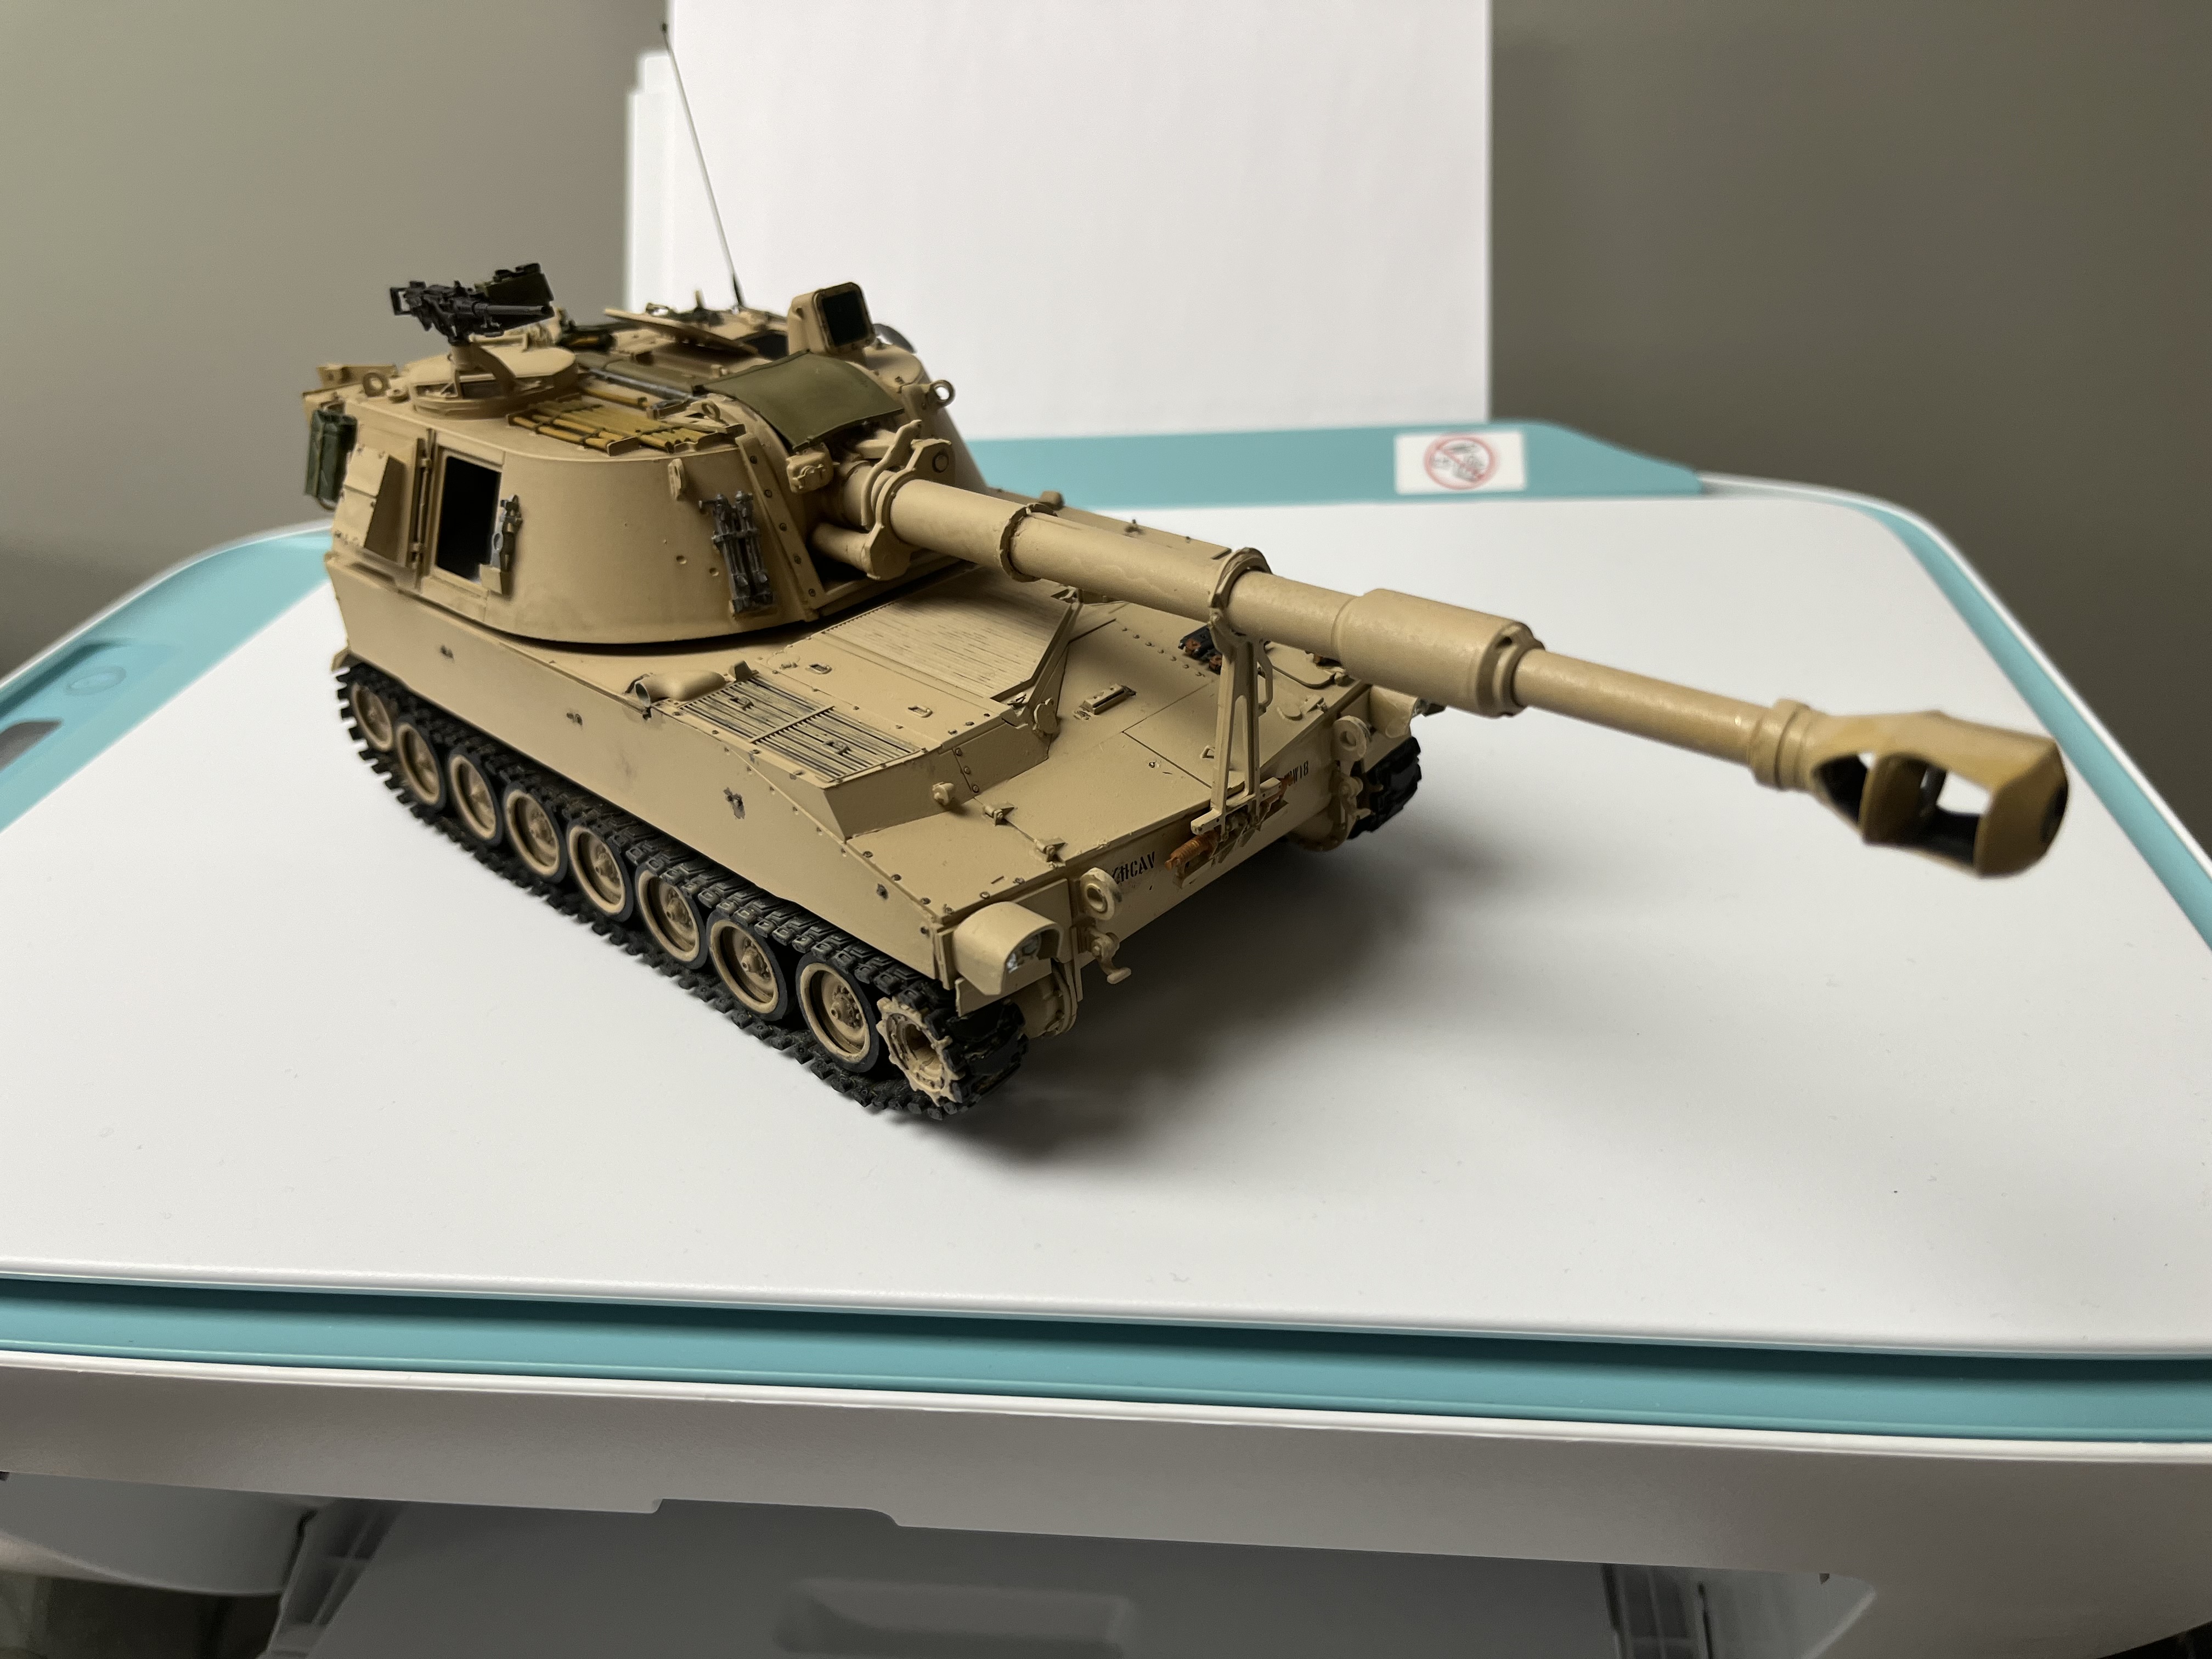
The texturing came out quite well, imo. Hopefully it shows well when I get to painting. Next will be the rest of the PE on the deck and the roof. Then I’ll likely work on the figures, and then stowage.
3 Likes
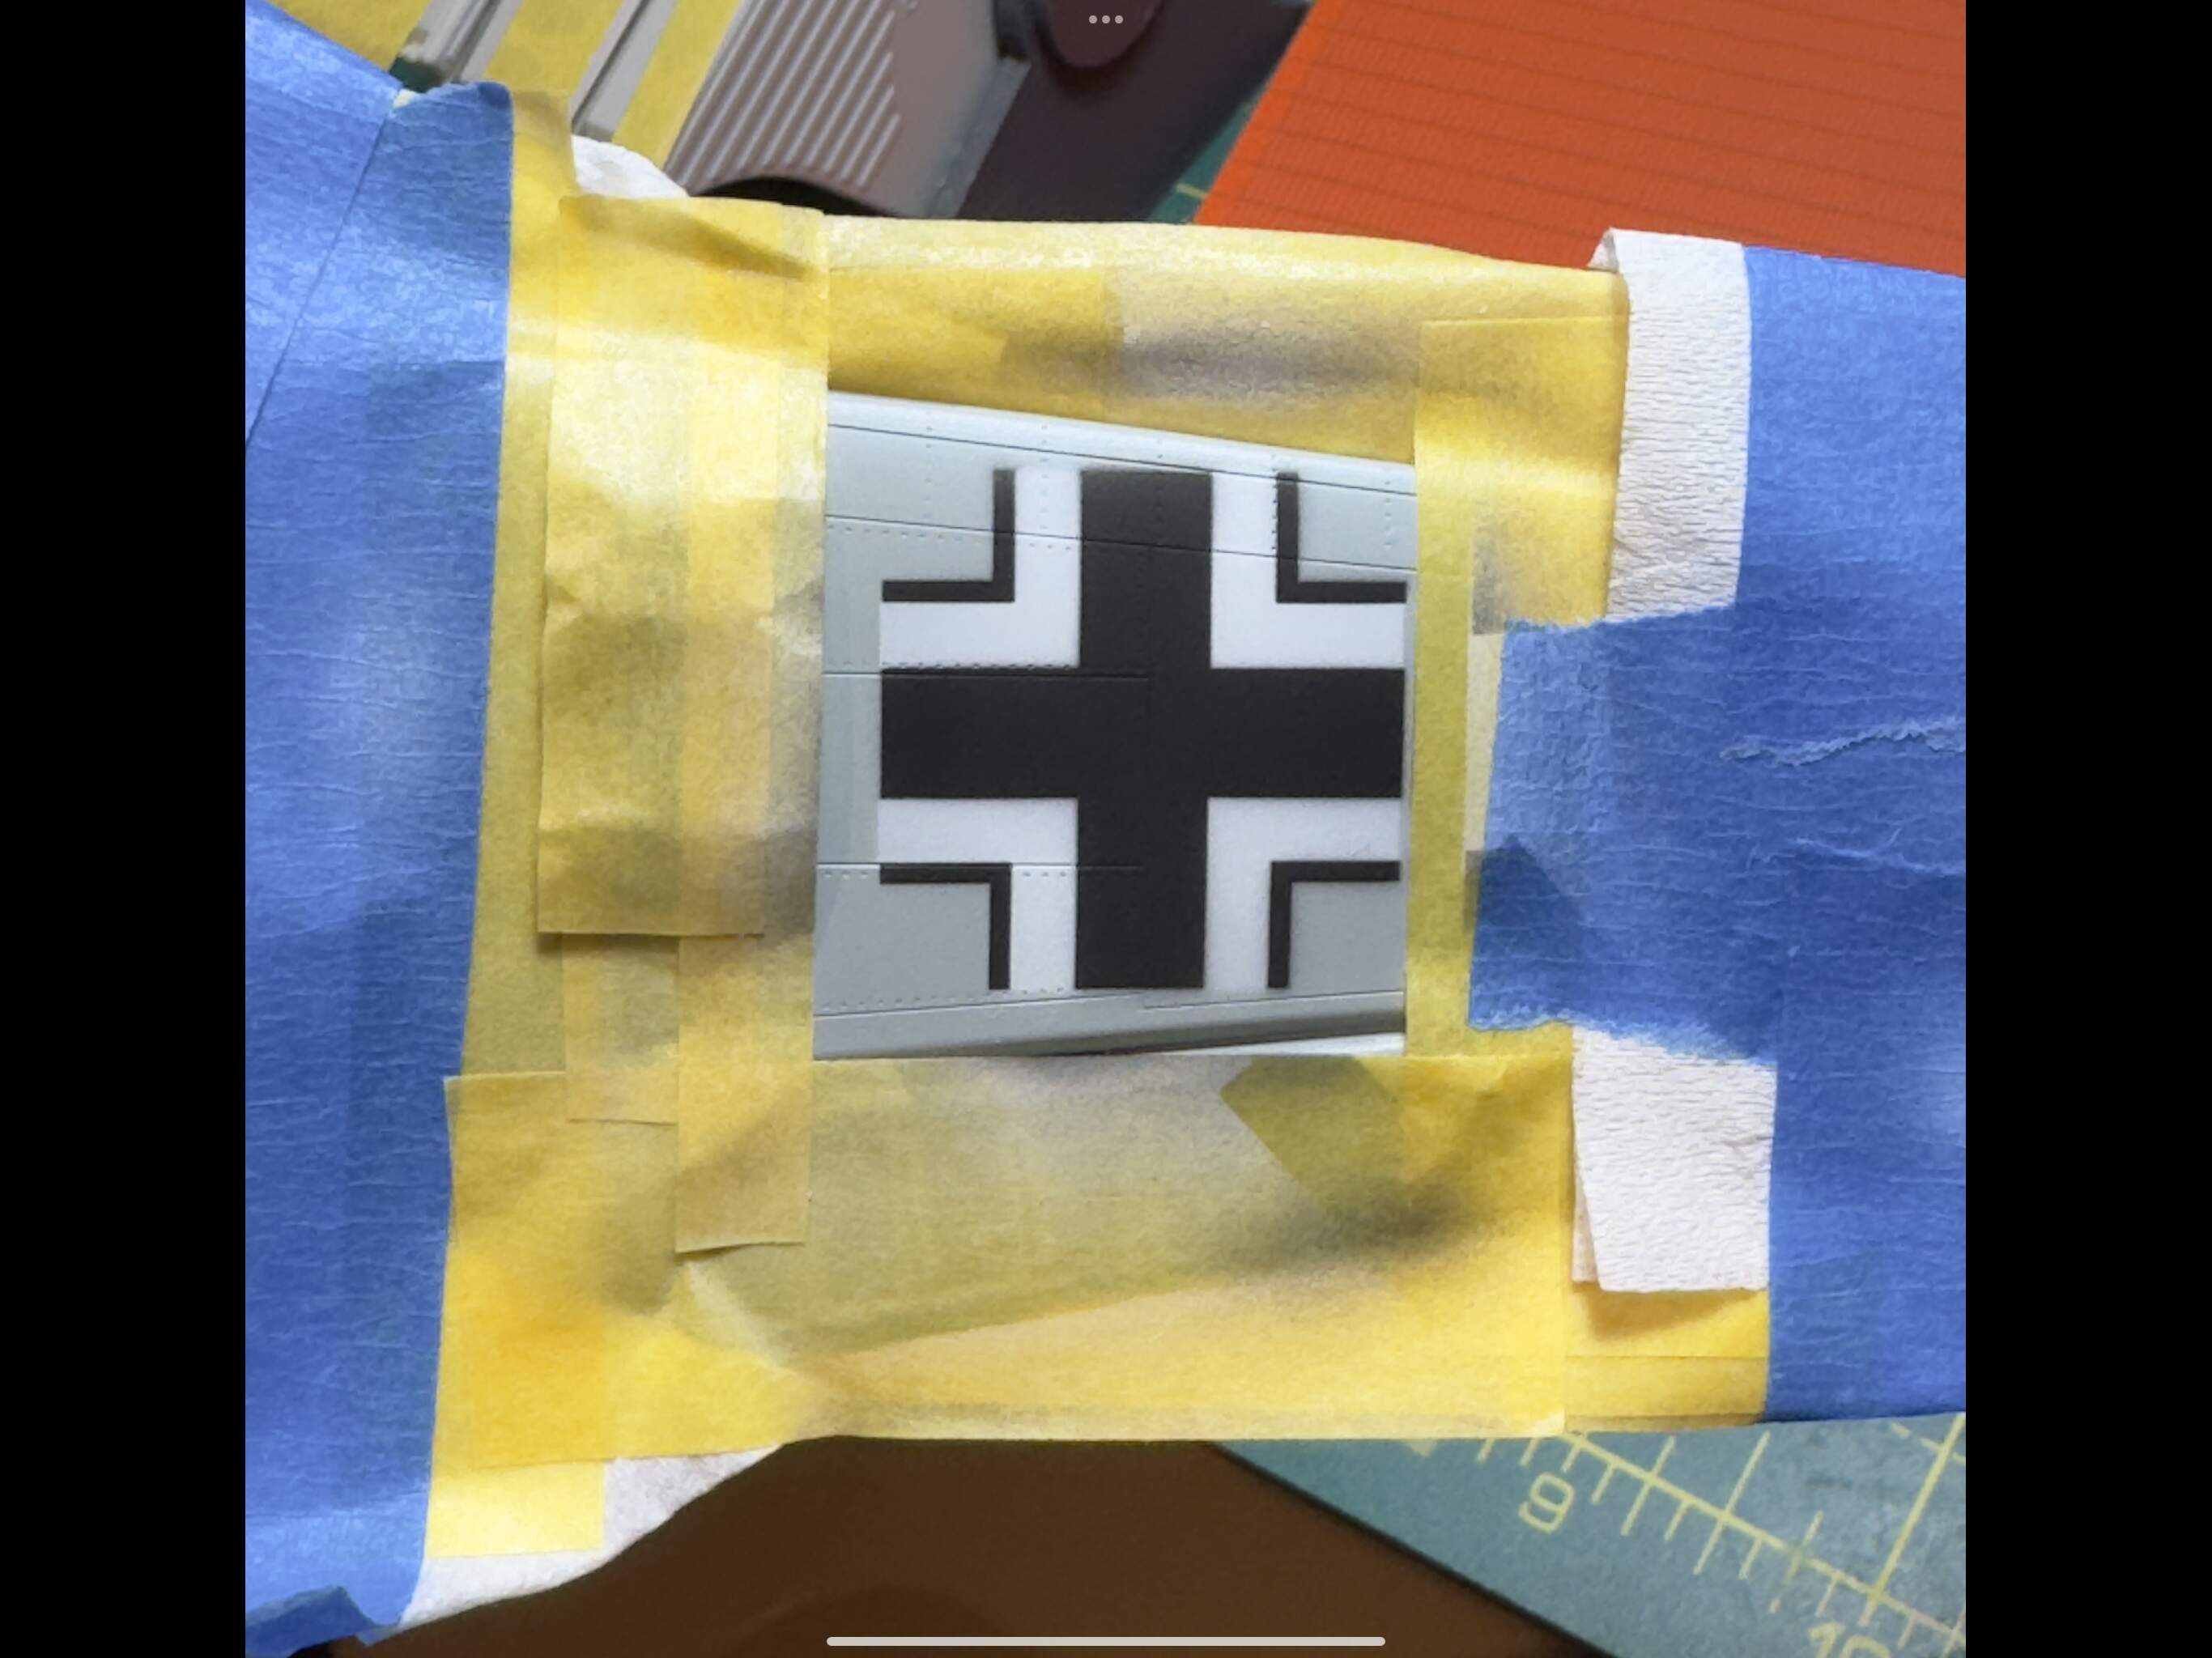
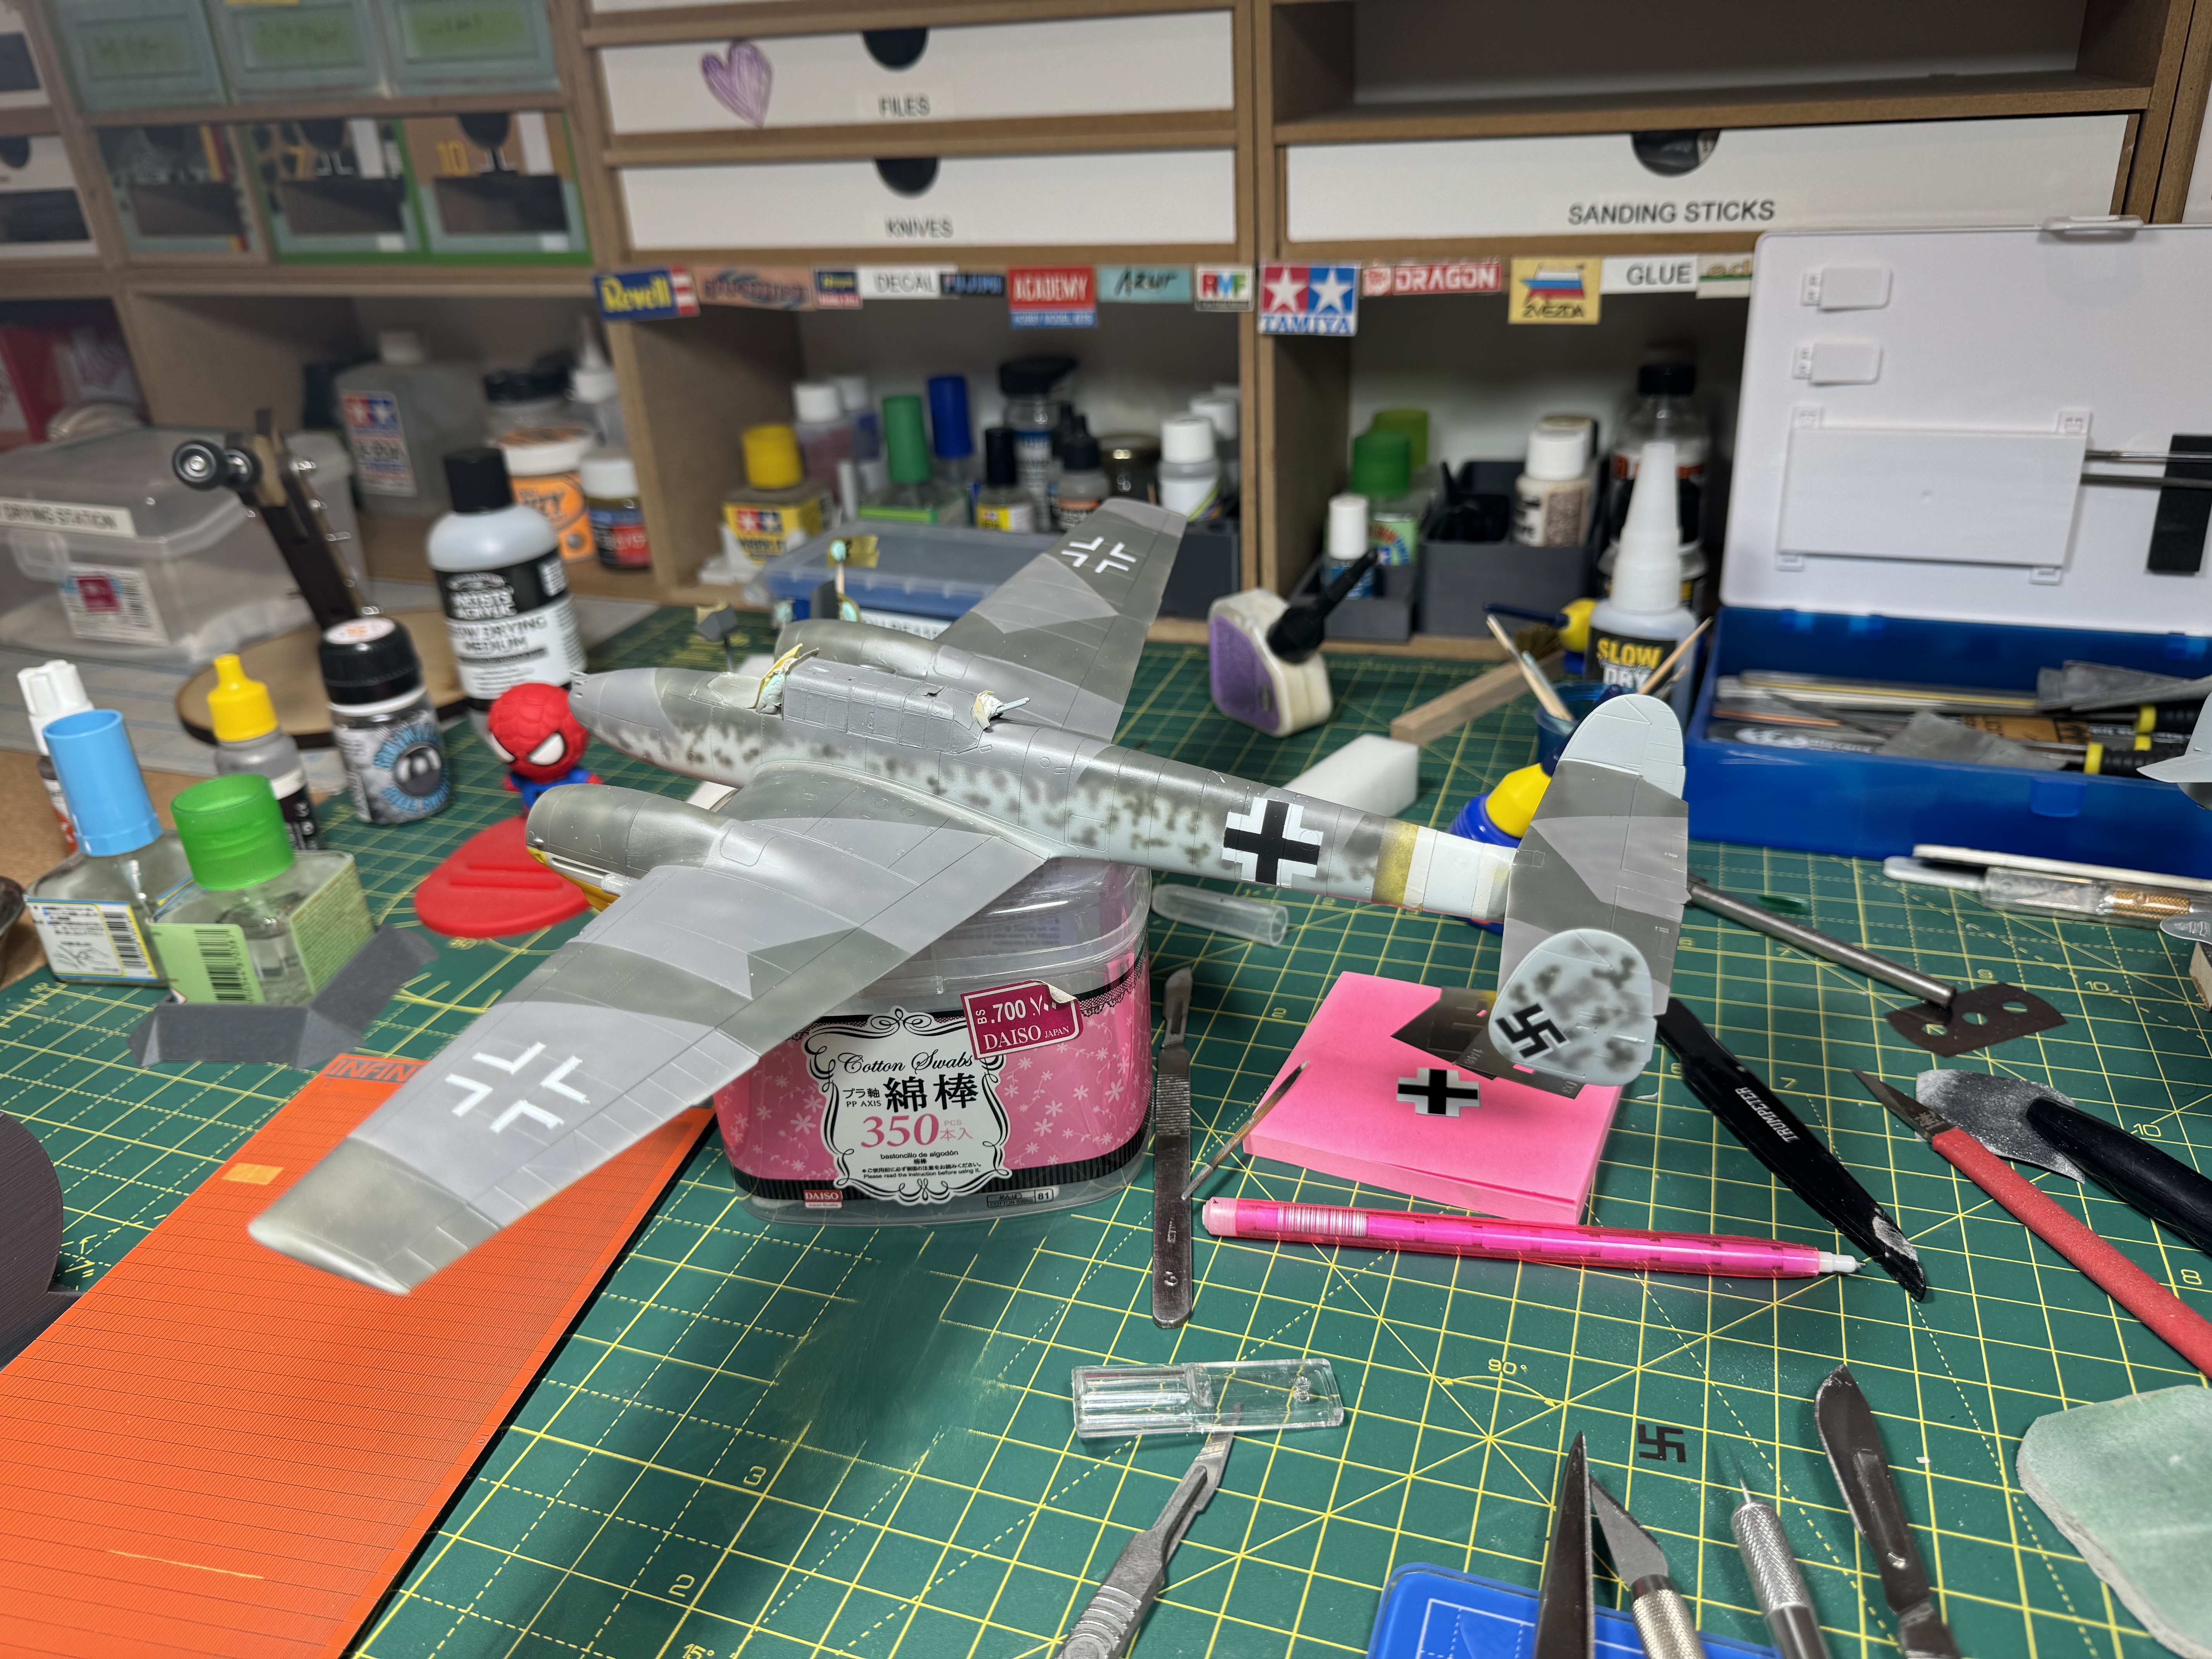
I spray painted all the national marking which was a first for me. Last time I did that was for the simplified crosses (single colour ones). There were some paint seepages and a slight misalignment of the two colours in the hakenkreuz which I’m going use as a learning experience. Next step is assembling the landing gear and then onwards to the rest of the decals.
Cheers ![]()
16 Likes

Quick build Trumpeter type xxiii

13 Likes
At a show today with our own Kitmaker British Bulldogs and built this while there.
Trumpeter 1/72 Stryker

11 Likes
Pretty much finished with the build. Maybe a tarp, cam net roll, packs or something to finish off tomorrow.
19 Likes
Fleet Week! 

Made hull plates with rivets to cover two sides of the base. Thin Styrene sheet was rolled from the back-side with a Trumpeter (09910) Rivet Maker.
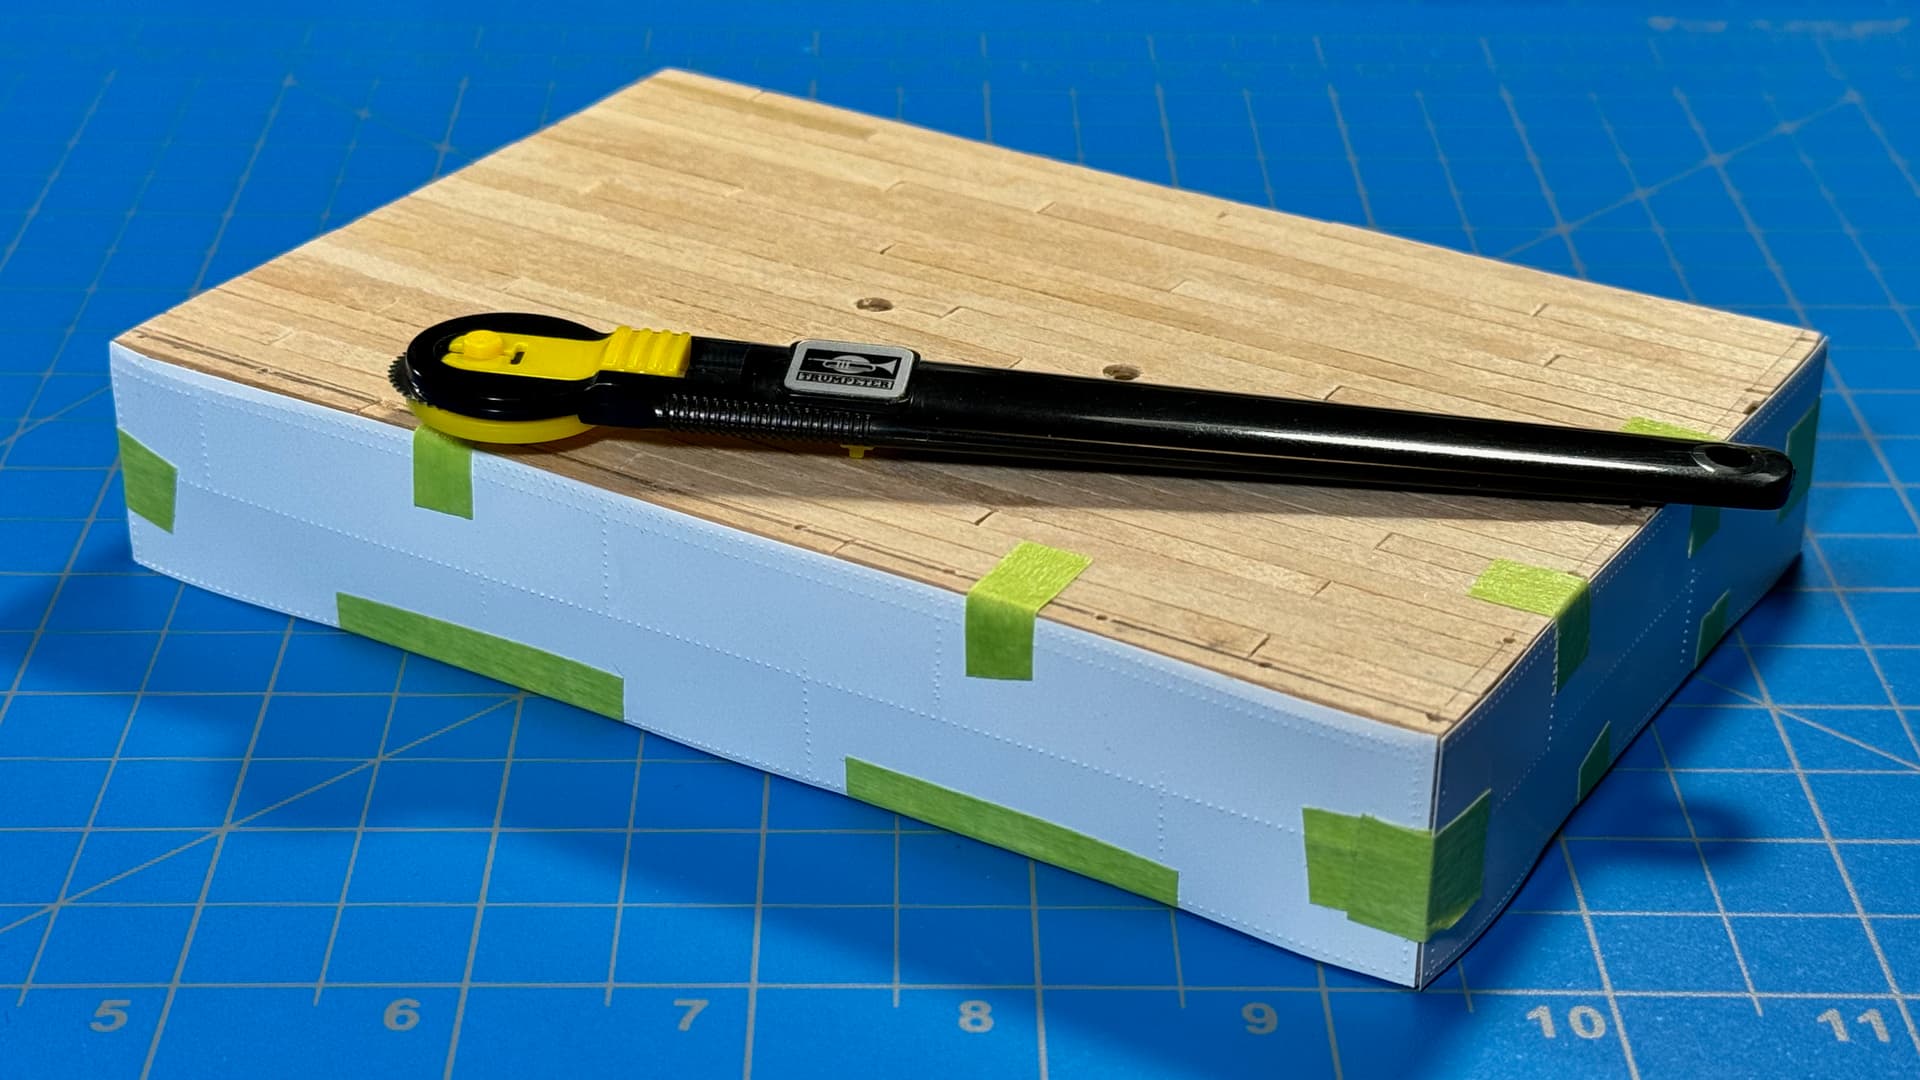
• Evergreen Styrene Sheet (9009) .005” Thick (0.13mm)
大日本帝国海軍!![]()
![]()
—mike
15 Likes
Italeri Veltro

18 Likes
First ever weld seams… They will be getting better as I work.

Edit: Man, are these things tesious to make!
9 Likes