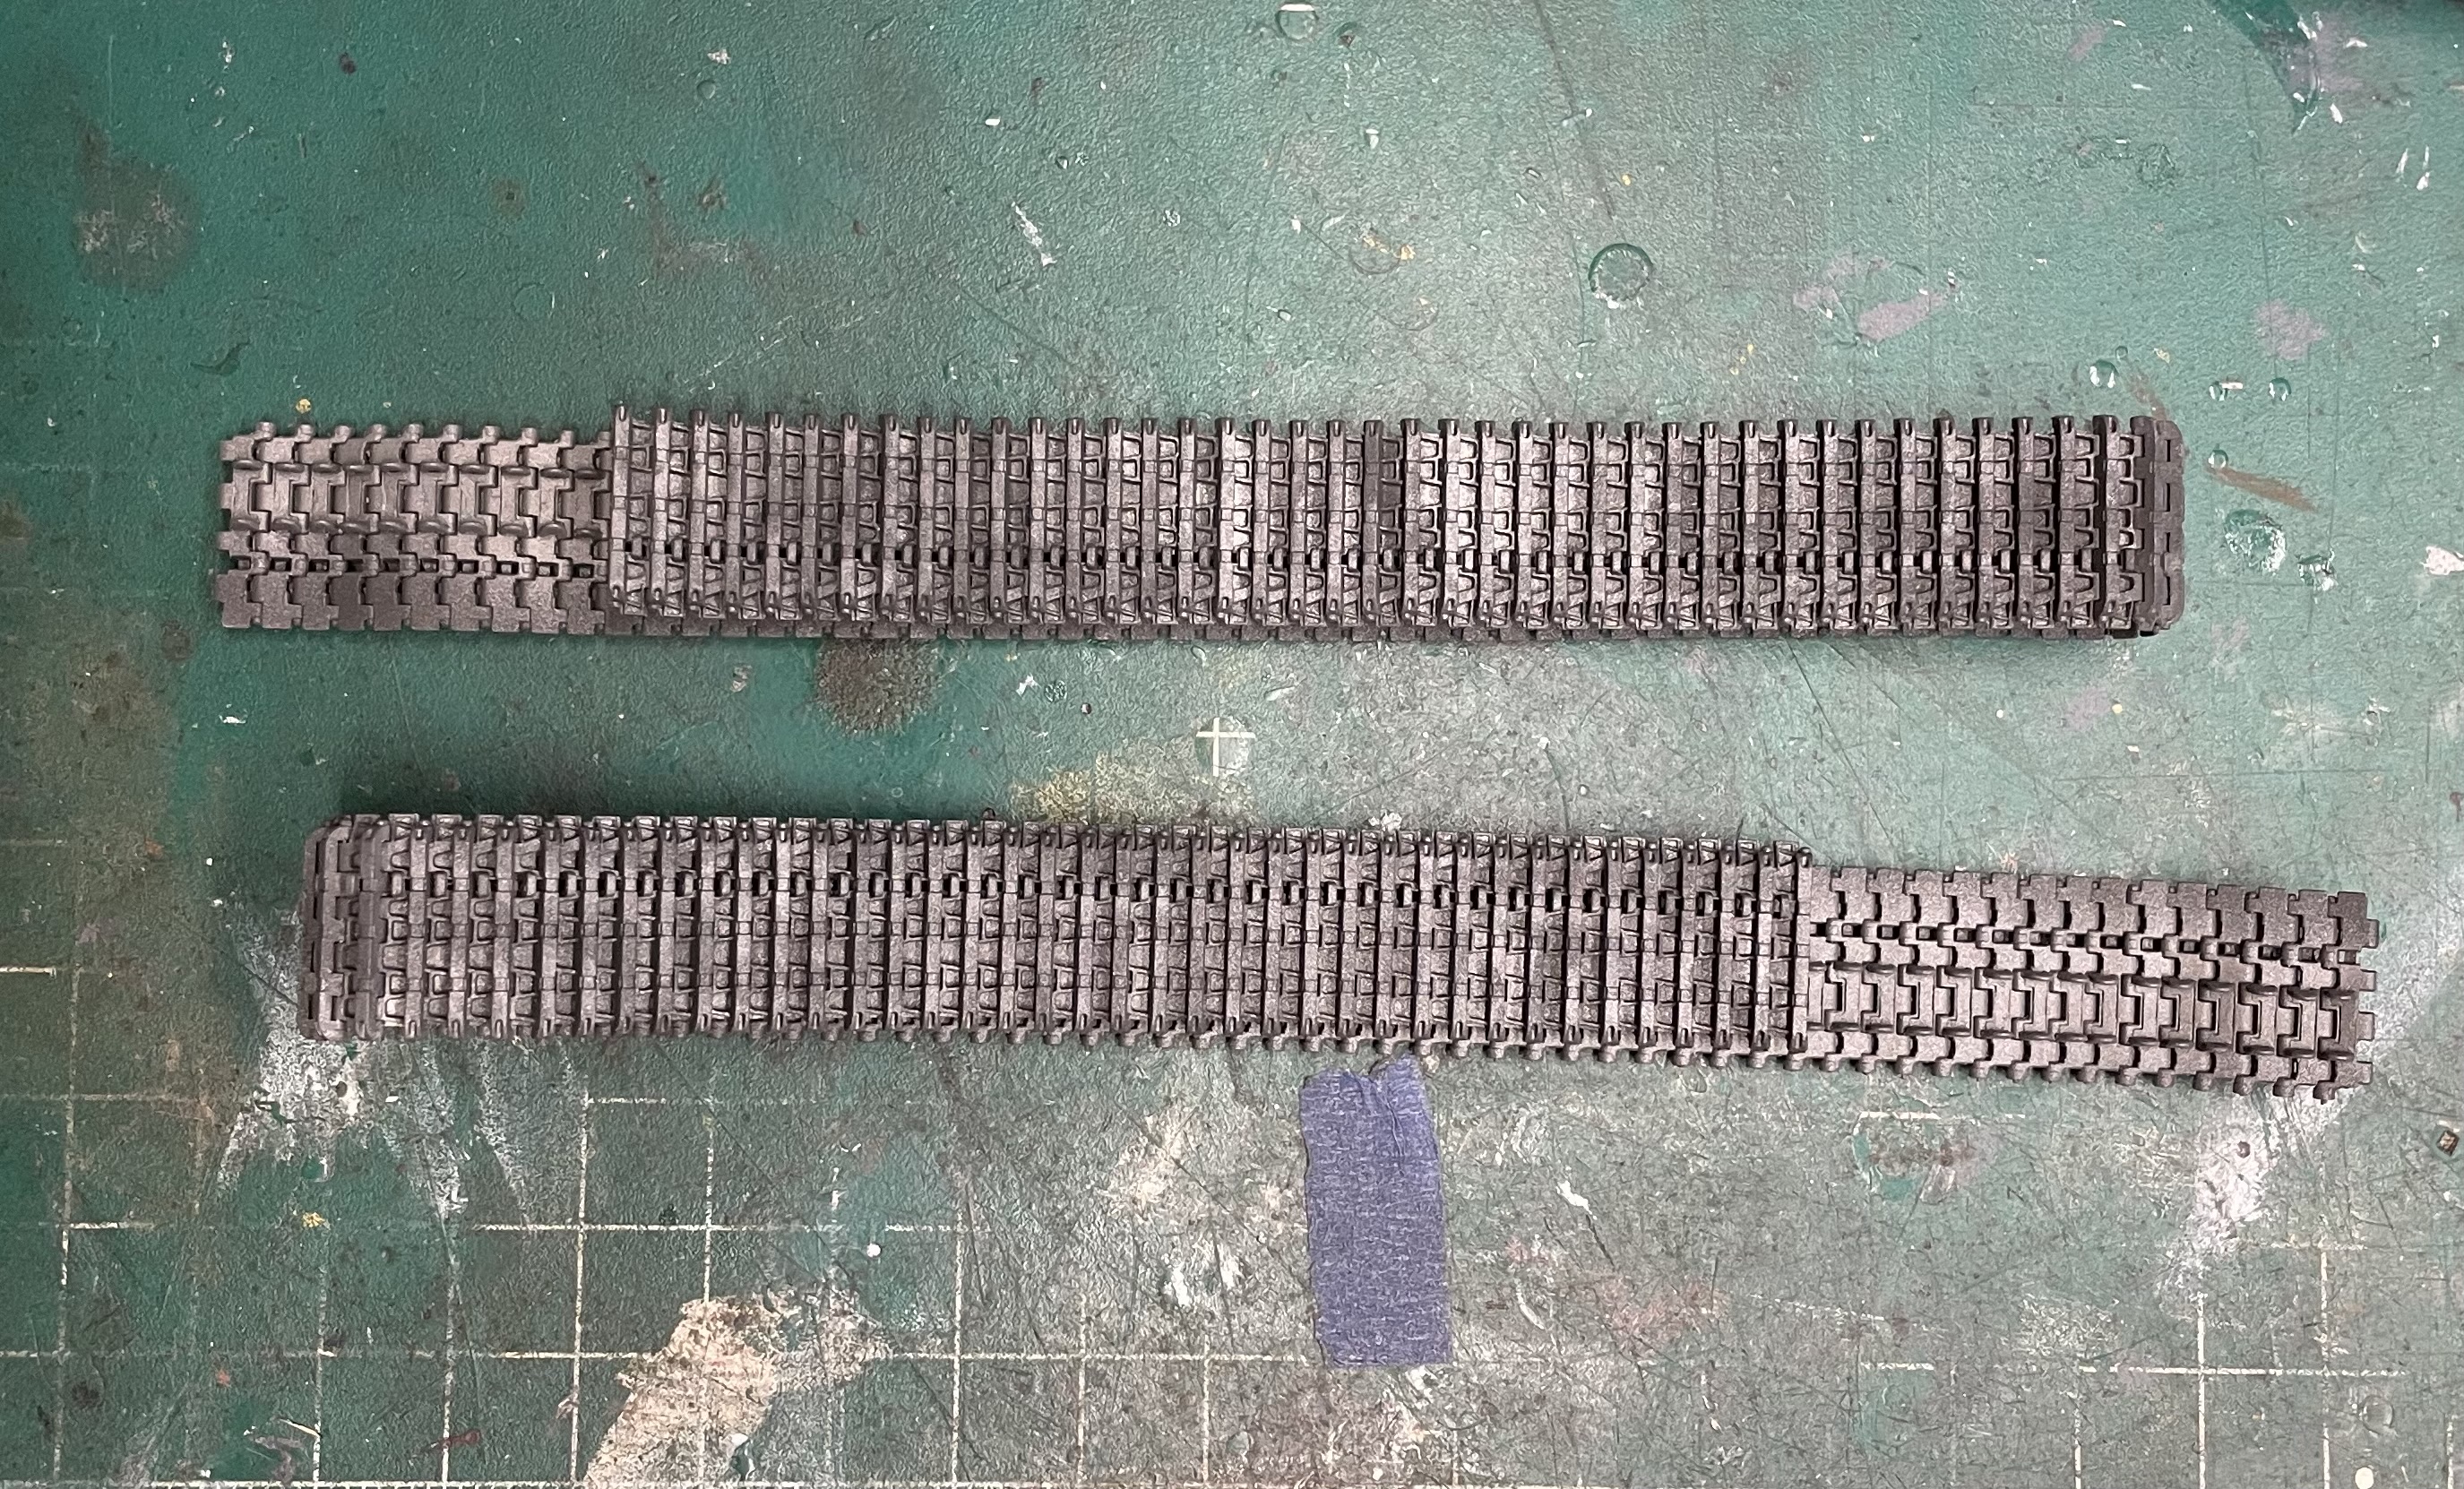
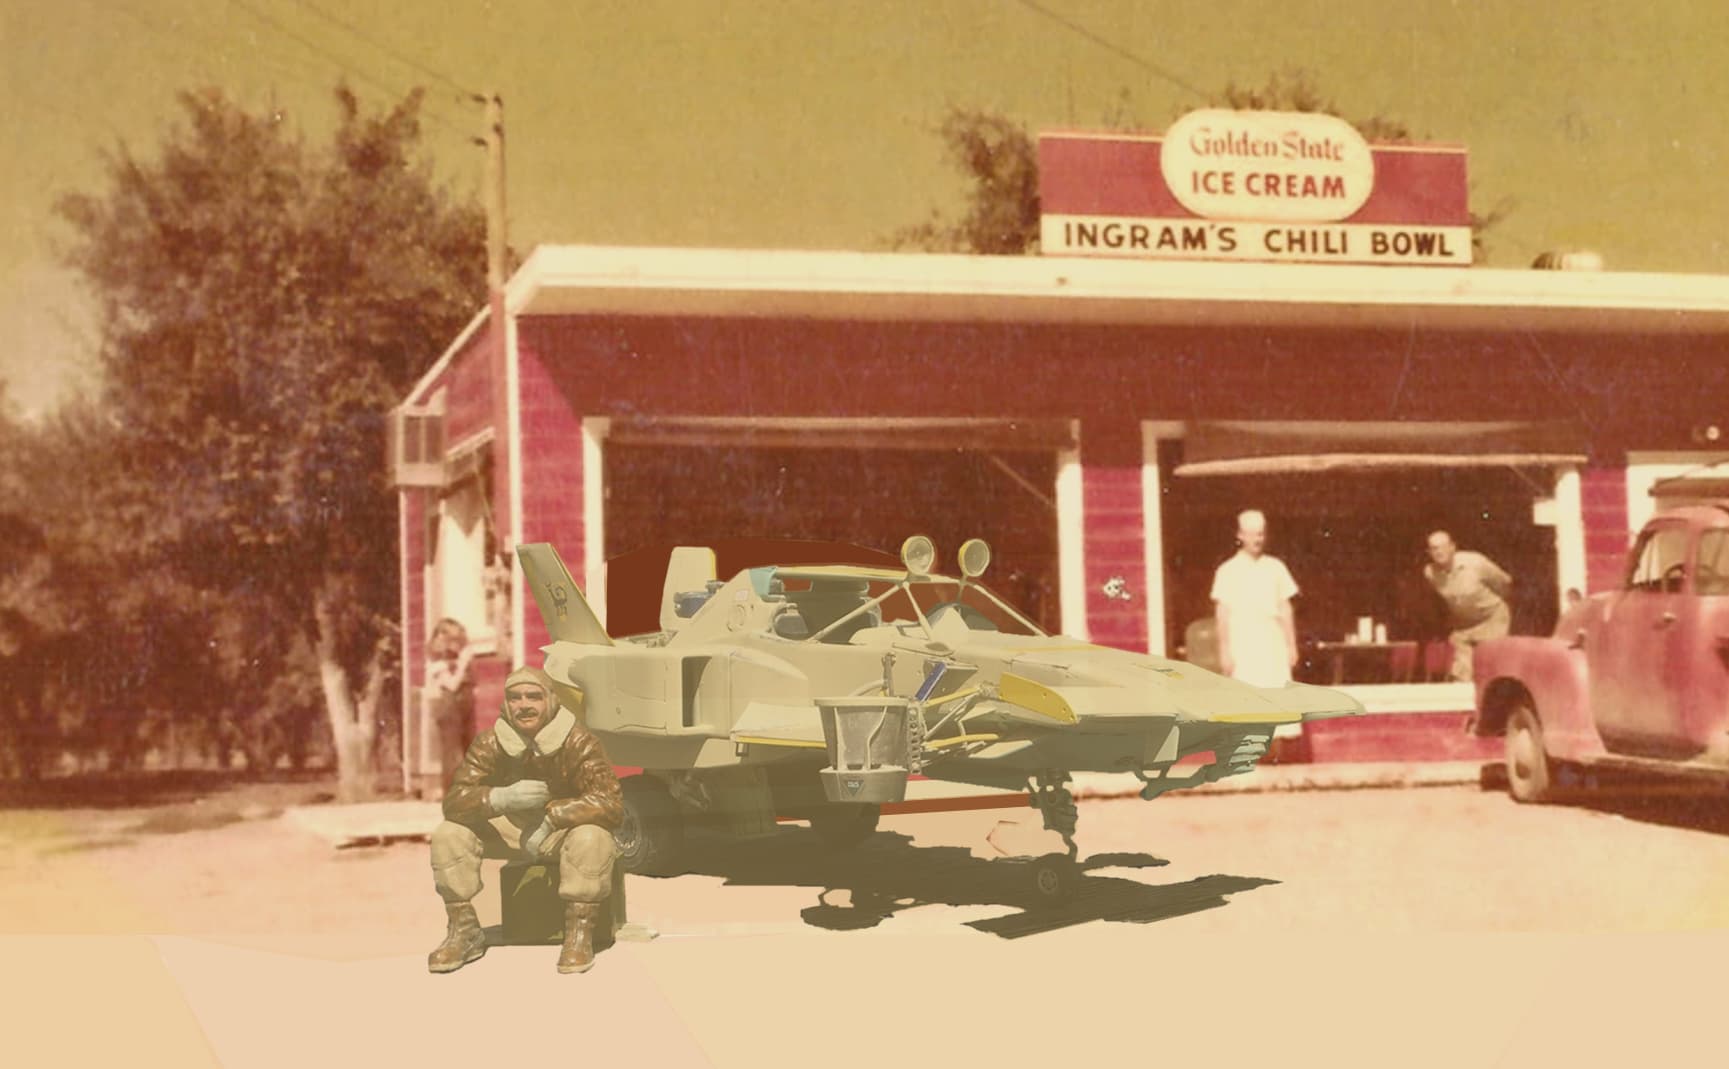
I’ve primed, painted and put a flat coat on the tracks.
Tamiya dark iron as a base. I then tried to spray some highlights on the raised areas and where the wheels ride. Tamiya metallic gray. Unfortunately, i lack experience with using the airbrush this way and my air brush needles really need to be replaced. Unfortunately, replacement is not in the budget right now.
I think it will turn out alright after some washes and weathering.
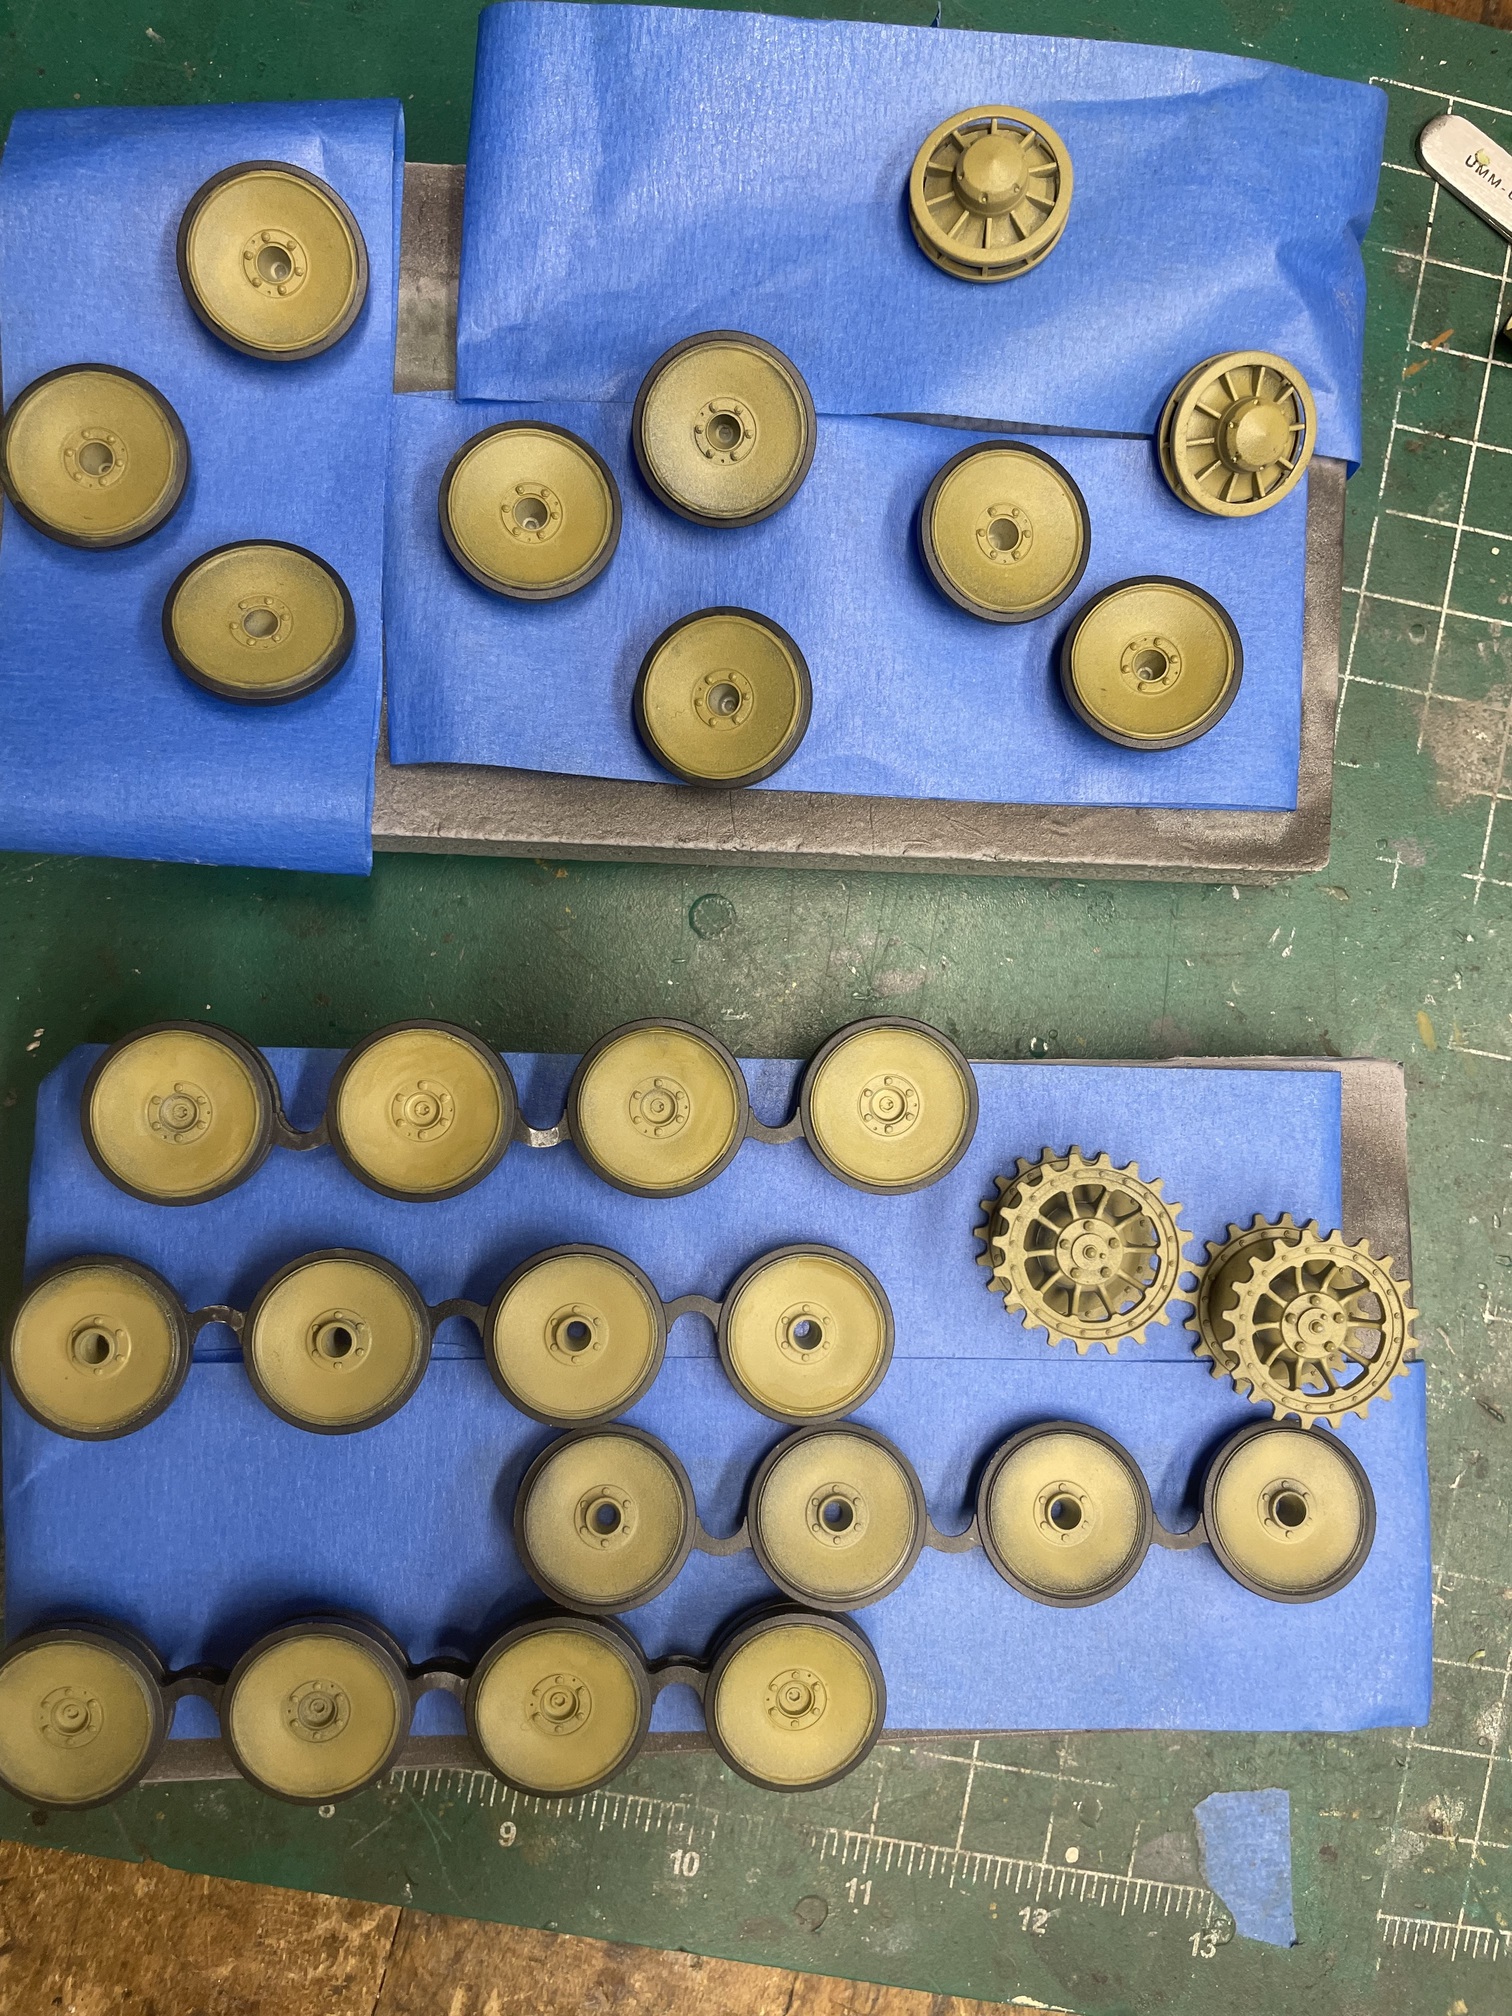
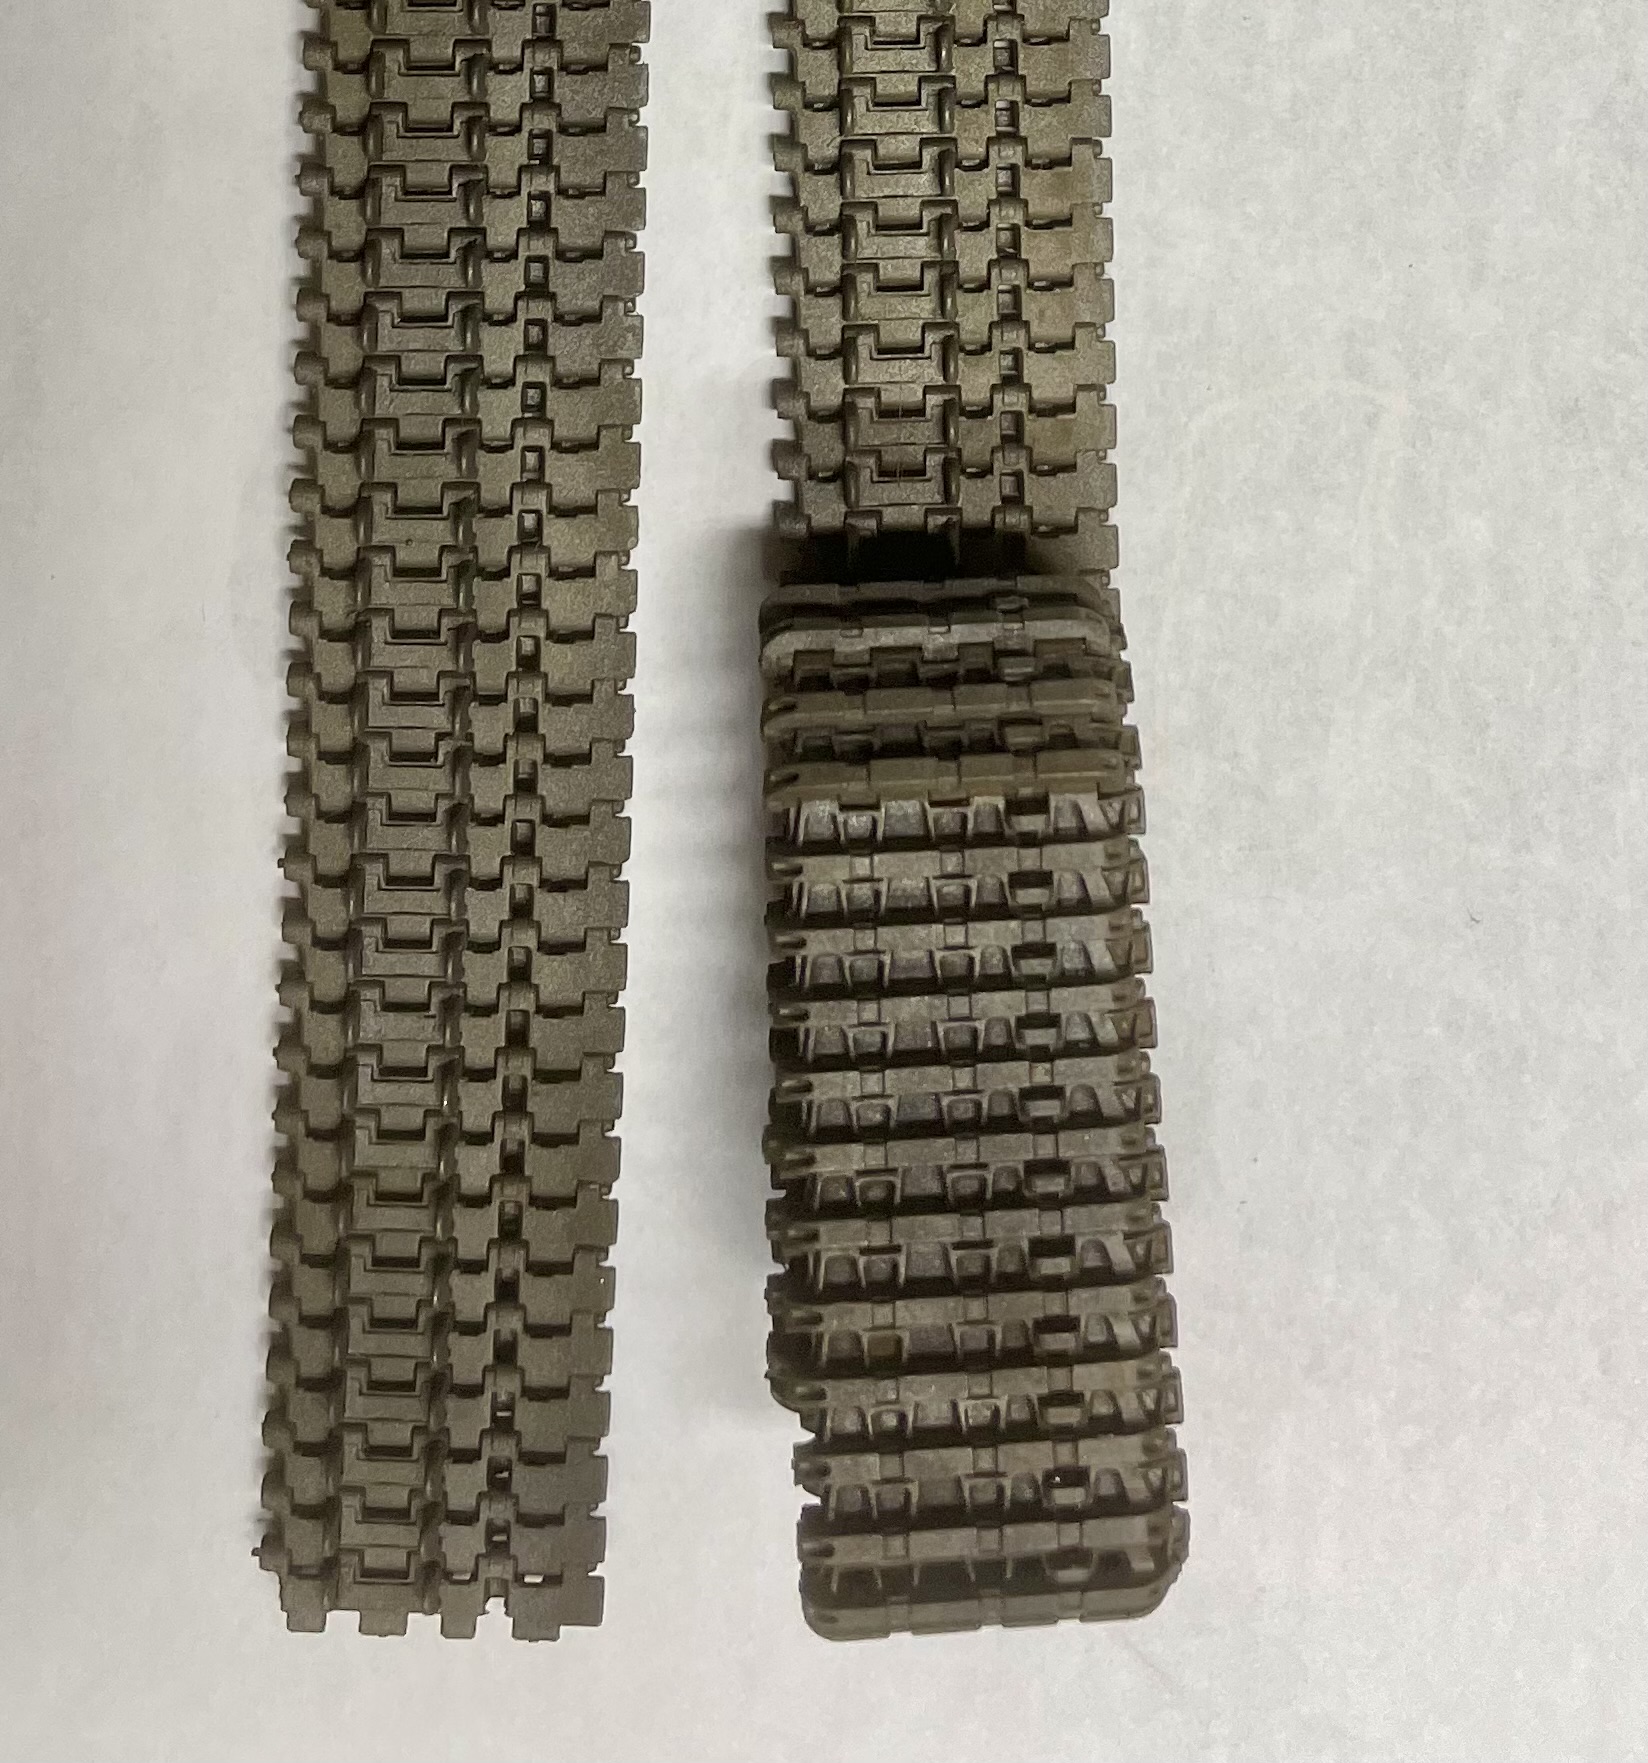
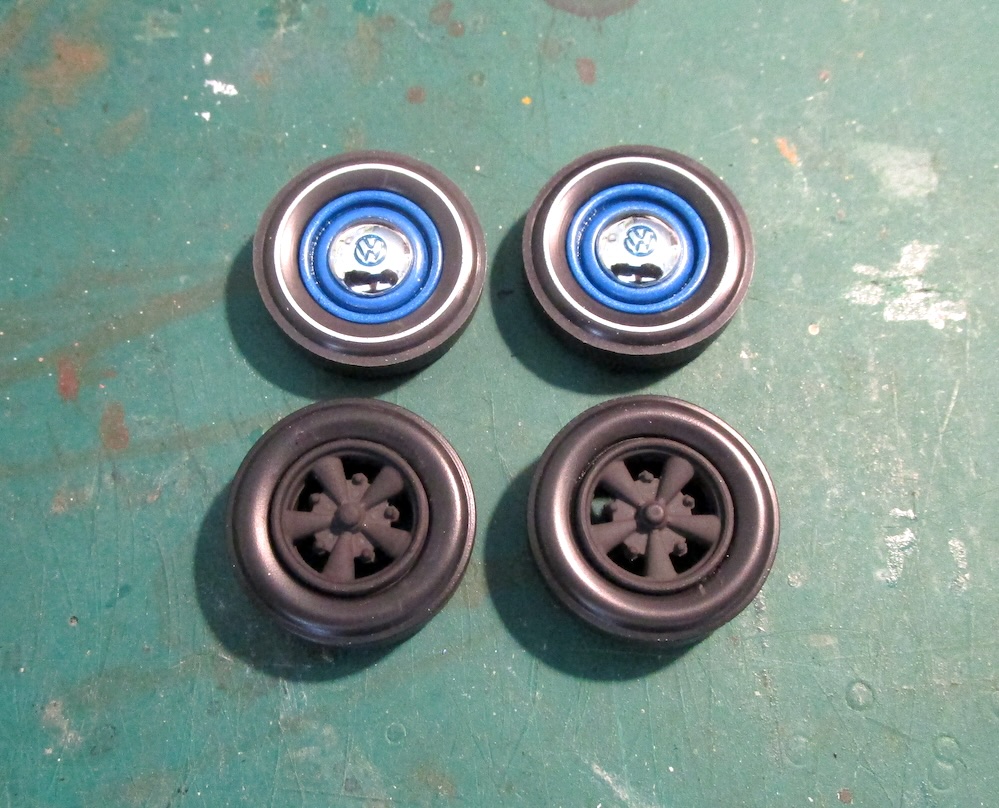
I also ran some quick touch ups on the wheels and flat coated them.
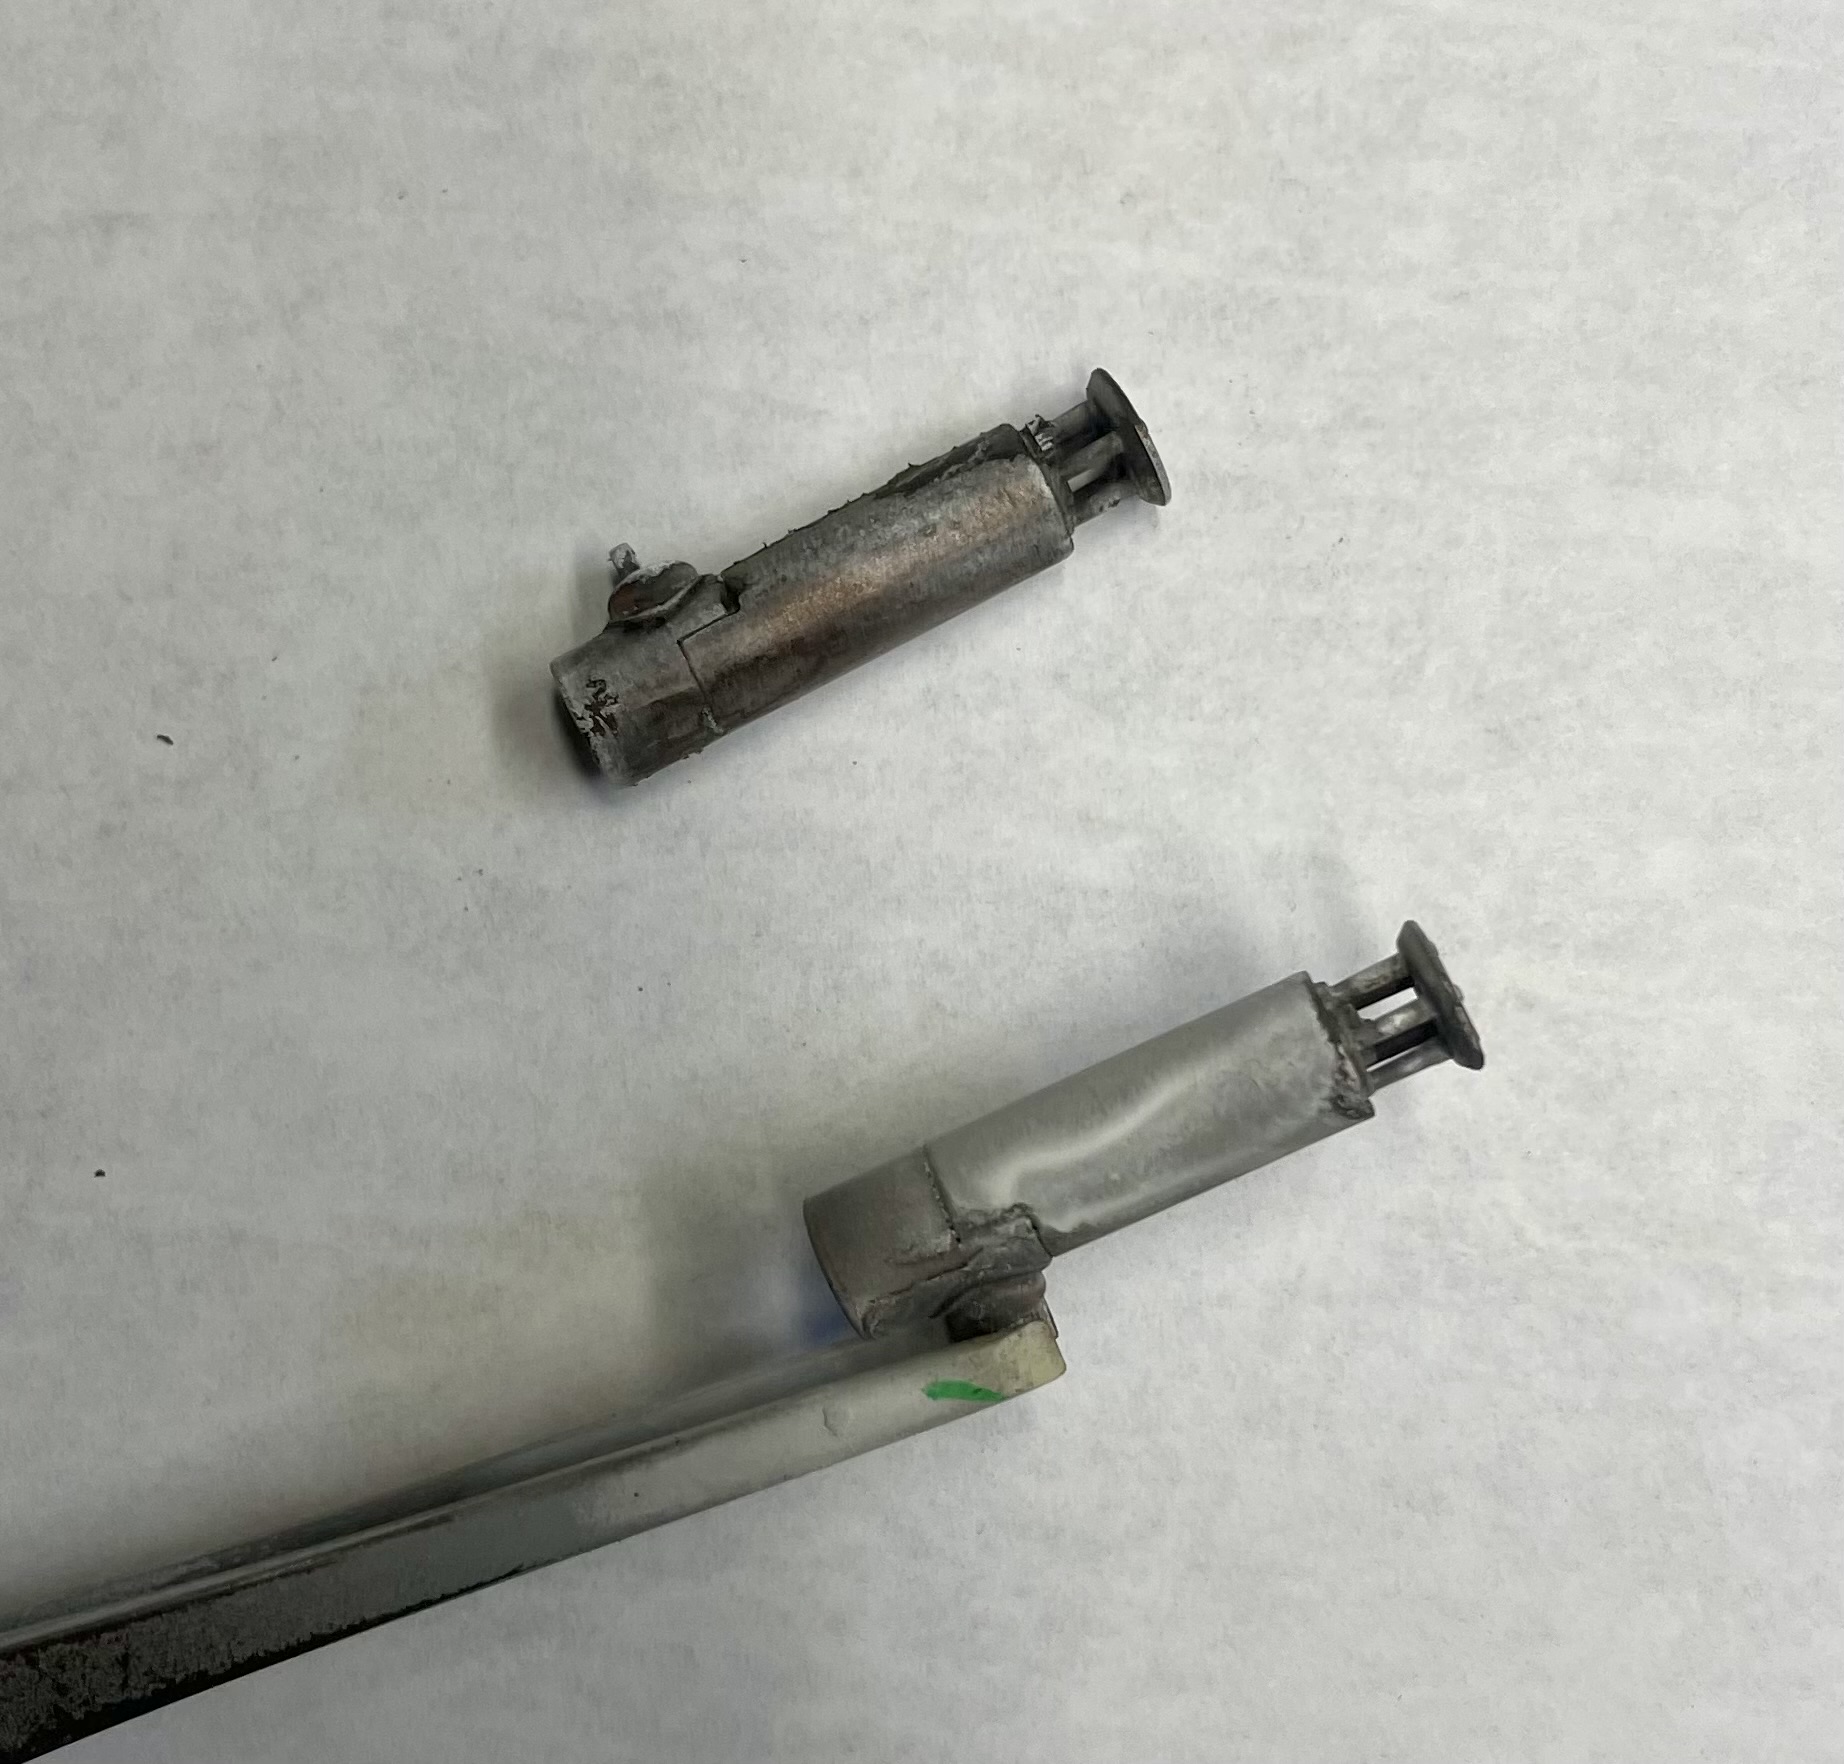
The exhausts have been painted for years with a base of Testors Burnt Iron Metallizer.
Since they were based, i have moved onto a different way of doing mufflers but i did use these with the new technique.
I sprayed Testors dull coat and dipped in Rubbing alcohol. Well, i dropped one in the alcohol. The paint got scarred by the tweezers when removing, so i reapplied the steps to both mufflers .
Bad move. It pretty much removed the paint, or at least the majority of the color.
I then used a brush to dry scrub off the finish and come up with a plan to salvage them.
The muffler on the tweezer has been scrubbed.
I started with brown and rusty washes and different shades of glazes. Unfortunately my progression pics didn’t work.
So here is where it is now, after a flat coat.
The chef seems a bit stunned, and the ol’ feller, well, he’s not sure what to make of it, but he’s sure curious - and the little girl isn’t too phased by it
Stick what is your technigue for so perfectly selecting and lifting you model image out of its’ photo and then droping it into the photo of a real background? Im trying to learn something new here. My attemps to “pick up” or select the model image never work out as well as yours! Nice work there!
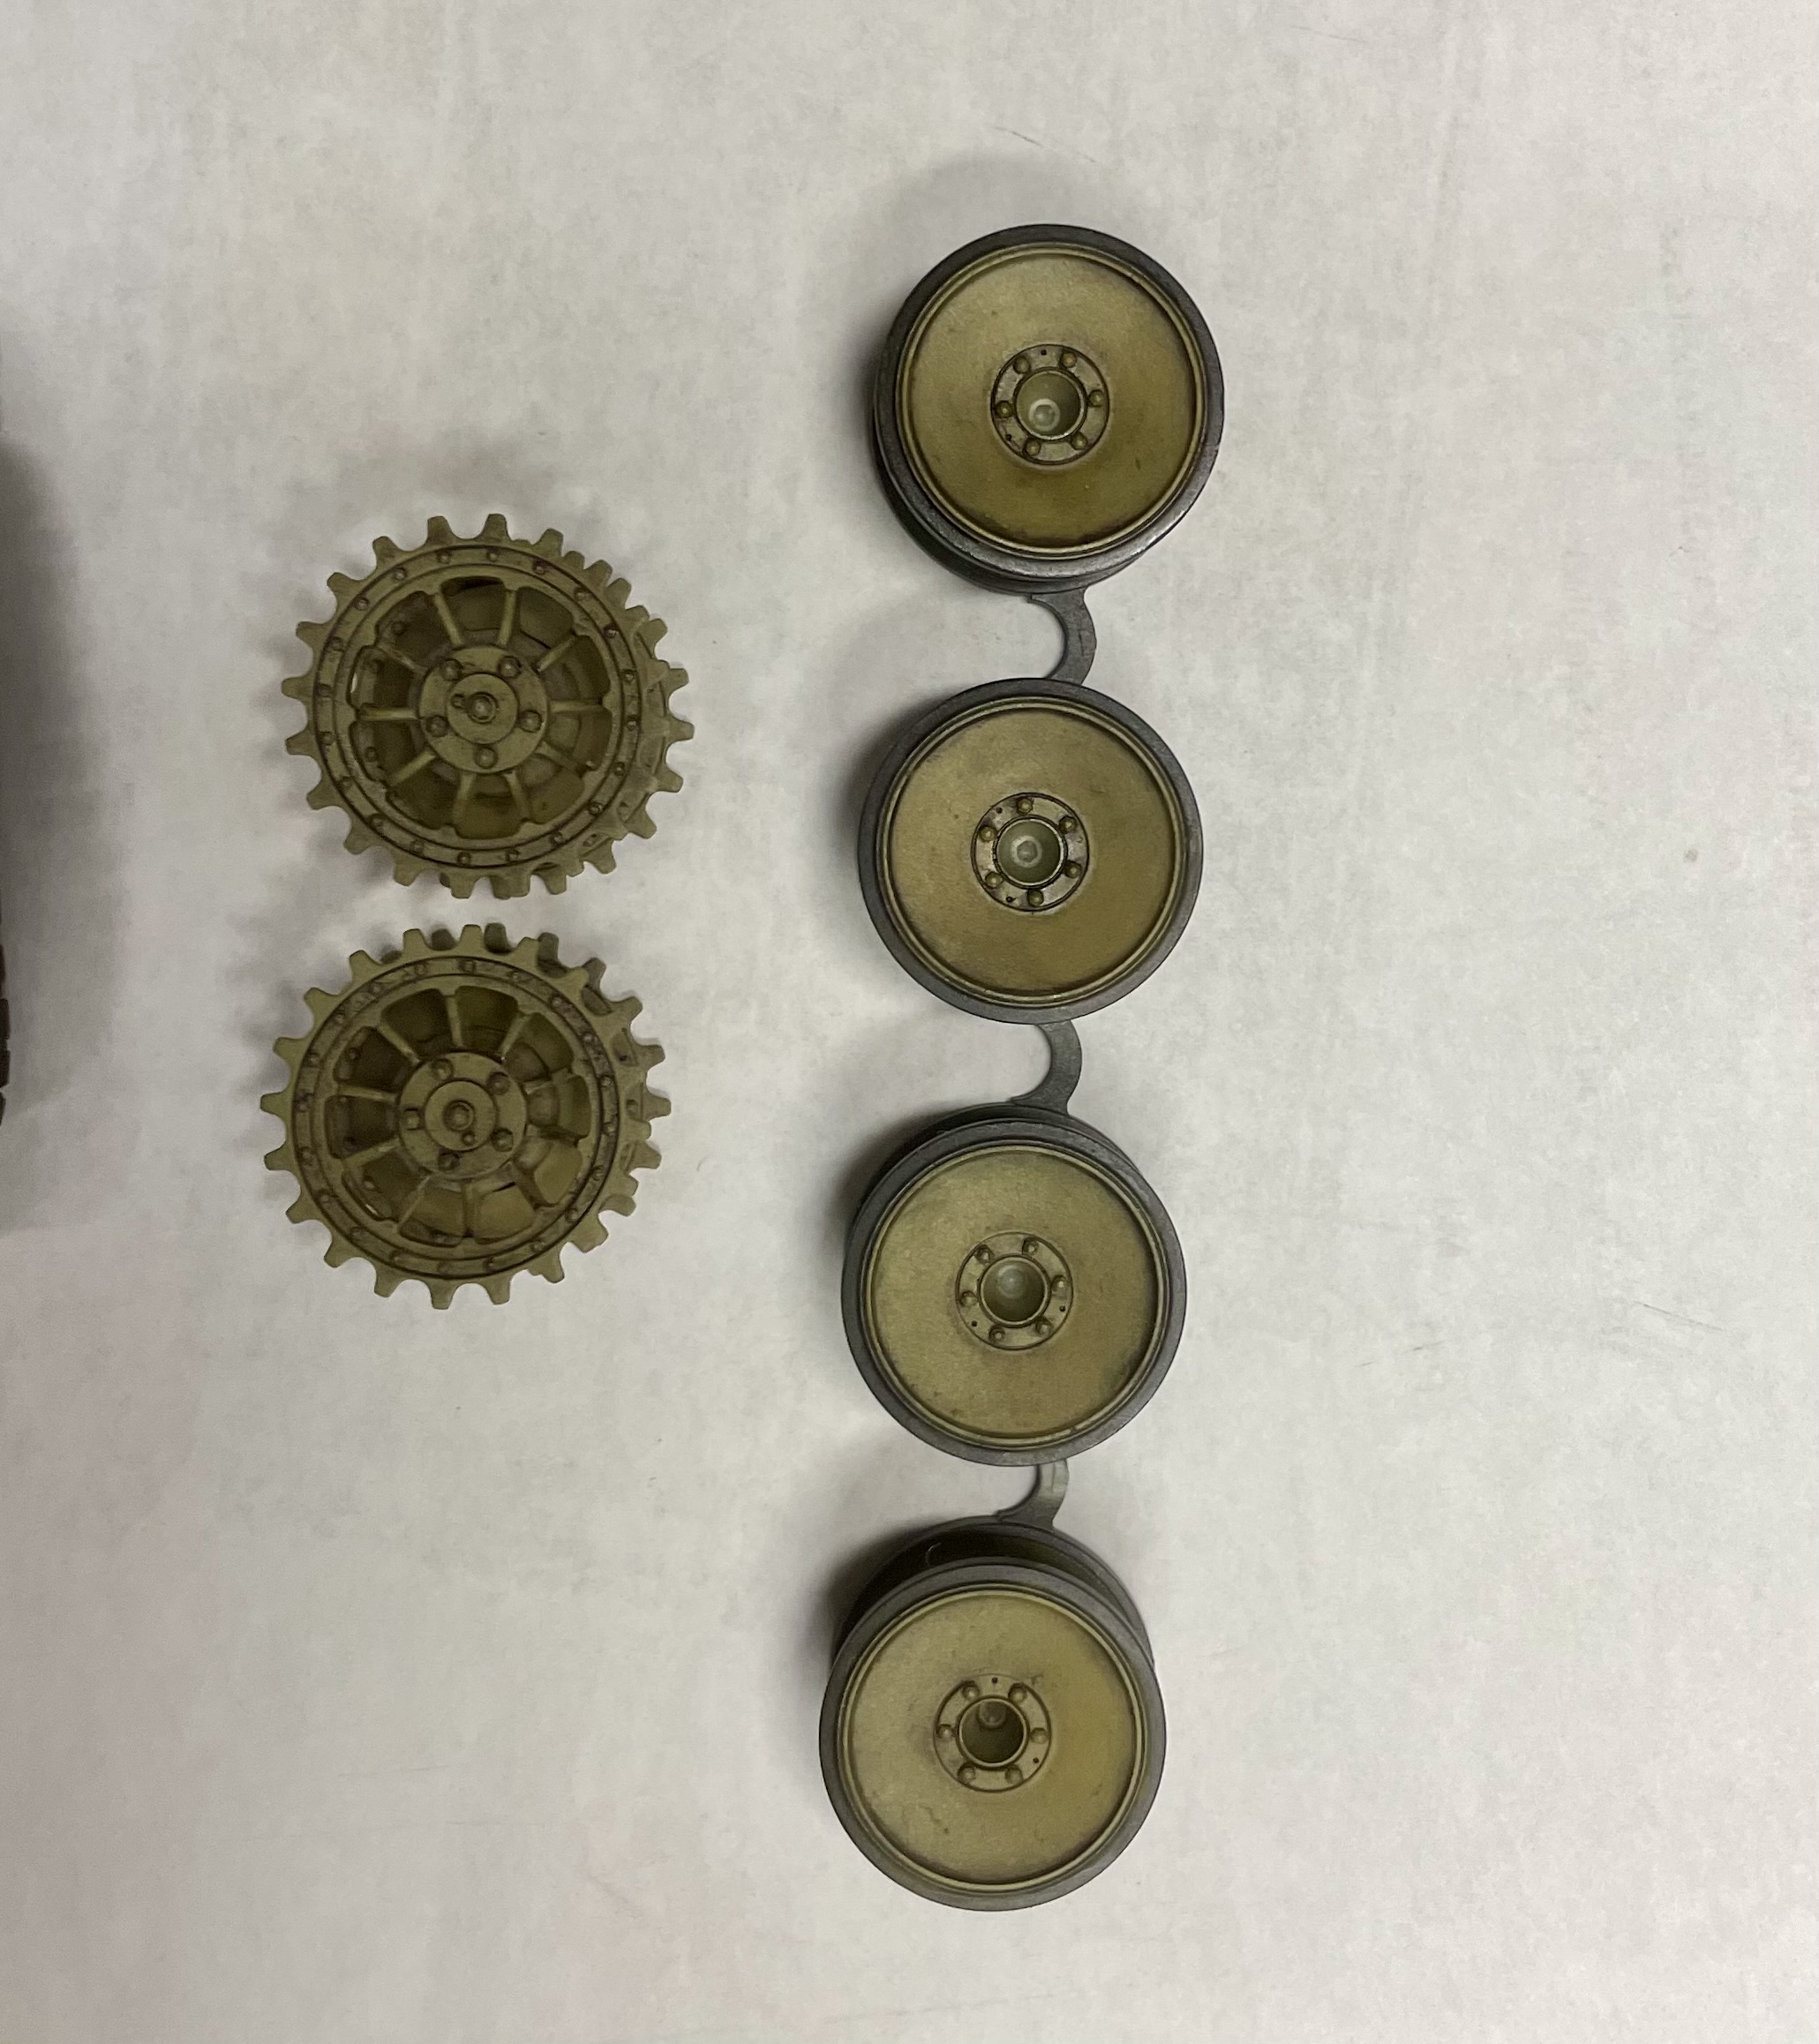
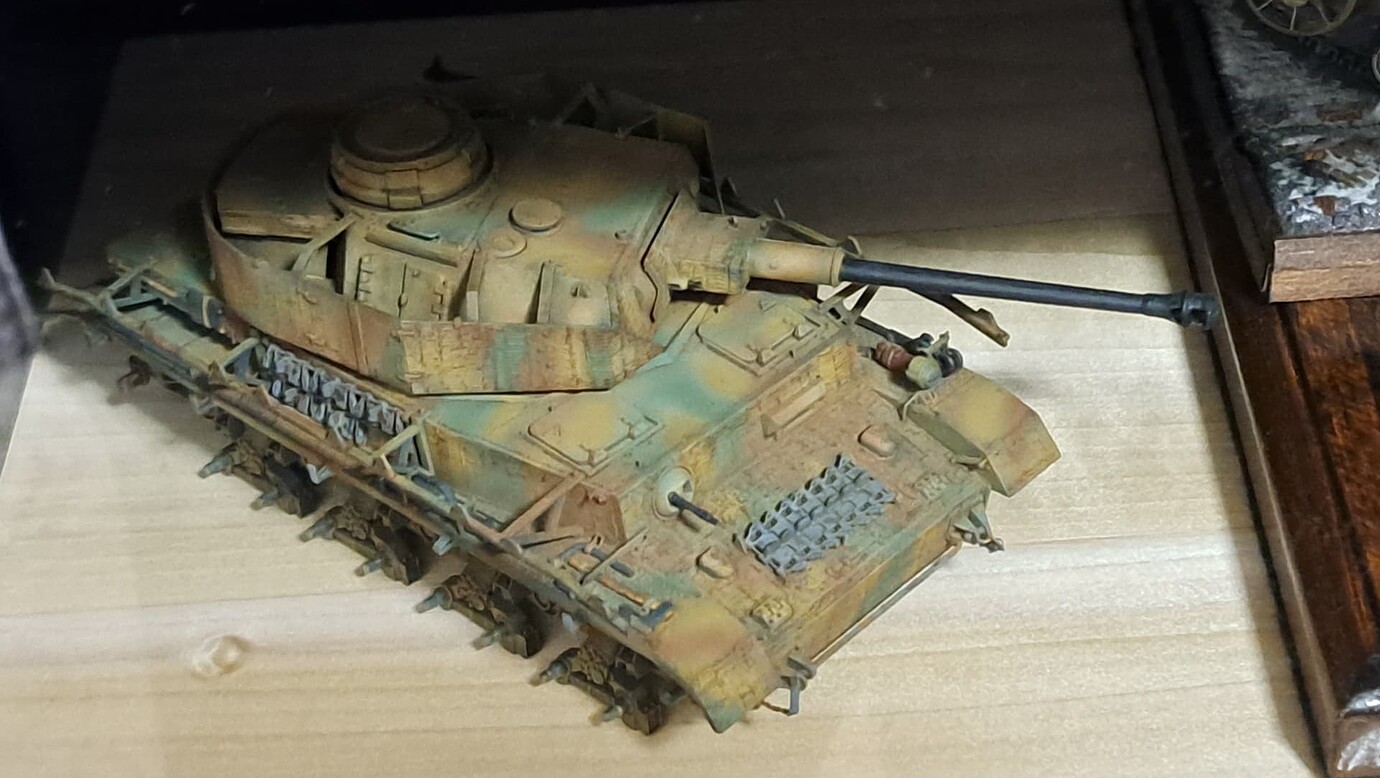
Between yesterday and today i have been doing washes on wheels and tracks.
Mainly using Tamiya panel liner, black and brown. I’m trying to get better with washes.
I went with the enamel washes instead of acrylics so i can take a break and still have time to clean it up.
Steve, thank you, I’m flattered but the productivity is an illusion.
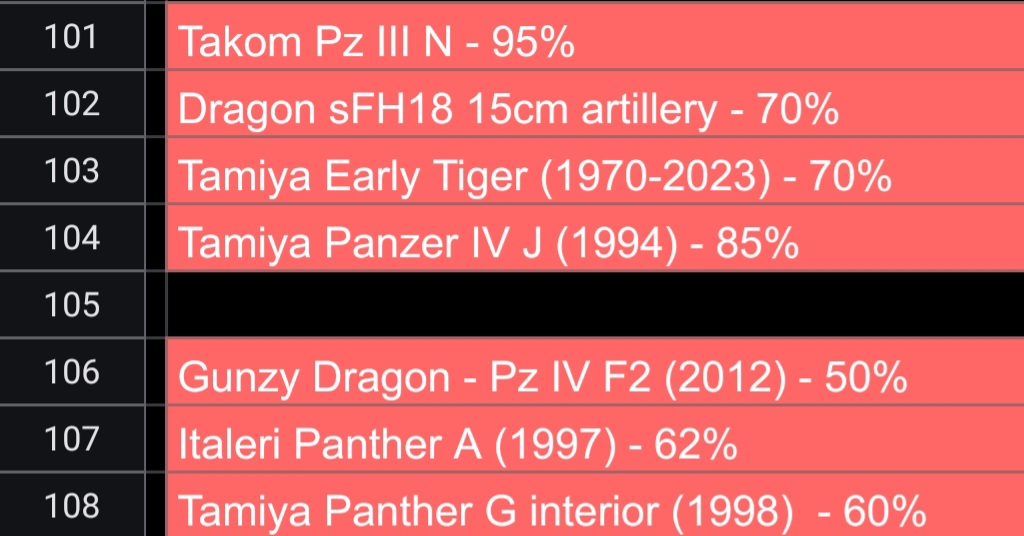
Just wrapping a dozen shelf queens that accumulated. Some from the 1990’s in half finished condition and some just a few years. Have the backlog to six as the Pz III ausf N is almost complete. I’m working basically in groups of three or four.
@165thspc thanks Mike, I appreciate that! I’ve come to really enjoy taking interesting final pics, and as such have continued experimenting.
Regarding your overall question, someone else asked about this too, so if you look in the Auto/Truck section, I have recent a project that’s a 6x6 International truck. If you scroll toward the bottom of the post, you’ll see that I offered something of a step by step process that described how I do this.
Cheers
Nick
@BlackWidow, thanks very much! Yeah, I came across that old photo - a cafe that was in my hometown - it was torn down at least 20 years ago, but I recently found the picture! I have no idea what prompted me to try this! Though I can say, that place made some very good chili - and they poured it on everything, eggs to burgers! what a treat!
Products from Tamiya are known for their quality, but at the same time they are somewhat simplified (compared to some other manufacturers). What are your feelings about this model?
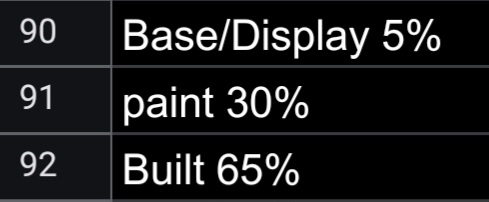
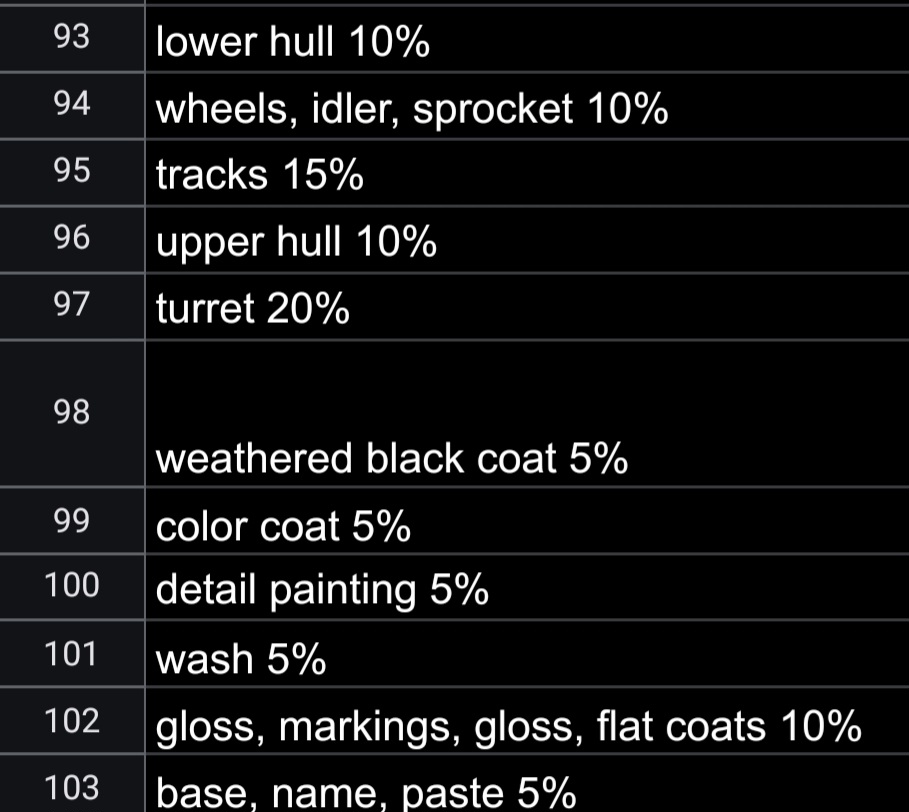
To me a build has three parts: the build, the paint & the presentation. I dislike building compared to painting & finishing. So assembly carries over twice the weight. The display base or presentation of the model is also a small factor.
Plus being attached the base makes it safer for the model if taken to a club meeting, show or contest.
Suspension parts, lower hull & track links are very repetitive and boring to me. So those phases are heavily weighted towards completion at 35% combined. The upper hull at 10% is relatively a fun cake walk. Likewise the turret at 20%, generally speaking.
I like painting & weathering so each step is about 5%. Washes & drybrushing are my favorite parts so they are accordingly combined for the chart to count the least towards completion. Keeping a running total helps me stay focused and not start additional projects.
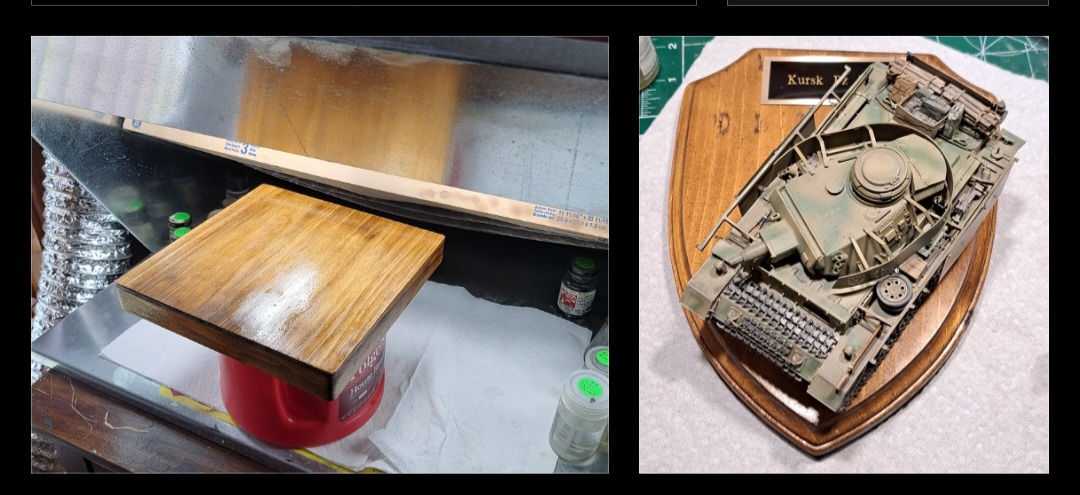
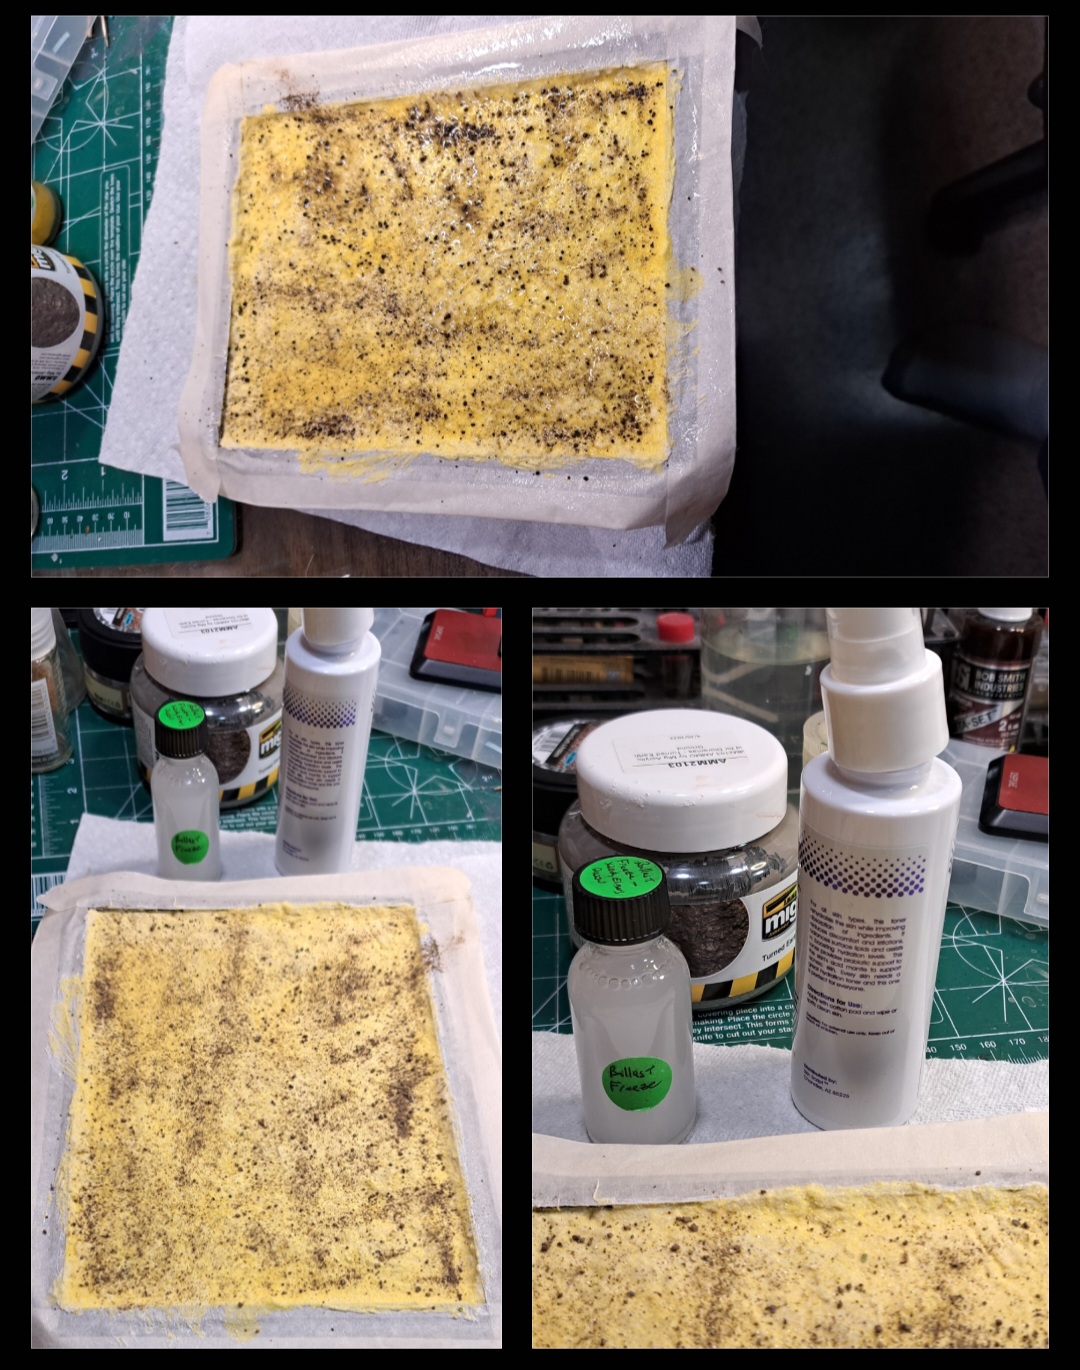
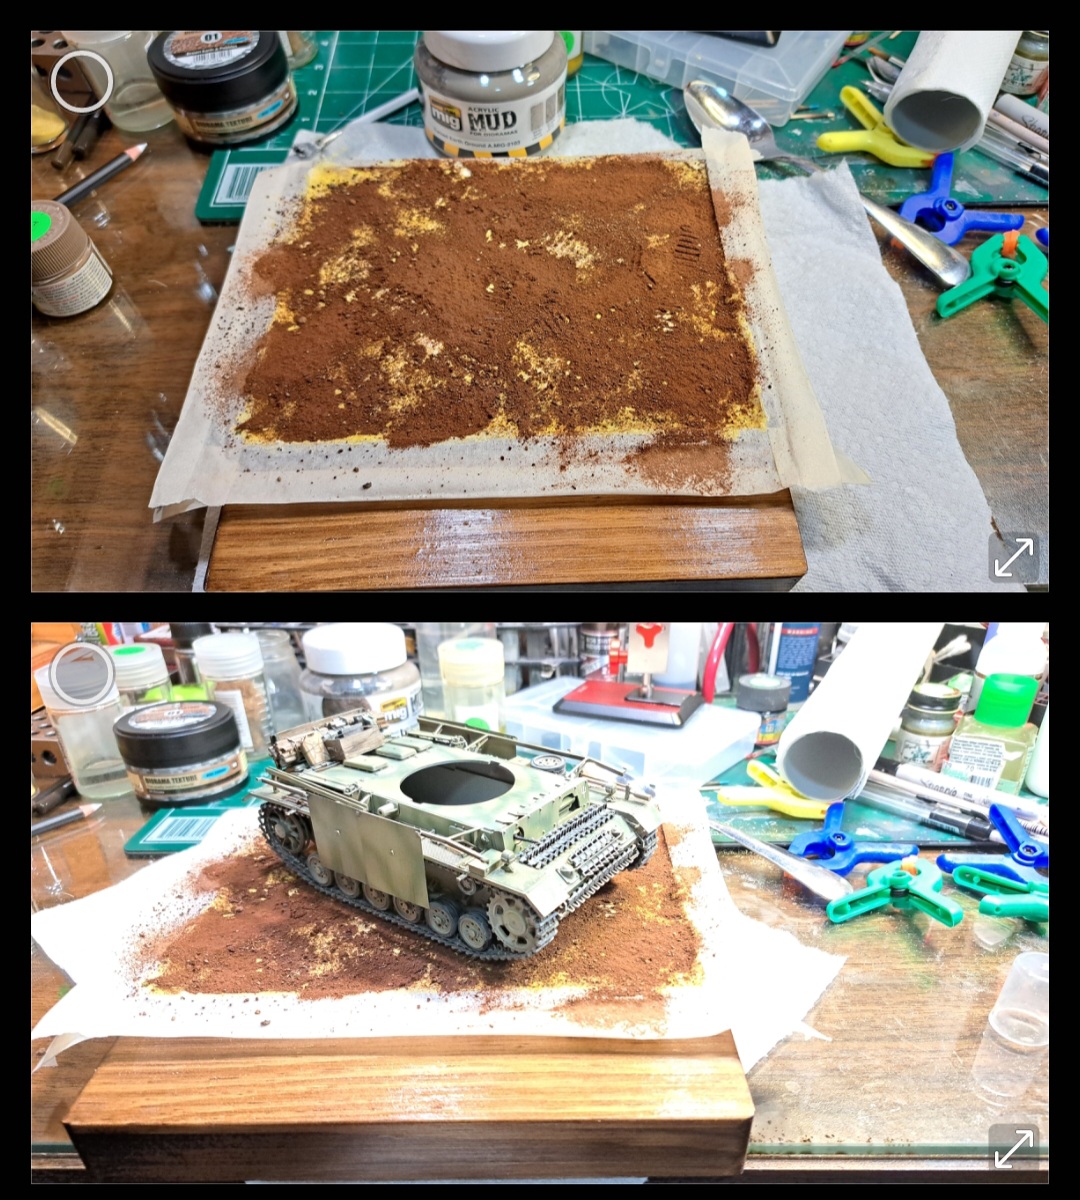
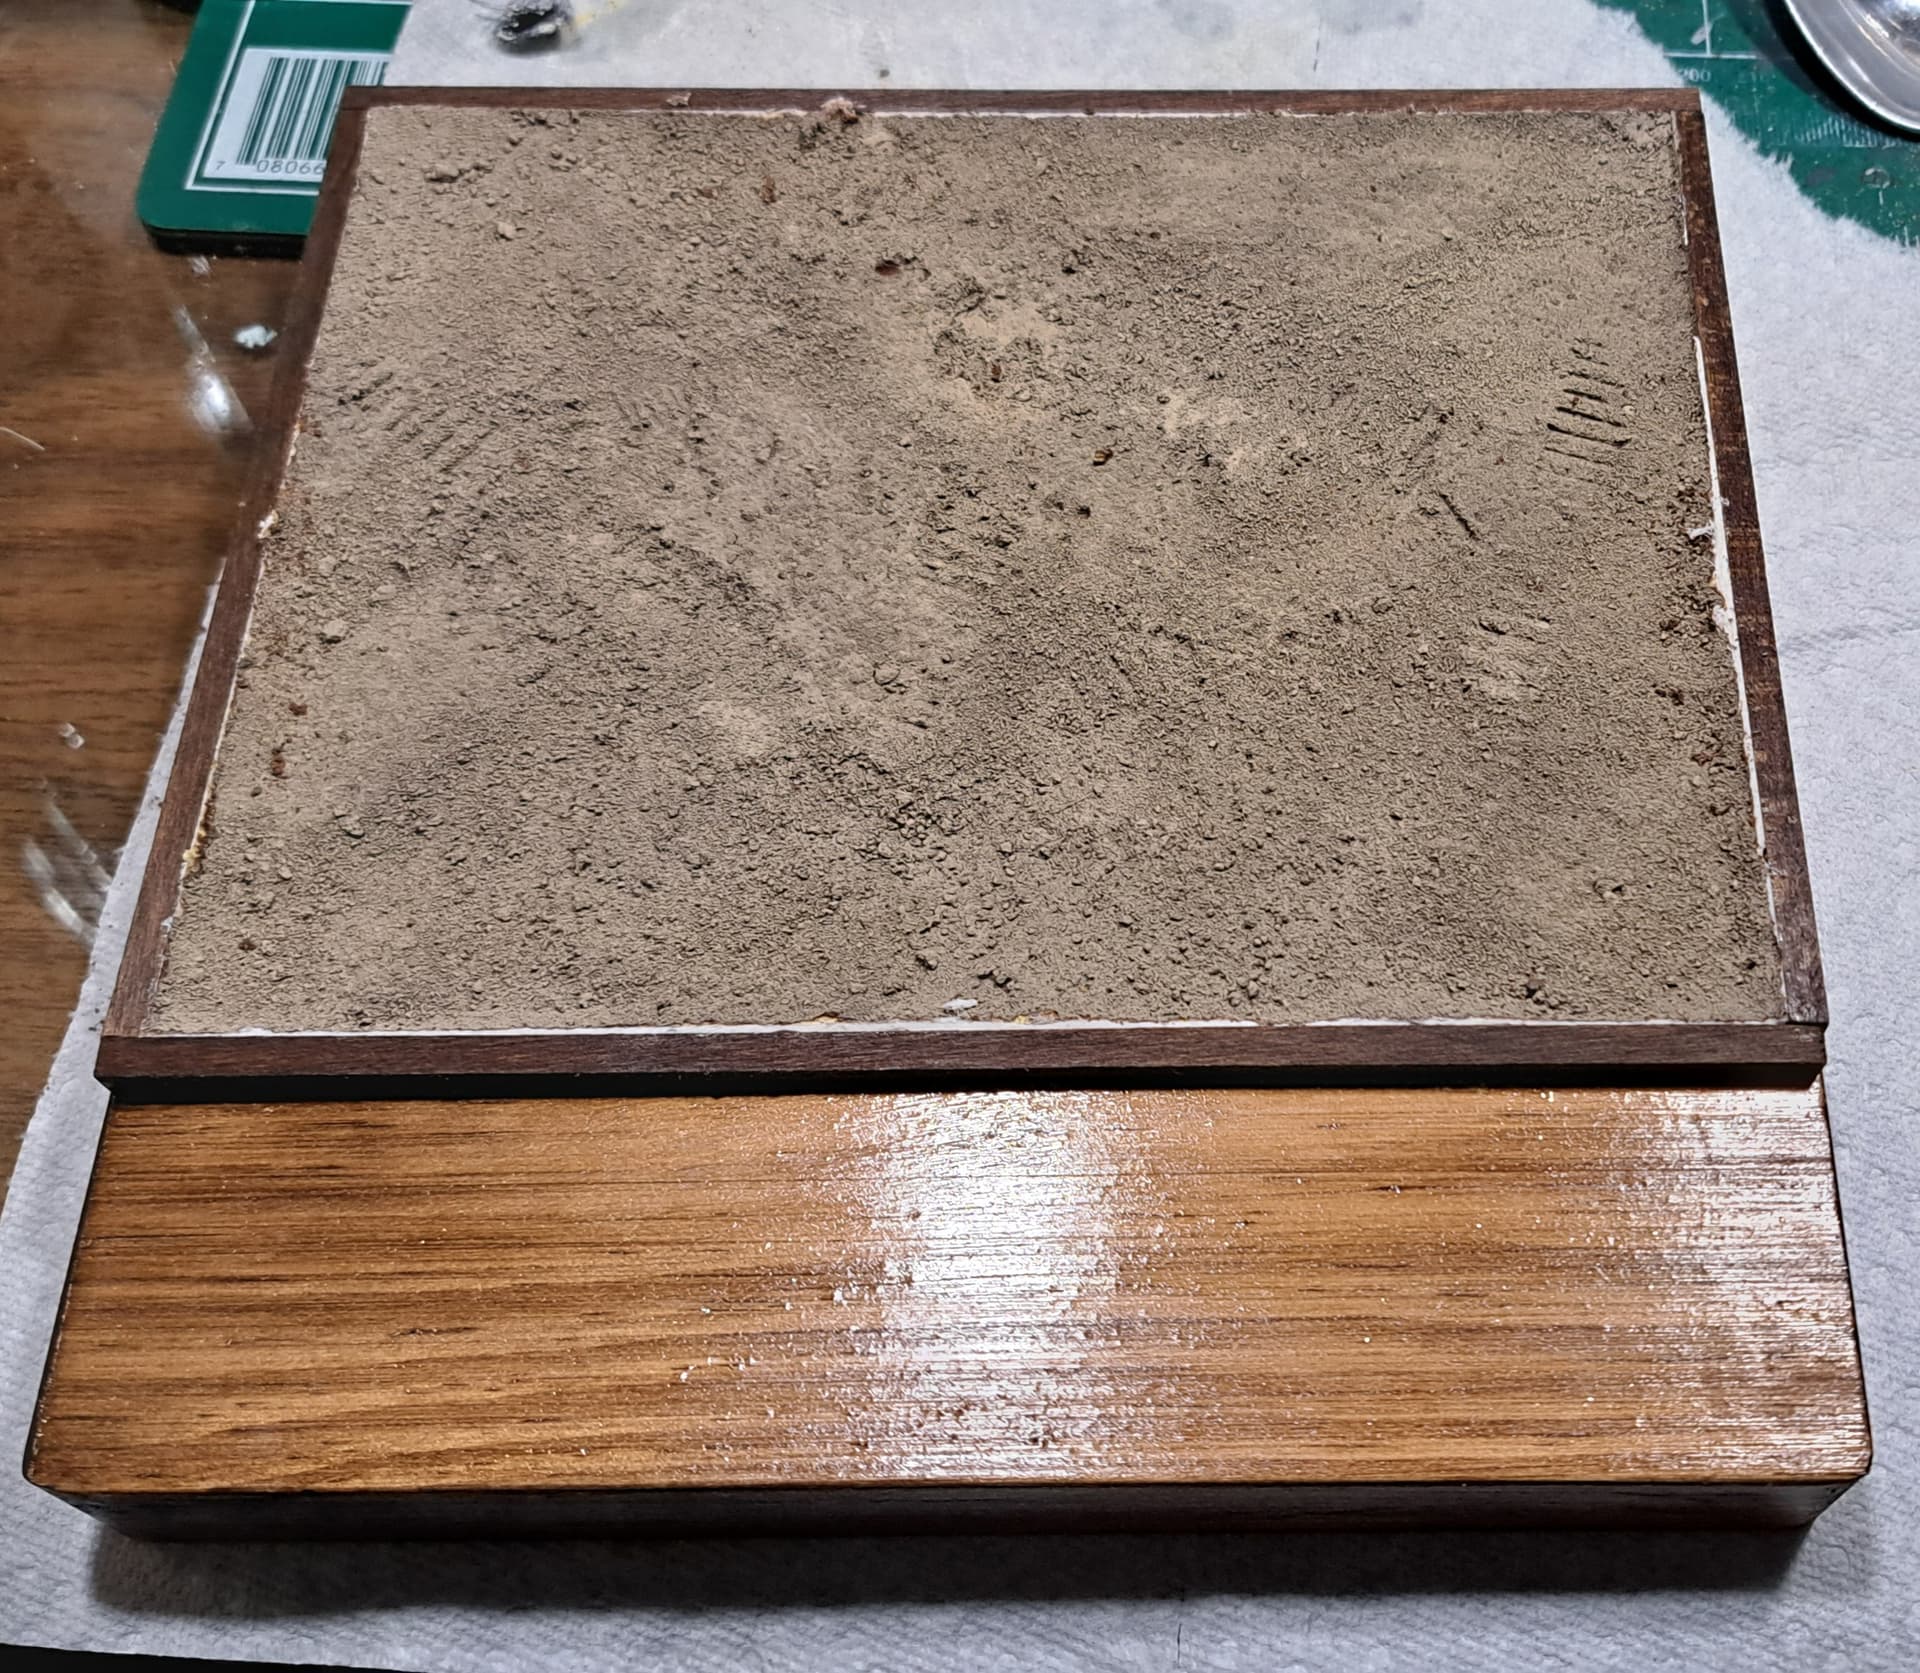
The Pz III ausf N model was finished yesterday with the flat coat. Today, I have to attach to the base, repaint the ground work to repair it.
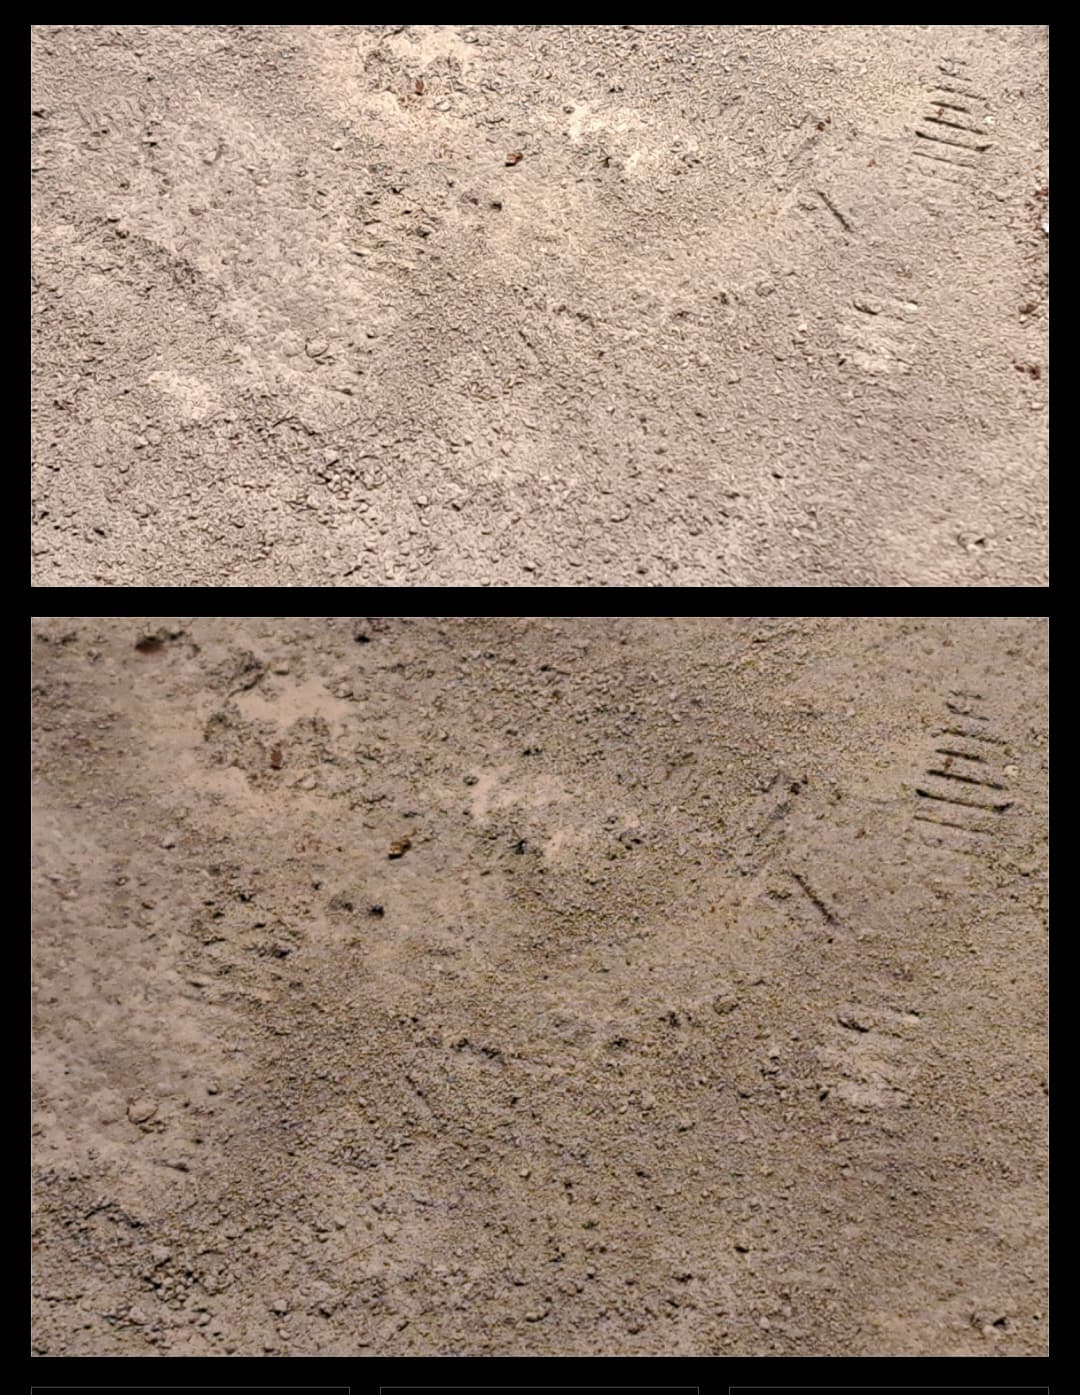
The wash didn’t fix the edge issue. Harsh reminder to remember to MIX acrylic paint into the white Sculpt-A-Mold to avoid that issue going forward. I used to do that but in my haste forgot this time.
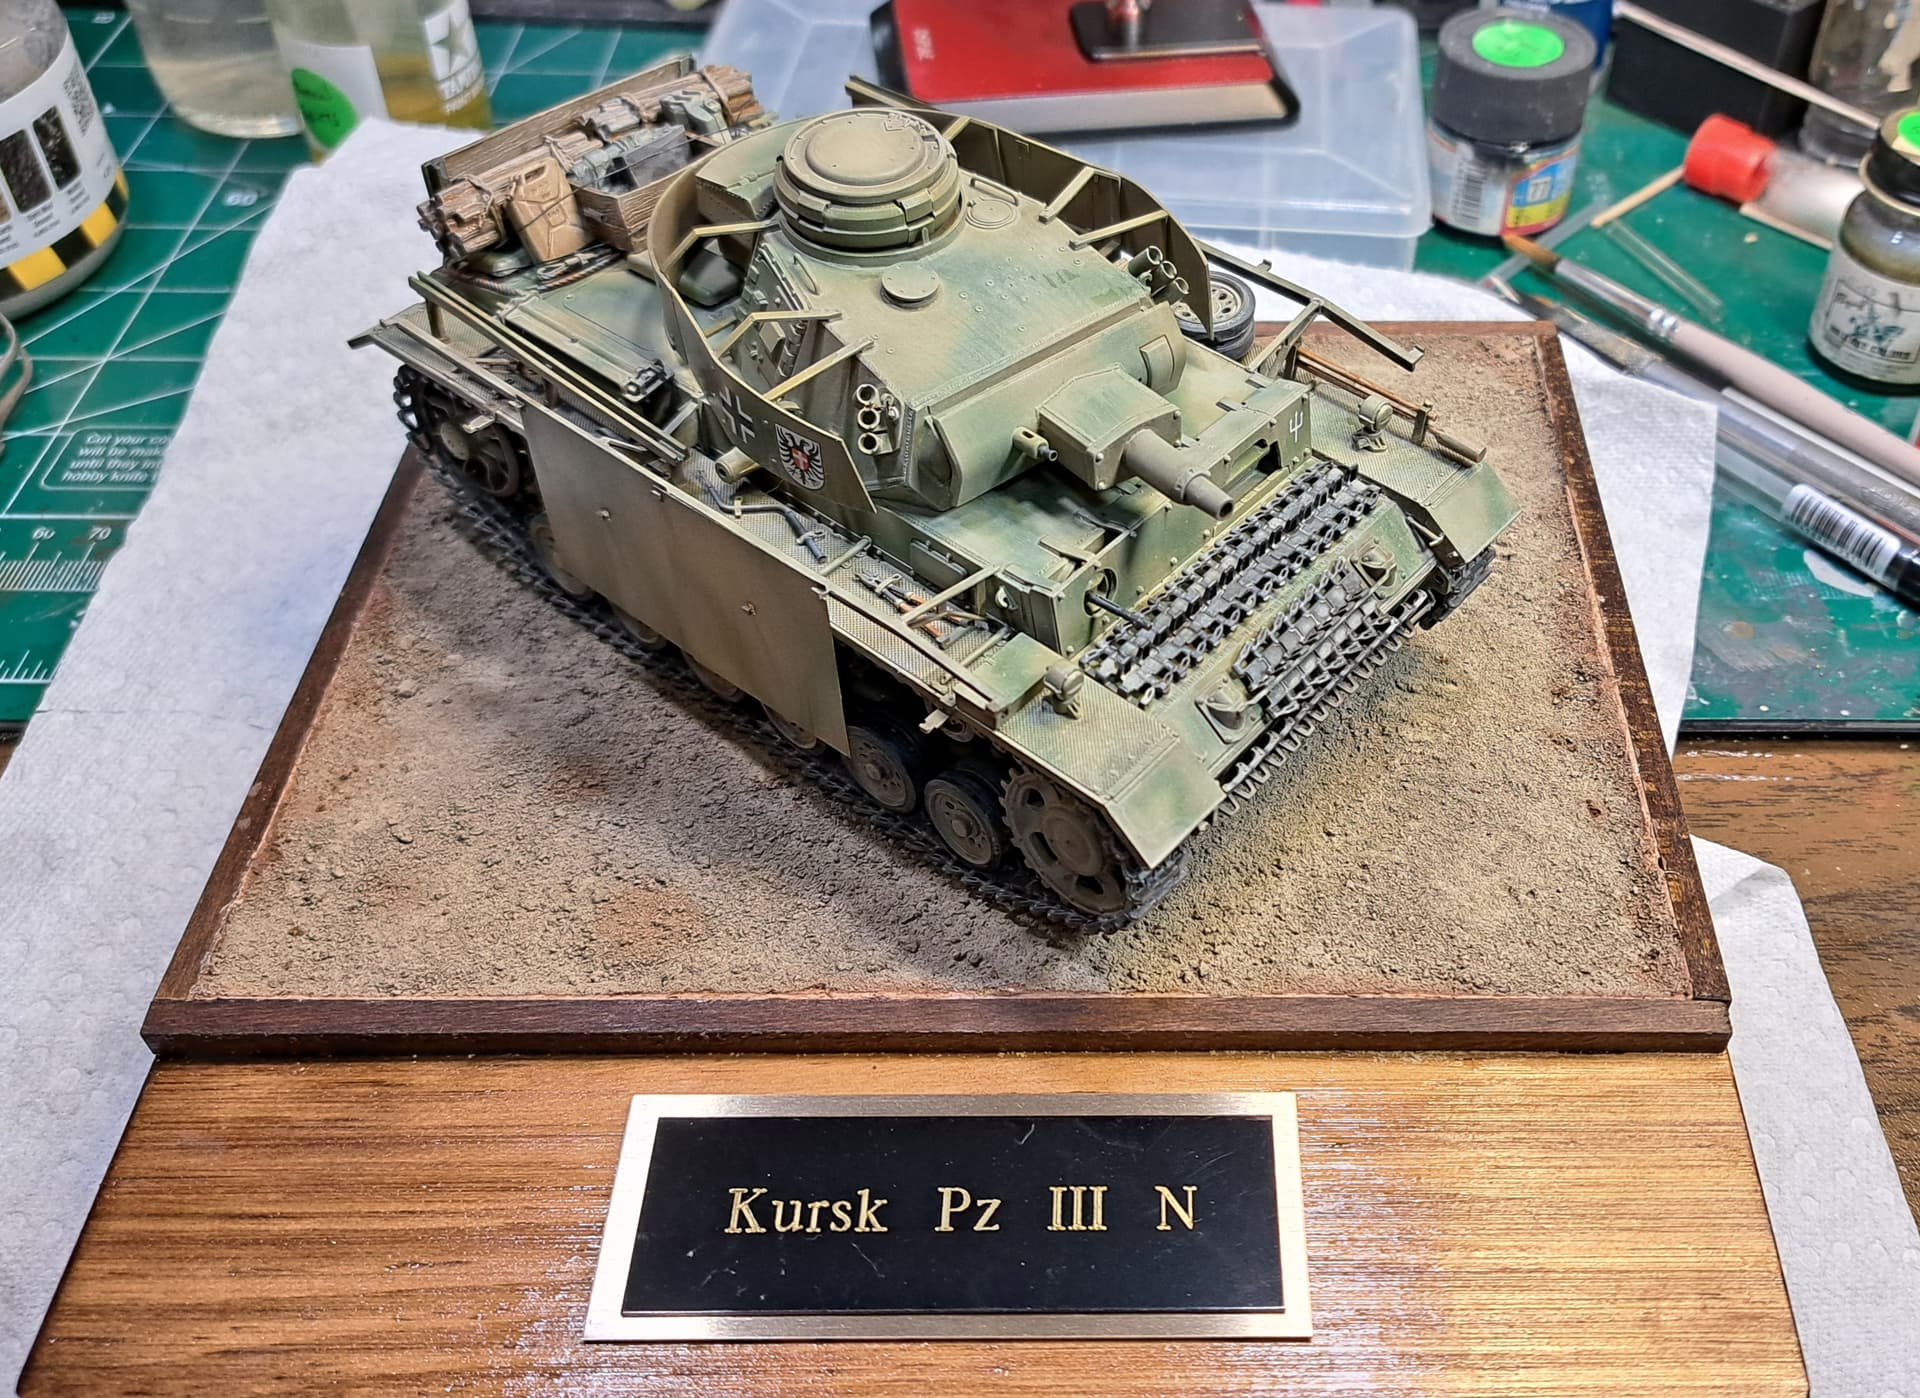
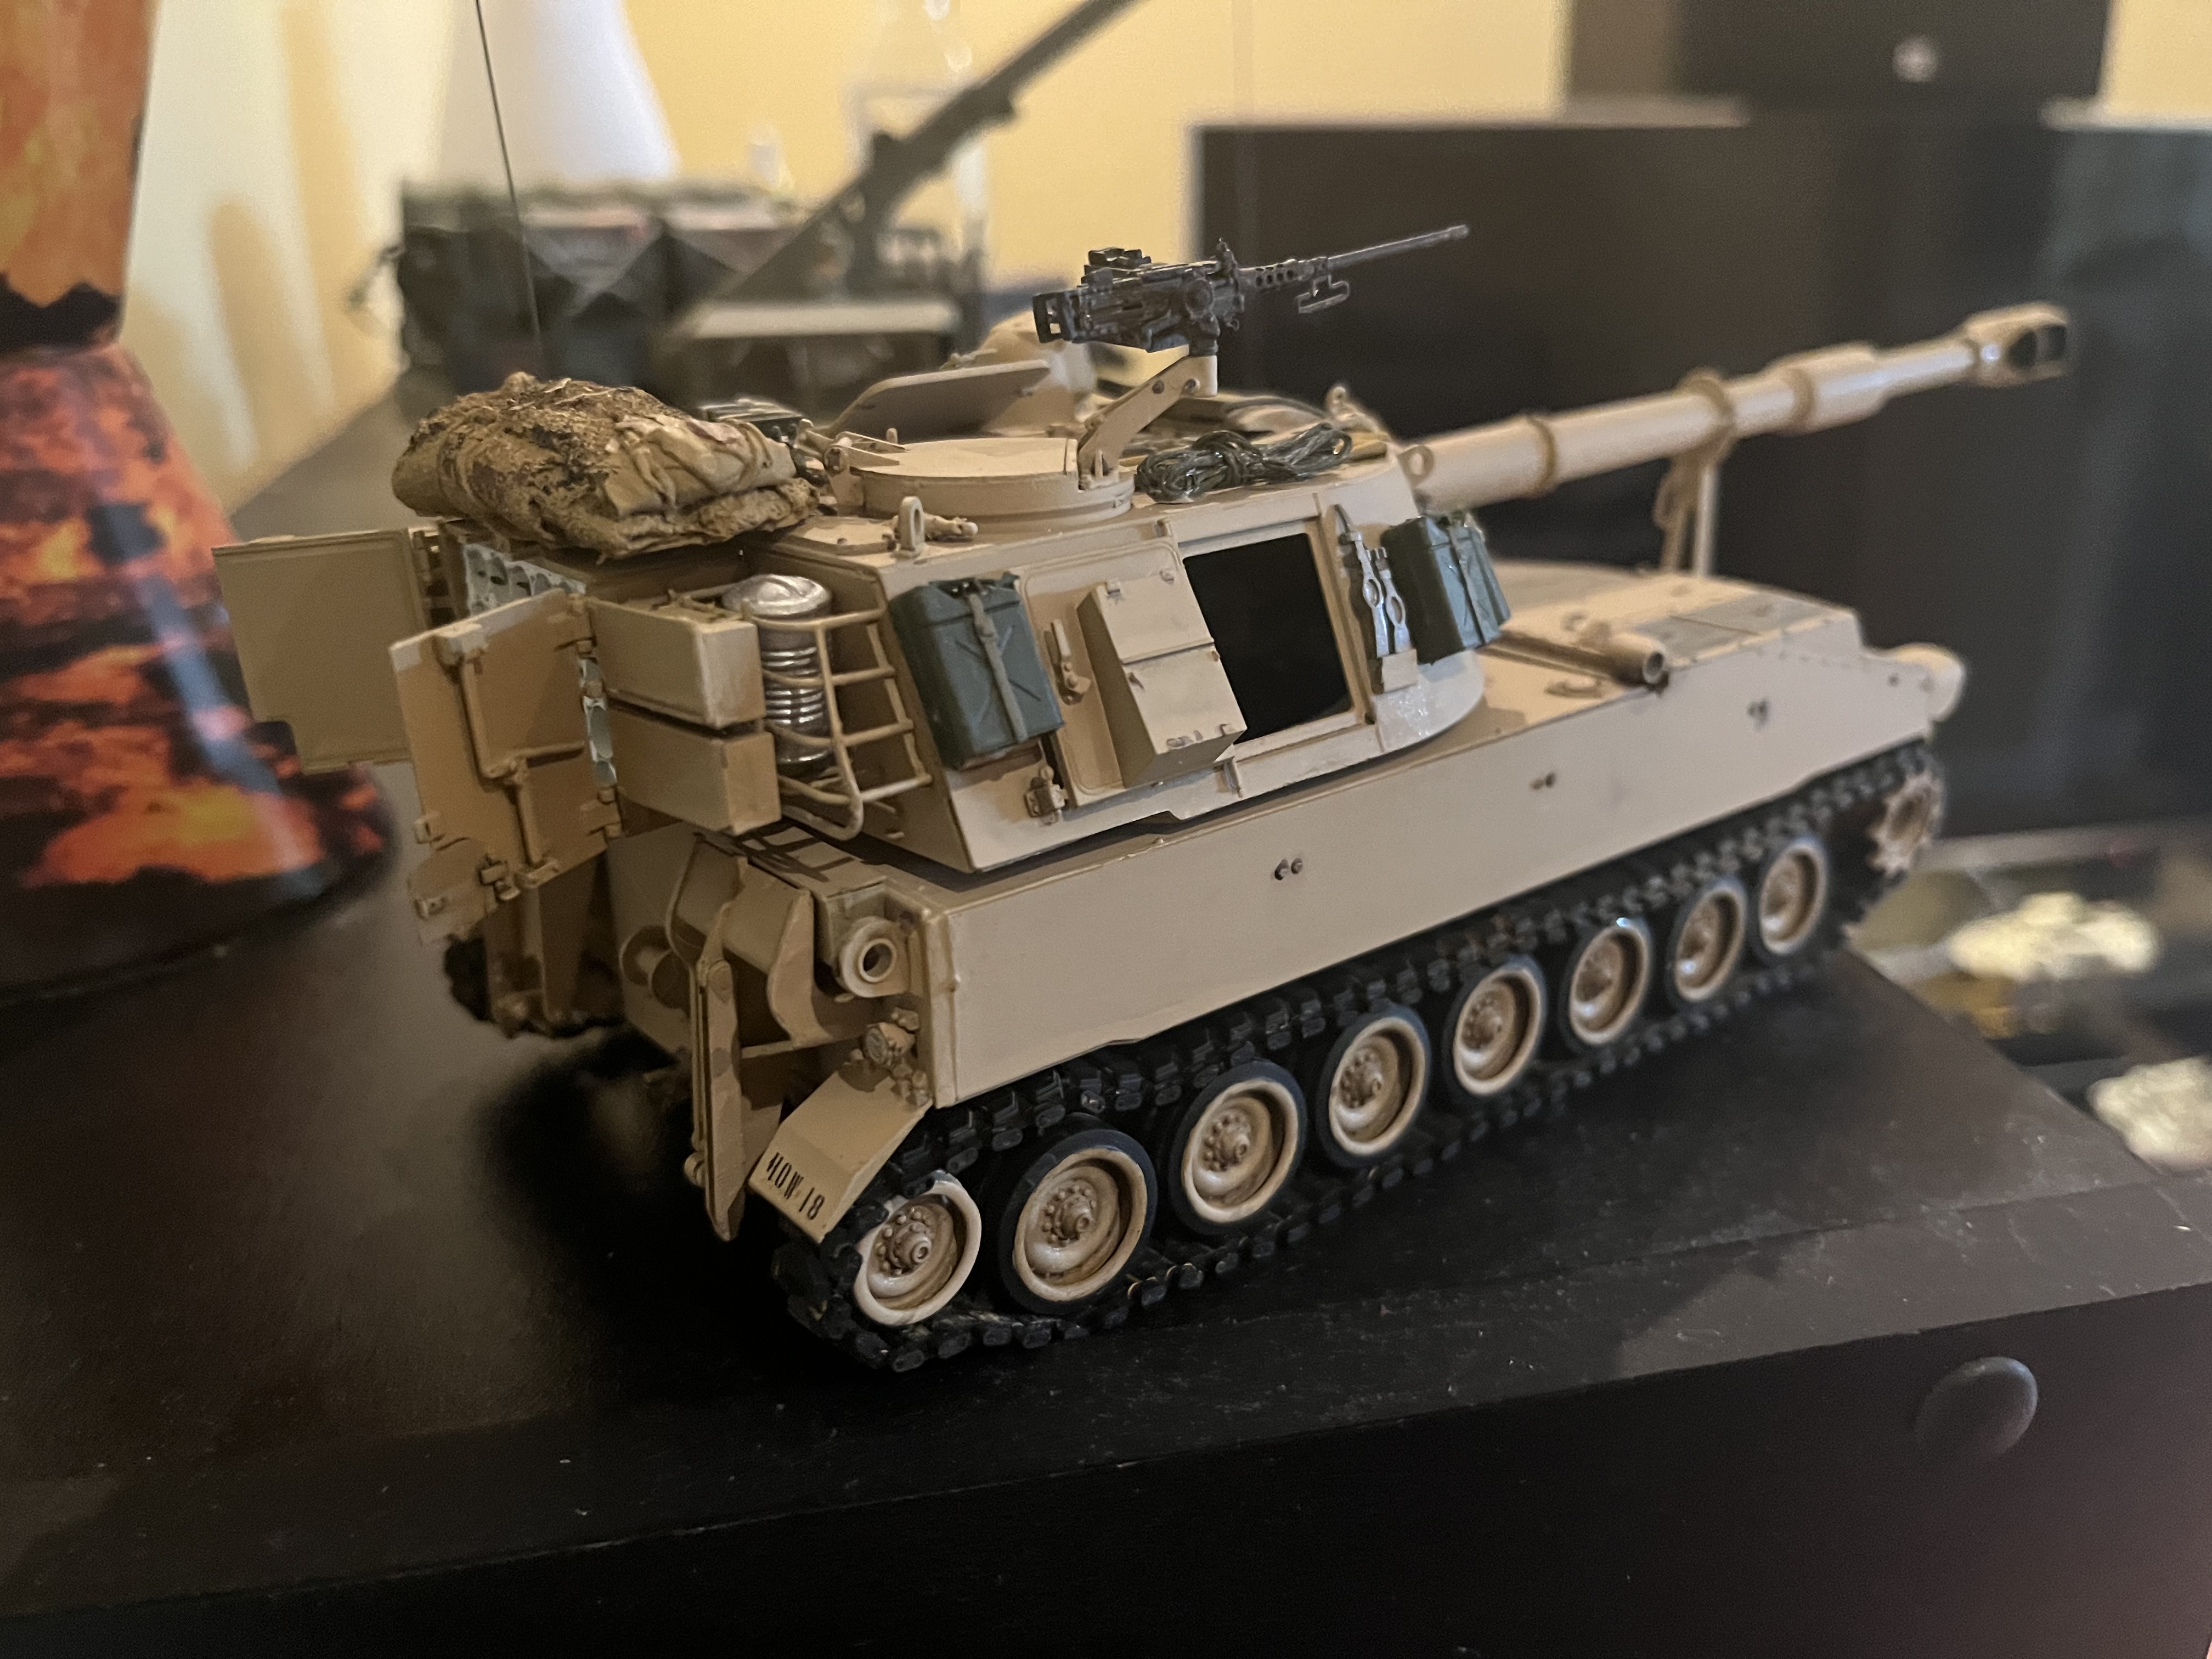
Thanks Gino, yes it’s the AFV Club kit. Didn’t do a build log on it but it went together OK despite the turret floor/ring problem. Its as if I set the floor too high inside the turret sides, as no way would the two “teeth” engage with the ring’s cut outs. Had to scratch new teeth mounted on the bottom of the ring to get it connected. Also the trunnion gripped the gun so well it is siezed in that position.
I added a few items yesterday and I can call it done now.