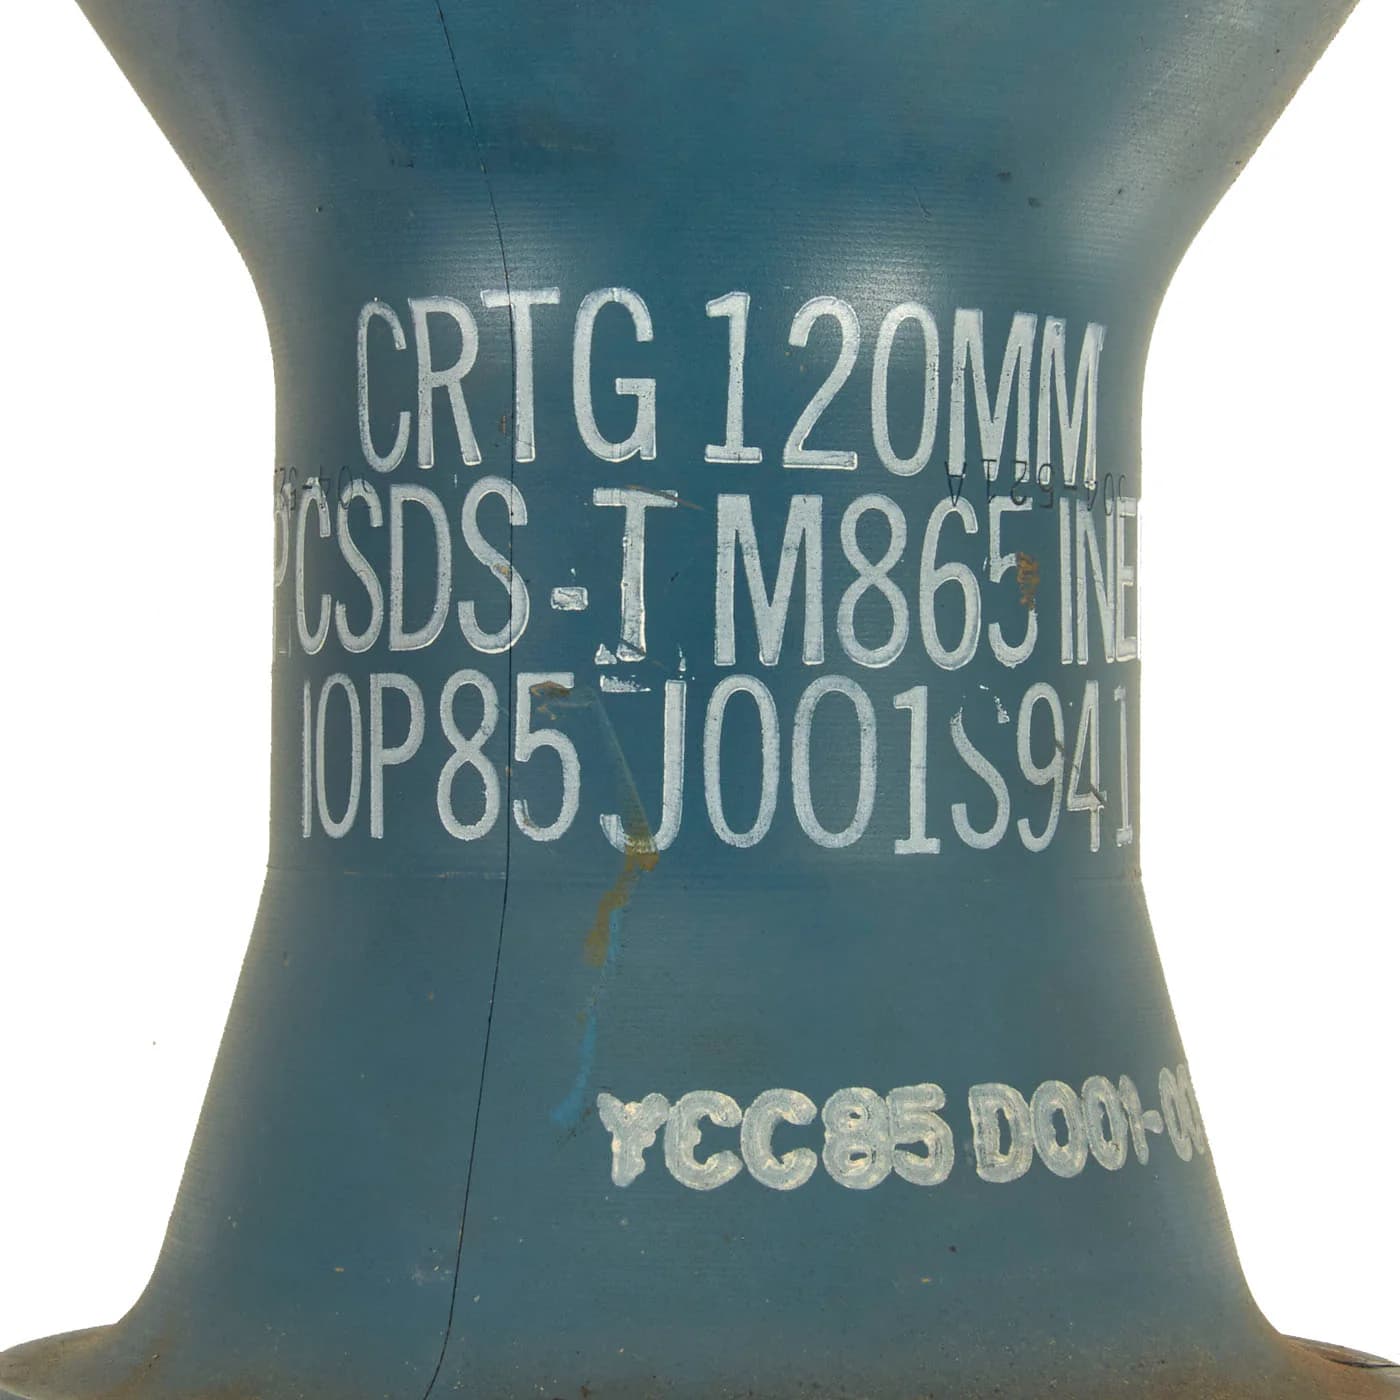
M865 Target Practice, Cone Stabilized, Discarding Sabot, Tracer (that was a mouthful).
6 Likes
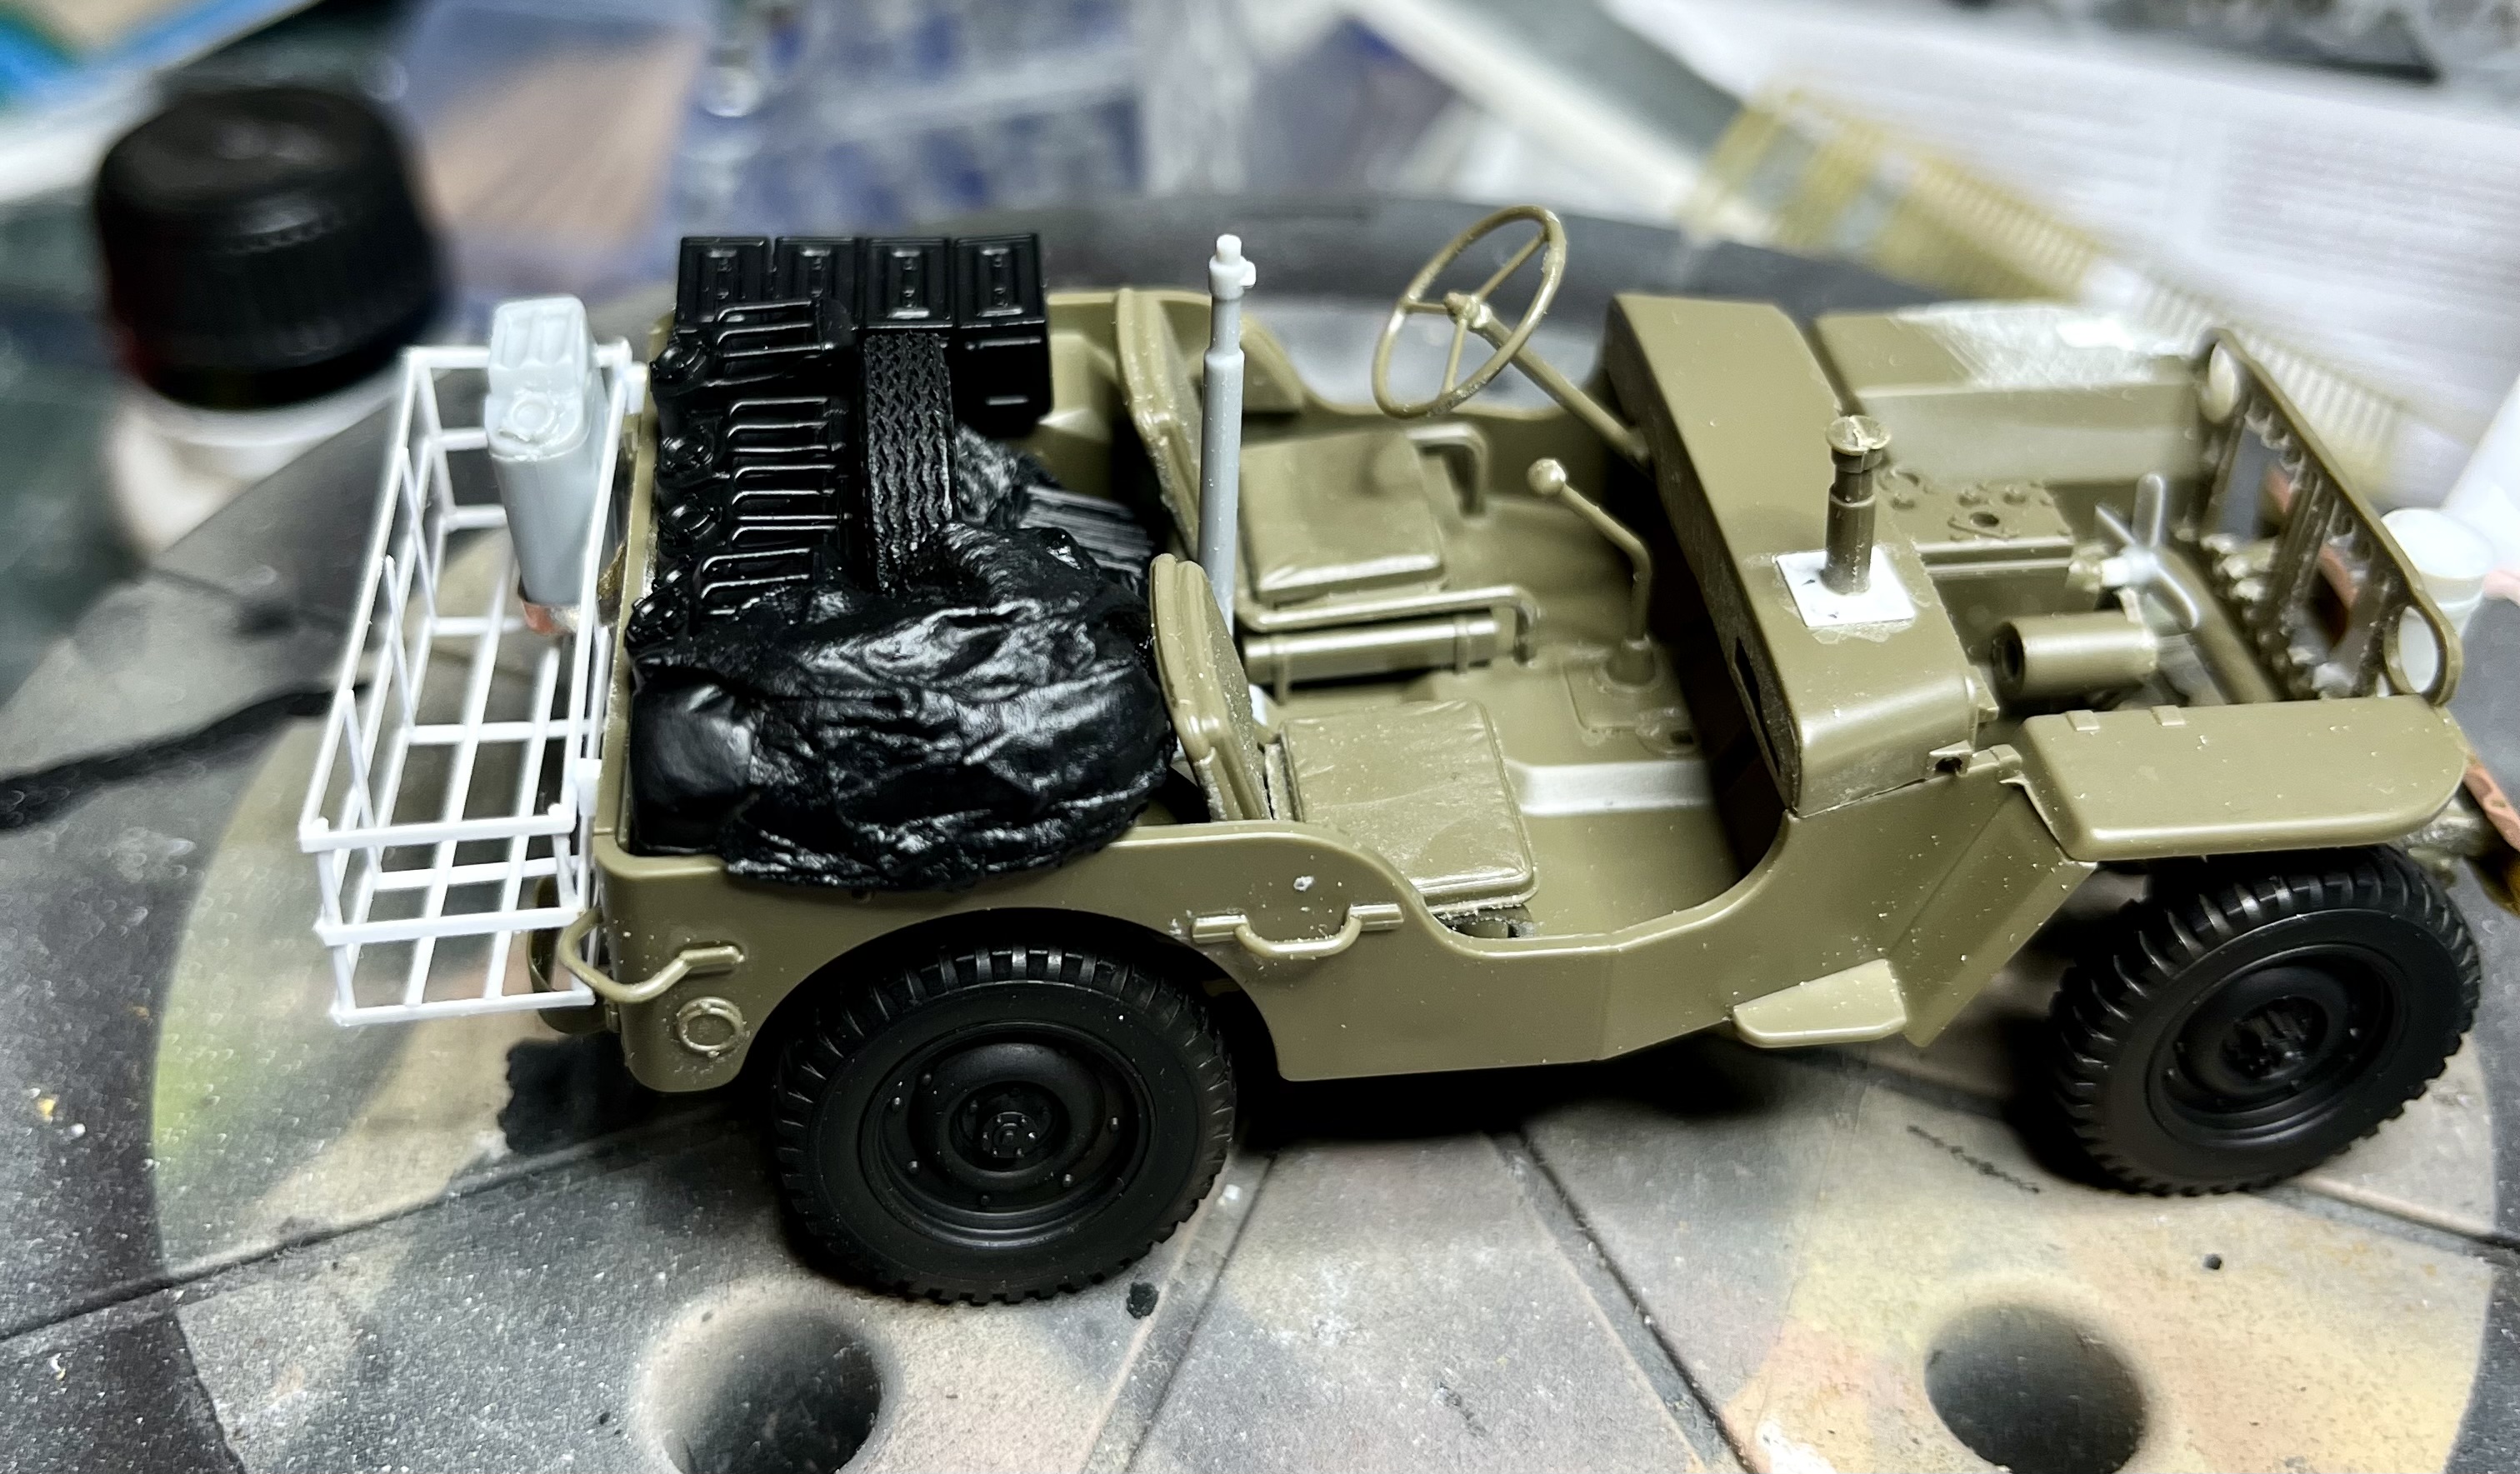
Very good, I have one of the petals as well.
1 Like
I made my very first snow base today. I used a mixture of baking soda, Modge Podge (PVA), and water and spread it over the Celluclay base I created previously.
Once it started firming up enough to stop pulling up when I touched it, I tried to impress some tracks and mark the final position of the AT-AT and AT-ST.
The AT-ST will be standing in the two holes on the lower left; the snowspeeder will be on a thin rod originating from where the paperclip is stuck in the upper left. The walker will occupy the flat area on the right hand. Maybe you can make out the impressions of the ‘feet’.

So, like I said first ever snow scene in any scale. Looks like vanilla frosting at some angles but hopefully that’s just me.
Once this has all hardened and I seal it (which I heard helps prevent discoloration of the baking soda) I can attach the vehicles and blend them in, possibly using one or both of the bottled products I have for snow effects. If I end up liking these, I will finally make a base for my Tamiya SdKfz 7/1 I did in whitewash eight years ago.
16 Likes
It was the Blue’s aircraft for 3 years and last prop plane. That is more than some aircraft can say.
3 Likes
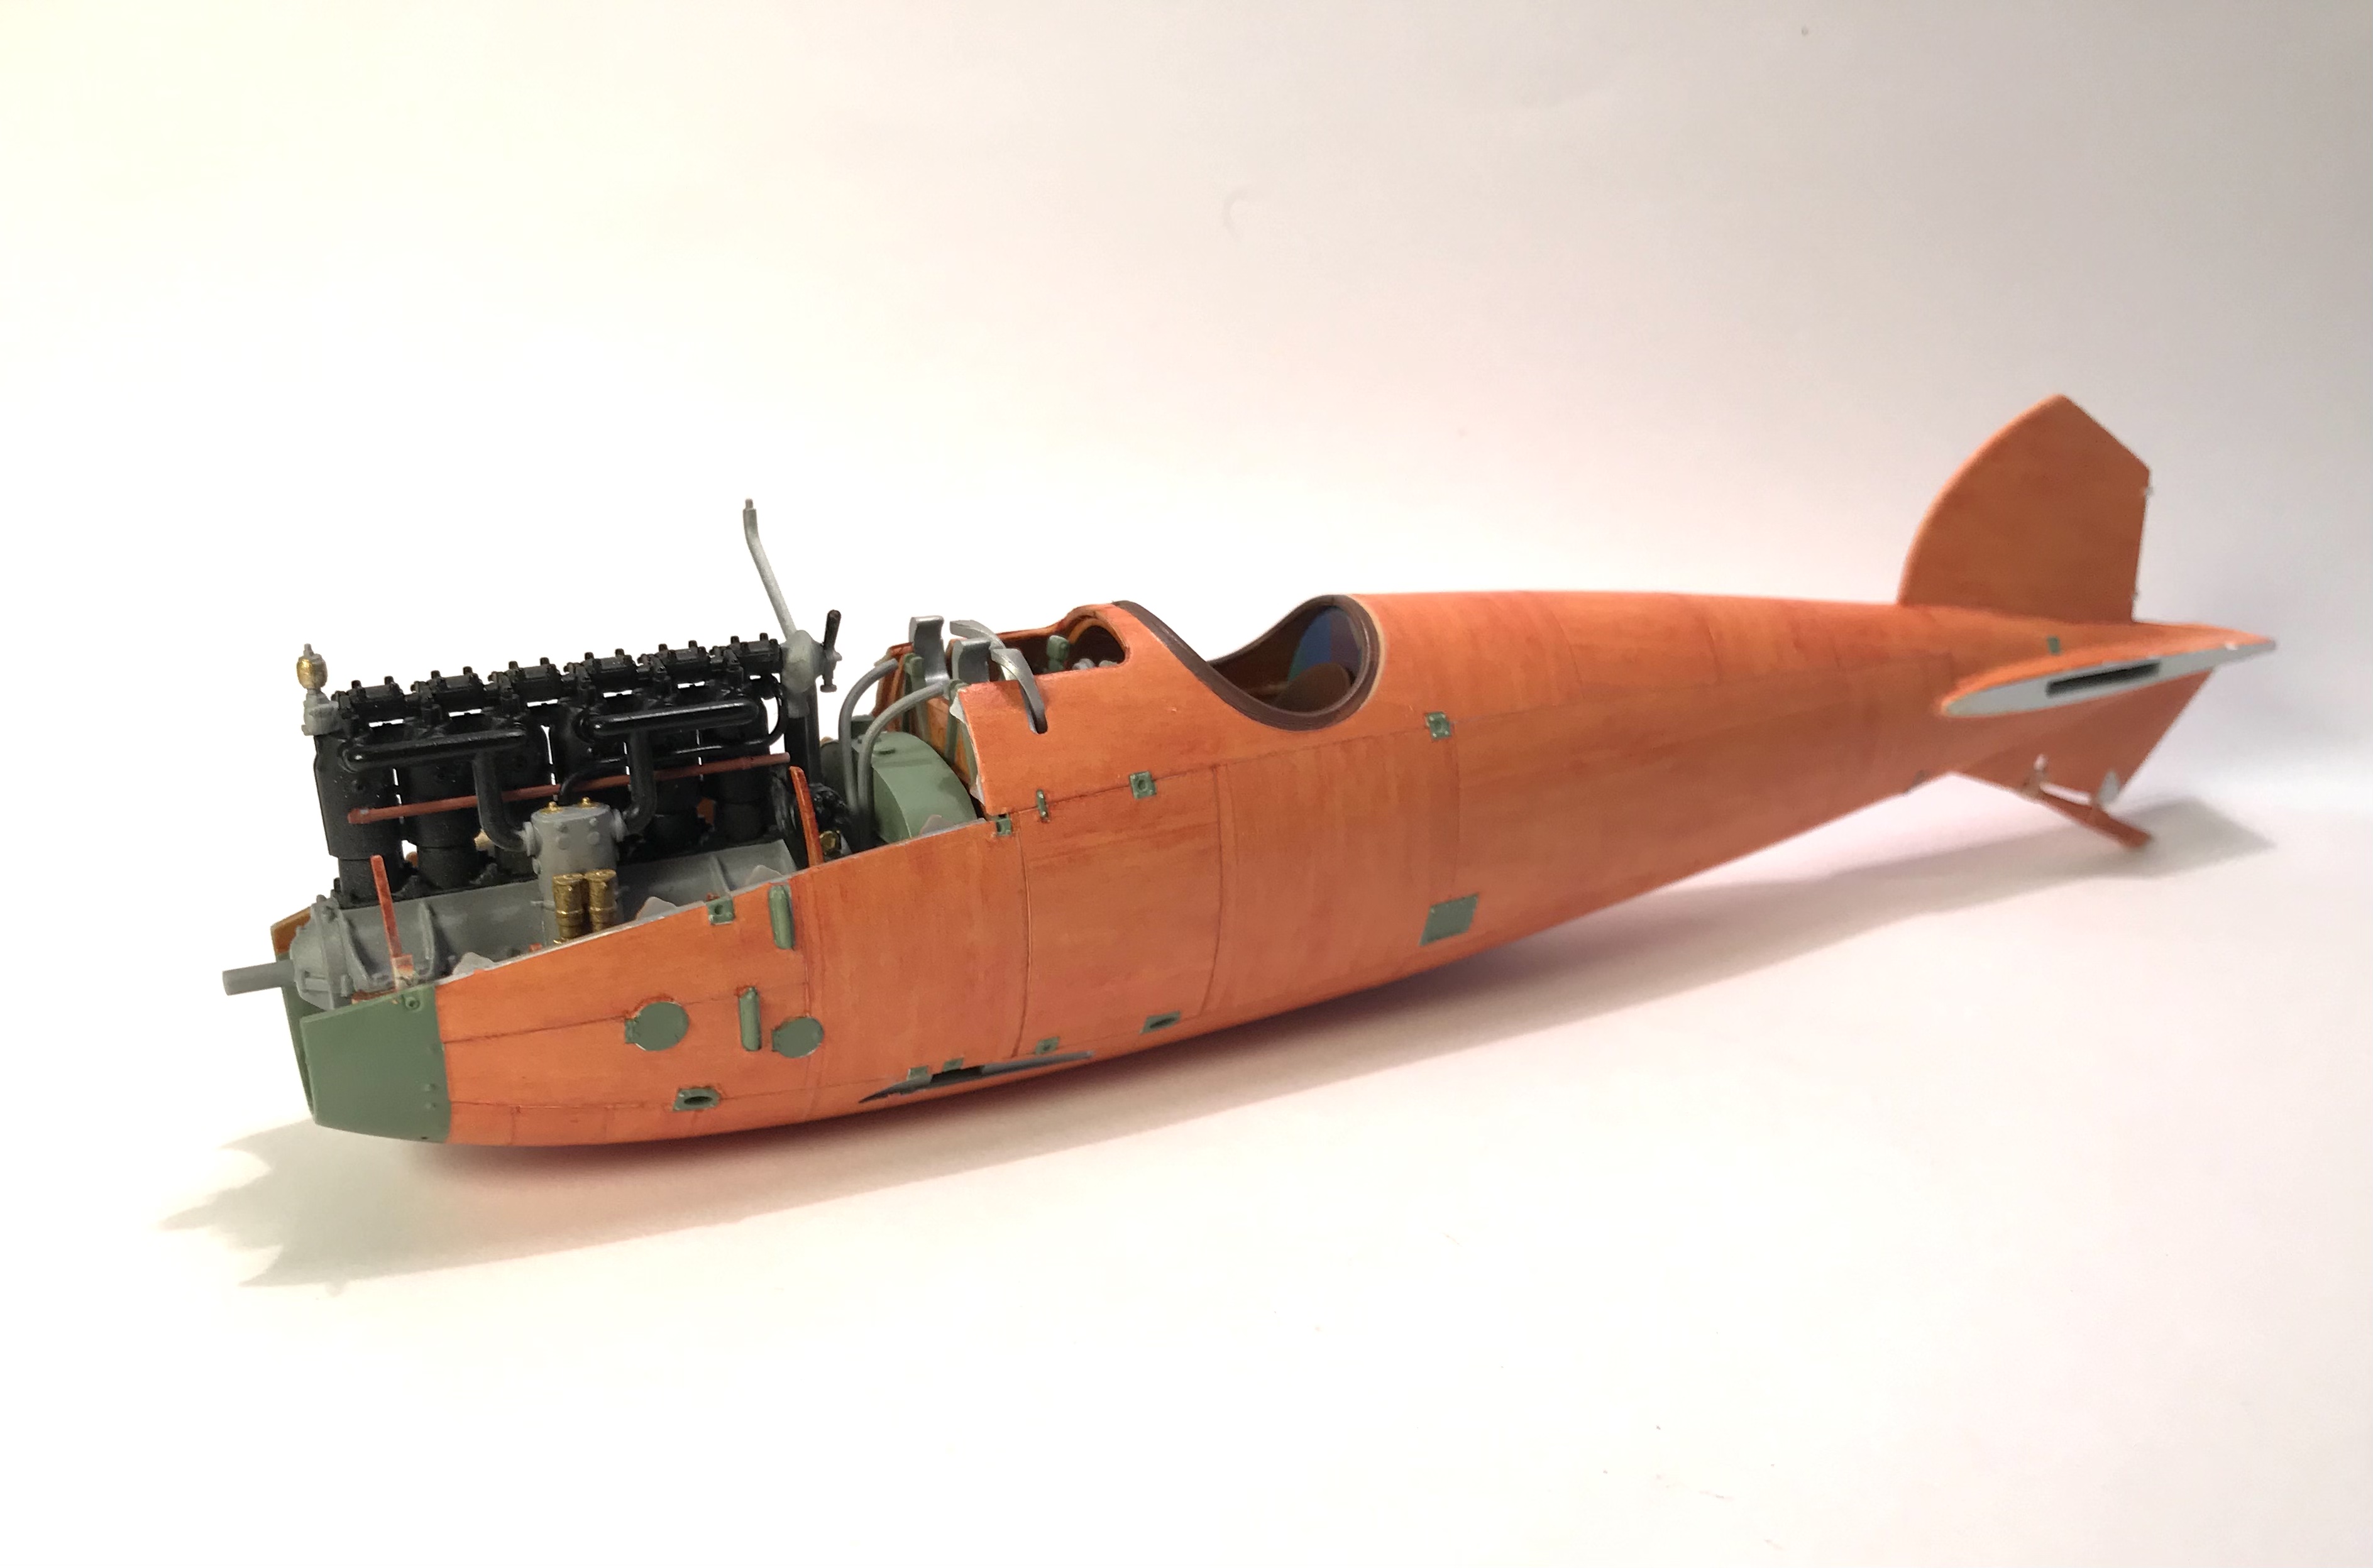
Finished up the wood grain decals on the WnW Albatros . I used the laser cut set from
HGW . The fit was very good in some places and not so good in others. I was able to touch up the smaller gaps by using the tan base color I mixed for the interior and wood grain in Burnt Sienna. Larger gaps I cut additional decals from the matrix of the decal set . All will be shot with clear yellow over coat.
13 Likes
This is me packing! 
Me and Jake have been captured by the Texans for further evaluation. ![]()
![]() To be more specific, I’m moving operations to San Antonio around mid September. Whether this move will be a positive one or not is TBT. …
To be more specific, I’m moving operations to San Antonio around mid September. Whether this move will be a positive one or not is TBT. …![]()
![]()
![]()
![]() bigger cattle town. …
bigger cattle town. … ![]() … … … … … … … … … small cattle town.
… … … … … … … … … small cattle town. ![]()
Yikes!
—mike ![]()
9 Likes
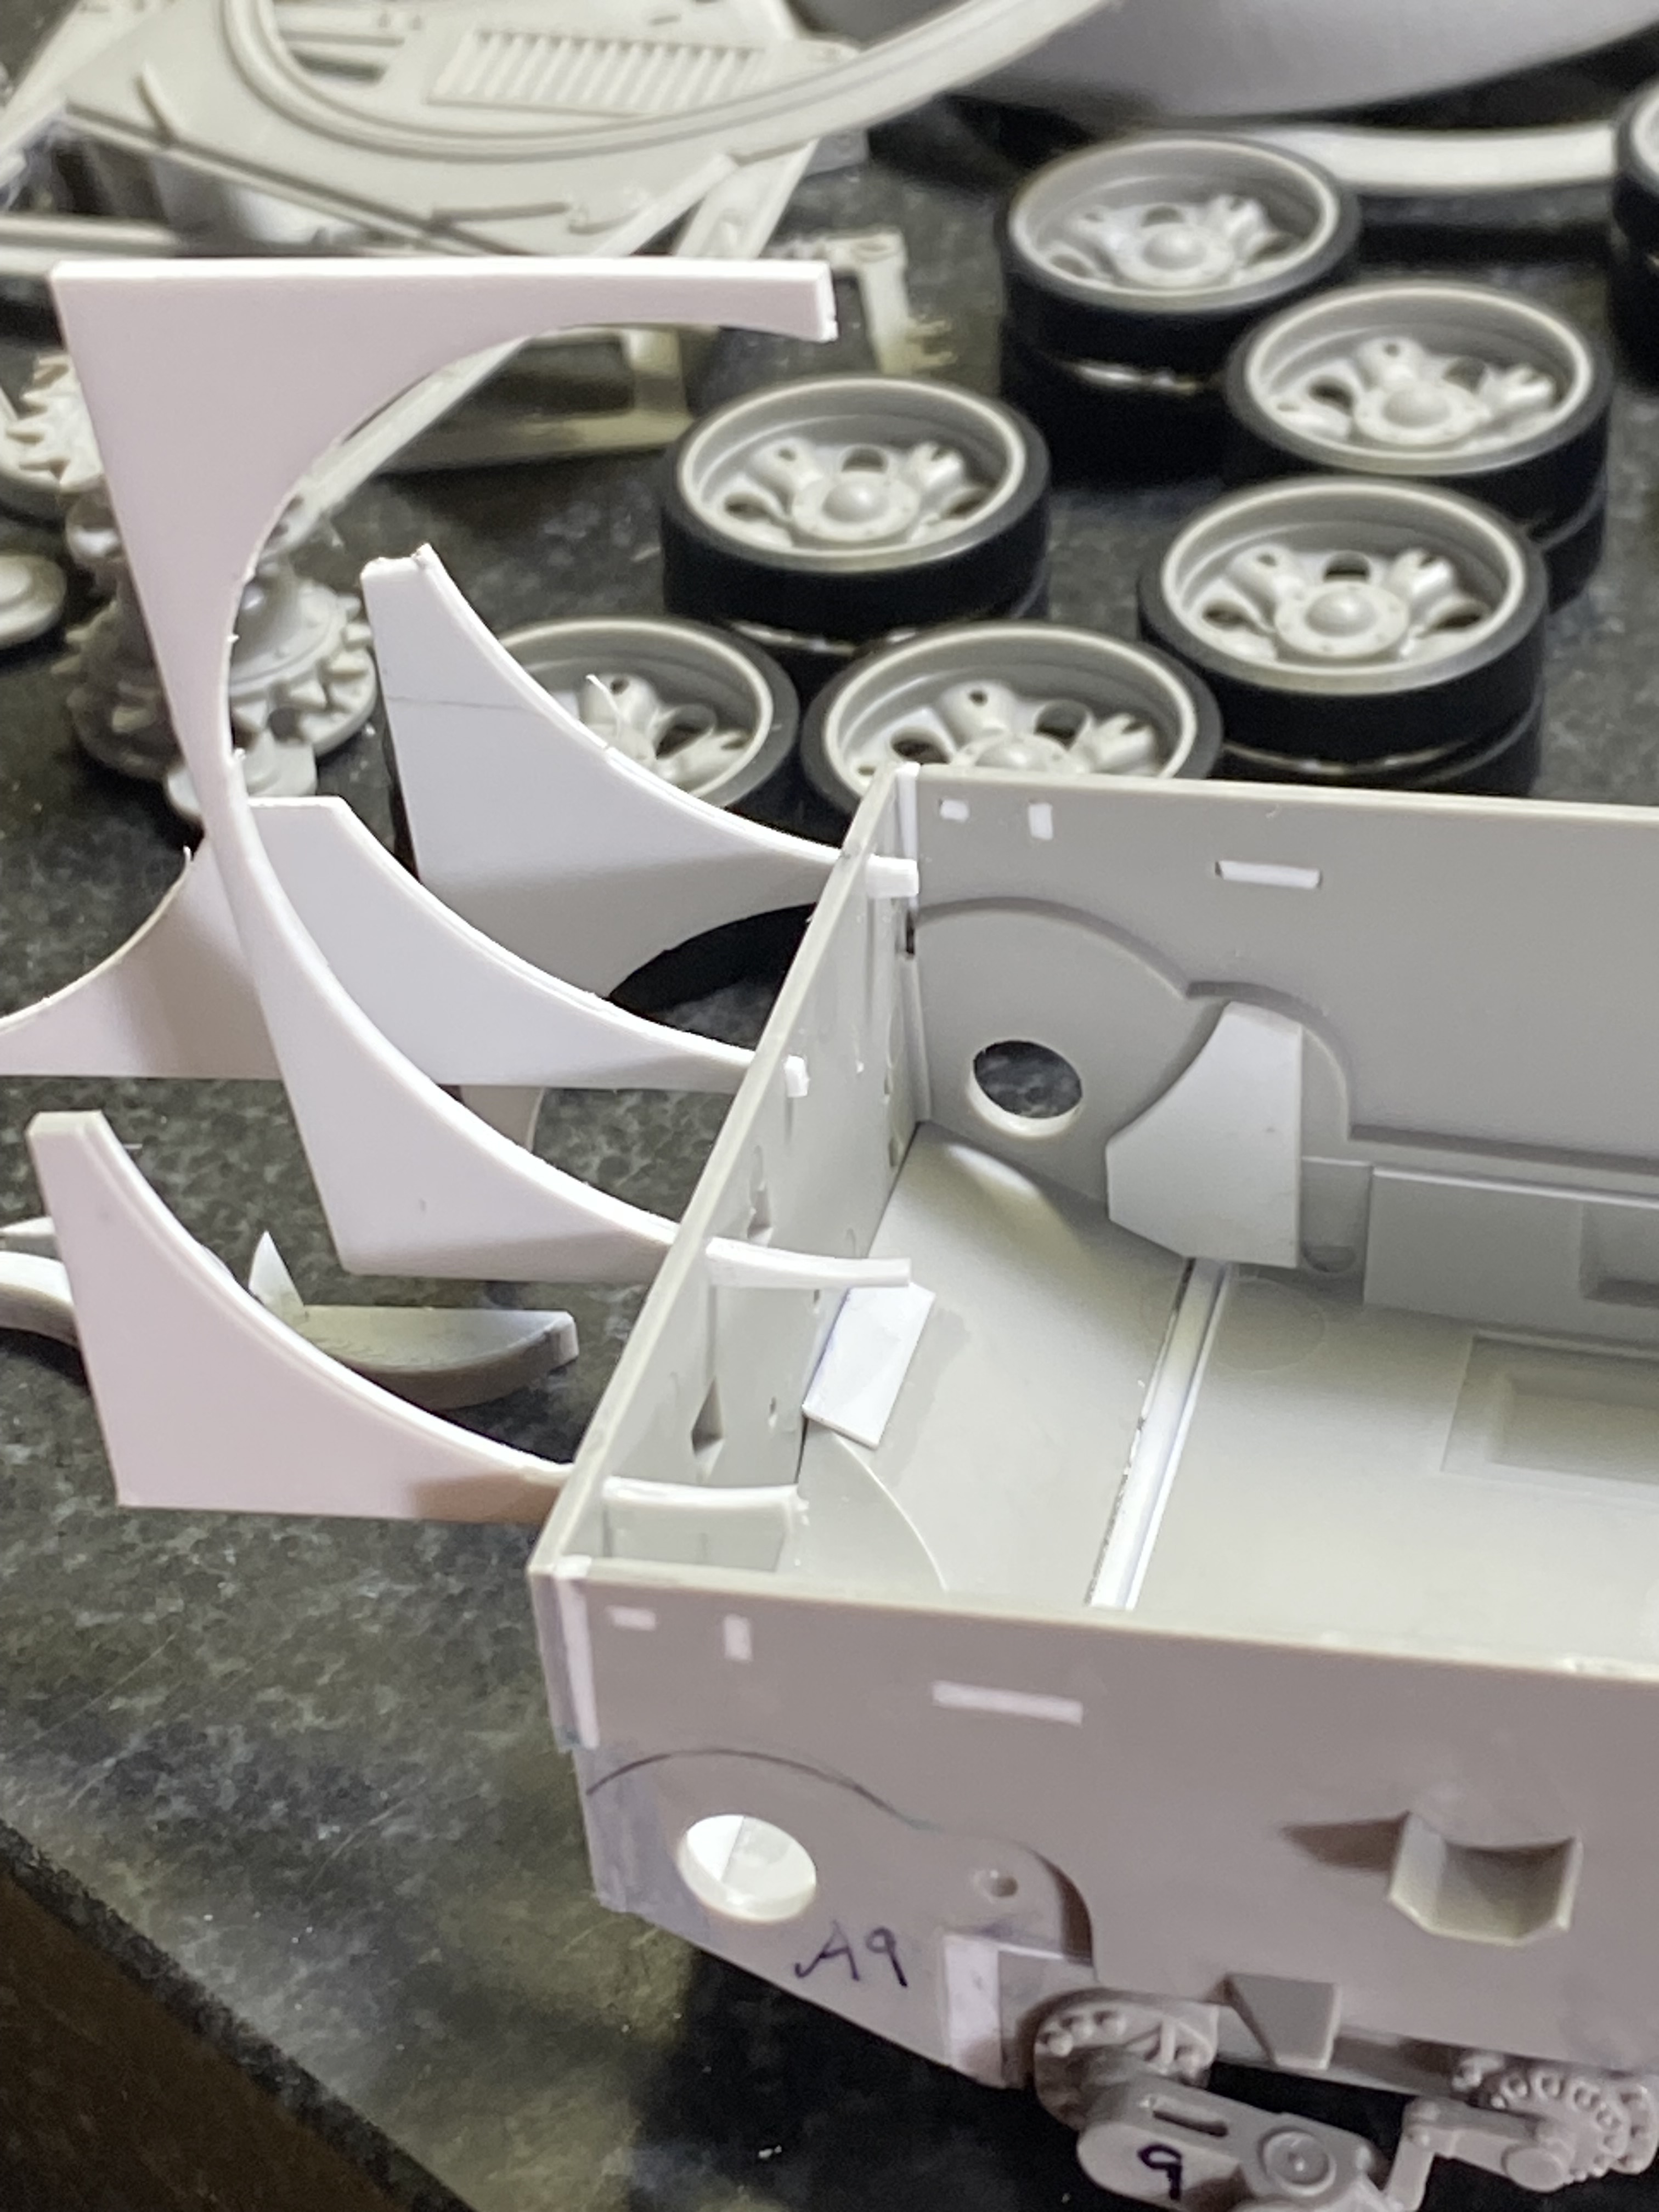
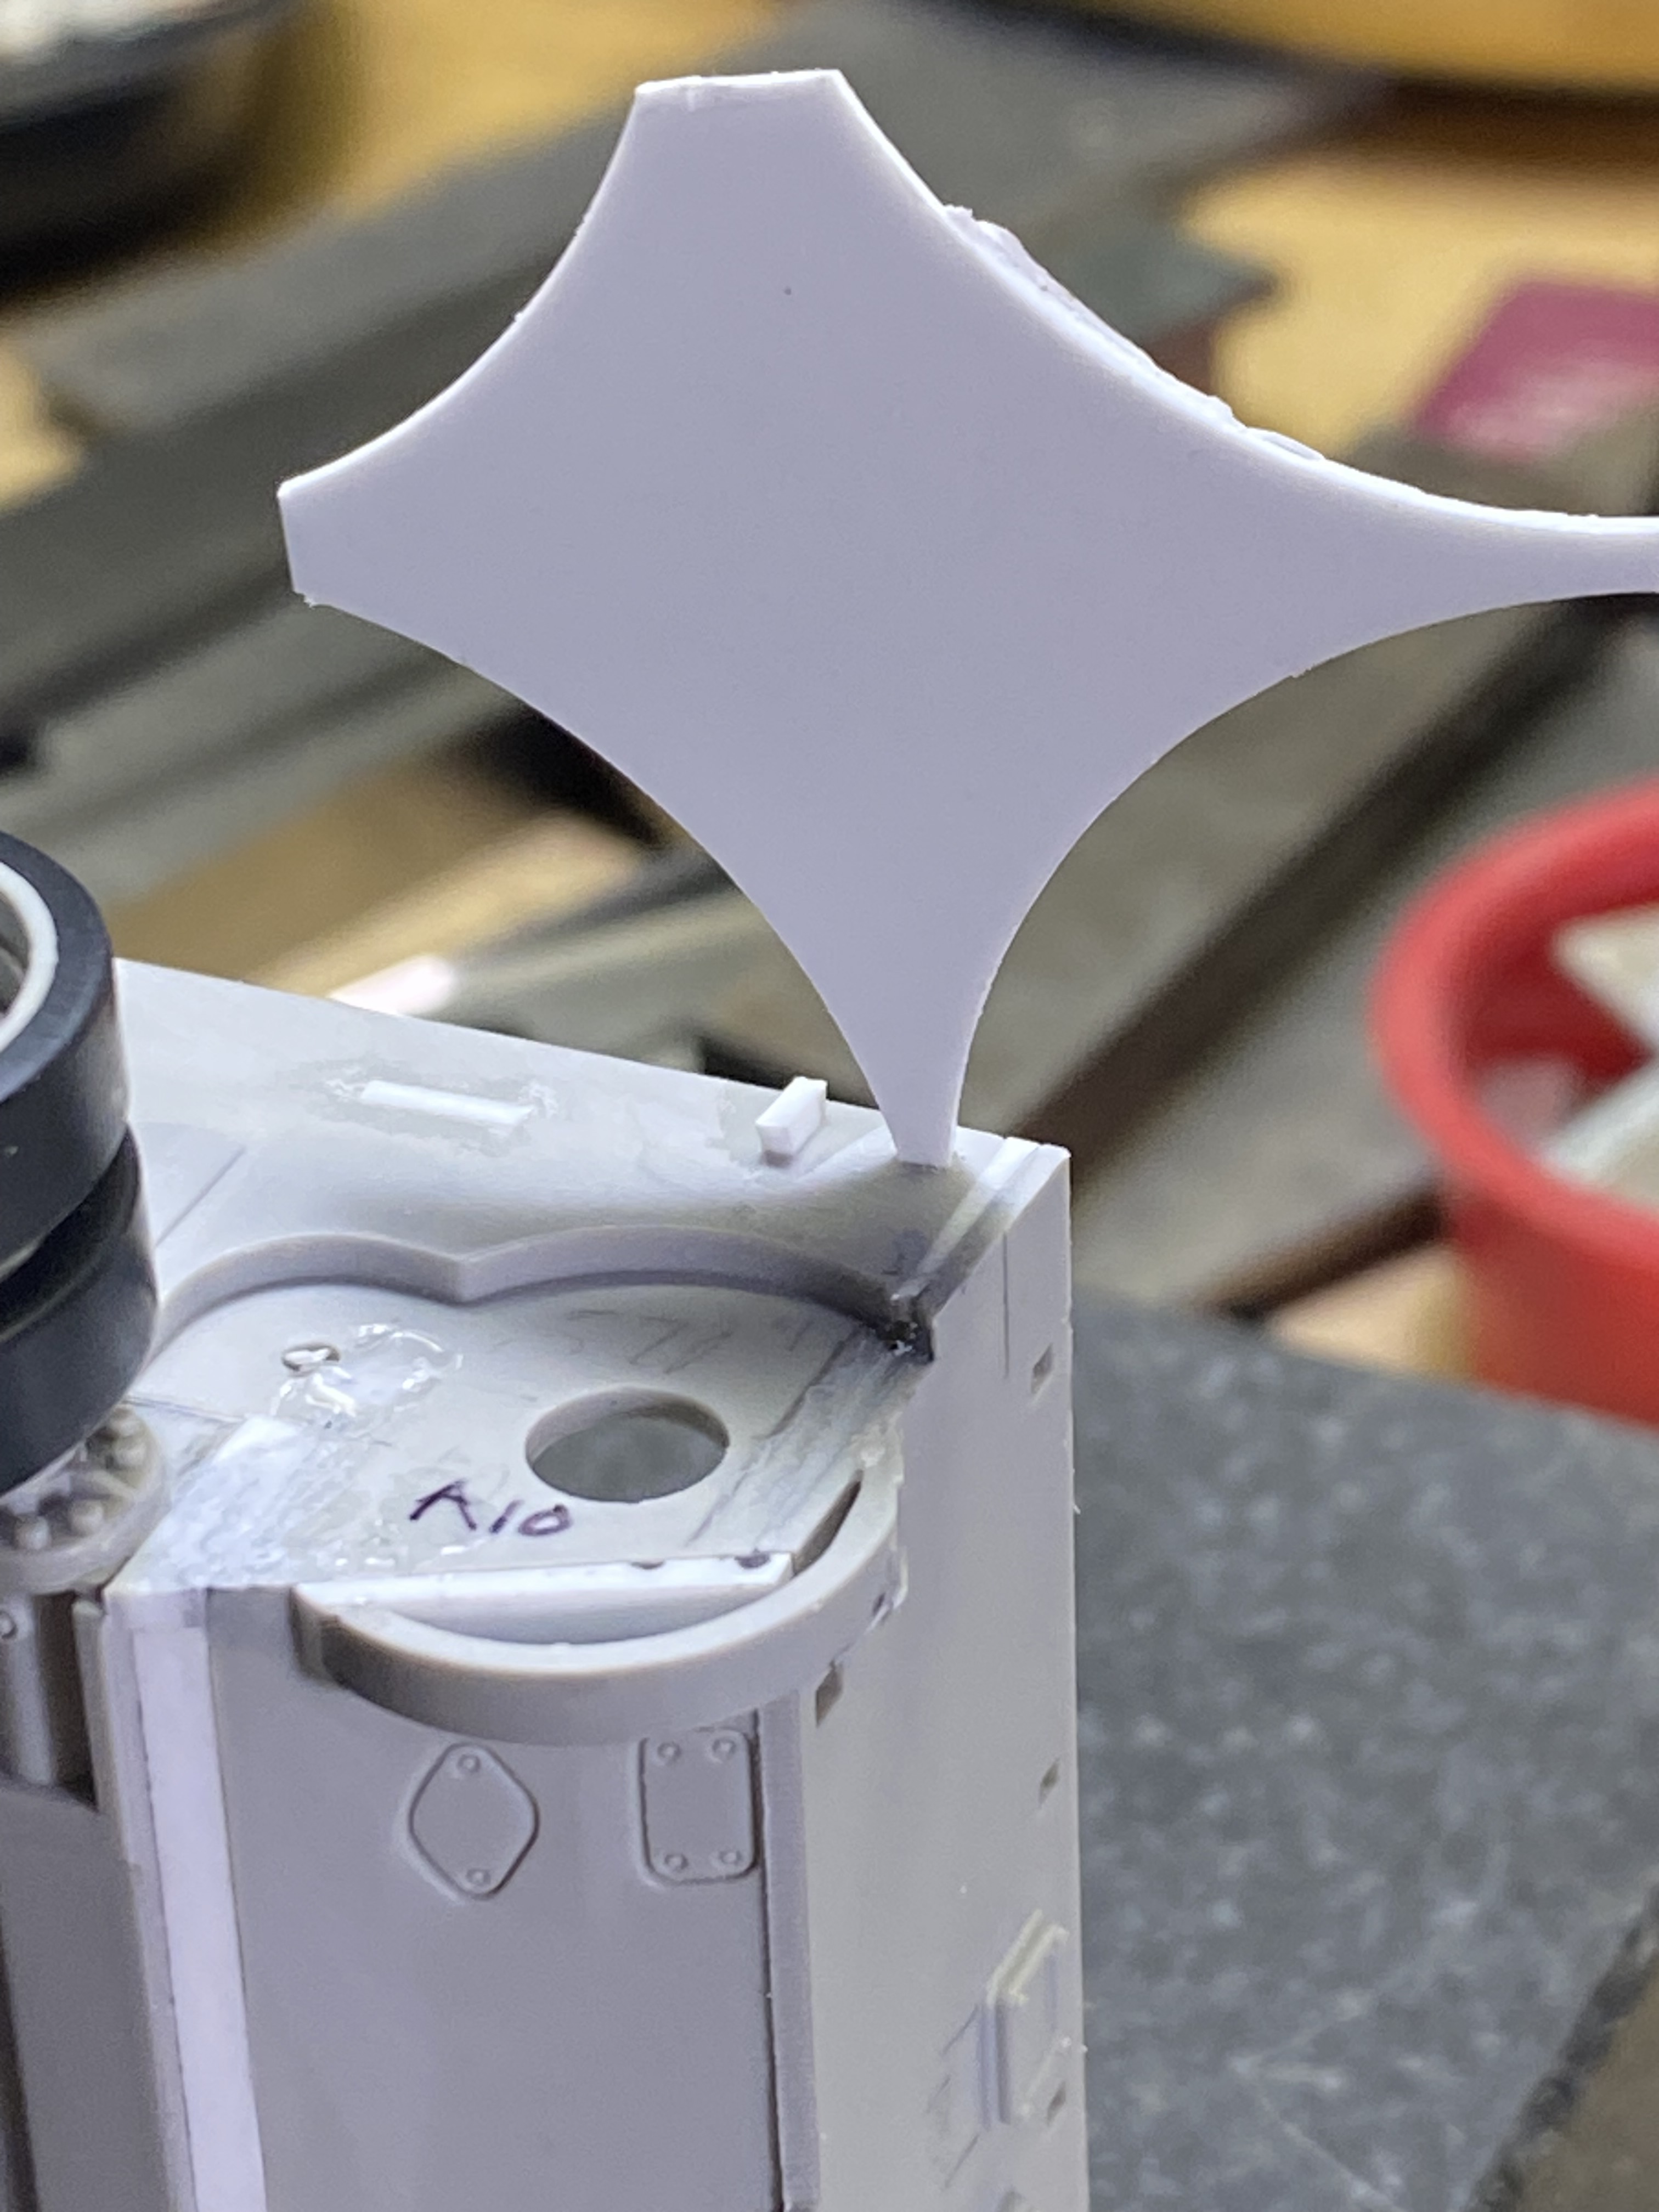
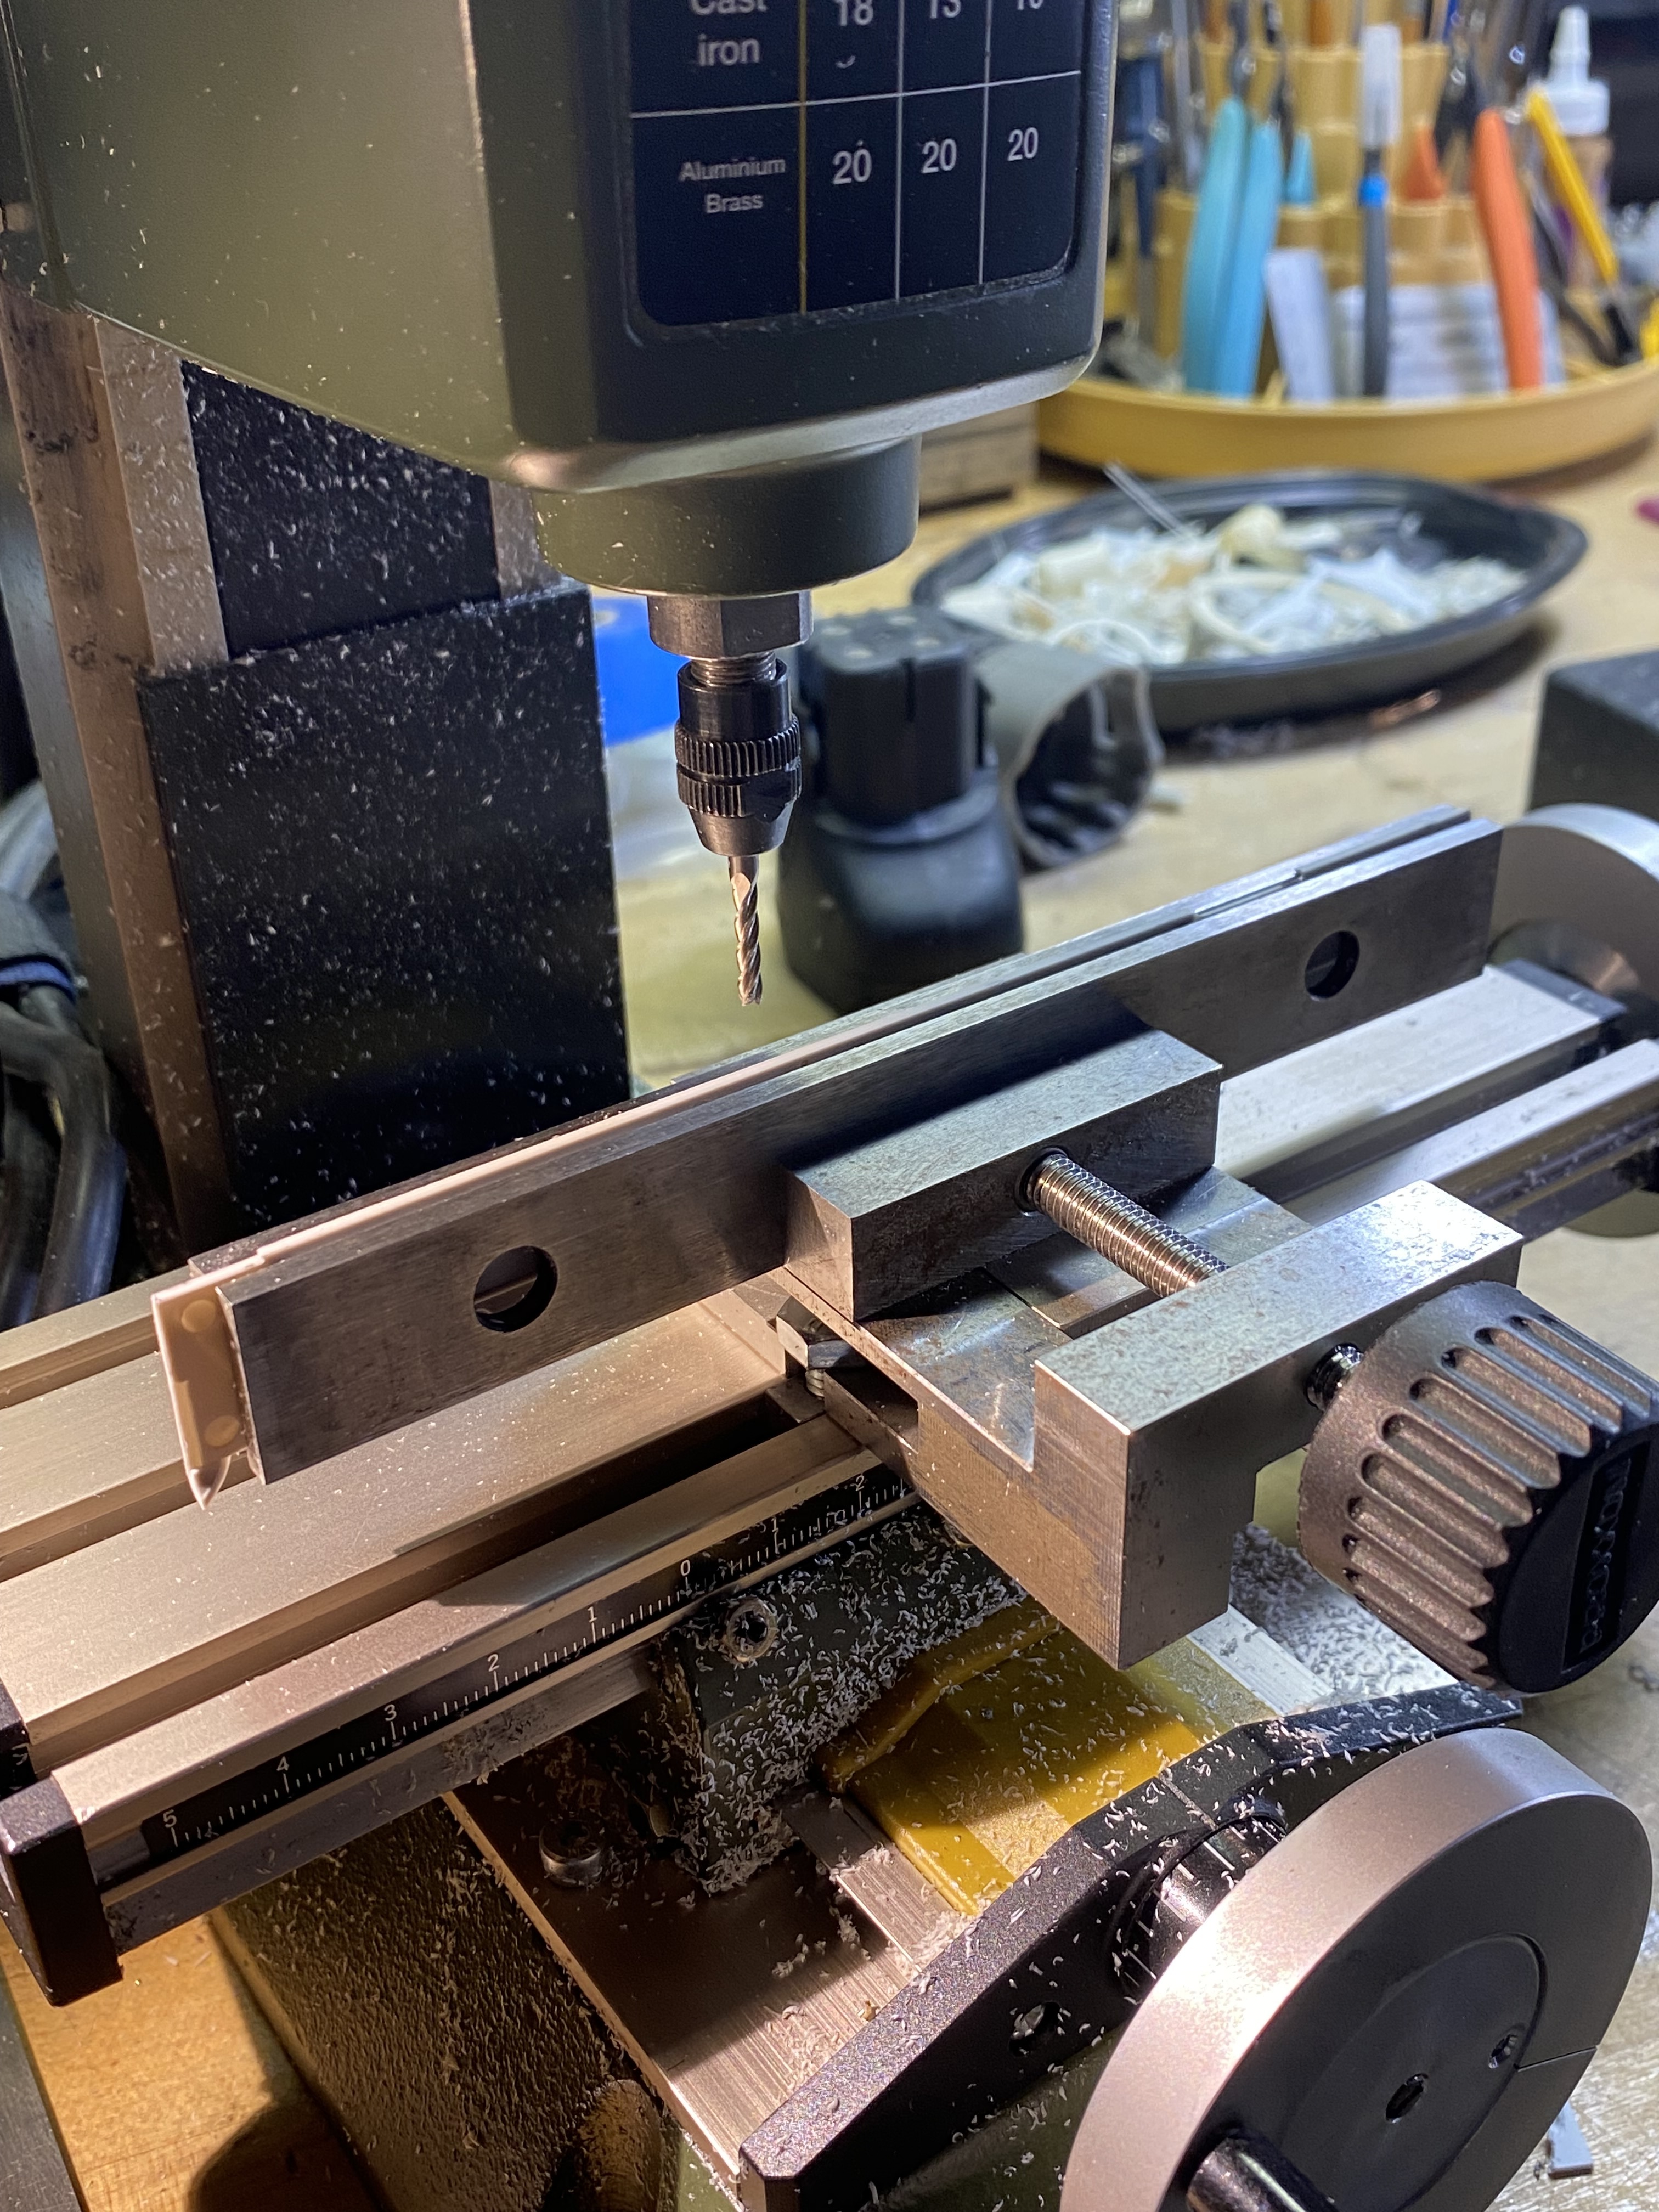
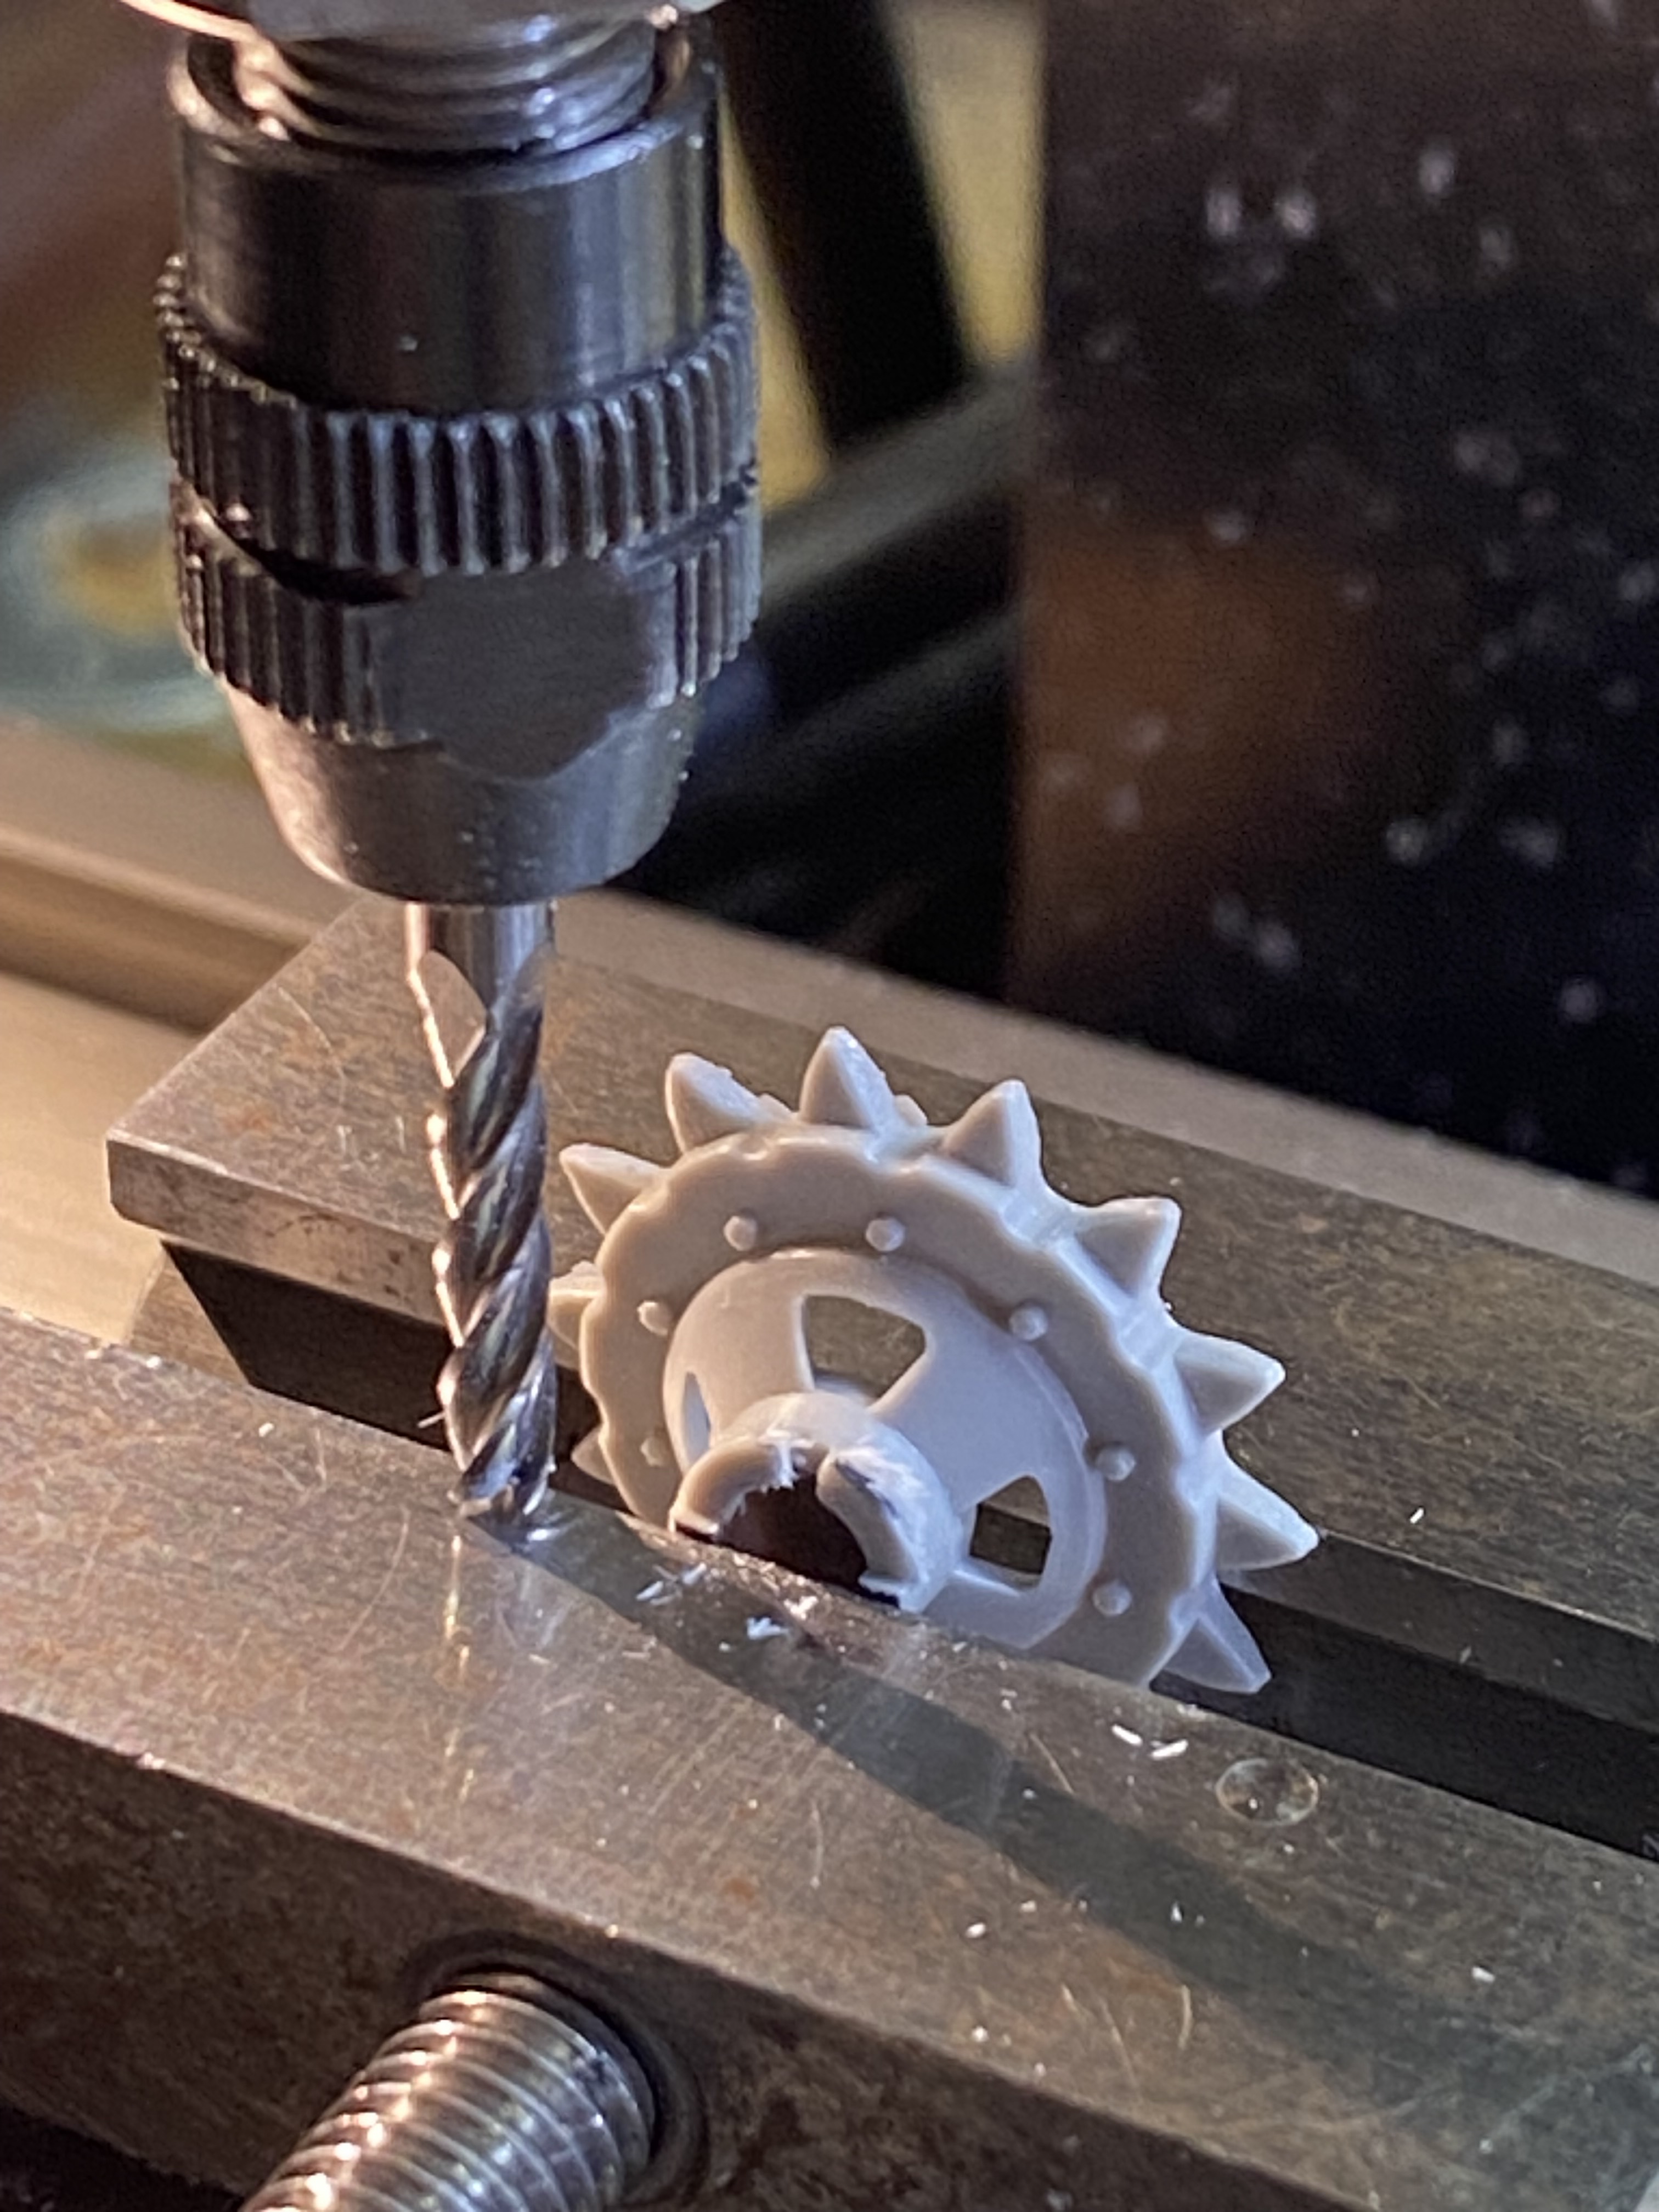
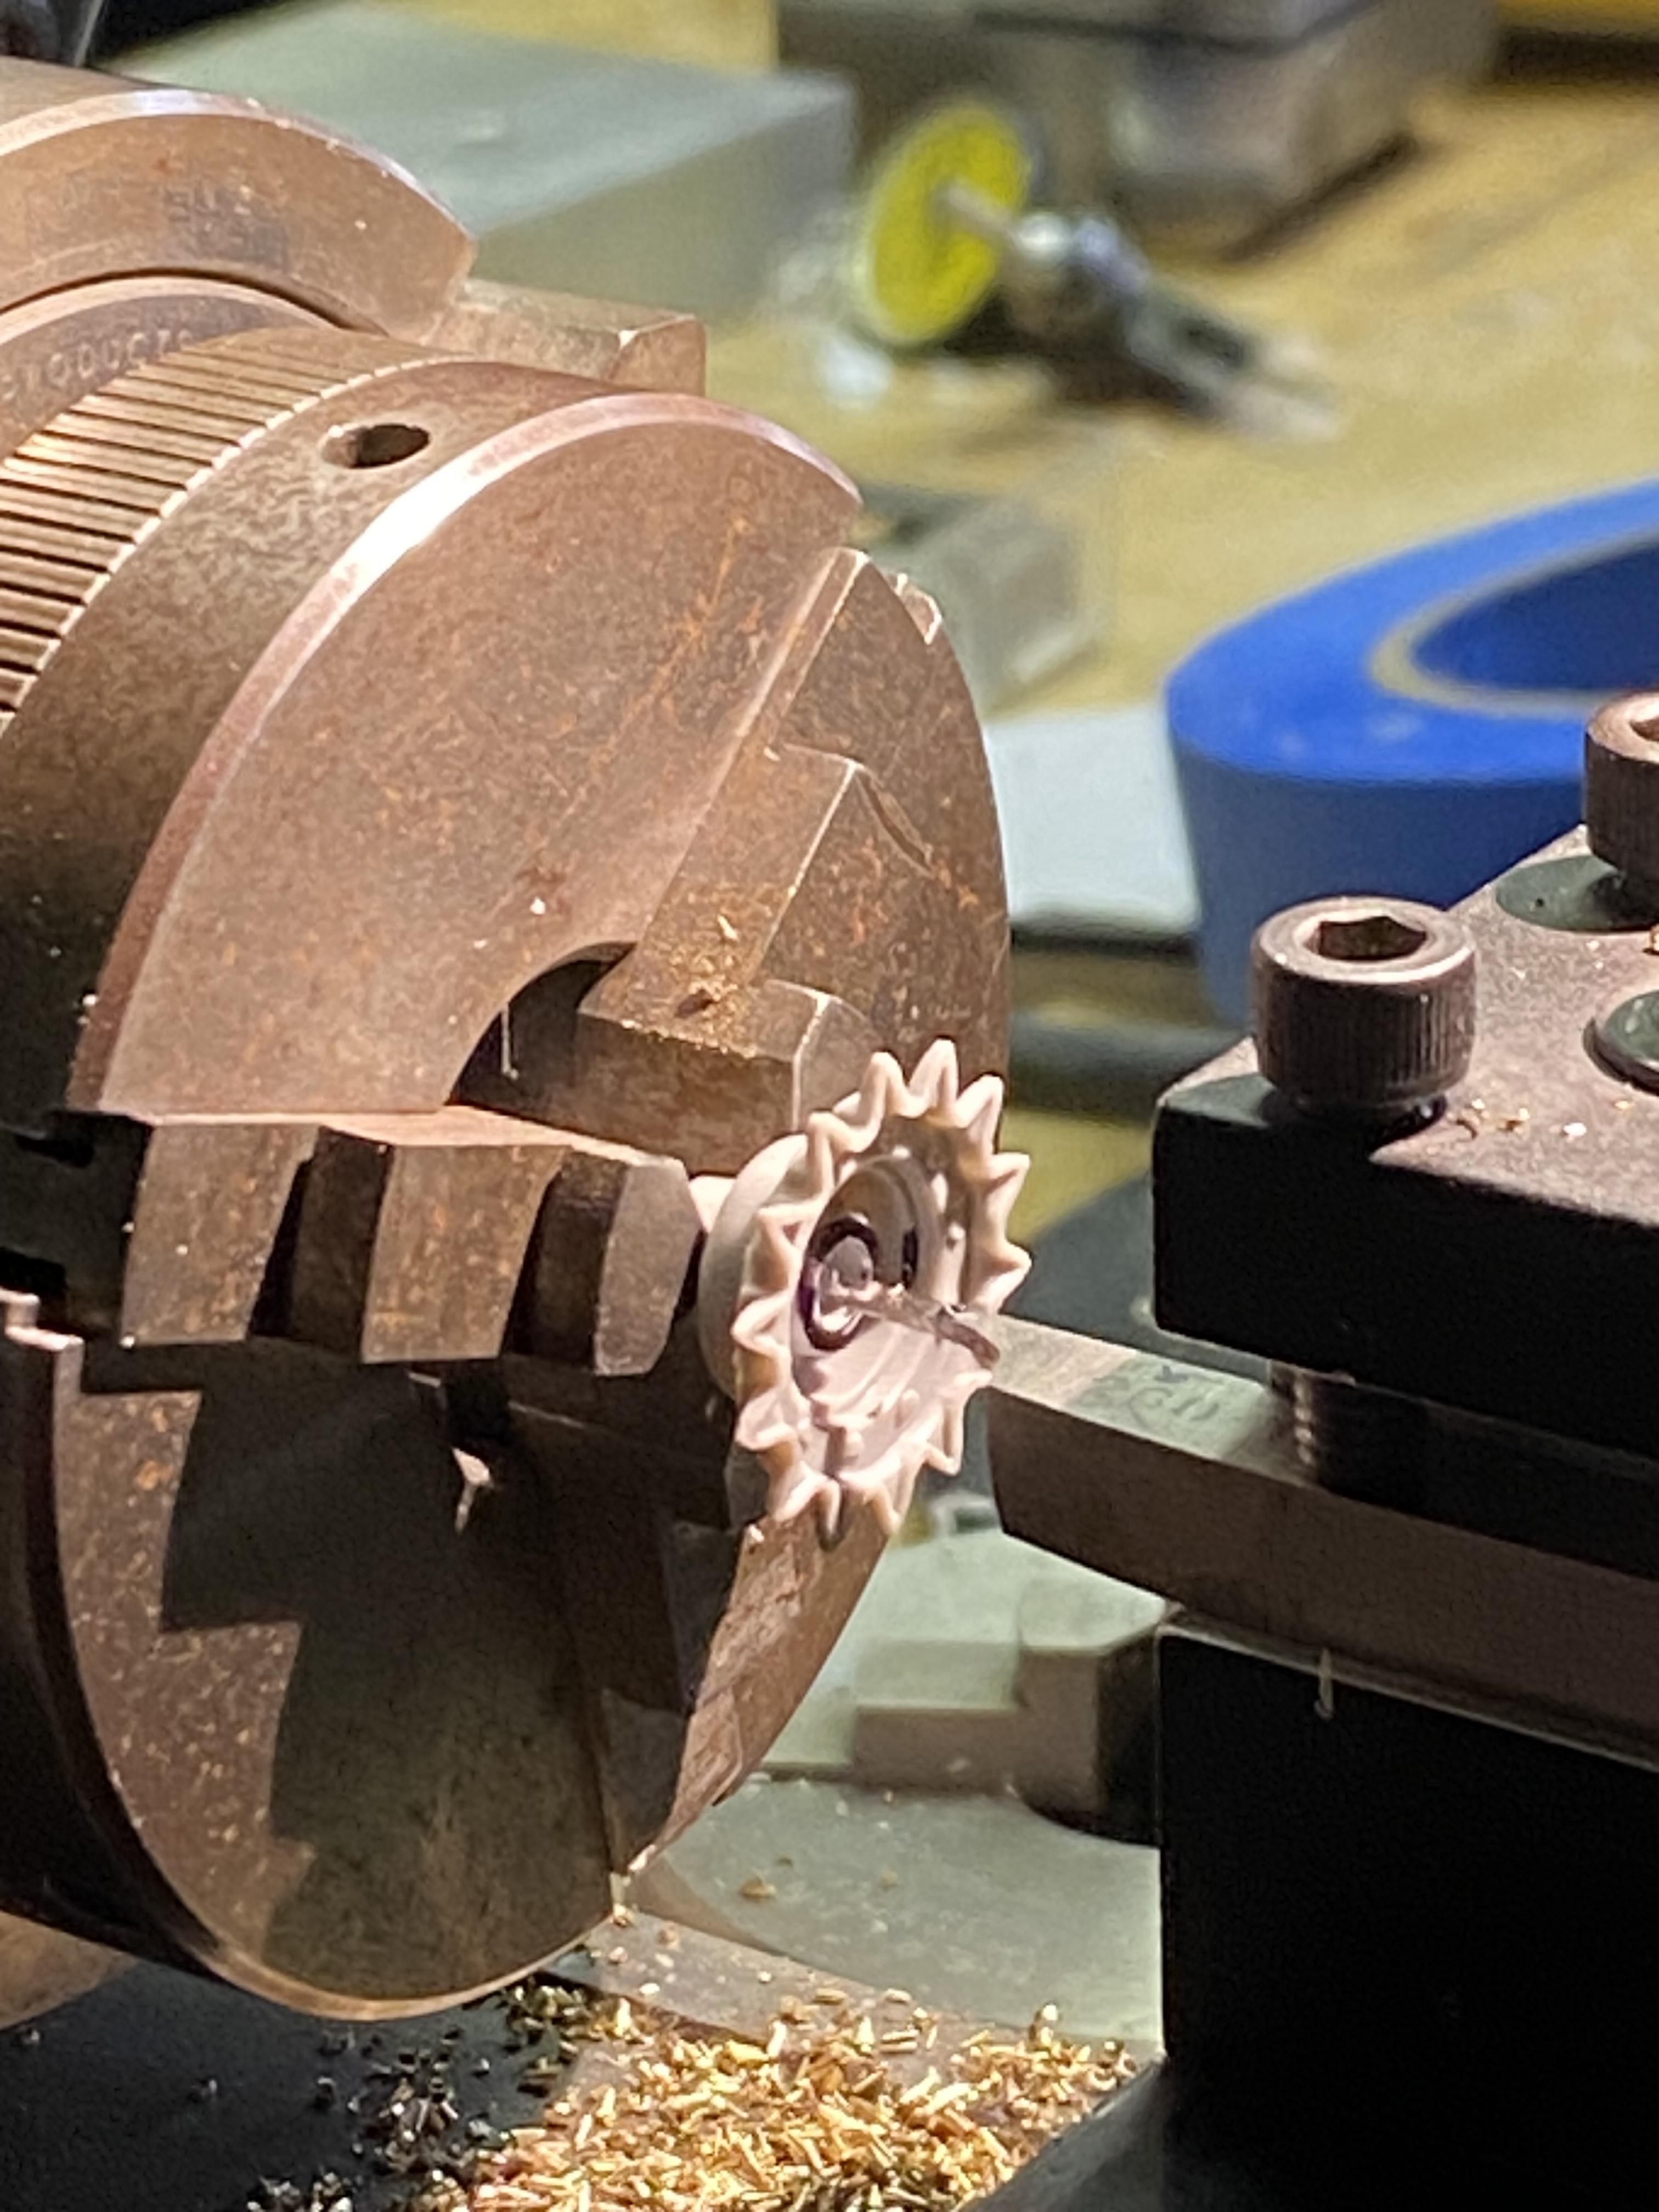
I designed and printed my first 3D print. I am working on the RFM 1991 Abrams, and did not like the crosswind sensor from the kit, especially the area that was supposed to be through and through on the main section. So, I drafted my own and used my 3D printer for the first time. I think they came out great. A little more tweaking maybe, but i am happy with them.
These are the E.I.I. version sensors.

Kit part at bottom right

10 Likes
Best of luck. It will be a little warmer than CO.
3 Likes

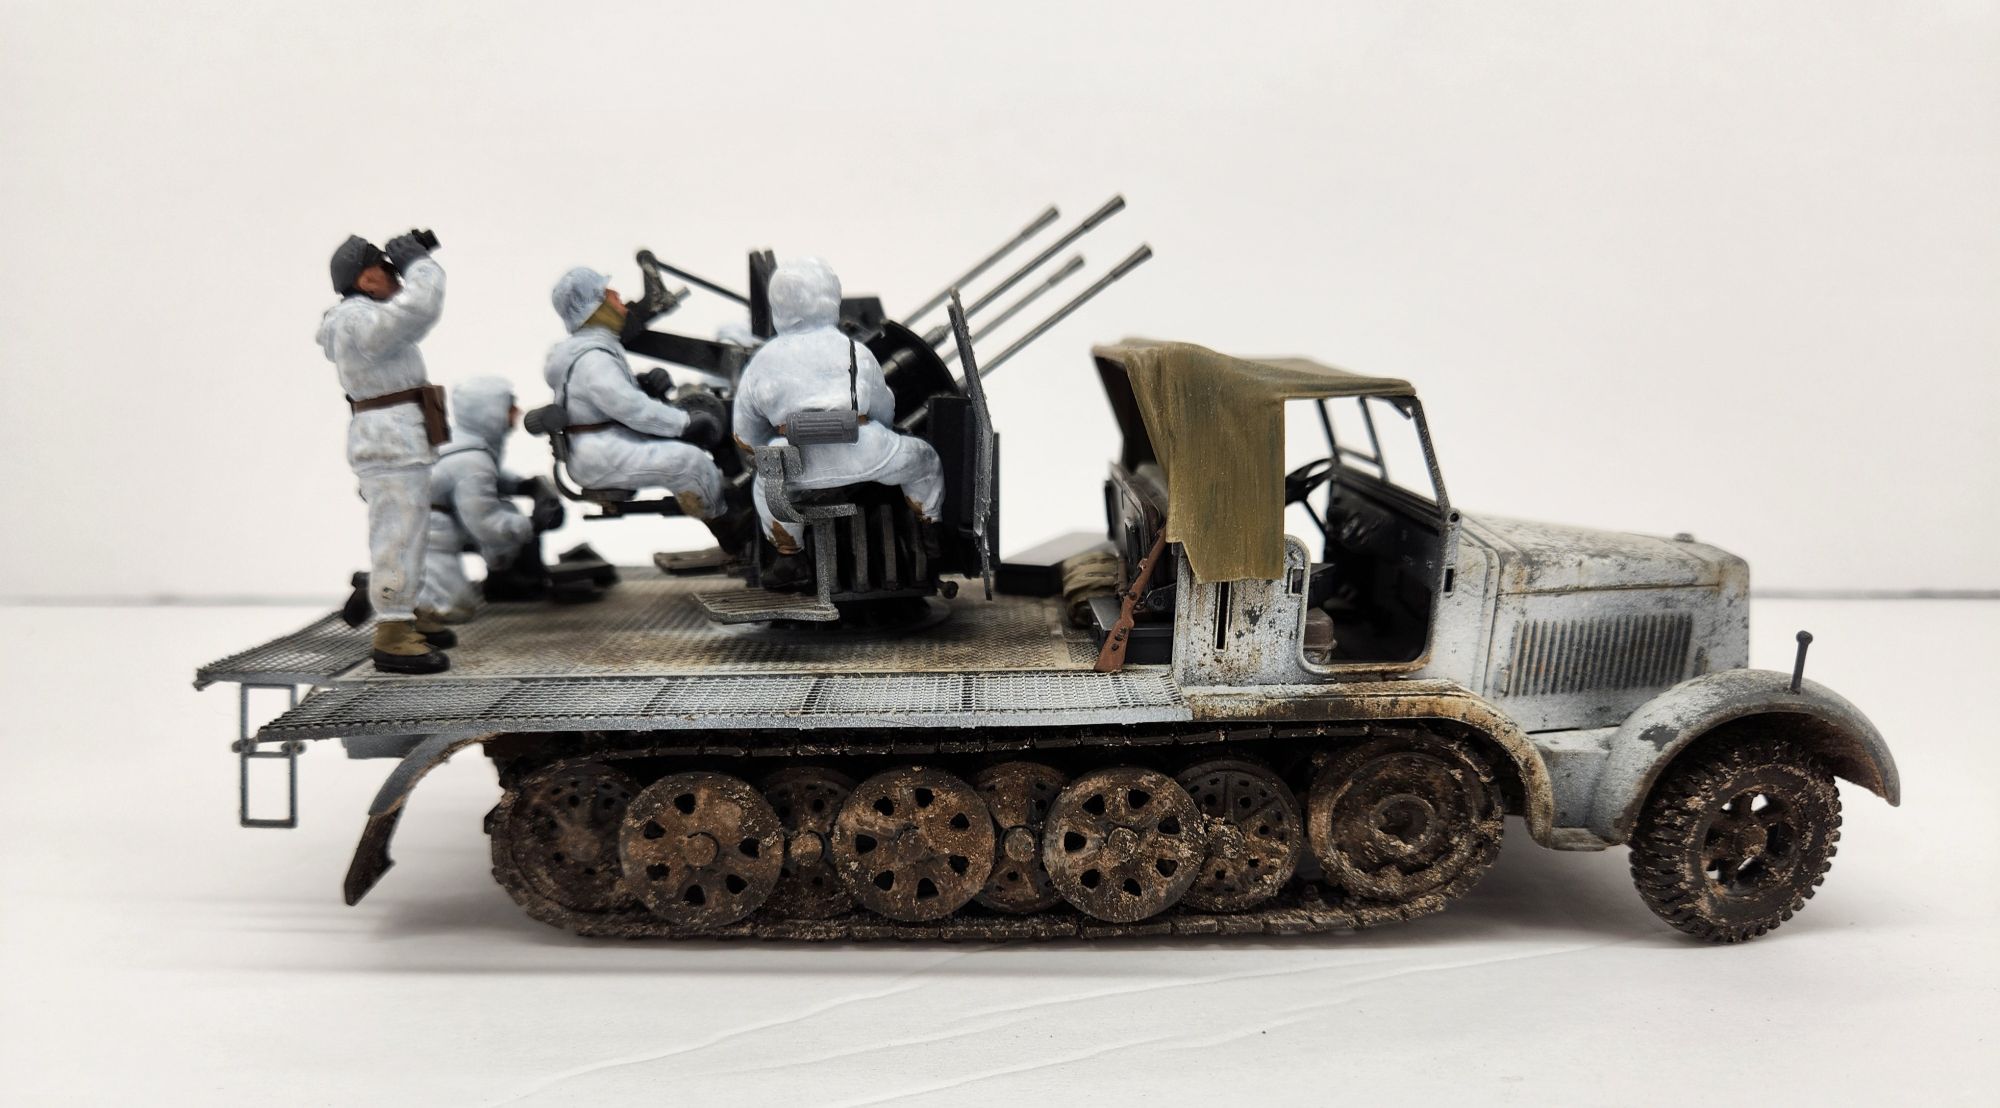
I’ve airbrushed some Olive Green on subassemblies of my 76.2 mm. AAG mod.1931:
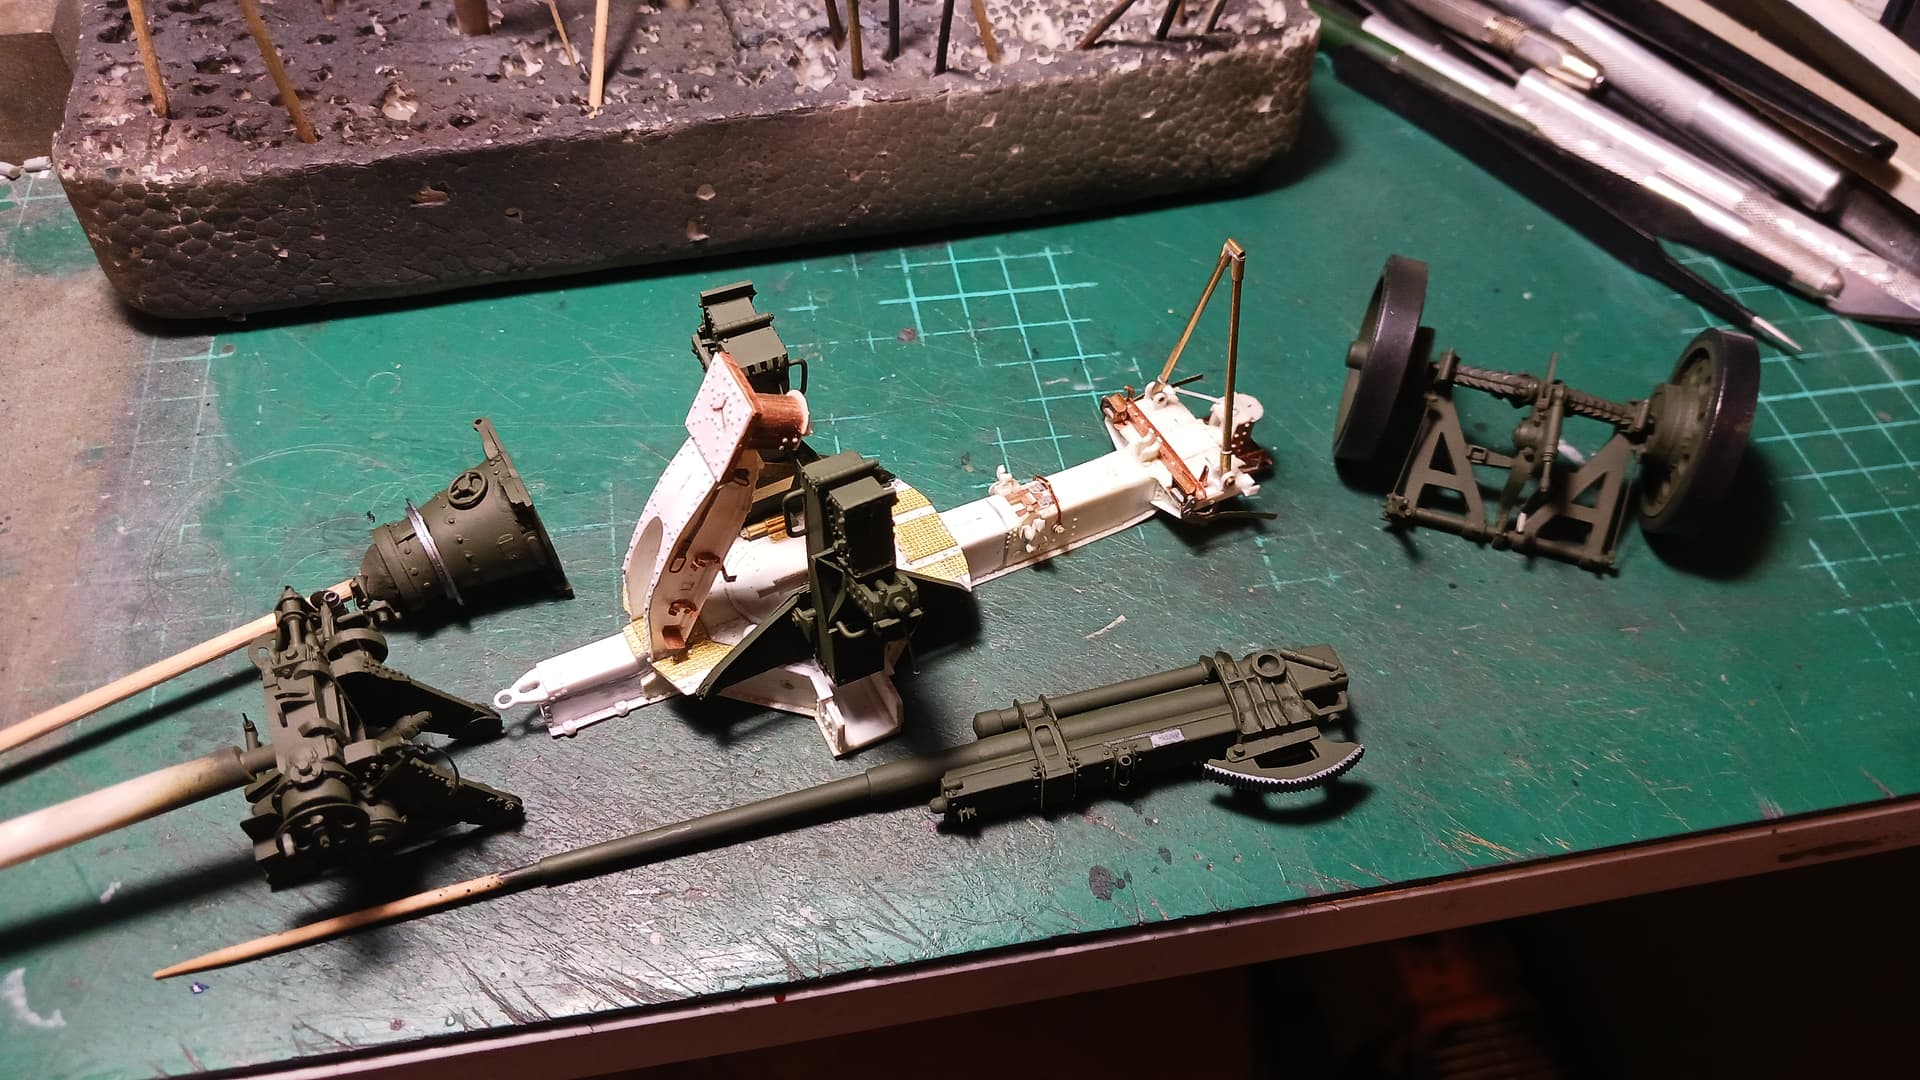
The cruciform carriage still needs some tweaking so it will be primed and painted later,
Cheers,
Angel
11 Likes
Panzertragerwagen and its cargo are done other than mounting to the base I haven’t made yet, but I have to make the shelf before I can worry about the base.

Mounted the AT-AT and AT-ST to the base and put some glop around their feet to blend them into the groundwork. The snowspeeder needs to be fixed in place as it is loose right now and spins around. Still playing with the placement. I will go over the whole thing again with some more snow effects and finish off the edge of the base.


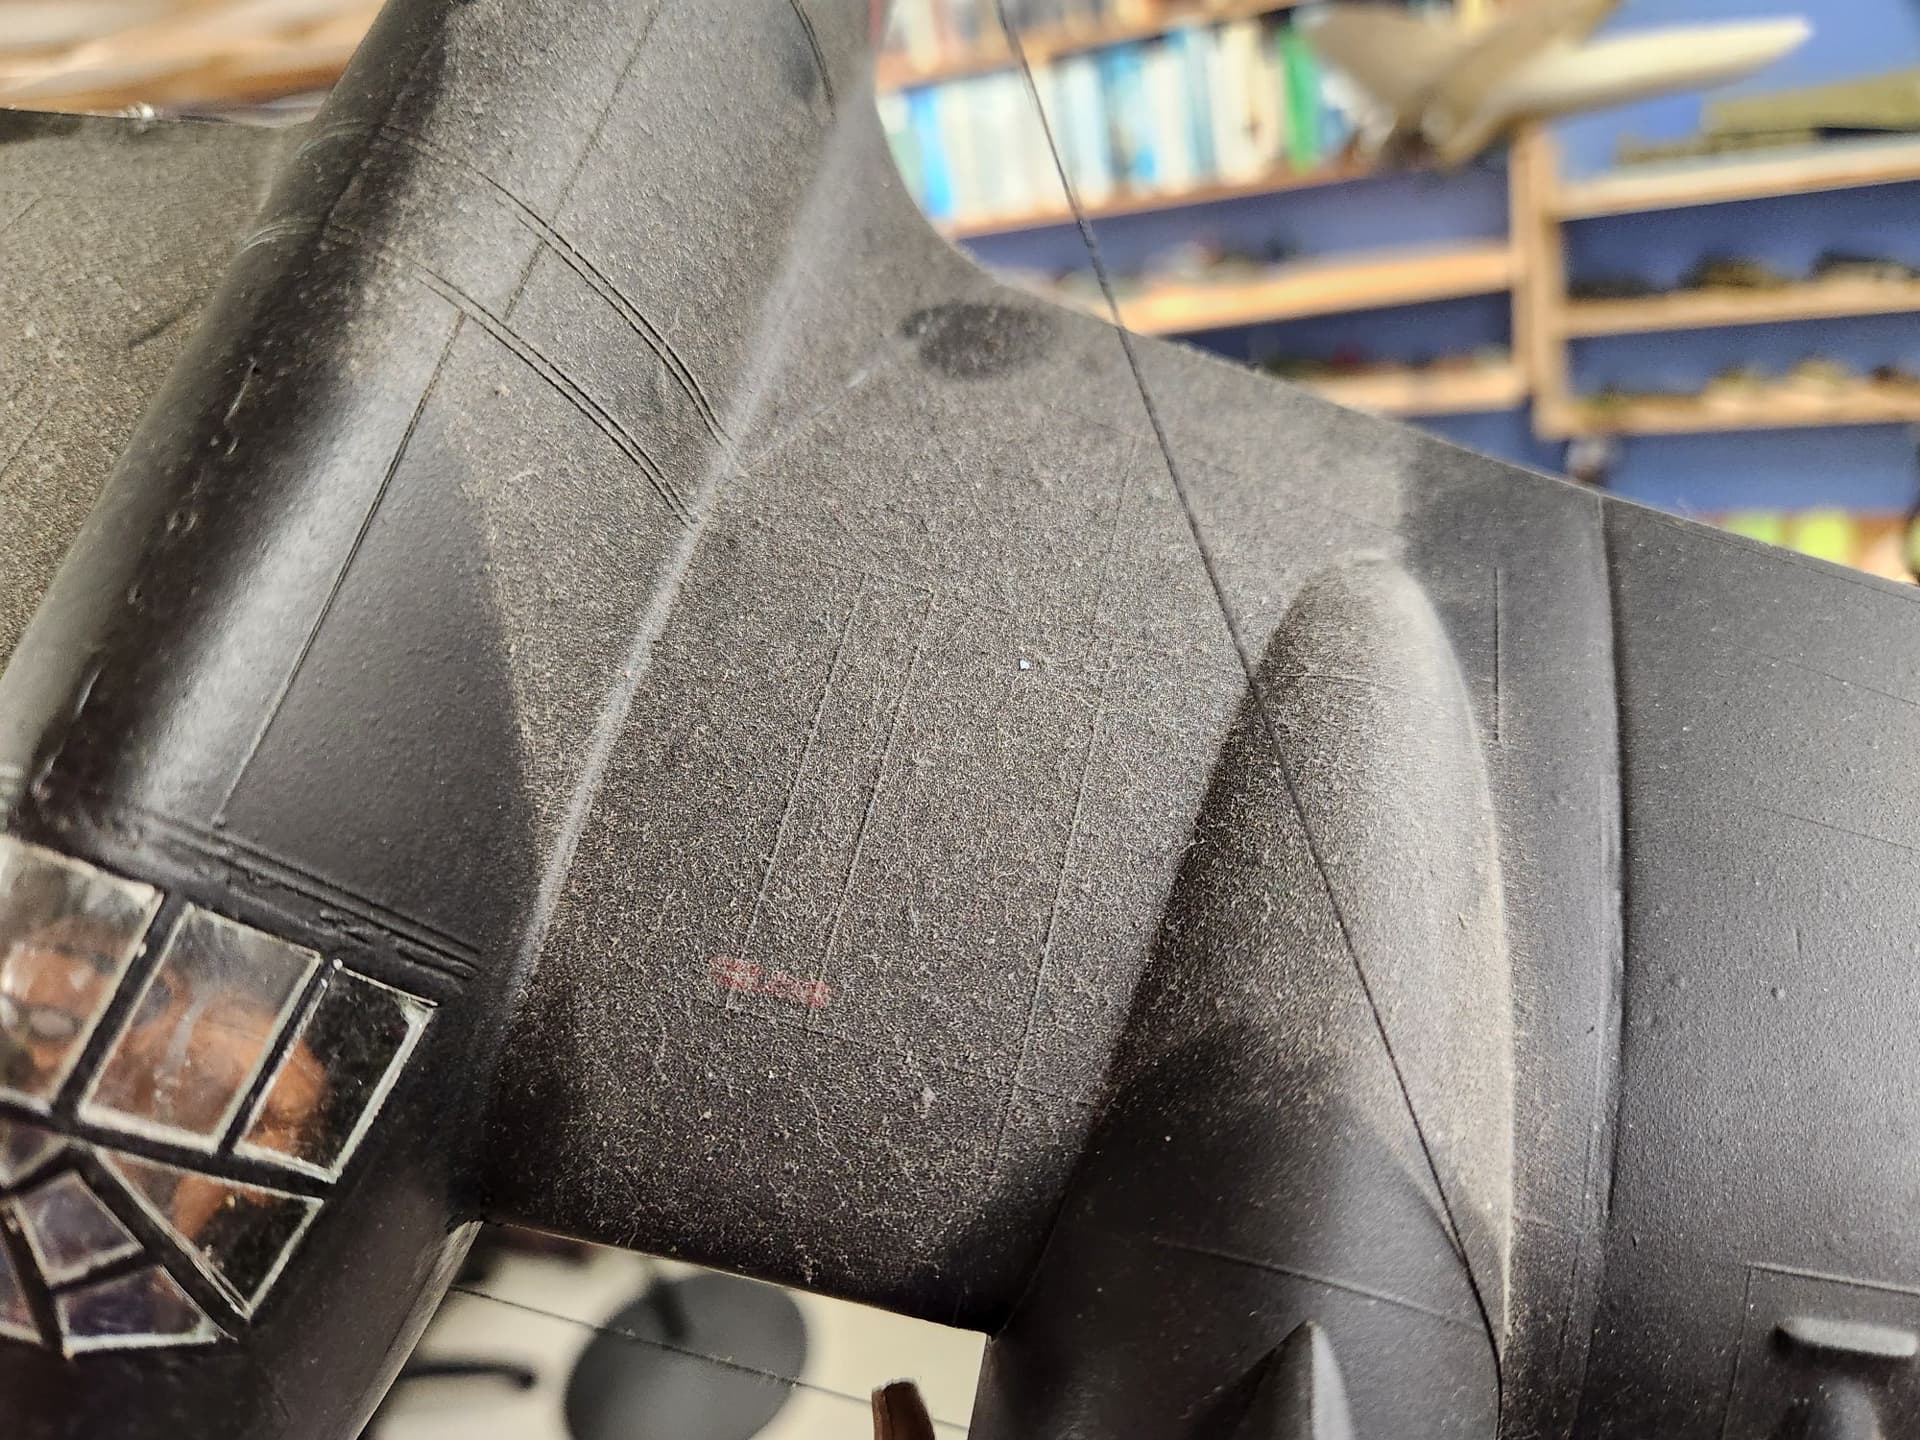
Dusted a few hangers for no apparent reason…
The Flamm Hetzer is about to get its tracks and final touch-up next, as then I’ll finish the Pz II Ausf J. That had a setback when I discovered I forgot a sprue of track links halfway through finishing the first run and realized I couldn’t finish until those were all clipped and cleaned.
I still have the Hobby Boss L.W.S. to finish by 9/30 for a campaign but it is close to done so I am going to take a brief break from my other builds to get ready for school to restart in three weeks. I have to attend a 3-day staff prep session out of town the week before students begin, to attend vendor seminars on education products and listen to an overpaid speaker tell mom jokes before I can be allowed to actually do my job and prepare lesson plans for the coming year.
14 Likes
I expect you’ll be printing a lot more stuff…once you start customizing you never stop ![]()
The BattleScale Collectica Show
2 Likes
I just obtained this vintage 1976 31" Mattel Eagle One. I’ll be printing some new custom parts and giving her a proper paint job. After seeing some of the great scratch built models from The Space 1999 Props and Ships Club@Wonderfest, I couldn’t help myself.
Promptly started to tear it apart and do some deep cleaning before getting to primer.
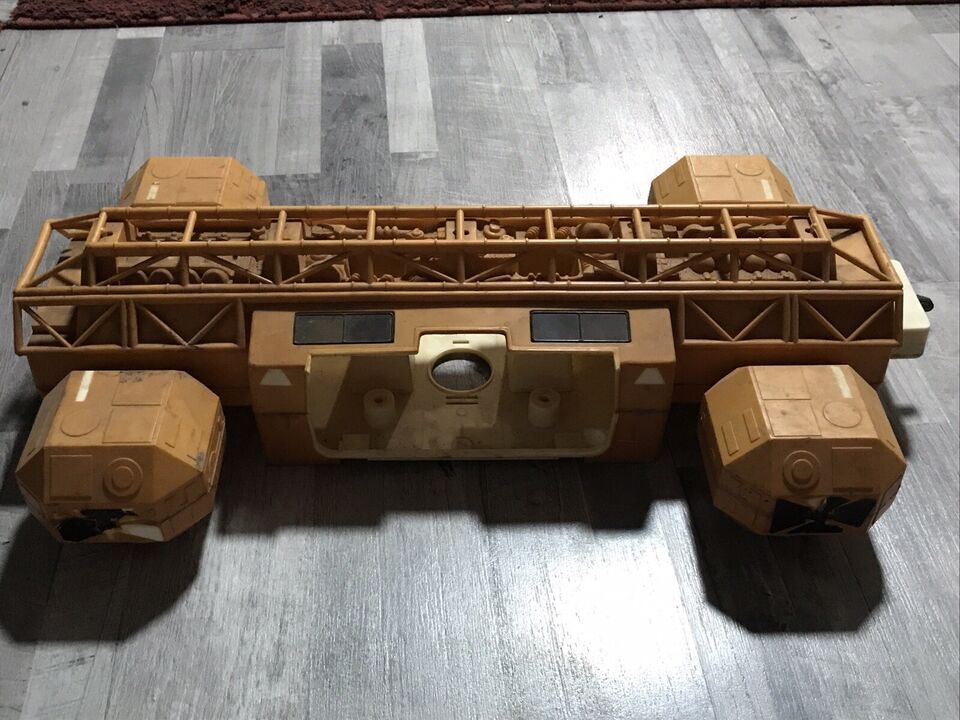
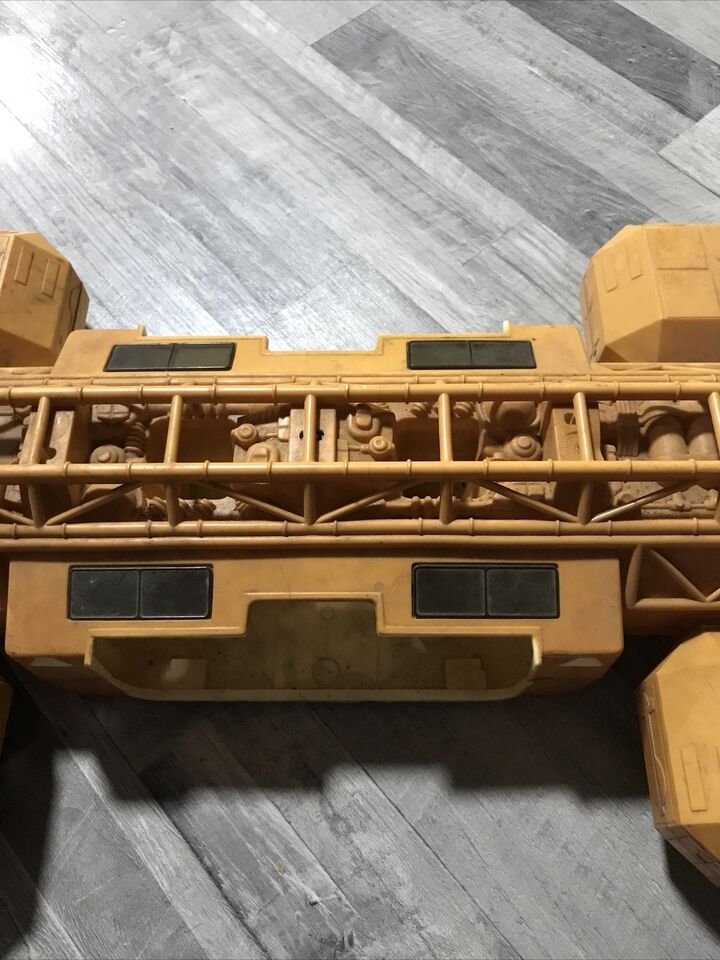
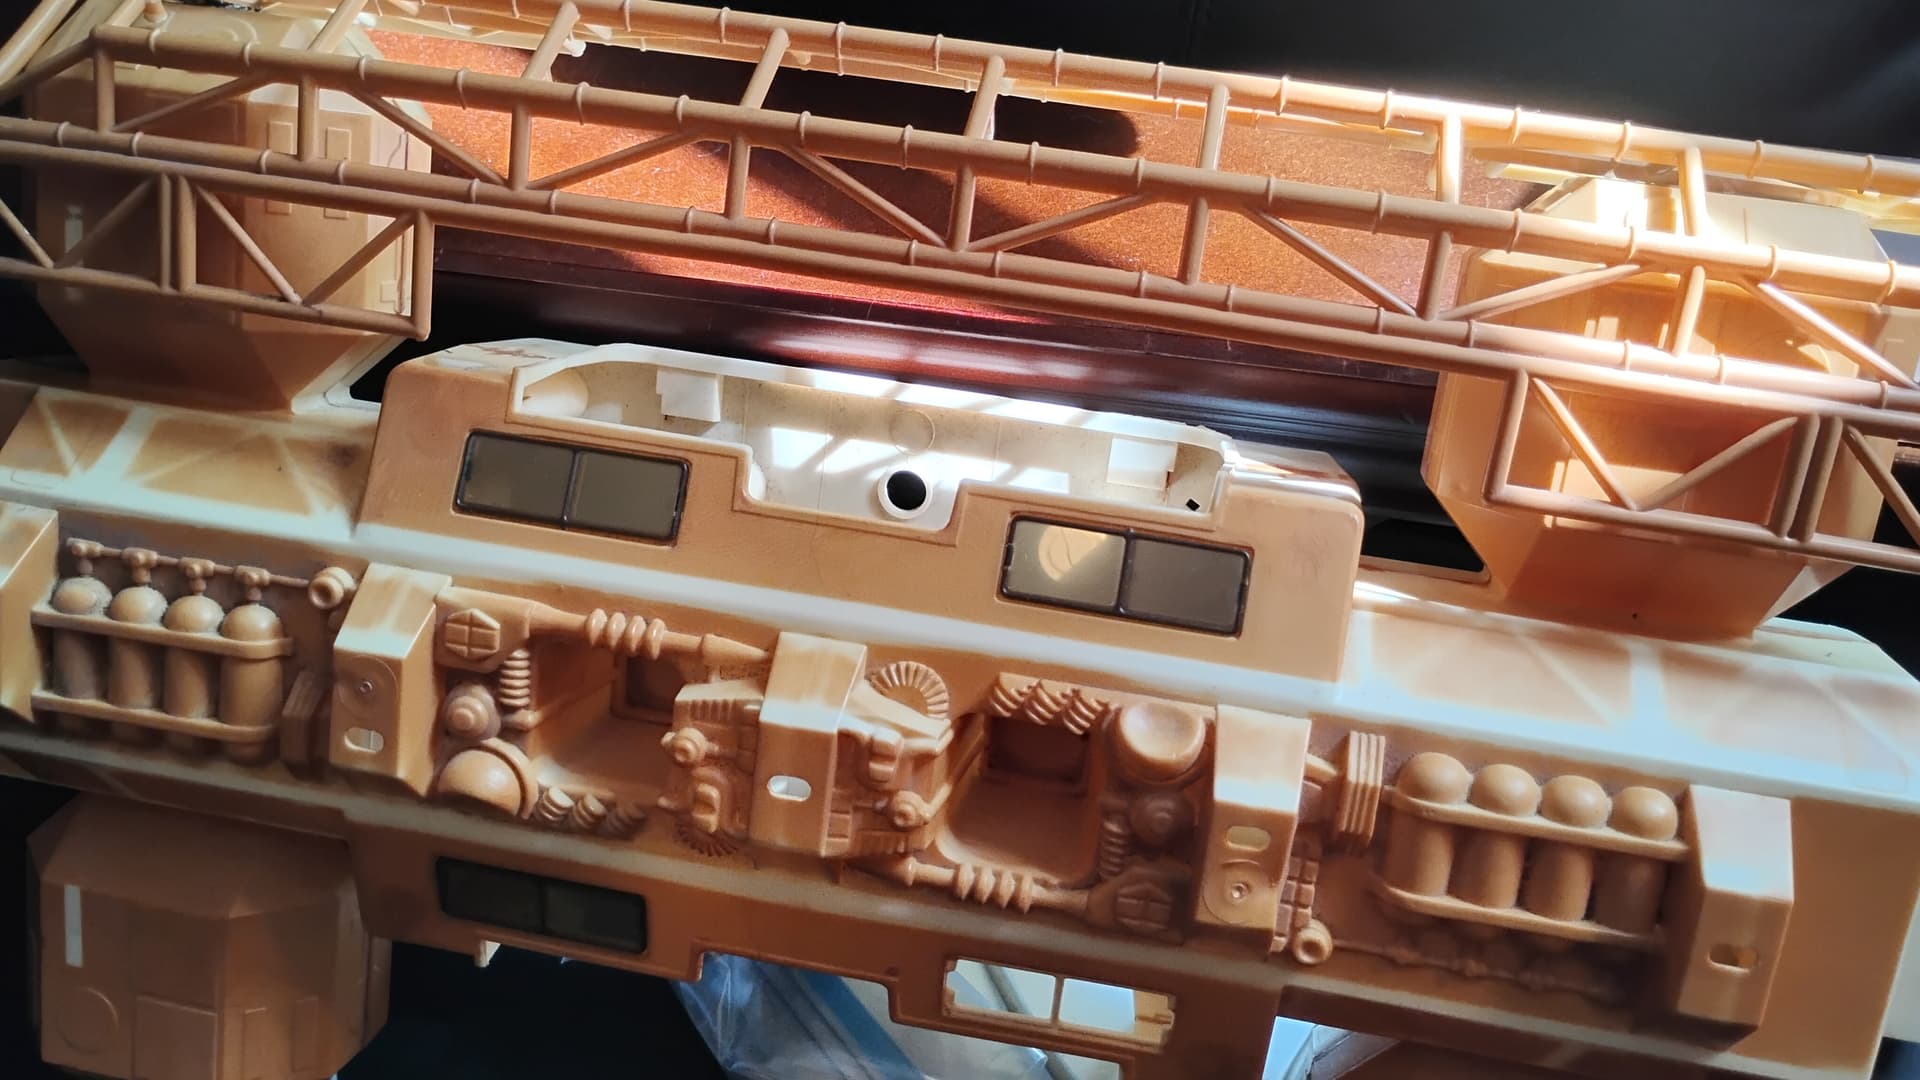
9 Likes
I had one of those as a kid; they are pretty expensive for a complete one nowadays.
My only problem with it was that the figures weren’t very posable.
3 Likes
yes very true. I’ll probably either print some out a set of pilots or just pick up after some market ones. The Mattel ones are lacking.
1 Like
Very cool!
1 Like
Eeeeeagle Such a lovely ship. Very nice size, can’t wait to see your work.
2 Likes