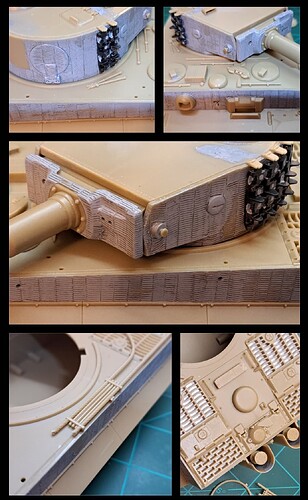
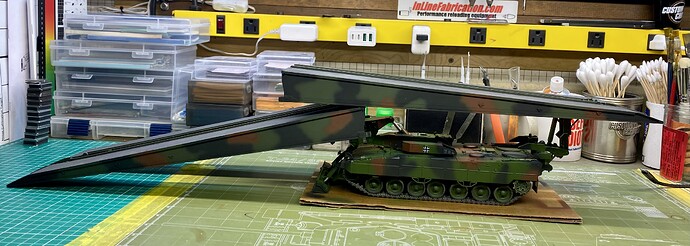
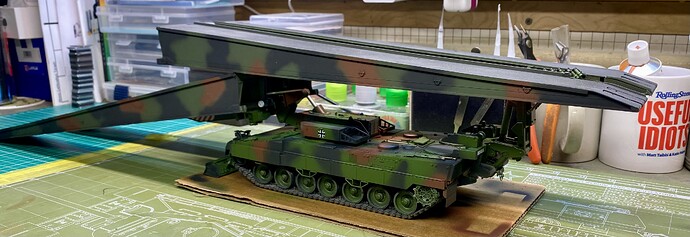
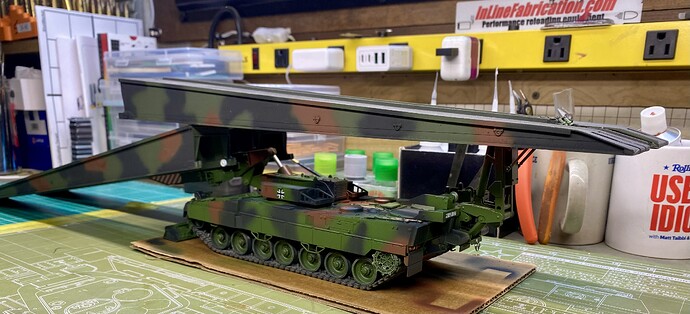
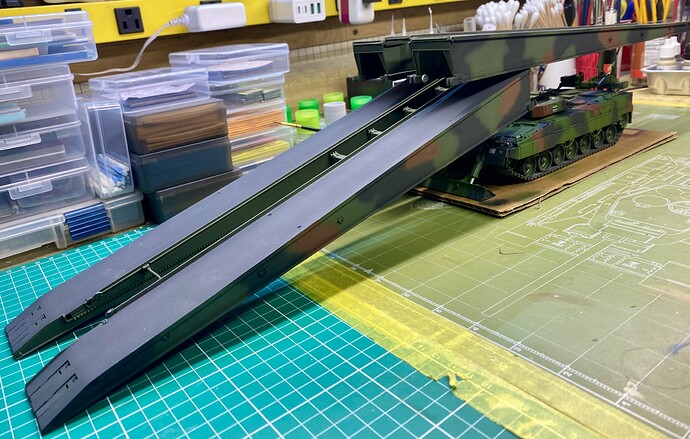
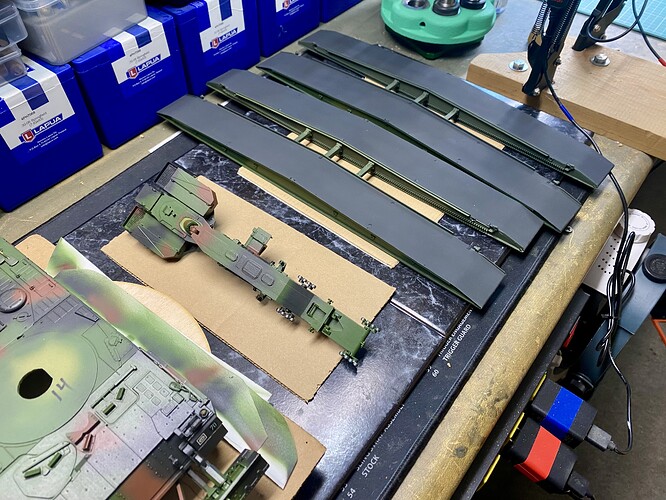
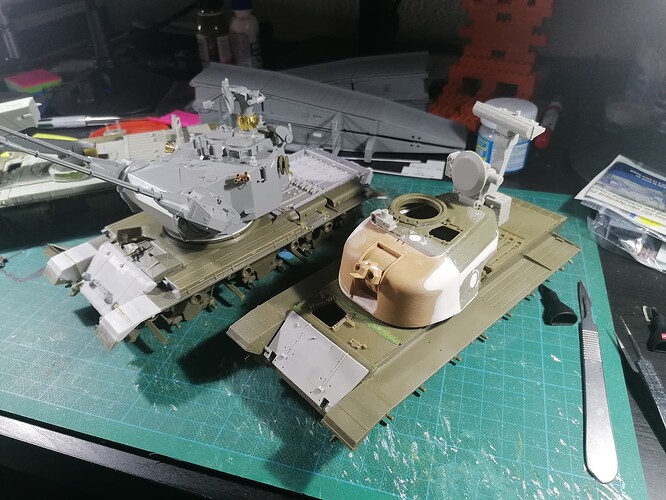
Added zimmerit to the turret, filled the gaping holes under the engine deck ventilation grates with sheet styrene and did general assembly. Tow cables will have to be reworked as the ends were used on another project.
Wade that zim looks really good! If you’re interested there’s a guy doing a ripper of a zimmerit ‘how to’ post. You should check it out……
There’s also a cooking segment on there!! ![]()
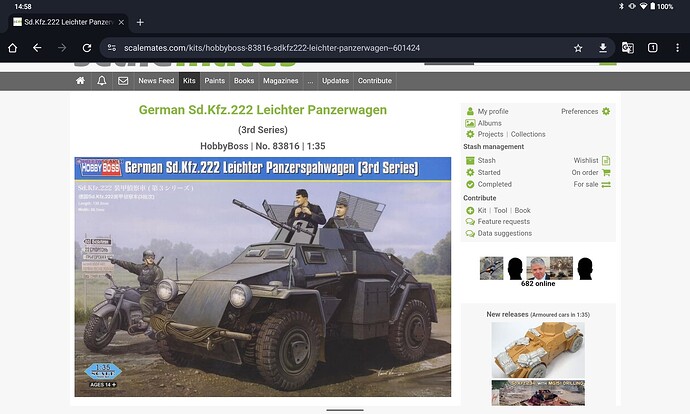
Thanks! This is the HobbyBoss 222 type 3 kit.
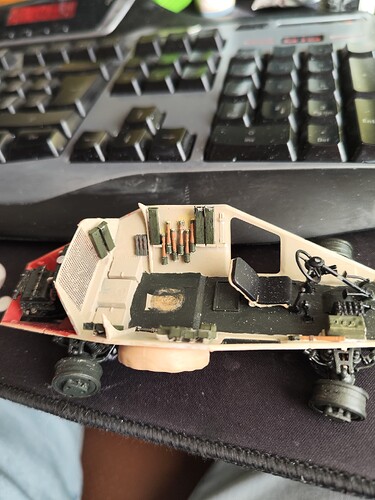
I changed the width indicators for brass ones And I had the ammo boxes printed… But you don’t those without peeking in… Oh, and I modified the wheels into a steering position.
Other than that, it is OOB.
Is it 80149? If so, it’s one in my building wish list.
Sam, thank you and thanks for the heads up!
Be sure and keep a close eye on that reprobate! He shouldn’t be allowed near a tube of Tamiya Basic Gray & bottle of Testor’s Liquid Cement.
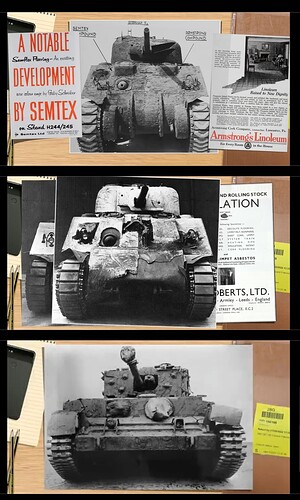
I have it on good authority, he’s going to build an Allied tank and slap Zimmerit on it…
Excellent plan Wade! You’ll be the first that I’ve ever seen!
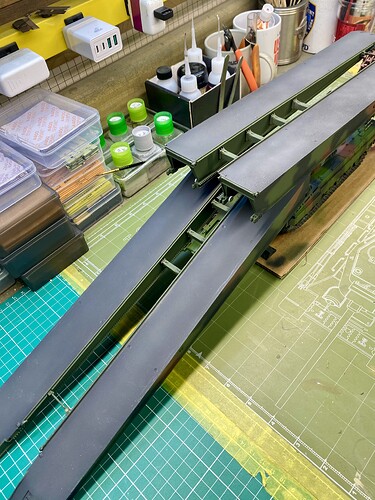
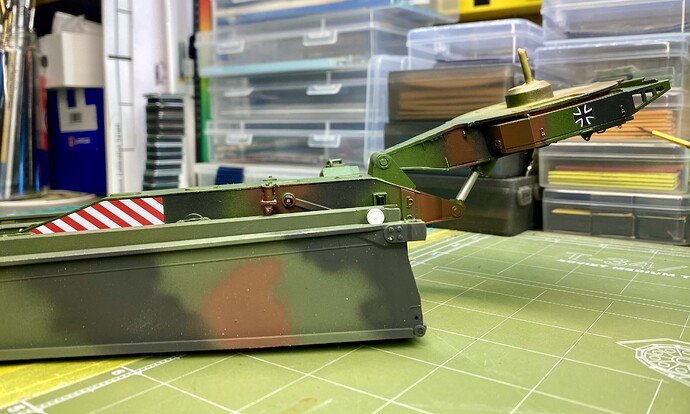
Before I moved on the the oil pastels on the 14 meter bridge carrier (shown above) I decided to do the shading and test a new display theory for the 28 meter bridge. I’ve got the shelf space so I’ve decided to go this route:
I still need to do some work on the bridge sections but I think this looks much better than the bridge sections stacked on top of the carrier.
Plan for the 14M bridges is to have one loaded on the carrier as it crosses the other section, if I ever get around to the camouflage…
Al, most impressive and looking good!
I’ve had a strange day in the workshop today - first up was a 1:1 project. Came back from visiting friends and family for Christmas, only to find water on the floor along two walls - what a treat! task 1 was to clean up the mess - task two, figure out where it’s coming from; I assumed from outside, because we’ve had heavy rain - but, nope, a leaking pipe! So…temporary fix in place, and on Monday the plumber will be here to fix it up. For now, I’ve got a mop and bucket, and every few hours, ho, ho, ho, mopping I a’ go! ![]()
![]()
And, some serious business. After addressing the problems above, I wasn’t really in the mood to jump into styrene, so instead, it was into thinking about the dio I’m planning to build with the trucks I posted before. I’ve built a few dios and have figured out things I like and like less. I have in the past gone out of my way to make scenes that were essentially surrounded with built objects, so when you take pictures, it’s all dio and nothing surrounding the dio.
The upside to this approach as is that you do indeed wind up with controlled scale environments within the project - but, from the outside - where any normal person would view the project, you see…the back sides of whatever is surrounding the scene.
To avoid this, and try and see what the dio might actually look like, I did some testing in PowerPoint - yes, PowerPoint! ![]()
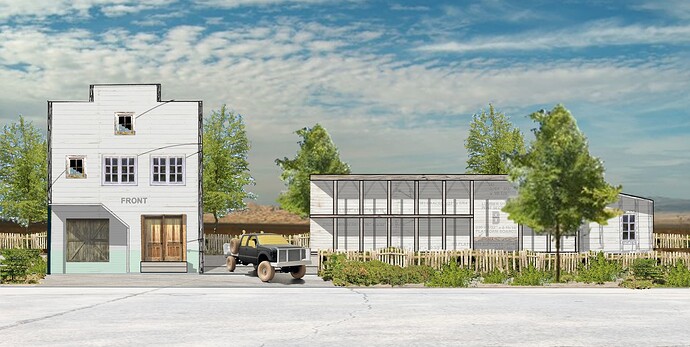
![]() It turns out, I’m quite a luddite with tech, so I have adapted! The idea was to figure out what the project might look like from the front, before it’s built, just like a real work project:
It turns out, I’m quite a luddite with tech, so I have adapted! The idea was to figure out what the project might look like from the front, before it’s built, just like a real work project:
And here you have it! an old time lumber yard working today! You can see the F-350 imposed for some scale. The building on the left and truck represent the foreground, while the wood shed would be across the yard in the background. The low fence behind the sidewalk, also in the foreground.
In real life, the shed would more likely be backing against the street side (where the fence is) which is what I started doing. Then it occurred to me, while accurate, shoot! If I did that you couldn’t see any of the snappy model trucks I’m making! so now, some creative adaptation!
Cheers
Nick
Looking good! PowerPoint gets a bad rap because too many officers in the Army:
a) Had no idea how to create an interesting class, or
b) Used Big Army sanctioned POI’s, with no clue how to present them, and with no prior rehearsal.
Everything works better with rehearsal, although few people want to admit it or spend time on it.
Which is why your projects look as good as they do - this is much like a rehearsal.
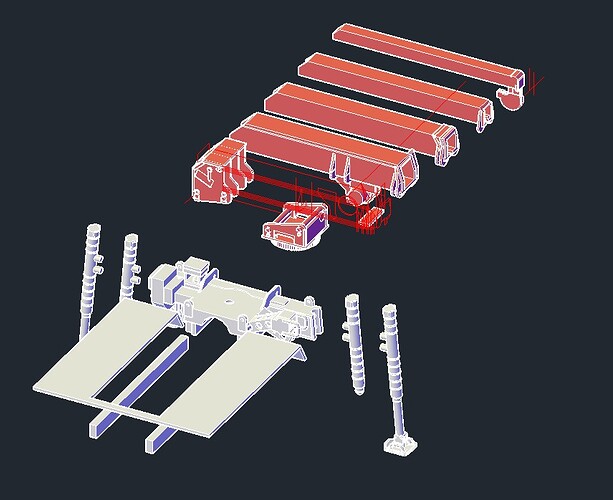
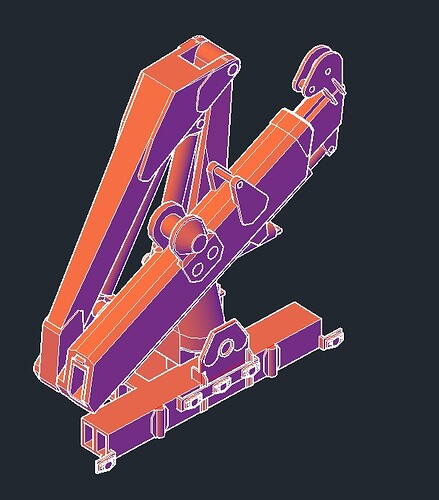
Designing a Crane for my M1074A1:
I don’t think I can make this movable, so I’m going with 2 versions.
If all goes good, this crane for the M985E1GMT is movable after printing and assembly.
Reminds me of Lt Gruber’s “ little tenk” on Allo Allo.
It surely is a replica. The wheels are a great giveaway!
Yes it is, build on a Land Rover frame but amazing details up to the smallest screw and a worktime of+ 7000 hours.
Talking about dedication!
The Sdkfz 222 replica rocks! Looks very authentic! A+++
Perfect for weekend brunch, trips to Walmart & Sam’s Club.
Here in the USA, it would so tempting to enter it as a 1 to 1 scale model in the local club’s IPMS/USA model contest! Just imagine the fun as it rolled into the contest area looking for display space.
Nice blending on that turret.
