Looks “Bob on” ![]()
1 Like
That’s a pretty cool hair dryer you’ve got there lol.
3 Likes
Had a tiny cheesy toolbox delivered today from Amazon for the workshop. It has that wonderful Chinese rubber smell.
13 Likes
Indeed, Old school, 1970’s hair dryer, still works. It has a new home at a vocational school ![]() . It will help a new generation learn to work on and fix stuff.
. It will help a new generation learn to work on and fix stuff.
There used to be five. Three from the 1960’s, the last one finally worn out ~2015 or so. There’s still one more remaining the newest one from the late 1970’s.
4 Likes
Last night one of our cat’s decided to reenact a stunt from eight year’s ago and jumped up on my display shelves. Fortunately not a lot of damage; knocked my V-2 off its launch pad and onto my 88 flak diorama. Knocked a gas mask off a figure but no other issues. Worst hit was my sFH18 howitzer, which he must have landed on as the spades were both broken off – nice and clean so I simply had to glue them back in place. The first time he knocked off my Sd.Kfz 251 Stuka Zu Fuss and only knocked off (not snapped; not broken) an aiming rod after a 3 foot fall. How am I so lucky?
After being given his reminder and denial of privileges for 24 hours he is back to staying in his corner chair.
8 Likes
14 Likes
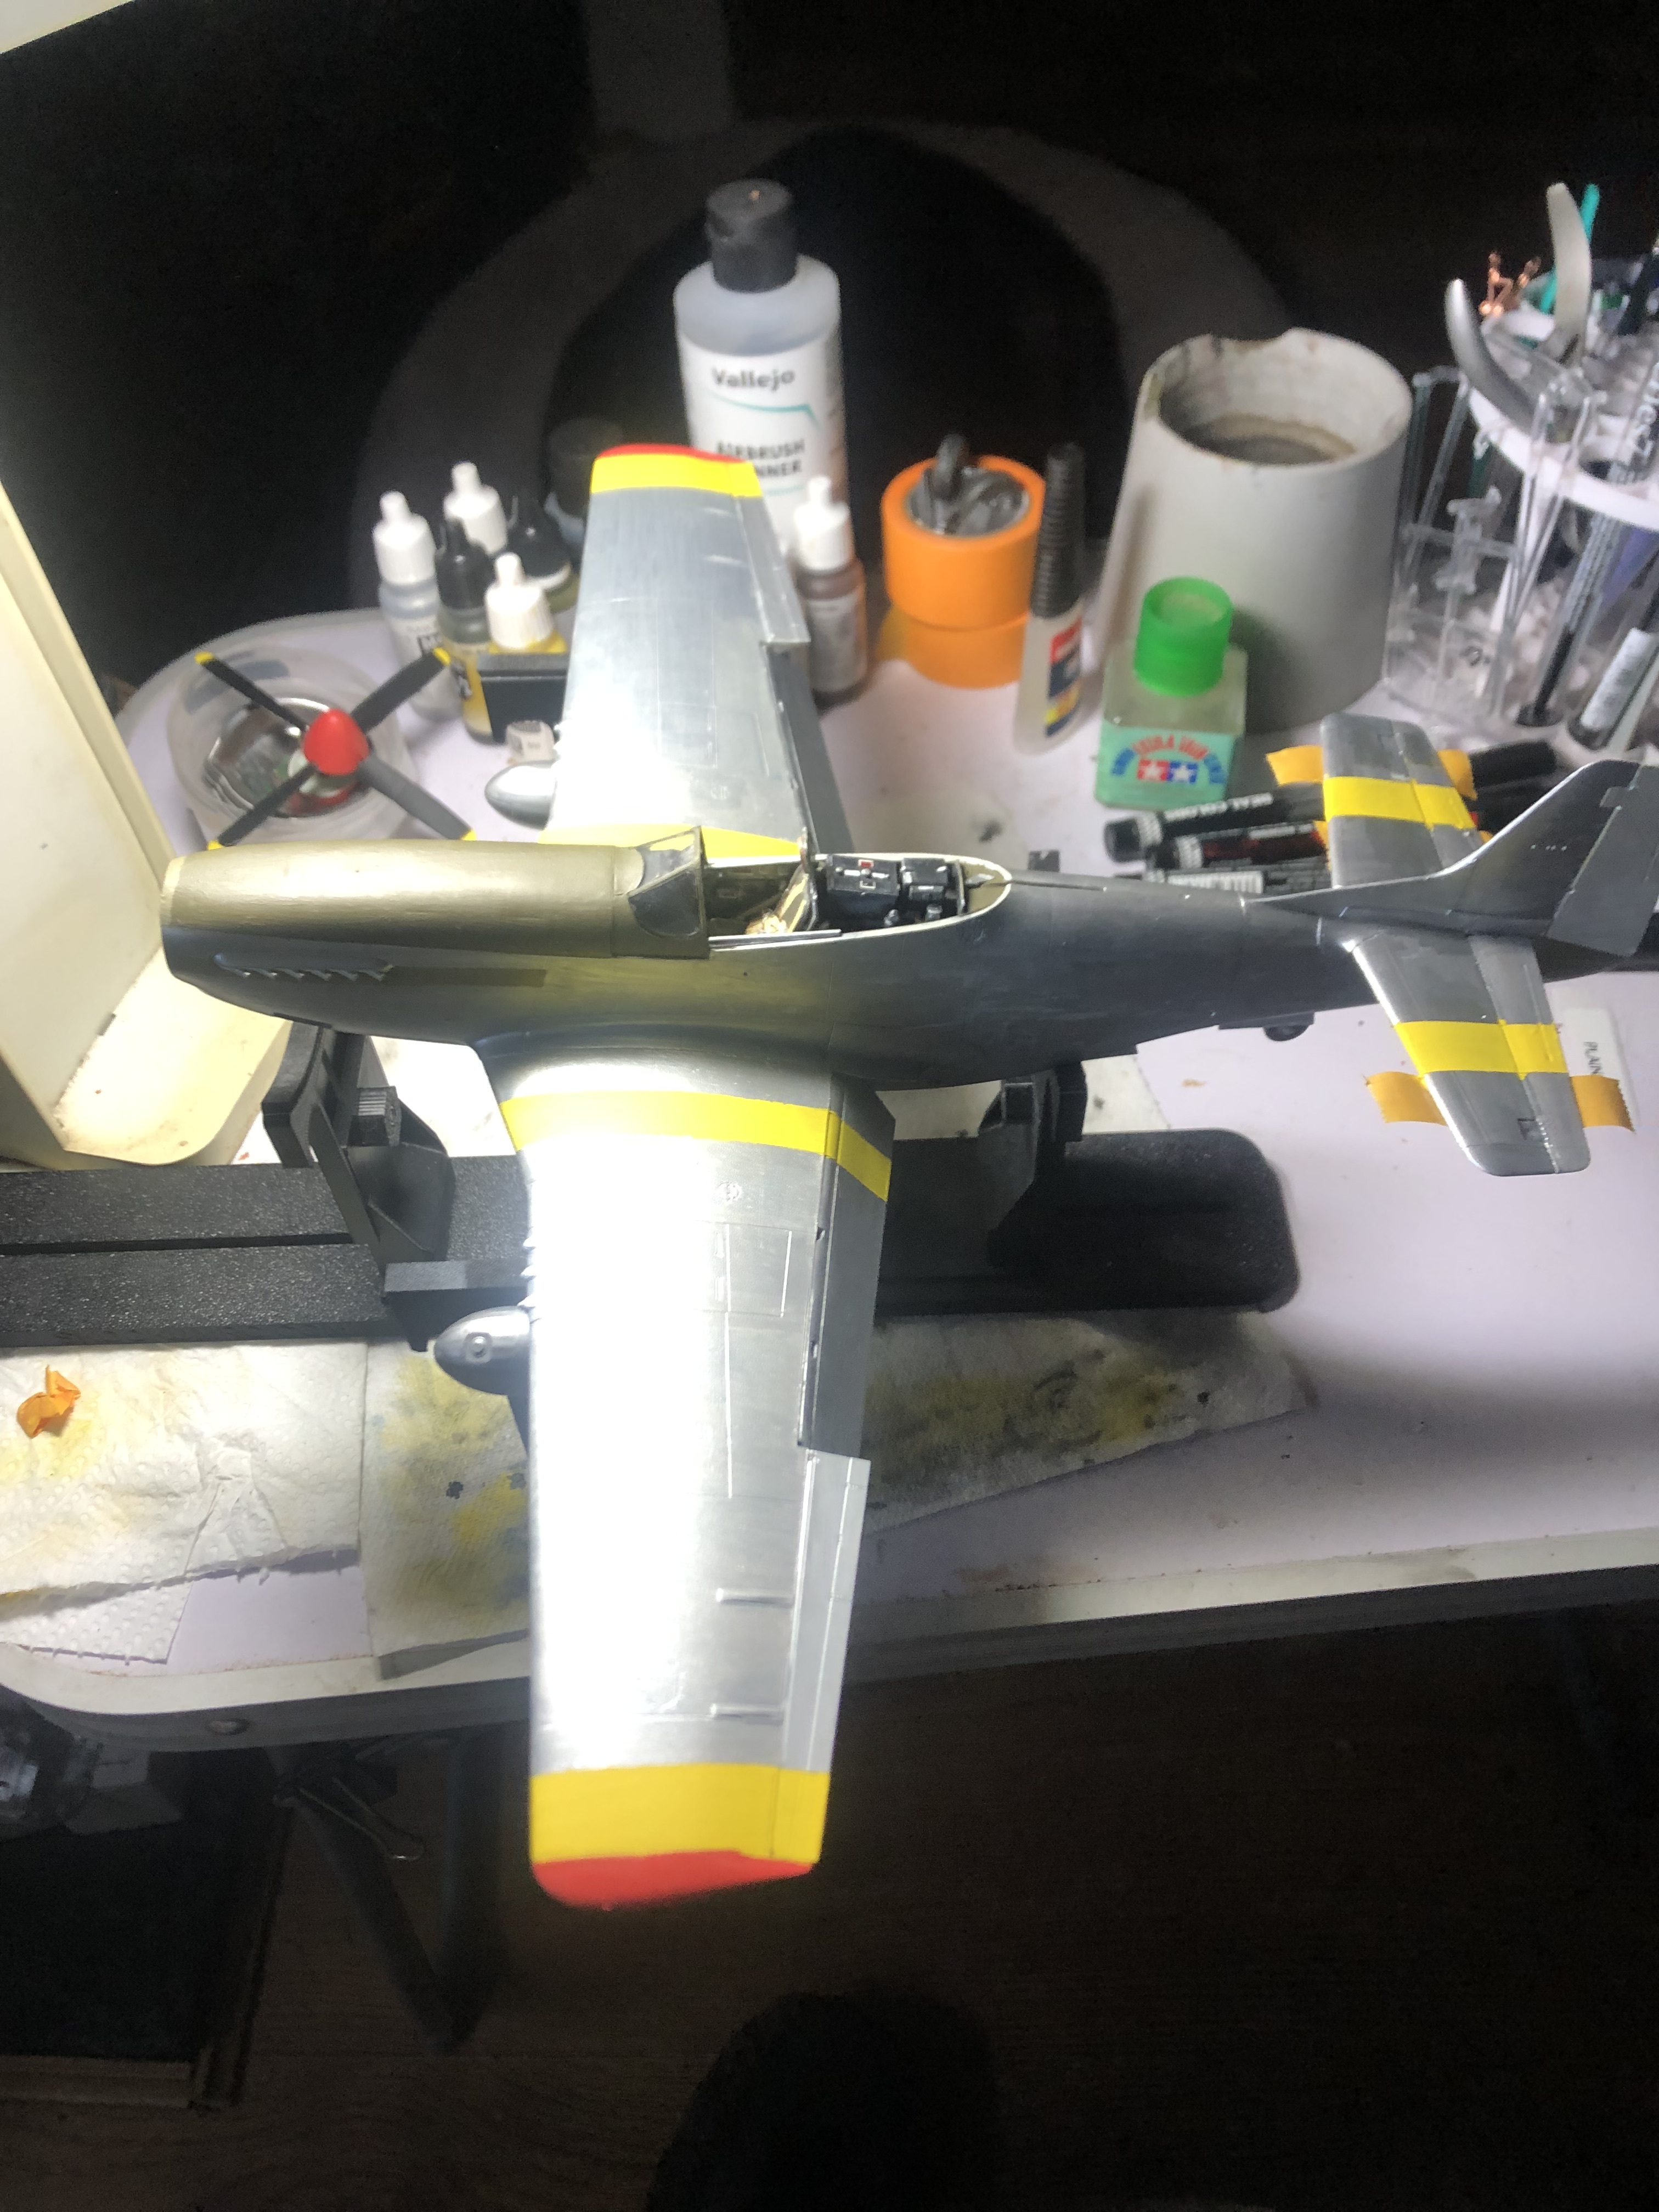
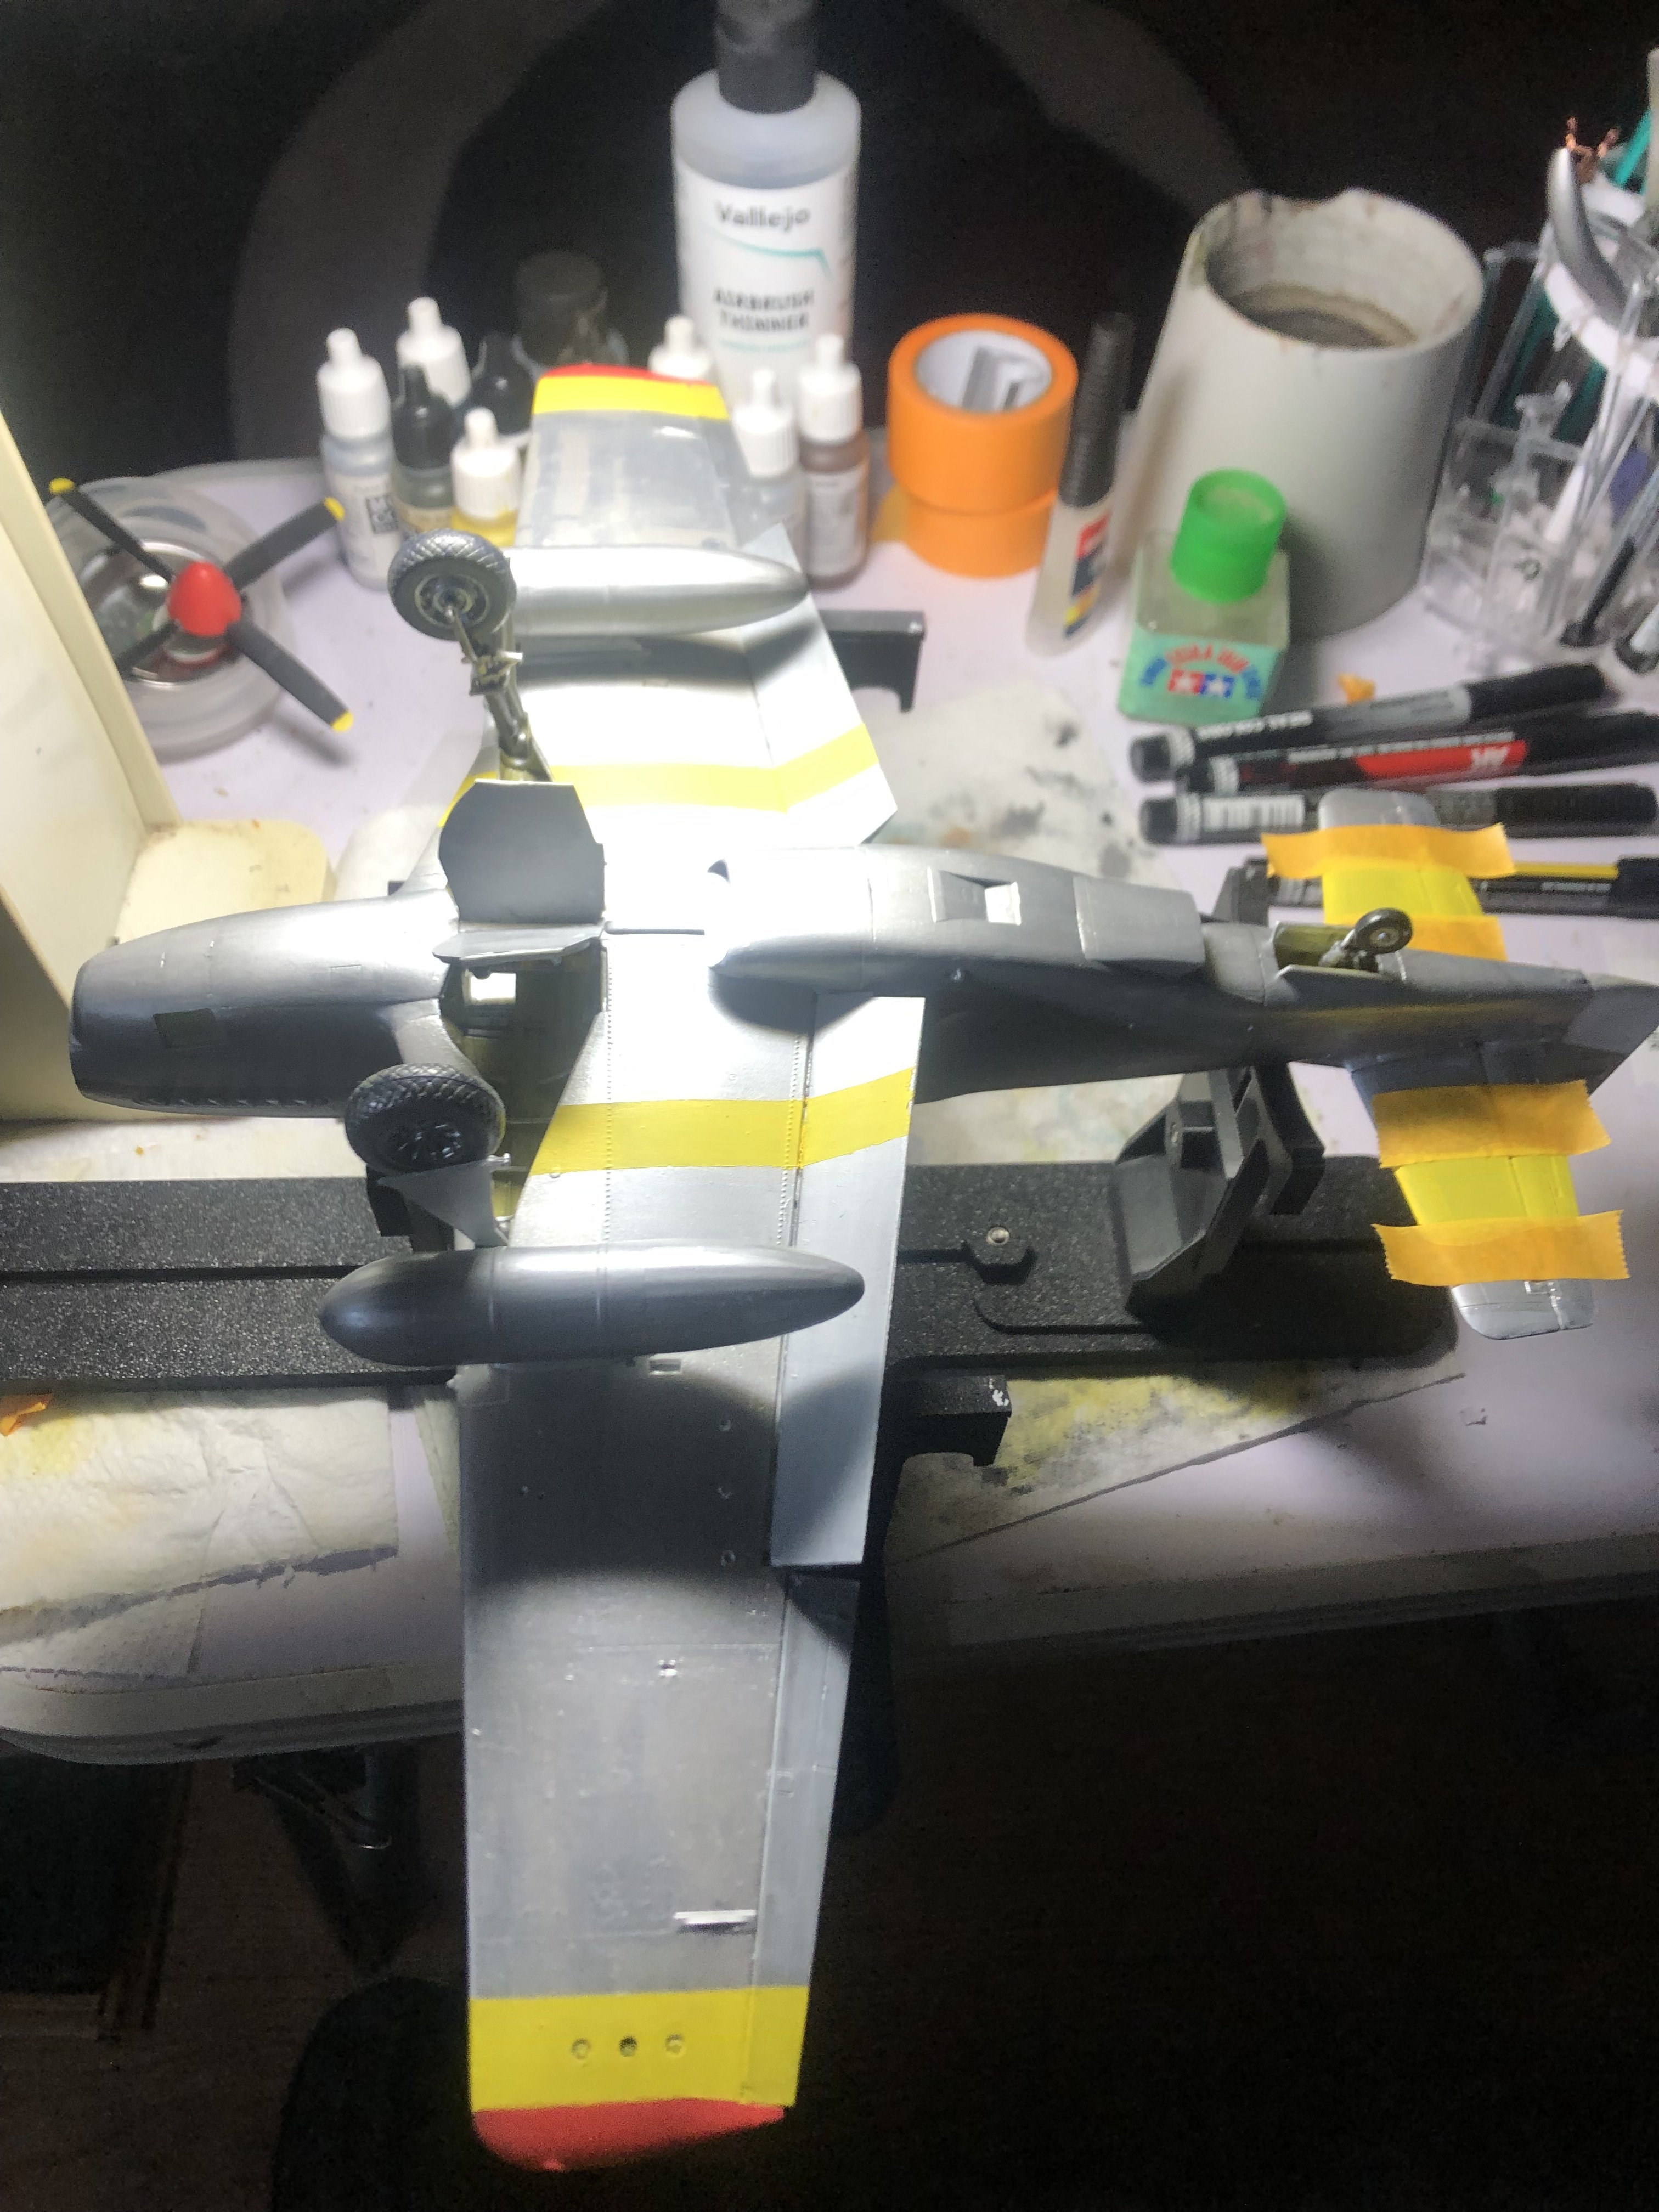
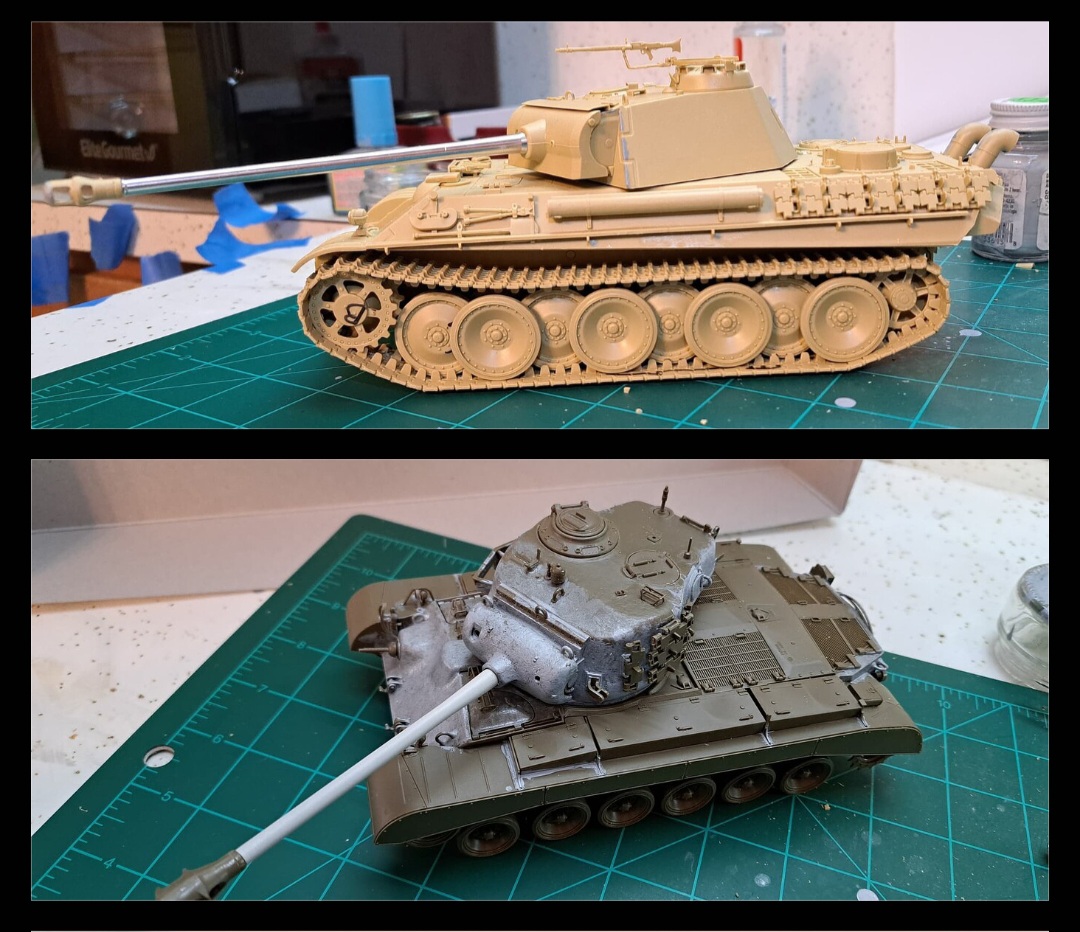
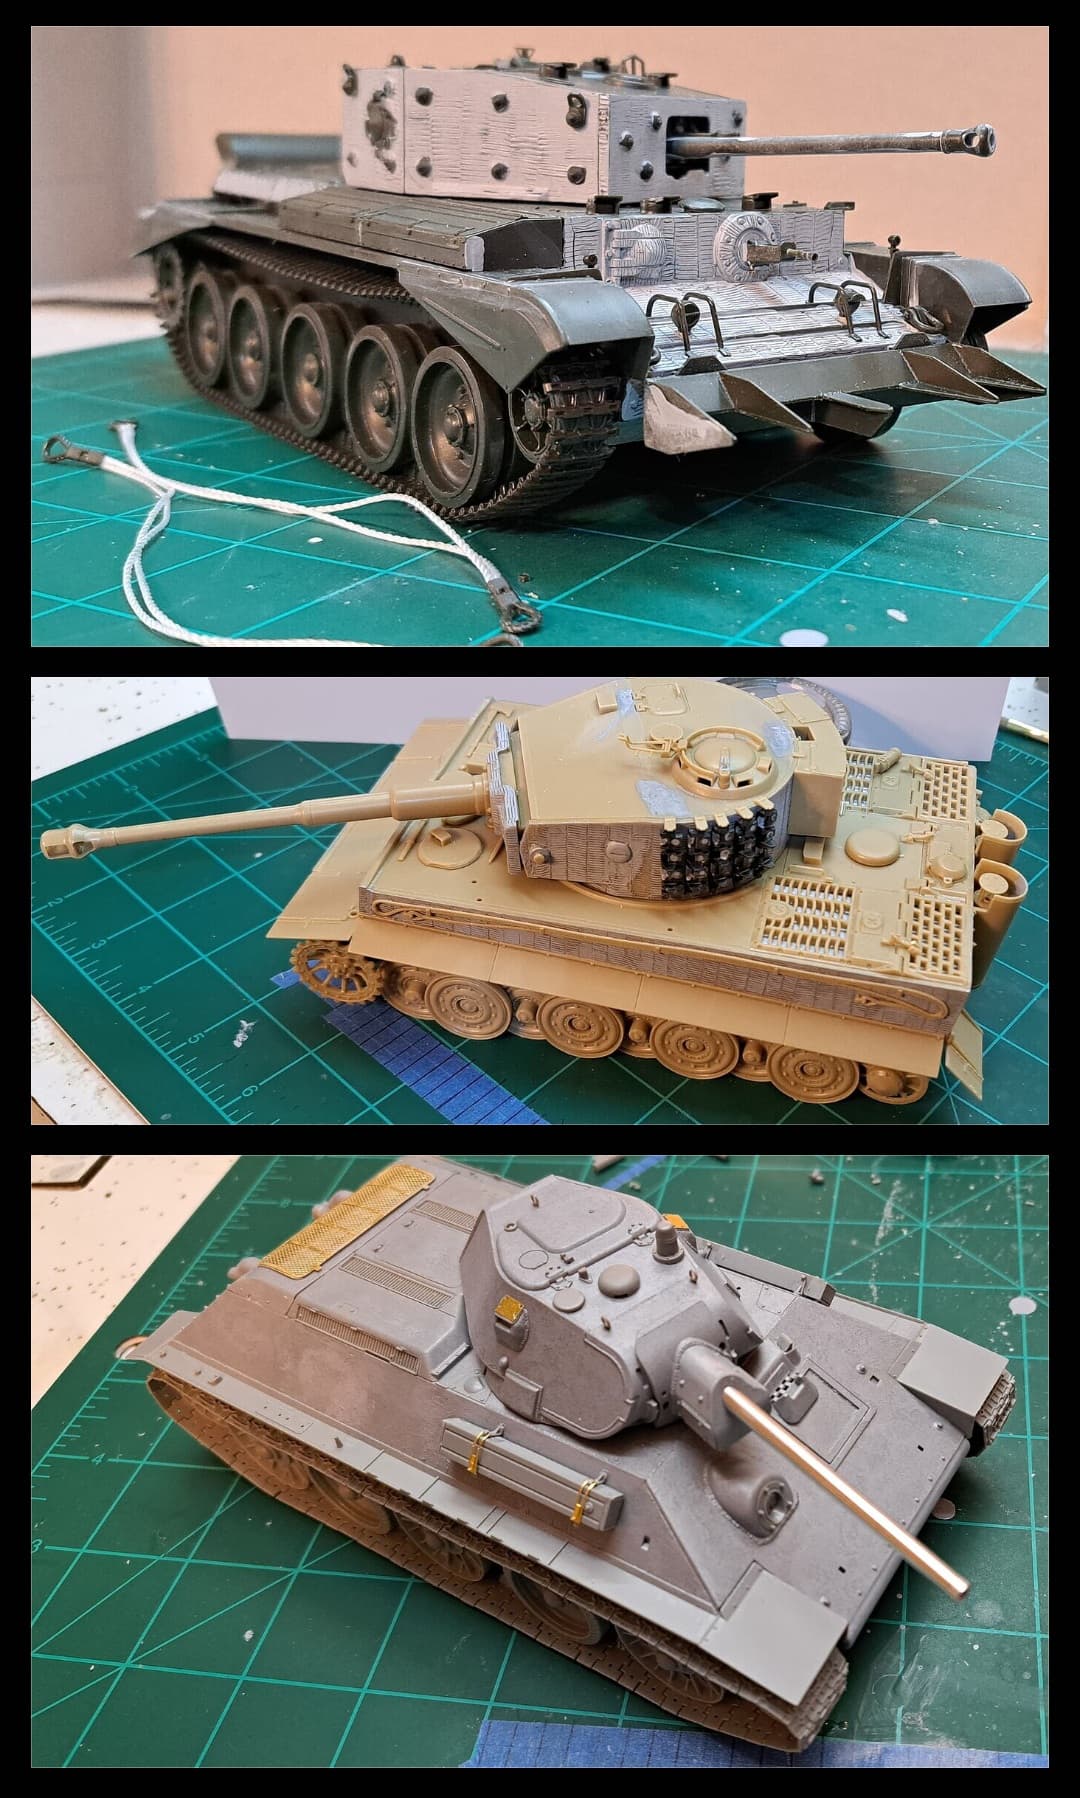
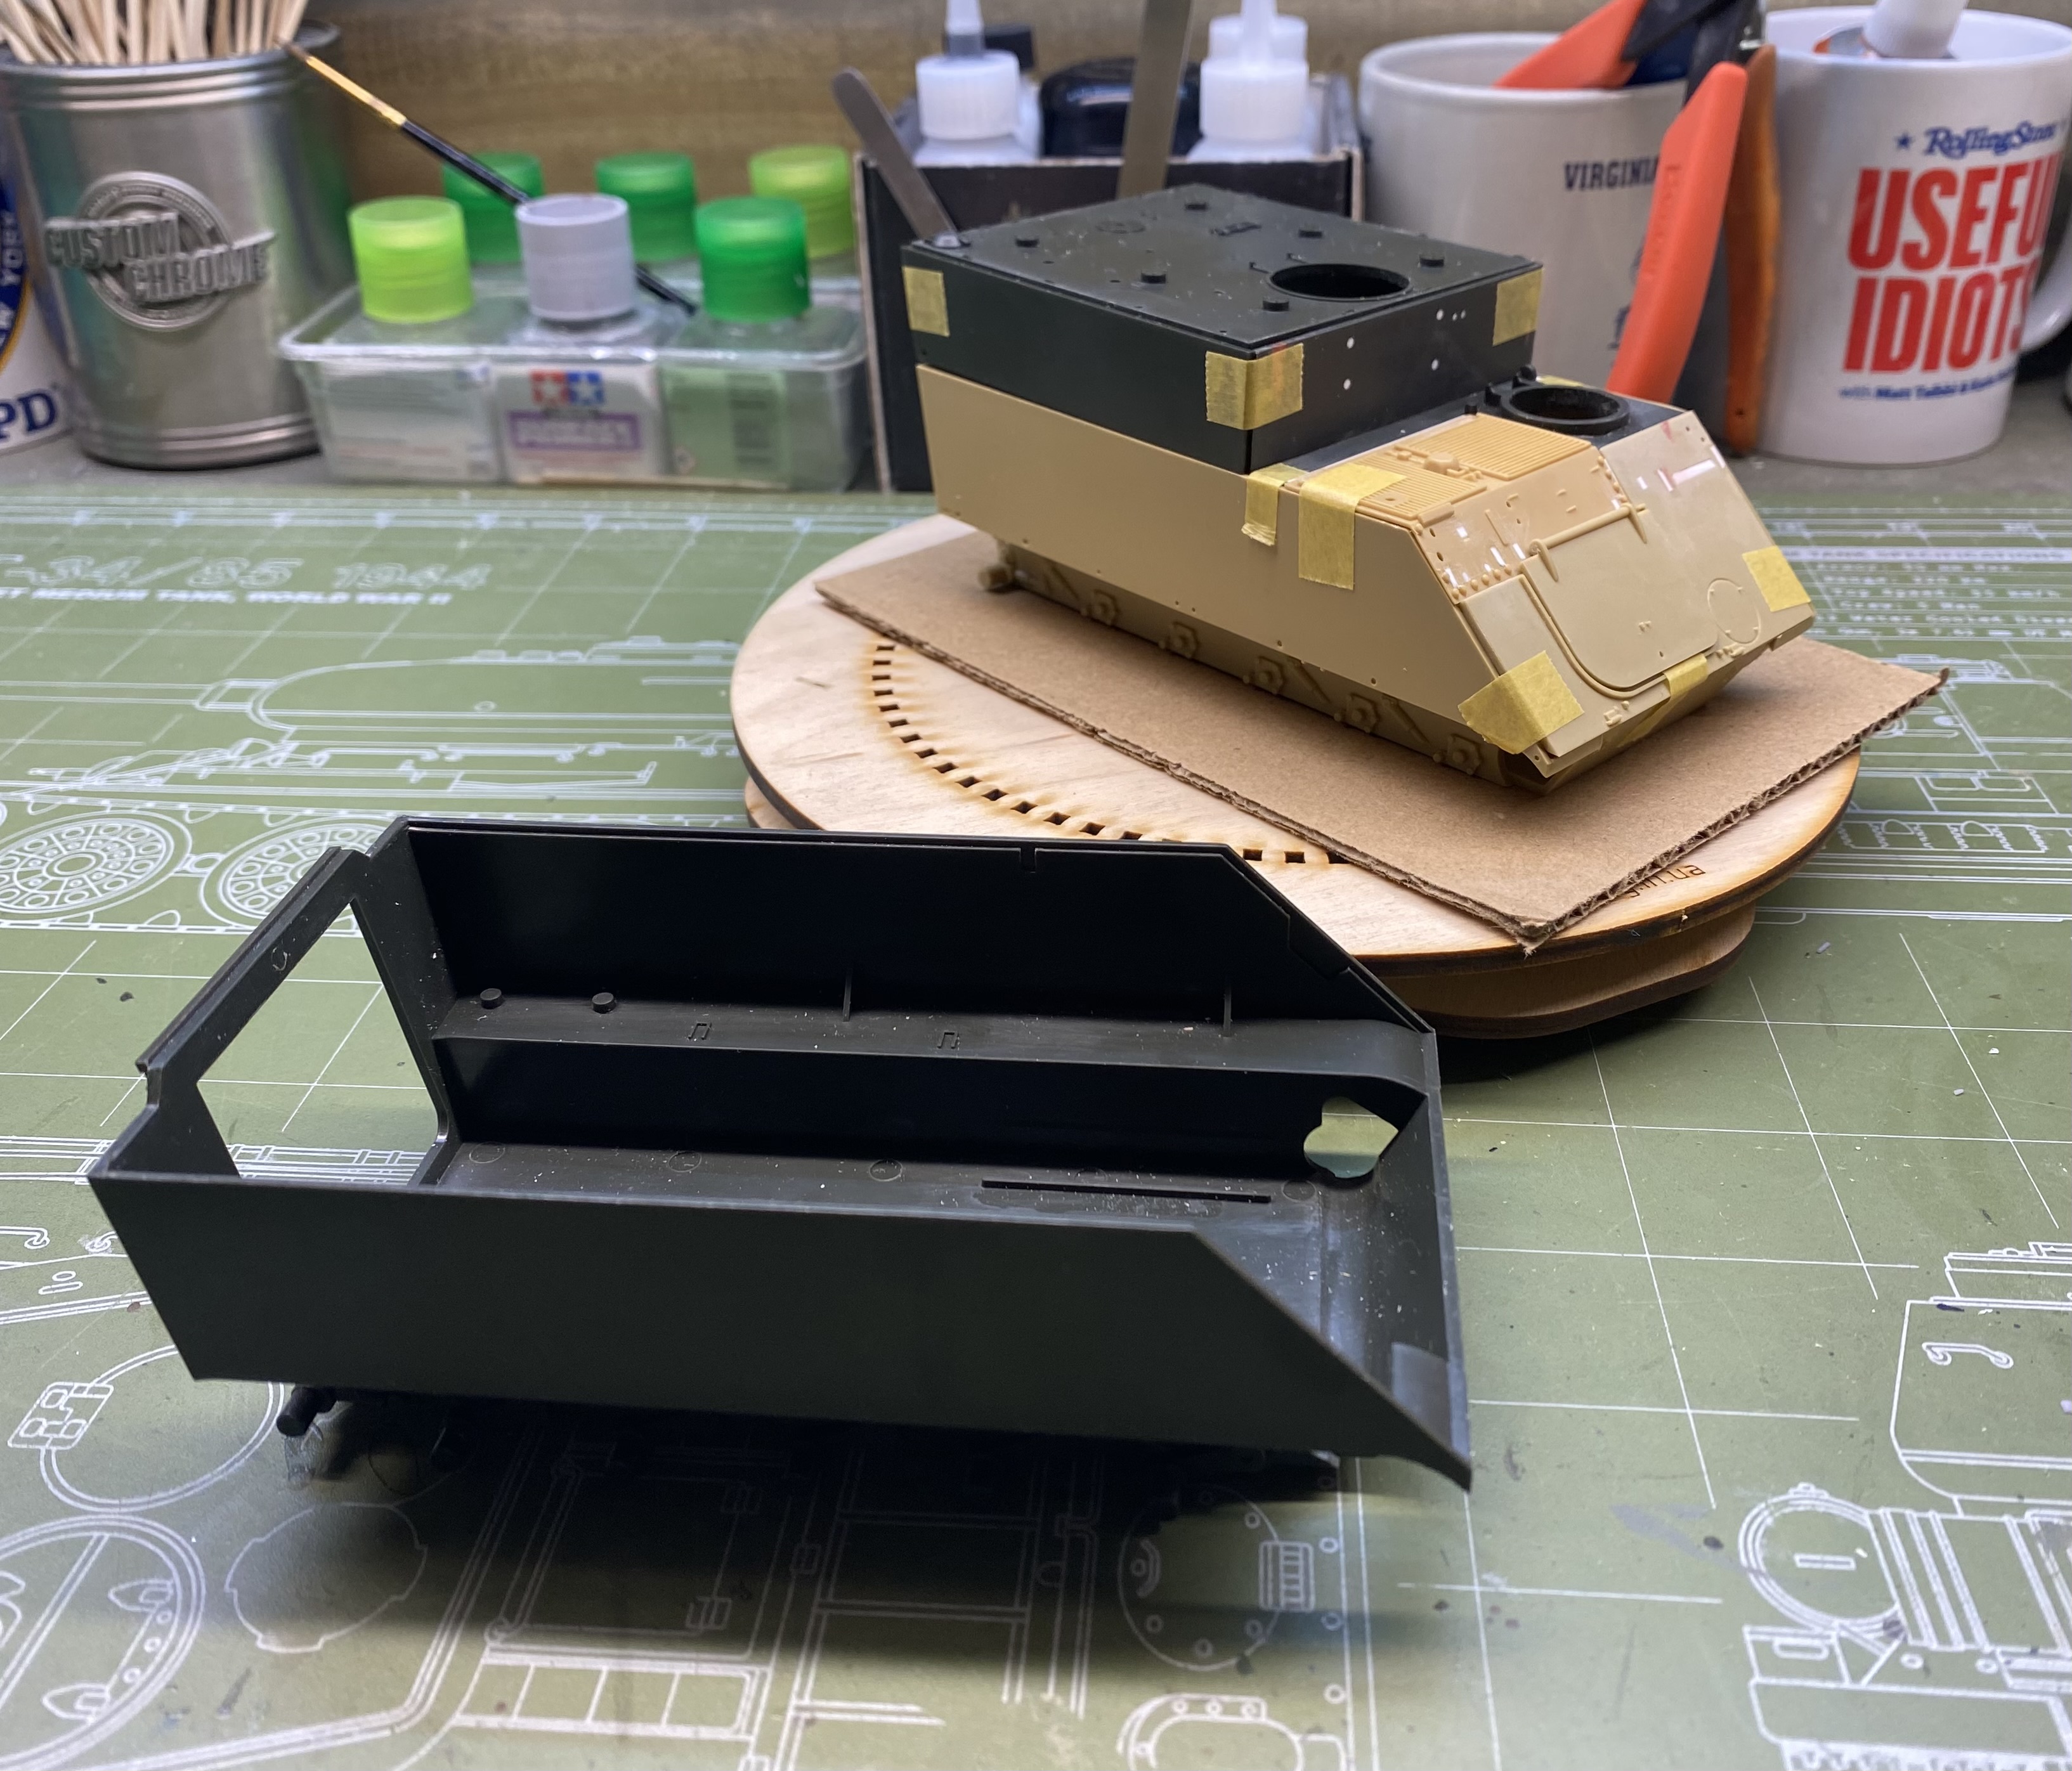
Primer and some base colors.
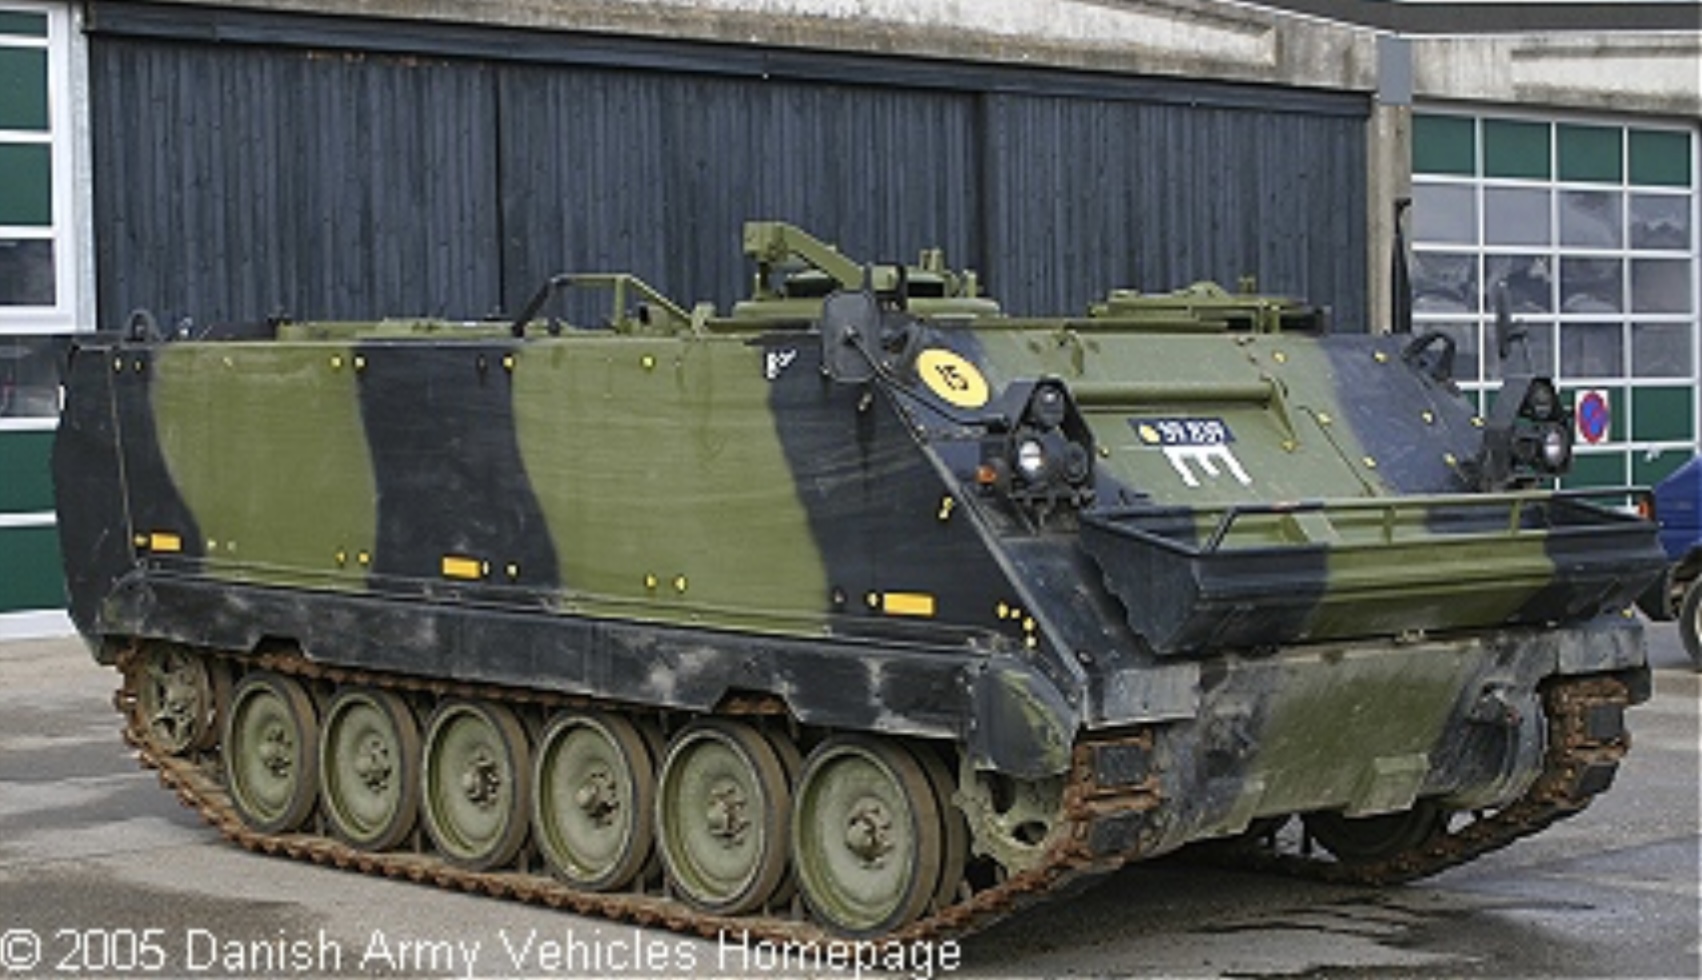
Painting plan. Trying to figure out what is the closest match to SK/80 Danish green also known as Kermit green….
13 Likes
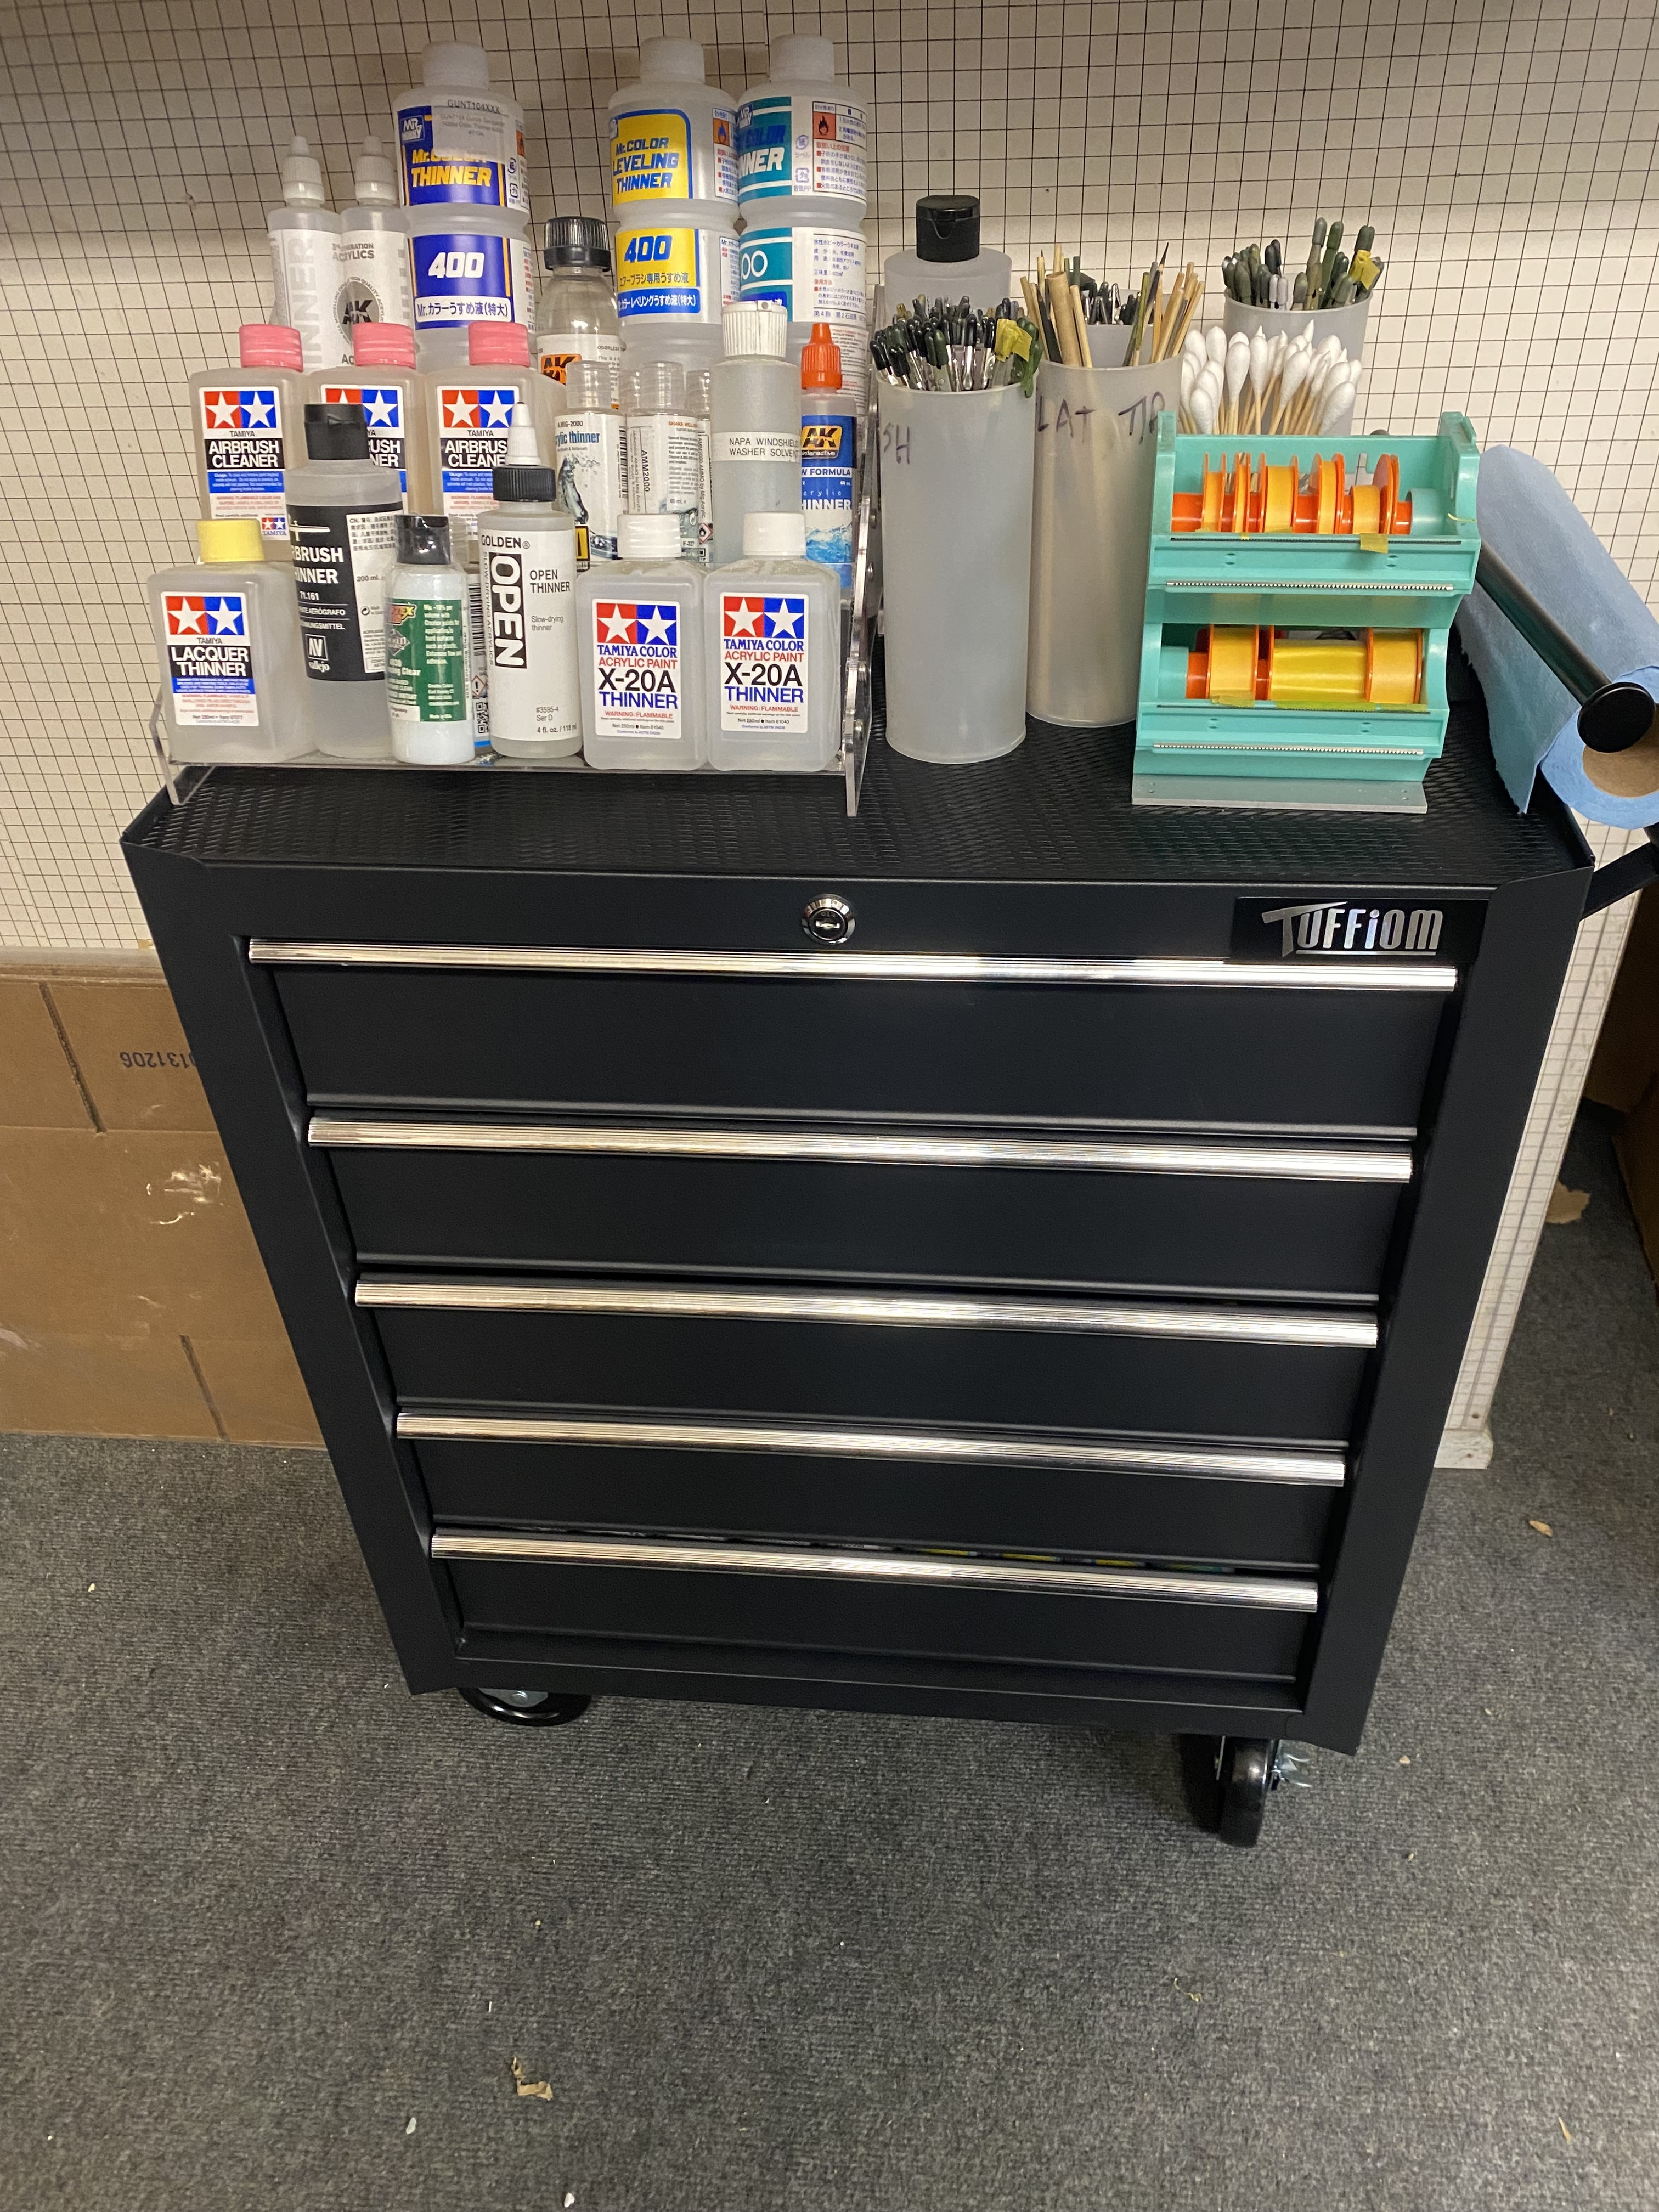
Straightened, Cleaned & Storaged today.
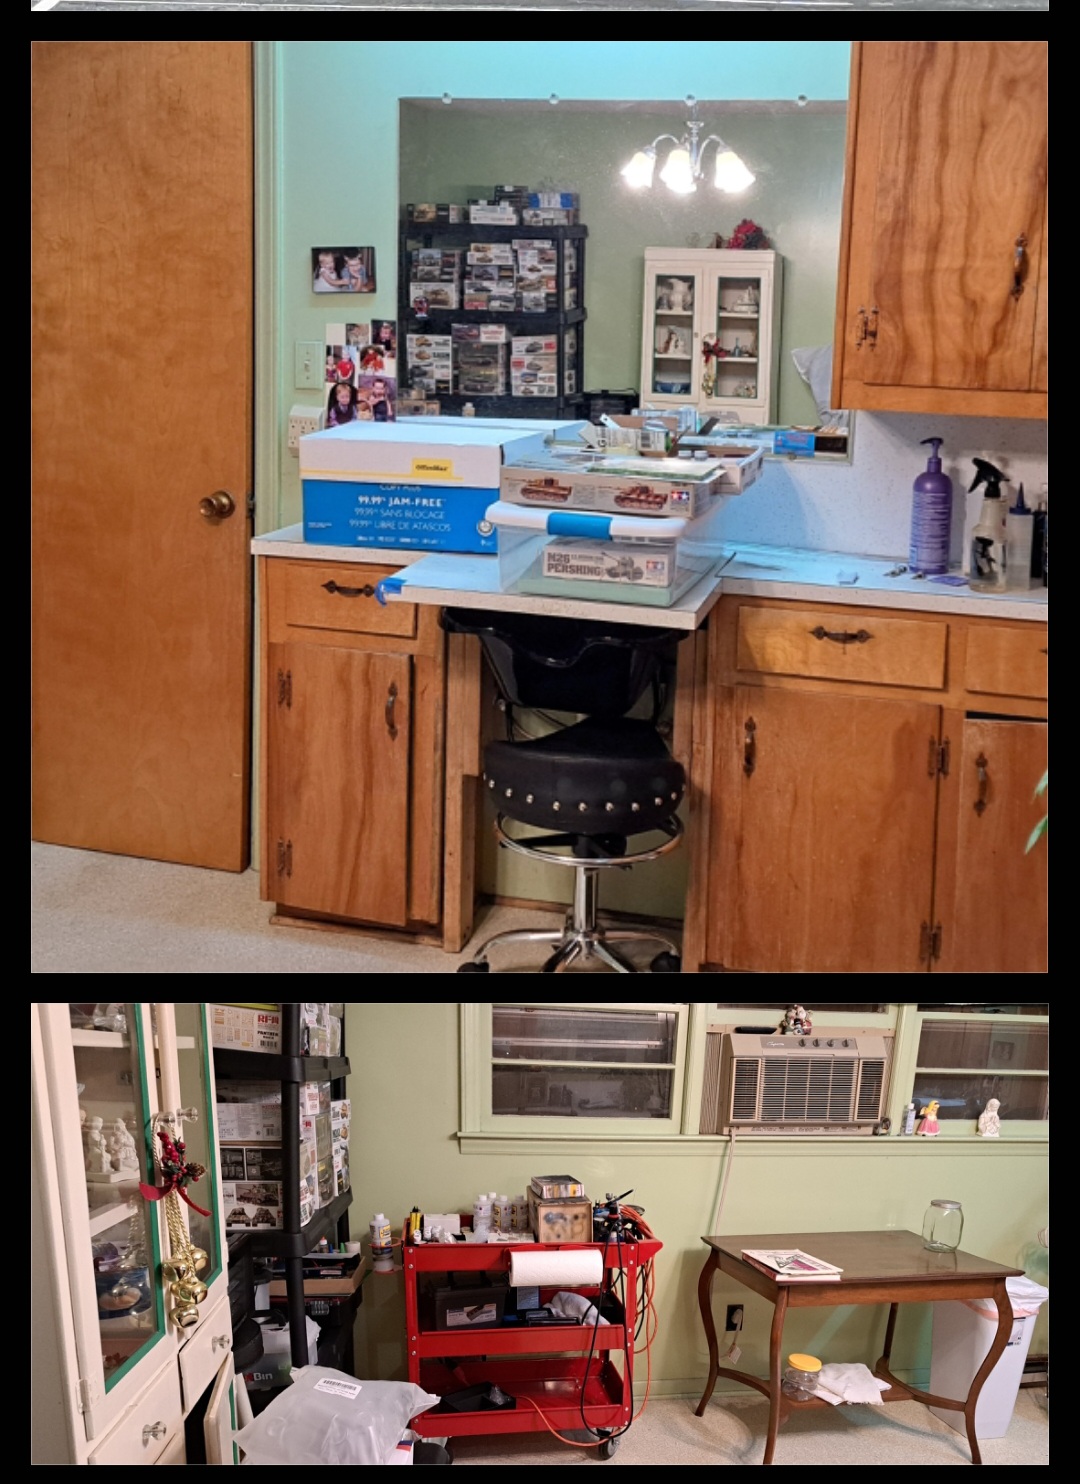
It’s been a surprisingly productive ~5 weeks…
Hopefully, the weather will warm up and painting can begin soon.
16 Likes
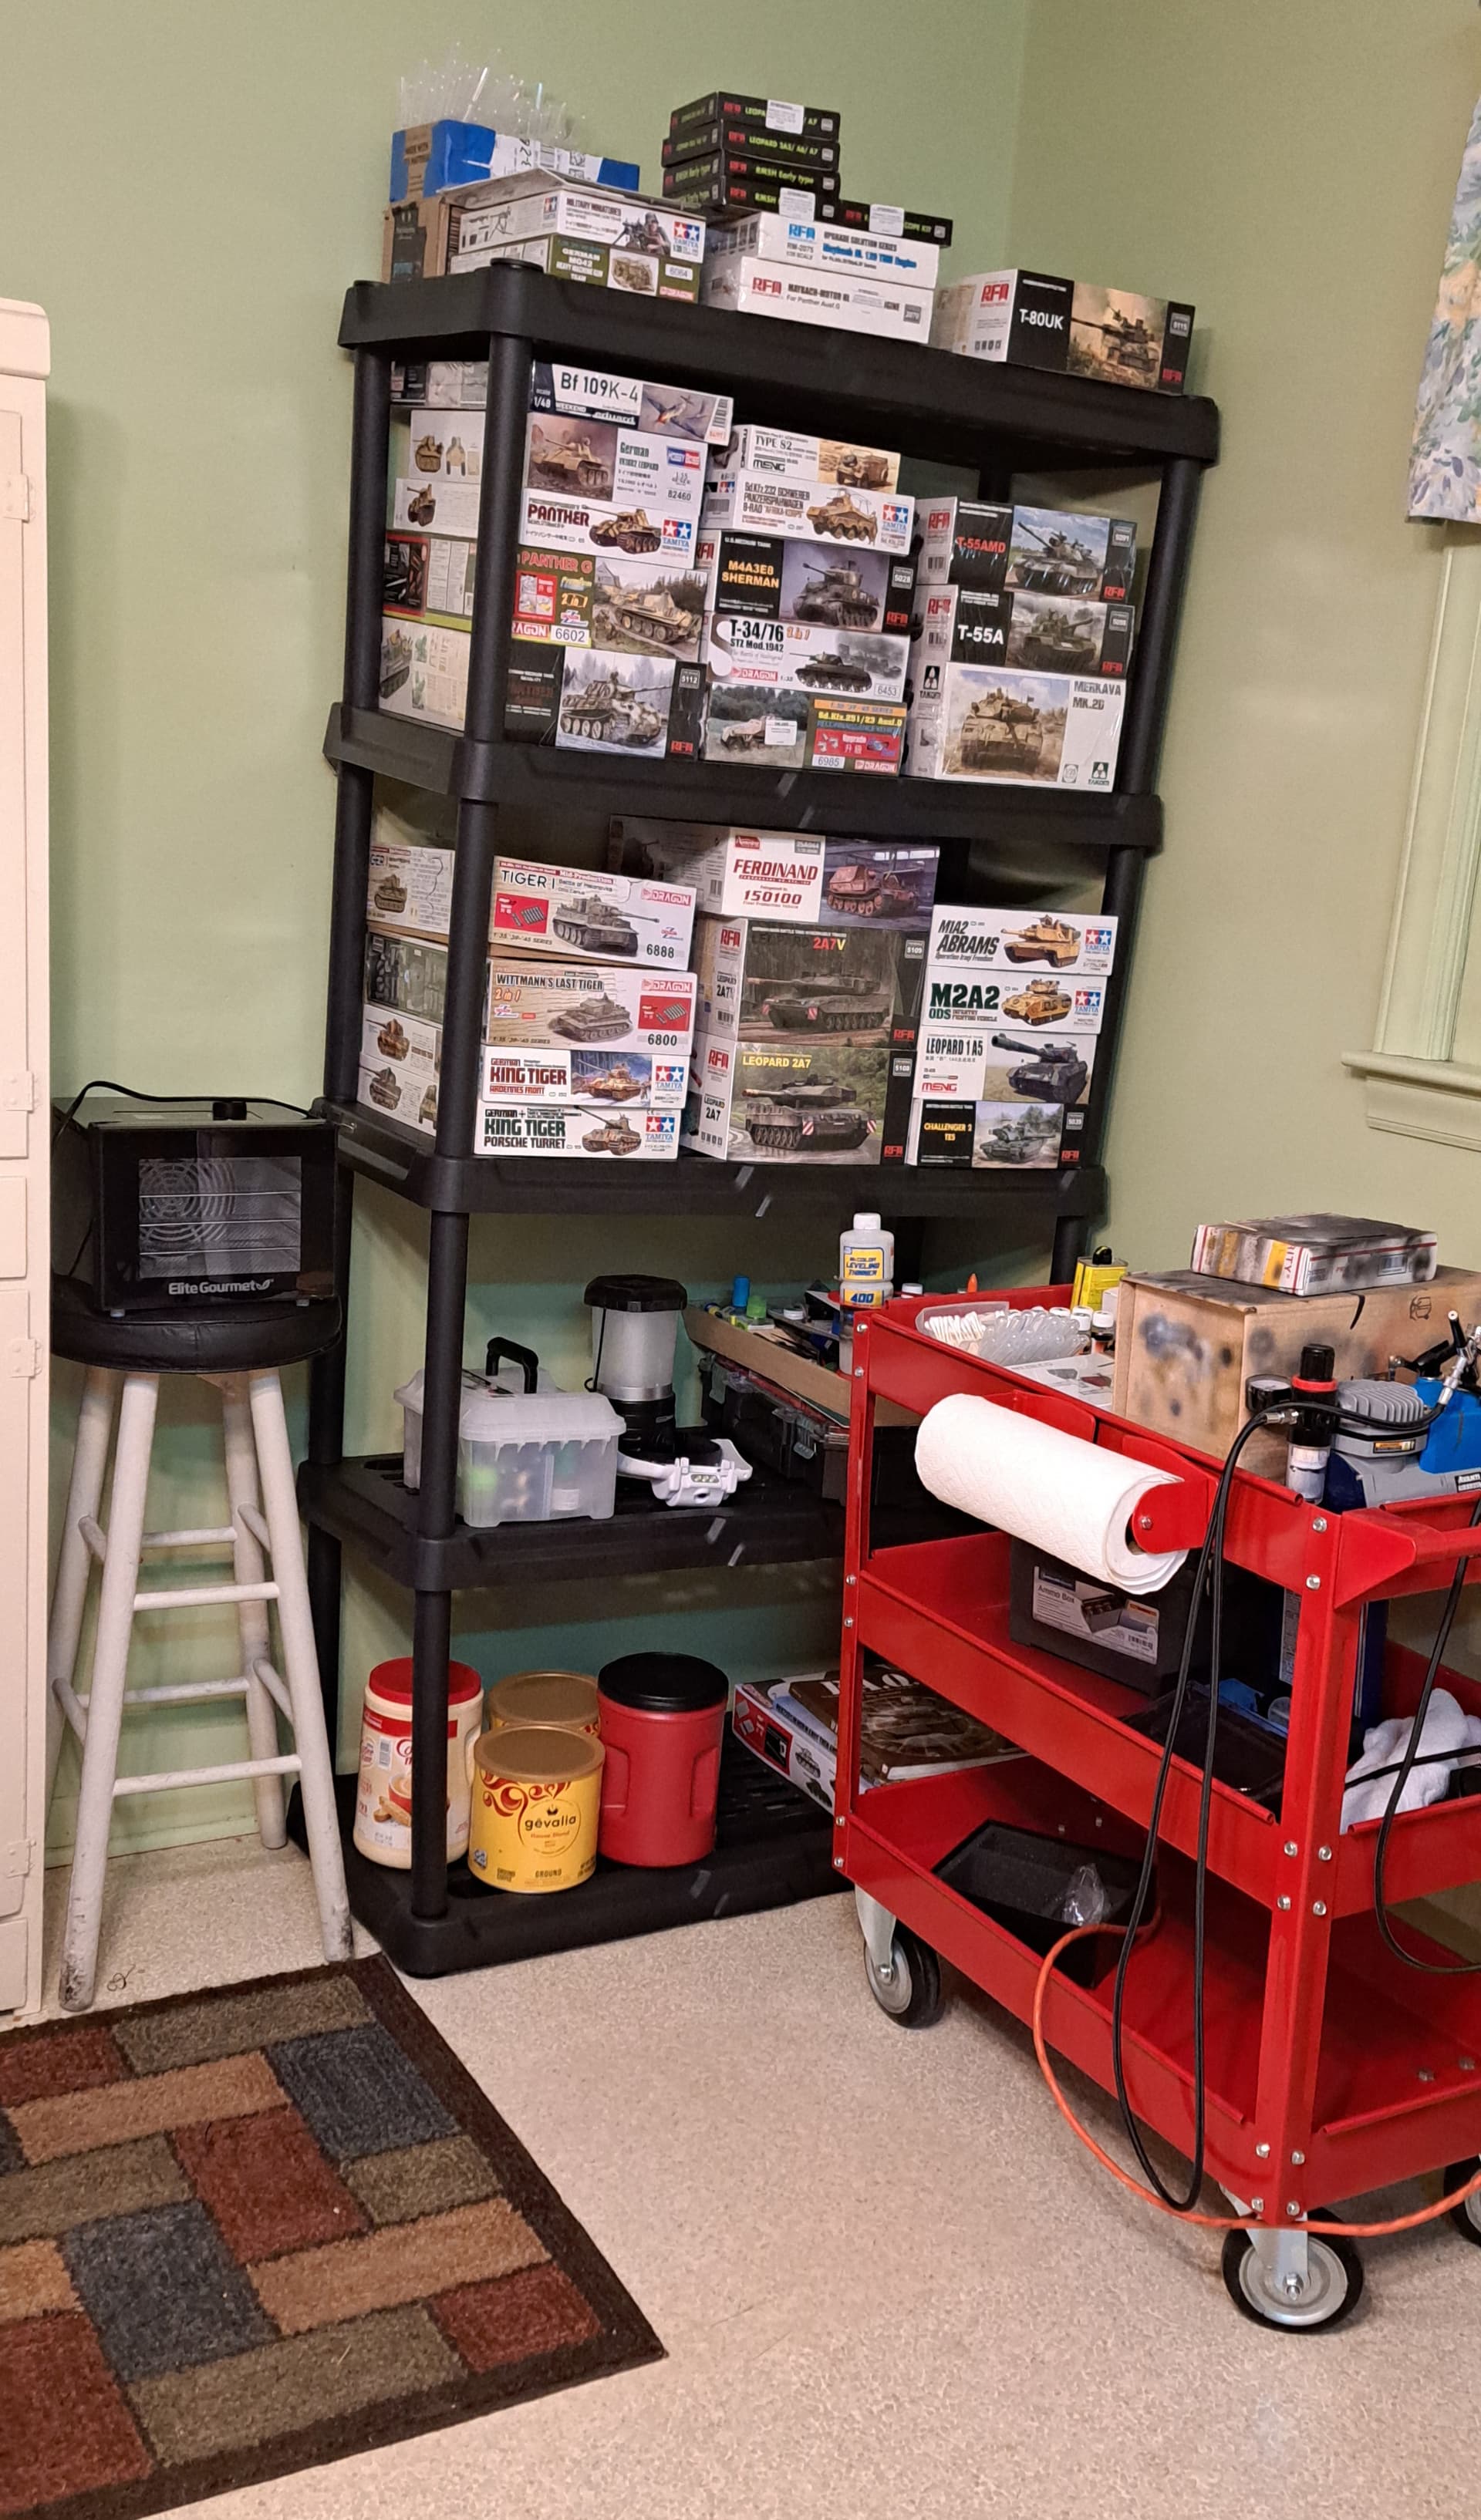
Looks very neat and organized Wade.
I’ve been cleaning up and reorganizing too.
Moved all my cleaning rods, jags, mops, brushes, solvents and cleaning stand out to the garage and added the tiny roller to store miscellaneous painting stuff.

Meanwhile, the Kermit green is very Kermit like.

20 Likes
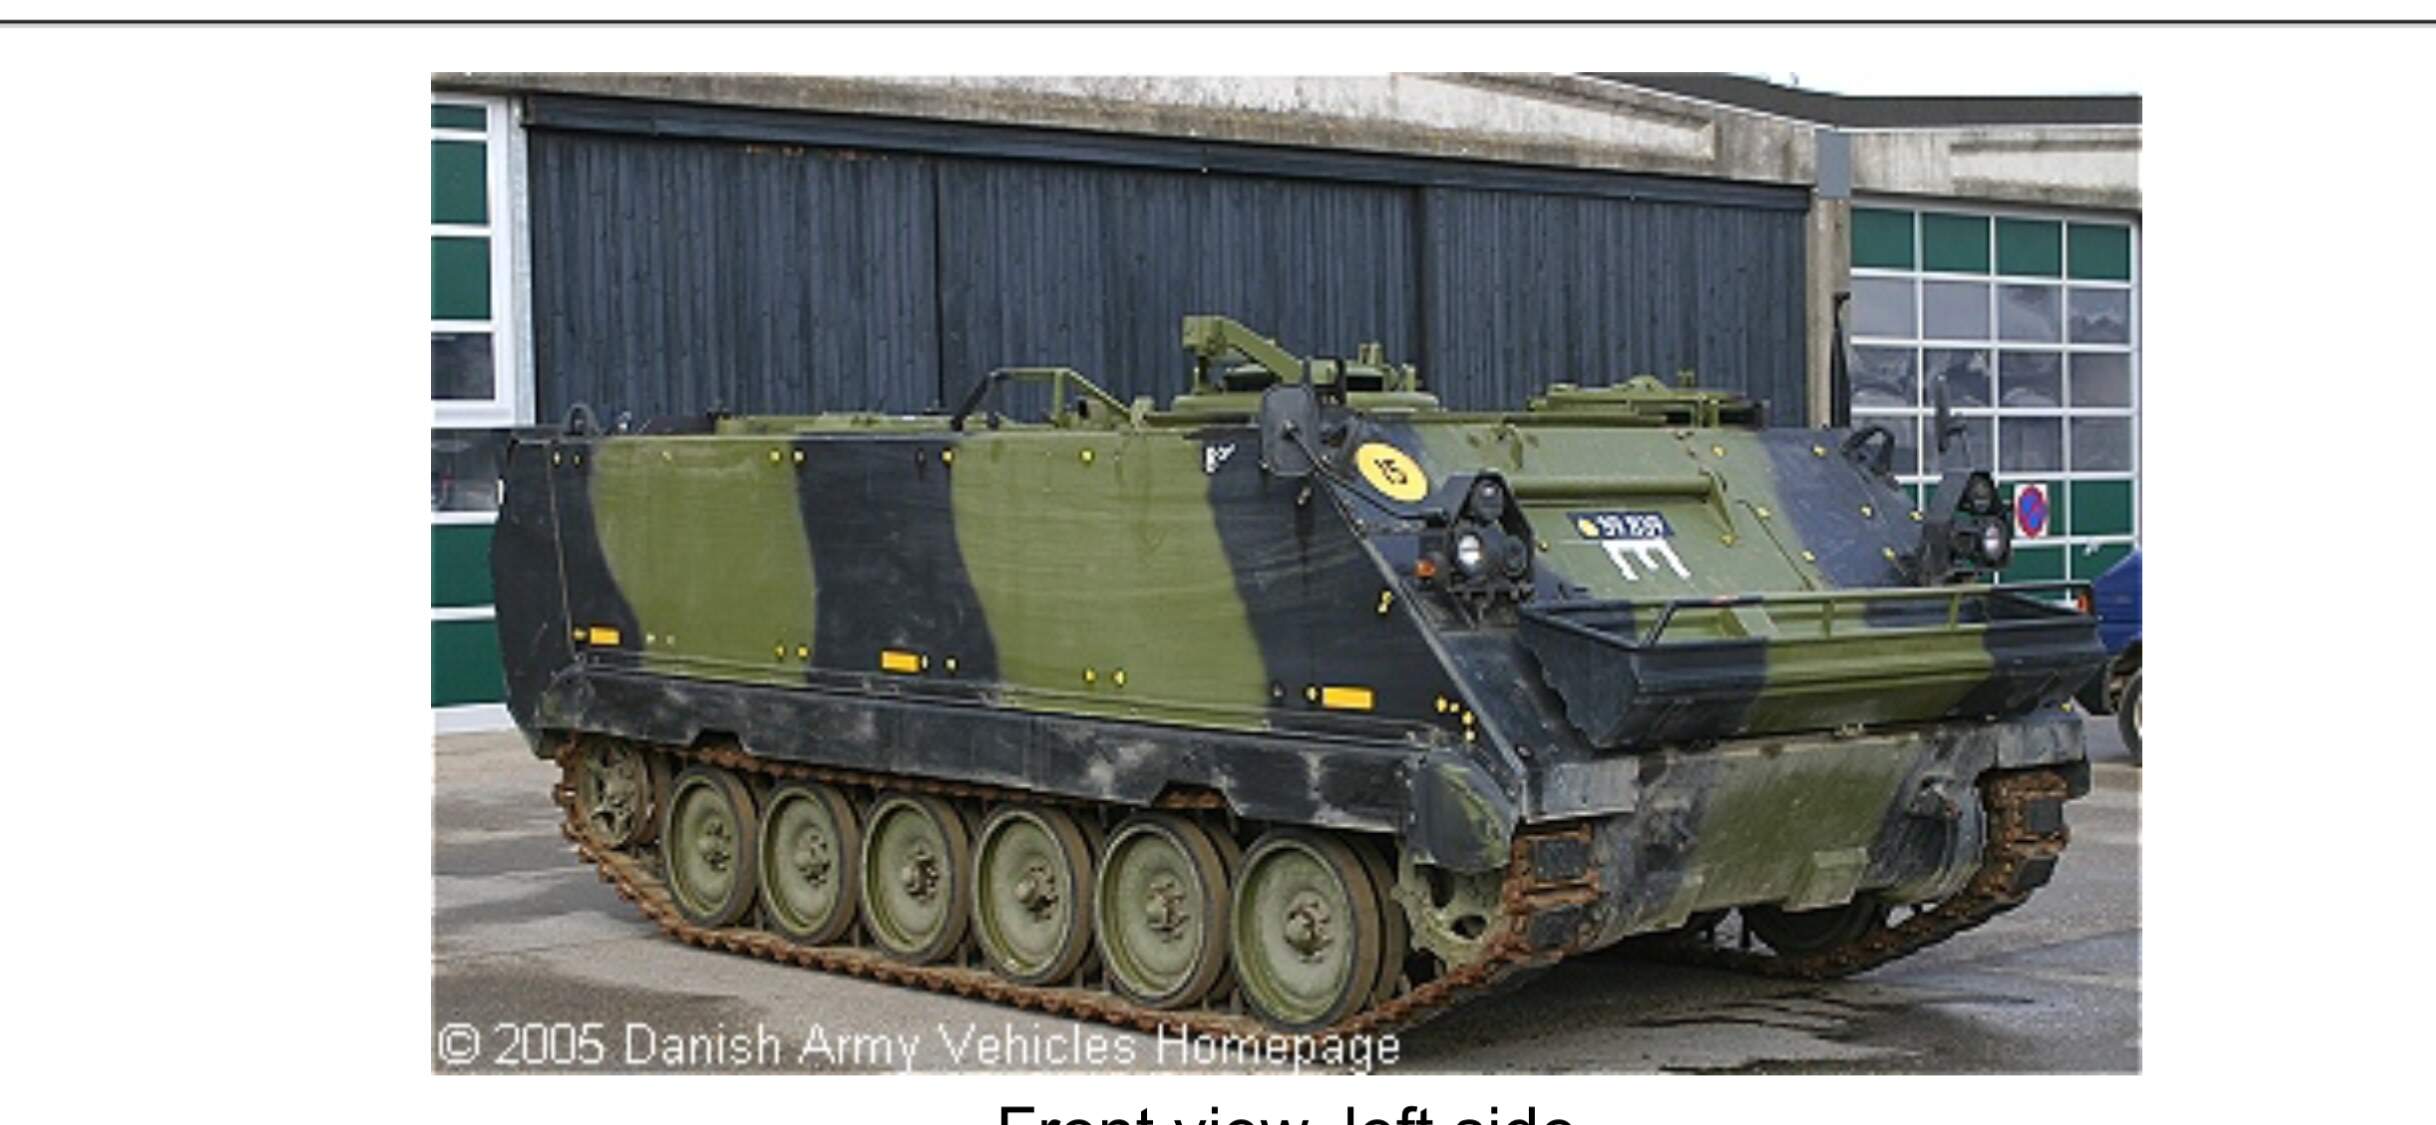
What colour have you used now? I need to paint a danish Centurion in this green/black
Looks good
Rabbits
2 Likes
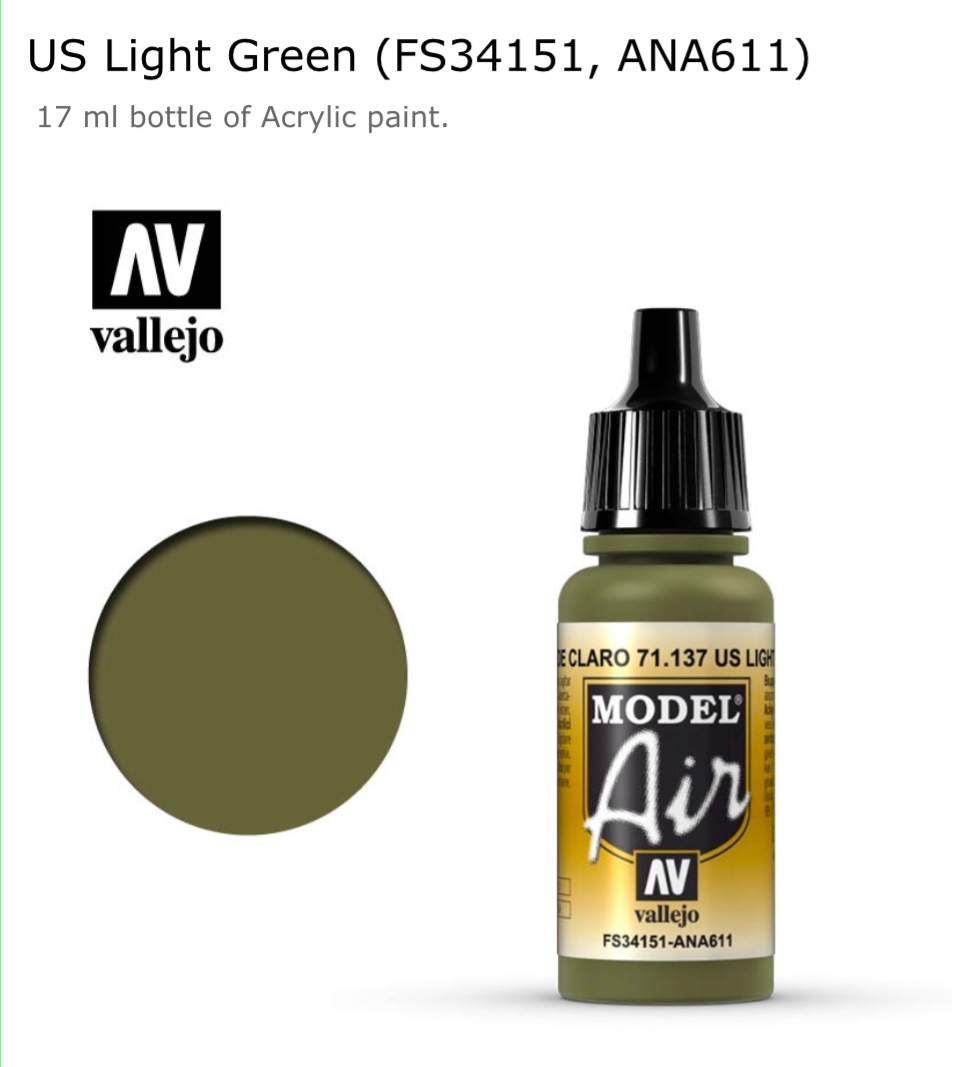
Vallejo 71.137, thanks.
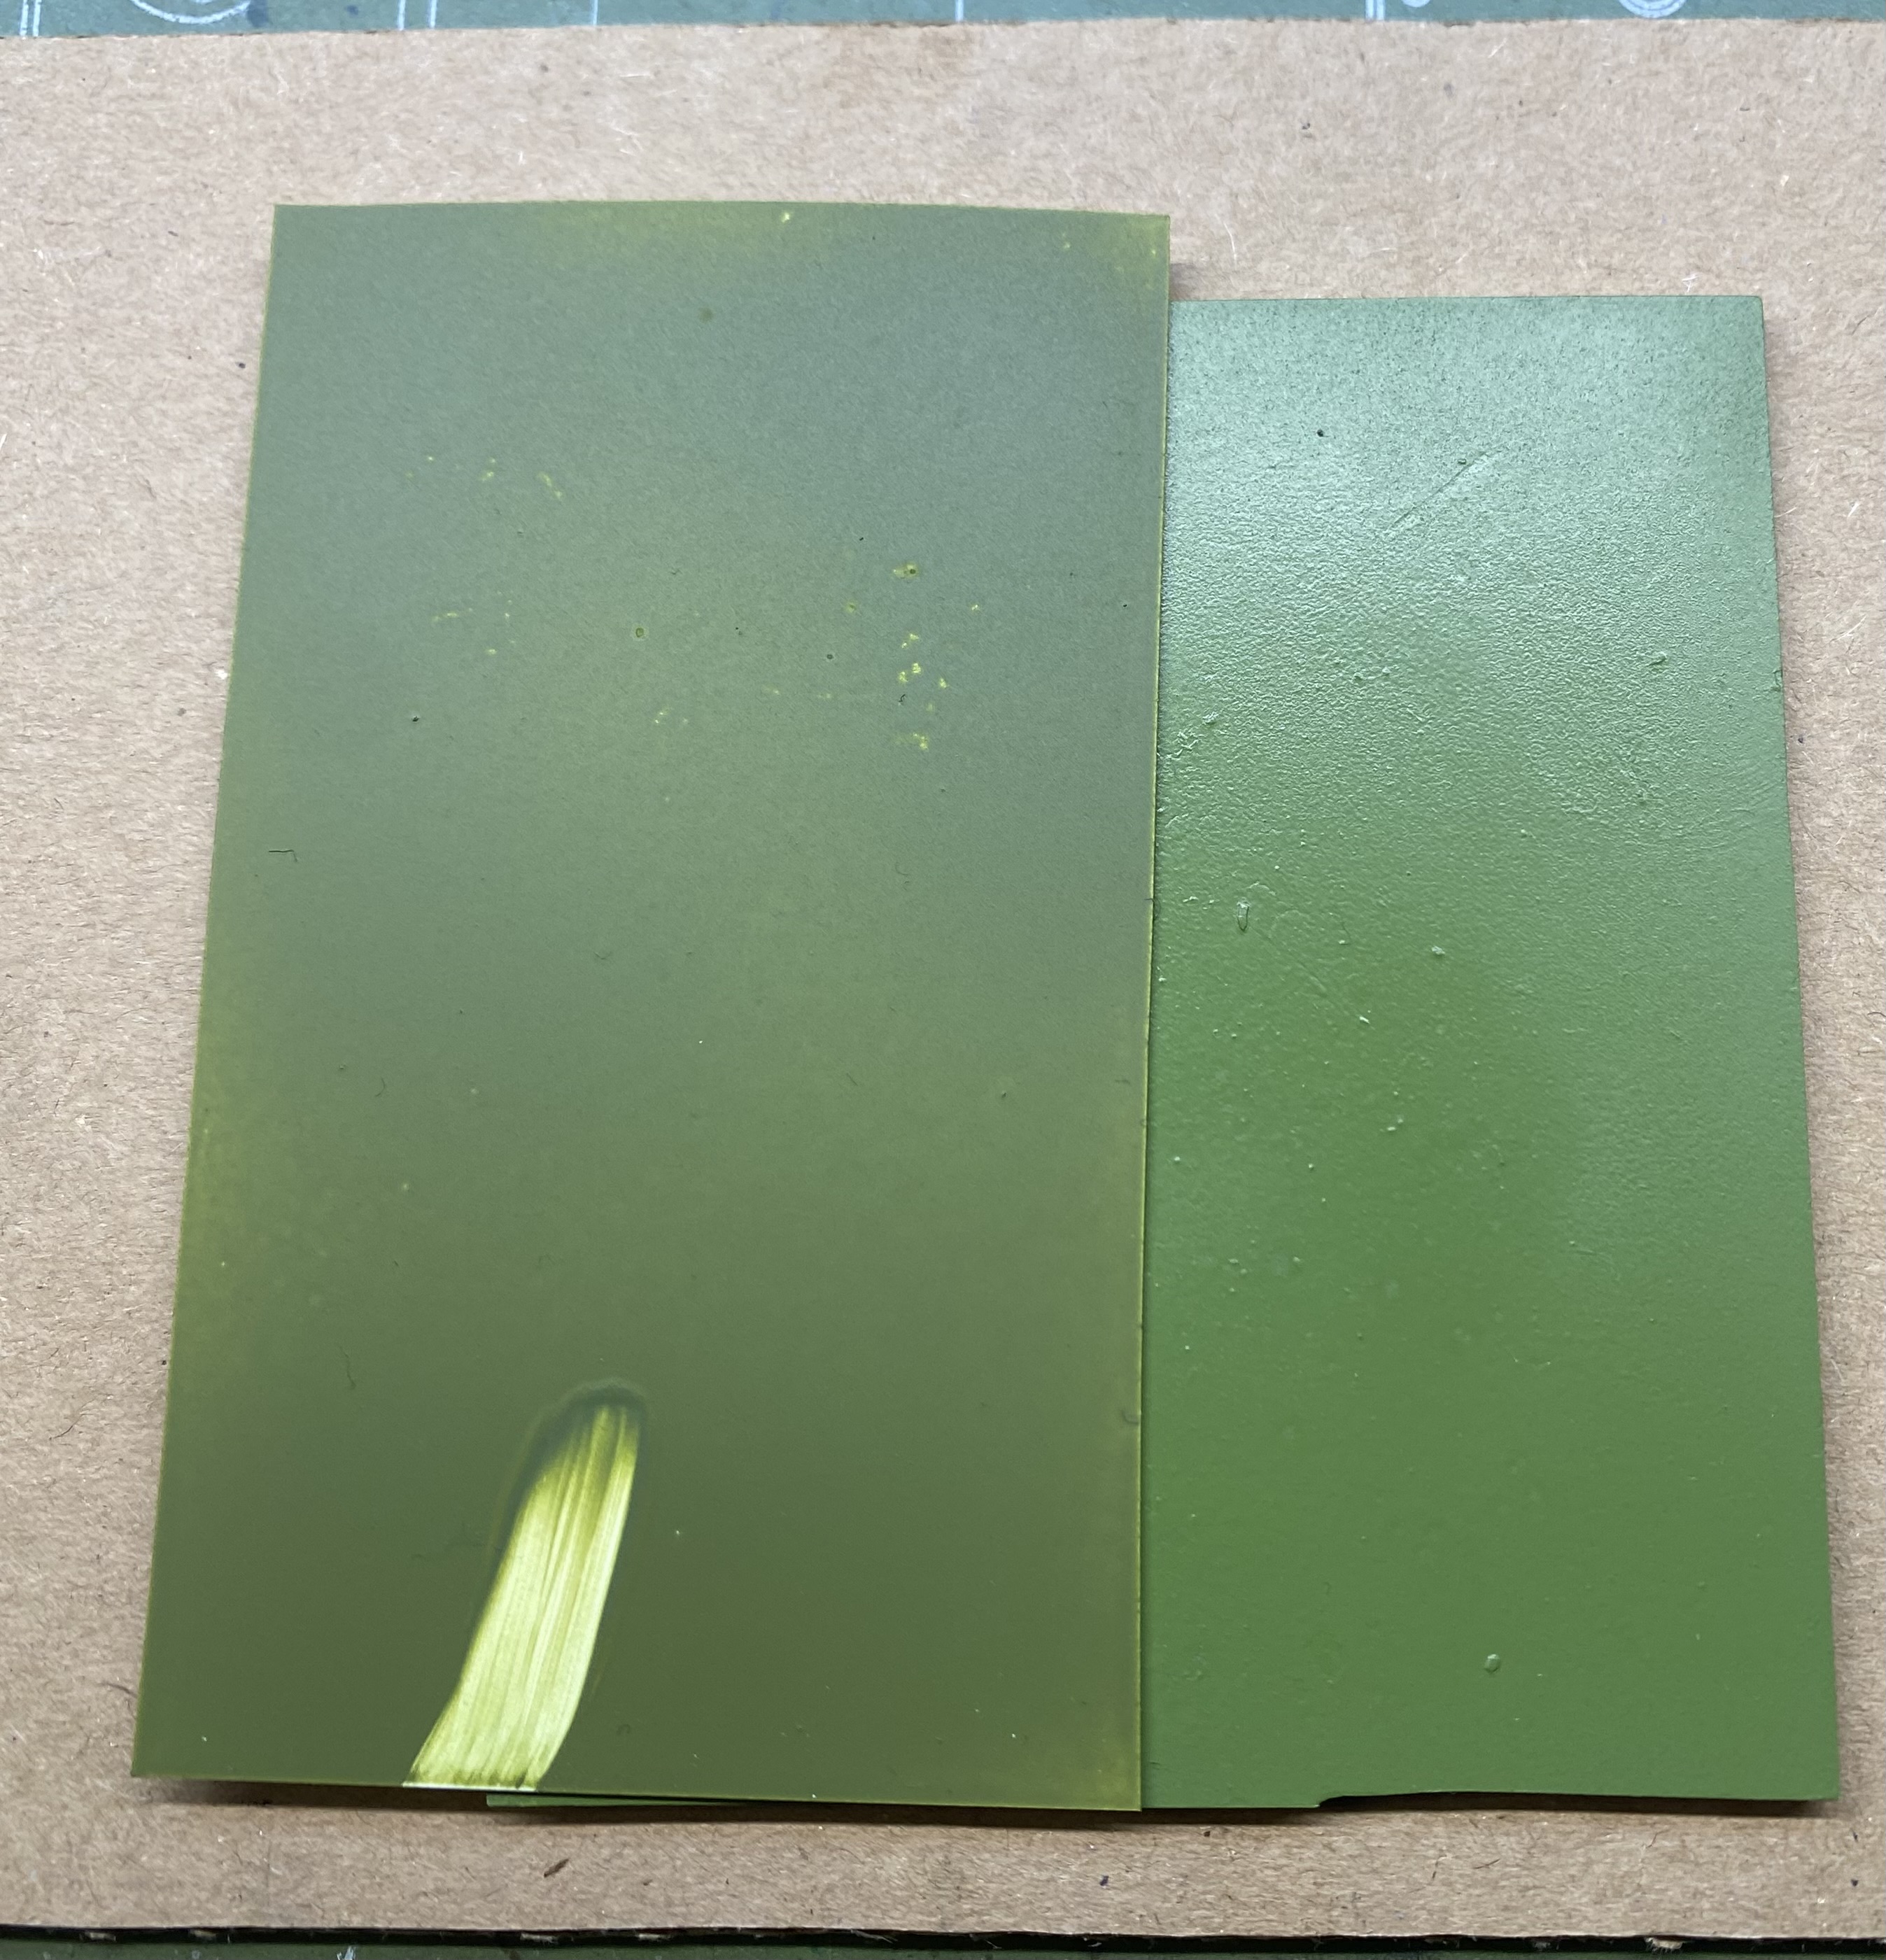
For me it came down to these two: Mig pale green left, VJ US light green right.
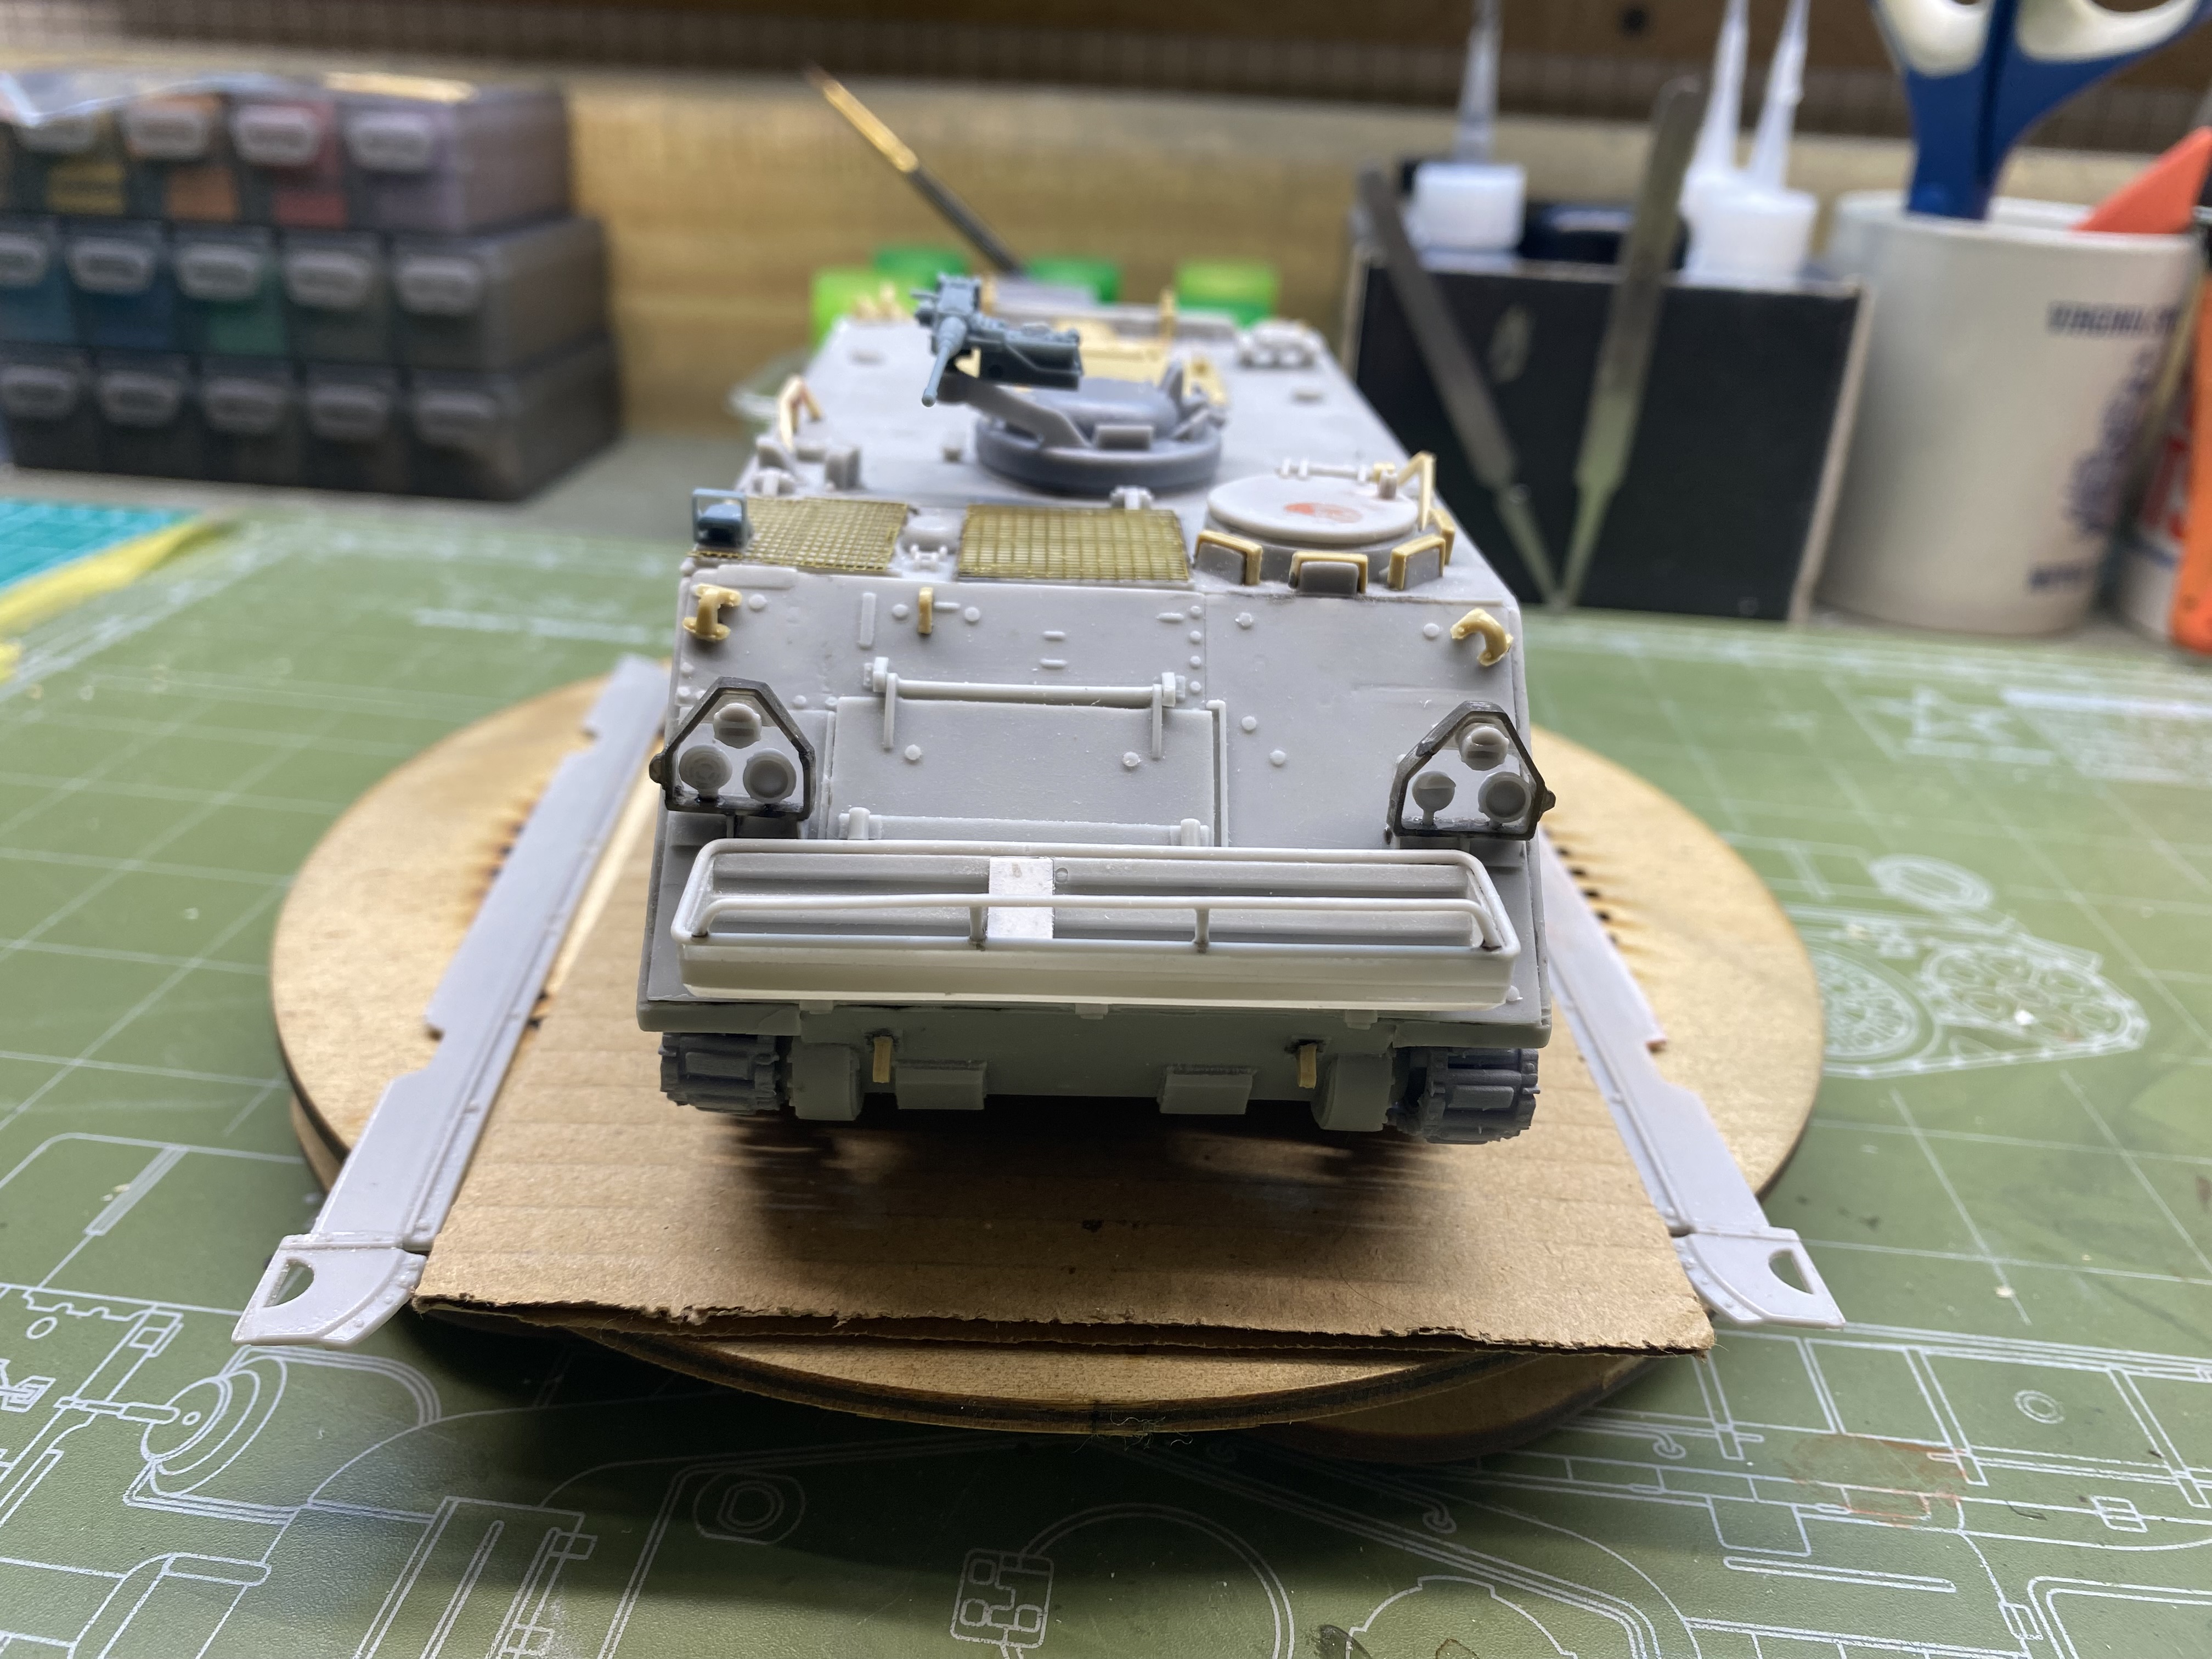
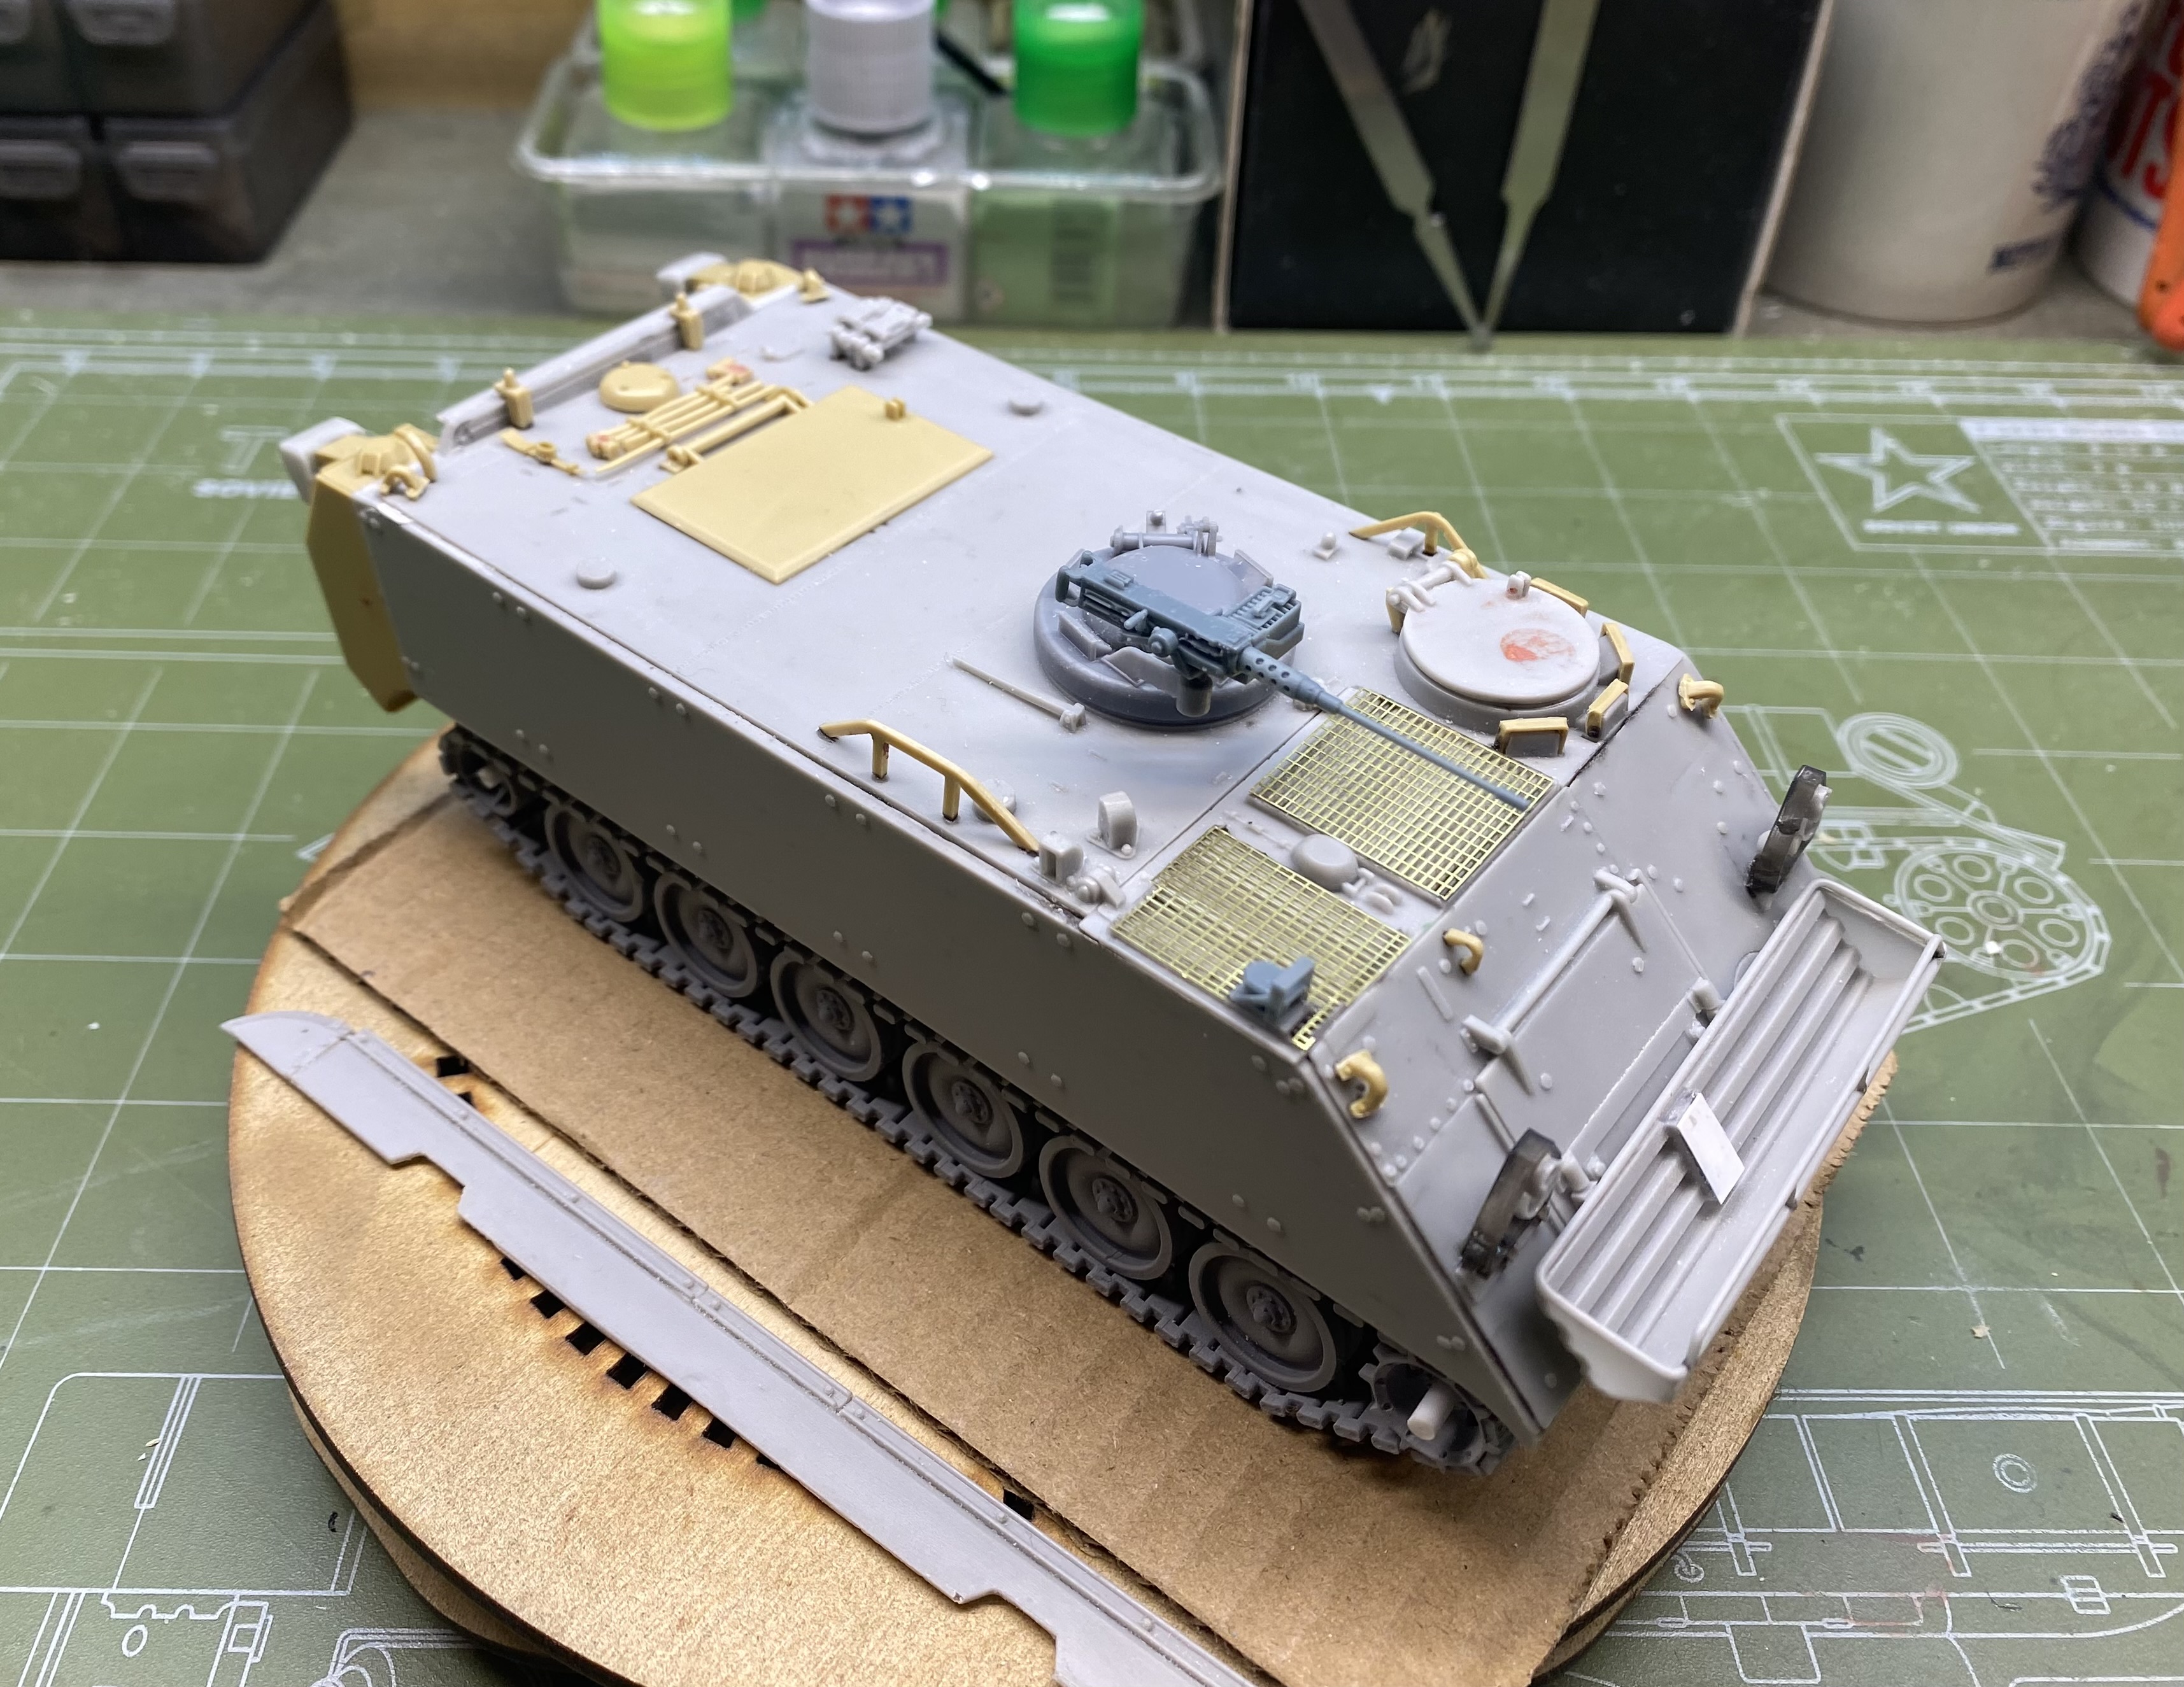
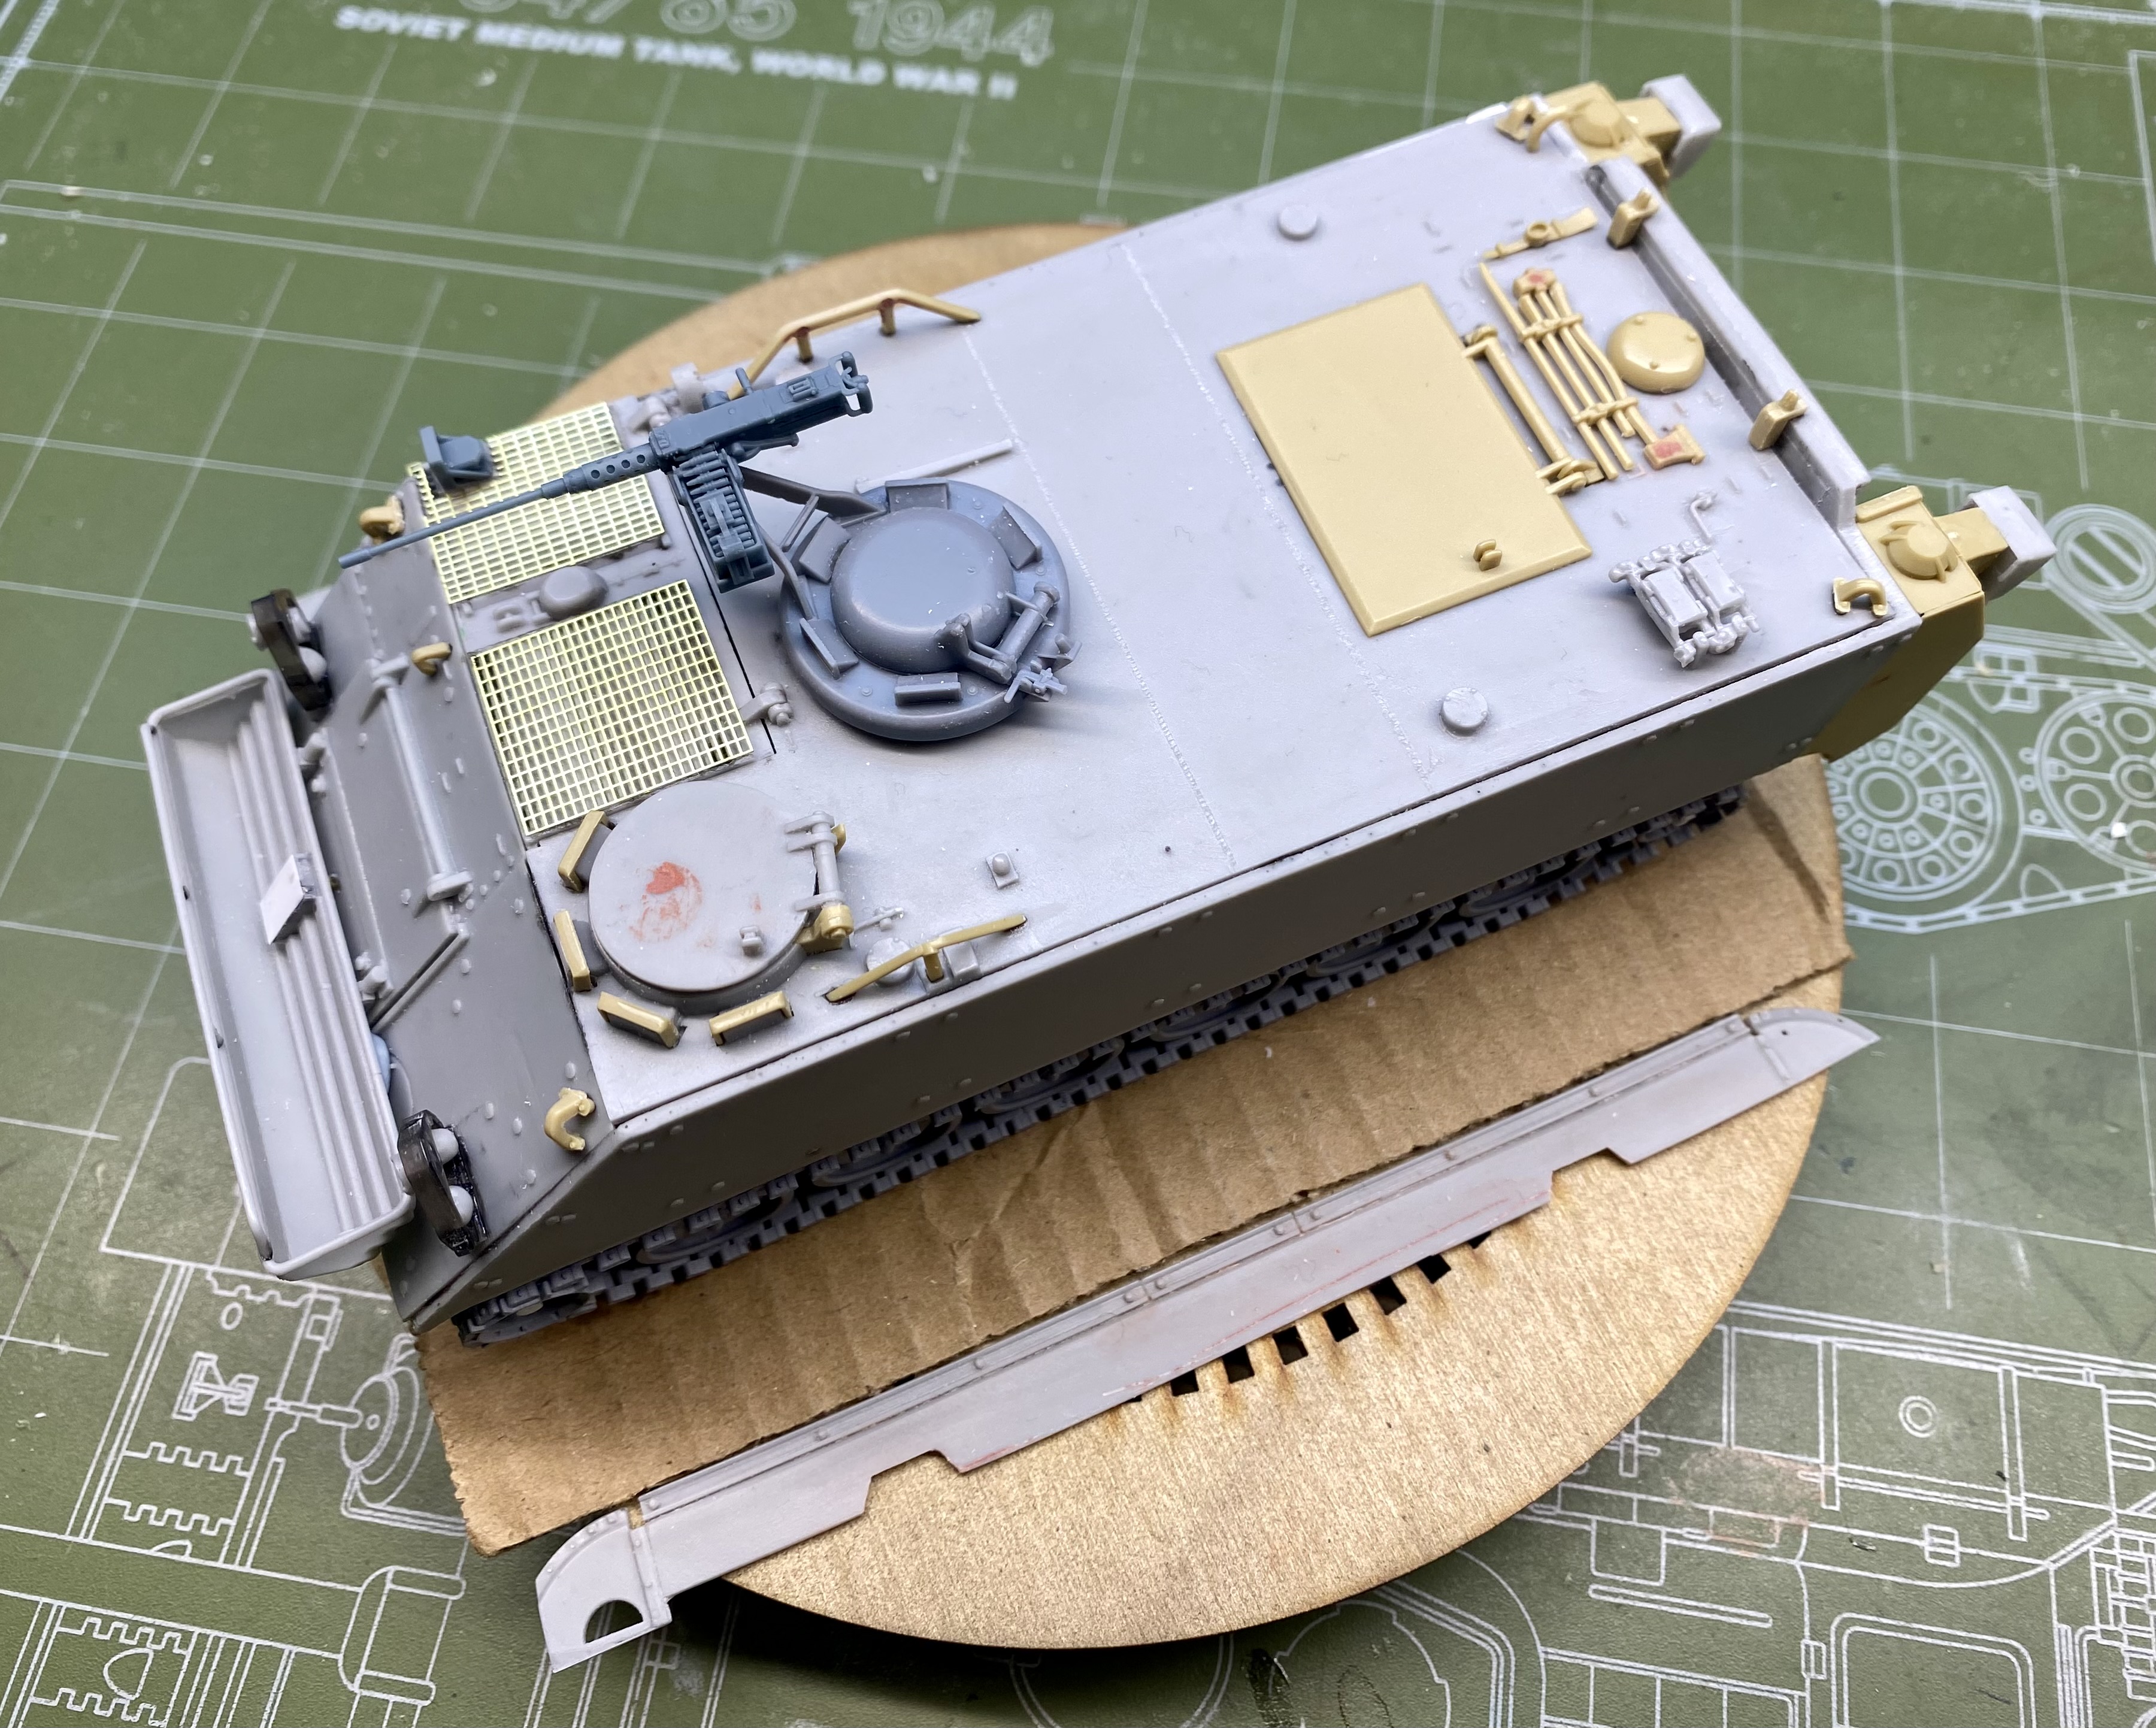
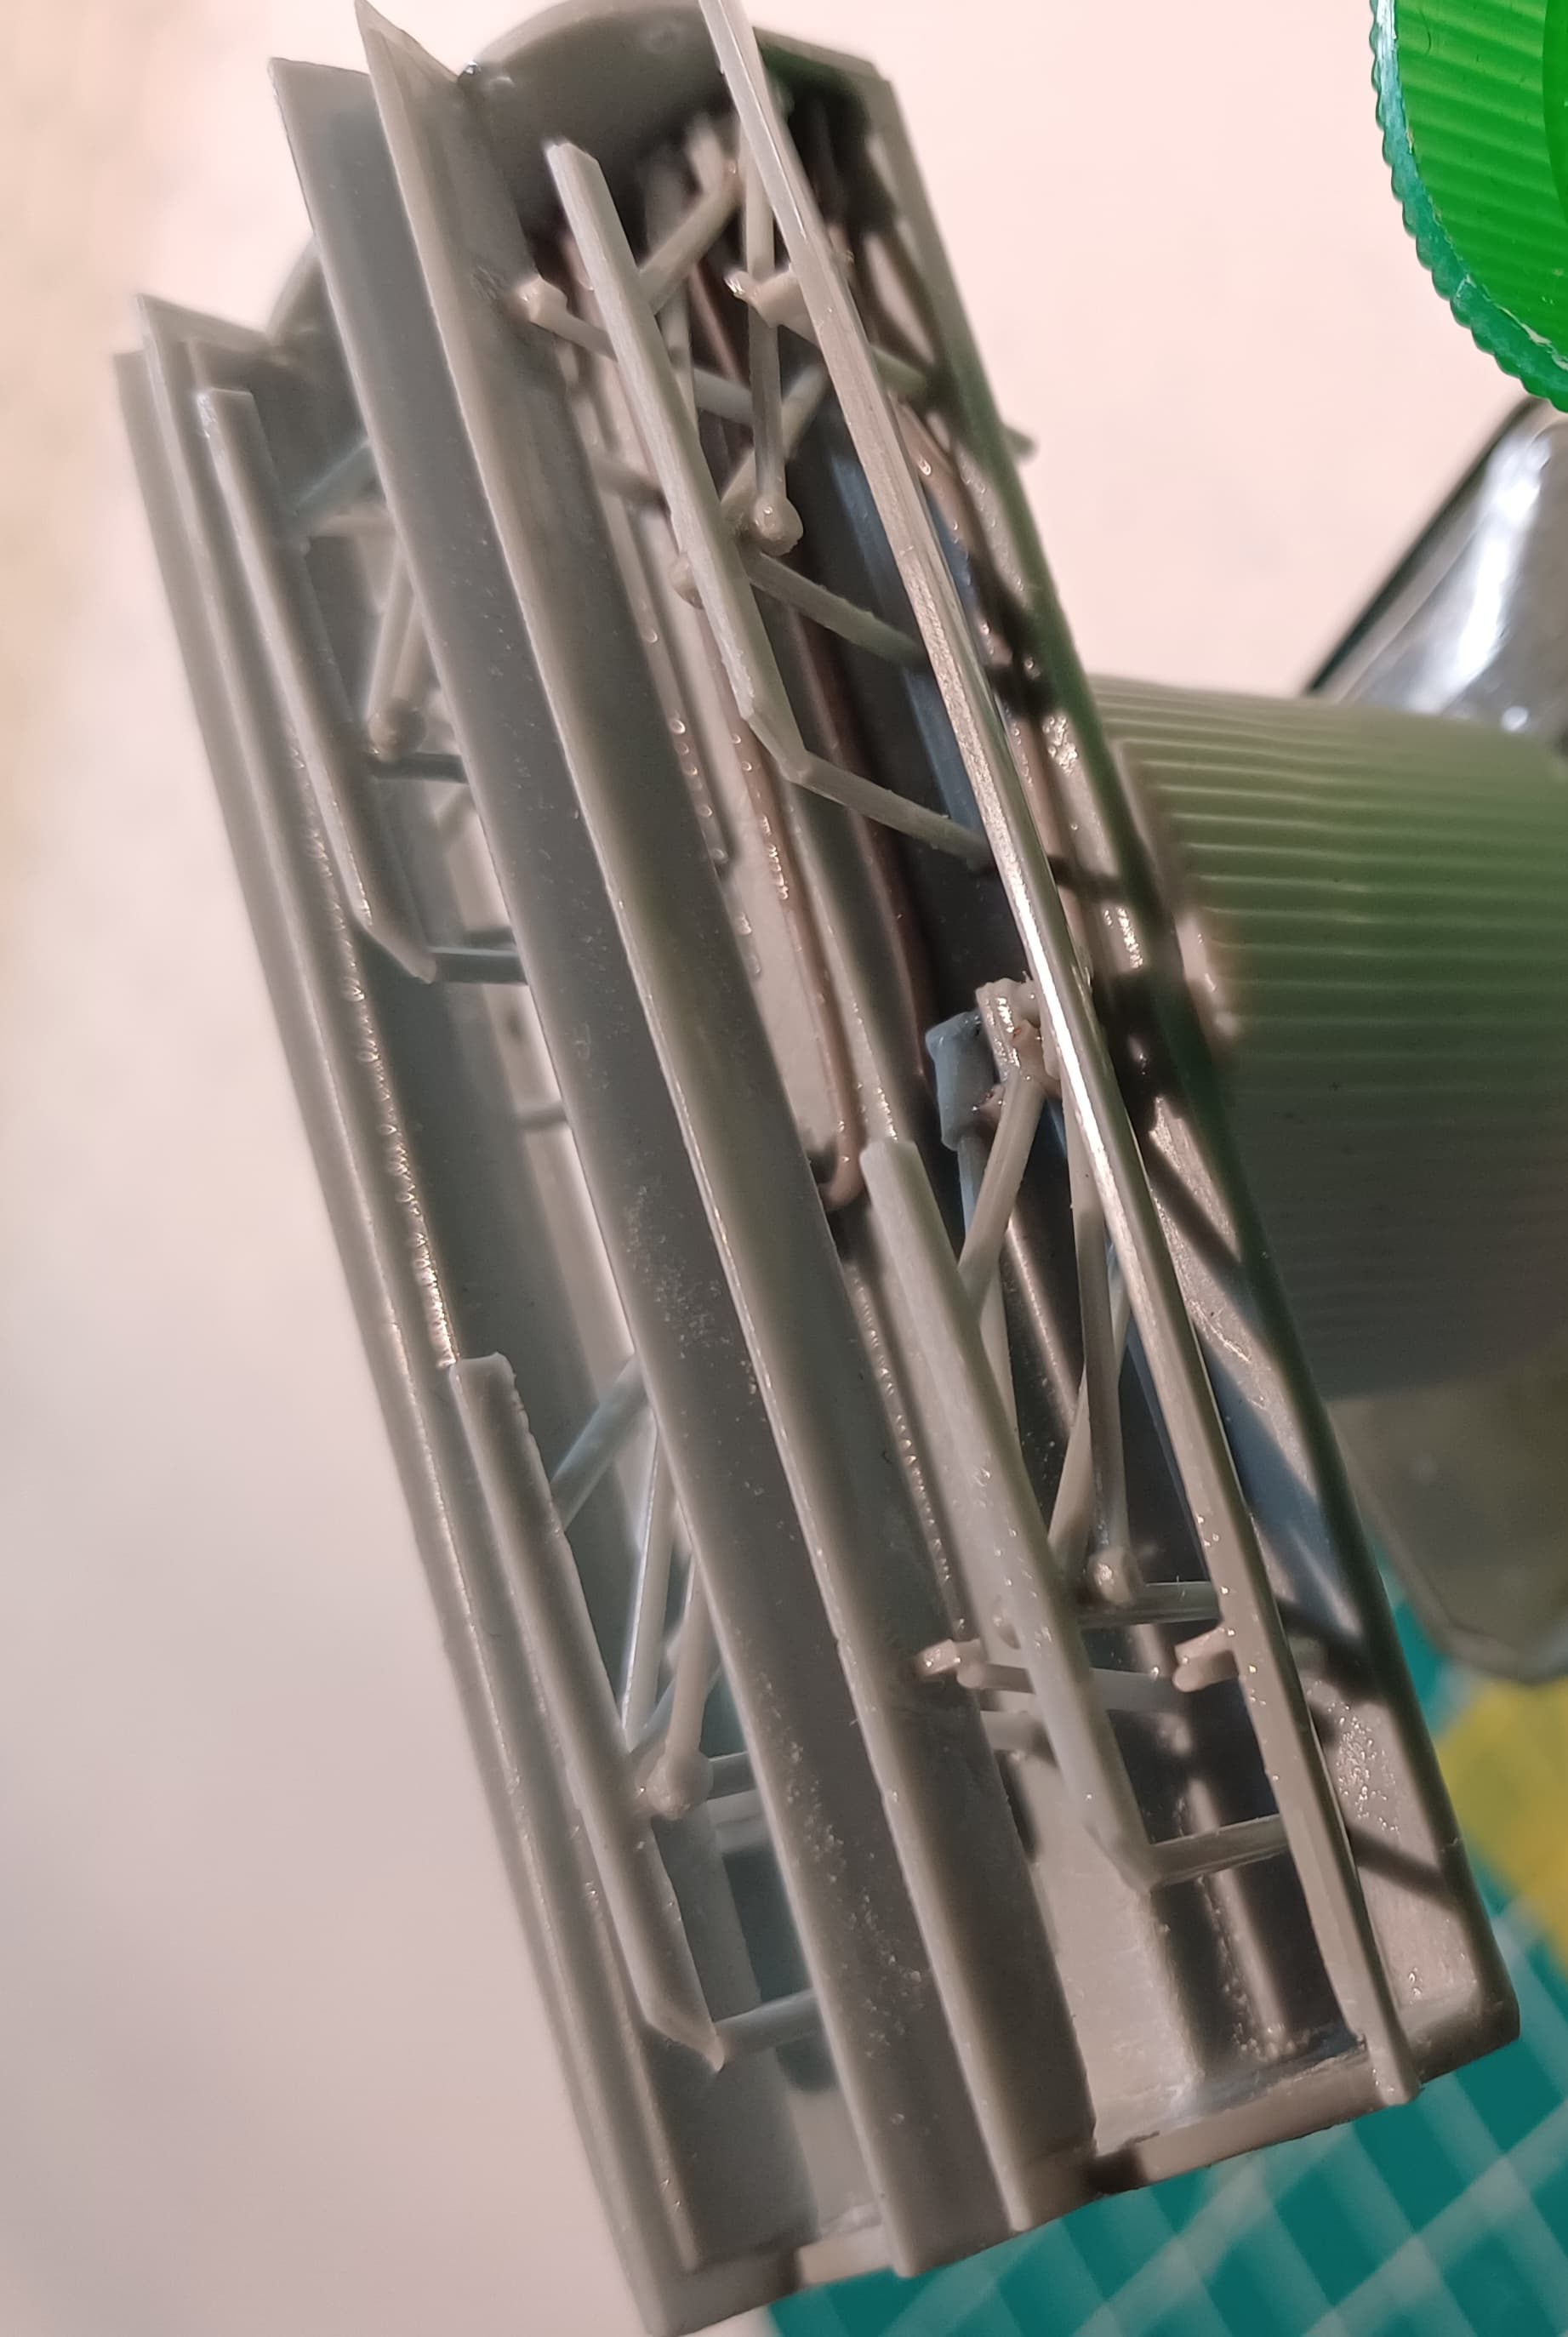
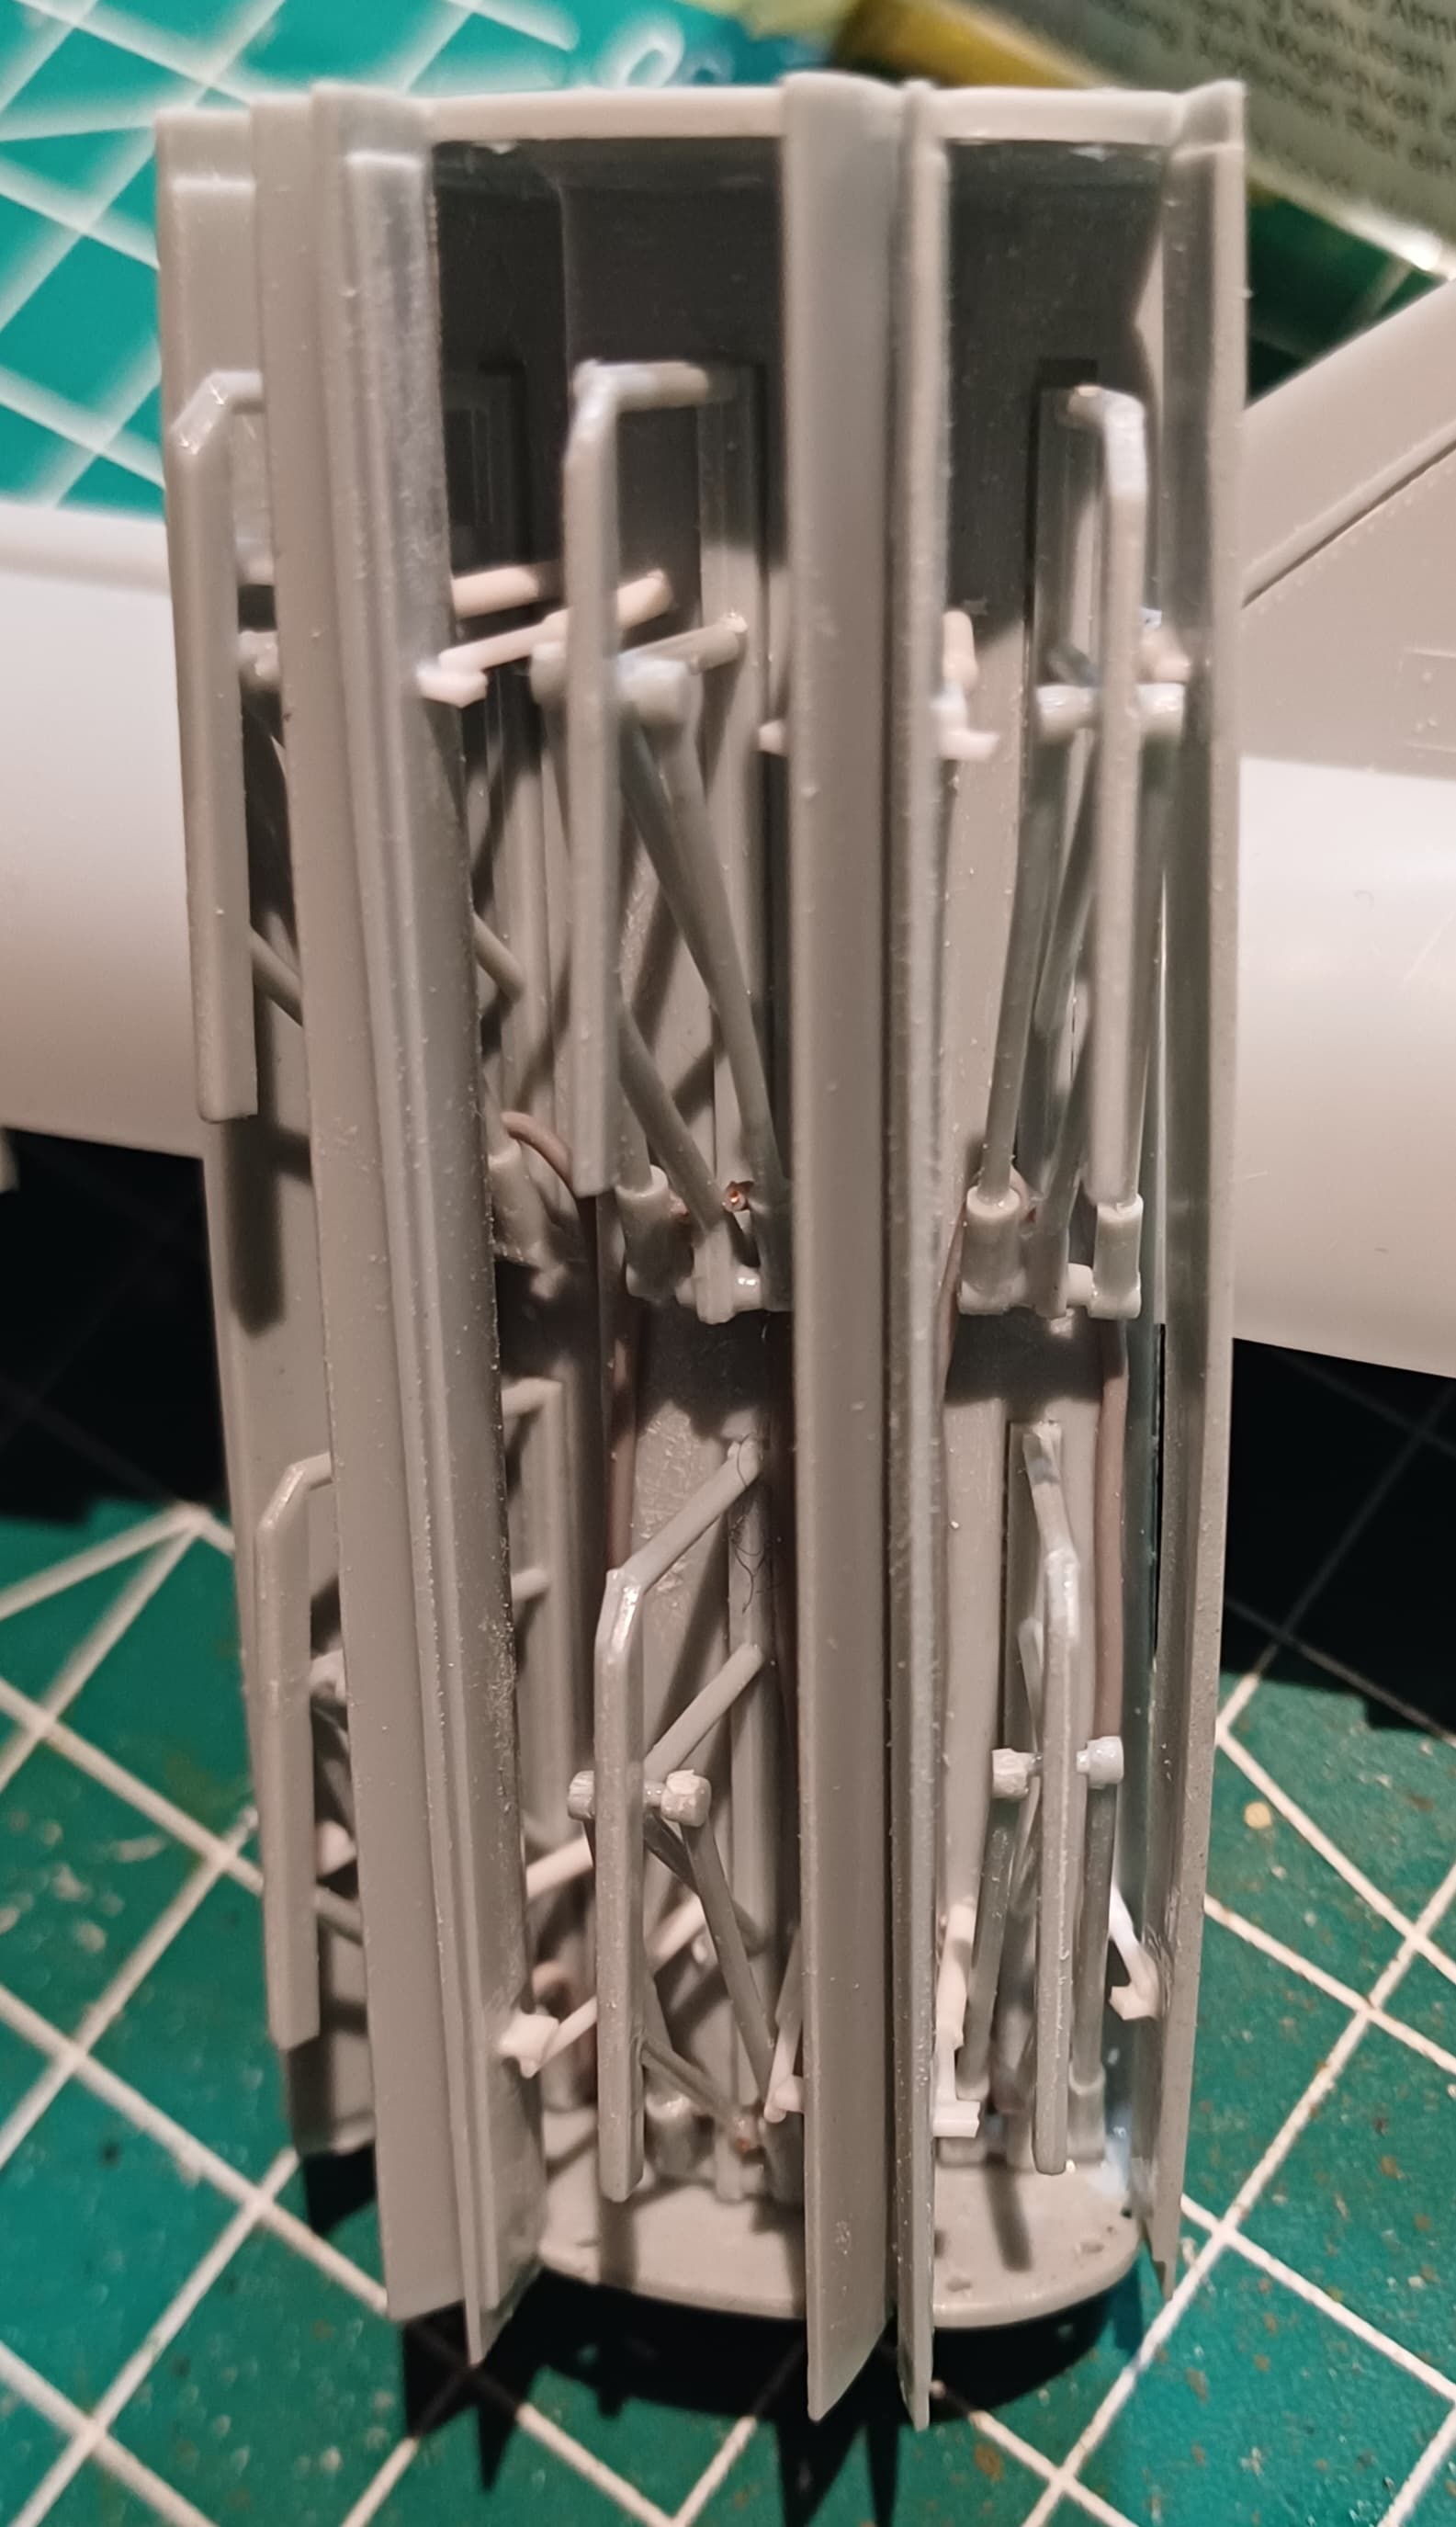
Started mock up of the M1068A3 with a mix of Tamiya, Academy and 3D printed MicroCosmos parts.

9 Likes
While the Kermit paint continues to cure, I started hacking unnecessary details and filling holes on the M1068A2 thing.
So far, this is assembled exclusively from leftovers. The two M577 sprues came from eBay a long time ago.
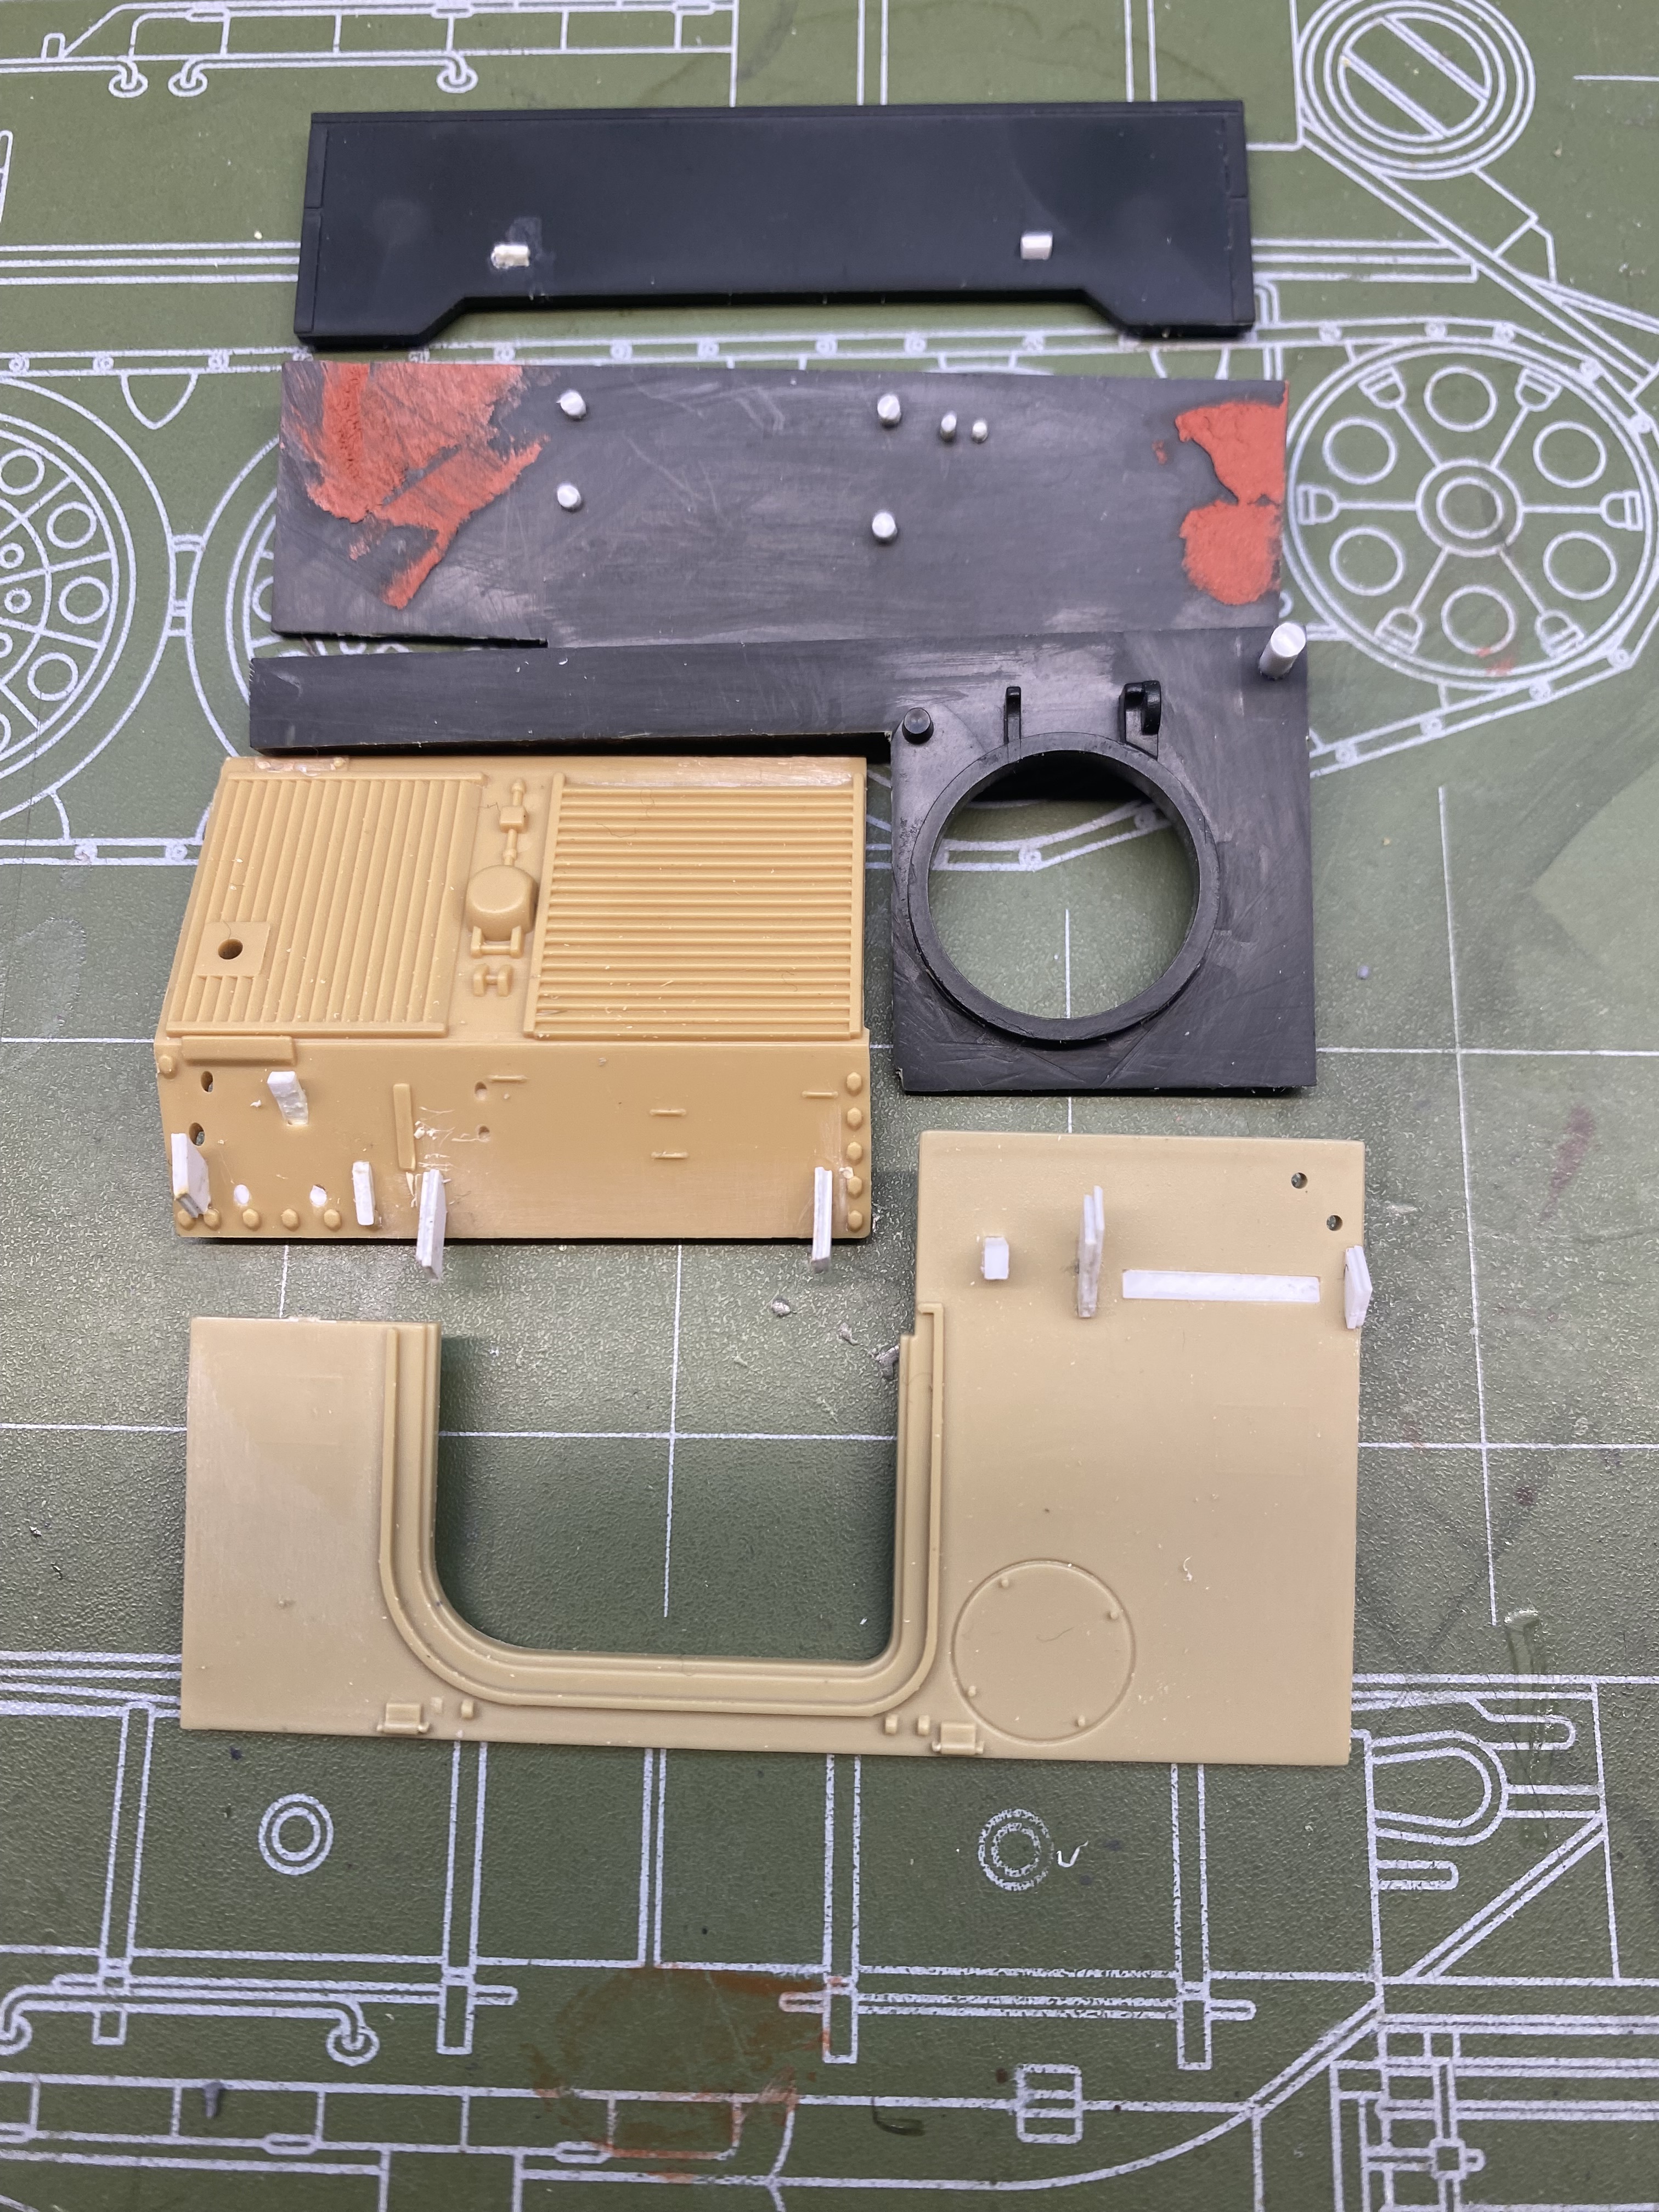
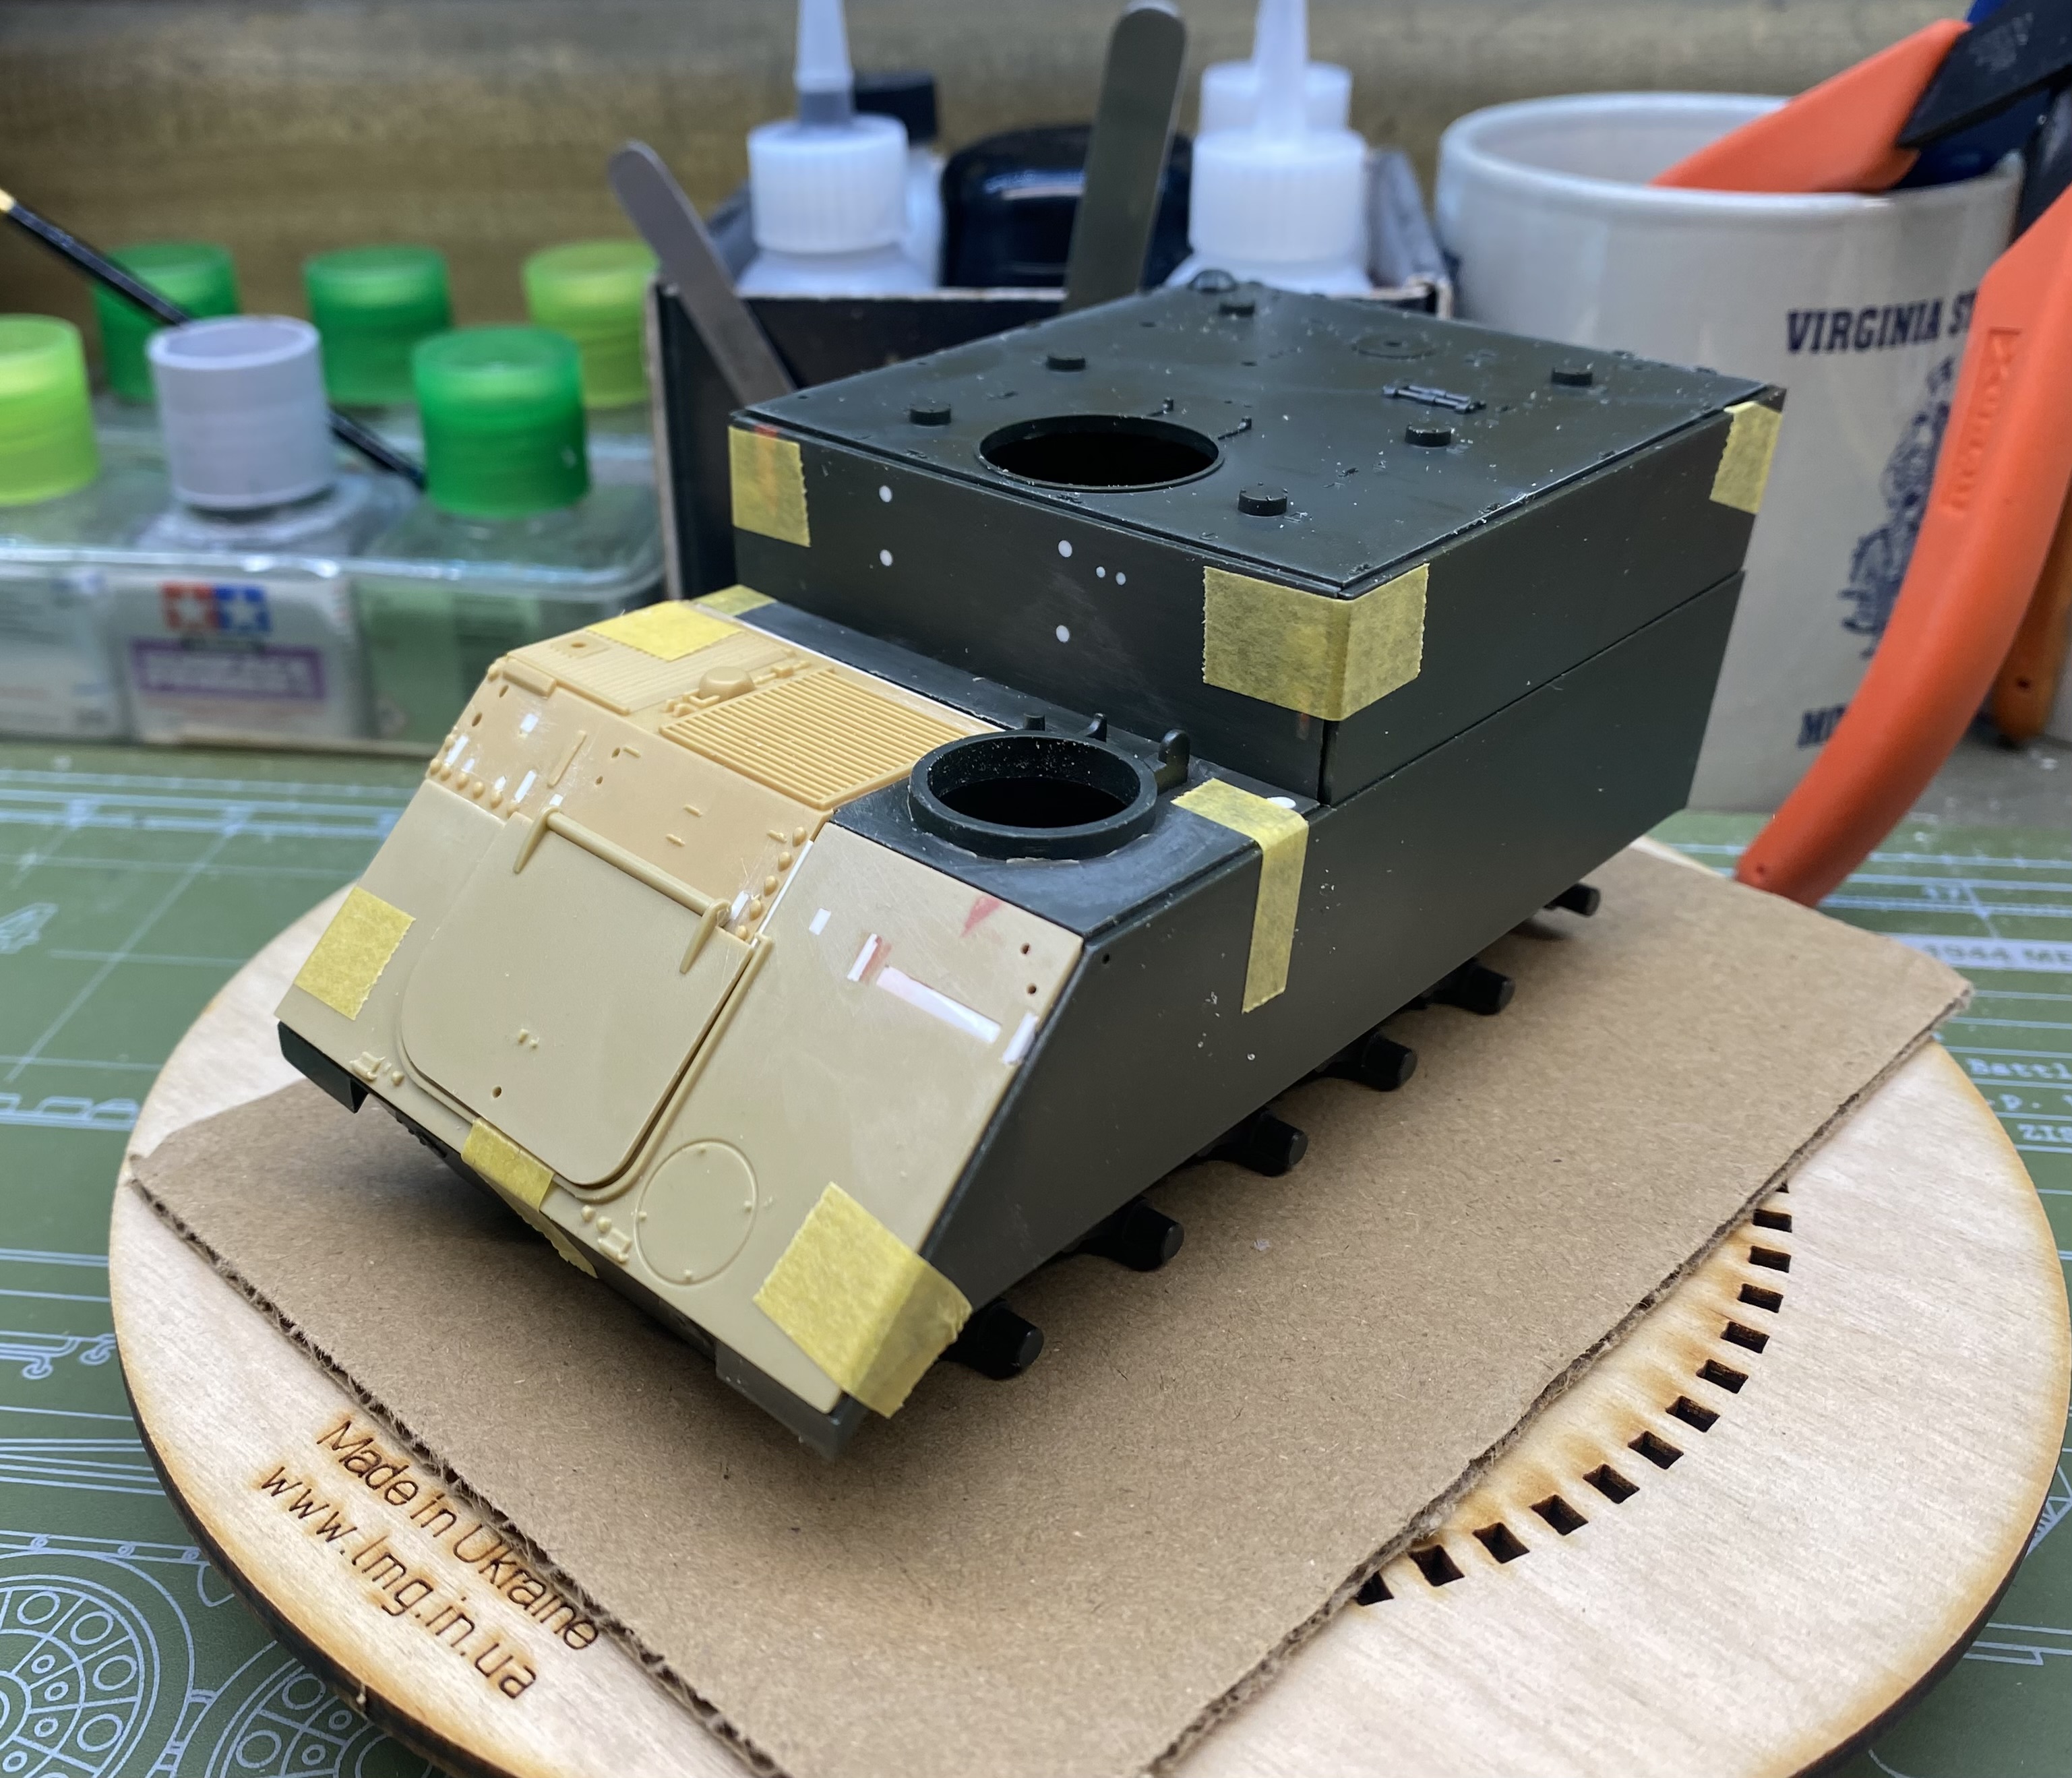
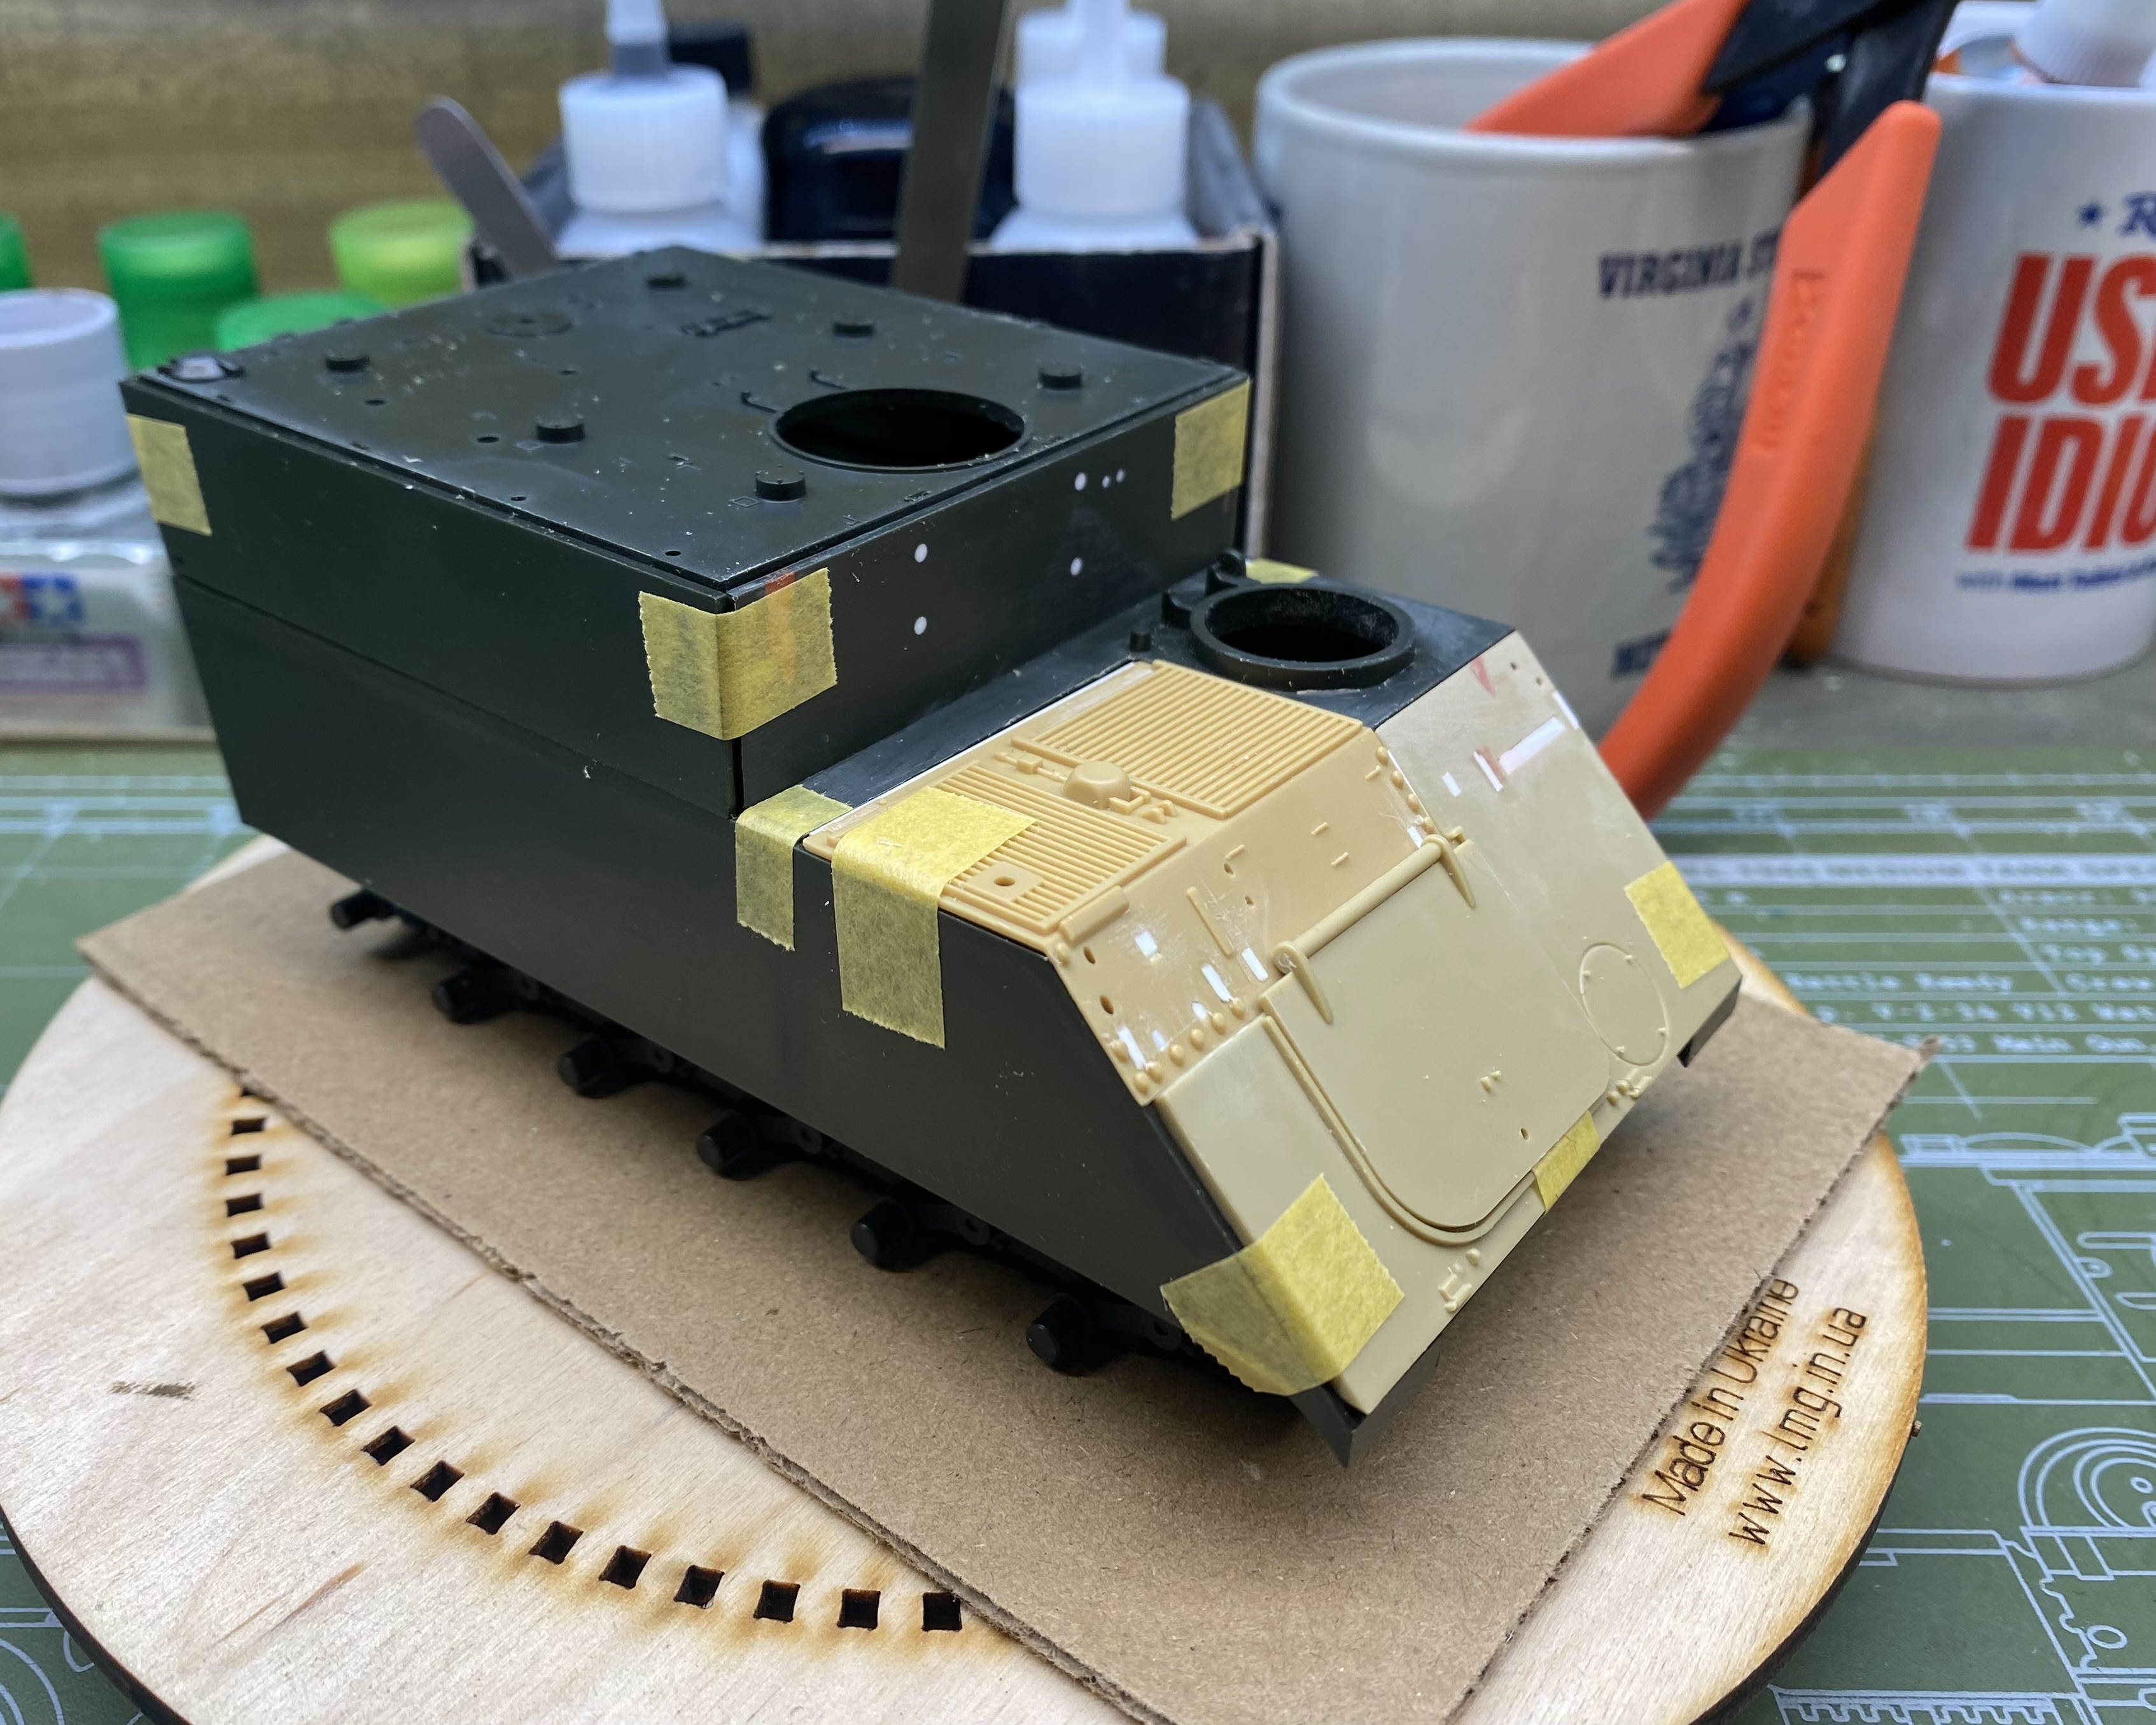

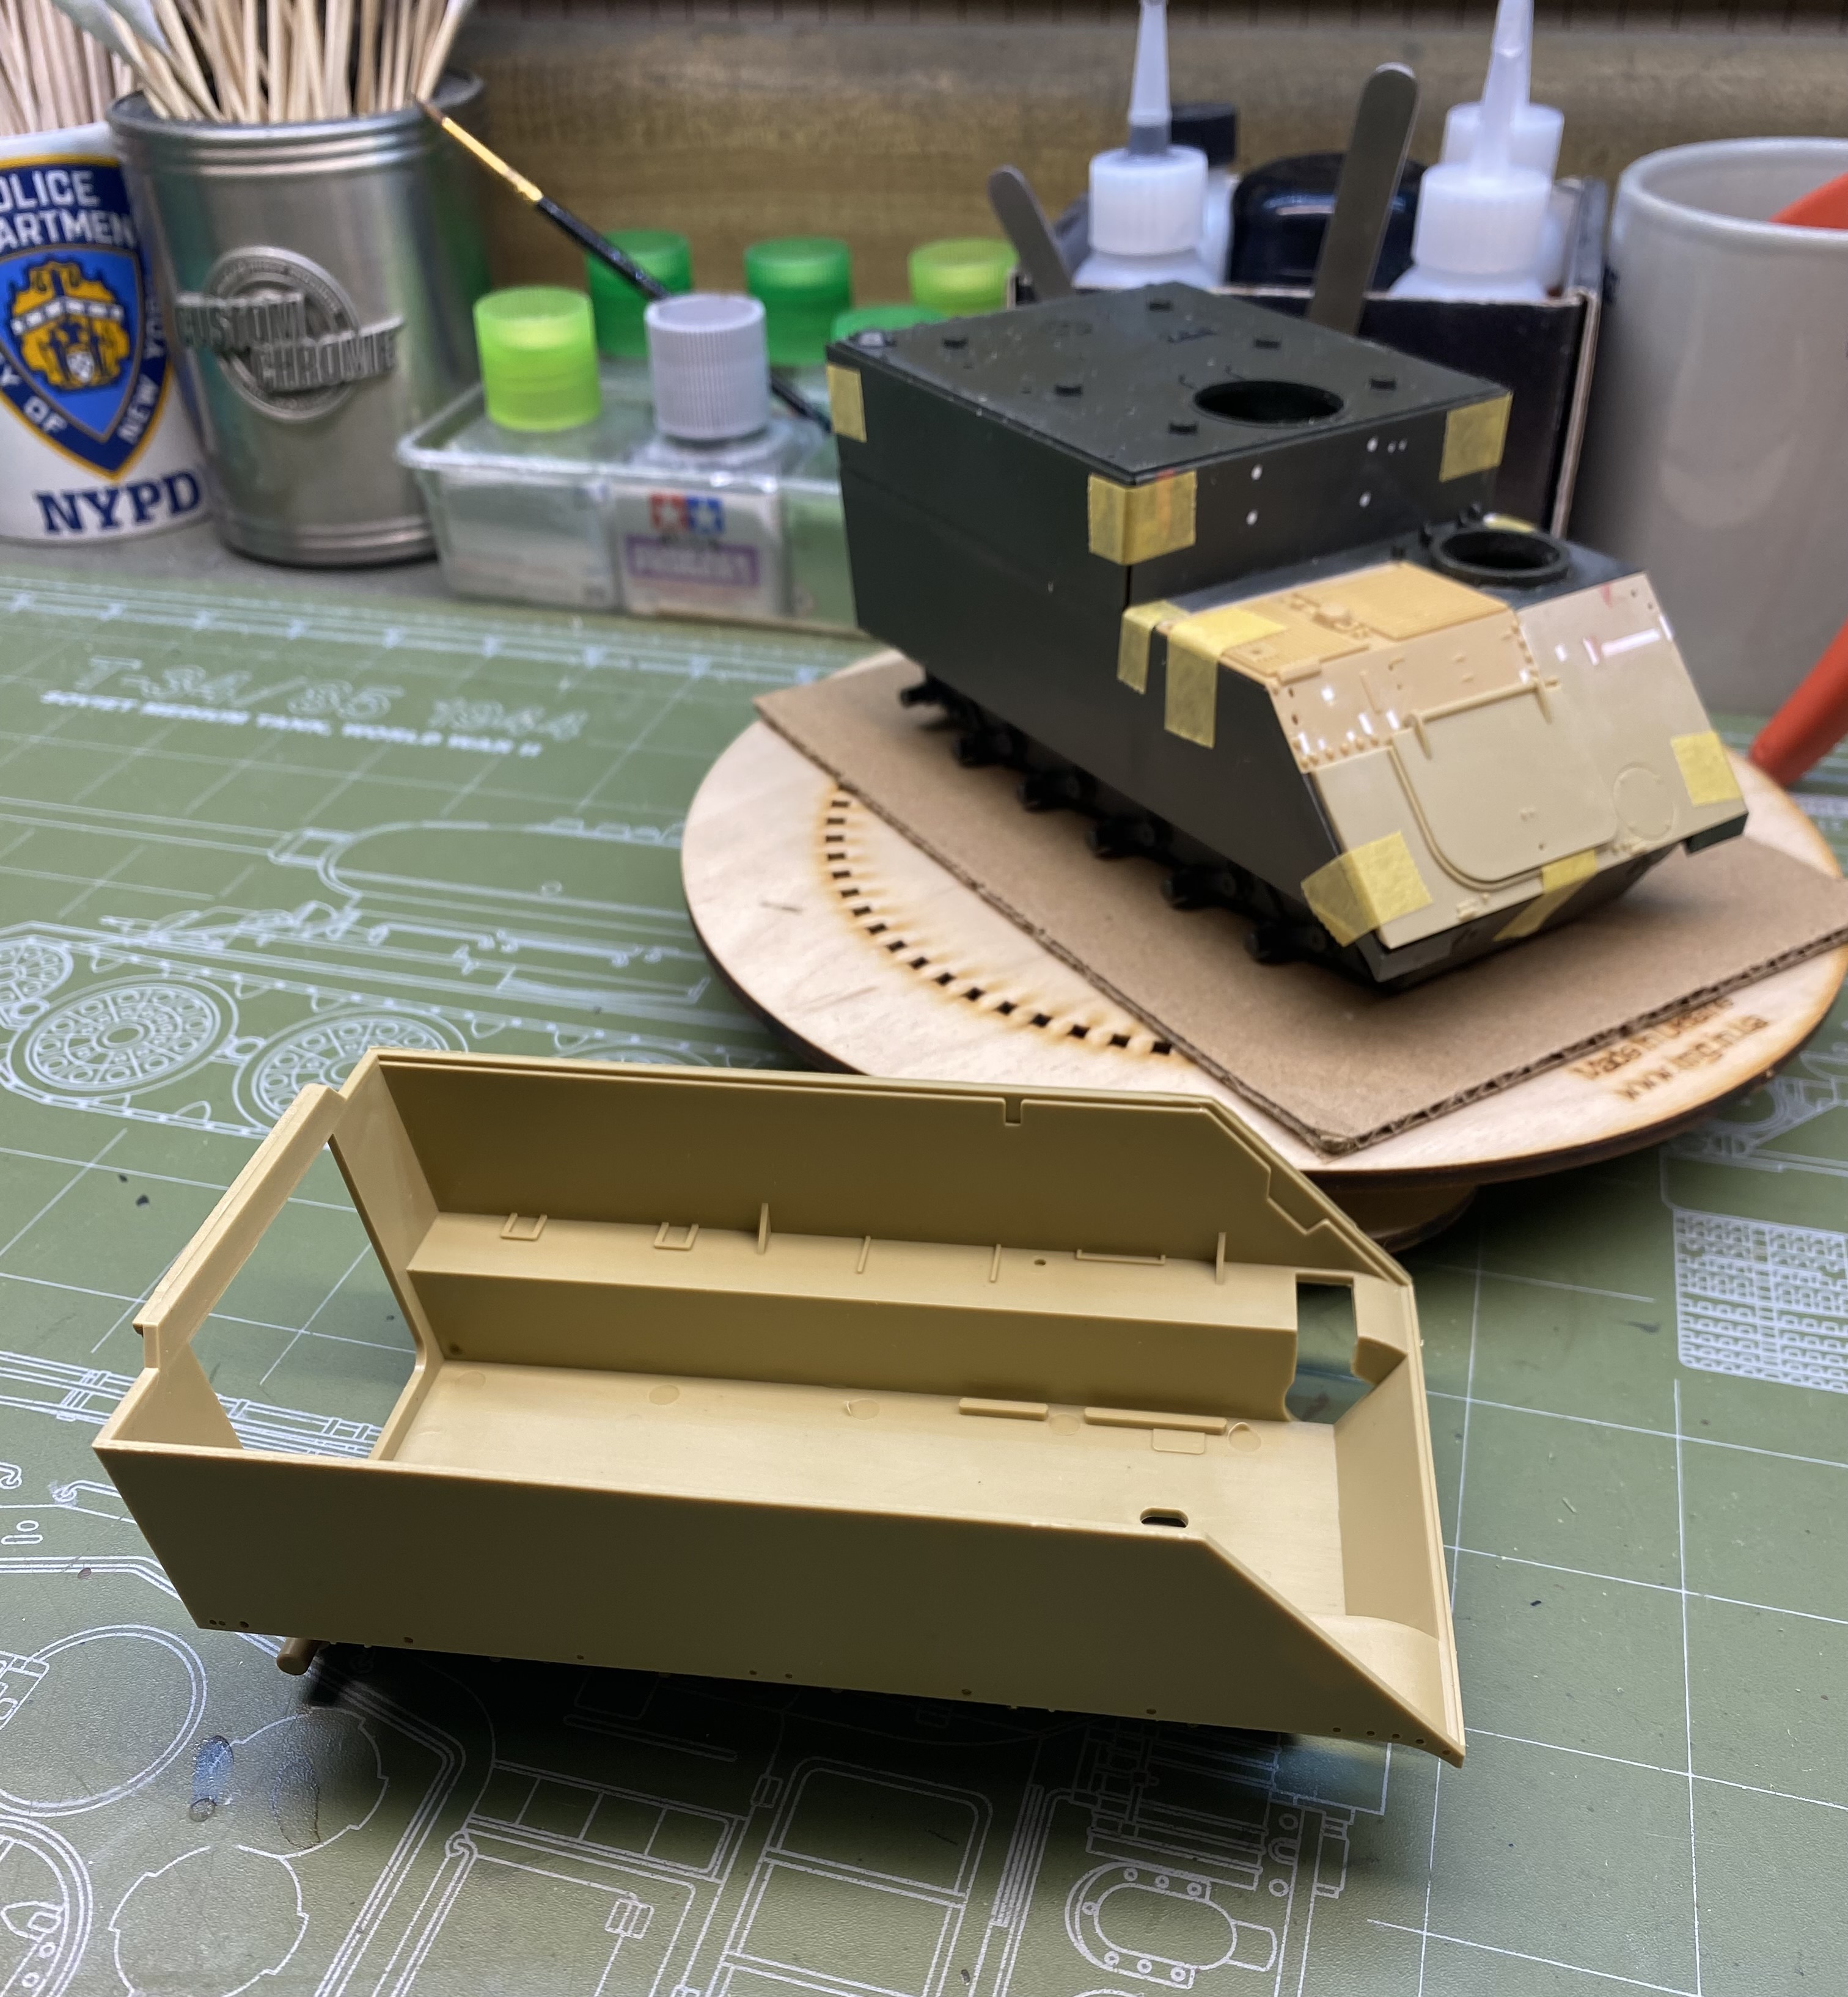
Working up the courage to start hacking on the roof.
18 Likes
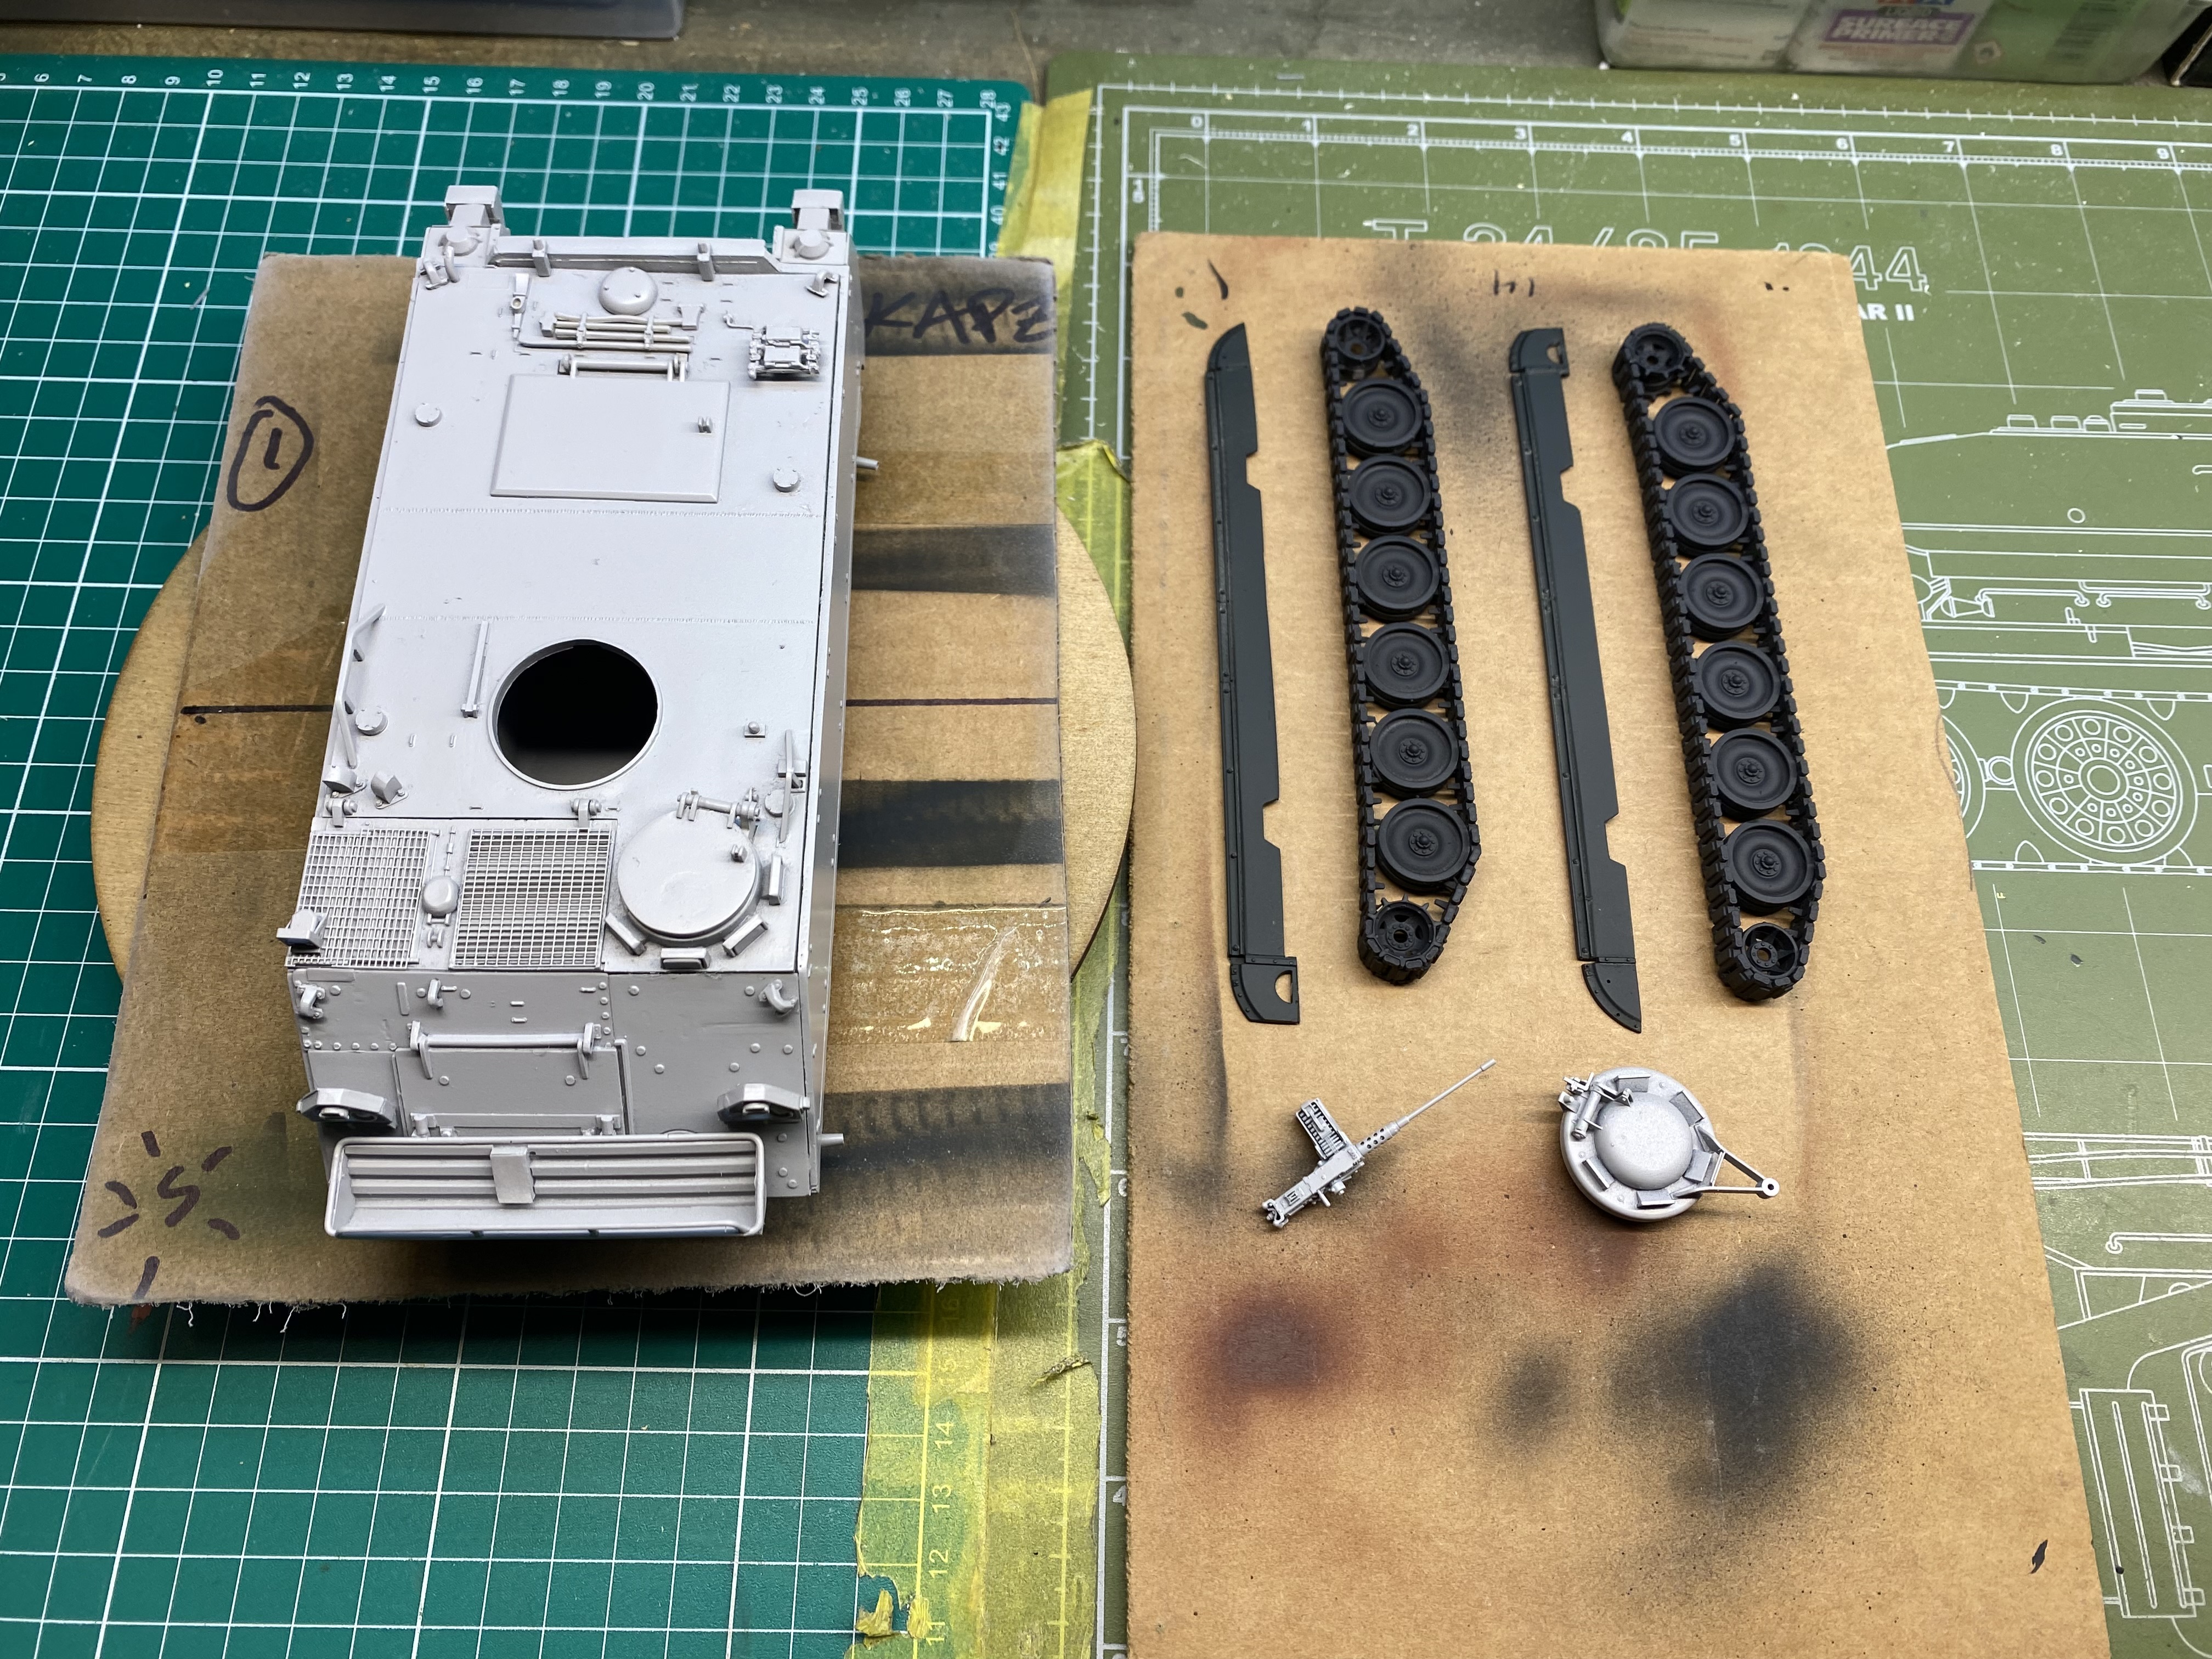
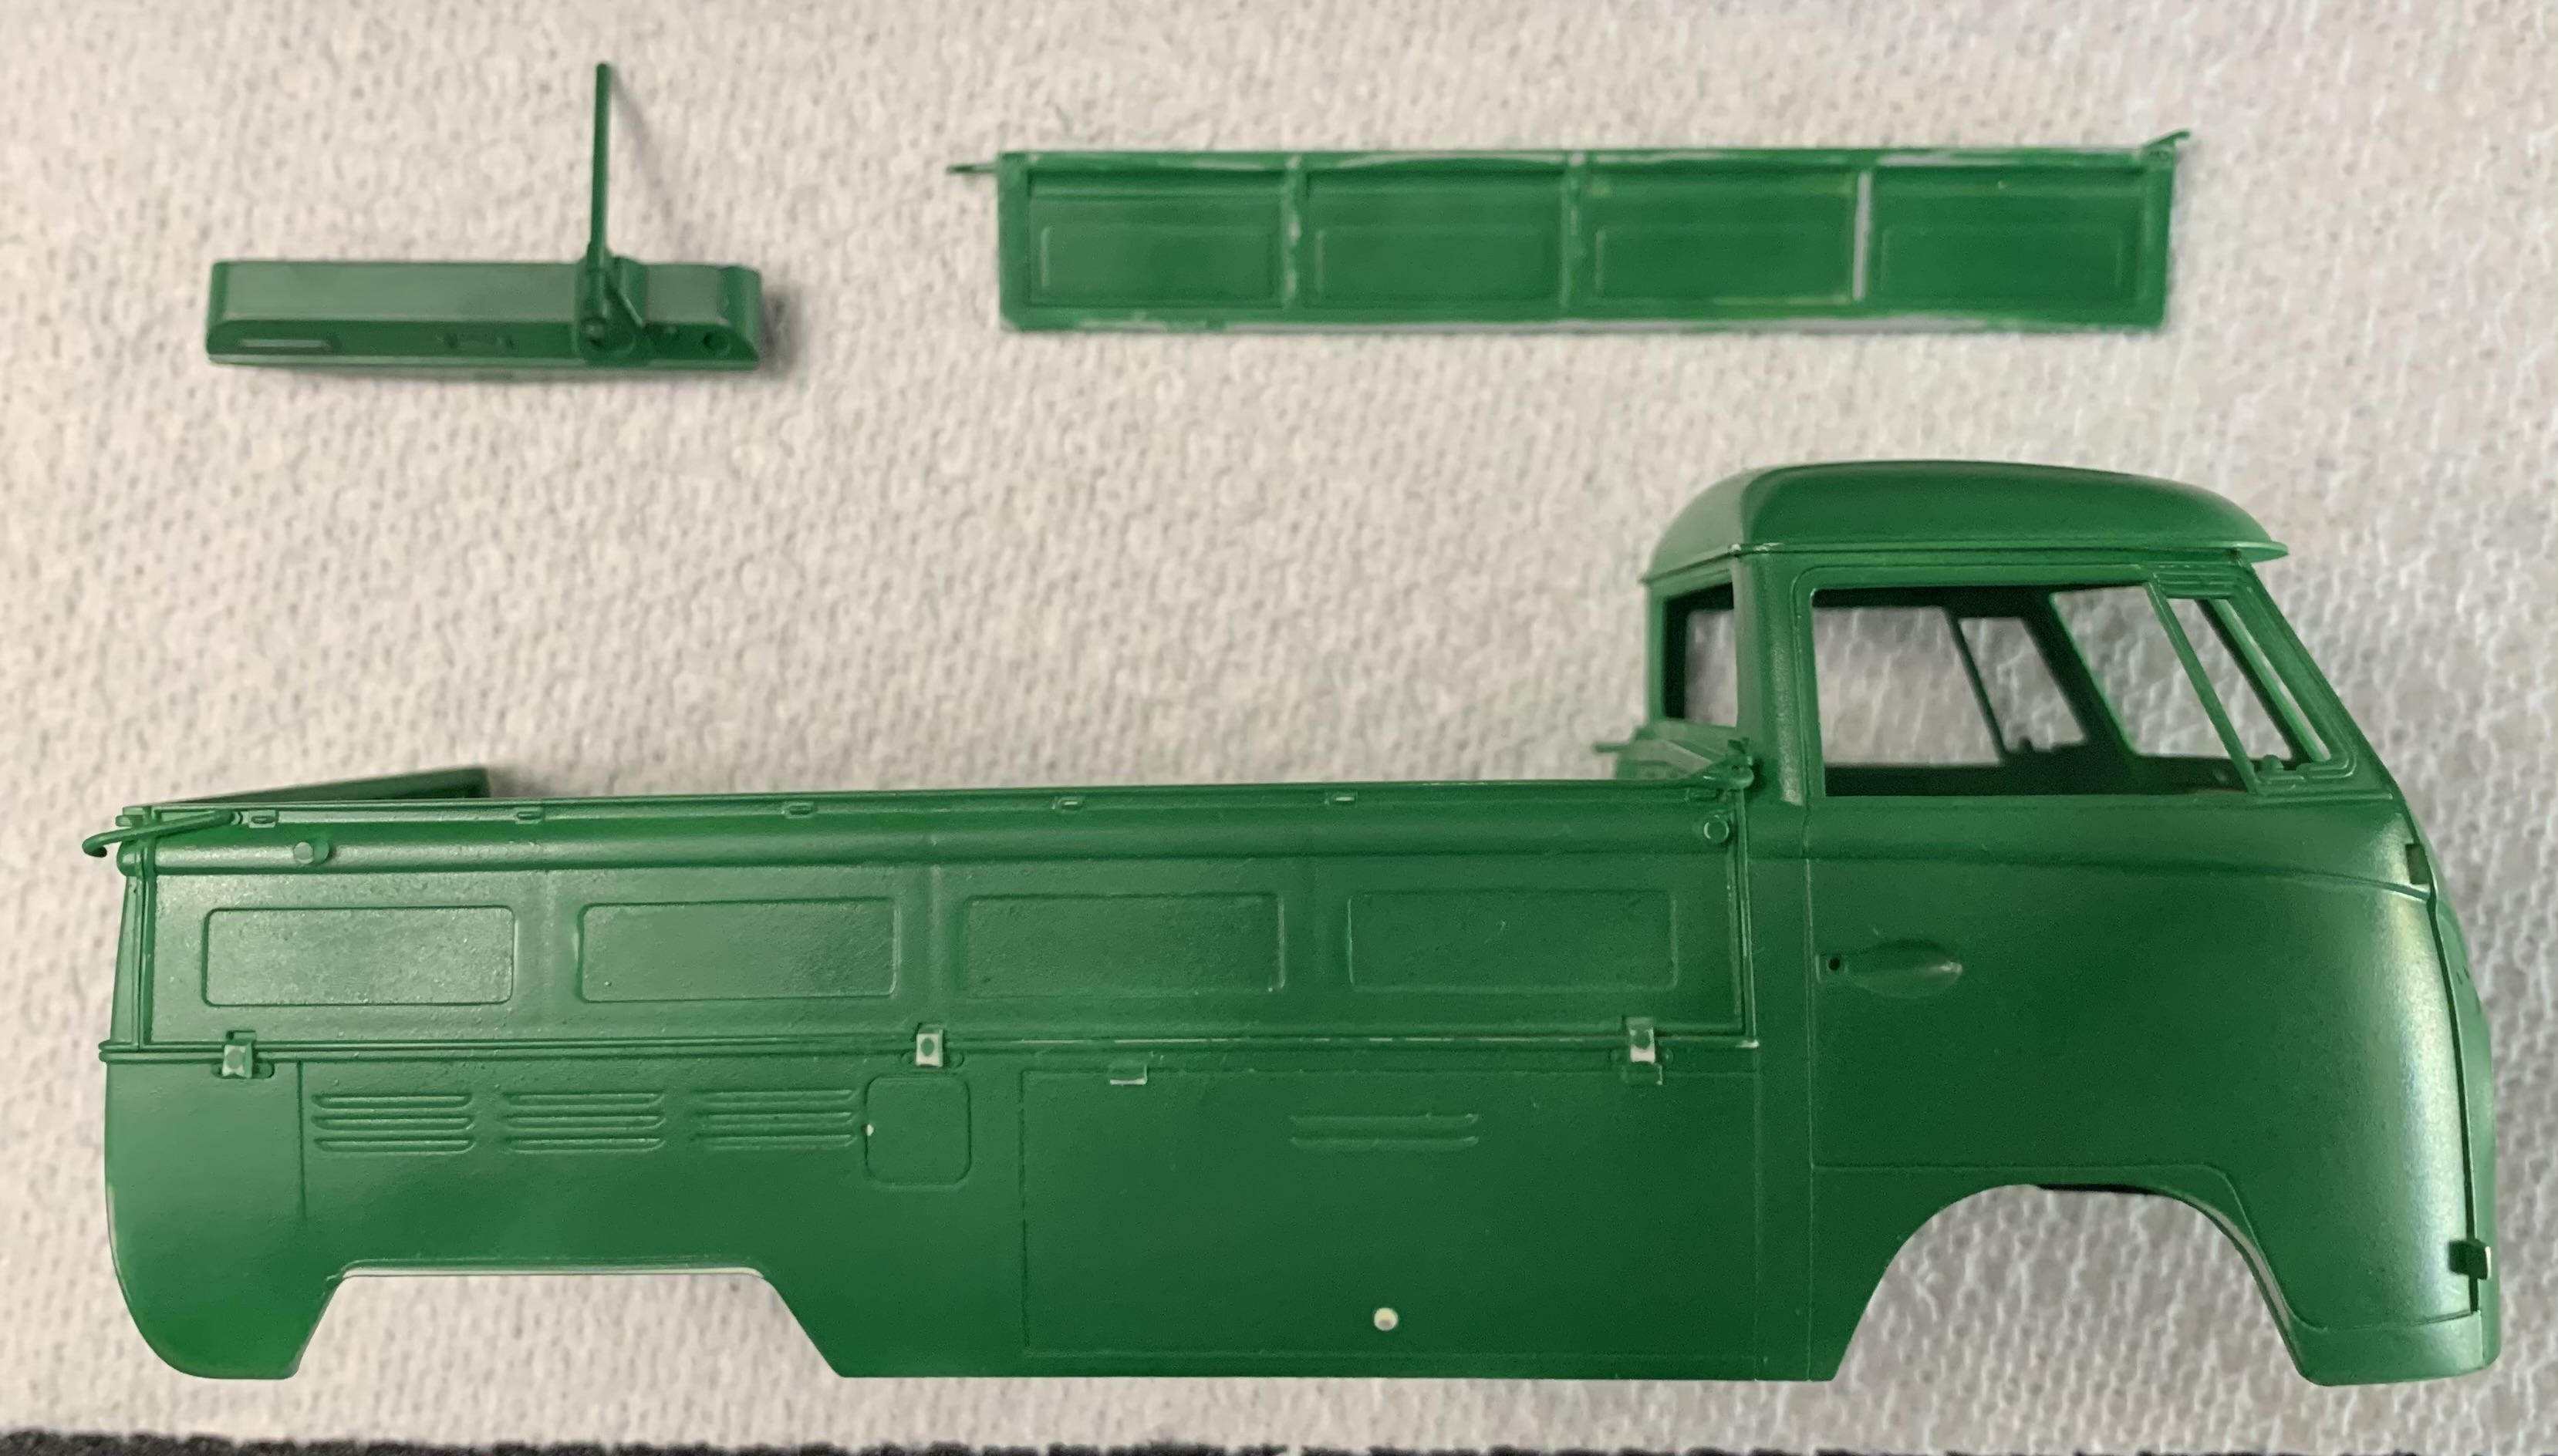
Not exactly today, but over the last few days, I did some painting and building, with pictures taken today:

Above, some paint for both trucks, and:

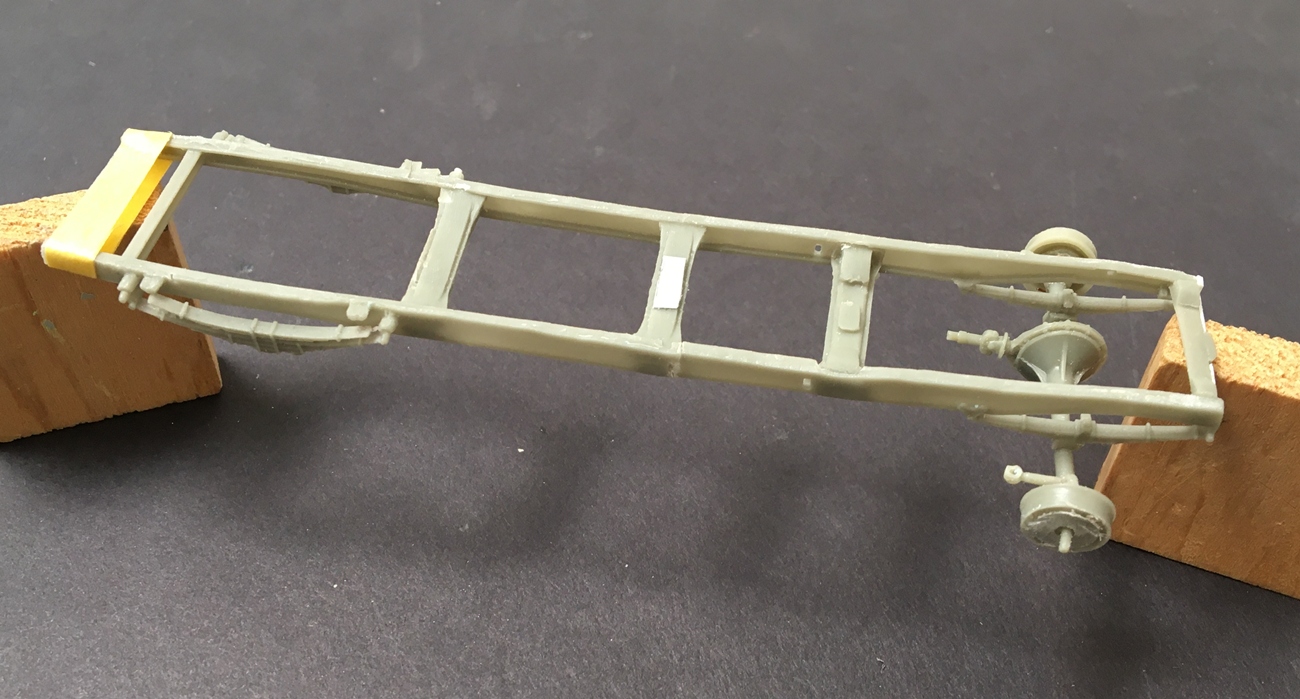
on the lift. So far so good. And made headway on the straddle carrier:
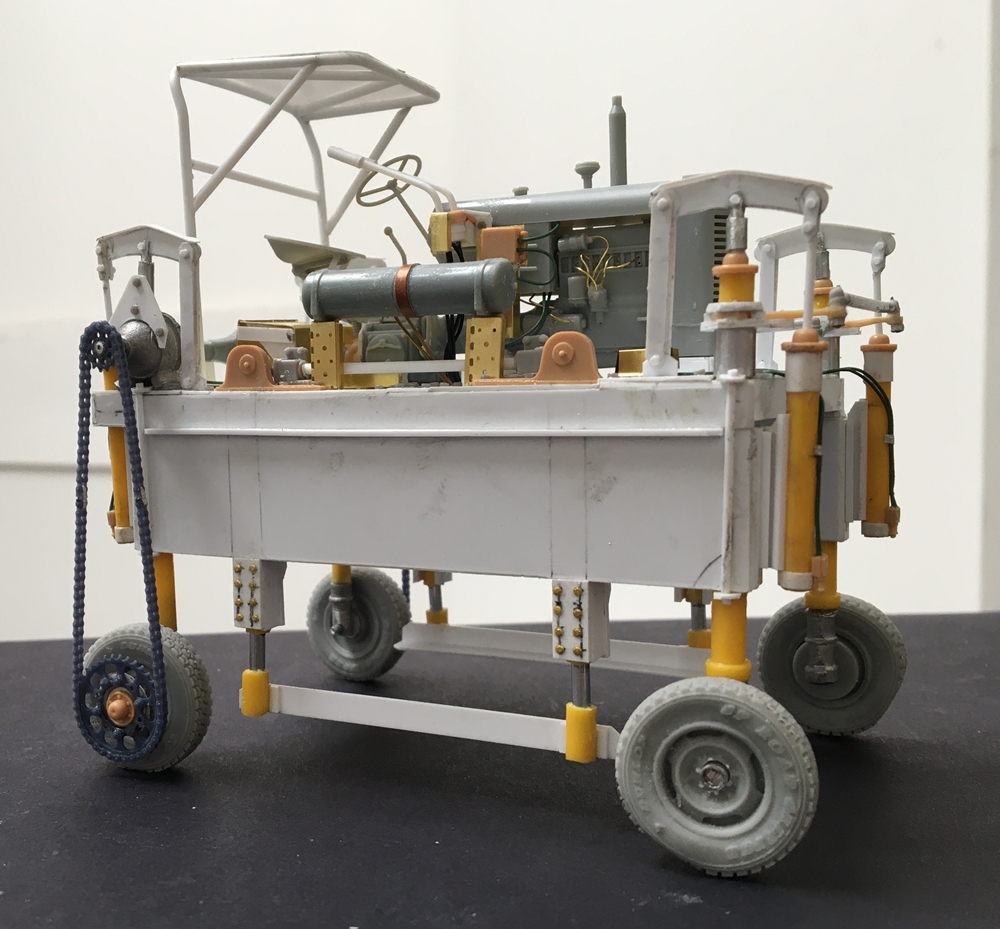
I used 3d printed motorcycle chains for power. As they were not made for this, they had to be cut and adapted, and while a bit slow going, not that bad. The biggest challenge had to do with how to cut a few links out of the chain and glue it back together so it didn’t look awful.
And, started on the Dnepro, 1941 Marmon Harrington Ford. For brevity I’ll say this has not “fallen together like a Tamiya kit” and leave it at that!
This has taken a lot more work than it might appear - so, on we go!
Cheers
Nick
19 Likes
Did some wet sanding…and in some cases too much sanding on the body.
Tomorrow I will try again to repaint and hopefully it will lay down better than before.
10 Likes
I do like the look of a Churchill tank, I have 1:72 Airfix built a few years back. I was this morning making space for two old wooden carpenter’s cabinets that I was given and they fit in perfectly obviously it was meant to be. You have a nice looking set up by the way.
2 Likes