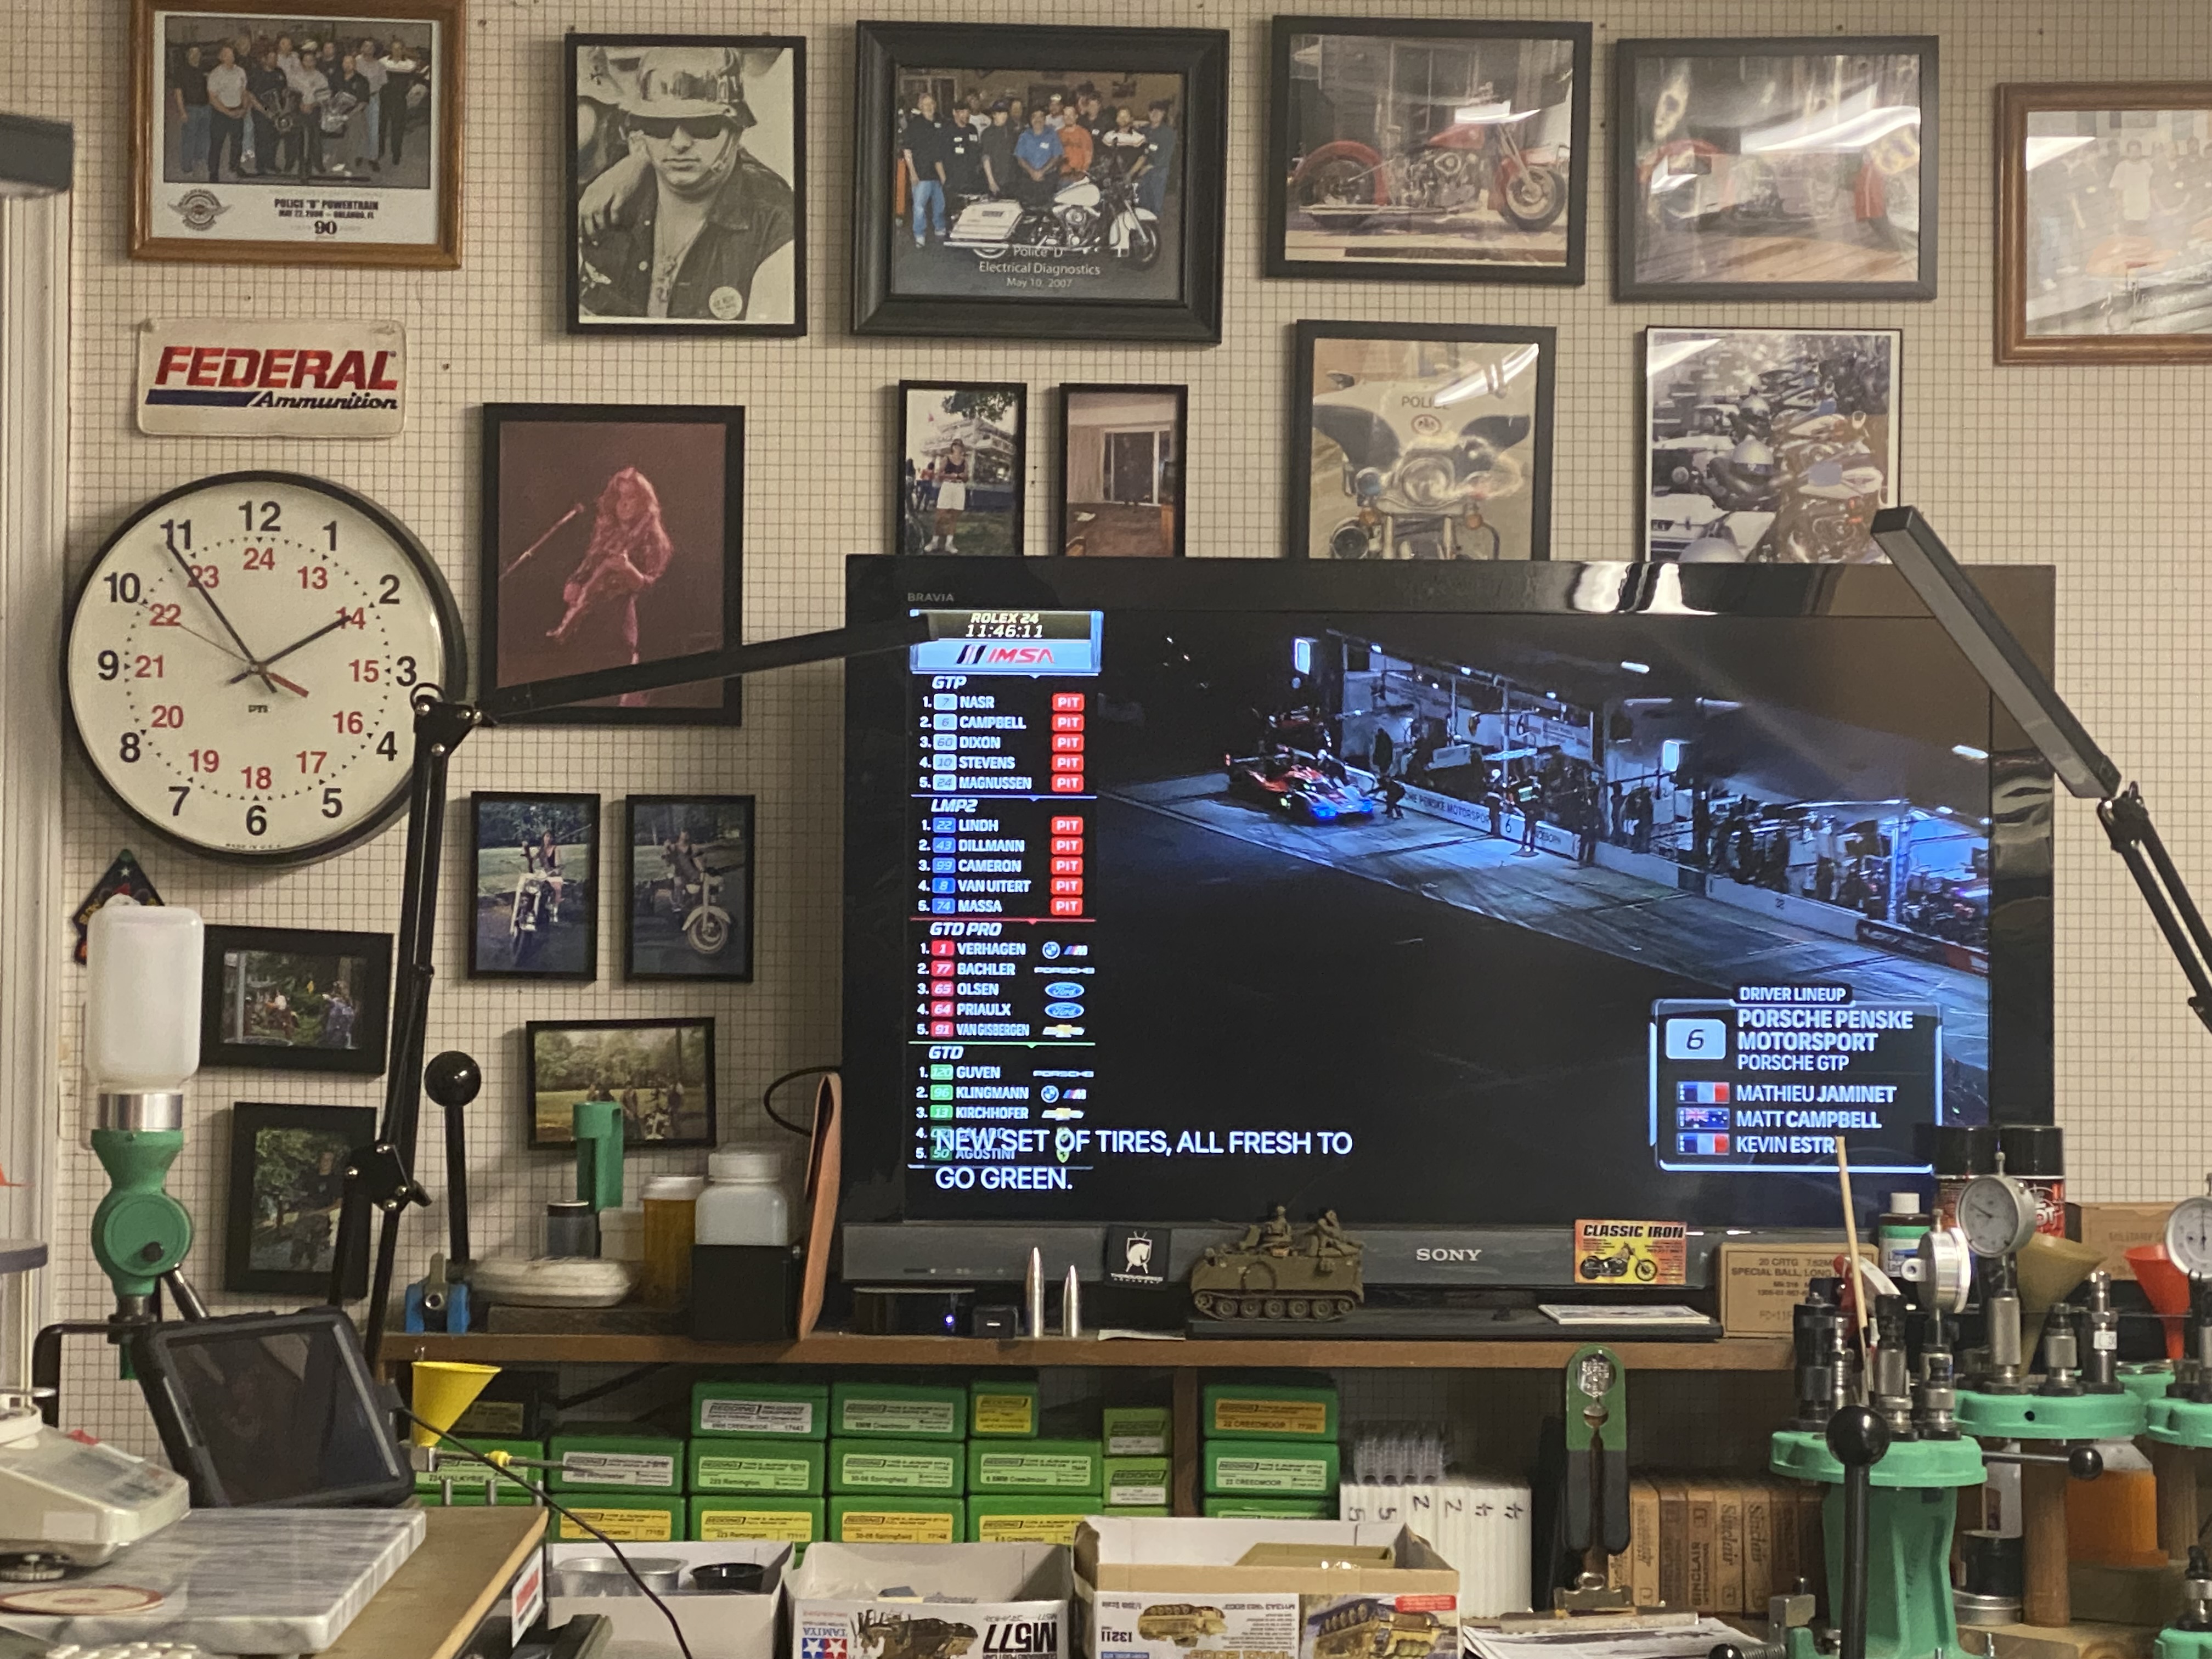
So it’s 0210 Eastern Standard Time in the bunker and I’m watching the Rolex 24 Hour race from Daytona Beach…were it’s currently 45F, about 20 degrees warmer that it is here in Northern Virginia.
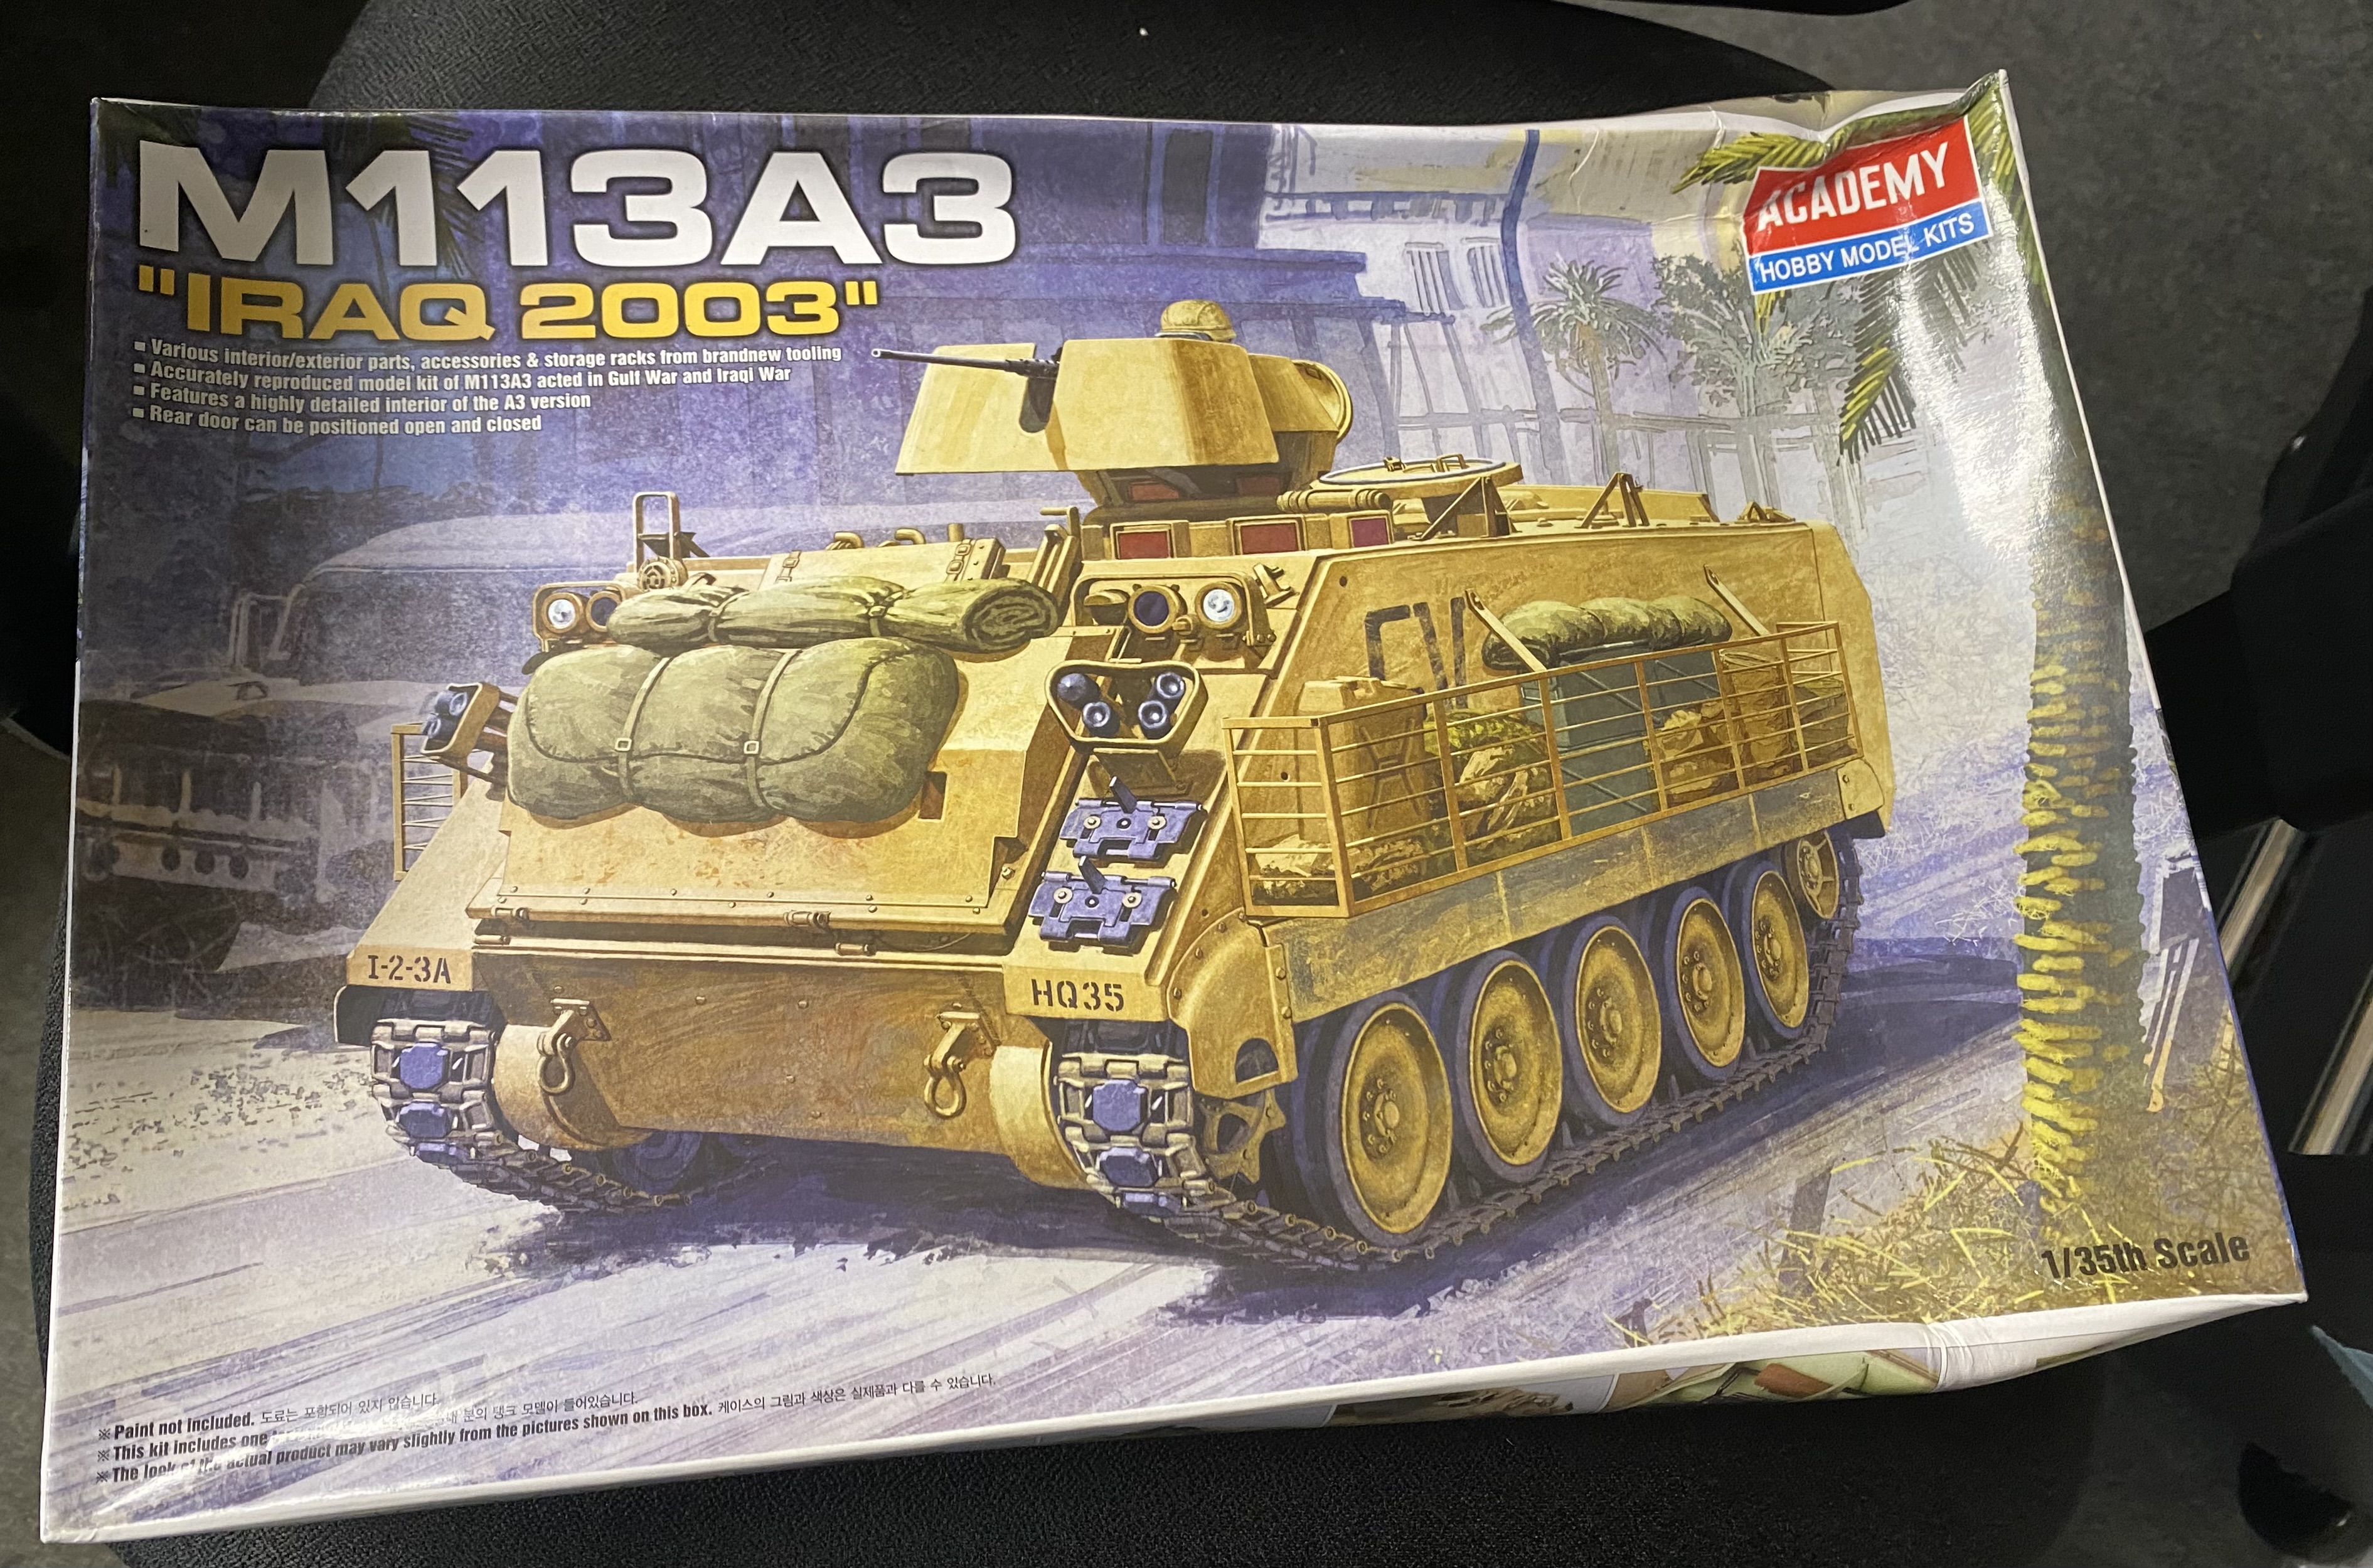
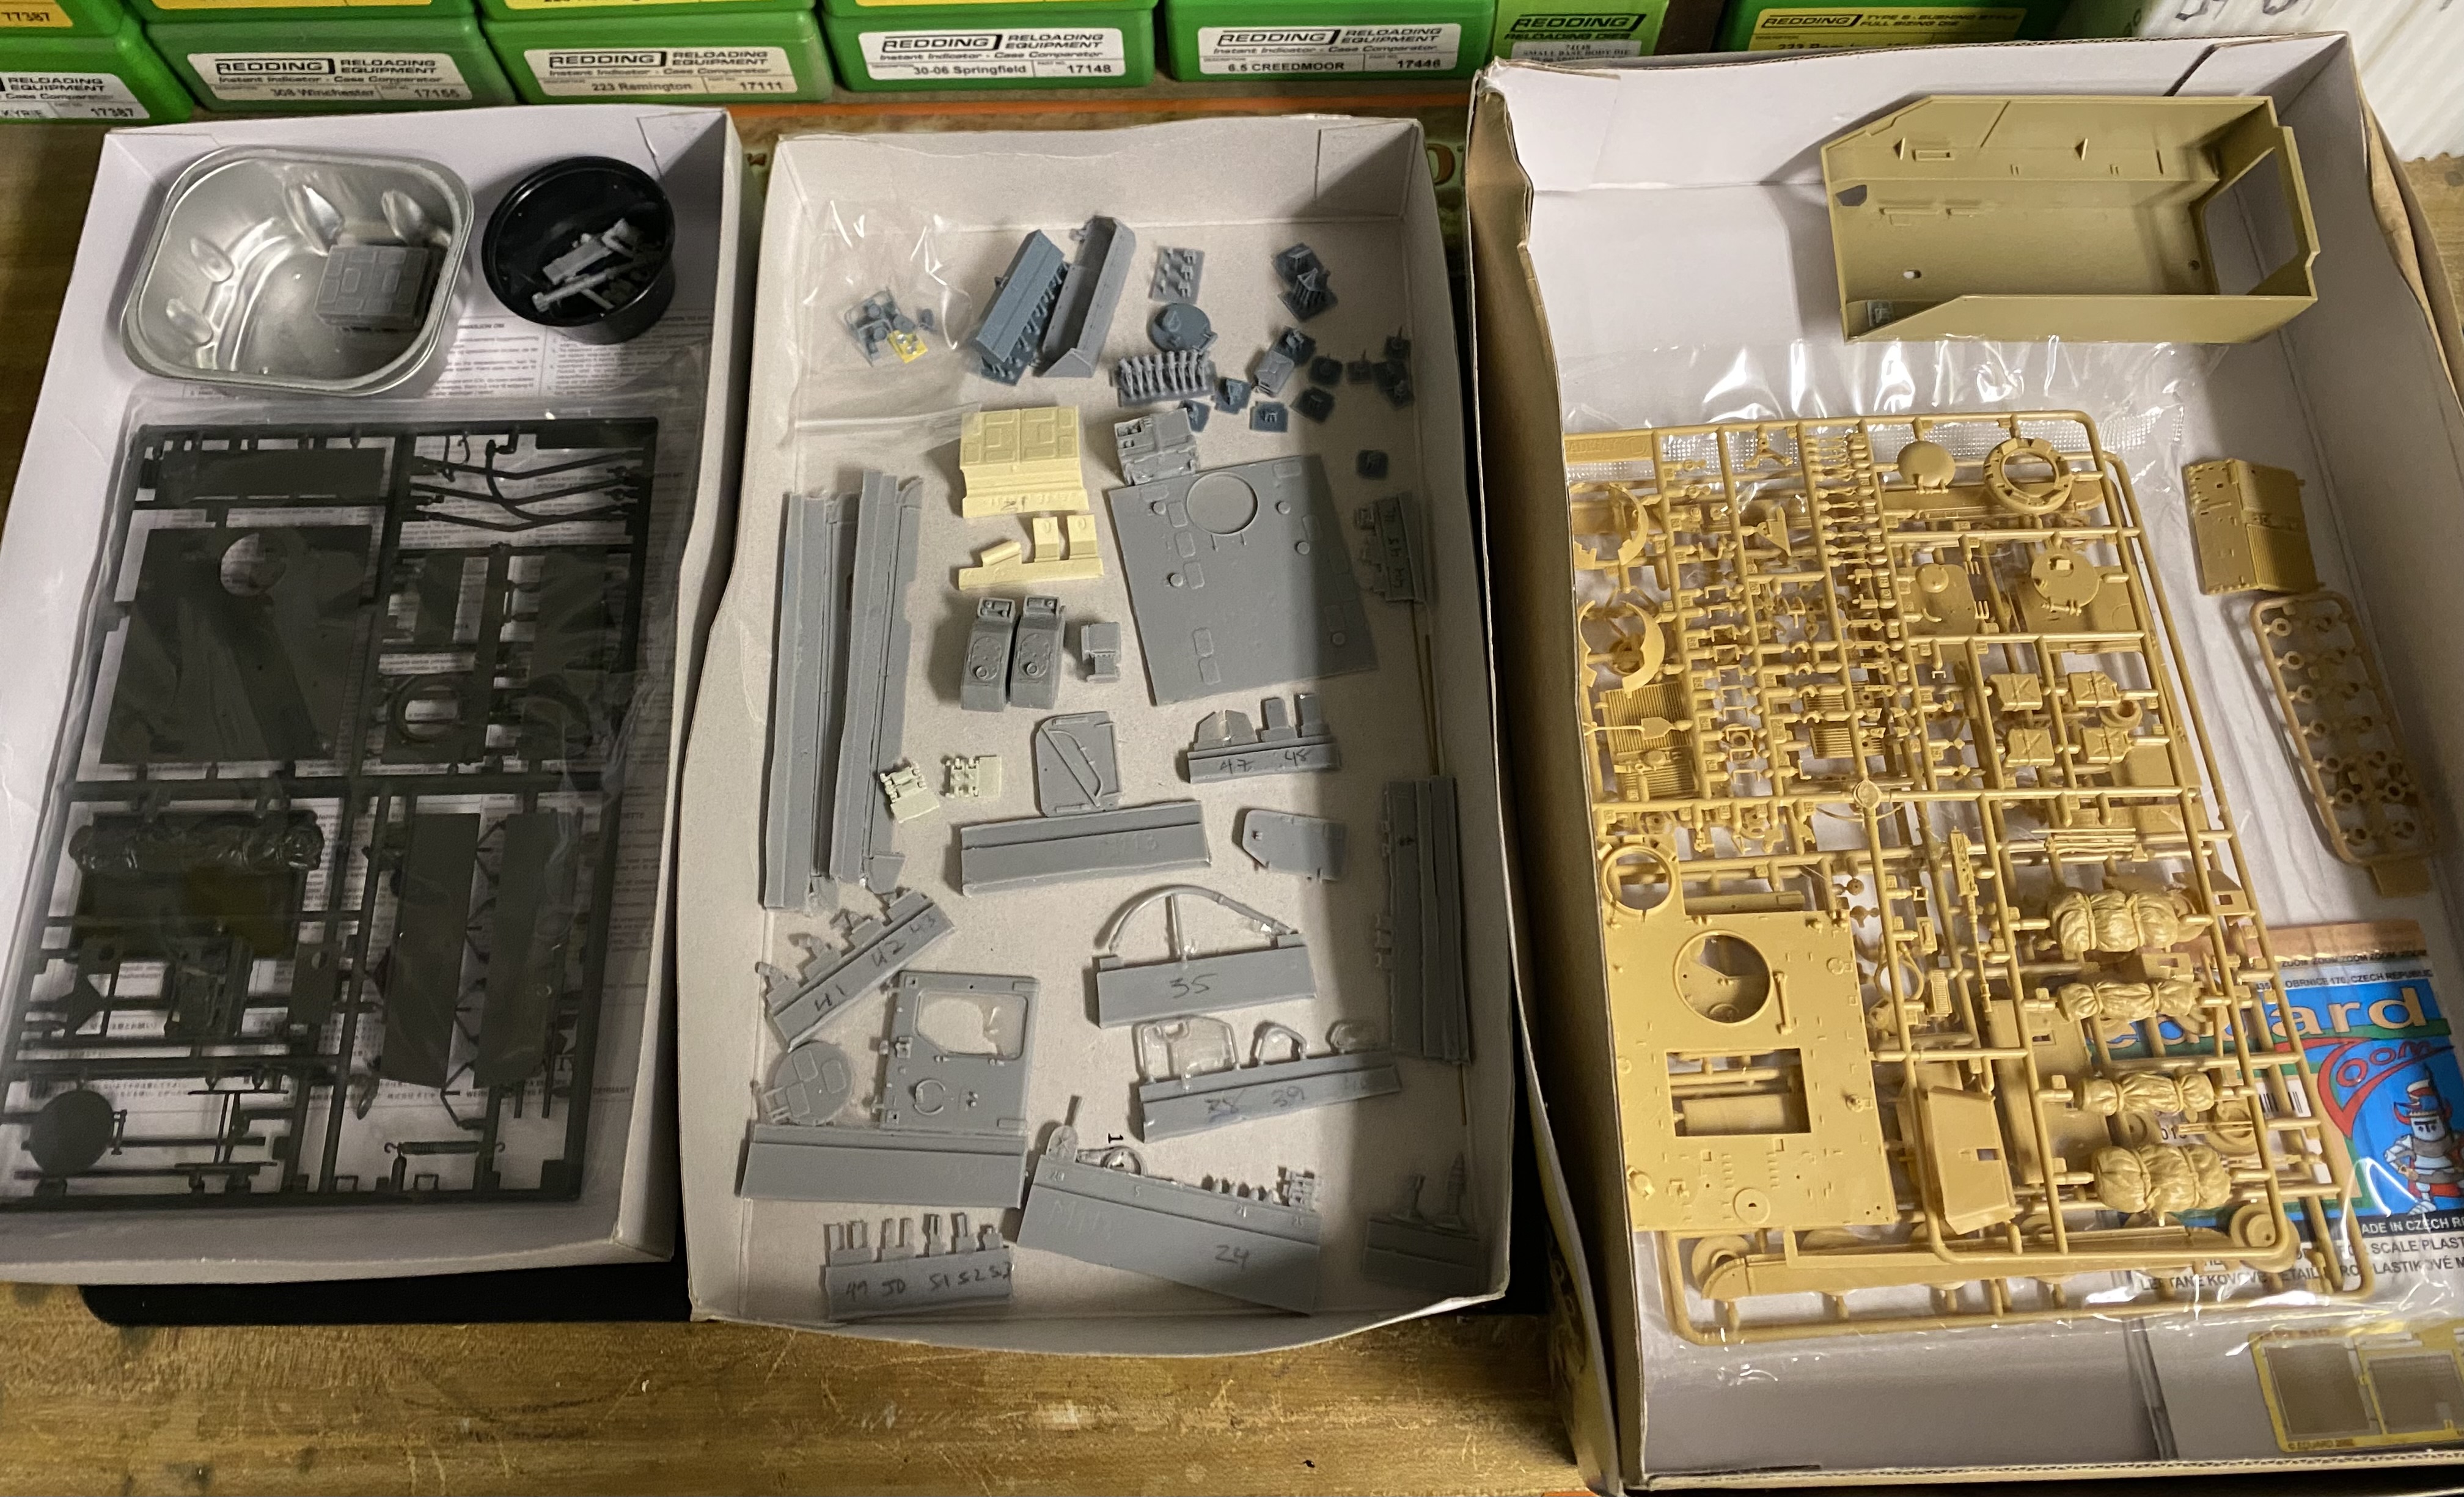
Anyhow, since I’m all hopped up on coffee and Cheerwine, I figured I’d inventory my dreadful Elite Modelblau conversion. The two donor kits are a Tamiya M577 and an eBay sourced sealed smashed box (but otherwise okay) Academy M113 A3.
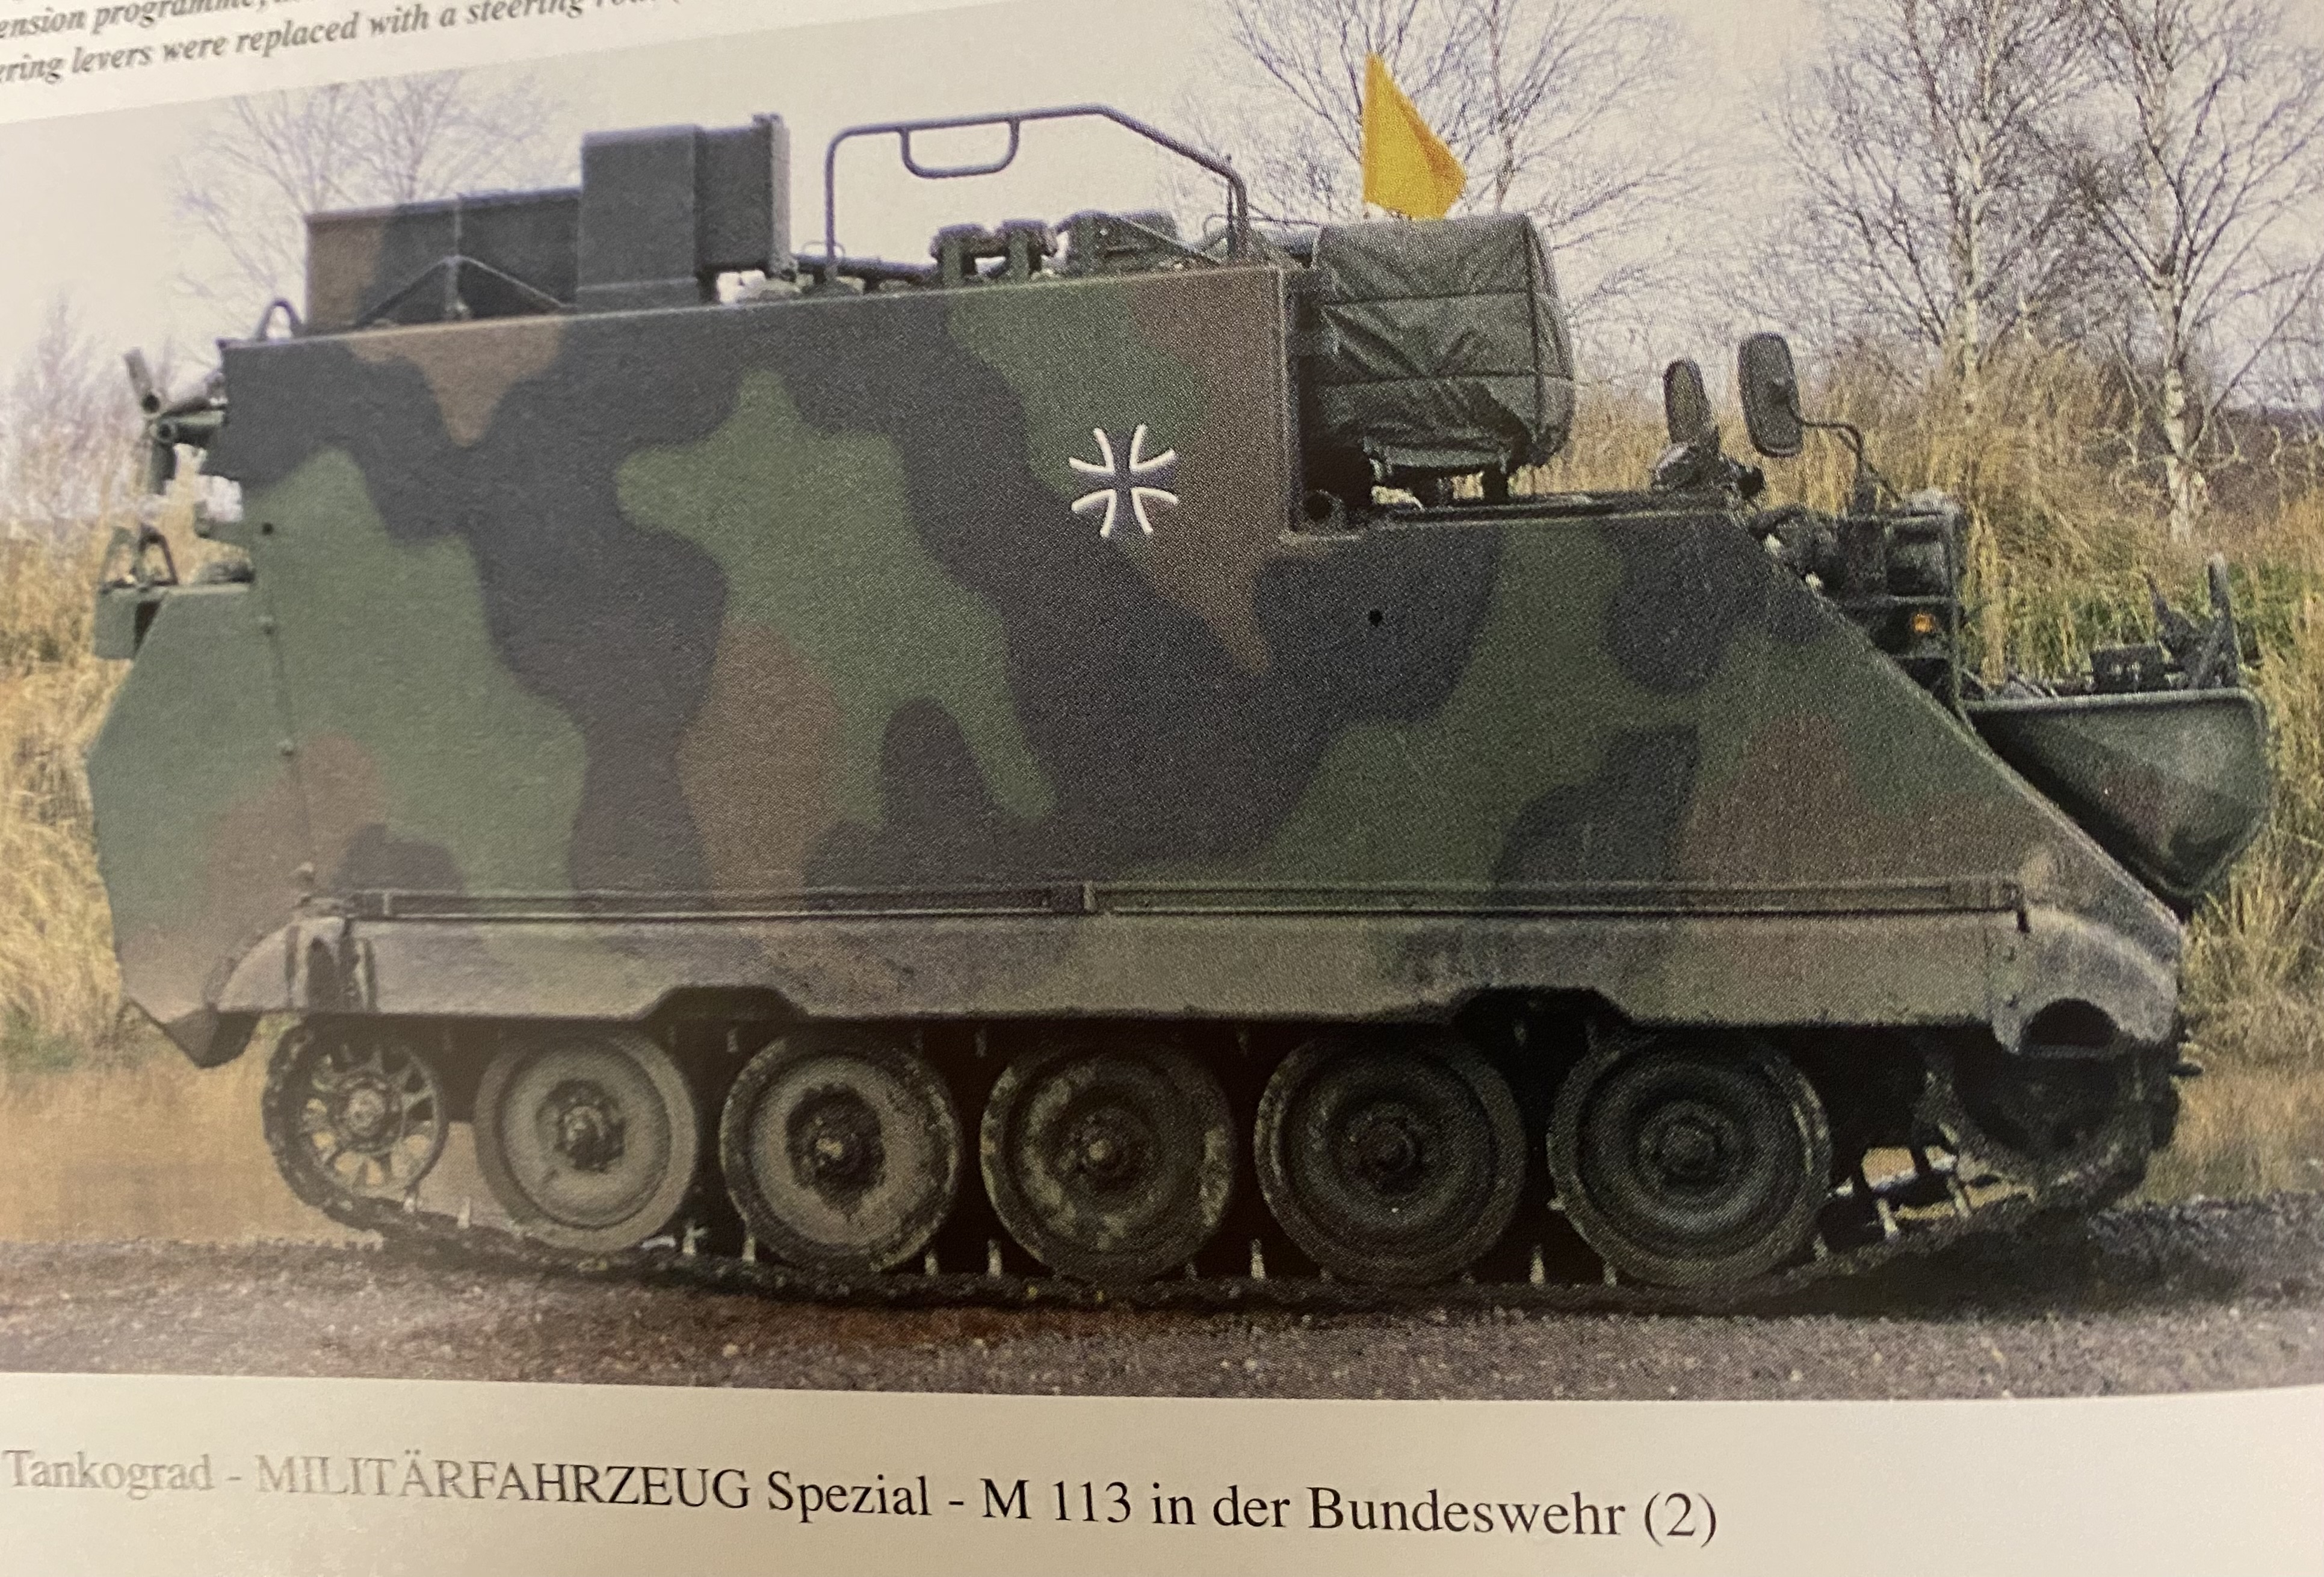
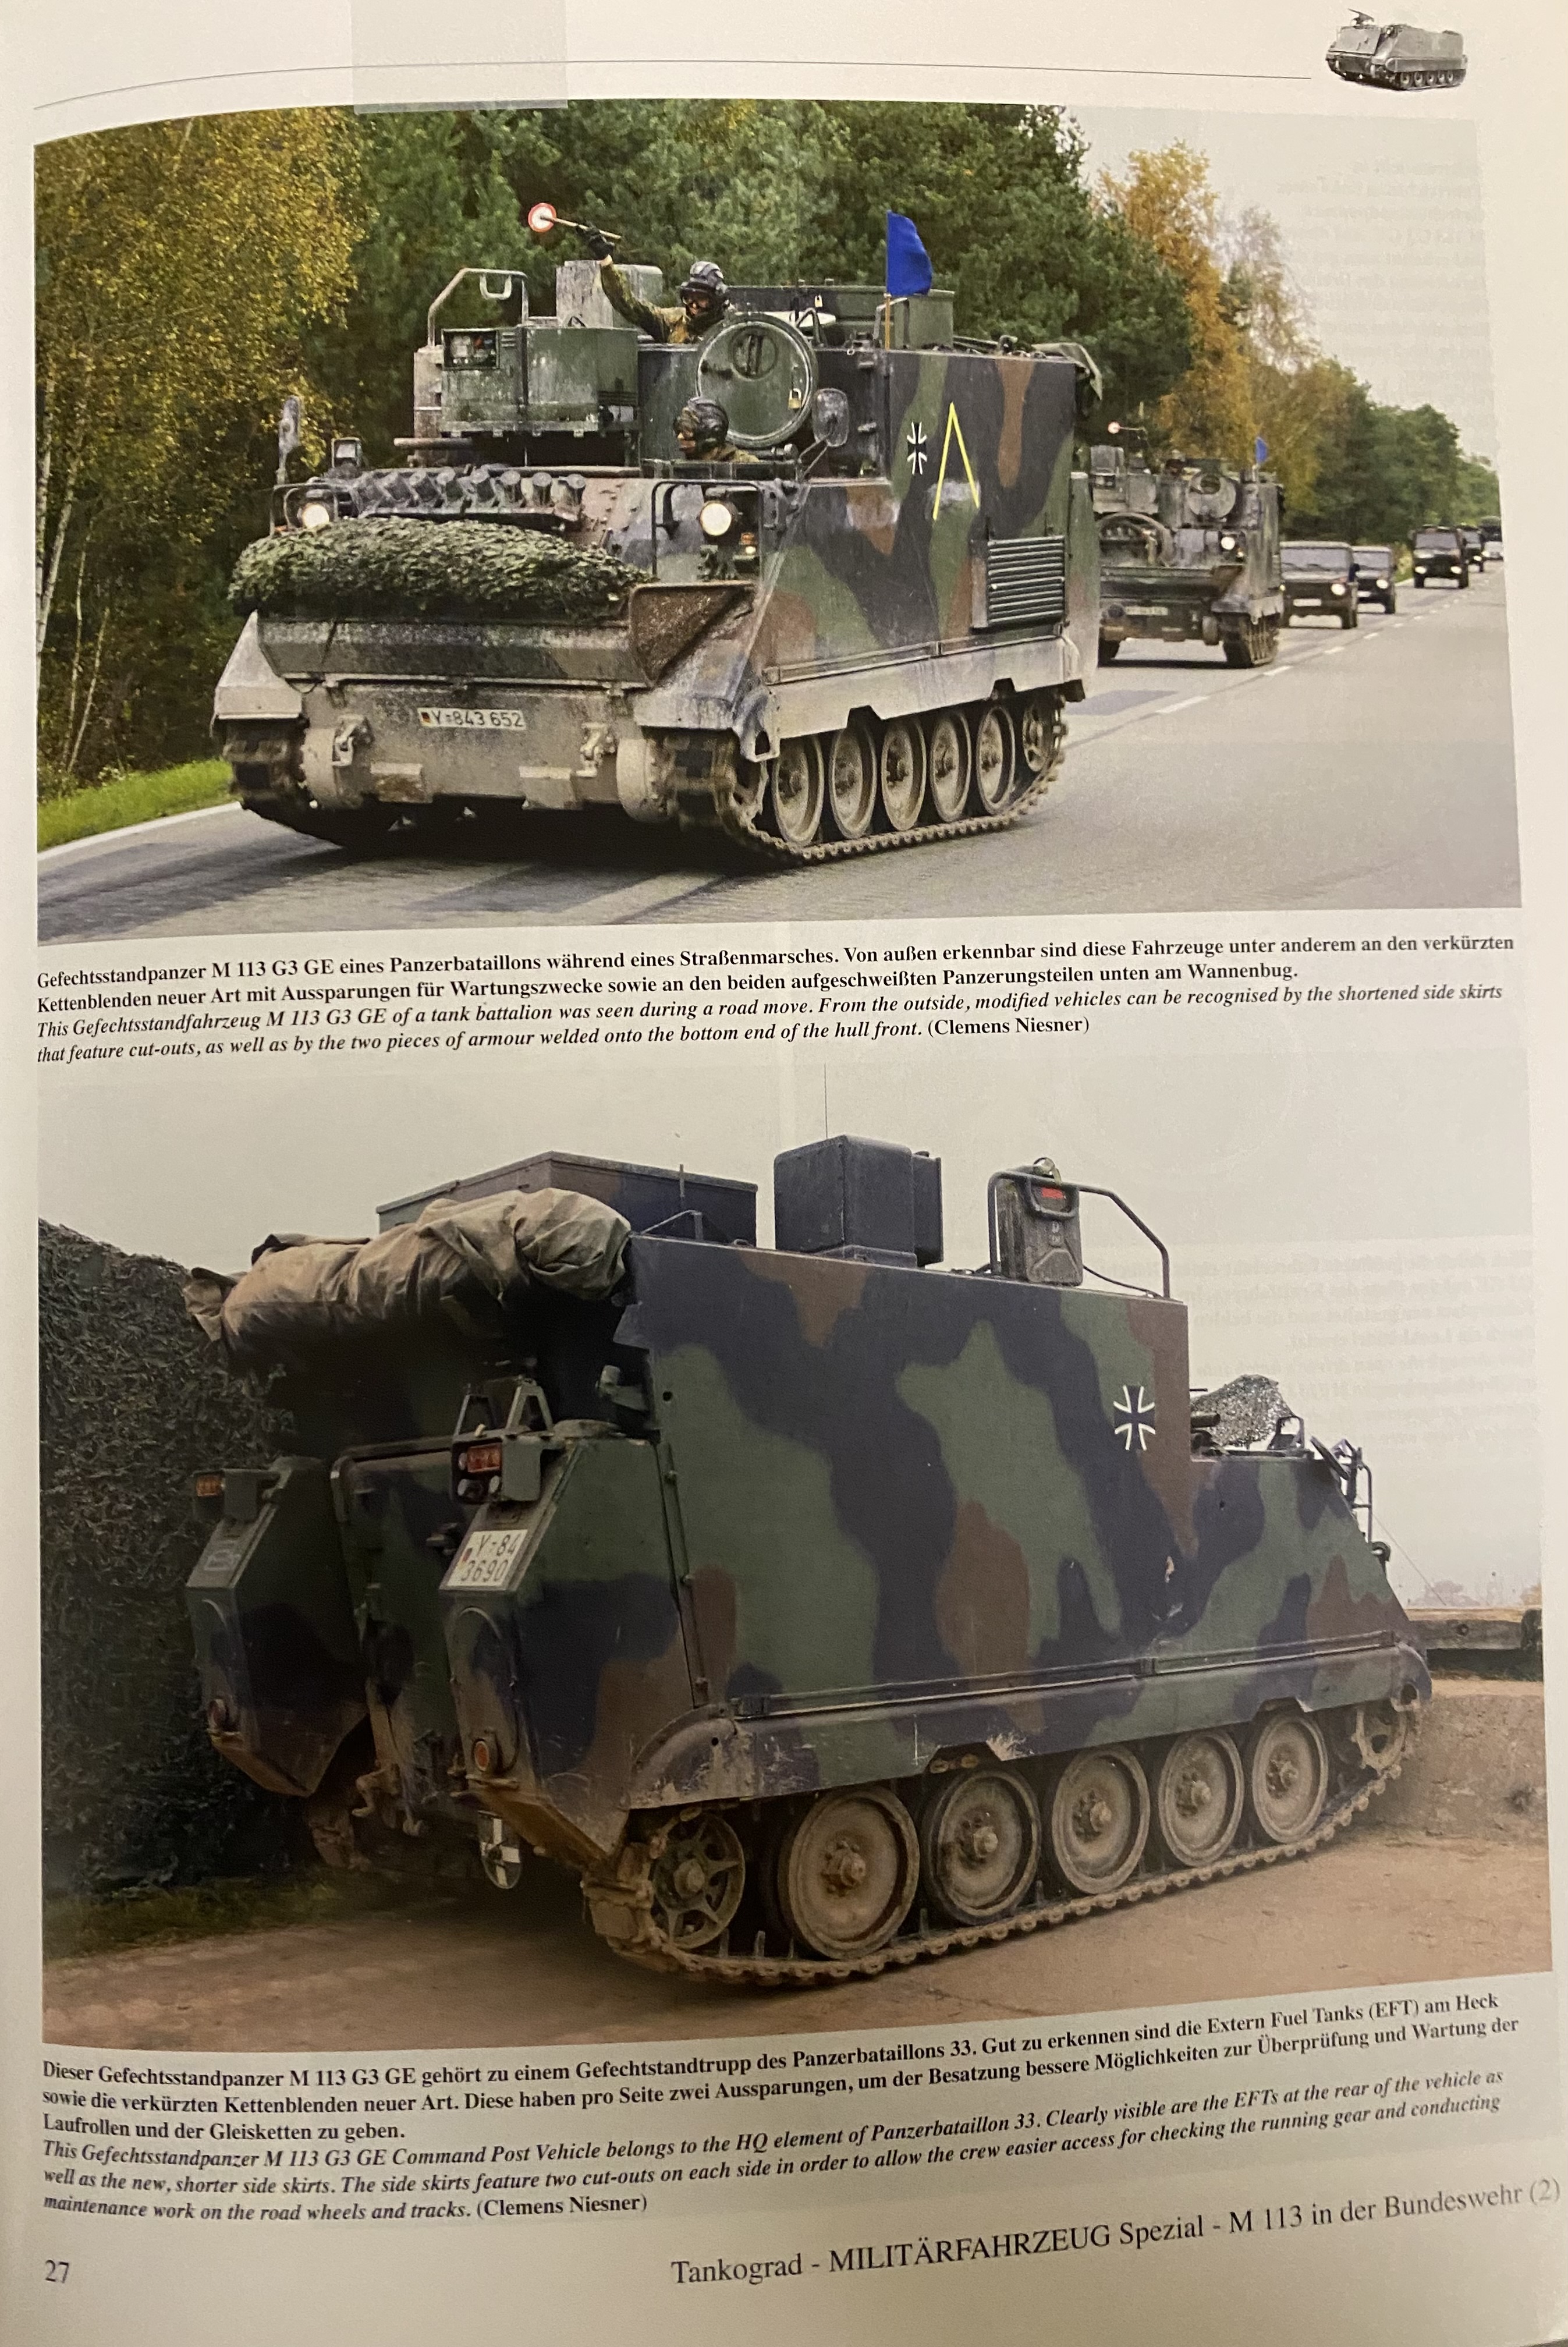
M113s that have been through this program can be recognized by the front lower hull reinforcements (for an improved engine, transmission and German road legal braking system), external fuel tanks and shortened and cut out side skirts (for improved floatation and easier track maintenance). I just know you’ve been absolutely dying to find all of this out.
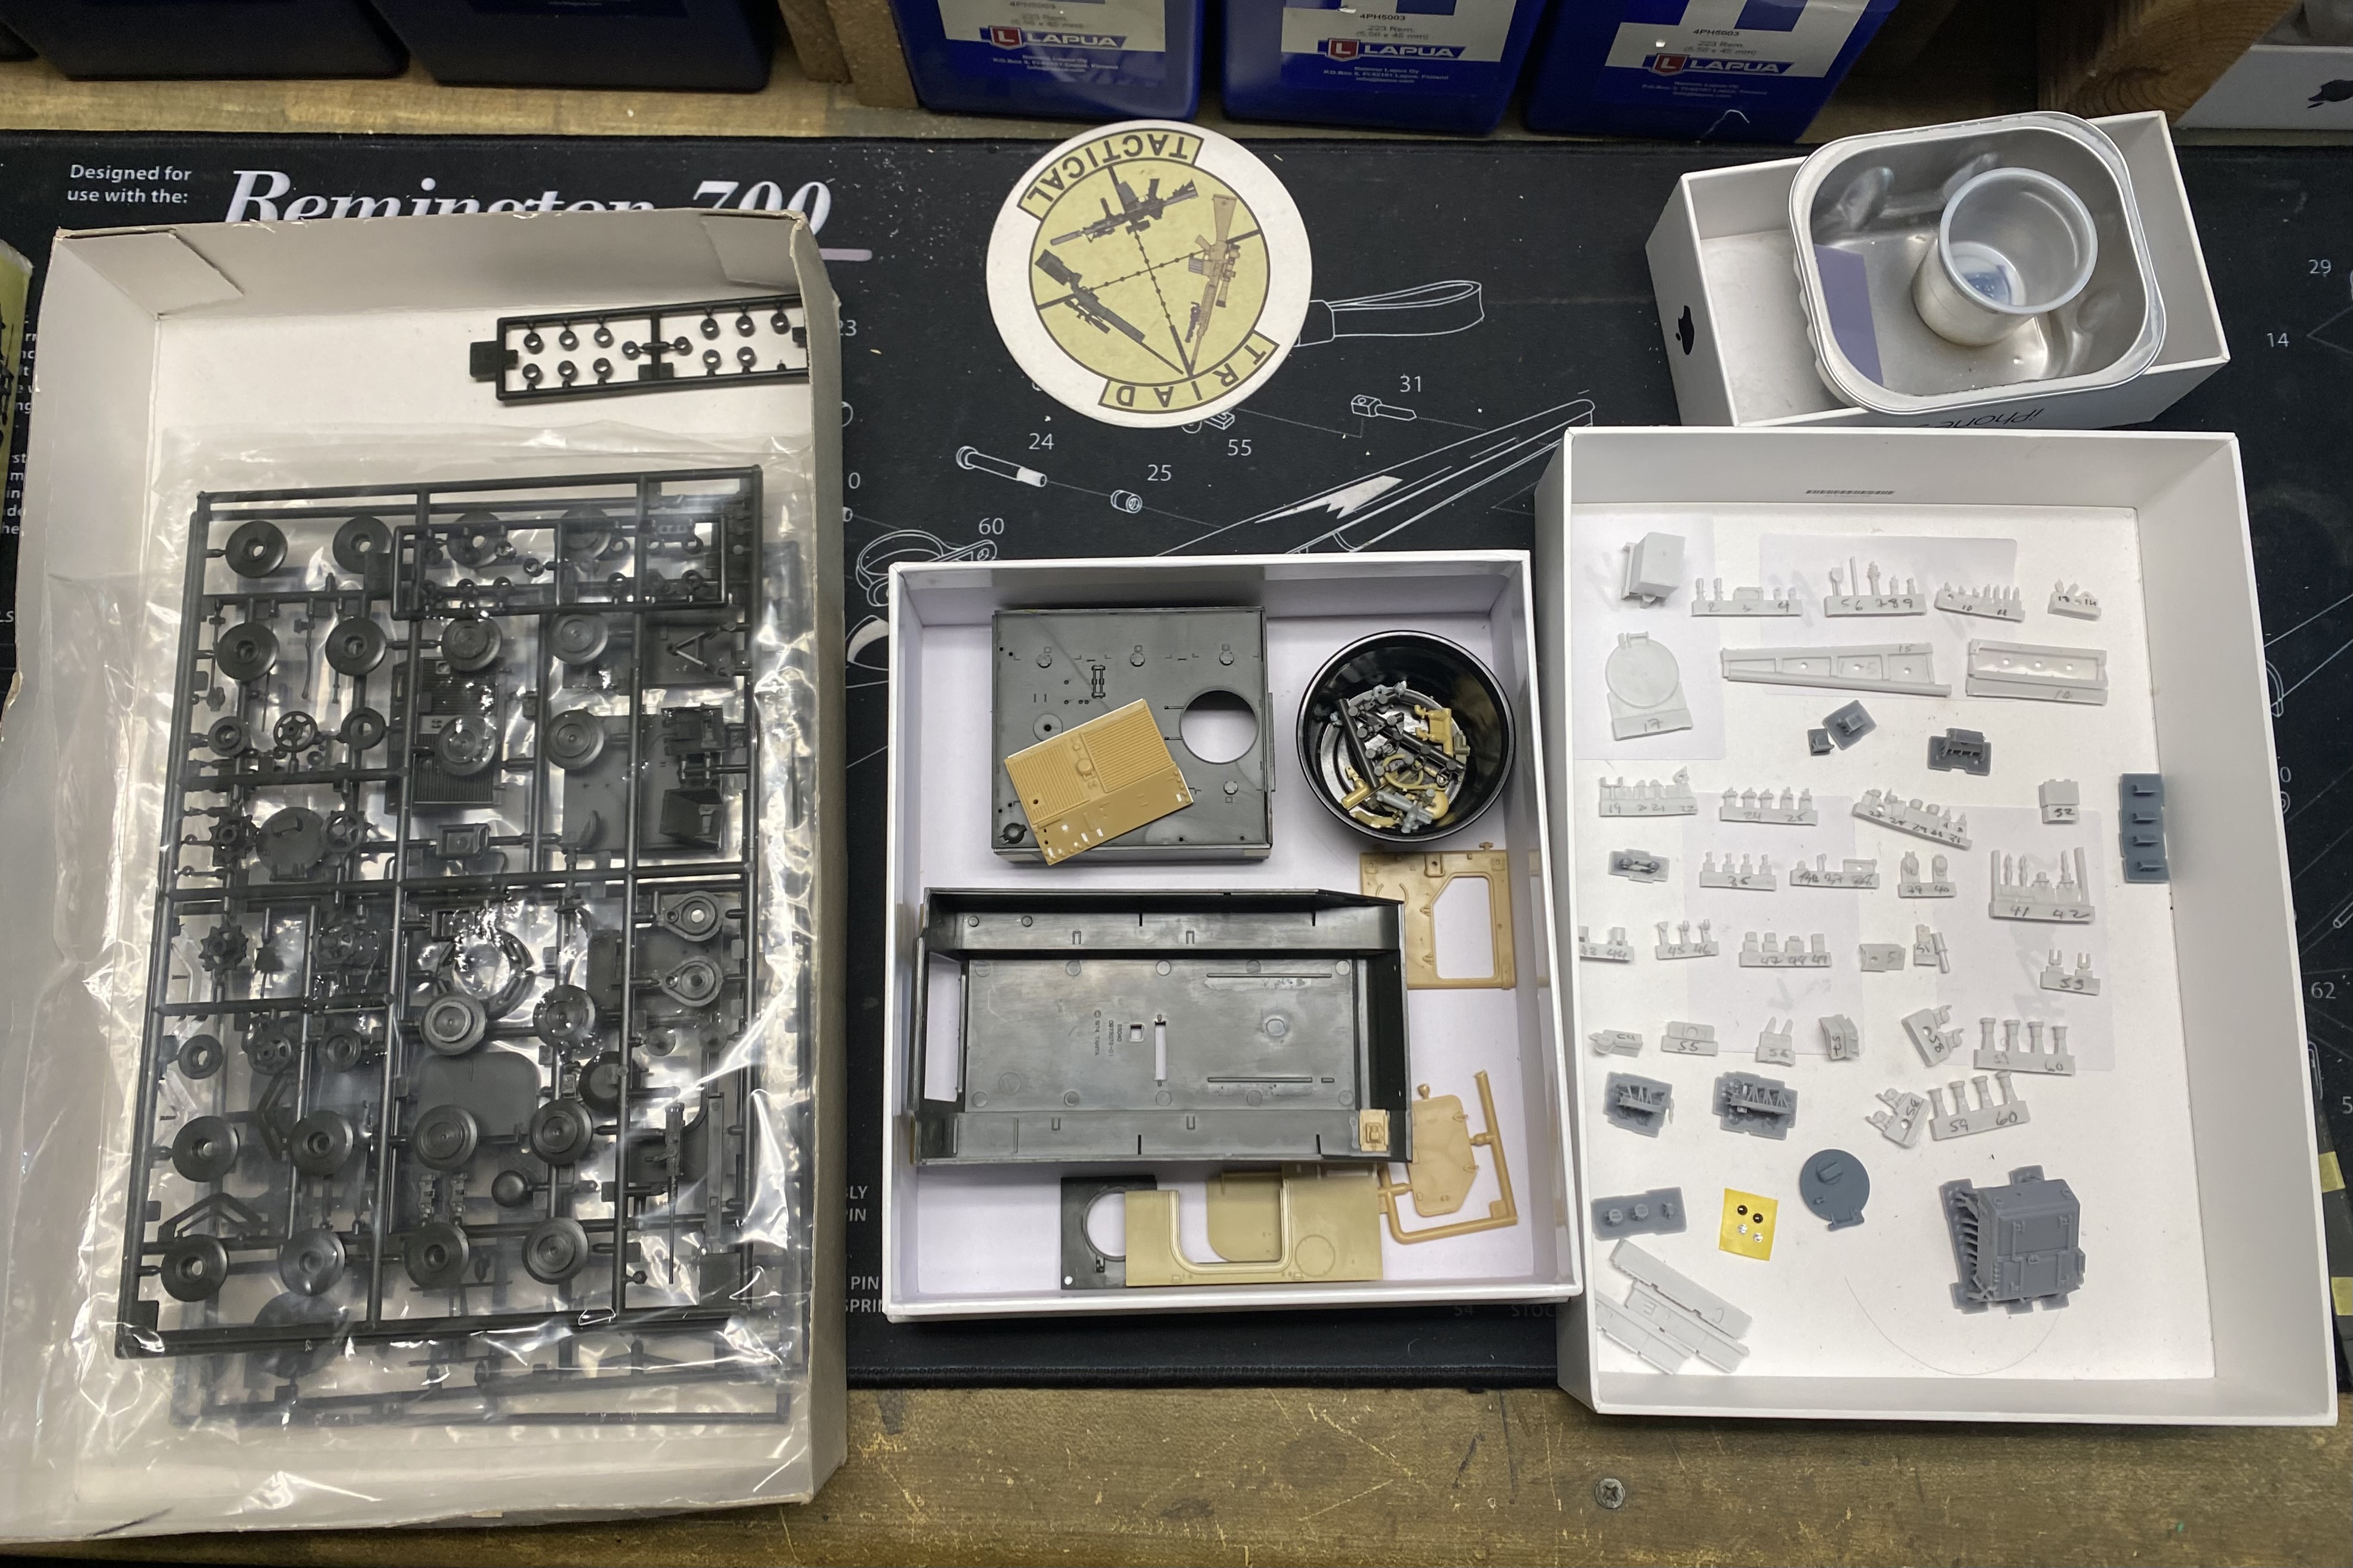
But as usual, I’m digressing. Check out the resin parts in the middle box. This is the Elite stuff. The blue gray parts at the top of the box are 3D printed parts from MicroCosmos. The yellow resin are spares from MR Models. Note the hull reinforcements. I threw away the Elite reinforcements. They were that bad.
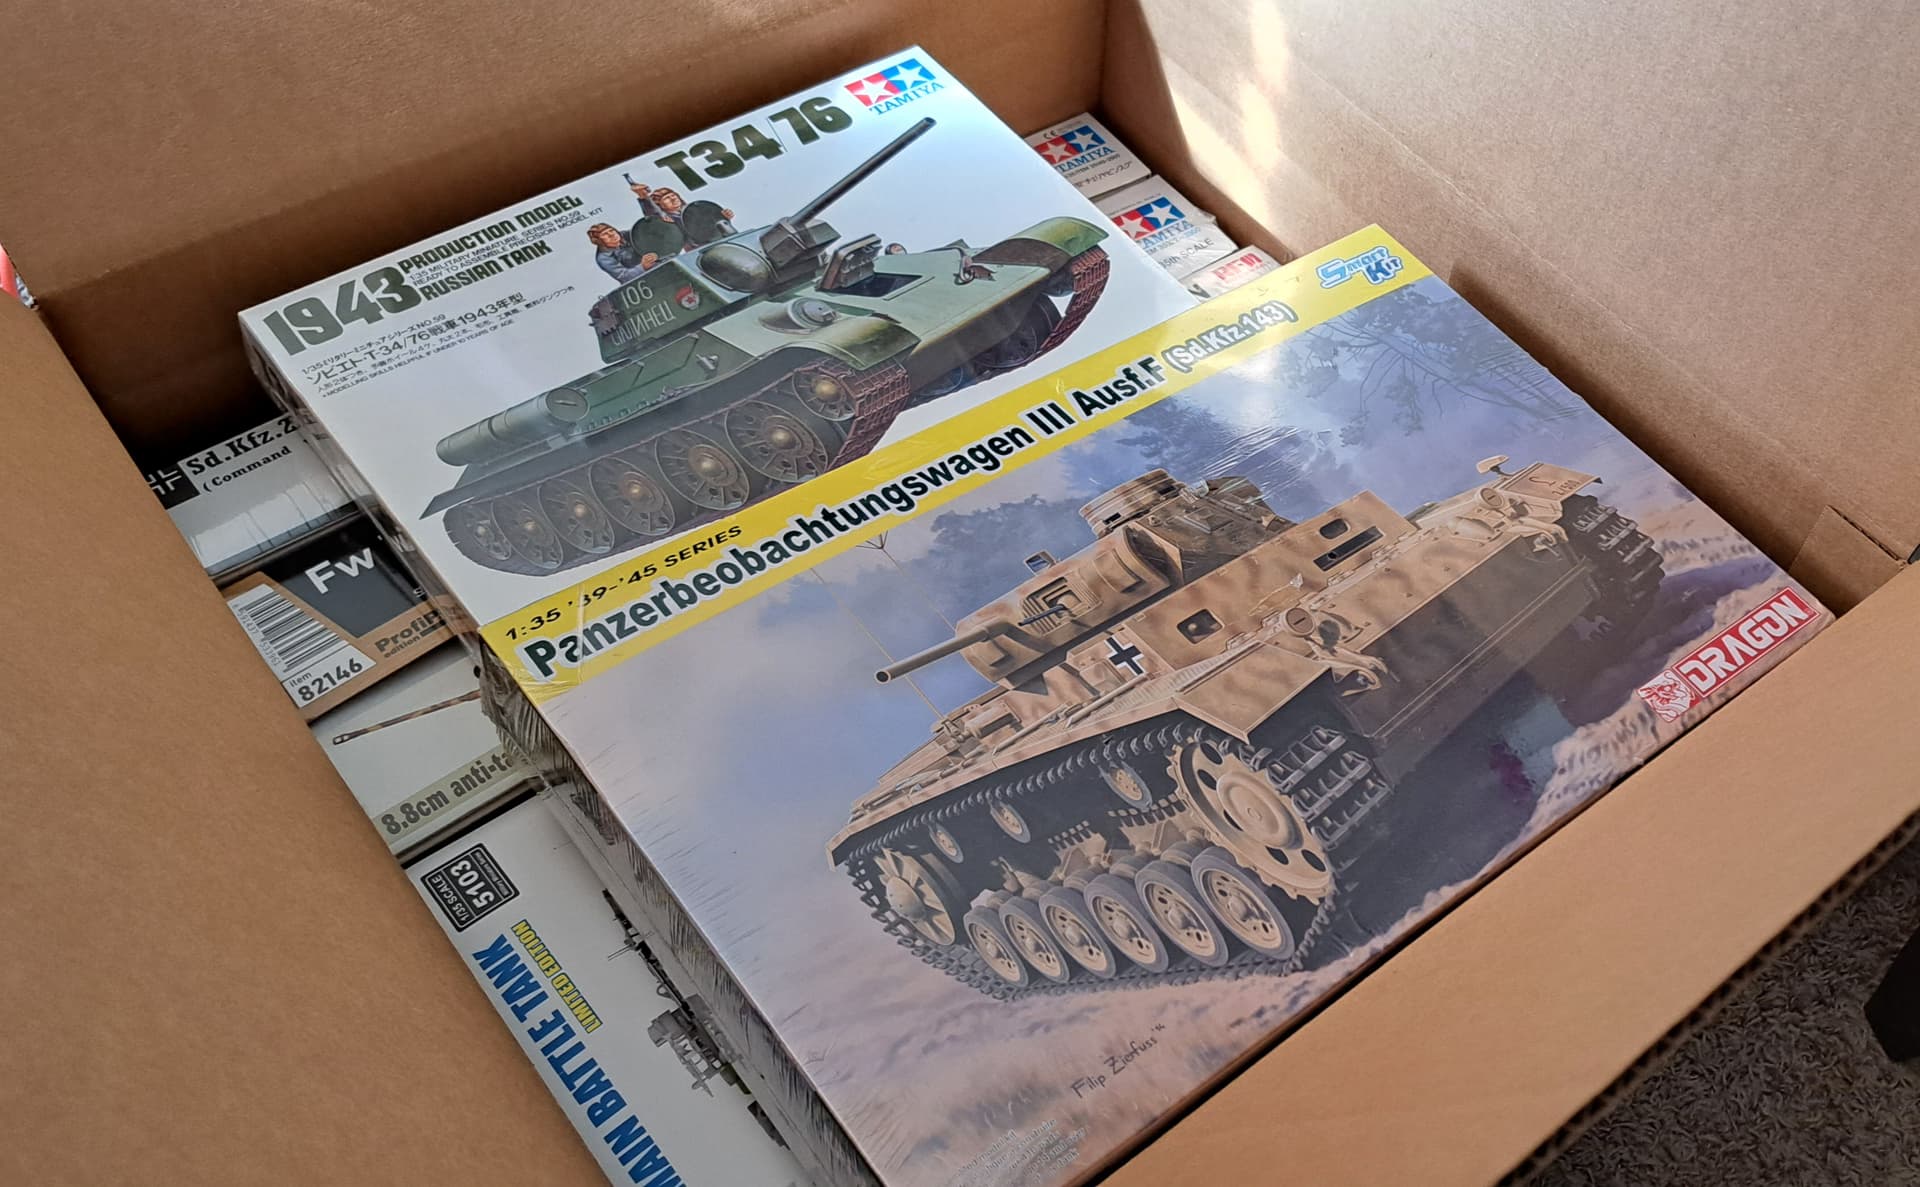
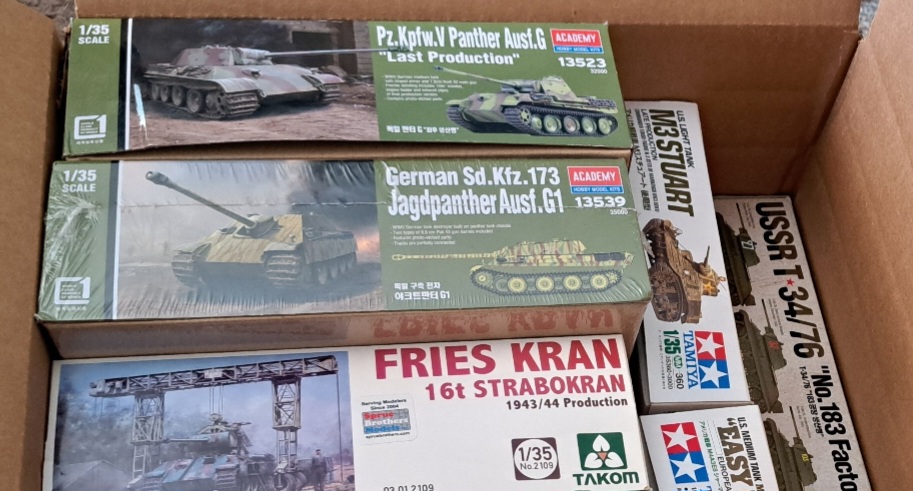
Prepared a care package for my old model club in Nawf Kerliner. Several new members etc interested in starting to build armor models…sending 21 kits total I’ll never get to…
Finished 14 last year, 9 in process and 21 surplused to other modelers…I think that puts the stash at ~265…
…Panzer Werks Nord logistics & inventory control manager is a highly motivated, energetic and working diligently on the cycle counts for the official stash number…
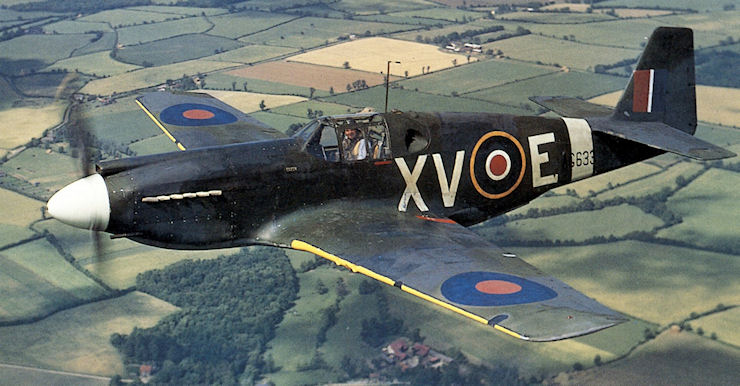
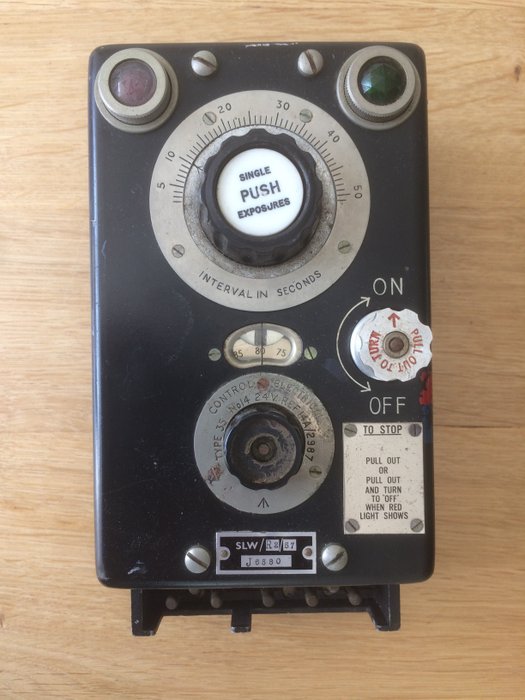
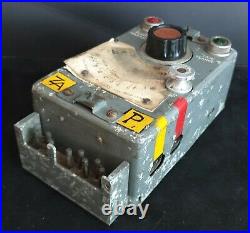
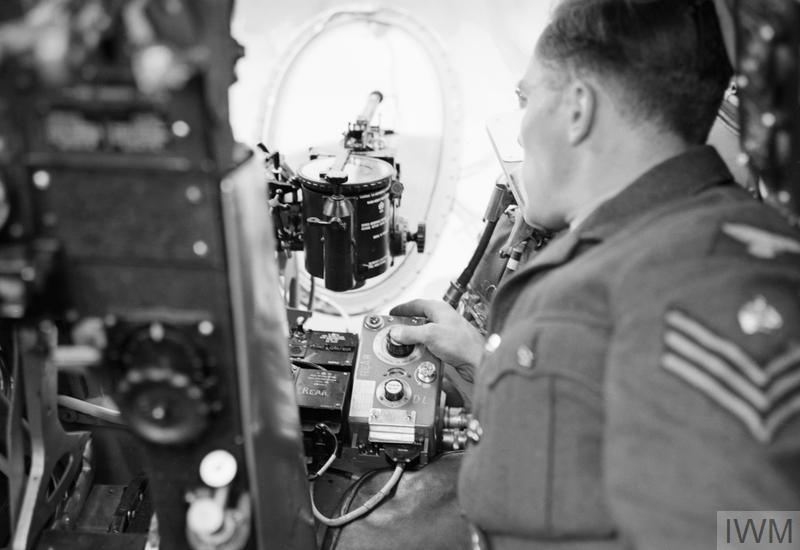
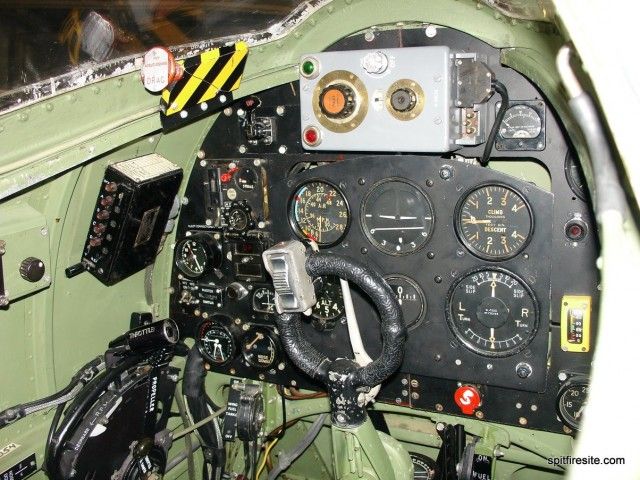
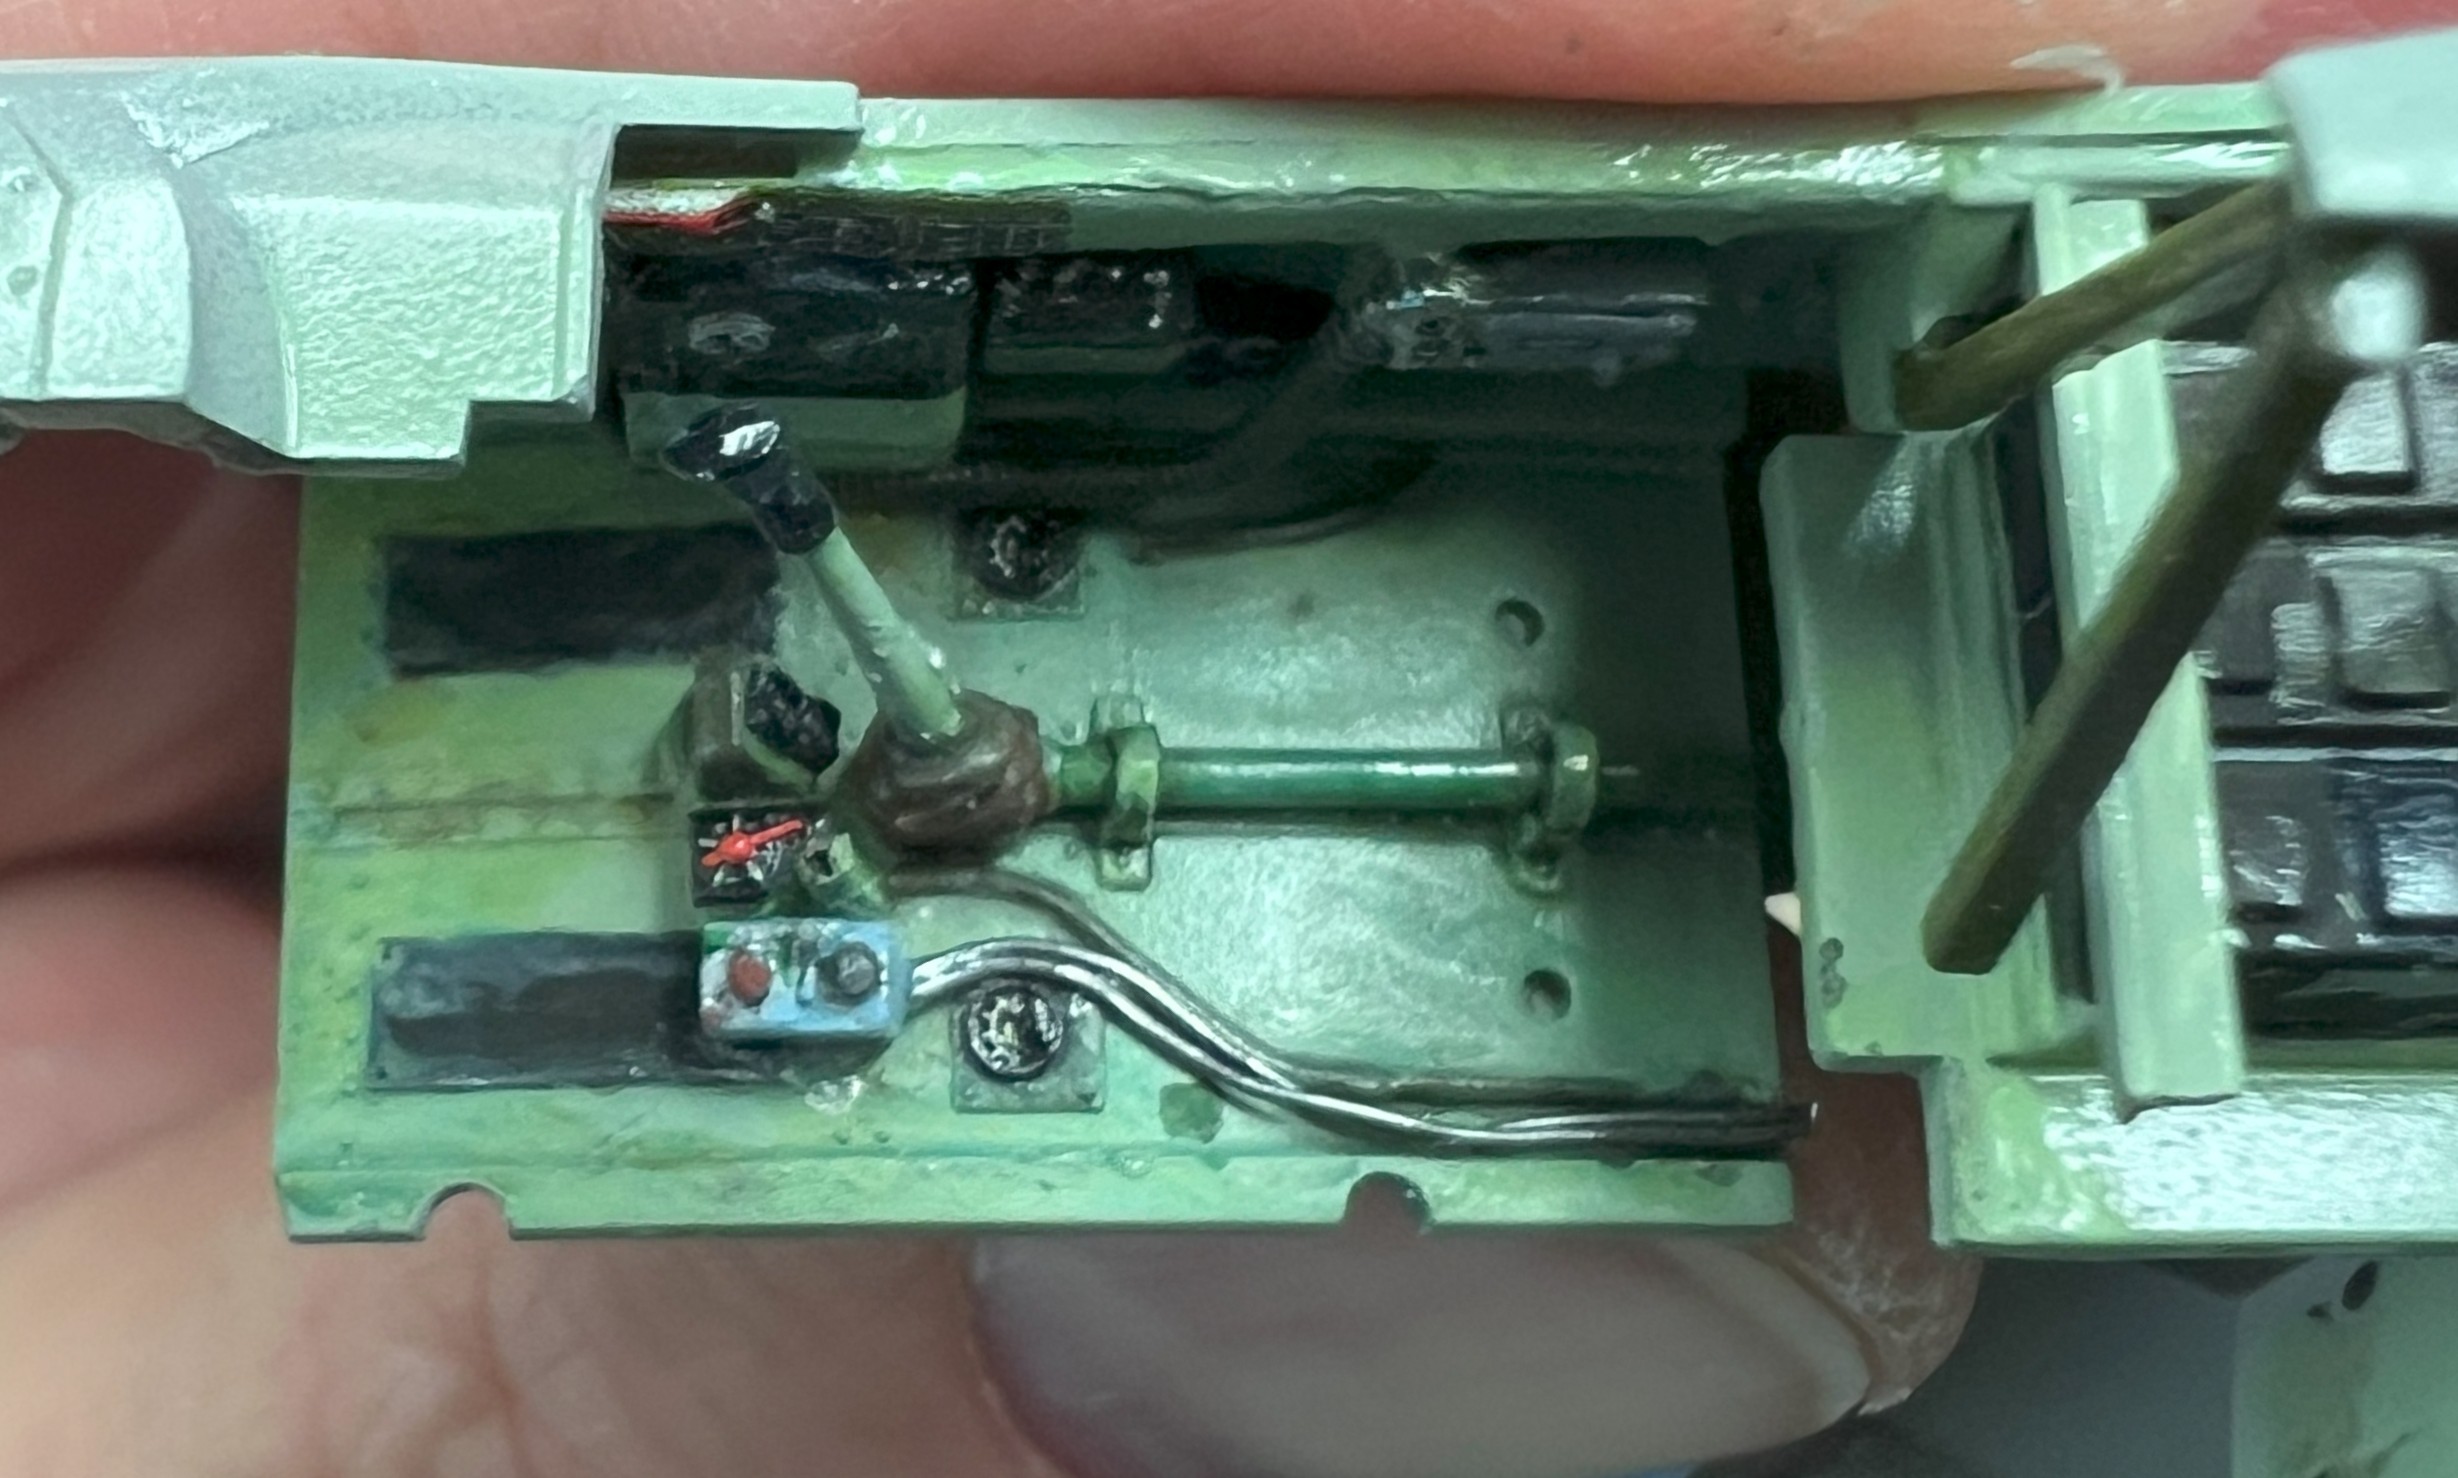
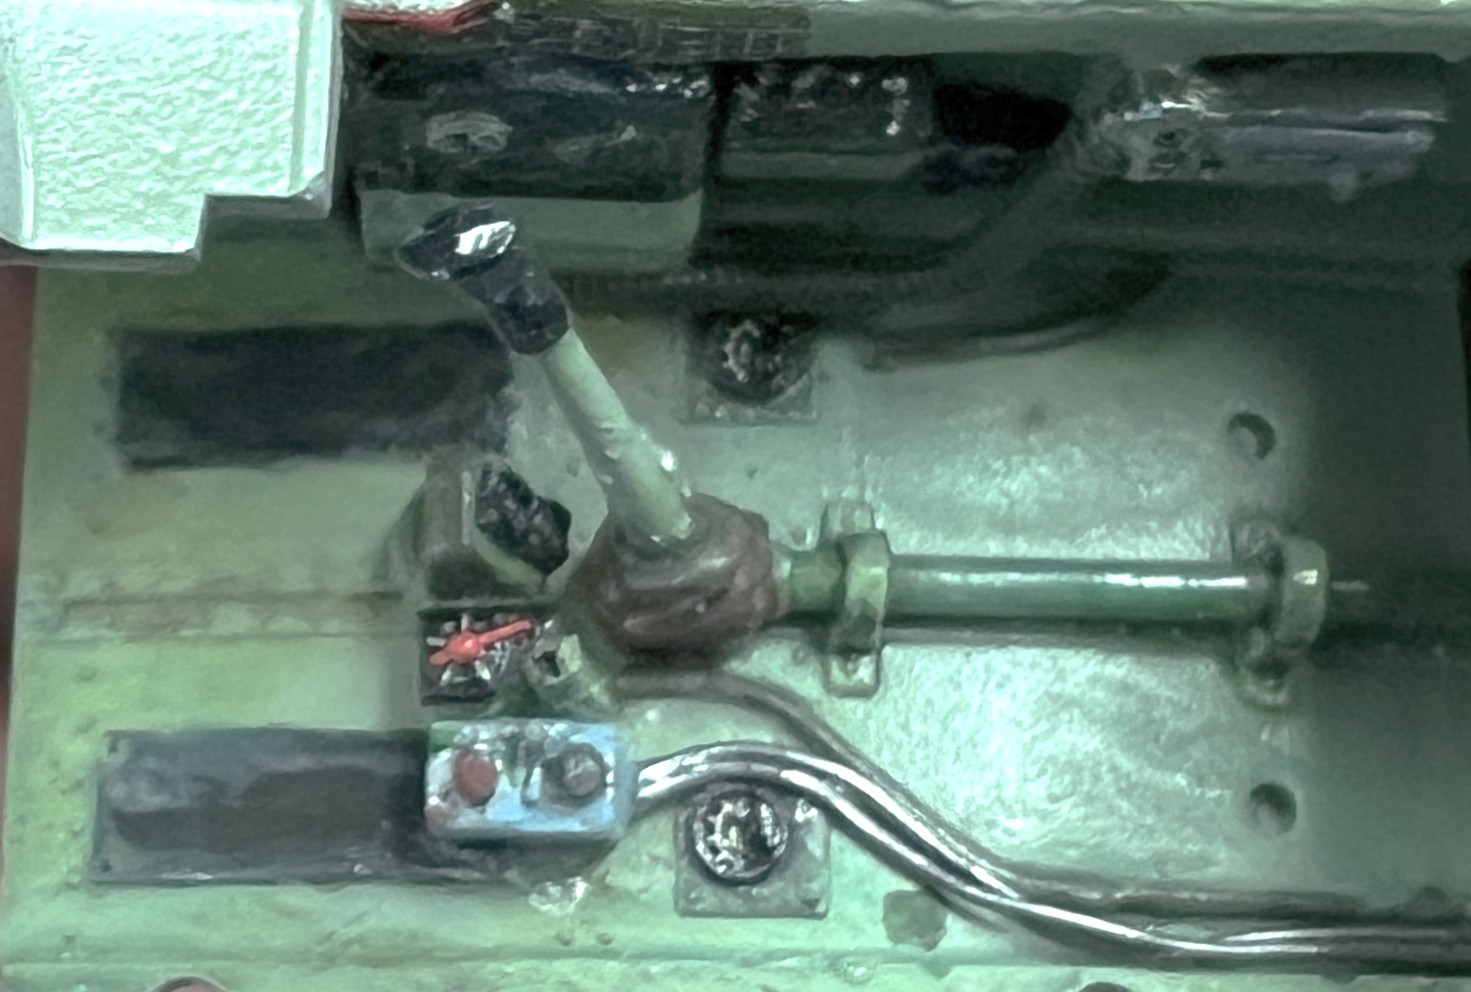
Since this (more detailed attempt) version AG633 of 2 squadron is a photo recon plane, I am trying to understand the camera switch box that the pilot used to activate the K24 camera.
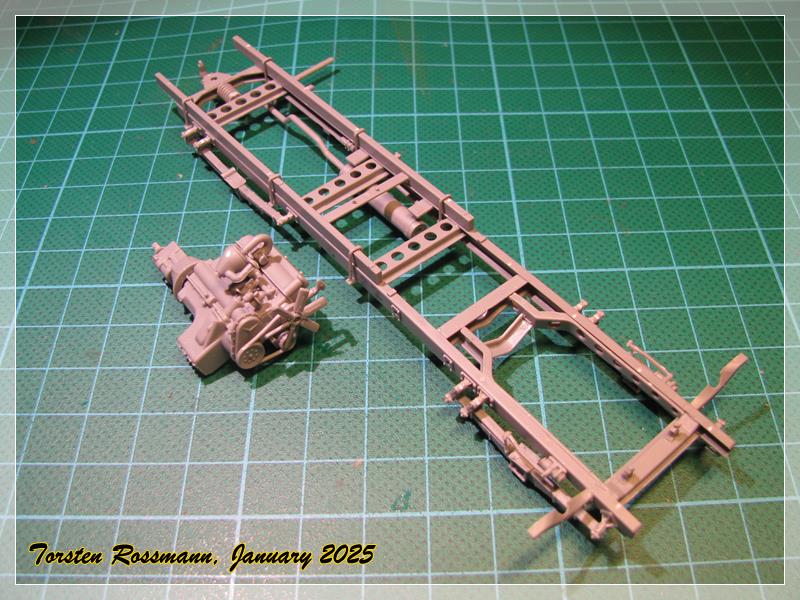
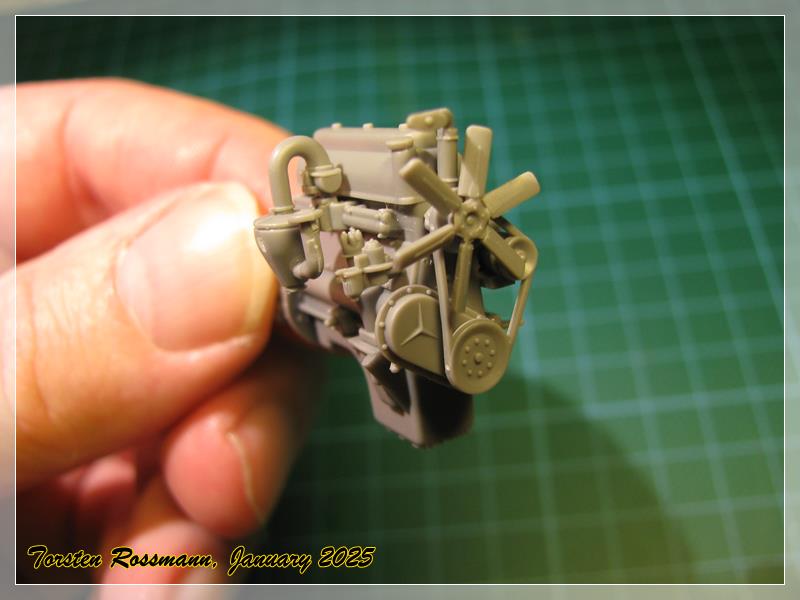
Yes, yes, I know, the ol’ girl has a sagging frame -
While similar vintage and general subject, the other version (a few posts above) is by Miniart, which while can be described as challenging builds because of the number of small parts involved, with some effort and patience, they generally go together as intended.
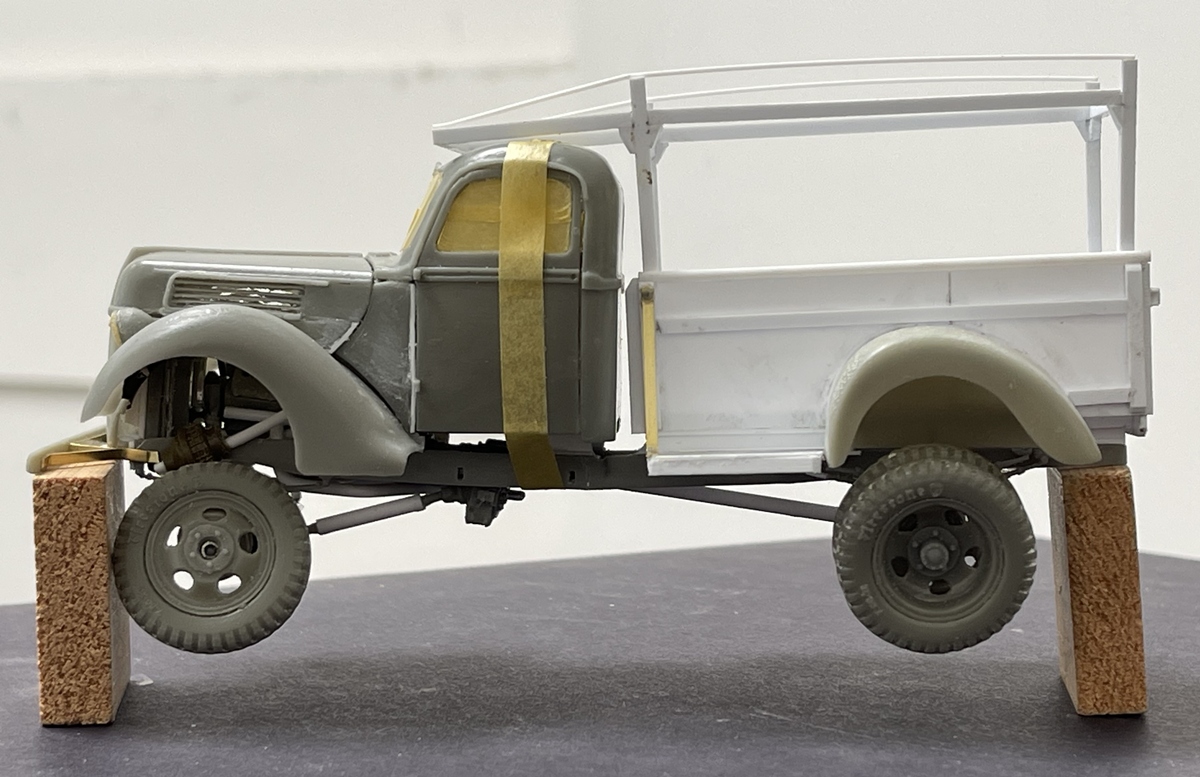
A bit less the case with my old beauty Yes, there have been some fitment, and instruction clarity issues, actually a bit more than some but, that’s fine with me - makes it more of a challenge, which has resulted in a bit of change in my plans for an outcome. I gave it my obligatory lift kit, posable steering, and a pickup bed with a lumber rack.
Rather than becoming a beautifully restored 1941 Ford, Marmon Harrington 4x4, it will become a sacked out yard truck, with rust instead of shine!
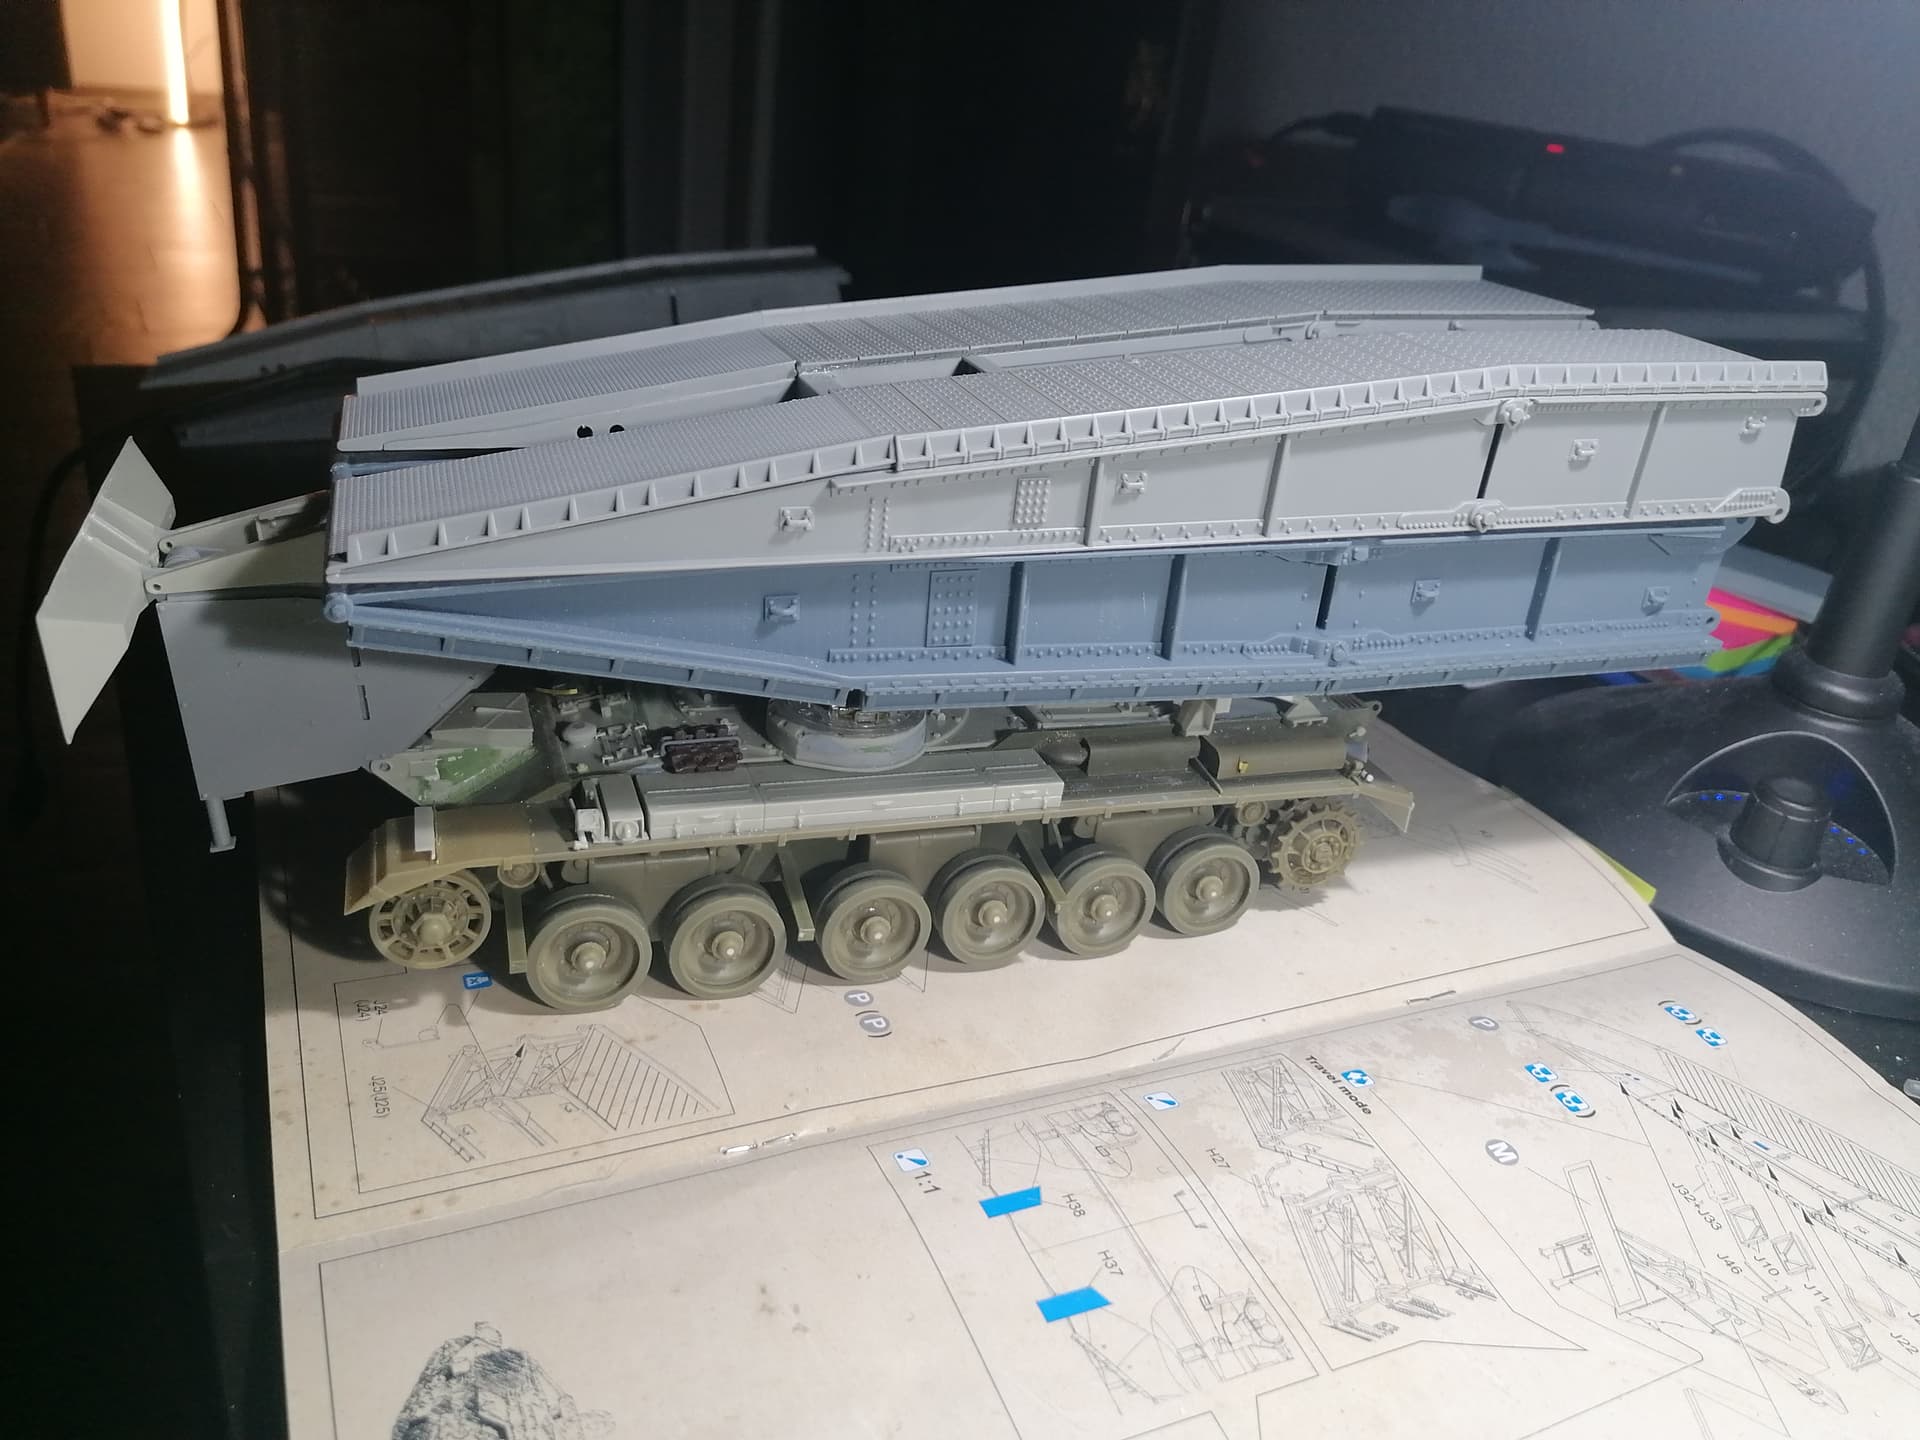
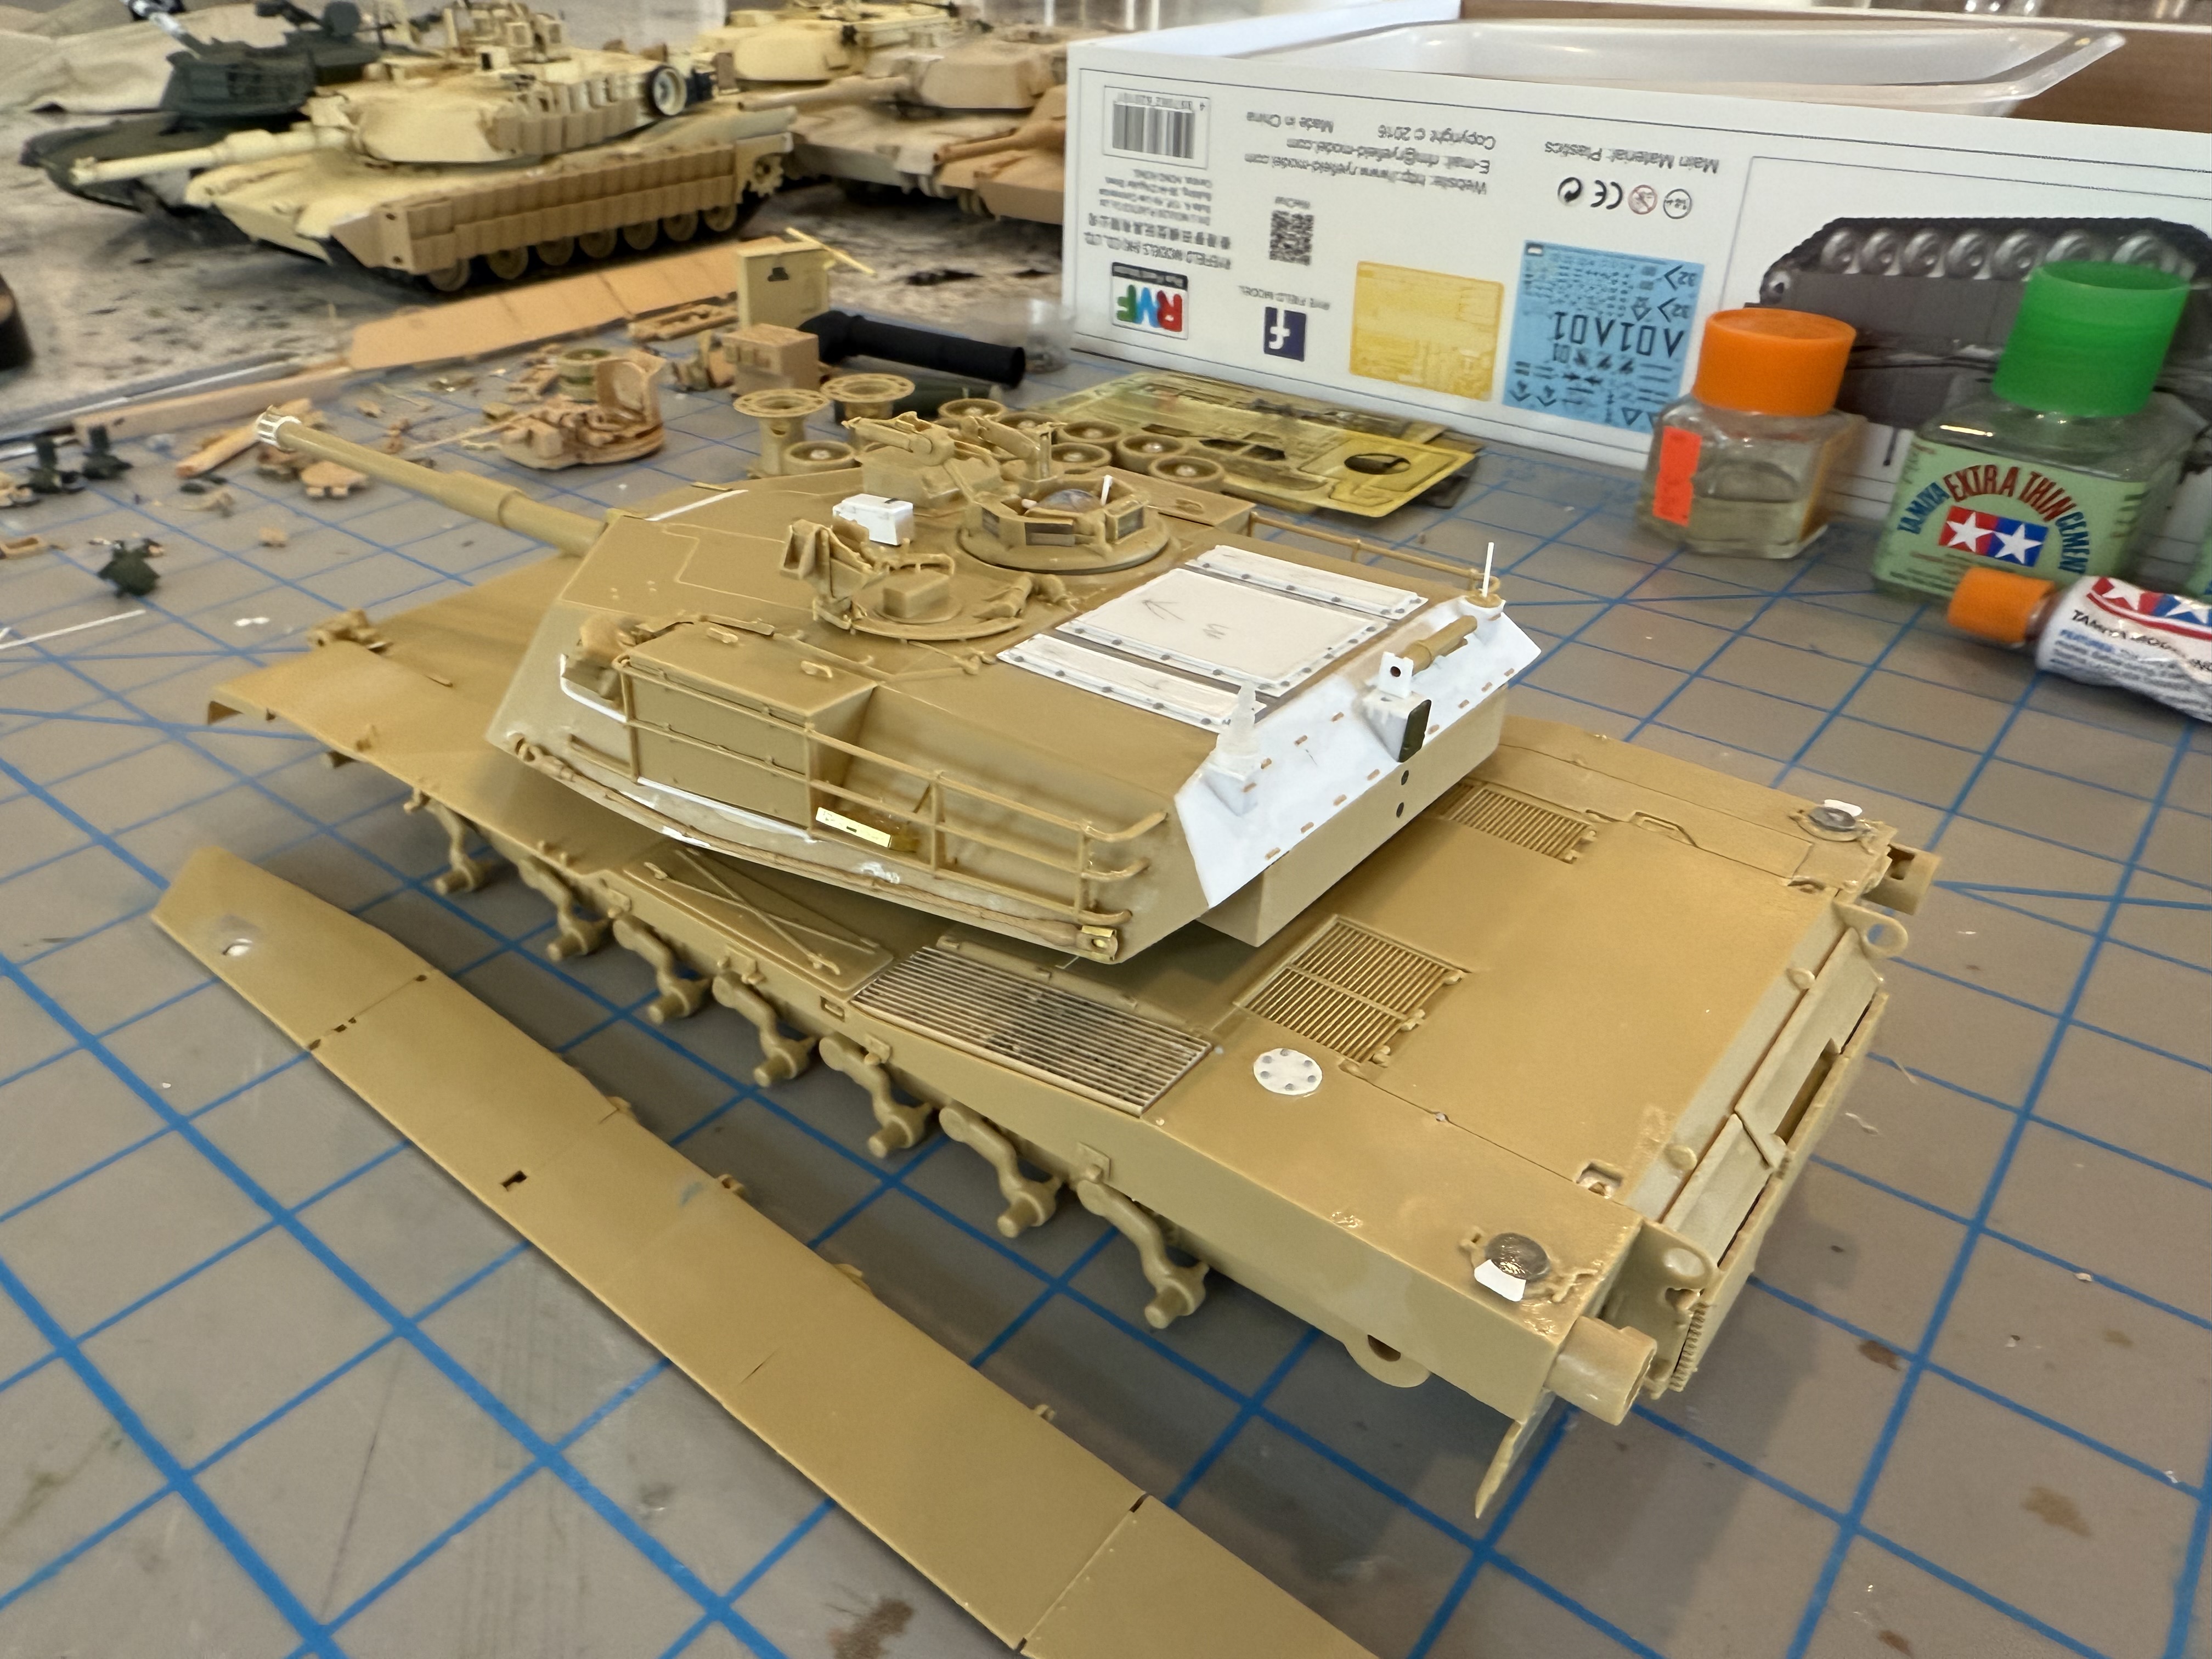
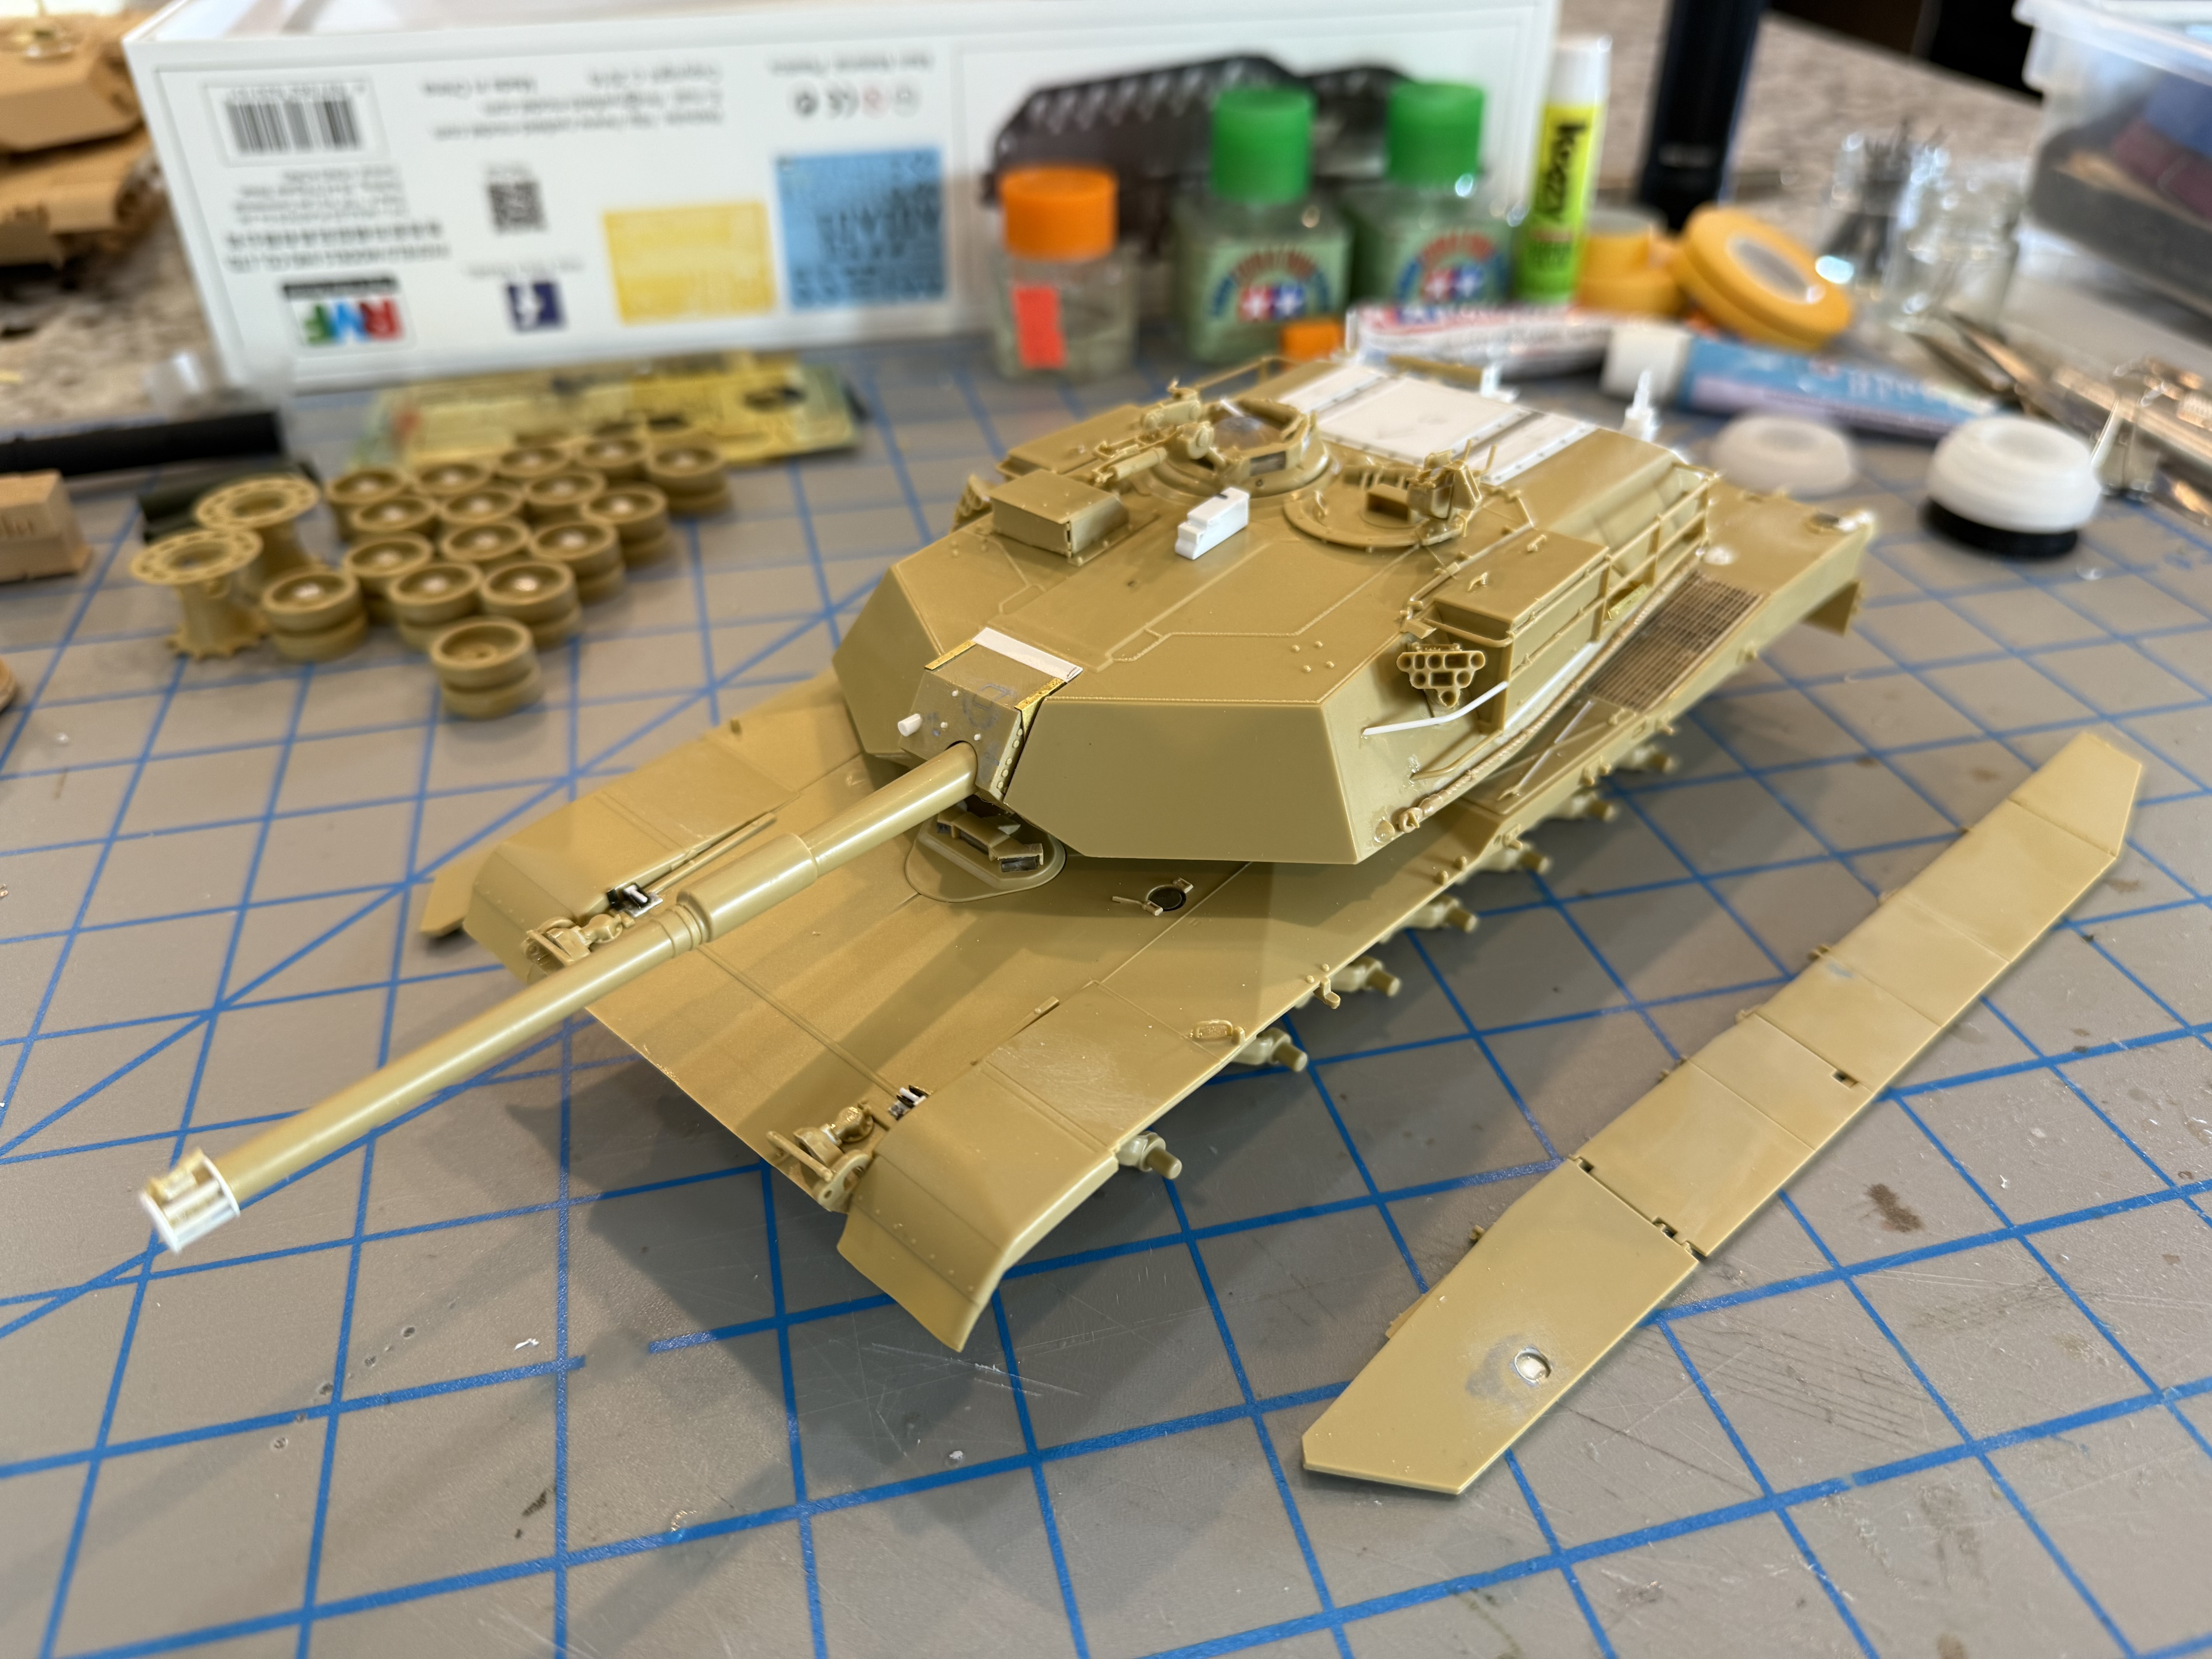
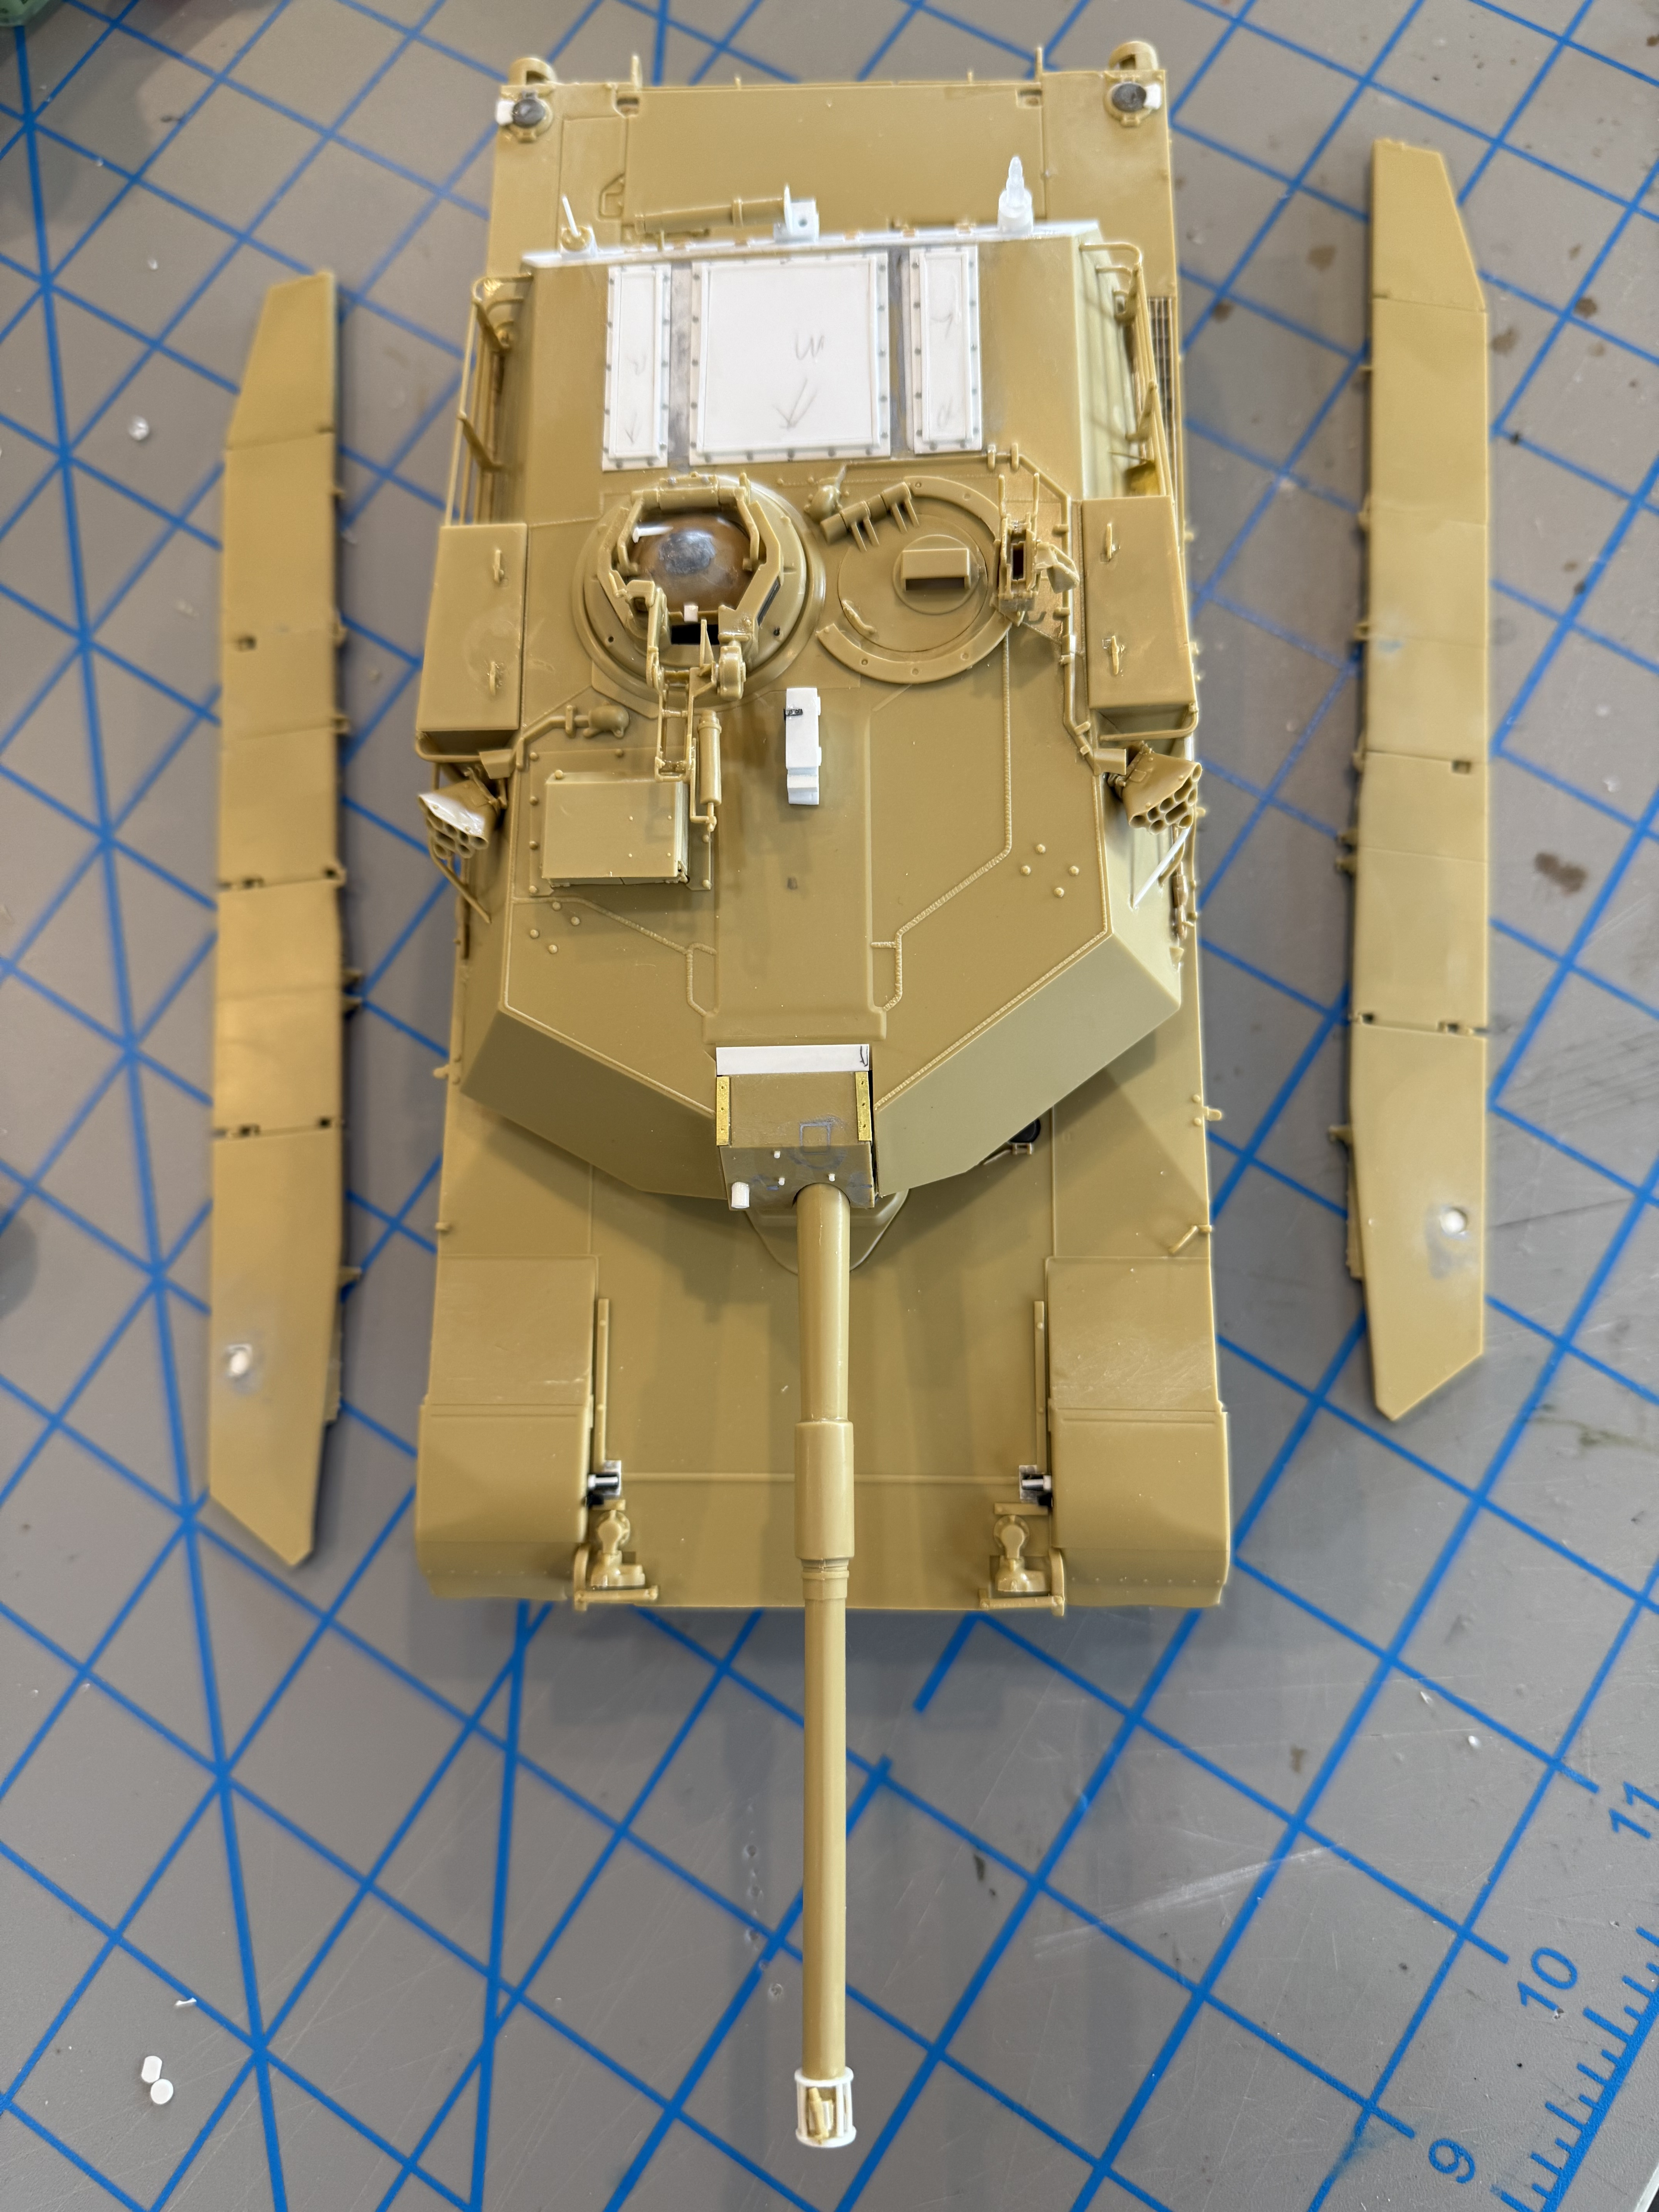
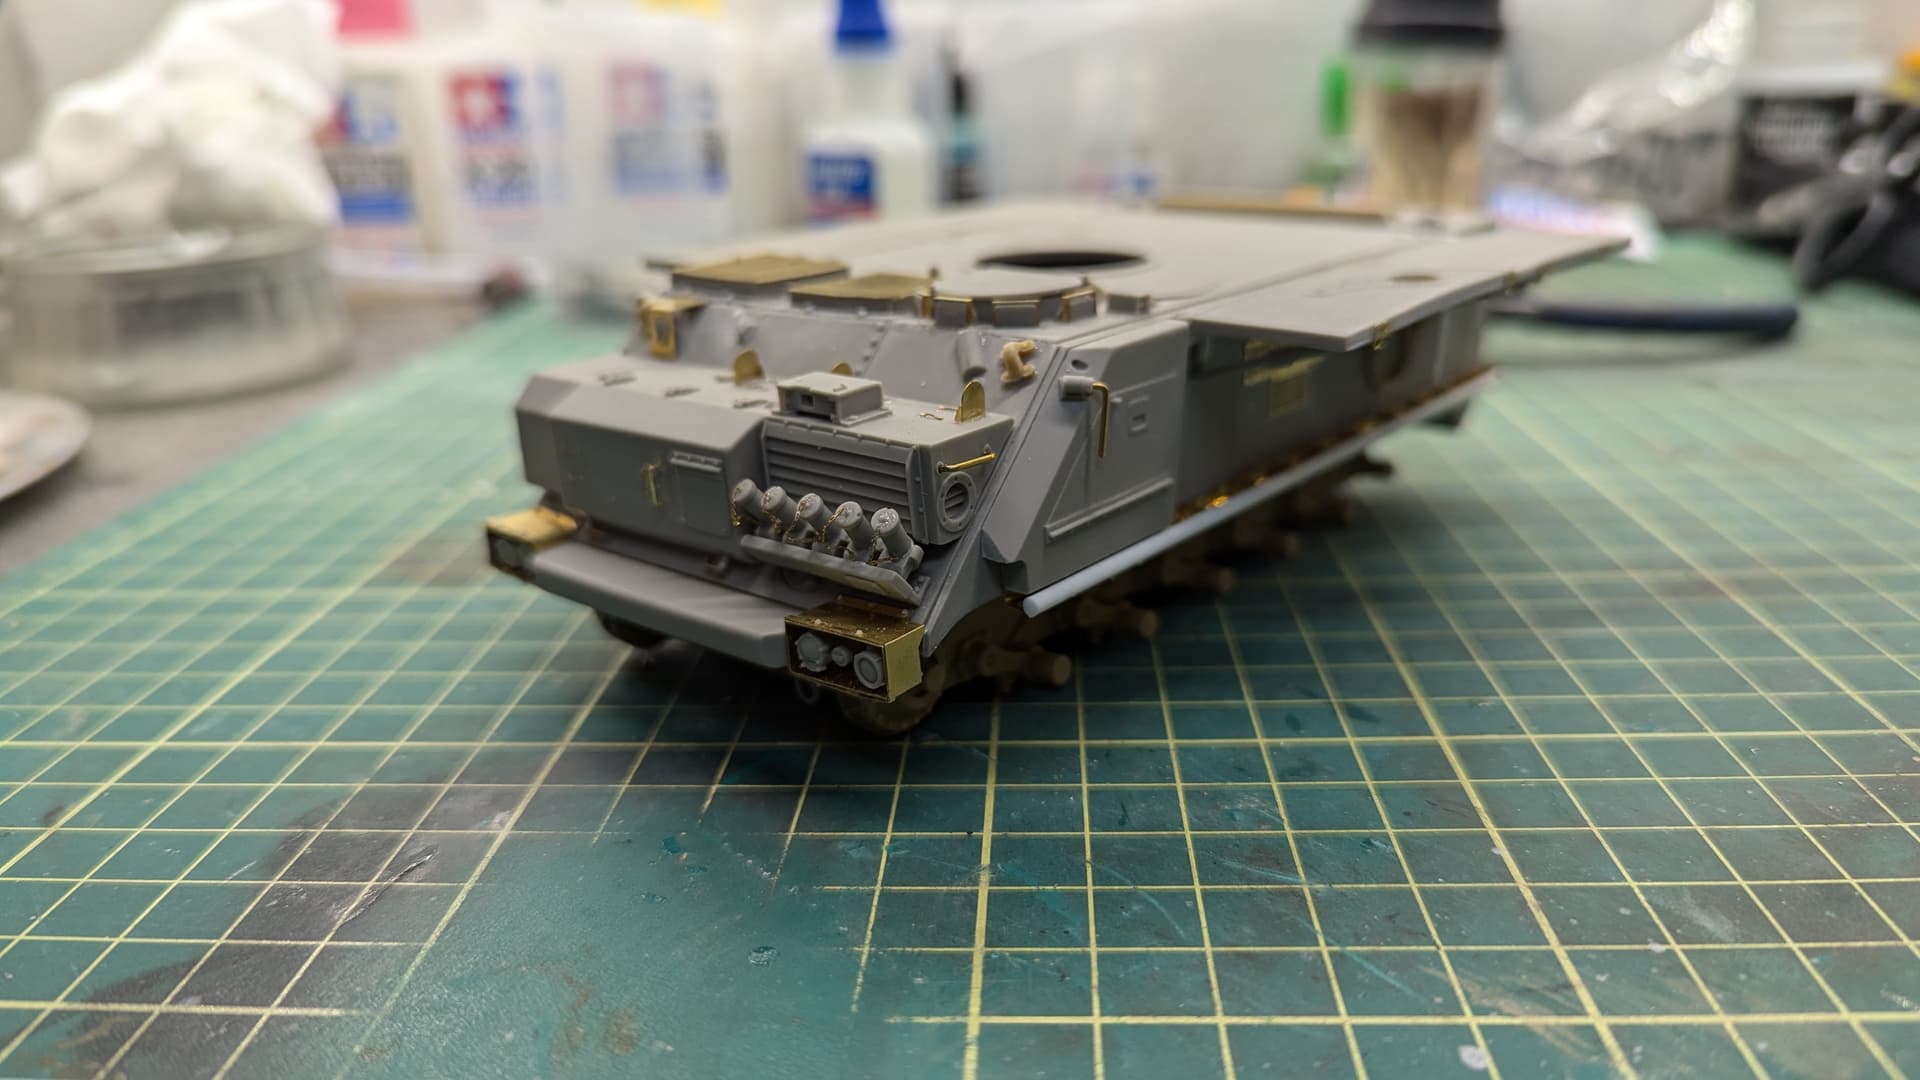
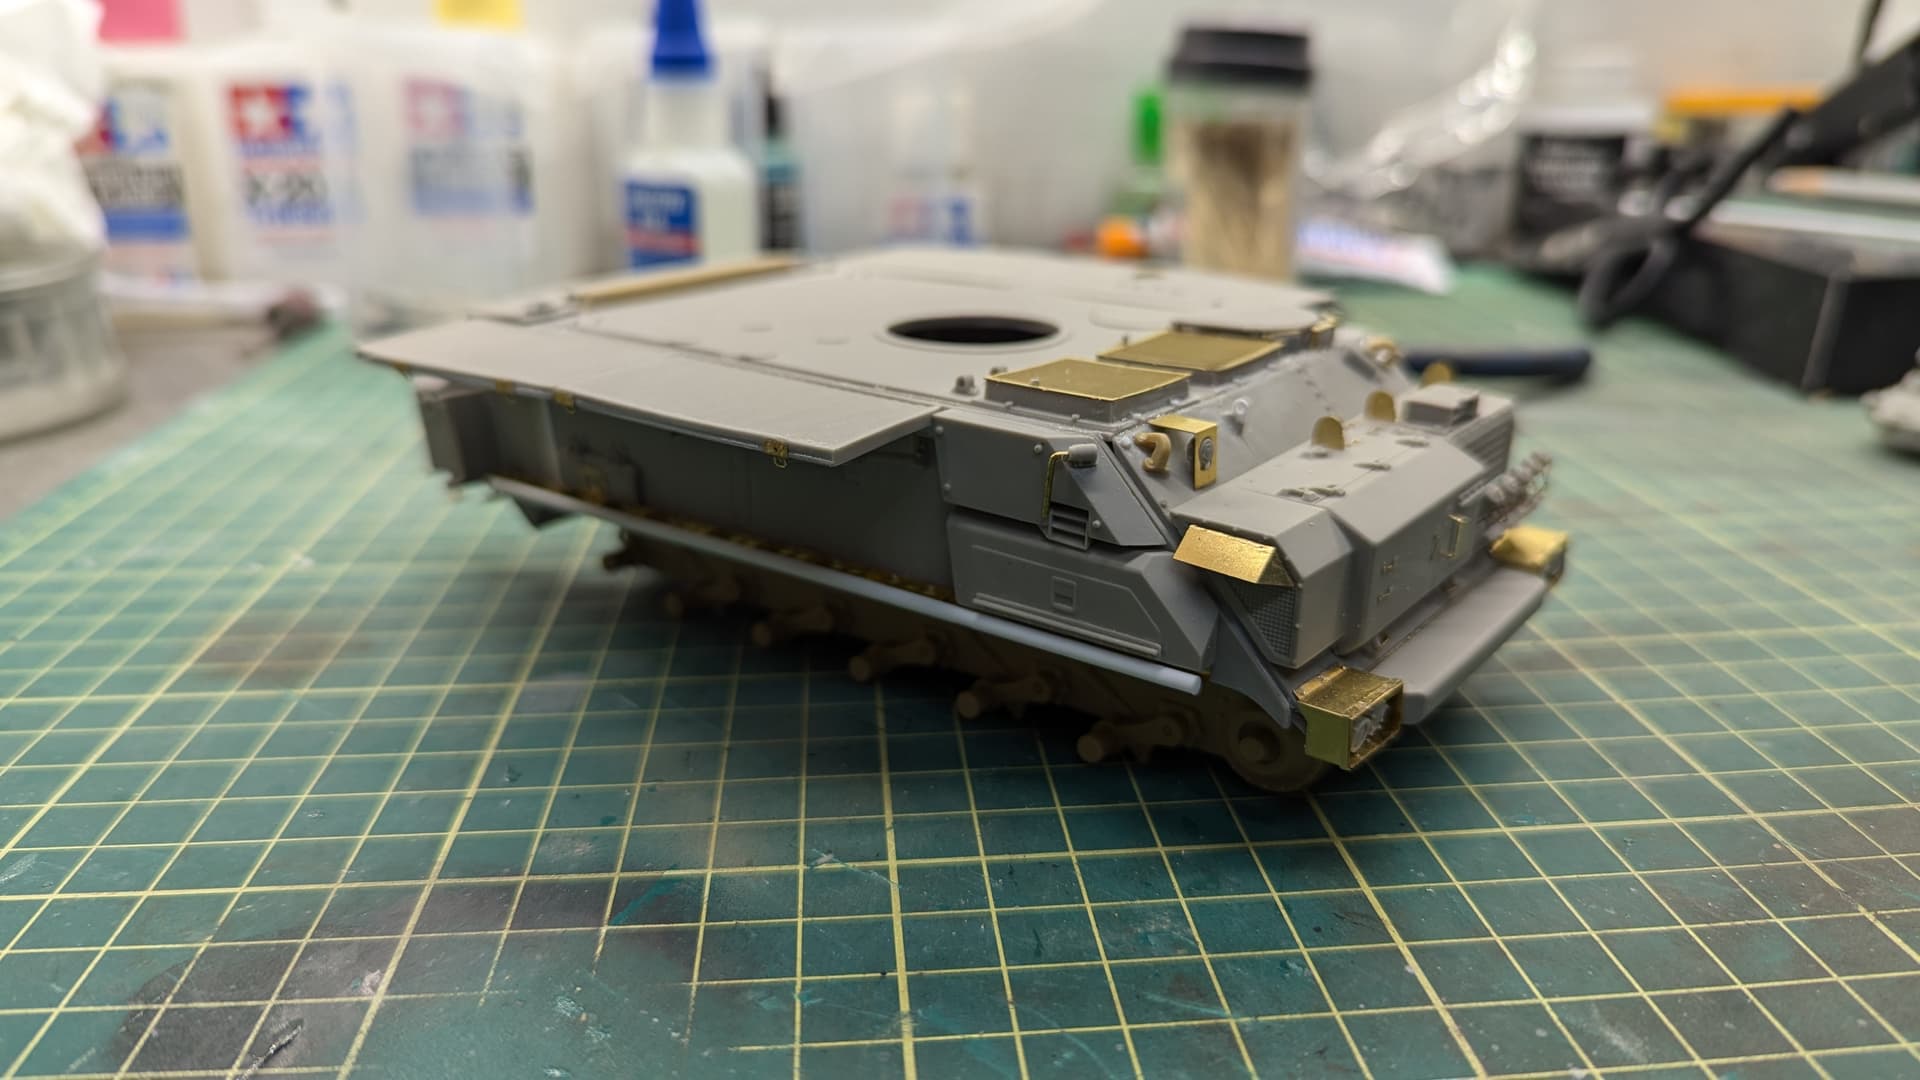
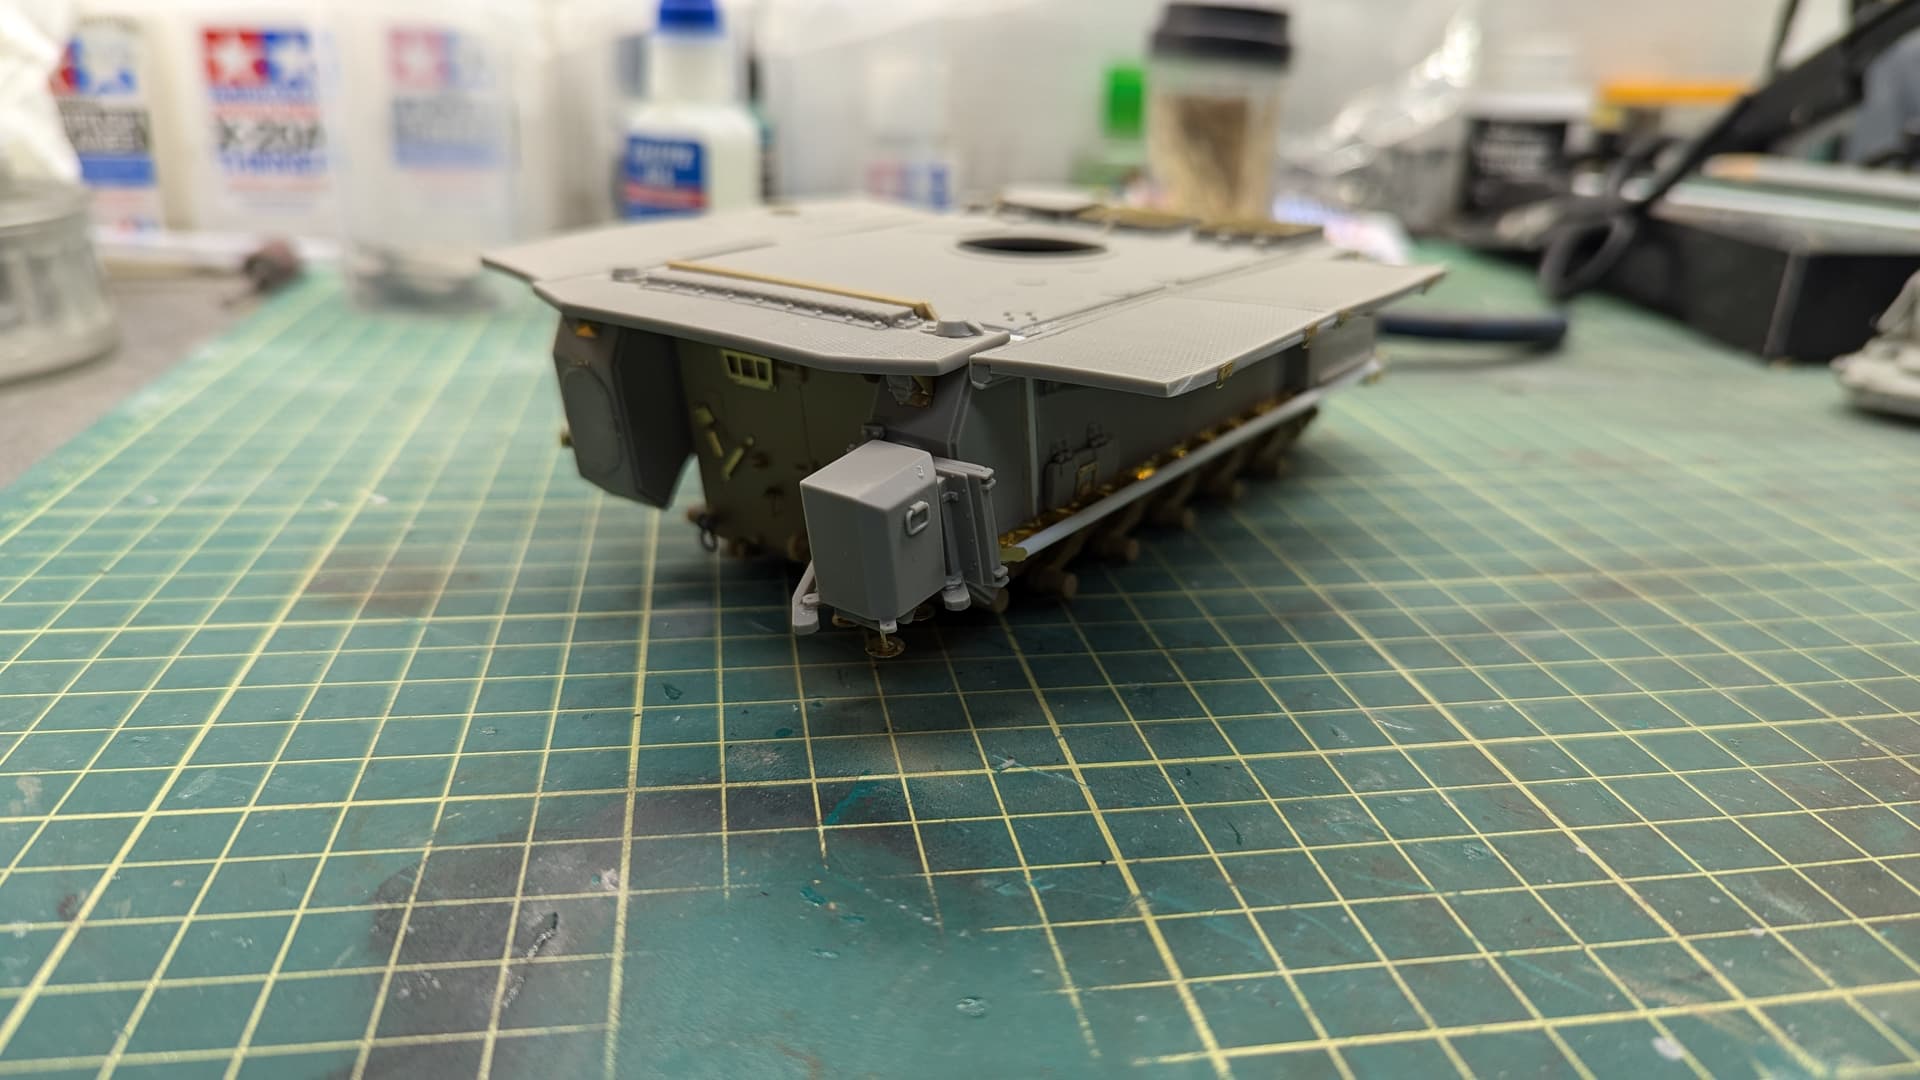
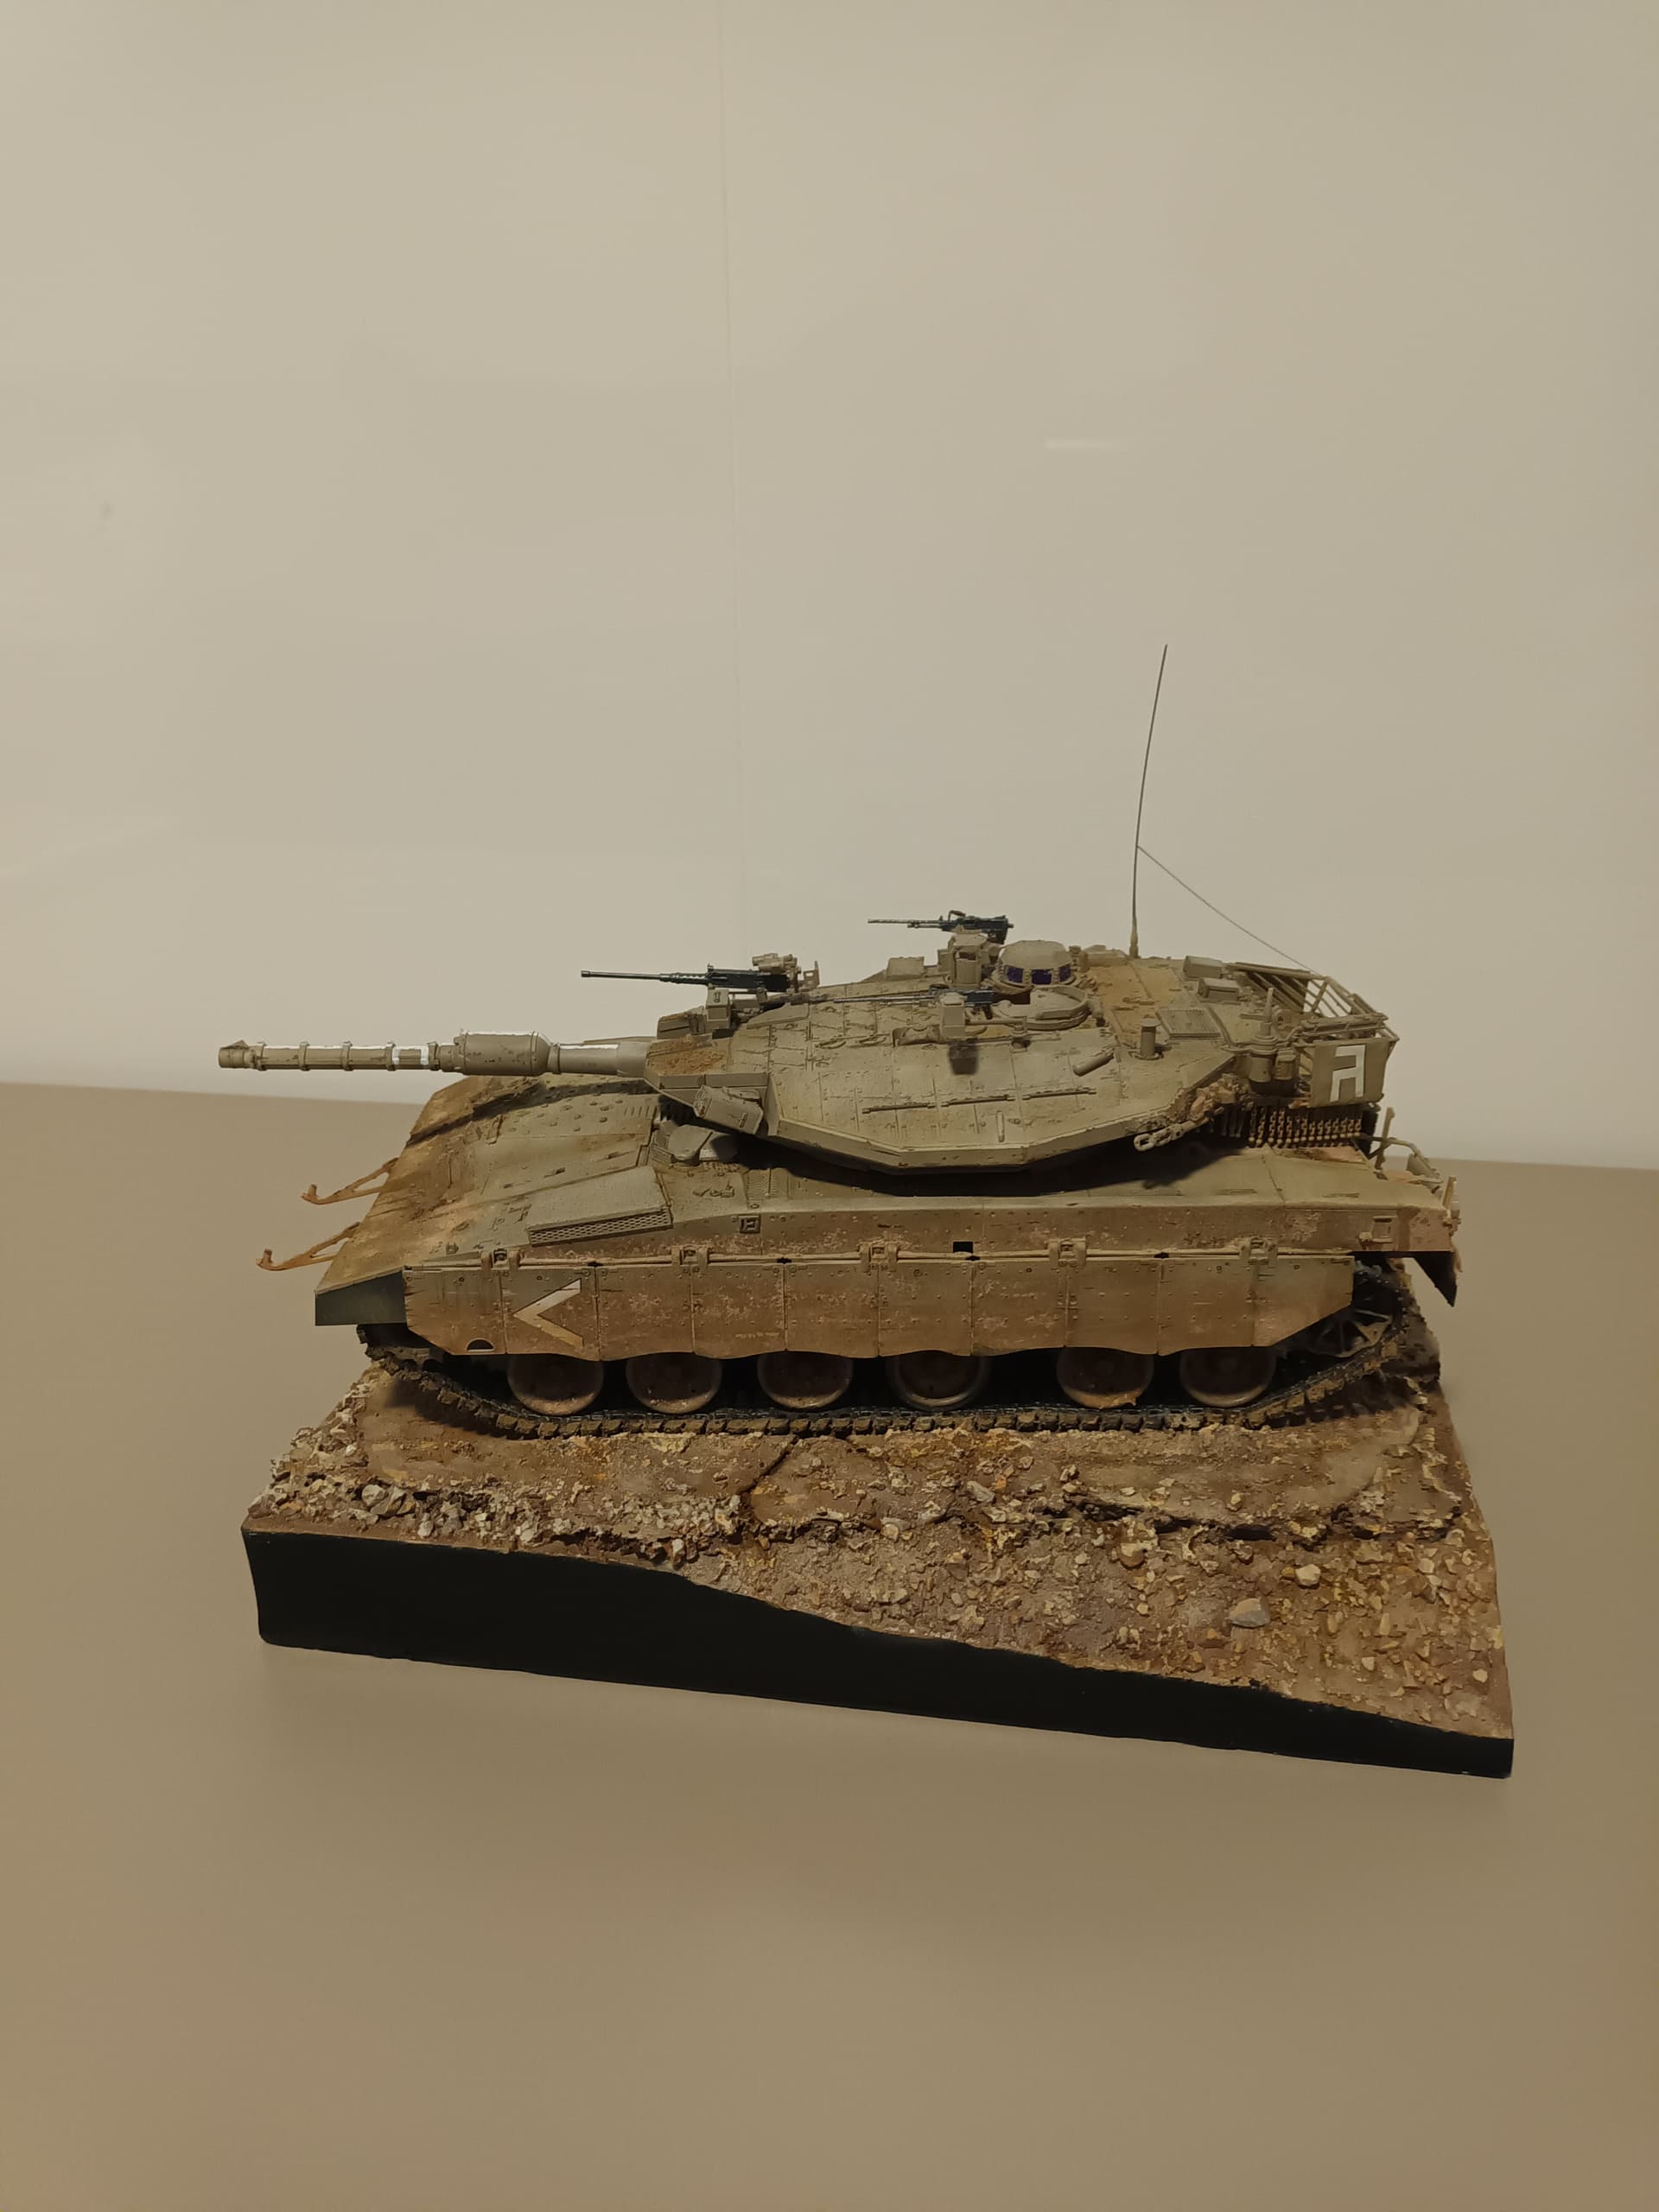
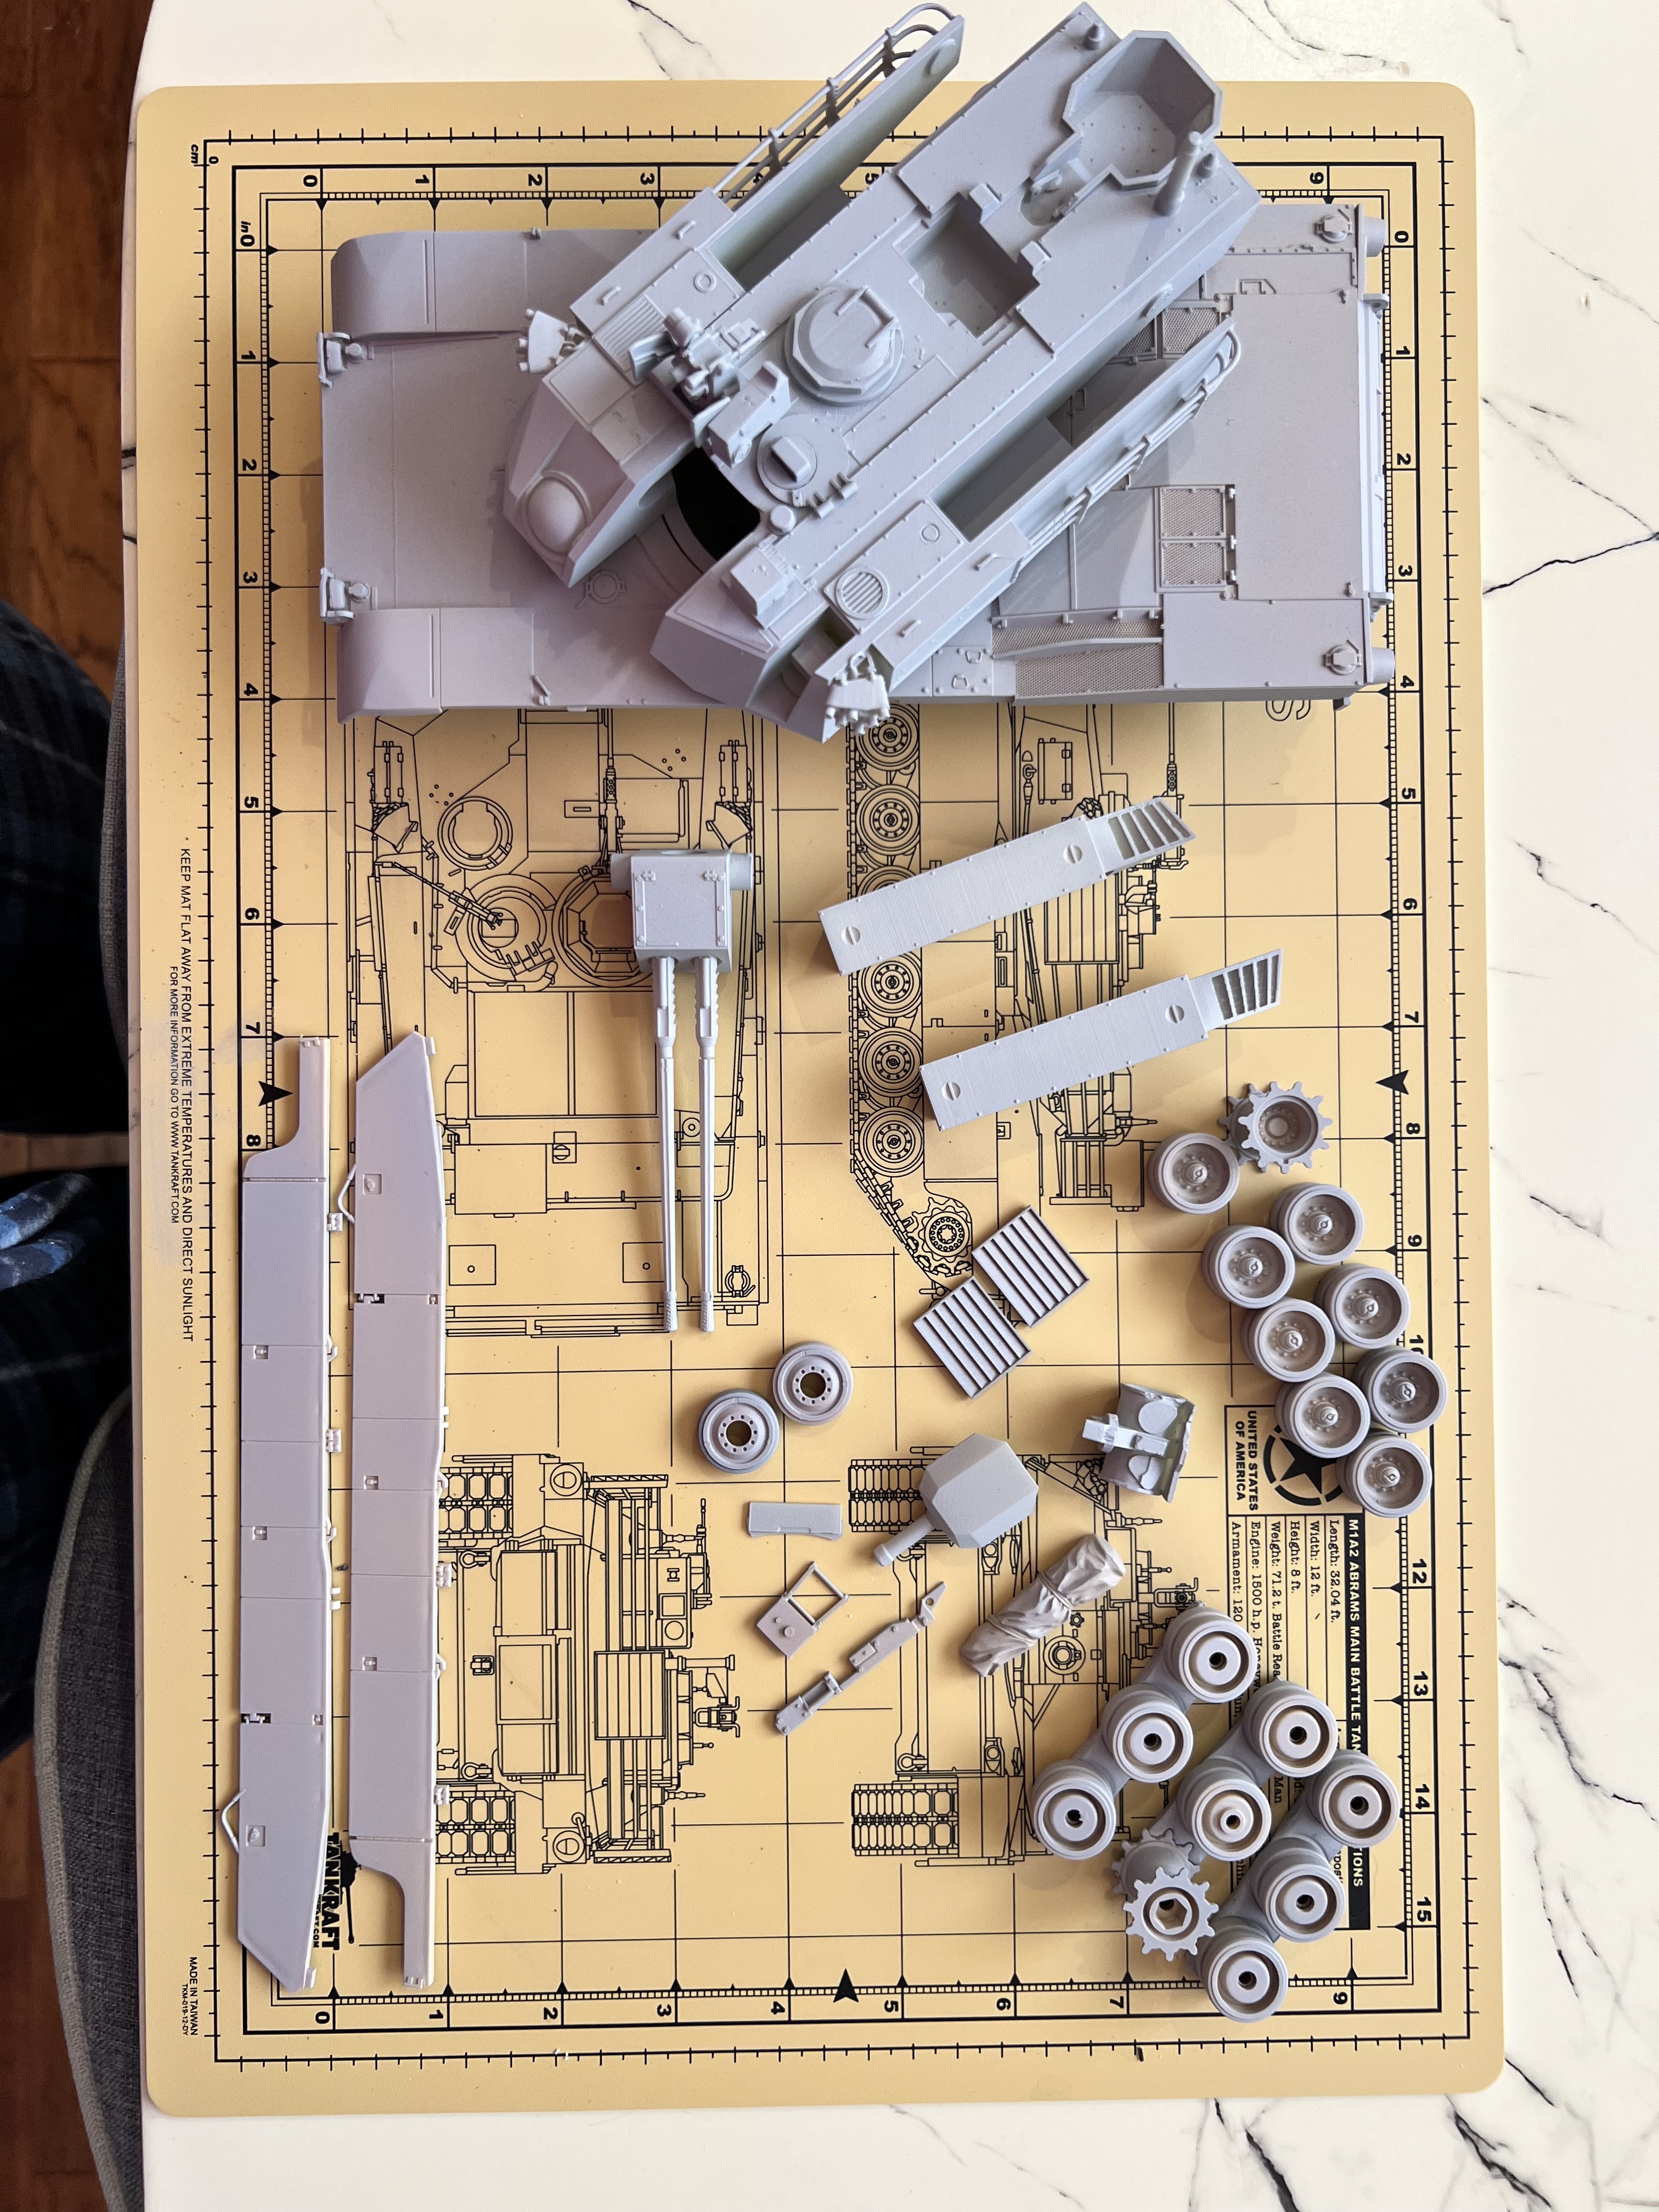
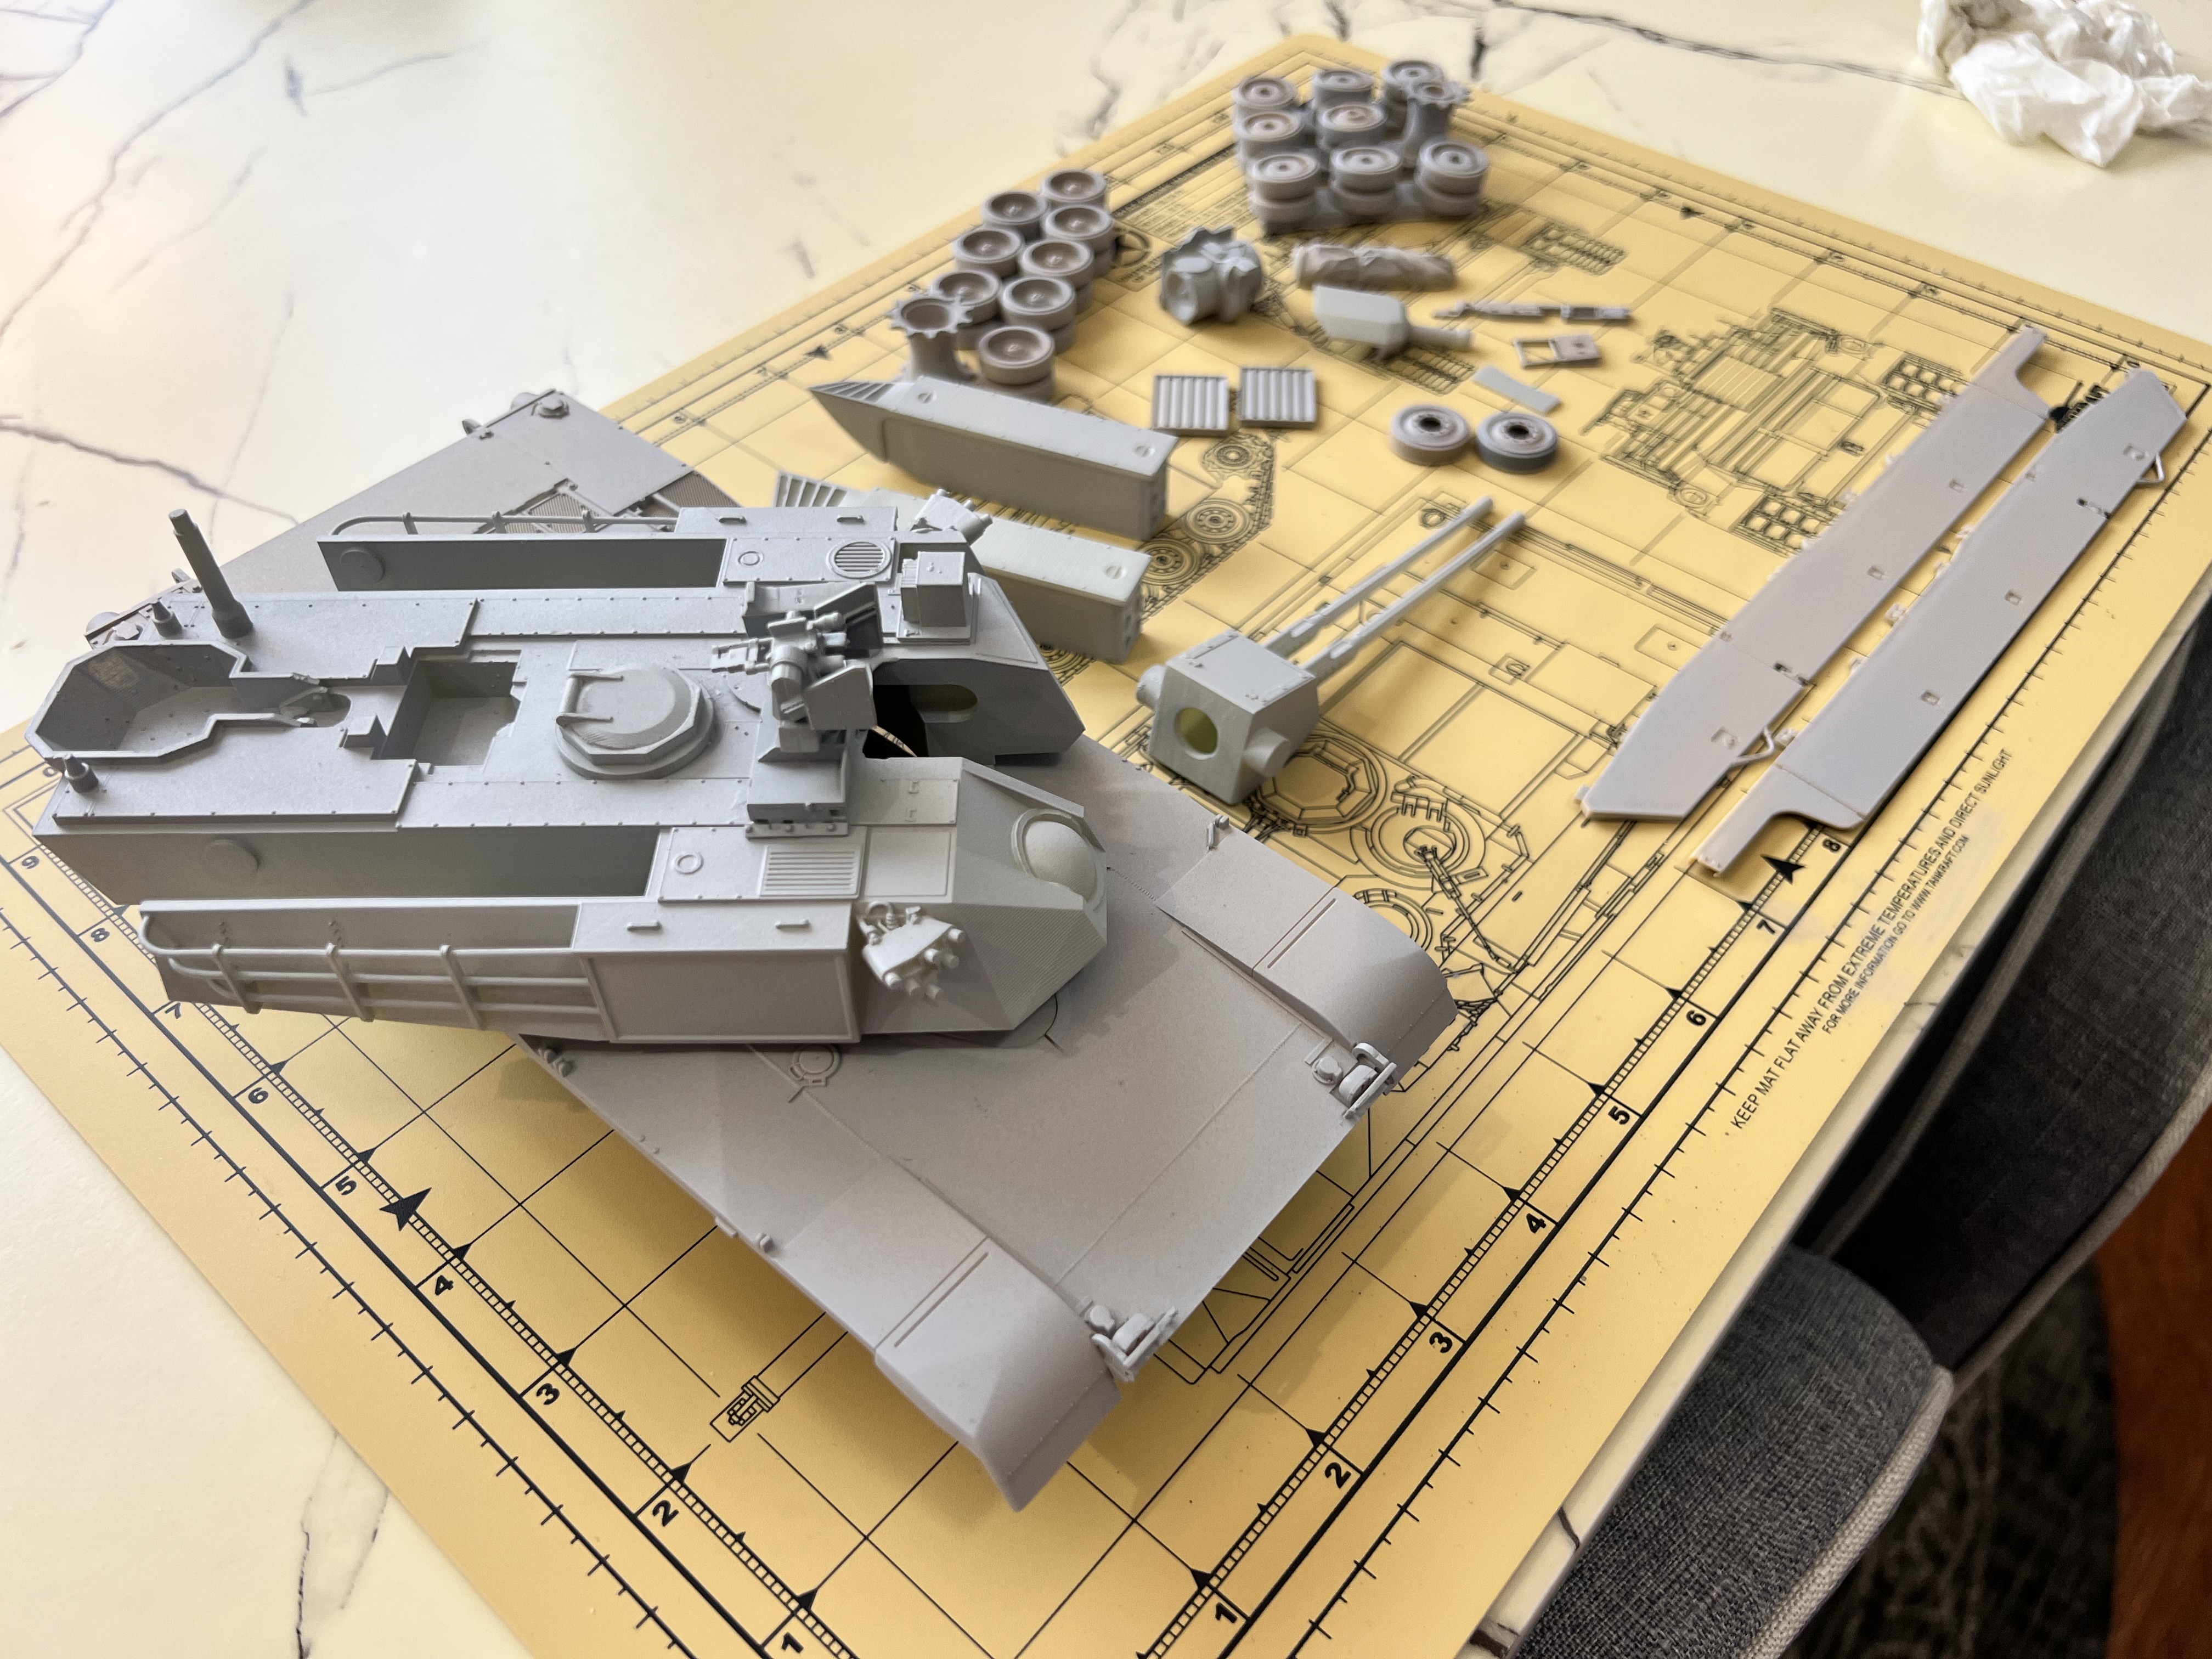
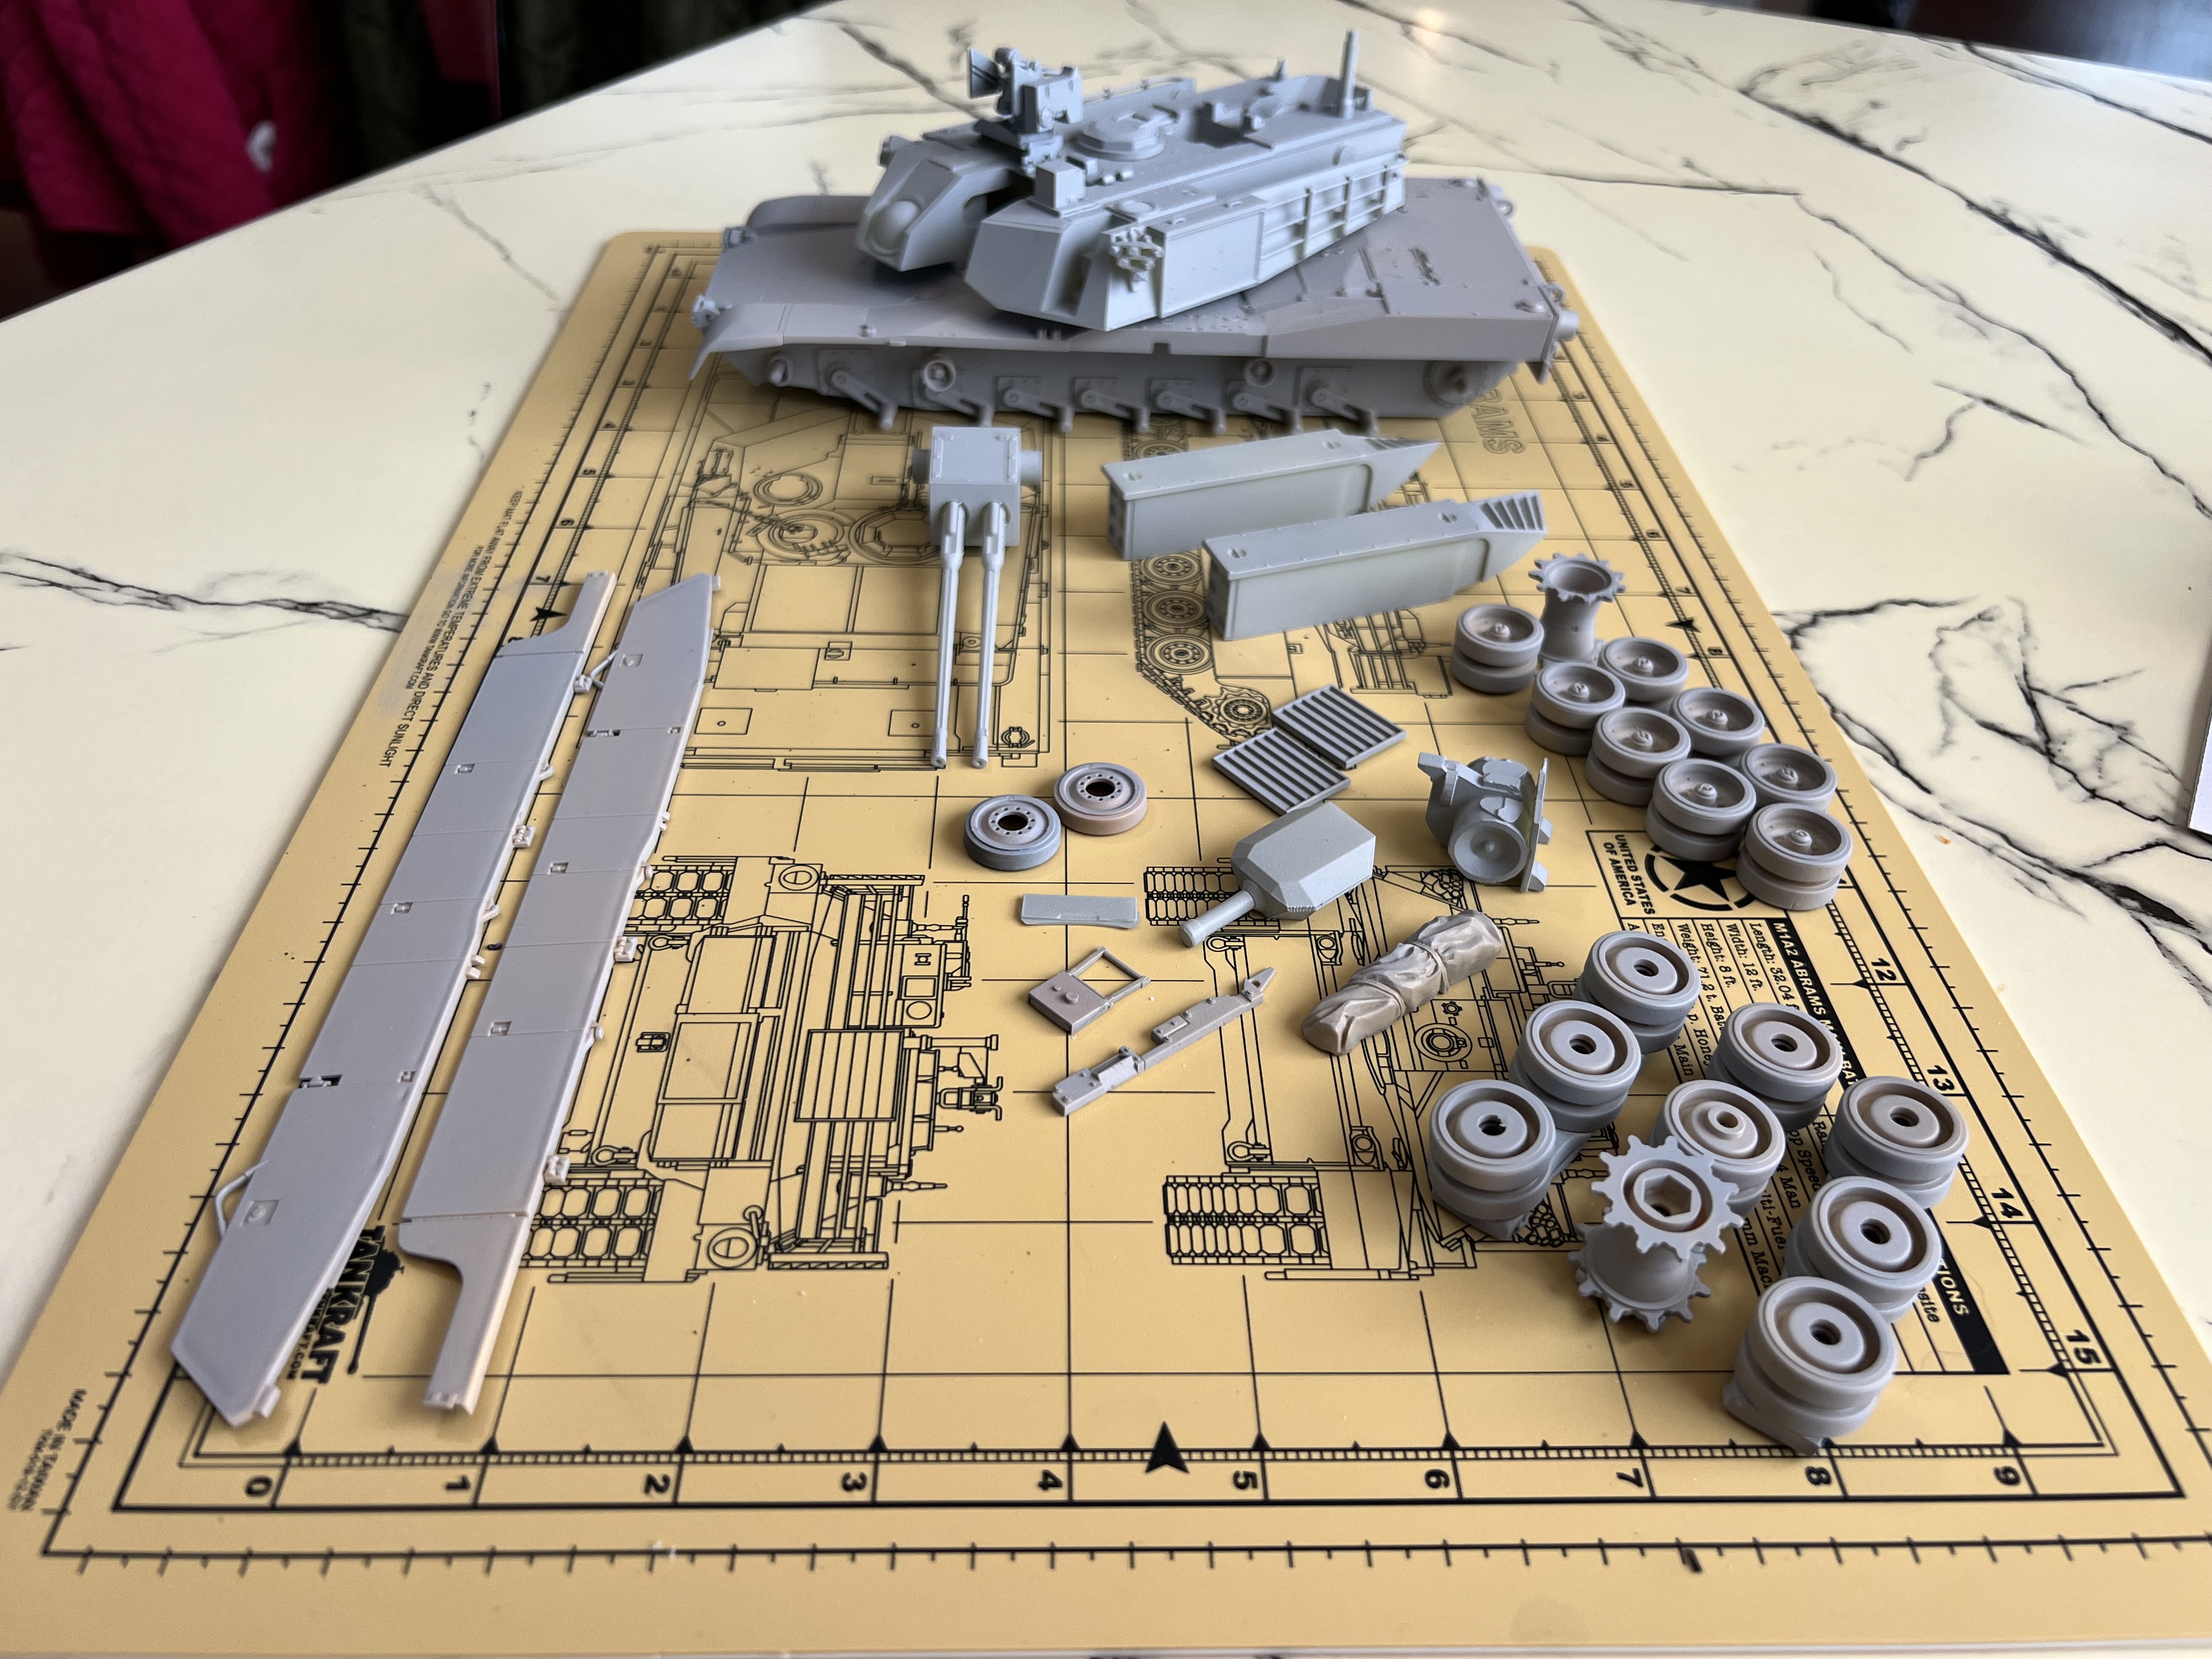
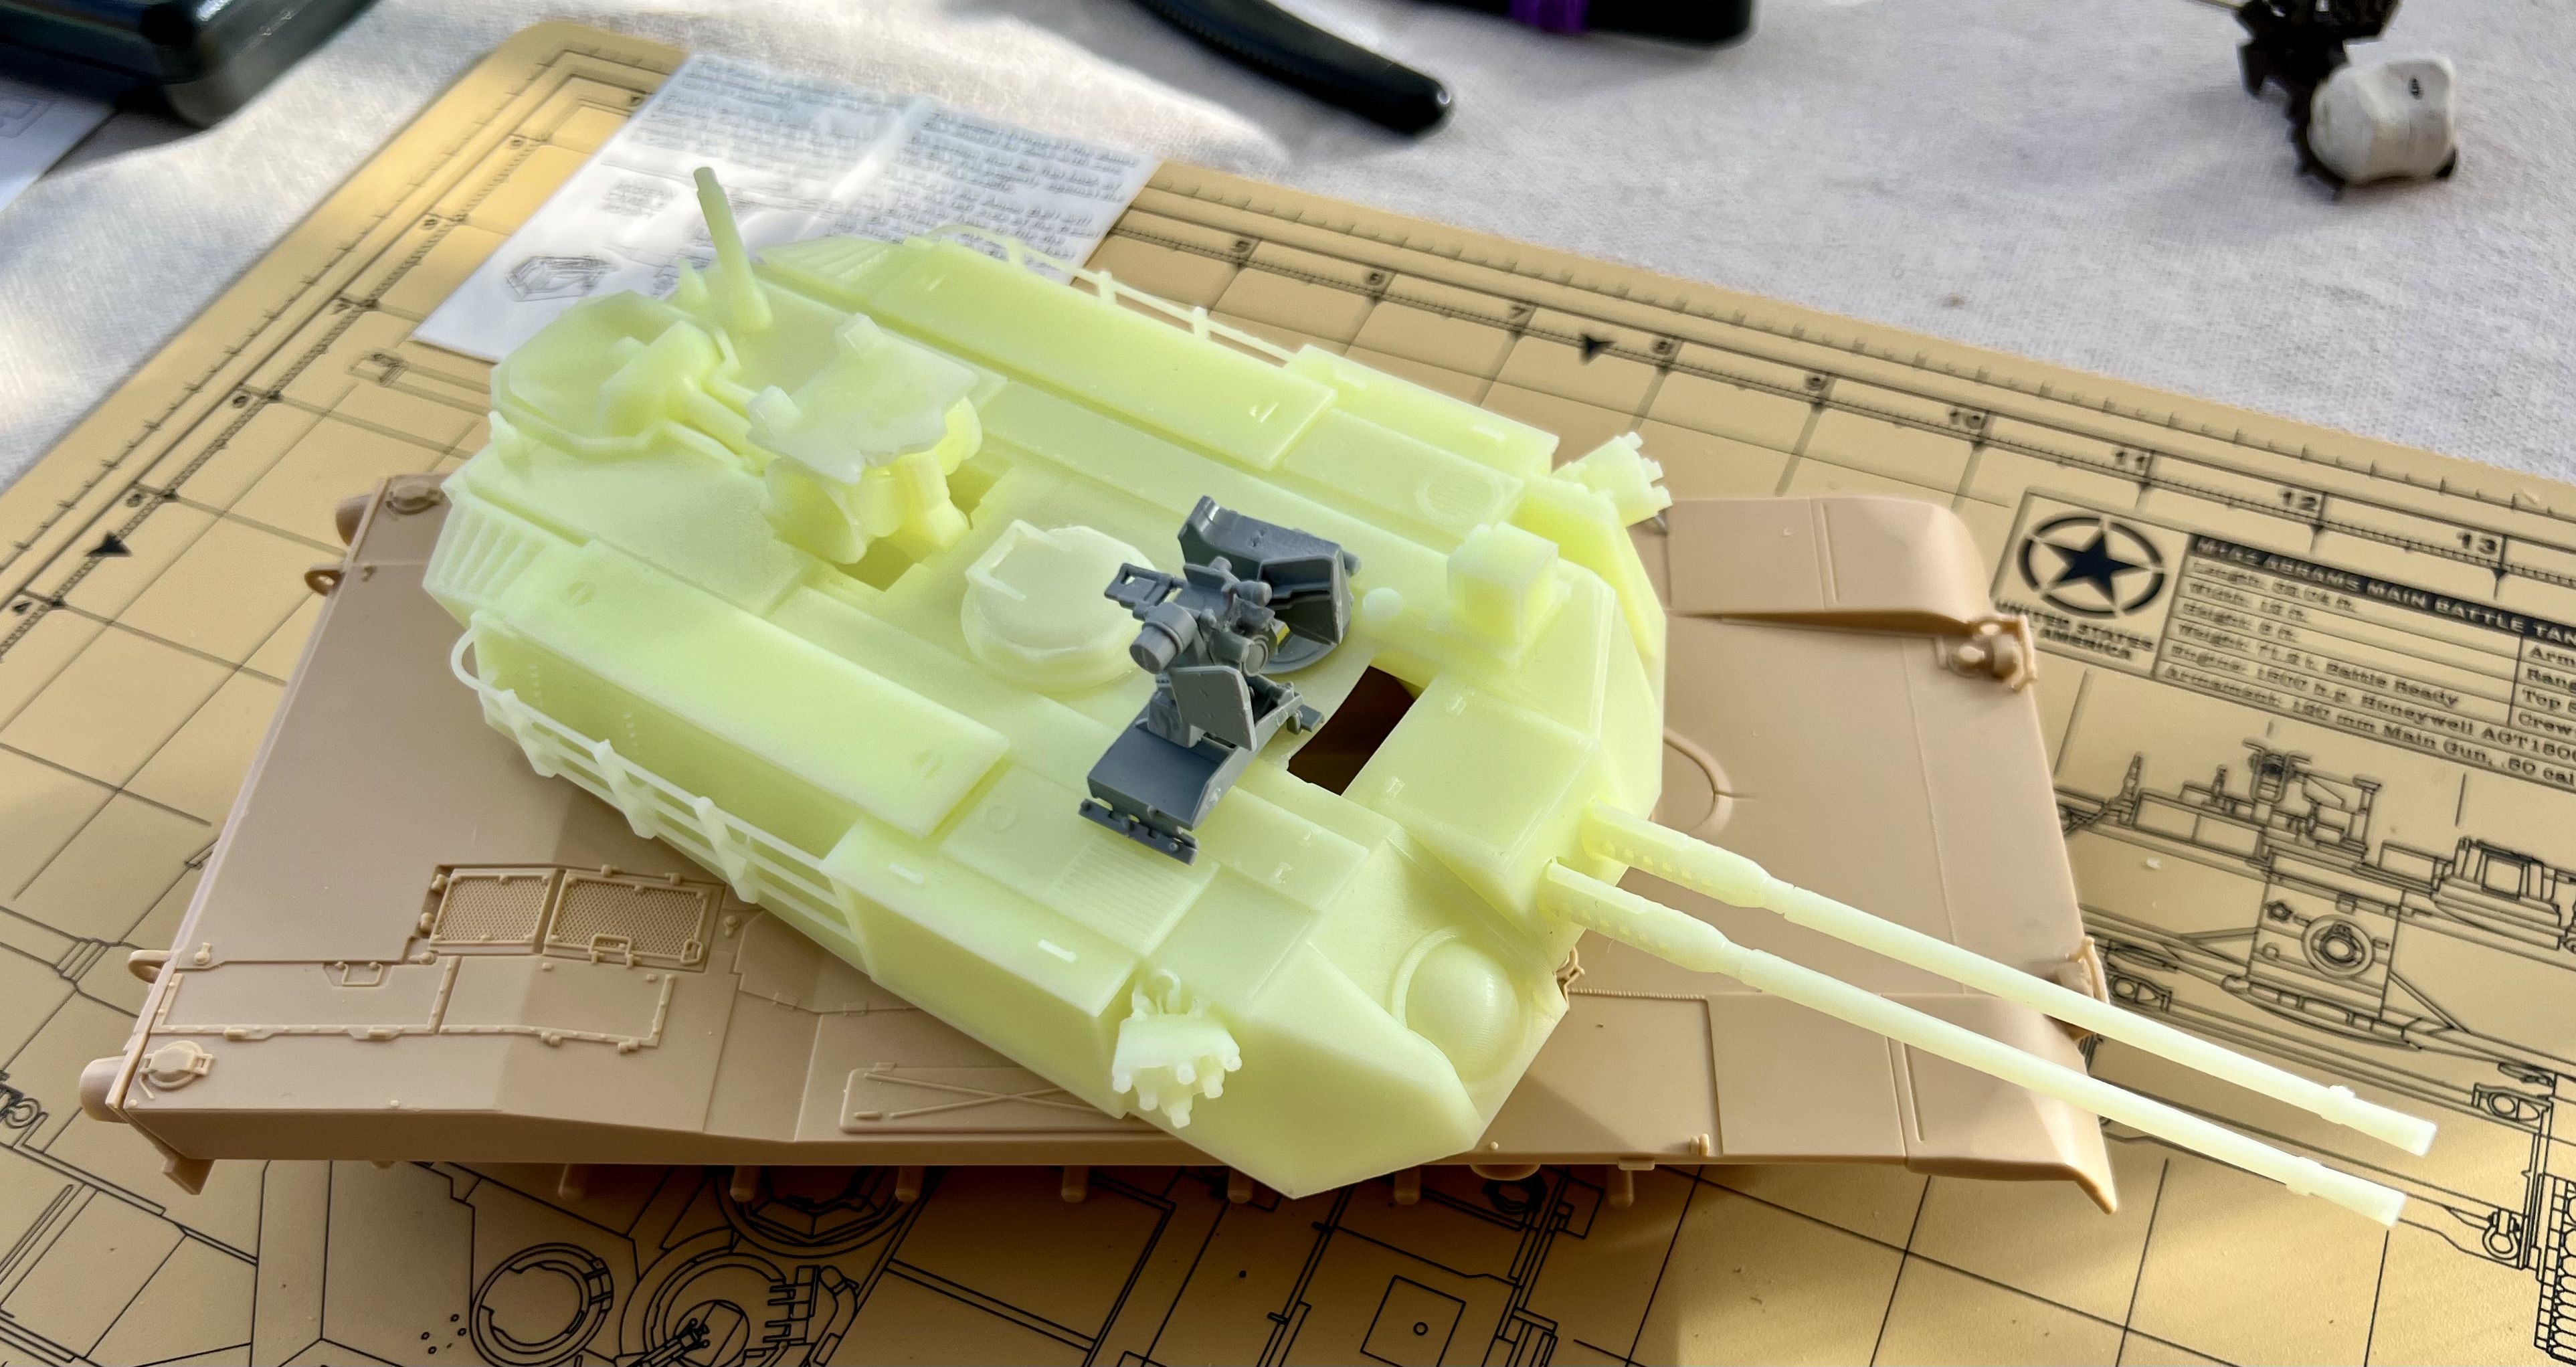
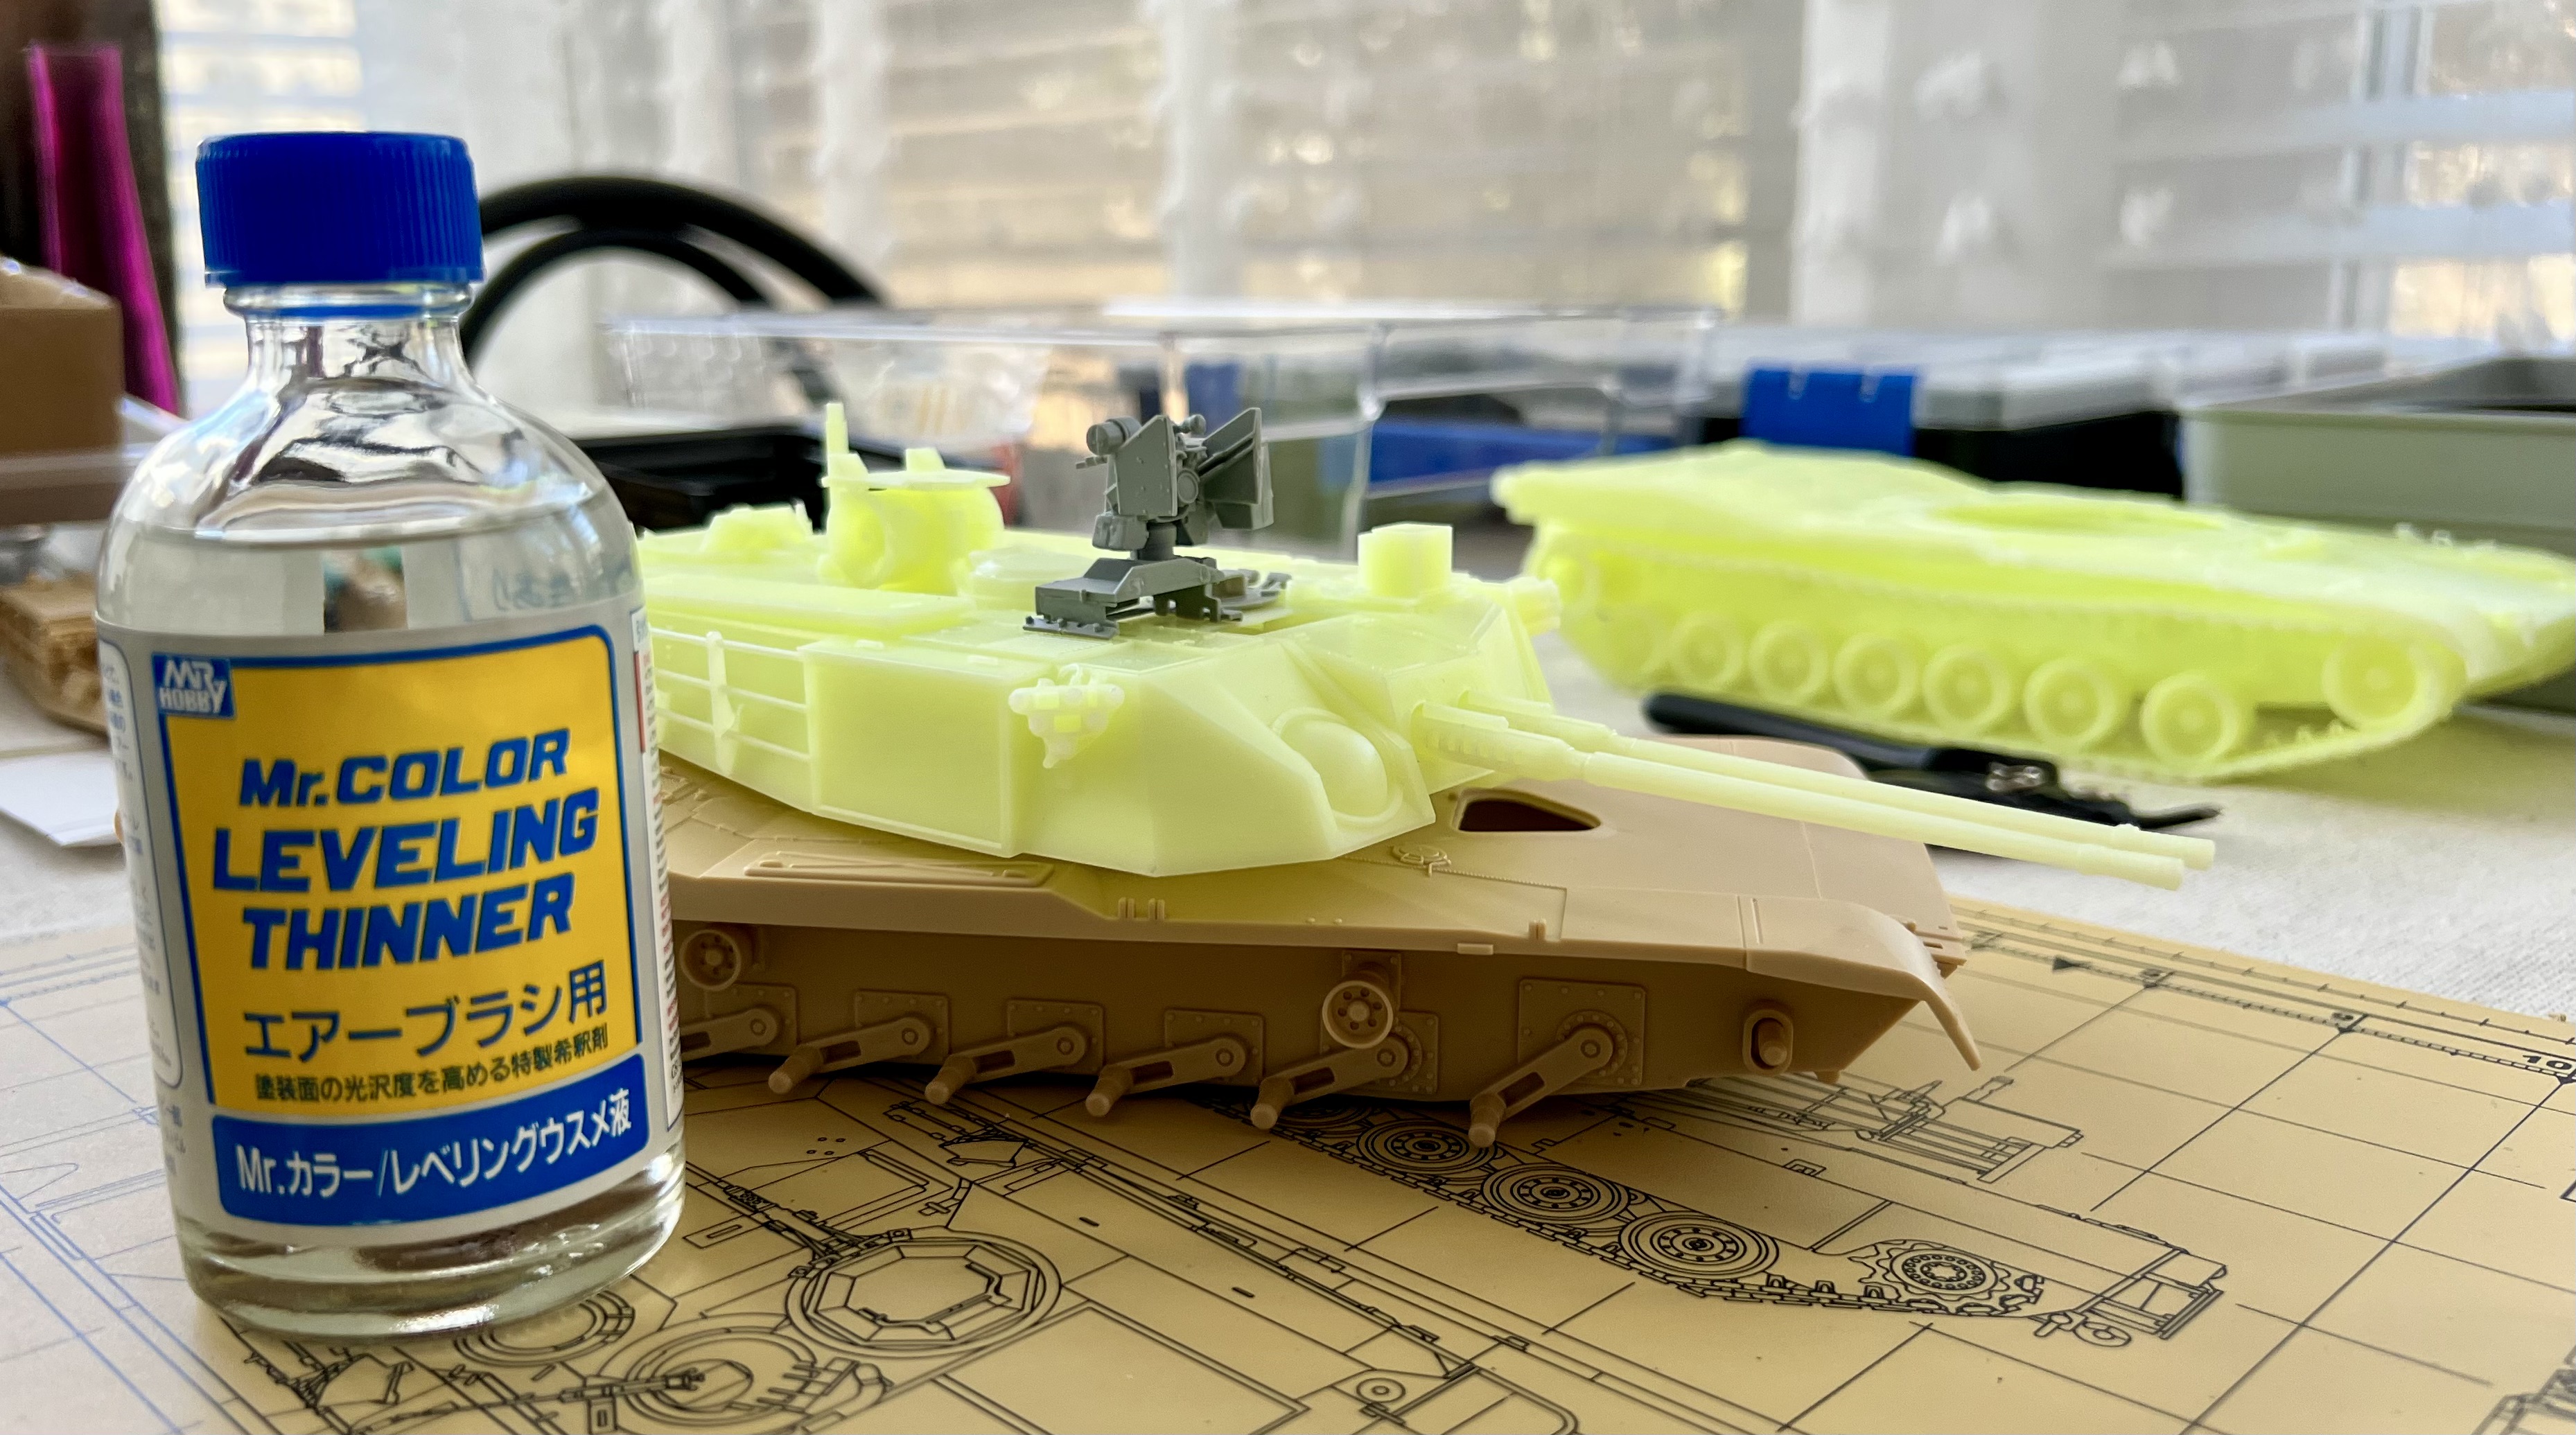
Progress on my Abrams AGDS project (related to the ADATS too!)
Sunroom finally warmed up enough to allow using the AB. Primed the subassemblies with Mr. Surfacer 500 cut with Mr. Color Leveling Thinner at 20 mL of thinner with 10 mL of surfacer (2/1). Took 60 mL to shoot everything seen here.
AGDS turret is a 3DP from BananaTank in China. Hull was not to my liking, so it is a weight on the bench right now.
Hull is from the Academy Minicraft (kit 1345) M1A1. I previously enlarged the hull-side turret ring (or cylinder to some) to 64mm; this allowed dropping the turret straight in.
RWS on turret is from the Dragon (kit 3556) M1A2 SEPv3, along with a few odds and ends.
Kit bashed the gunner’s hatch
will use various modern crew kit and spares from the parts bin to festoon the racks on each side of the turret.
In the future, I think I will paint the wheels on the native sprue, then assemble, smooth, and paint the rubber.
Went looking for metal 35mm Bushmaster III barrels, to no avail.
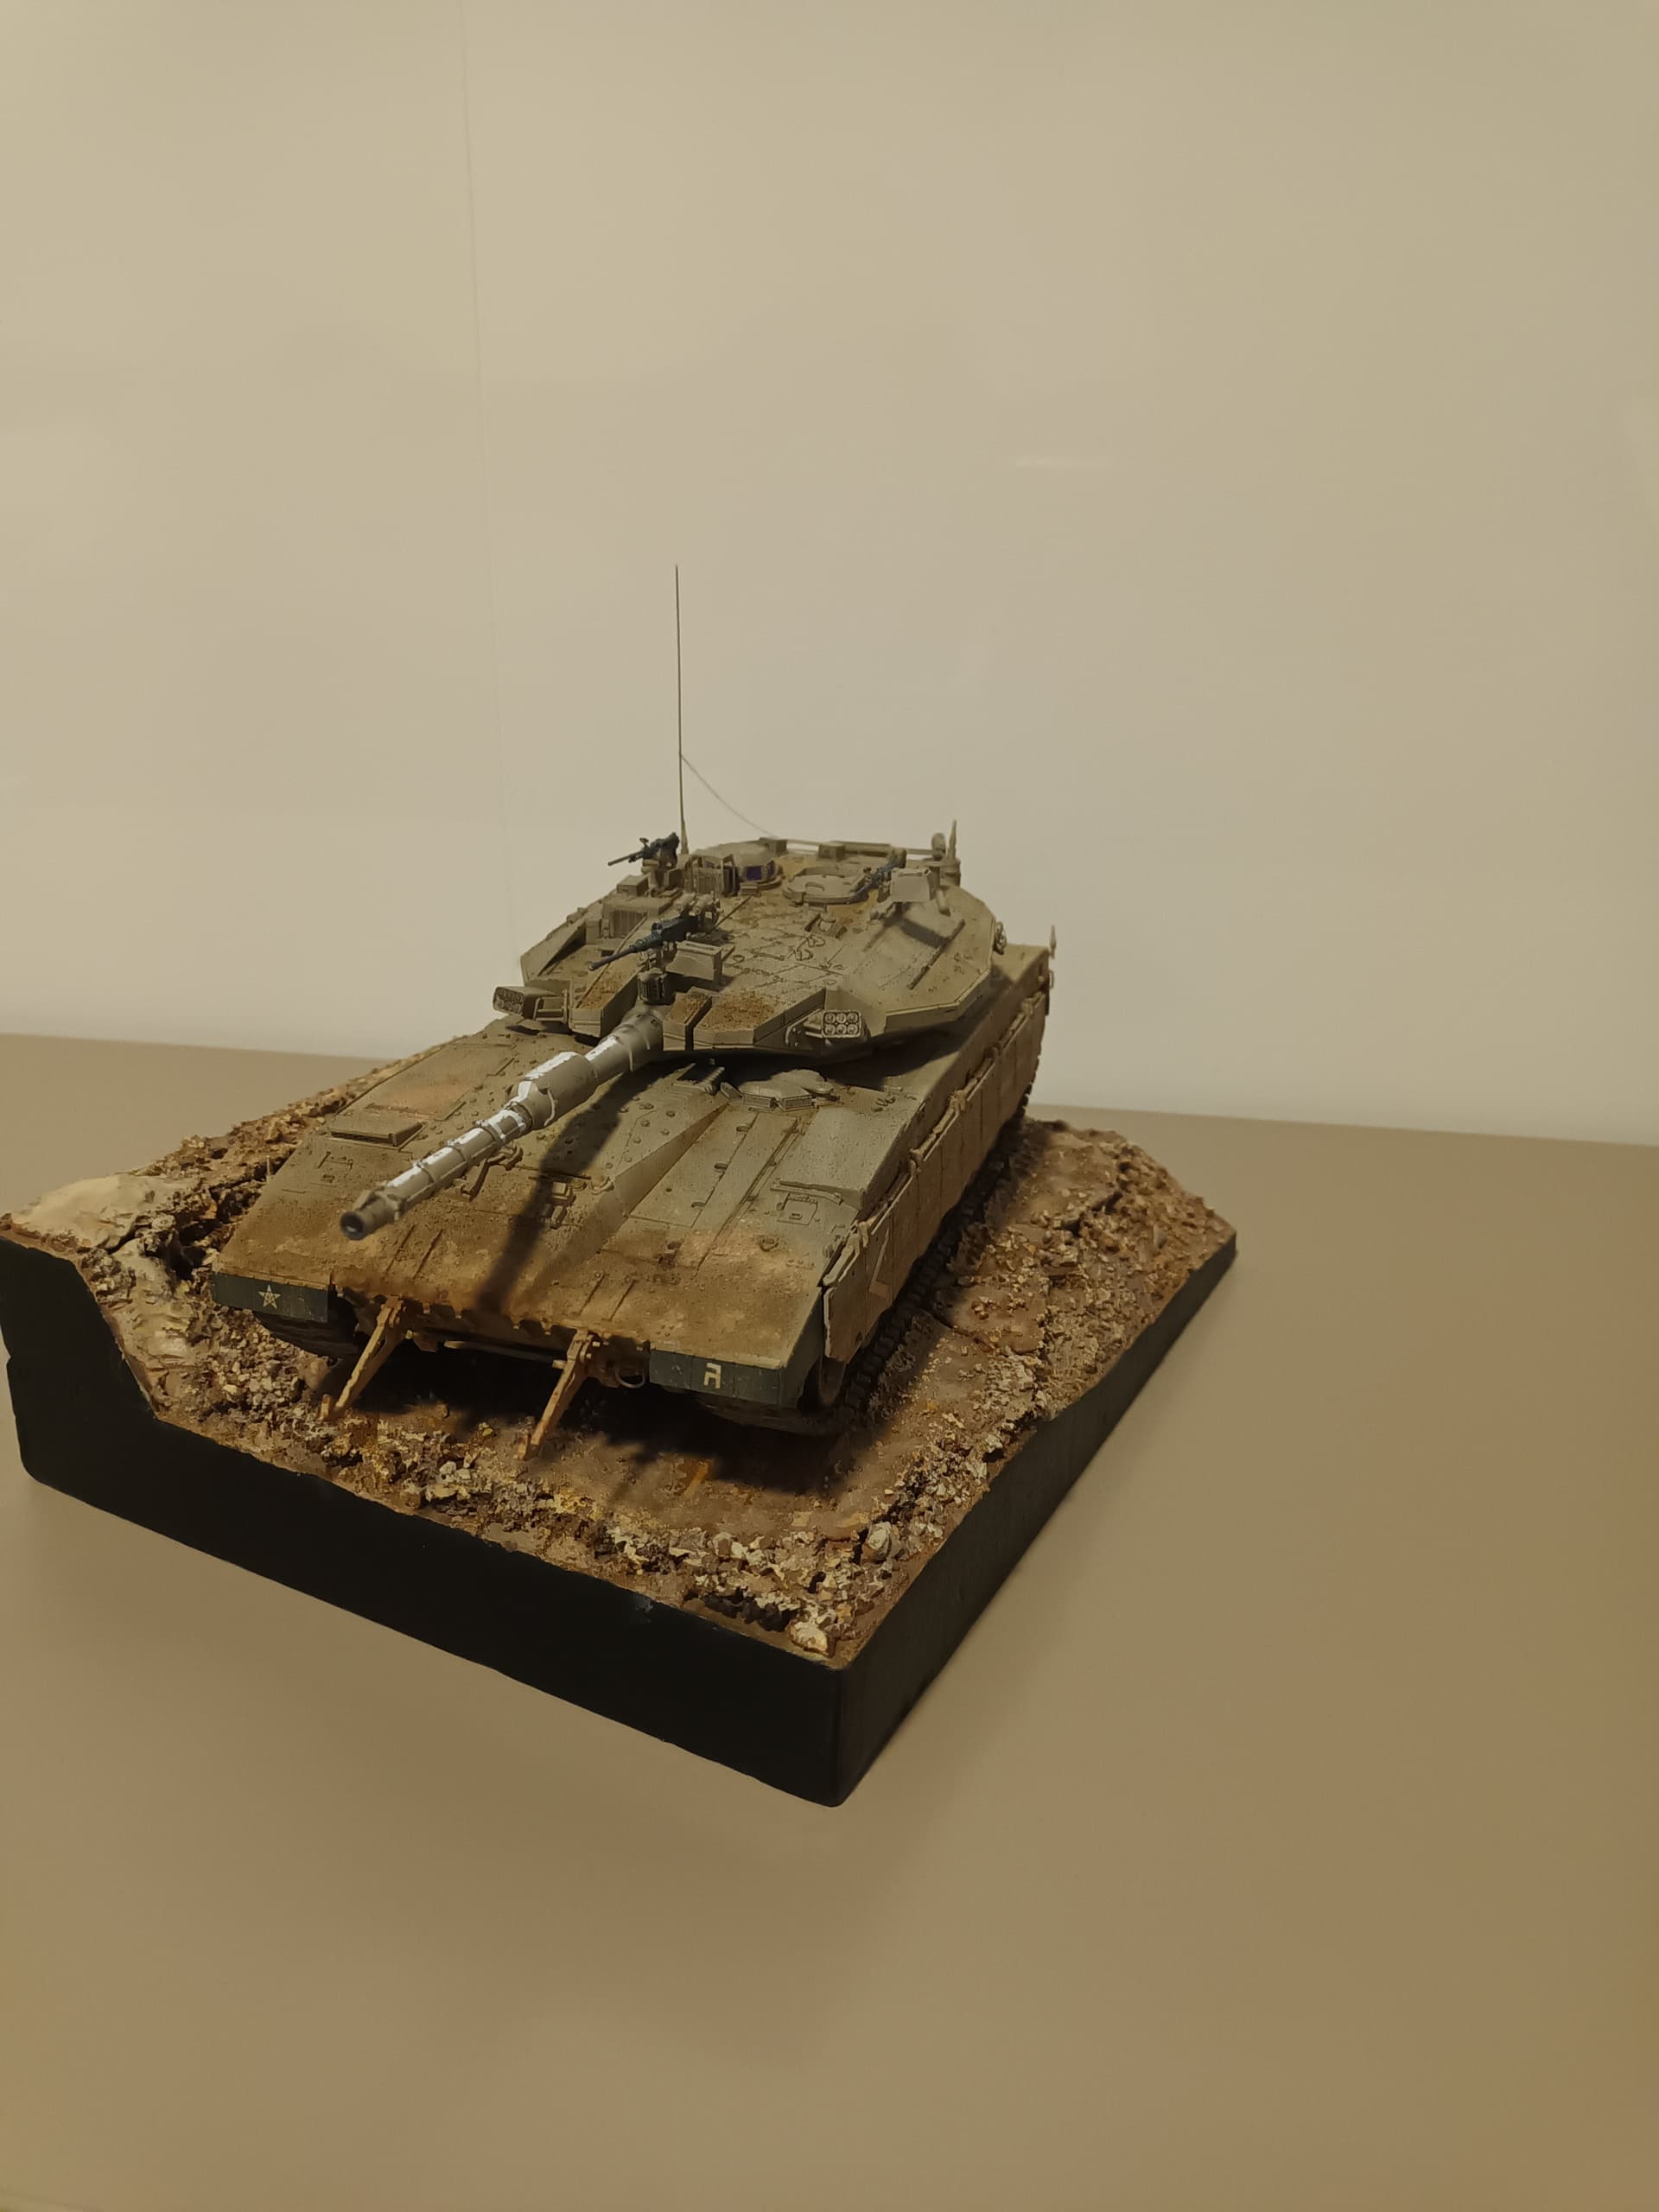
I hope to receive an interesting base this week for our show in a bit over three weeks! Plan is a coat of Bronze Green, now making its way to the field on US vehicles.