How do those 1 piece tracks fit around the road wheels? Is the track flexible enough to bend it around, then fix the idler and drive sprocket in place?
1 Like
Why did you strip the paint off, Ryan. Didn’t you like the Green?
2 Likes
It wasn’t the mixed green I disliked but the gloss was not even (orange peel maybe) and in some areas I had bumps (paint drying before hitting the plastic). The paint didn’t lay down to my satisfaction. I had tired to fix it with sanding and a second coat but was still not to my liking. I picked up a can of Tamiya racing green so hopefully after another primer coat I can finish this project.
6 Likes
For me, installing the inner road wheels and then dropping the idler and sprocket on their mounts works best. Then the outer road wheels are installed.
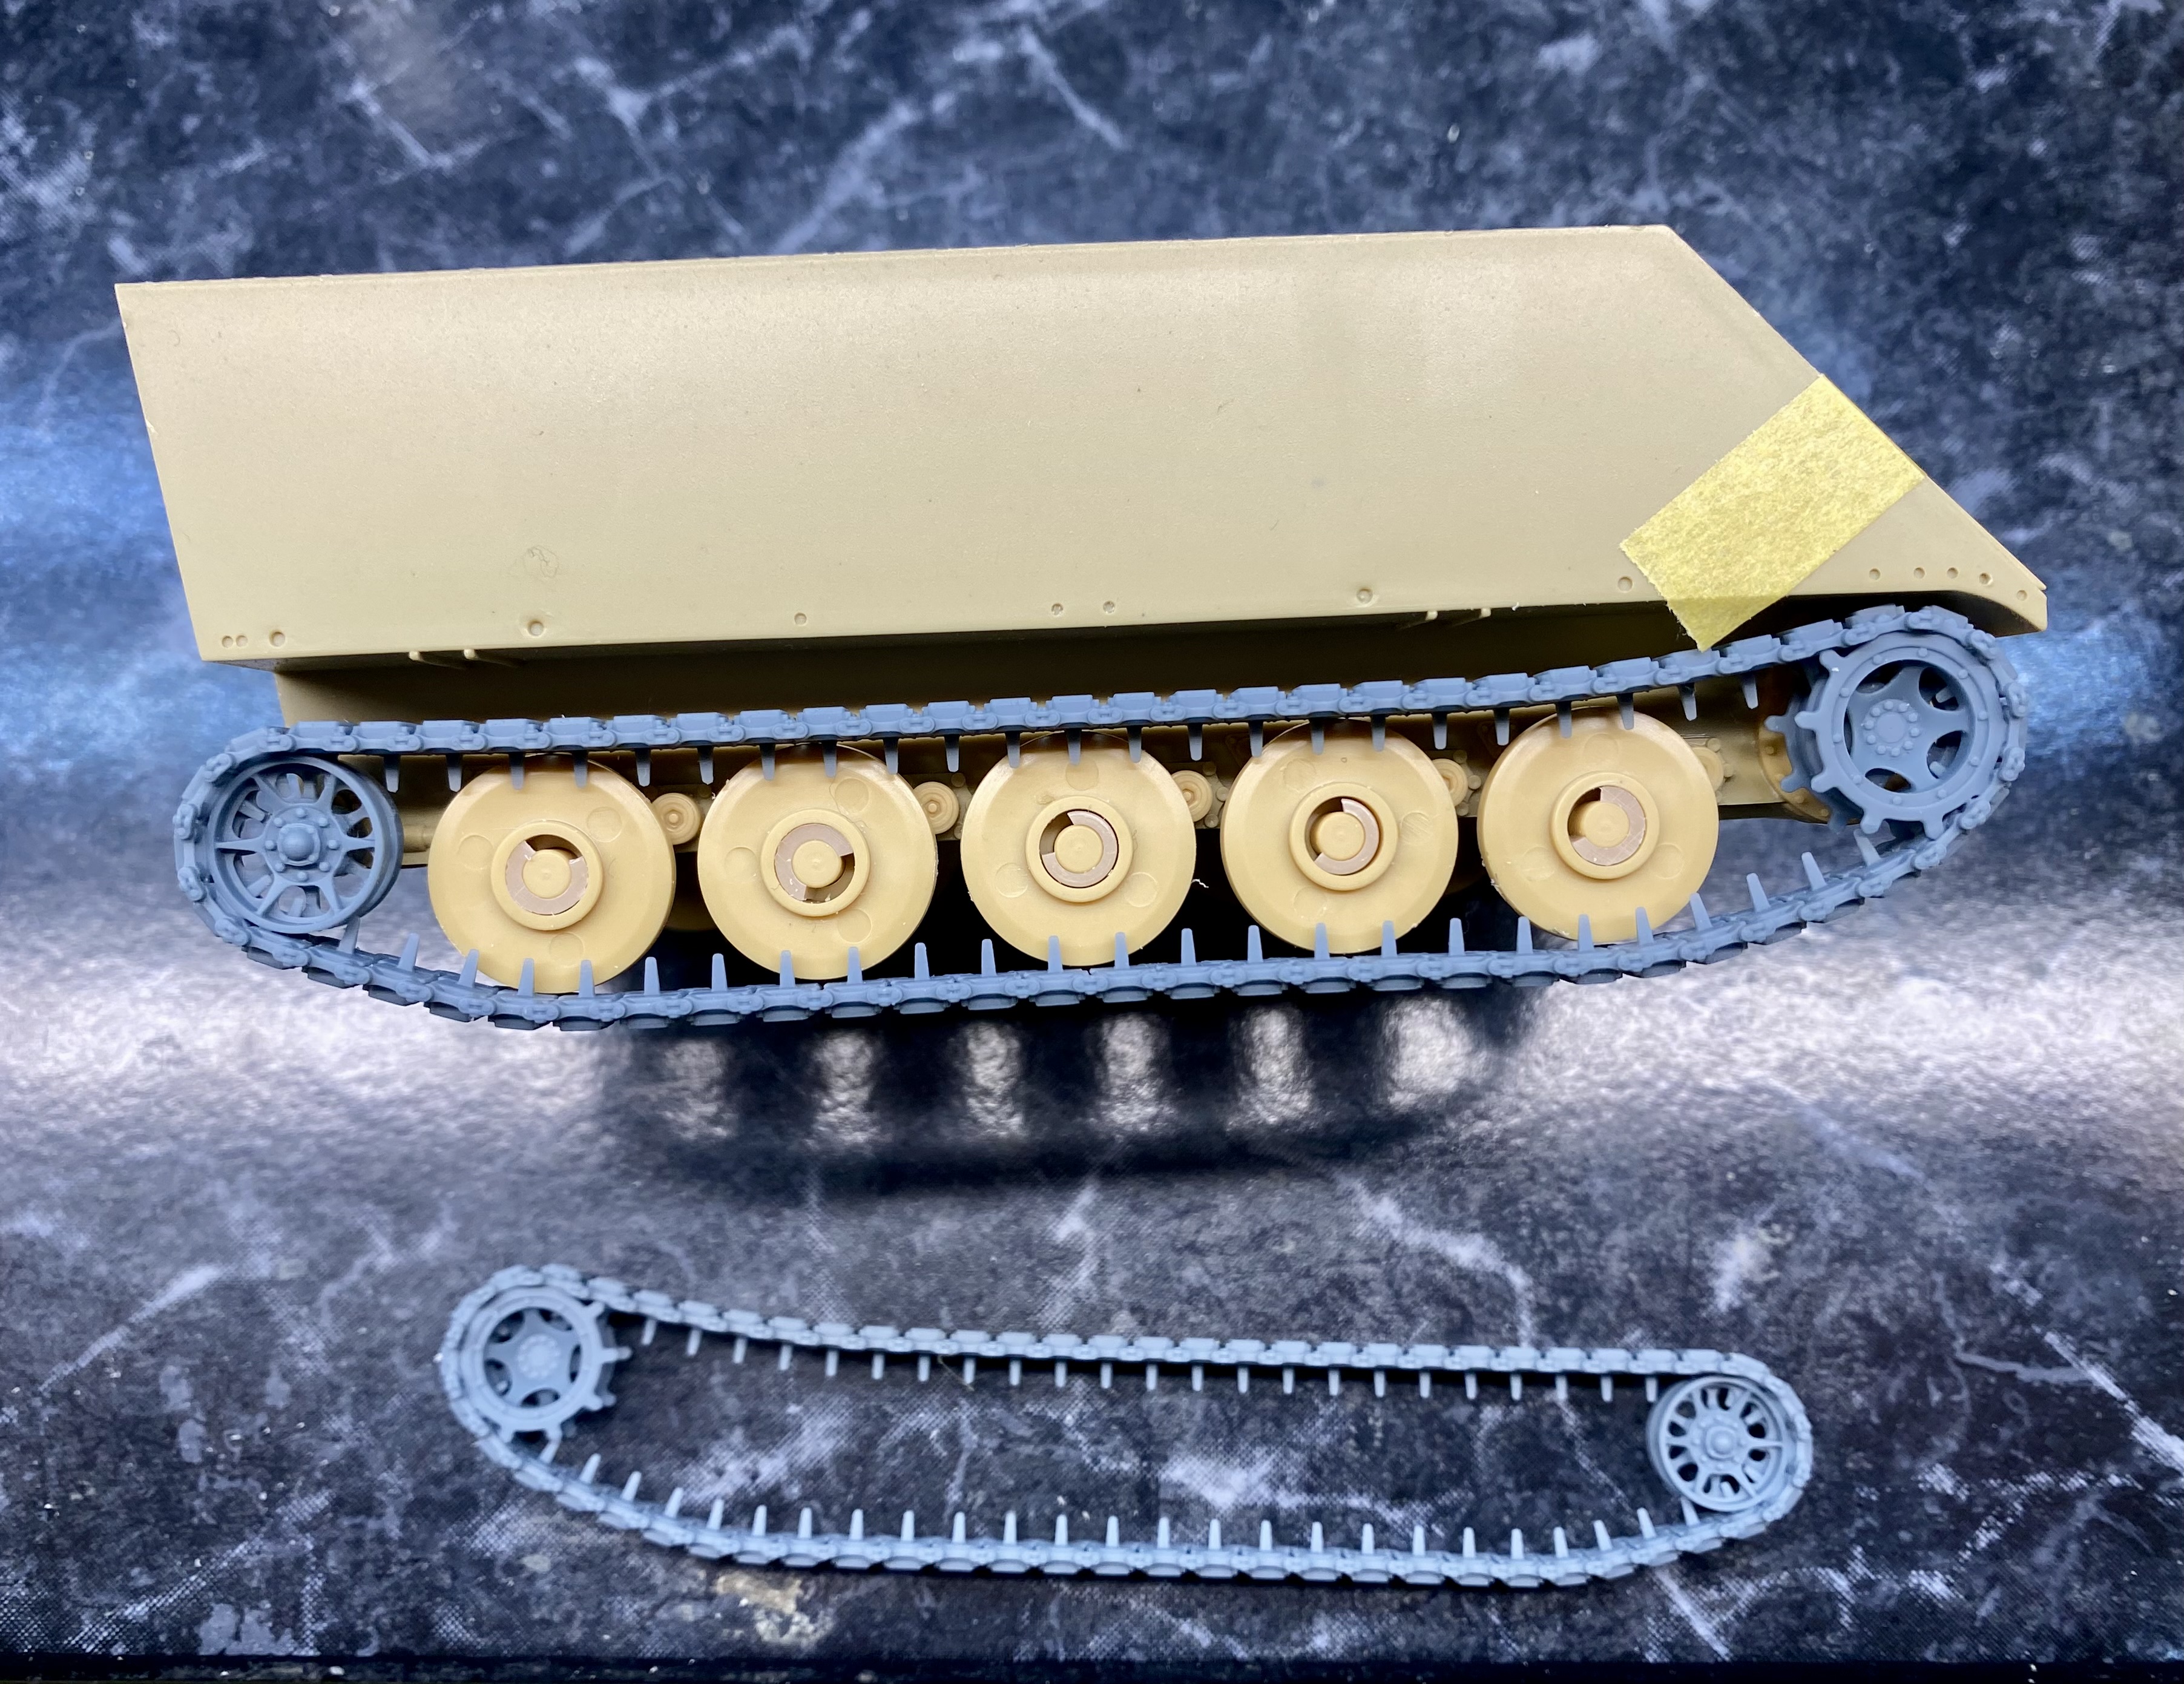
Maybe, if there was enough clearance, the tracks/guide teeth could be stretched over the assembled road wheels, but I dunno.
11 Likes
Good info Al, I’ve taken a screenshot and will put it my notes file ![]() Thinks, maybe in an M113 kit box would be safer.
Thinks, maybe in an M113 kit box would be safer.
2 Likes
Makes sense, actually. Most road wheels are indeed in multiple parts, so that should work fine. I will have to find a good 3D printed track set for my StuG III G (late), since the link and length tracks are being difficult with me.
1 Like
I have started a very secret project today .

Myself and a Buddy from the club took the same two basic kits for a kitbashing build, and everyone can do that in his own way…
5 Likes
Yes, if you have any wingy things I could use a smile ![]() lol
lol
Joe
1 Like
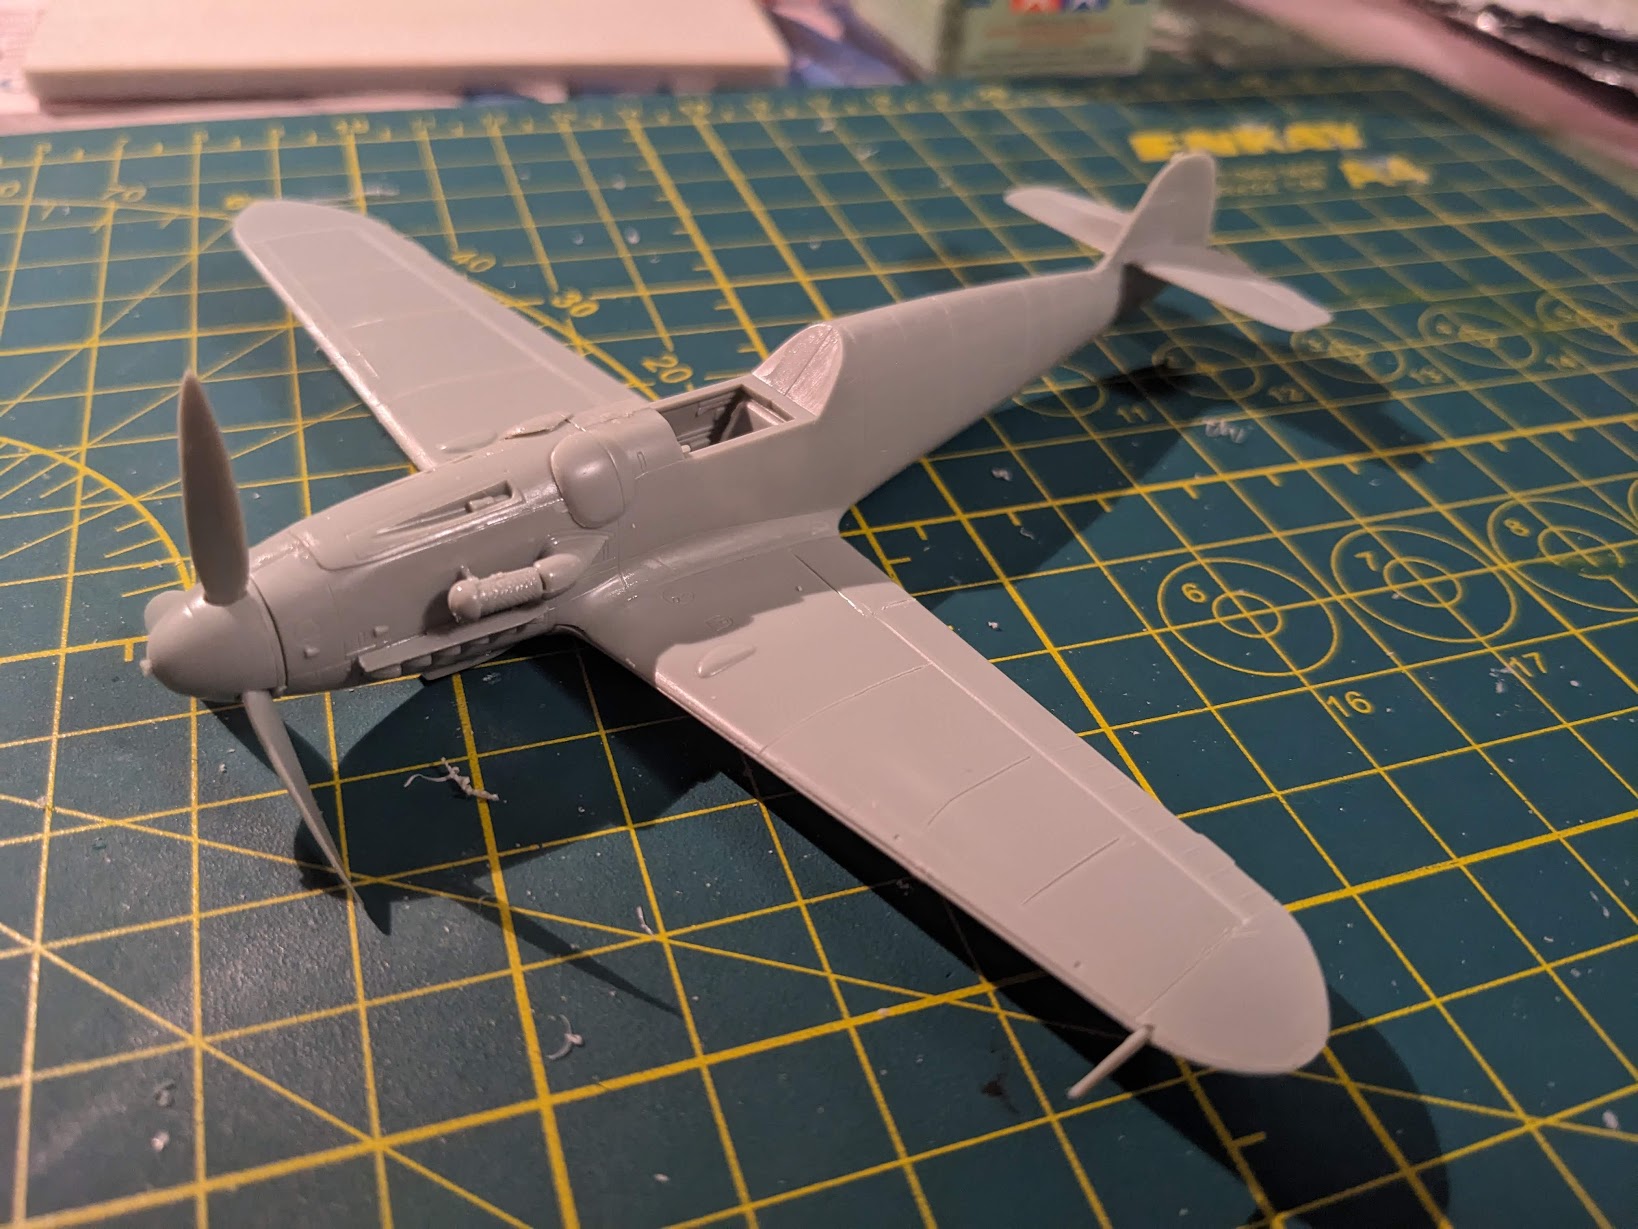
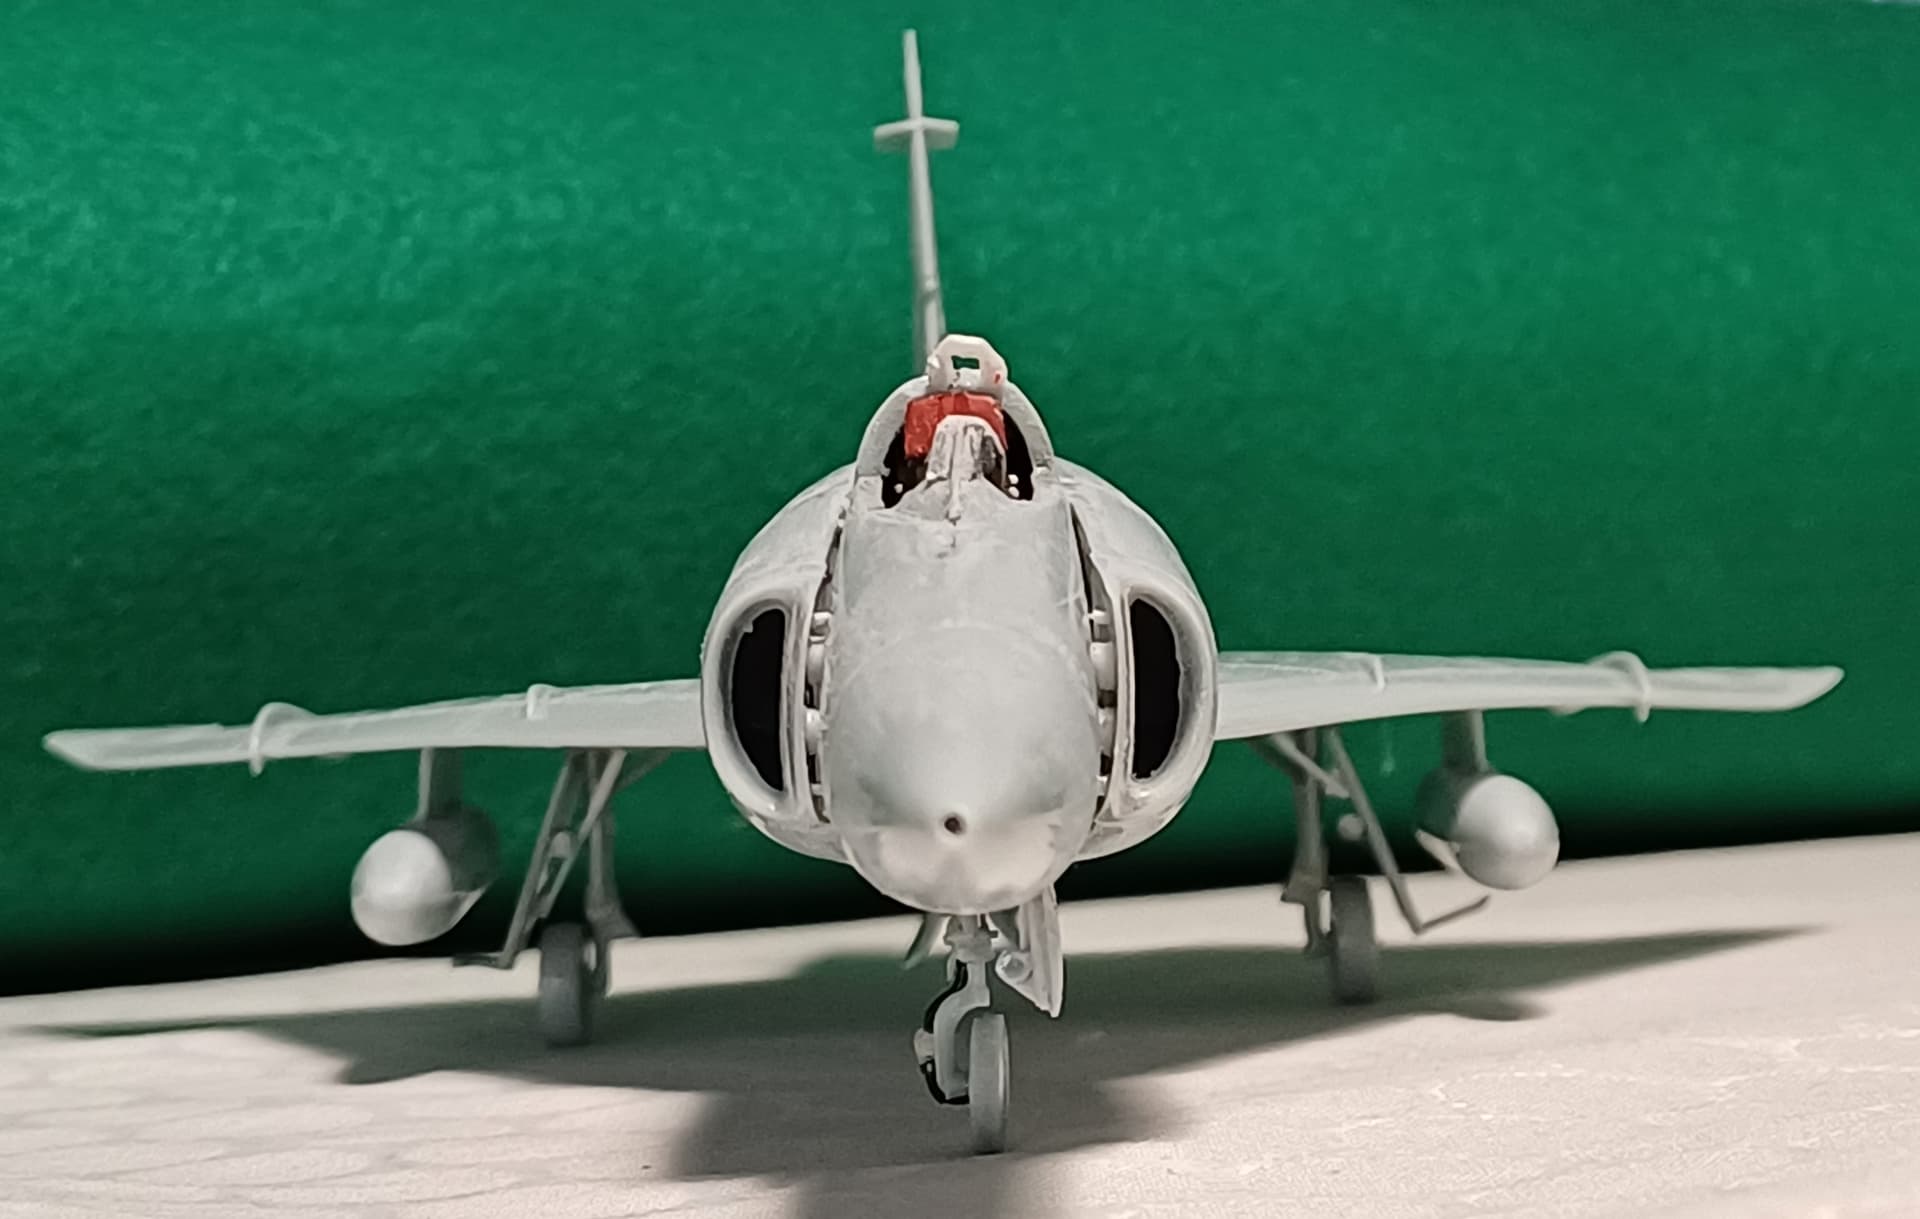
Started my next build Eduard FW190 F-8. Their older discontinued kit. I started a build log on aeroscale

Joe
13 Likes
I changed gears and decided to pick my Academy 1/72 Bf-109 G6 which I had started a while back. The kit is pretty nice so far, and any issues are due to my own mistakes. I did accidentally glue the propeller down, so oh well.
11 Likes
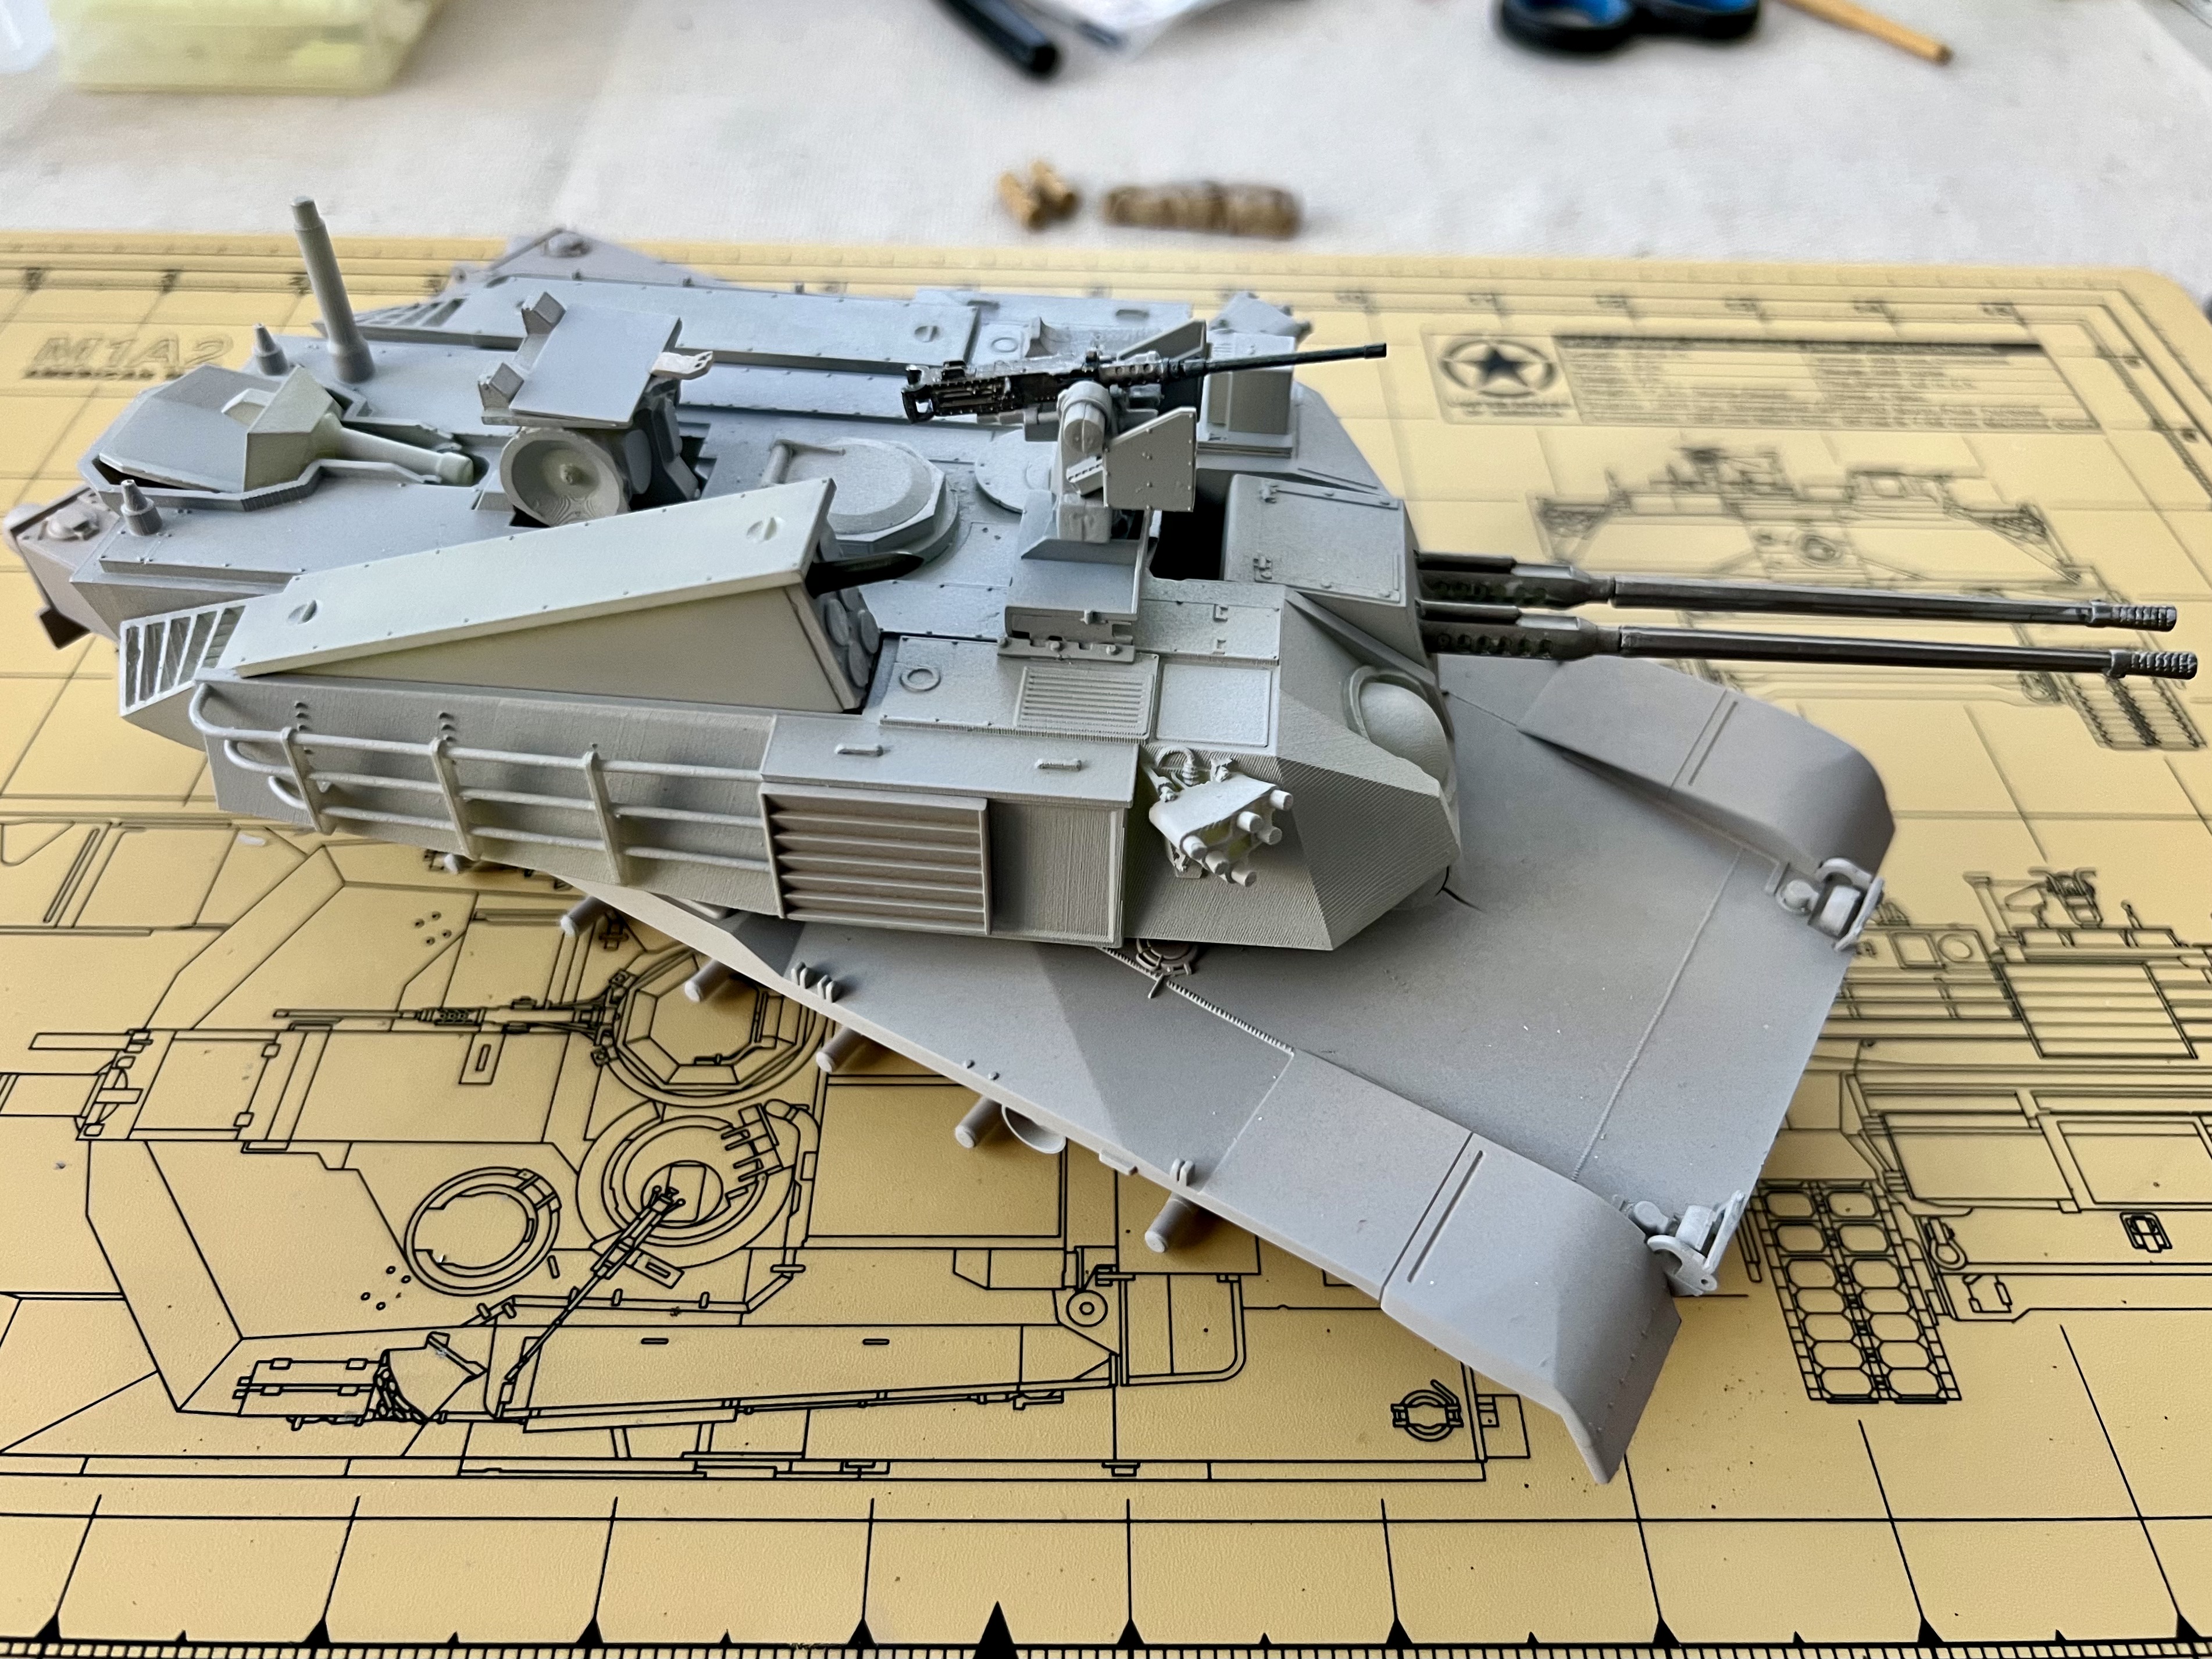
Primed again.

But not without challenges.
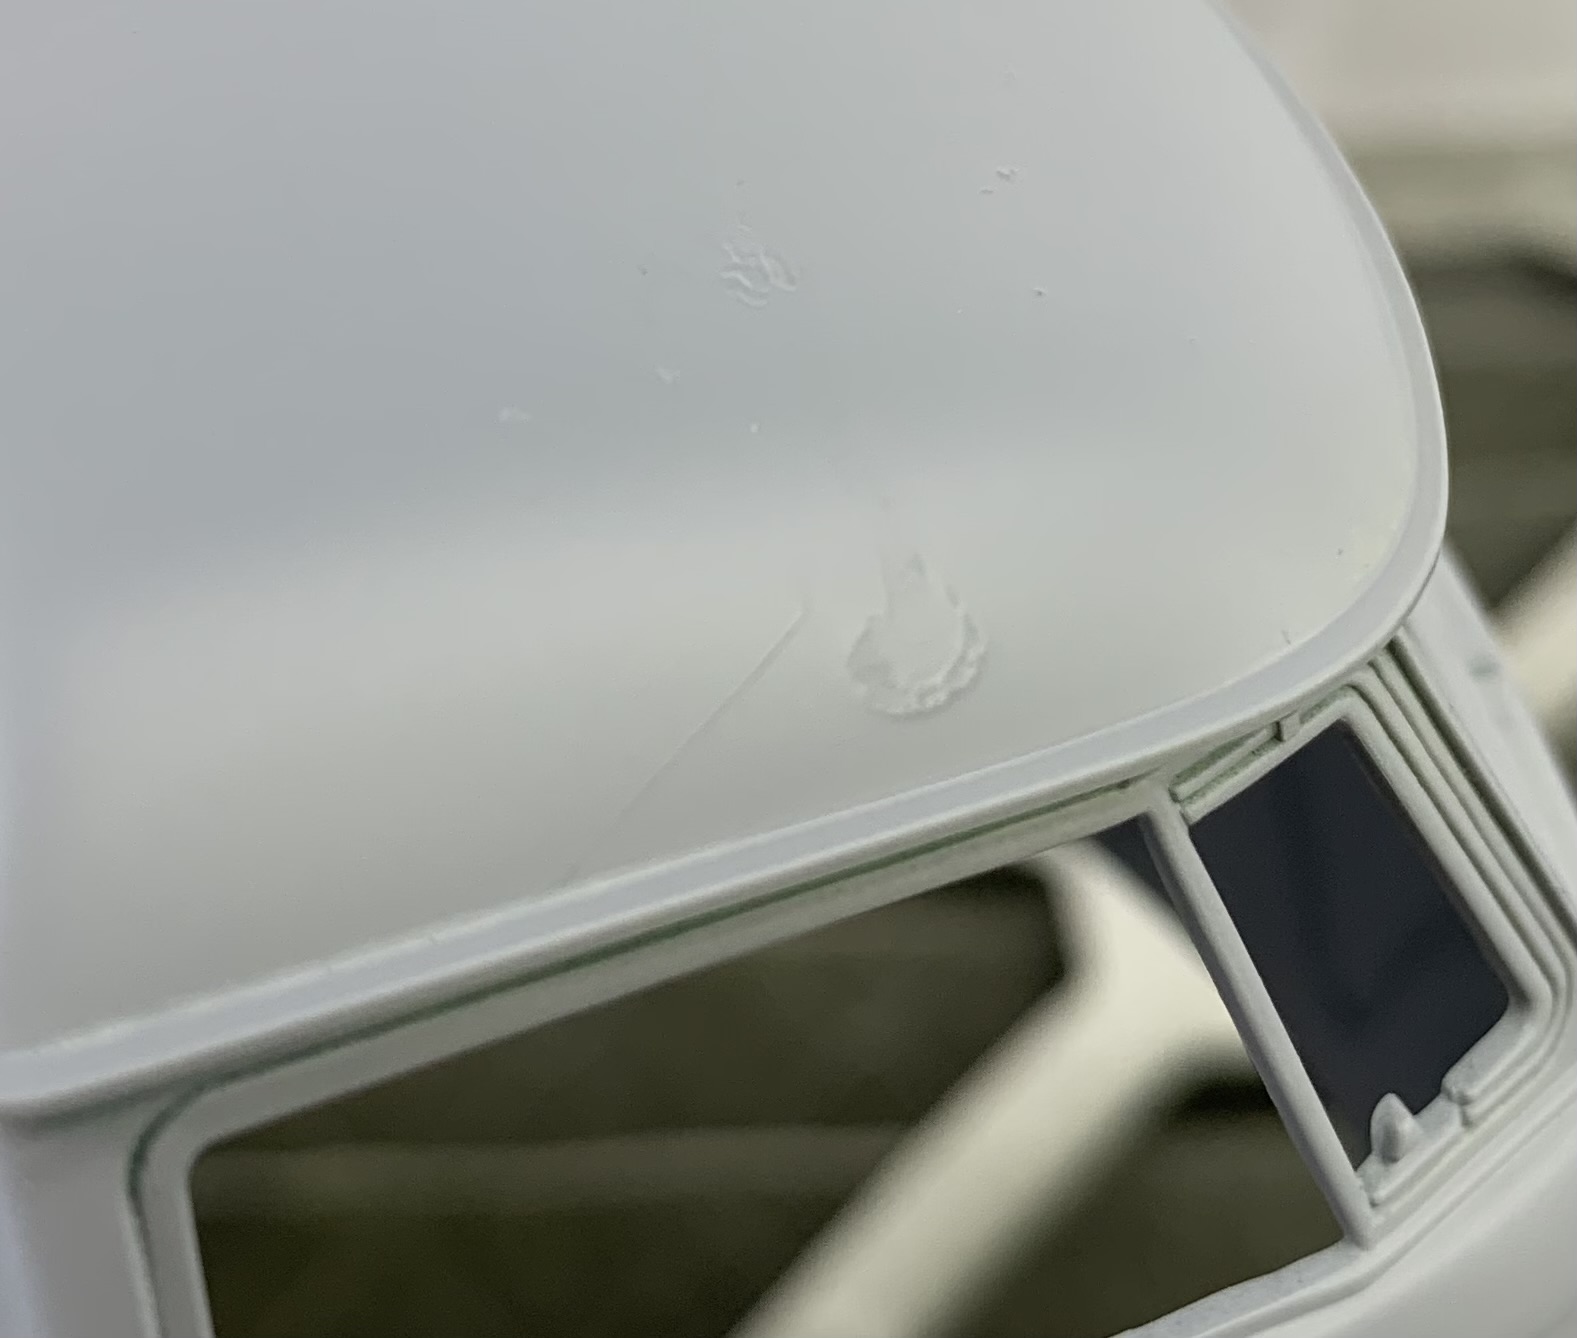
A little wet sanding is needed and hopefully nothing else to be found before paint.
13 Likes
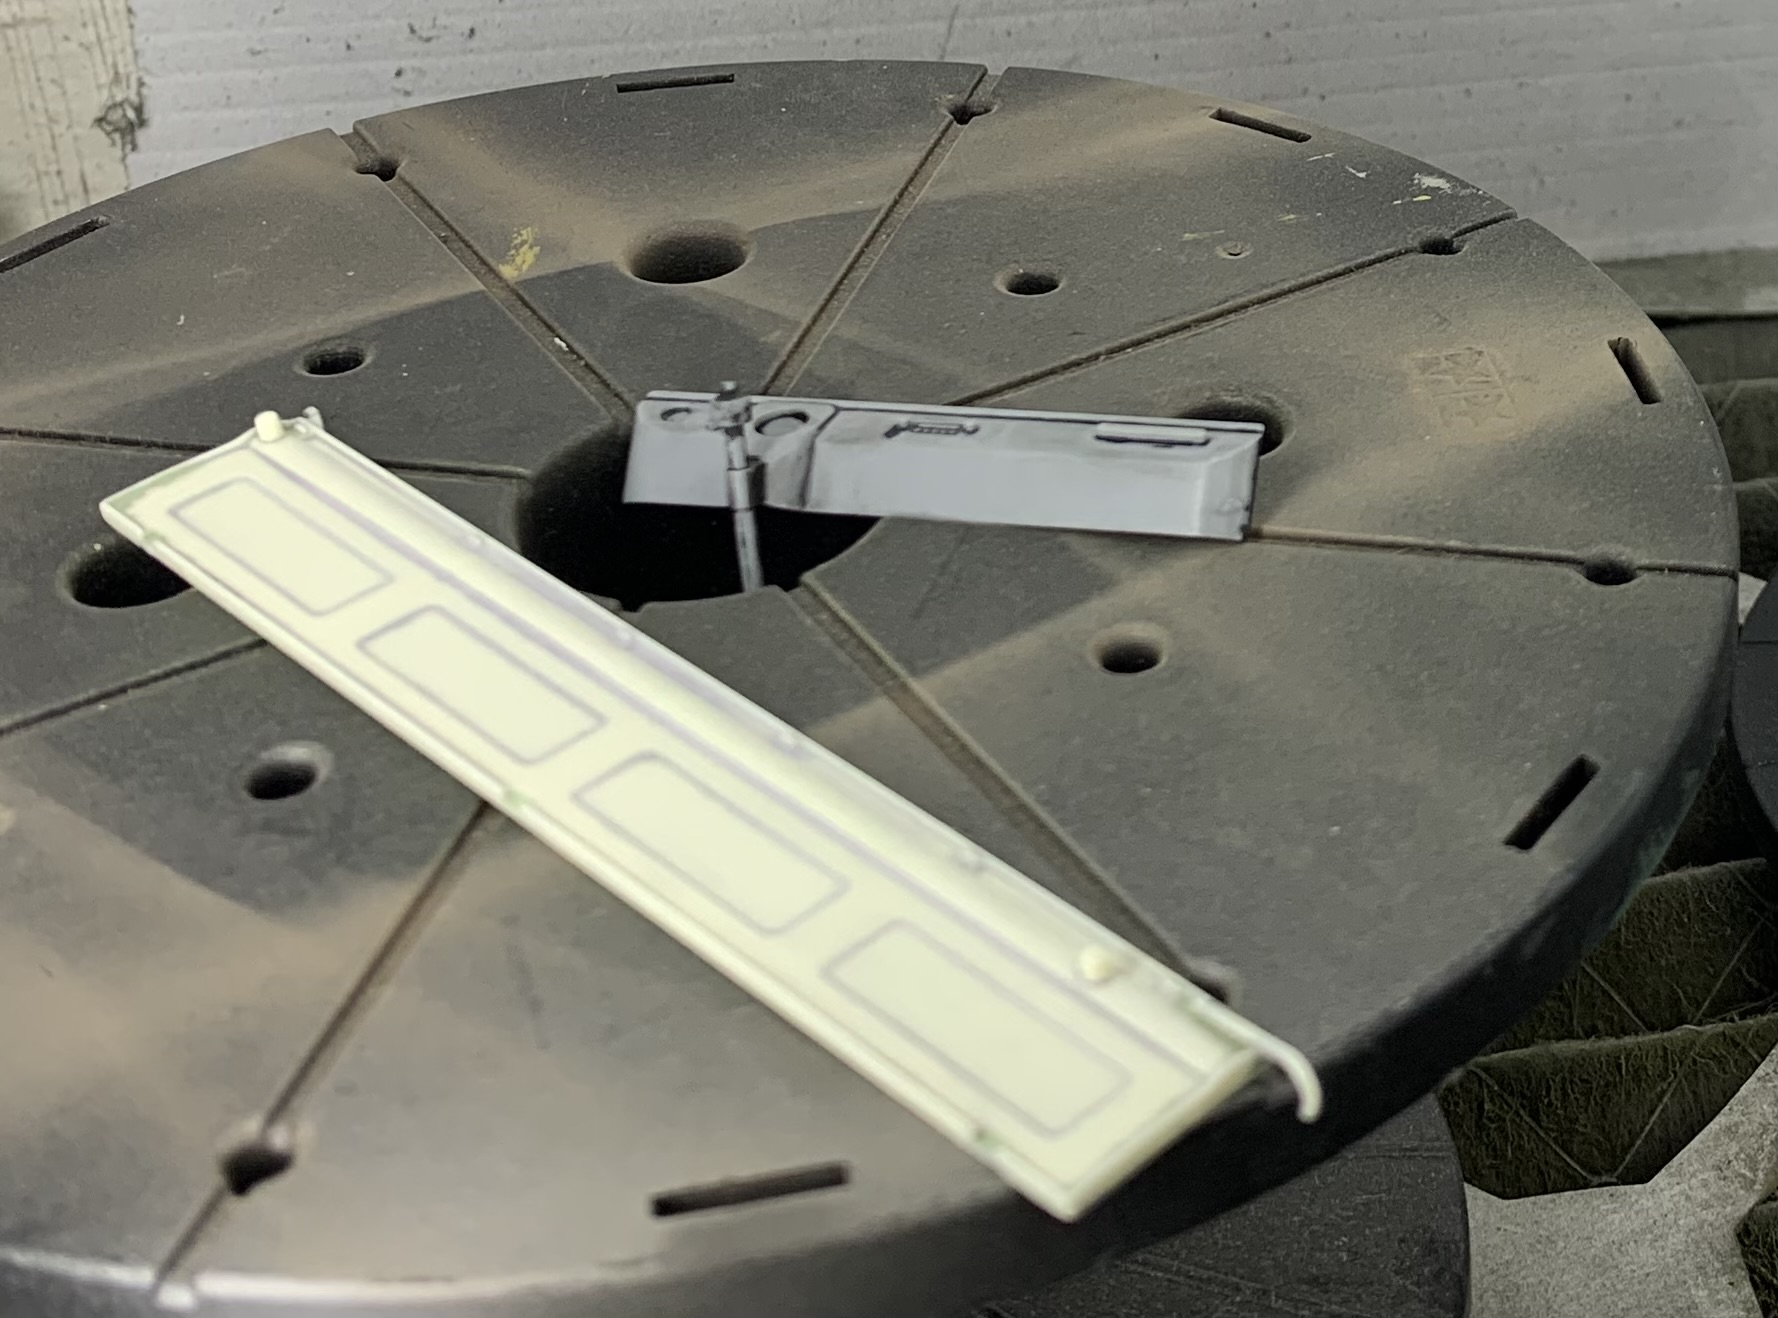
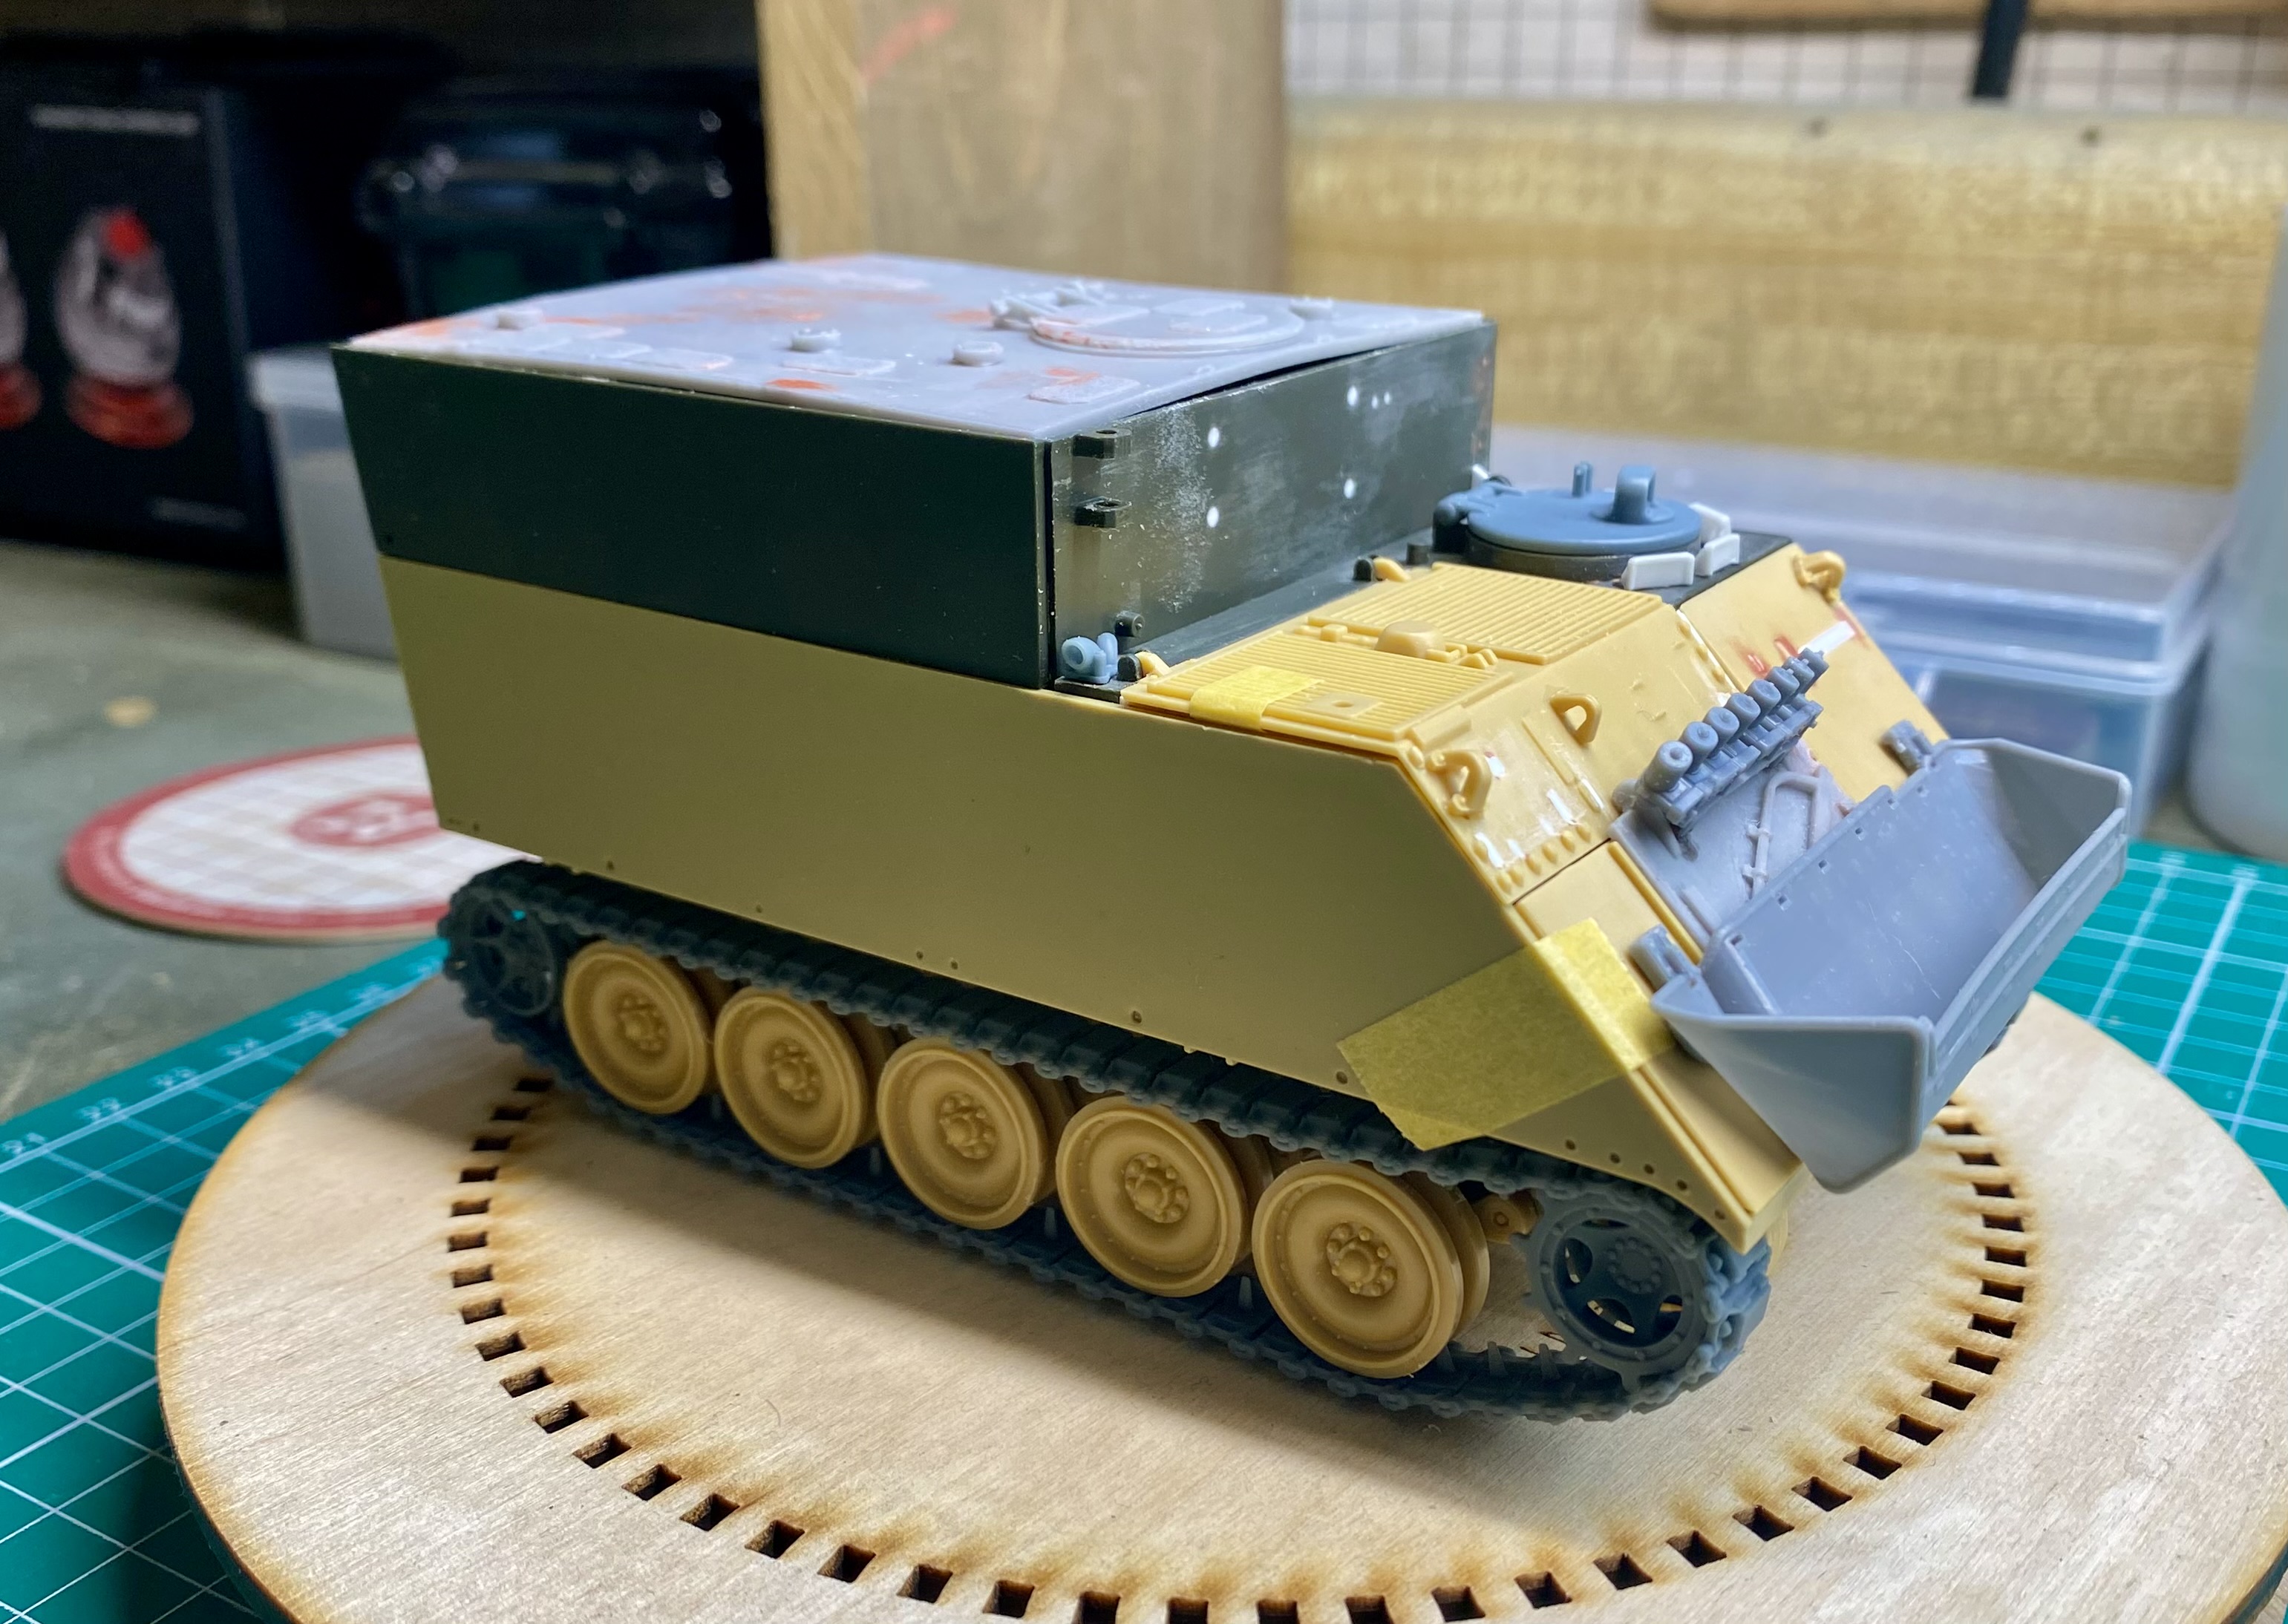
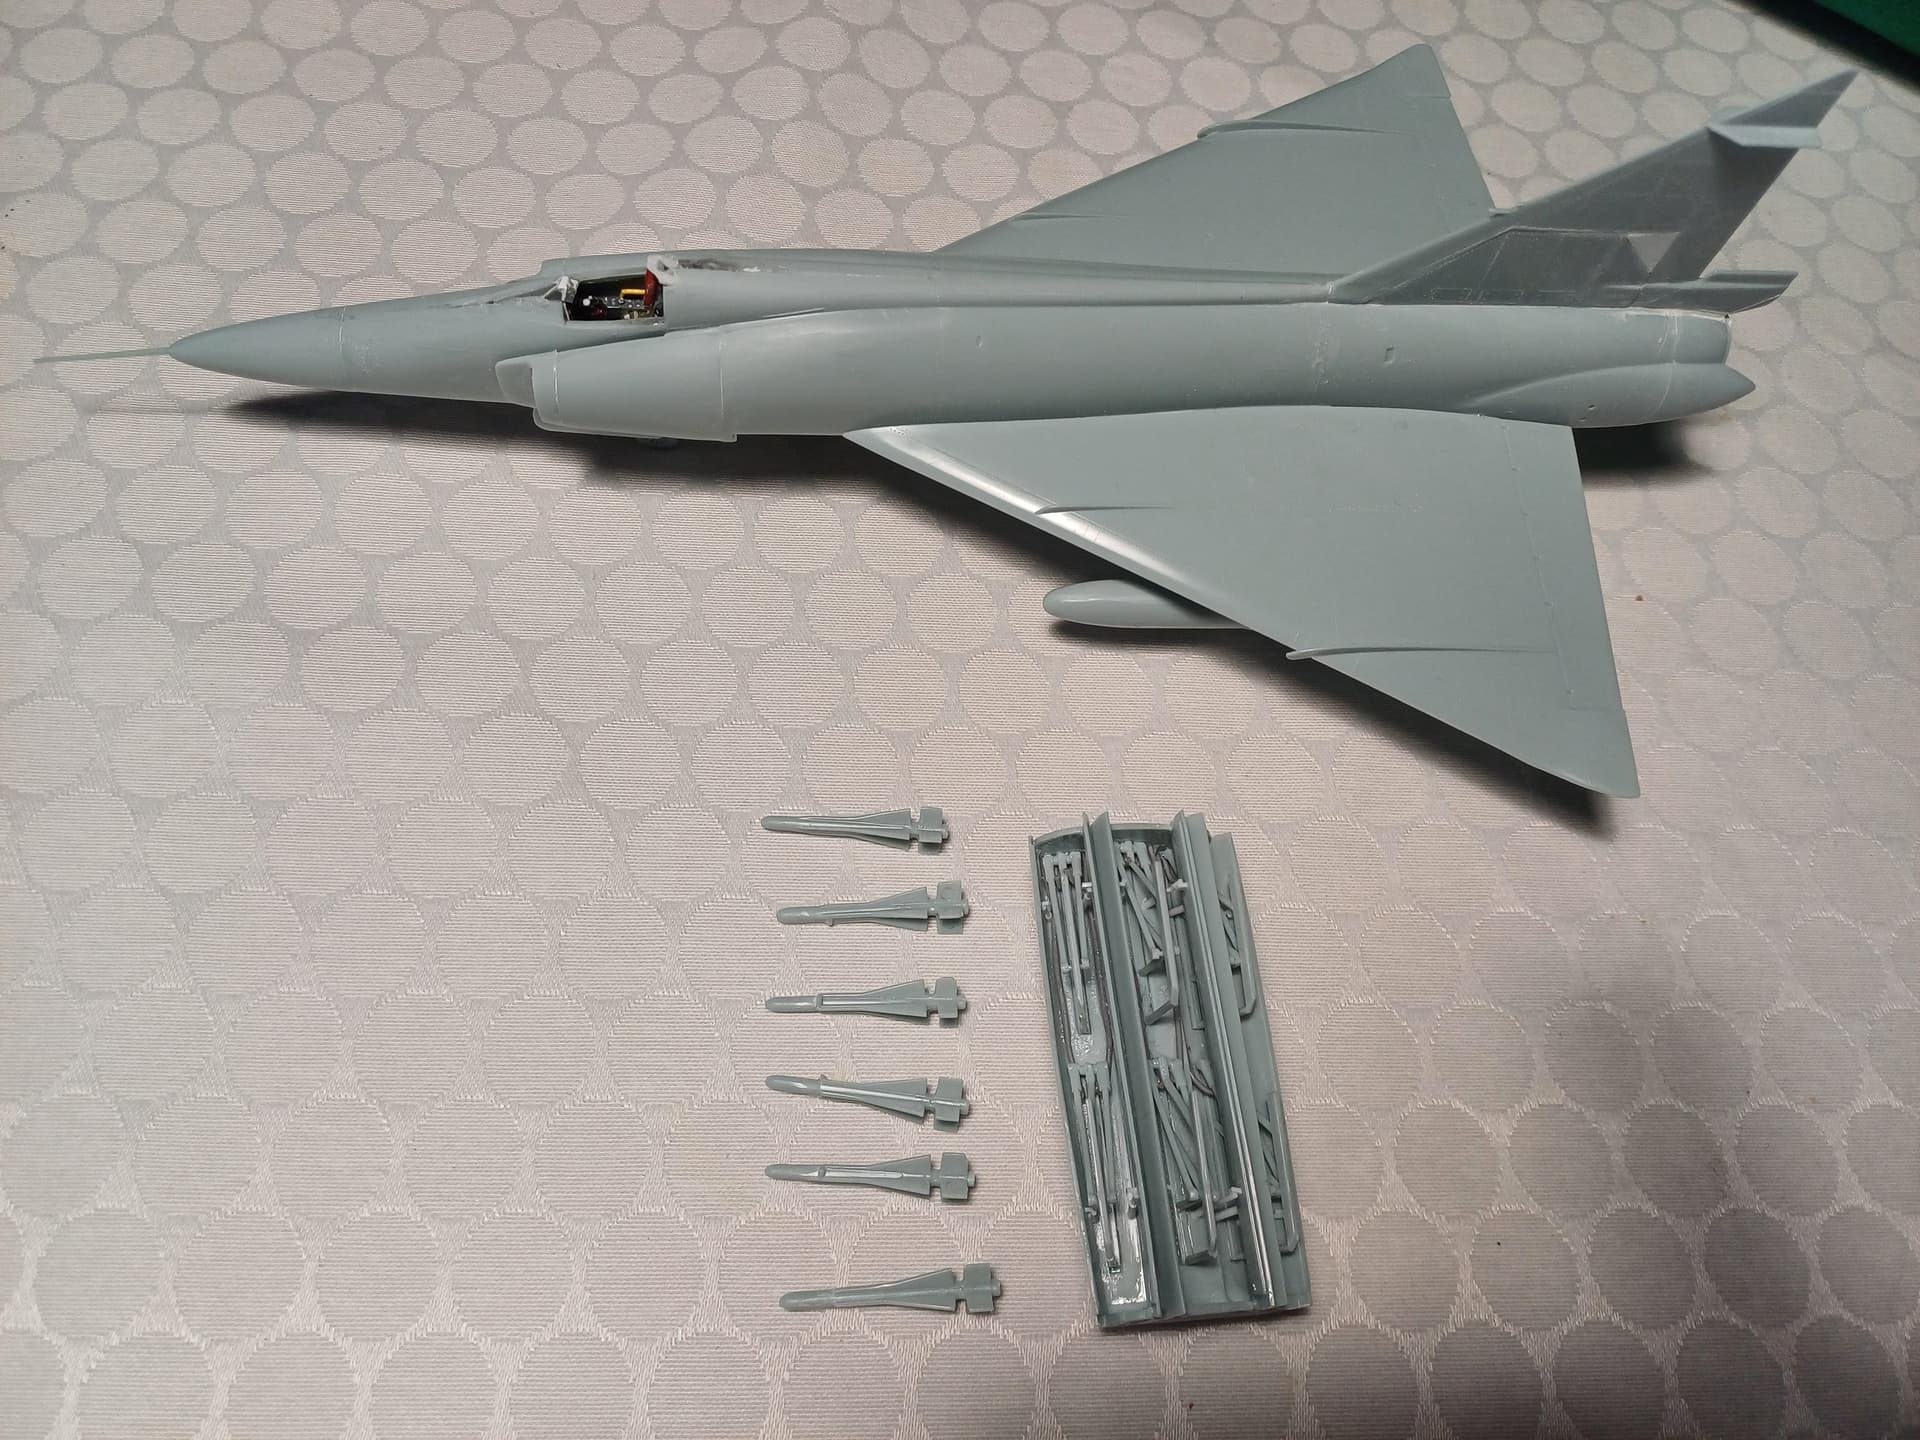
Fitted dust covers to the launcher. The missile is loaded with its packing tube, which has a dust cover that pops off when fired.

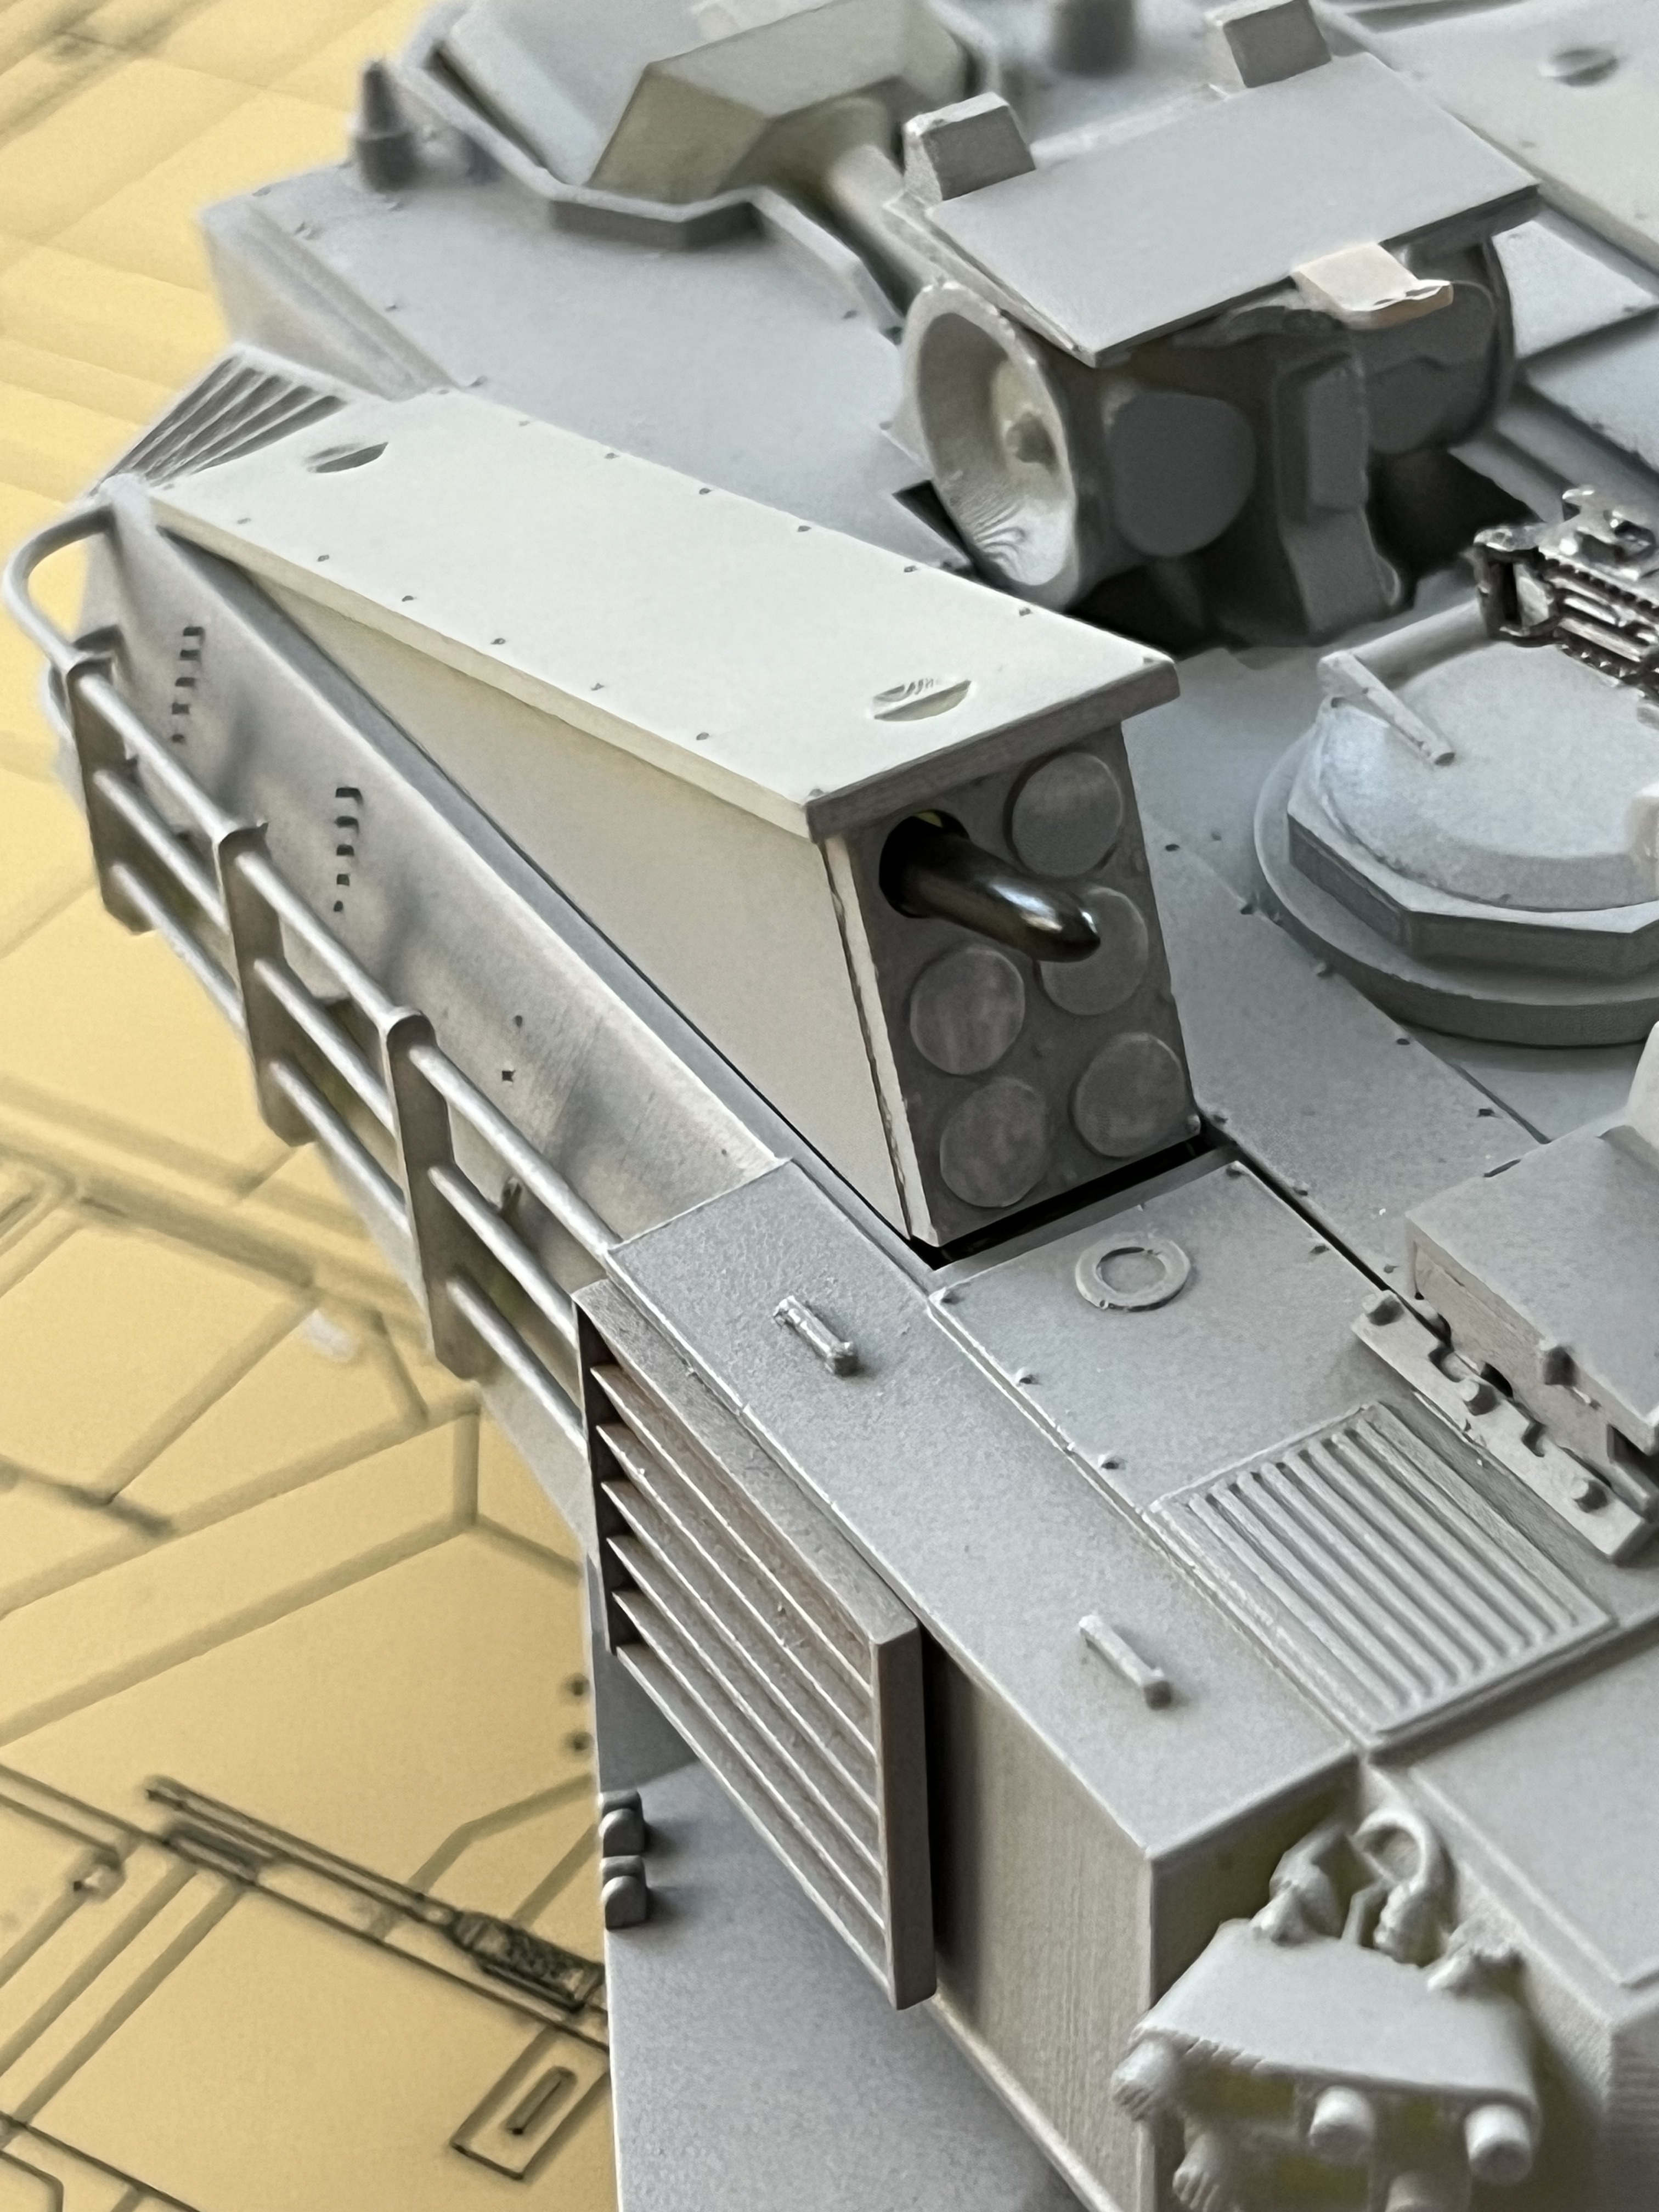
14 Likes
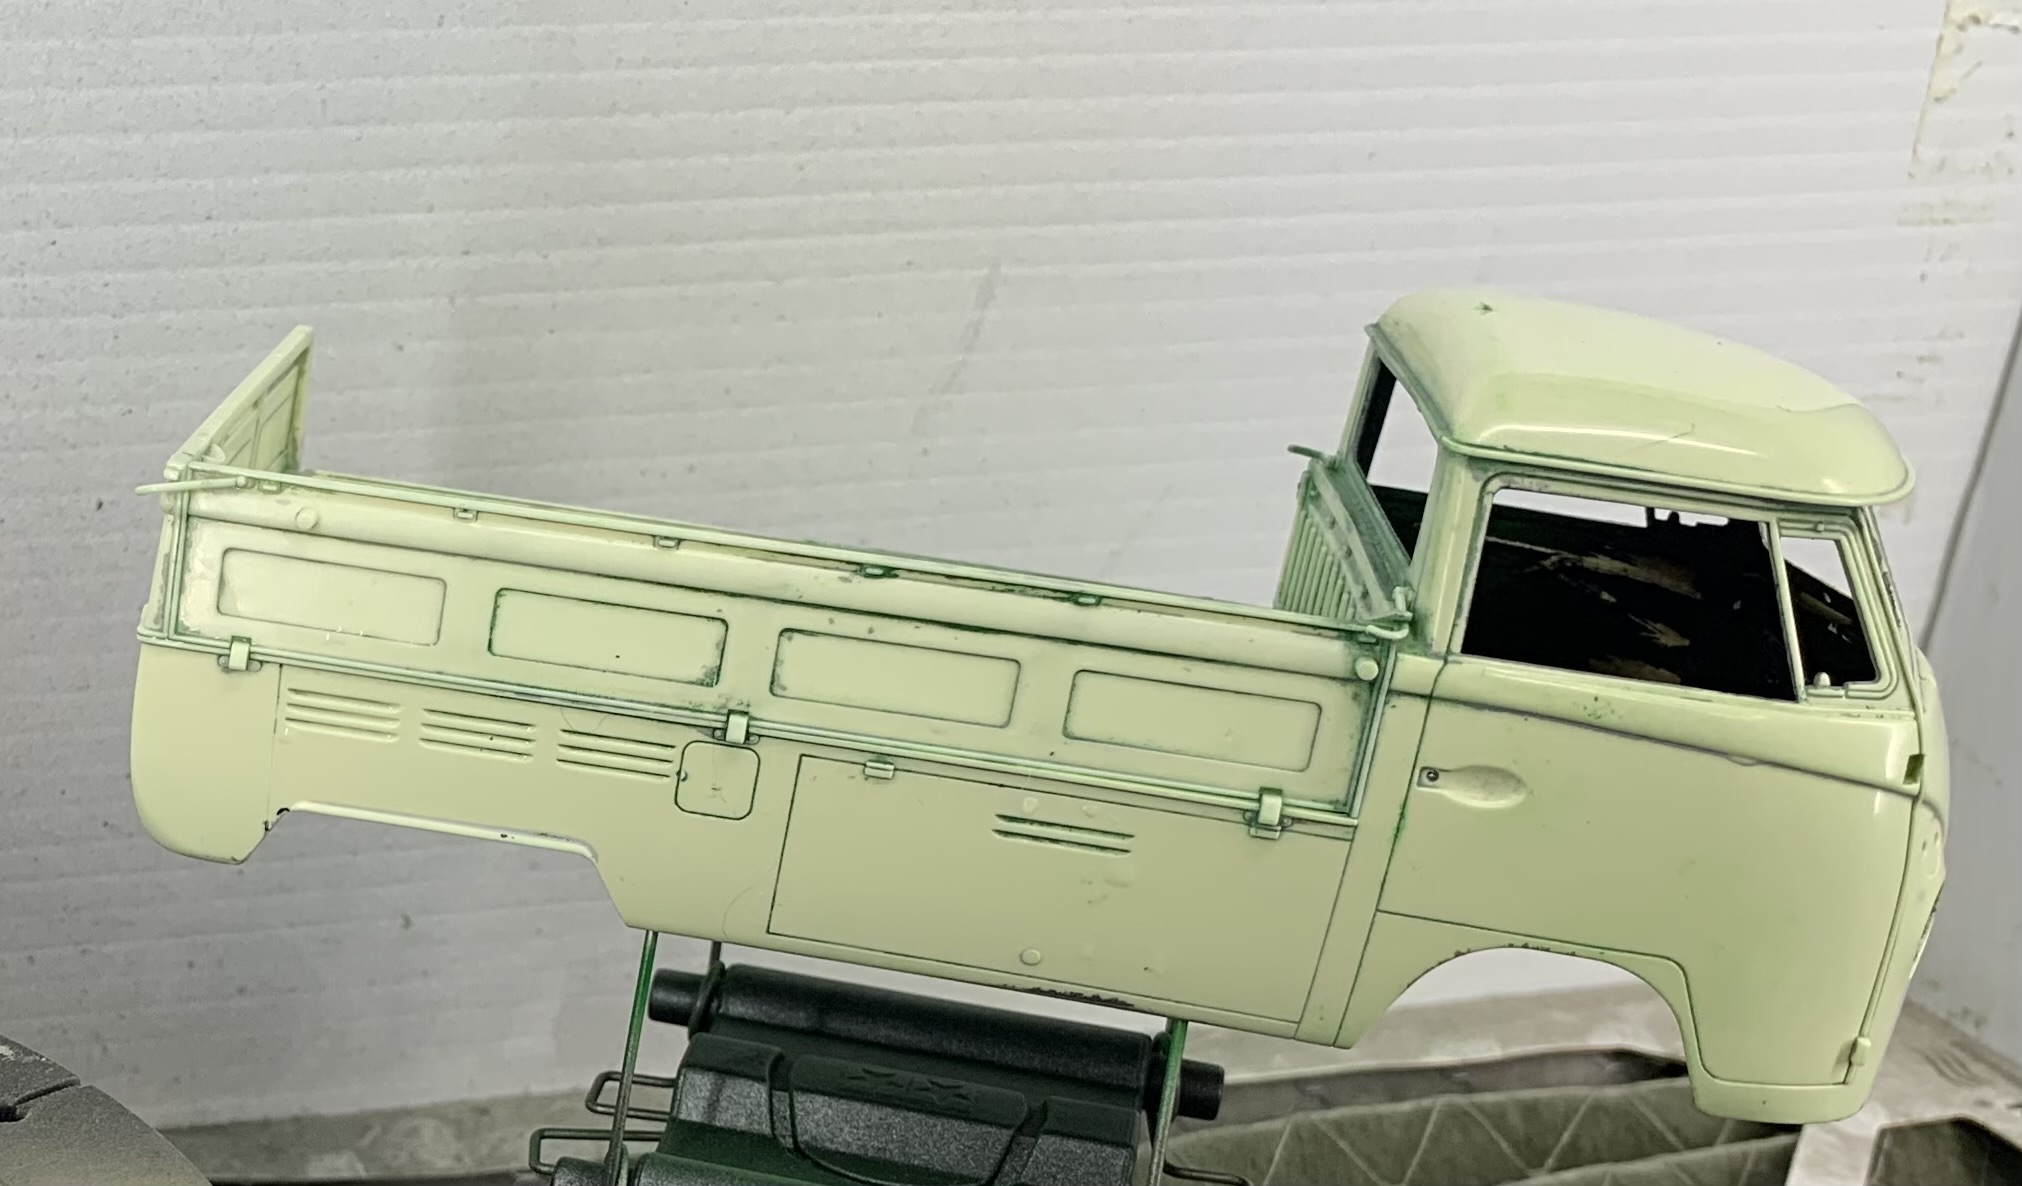
I’m trying to add another low budget truck to my lumber yard:

No, not a monster truck! But, I have the body shell from one of these 1/32 kits in the junk box - and, as there are not many choices around for 1/35 scale modern pickup trucks (beyond the Meng F-350 which I’m already using, and the Meng Toyotas that I don’t want to order) I am in the process of taming the beast into something a bit more civil - and how much beauty in the WIP? All of it:
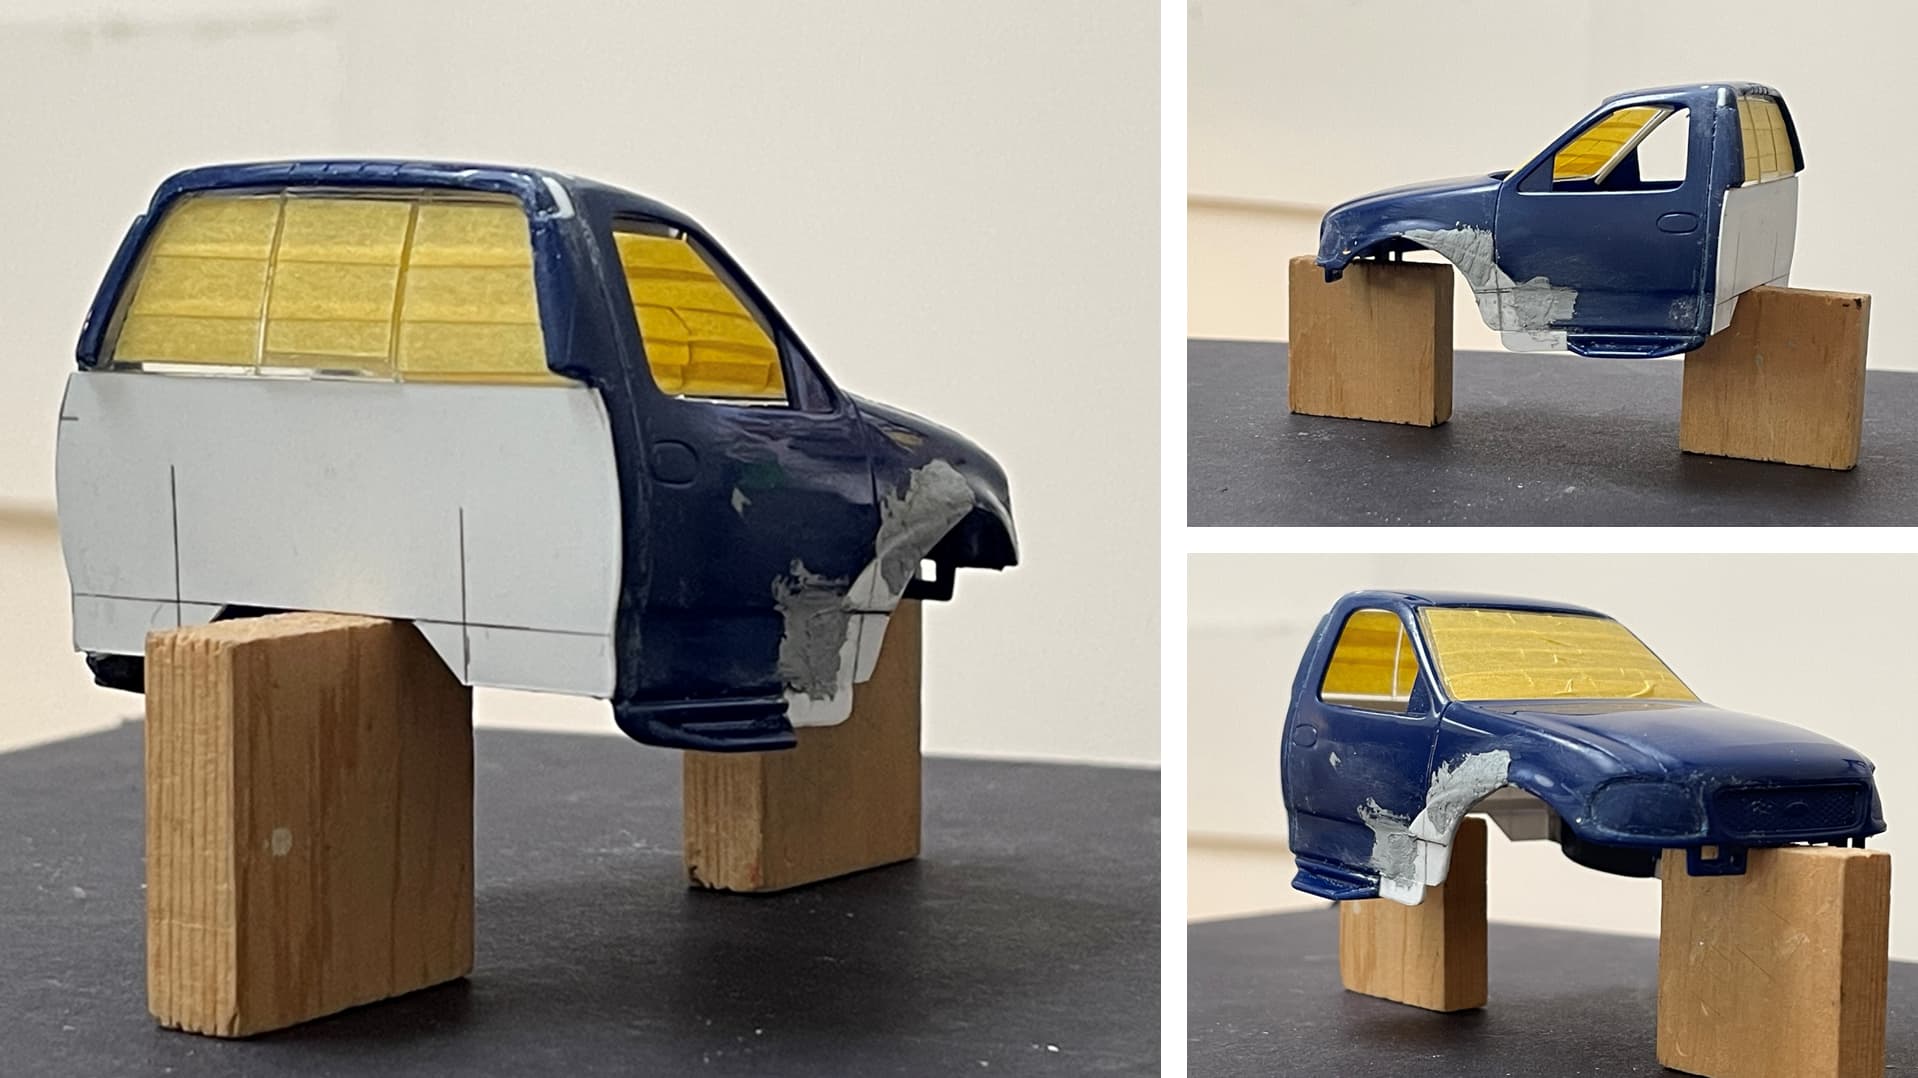
Oh what a treat! I’ll describe what’s going on in the project thread, but you get the point - clearly a long way to go!
Cheers
Nick
11 Likes
A long story short: as a birthday present for the owner of a hobby shop, me and my modelling buddies decided to build a vehicle of his choice. He has choosen a Bulgarian T-55 Kladivo:

I am responsible for the turret, another buddy will build the hull, using all his magic Kalin @k_mero4 will paint the tank, another buddy will weather it and a fifth buddy will take care of the display box.
Bulgarian Kladivo’s were upgraded T-55A with a mix of various components.The additional armour(incl. the one on the turret- a.k.a. Brezhnev’s Eyebrows) came from the Soviet Union, while the FCS Kladivo was purchased from Czechoslovakia.The upgrades took place during the 1980’s in the Targoviste Factory.
We selected for the build a T-55 Kladivo from the 3d Armored Company of the organic Tank Battalion of 53d Motorifle Regiment-Sredetz (turret number 2239) and are using Takom’s T-55 AM2B kit with a lot of modifications.
I started working on the turret:
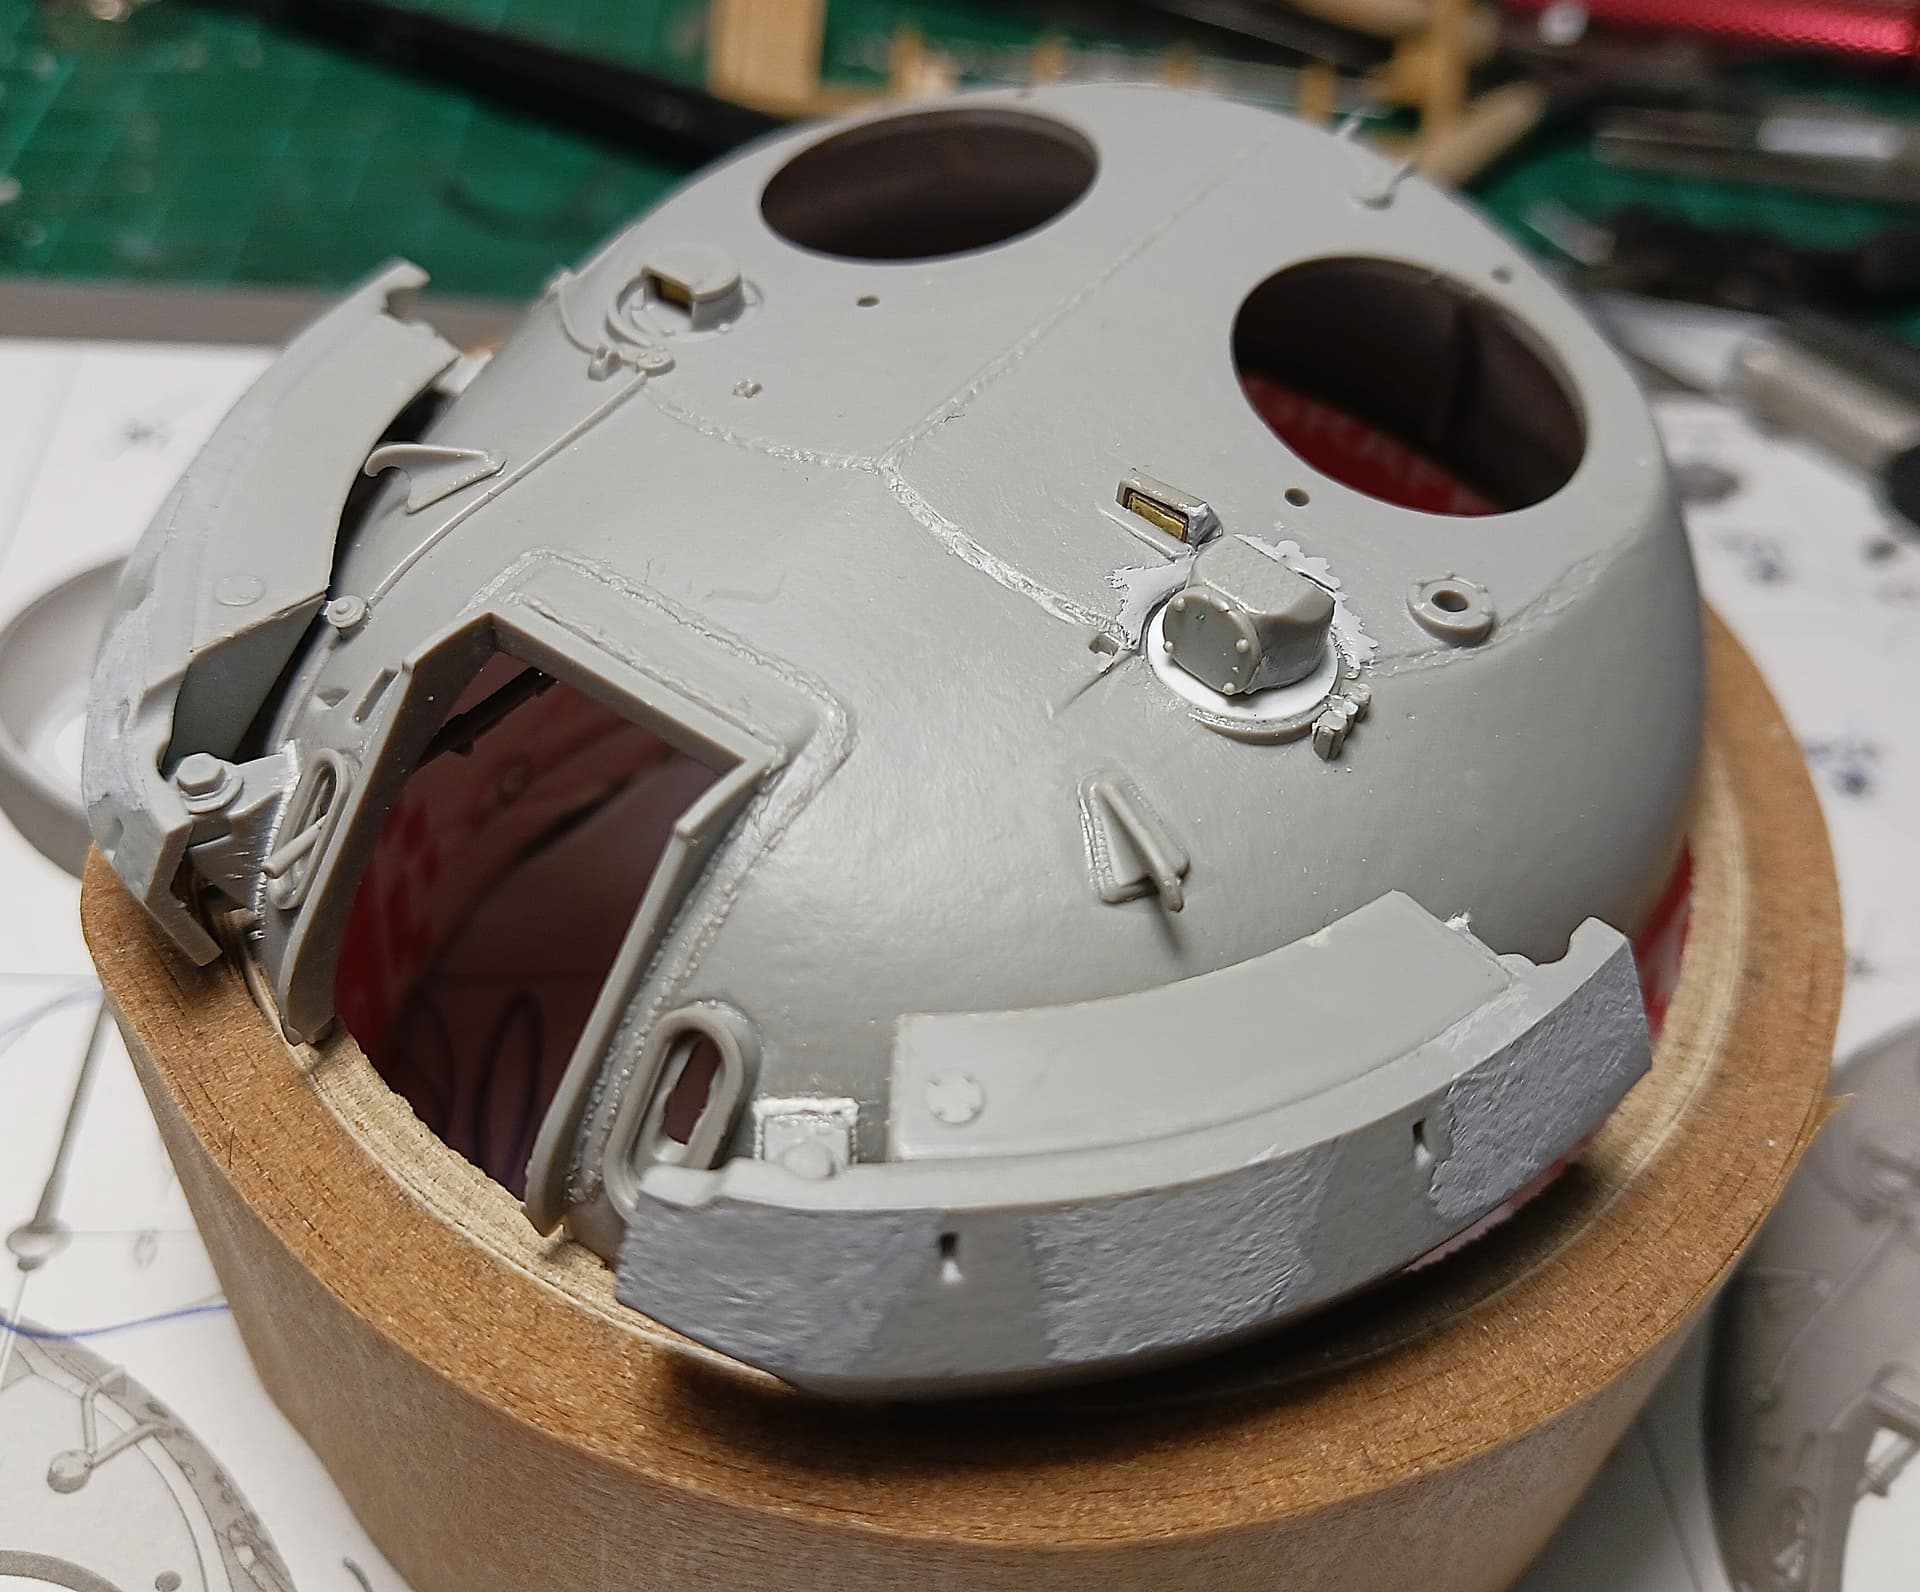
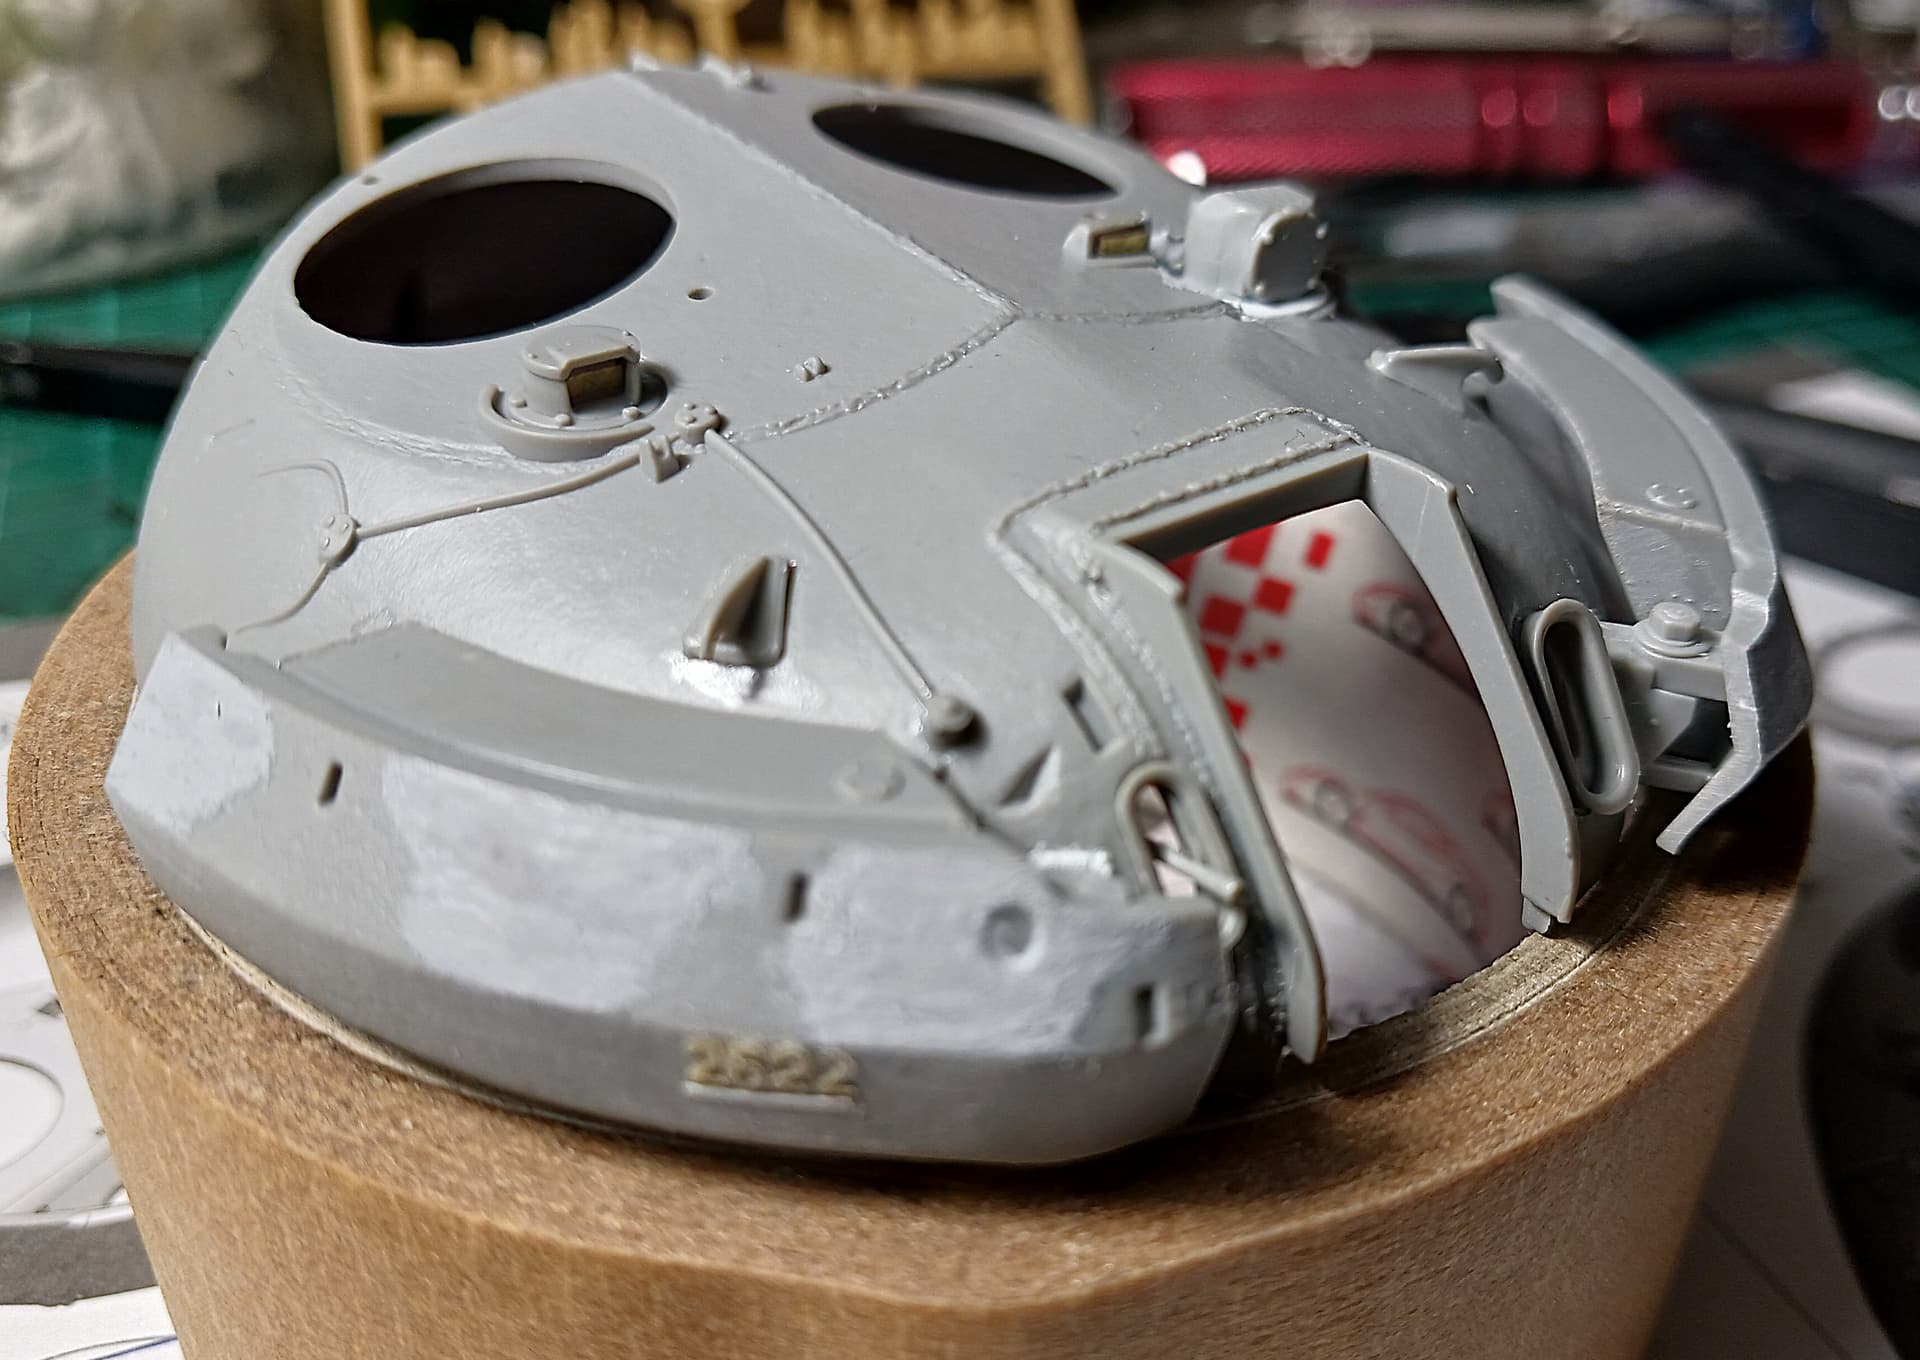
Plenty of work ahead…
Cheers,
Angel
17 Likes
Great idea and nice gift … turret is starting to look very nice Angel.
7 Likes
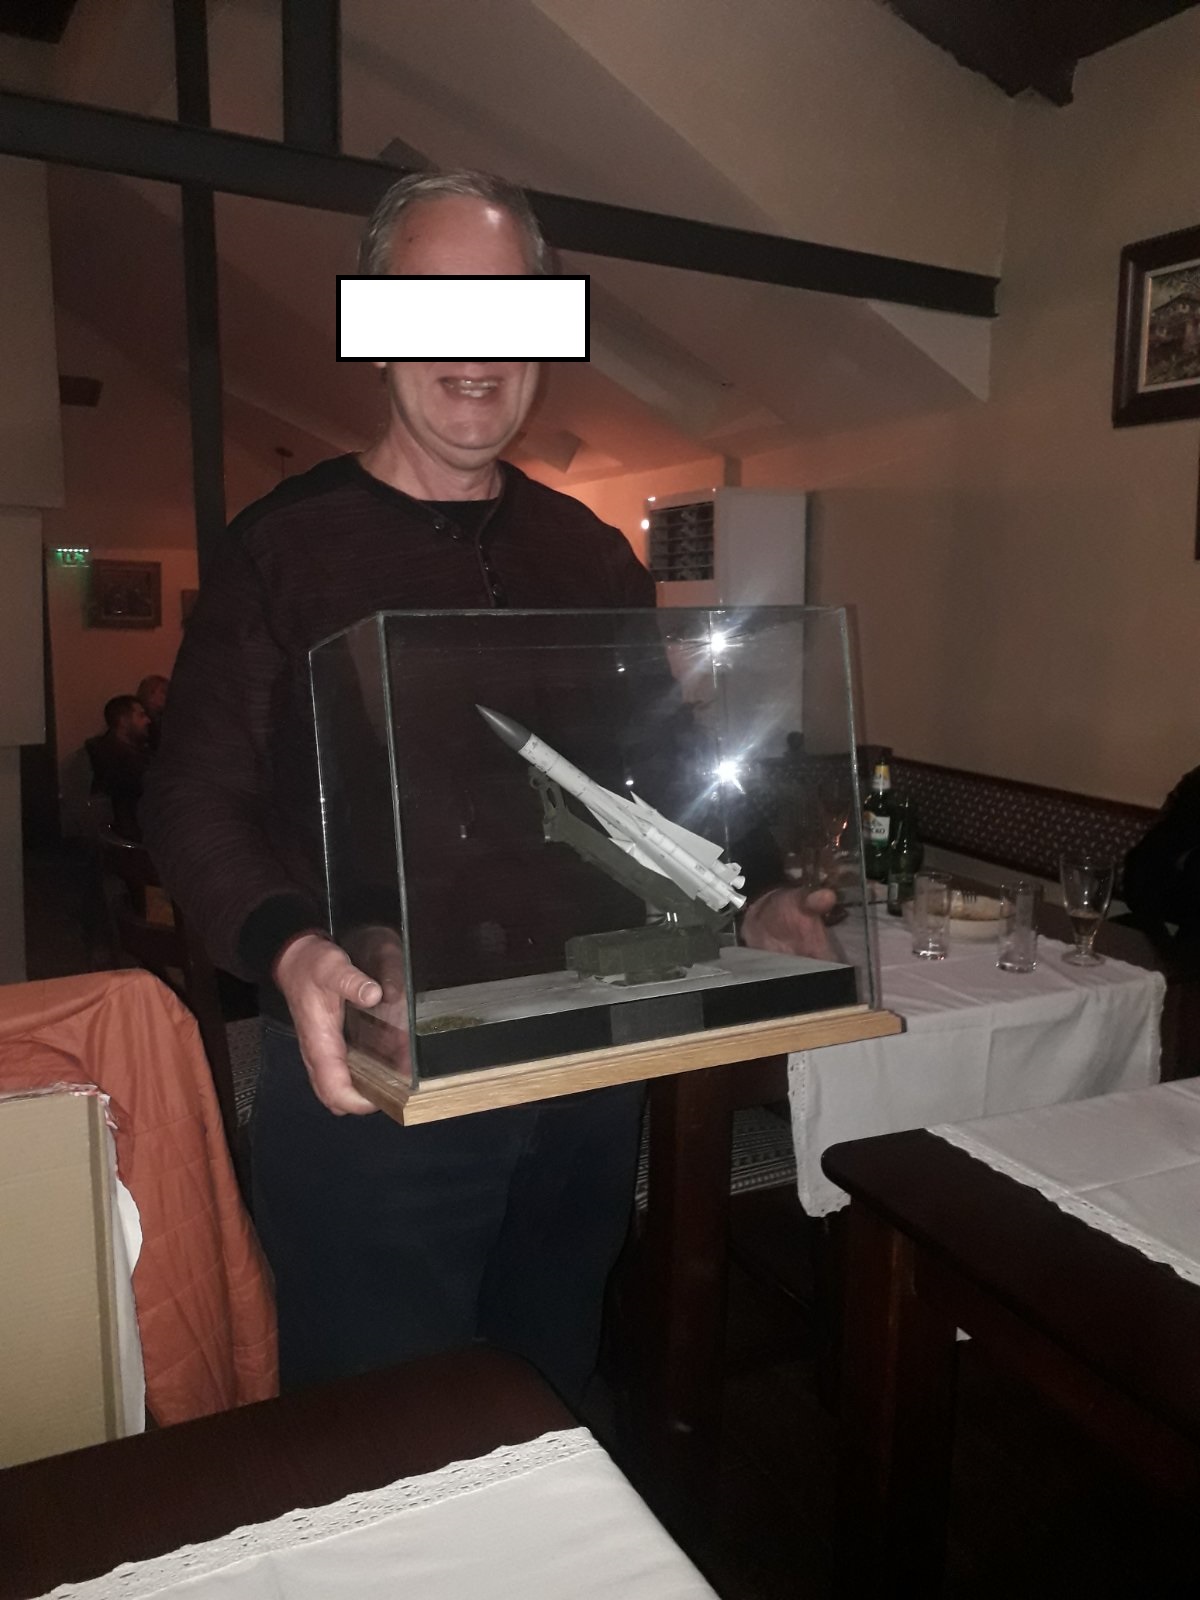
This is how my model club builds models for veterans who talk with us. Been awhile since we did one.
https://ipmseaglesquadron.org/ES-gallery/index.php?cat=2
Good progress so far. ![]()
10 Likes
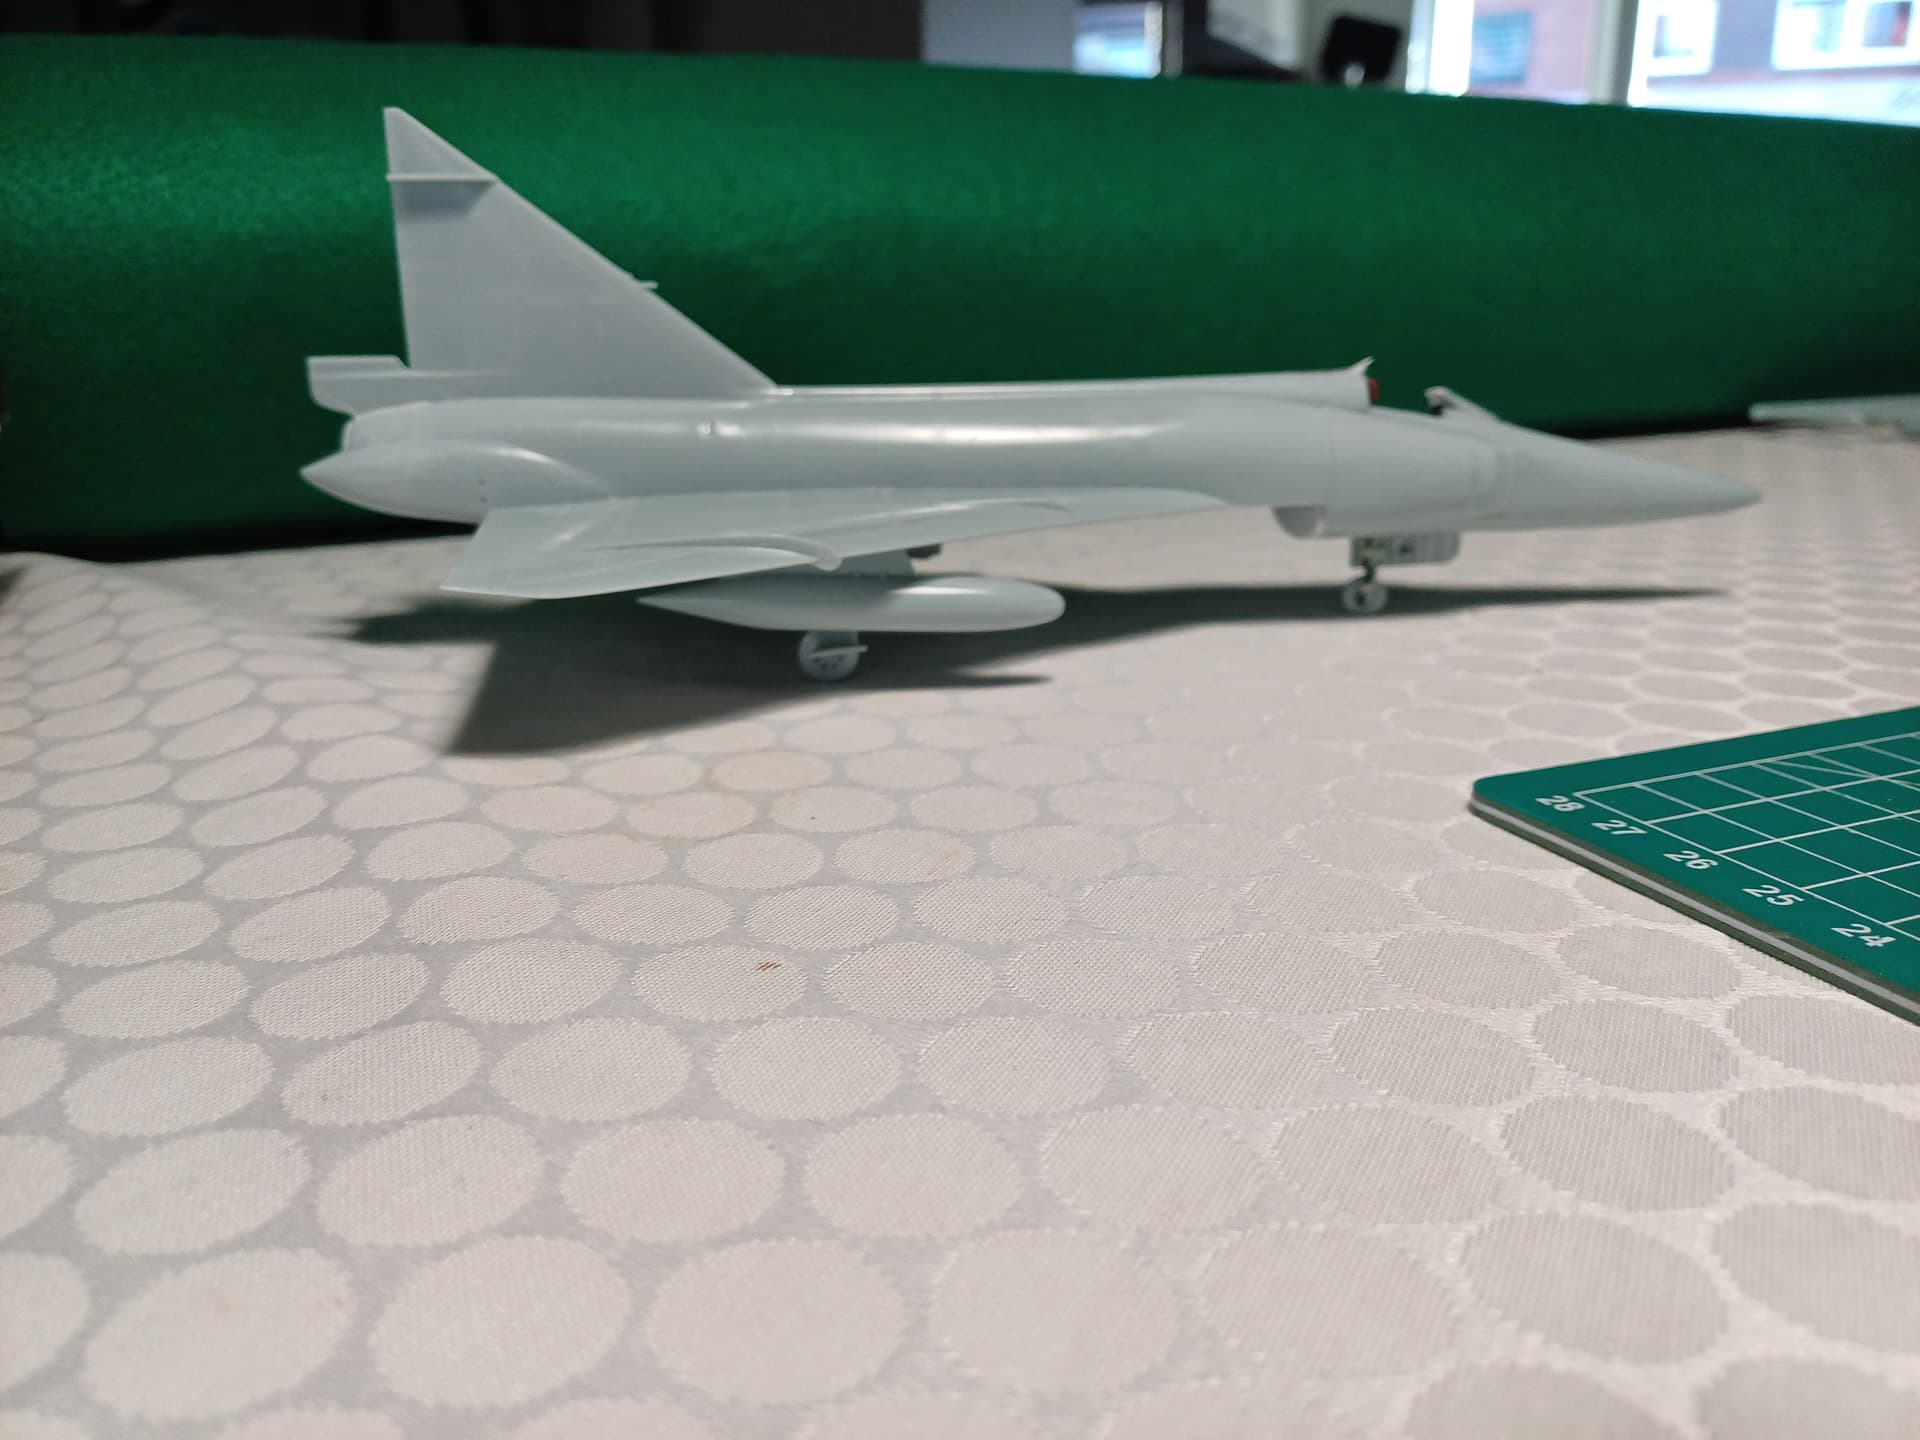
Finished the main assembly of the plane. I will clean/prime the plane at a later date. Overall, assembly was enjoyable.

7 Likes