Wet sanded (too much in some places) and repainted. Better but still had issues.
Need to strip and repaint with new paint.
Wet sanded (too much in some places) and repainted. Better but still had issues.
Need to strip and repaint with new paint.
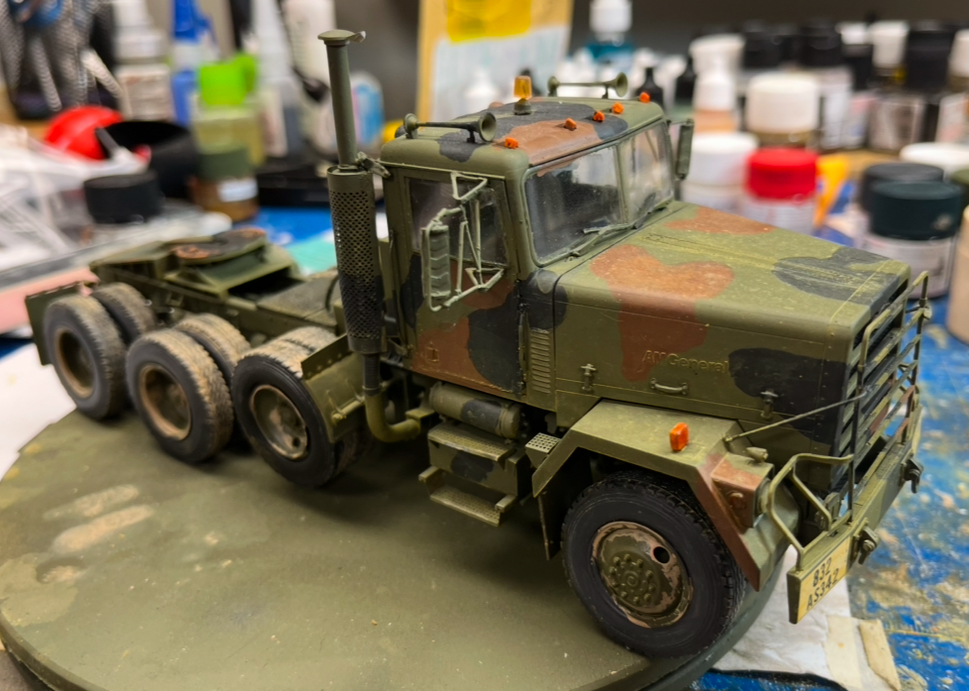
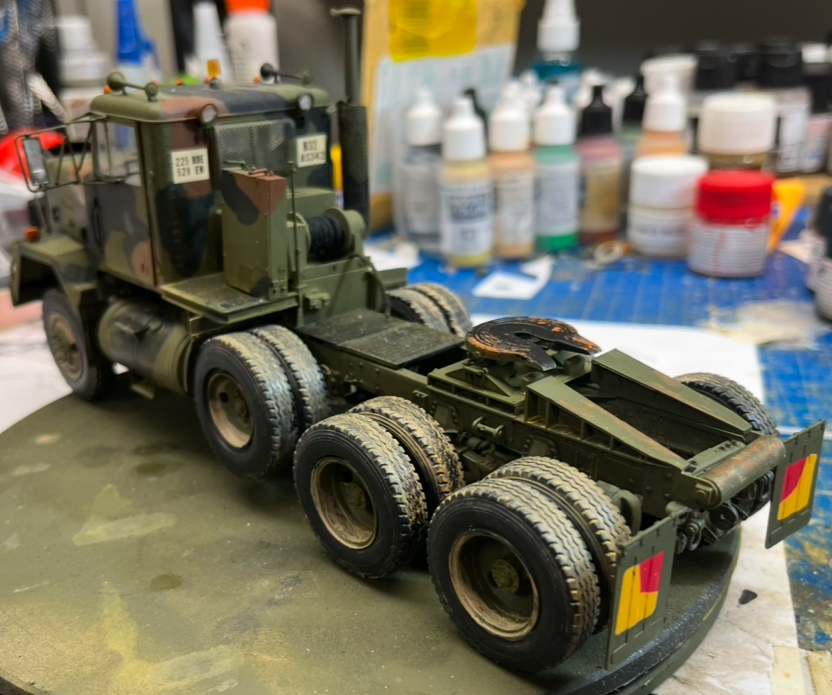
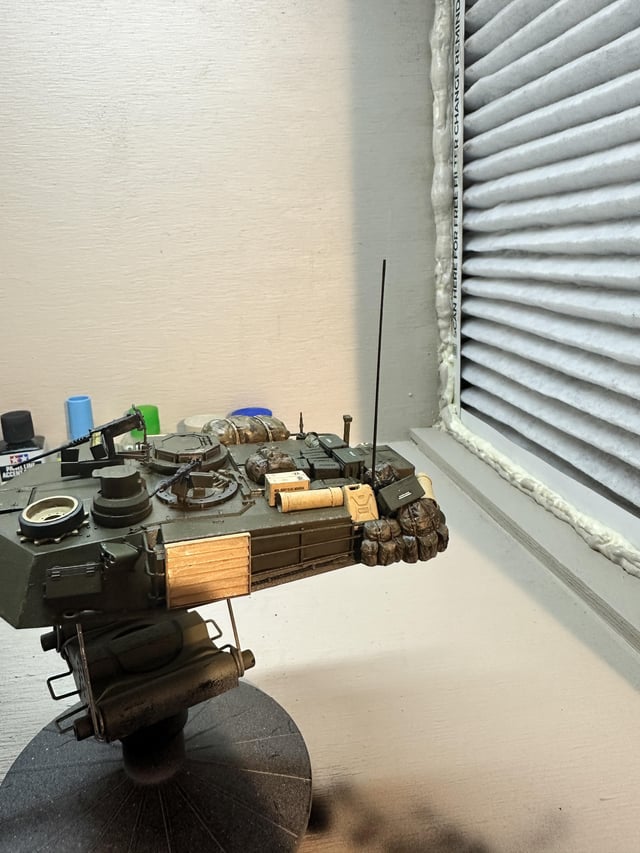
Weathered the M920 and started same on the trailer. Just got to work out how the trailer brake lines are set up and finish building the Accurate Armour tiedowns.
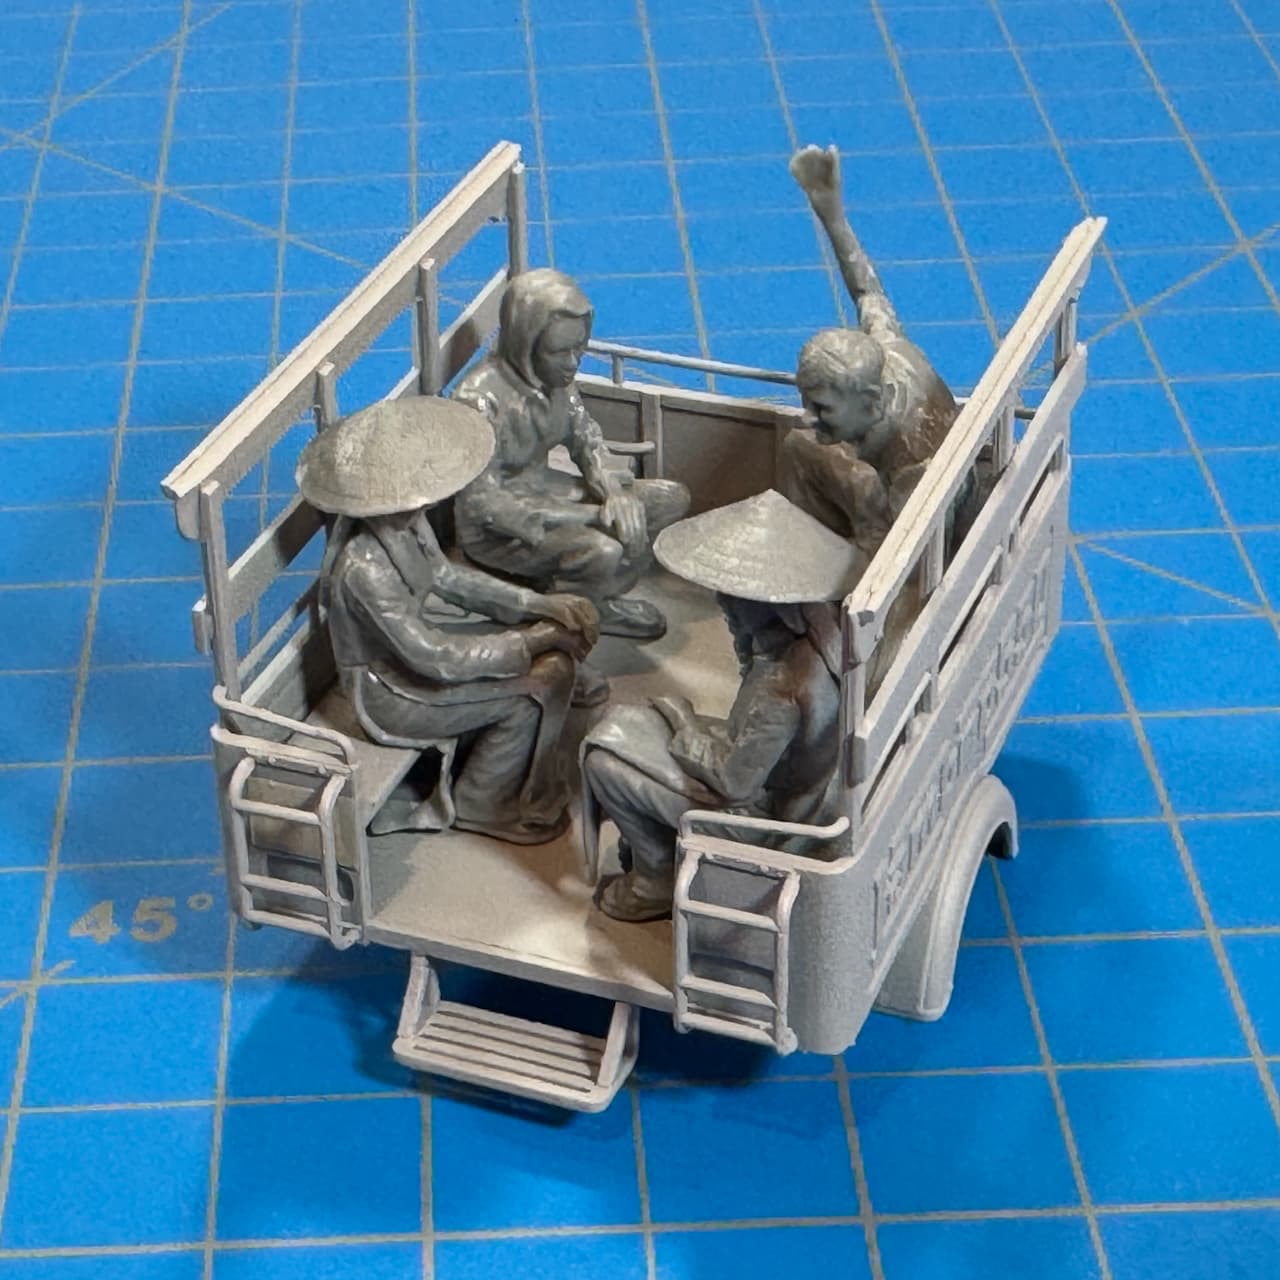
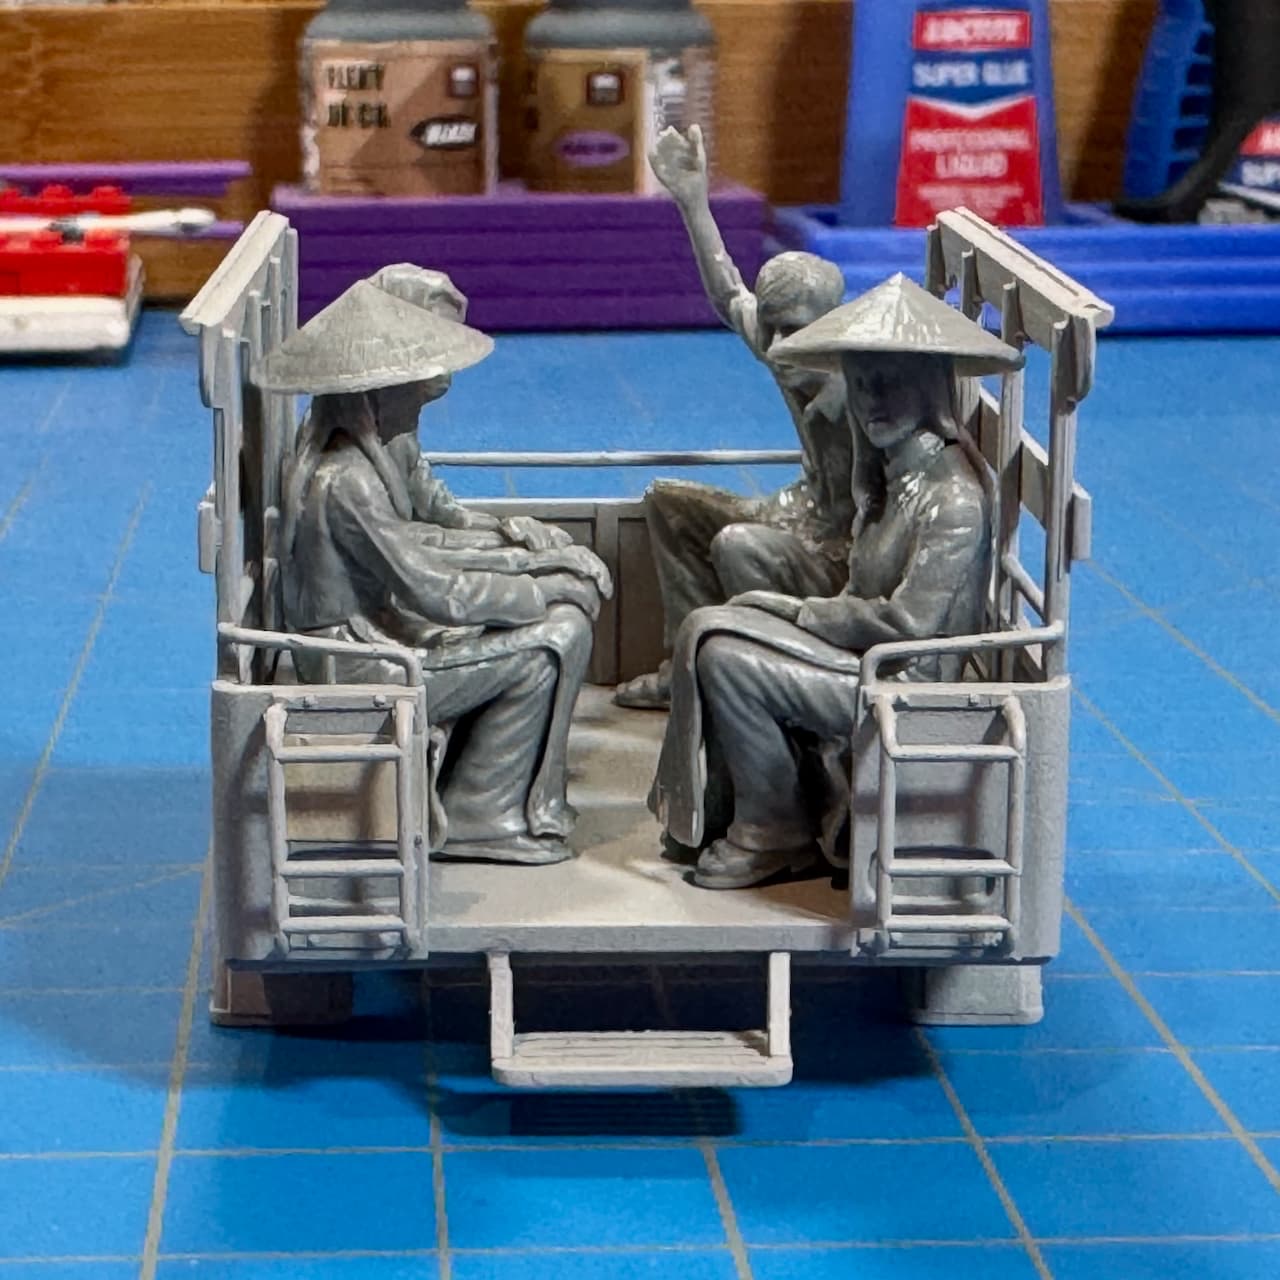
I’ve been hacking-away in order to get these figures to sit properly in the Lambro 550 for the ‘Vietnam 60 campaign.’
Lowered and shaved the benches and trimmed some fat off the figure butts.
Taxi! ![]()
—mike
A little time this evening to make a start on the decals. I’m using the Vallejo decal set for the first time. Leaving these now and will check the finish tomorrow.
Very nice ![]()
Wrapped up the chinook and found a spot. Wish the cobra was in the same scale. I’m not sure how that Tarhe will look once I finally get started.
Thanks James, I’d like to keep improving my skills from the current pretty basic level. Airbrushing NATO tritone would be a nice progression.
I appreciate your comment.
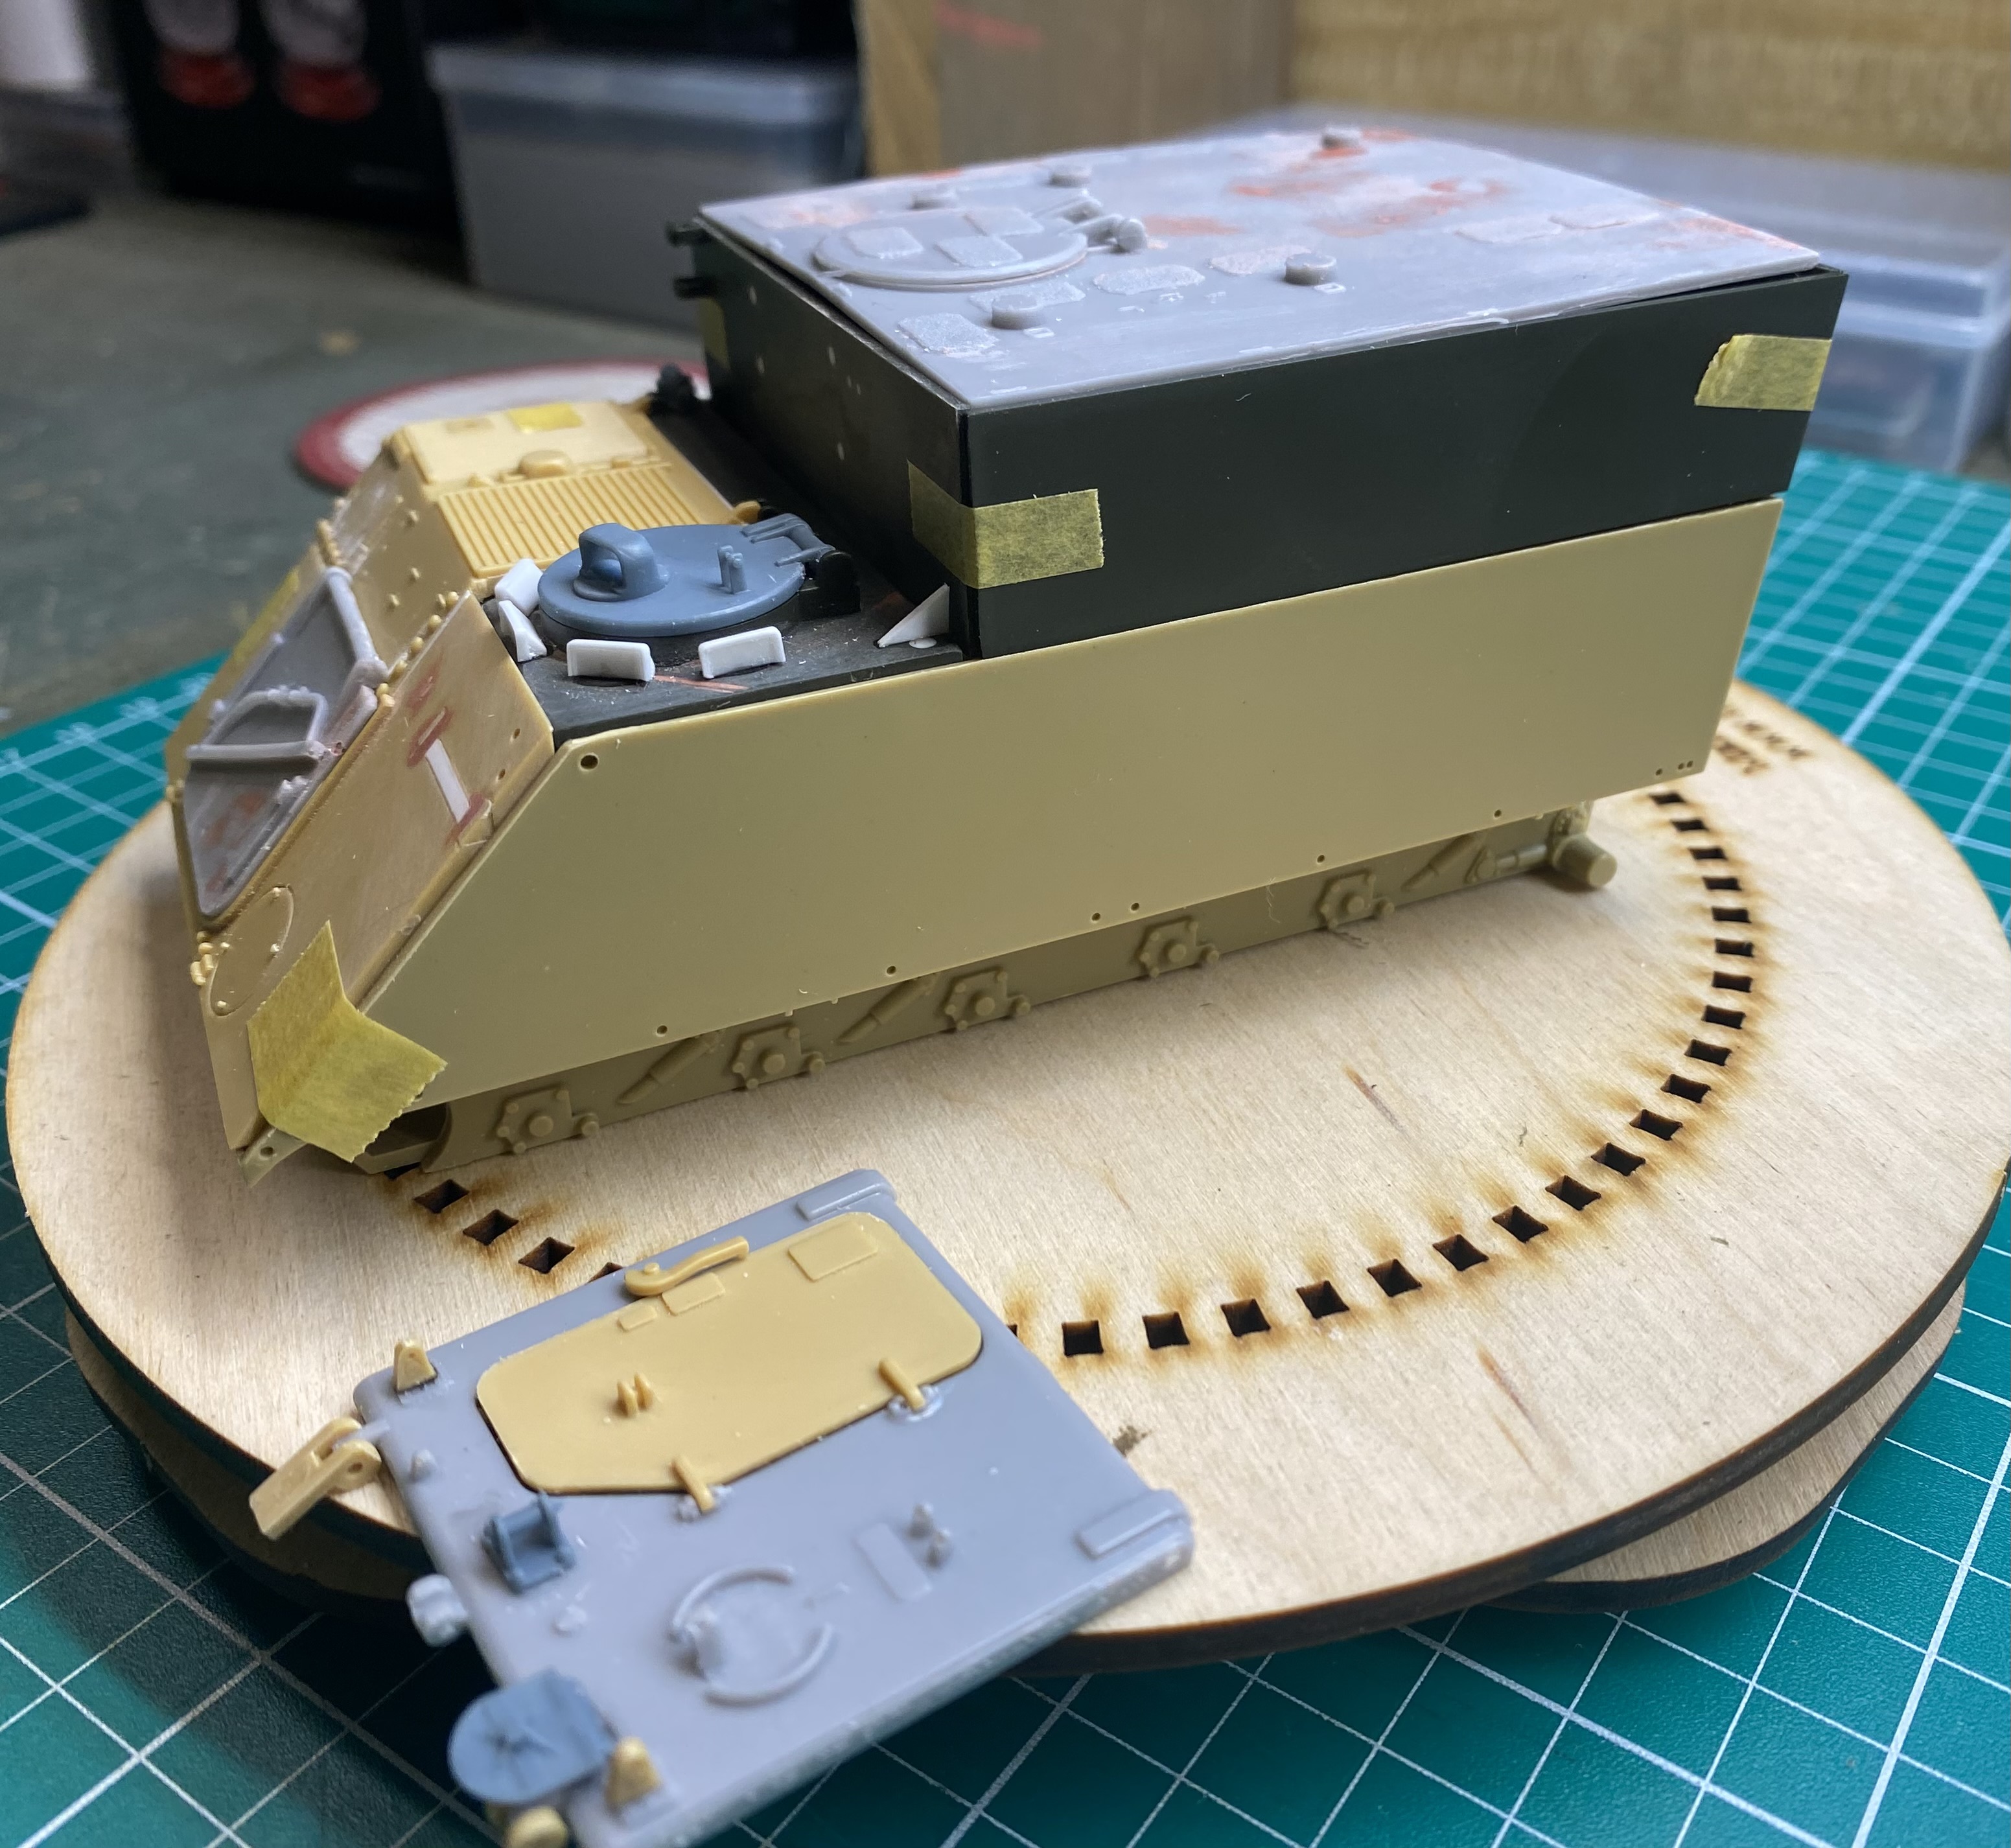
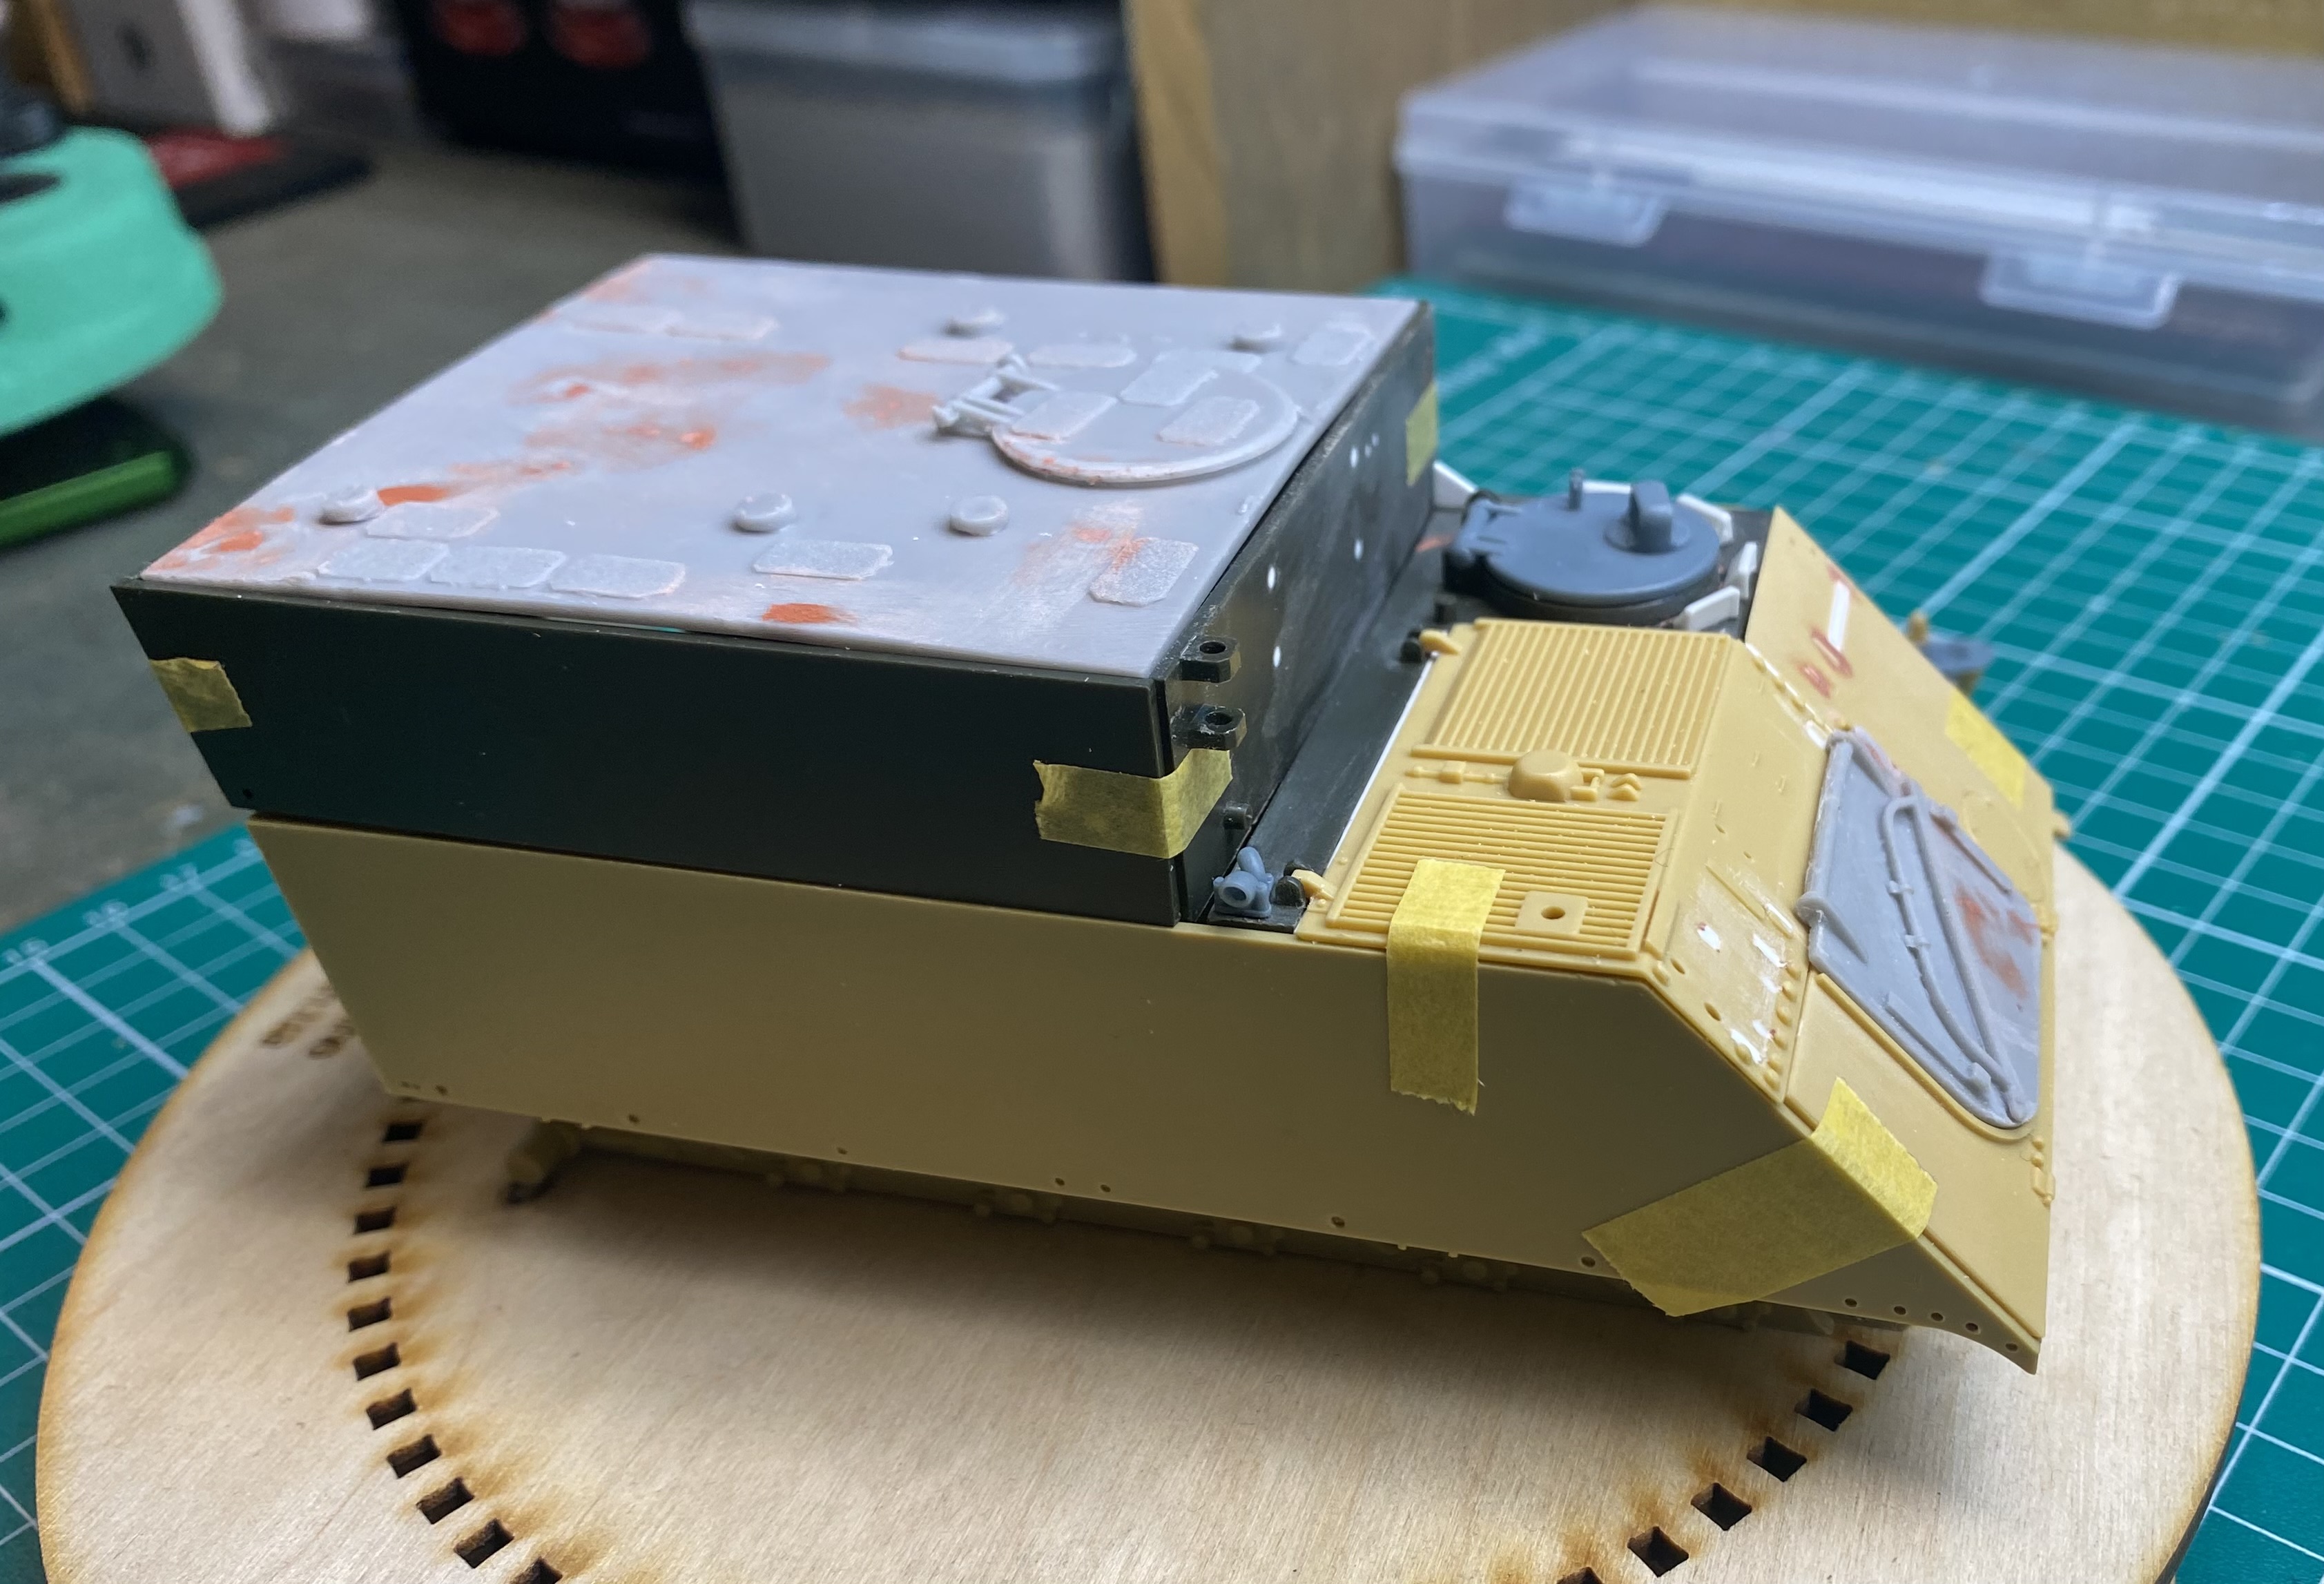
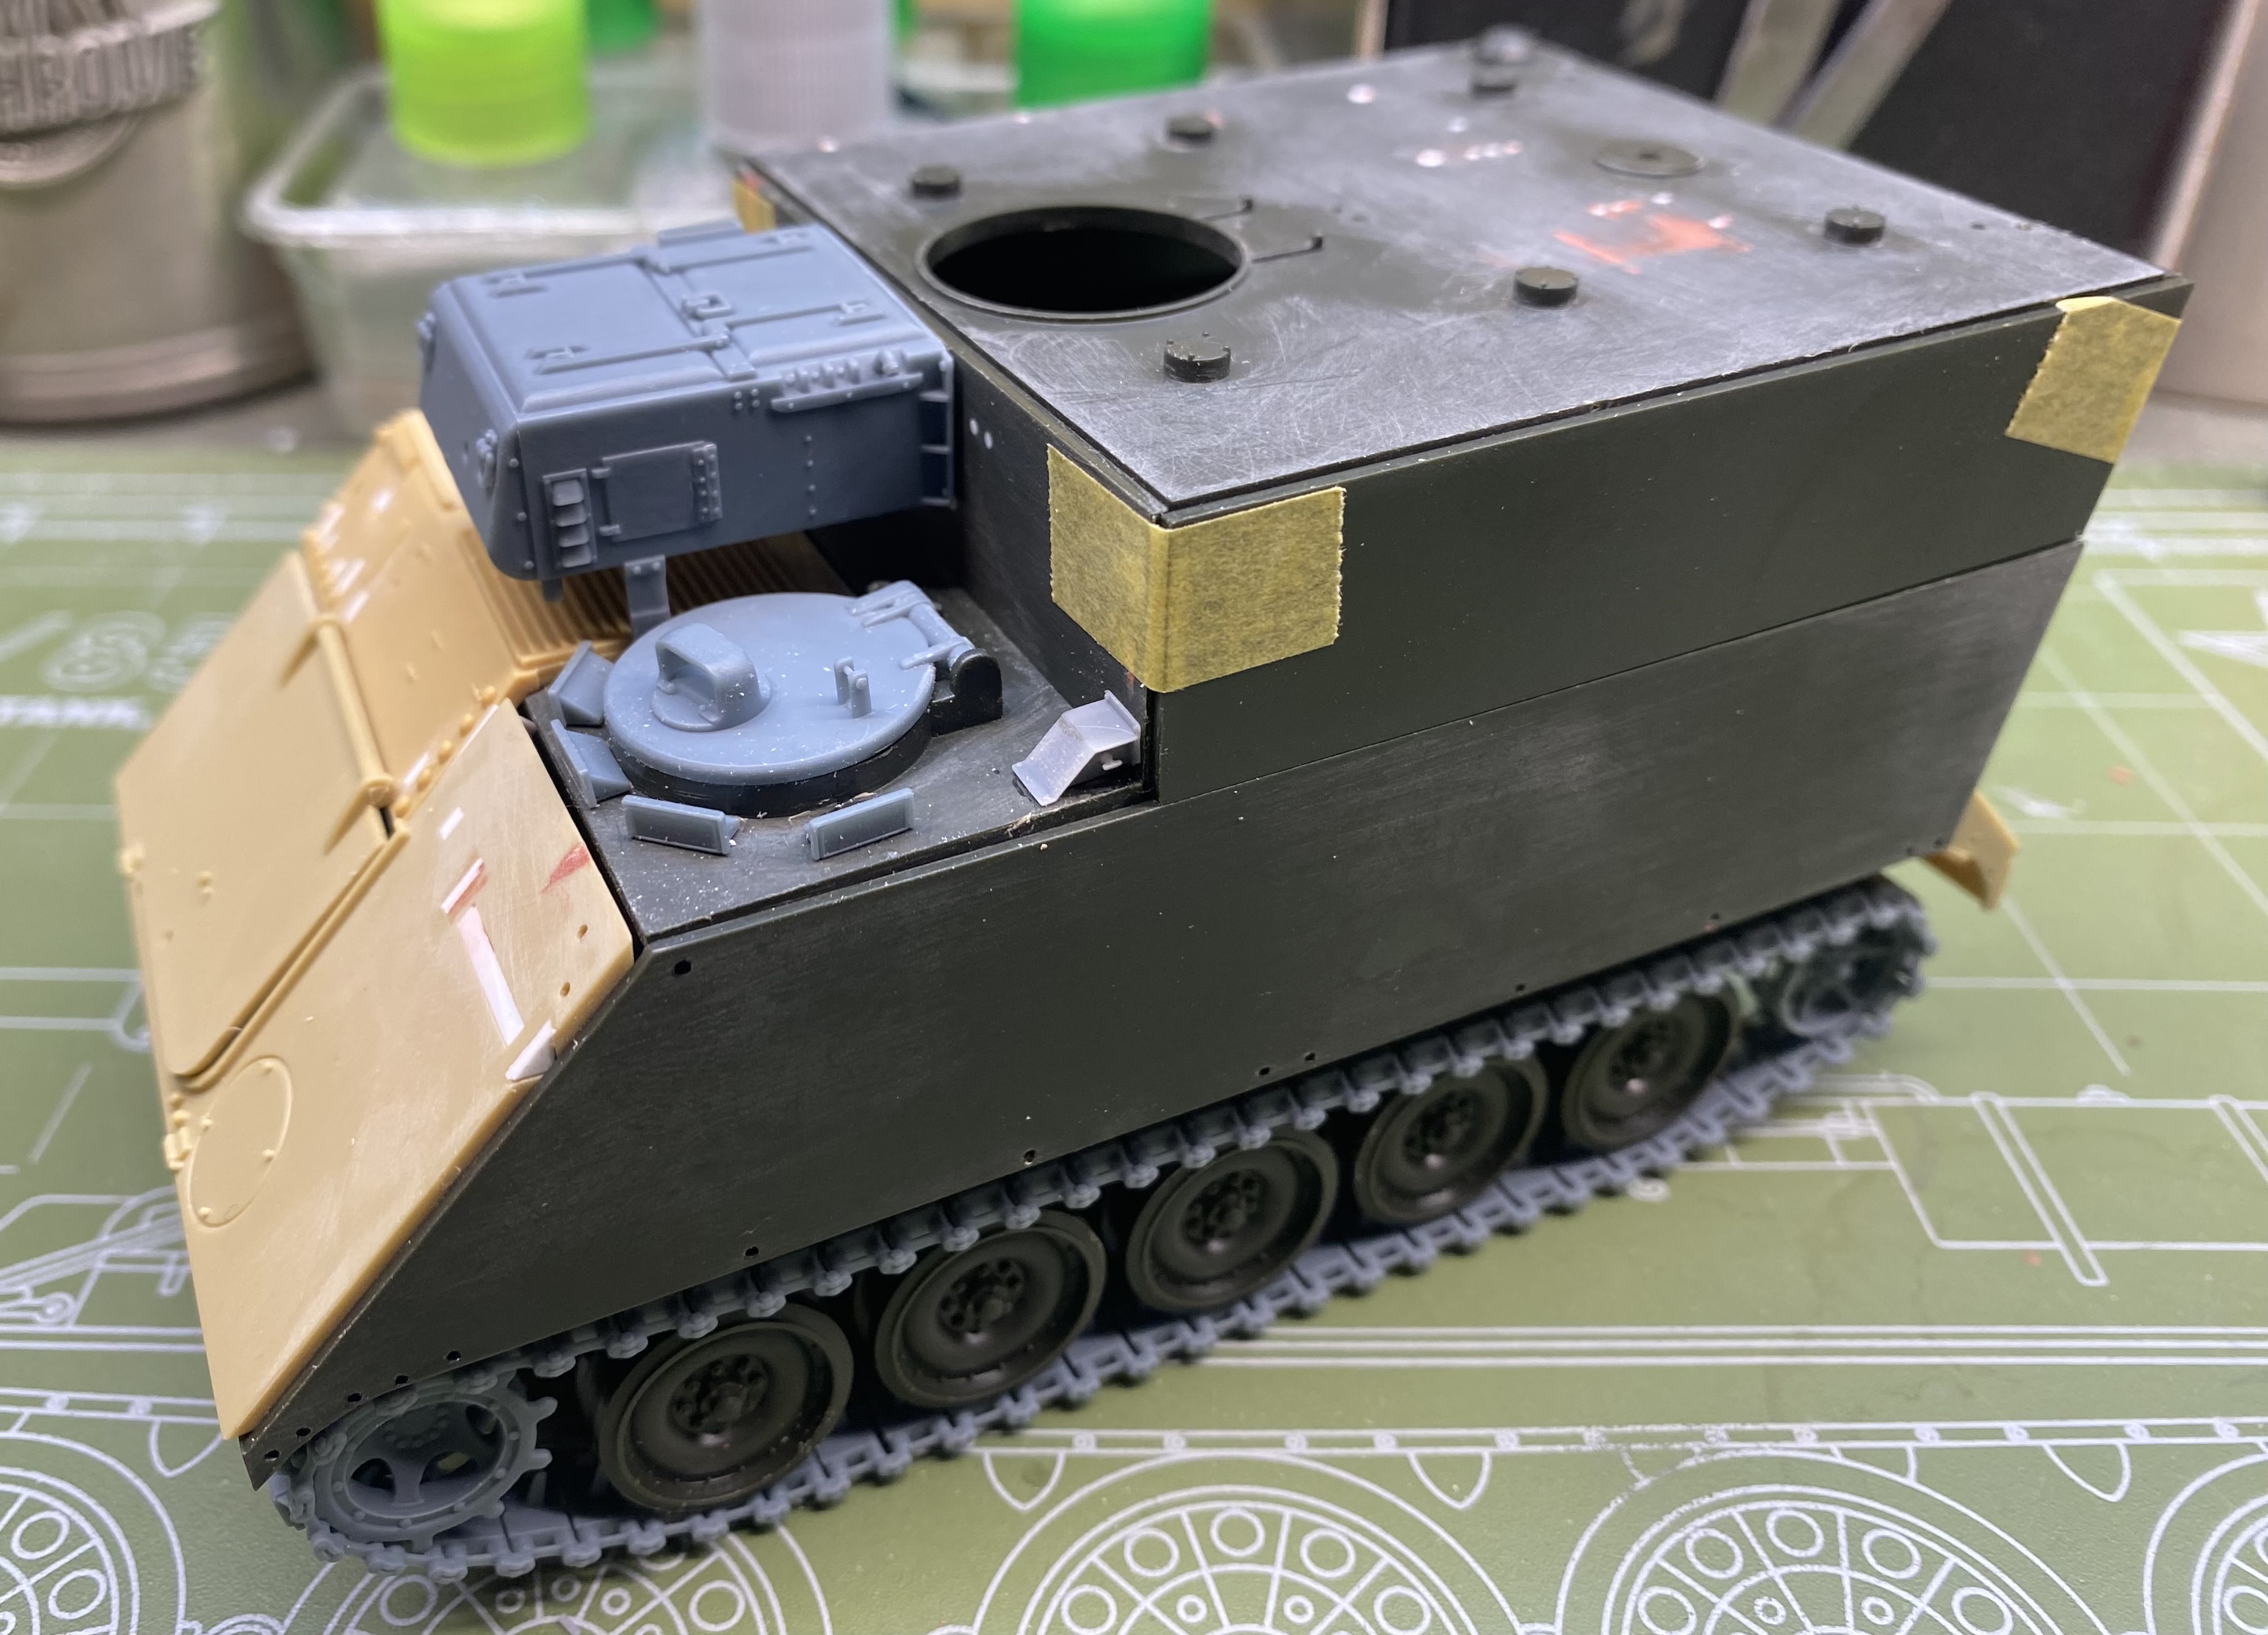
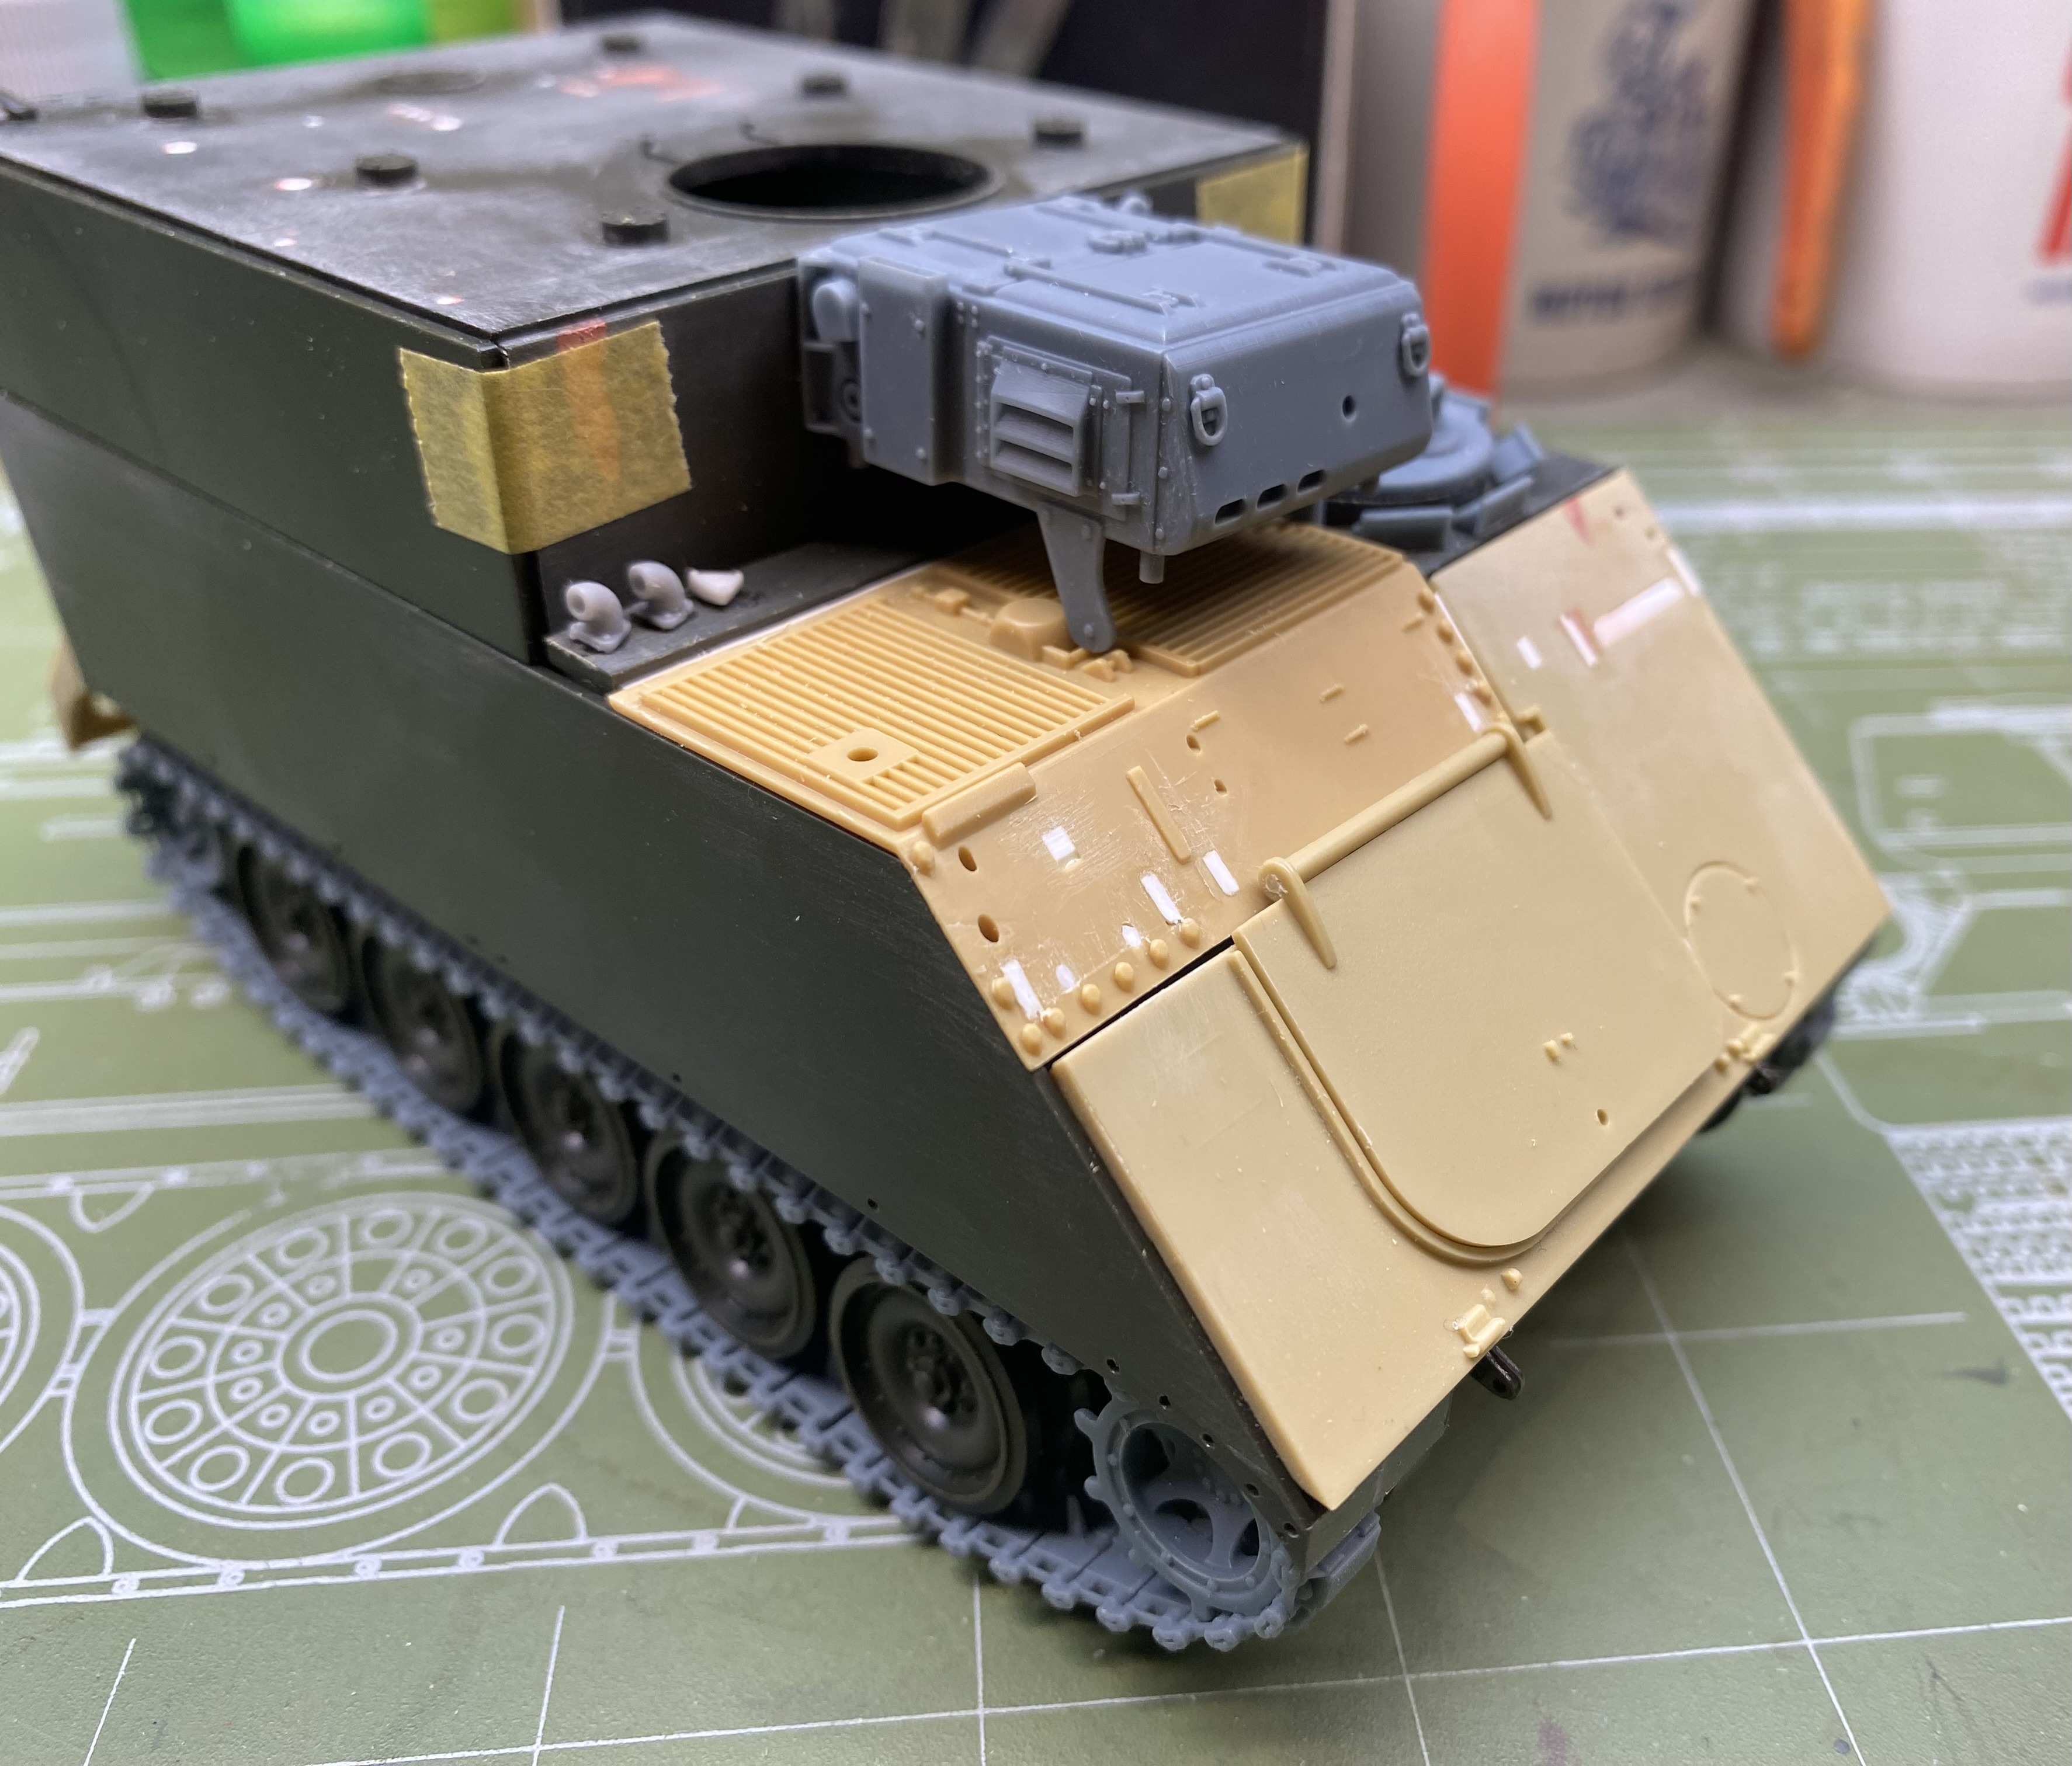
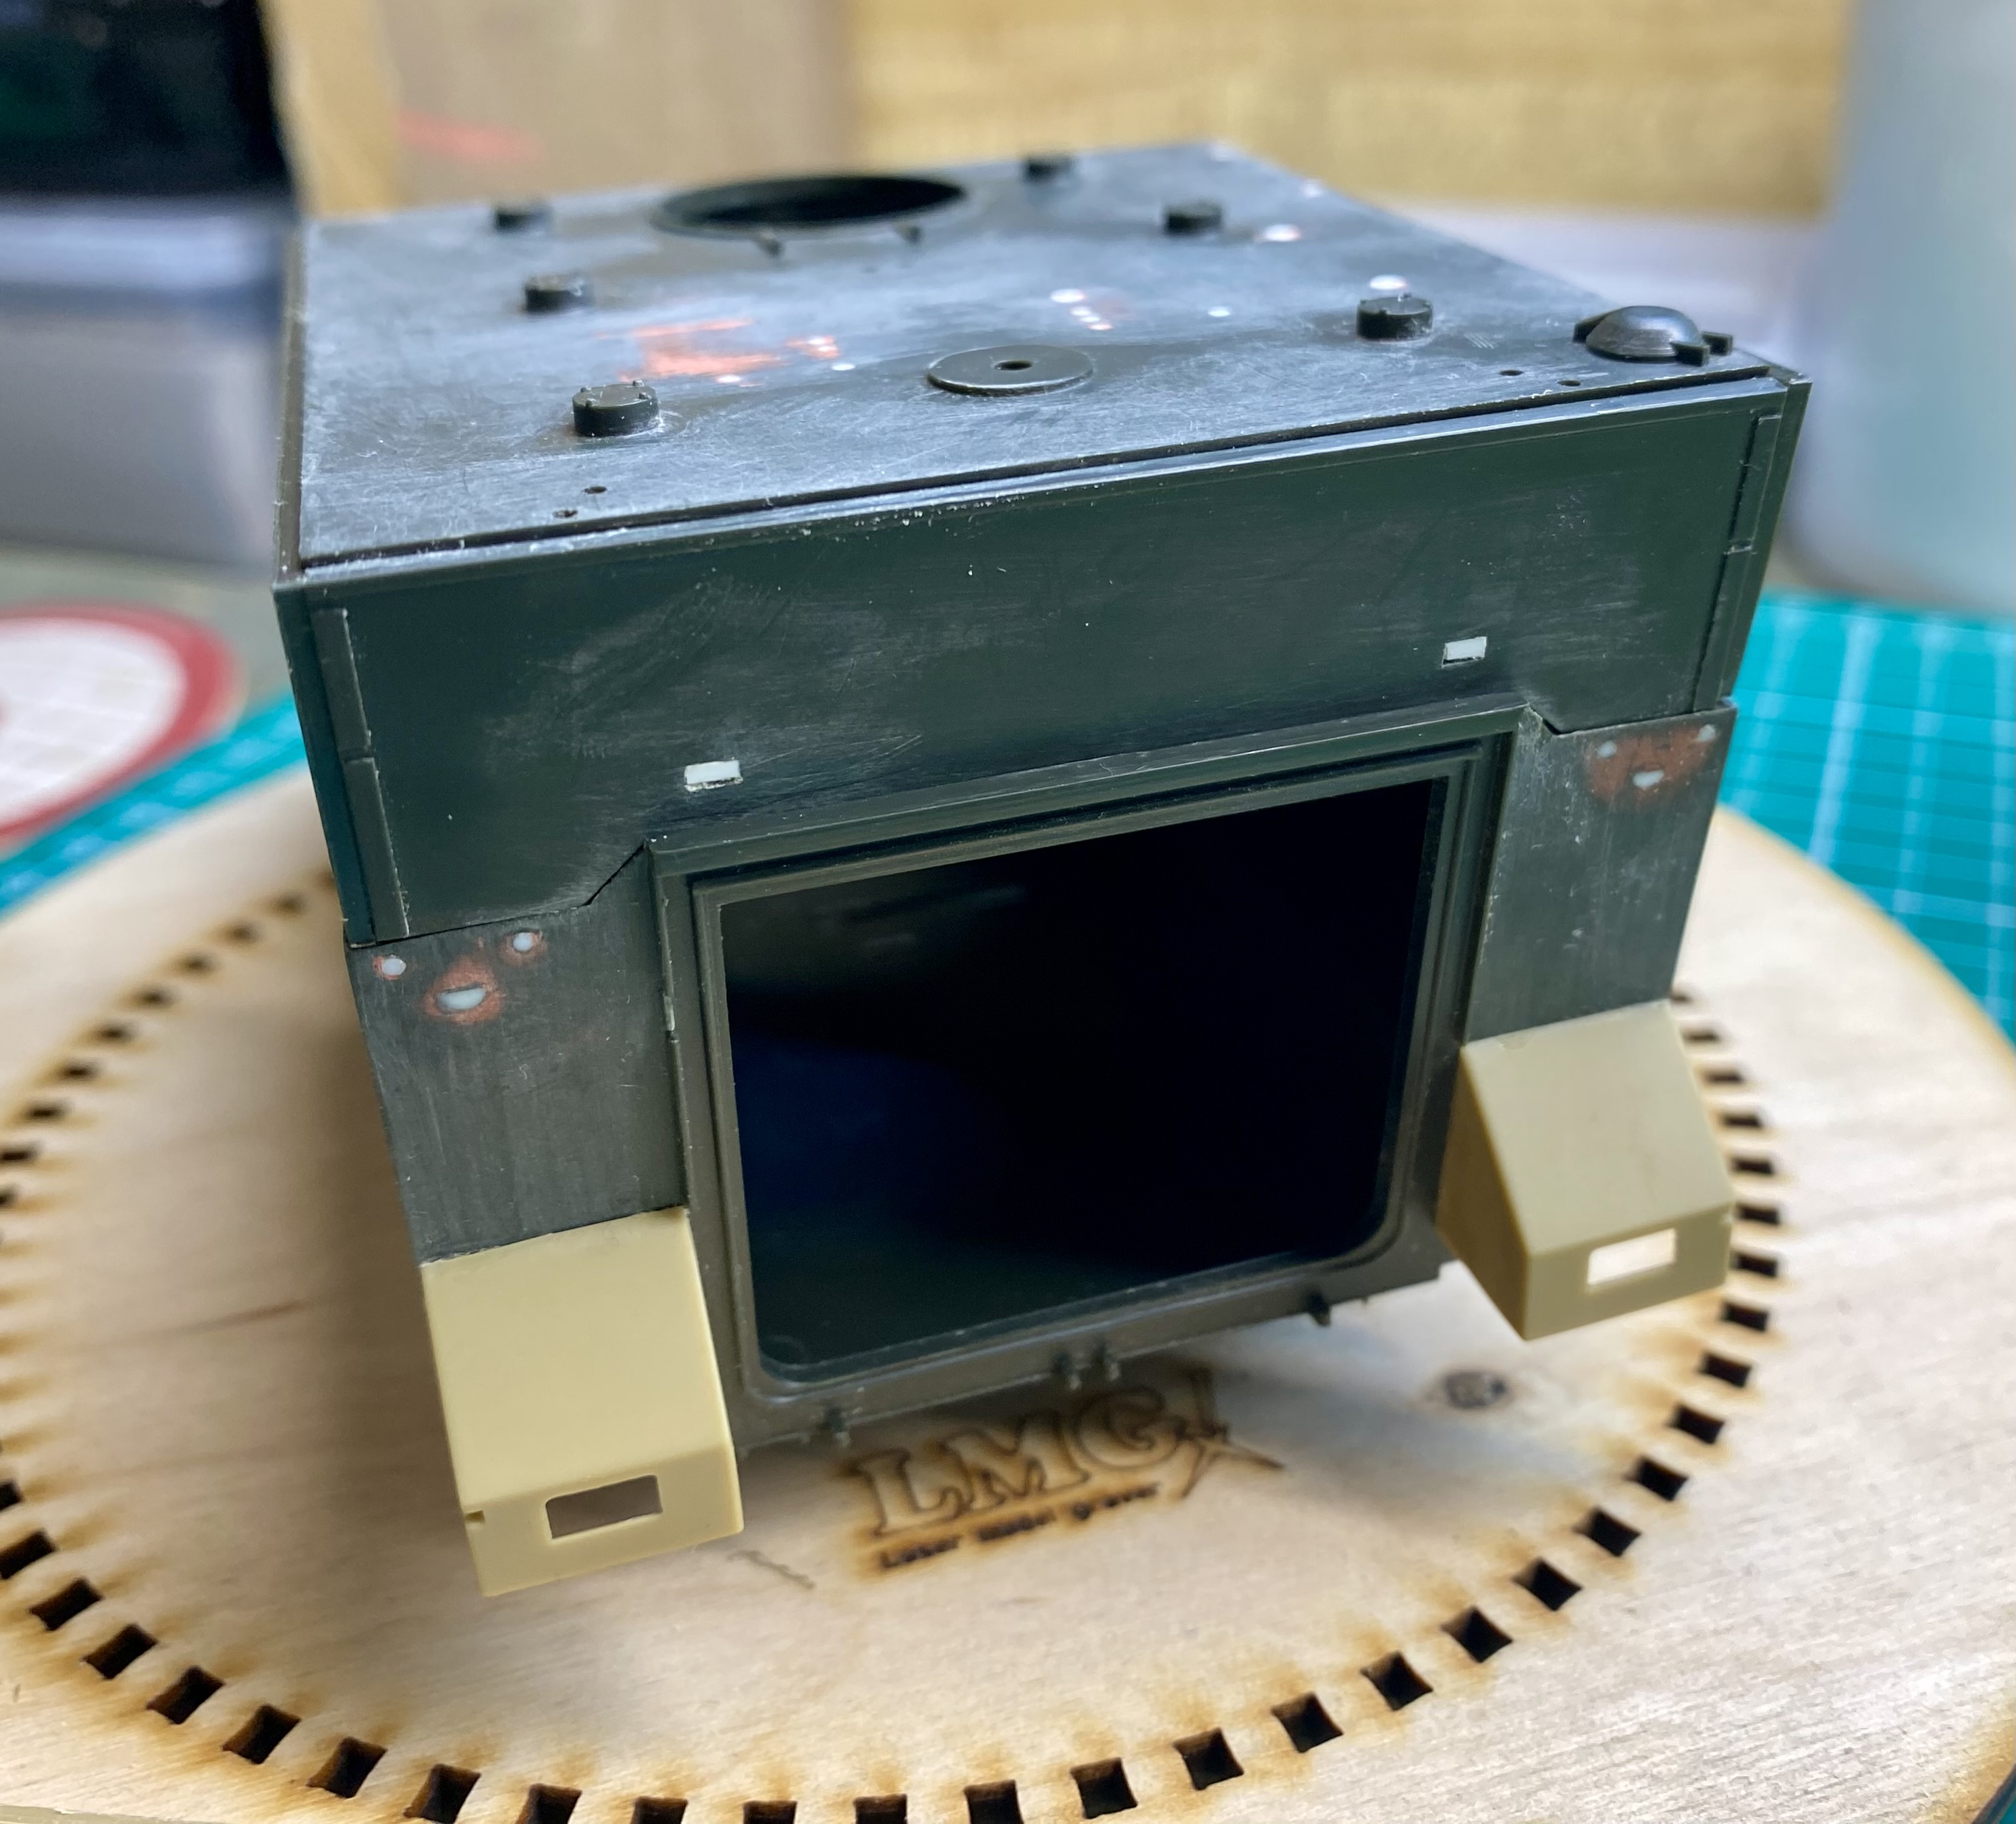
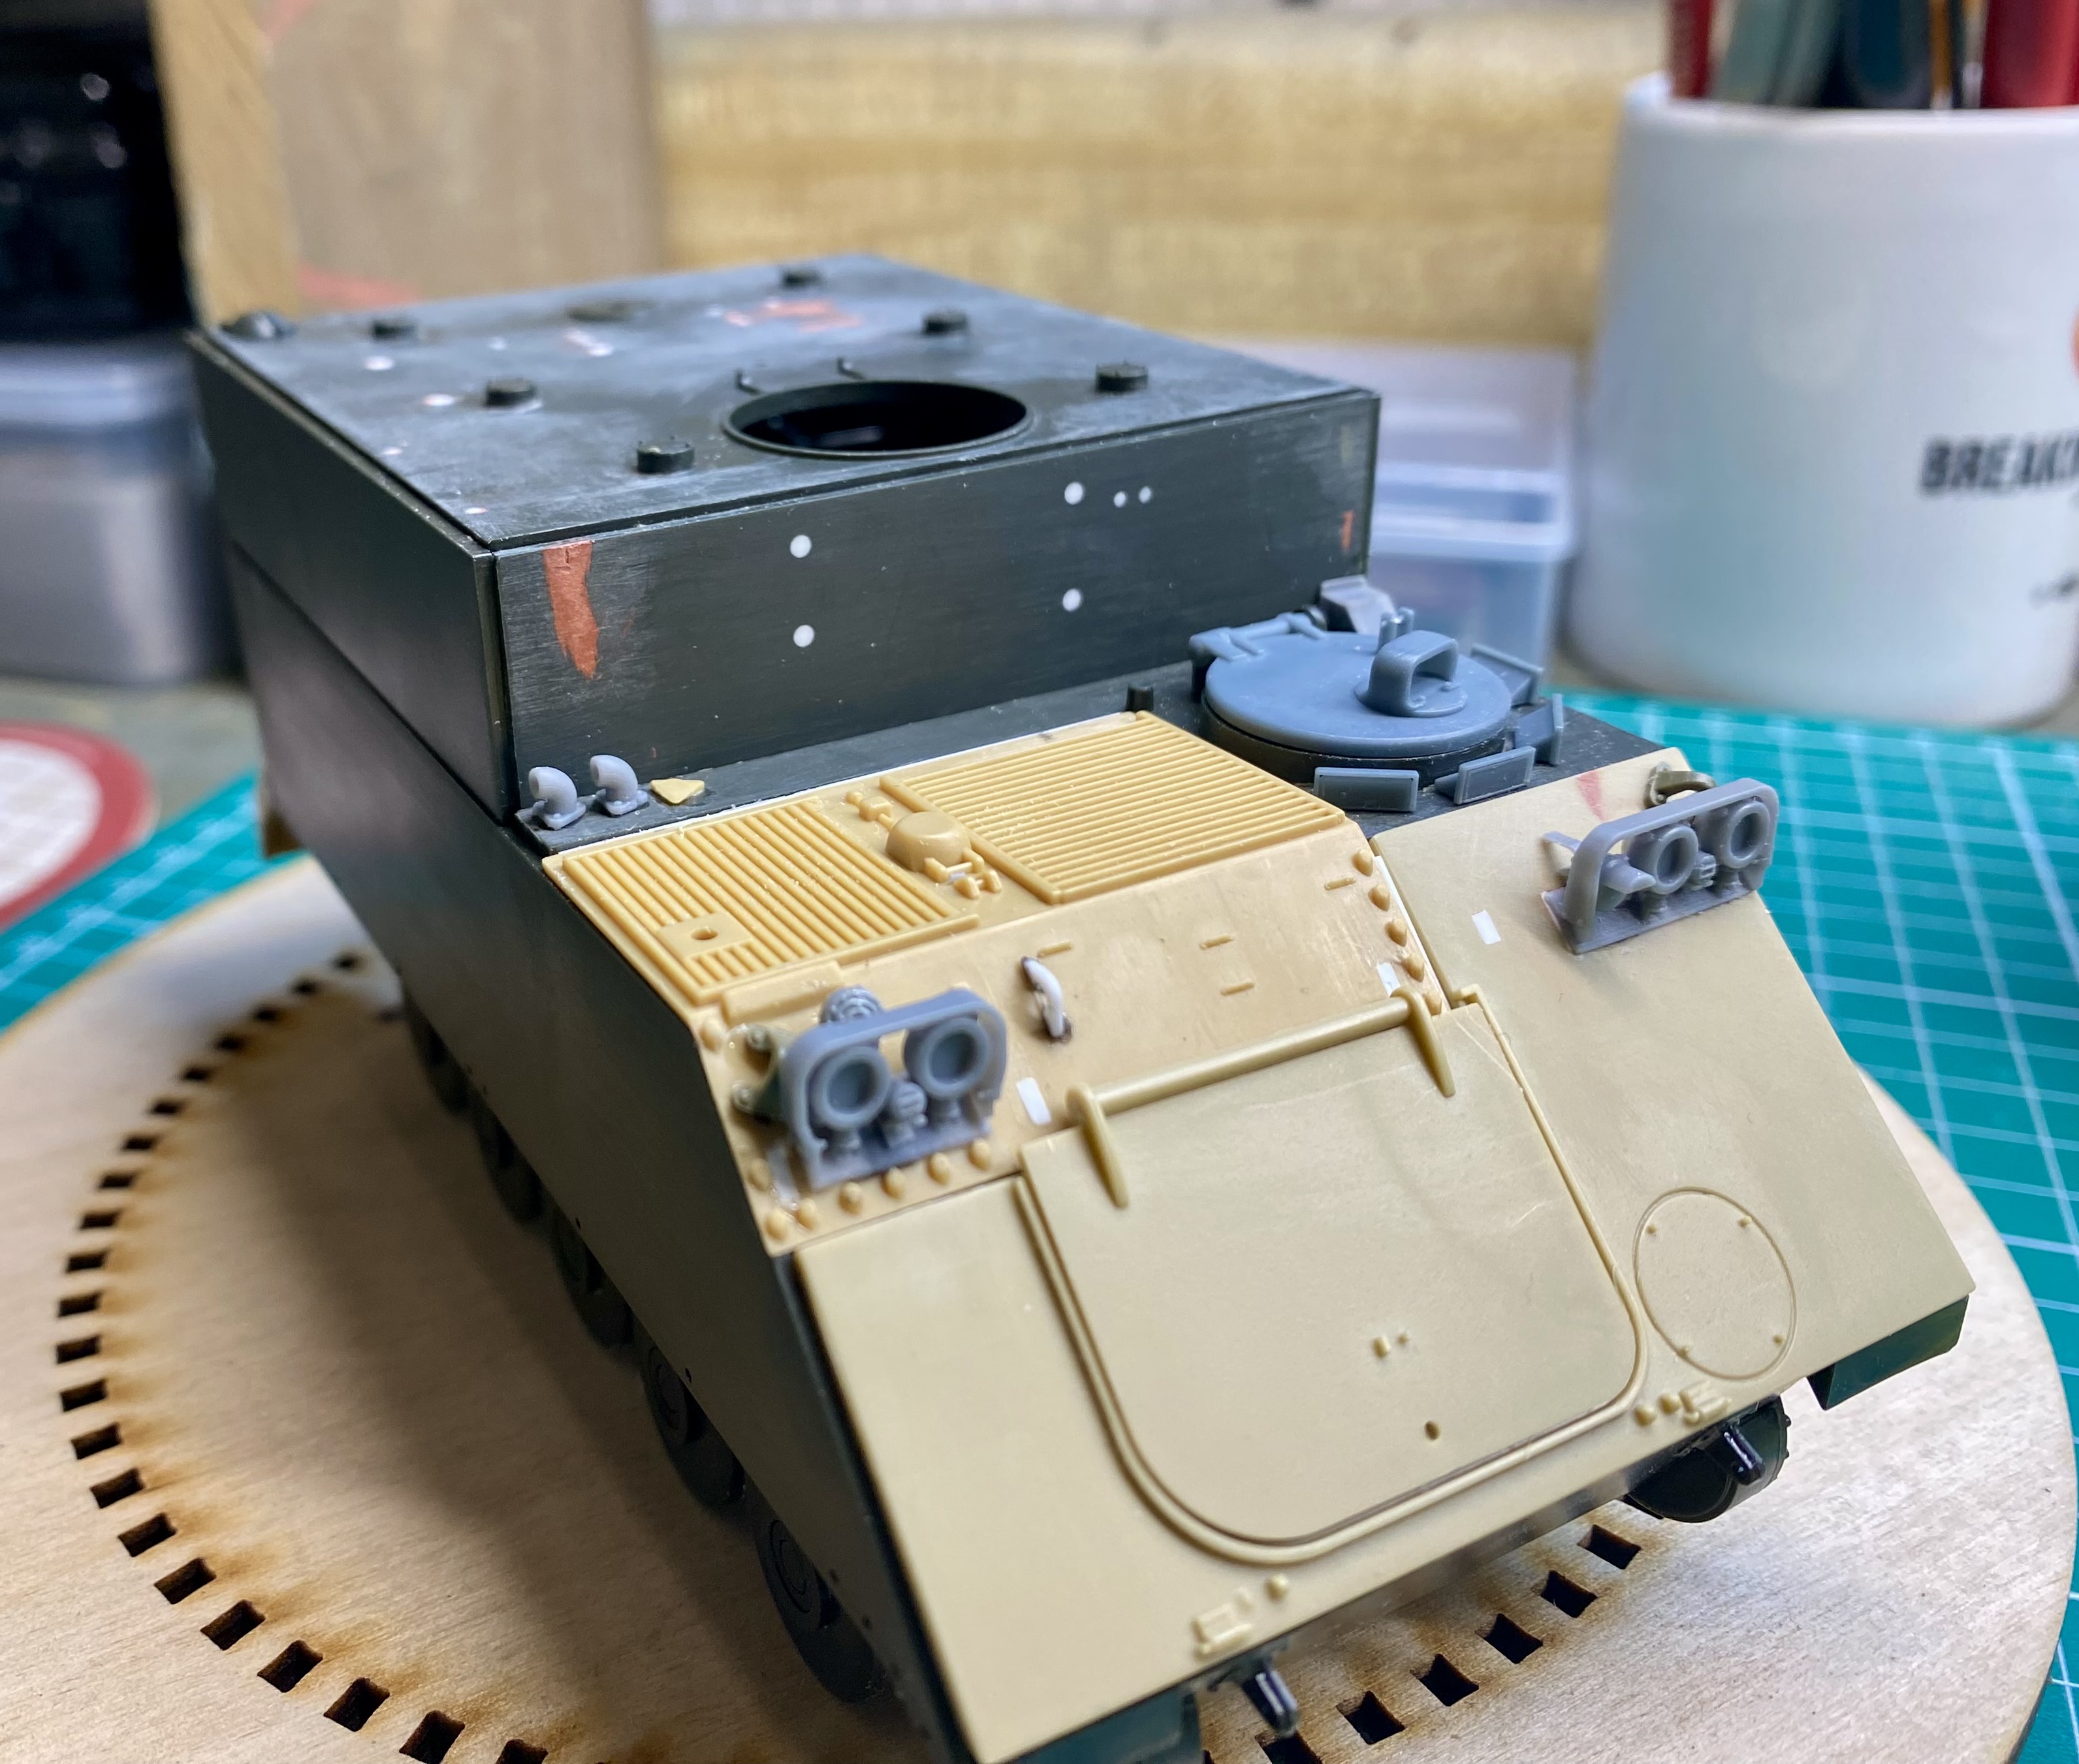
Screwing around with my M577 variants. Check out my way cool one piece 3D printed Diehl tracks on the M1068:
Added some details
And the M113 G3 GE
MicroCosmos is now offering all kinds of M113 tracks including the Danish rubber bands.
Edited to add: 3D printed generator held in place by gravity.
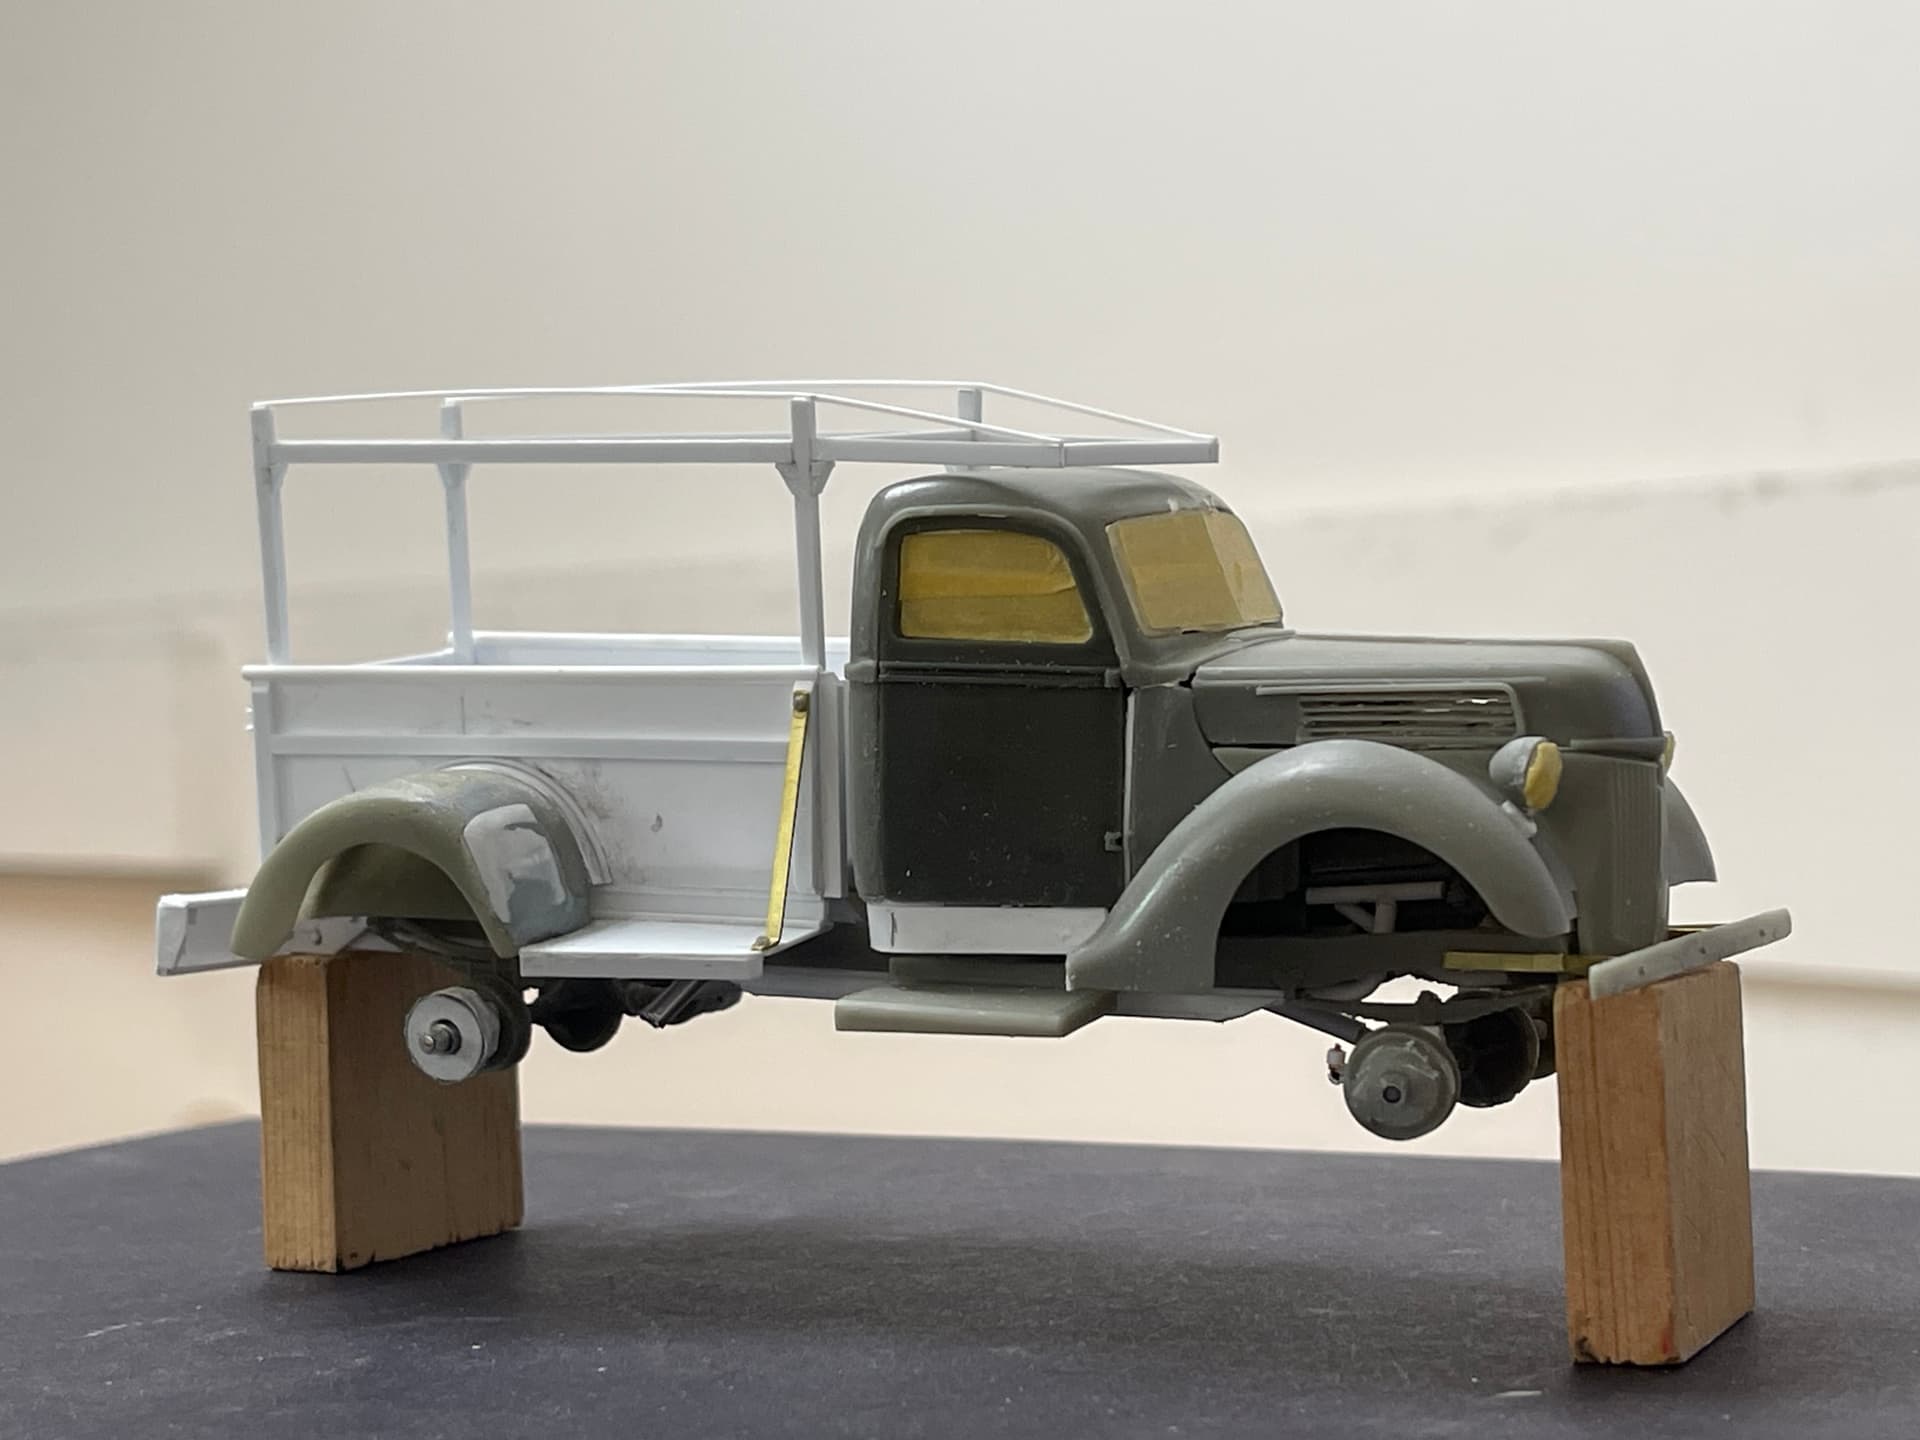
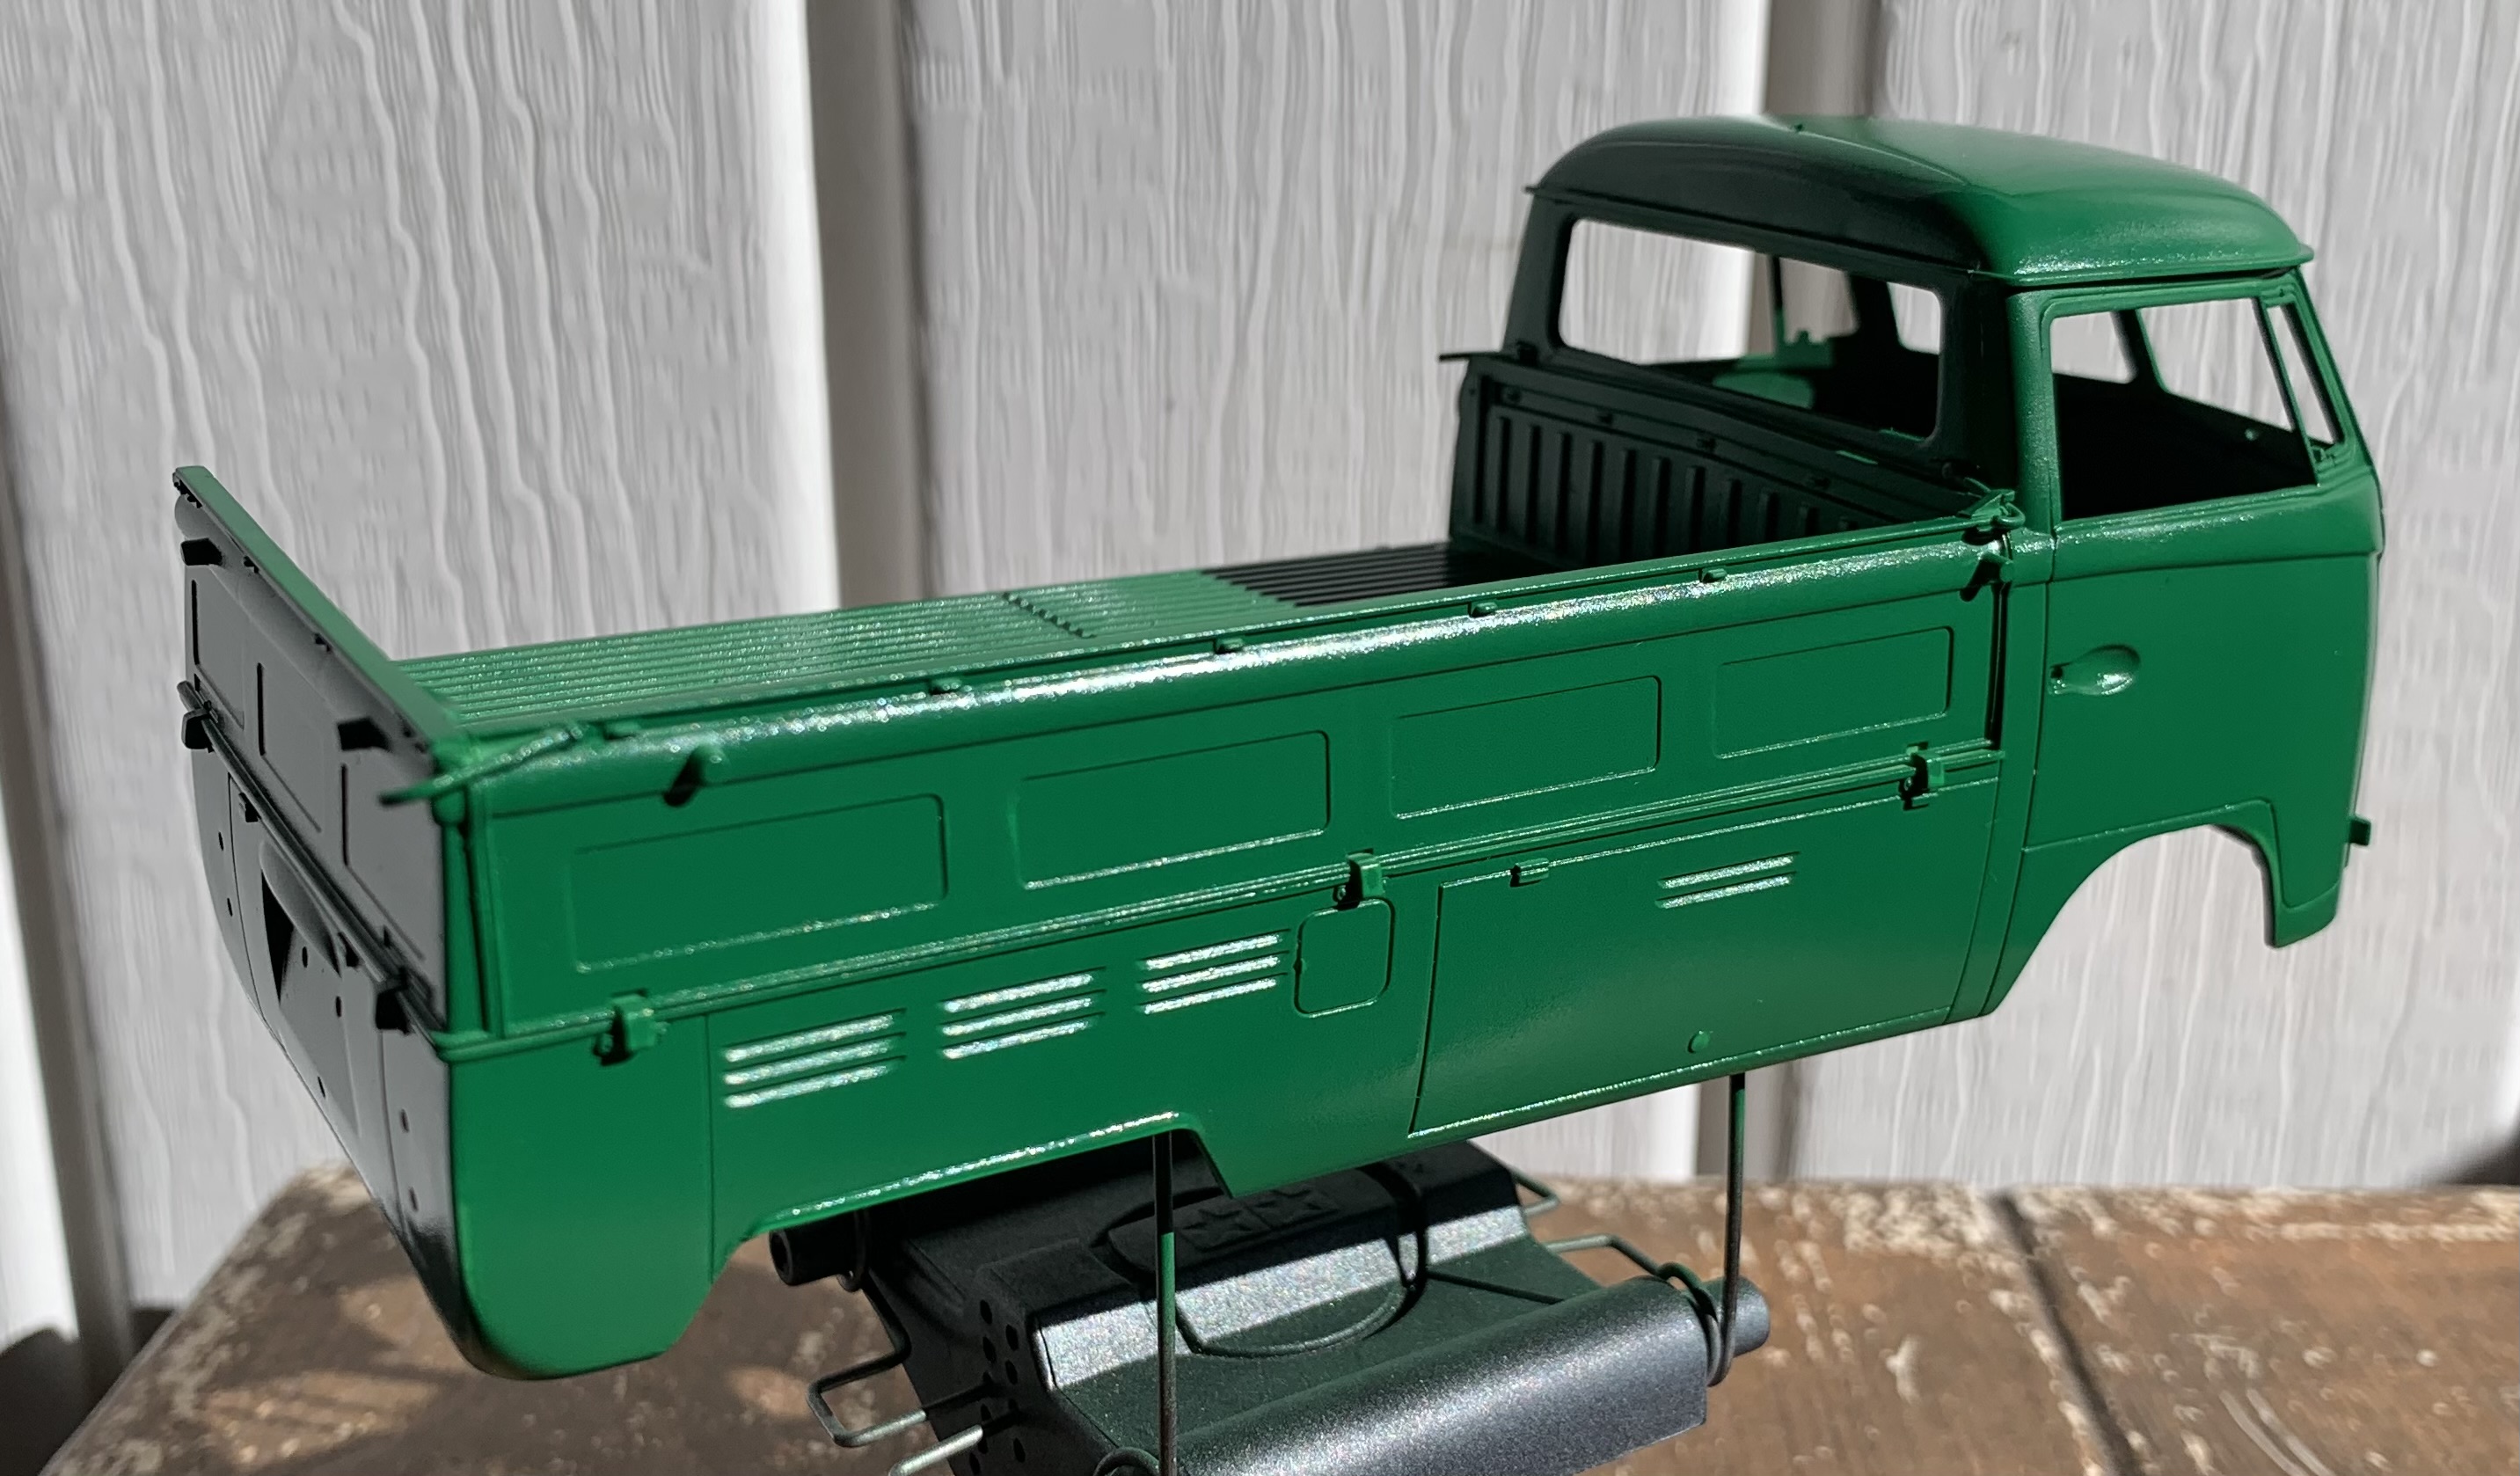
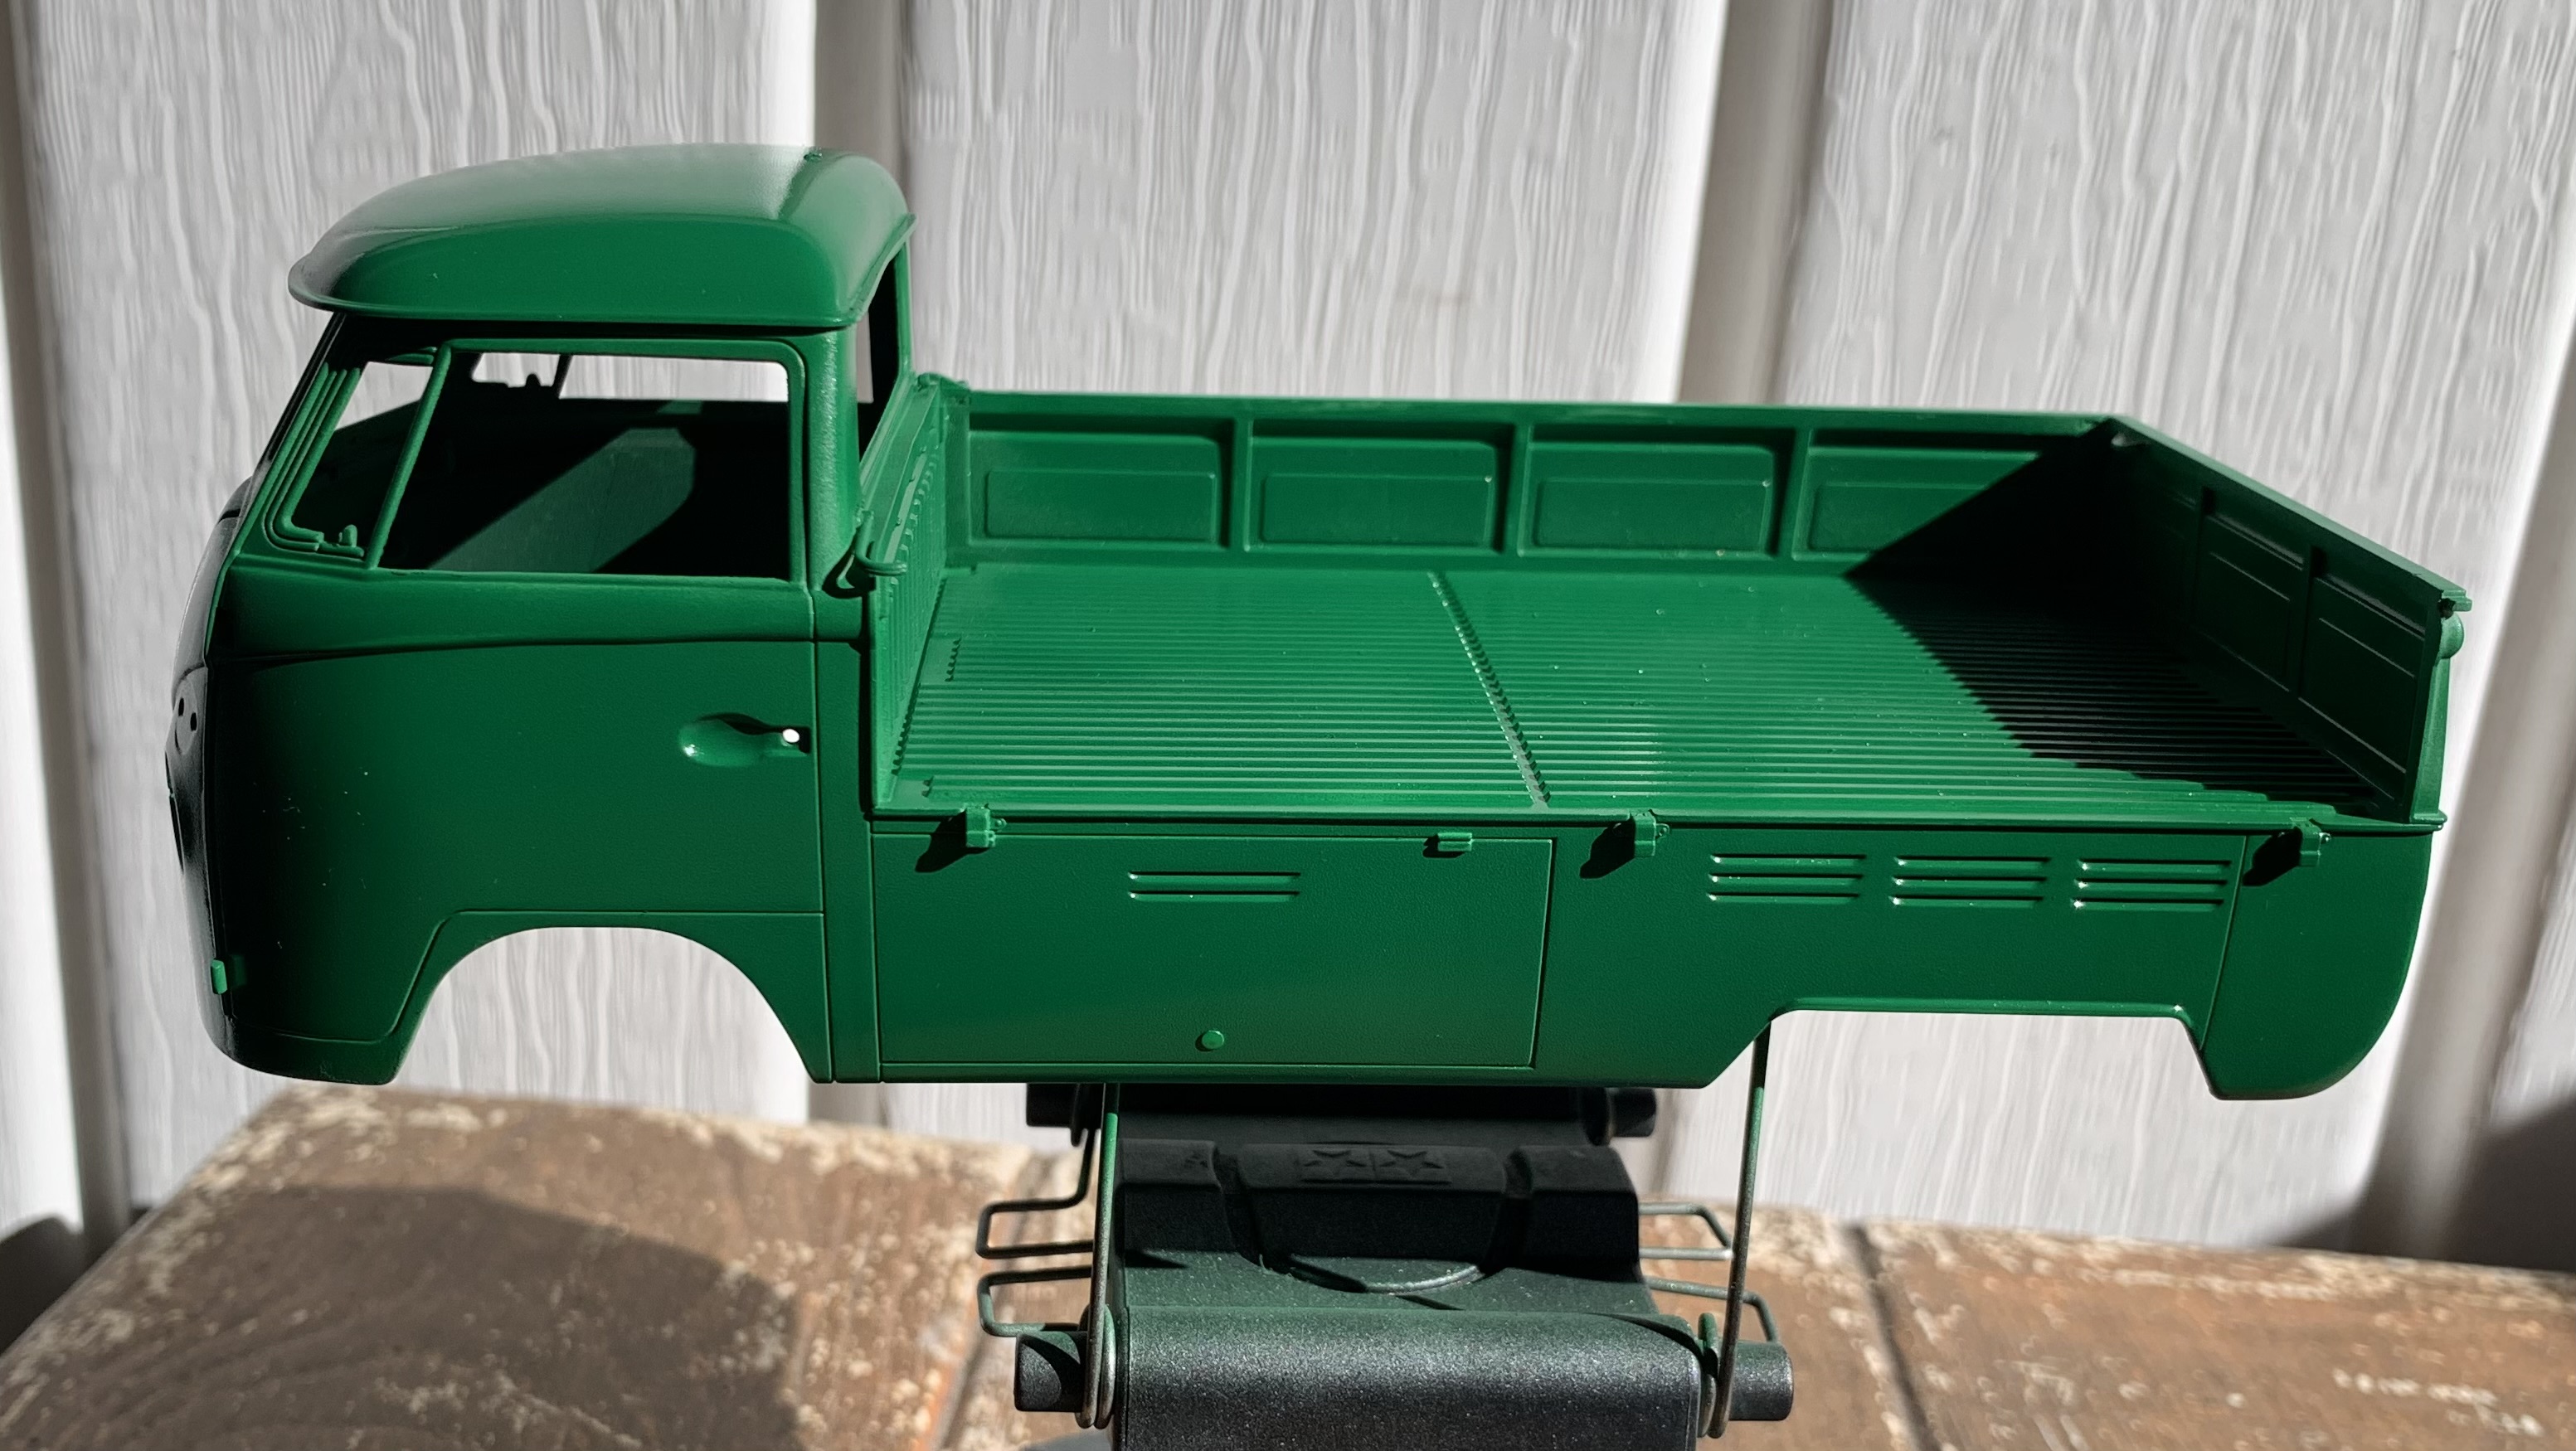
While I didn’t get much done on this truck, what I did seems to have helped it:
This truck was sagging (chassis), some of which was fine, but it was sagging too much, so I fixed that, added some extra body work below the doors, and made up a rear bumper. Still a few odds and ends to go, then painting -
Cheers
Nick
I wasn’t going to start actual assembly until after work today, but I ended up doing steps 1 and 2 right before bed. I’m going to skip the tracks for now and assemble as much as I can before I have to add the roadwheels so I can paint behind stuff. My track assembly routine differs enough from how I assemble the rest that doing tracks in the middle actually kills my momentum, so I like to hold off.
The swingarms aren’t cemented in place; they are just pressed in. They don’t fall out on their own, so I am going to see if the wheels can be removed later once it has been assembled.
I was finally able to get a little work done on my Takom Blitz StuG III G. I tacked the casemate onto the hull, but again, experienced fit issues. I hope it’s not common with these kits, since it’s getting pretty annoying.
I also put together part of the second figure I wanted to use, and have figured out that he will work best exiting the fighting compartment backwards. I hope to finish main construction within the next few days. All I’ve got is basically to settle on the loader’s hatch position, MG mount position, and a few railings.
Did later StuG III G’s ever not have/take off the railings for the sideskirts?
The fit on the casemate is not very forgiving. If you don’t make sure everything up to that point isn’t aligned you will have issues. Almost like they hired a German to engineer the kit.
I see. There are a few gaps, but the rest is mostly fine, so I can probably use tamiya putty to fill them in.
THIS caught my eye surfing old threads.
I must implore you that, whatever your stowage plan for your Abrams MBT, please DO NOT stow kit on top of the blowoff panels (BOPs). In another case, I saw a very nice M1A2 all decked out, and the builder strapped things down over the top of the blowoff panels.
IF I found one on my vehicles looking like this during a PCC (pre-combat check), I’d have the TC, PSG, and LT (the PL) standing tall behind my Abrams! They would be explaining the standard for the unit approved stowage SOP, and then explaining how they were going to visit all the other subunits and make certain that all the Abrams crews knew the standard.
The BOPs are engineered to release under certain conditions. Anything that impedes, restricts, or slows that design basis (including SLEEPING on top of the BOPs), was a serious learning opportunity. In the worst case, the BOPs do not function properly, and the crew is at risk.
Attention to detail: it matters.
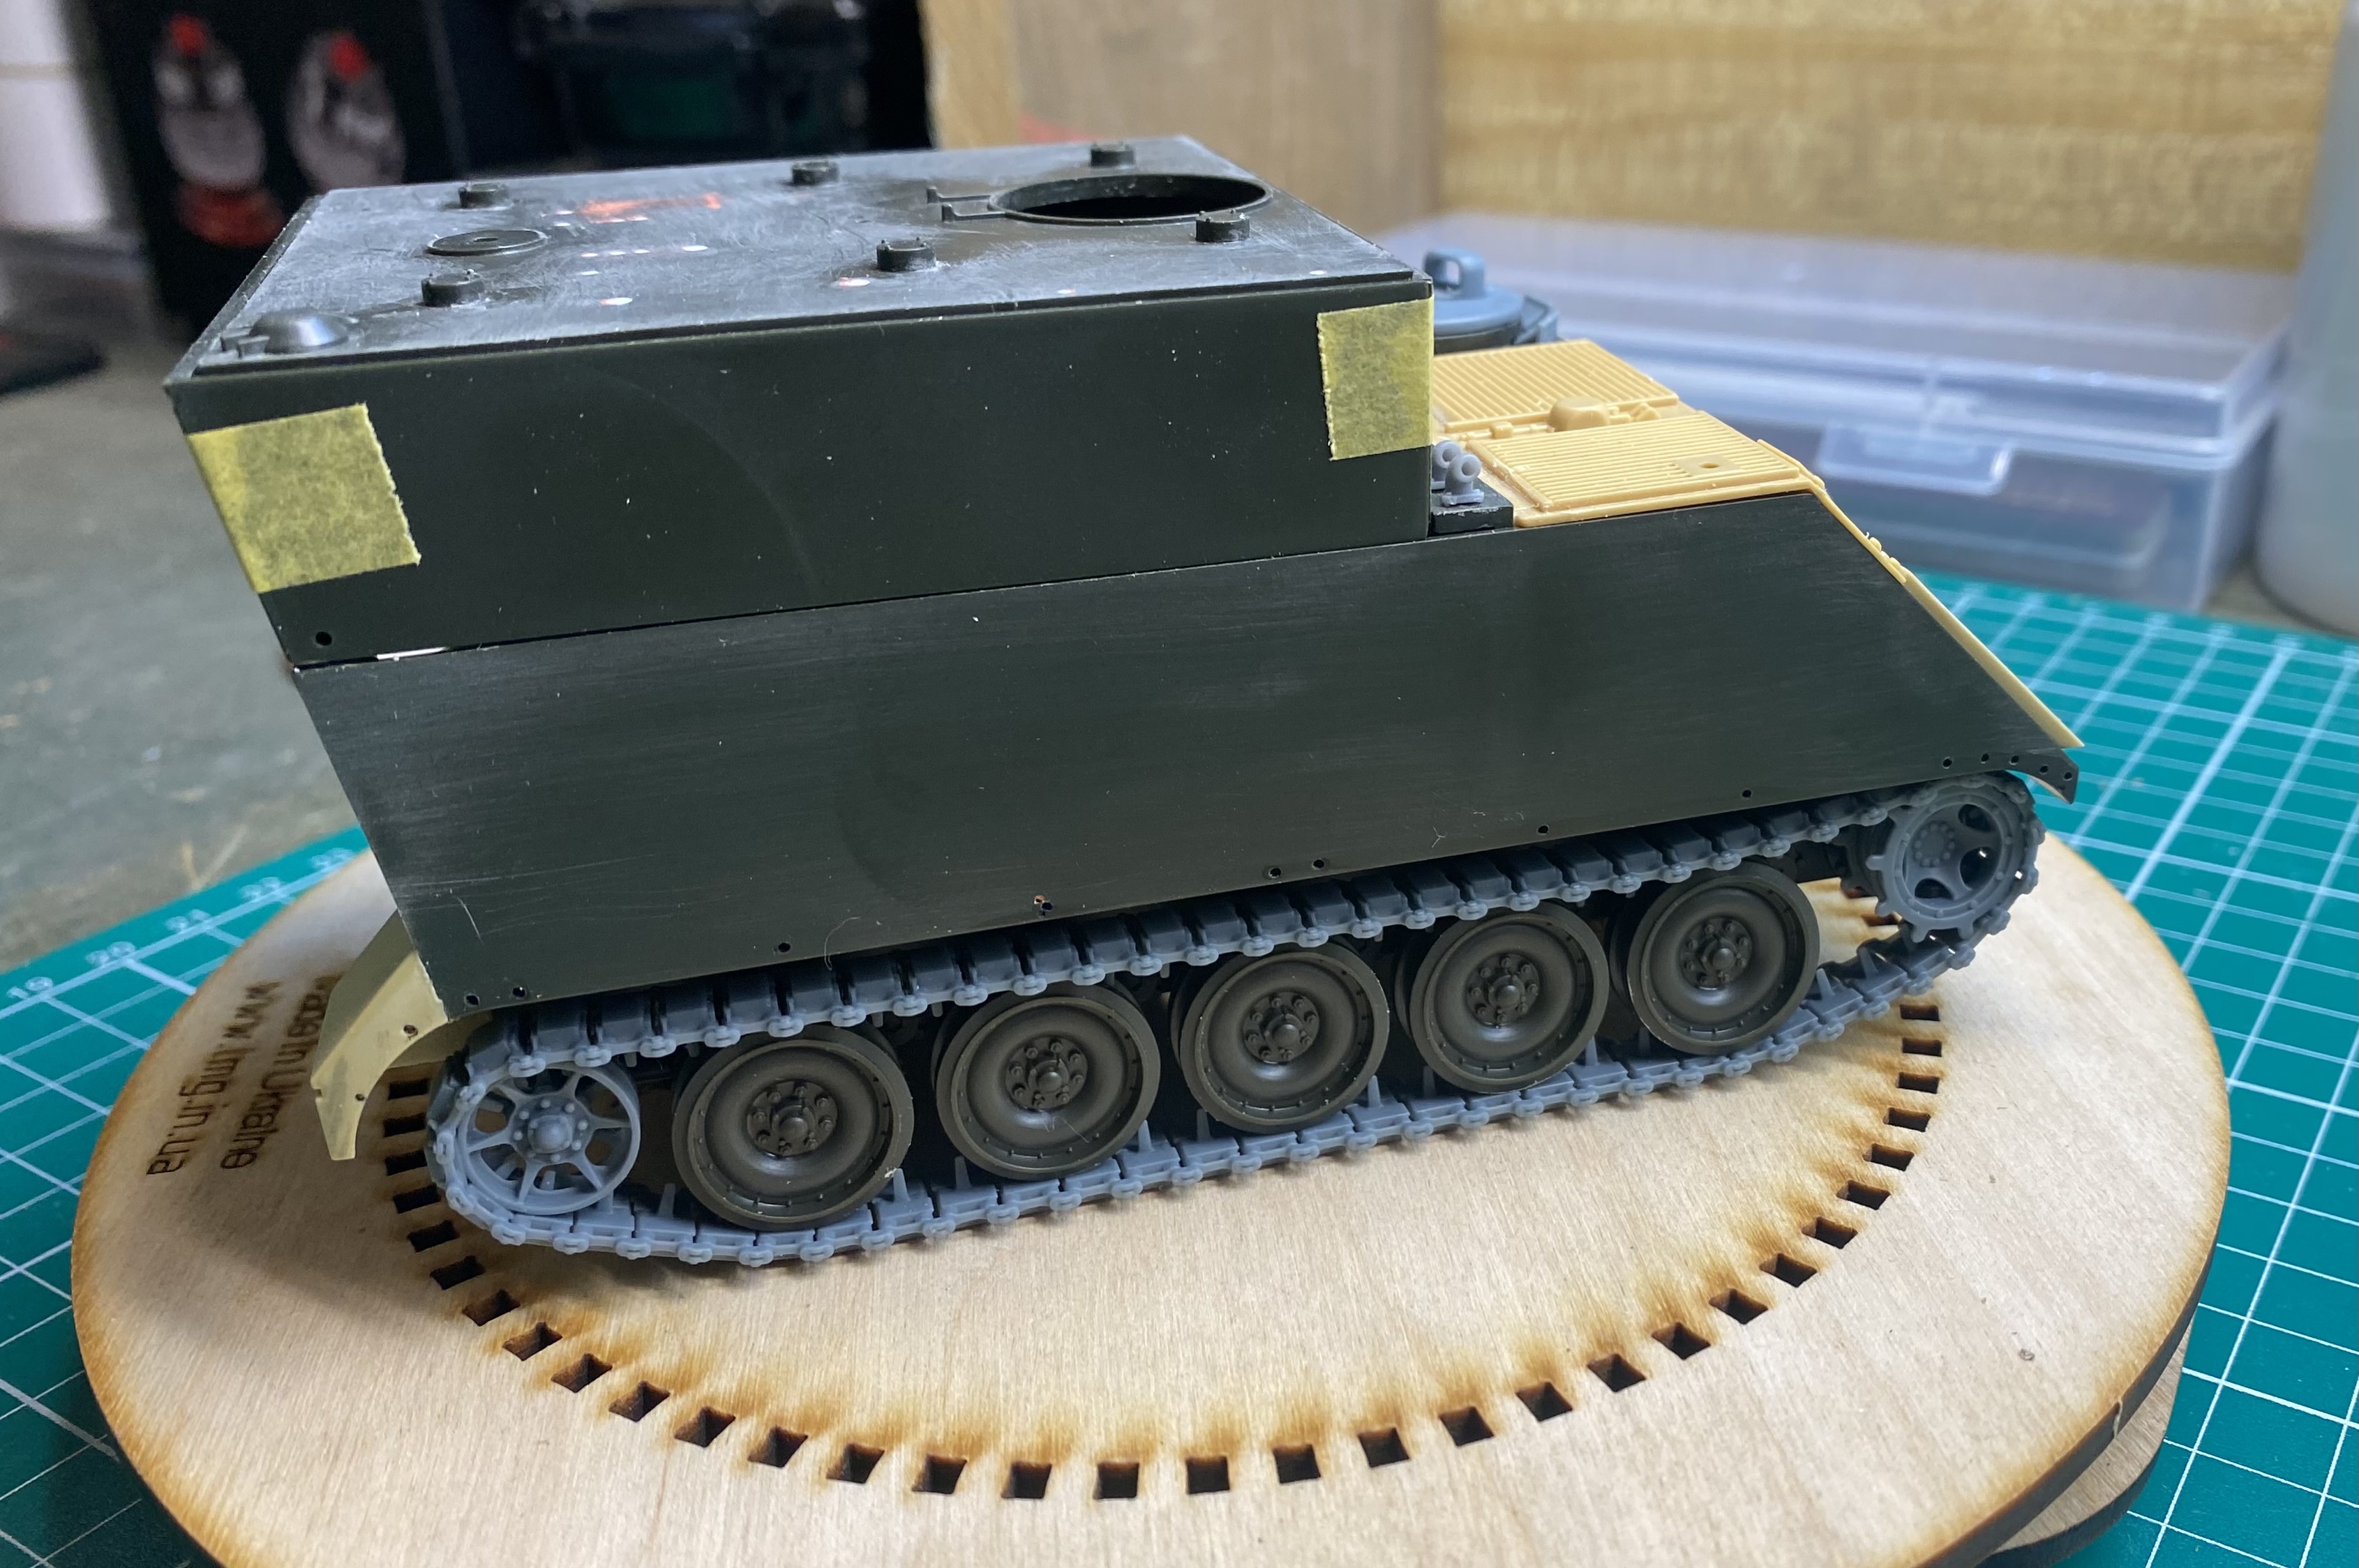
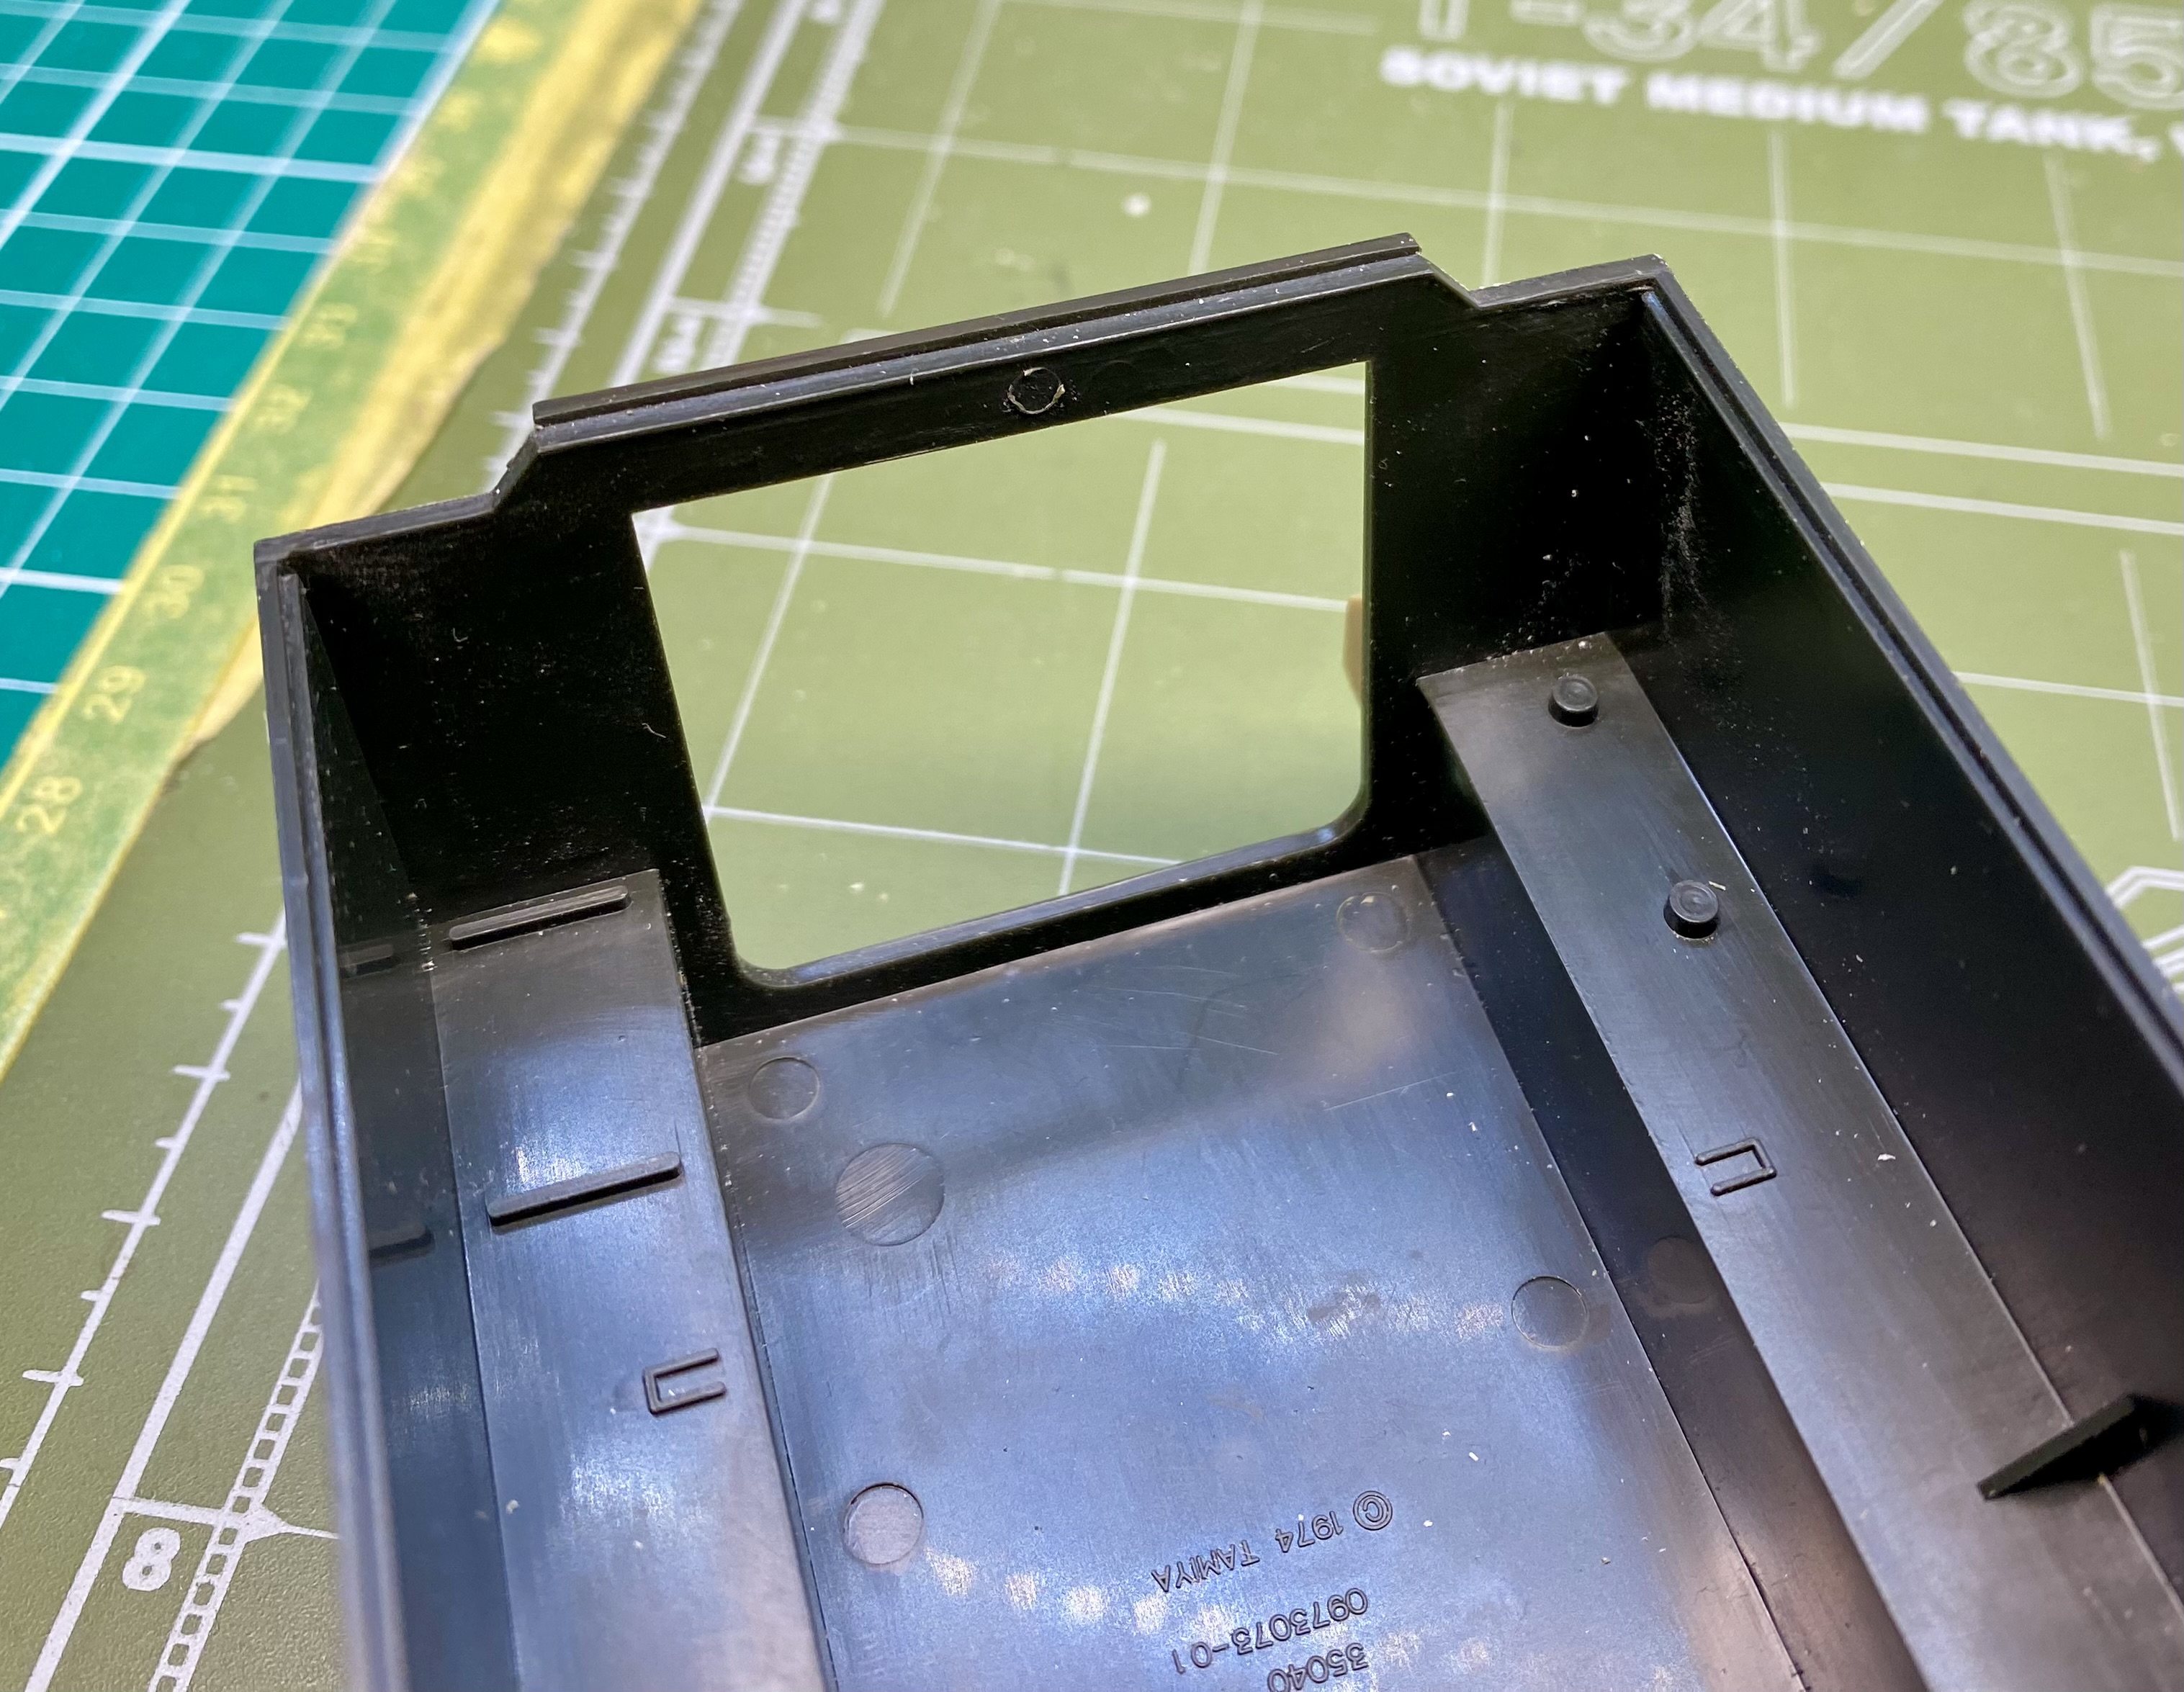
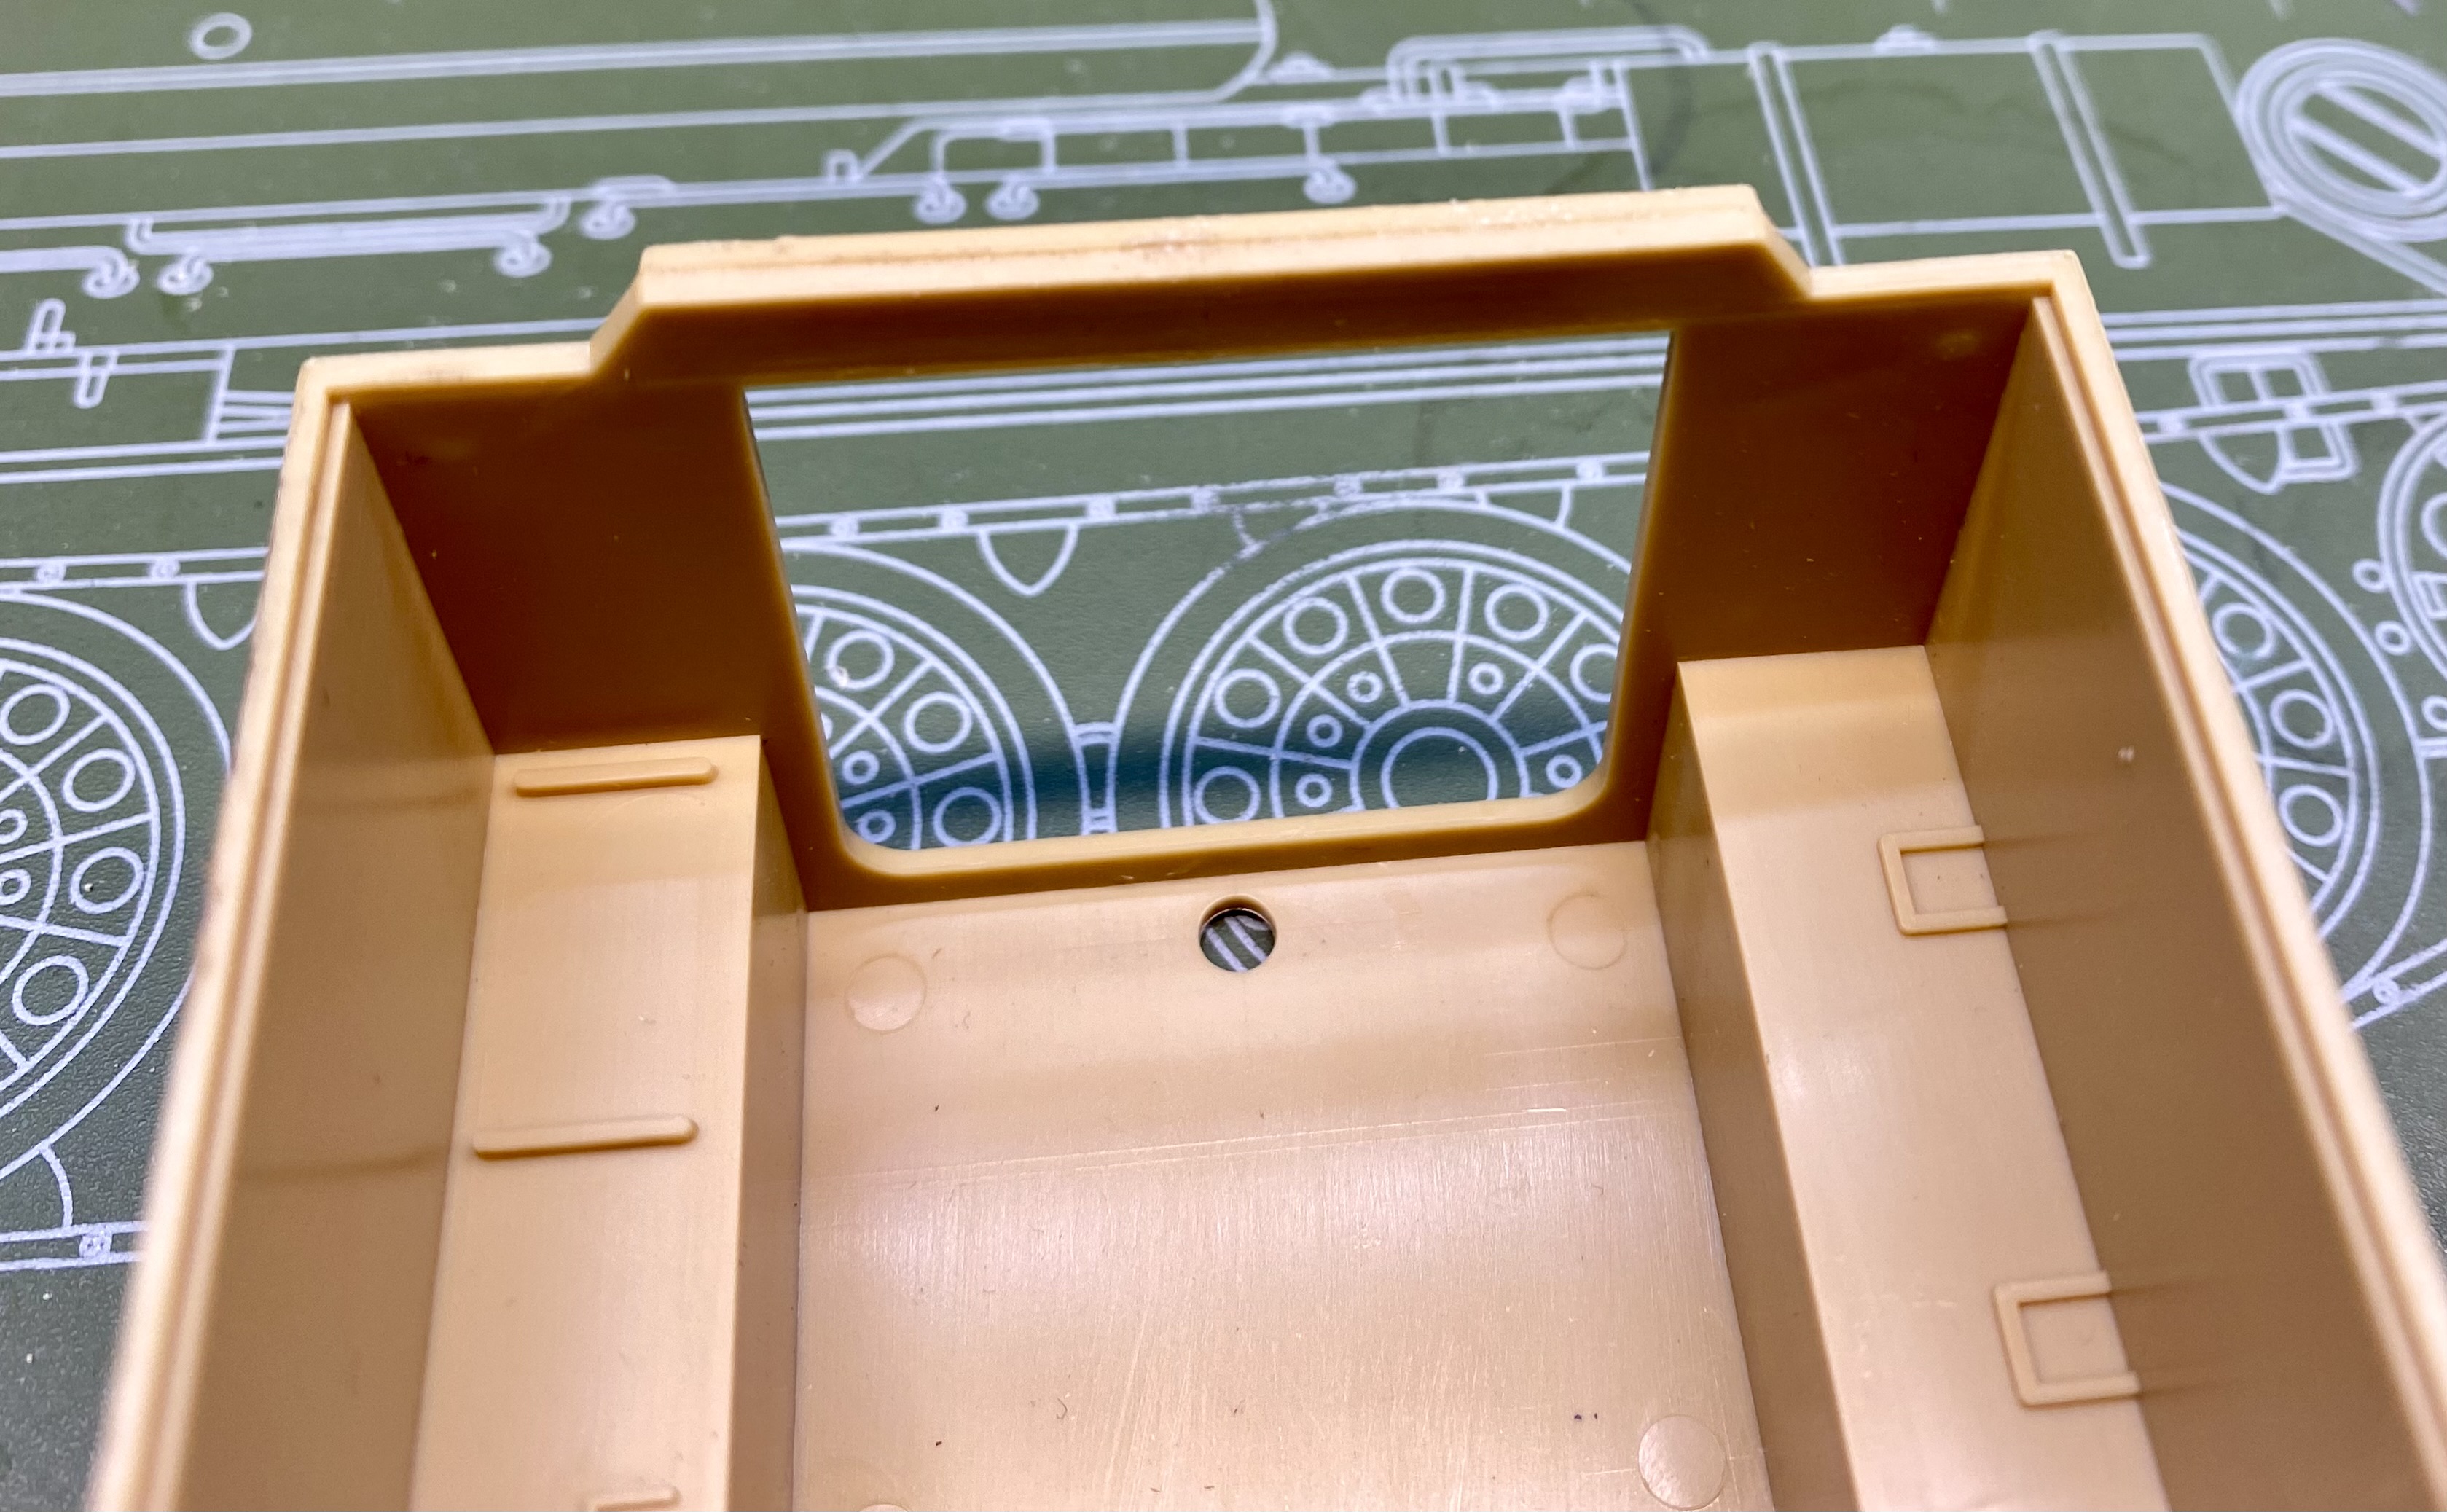
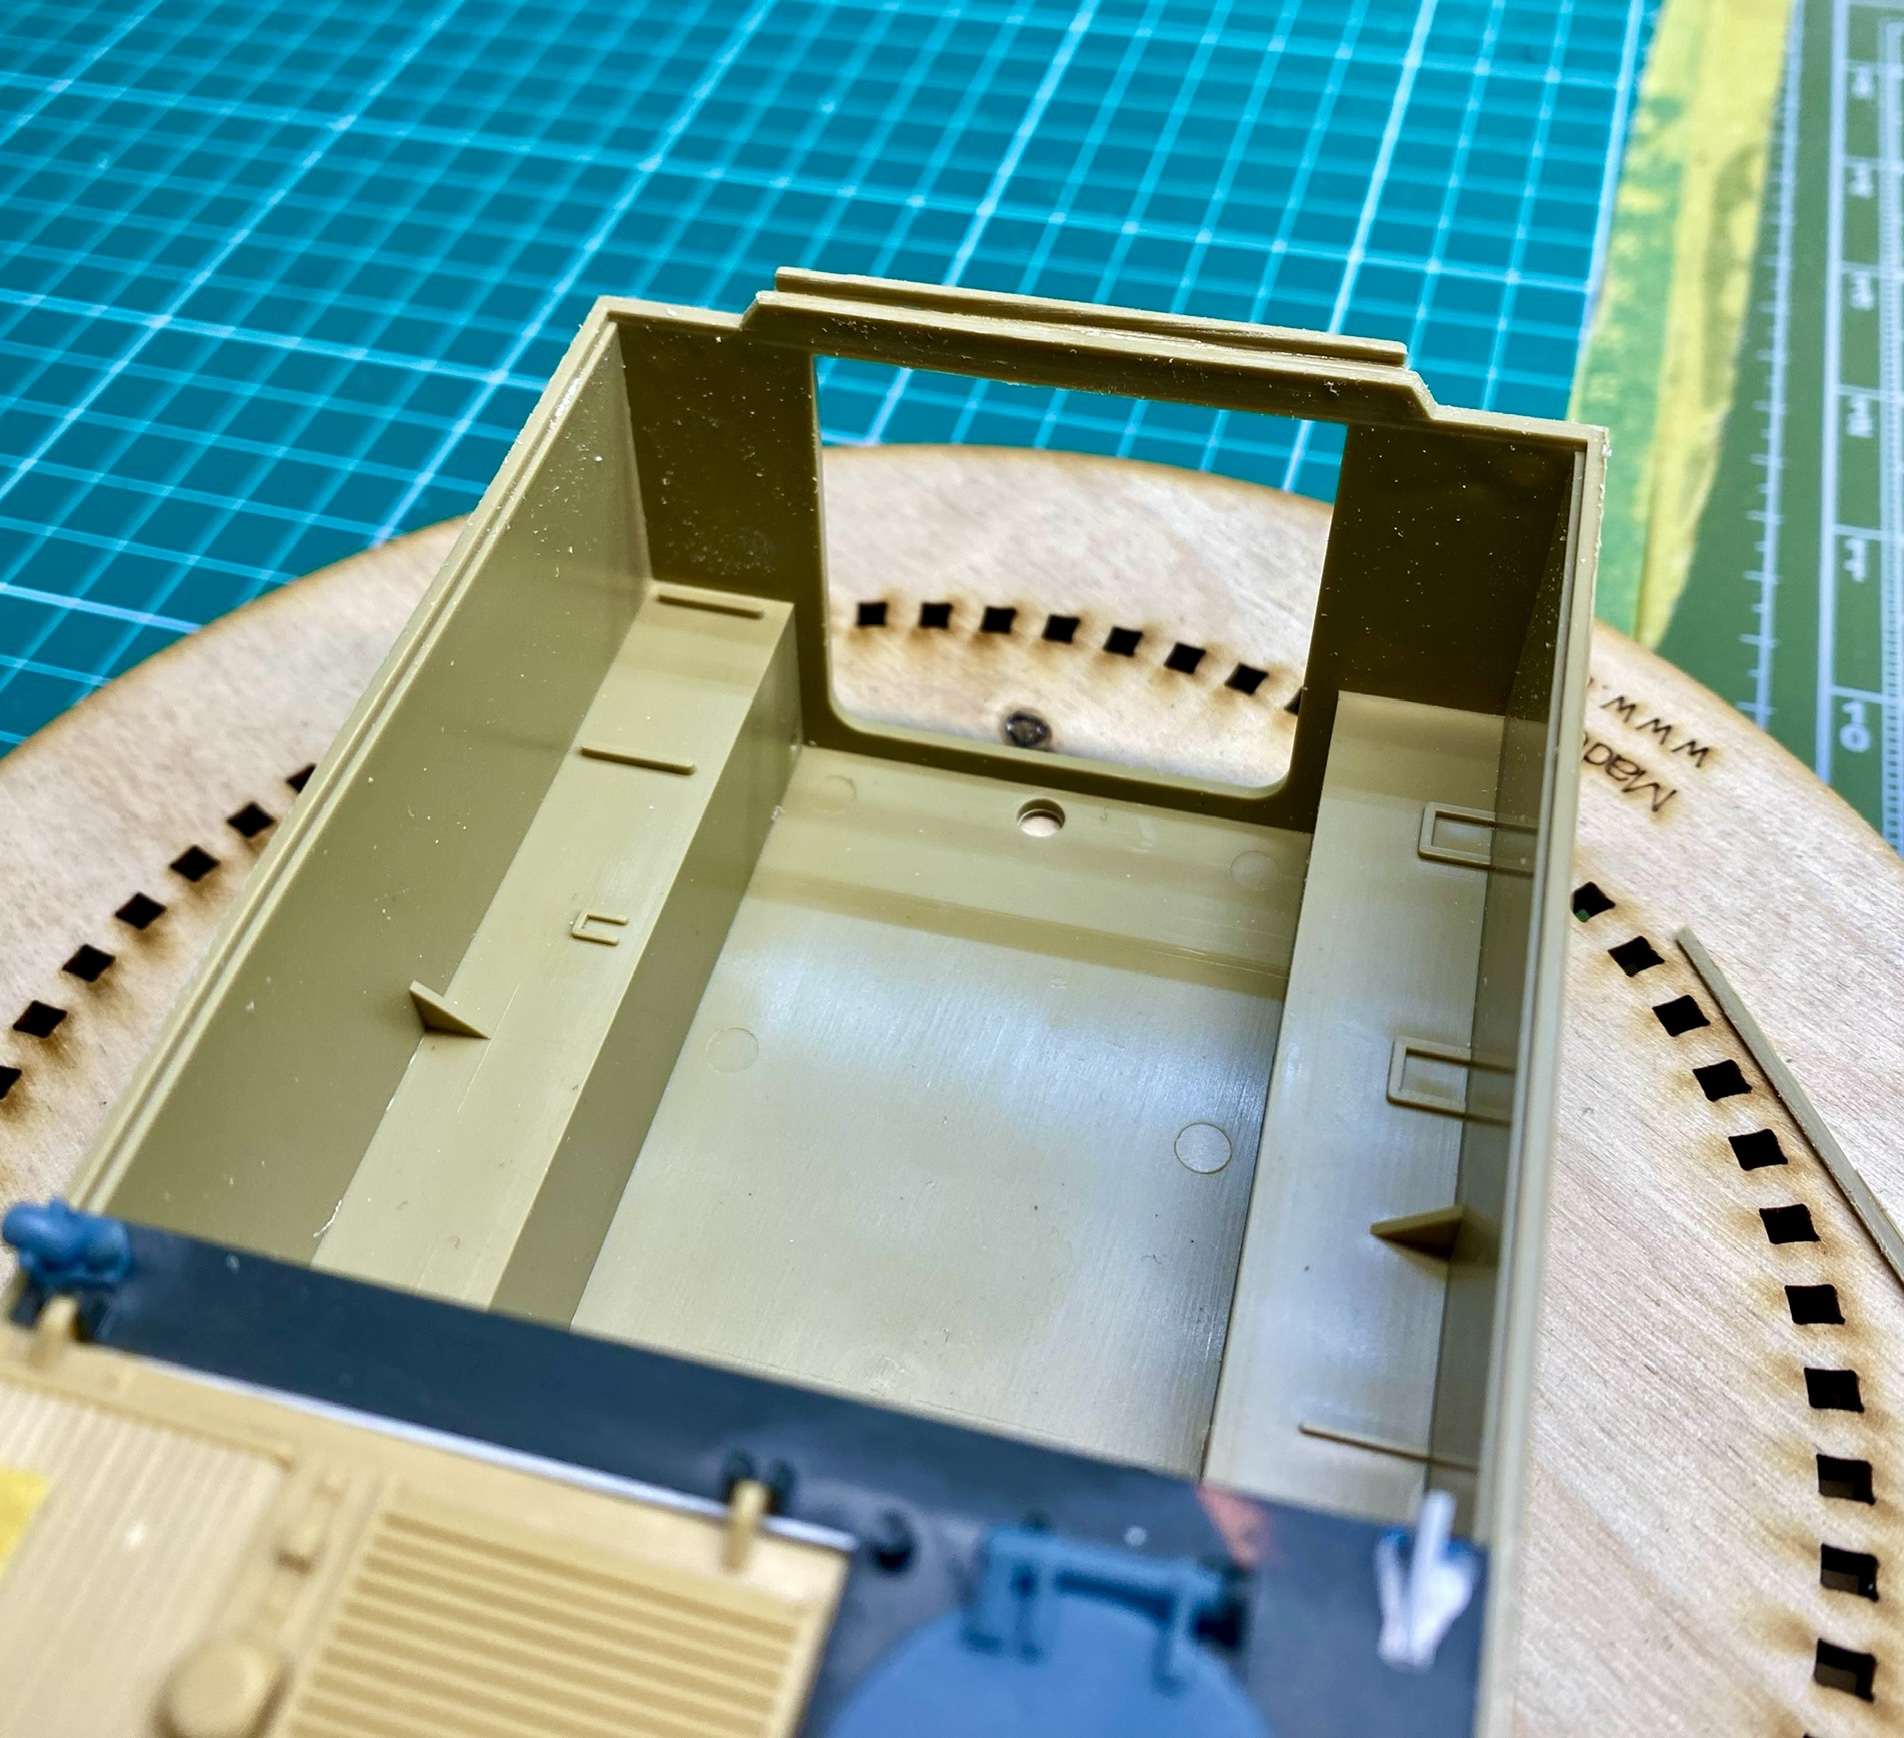
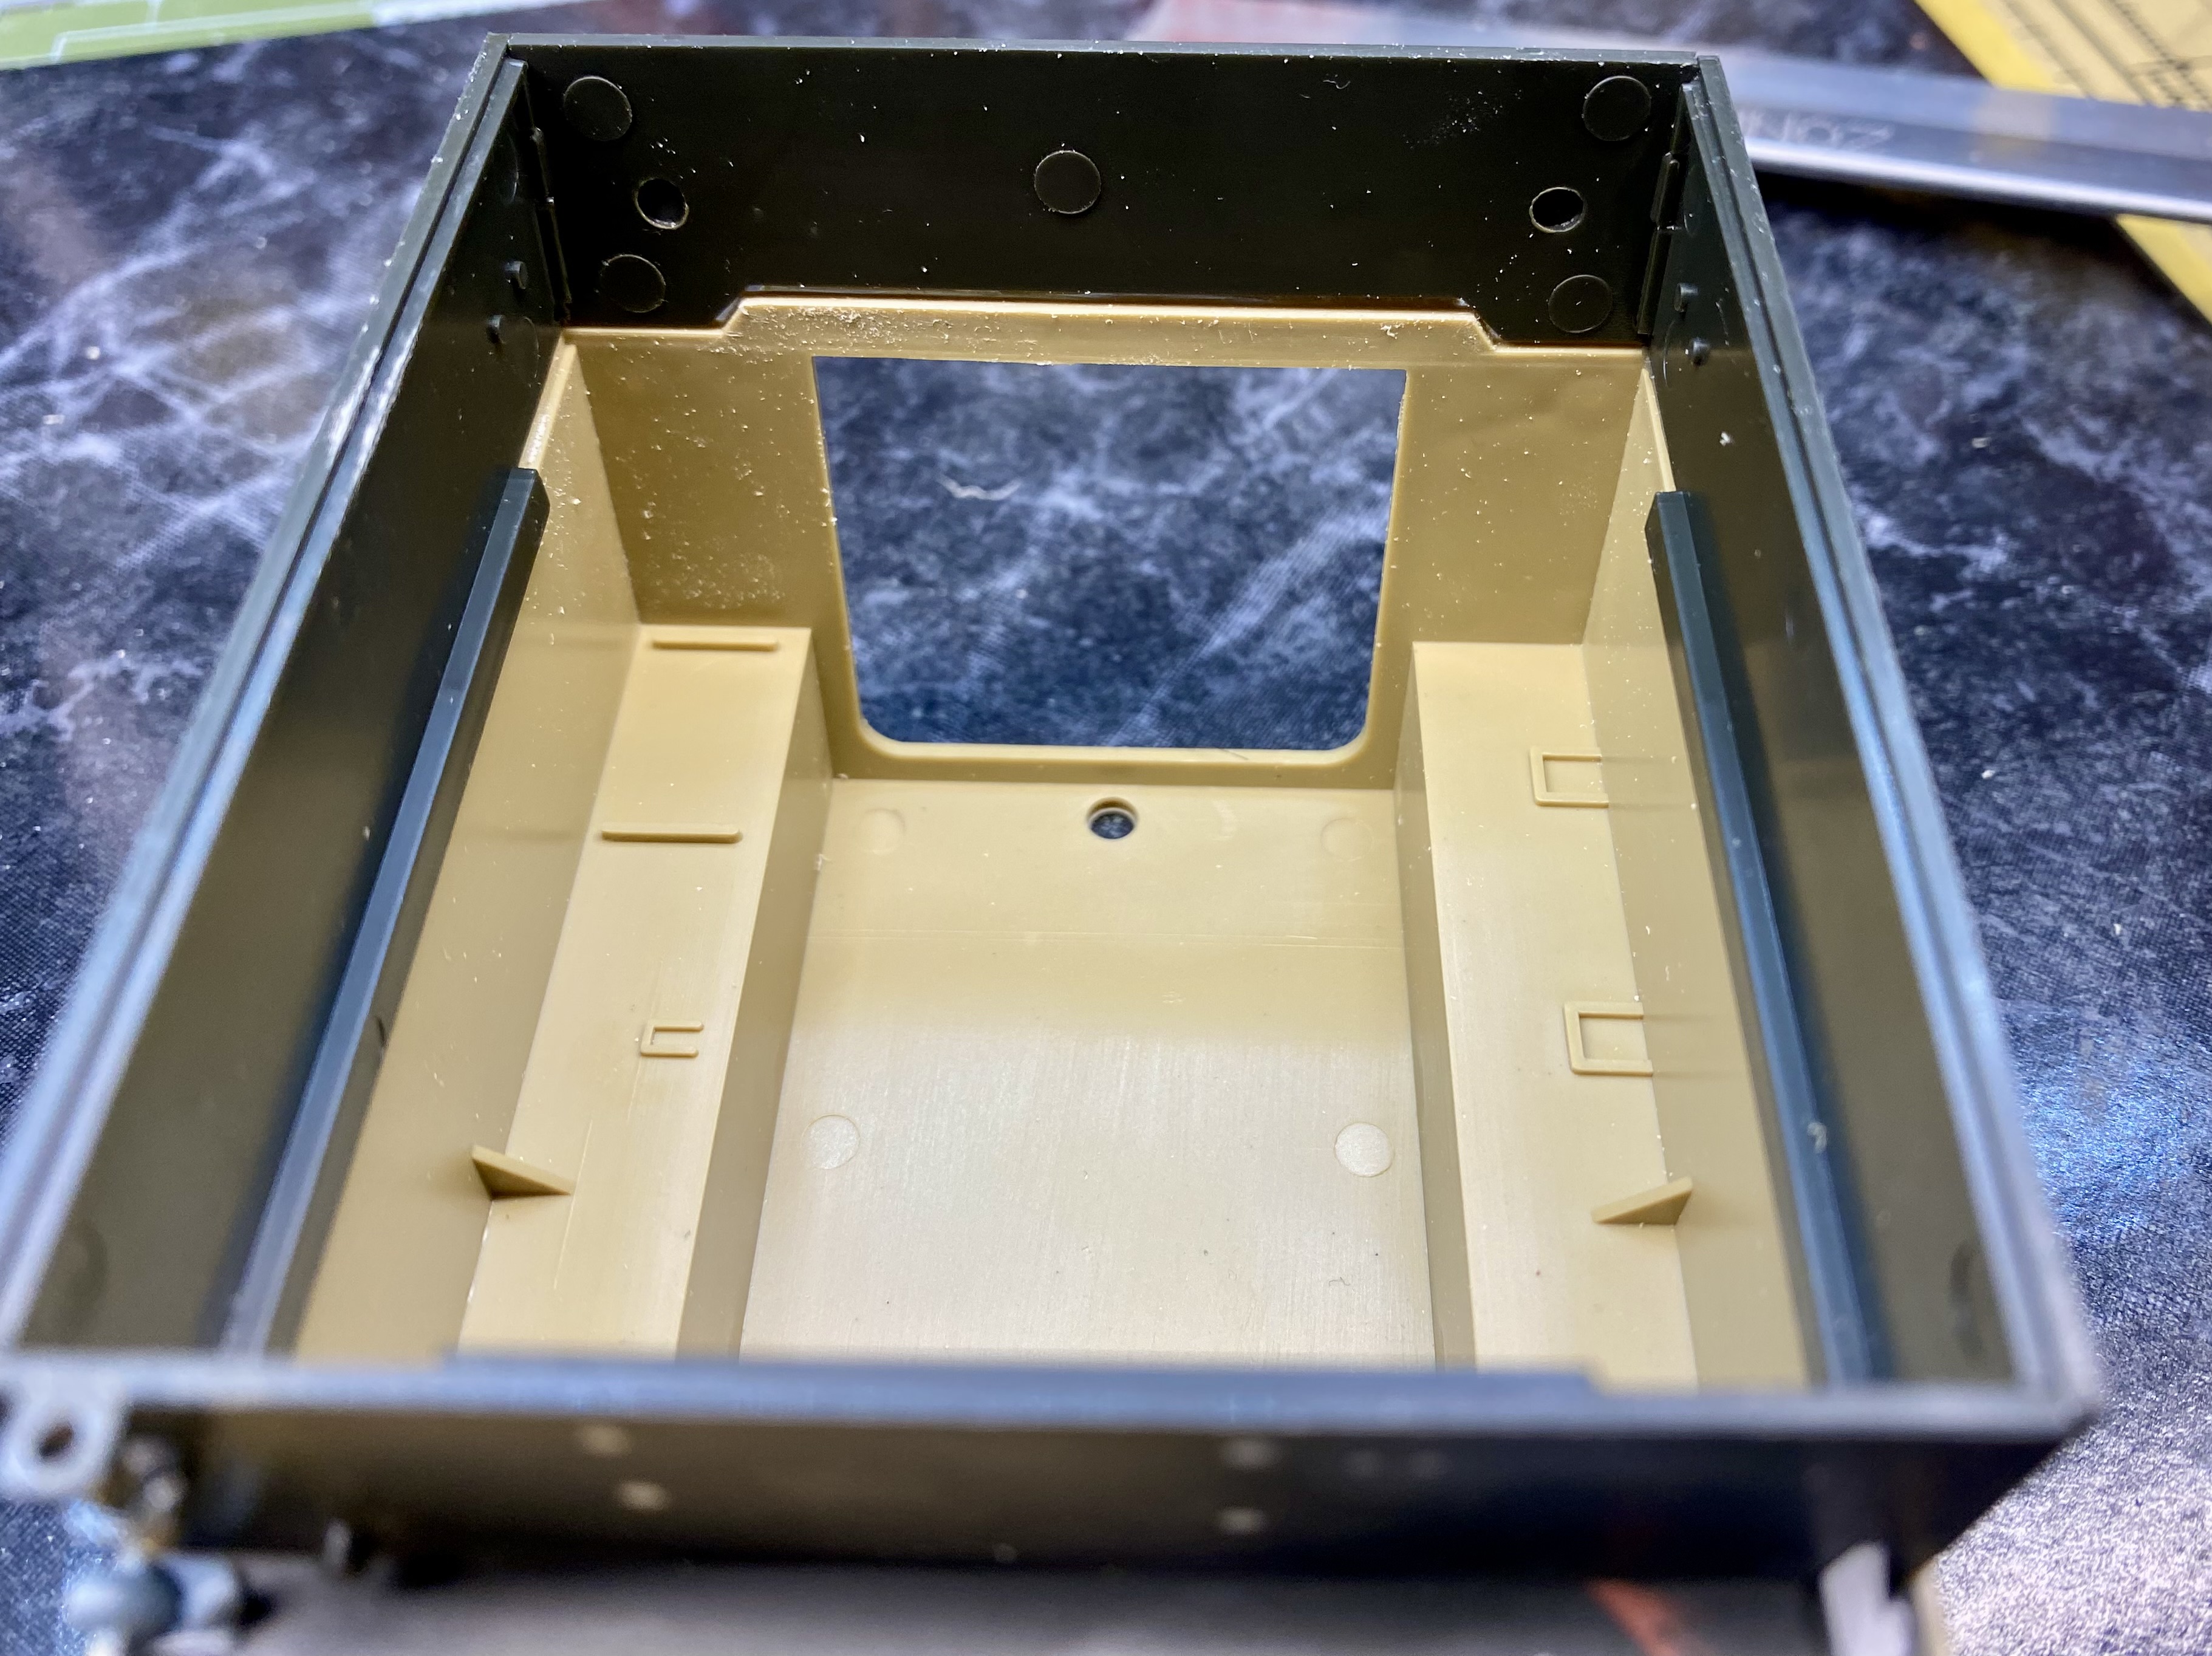
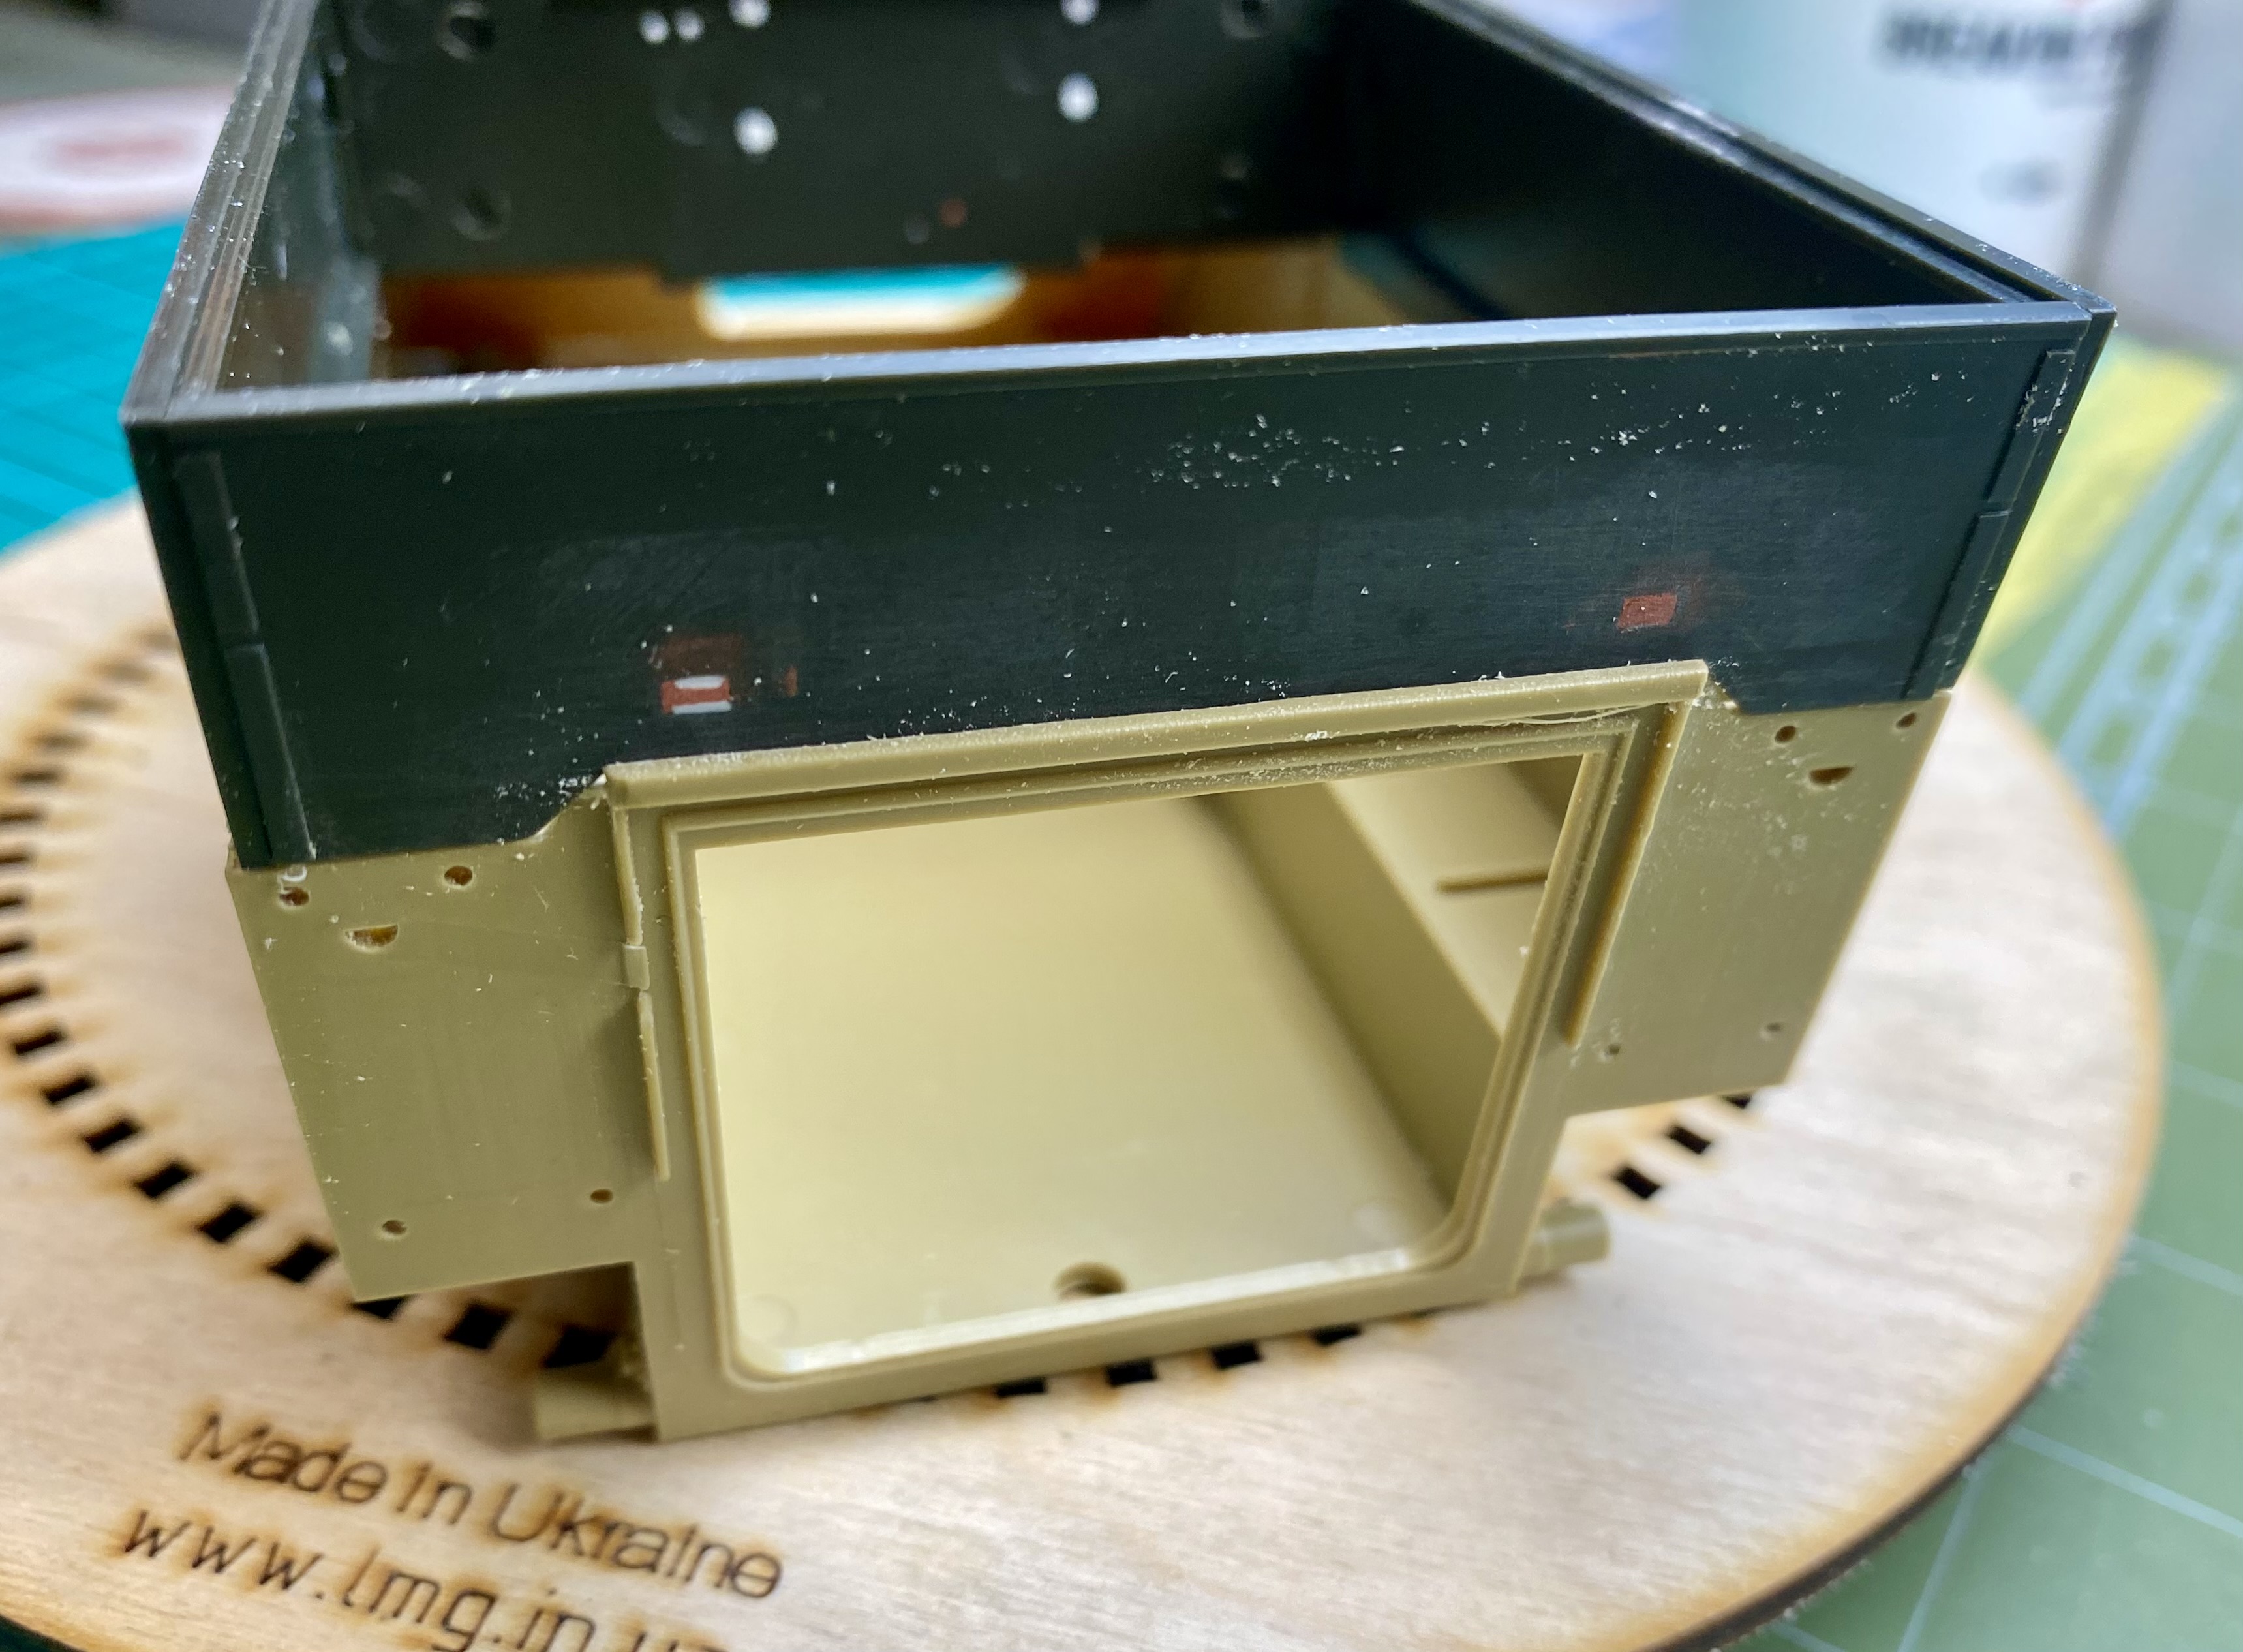
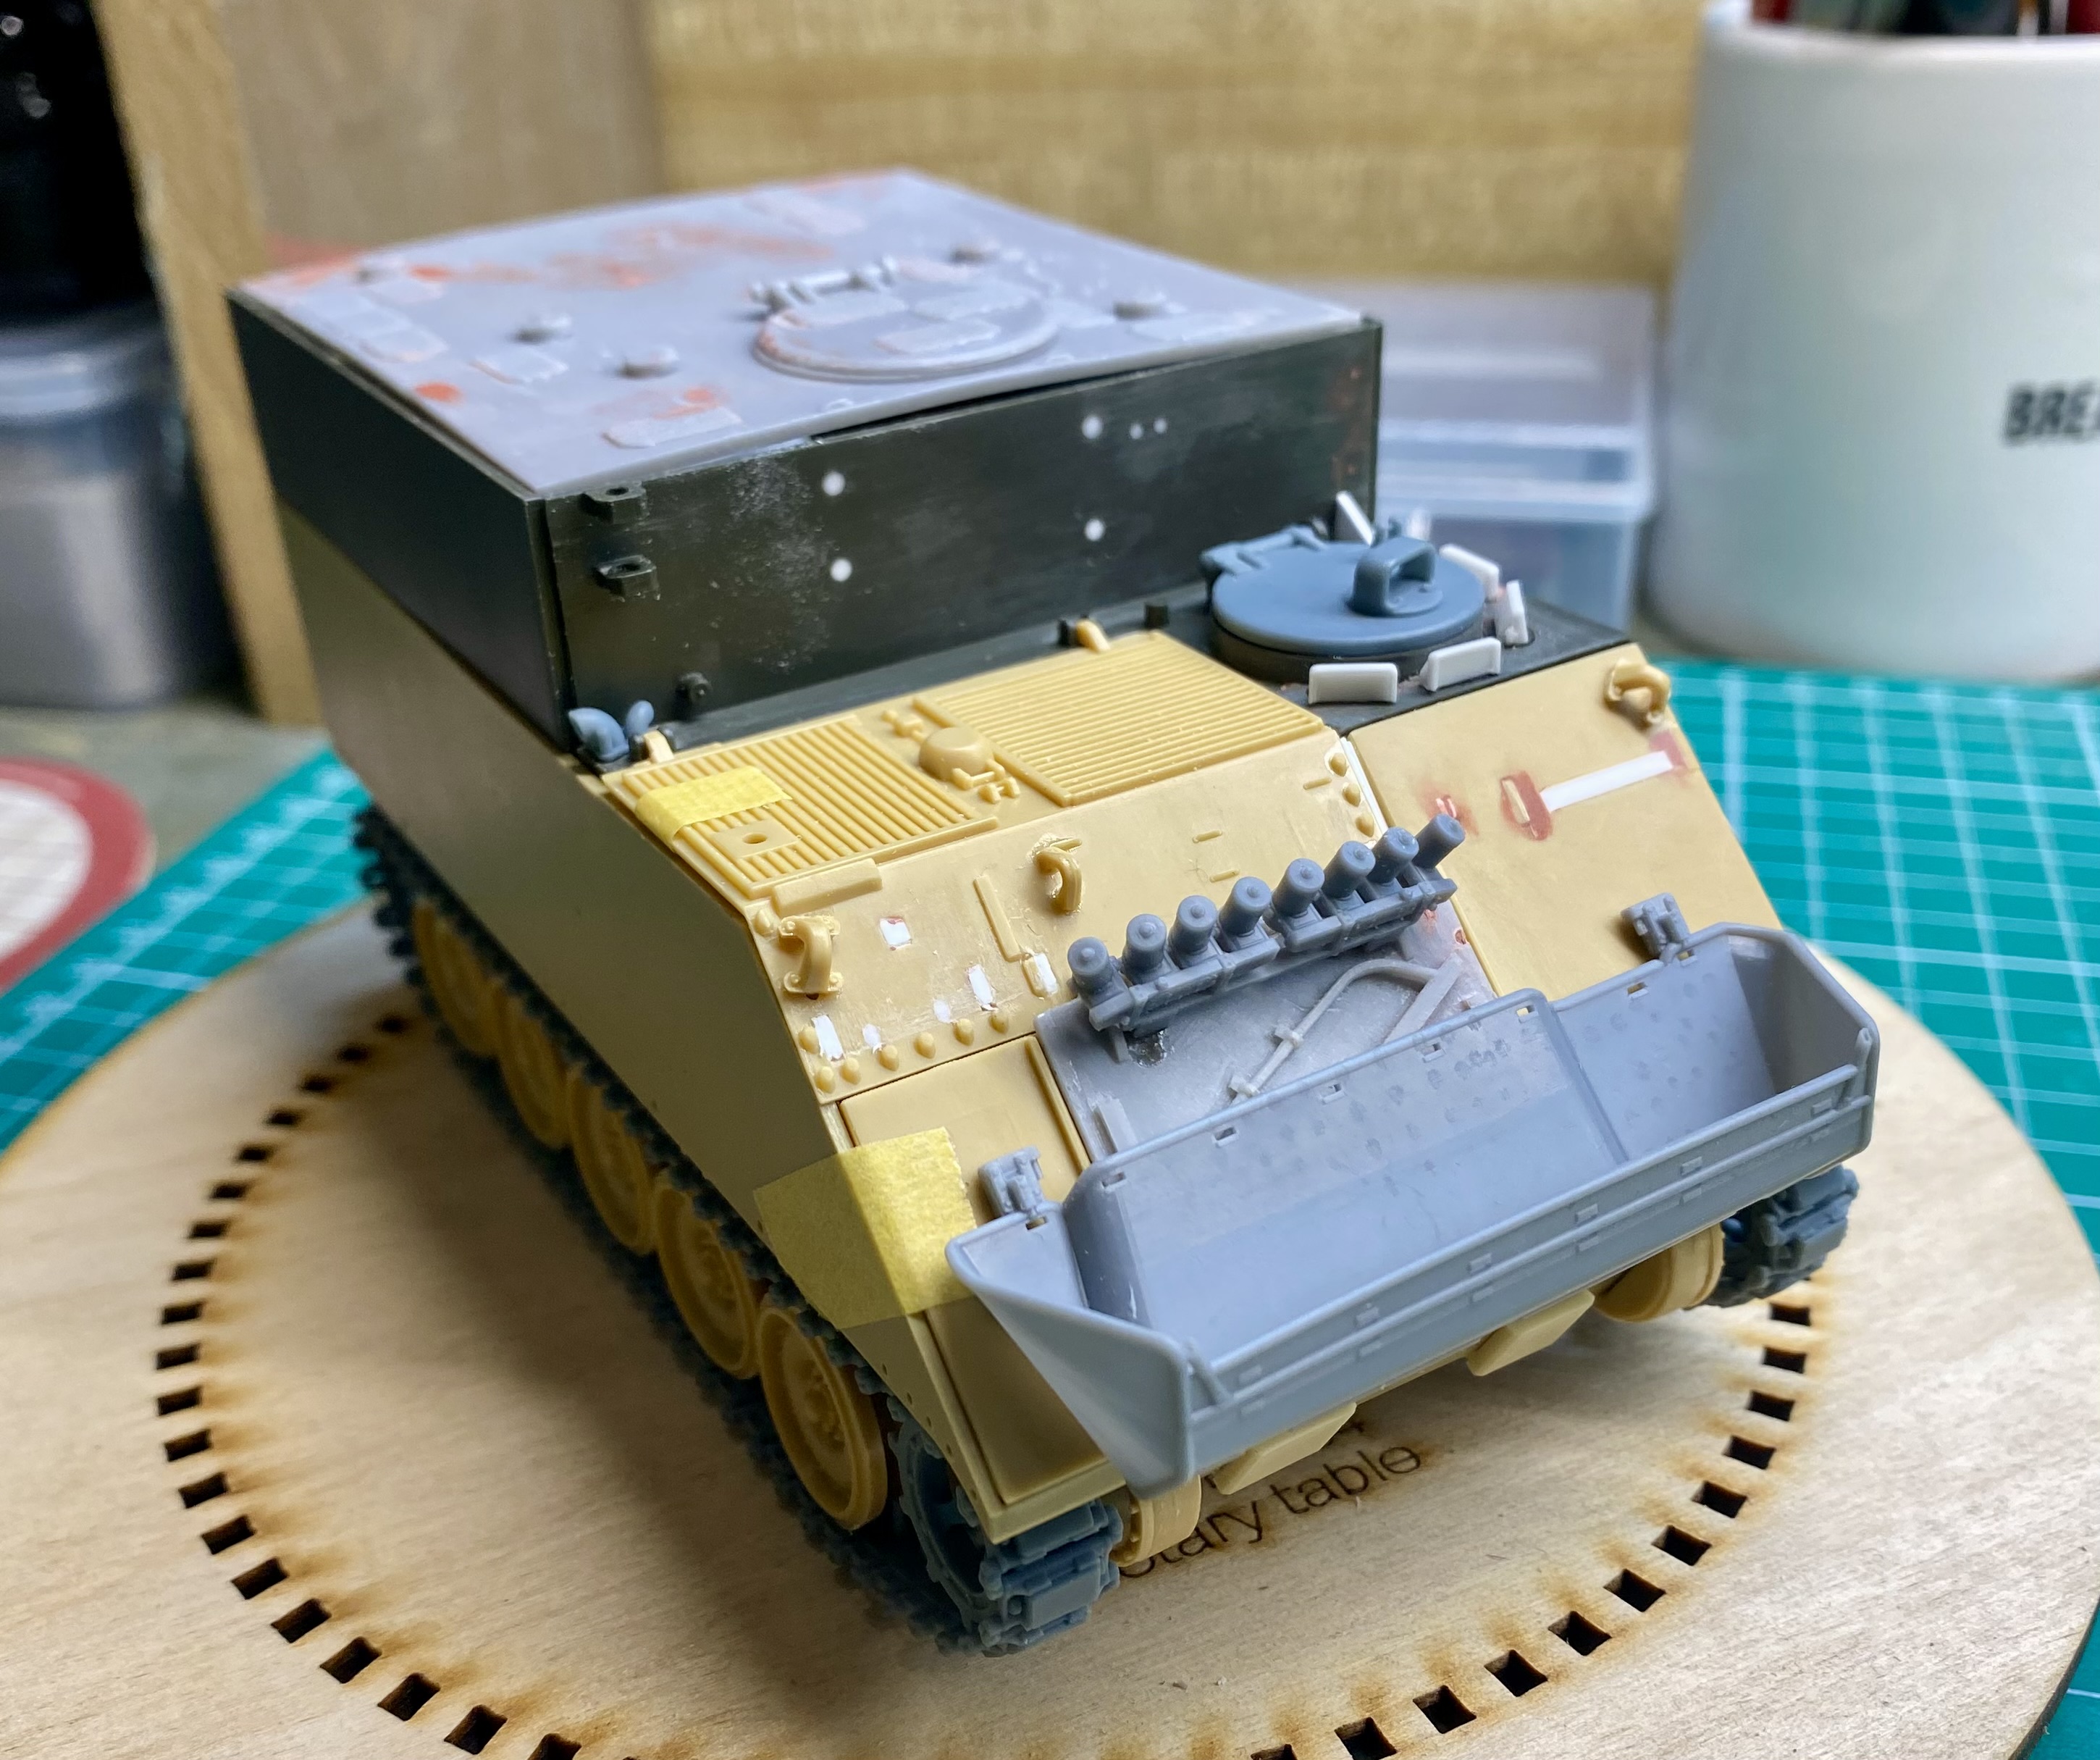
Ever wondered why Taniya’s M113 has the weird stepped seam on the header of the rear ramp? No? Well, too bad, here goes:
Academy M113:
The step is there so the superstructure of the 577 fits.
To make the Tamiya parts fit on the Academy parts, this has to happen:
With my 52TPI razor saw and black Starbond we will conquer the world!
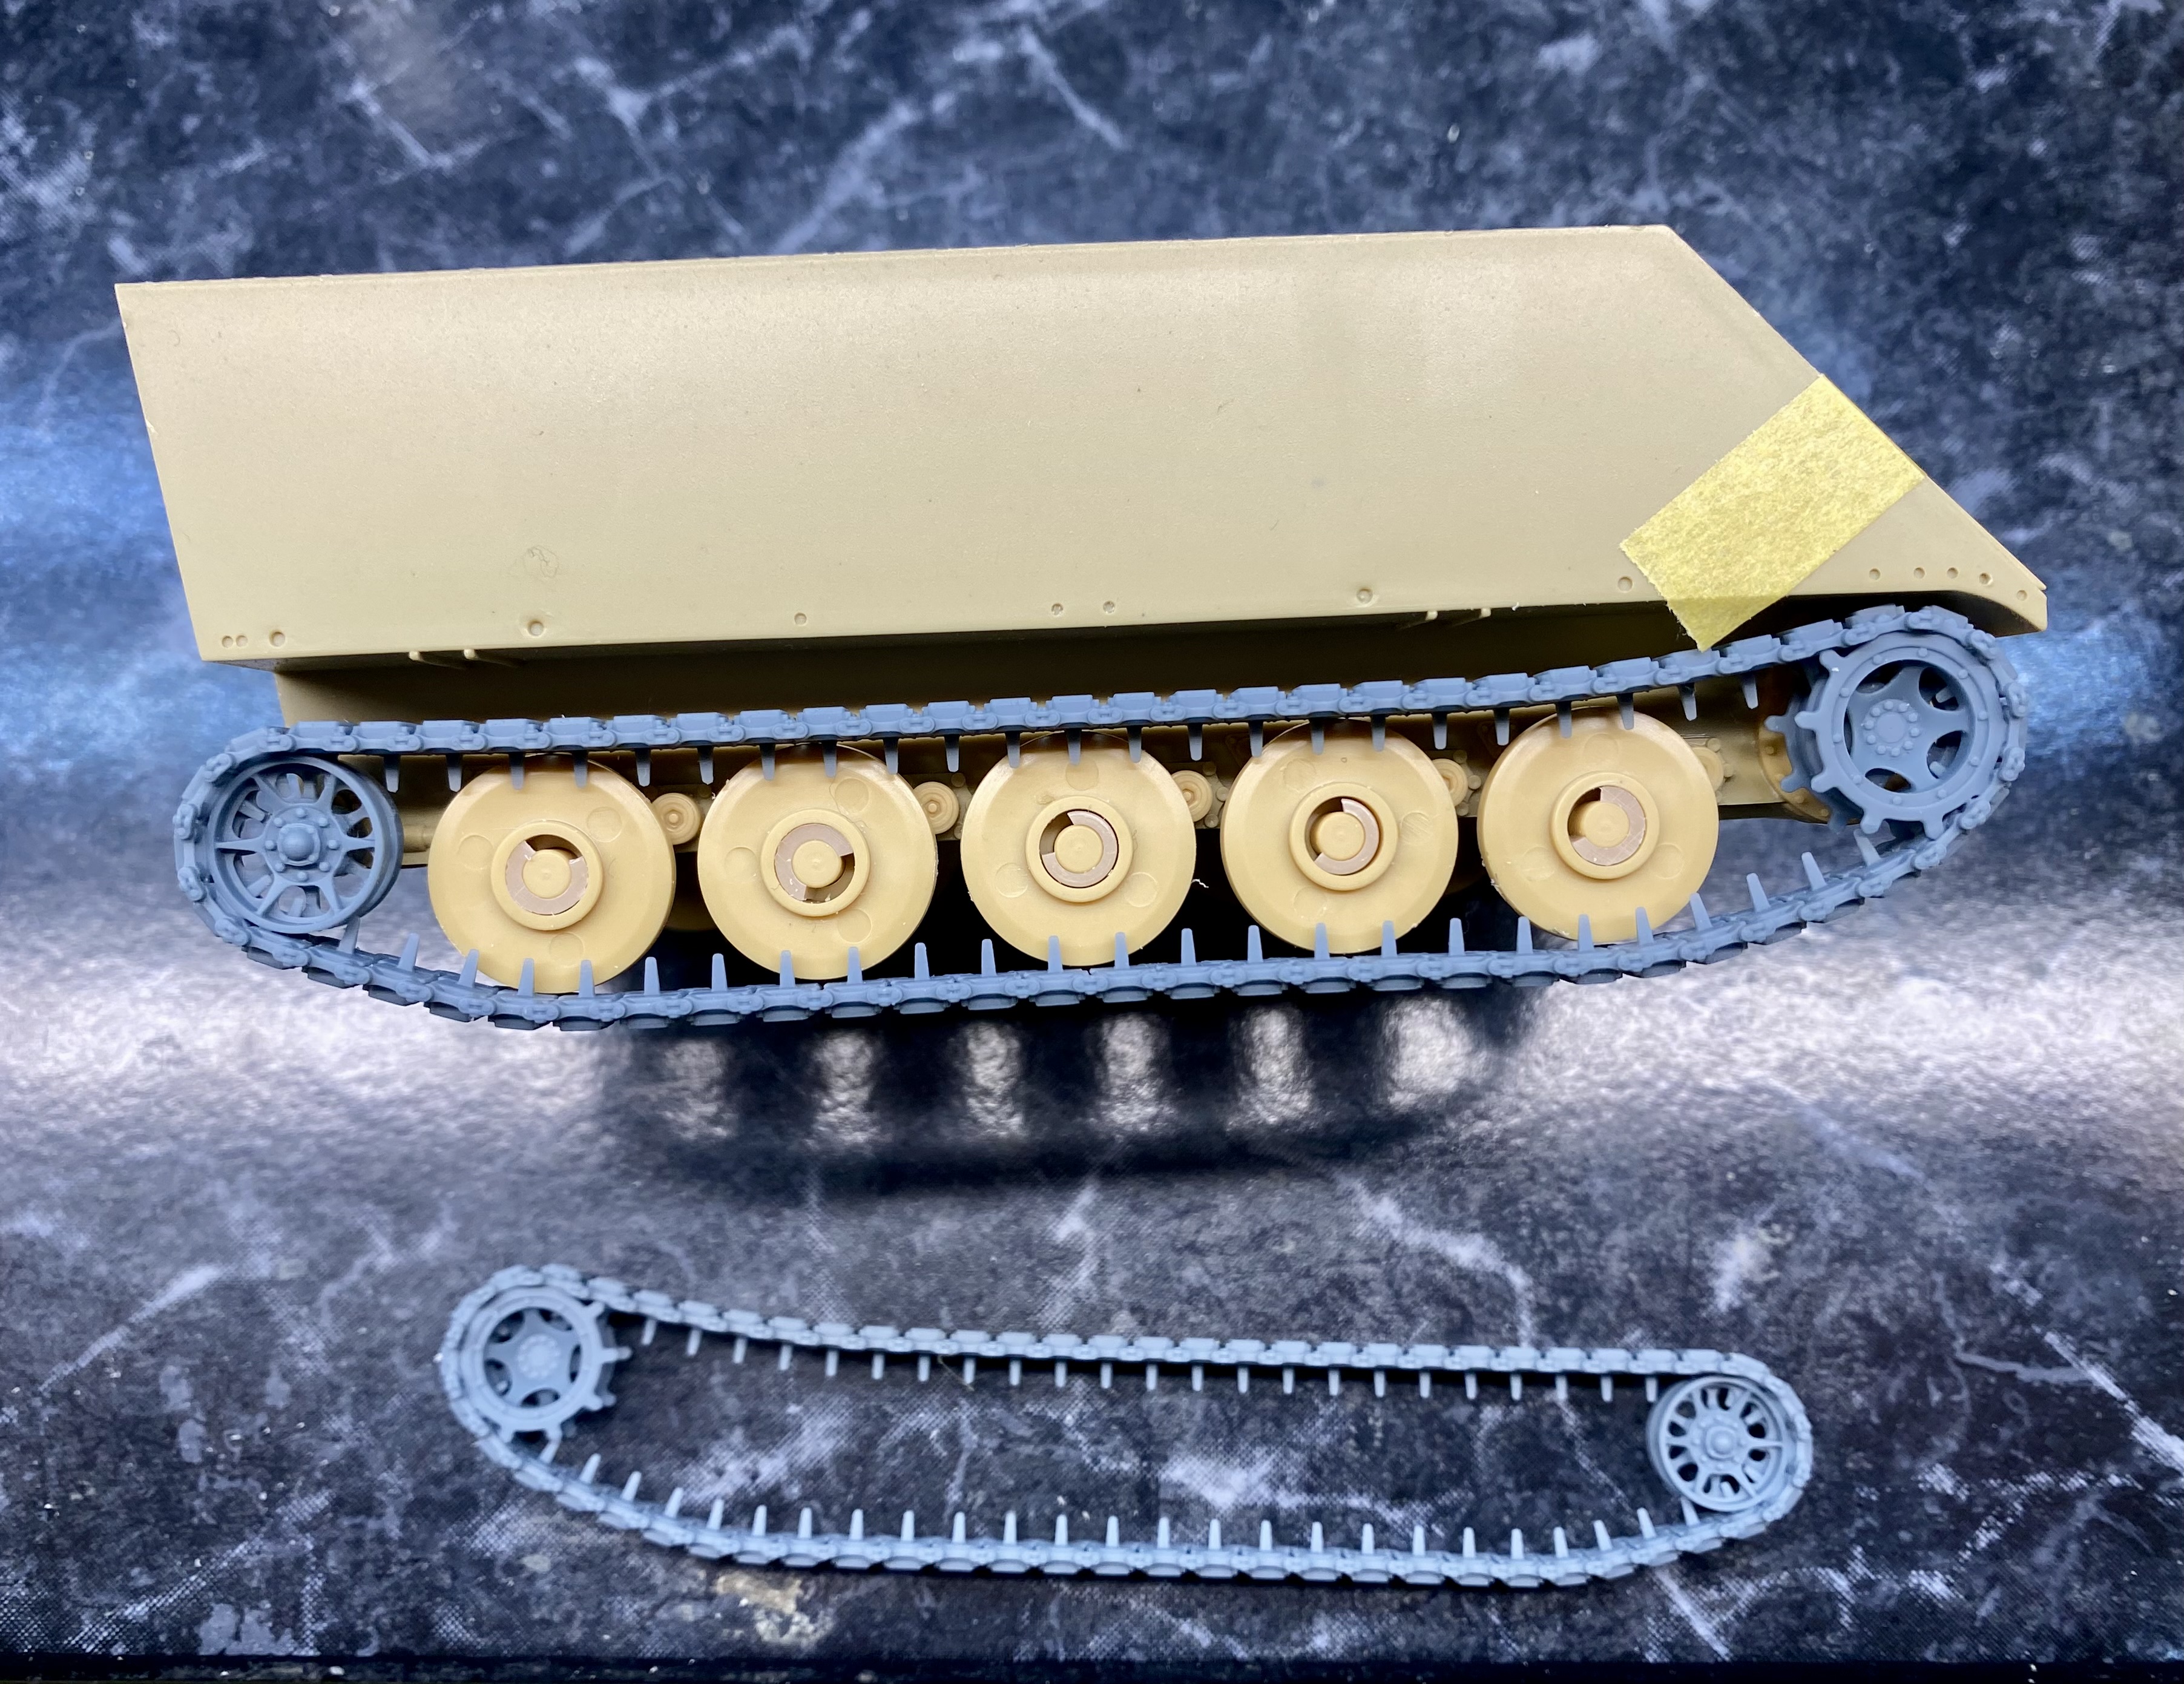
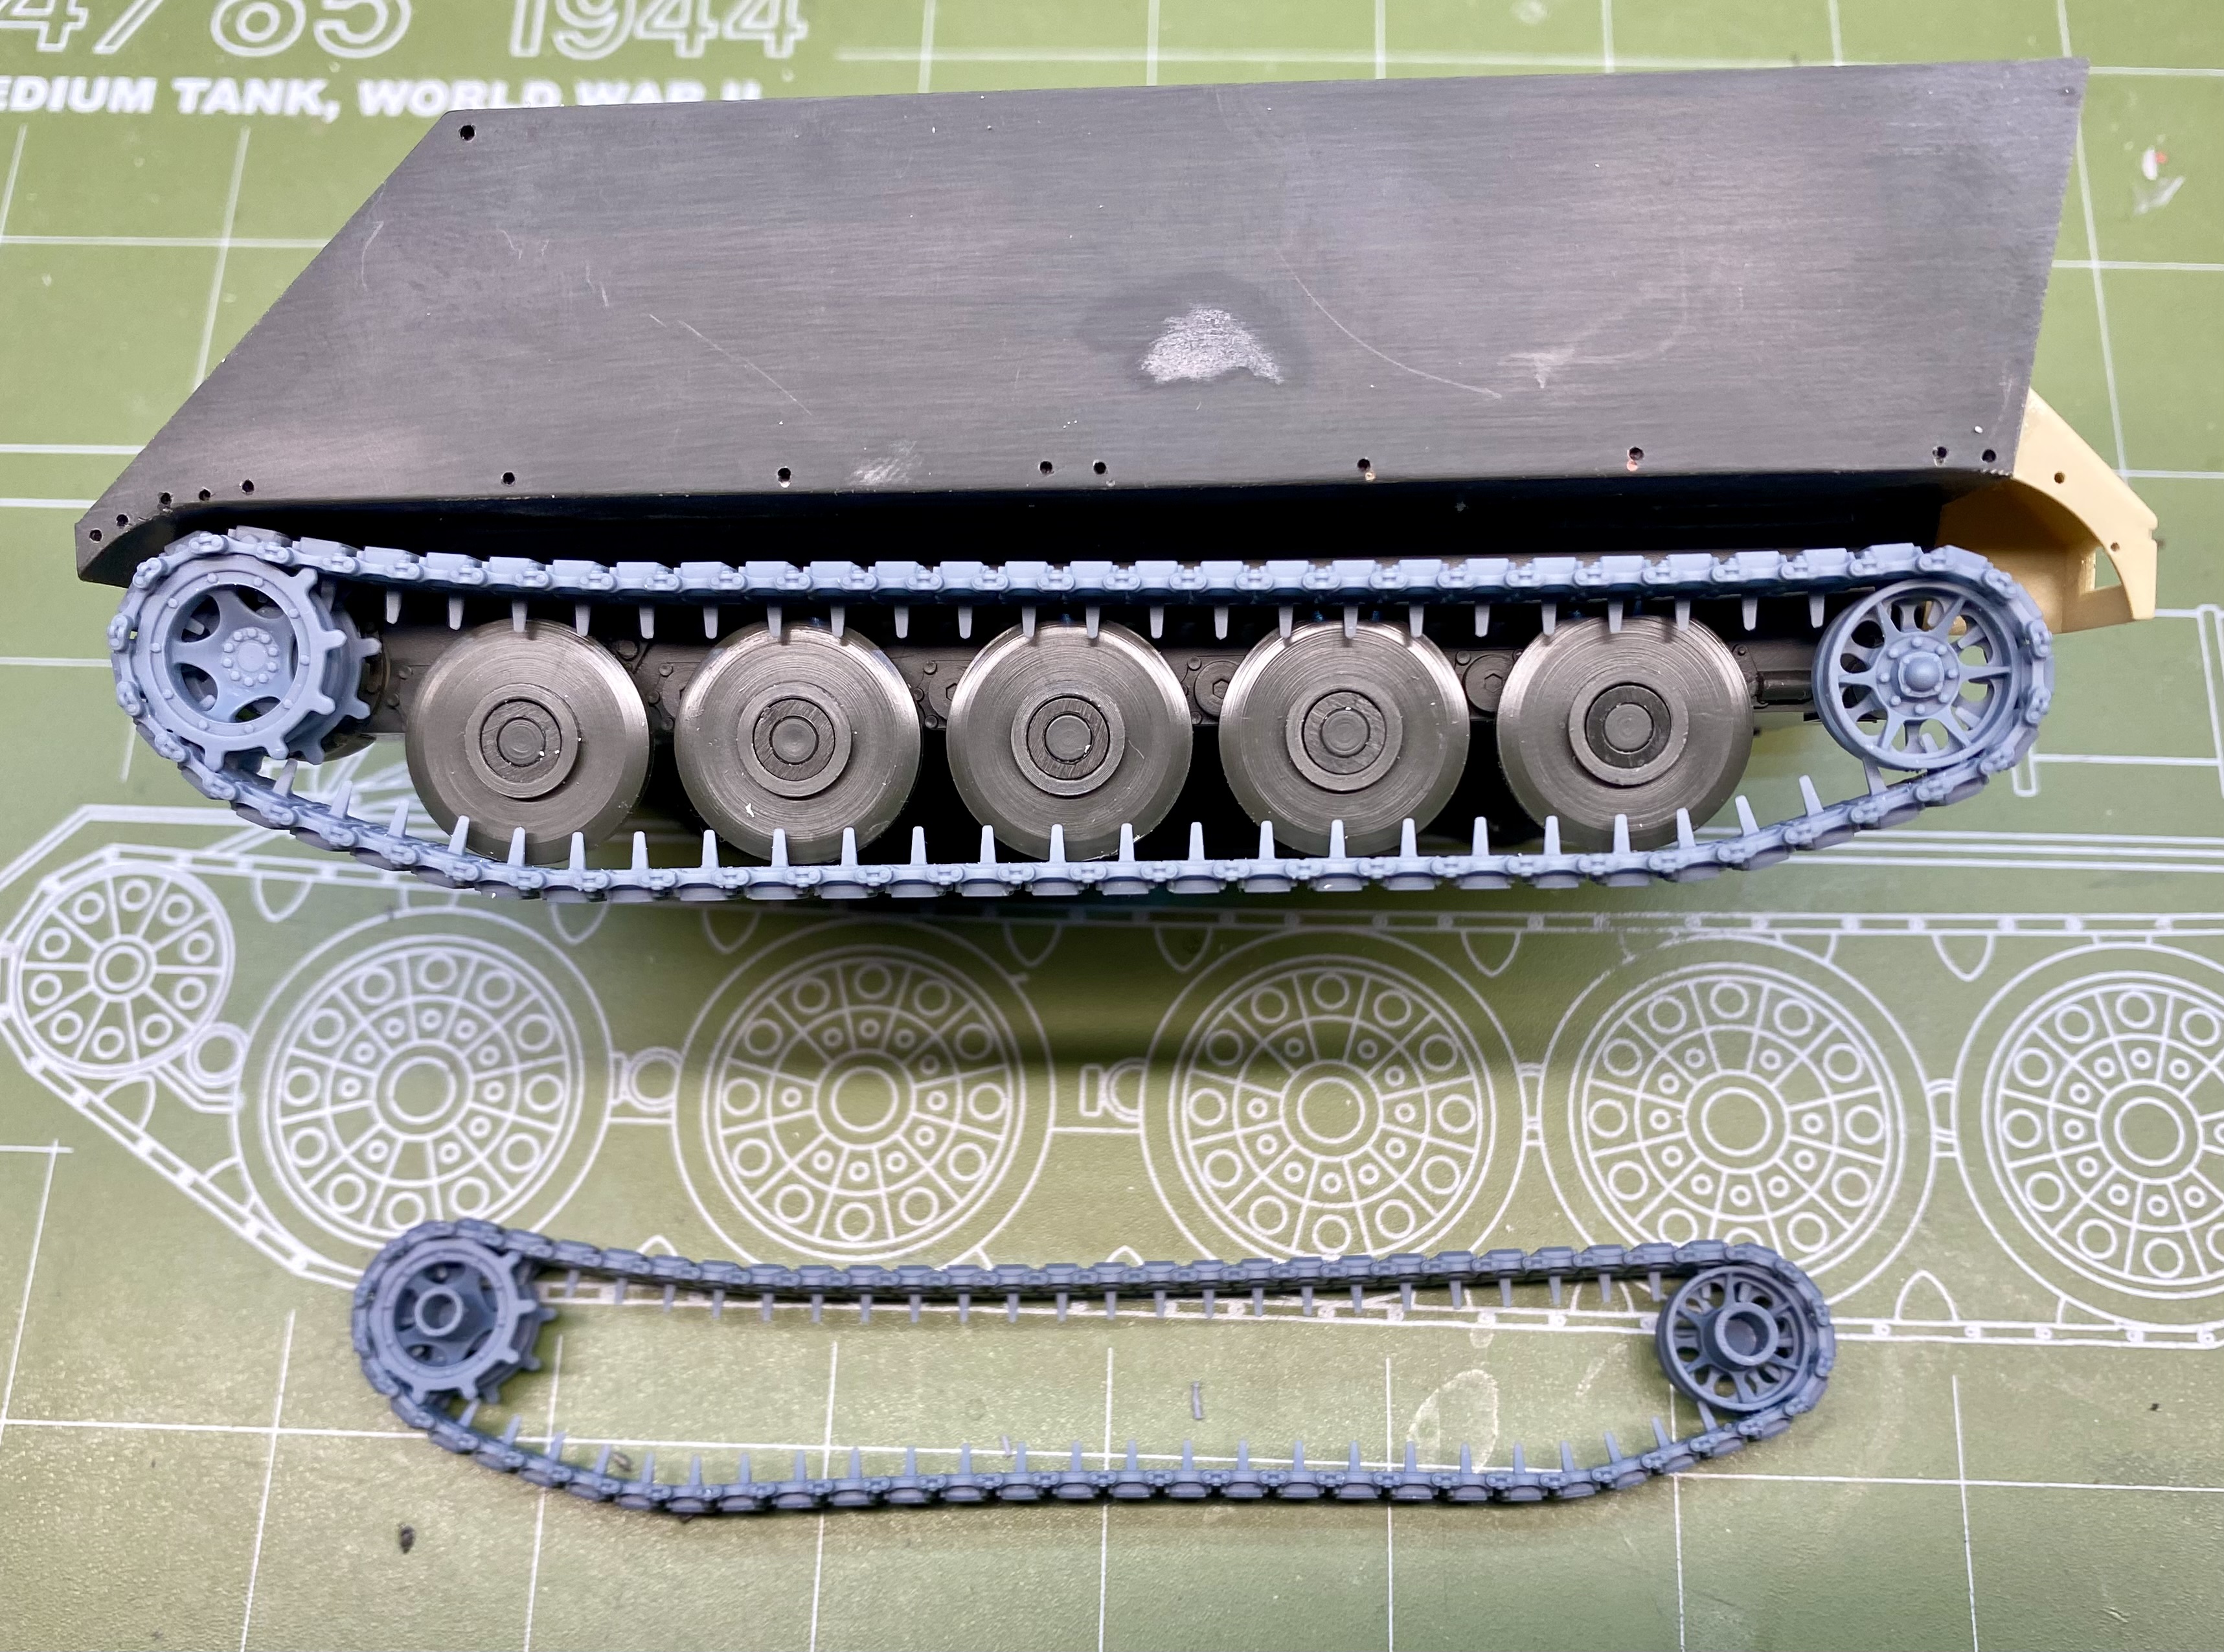
Anyhow, Tamiya hull:
Academy hull:
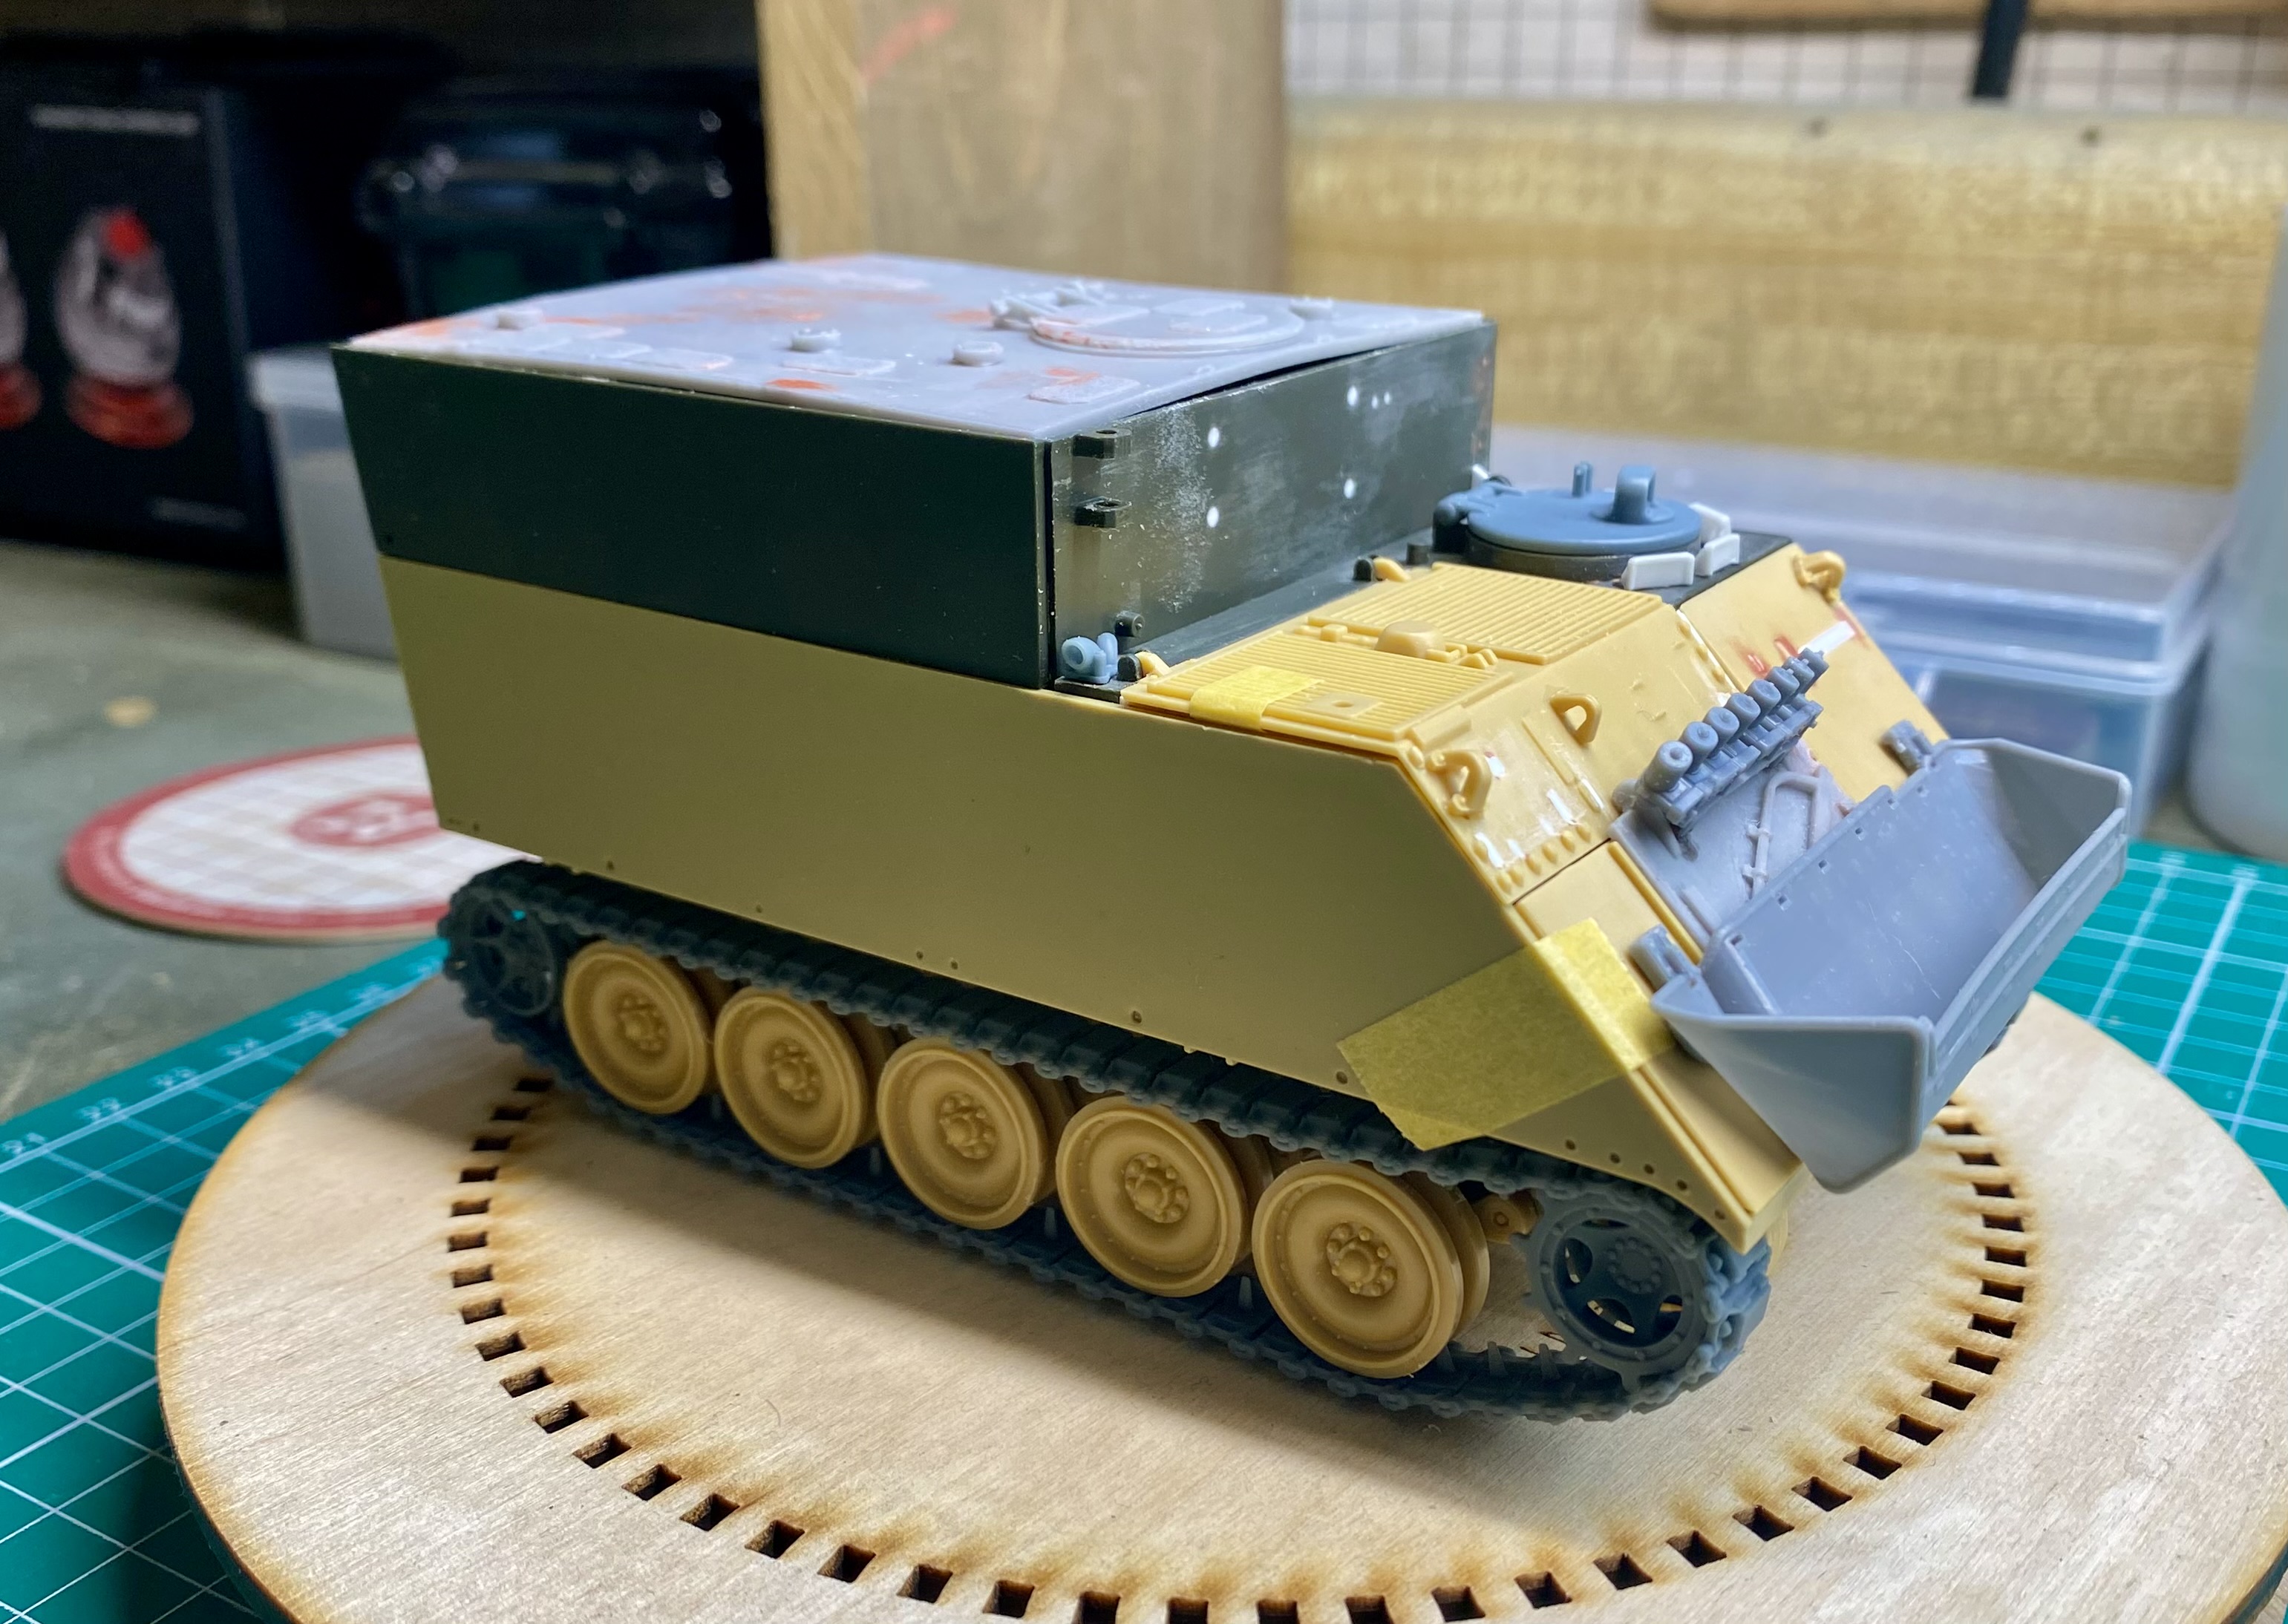
More 3D printed Diehl track:
And more do-dads added to things:
(Front basket temporarily test fitted) Bundeswehr headlamp assemblies too delicate to be attached now…
I’m about to enter the point of no return; gluing/filling the superstructures…
Lovely work Al. Can you post a link for those tracks please?
Hobby on man!
Looking great ![]()
Search “3D MicroCosmos “ on this site. This guy make all kinds of really nice printed stuff. There’s a link below the description.
He also makes the one piece US headlamp assemblies (with colored lenses) shown above, the hatches, smoke dischargers, etc.
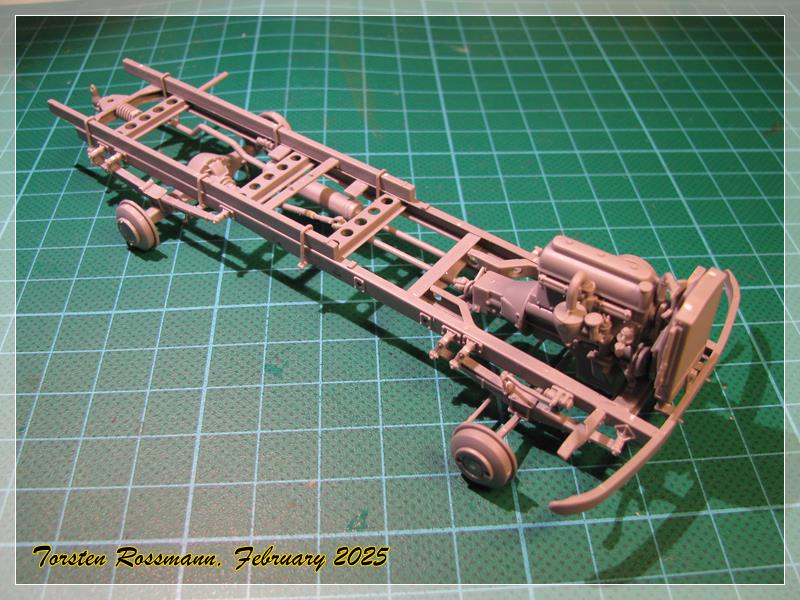
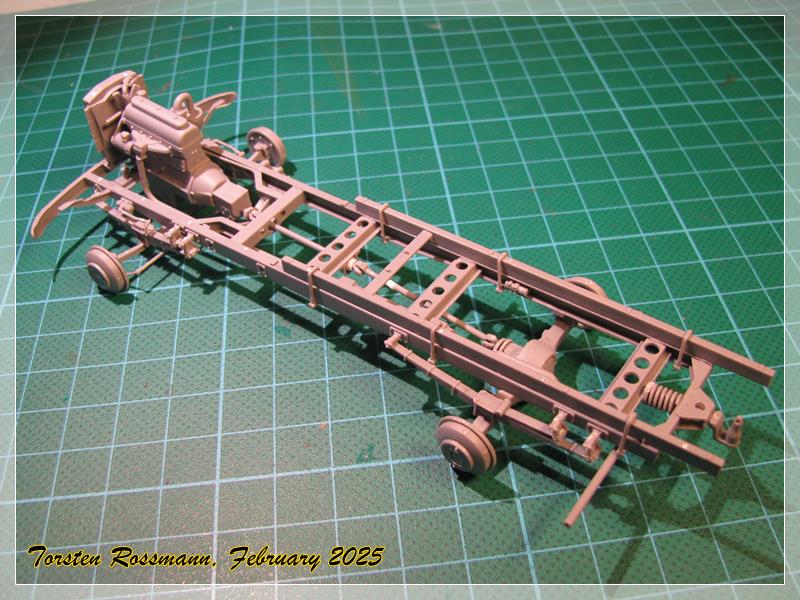
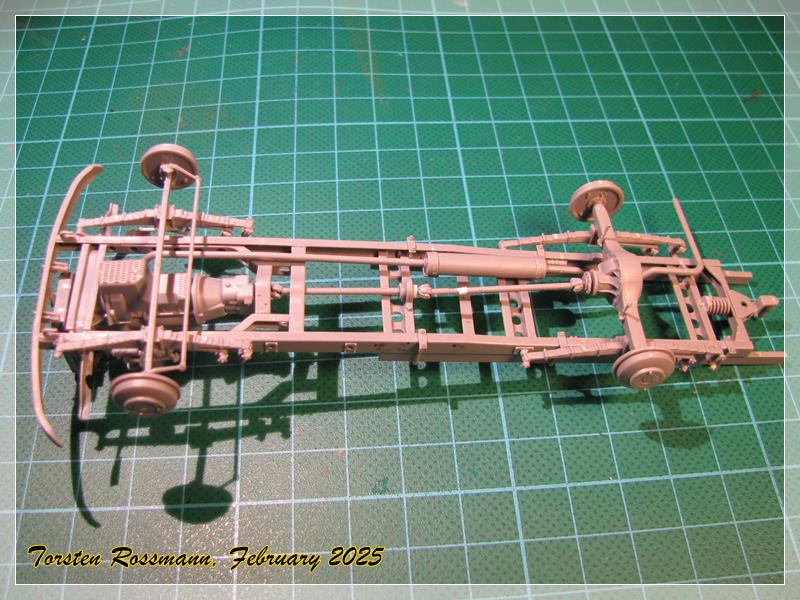
Not completely finished yet, but after another weeks work, the frame of my little MiniArt L 1500 wrecker truck is almost done … ![]()
I heartily agree Al, I bought a set of those 3DMicroCosmos M113 Diehl tracks and they are exquisite! No cleanup, no assembly, just put them on! Extremely well printed, no layer lines, a perfect product if there ever was one. I have many other items from them and they are all excellent.