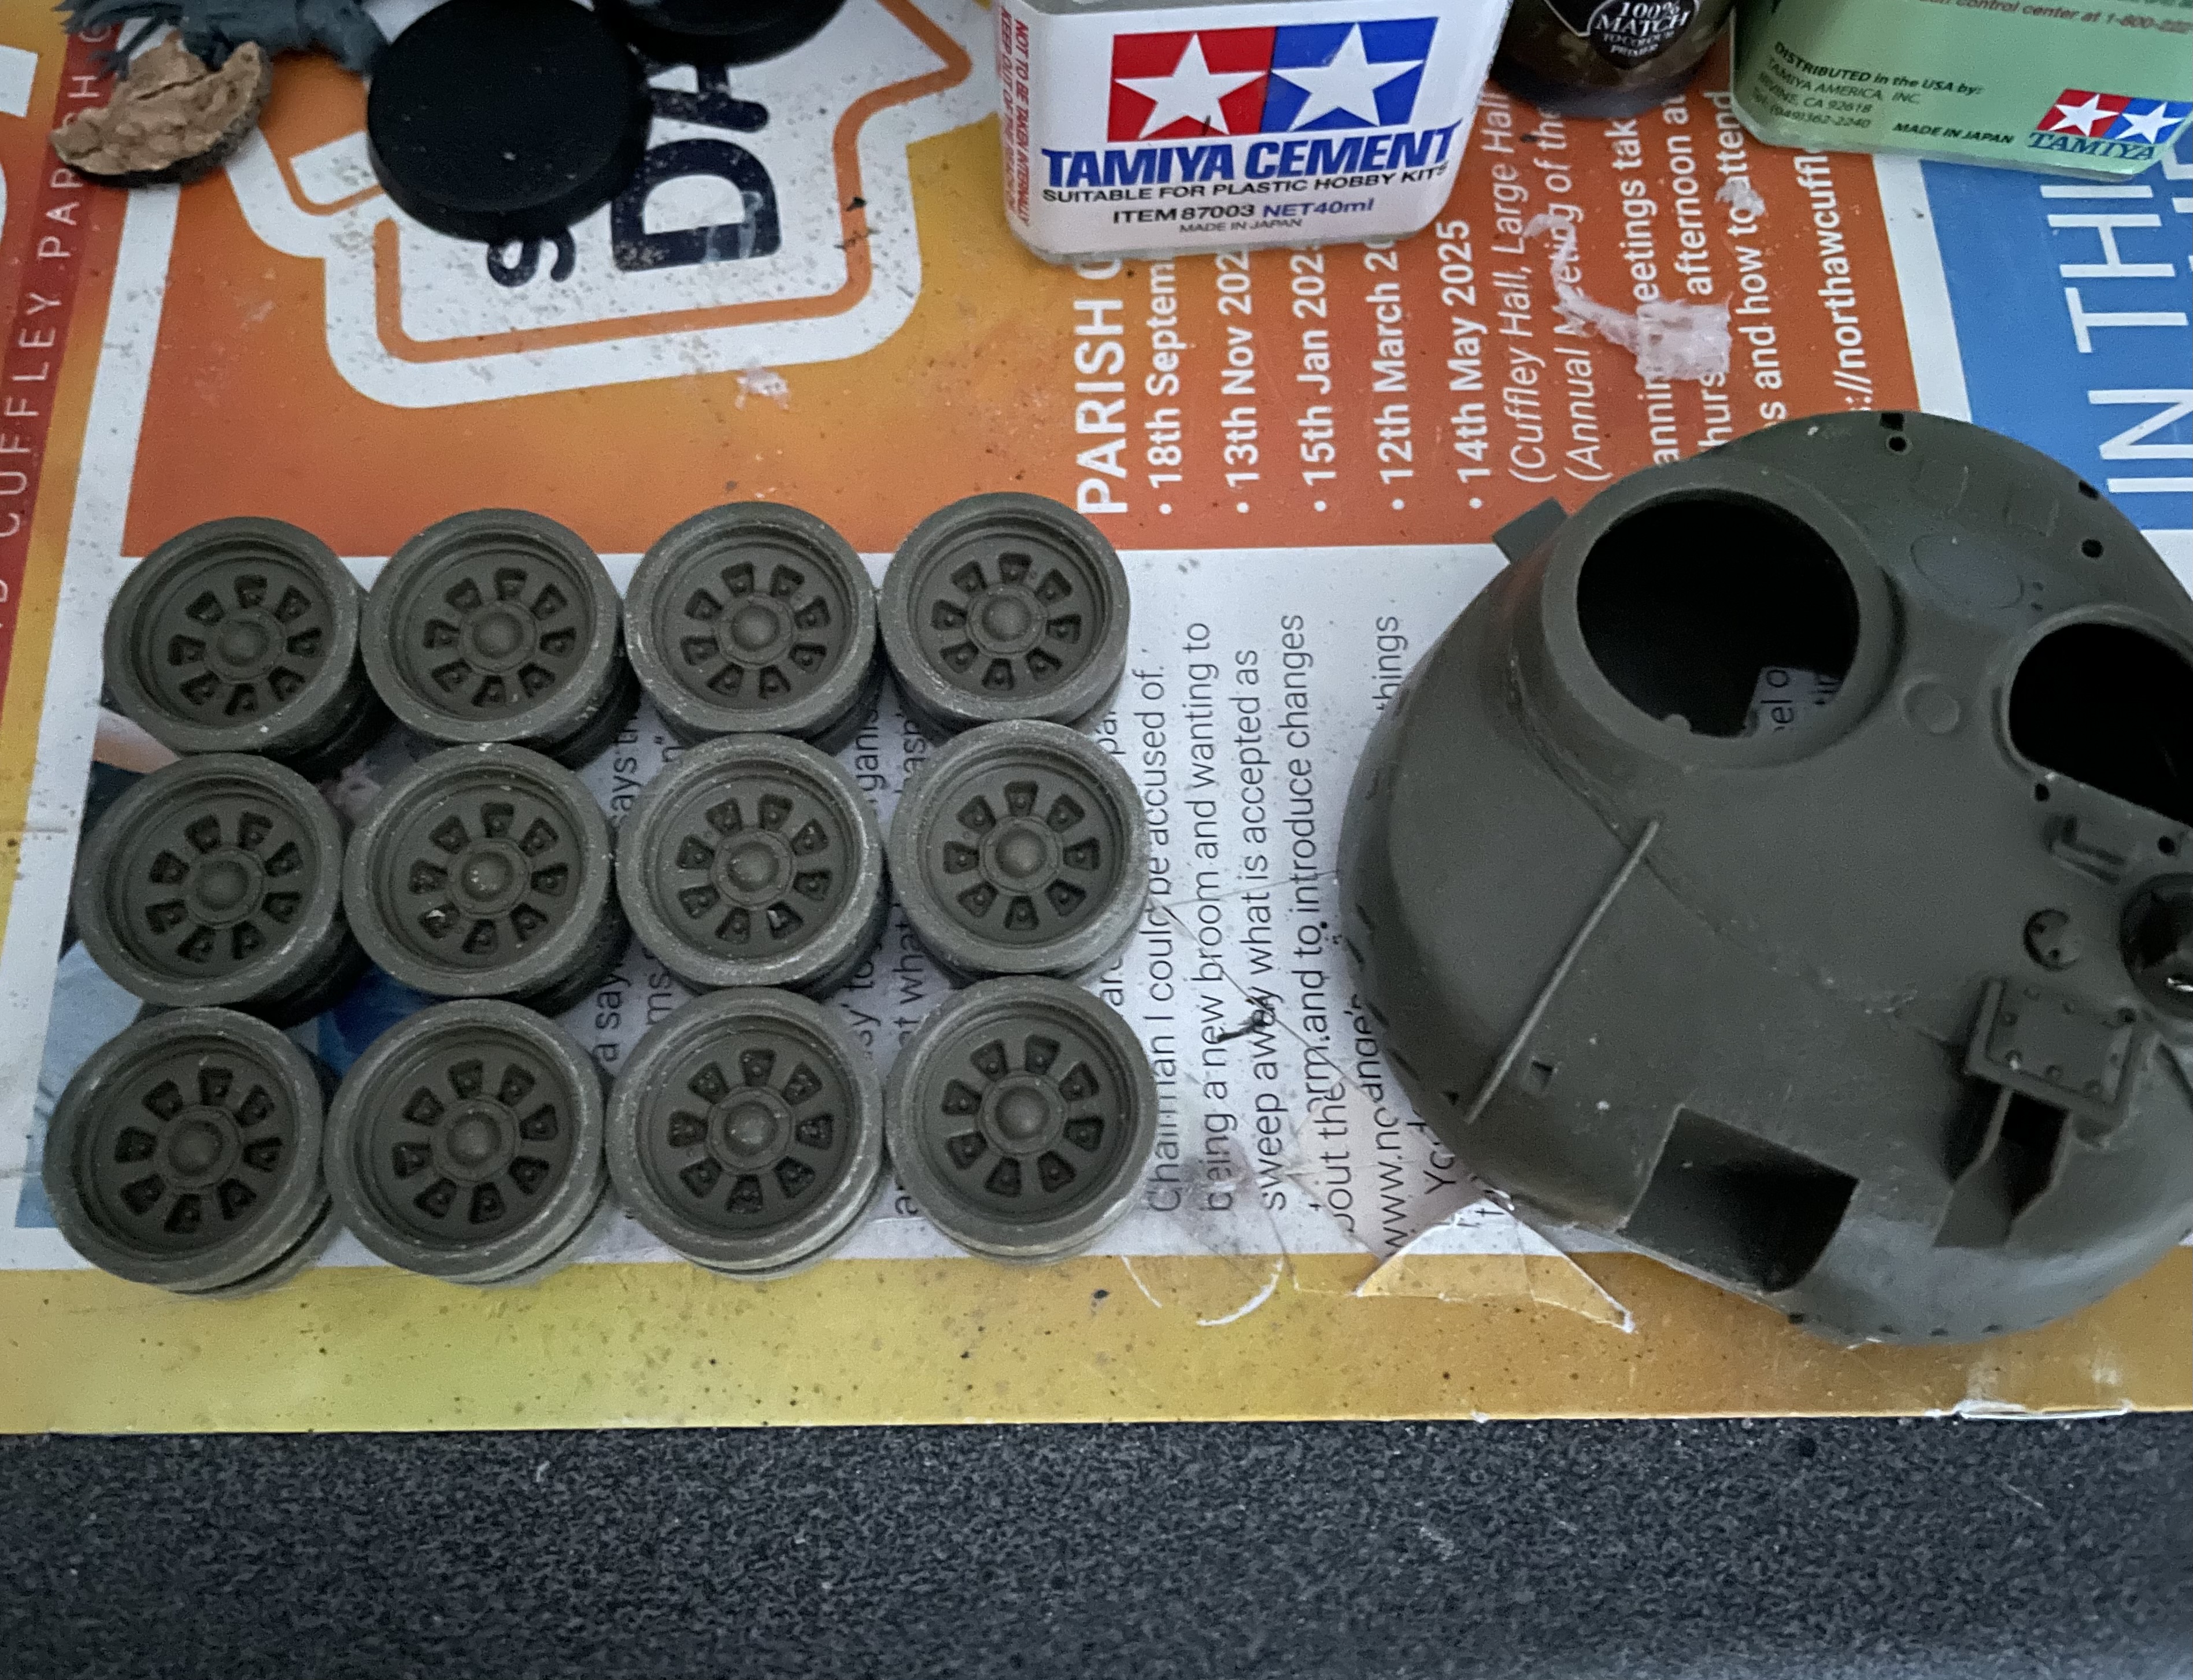
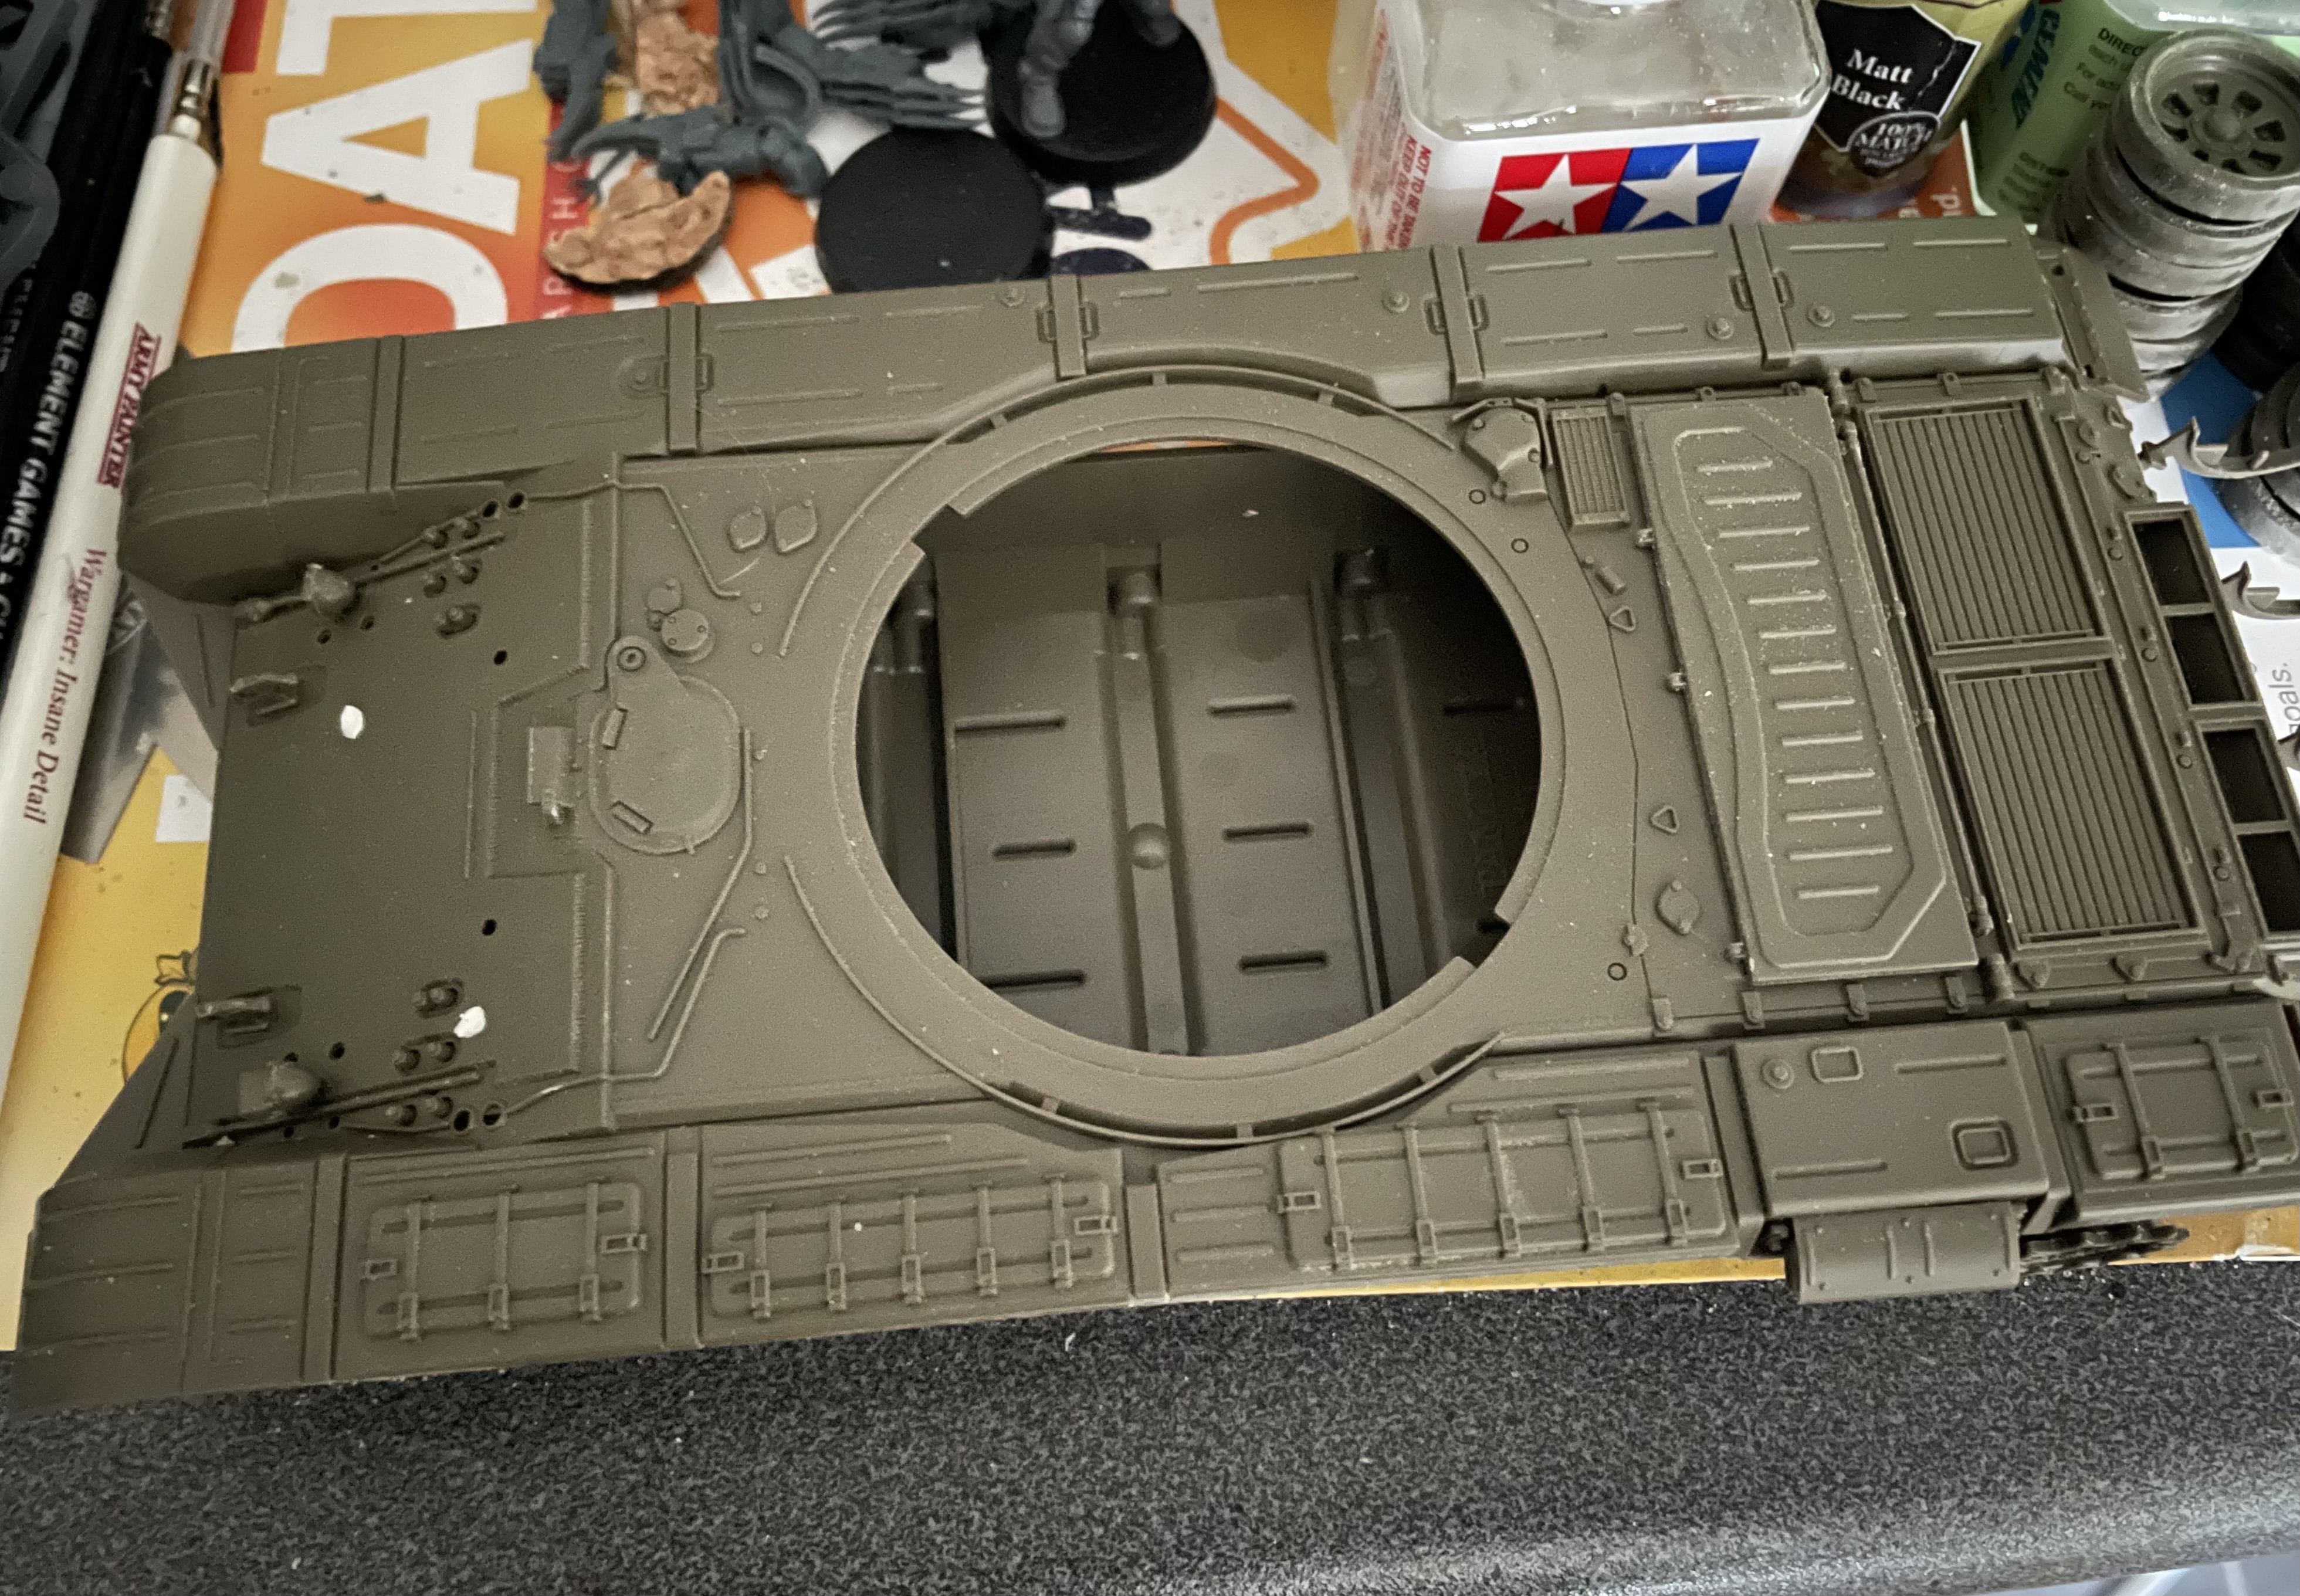
Started work on a Tamiya T-72M1 for the USSR campaign.
11 Likes
Great model this - always liked the Tamiya version (he said, with 2 x Dragon versions in the stash).
1 Like
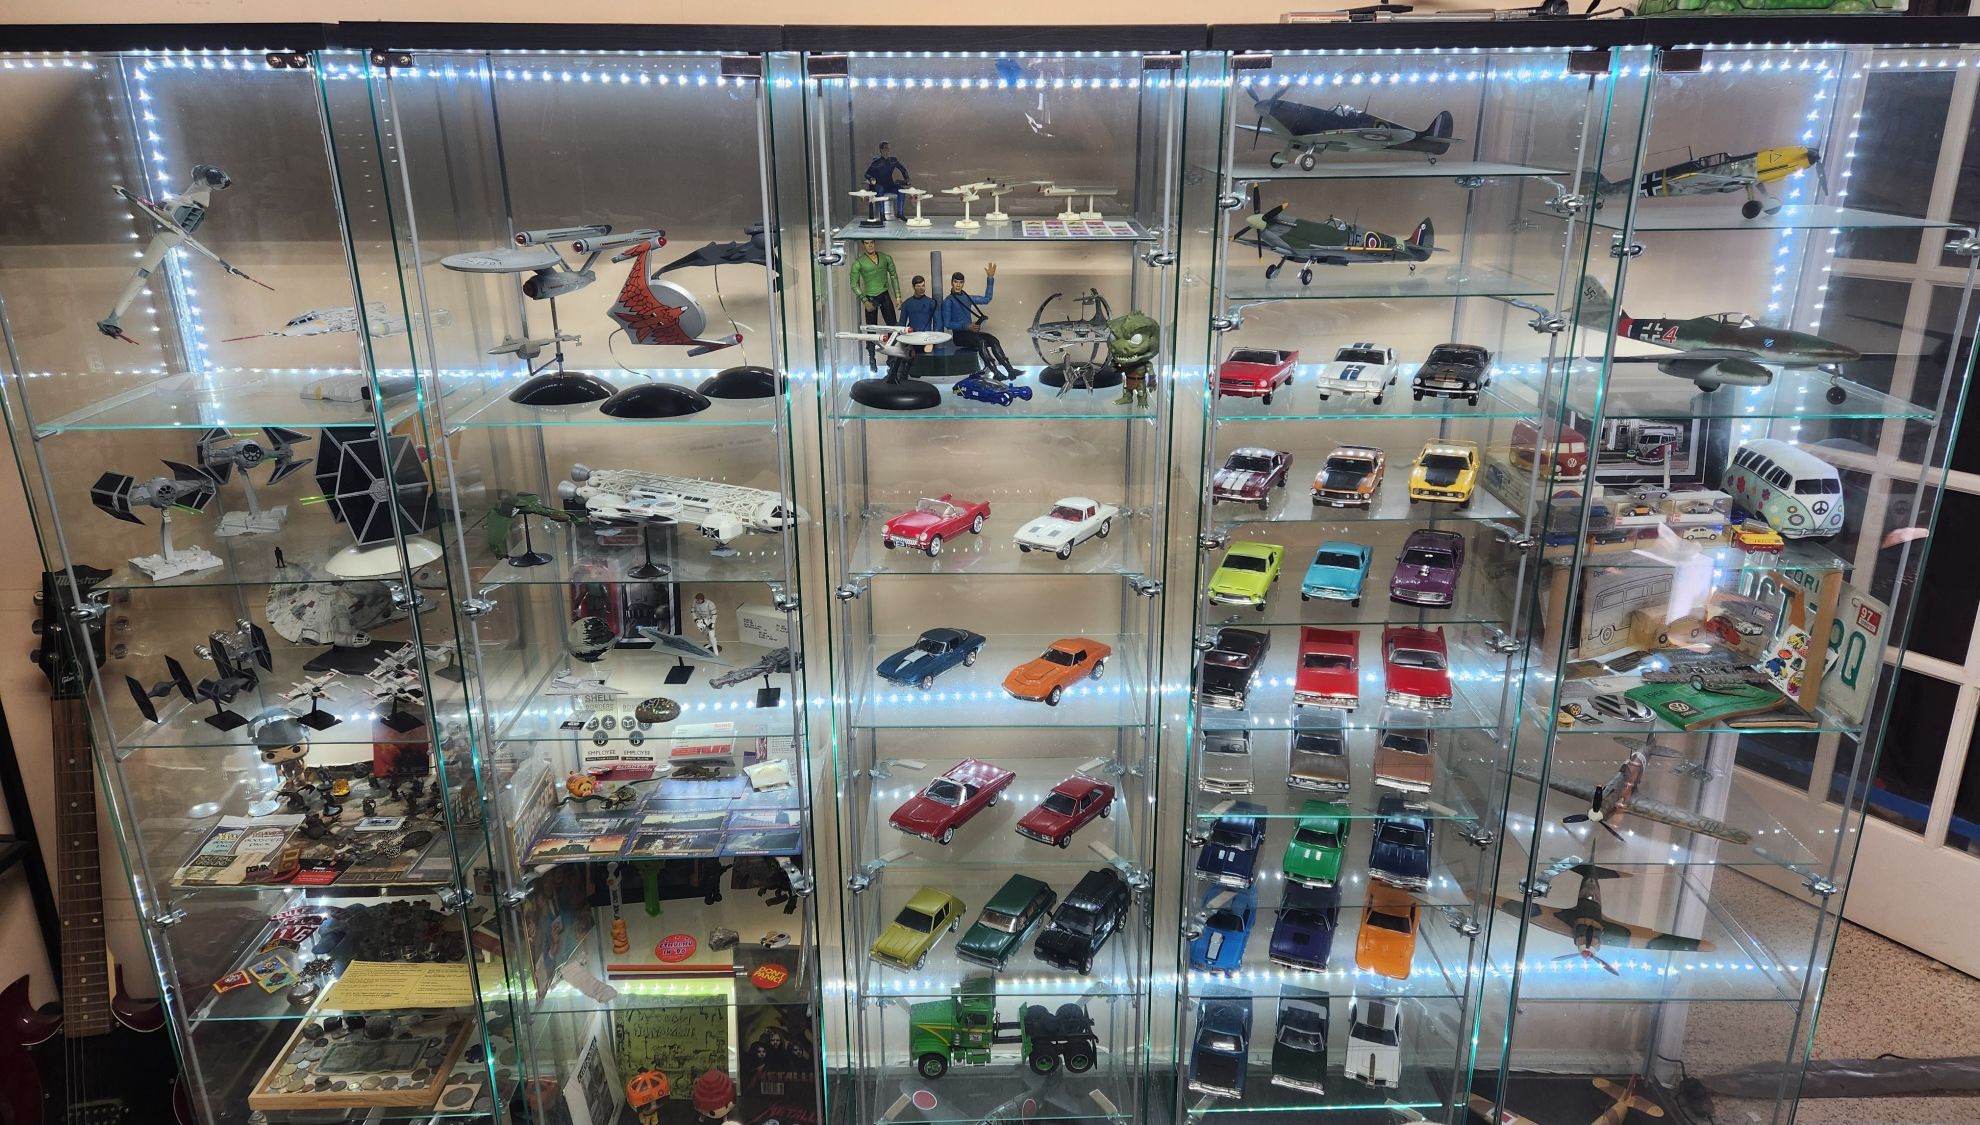
I didn’t have a chance to post over the weekend as the storm through NW Georgia knocked my power out for most of Sunday and I’ve been busy back at work, but while technically outside my workshop I strung up a set of LED lights my wife got me for Christmas to see how they look and where I need to make adjustments. Big improvement over the single overhead light.
With overhead:
Without:

In my garage space I removed some narrow shelves and relocated my TV; it was on a swingarm in the corner but it really ate up the entire corner. I also have consolidated my paints and don’t keep the acrylics out there due to temperature anyway so now that area seems so open now - the stuff left on the shelves is mostly Model Master enamels and old surplus Vallejo.
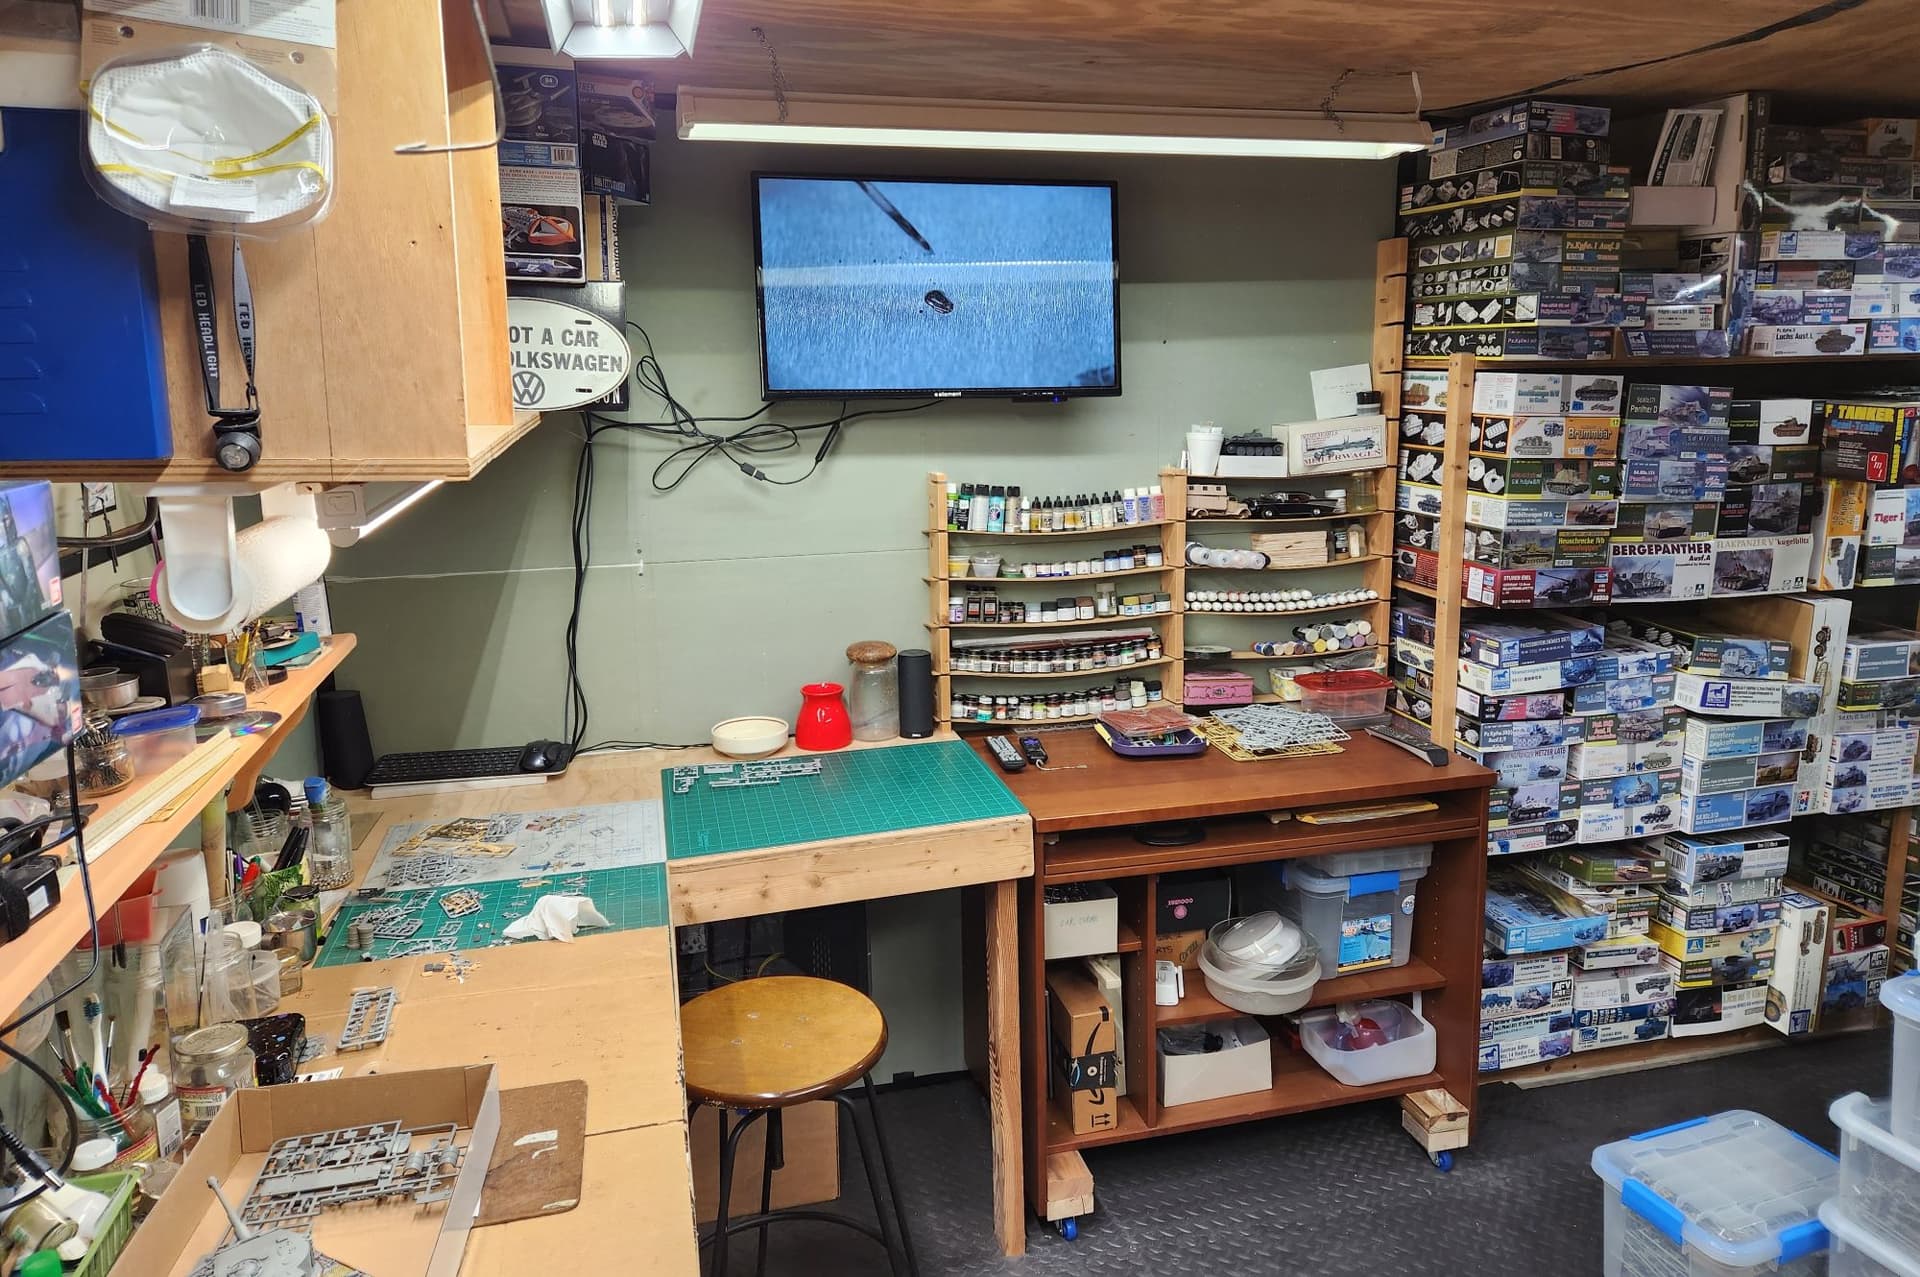
I’ve already added an extension to the shelf under the paper towels that goes around the corner since this picture was taken and cleaned up the wiring.
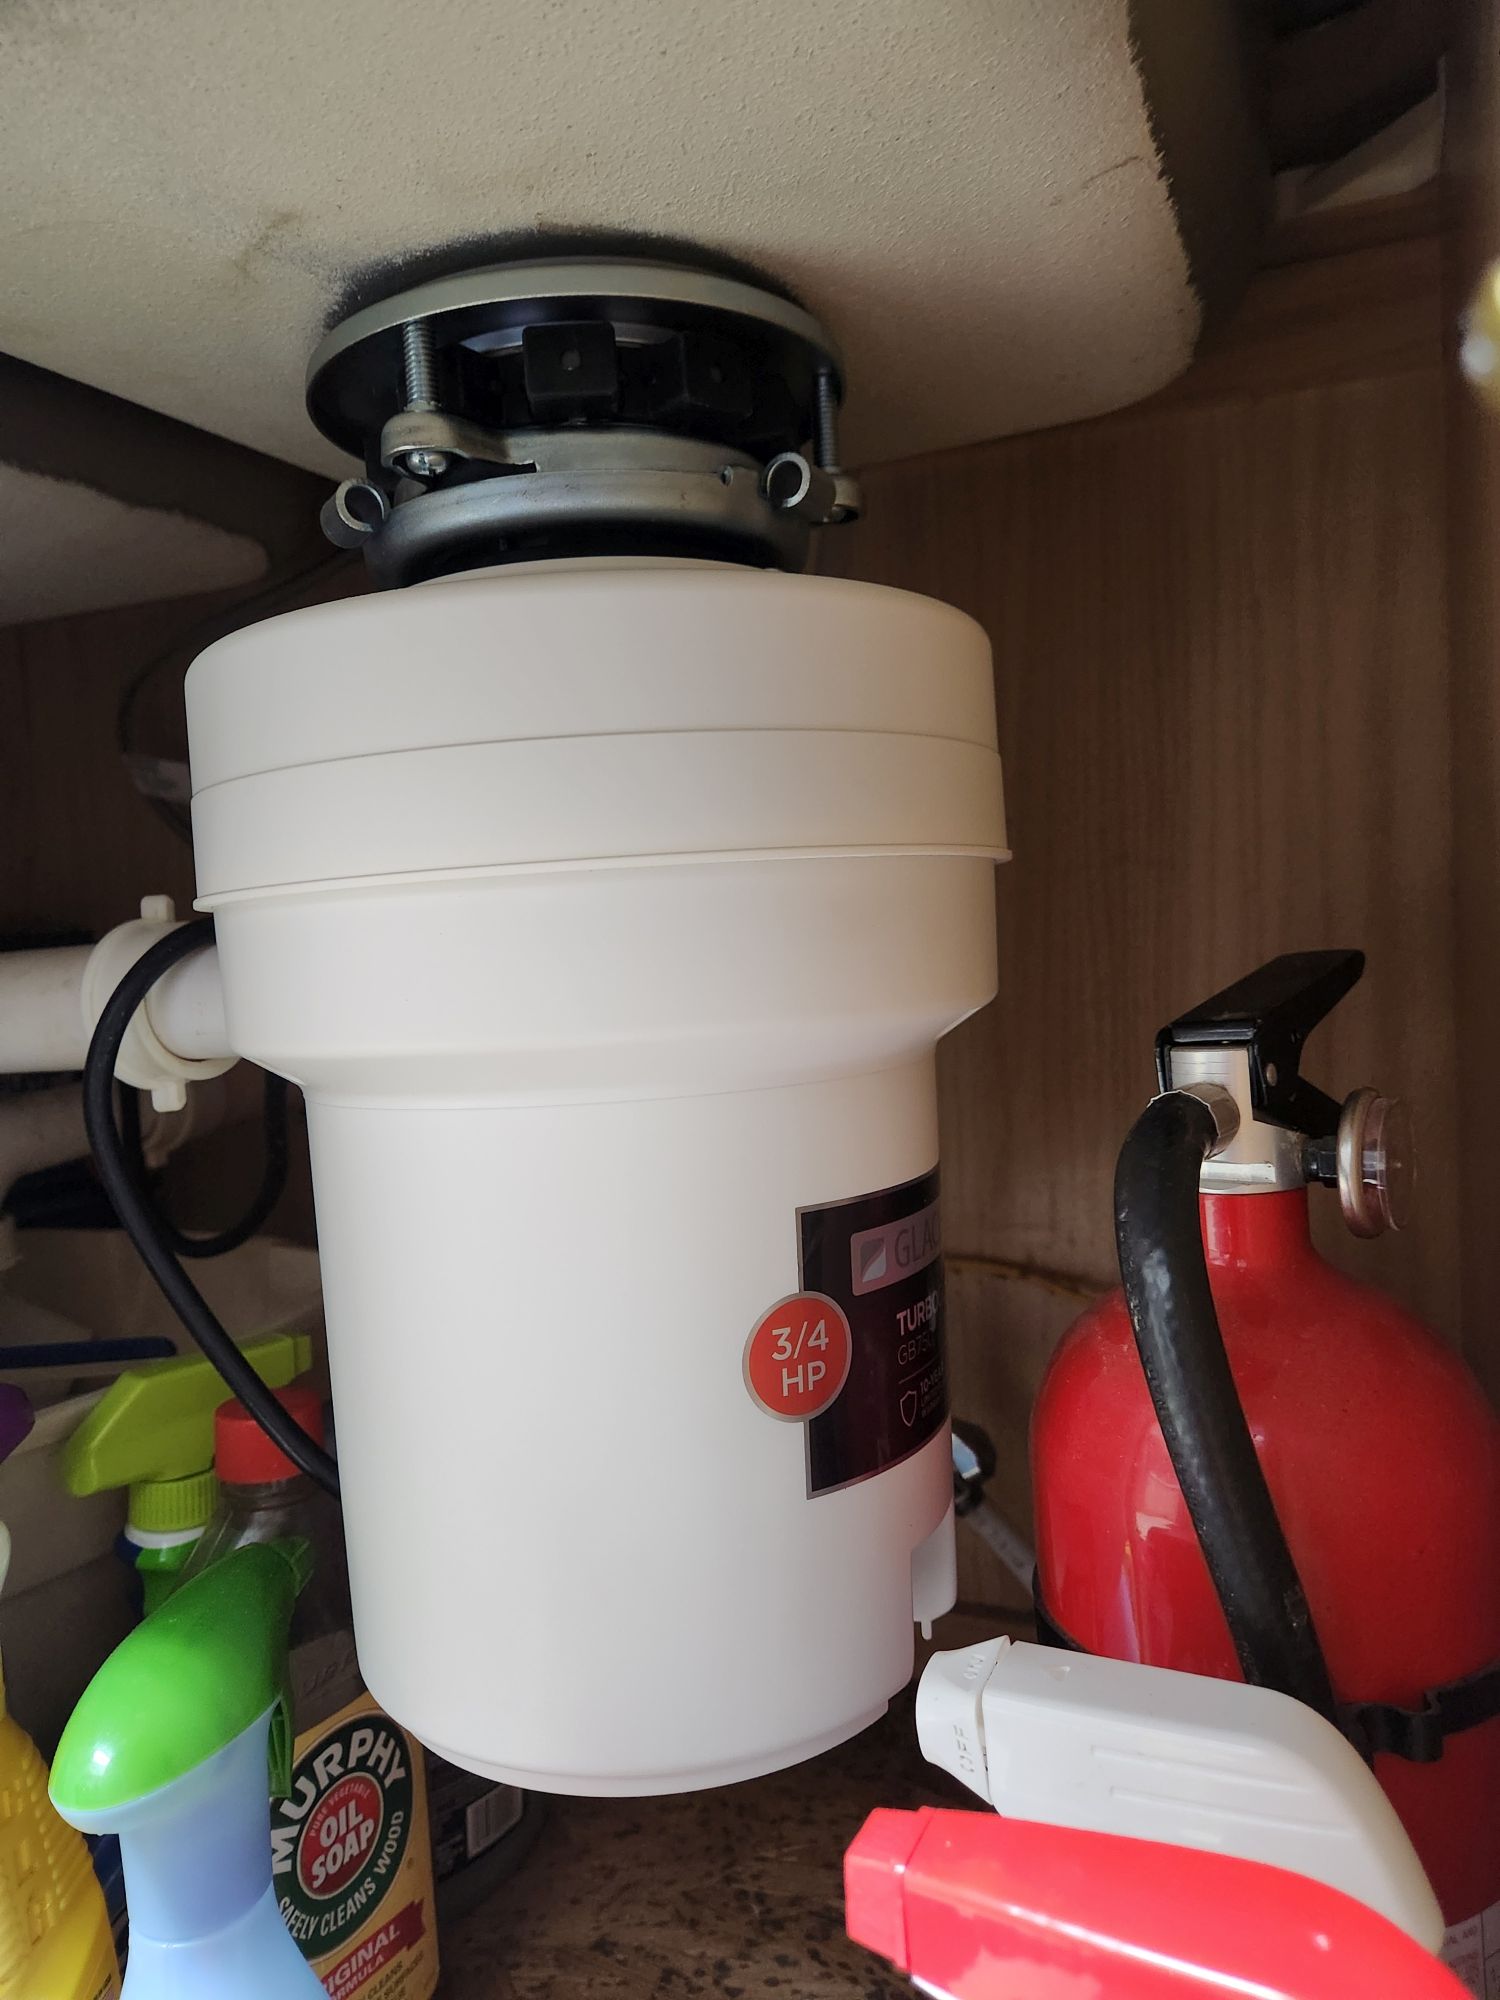
Hobby time was also limited because I had to replace one of these:
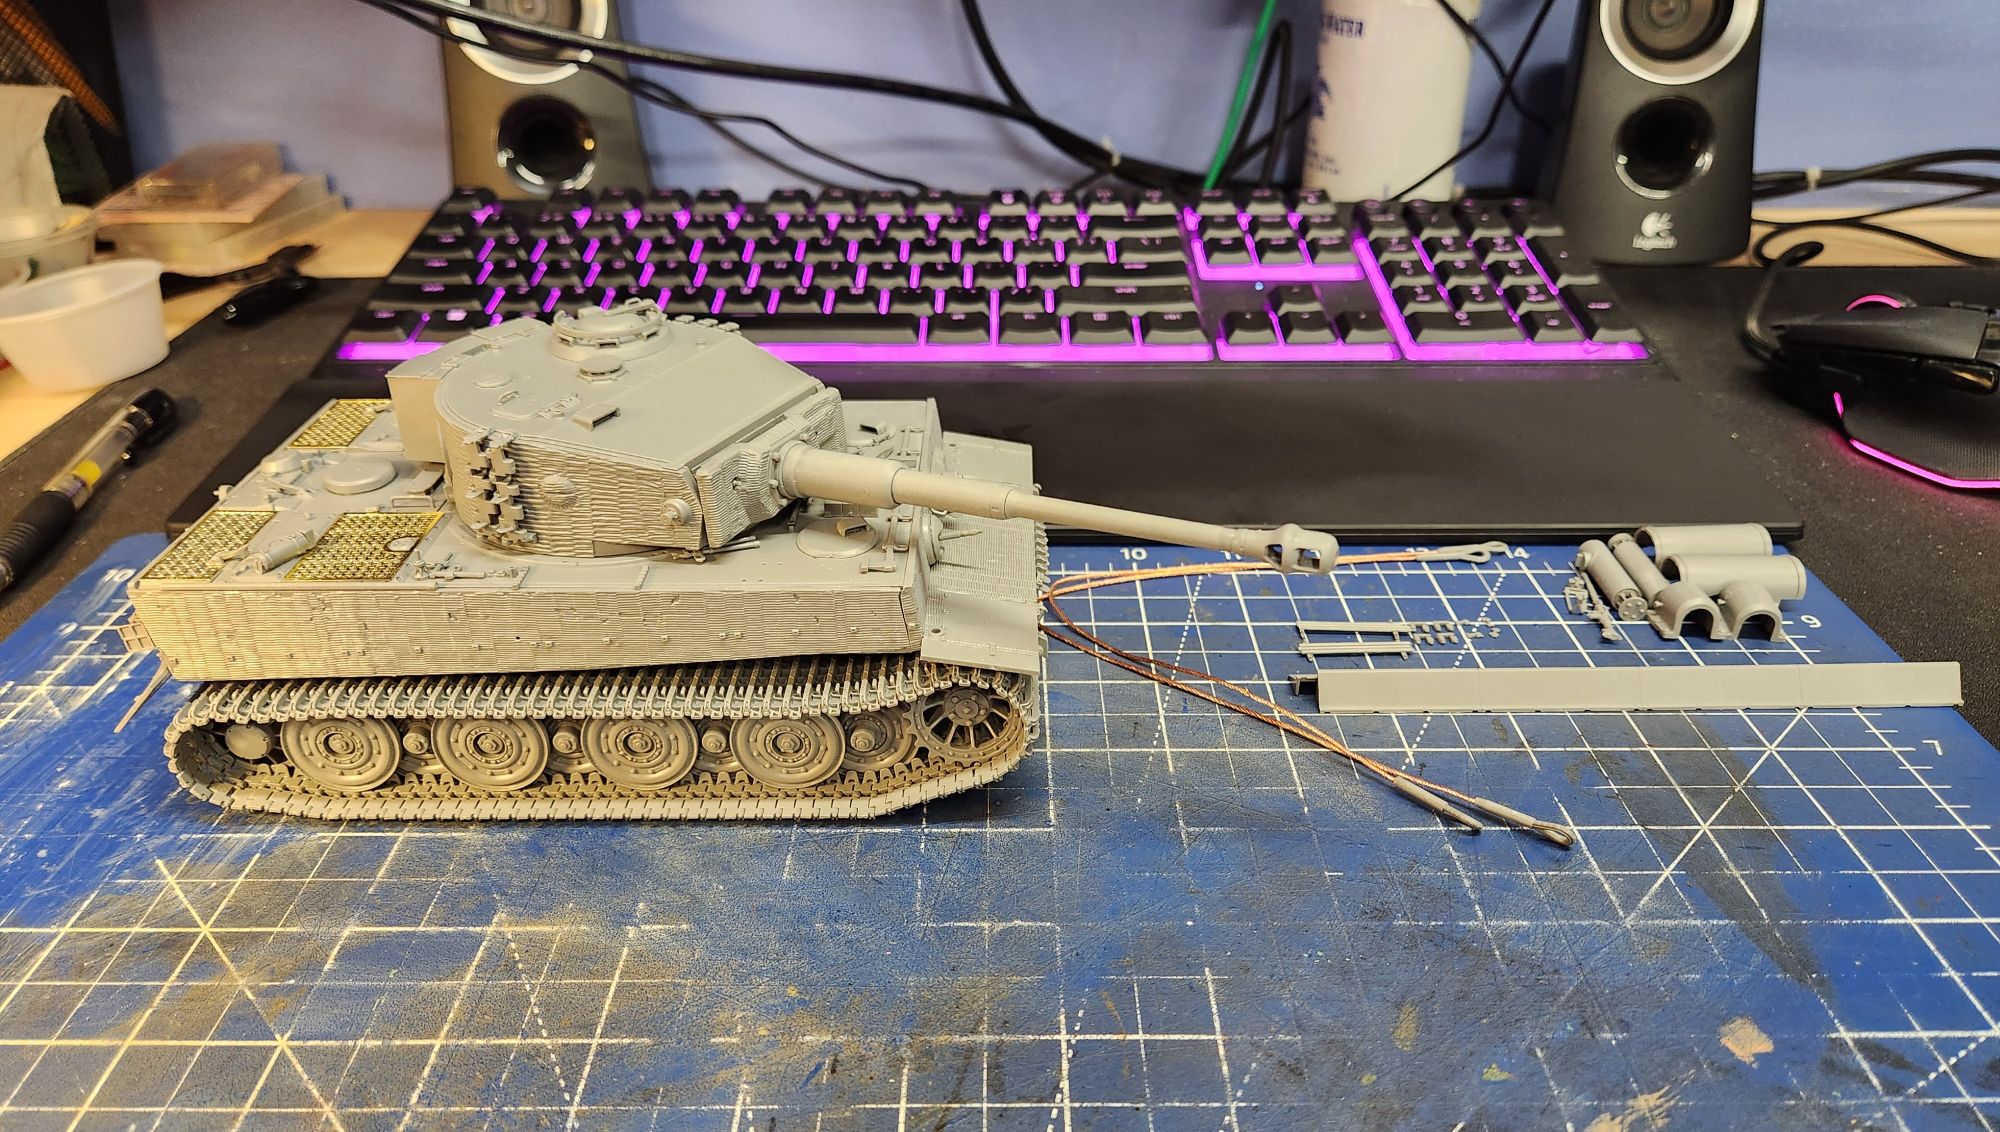
But my Tiger I is here:
(EDIT: Just realized this is an older photo; I have since filled all gaps, attached the cables and fenders. It’s in the garage space waiting for primer as can be seen in the corner of that photo.)
And my Sd.Kfz 252 is clipped and cleaned; assembly hopefully starts tomorrow:

And I finally put some crew on my Karl-Gerat:
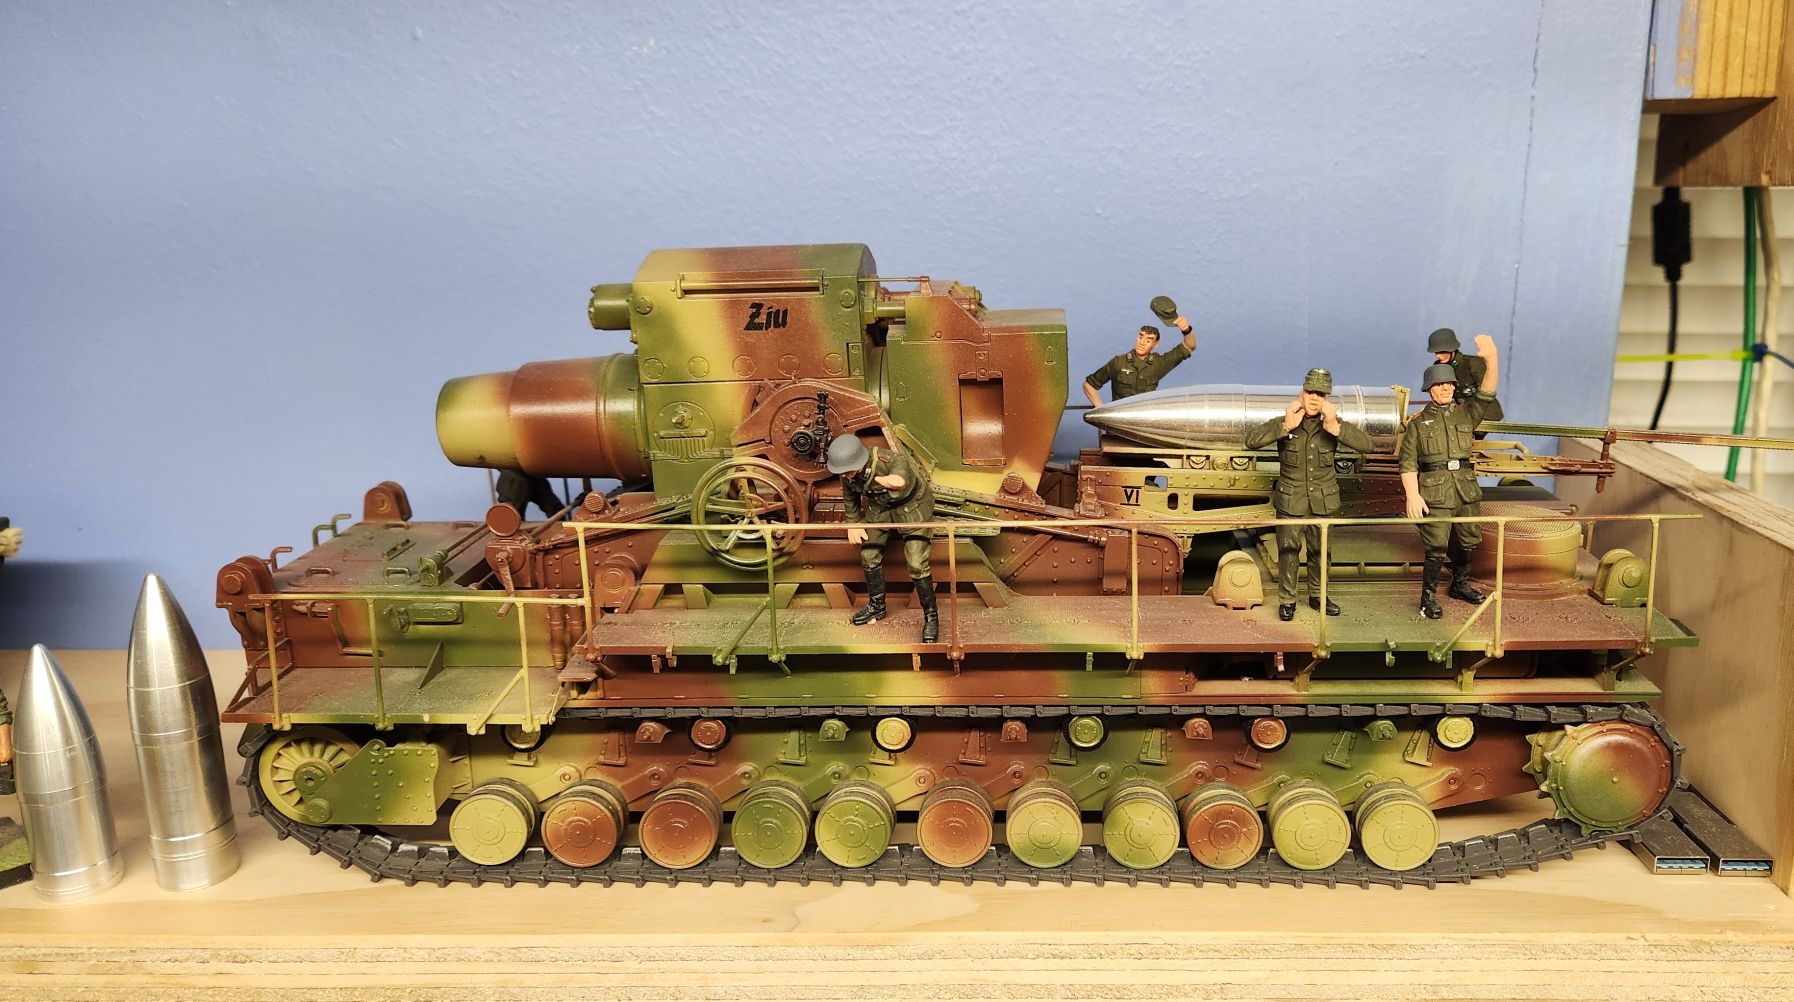
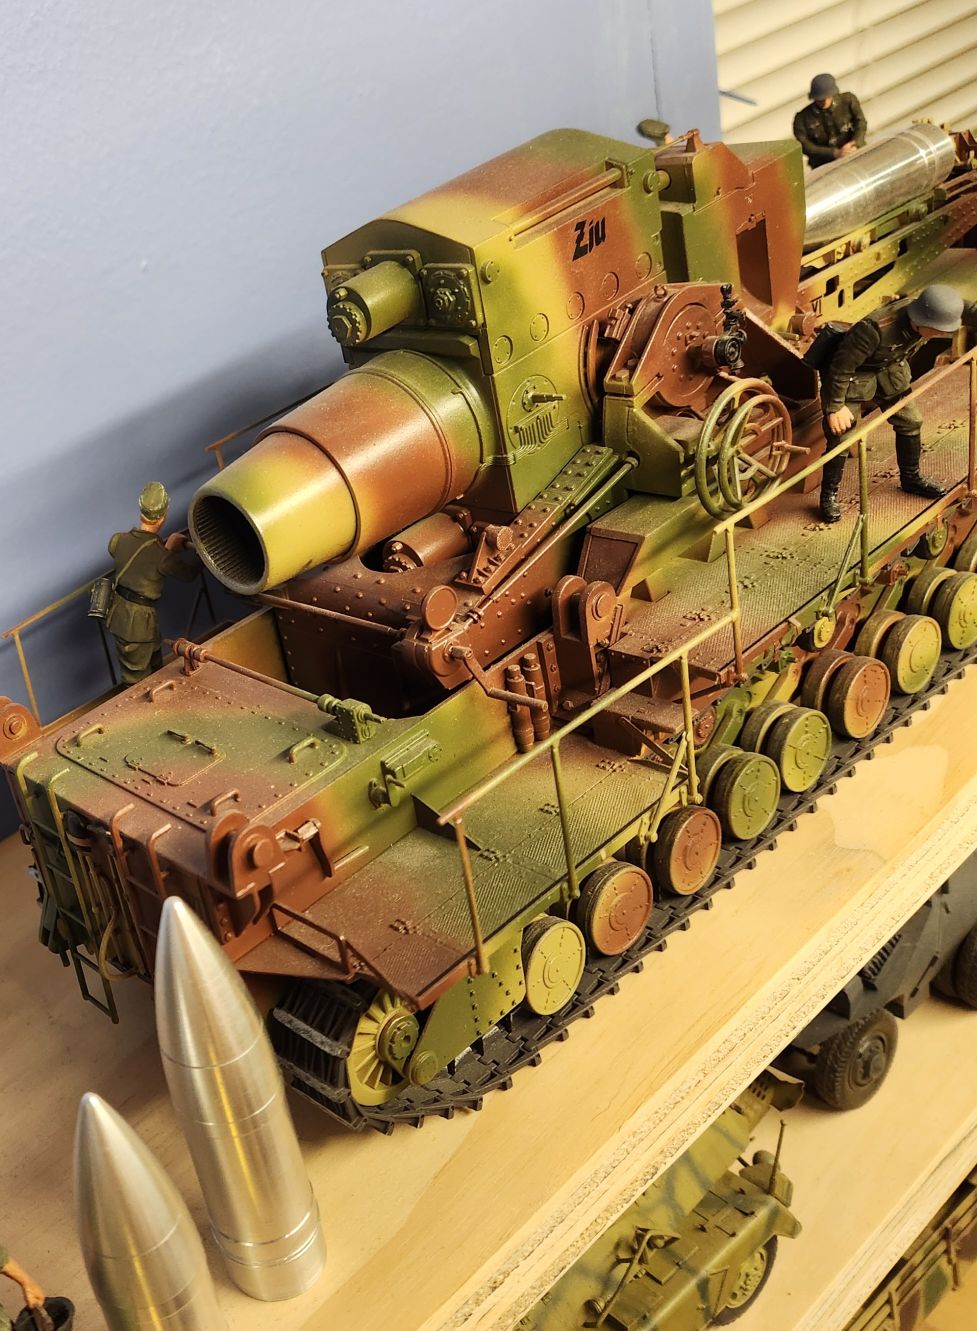
Going through my scrap pile for a piece large enough for a base to finally mount this beast on. My plan is to position things so I can place the Pz IV tender alongside it once I get that built and have it appear as a single piece, like the old Prehistoric Scene kits by Aurora. The Cave Bear kit recently reissued will be mounted in front of the Karl.
Not really.
19 Likes
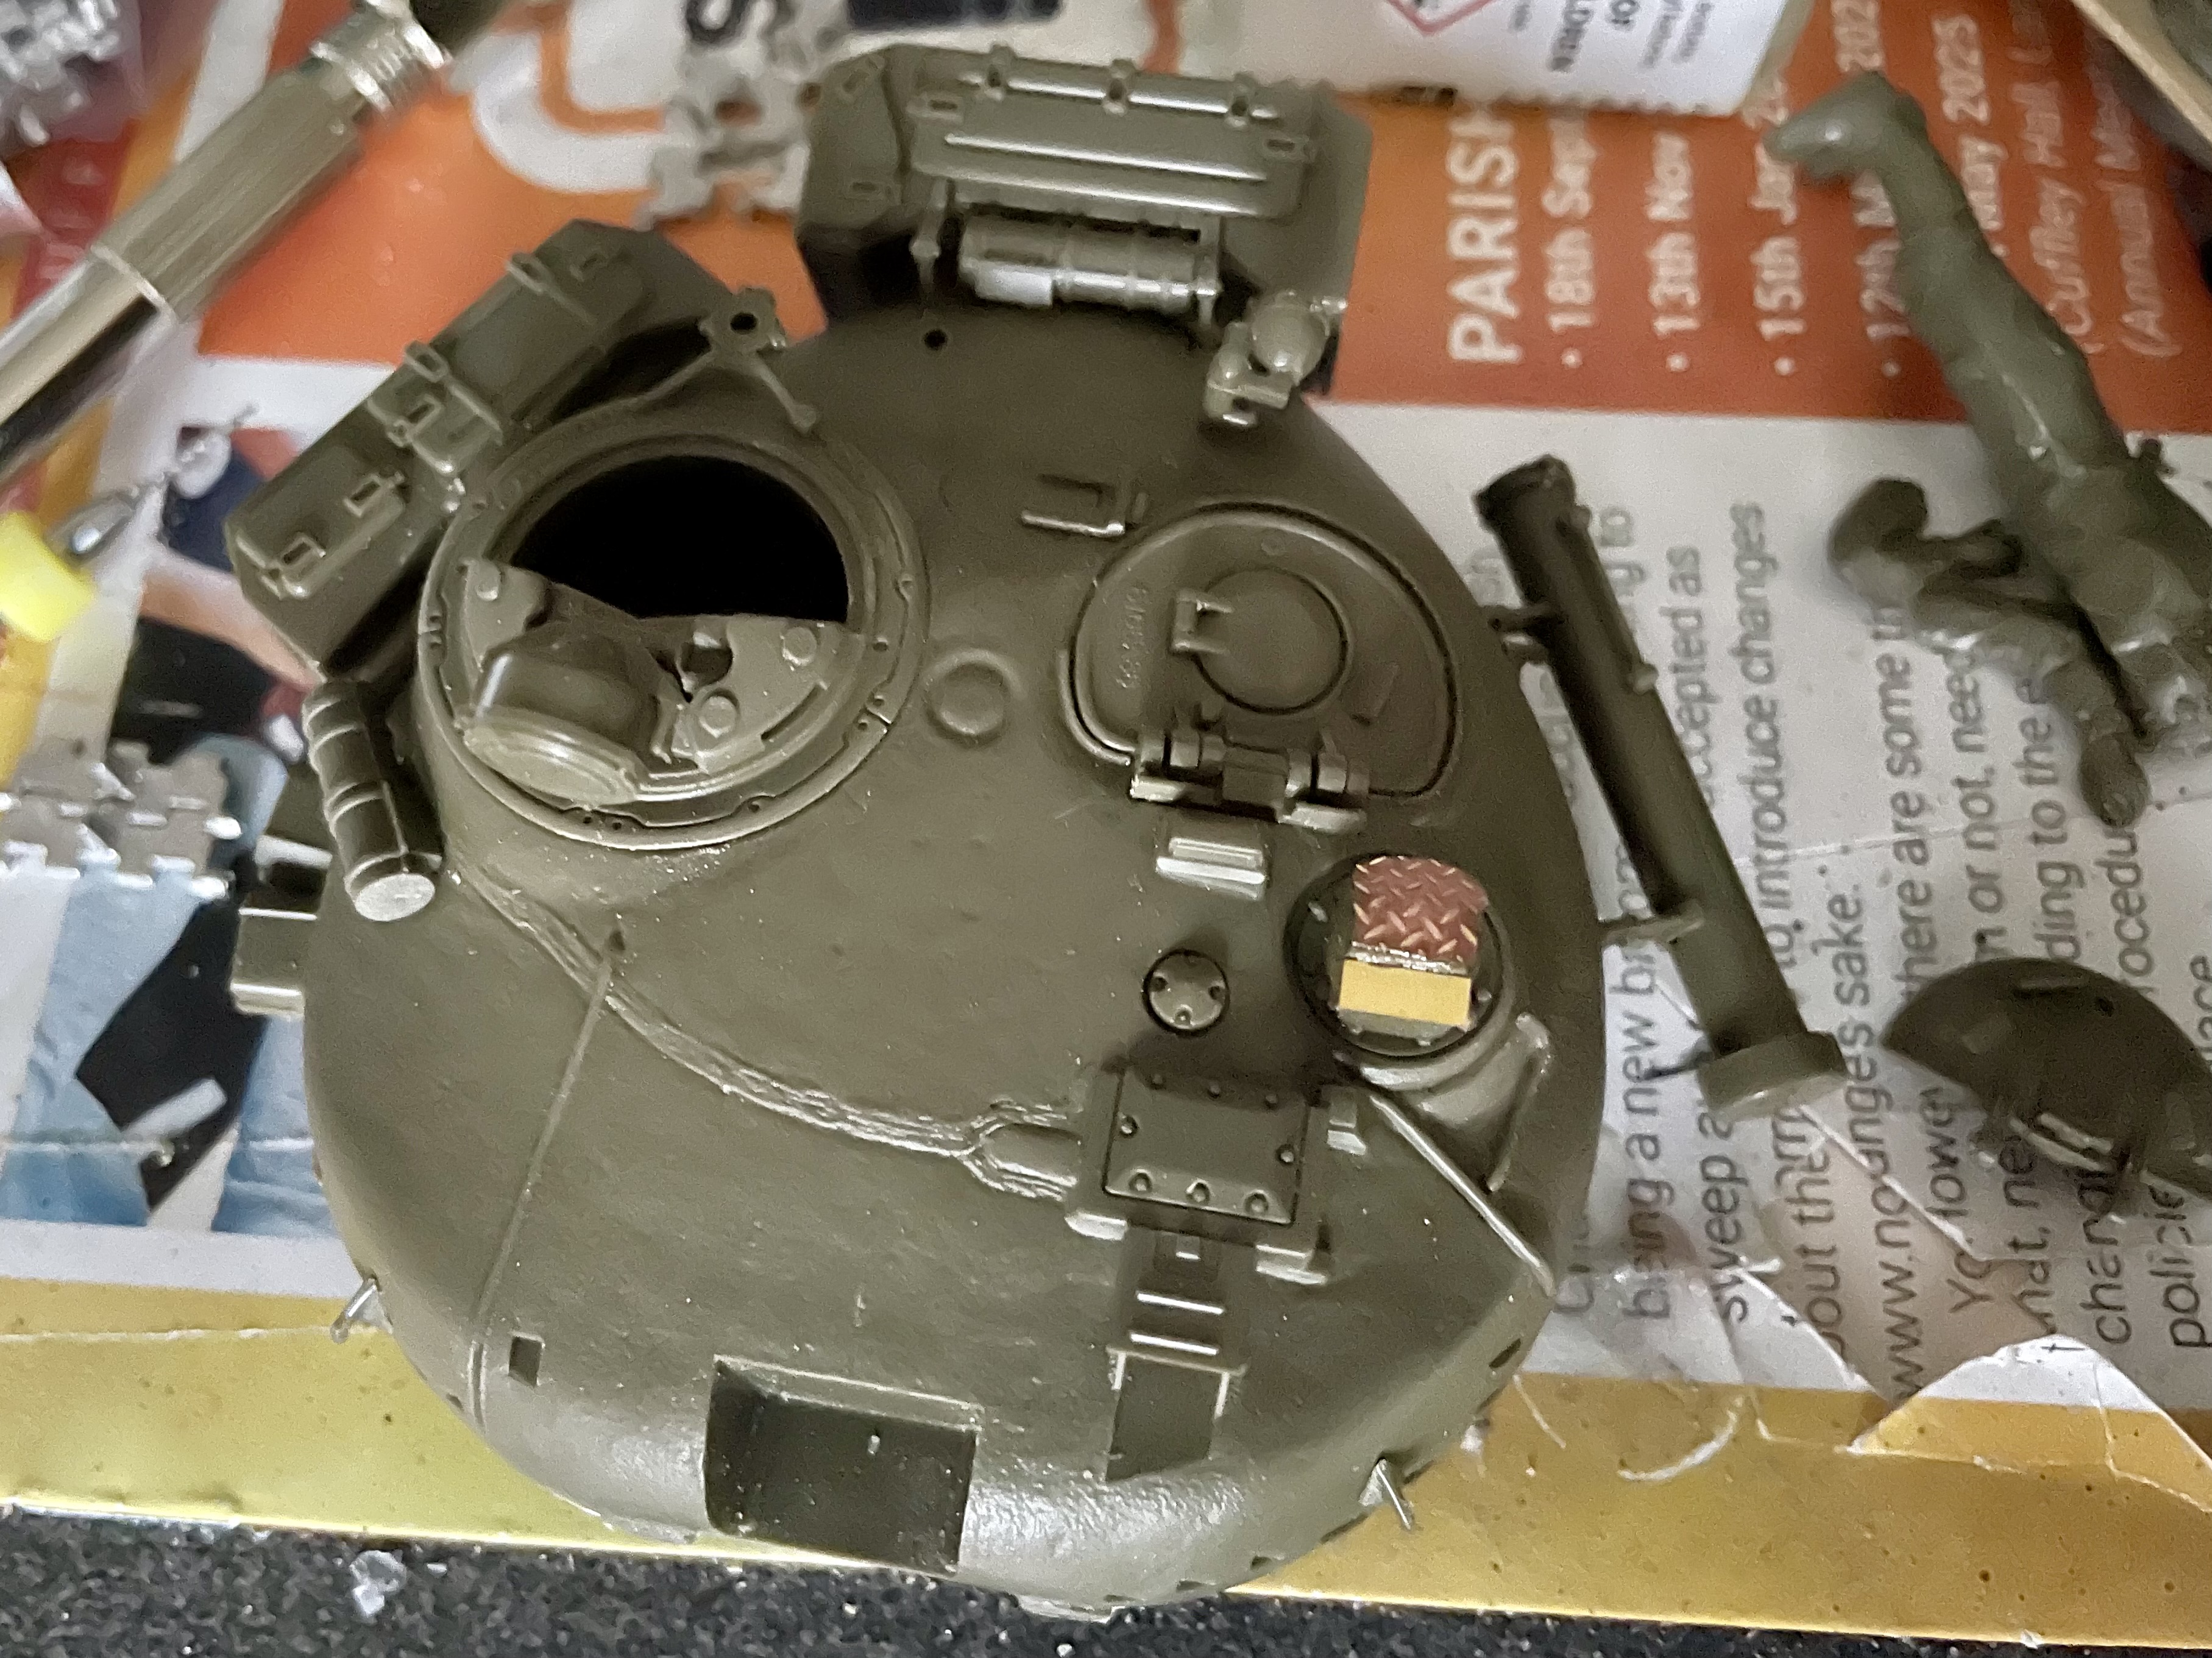
A bit more work on the T-72, Eduard PE arrived this morning so after a quick black prime of all the areas getting grills the PE got put to use. Also did work on the turret.

11 Likes


Funny looking helmets, looks like they were in serious danger of bumping their heads a lot ![]()
2 Likes
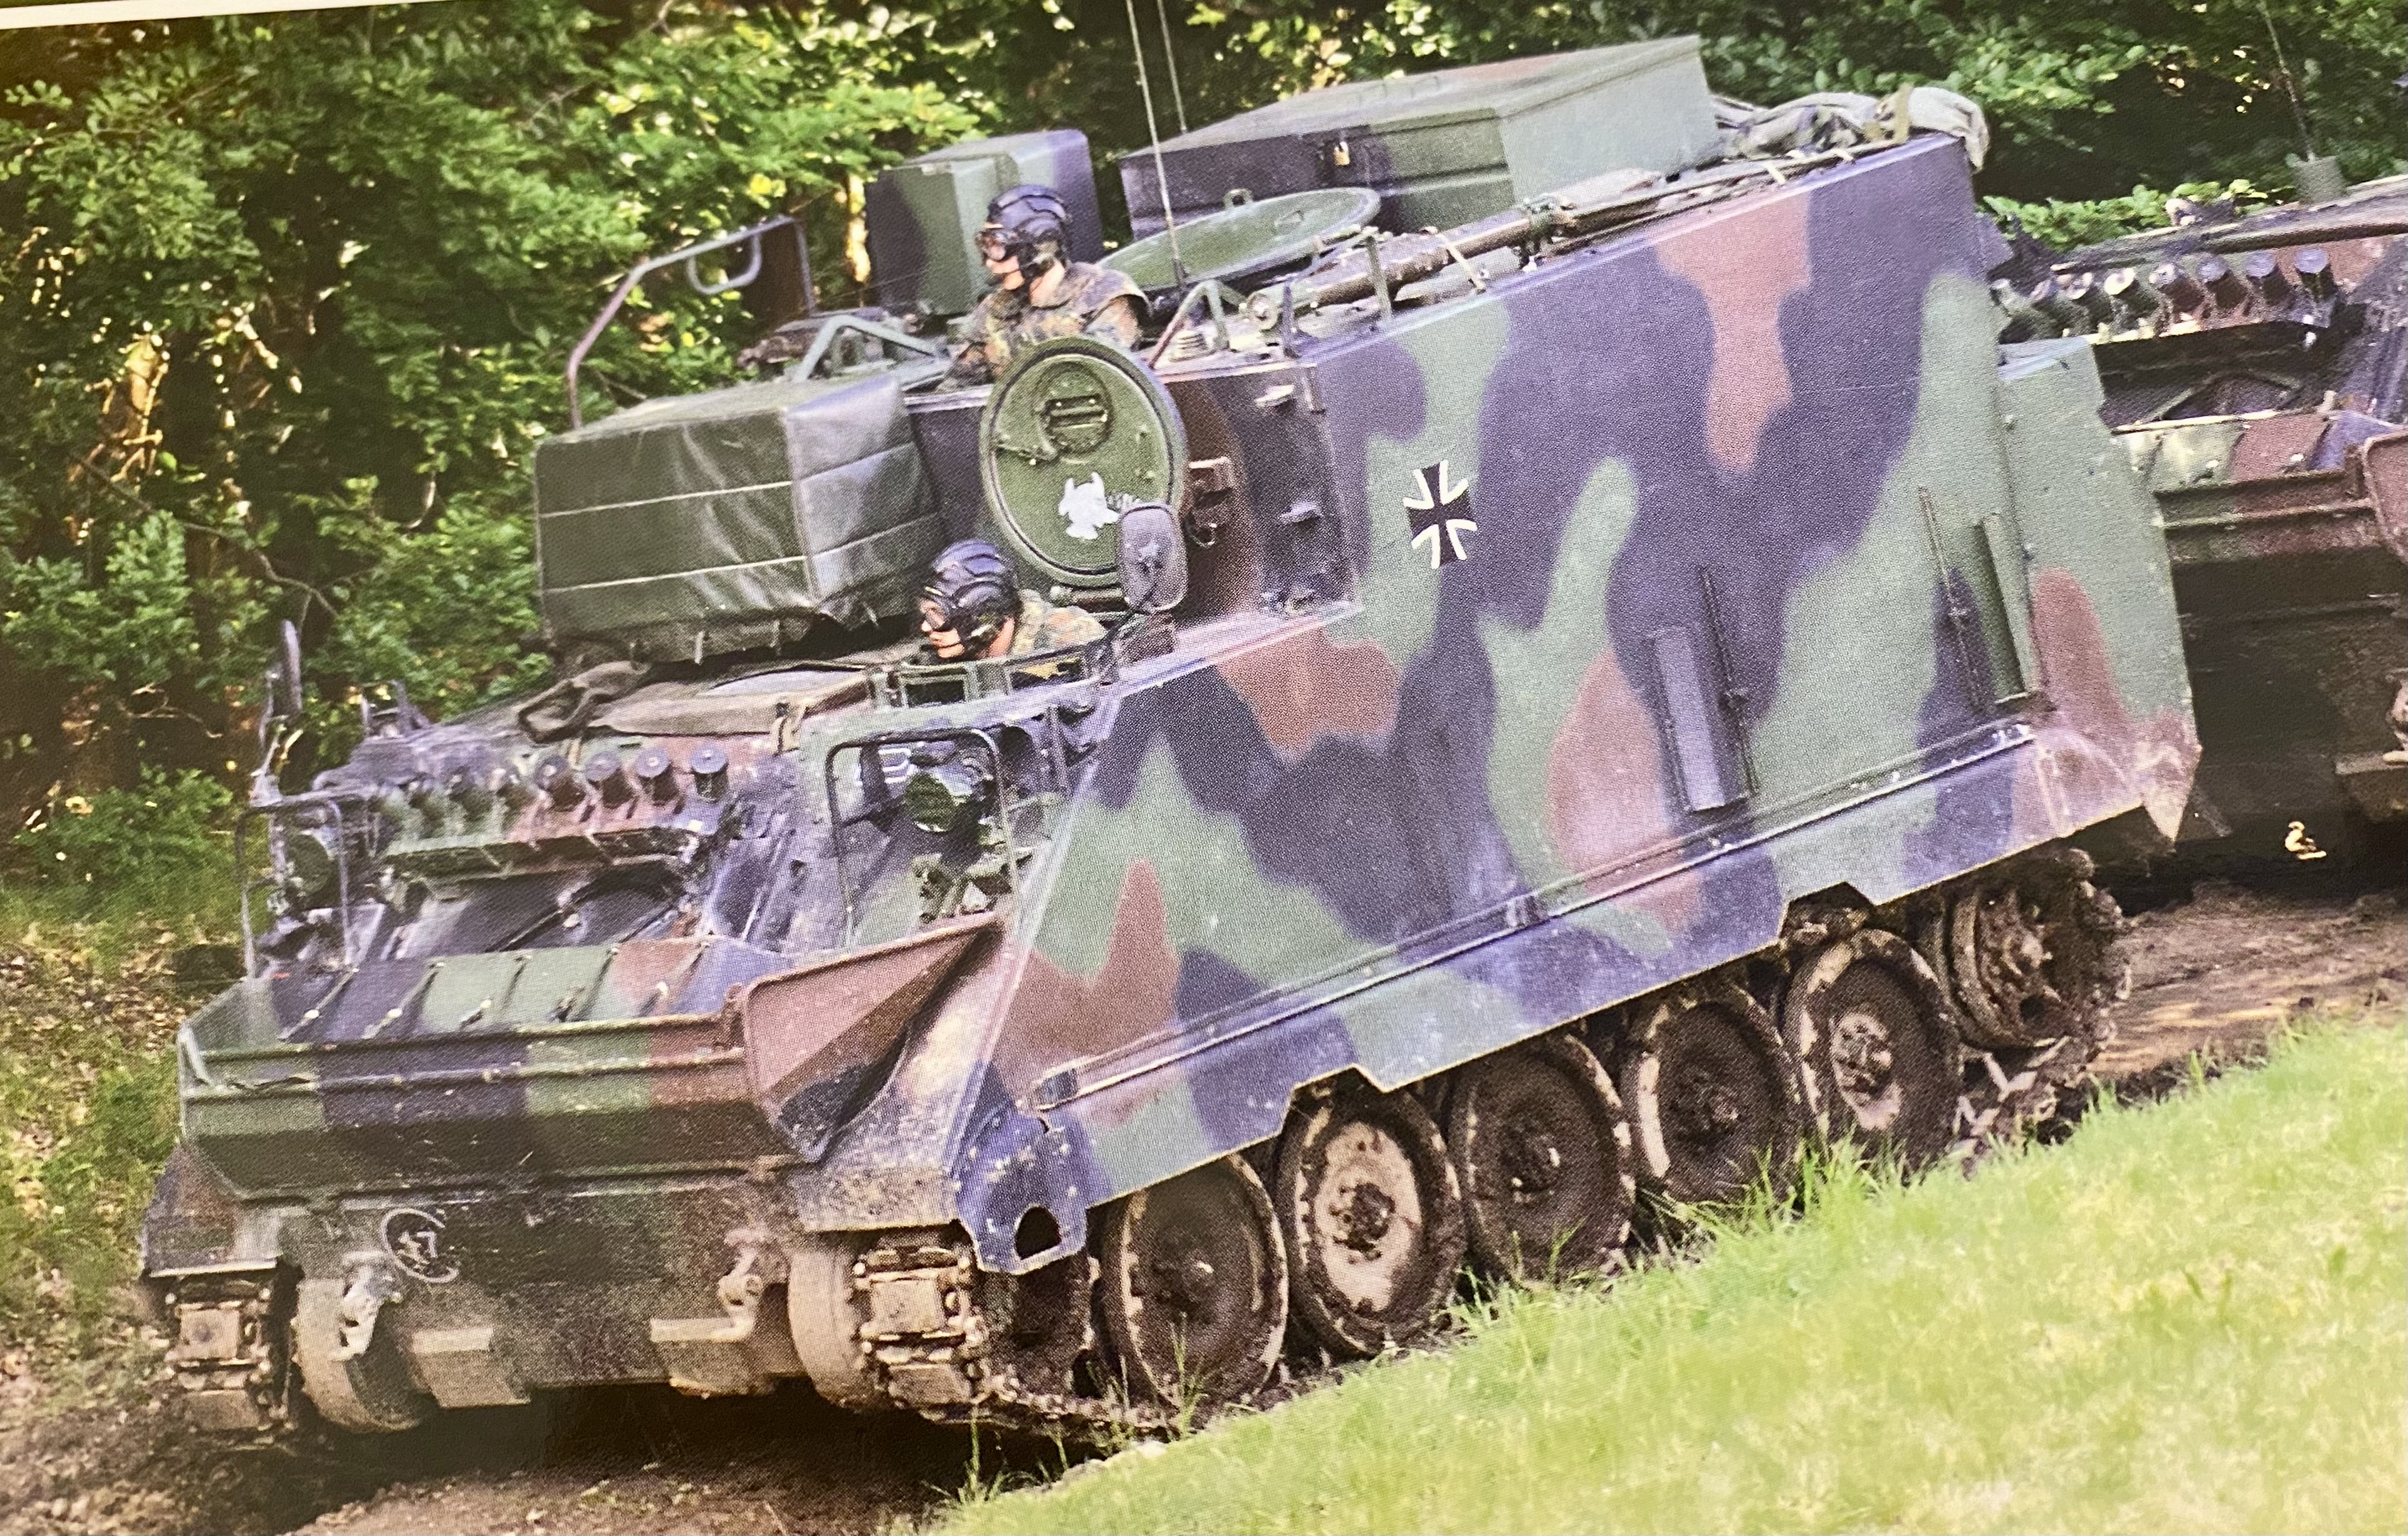
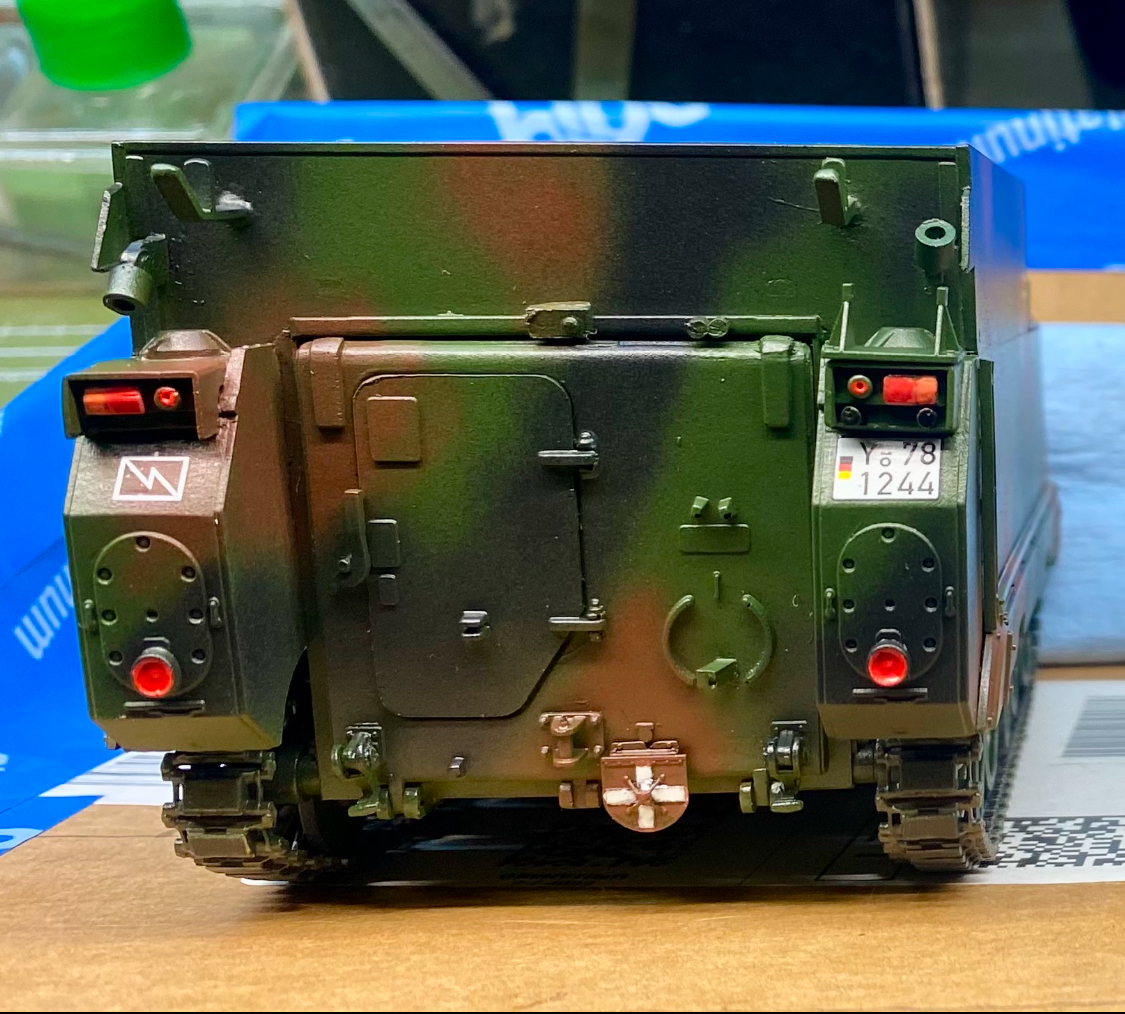
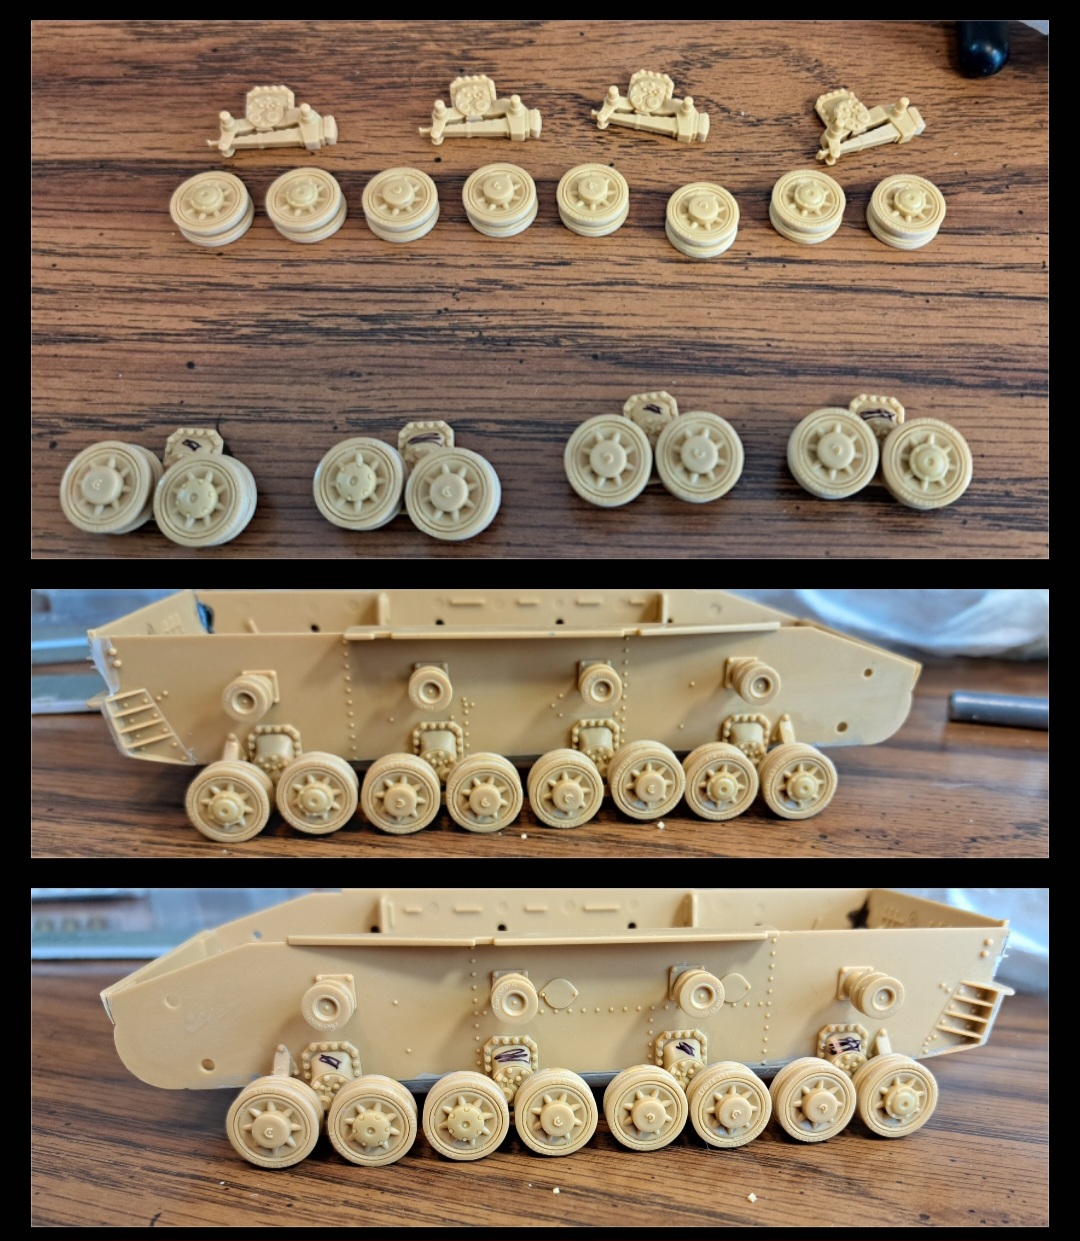
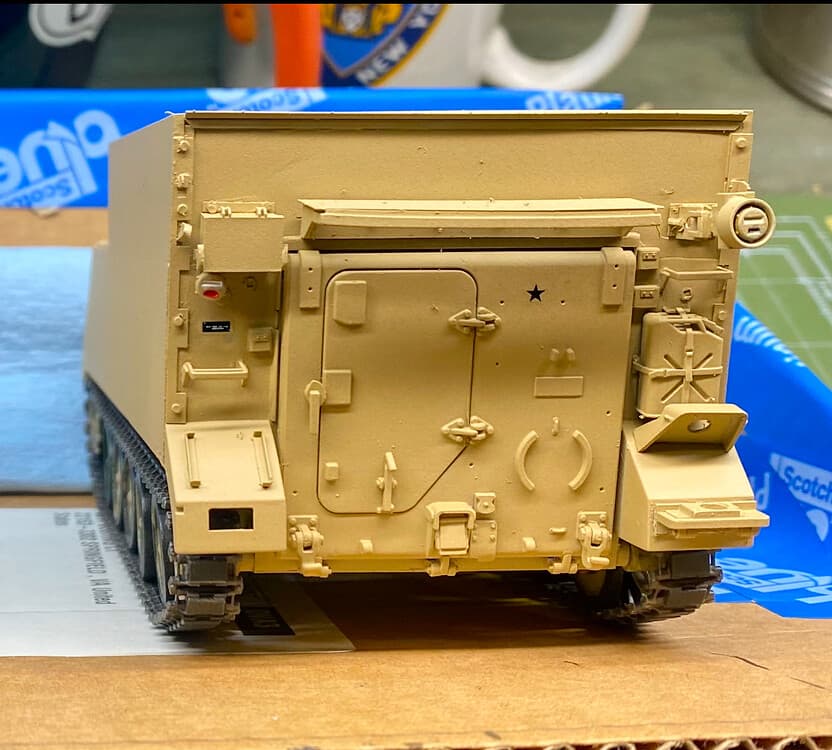
Some decals and some tail light, etc, painting.
Still working on the convoy marker light cross.

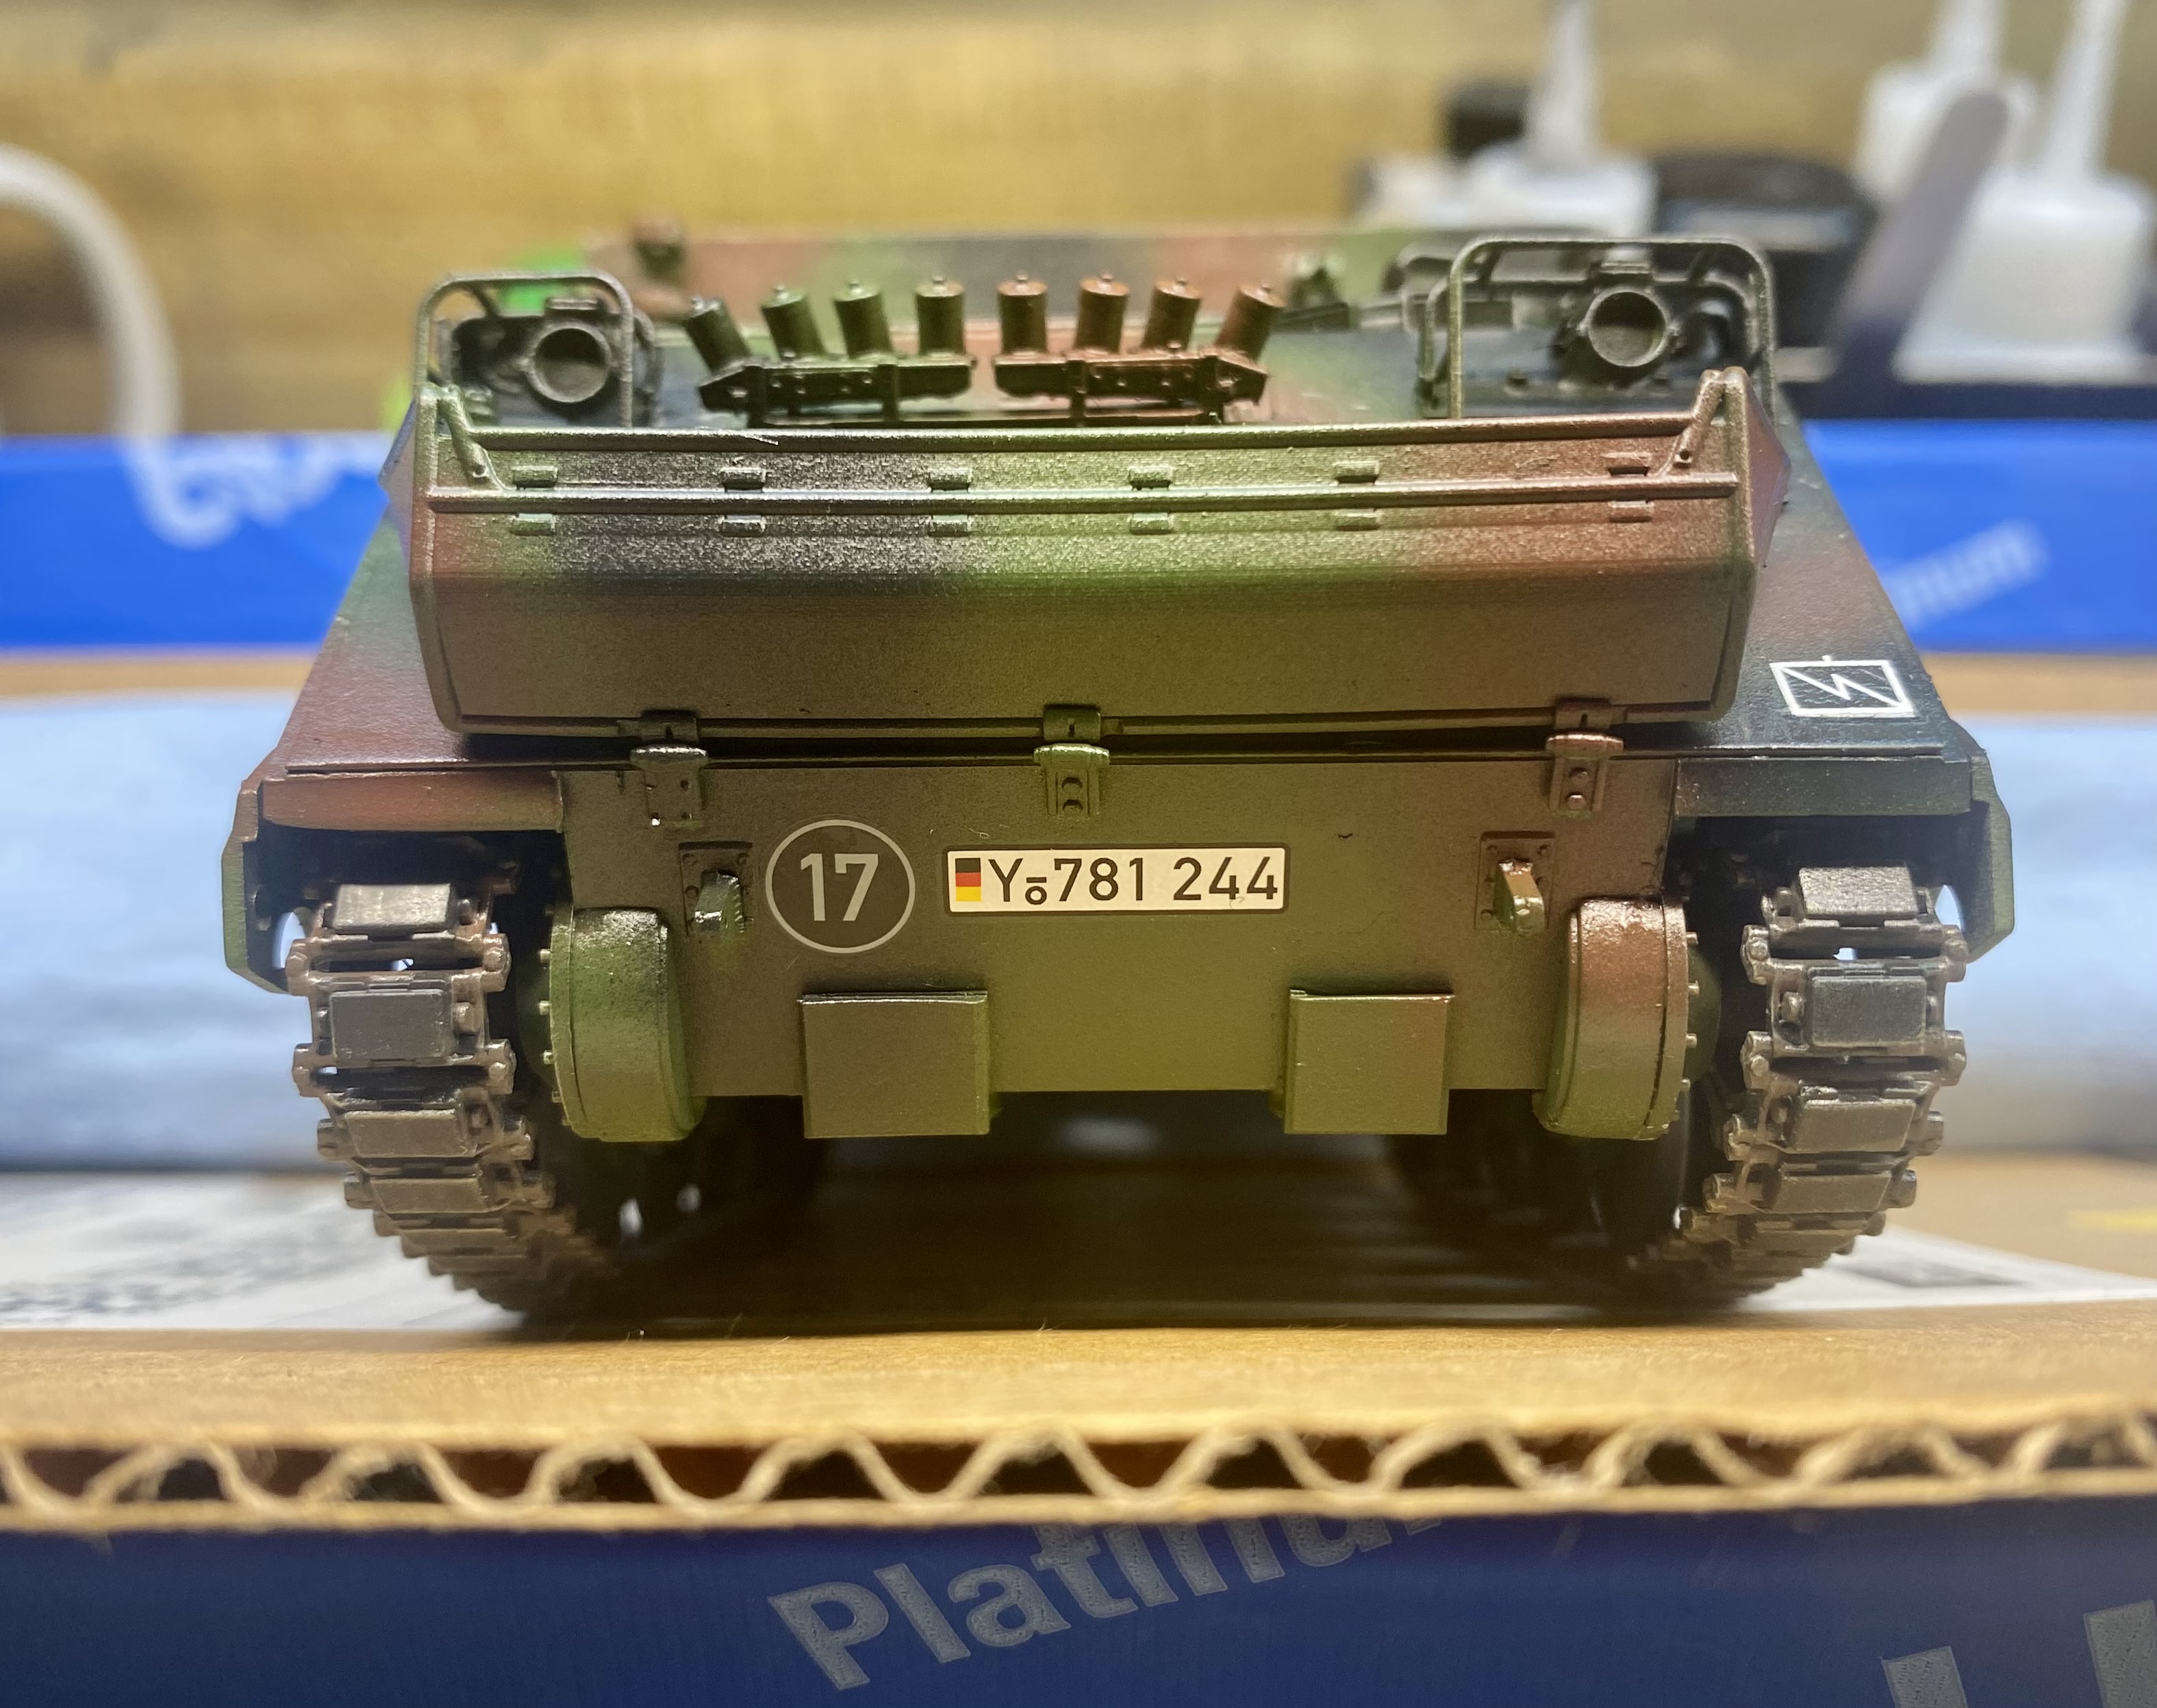
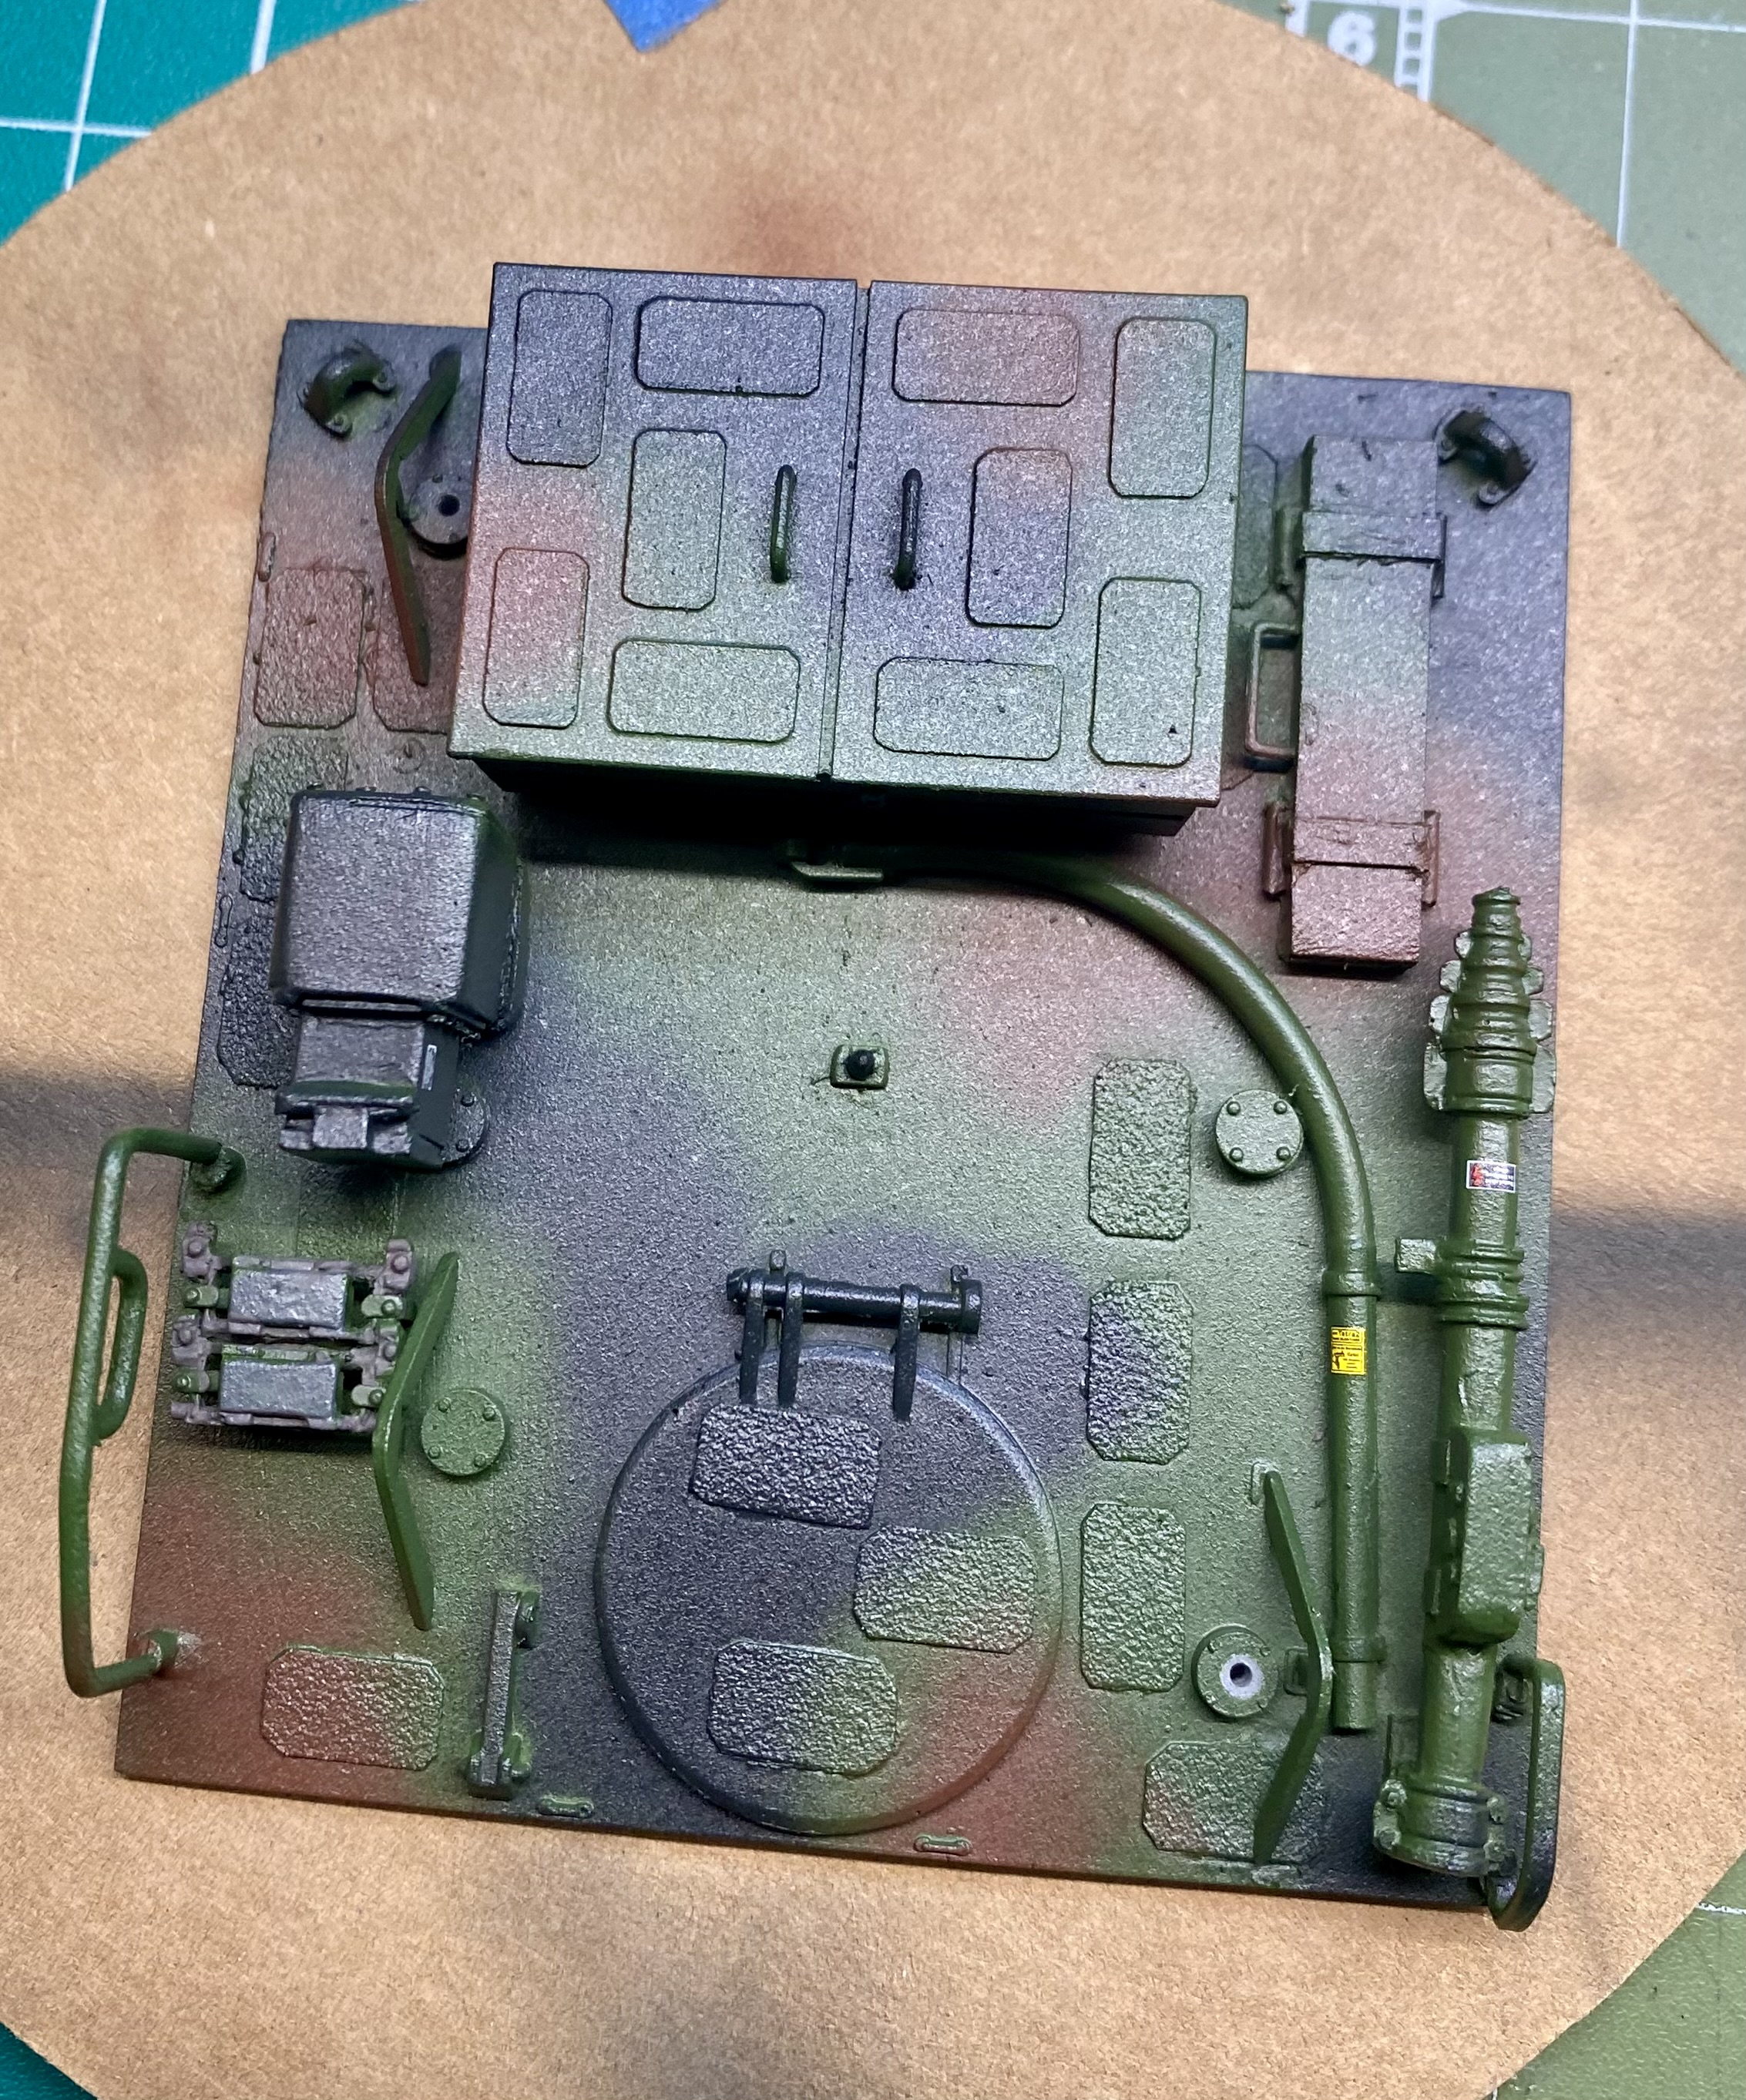
My redneck engineering tilt thingy

19 Likes
Working on a Tamiya 1/48 F-14D. First 1/48 plane I build in probably 40 years… So far a very pleasant experience.
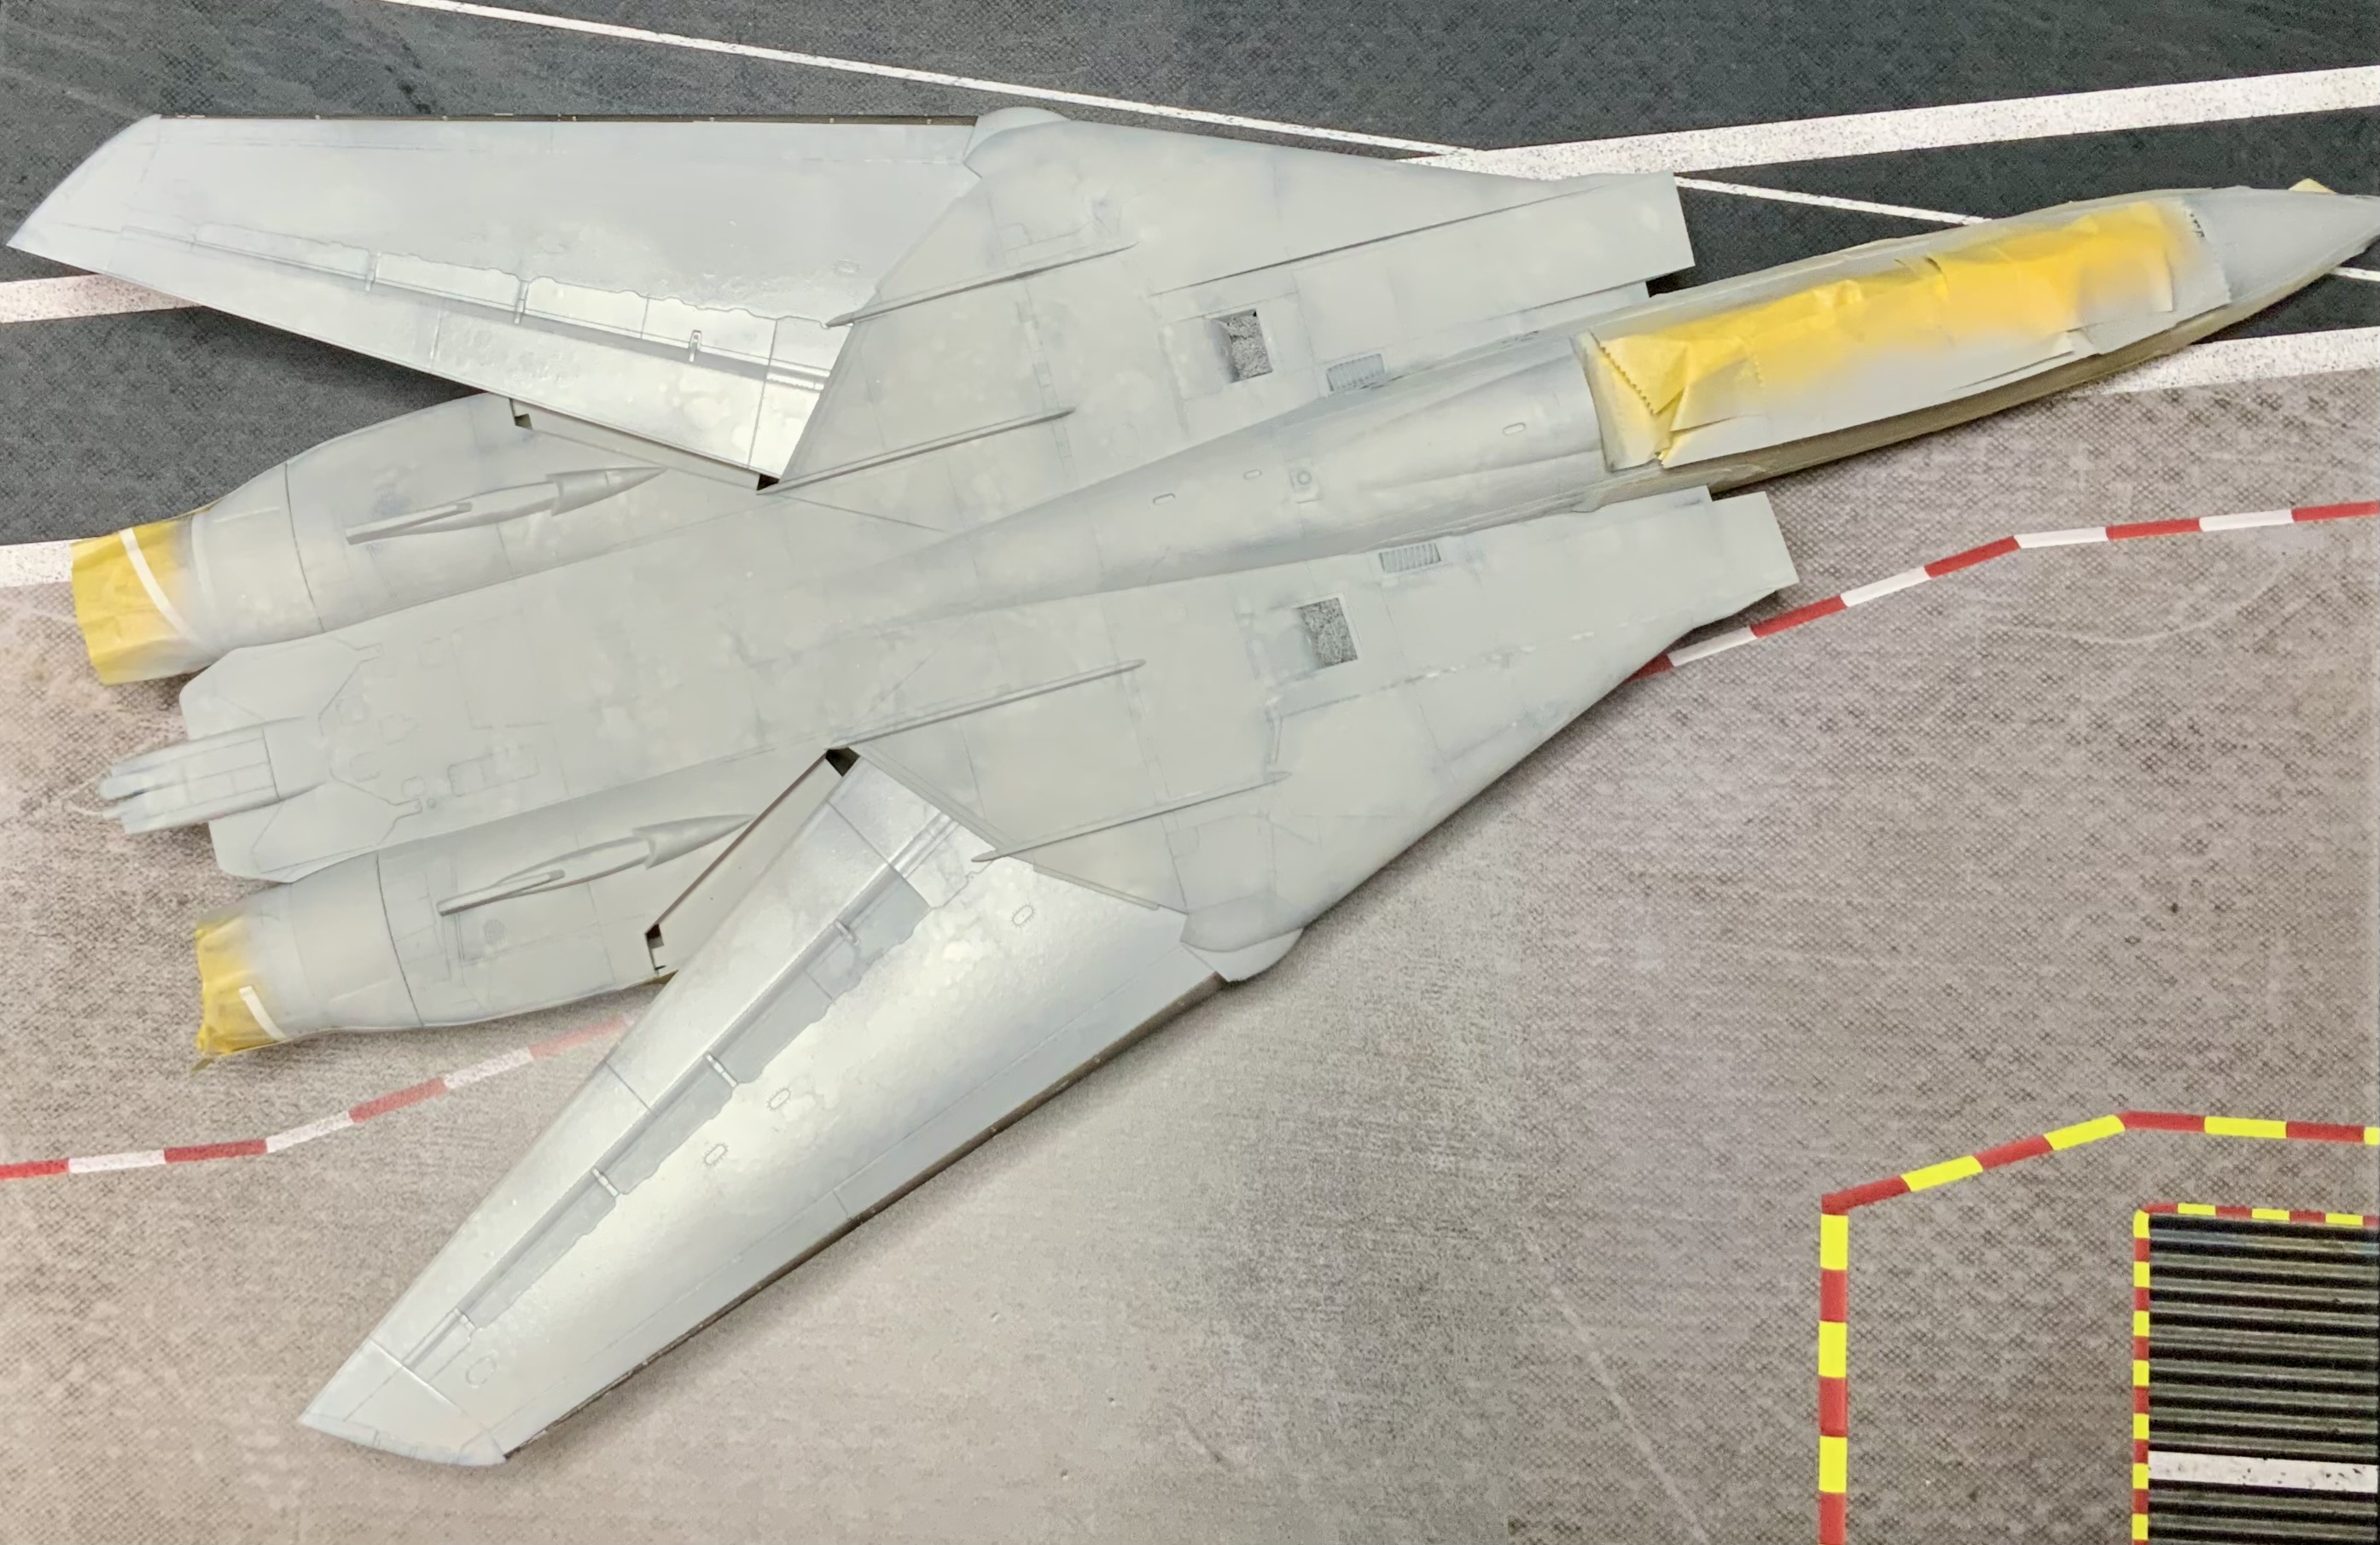
14 Likes
Amazing camo job Al. I WISH had that skill!
3 Likes
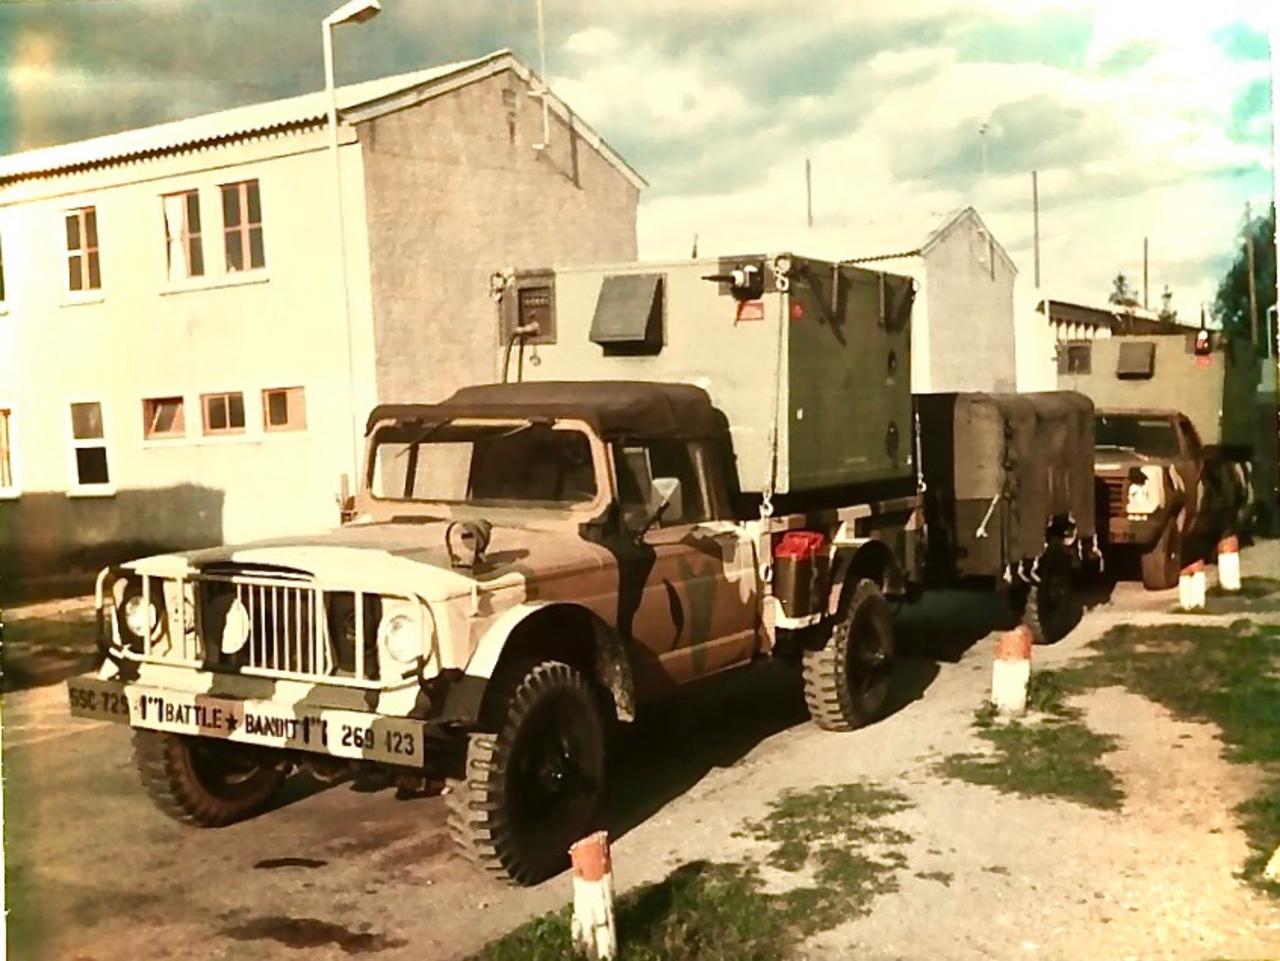
Nice work so far. I still want to see a full kit for the M715 Kaiser “Five Quarter”.
Perfect candidate for MASSTER paint job.
8 Likes
@SableLiger, that would be a cool kit. The ROK K31 is close, but not exact for the Kaiser either, tho I imagine with some patience, you could convert it.
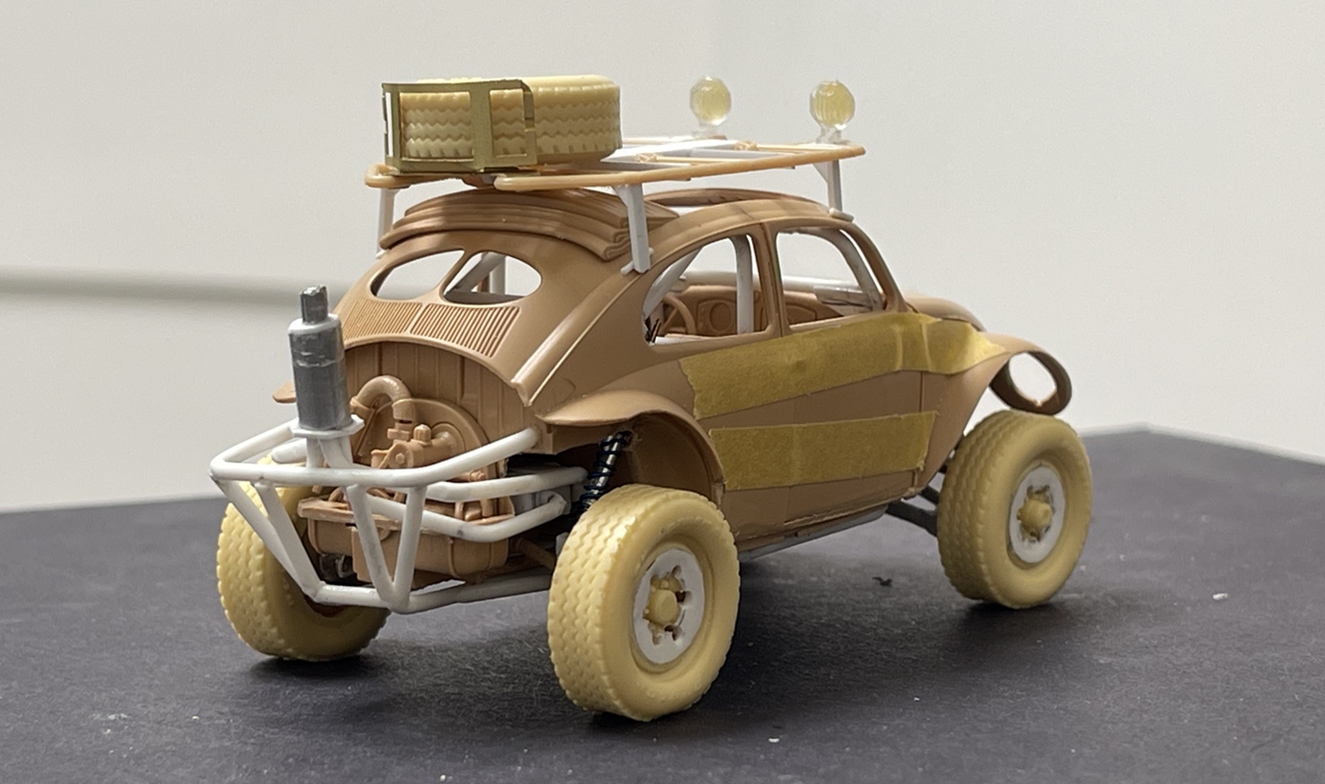
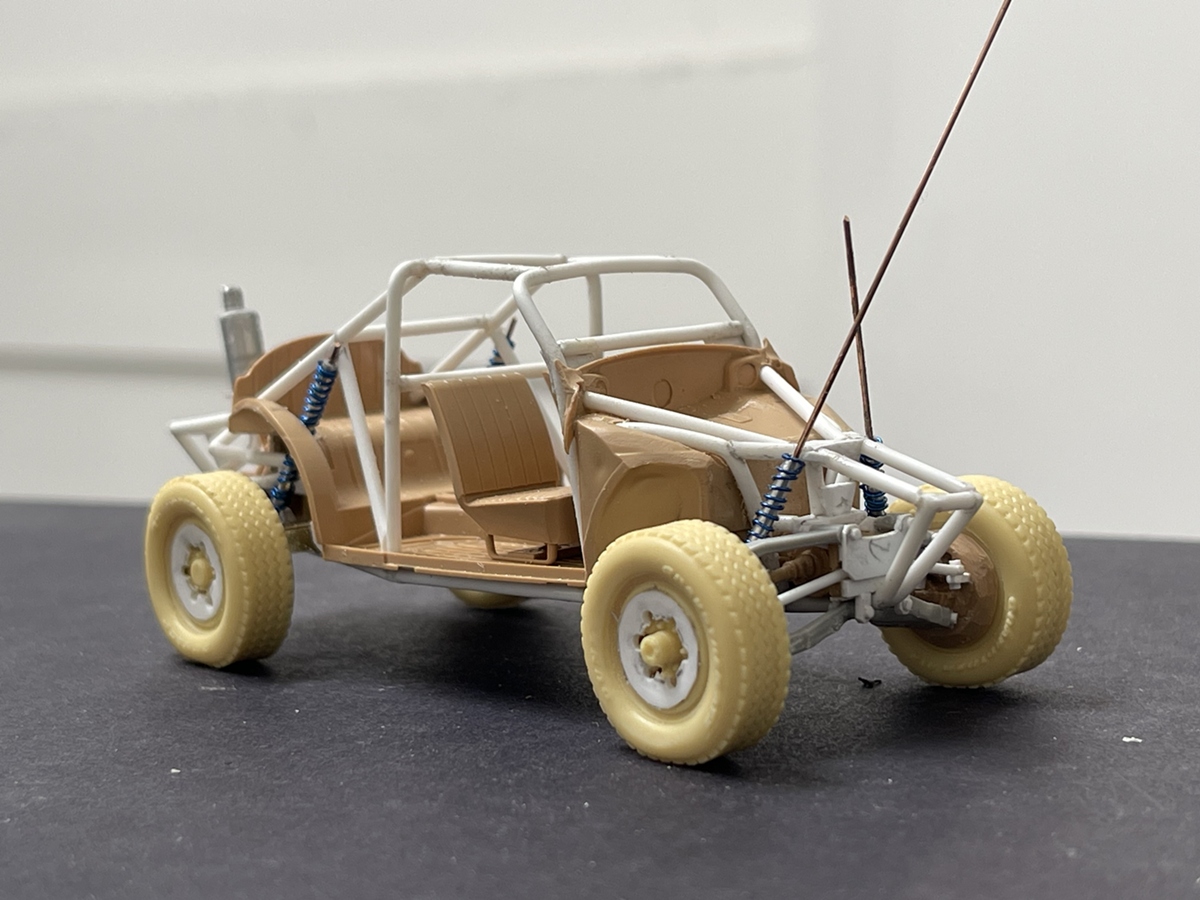
@Arch-Stanton, good eye on the wishbones! yes, for uppers, lower are A-arms. Both are from the junk box and received a lot of cutting and filing. I’ve made them from scratch before, but it took a lot more cutting, reshaping etc, which was not the destiny for this project.
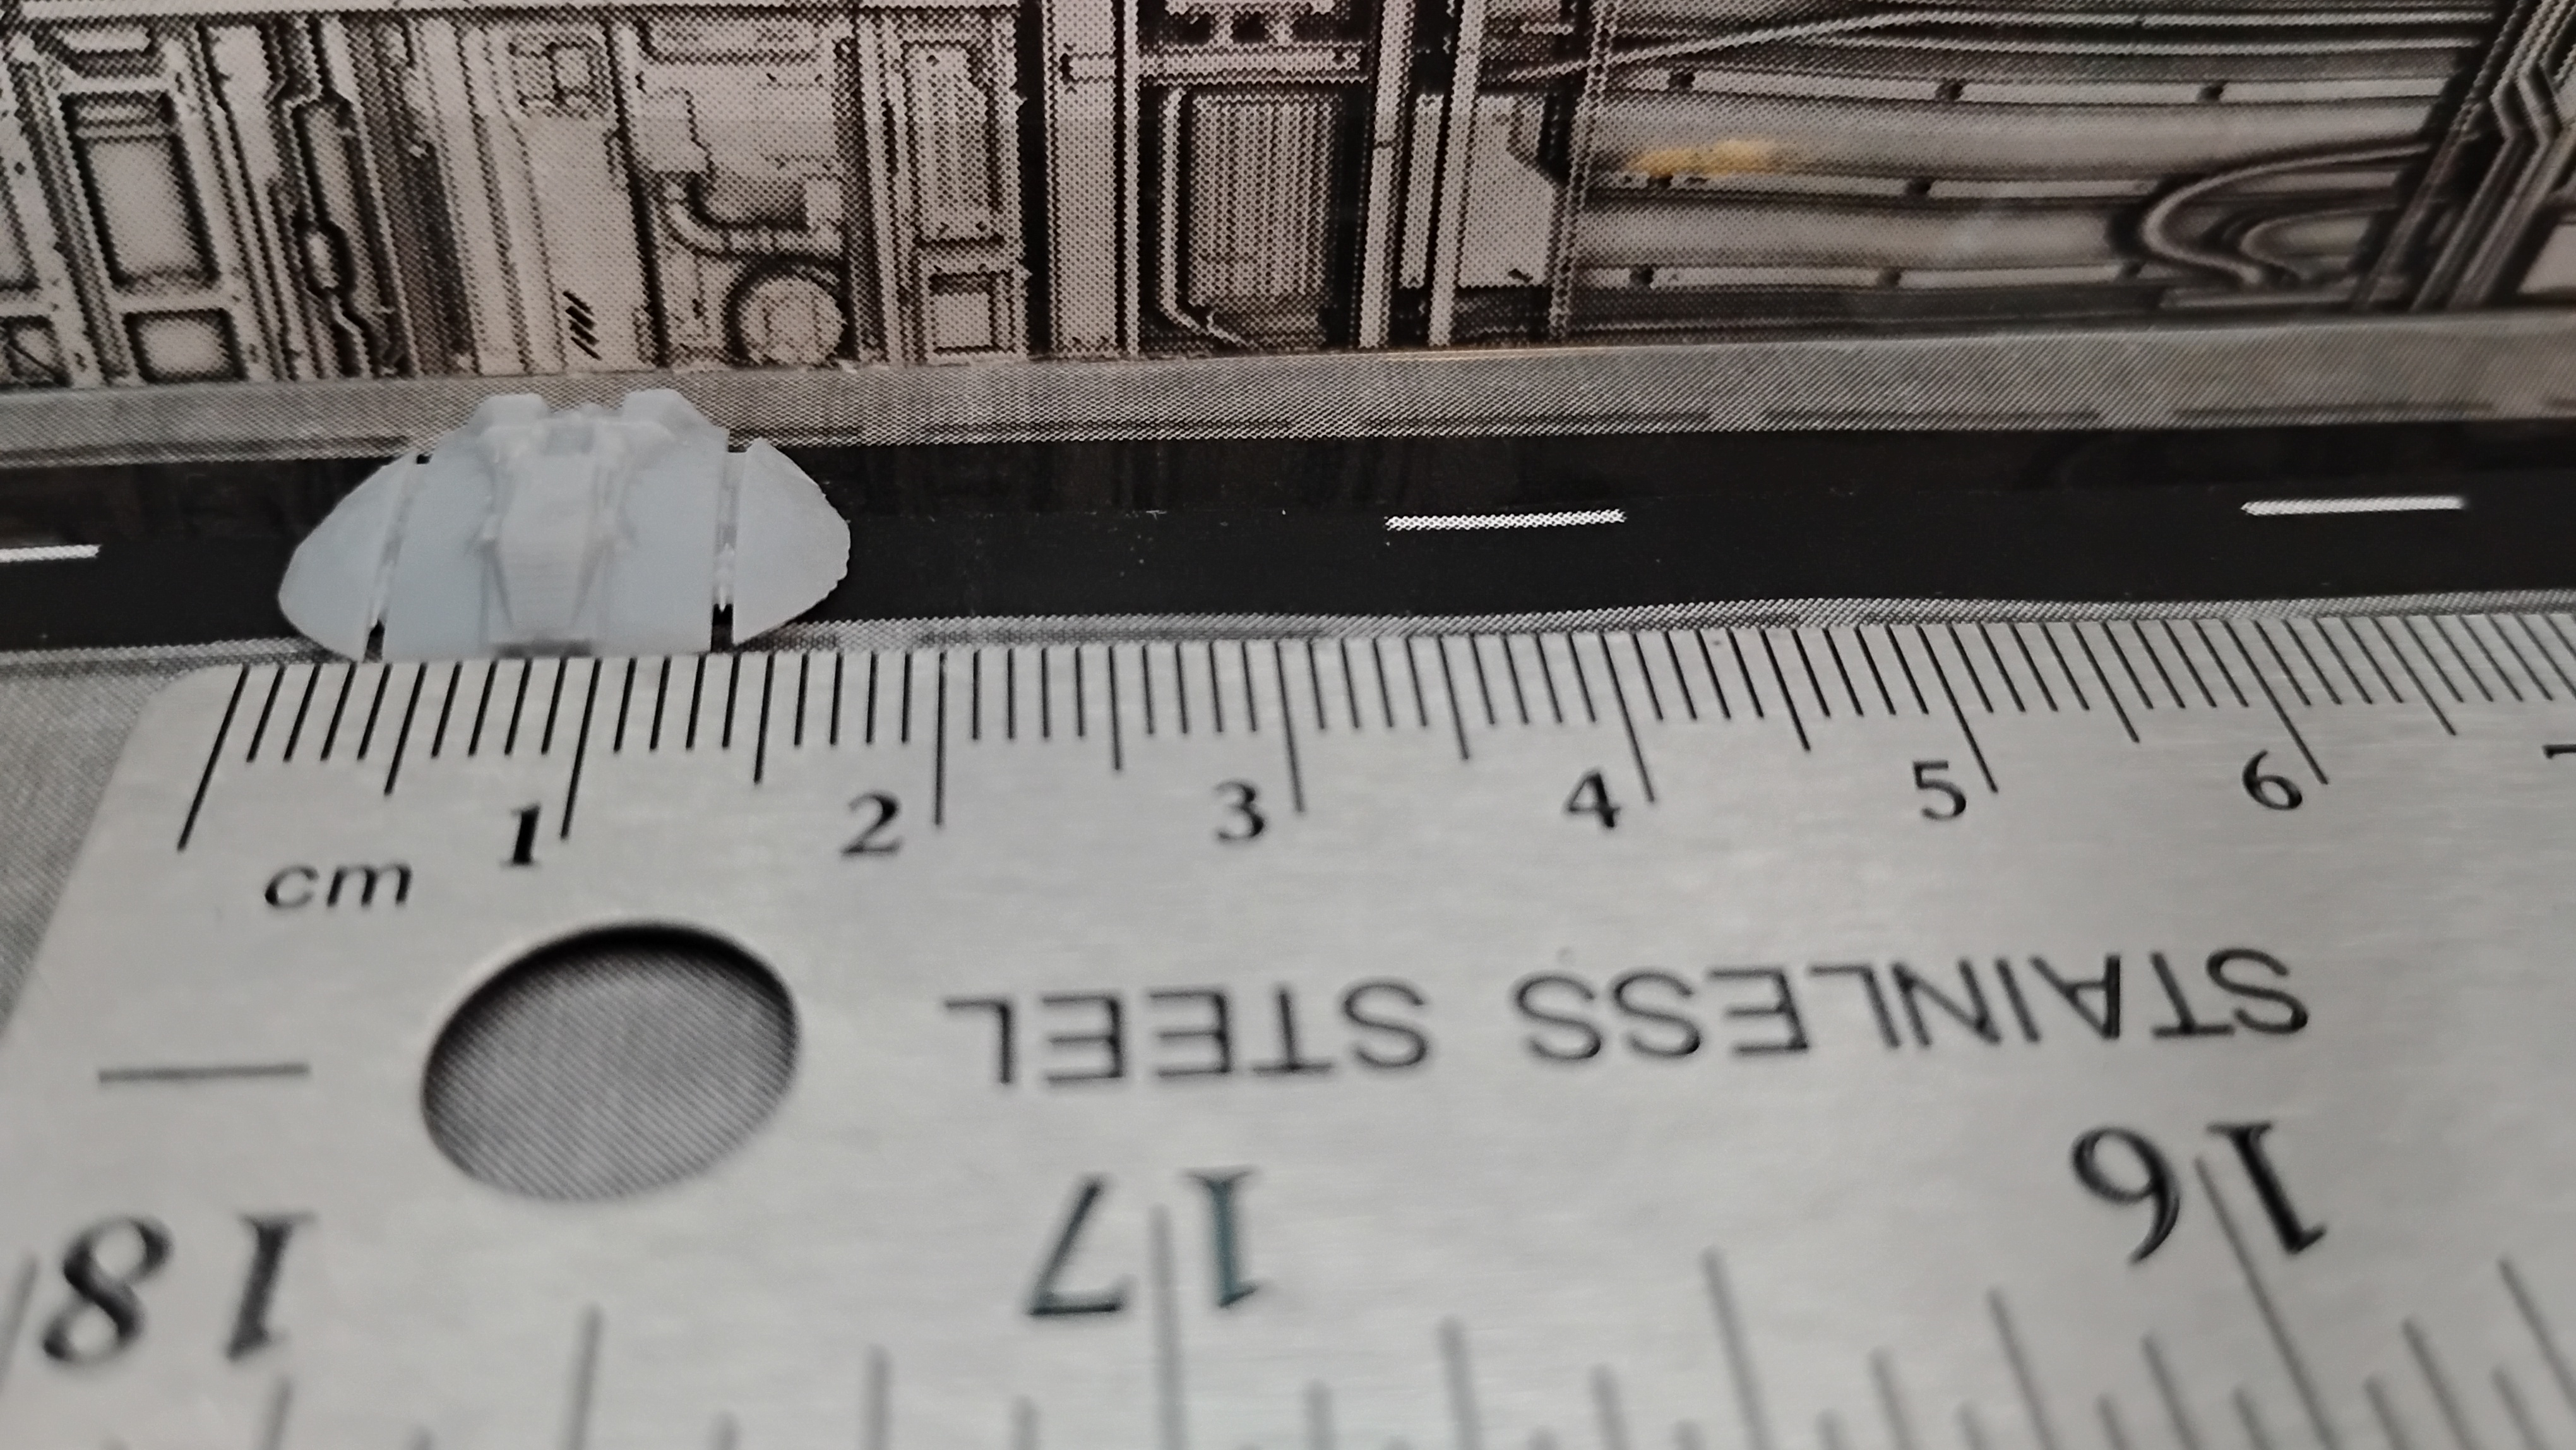
A few updates. First, regarding a different post where someone asked about tips techniques etc, and as I was doing this, it occurred to me that it might be interesting, or maybe common knowledge? ![]()
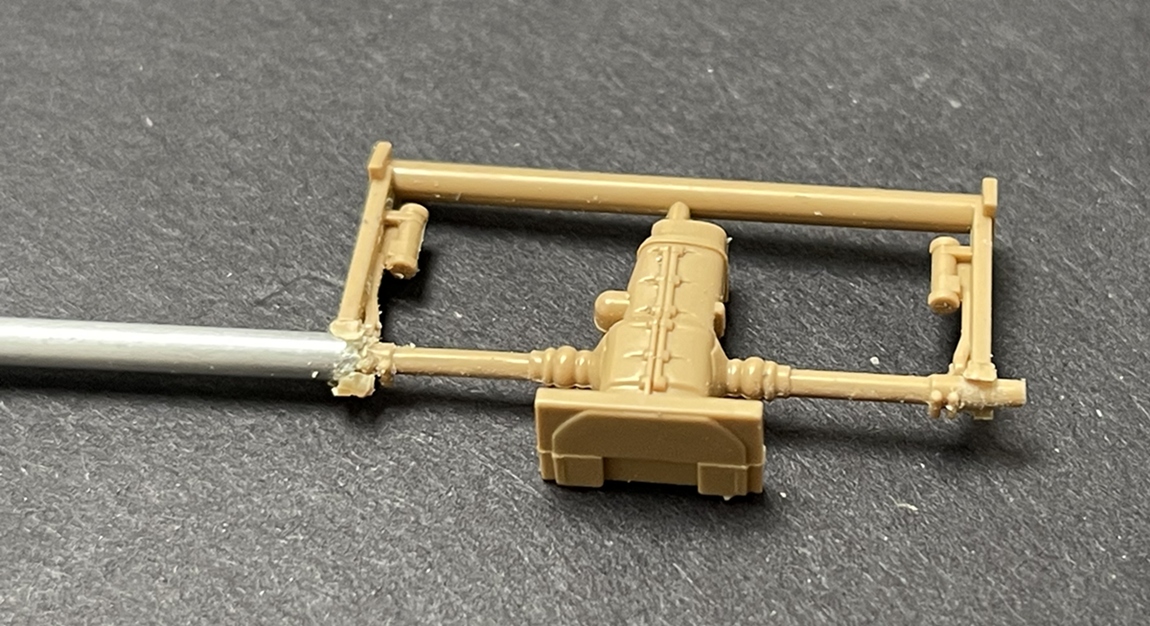
The picture above is a one–part piece of a transaxle. I wanted to keep the transaxle. driveshafts and cv joints intact, but wanted to cut off the control arms. Instead of cutting them off with a knife, and then sanding the parts down to round, I found a piece of aluminum tubing which is just over the outside diameter of the shafts, then carved an edge along the tube opening followed by filing in some teeth - just like a tiny hole saw. Then went about separating the parts. On the left you can see the alu tube over the part, cutting away, and on the right, what it looks like when it’s done. Worked out just fine. Maybe useful to somebody?
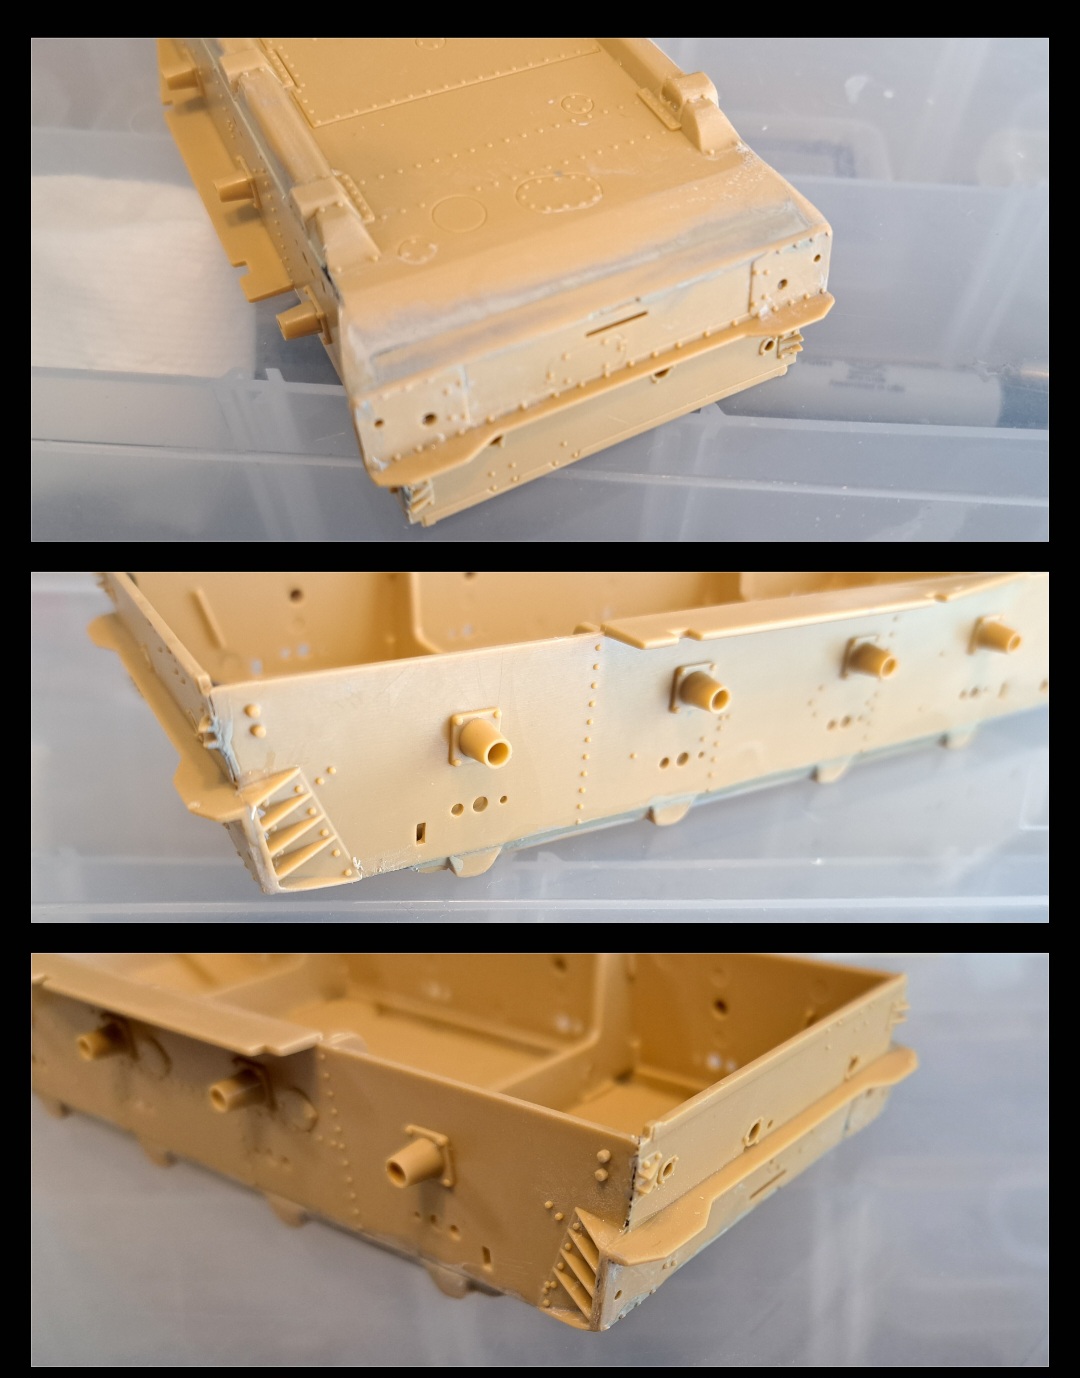
On to the Type 87:
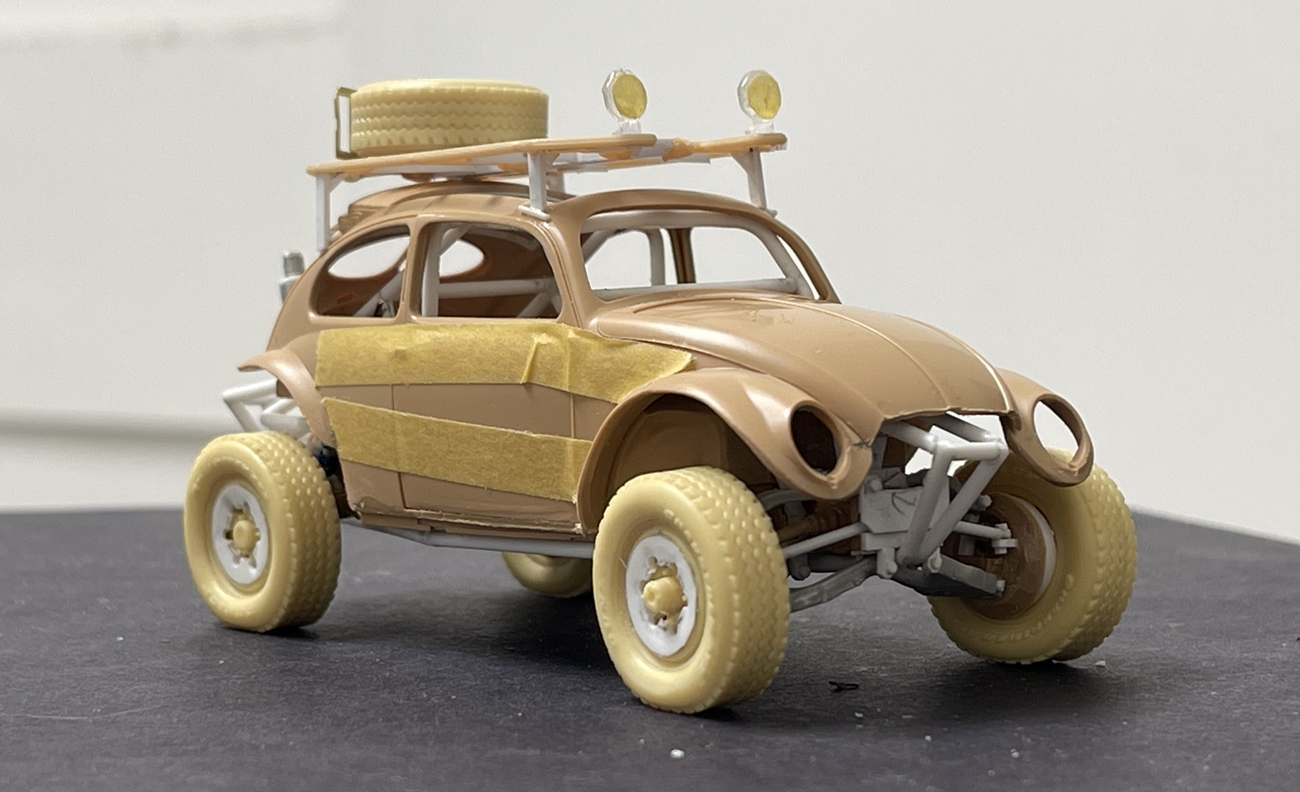
A few odds and ends to add, then paint.
Happy weekend -
Nick
22 Likes
If I could like this post twice or more, I would.
Cool technique for cutting the half shafts off the torsion arms- or cutting holes, that never occurred to me. I’ll file that away (pun intended) for future use.
Where do you get your raw materials? Evergreen seems to have limited stuff these days, even when I buy direct, and I can’t make heads or tails of the Plastruct site to get what I want- is there a secret to how their part numbers work? Also metal tubing, square or otherwise; where from?
@Denimo , thanks for the compliment.
It’s more dumb luck, 8psi and removing the cone that protects the needle than anything else.
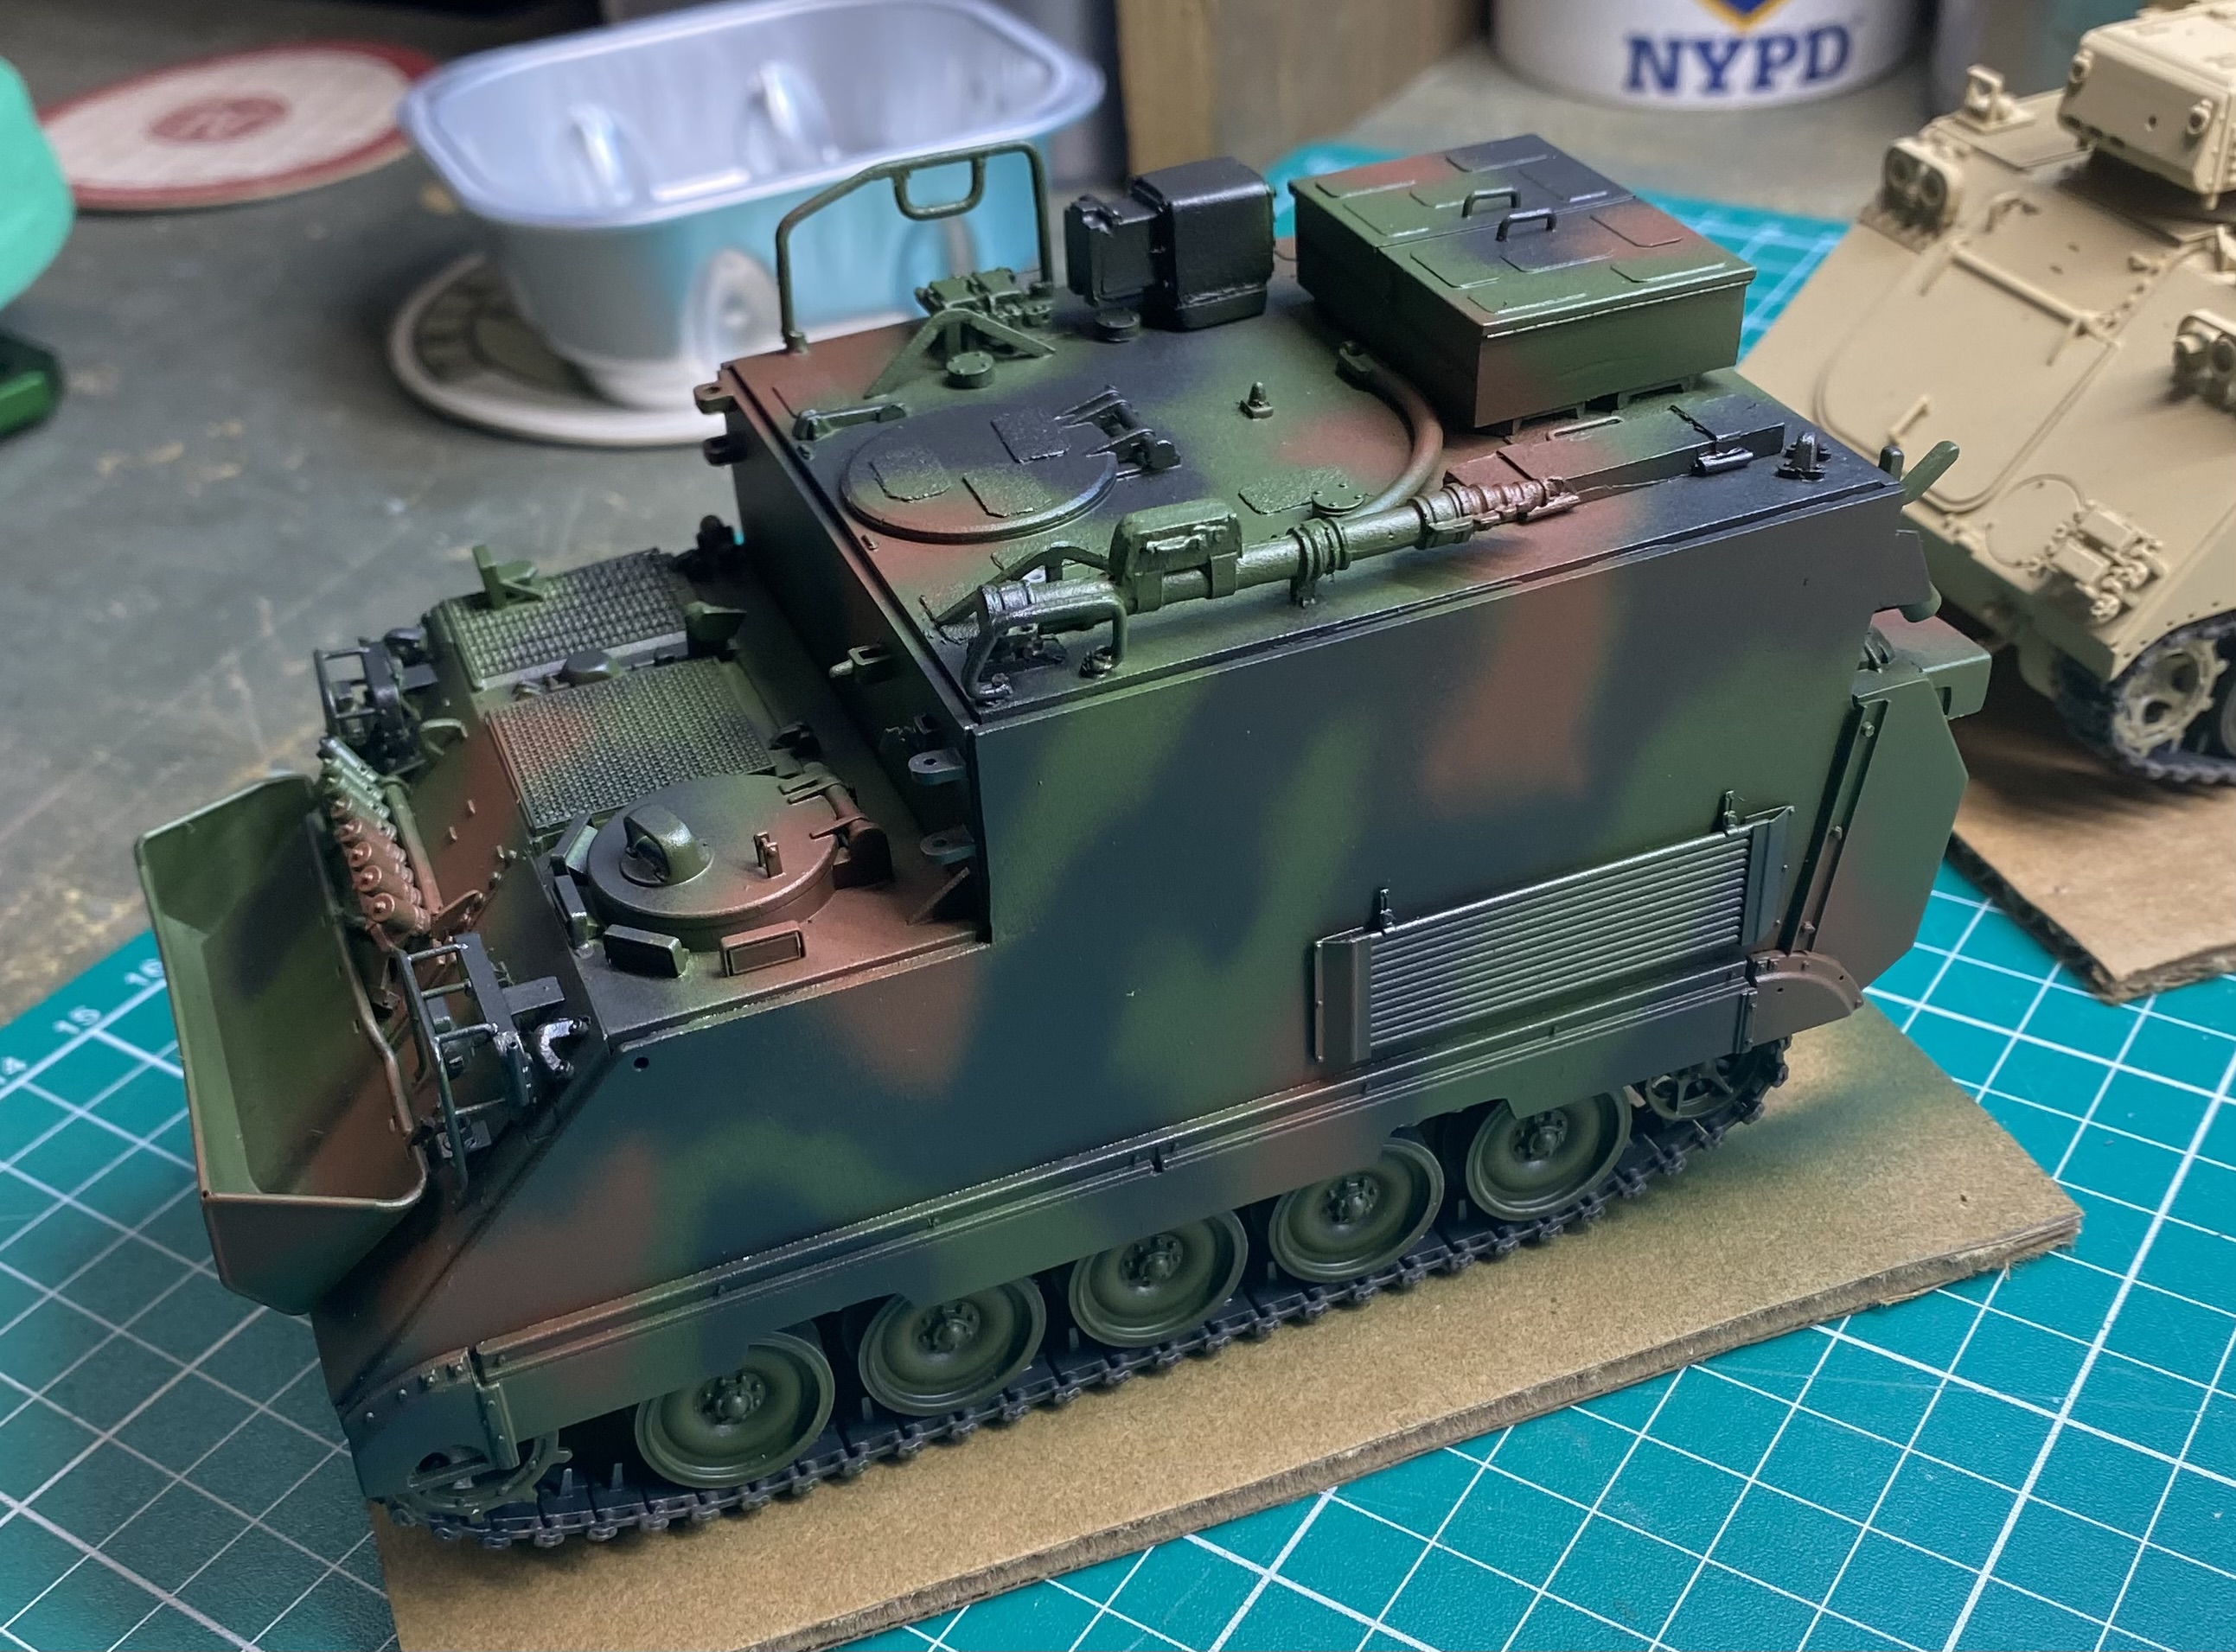
Every time I start a NATO scheme, about half way through shooting the black, I remember I should have done the brown first……
![]()
7 Likes
Got about 15 more parts on the hull of my M10 Booker. Again, fit is perfect. The engineering on this kit is just outstanding.
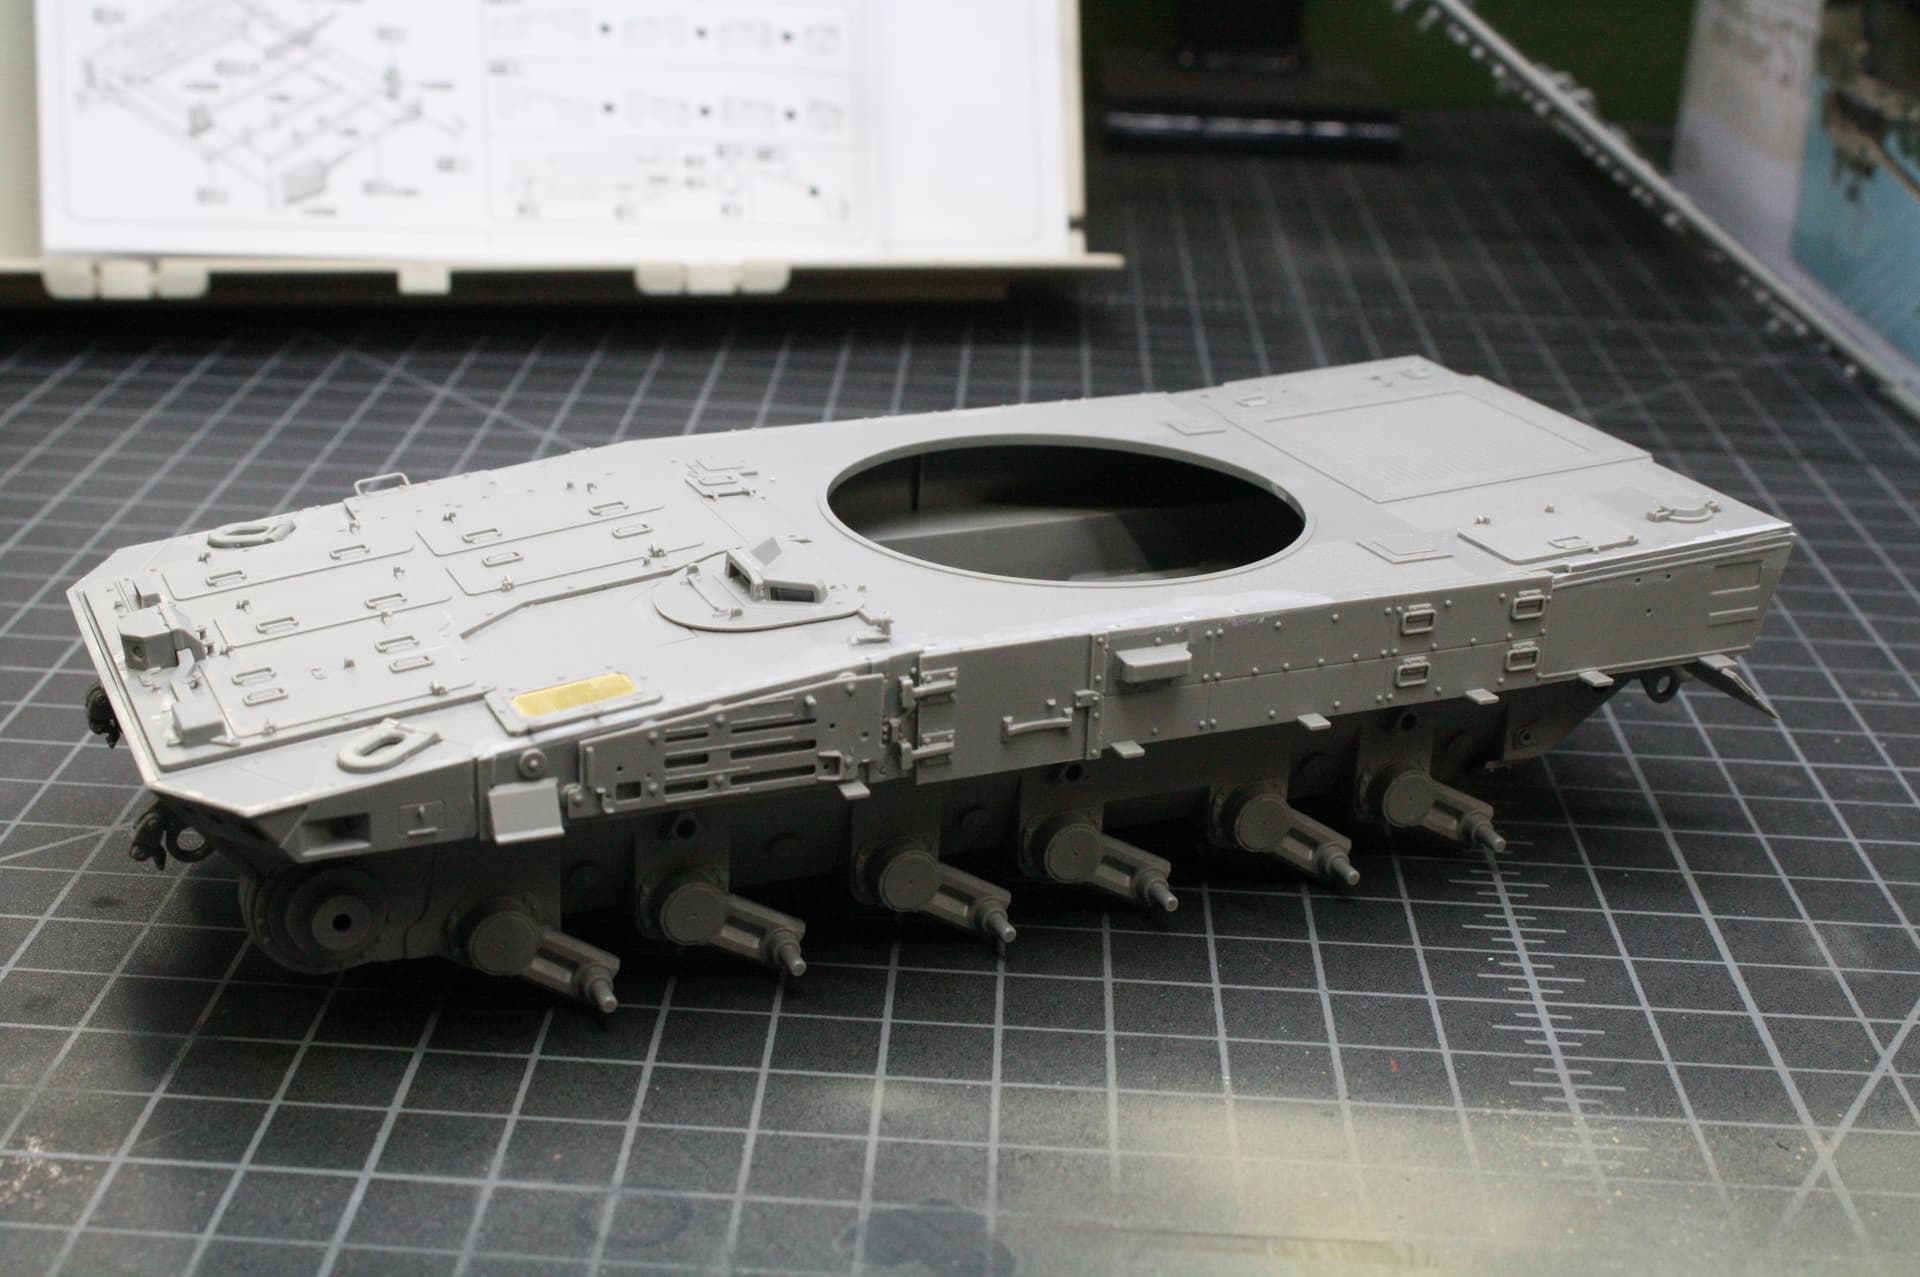
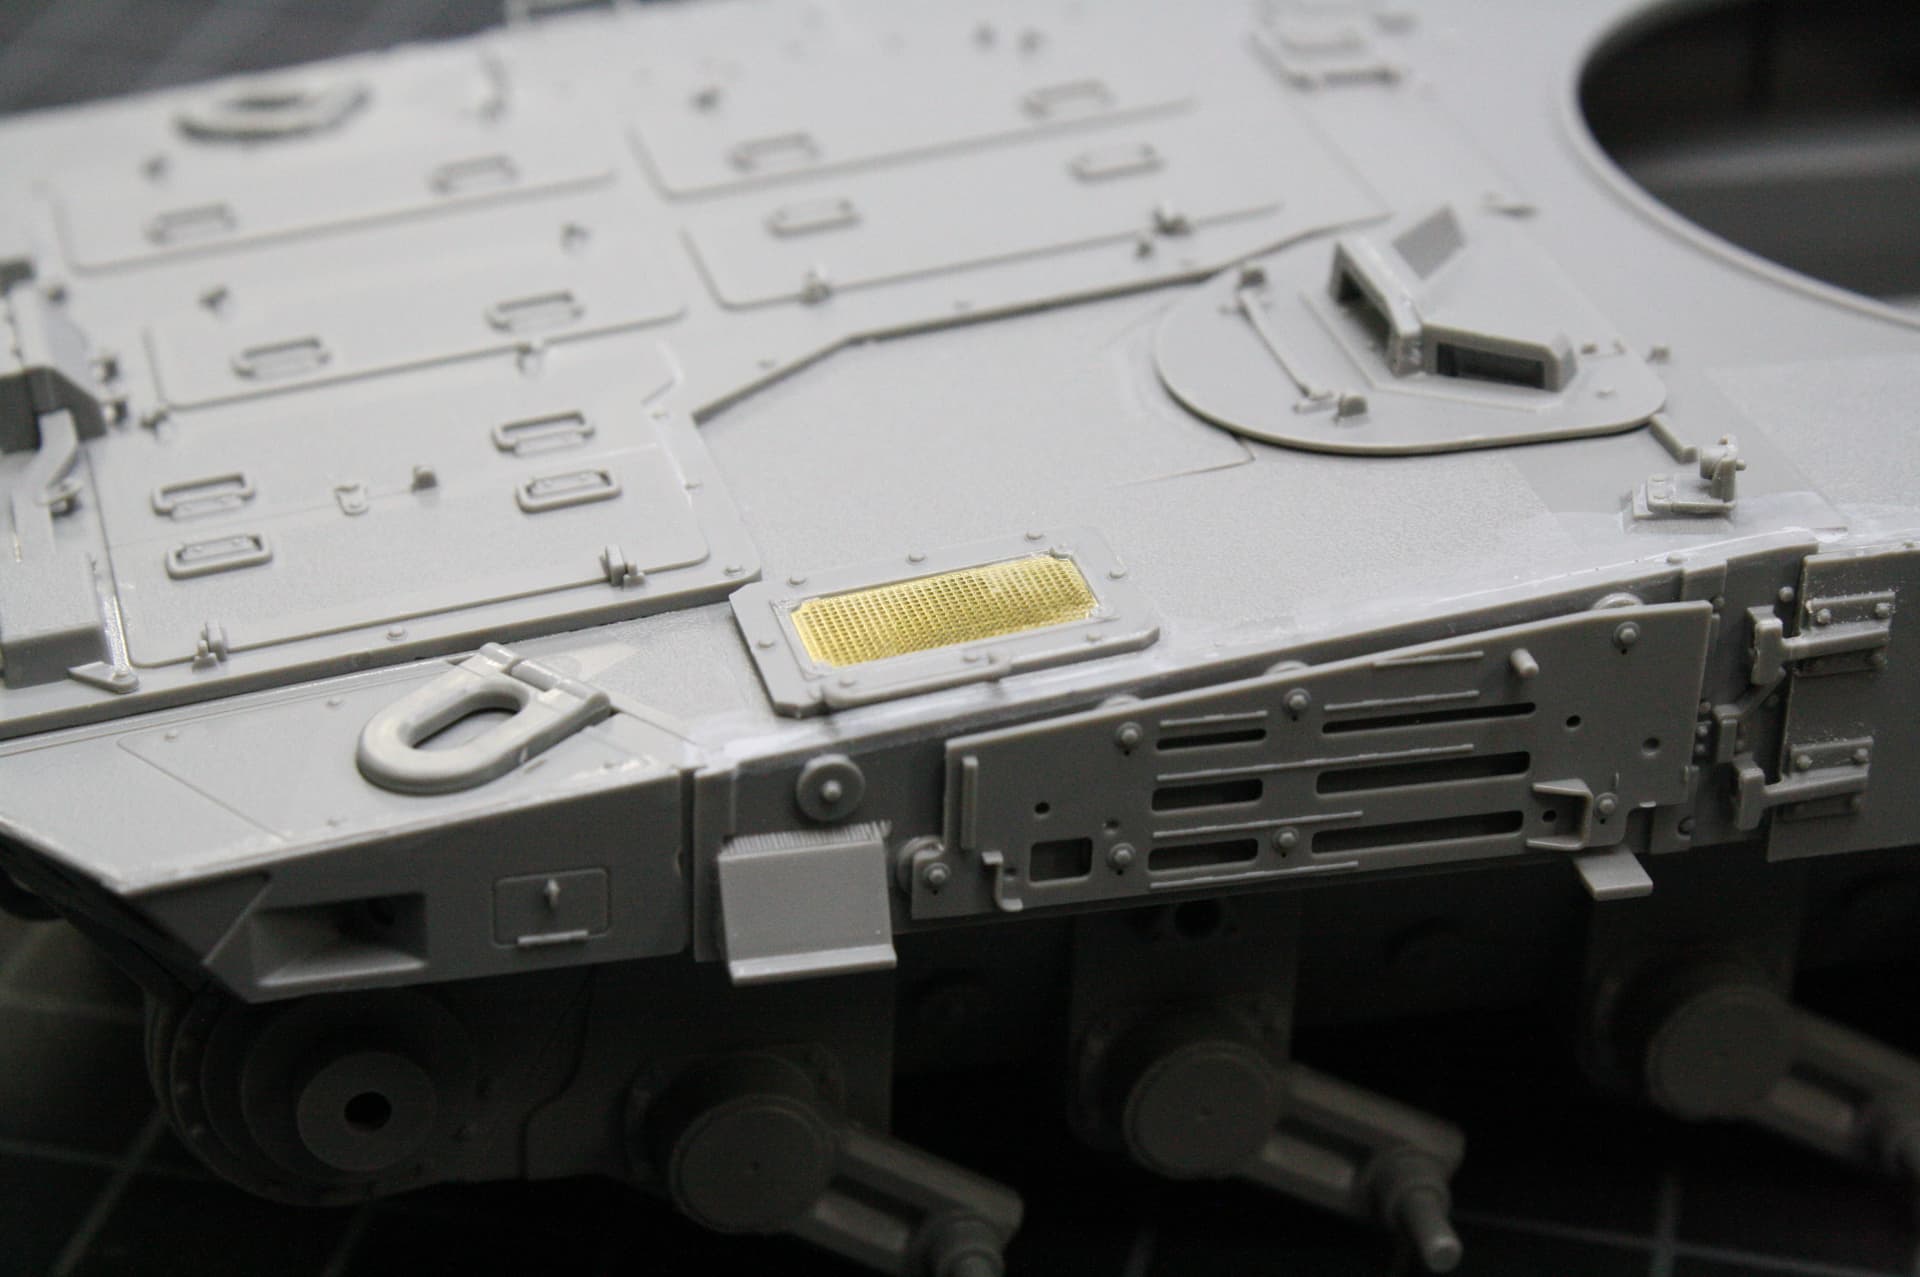
13 Likes
Thanks HA. I noticed that out when
I was trying to figure out what colors went where. We will all just have to live with them.
8 Likes
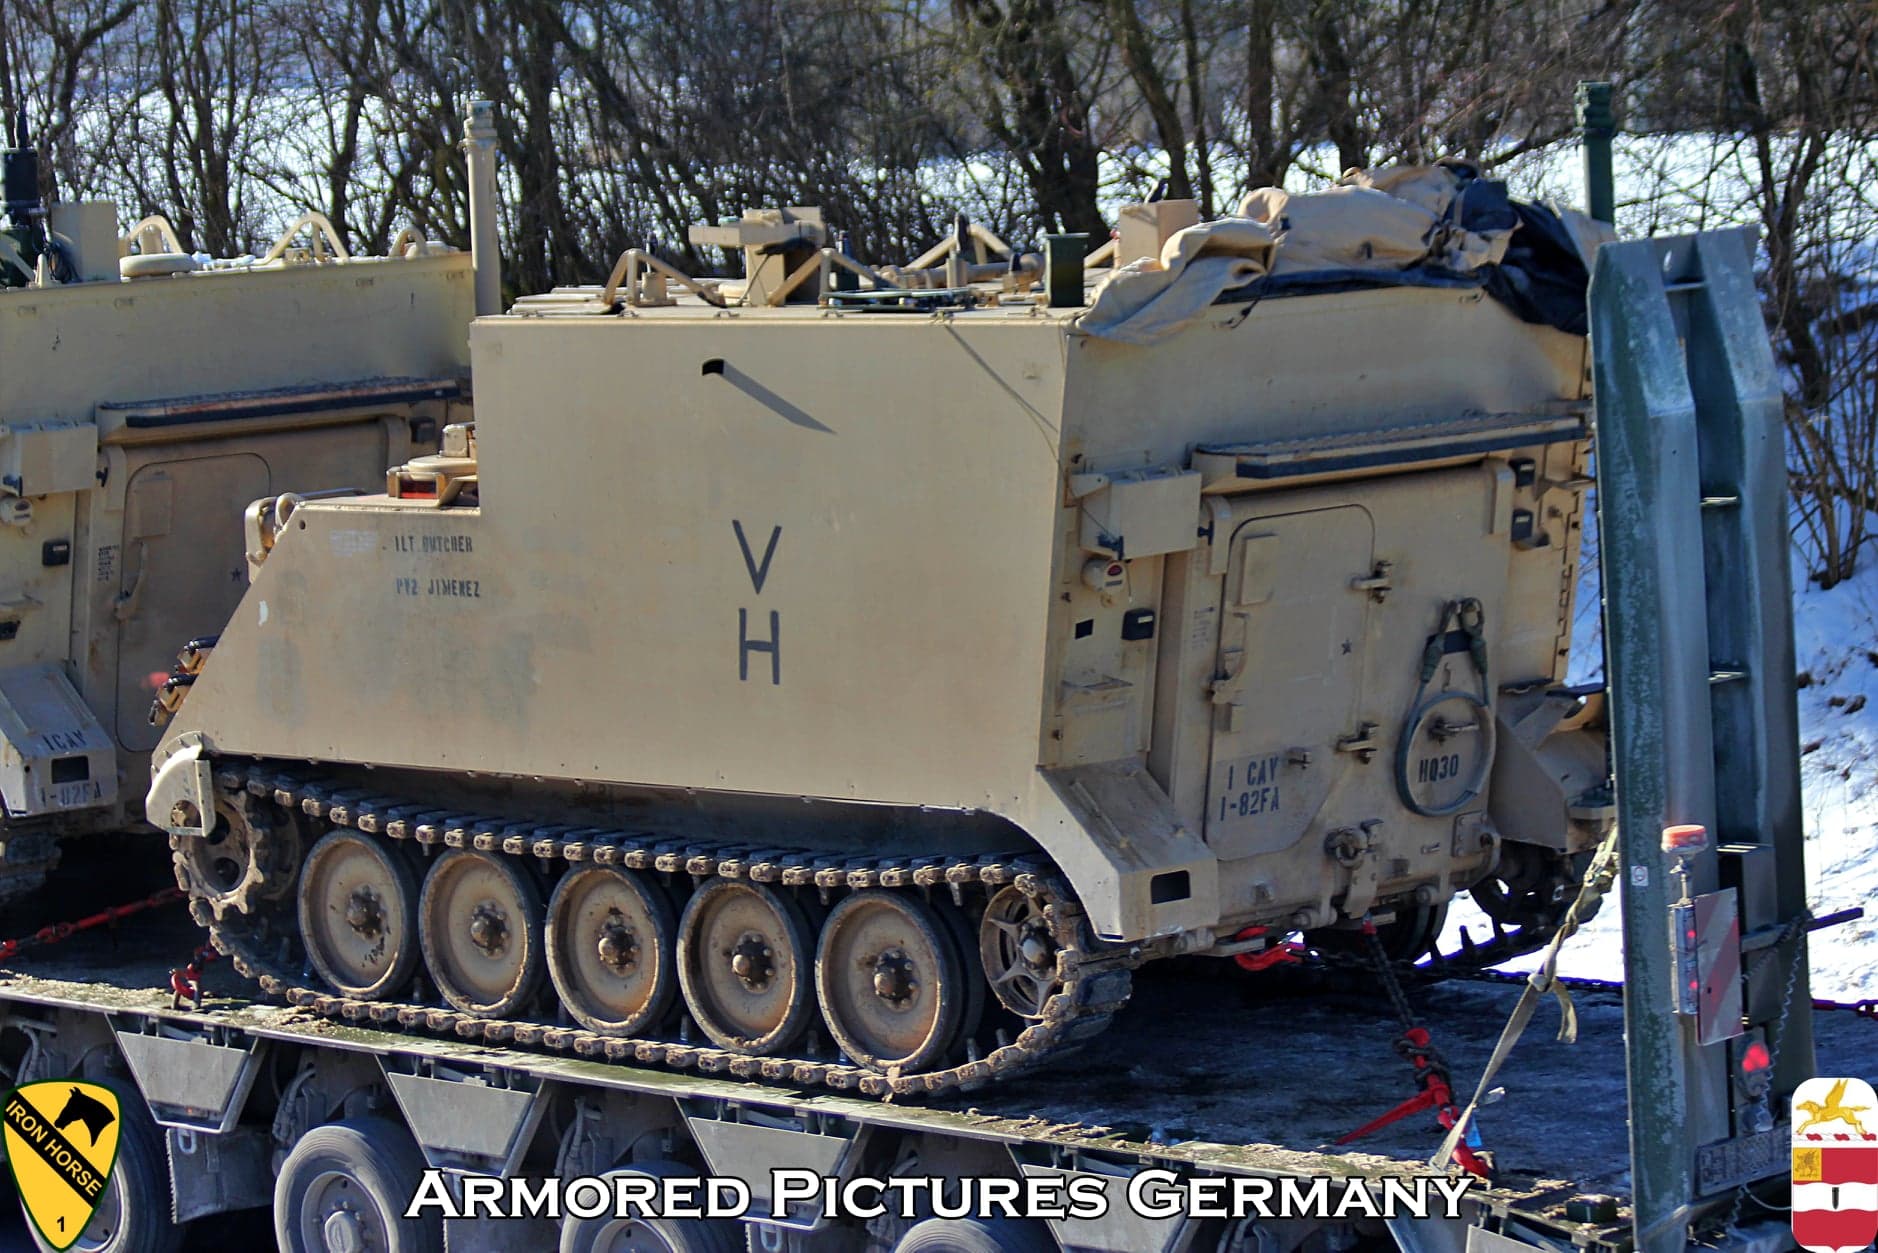
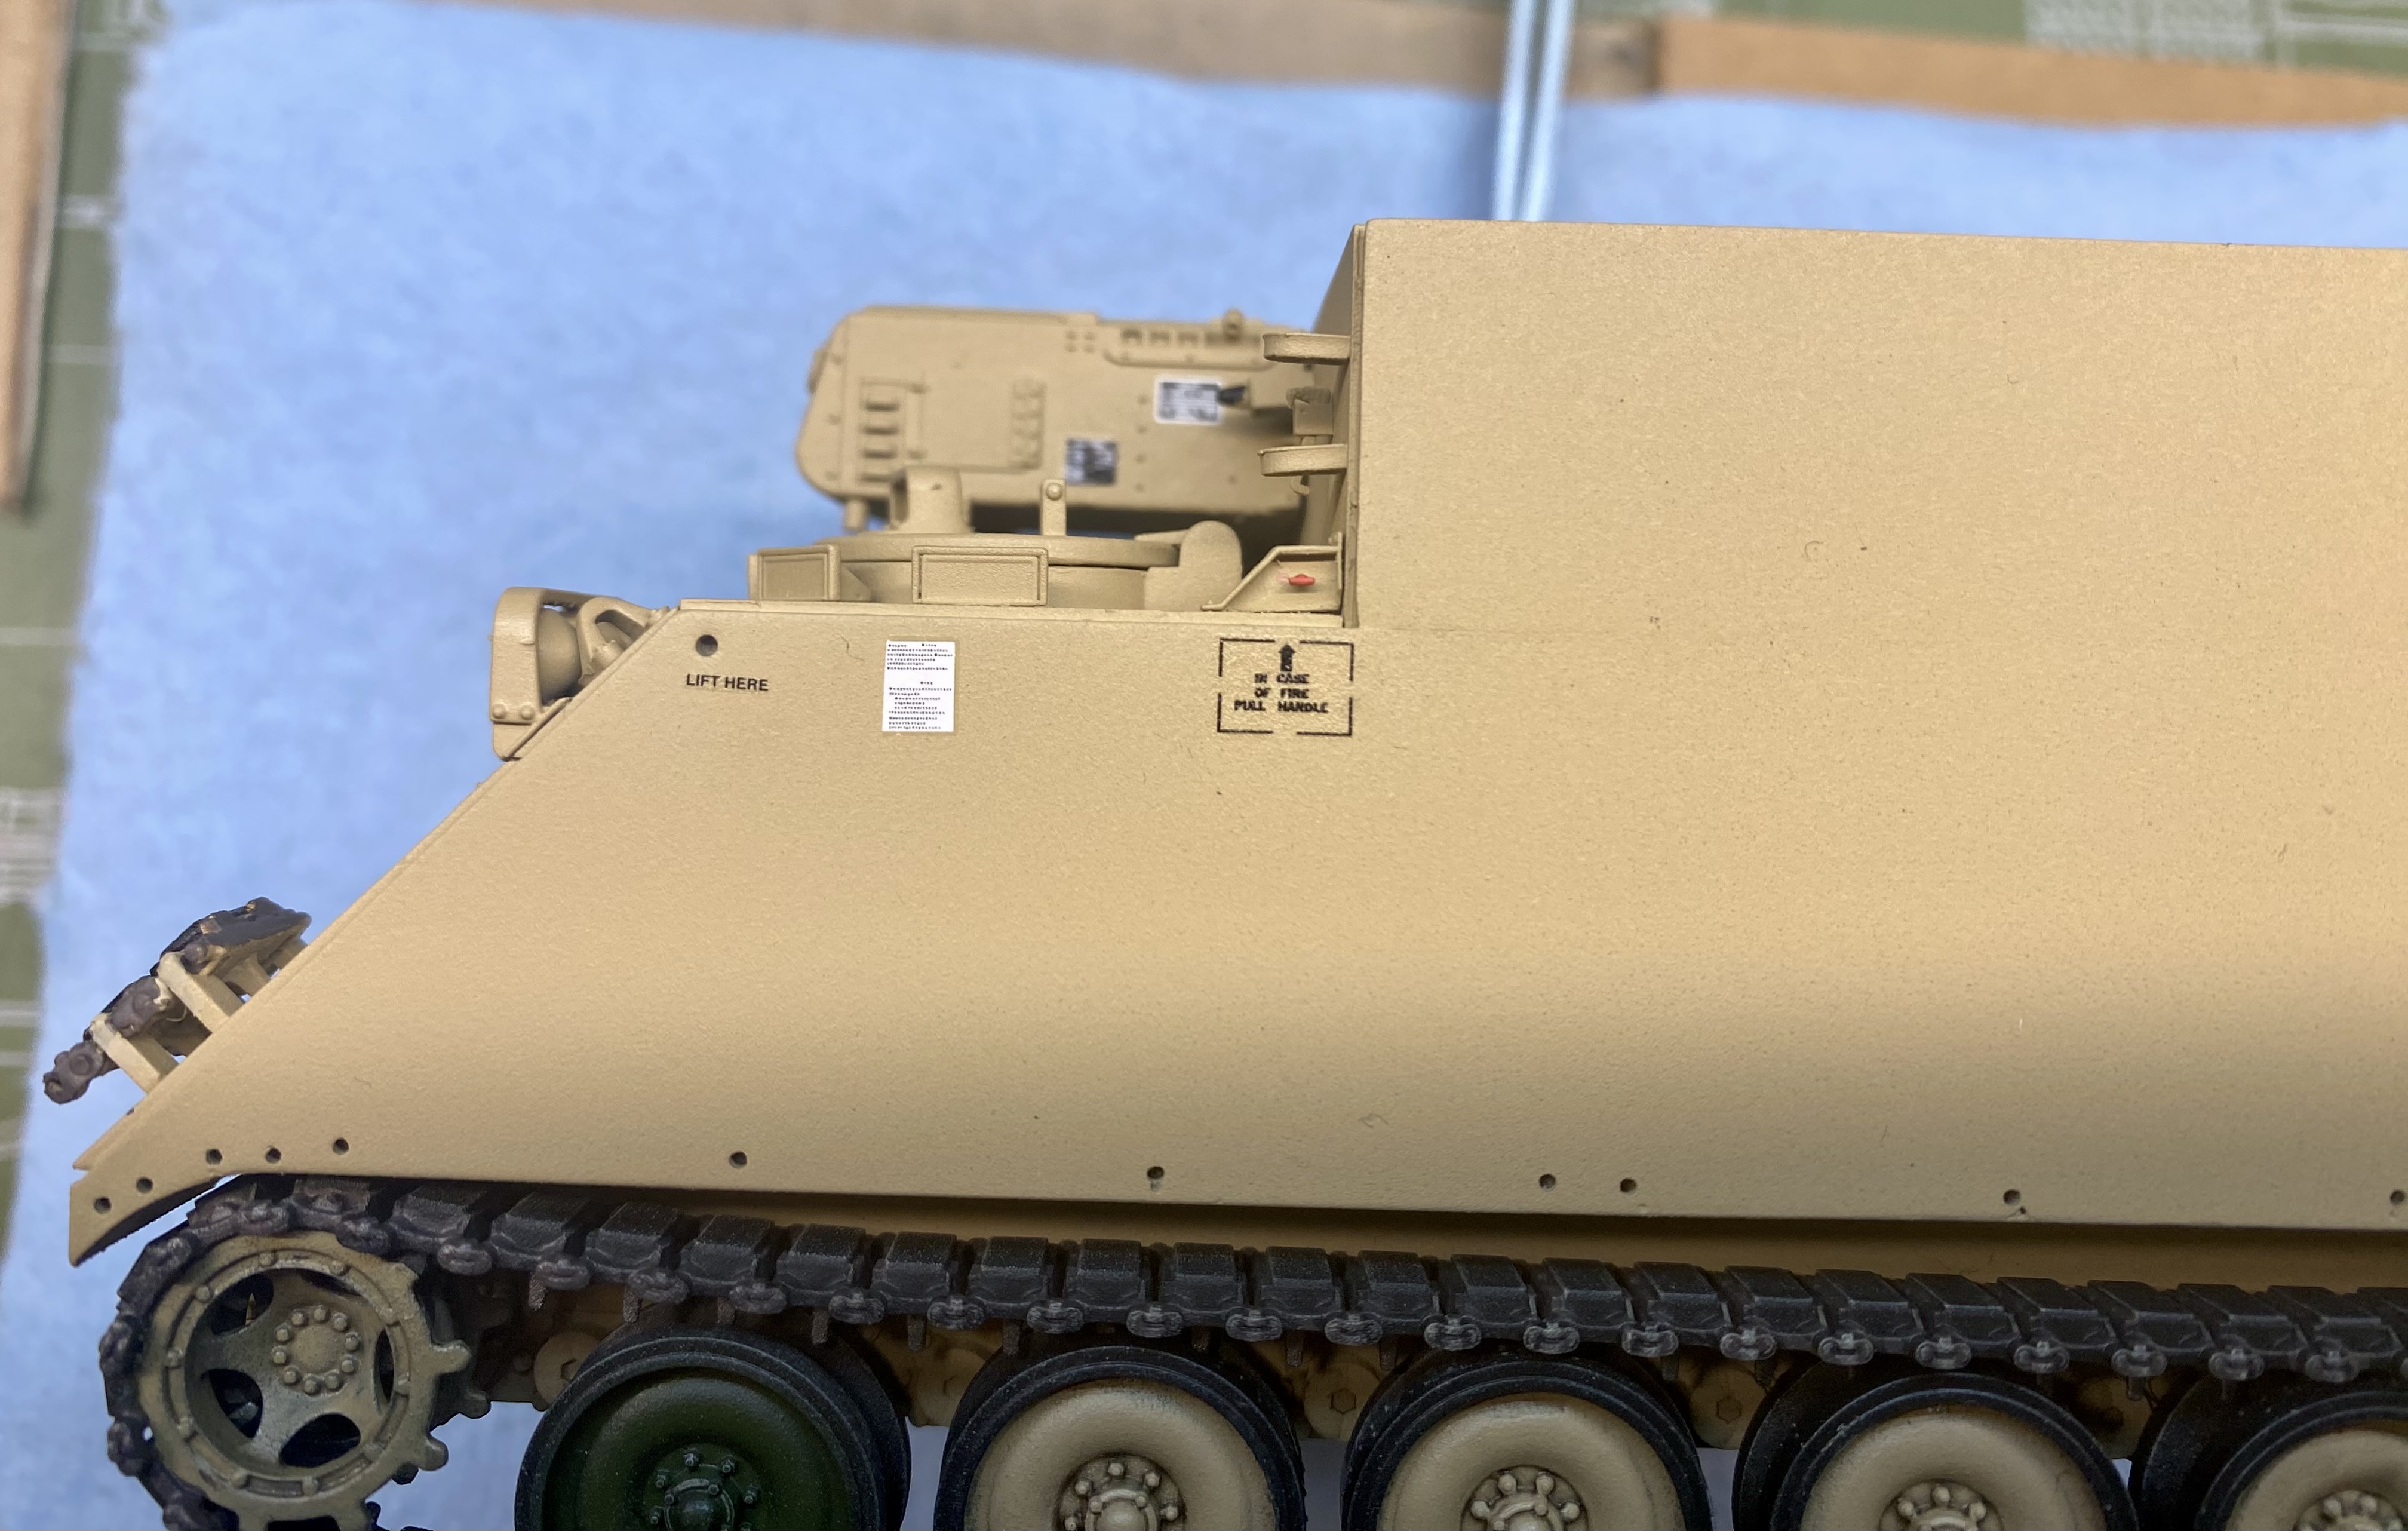
Great looking “cookie tin”, as we often called the M113, Al! ![]() And thanks for the word “convoy marker light cross”. Never heard of it. It’s even more difficult than the german word “Tarnleitkreuz” for it …
And thanks for the word “convoy marker light cross”. Never heard of it. It’s even more difficult than the german word “Tarnleitkreuz” for it … ![]()
Finally I can show you guys also a small update from my wrecker truck. Had some battles to fight, especially with the grille yesterday evening, but I always win … ![]()
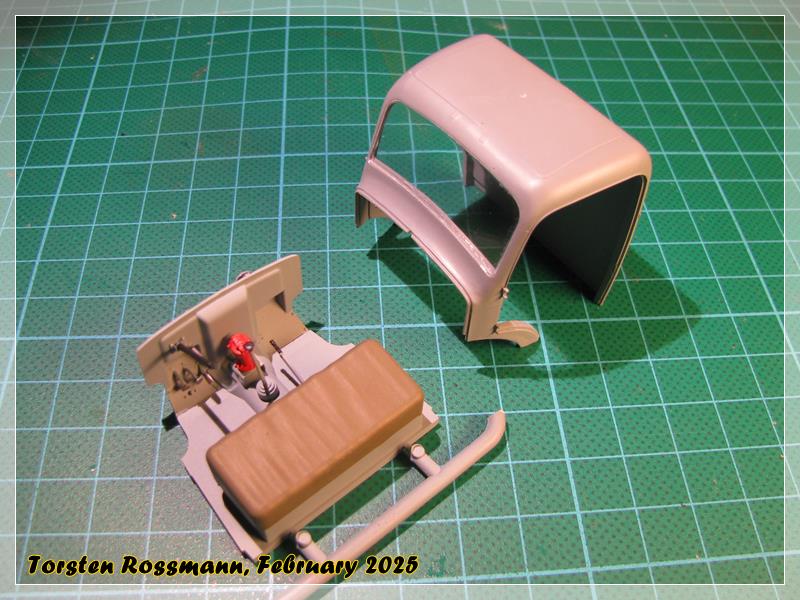
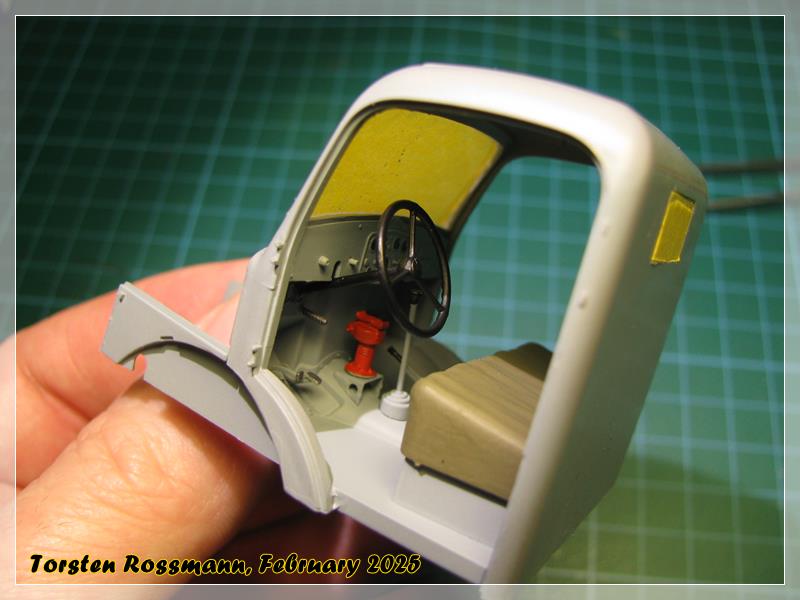
First dry test fit, the engine covers are not yet glued to the cabin …

… but now the cabin is mostly done …
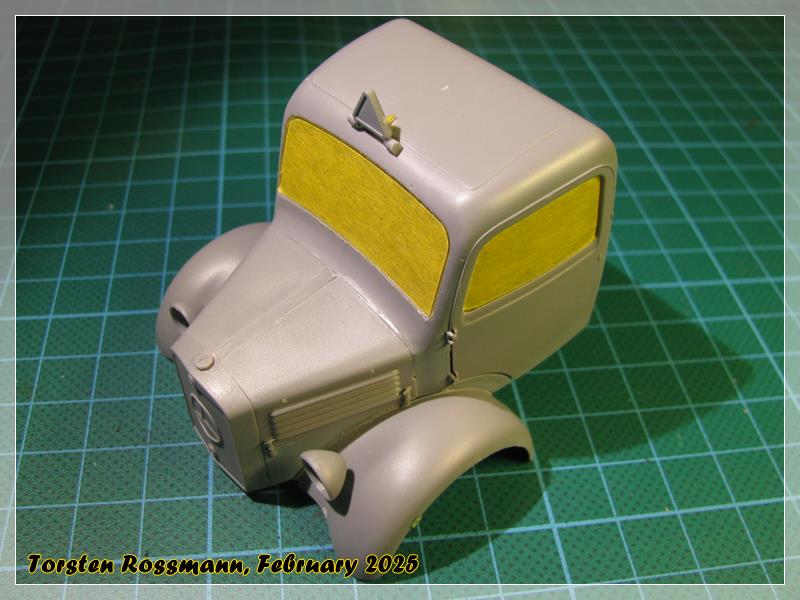
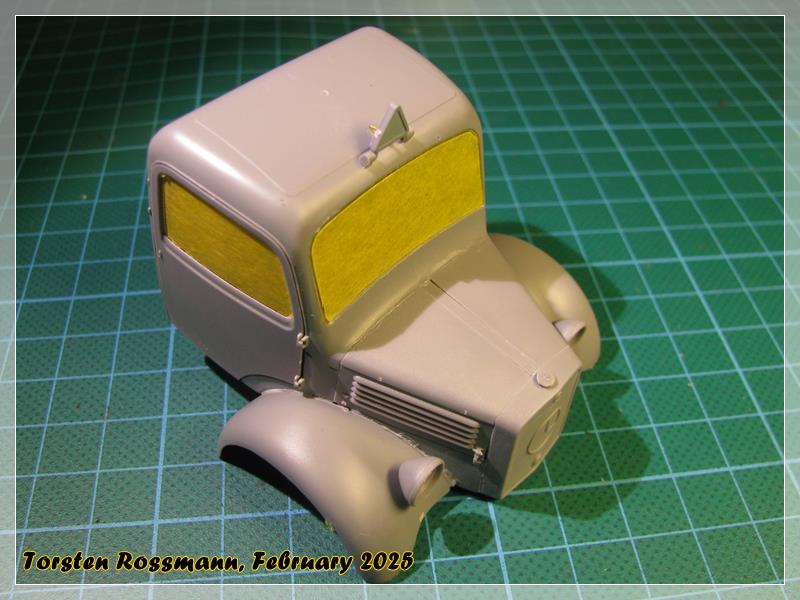
This model wouldn’t win anything at a competition. In 4 weeks I have my first model show (out of only 3) this year and I hope to have finished the L 1500 by then … ![]()
15 Likes
Nice. Will you be putting a trailer behind it? Or is the triangle still movable?
2 Likes