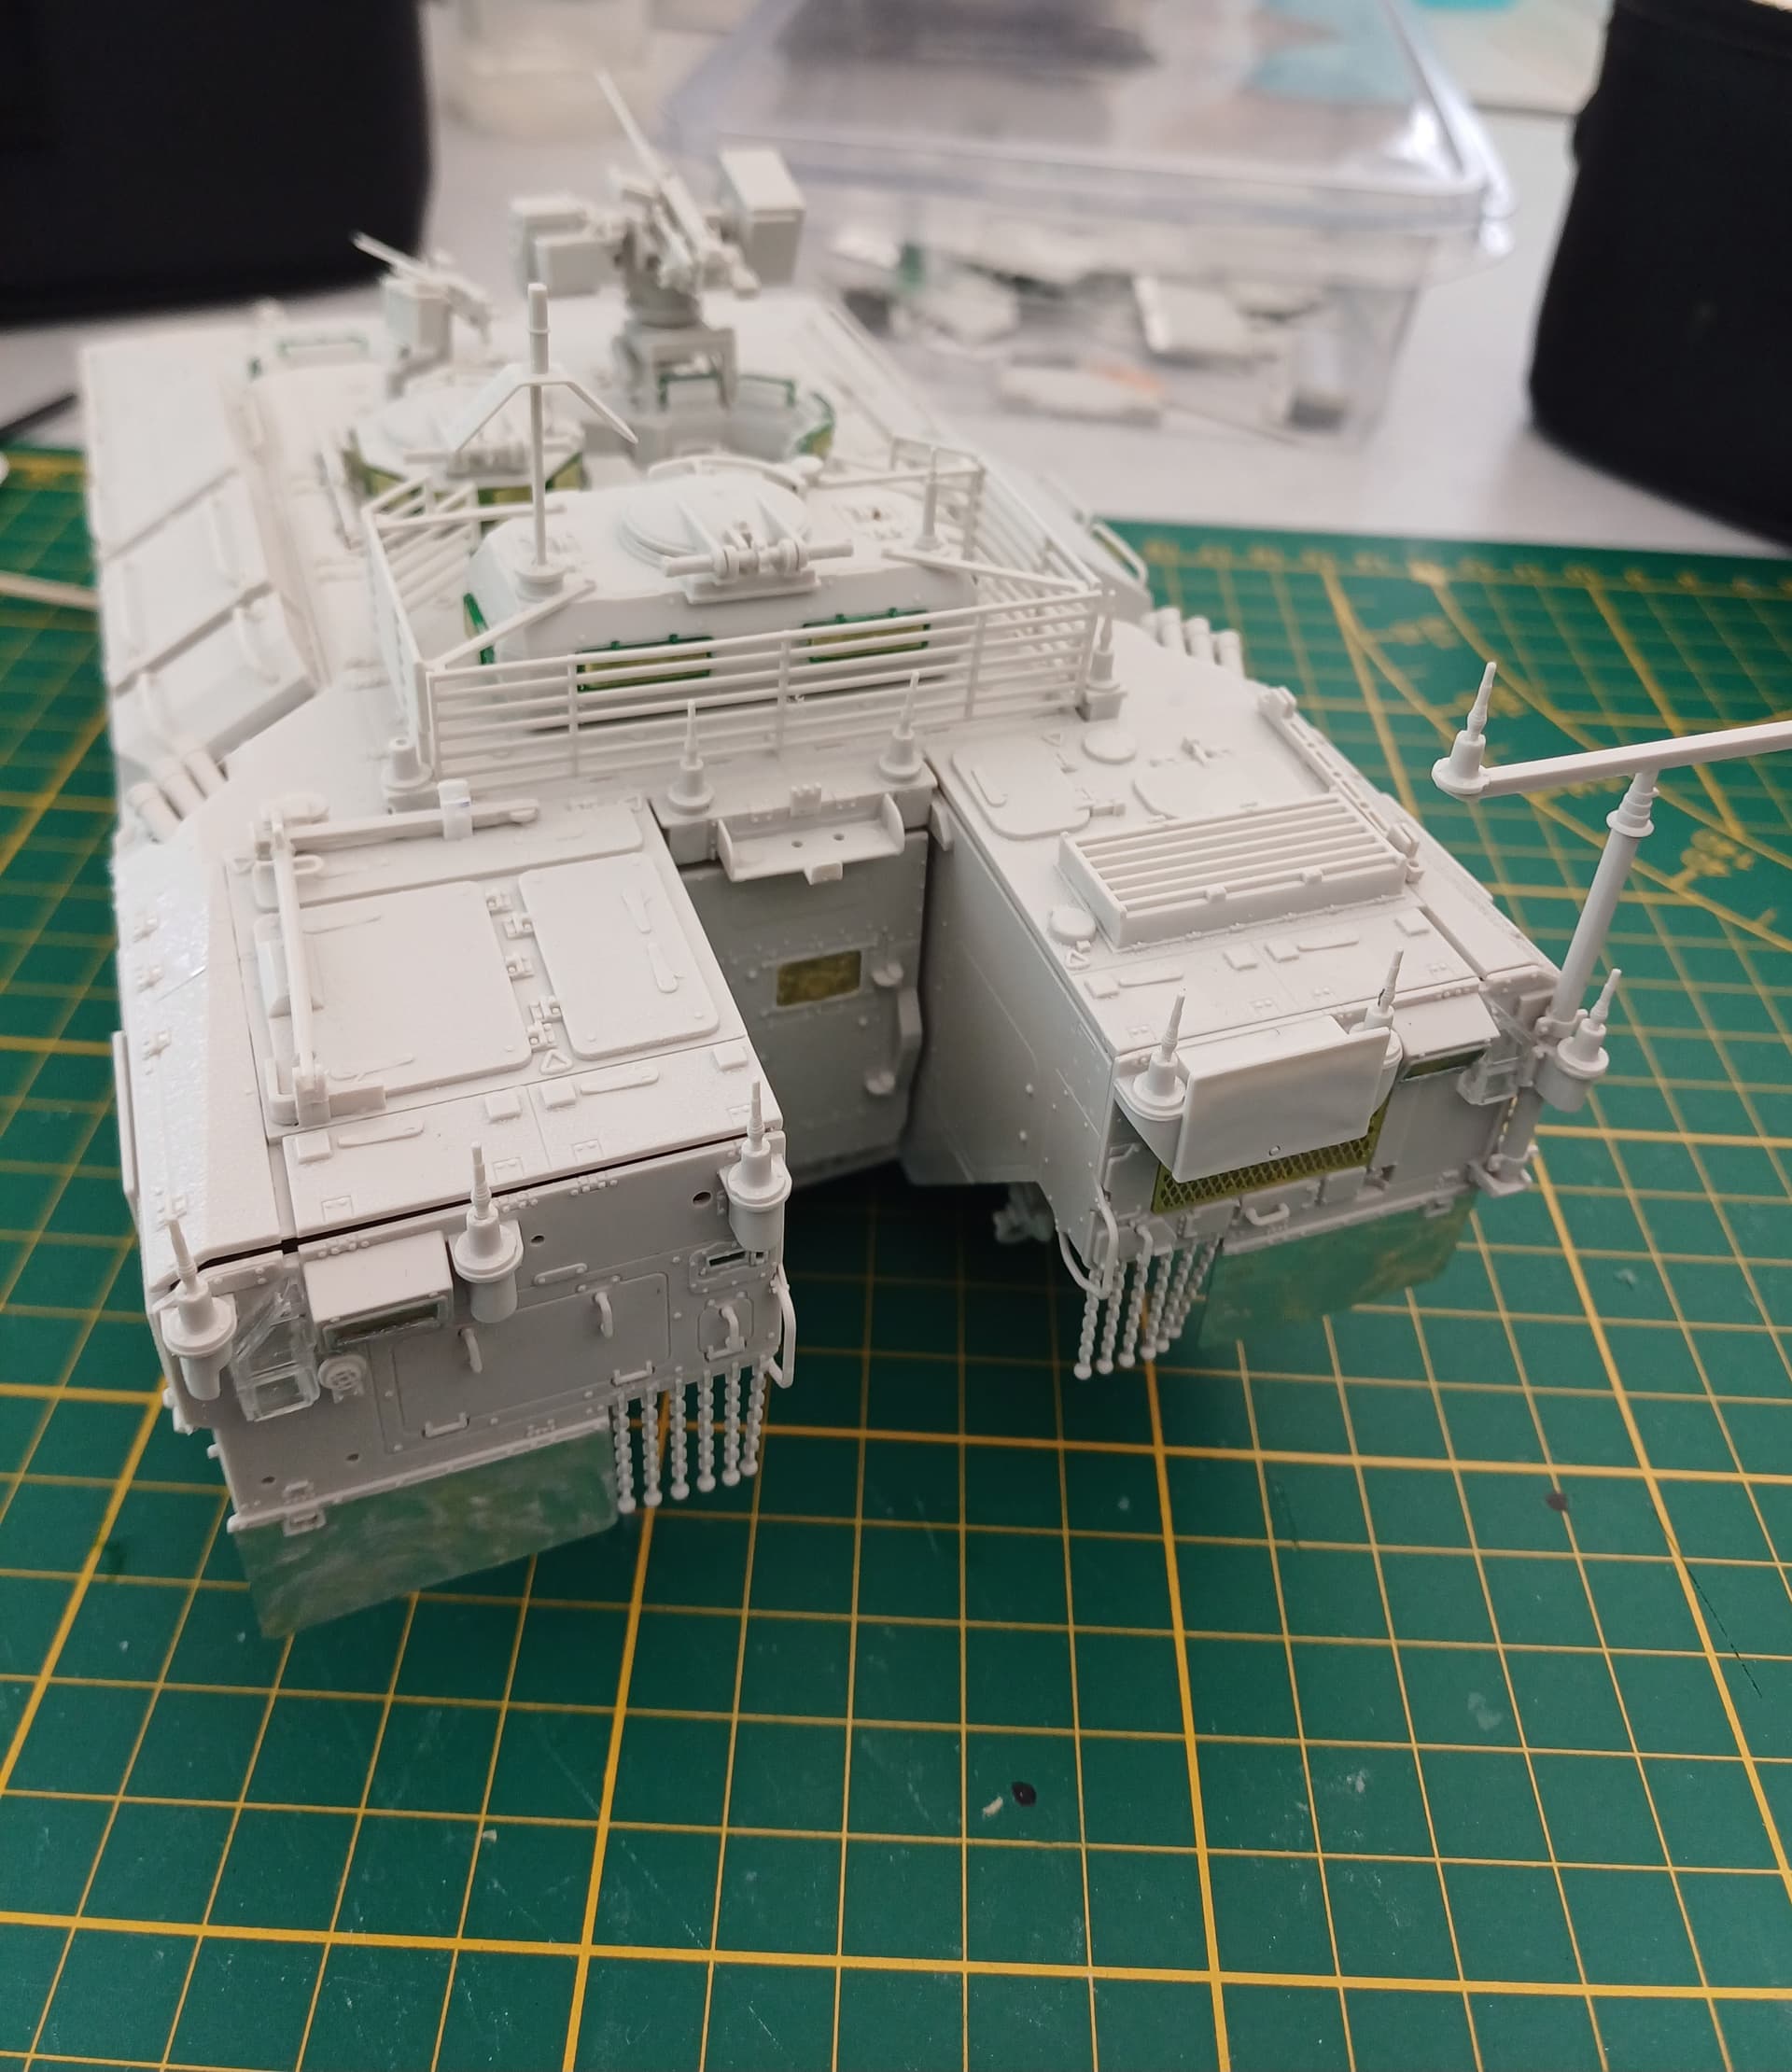
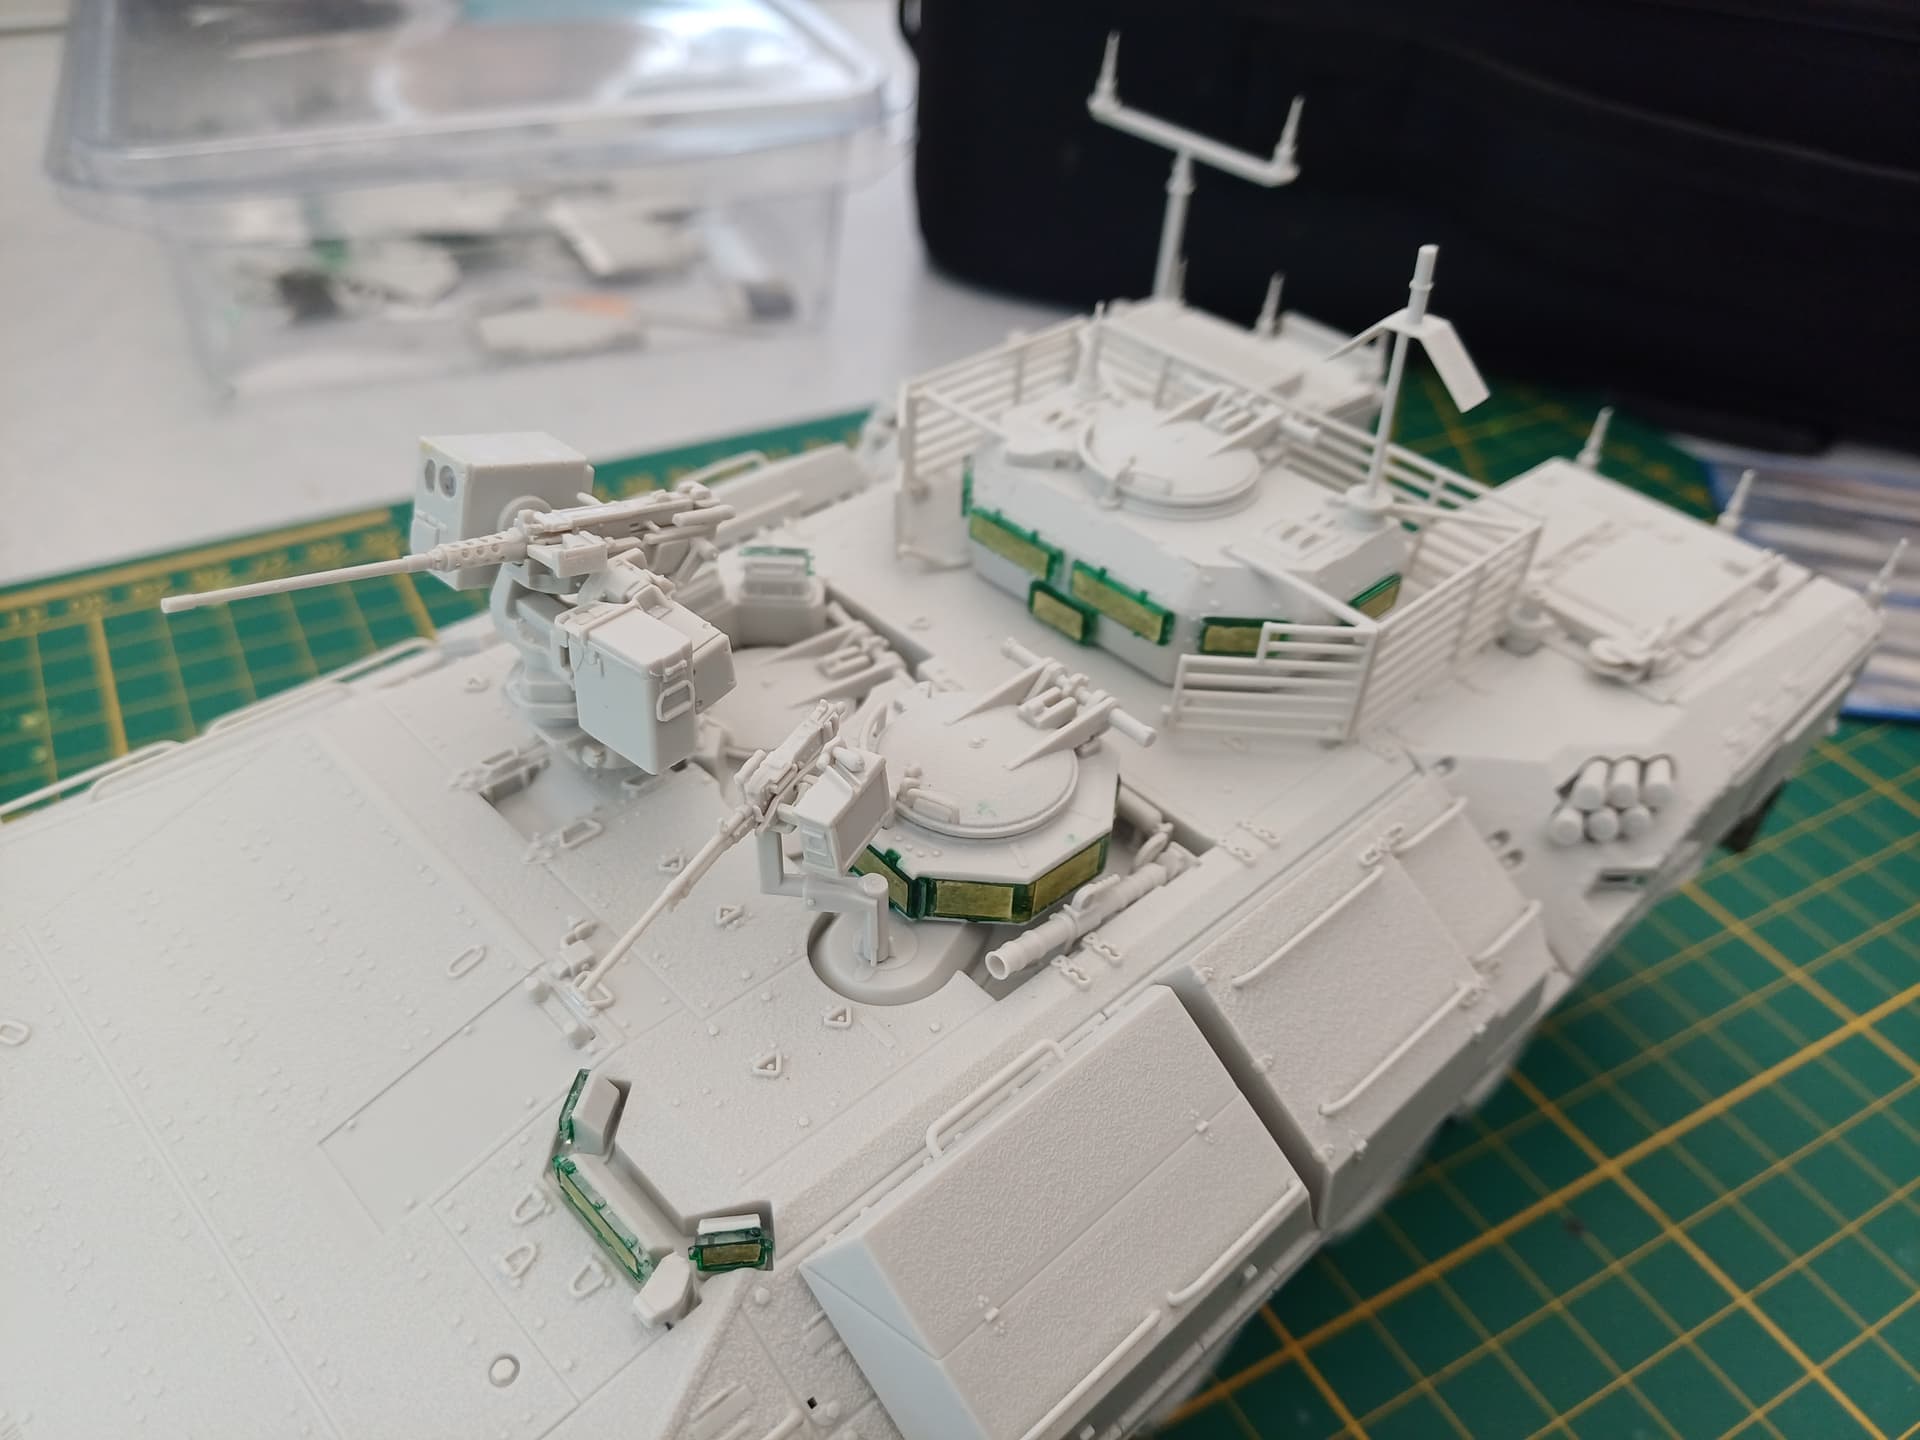
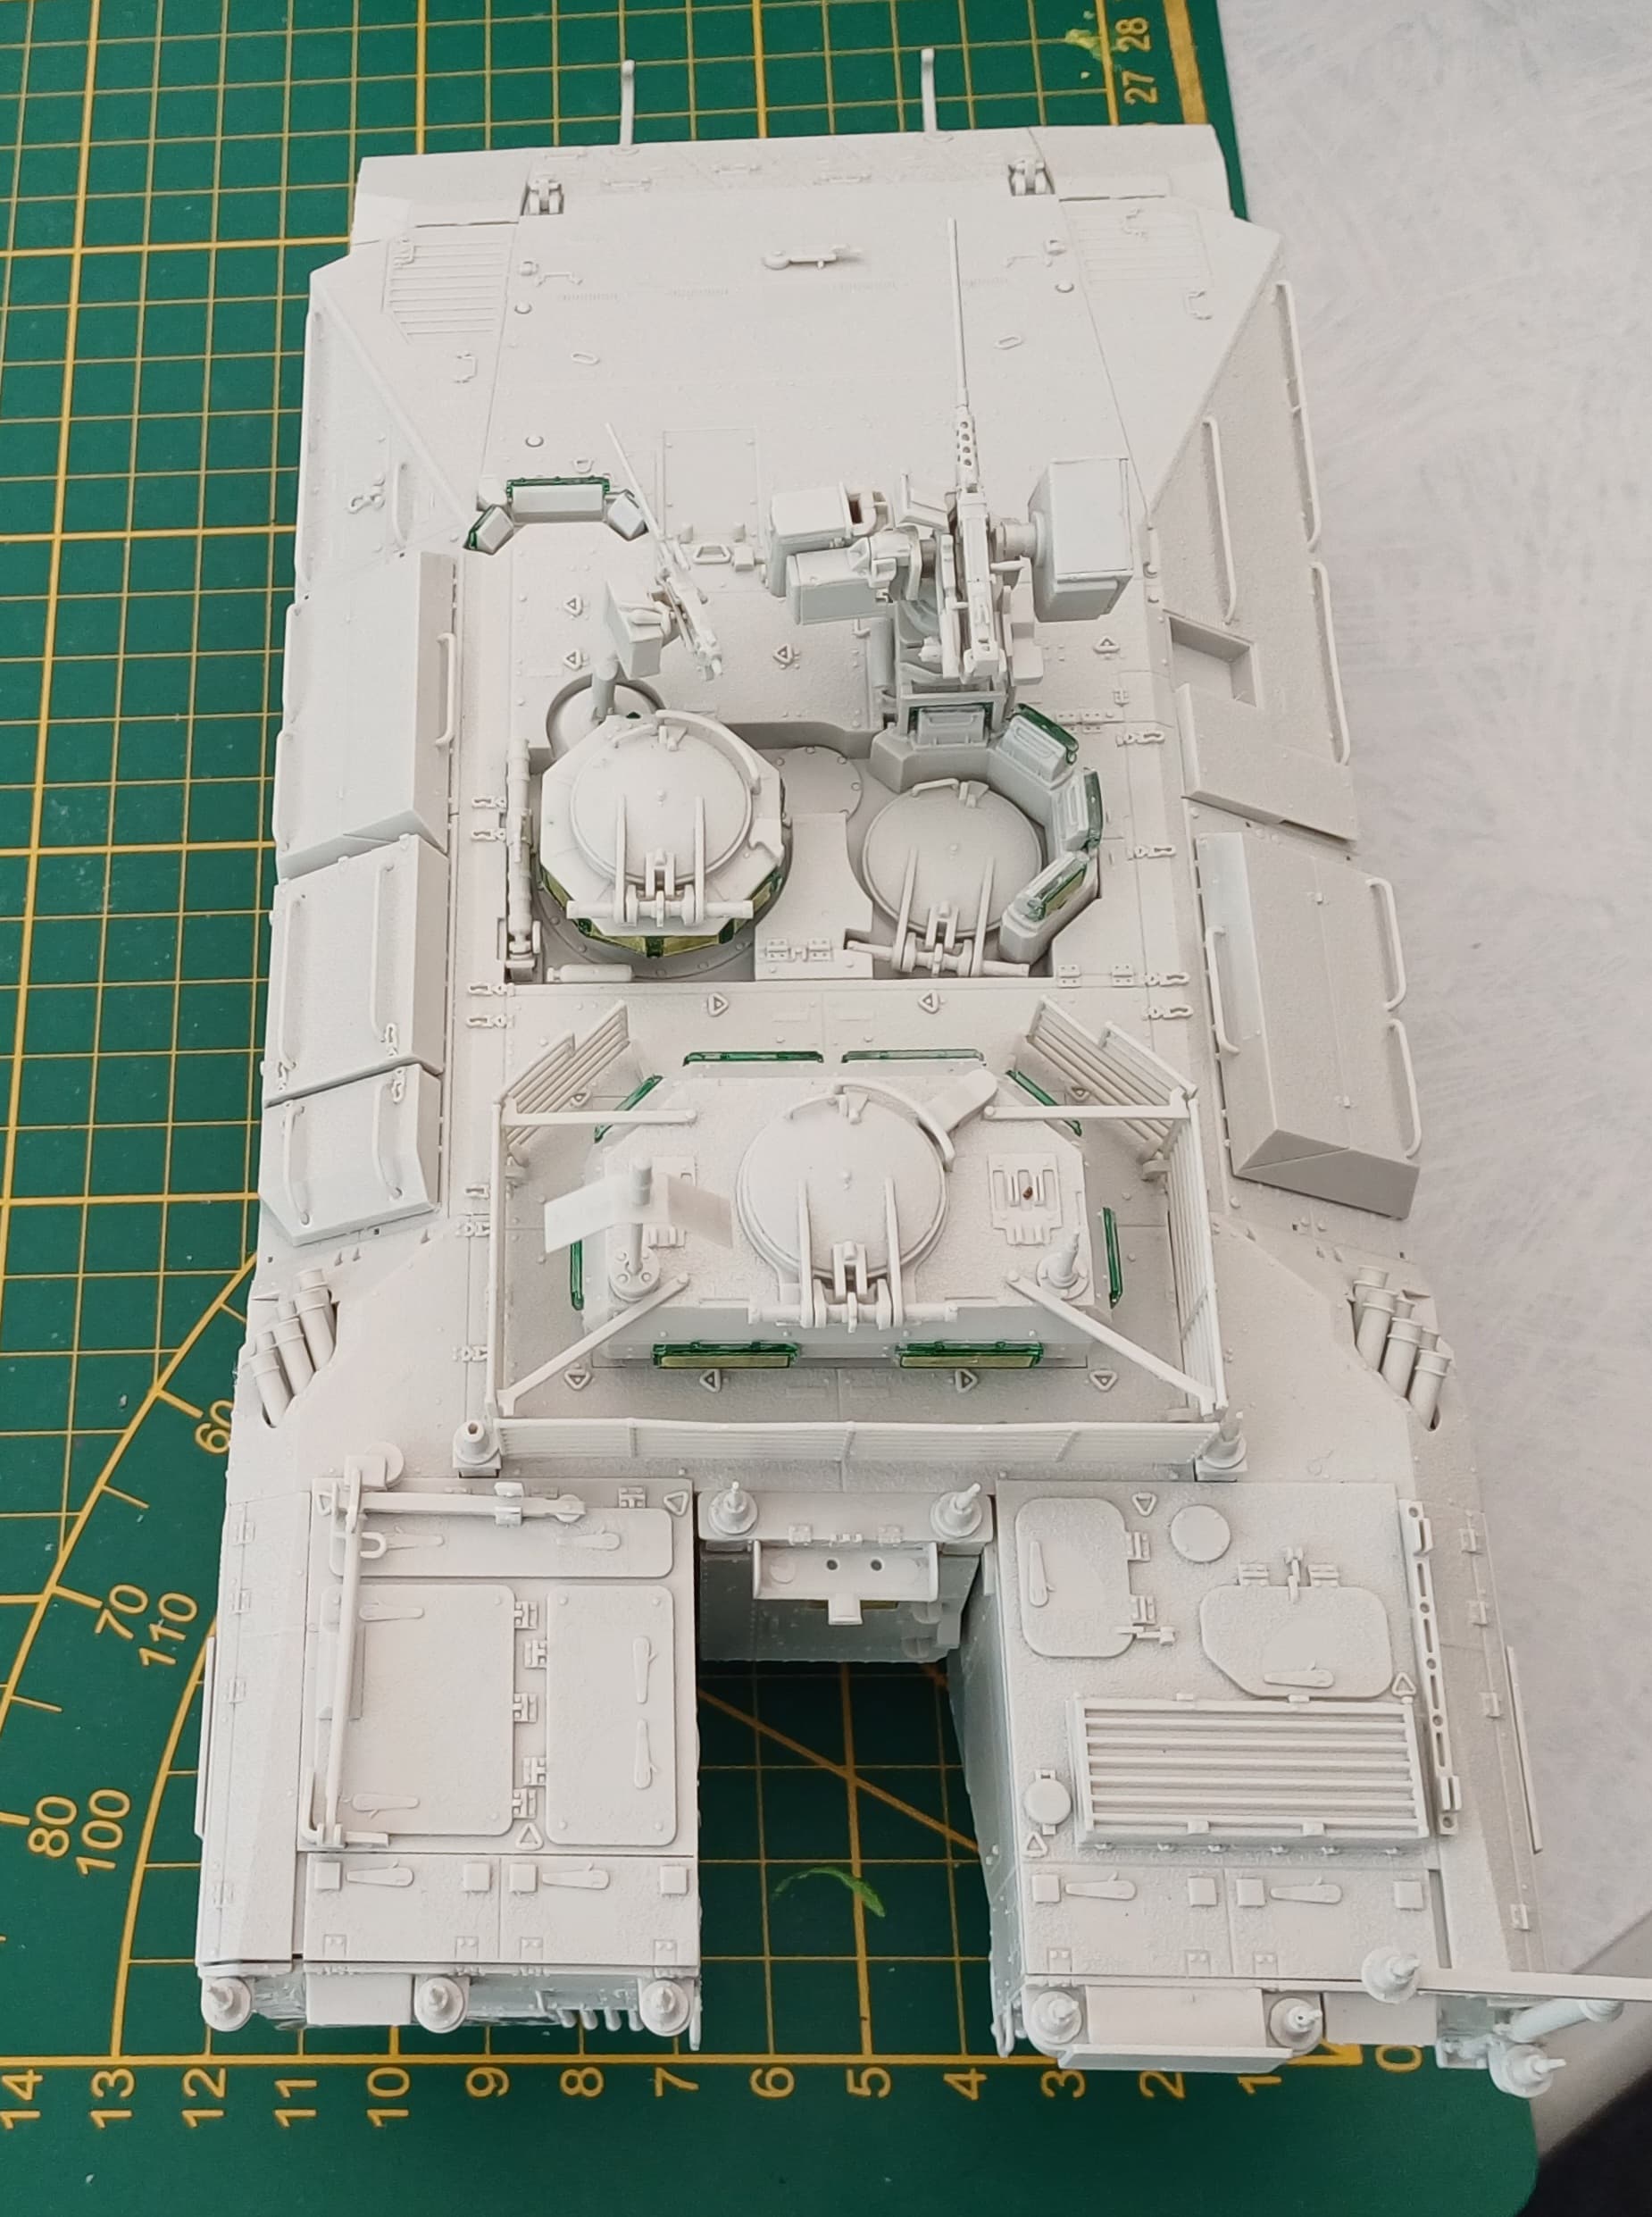
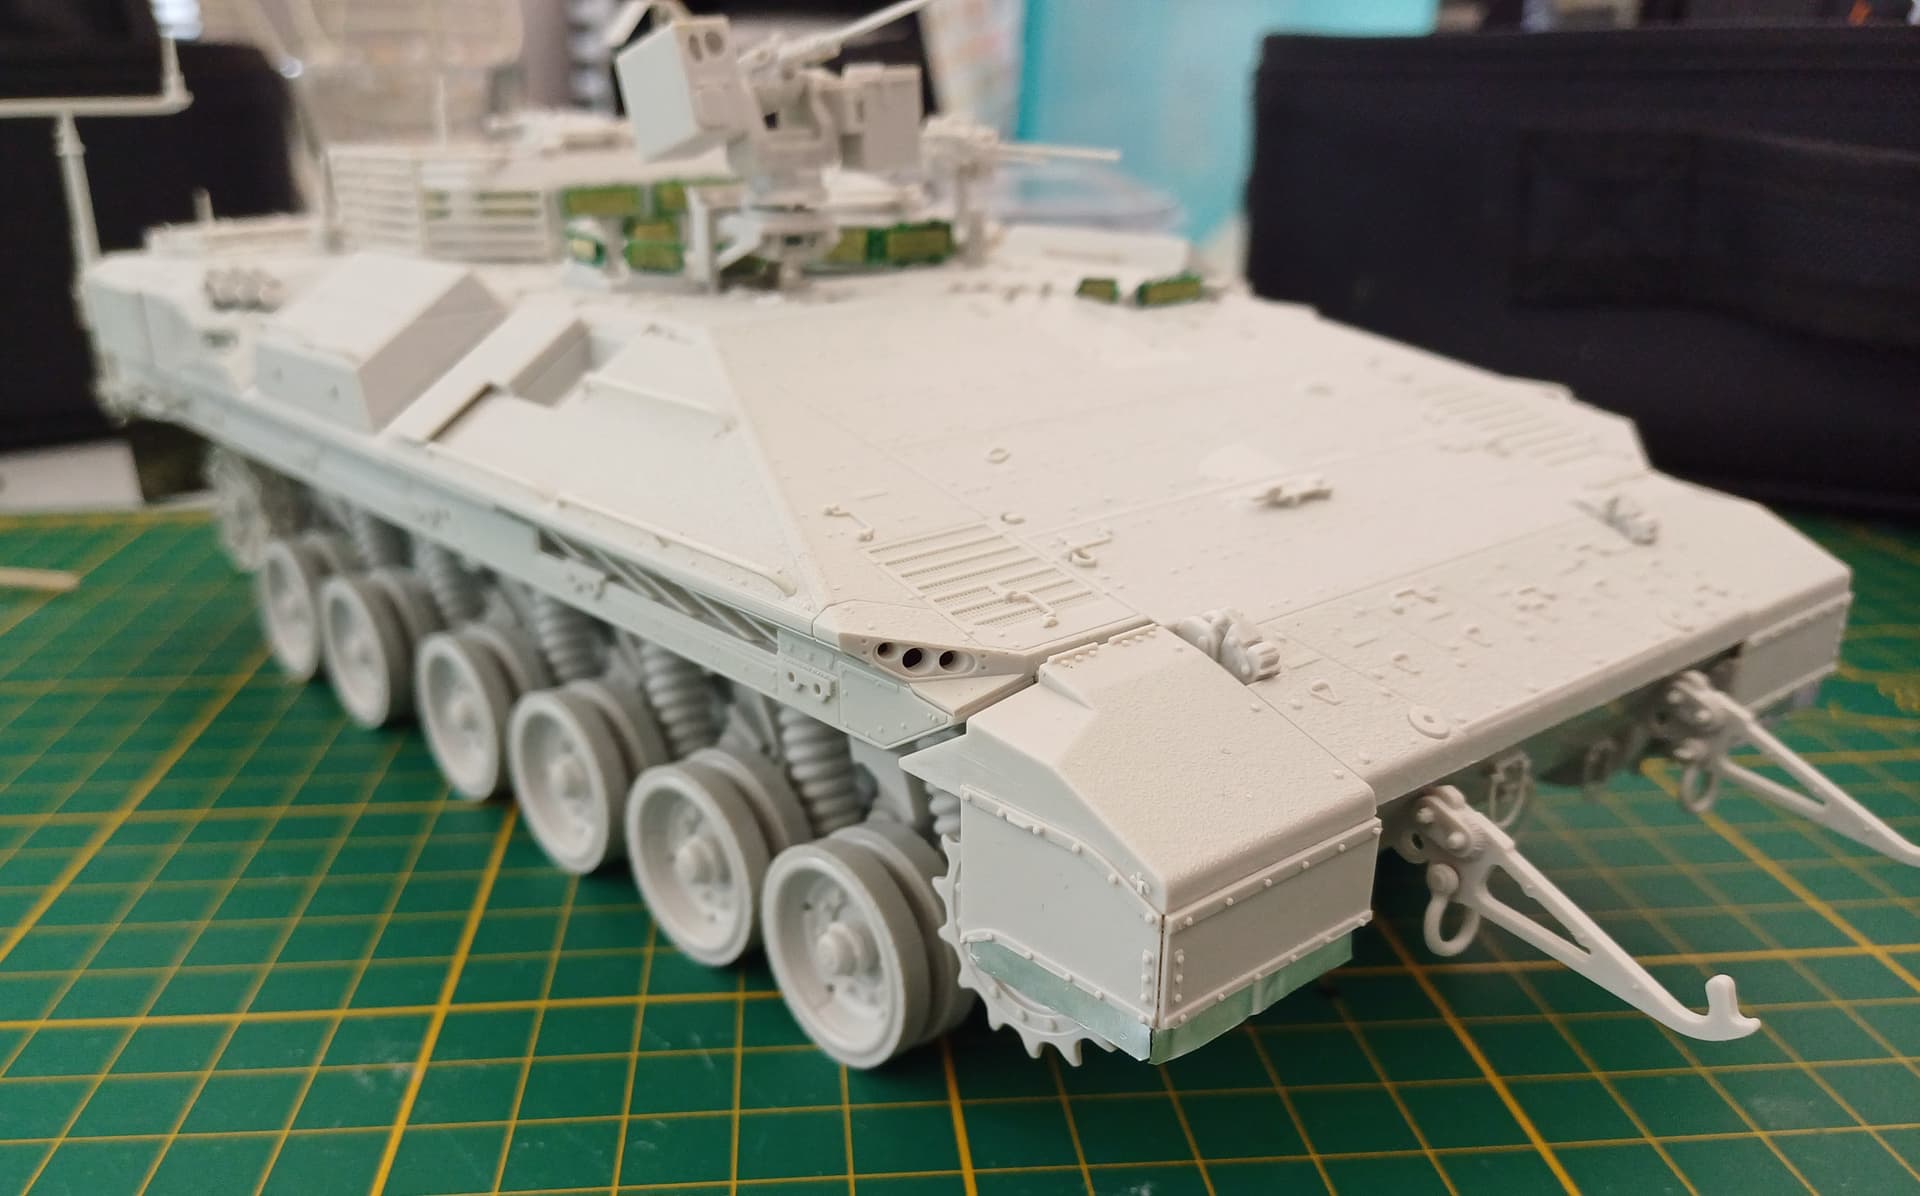
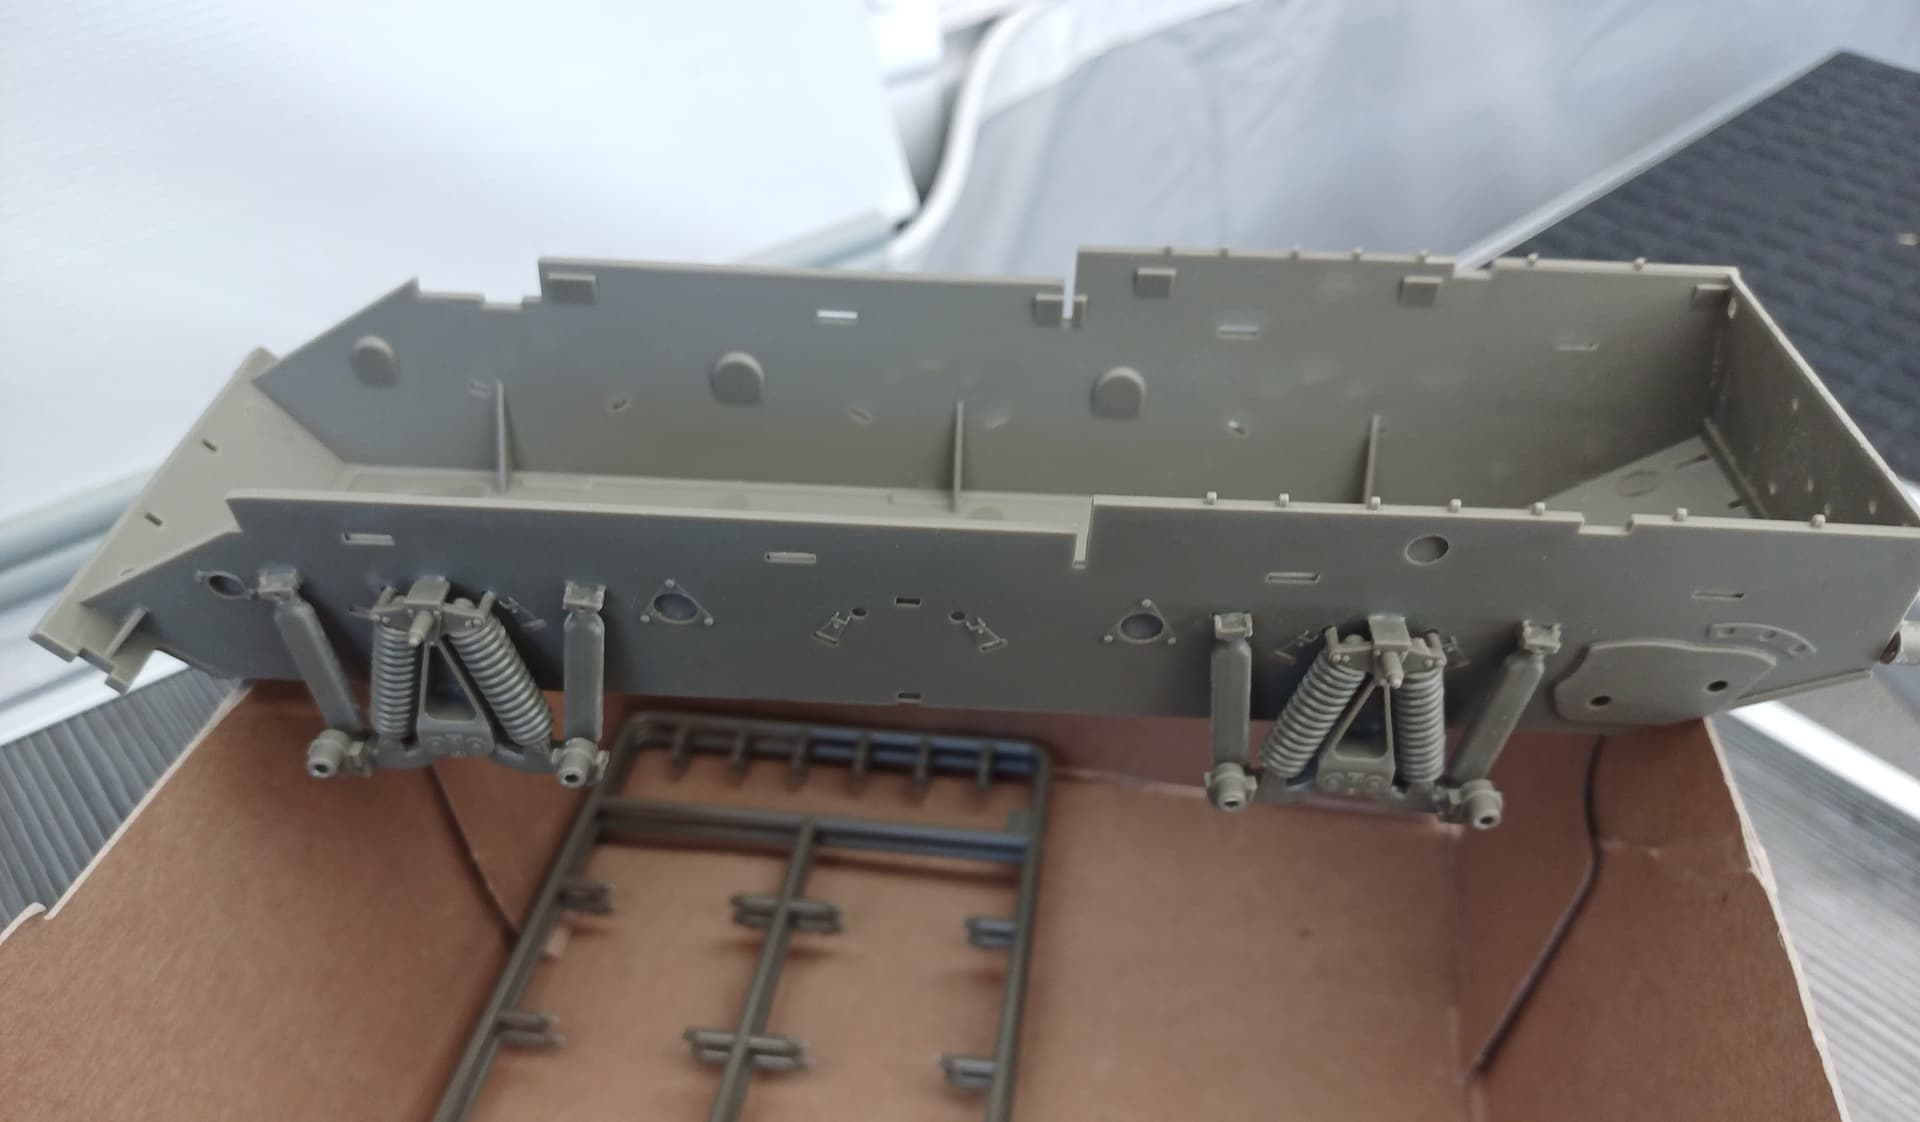
Worked on my Namer… replaced the mudgards with foil, added details, got the slat armour up..


And with all the subassemblies on ( still unglued)… about ready for primer..
Worked on my Namer… replaced the mudgards with foil, added details, got the slat armour up..
And with all the subassemblies on ( still unglued)… about ready for primer..
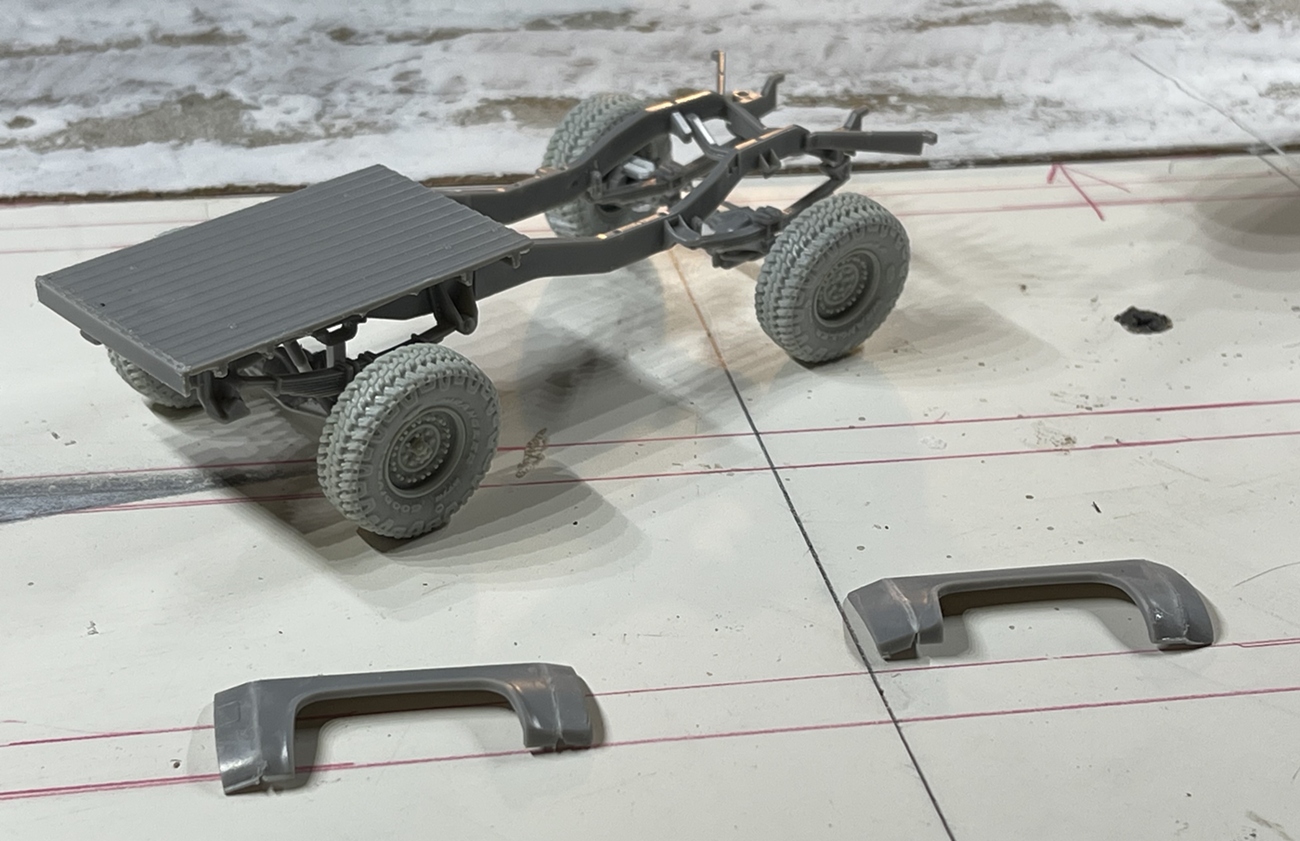
How about a guess the kit, and what I’m trying to do to it?
I started cutting this up, adding styrene, and gluing around noon today, and here we are:
Not exactly easy so far, but no major disasters/rebuilds yet - I did figure out that I needed to build up the axles to center the fenders, hence we now have some partially completed body parts and most of the rolling chassis big parts done -
Cheers
Nick
Any vehicle in our backyard circa the early 1970’s, and my dad couldn’t begin to tell you but it would be sold off for something else before he finished anyway.
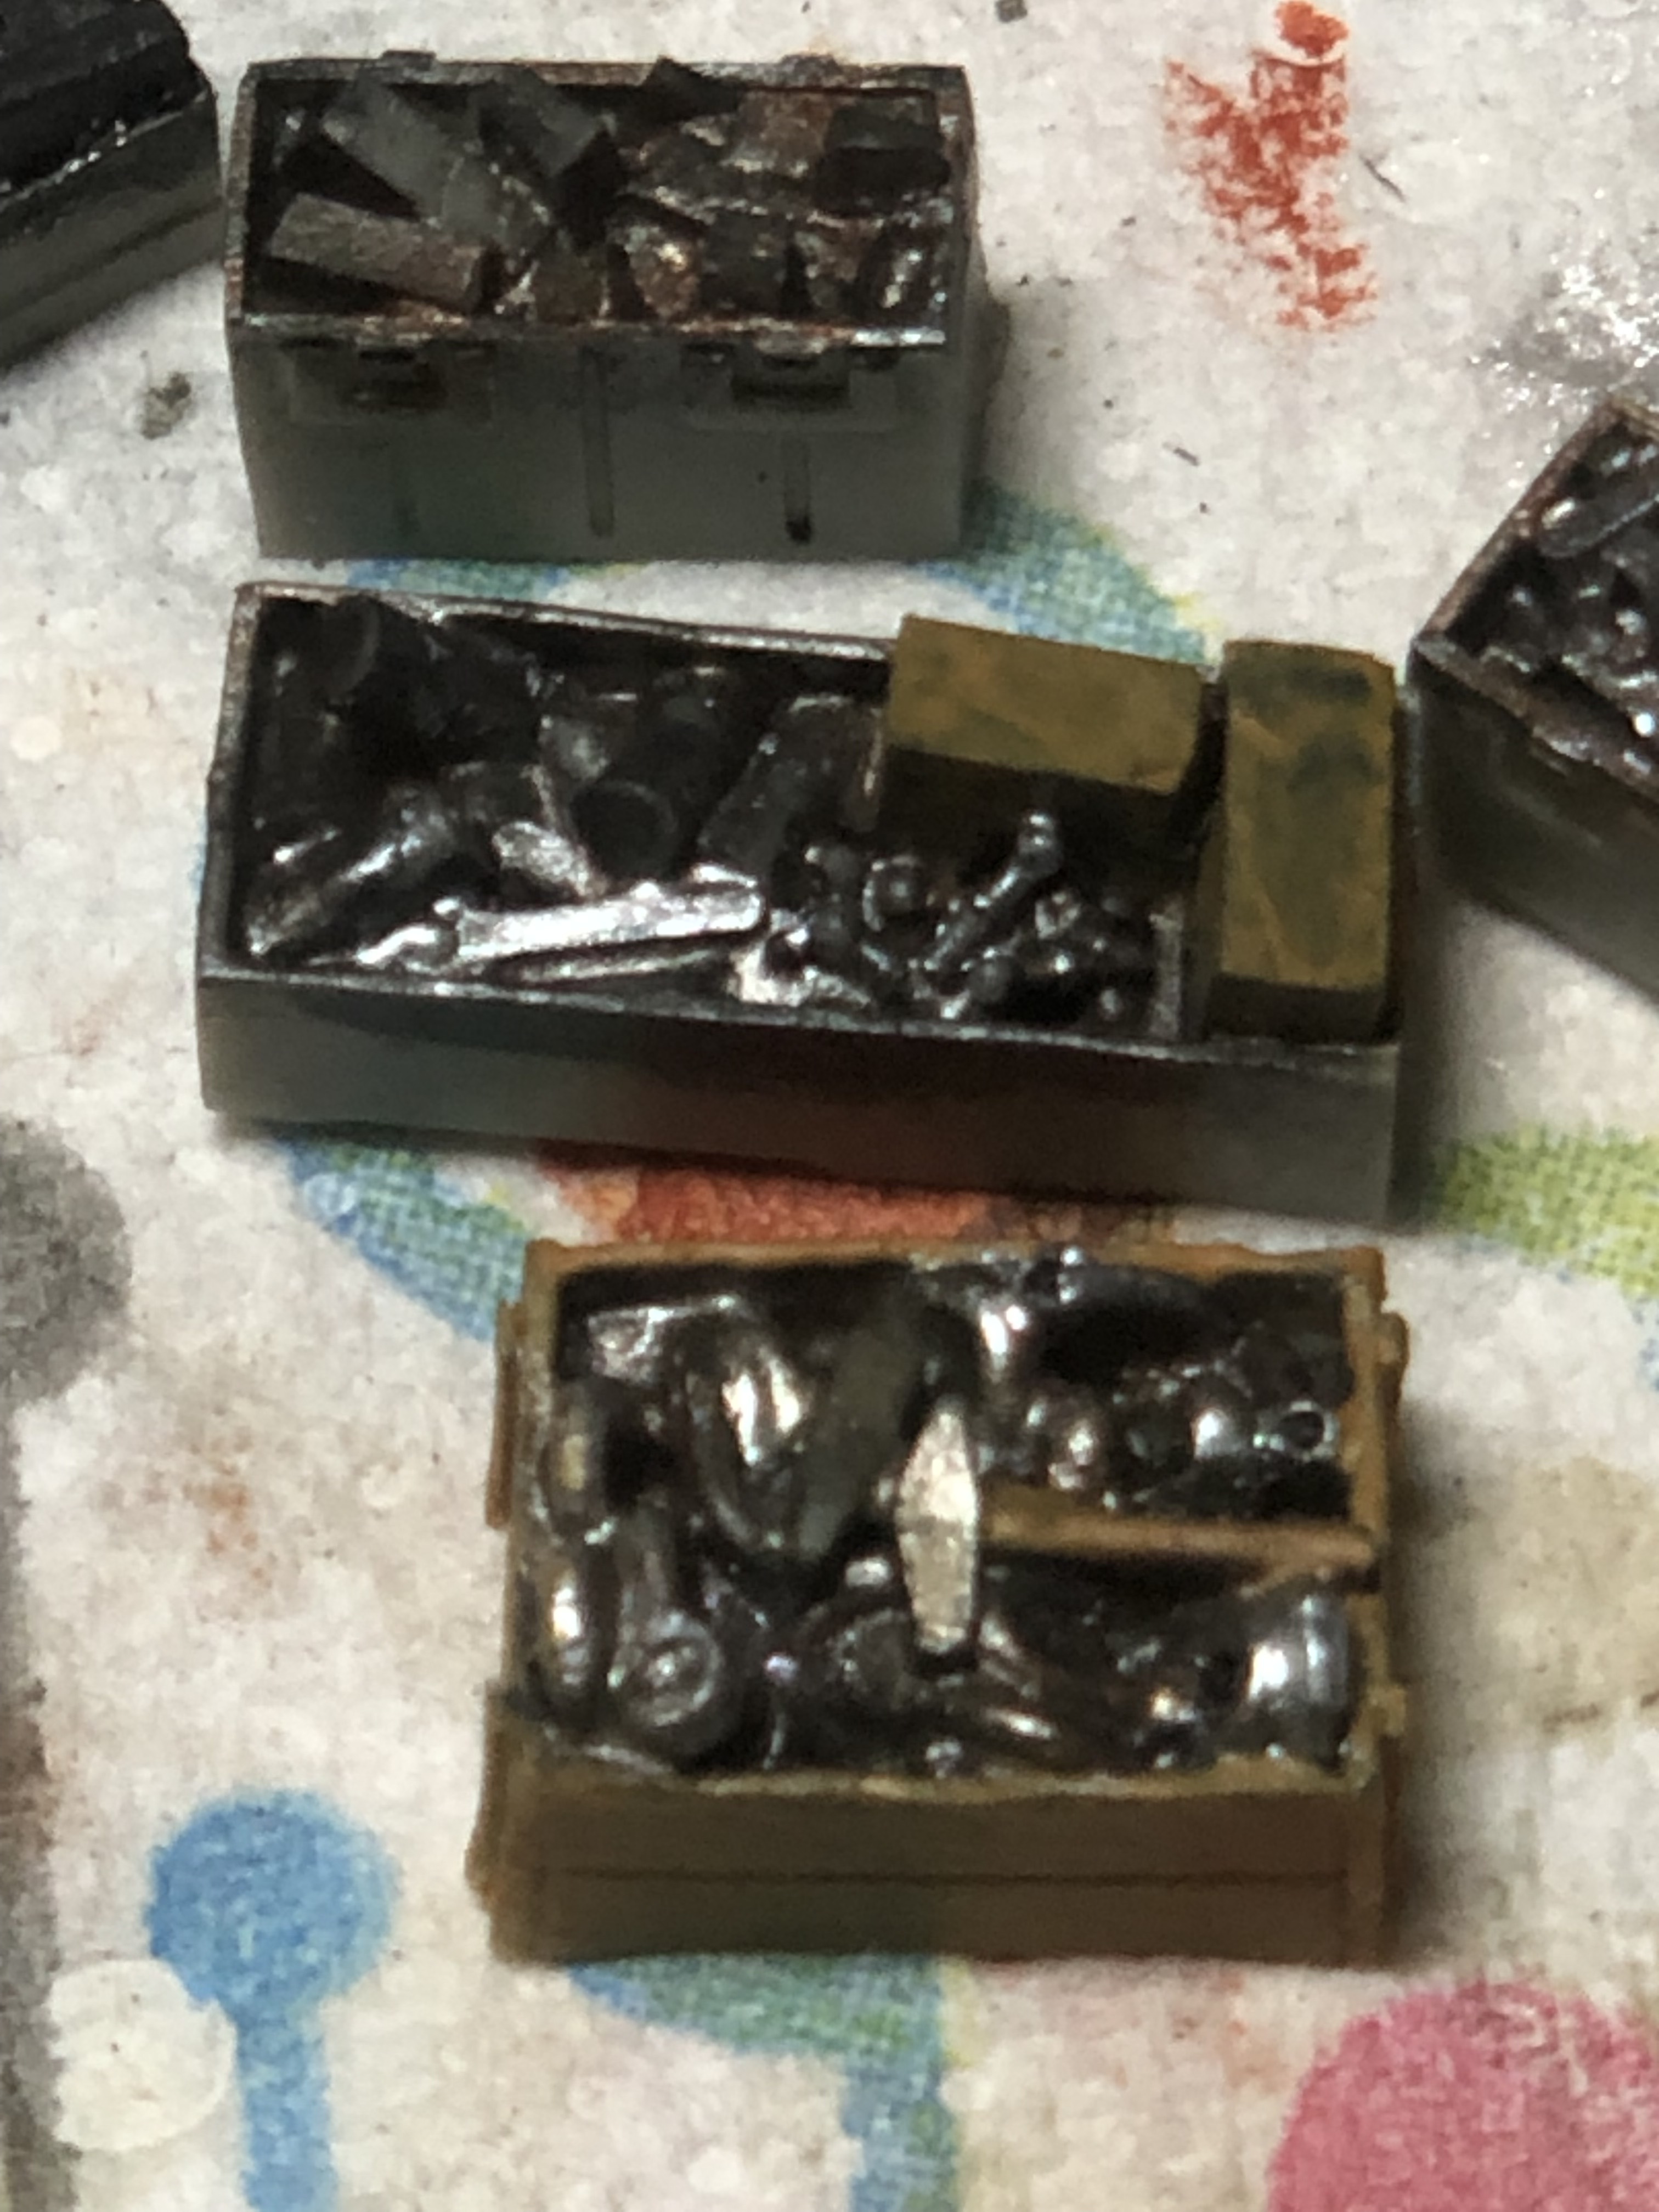
Probably won’t use all these when I finish will have to go through my gear to find petrol cans though.
It all makes up the hobby Joe. I spent an hour straightening airbrush needles and cleaning nozzles today. And 15 minutes top coating my UMP interior.
Time for another episode of guess the kit, and what I’m trying to do to it!
A bit less kit cutting and more gluing happened today:
Ok, I’m guessing a few of you will recognize this classic! Or, at least my ok attempt to represent it.
I will use these wheels, but, will add locking hubs to the front, and a full floating axle hub in the back.
A few hints regarding the donor kit (I suspects dead giveaways) the chassis was shortened 14" just forward of the rear leaf springs, and 6" off the back. The rear axle received 5" lift blocks (filed to an angle so the axle is clocked), and re-arched and cut off and re angled the forward and rear front shackles etc - as the tires are pretty close to 37" in diameter and wouldn’t fit the stock ride height, and I like lift kits - all of which is perfect! And happily, it sits flat on all four.
I cut up the kit’s rear fenders to get the basic form (which is pretty close, but not exactly right) and to keep key body line in tact, and obviously plenty of styrene has been used.
OK on we go -
Cheers
Nick
That is my exact thoughts. My grand-father had a yellow ‘74 stepside.
Starting working on my Andy’s Hobby 1/16 Korean War Sherman,I jumped on the tracks 1st,many parts but the supplied jigs and the bigger size made the assembly simple,plus Donald’s earlier blog is really helping.
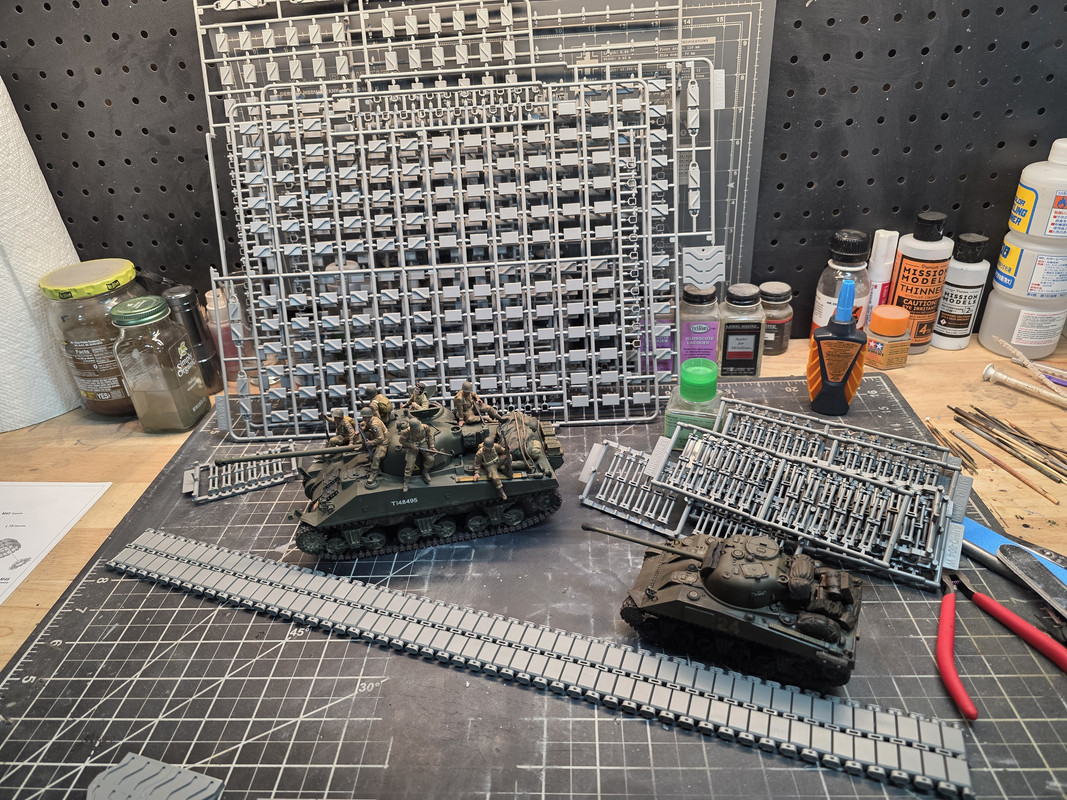
Those are my 1/35 and 1/48 Shermans for comparison.
@18bravo, yes - that’s the truck! I’ve thought about the 1/32 stepside kit you have and really wanted one, so this is what we have
@HeavyArty yes - that’s the kit! As I recall, you mentioned buying one of these directly from AK, so I did the same, and just like yours, the shipping was expensive, but it arrived in only a few days.
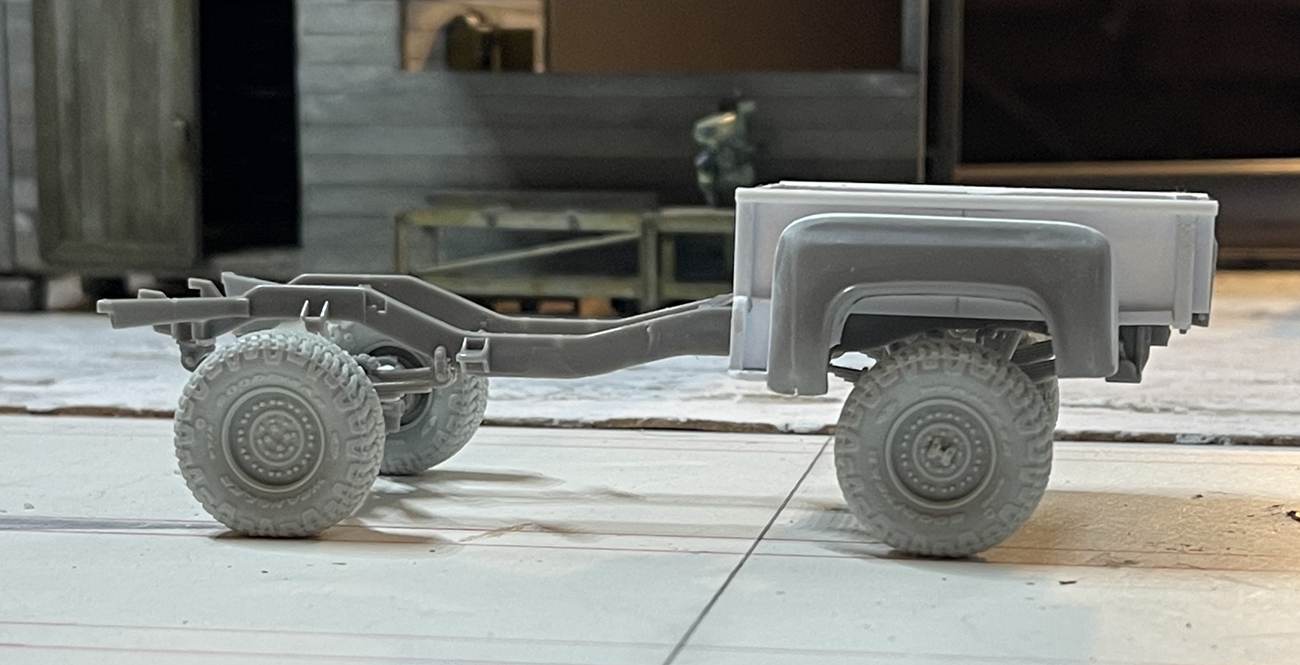
And, here it is with the cab:
The cab is not sitting level because it is resting just above the front frame rails, but when installed correctly, it will be flat, or close to it.
The AK kit is pretty nice and should you build it the way it’s intended to go together, works pretty well.
The kit offers posable, but fixed steering, so straight, left or right wheel positioning. I wanted a bit more variety so adapted it to turn freely in any direction. The reason it is fixed in the kit is because it includes a steering stabilizer on the drag link, which for good reason at this scale, is in a fixed position.
The large wheels and tires shown are supposed to be used on an HMMWV M1151, but with a bit of filing and adapting, they worked out for this - as I mentioned above, I’ll add locking hubs on the front and full floating rear axle hubs.
As I believe Gino mentioned, the kit does not include any engine detail, which might be fine, as there are front fender wells, but as this modified version sits so high, I’ll probably make up a portion of an engine, oil pan, and transmission. Interestingly, the kit frame rails include what look like engine mounts, so maybe a version with the engine is on its way? Which might be the case as the hood is not molded into the body.
OK, on we go
Cheers
Nick
You’ve nailed it.
Hell, I might have just given you stepside kit rather than have you butcher the AK kit. But that’s the fun in it, innit?
Found a leaking faucet that resulted in water damage to drywall and t-bar in hobby room and the former gym next door. Insurance co. notified, specialist contractor hired. Now onsite for estimates and emergency repairs.
No hobby activity for me today…….![]()
Not much, really. Weather has been iffy with off-and-on thunderstorms all day. Did get some bases made for my Tiger build entry, my Sd.Kfz 7 for the Convoy build, and a base each for a Pak 40 and sFH18 I built a while back.
Just waiting for the ground material to finish drying.
Upvote from me .great work especially the lights