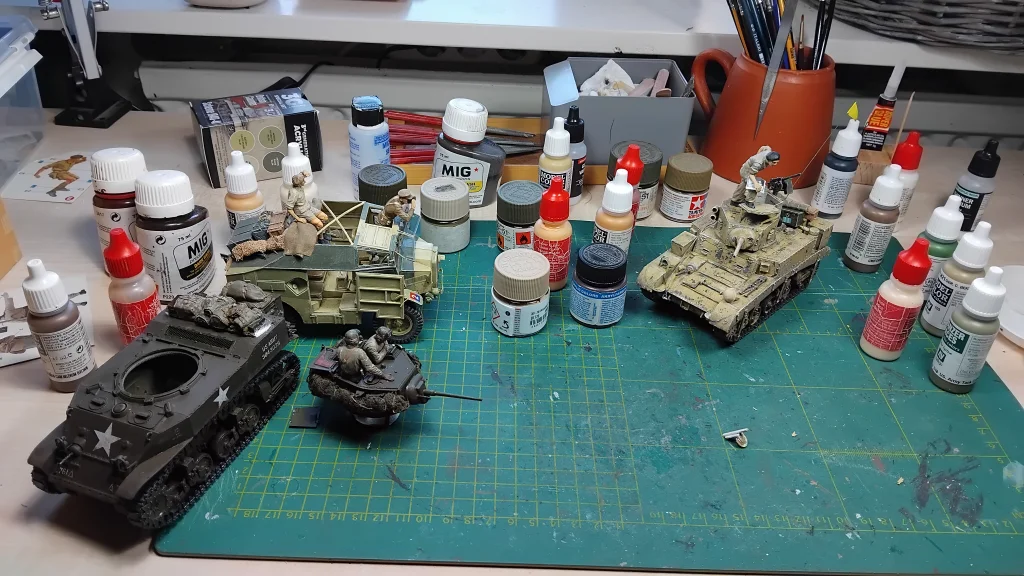
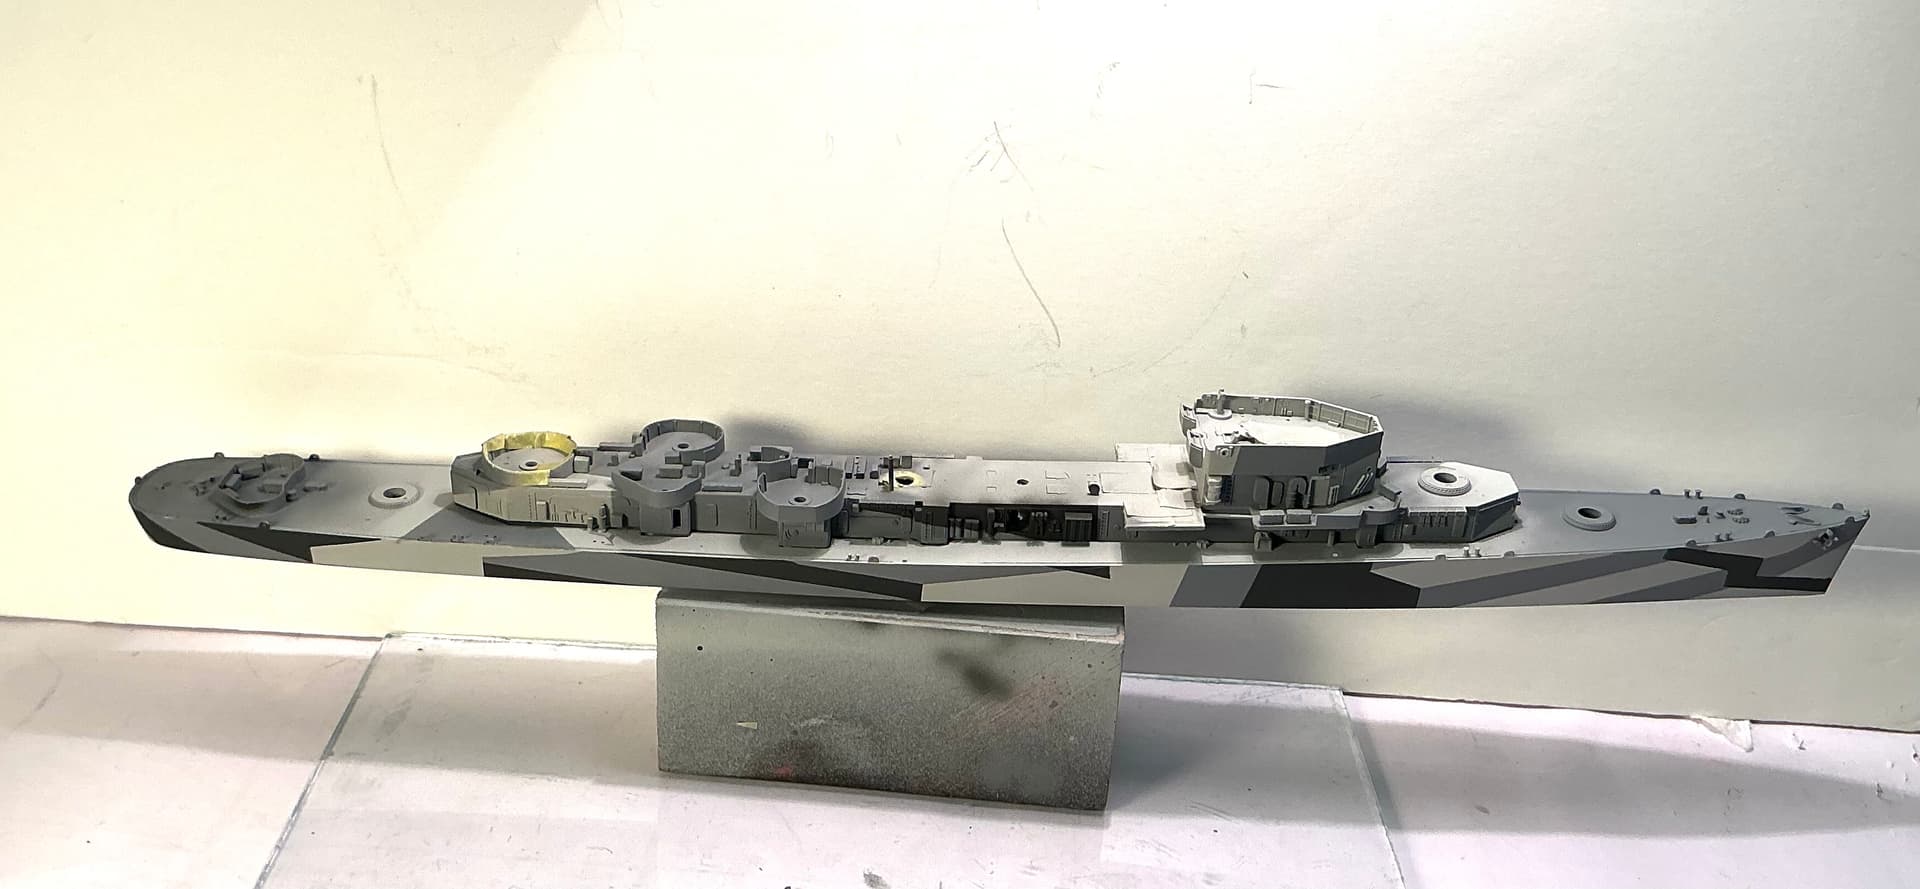
Painting, painting and some more painting.
Getting a bit fed up with it, really. It is not my strong suit.
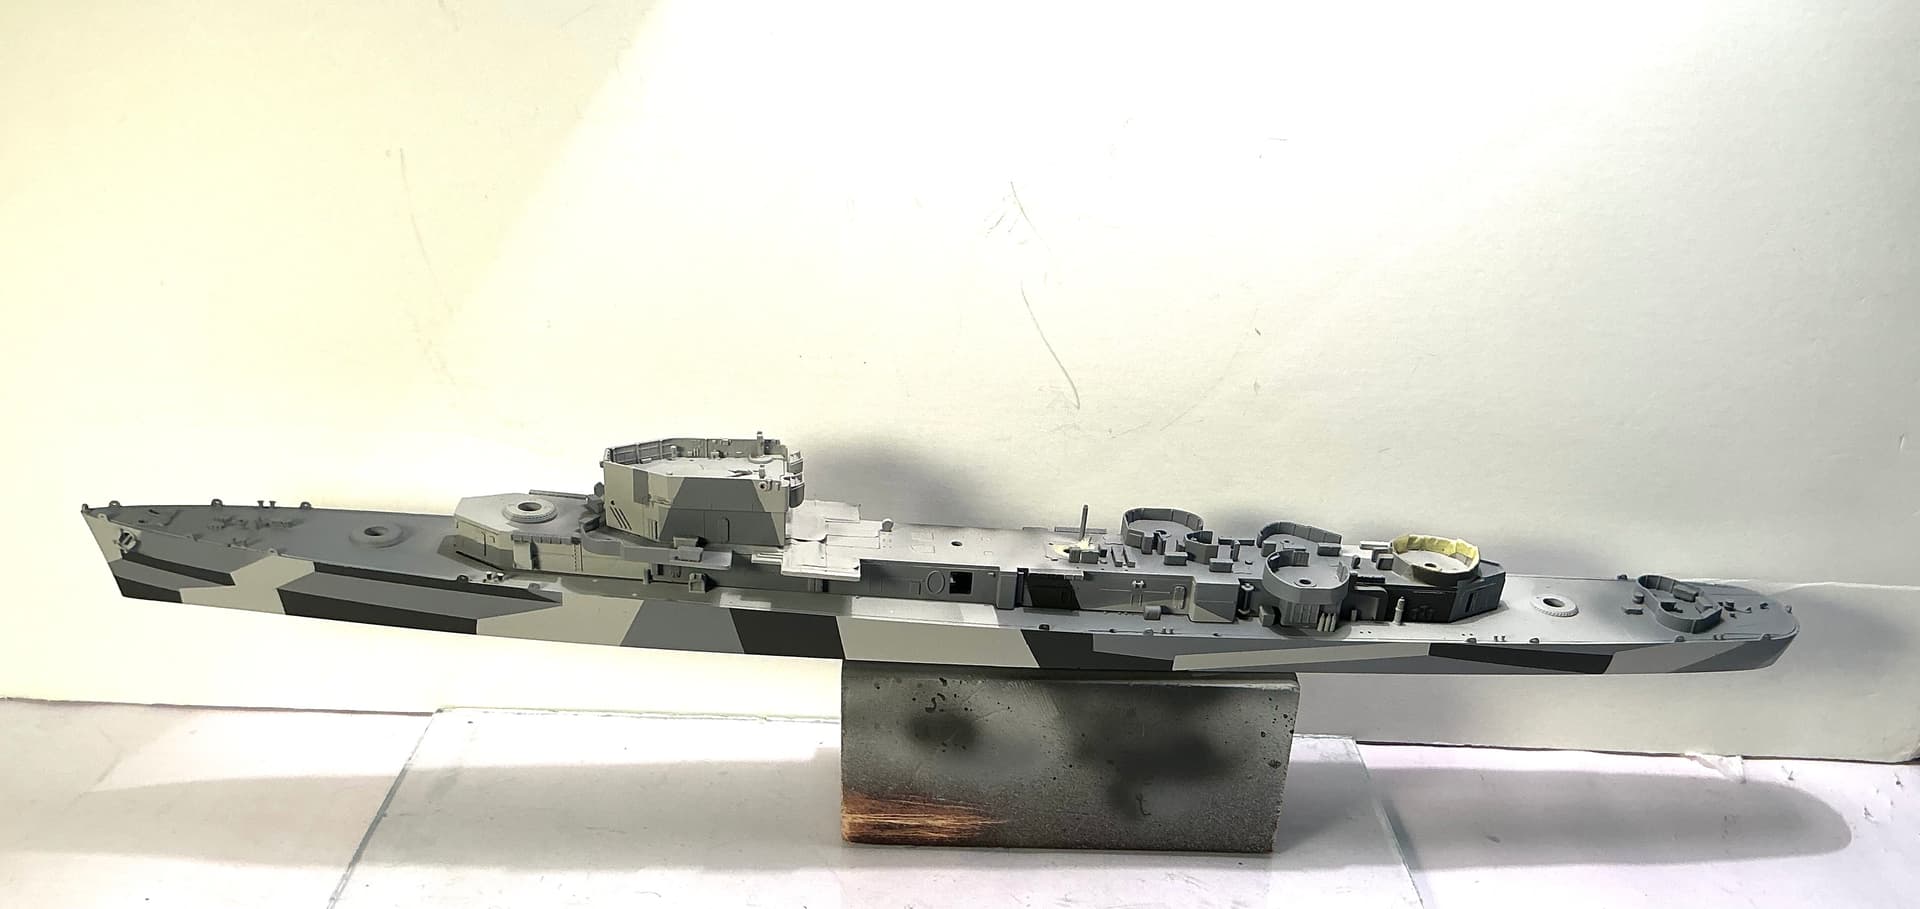
Painting, painting and some more painting.
Getting a bit fed up with it, really. It is not my strong suit.
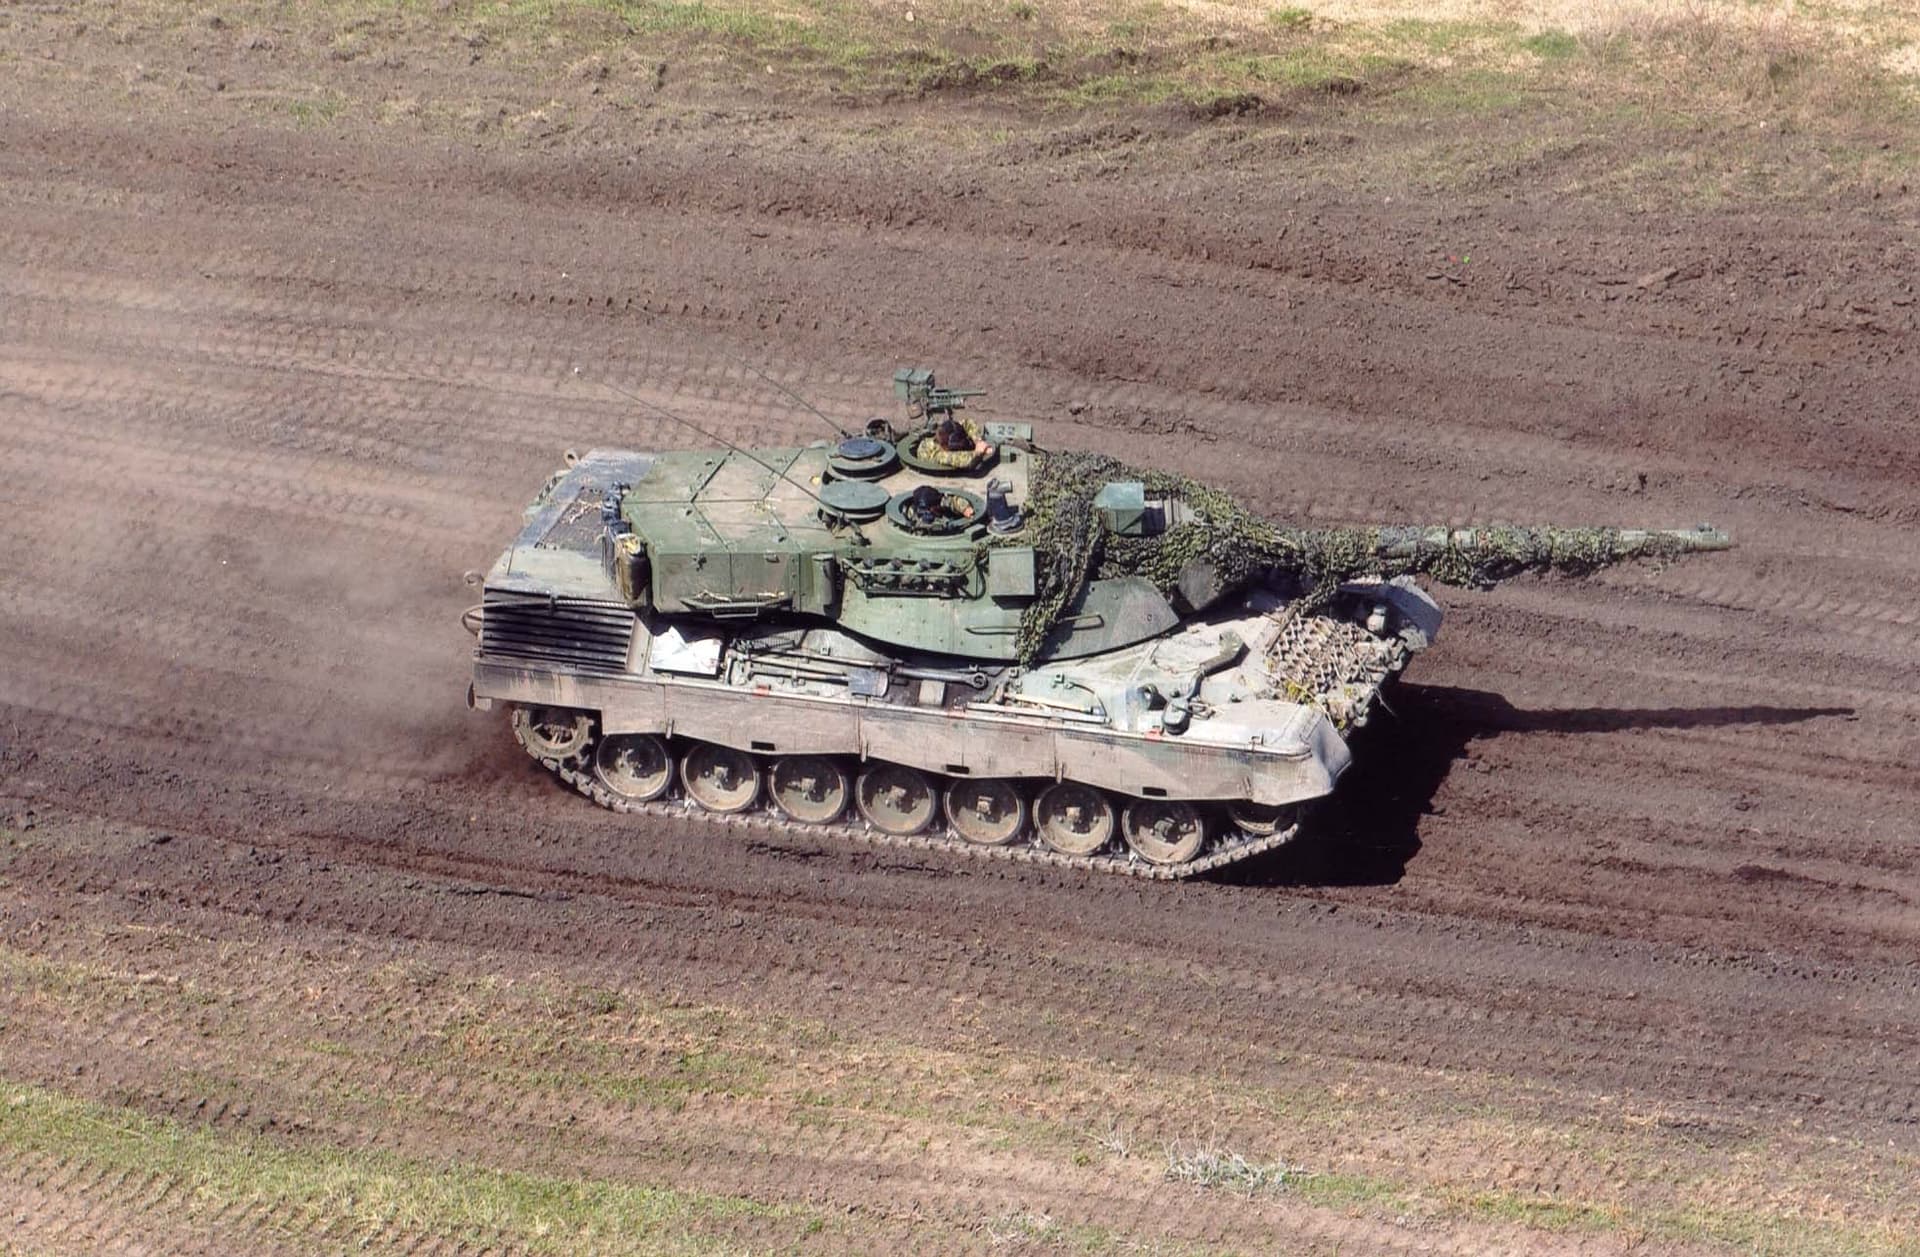
Guys, one of my next projects is the Leopard C2 from Takom. What kind of Green is that colour? Takom suggests Tamiya XF-58 Olive Green but I don’t use Tamiya, I prefer Vallejo ModelAir. Any ideas from the CAF experts here … ? ![]()
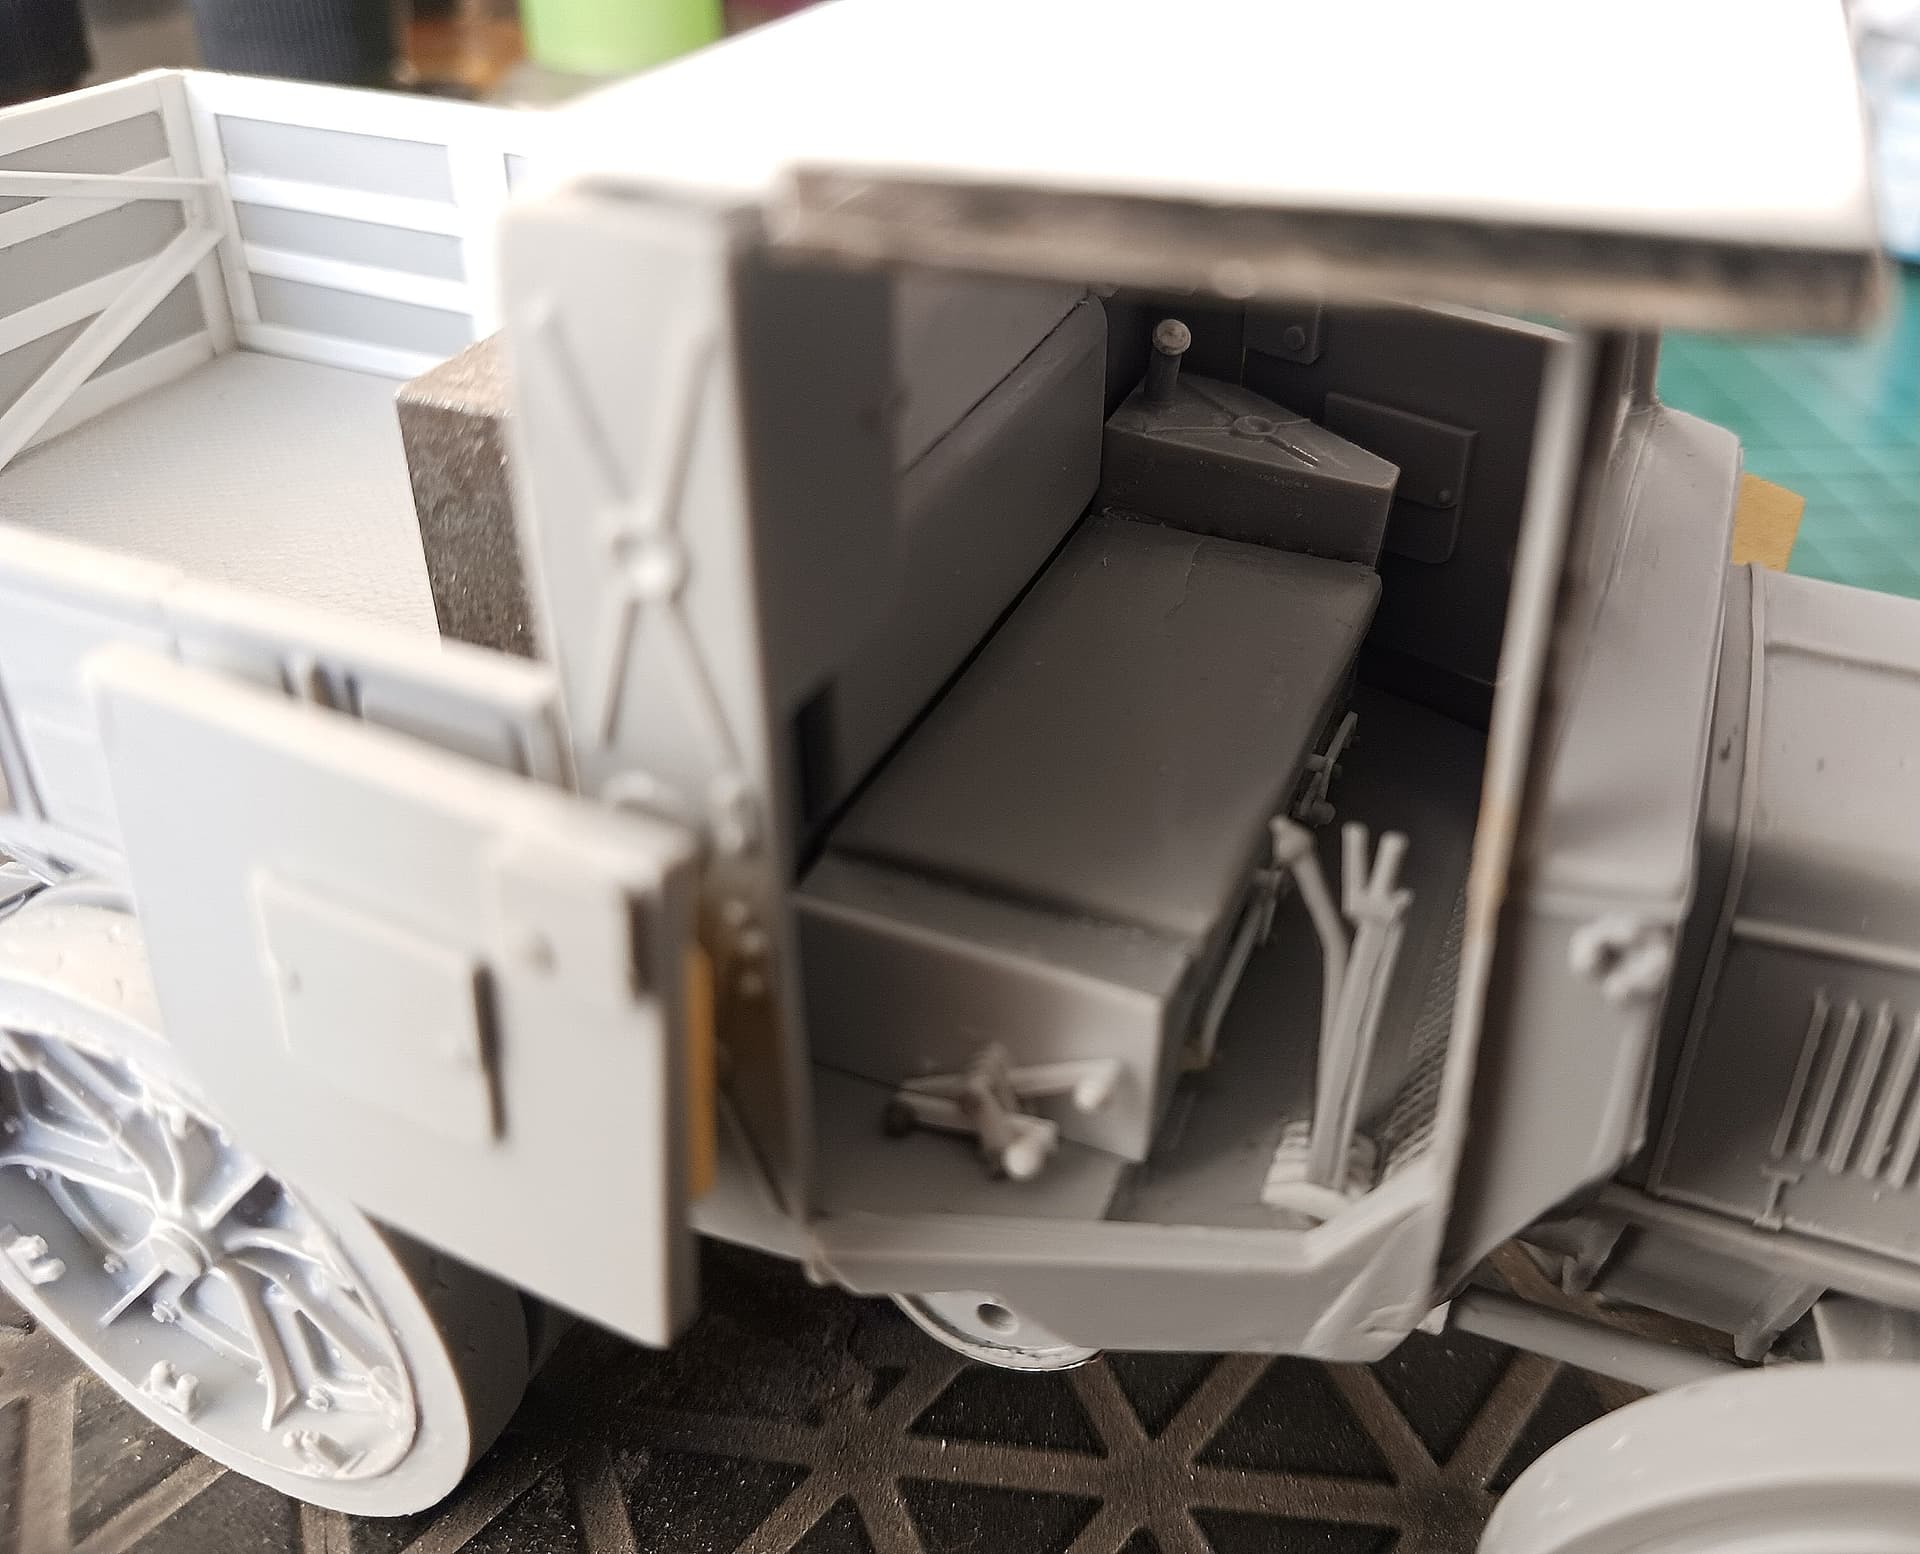
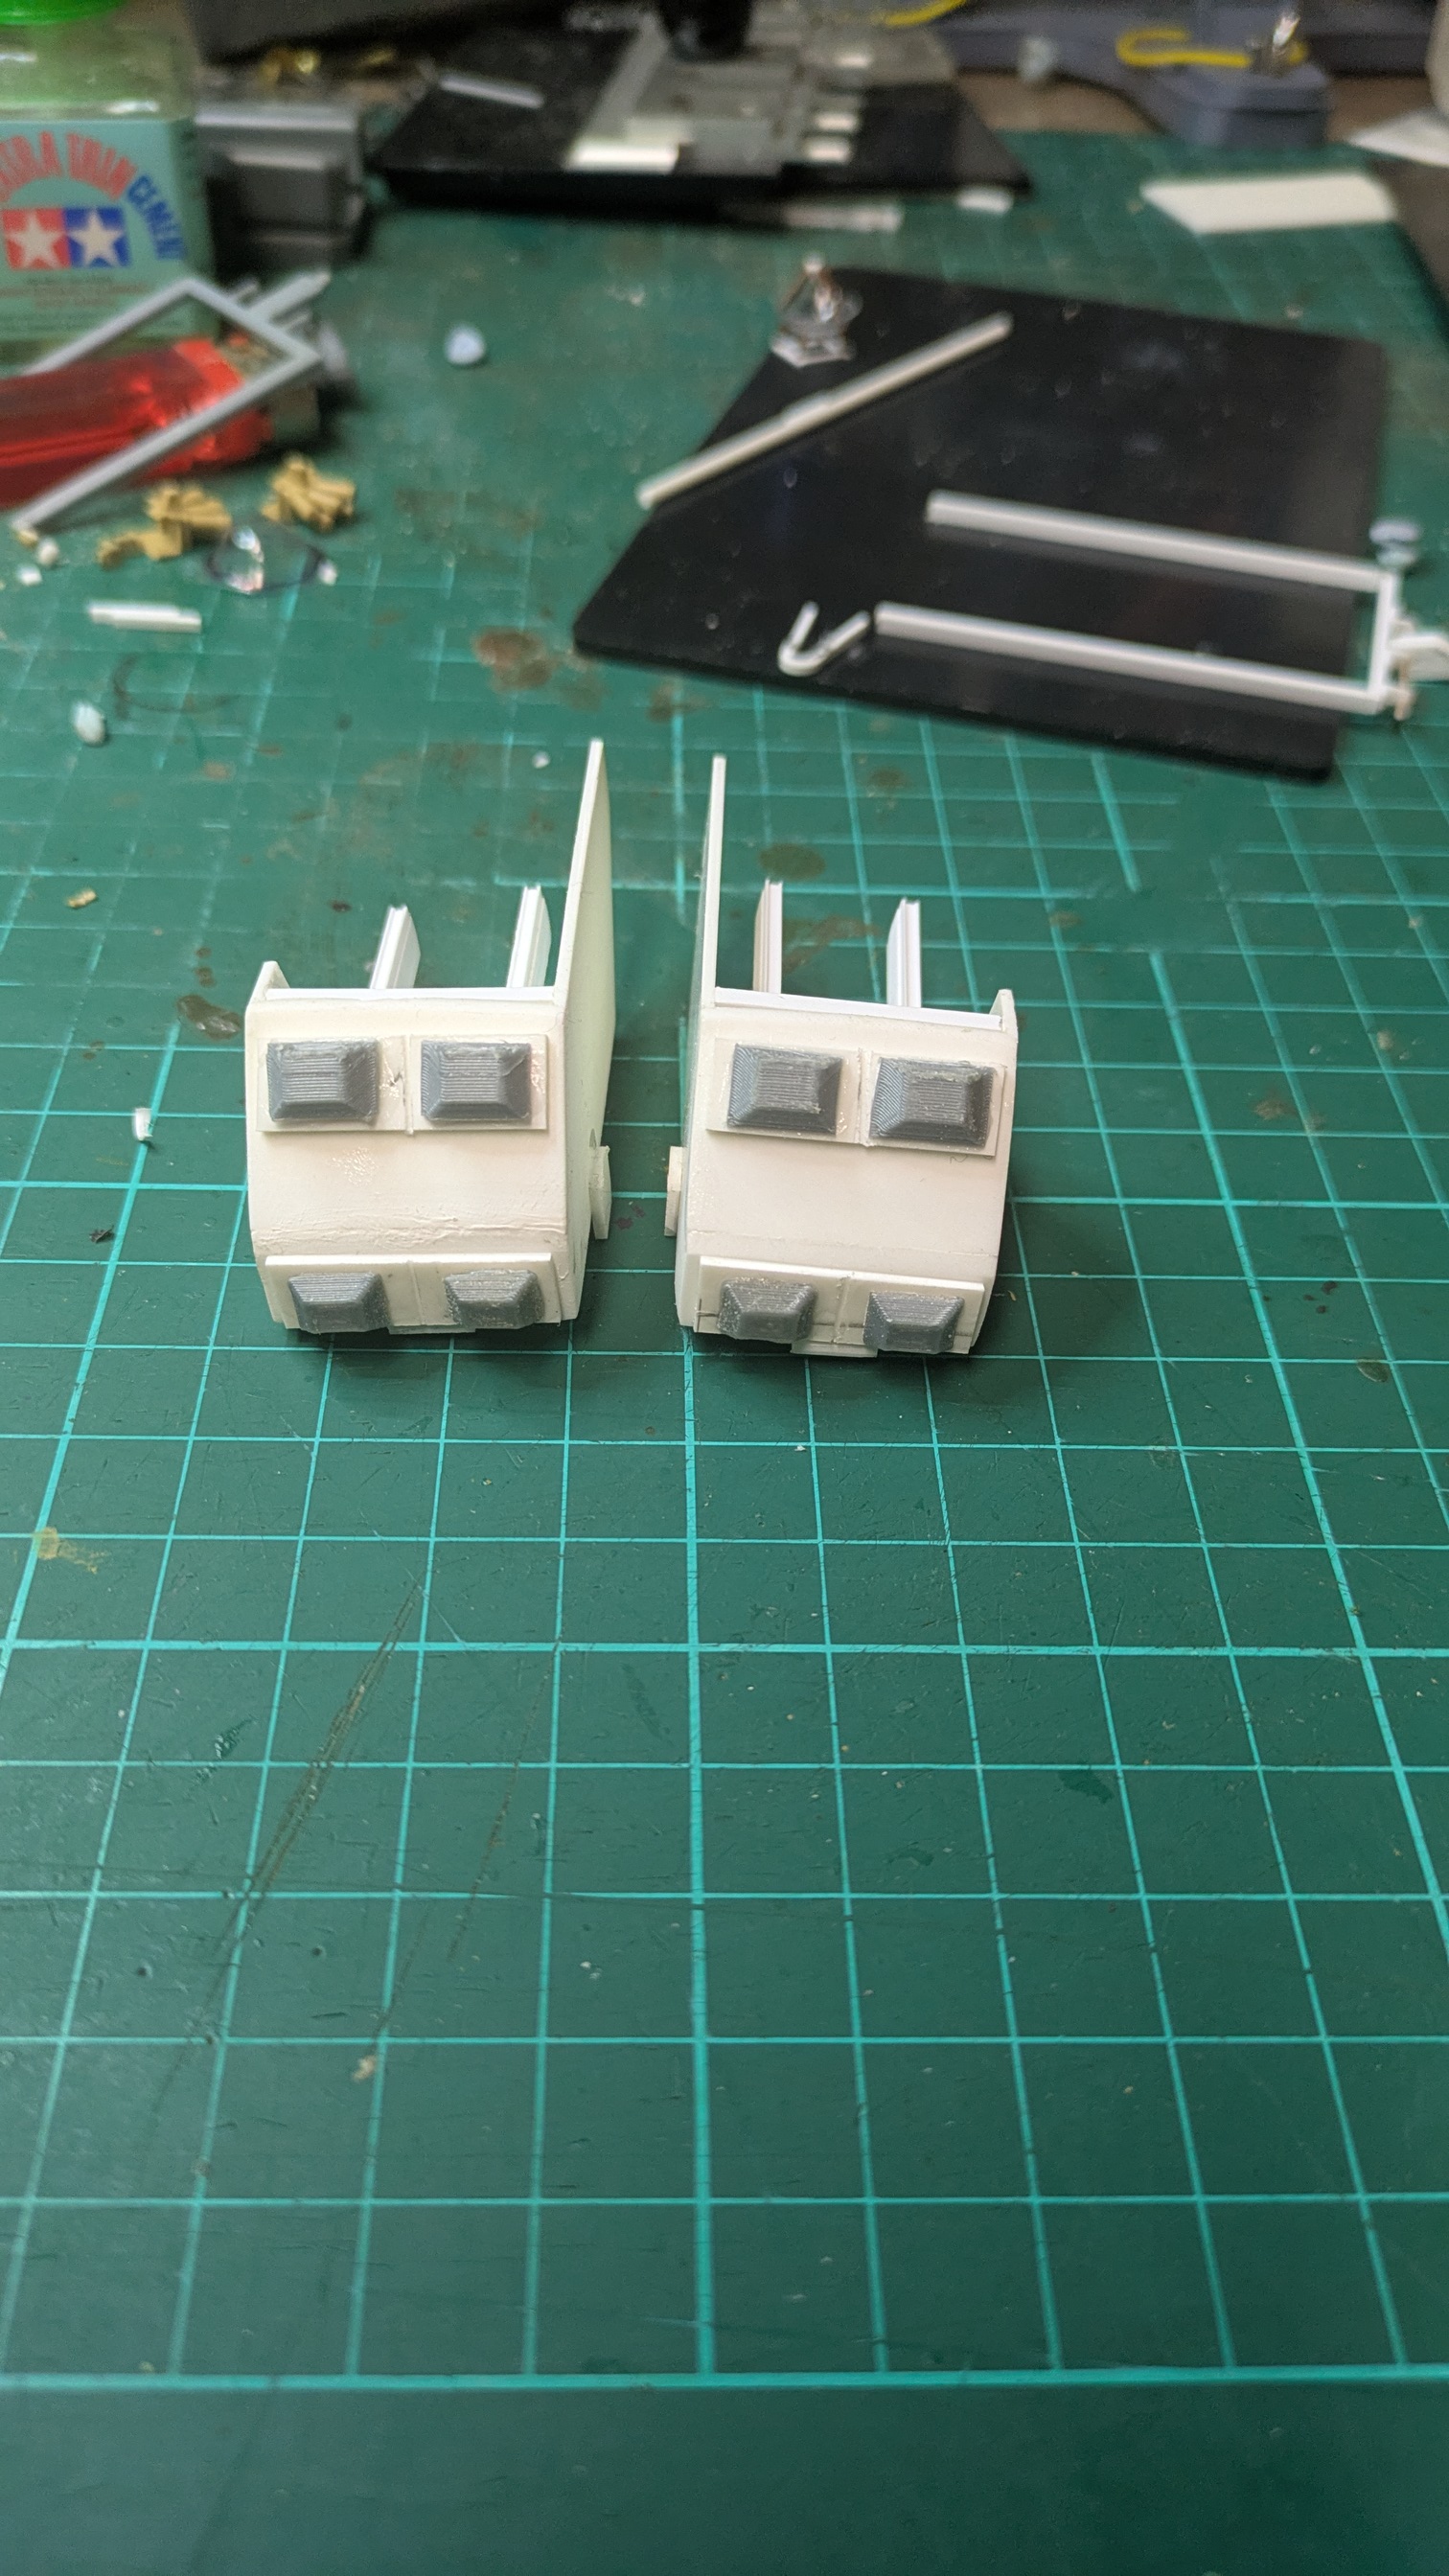
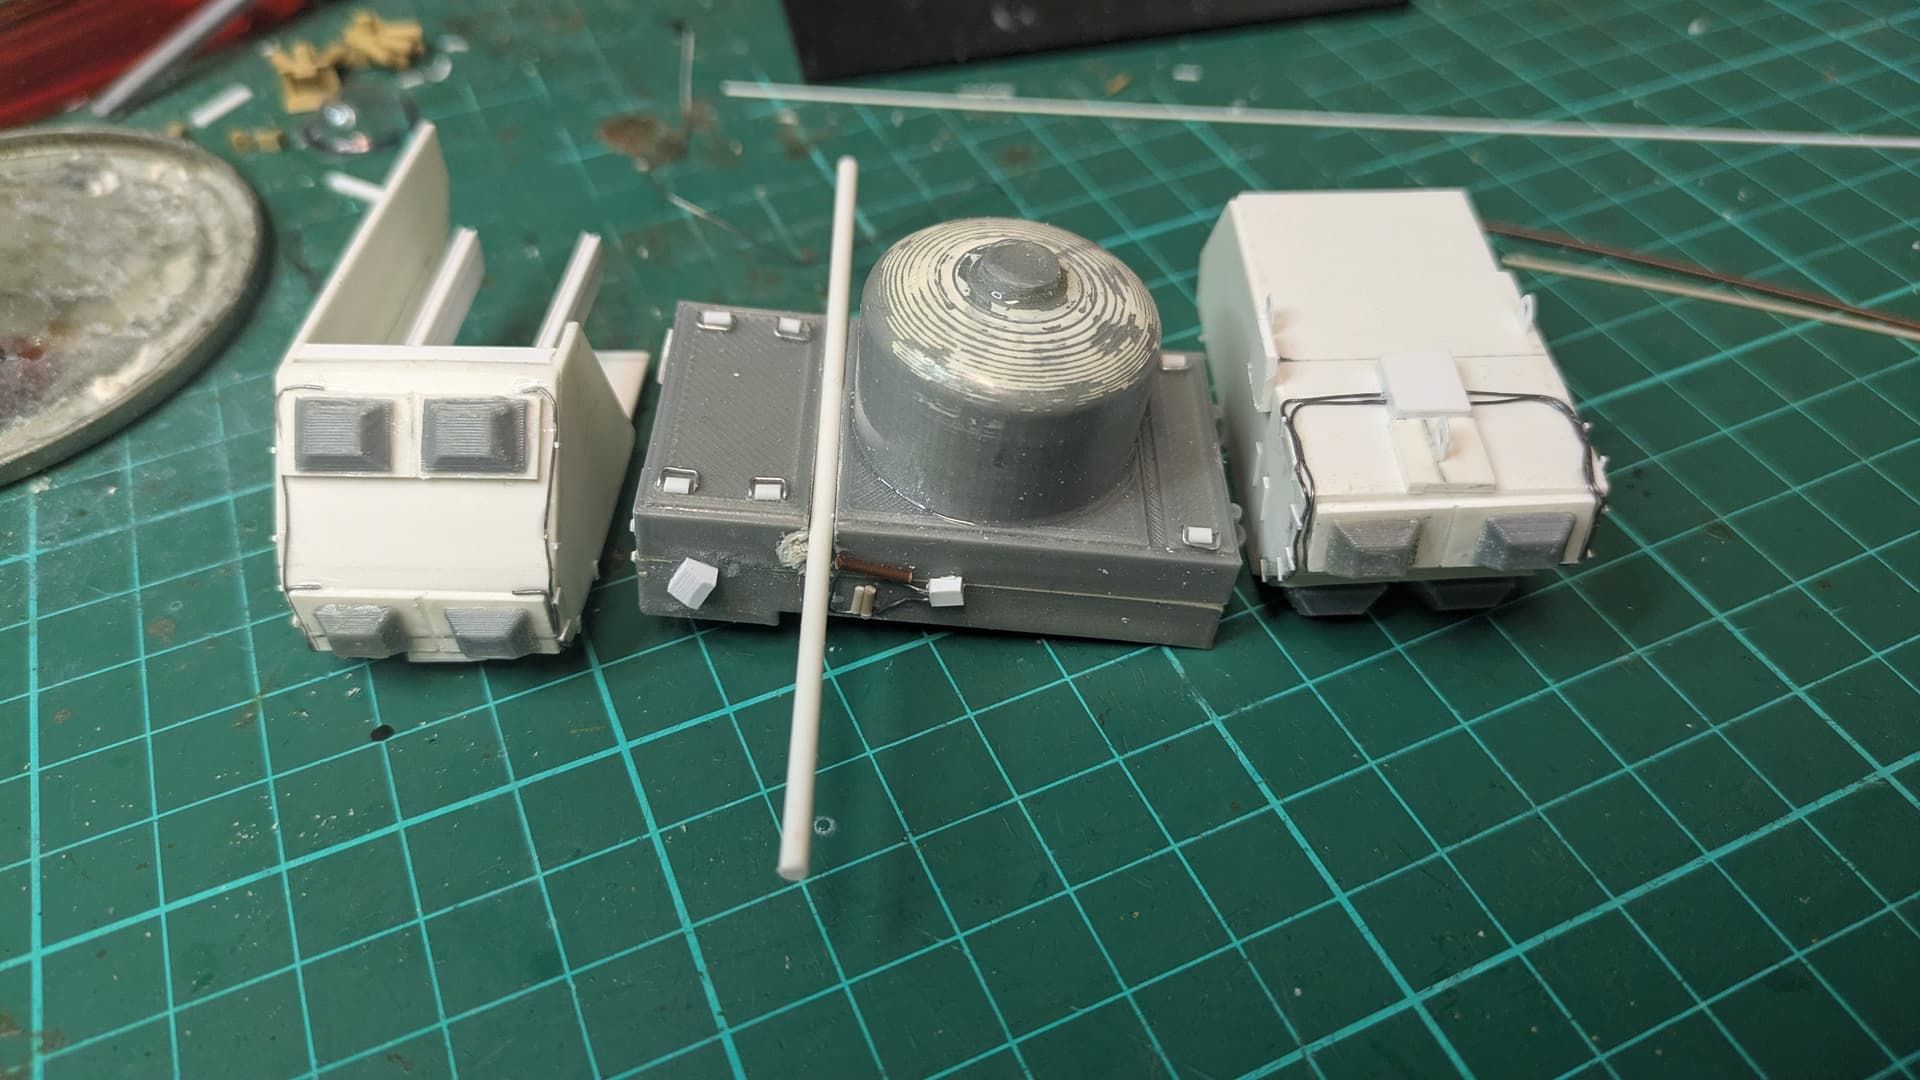
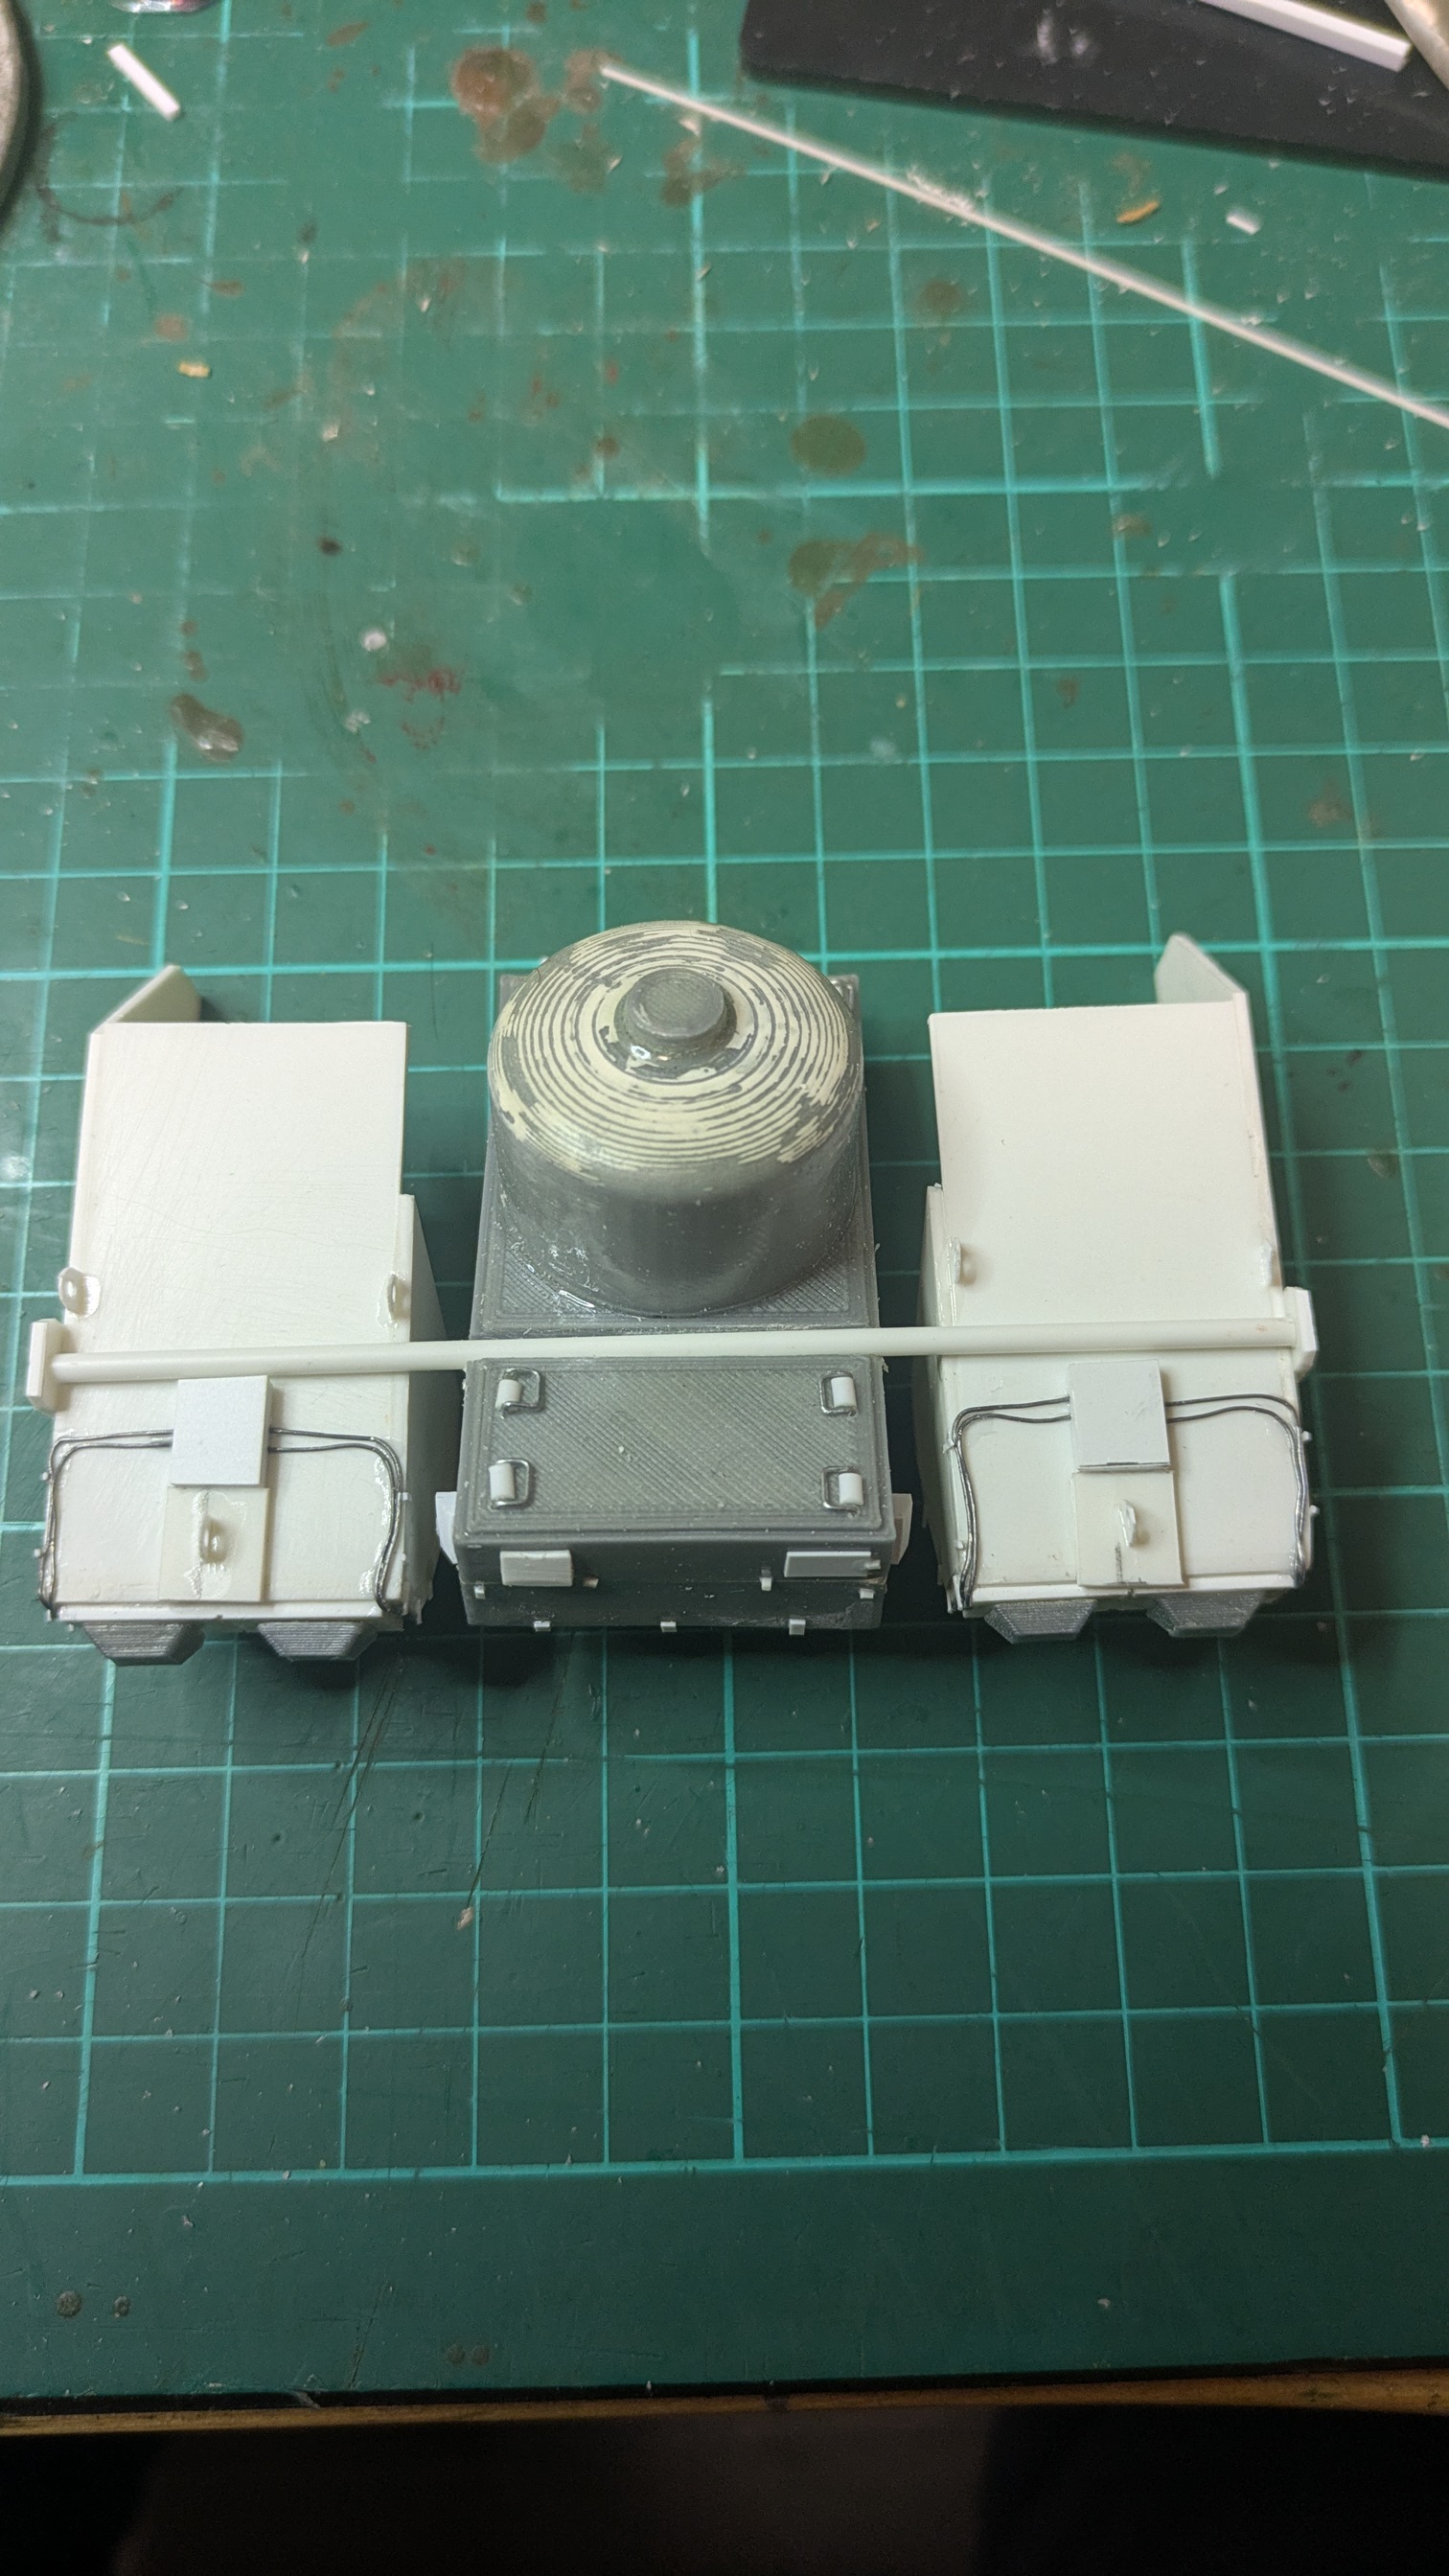
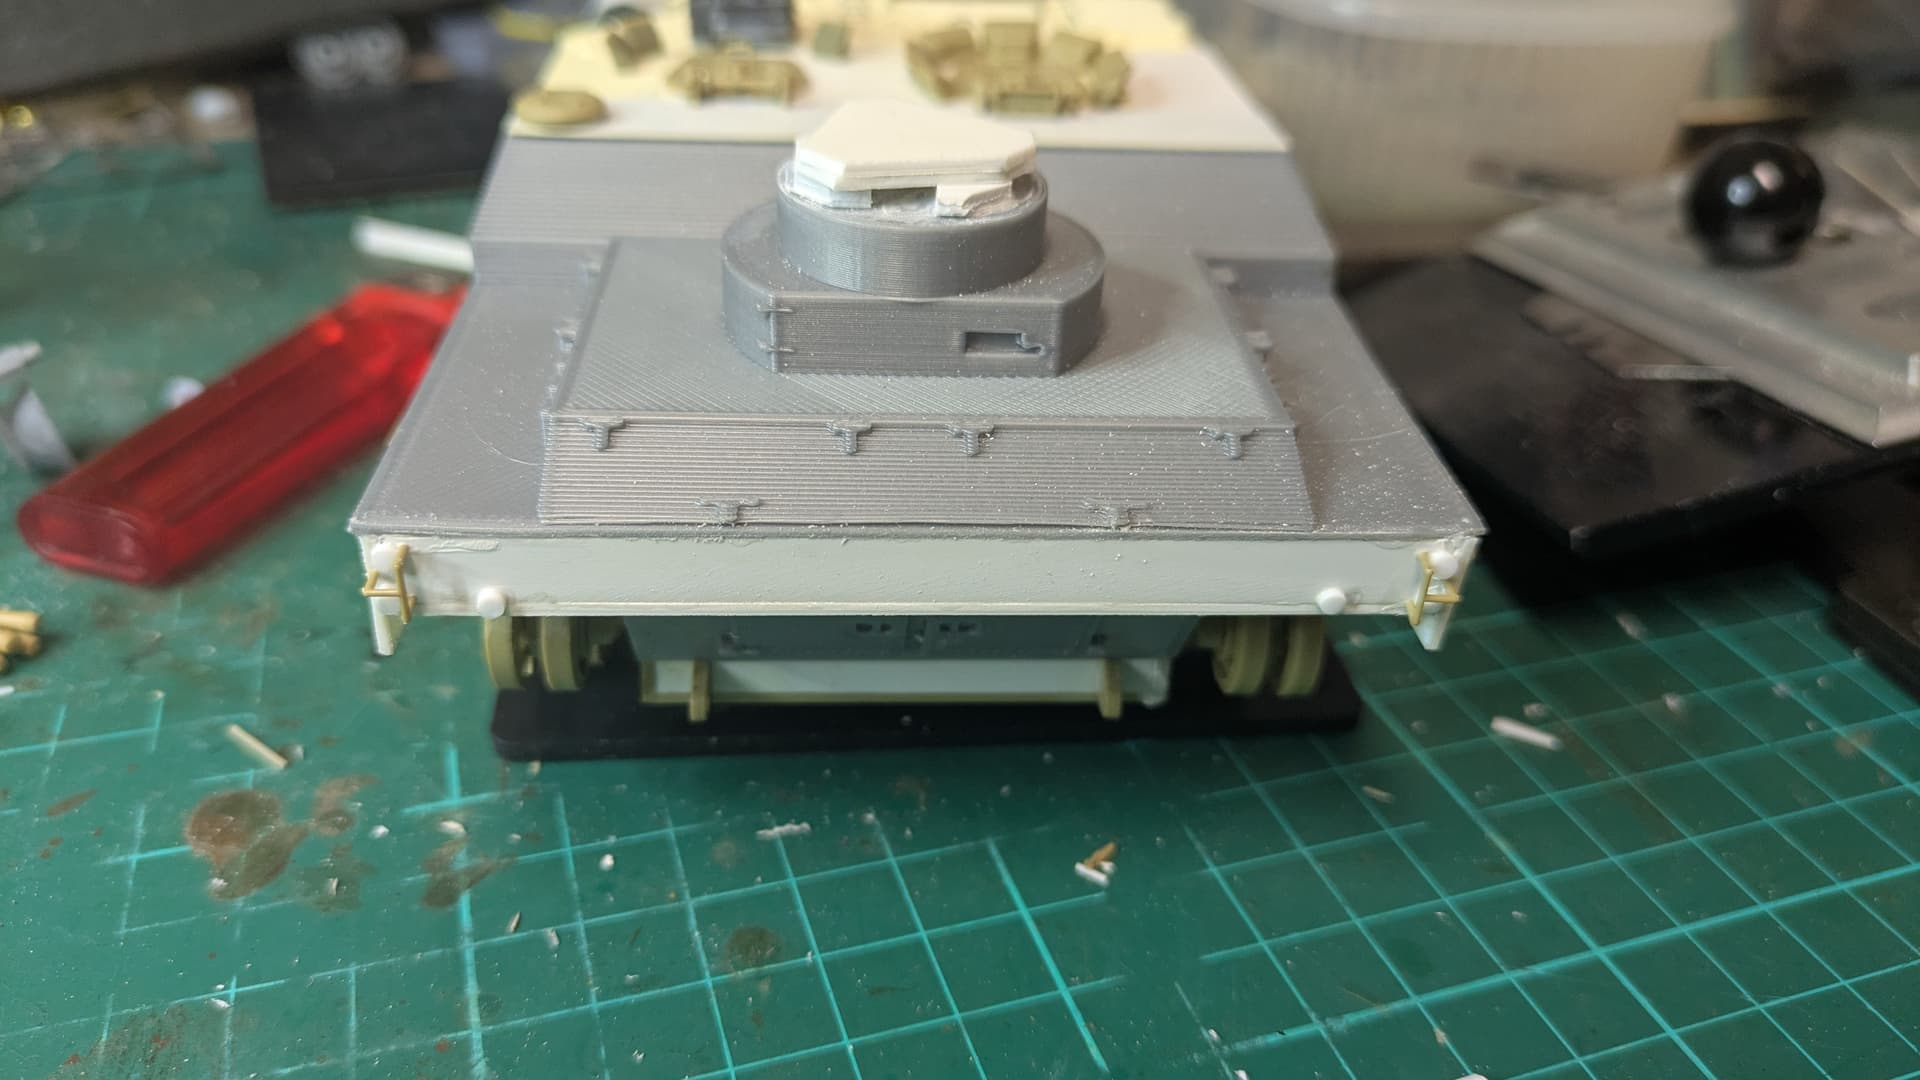
I’m slowly building the Breda 32.
Added bits and pieces to the interior, some were scratchbuilt.
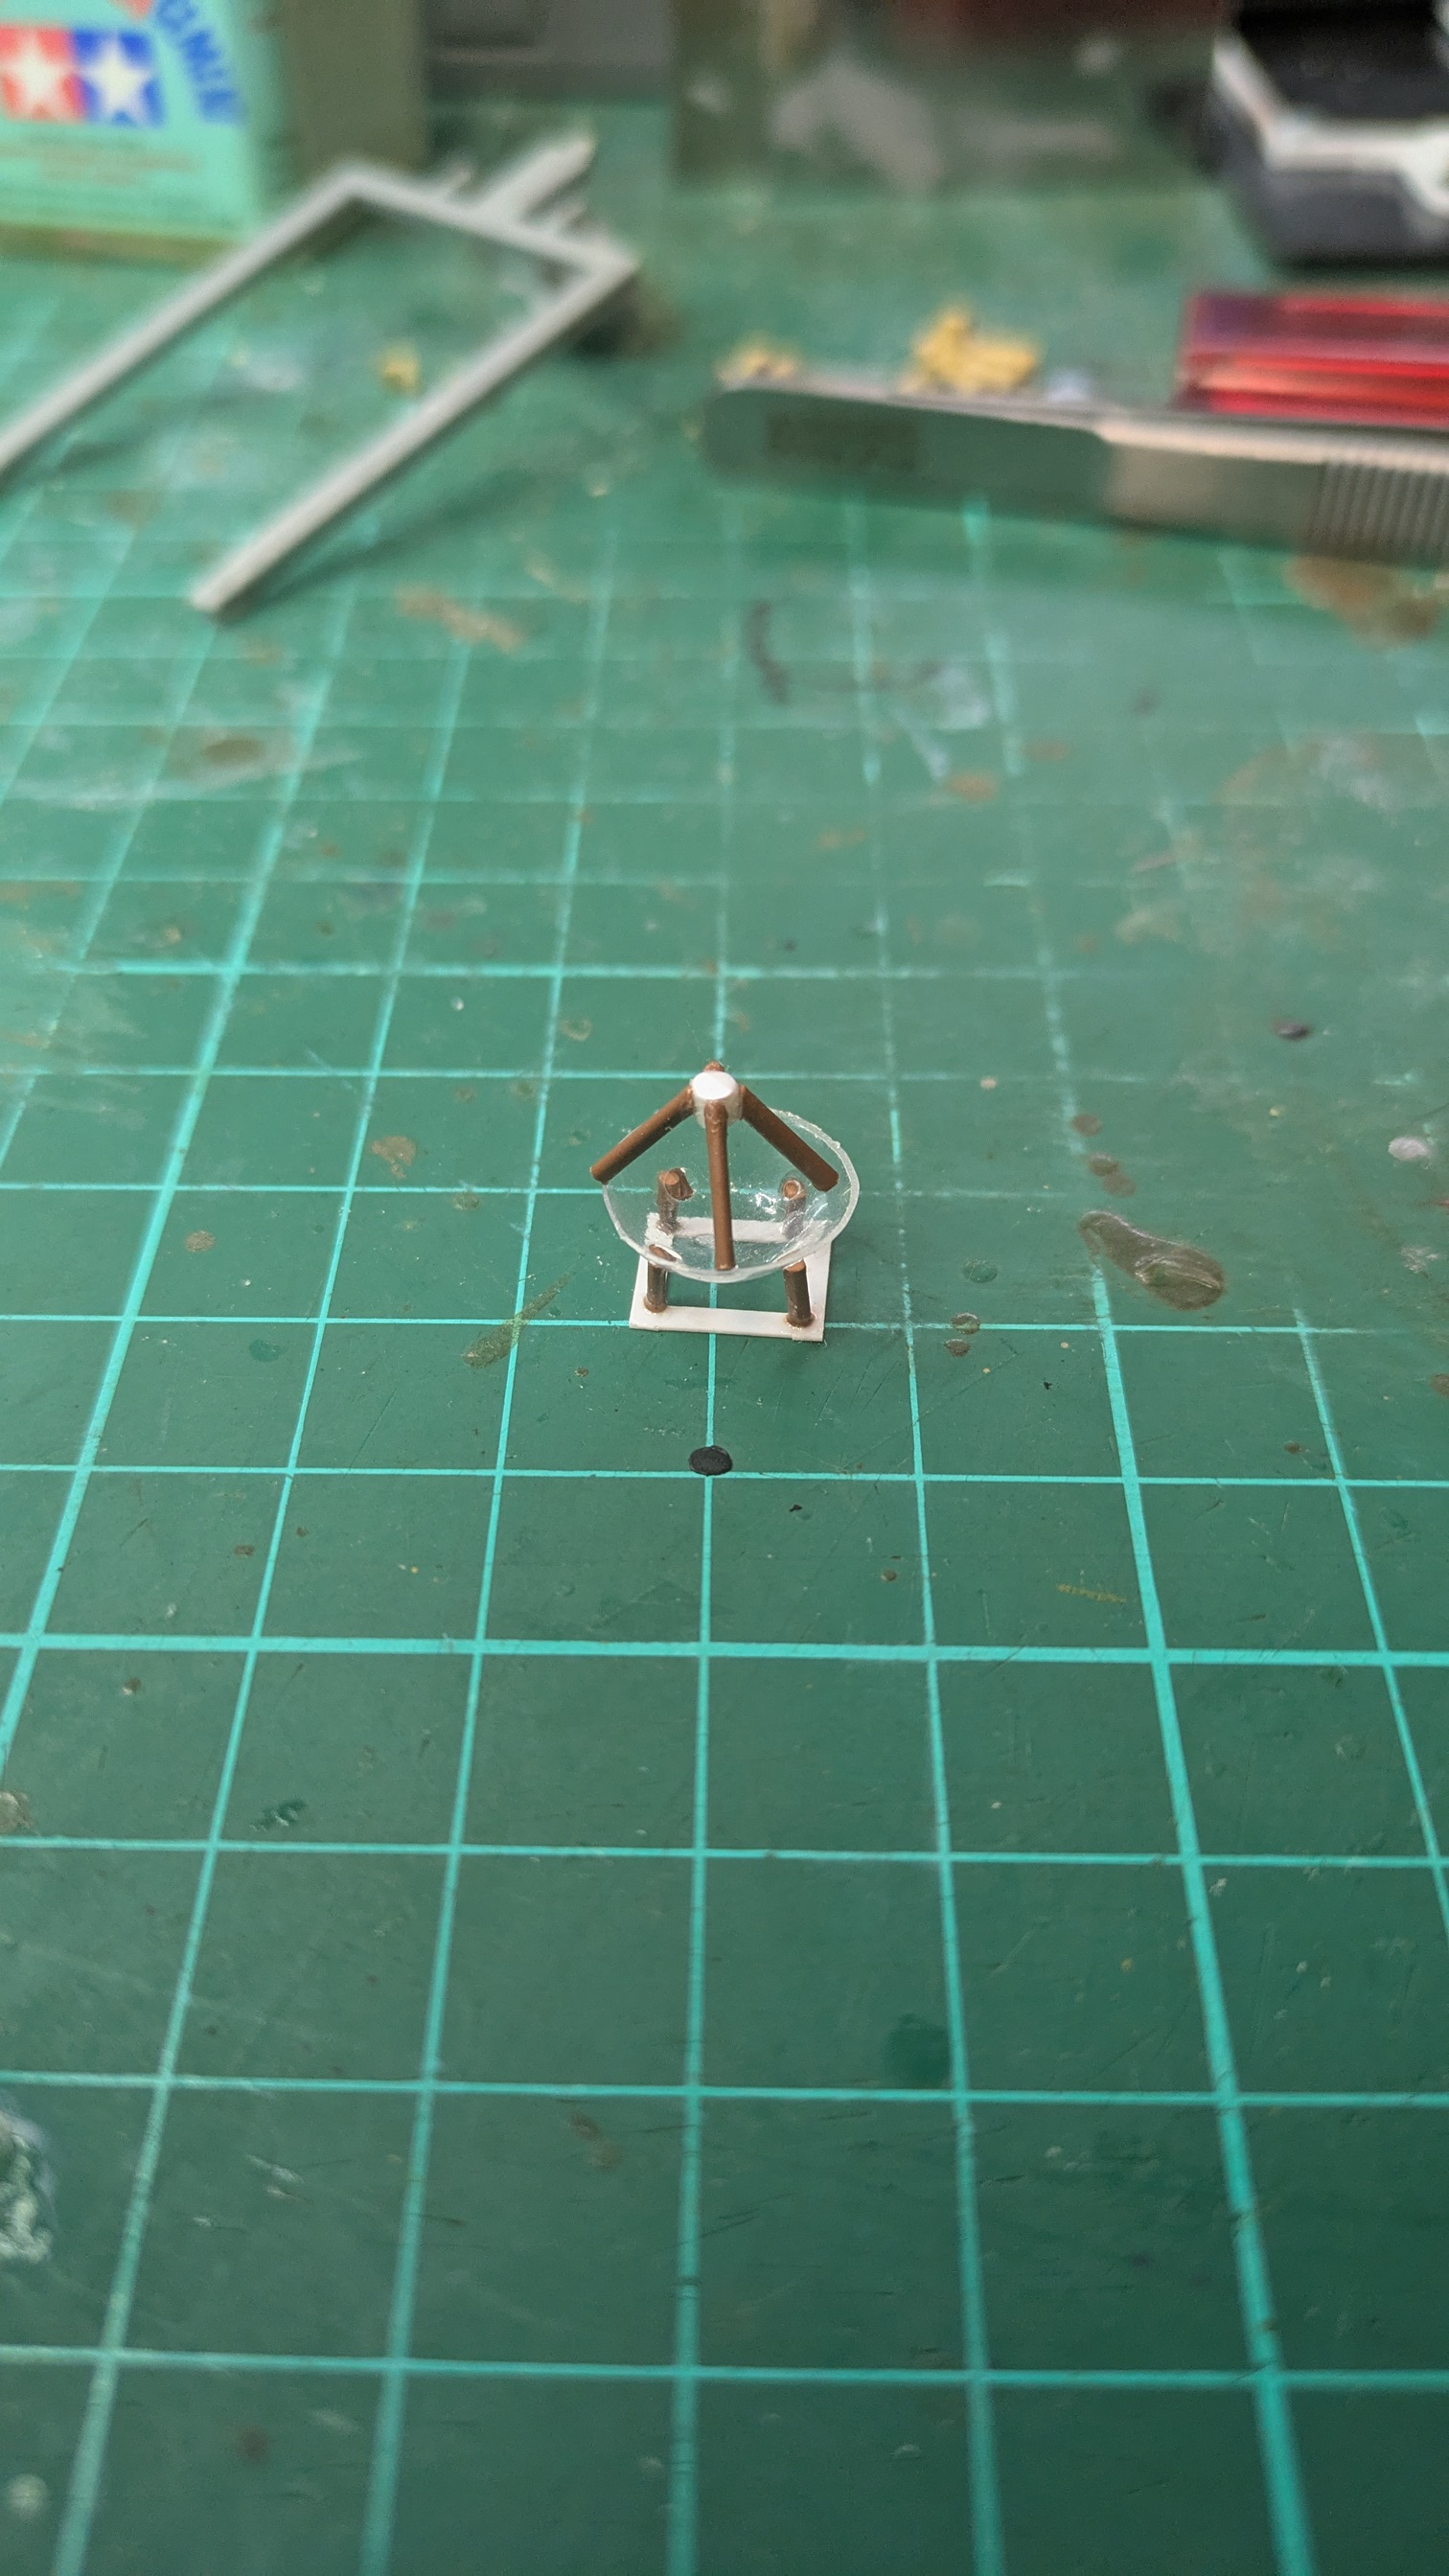
Detailed the steering wheel and made use of a PE set with 1/32 scale instrument bezzels to enhance the detail on the dashboard.
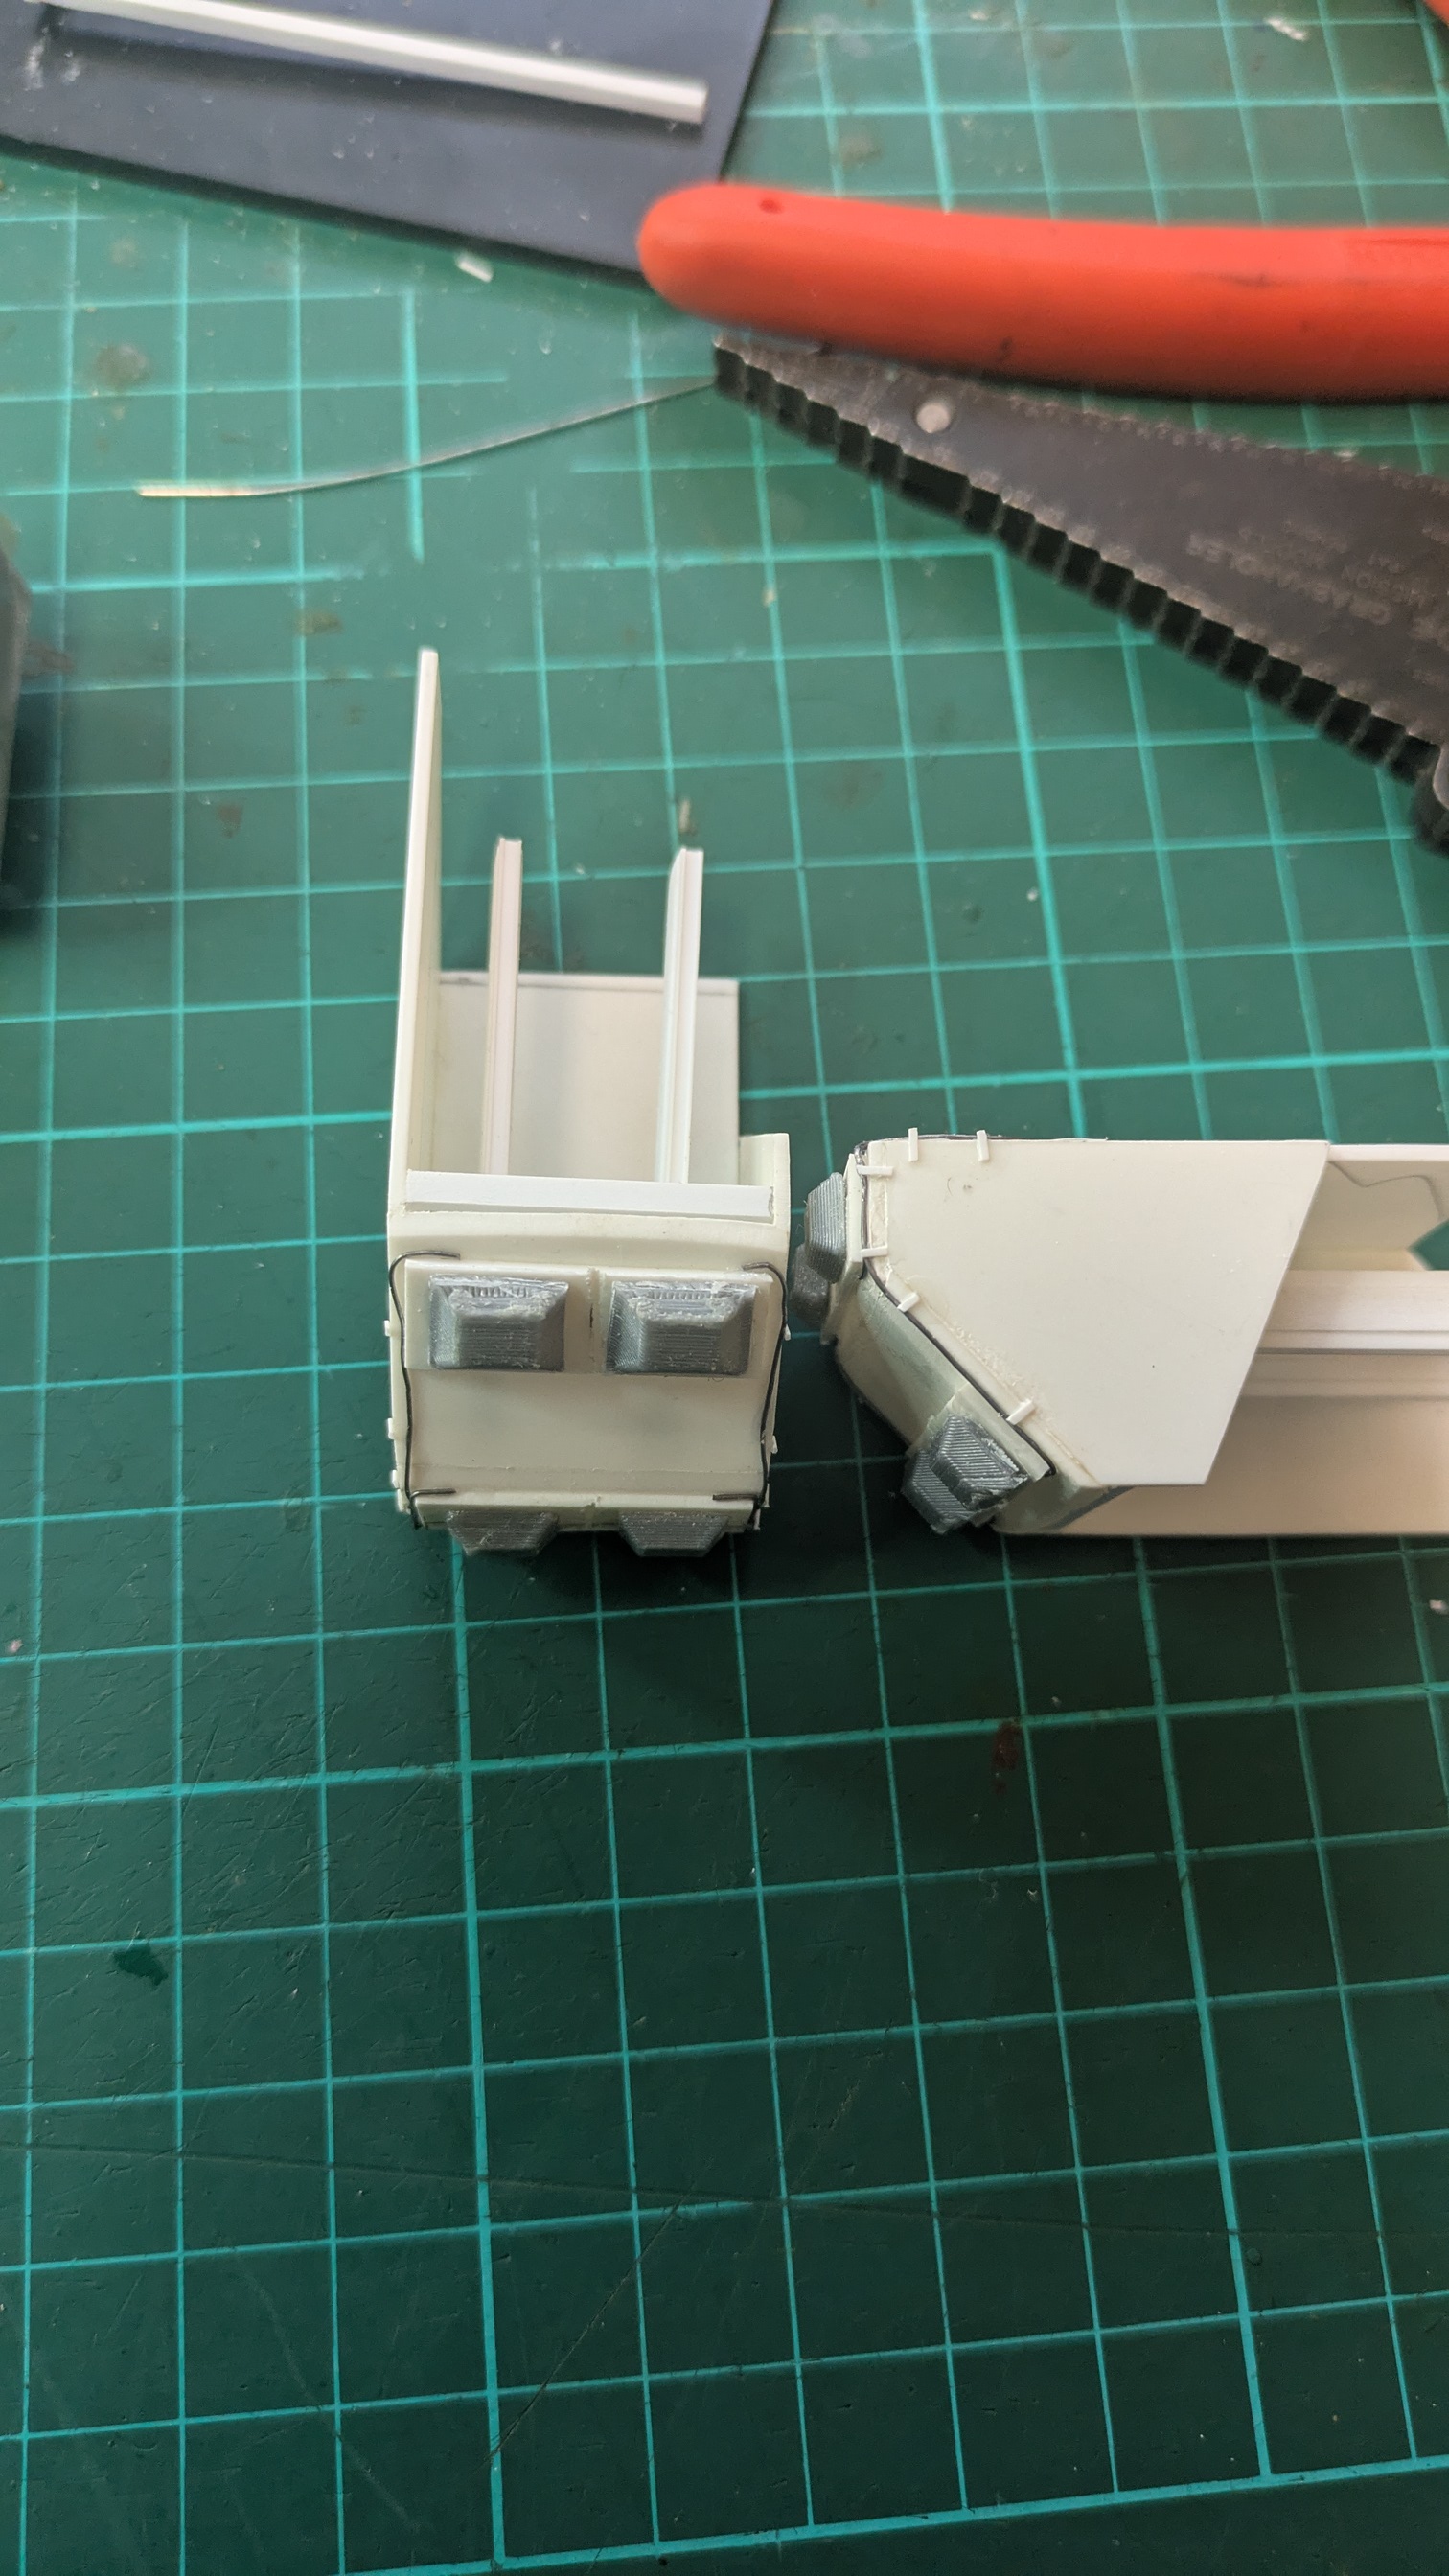
Built the internal structure of load bed sides with styrene.
Replaced the organic driver cab roof with a flat one and added side sheets from pewter to model the siding of the original vehicle.
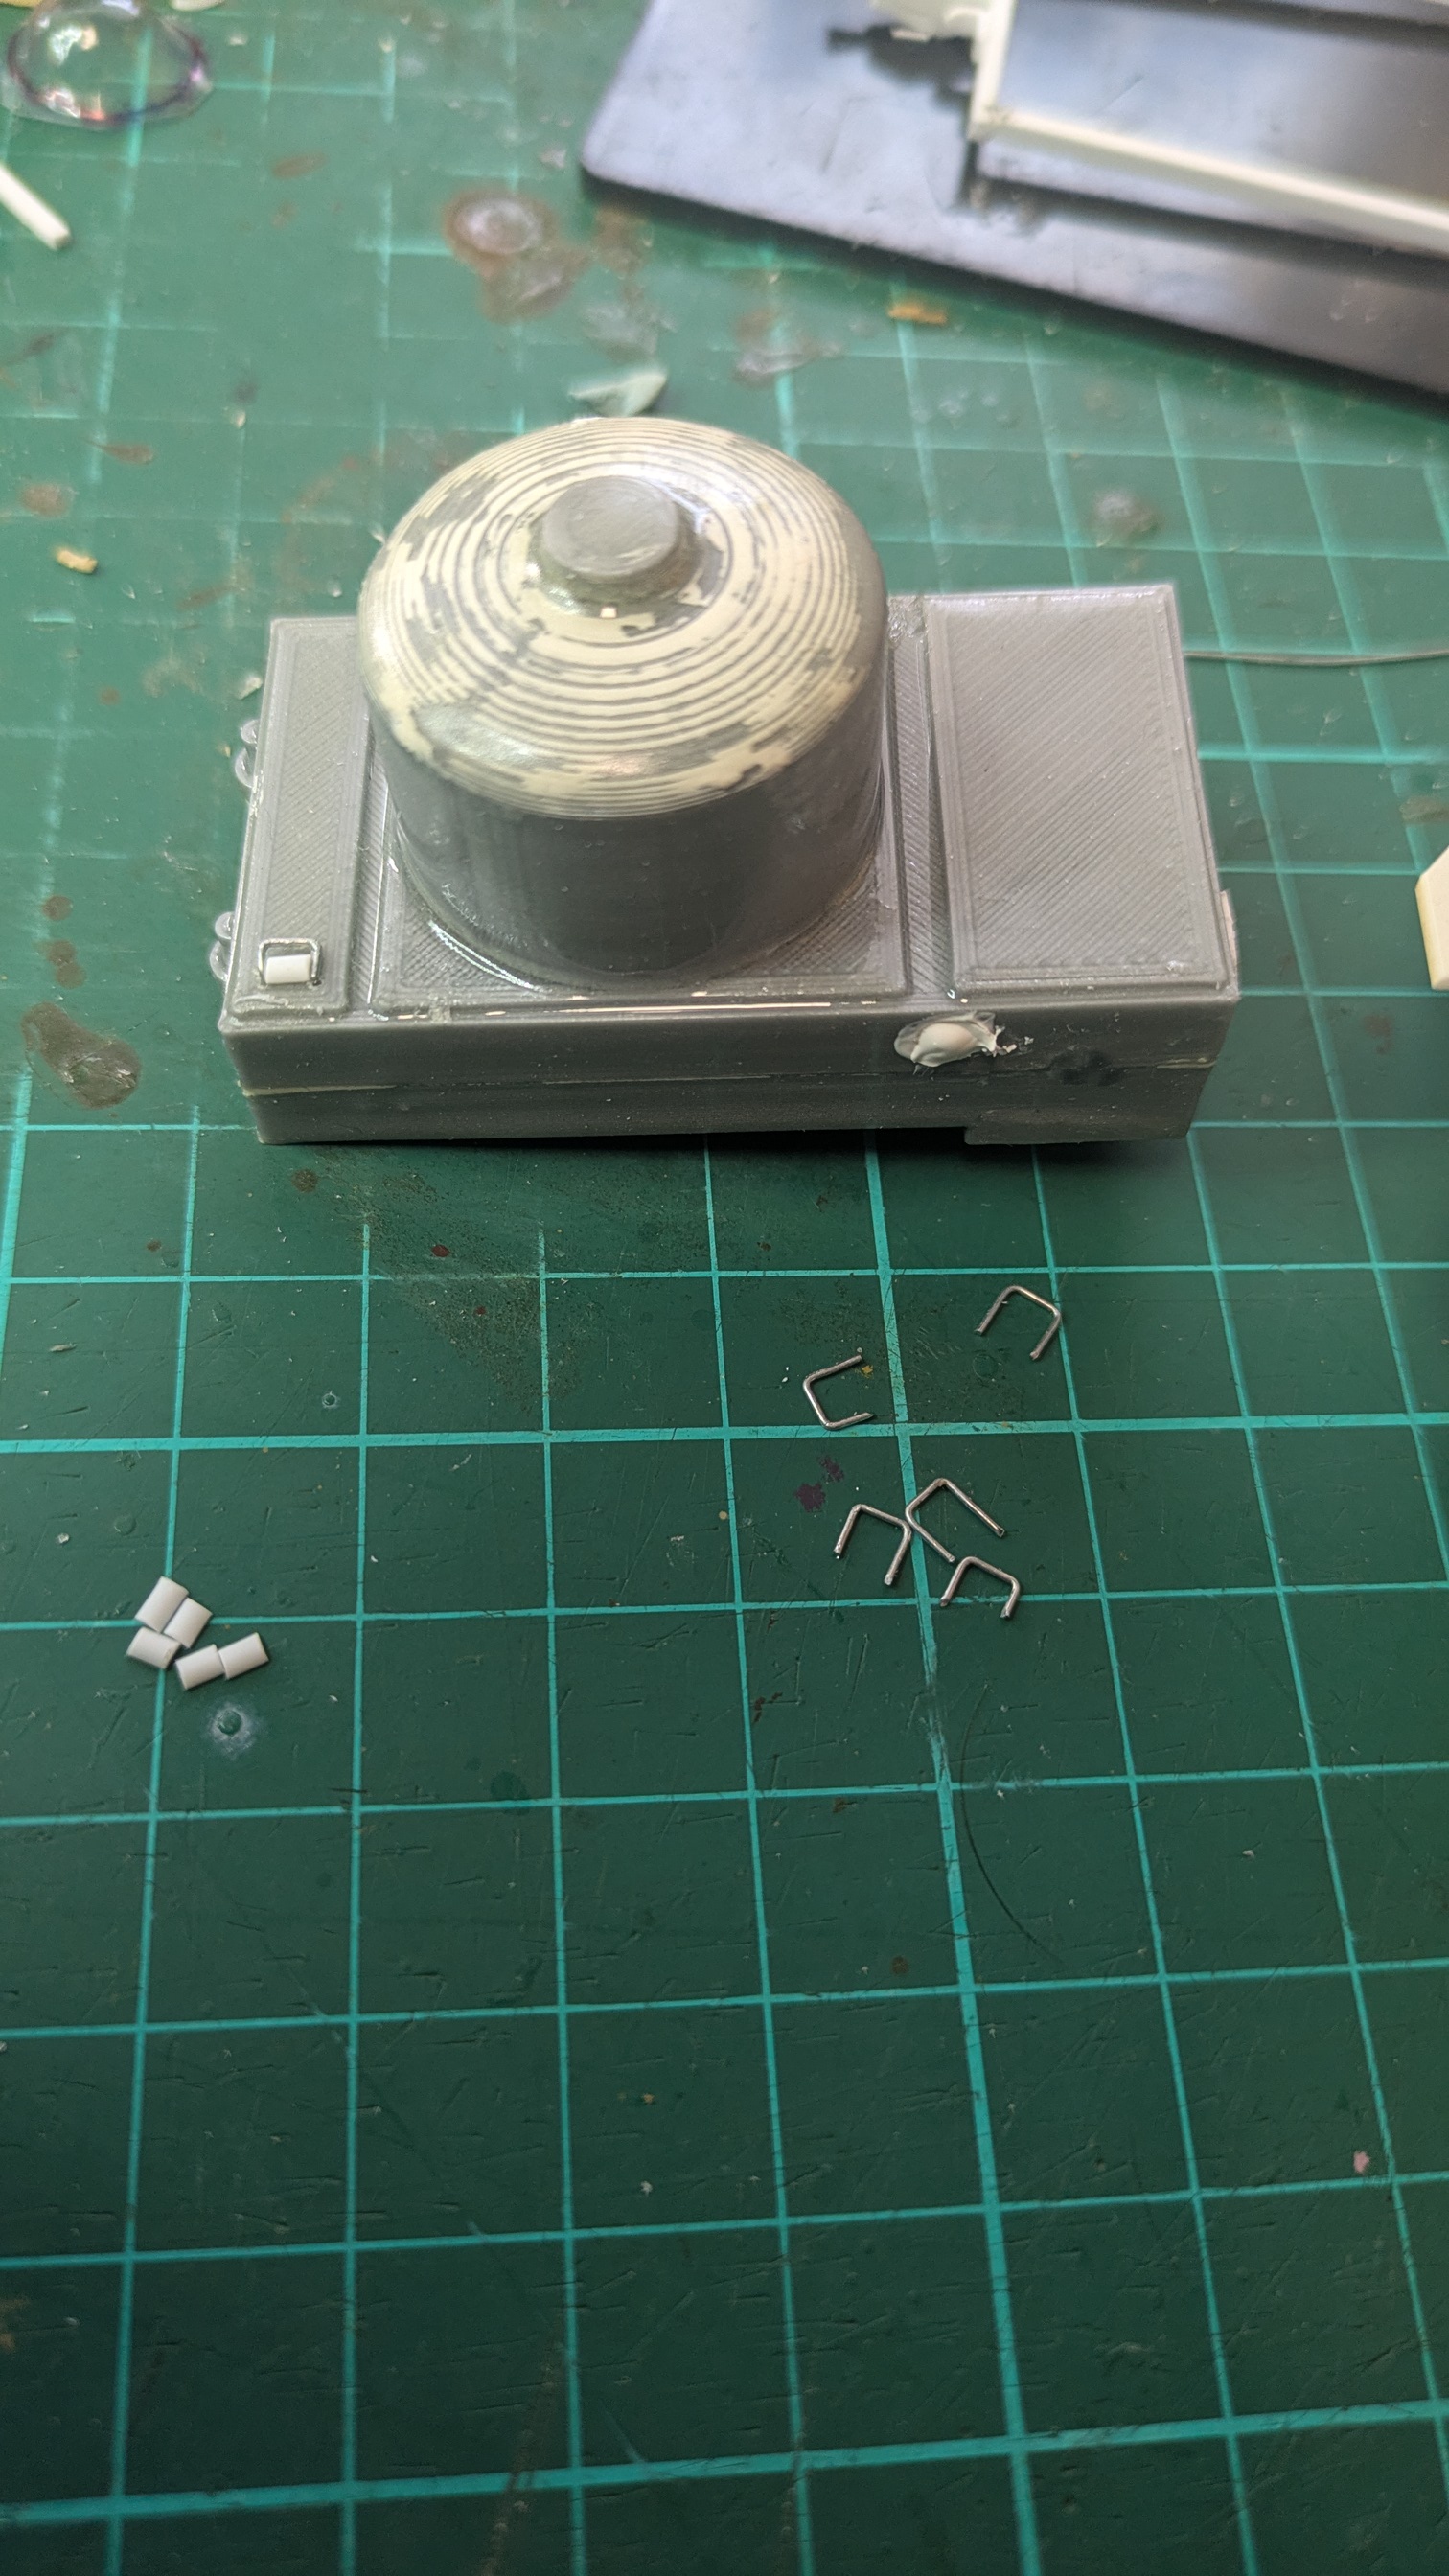
The load bed floor is cast with a non-skid rhomb plating like the real vehicle.The problem is there is a huge sink mark that cannot be hidden.I’ll need to cut a new floor from PE and glue it on top of the cast one.A suitable Microdesign PE set is underway and is expected to arrive in 2 weeks.
Cheers,
Angel
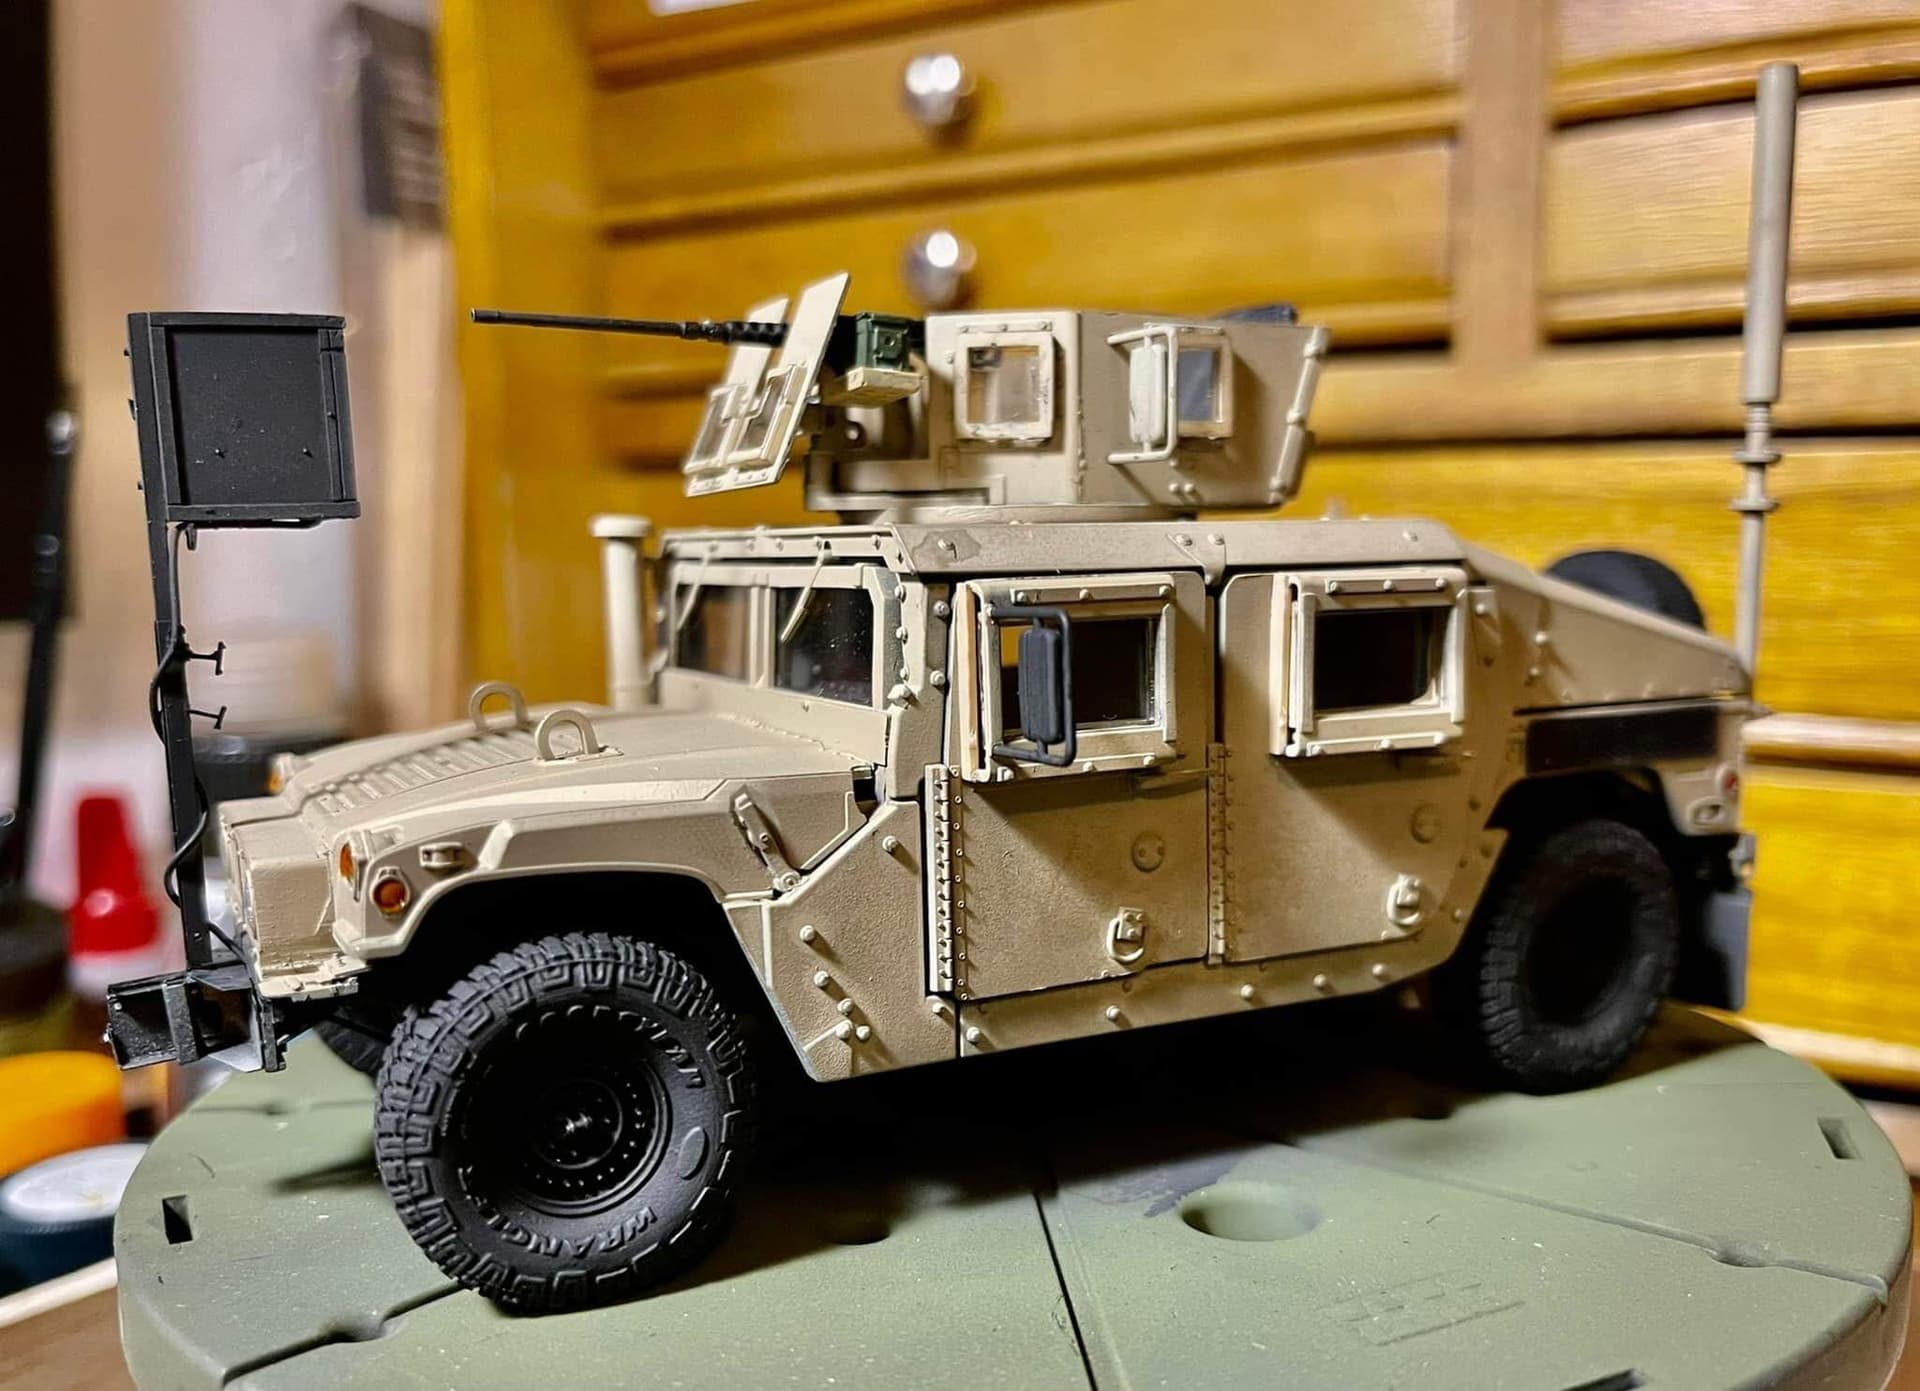
Same one I used on my M1151 build.
I used the Legend Hobby version. they make them for other vehicles, like the M1117 ASV, which can be easily modded to fit any vehicle.
Nice job. It’s nice to see stuff I helped with actually being used.
Only a few more parts are missing, but the major work is done on this nearly 30 years oldie. Next step Bodenglänzer and decals. Wish me luck that they behave well after all the years in the box.
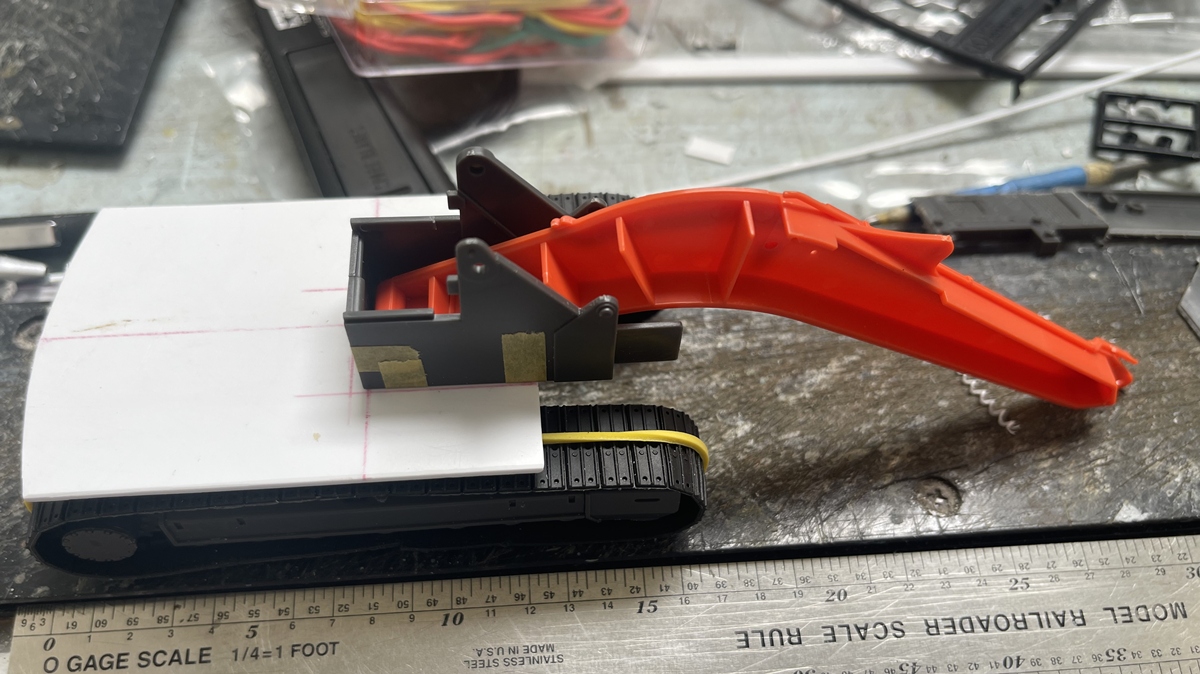
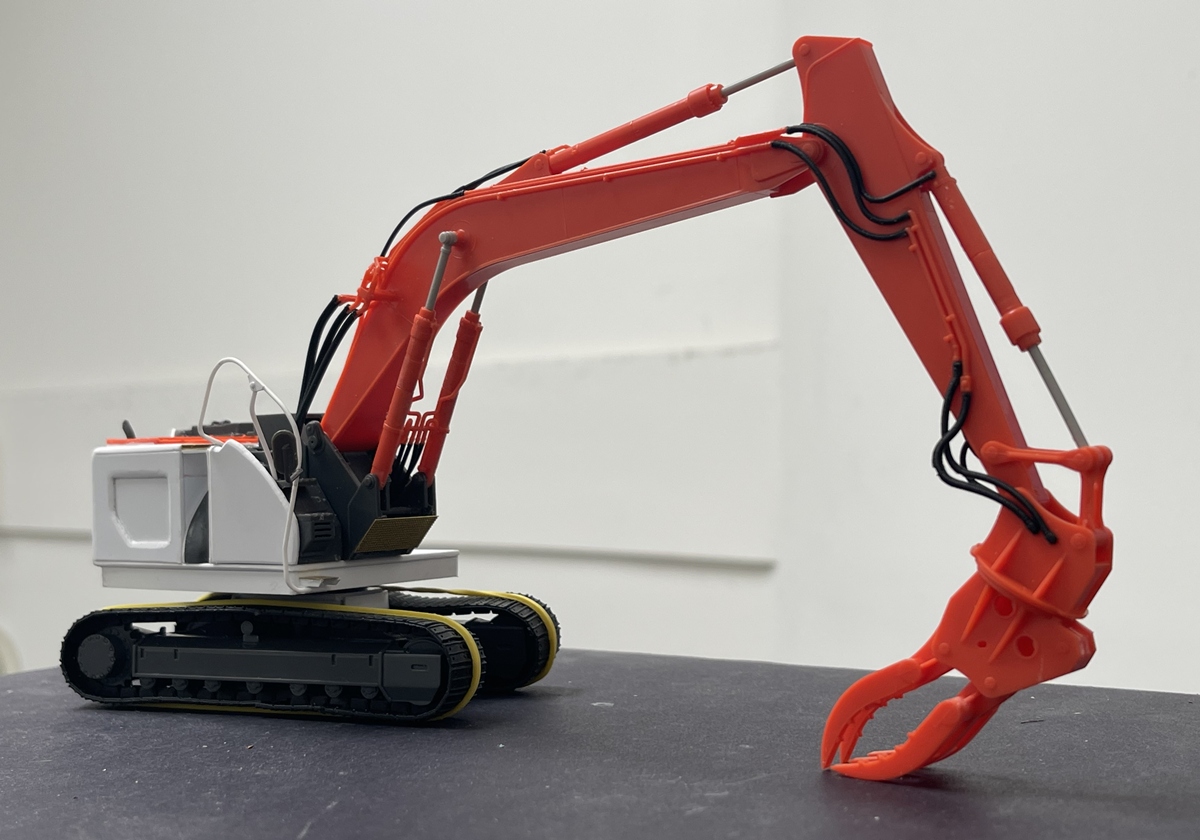
As I am waiting for some parts to finish the GP38-2, on to another vehicle. For this I’m starting with a 1/35 Hasegawa Hitachi ASTCO and converting it to a 1/48 Cat 317 excavator.
I picked the 317 because the track length and width in the 1/35 kit is really close to the track used on the 317, so I have at least that for a conversion:
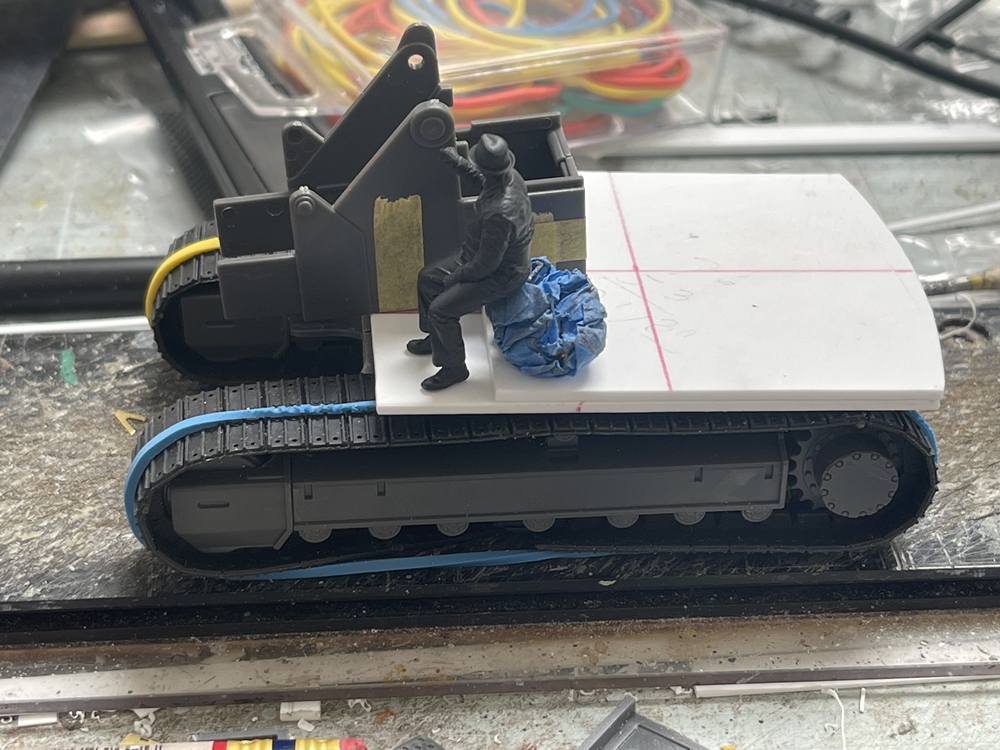
I was going to use the guy as my engineer, but as it will be next to impossible to see him in the GP38-2, well, he now has a new job as an equipment operator!
On we go
Nick ![]()
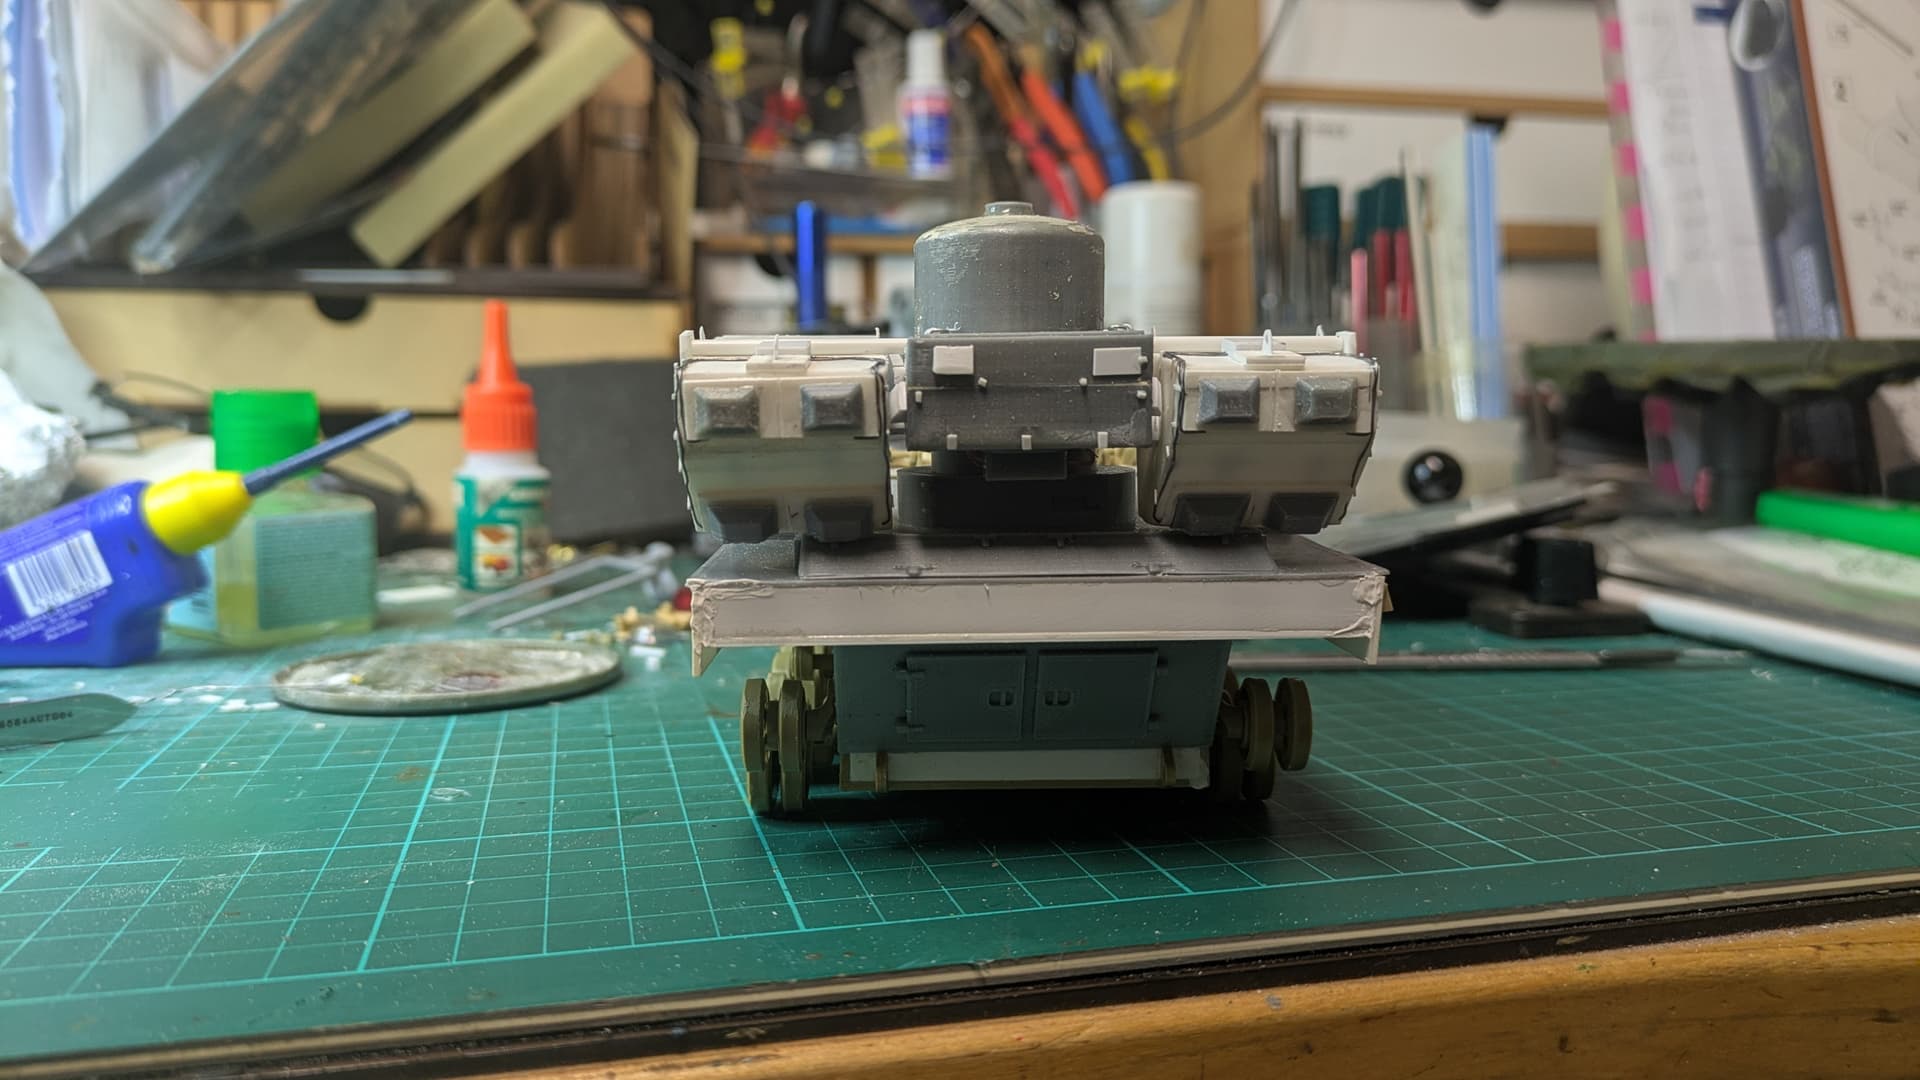
Frank - you’ve been busy and I missed this one; looking very interesting Mate!
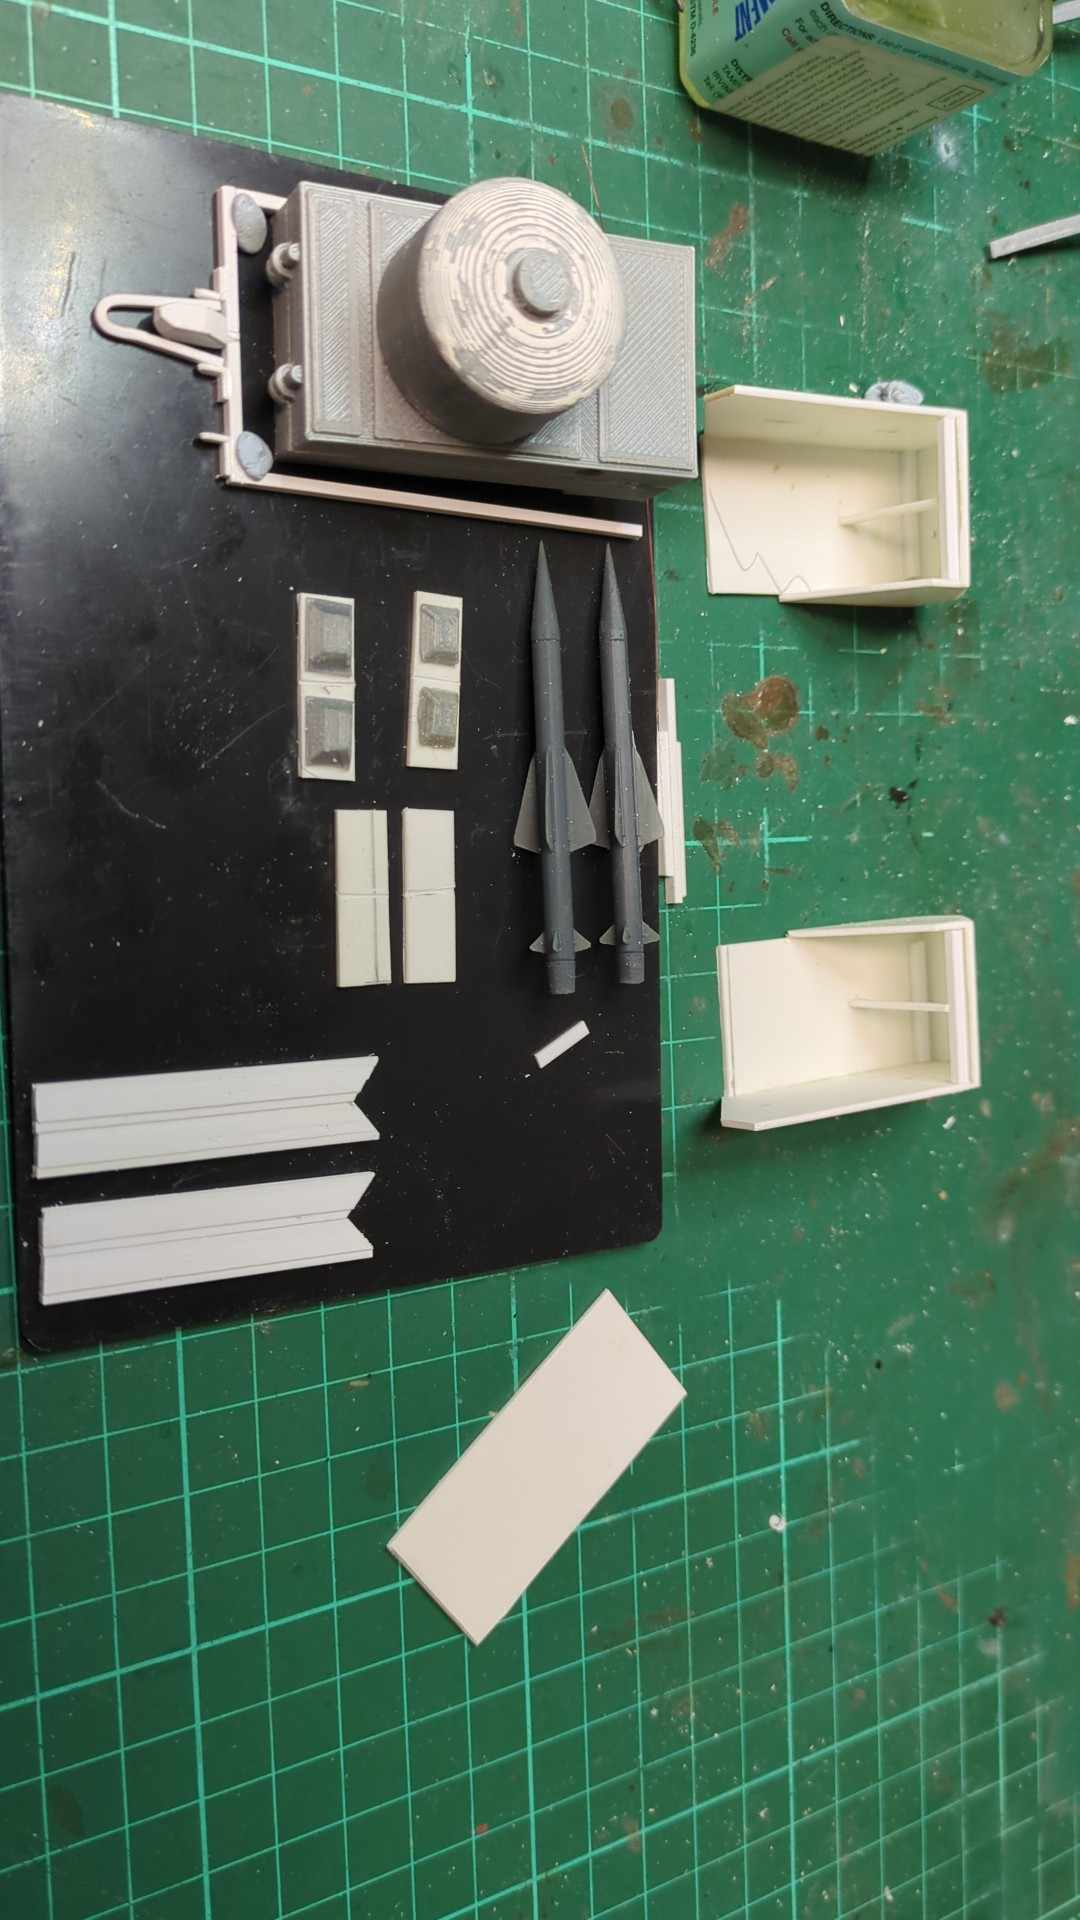
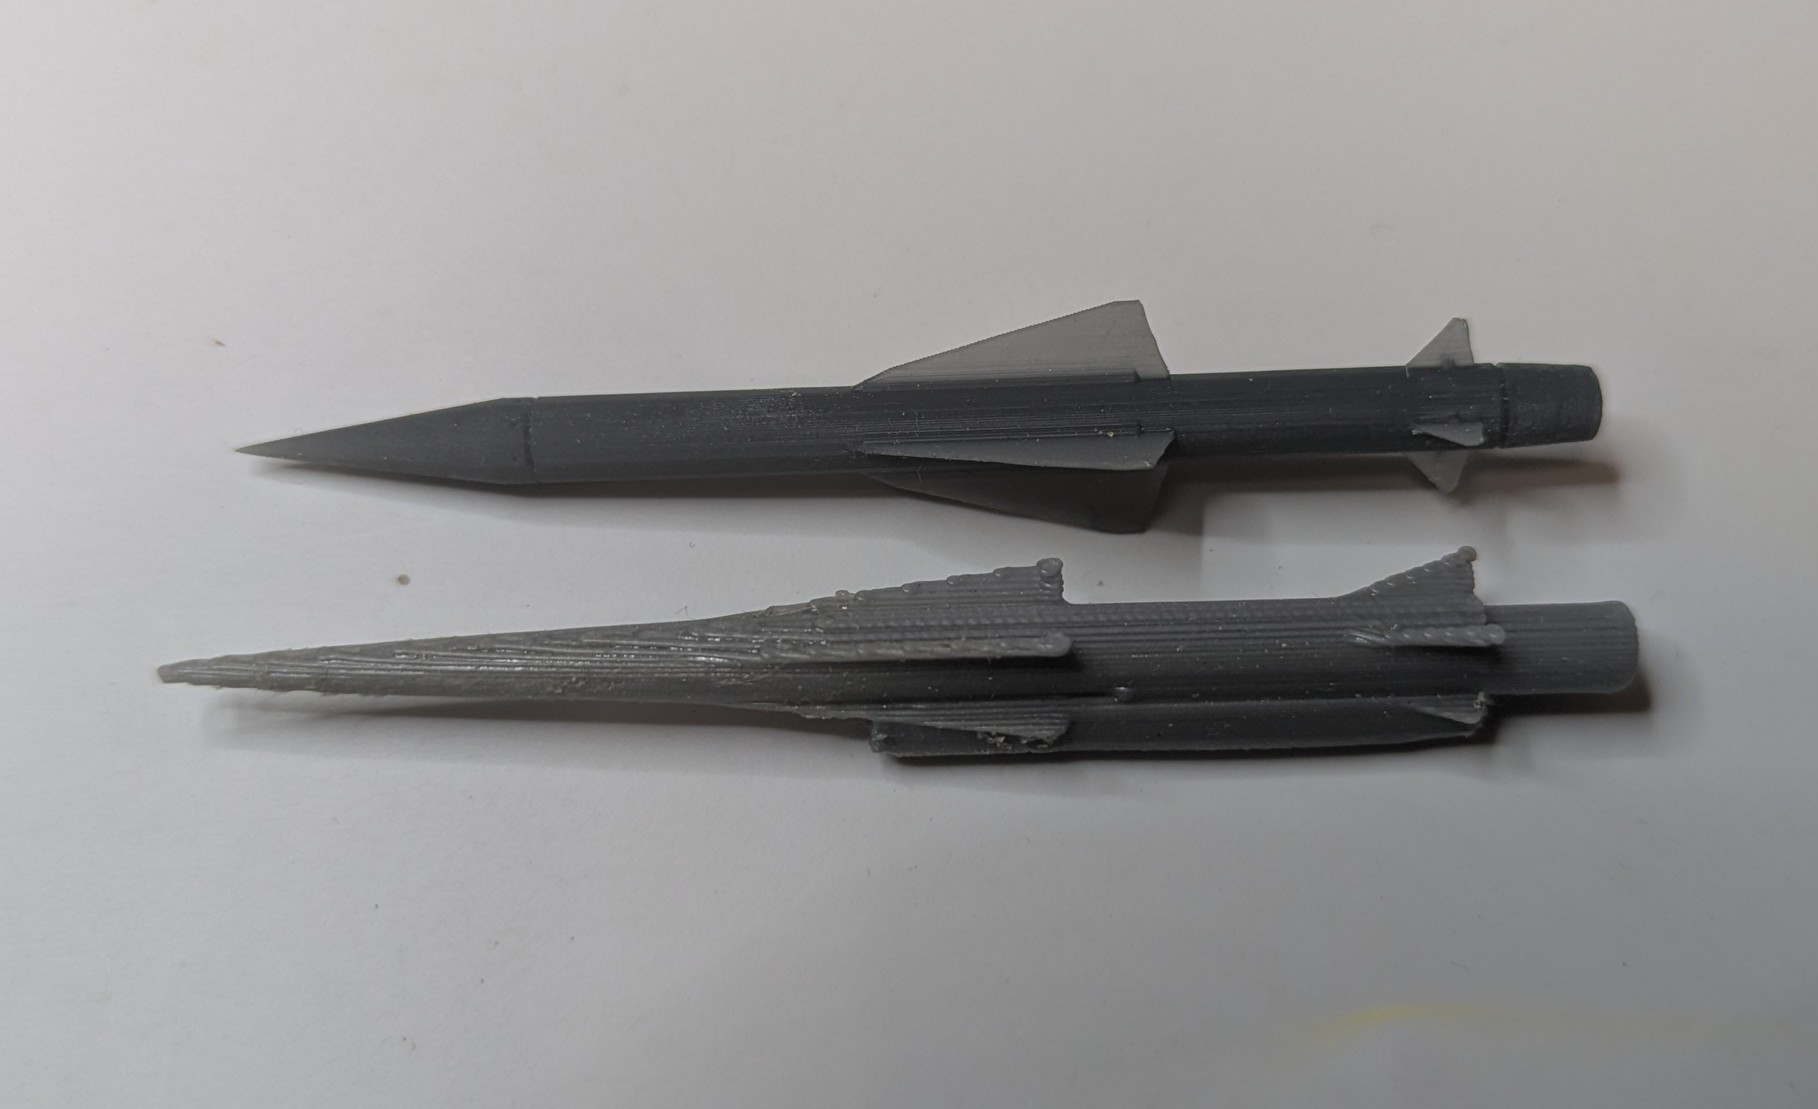
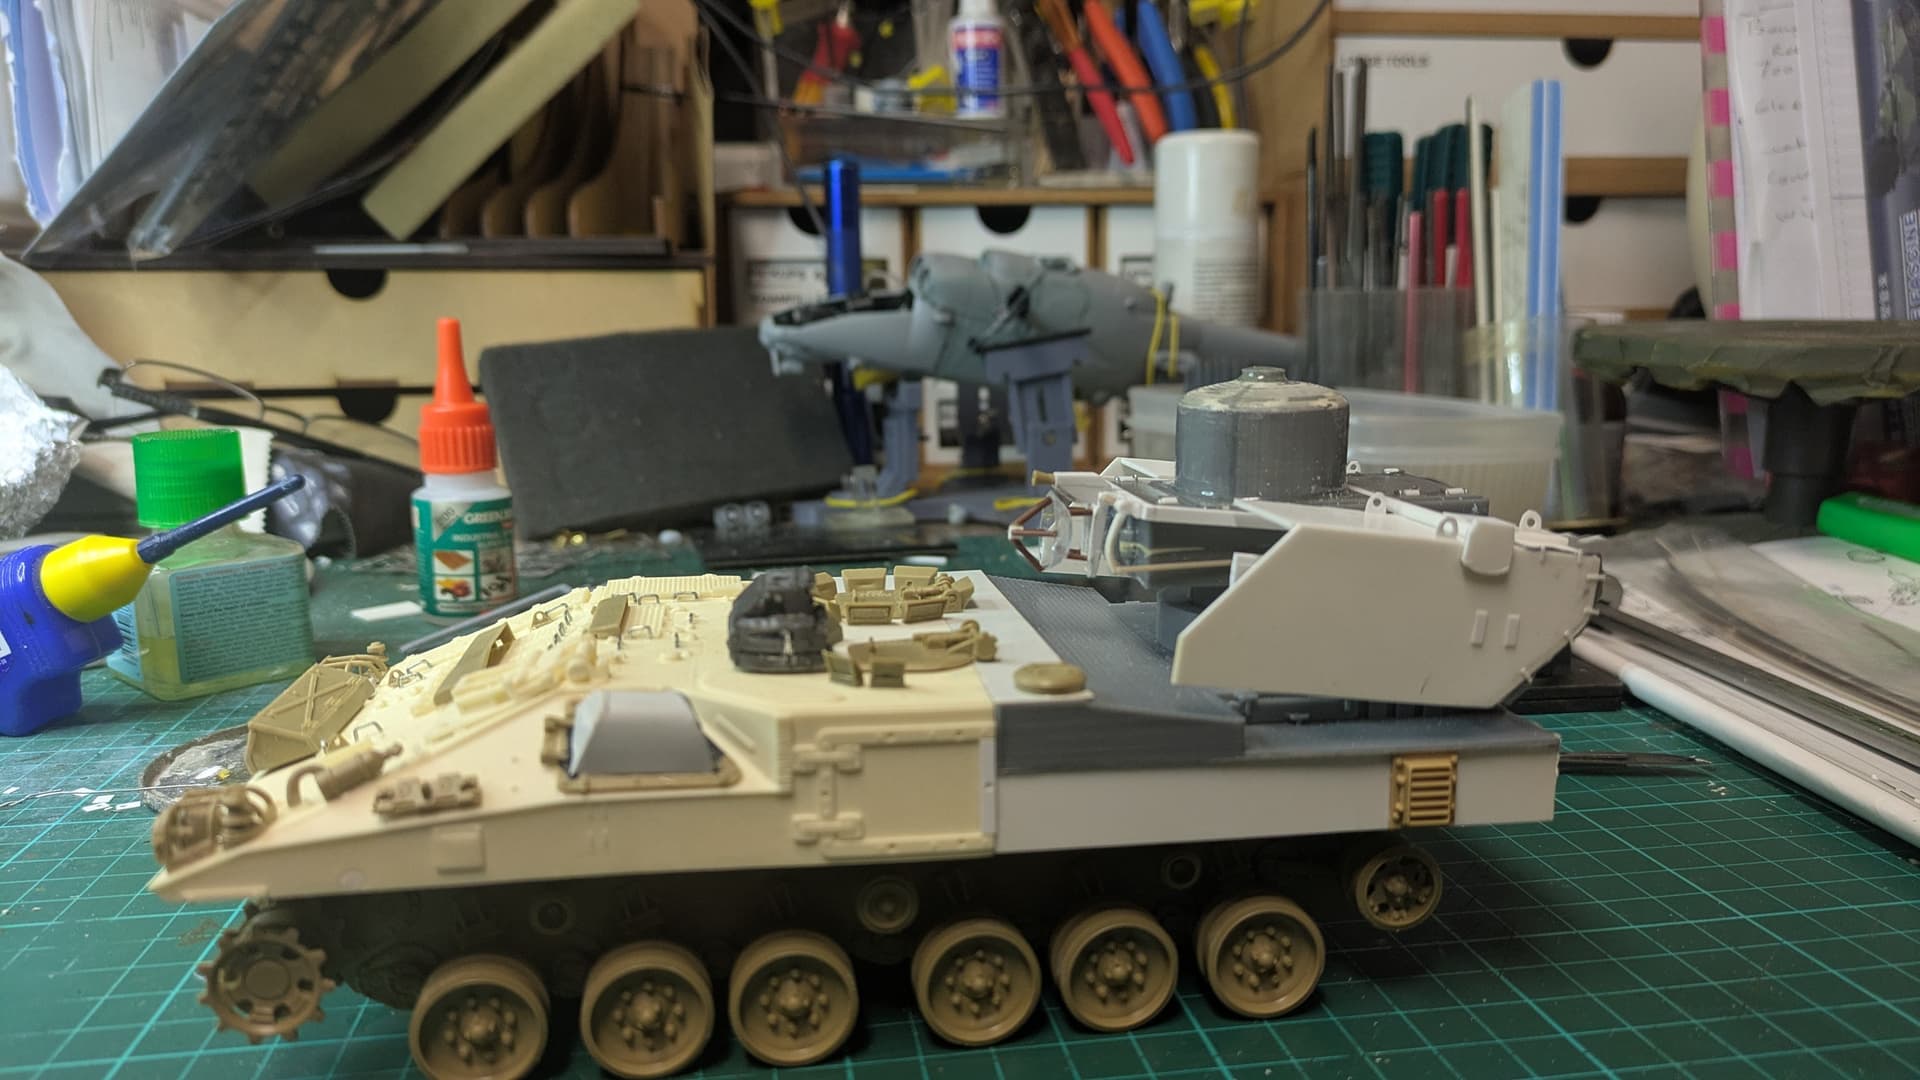
It’s an old project resurrected ,Brian. Using the dragon badgers really bad print.
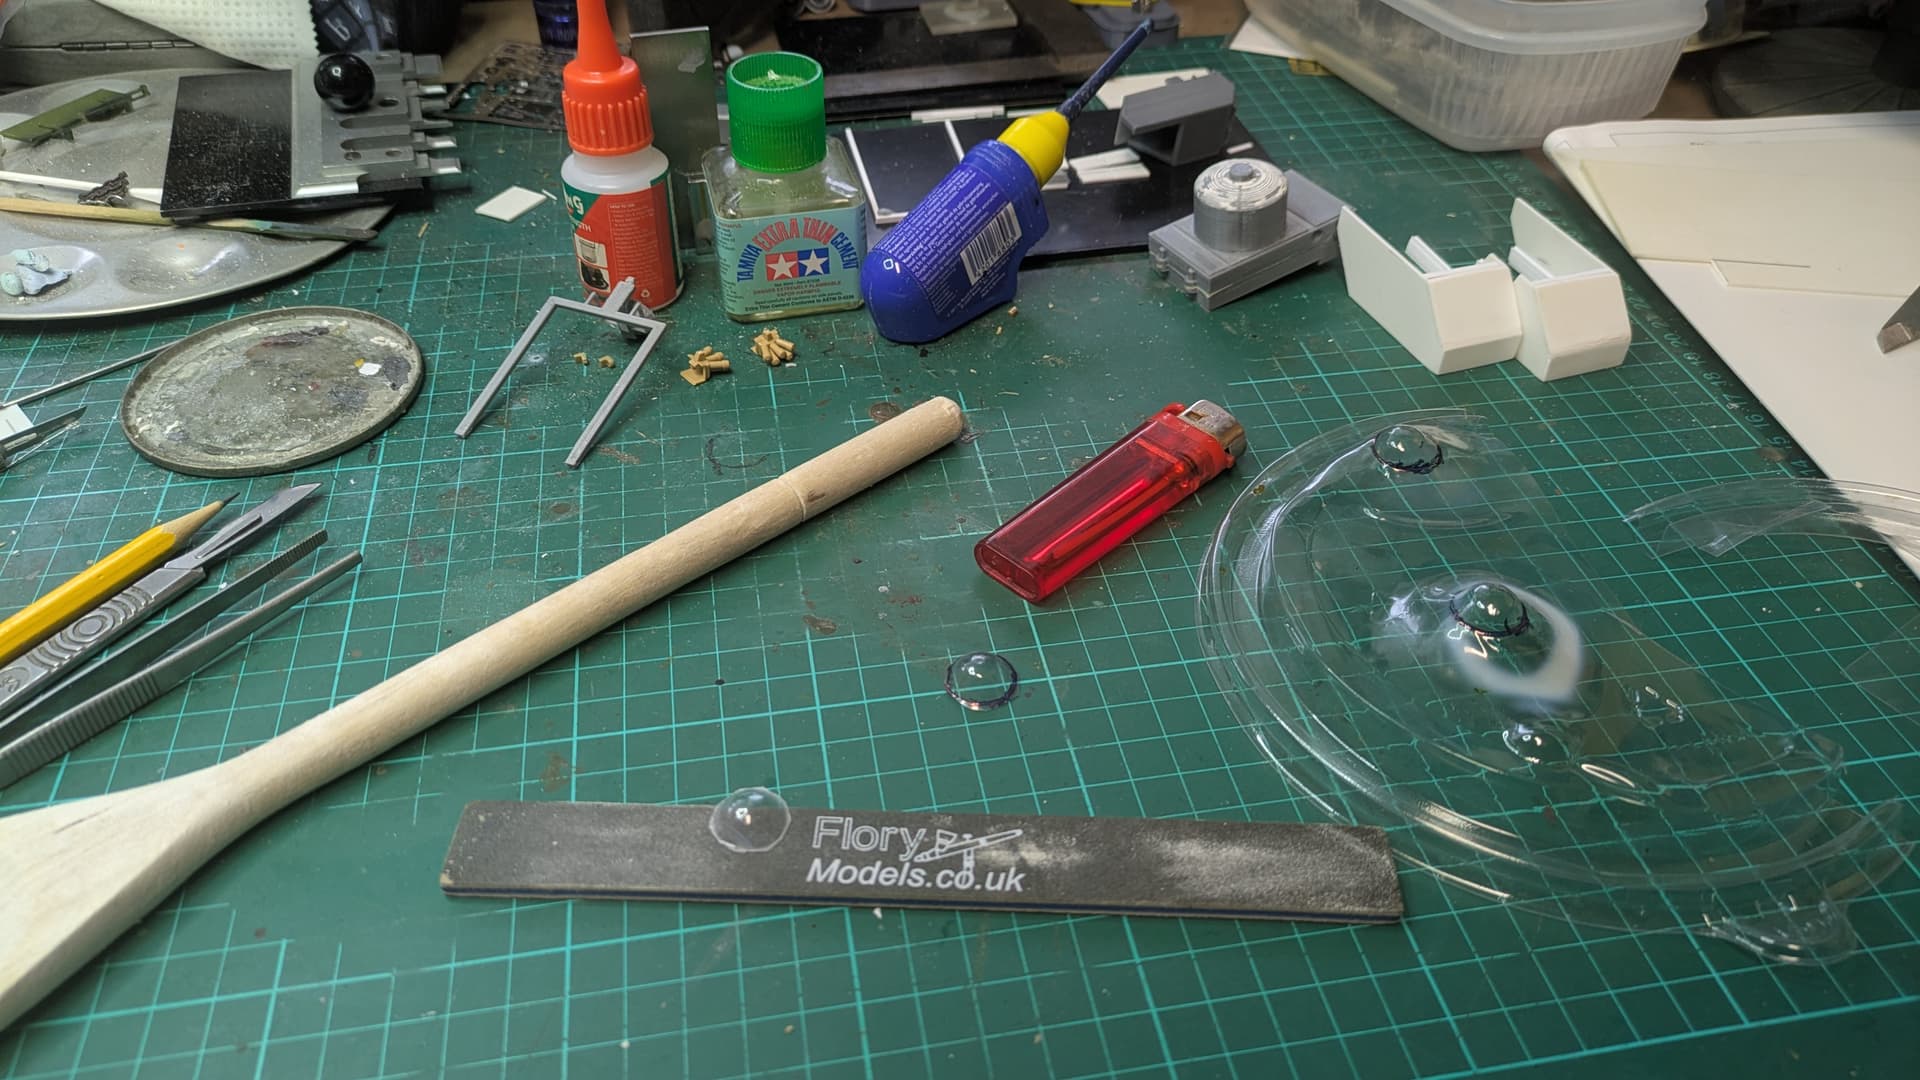
My mate printed proper rapier missiles for me.
Looks like he needed to!
Interesting project though; back in the day when I was on Loan Service, as PA to the COS, I recall a bunch of sales brochures lying around the office with a whole range of Warrior-based projects, this being one of them. Other nations were in on it too, with several German and French and even Austrian-based similar project vehicles. I wish I’d kept them!
Hi guys,
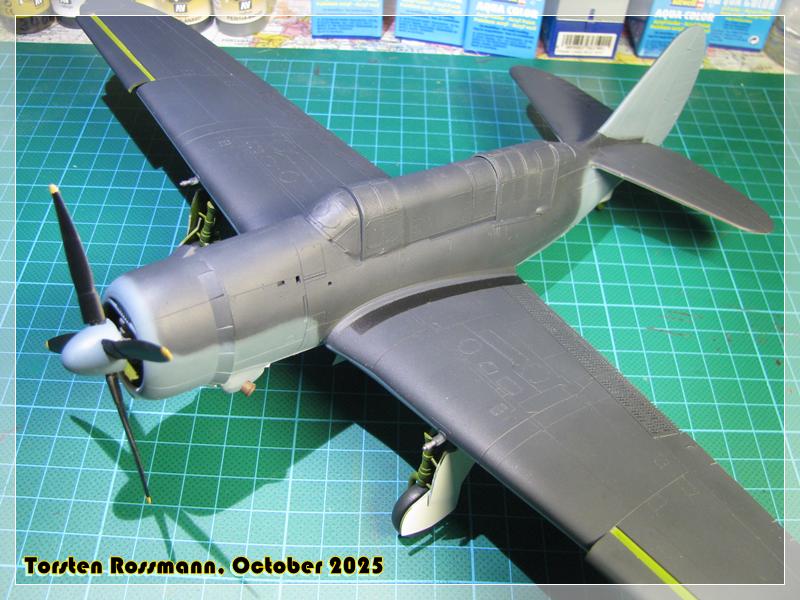
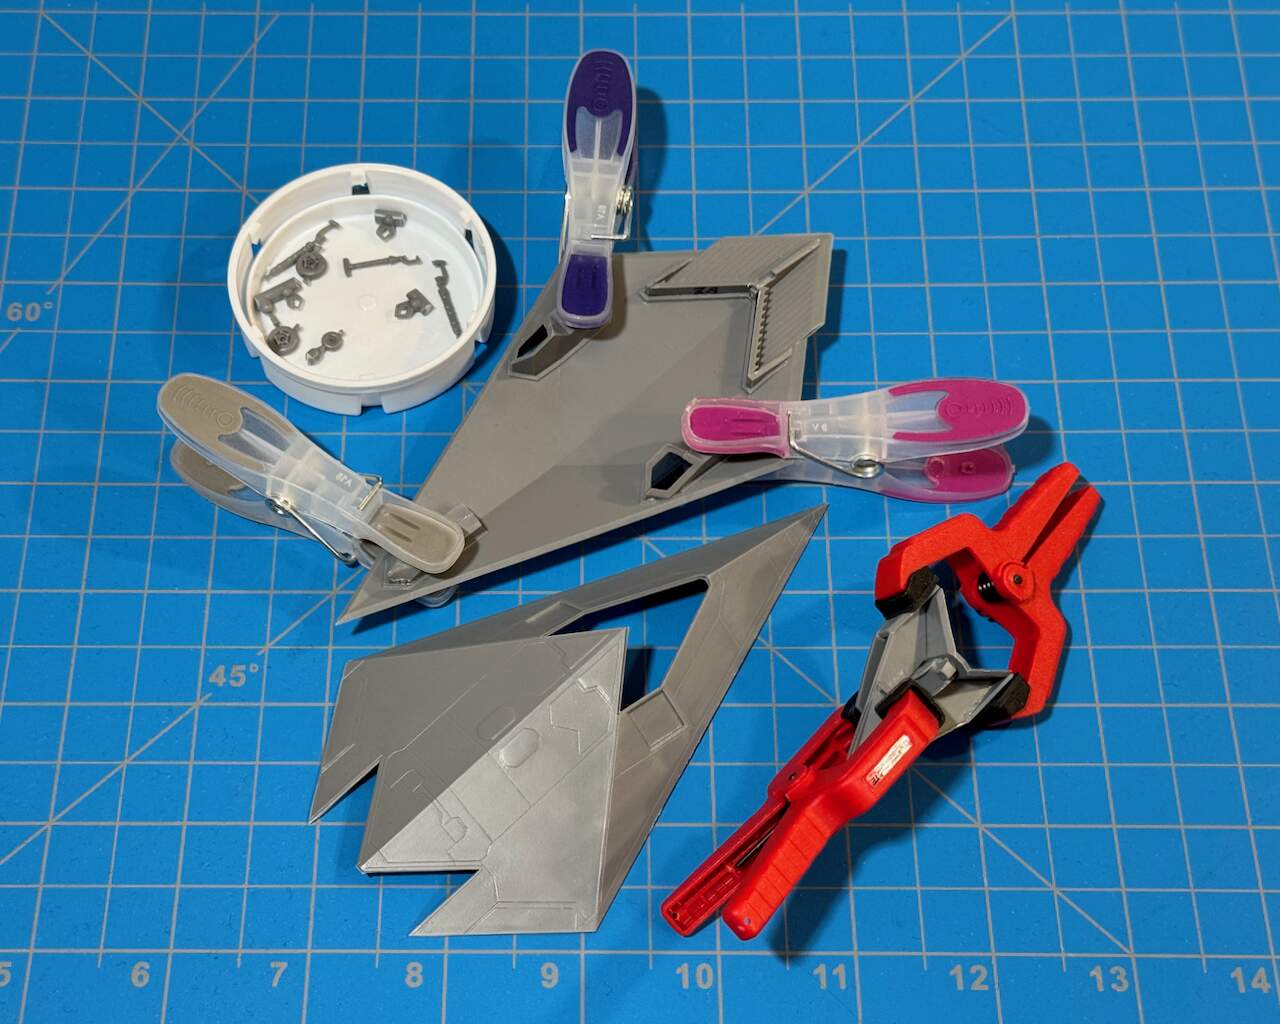
Here’s a little work on the Lockheed Martin ‘Hopeless Diamond’…
Cockpit tub and wheel bays glued and clamped for curing. Only a few more parts remain on sprues.
—mike …![]()
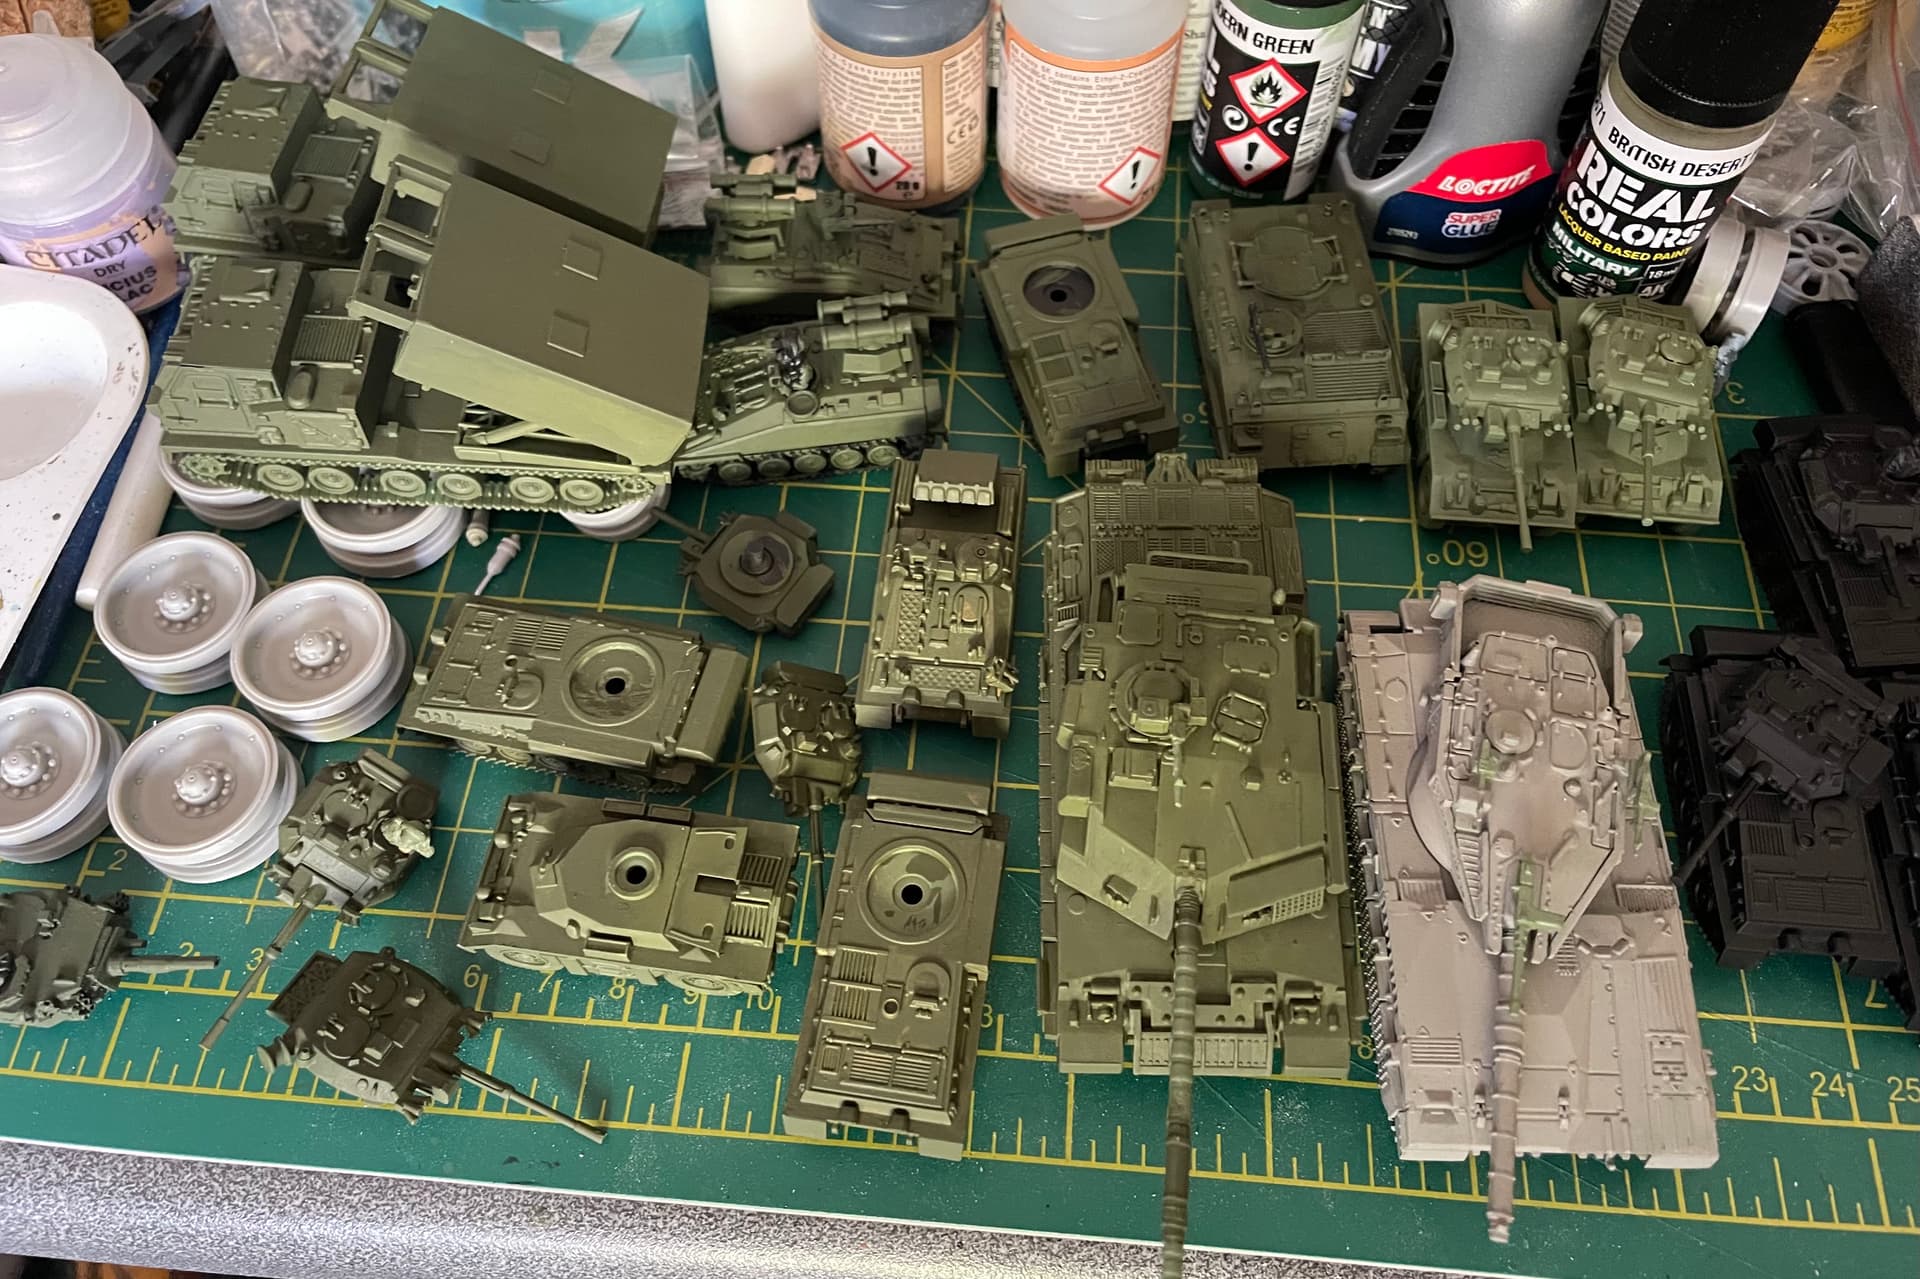
Got some paint down on some of the British reinforcements for Team Yankee and an interloper in the form of a Merkava!
Nice work Angel…. And on the Breda 32 as well.
Very Nice! My “other hobby” is a small machine shop at home, it was my trade for many years. I live quite rural, but any modelers in extreme NE Colorado/ W Nebraska needing similar work should send me a message!
@Racer192, I fully endorse your idea! The results of the work done by someone who knows what they are doing is worth the effort to get it done correctly. I can clearly imagine how my likely less-than-precision effort to cut this down would have worked out, and the milling, wow - the surfaces are flush and went together as well as, if not better than kit parts.
Back to less precise work - that is me with the trusty knife and styrene:
The conversion of a 1/35 scale excavator to a 1/48 excavator is now well underway. This conversion works because the base kit is pretty close to what as known as a mini excavator, which in 1/35 translates roughly to a medium excavator.
The Hasegawa kit is fairly complex, as it is indeed a real model kit and not a toy. It required some patience to assemble, but the results and level of detail are pretty nice. While its hard so see in these pictures, as the orange color suggests this might be somewhat toy-like, its not.
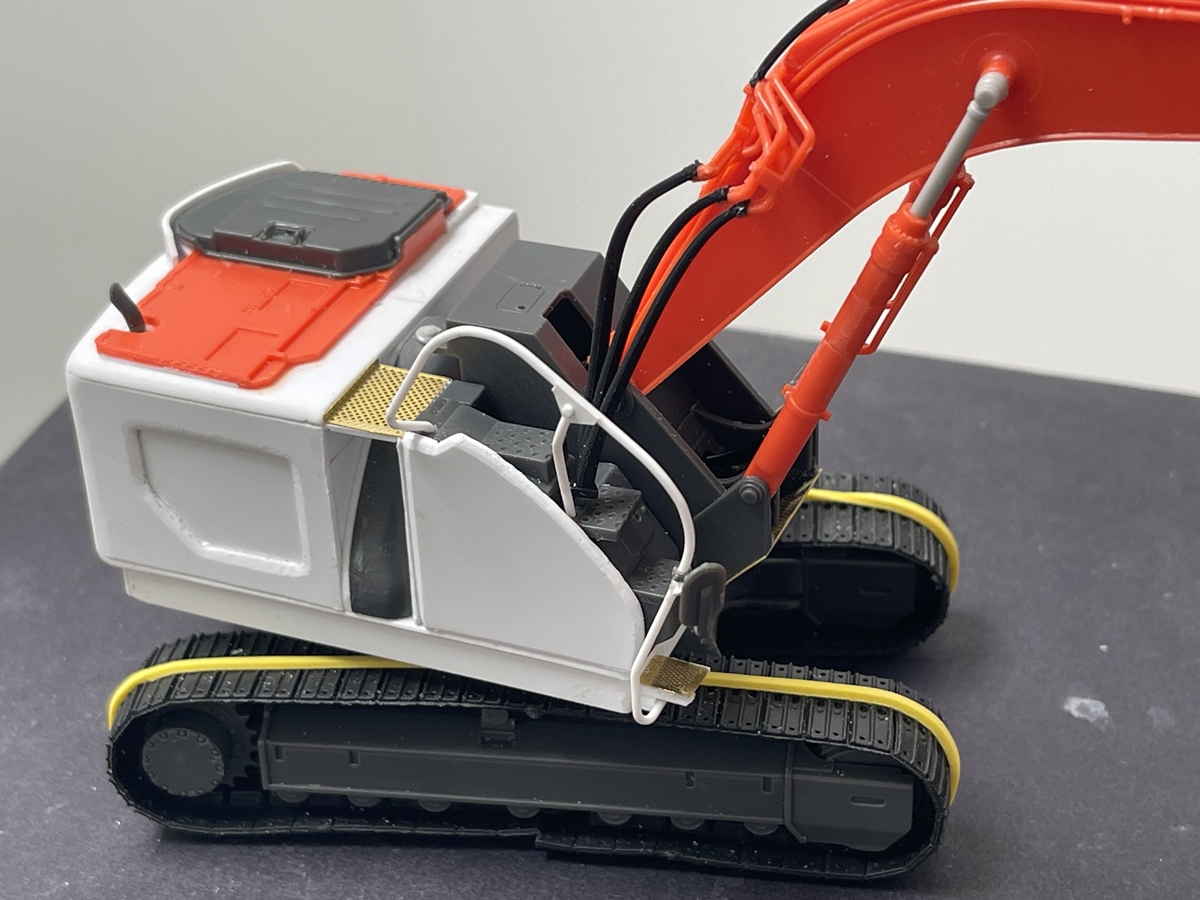
I was able to salvage some of the kit parts plus and the rest is scratch built. My recent adventure with stanchions and handrails on the GP38-2 proved helpful too, as this unit has steps and a handrail to gain access to the upper deck. The base kit provides a nice handrail but it is clearly 1/35, and using it would have looked ridiculous. The Cat 317 has steps up and a handrail, but they come up from the side and not the front. I opted to go with the Hitachi layout because with only a few modifications, it fit better.
Up next will be the cab -
Nick ![]()