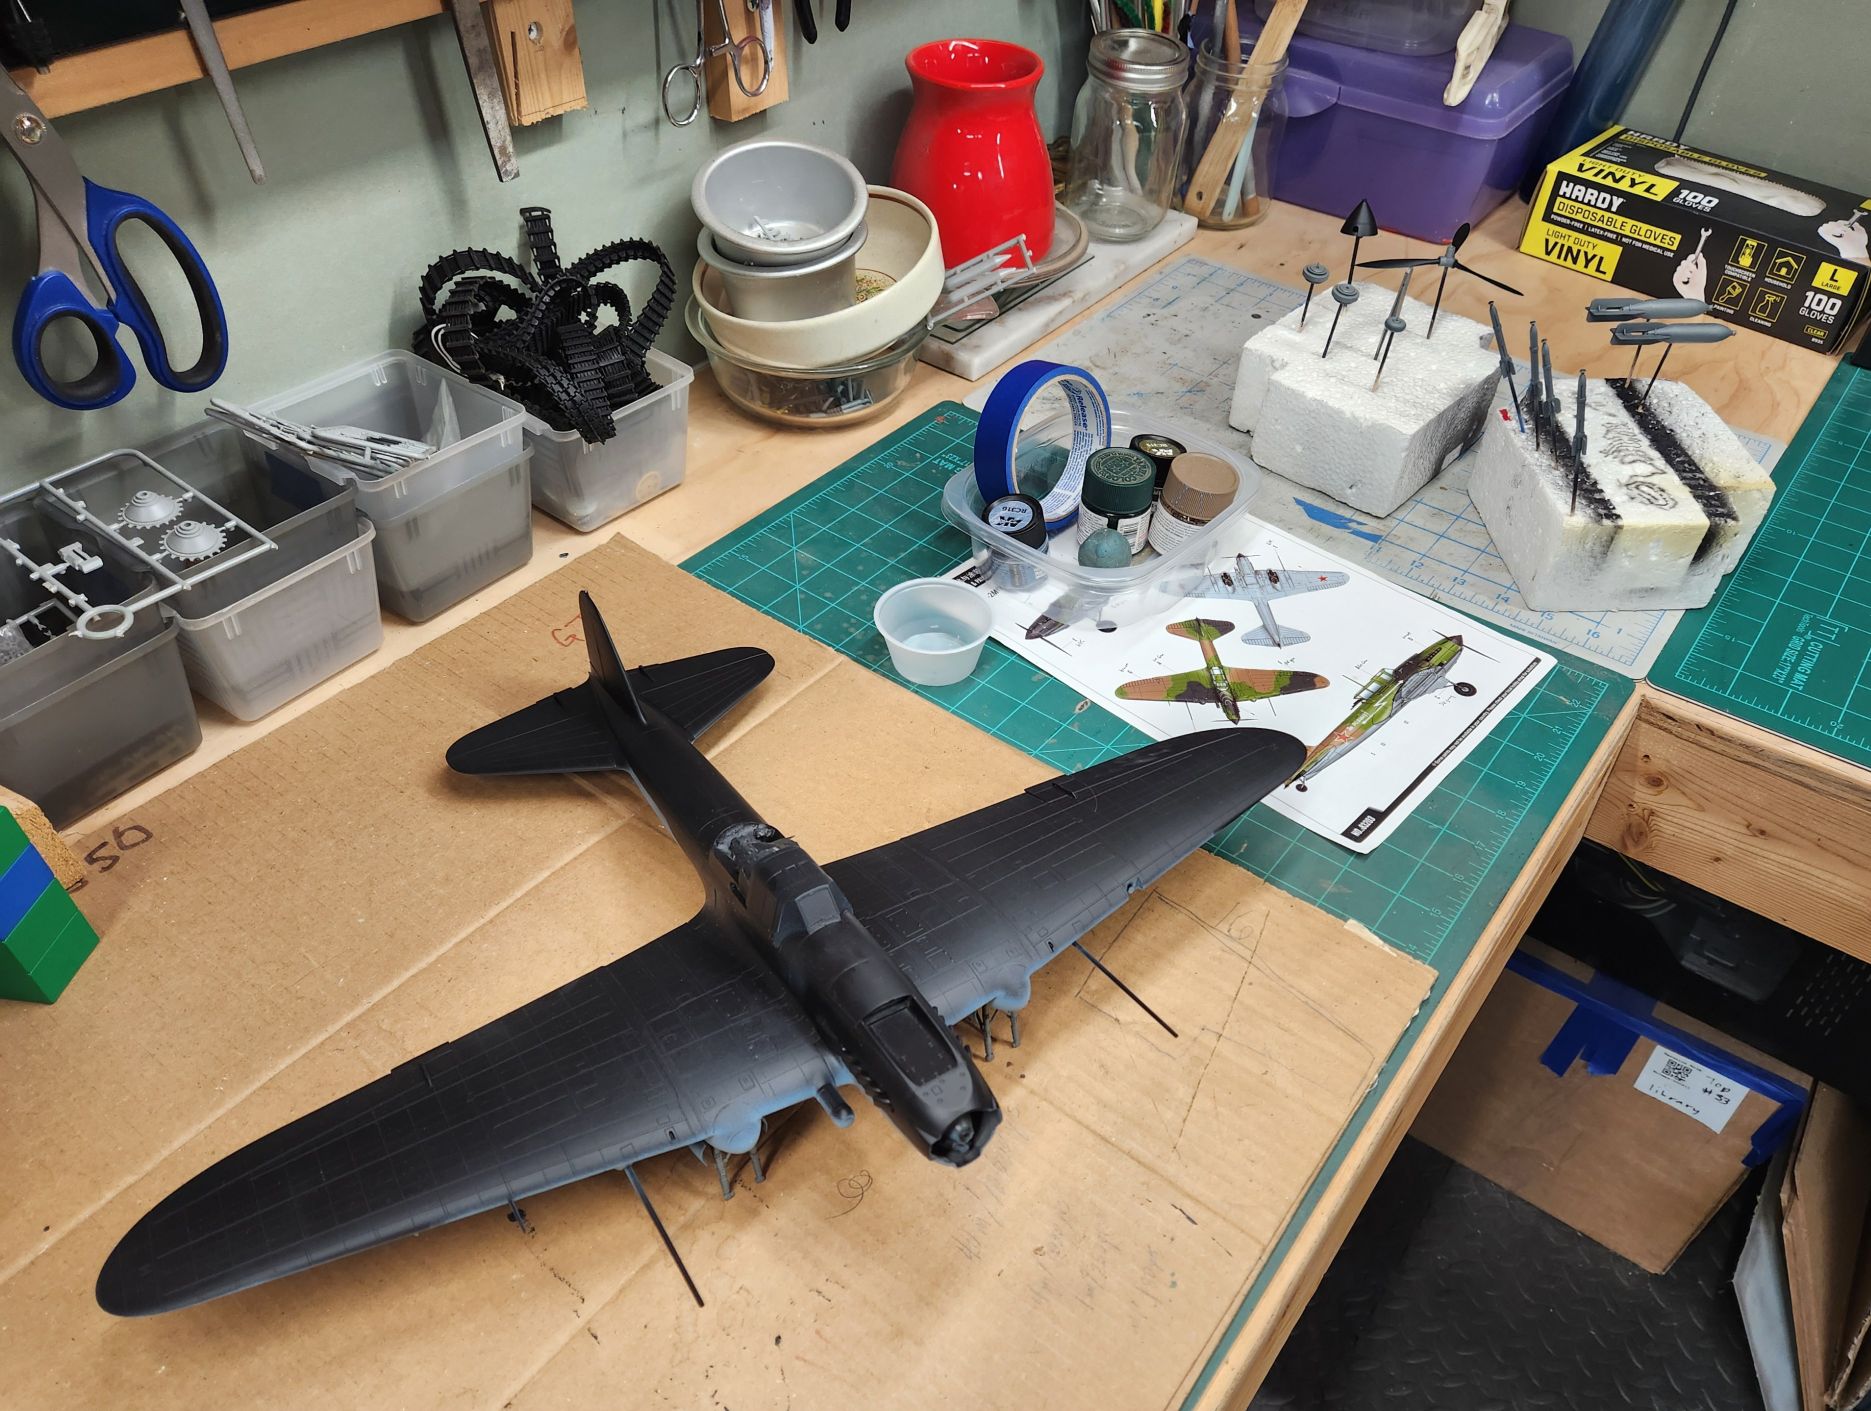
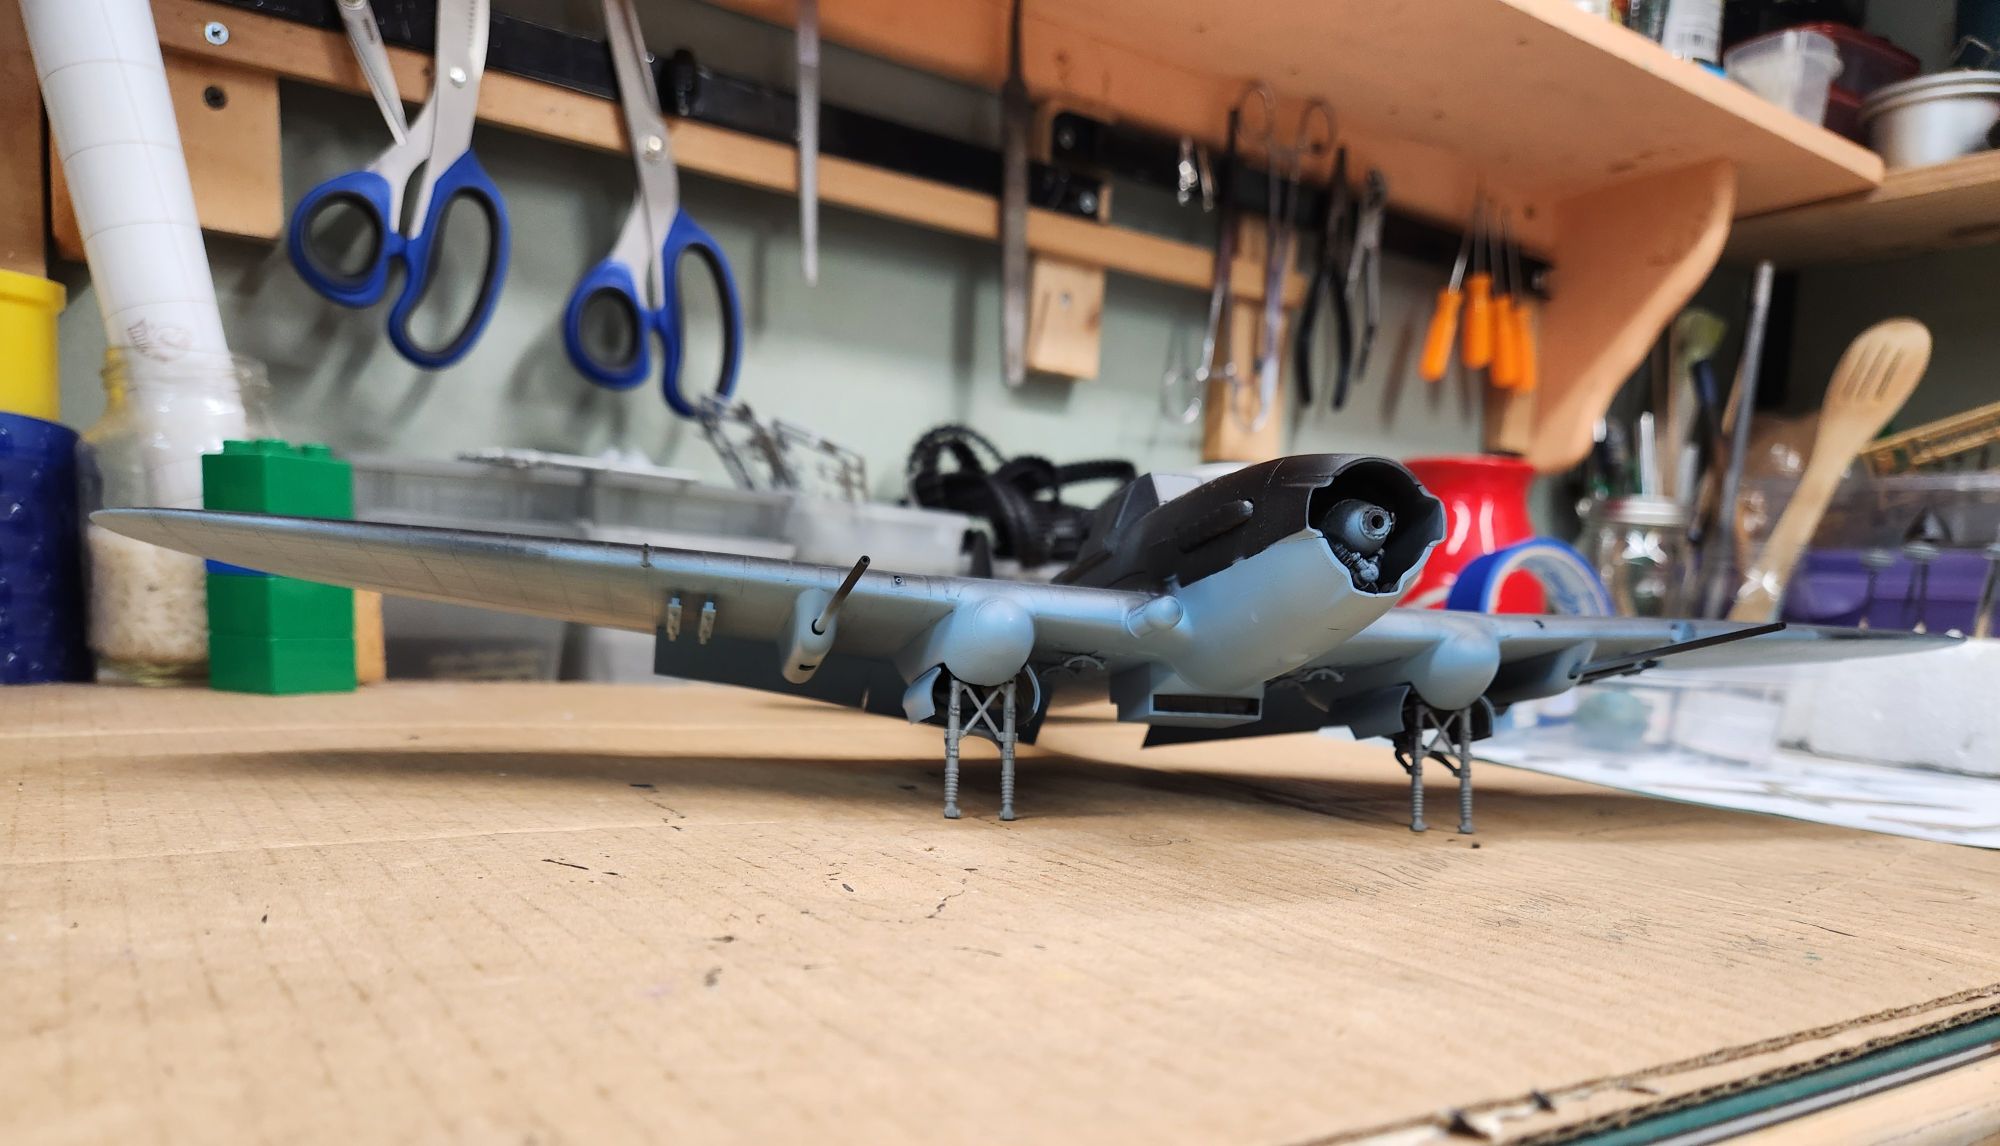
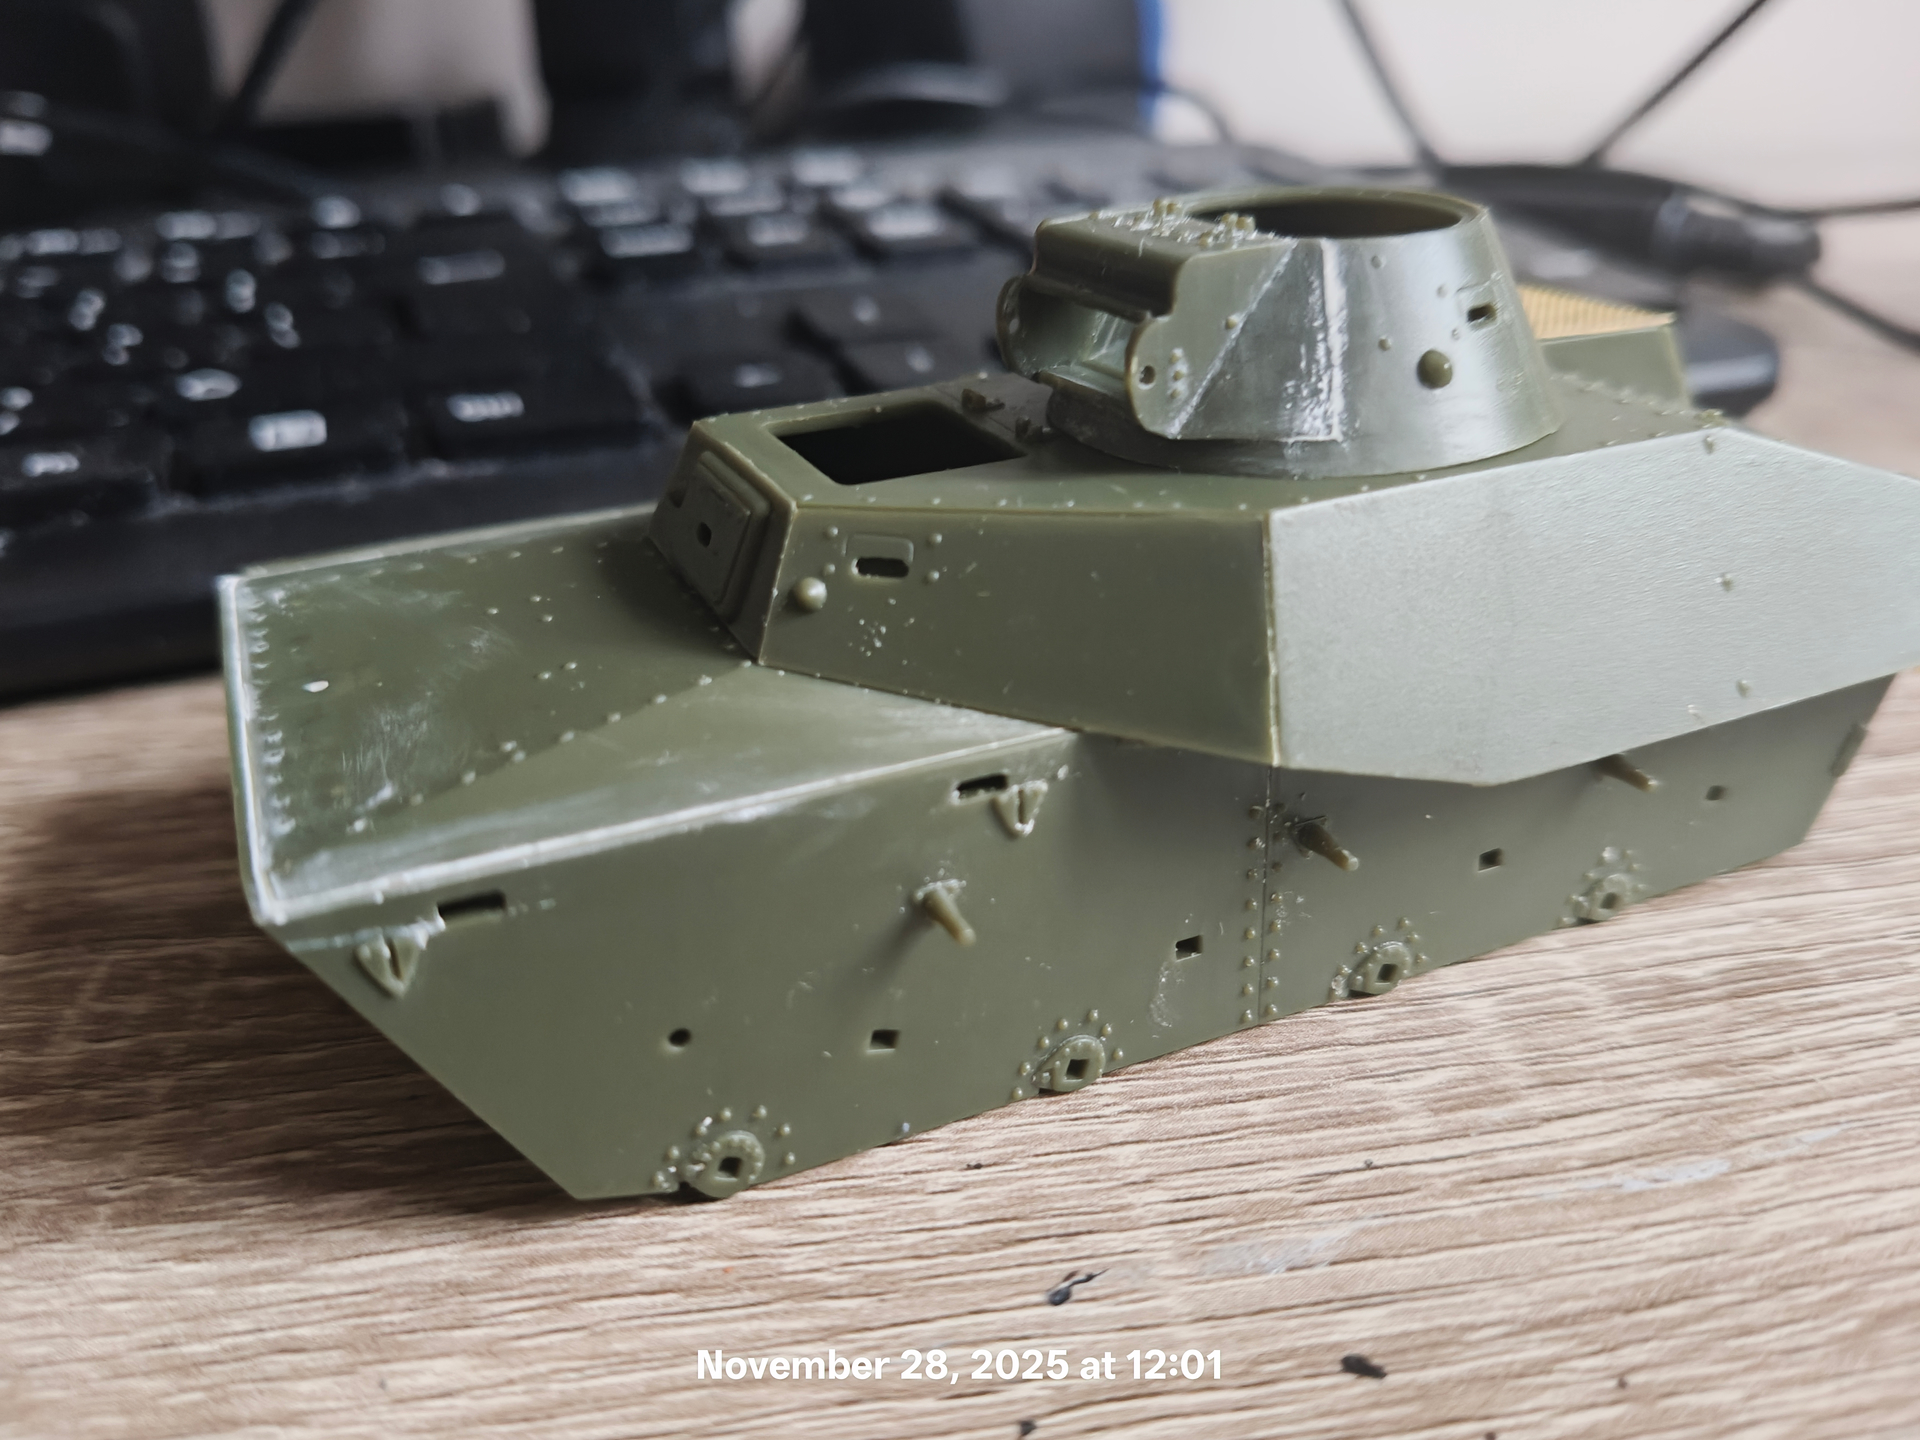
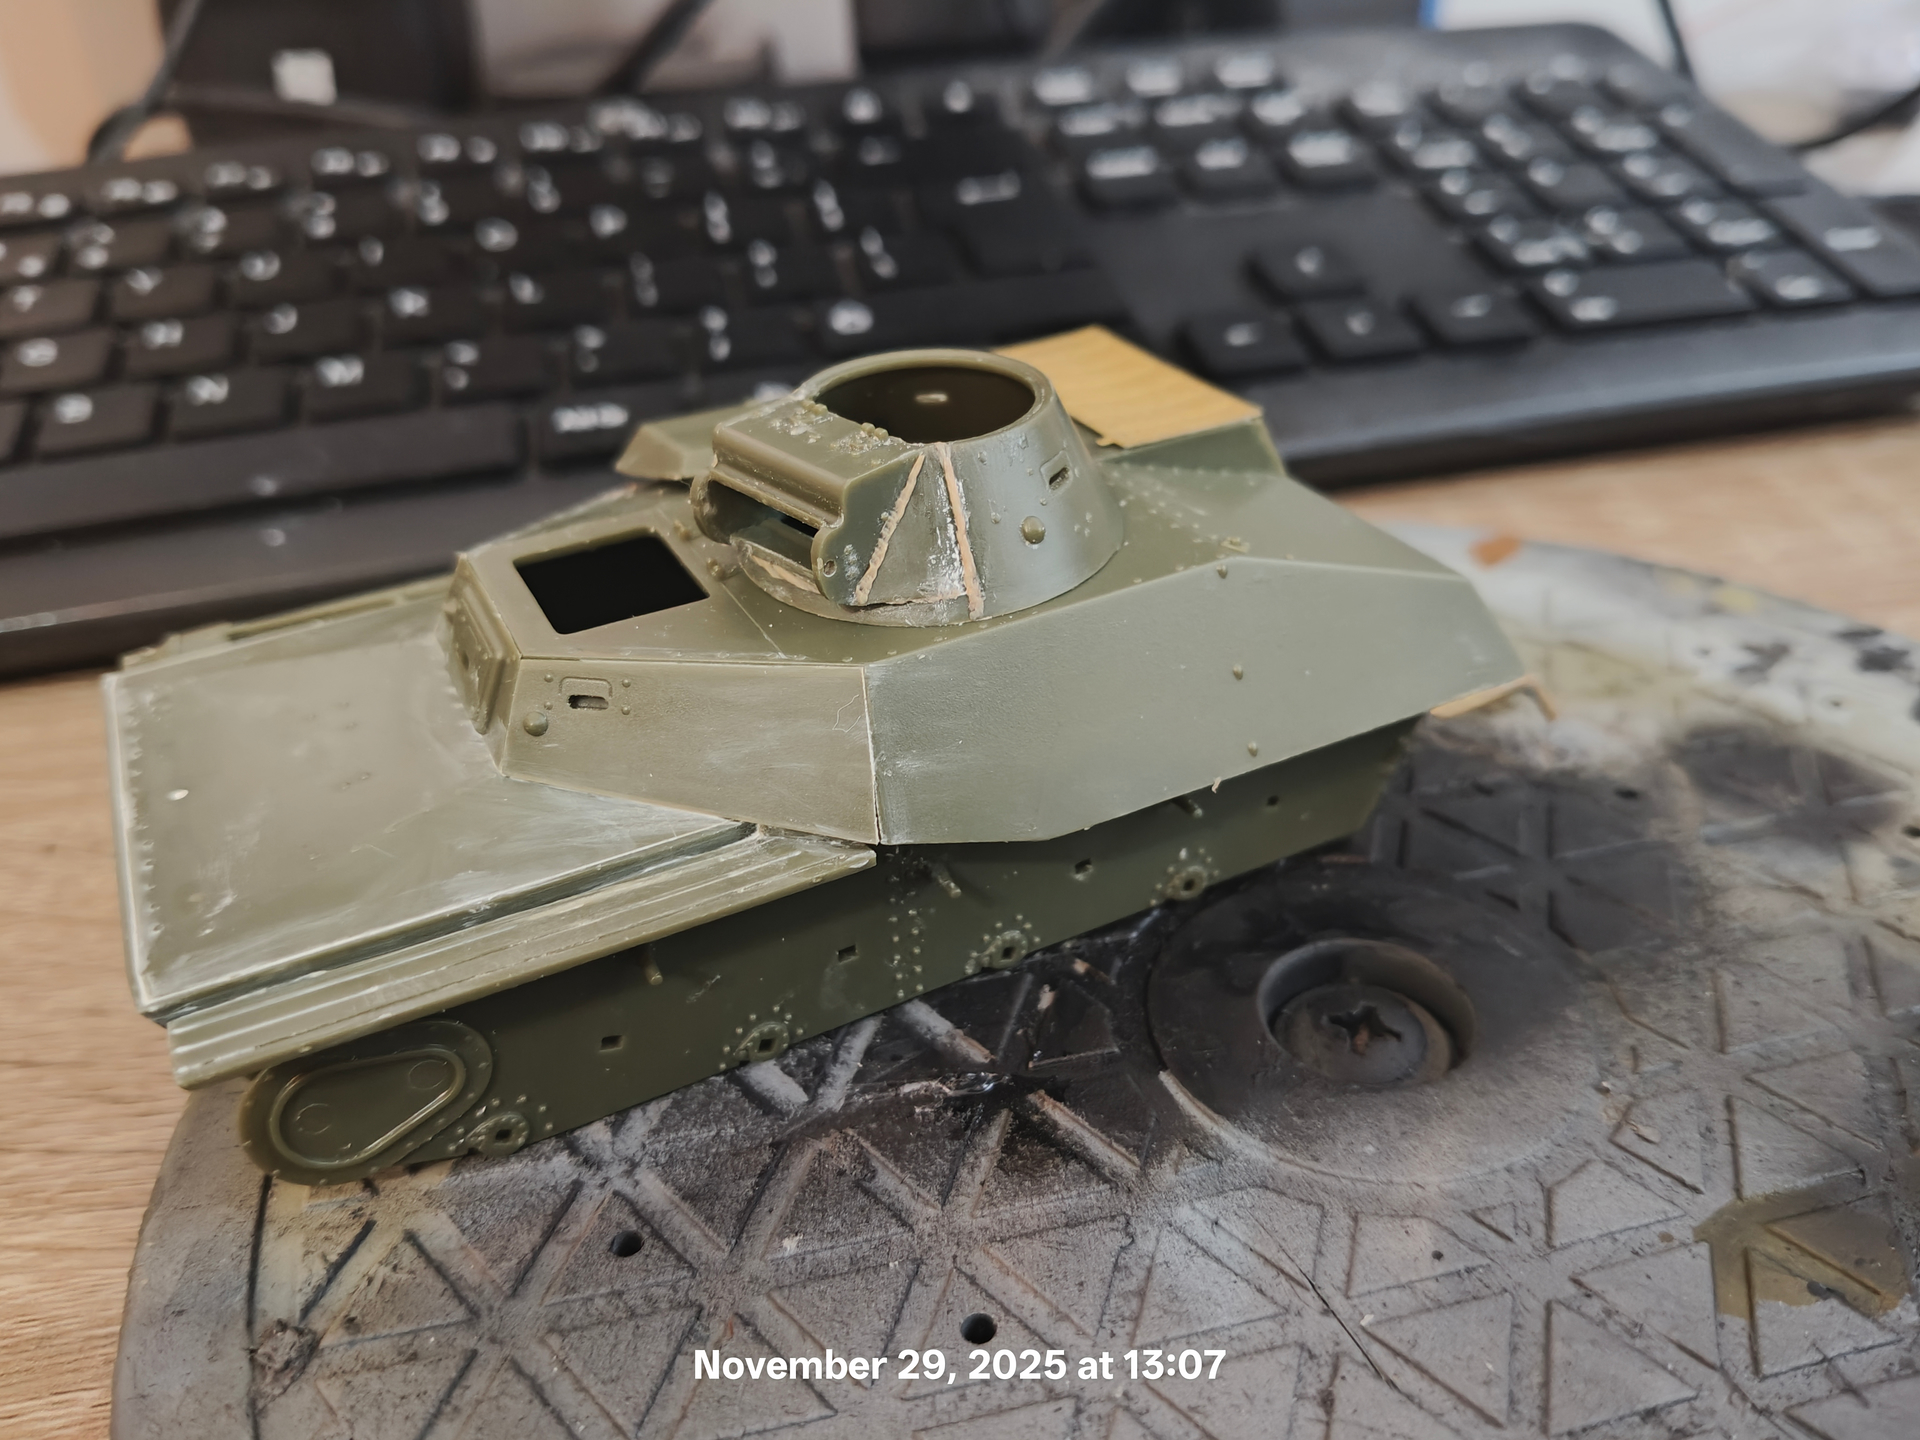
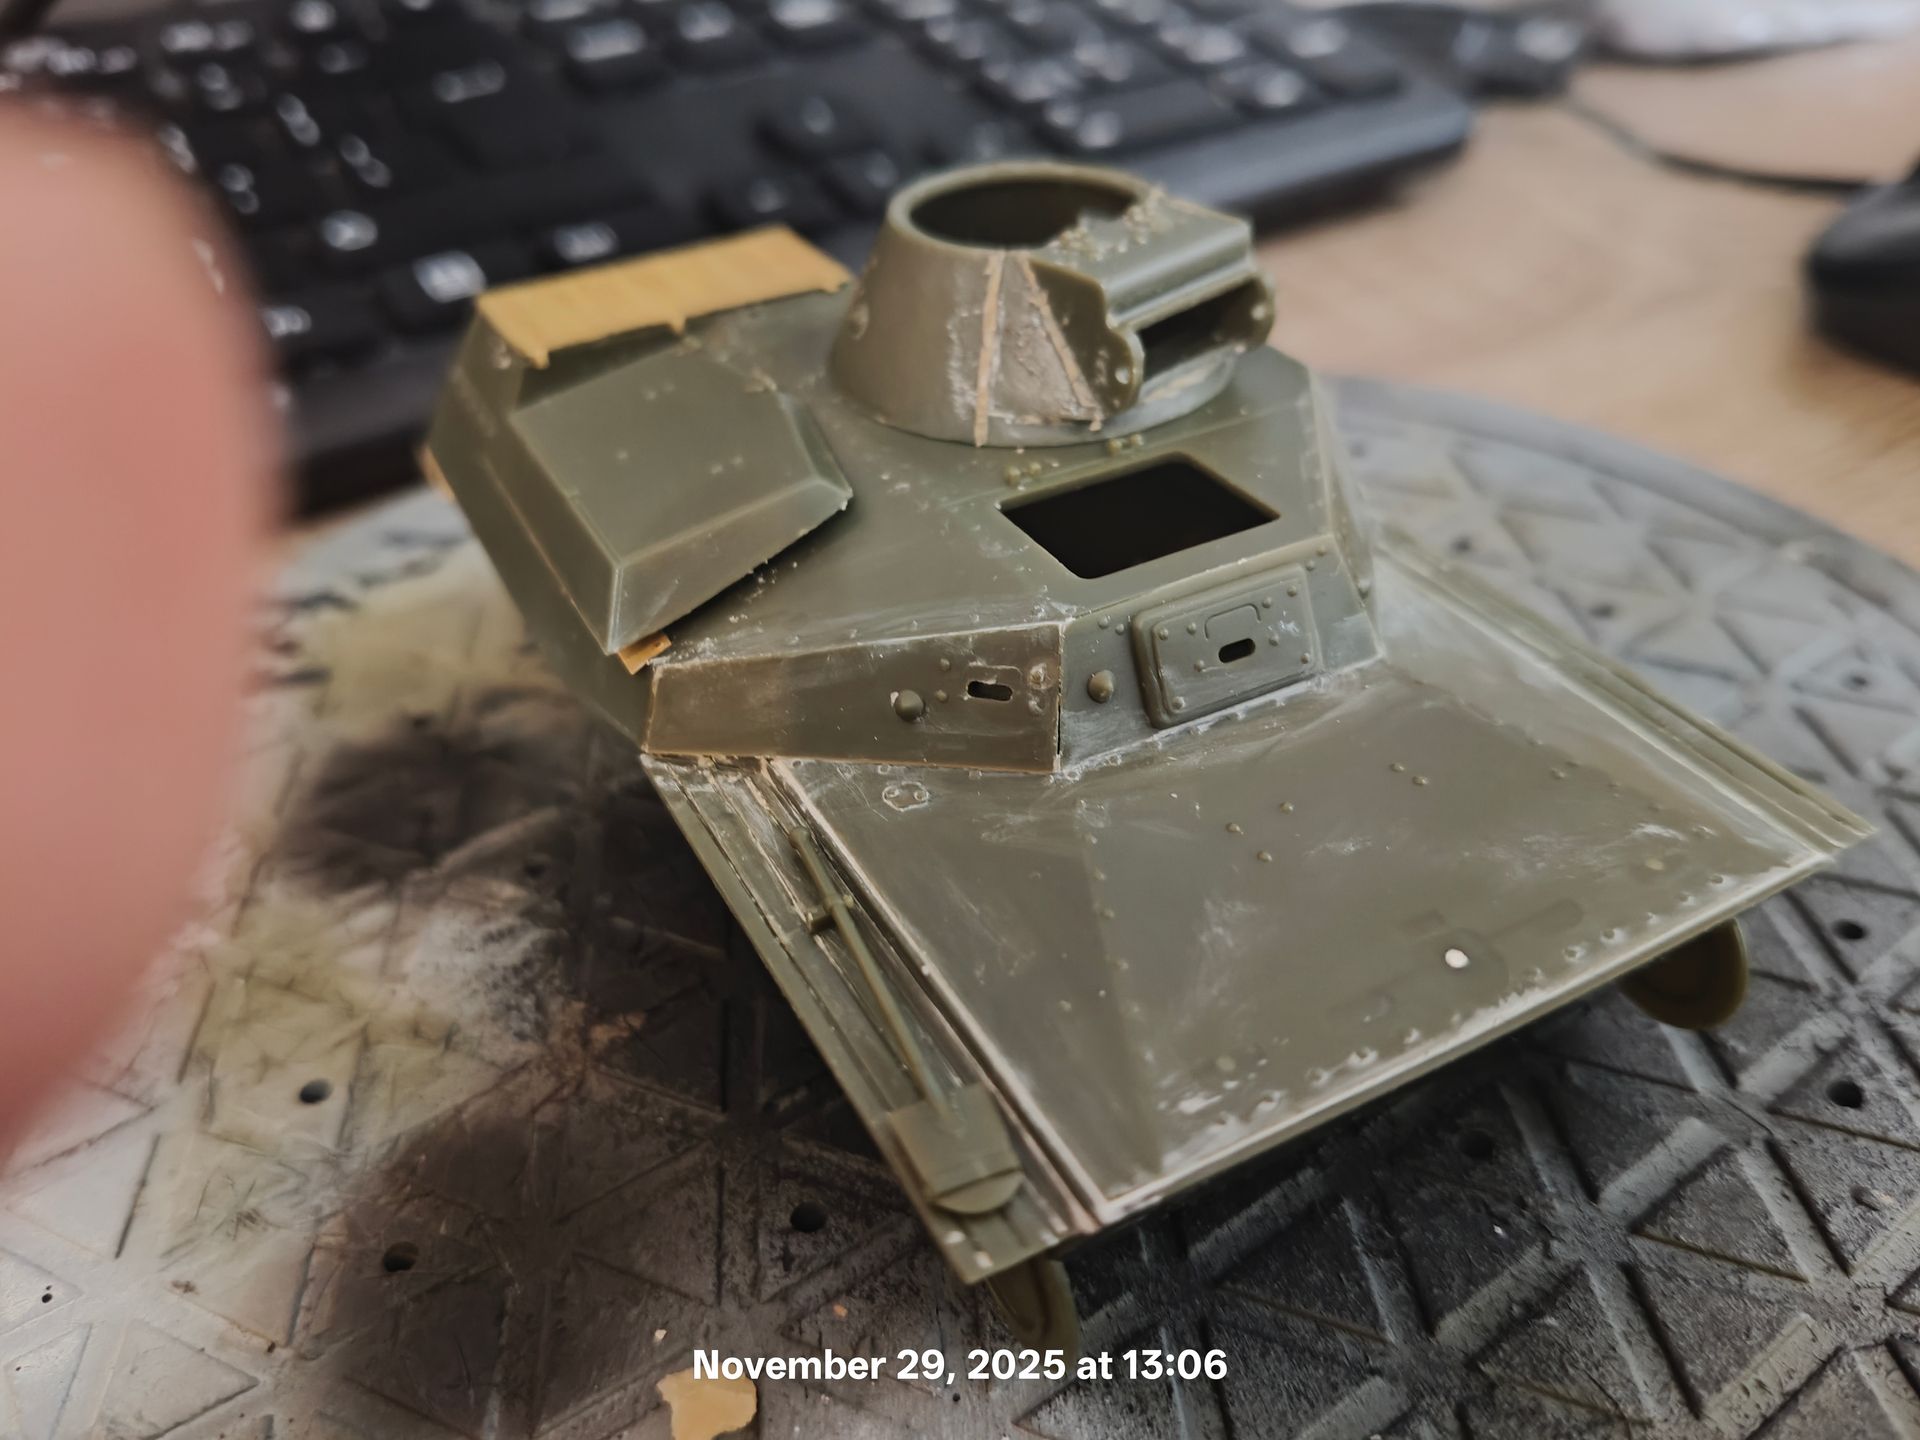
Got the underside of my Hobby Boss IL-2M done. The top gets done tomorrow while my wife and her sister take the niece/daughter to see “Zootopia 2”.
I expect to have this completed by the end of December.
Got the underside of my Hobby Boss IL-2M done. The top gets done tomorrow while my wife and her sister take the niece/daughter to see “Zootopia 2”.
I expect to have this completed by the end of December.
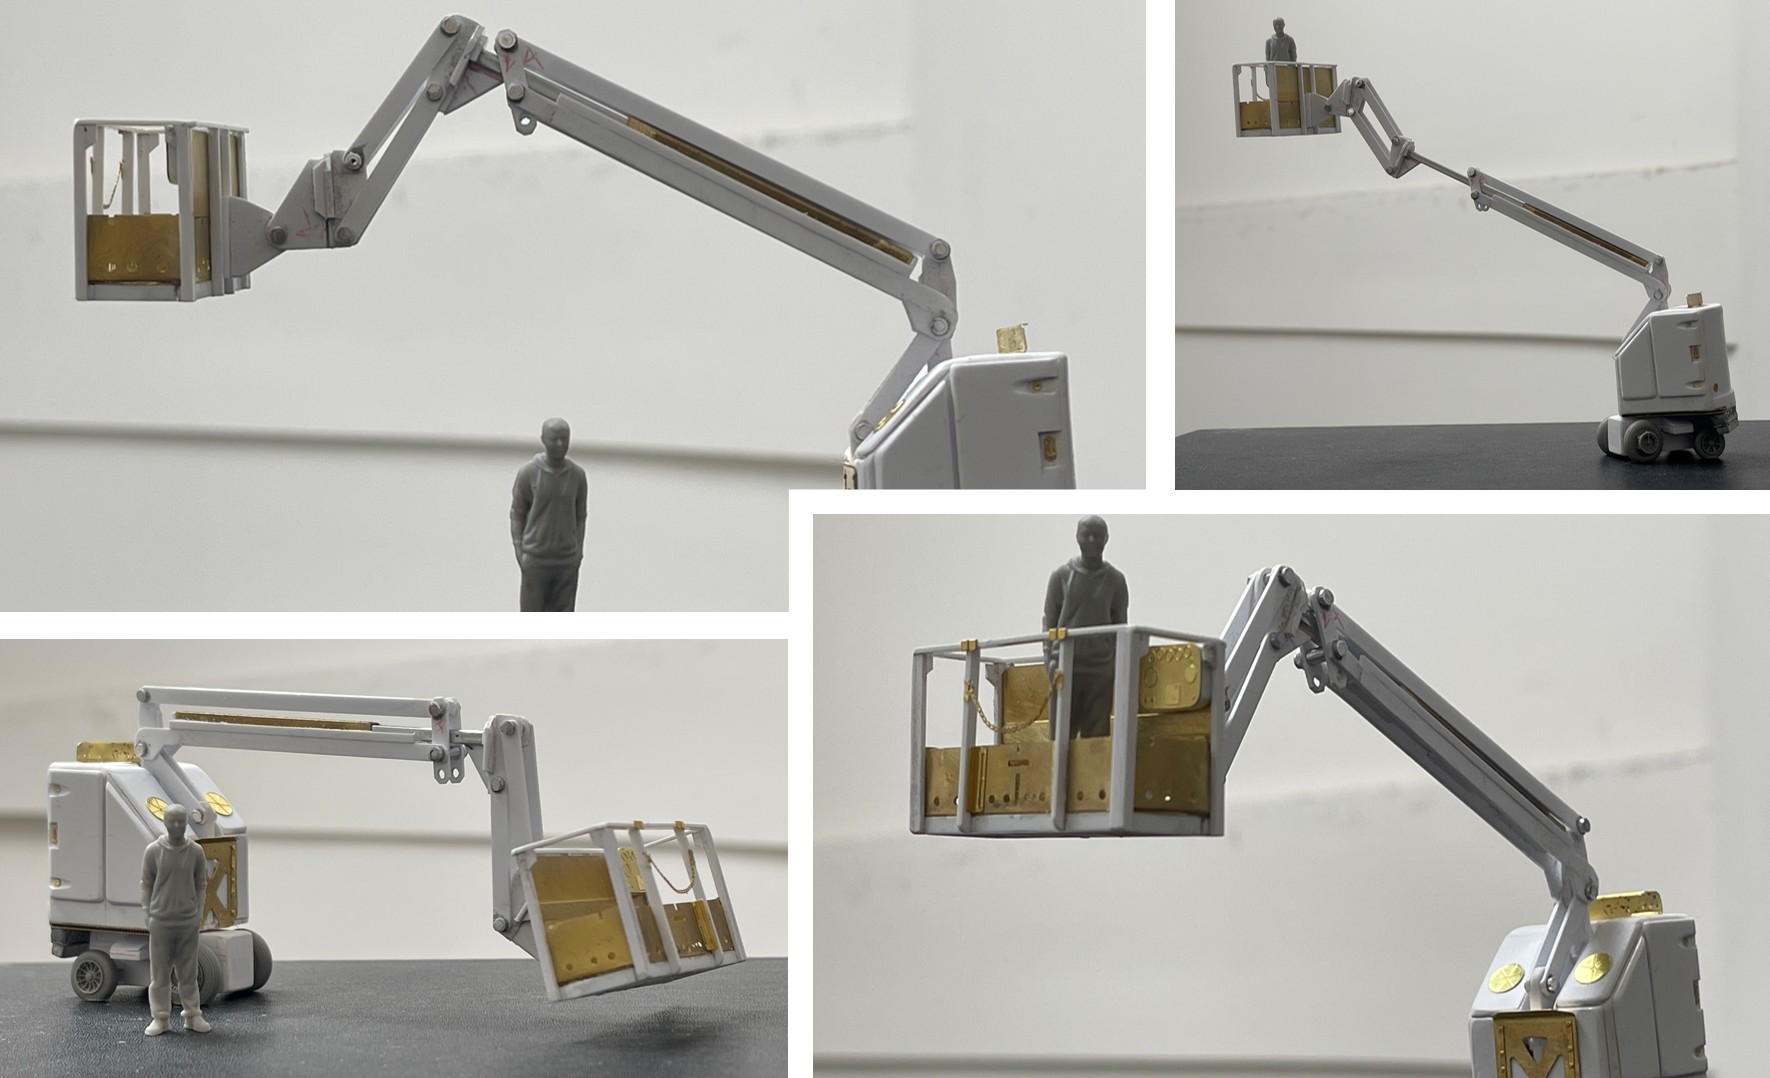
Wrapped up the little man lift:
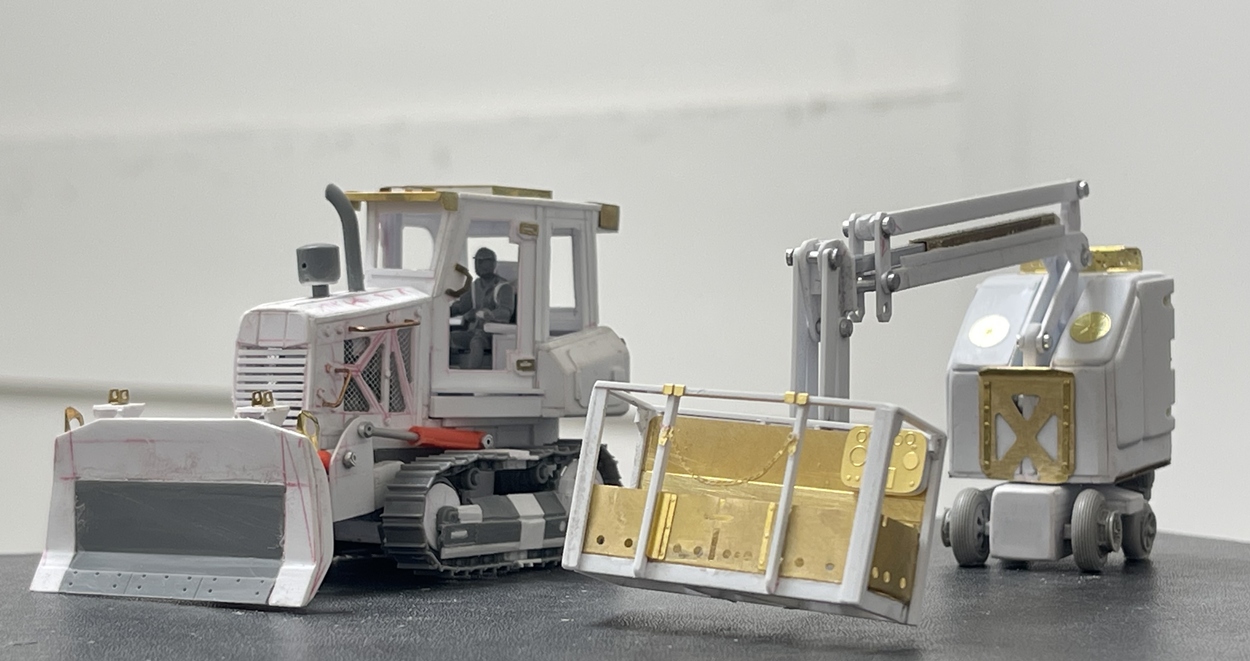
So far, pre paint this is still fully posable and stable. There is a lot of weight in the base, as the boom serves as a remarkably efficient moment arm, and without the counterweight - it tips over. And next to the D1 for scale:
Finally, almost ready to start the diorama. I’ll add deck plate to the GP 38-2 before starting on the dio.
Cheers, and happy thanksgiving!
Nick 
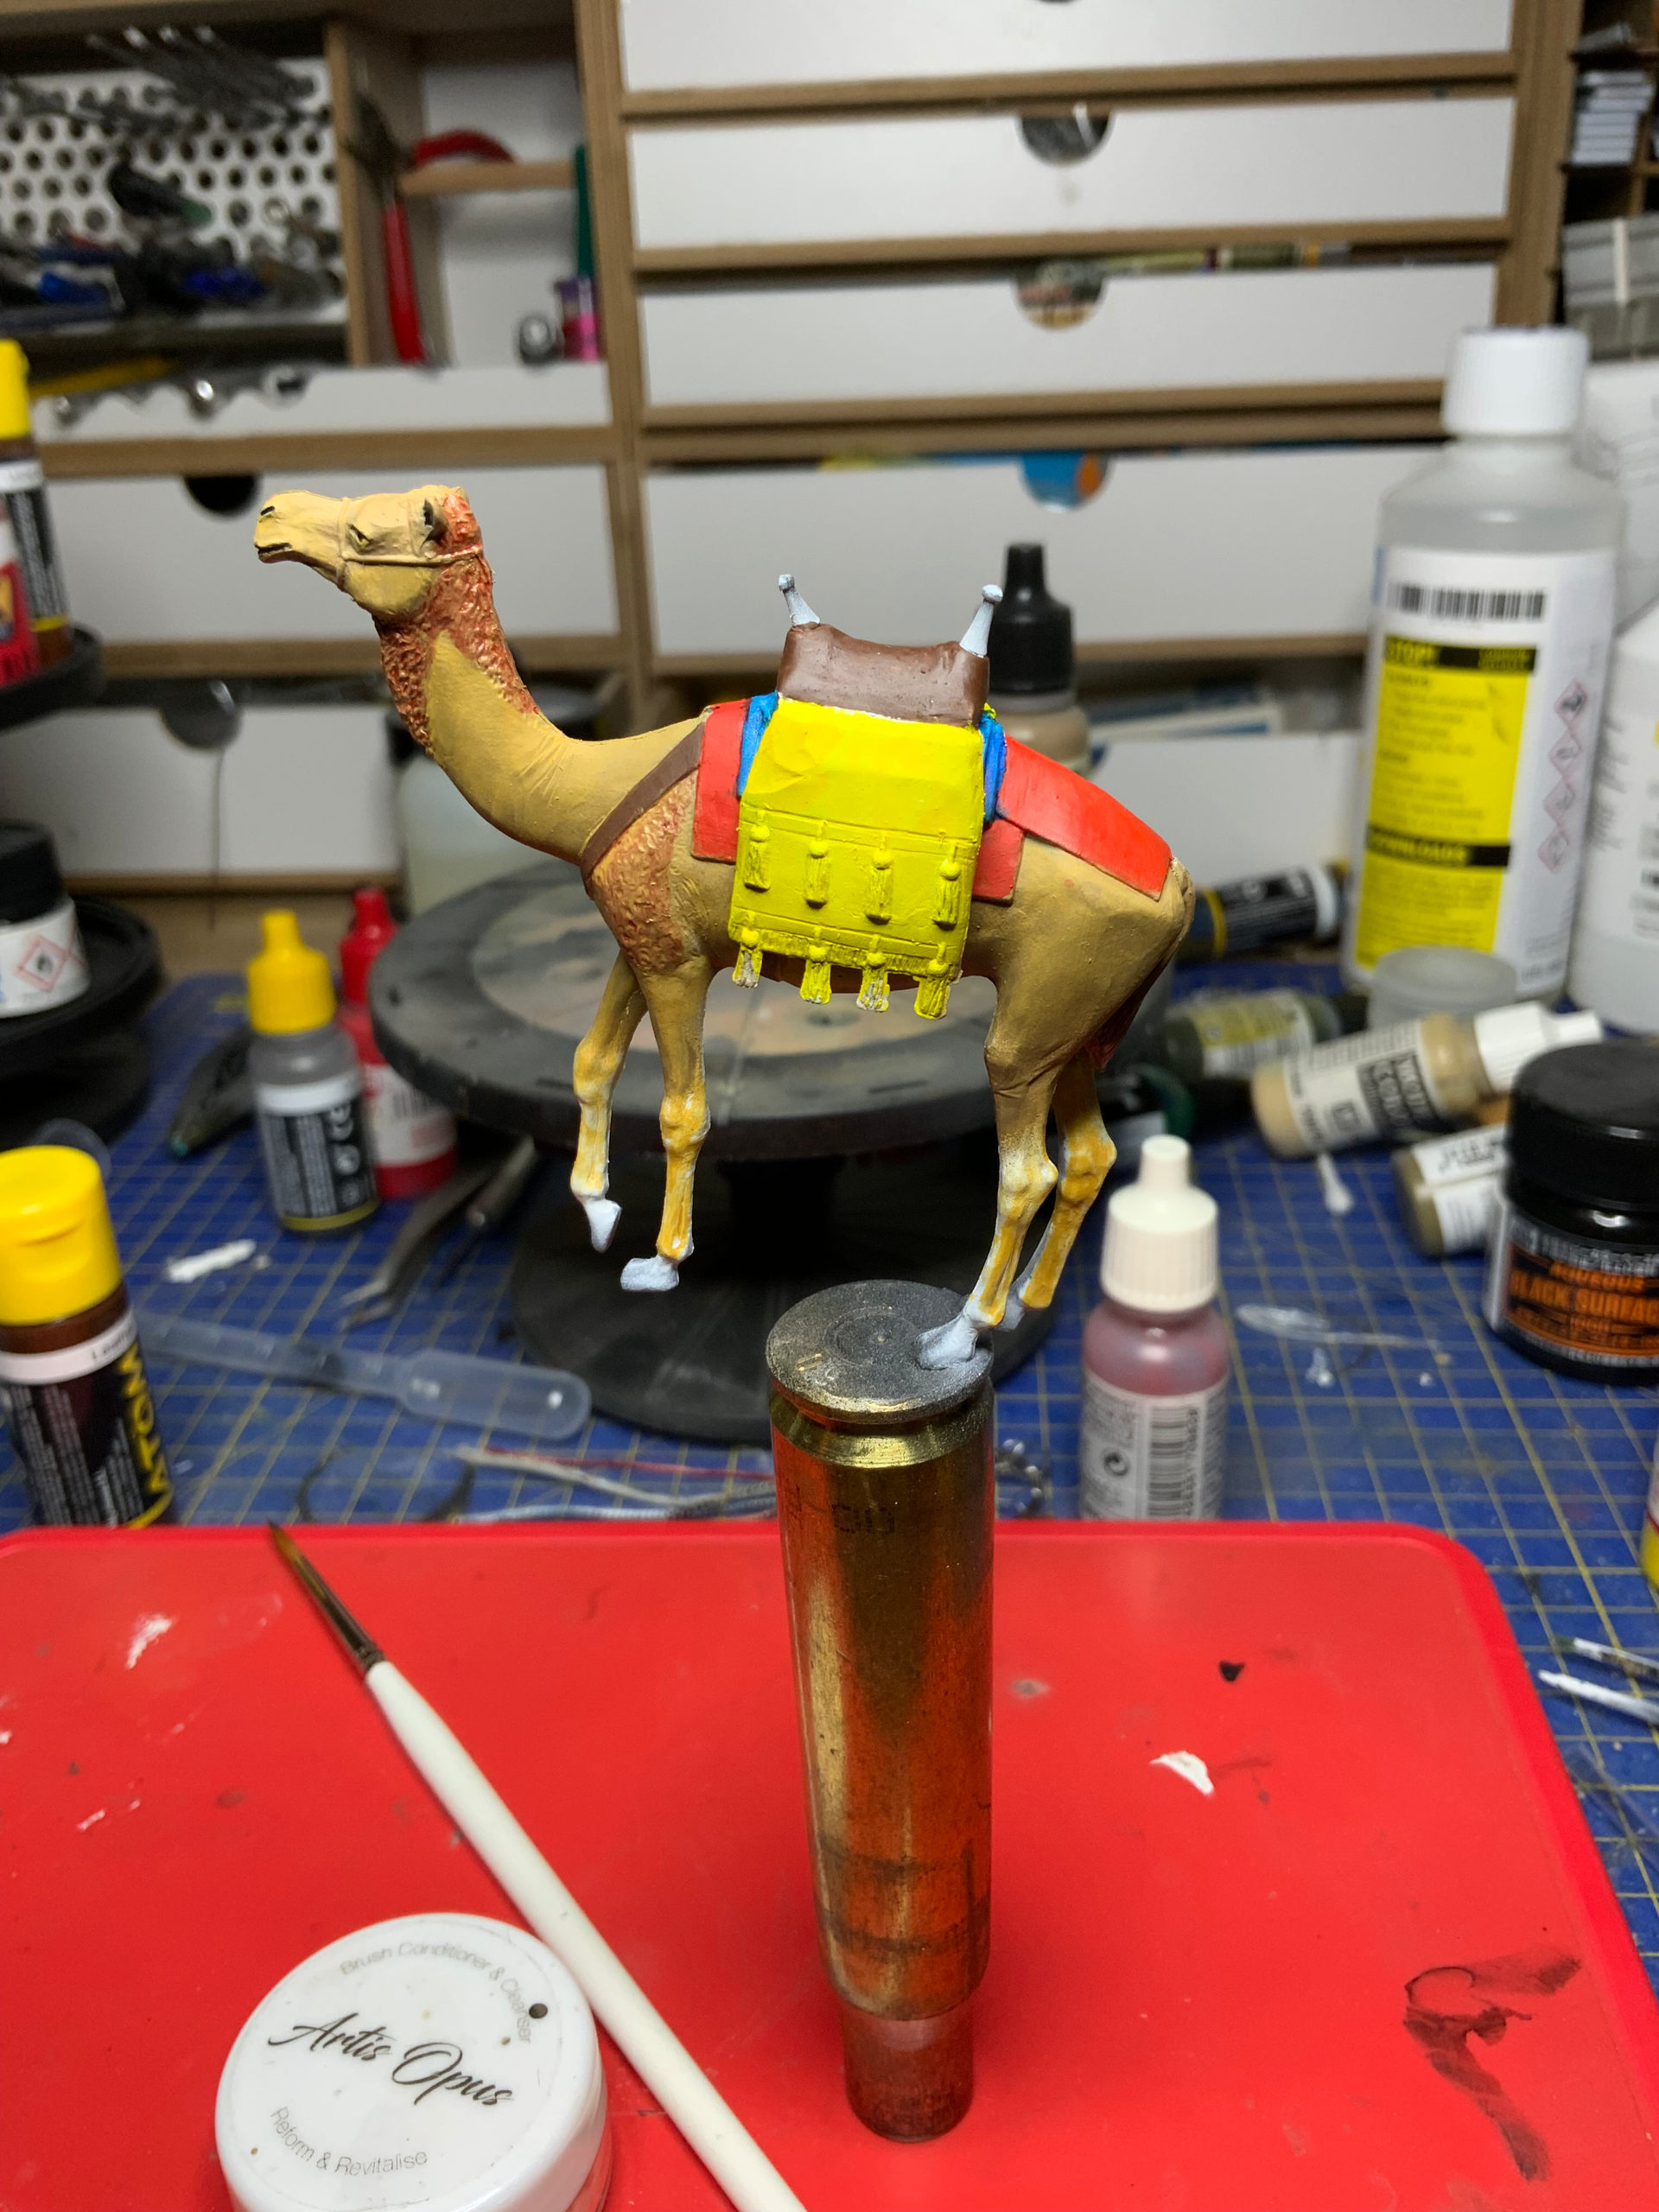
Is that a Sopwith ?
Will be… With Snoopy on top…
Looks good. Nice job on the yellow paint showing through.
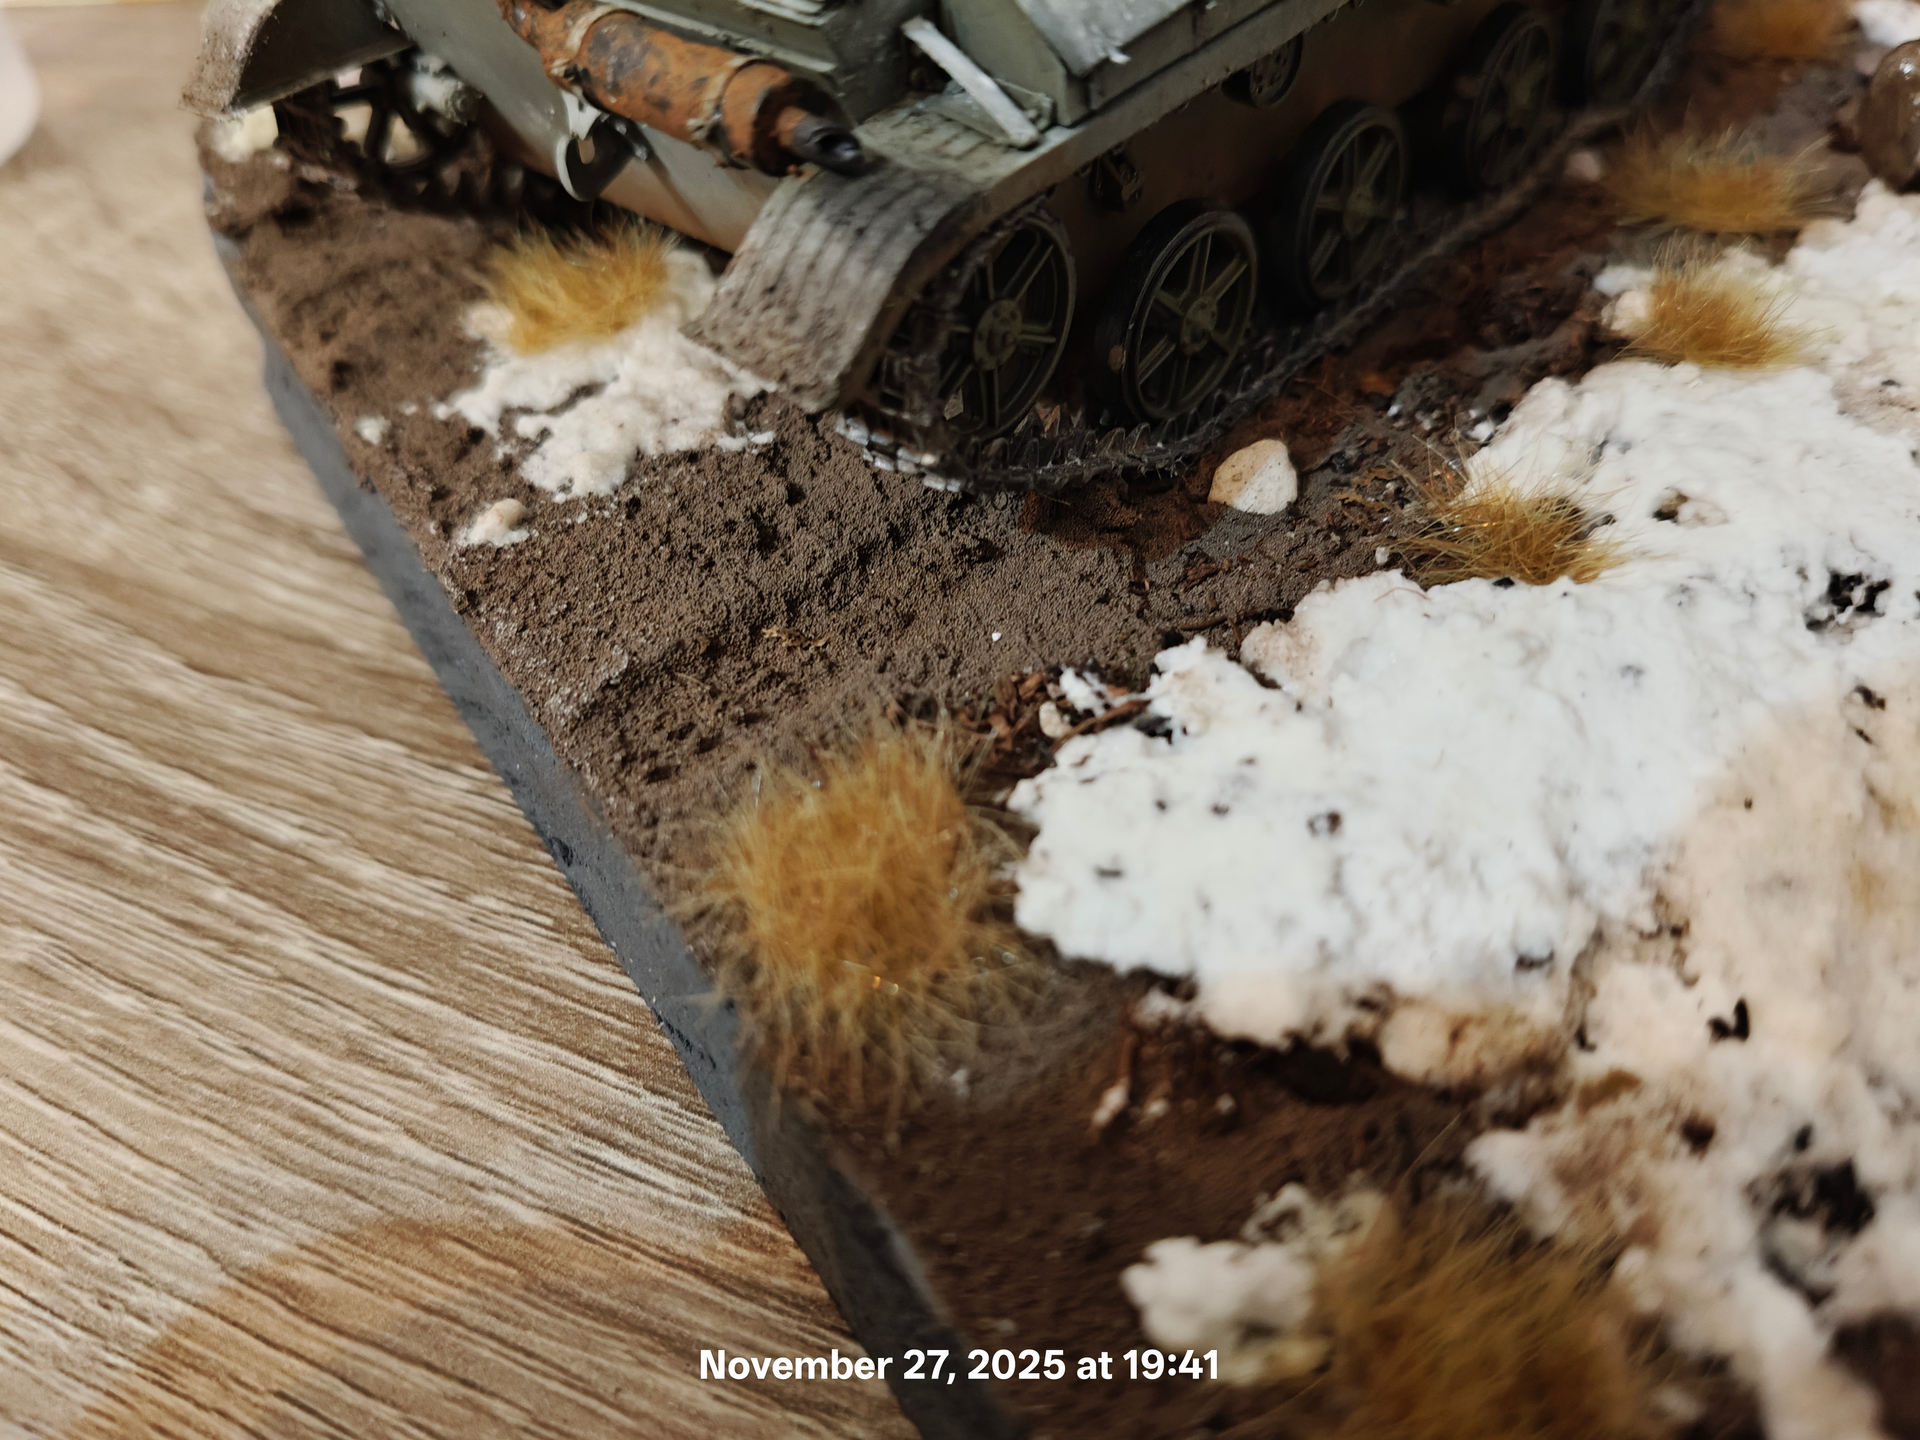
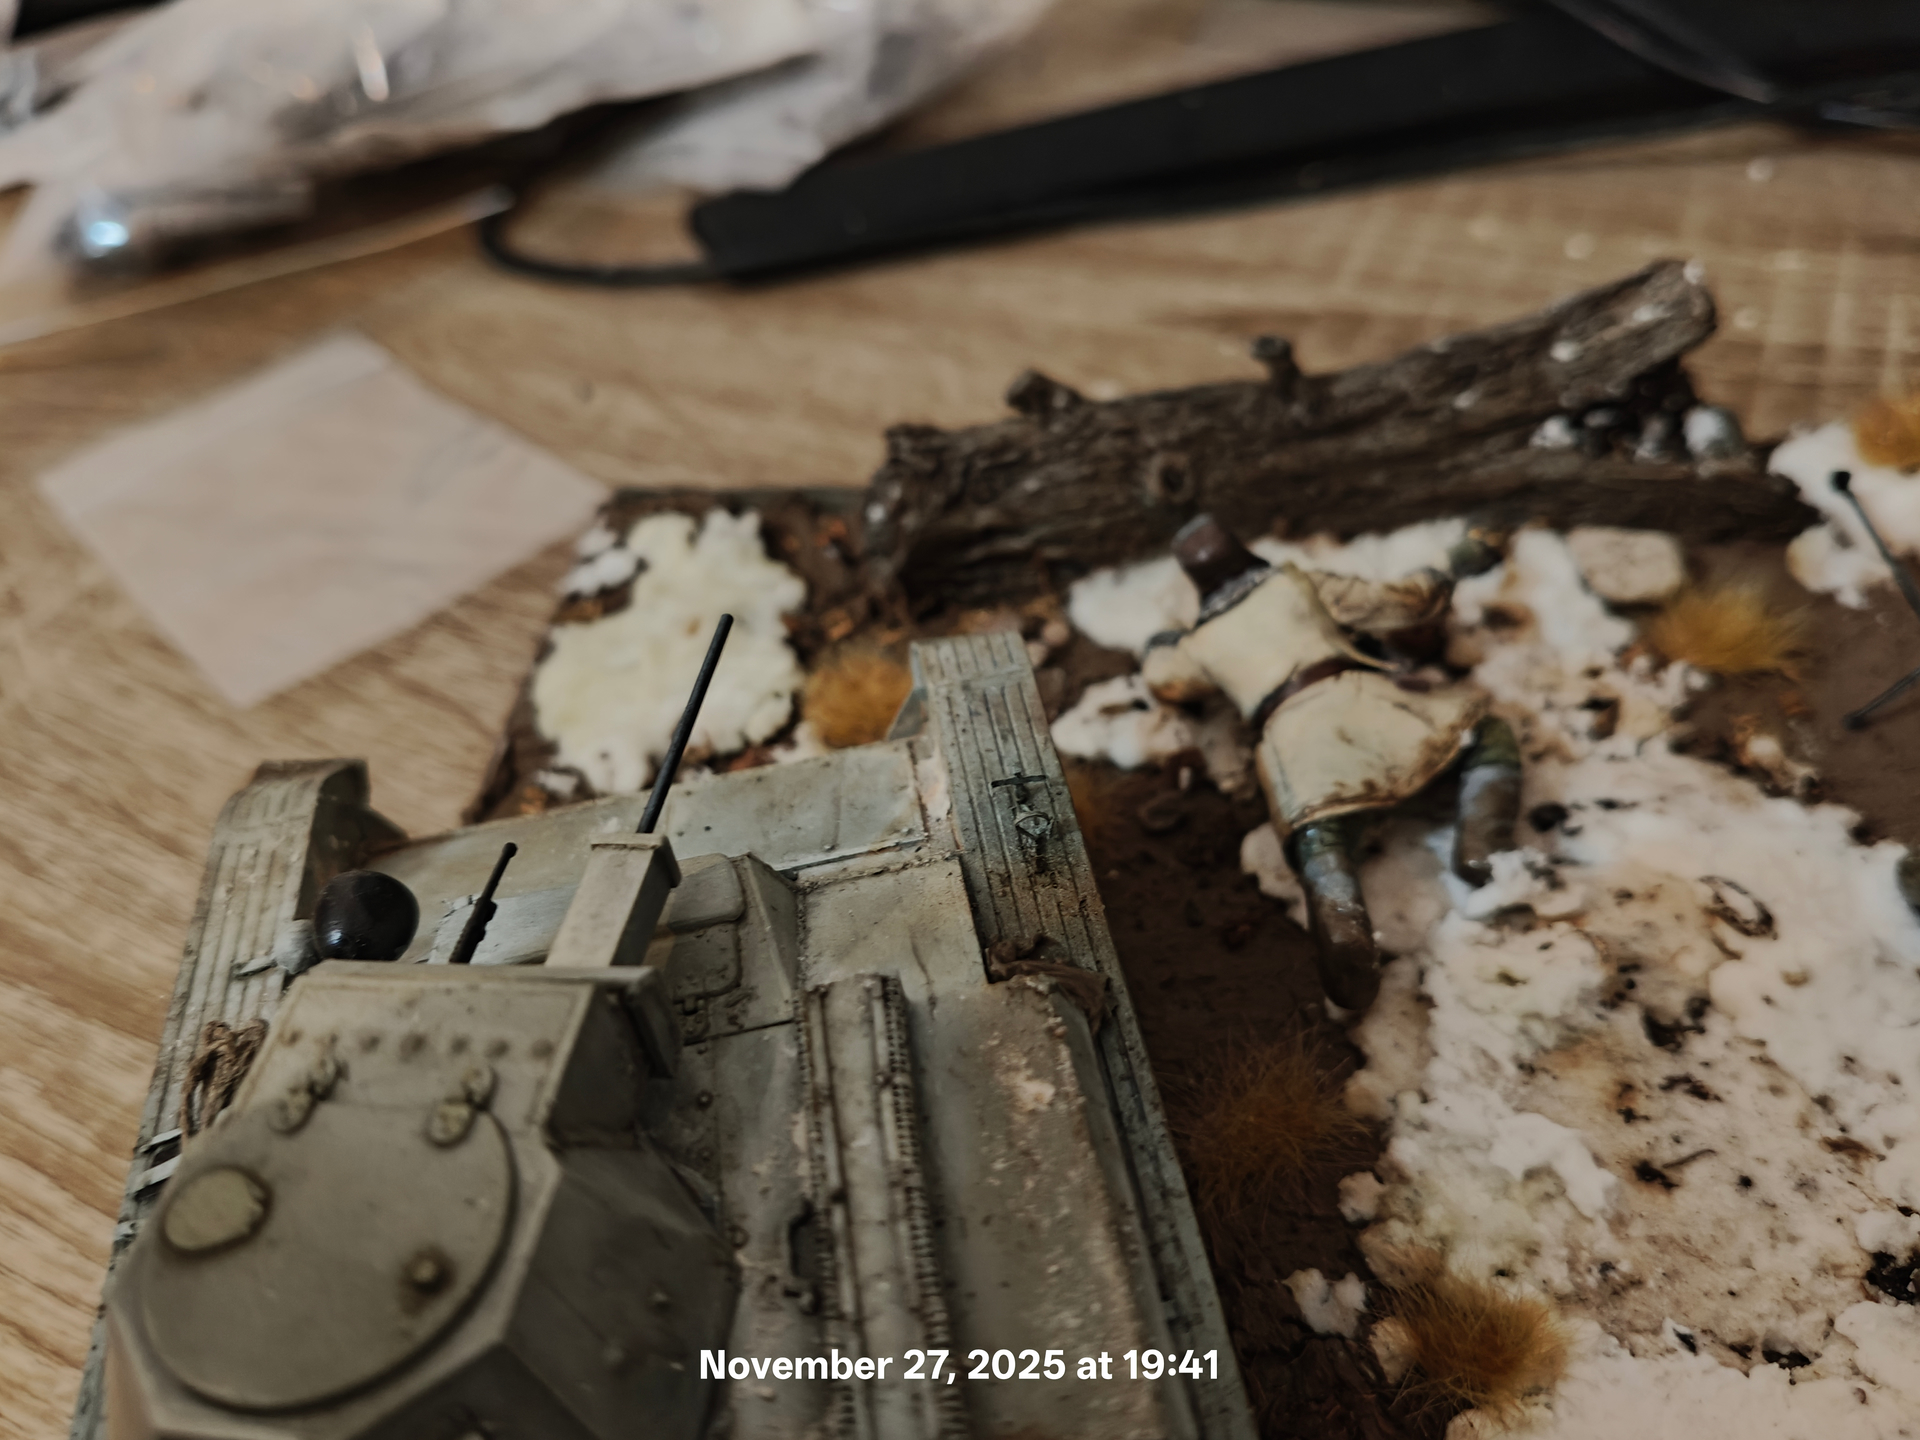
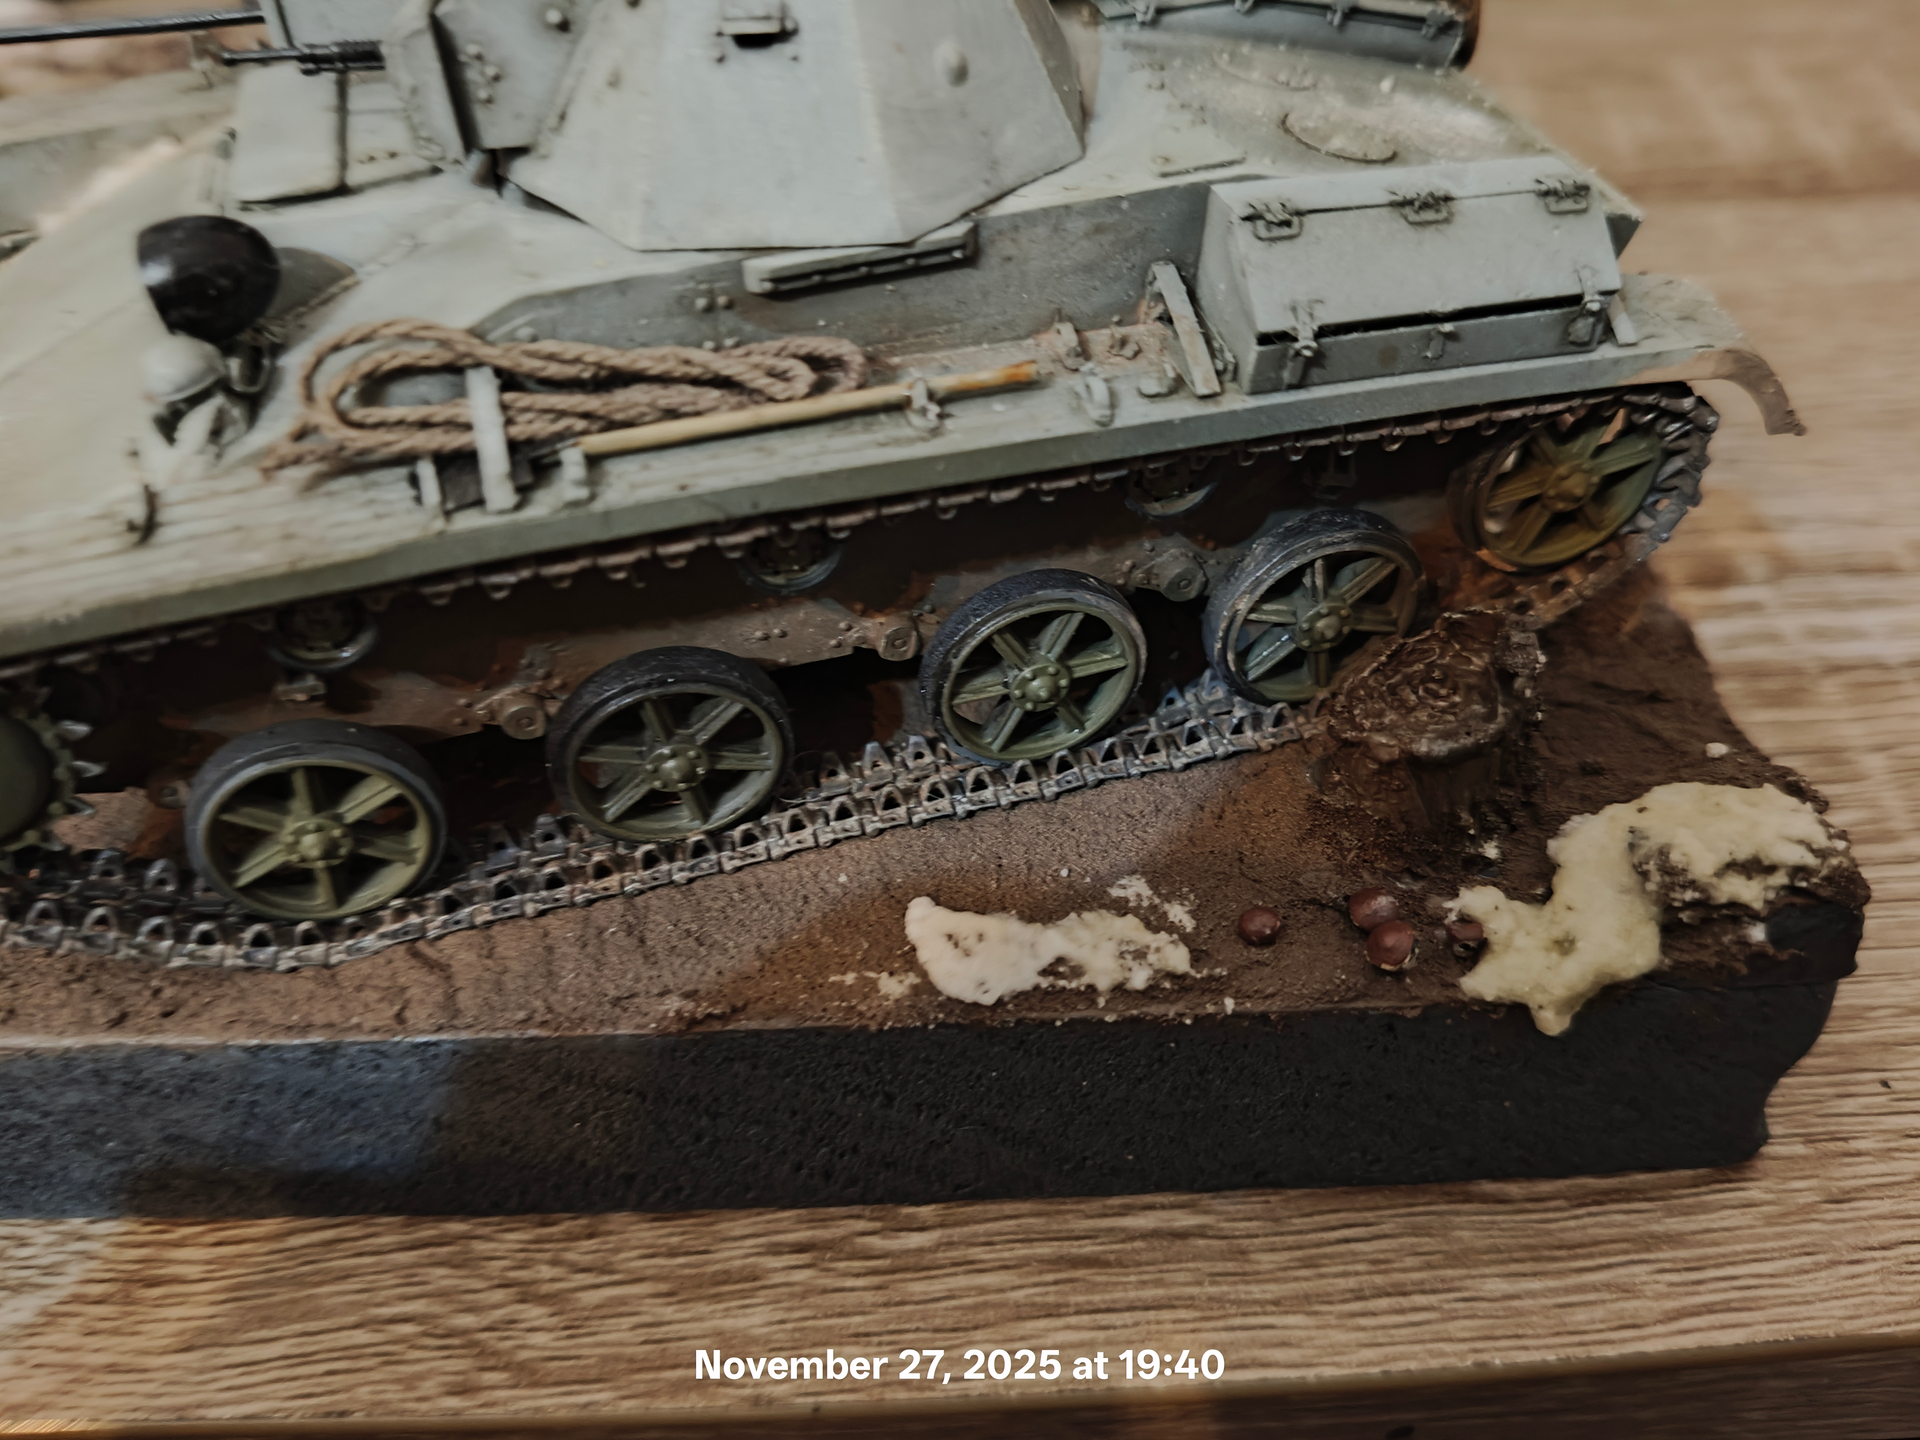
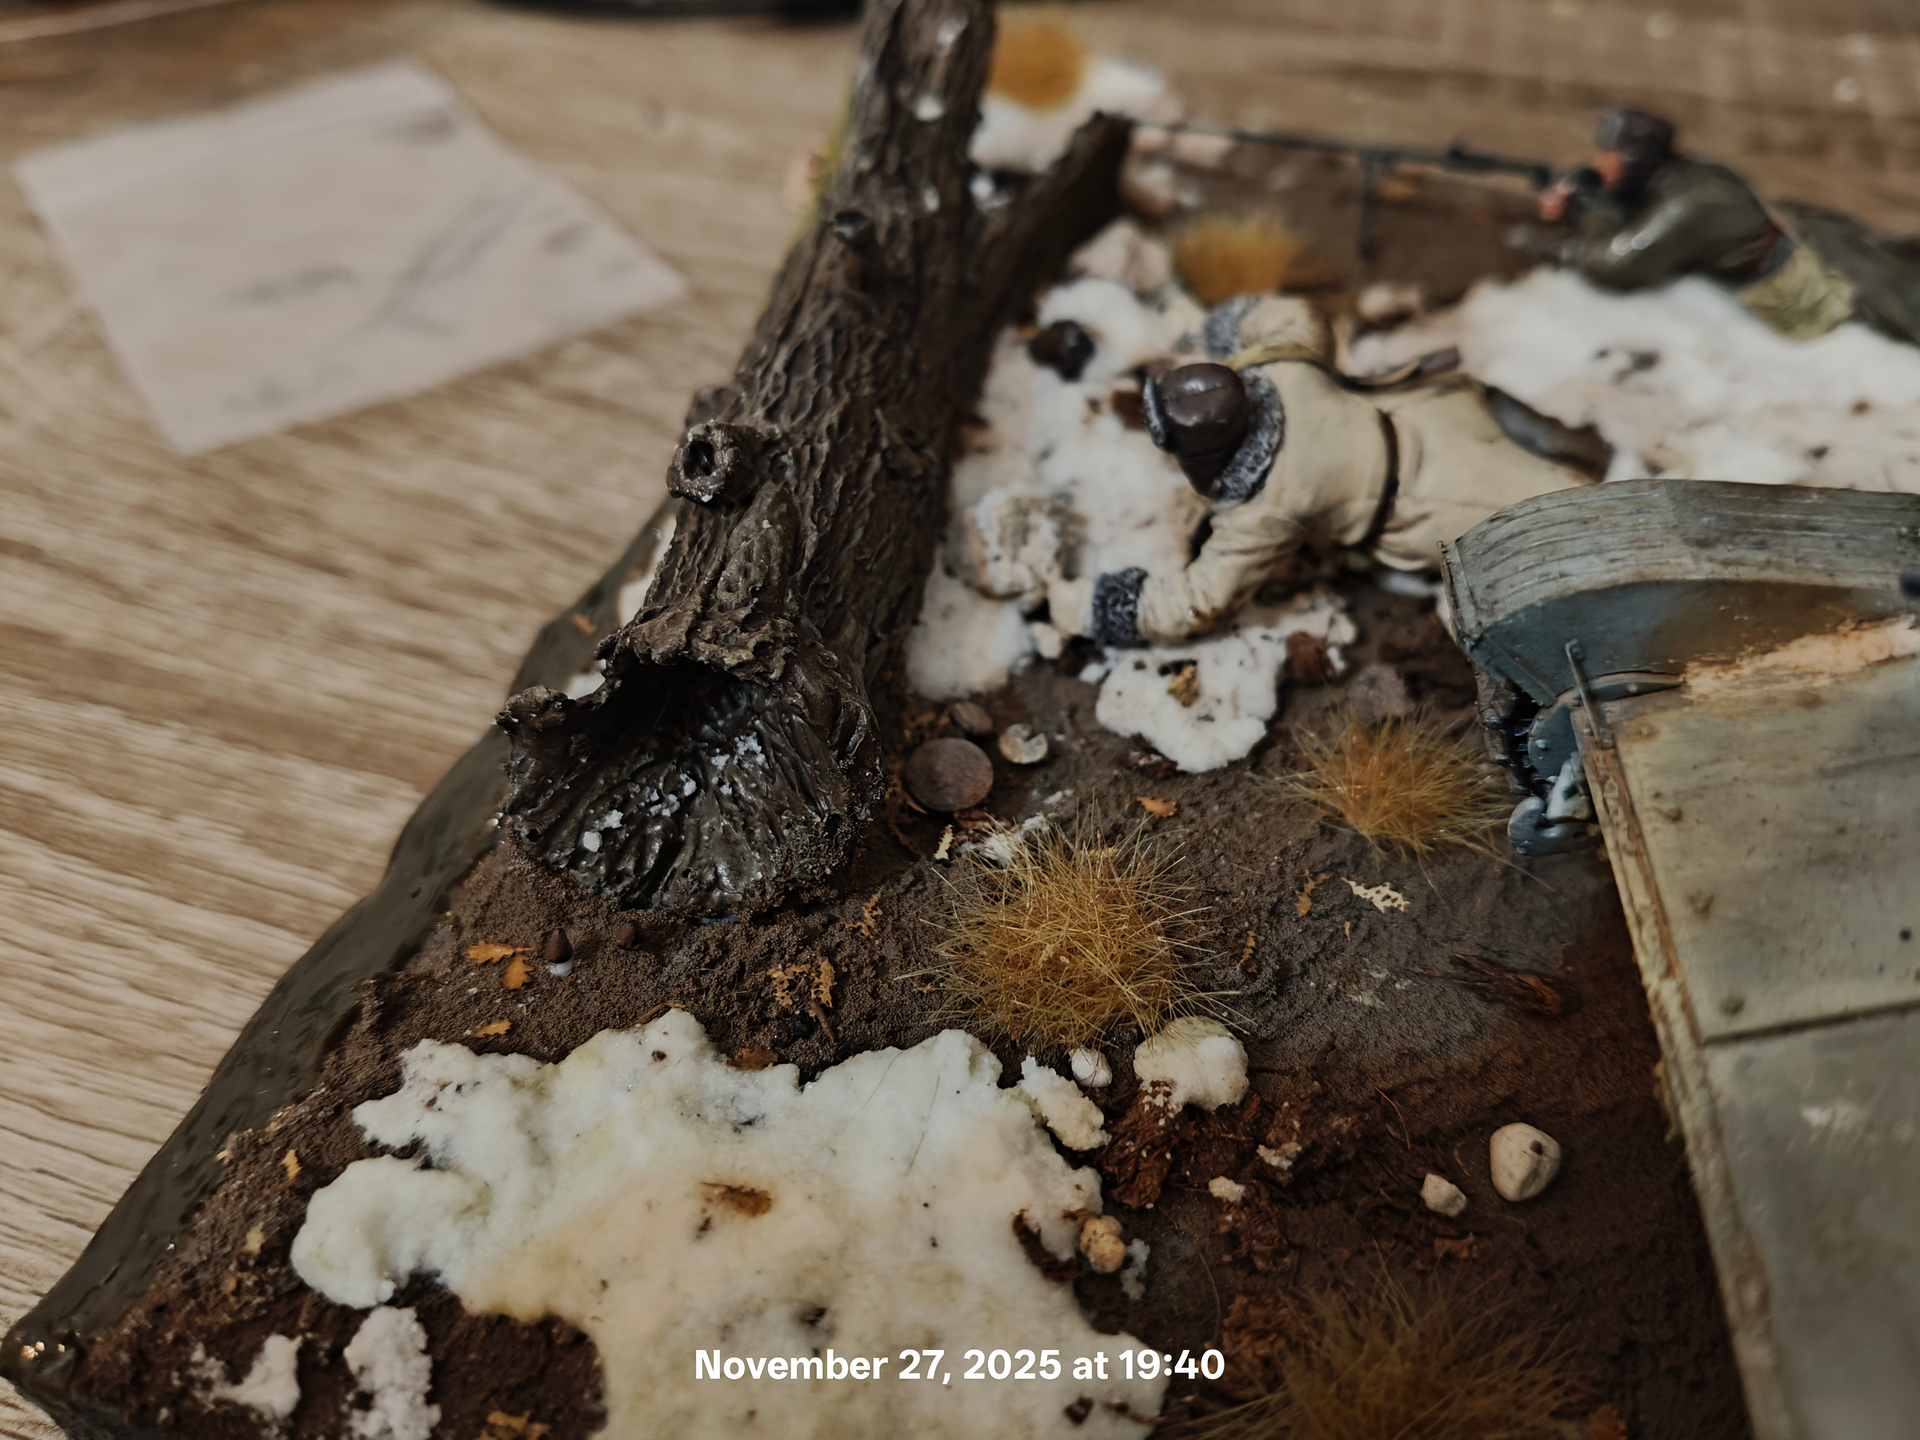
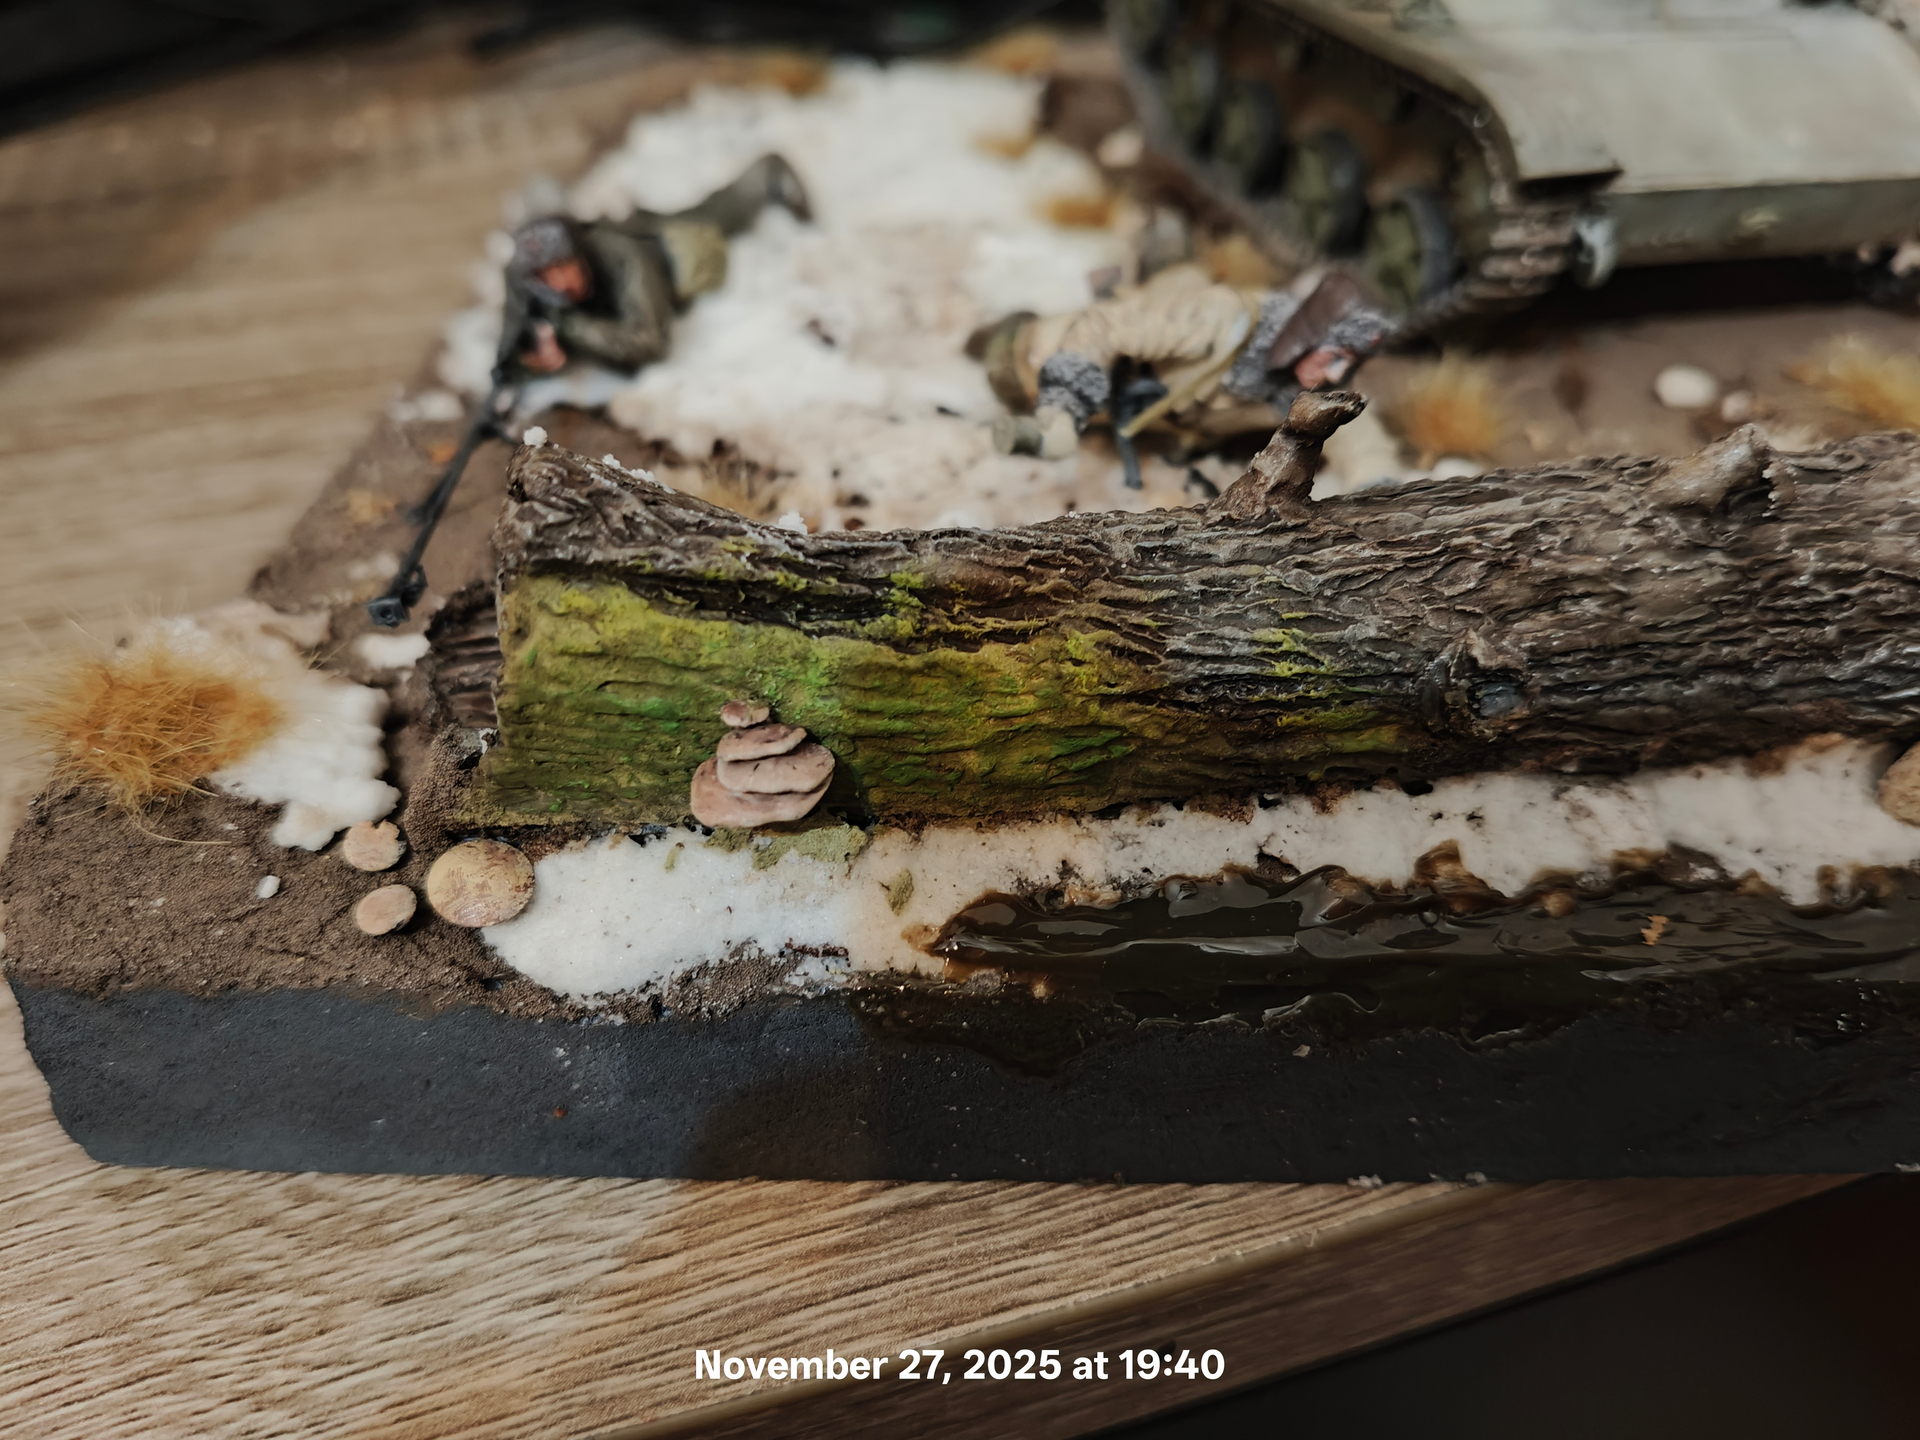
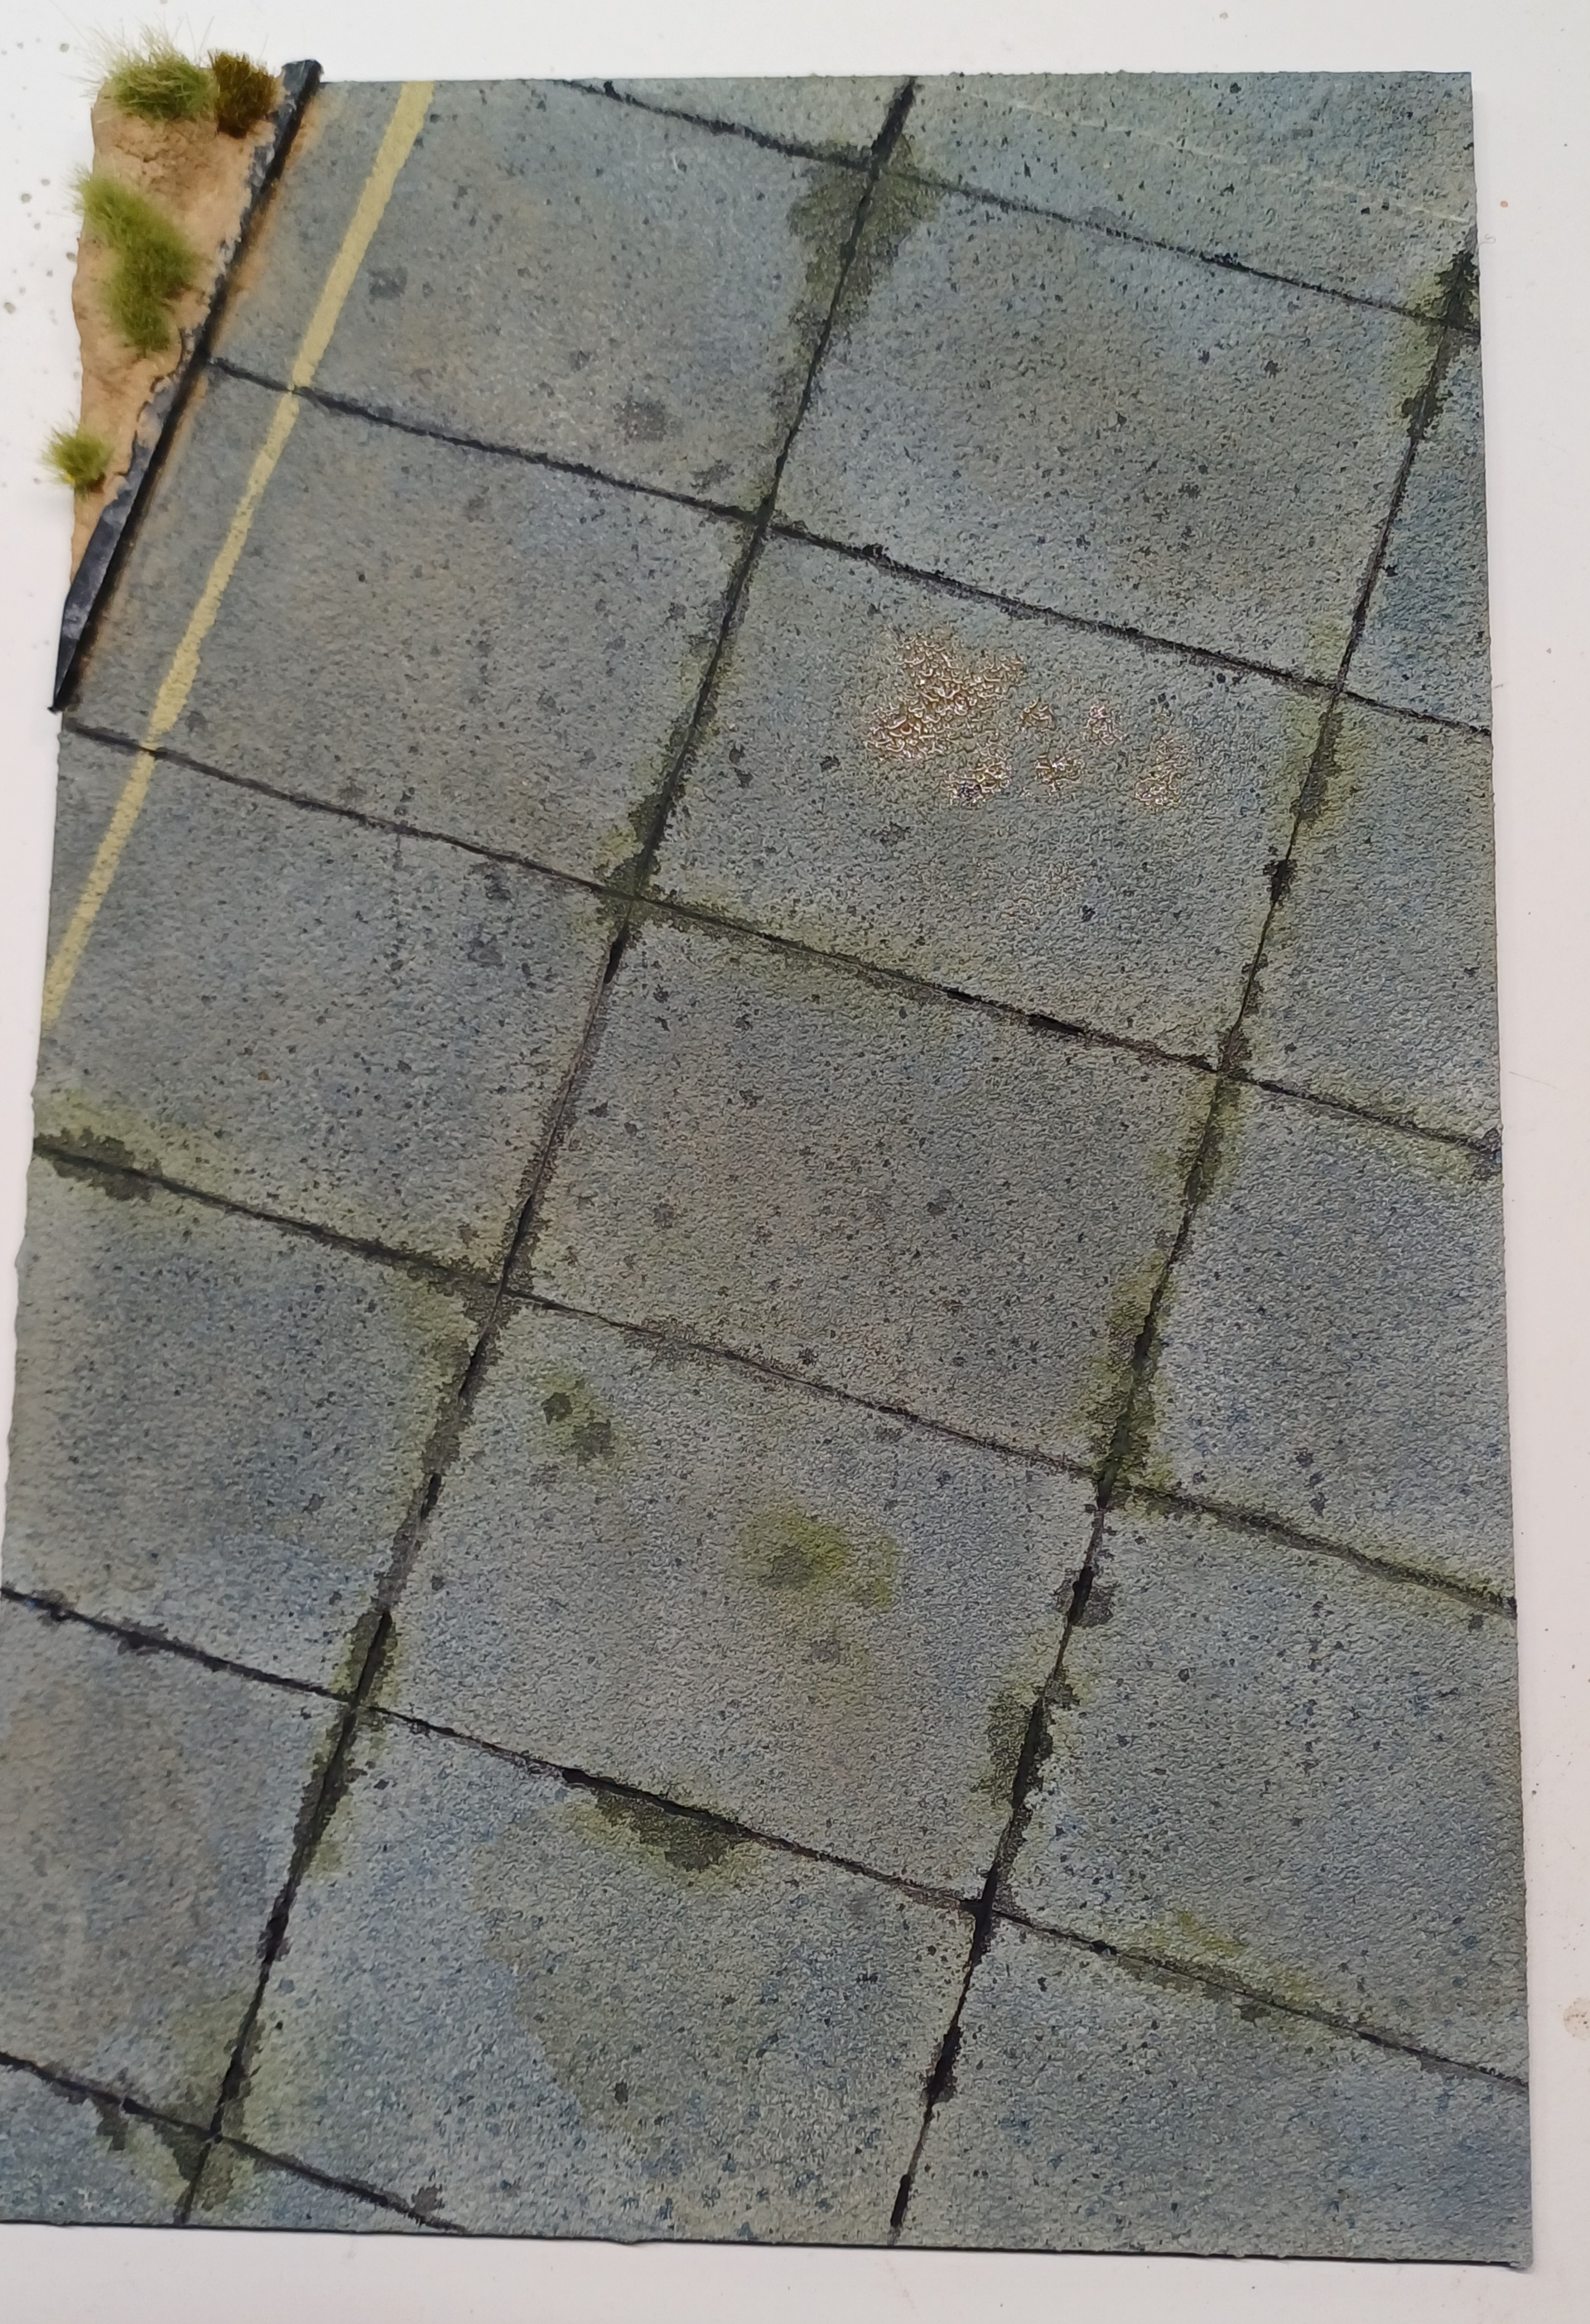
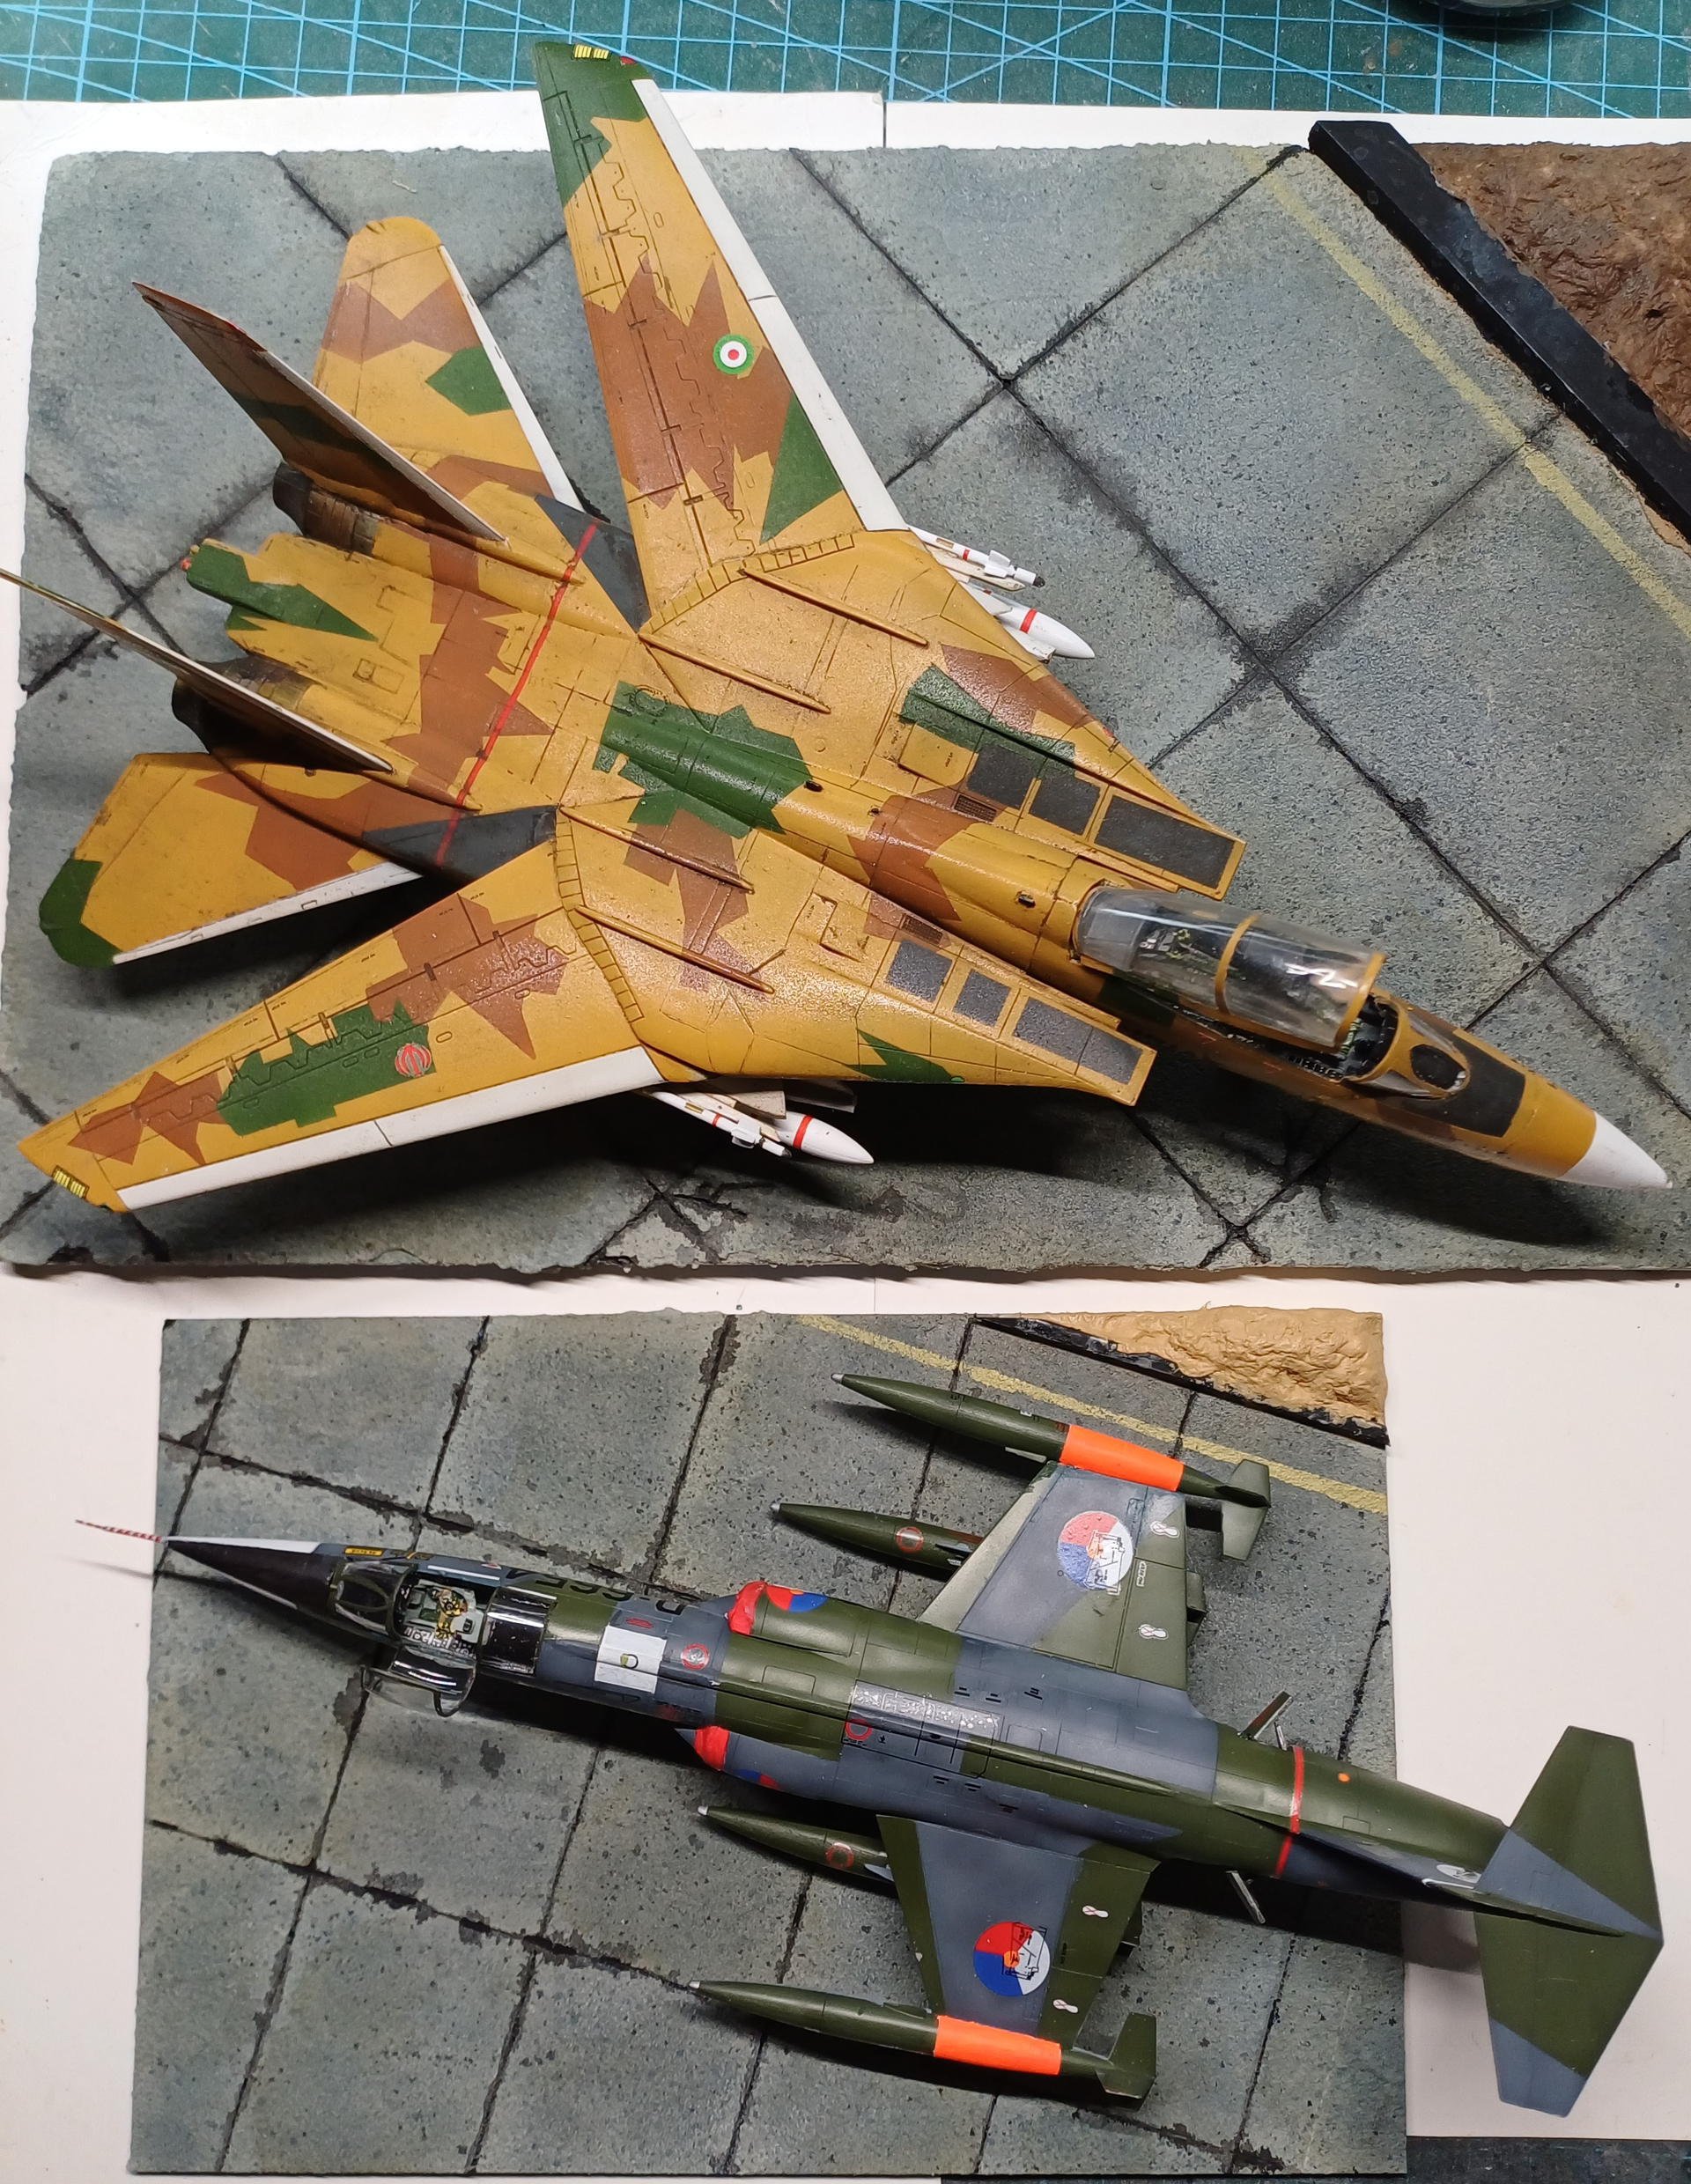
Great texture on those surfaces Bert! Lovely vegetation too.
Also is that a blood splatter!? For the site of the plane sacrifice or is that your blood, sweat and tears going into your work?  (I know it’s going to be an oil stain once the models are on there but I have to poke a bit of fun!)
Thanks and it could have been blood but nope… AK Fuel stain… so you got that right!
I’m lucky, my friend has a white-toner laser printer and has made white decals for me. Registration/alignment for white backing just plain doesn’t work, no alignment on home printers. “Real” decals are screen printed. But I haven’t solved the problem either, sorry no suggestions except for bigger stuff lay down white paint first.
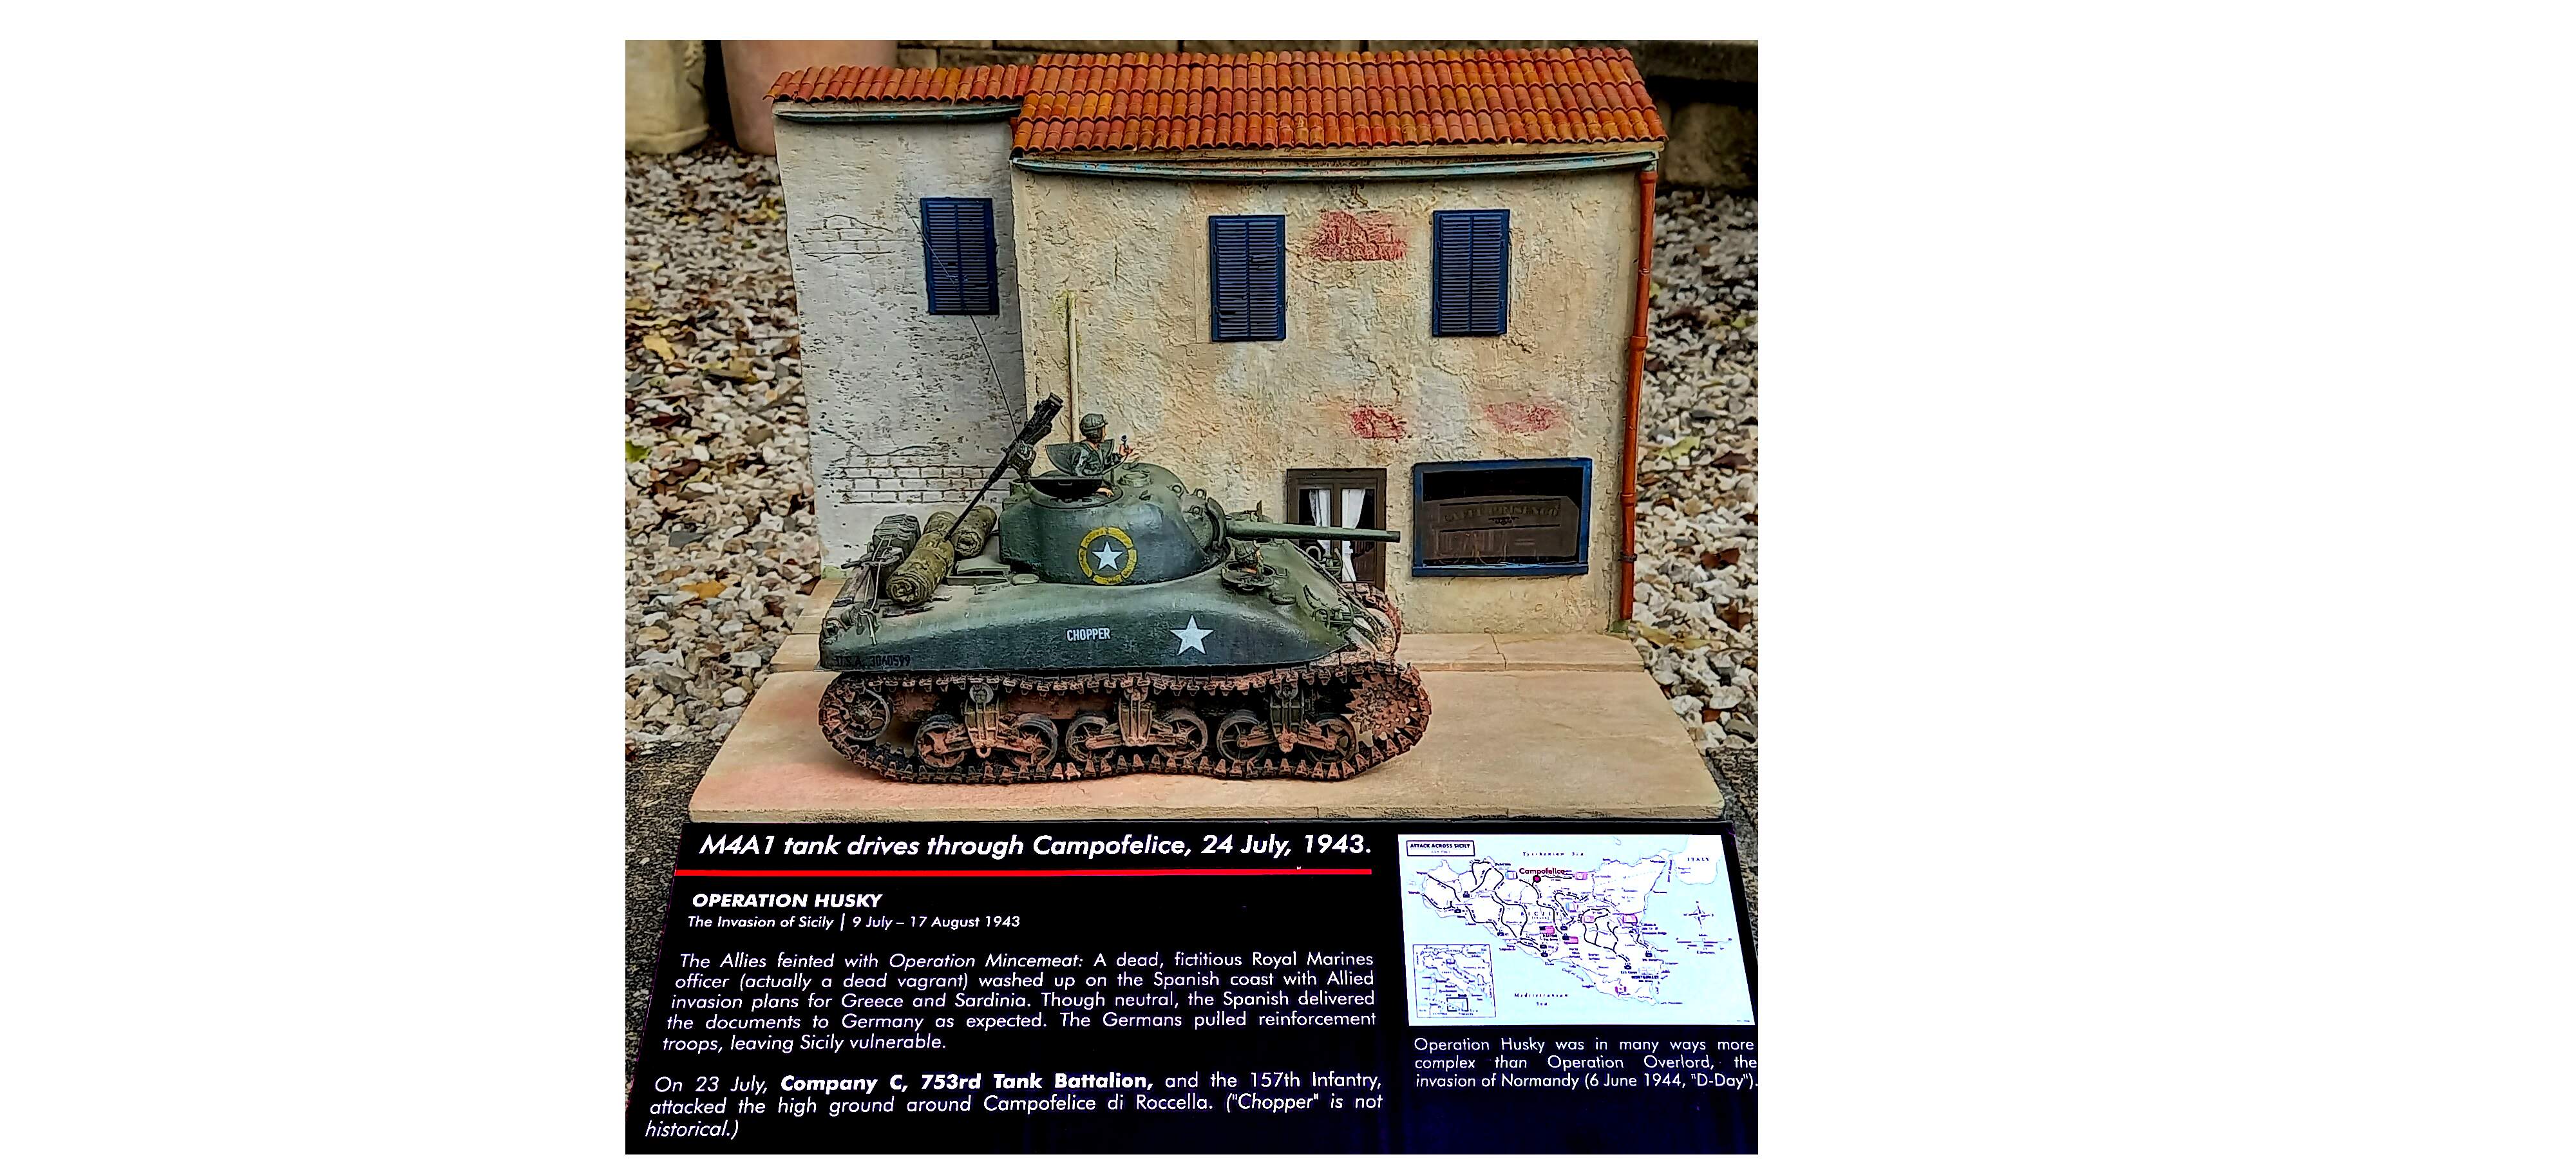
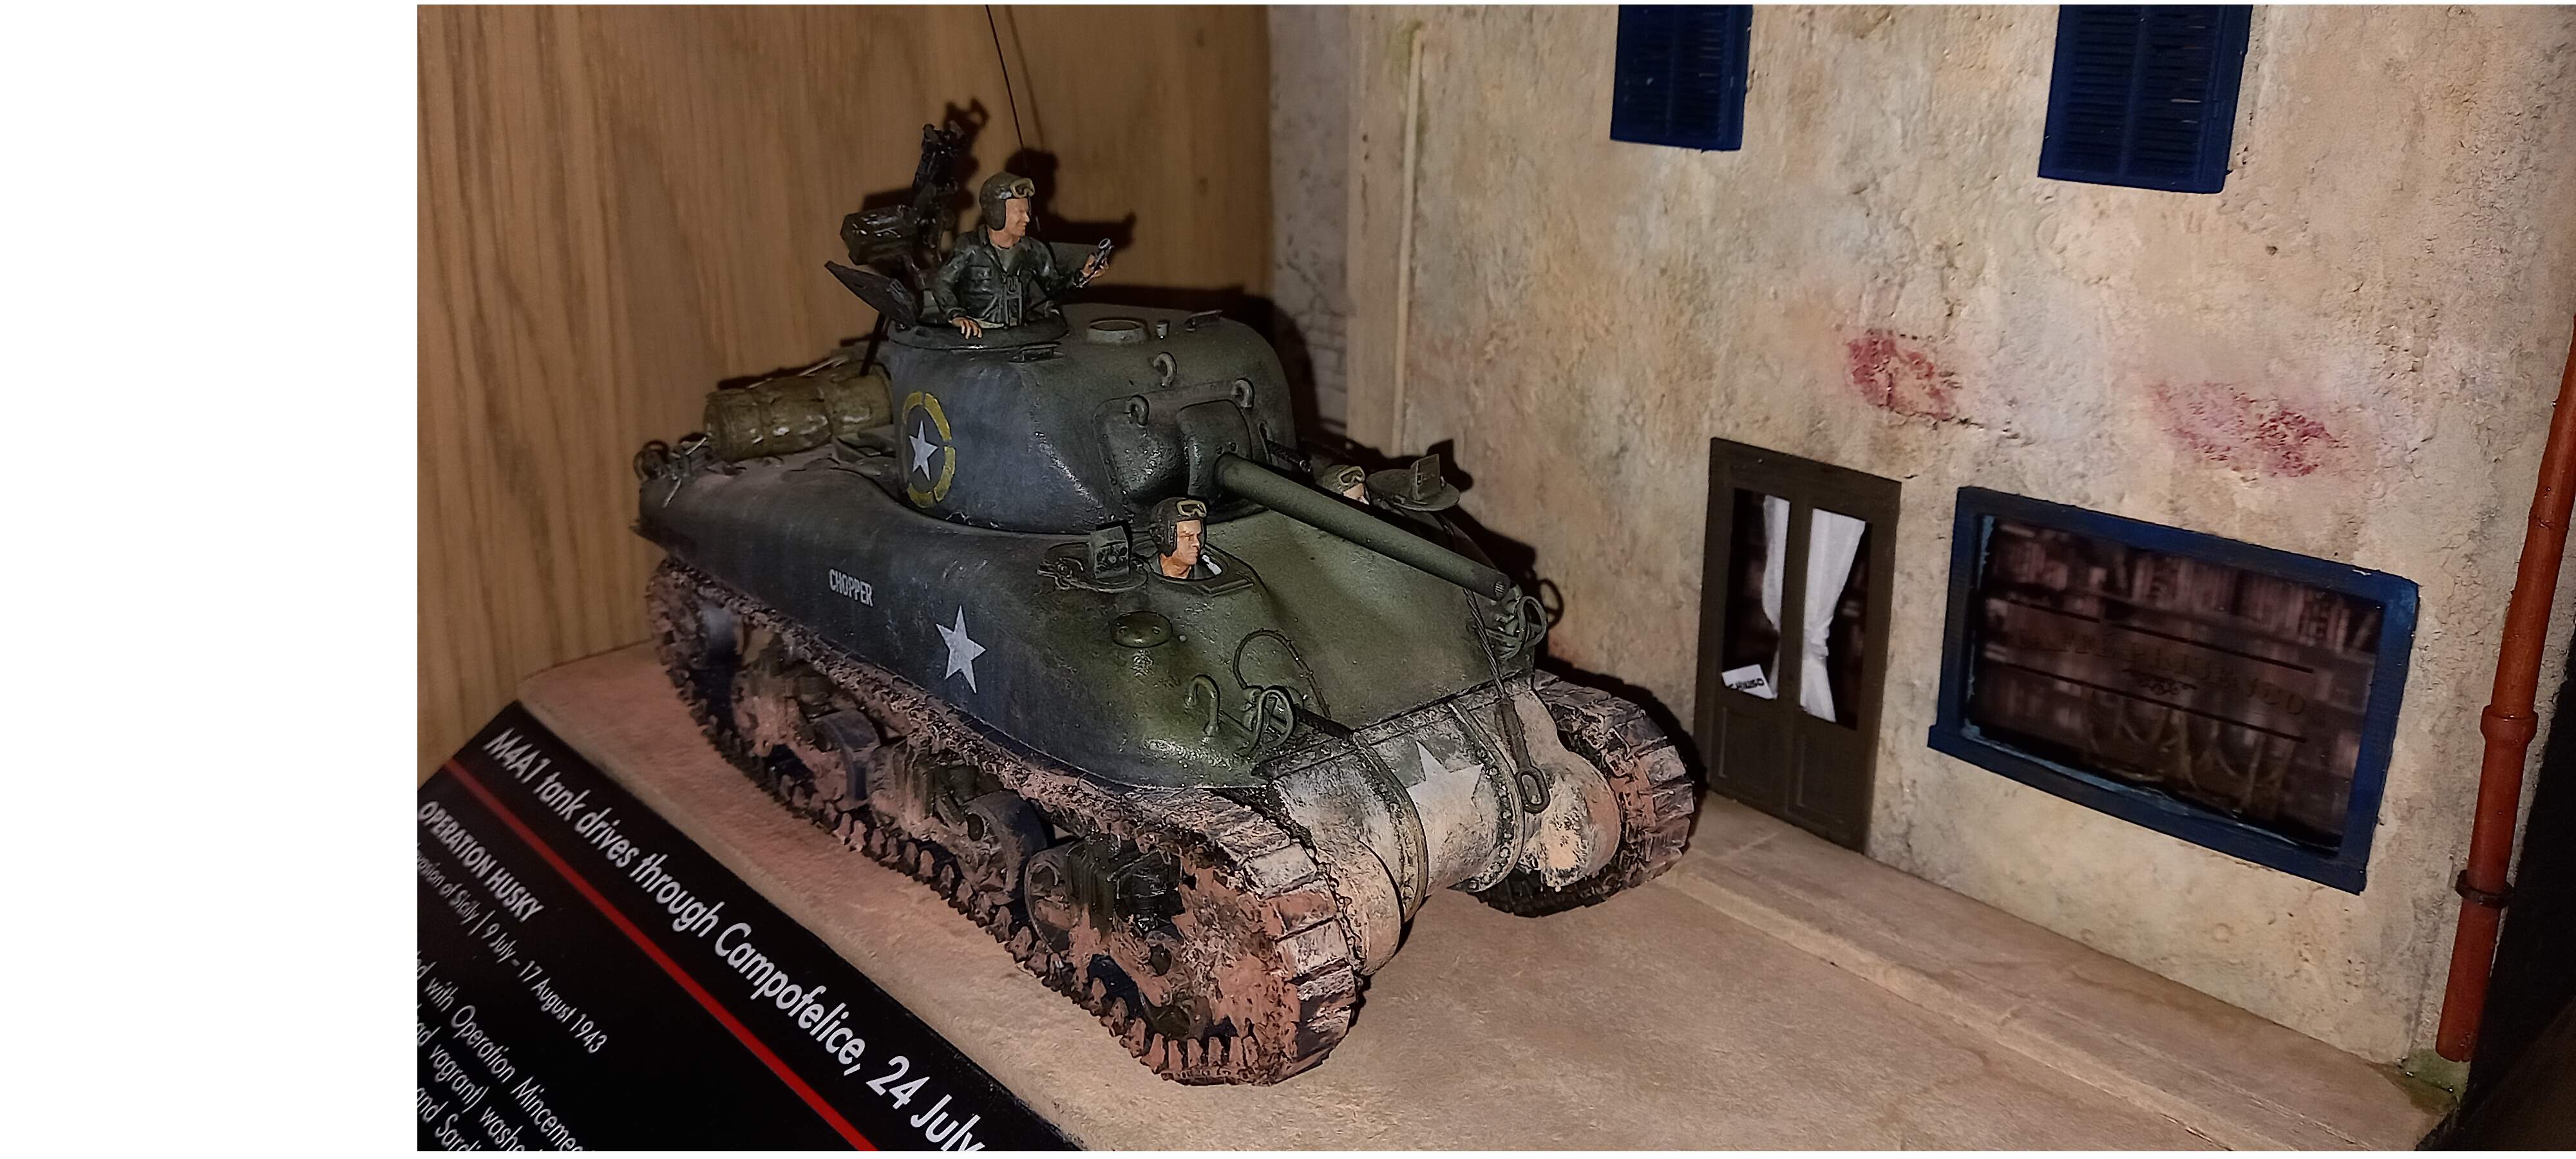
Just finished my first tank. A Sherman M4A1 (because curves baby!).
It’s an Asuka kit. Good detail but it goes together like a house of cards – no locking support, just cement and wishful thinking. No M2 gun or decals. I bought a 3D print file for the gun and had a friend print my custom Inkscape decals on his white-toner printer.
I did the putty technique to simulate a cast surface, works great. Tamiya putty (creamy) and a hint of a light sand to be closer to scale. I was terrible at the liquid cement technique.
I bought STL print files for the figures. The tank Commander’s head is Chris Pine as Captain Kirk because I like Star Trek, too. I reposed the commander, and removed the helmets and made them separate, and the goggles, too. I used poor man’s Krystal Klear (PVA white glue) for the lenses. Good idea but I executed it poorly.
I bought Panda tracks and broke one side on installation. My tracks aren’t the best (er, they’re terrible!). Made a tow cable by re-twisting electrical wire and printing the ends.
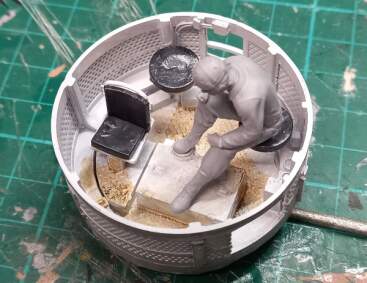
Made a very rough interior basket and gun guard and radio, in Blender. Hardly visible but fun and at least there’s something there.
Pin wash was good, but messed up streaking. Mixed my own Olive Drab from Ammo ATOM black and yellow. Lightened for post shading on the top.
I used XPF foam and MDF to make my first diorama, a street scene from Operation Husky. I used Blender to make the door, shutters, and roof tiles, and a table for inside. Got a free STL file for the chairs.
I need a LOT of practice with Everything Tanks, especially washes and post shading, but it was fun. This site was very helpful, and I learned much watching Nightshift, Panzermeister, and Sprues and Brews. Thanks everyone!
After finishing my T-60, started its older brother, the T-30.
As this duck-thing was a t-40 tank without the amphibious capacity, I removed the wave breaker fittings, and head light and horn mounts as I did not see them in pictures.
The important part. The rest will come. Not a bad showing for your first tank build.
On the tracks, removing one link could help with the look as they should be tight on top.
Thanks for that - looks like I’ve got a little surgery next!
Olifant Mk1A on the startline for more fun

Back side is so beautiful
Rabbits
Mine? Why thank you! (Blushes)
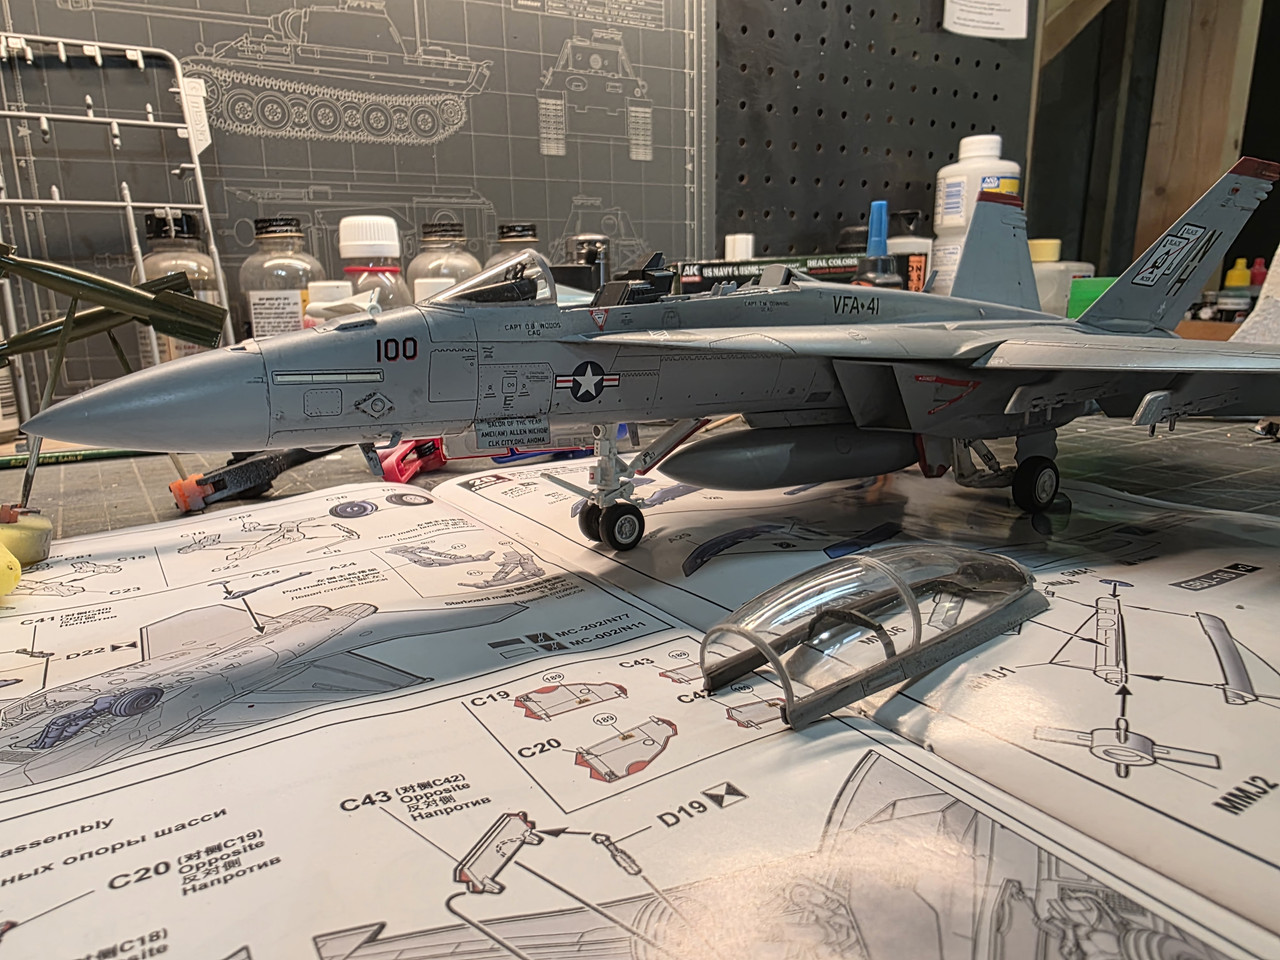
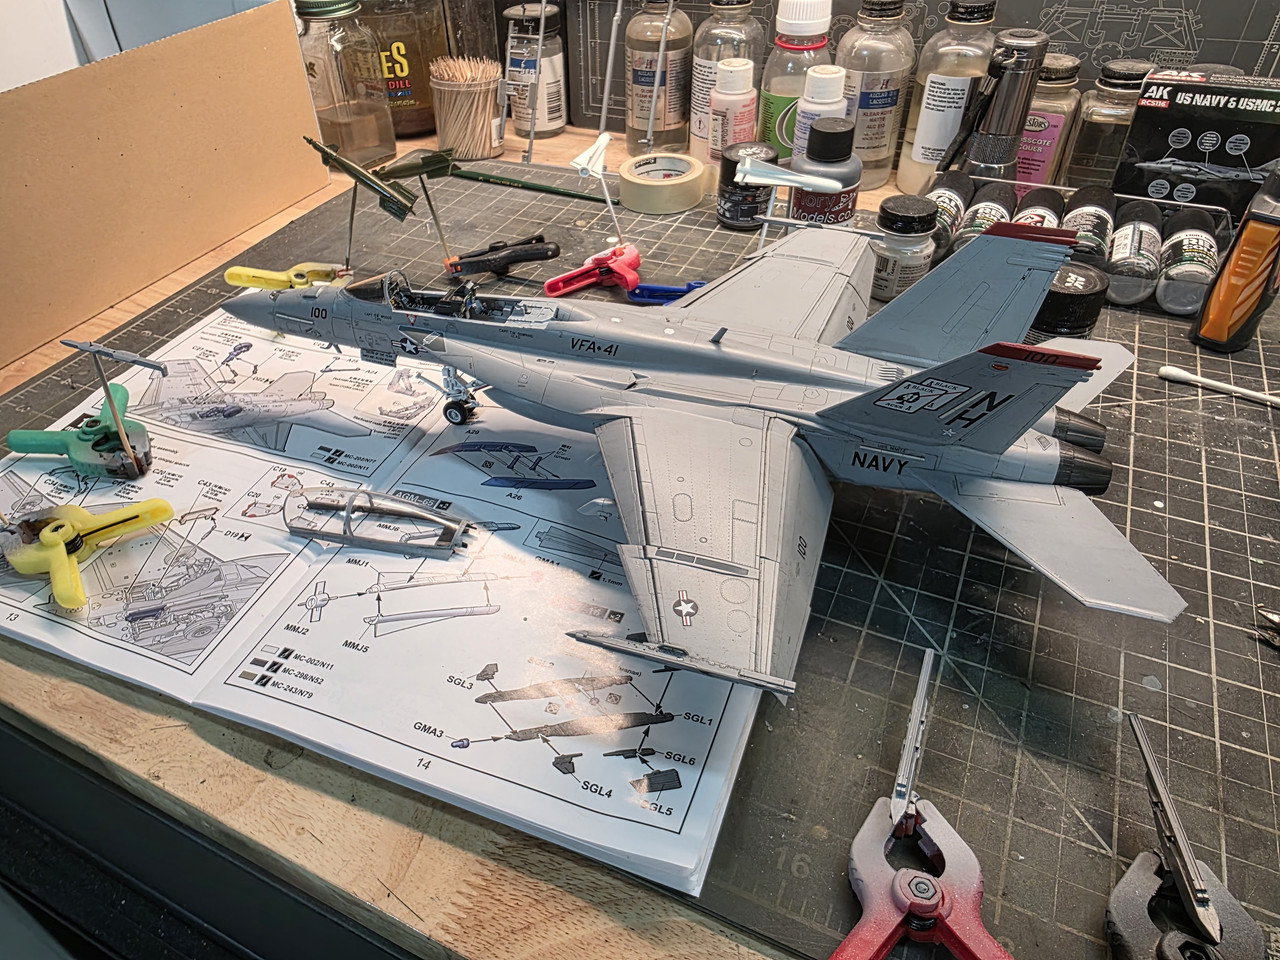
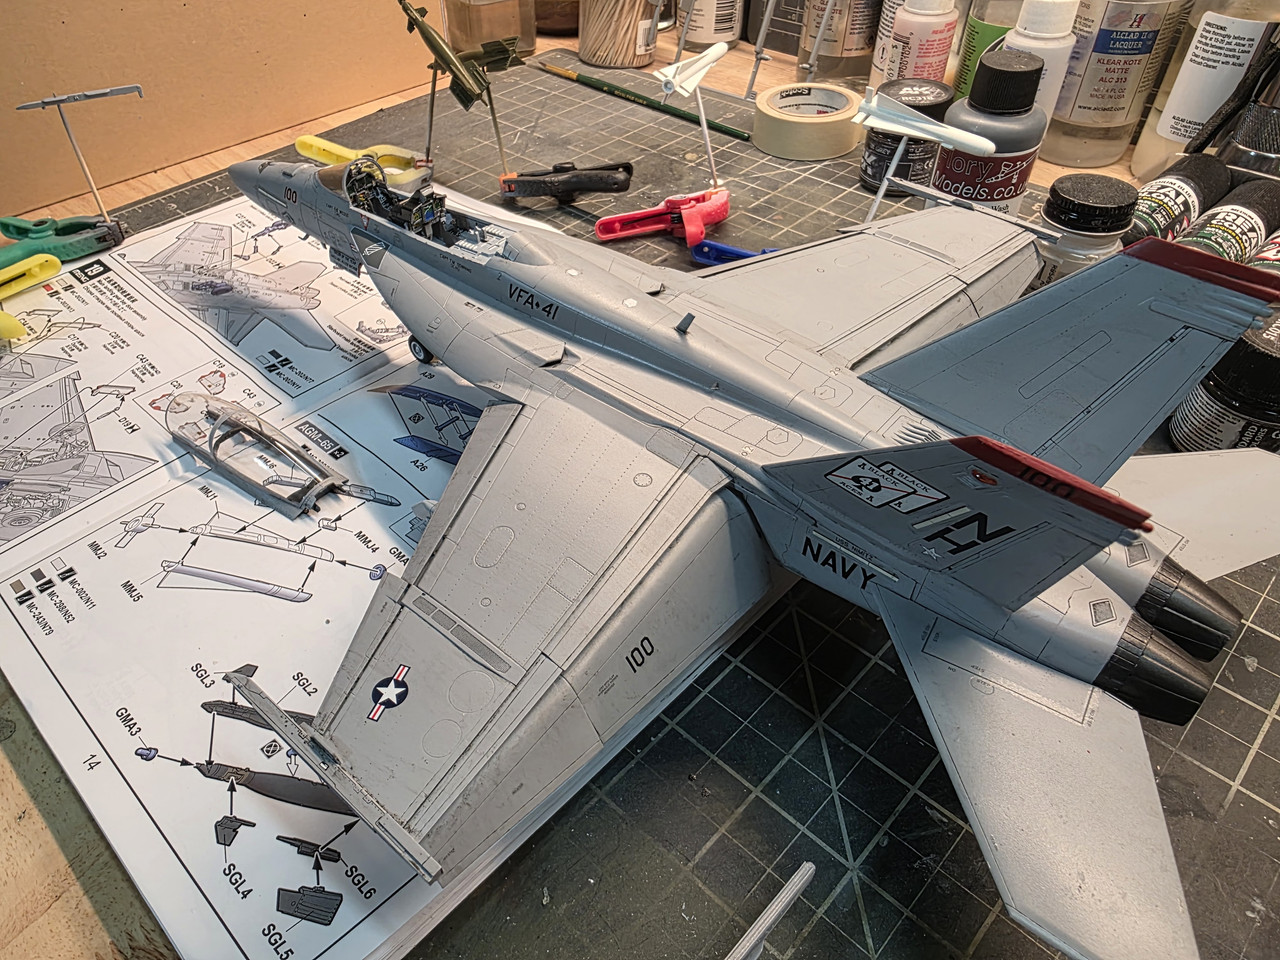
Added a gray Flory Wash to to hilite the details and to add a little grime,also worked on pylons and payload.
That is huge!