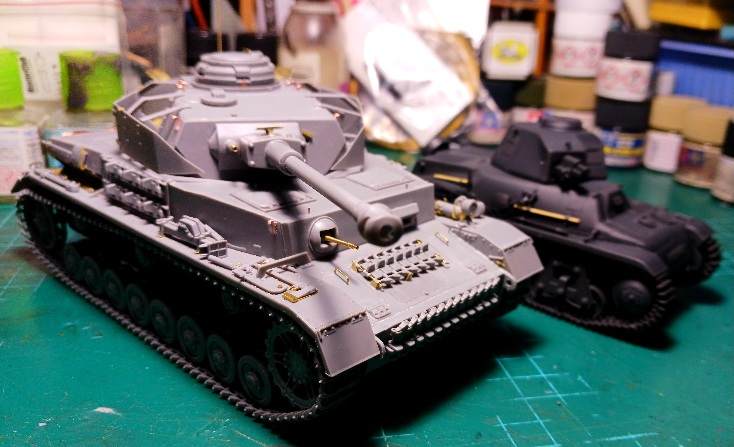
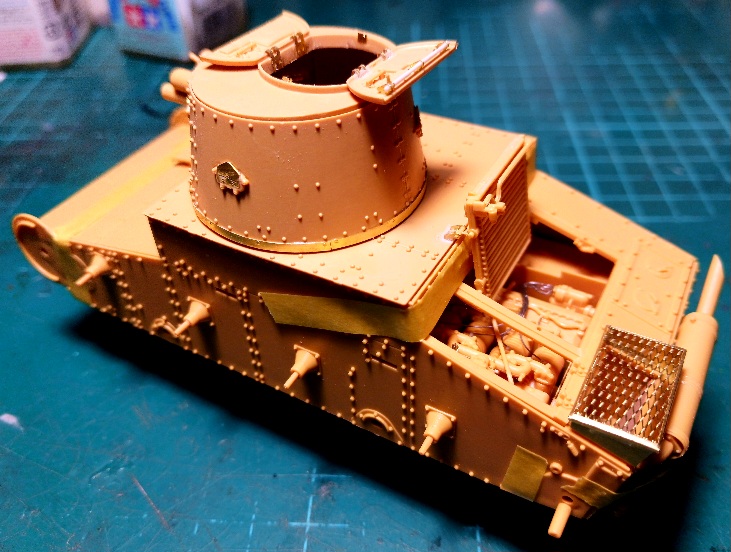
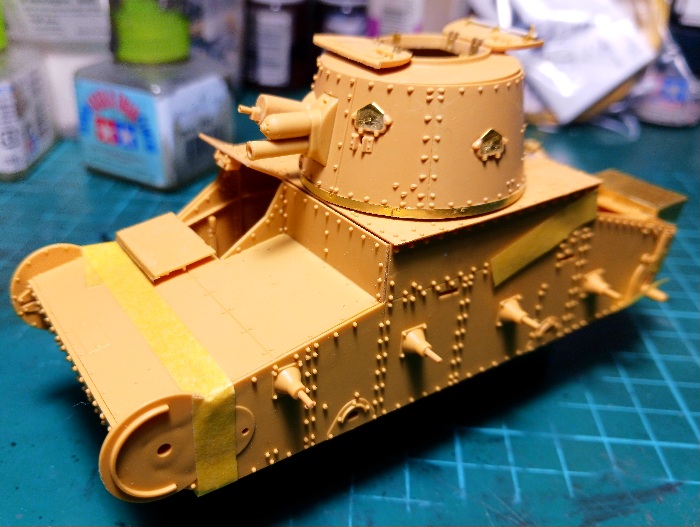
Two more AFV’s complete, this time 1/72 Japanese WWII.
A type 94 Tankette and a Type 1 Chi He Medium Tank, both excellent models from IBG.
First the Type 94 Tankette:


And next the Type 1 Medium Tank Chi He:


And finally, one showing the comparative size to each other!

22 Likes
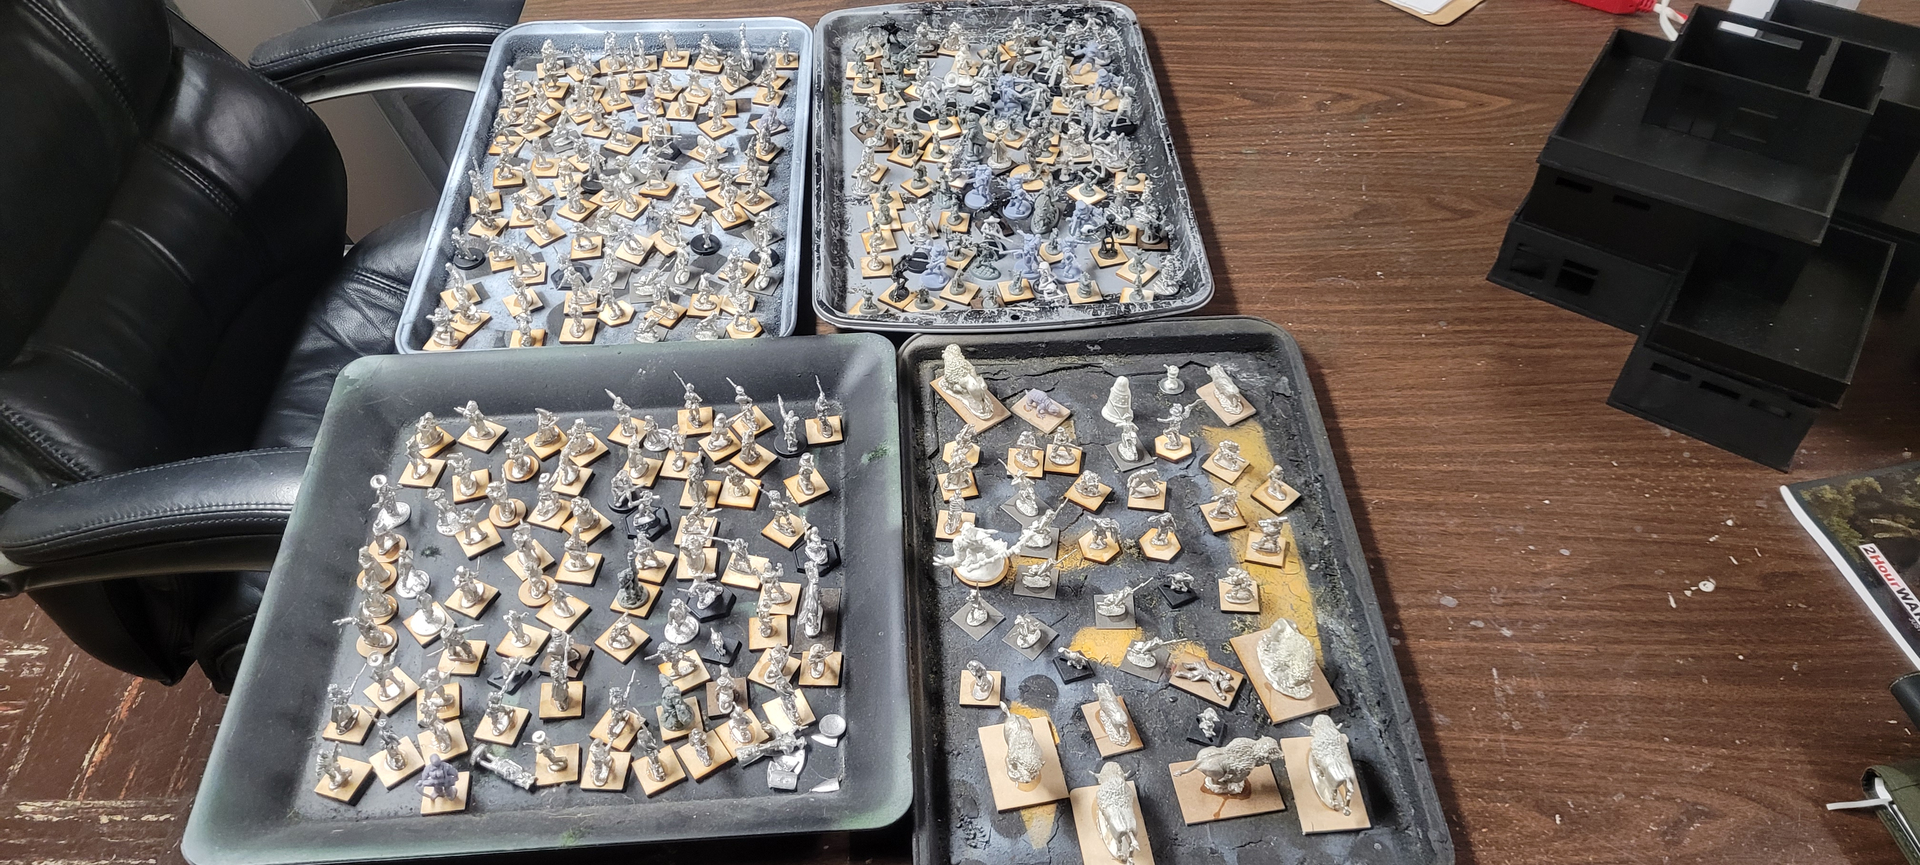
My bench has been occupied for the last week cleaning up miniatures. I can finally get back to painting and finishing a build.
11 Likes
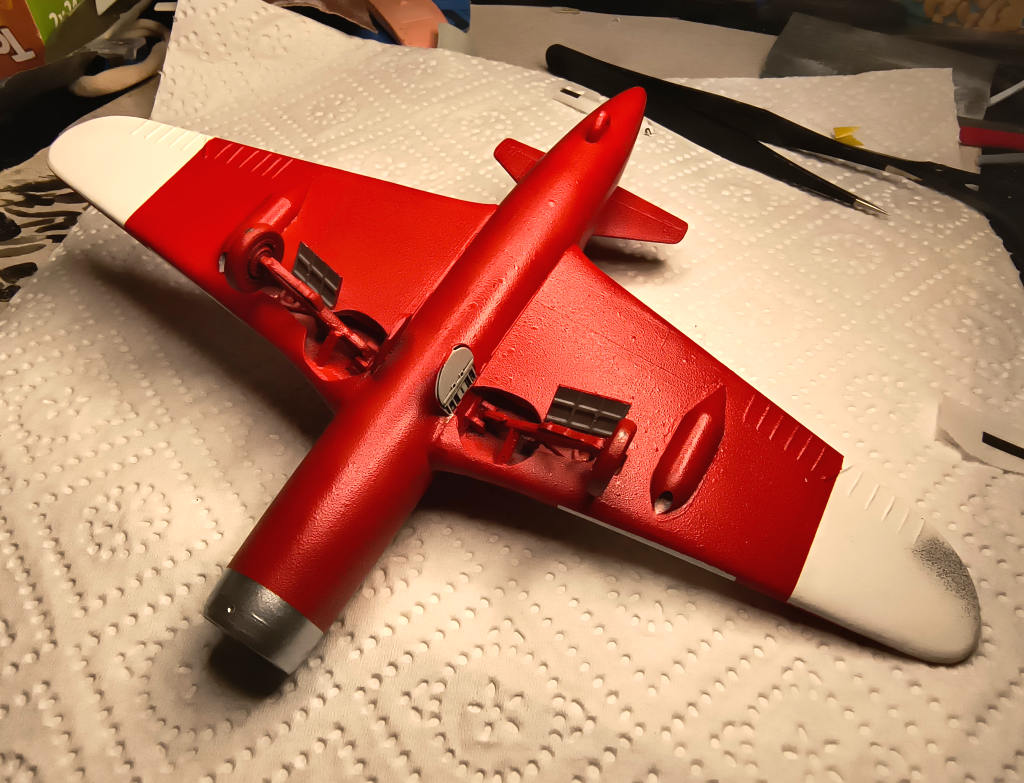
Painted the basic colors on this Richthofen Dieselpunk Fighter in 1:72 .
19 Likes
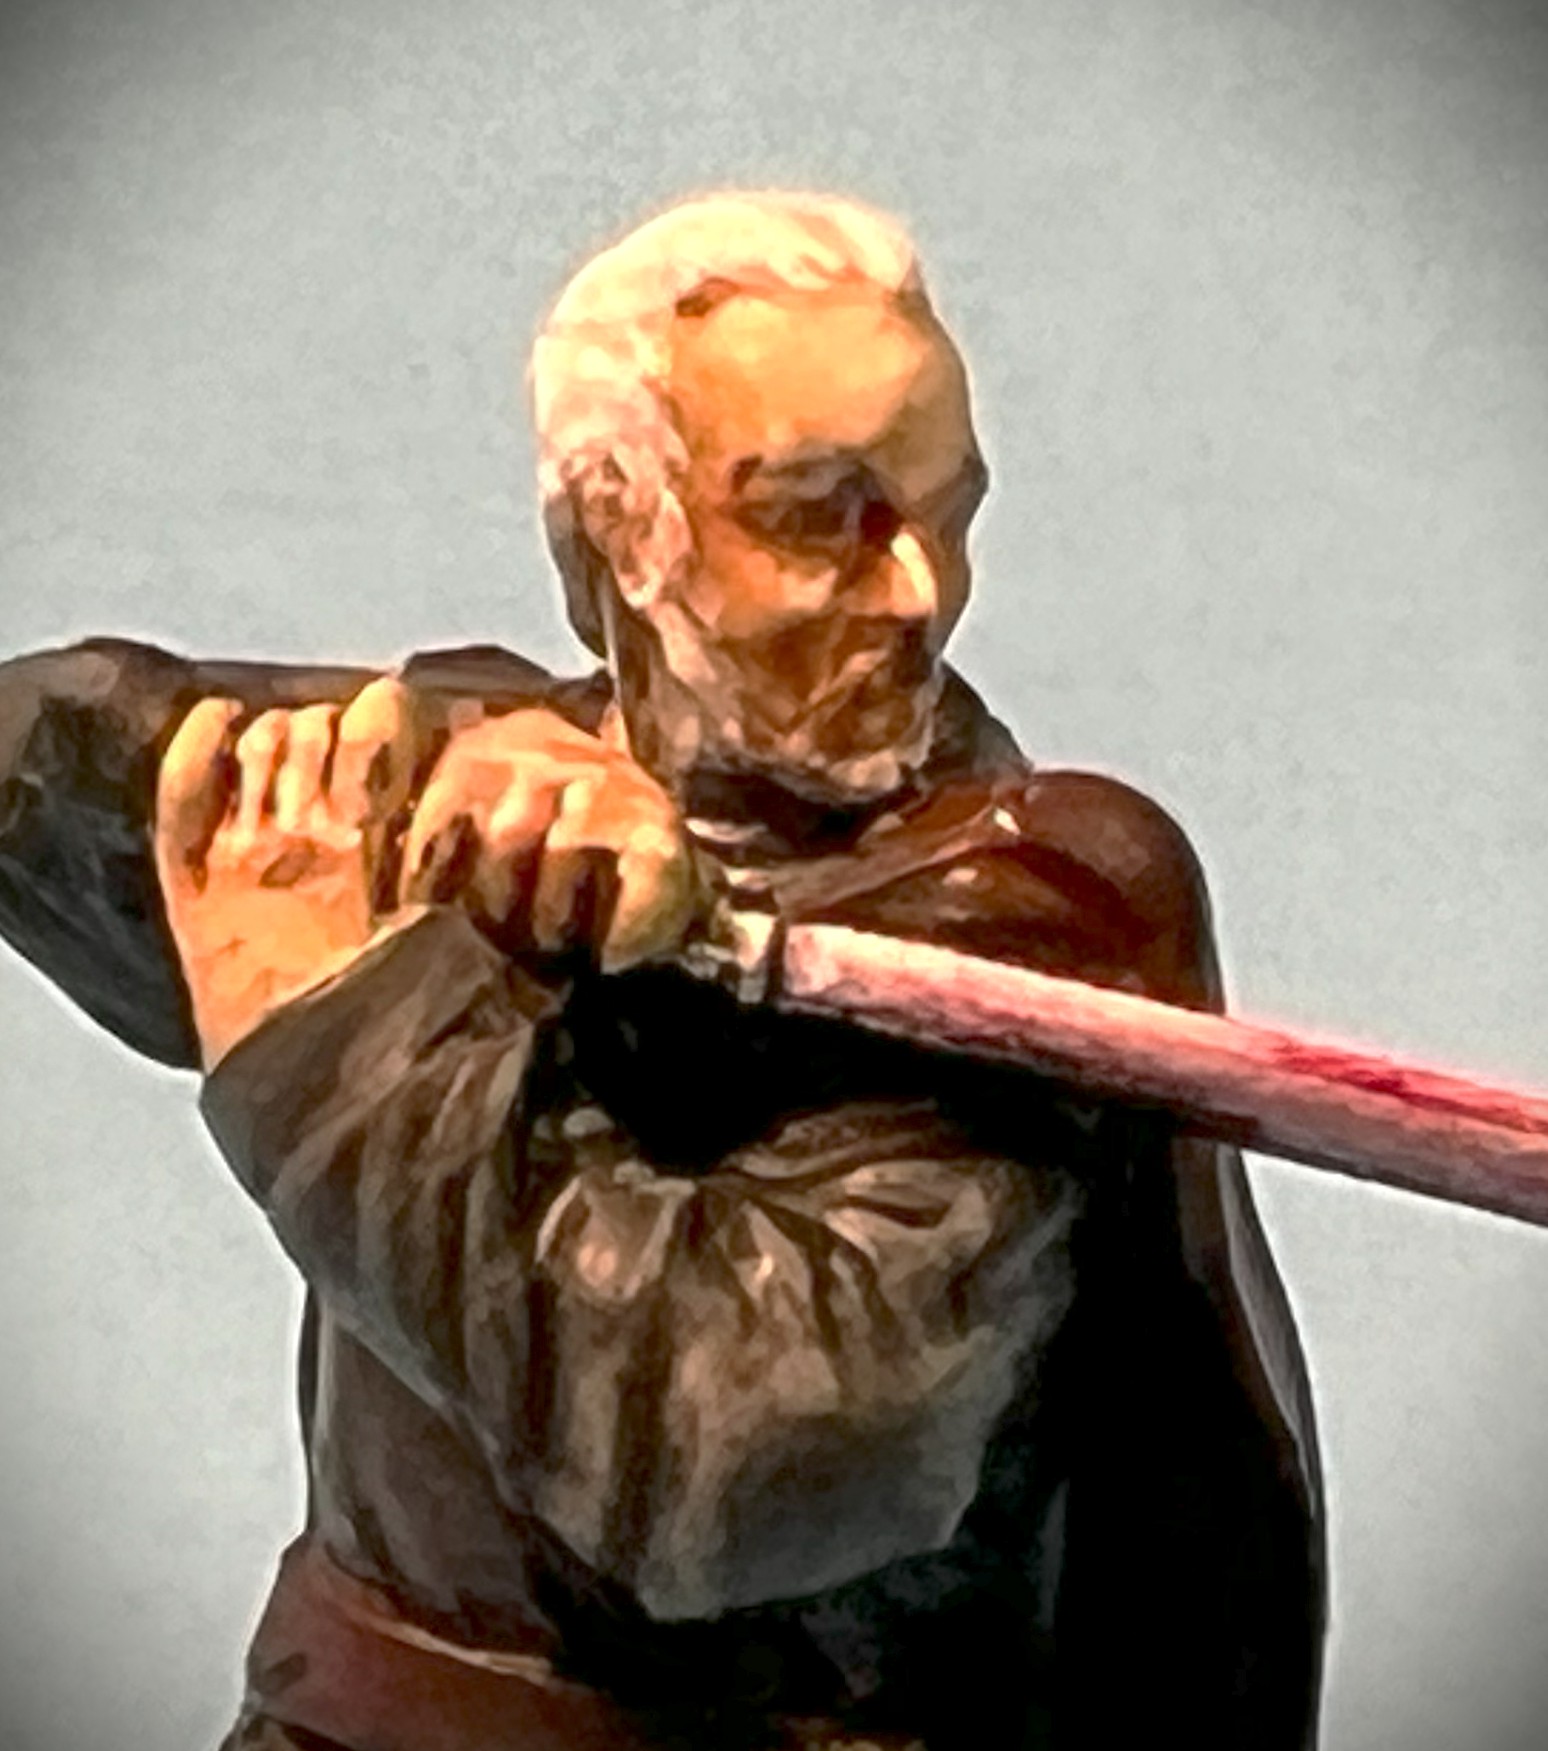
My sister sent me her board game figures for painting. Scale might be around 1/48th? They are small. This Star Wars stuff is different from my normal subject matter. Always good to learn something new.
19 Likes
Both beautifully executed, the camo on both is excellent:clap:
Watto 
2 Likes
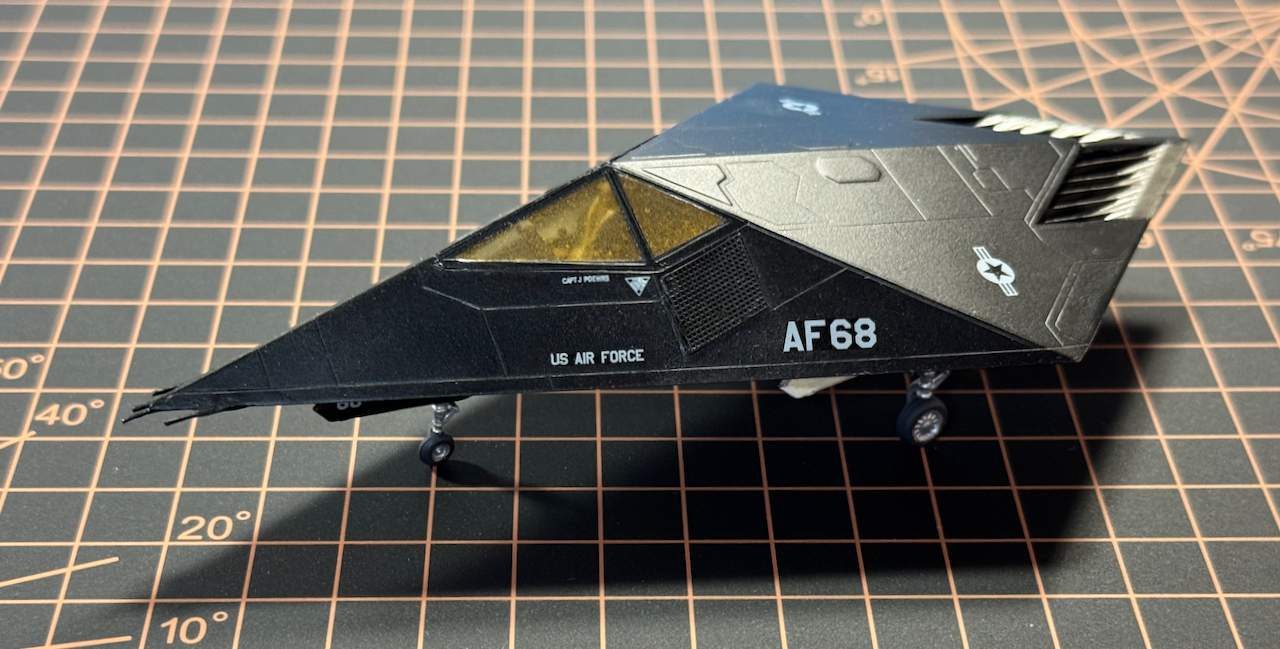
Wheels Down!
Finished the MikroMir 1/72 Lockheed Martin ‘Hopeless Diamond.’ I placed it on a black background just for giggles, as I’m in the process of finalizing the actual base.
Thanks for having a look!
—mike …
24 Likes
Looking good Mike- certainly a very odd subject- like someone cut up an F-117!
2 Likes
In the last couple of weeks I managed to:
- paint the Bulgarian Hotchkiss,
- build Fgst. 93210/ reg.No B 60393- an April 1945 Nibelungen production Pz.IV Ausf.J, a Soviet trophy transfered to the Bulgarian Army in 1945.Kit is MiniArt #35344
Cheers,
Angel
22 Likes
Finished off my Tamiya Uhu for the Shunsaku Tamiya tribute build.
32 Likes
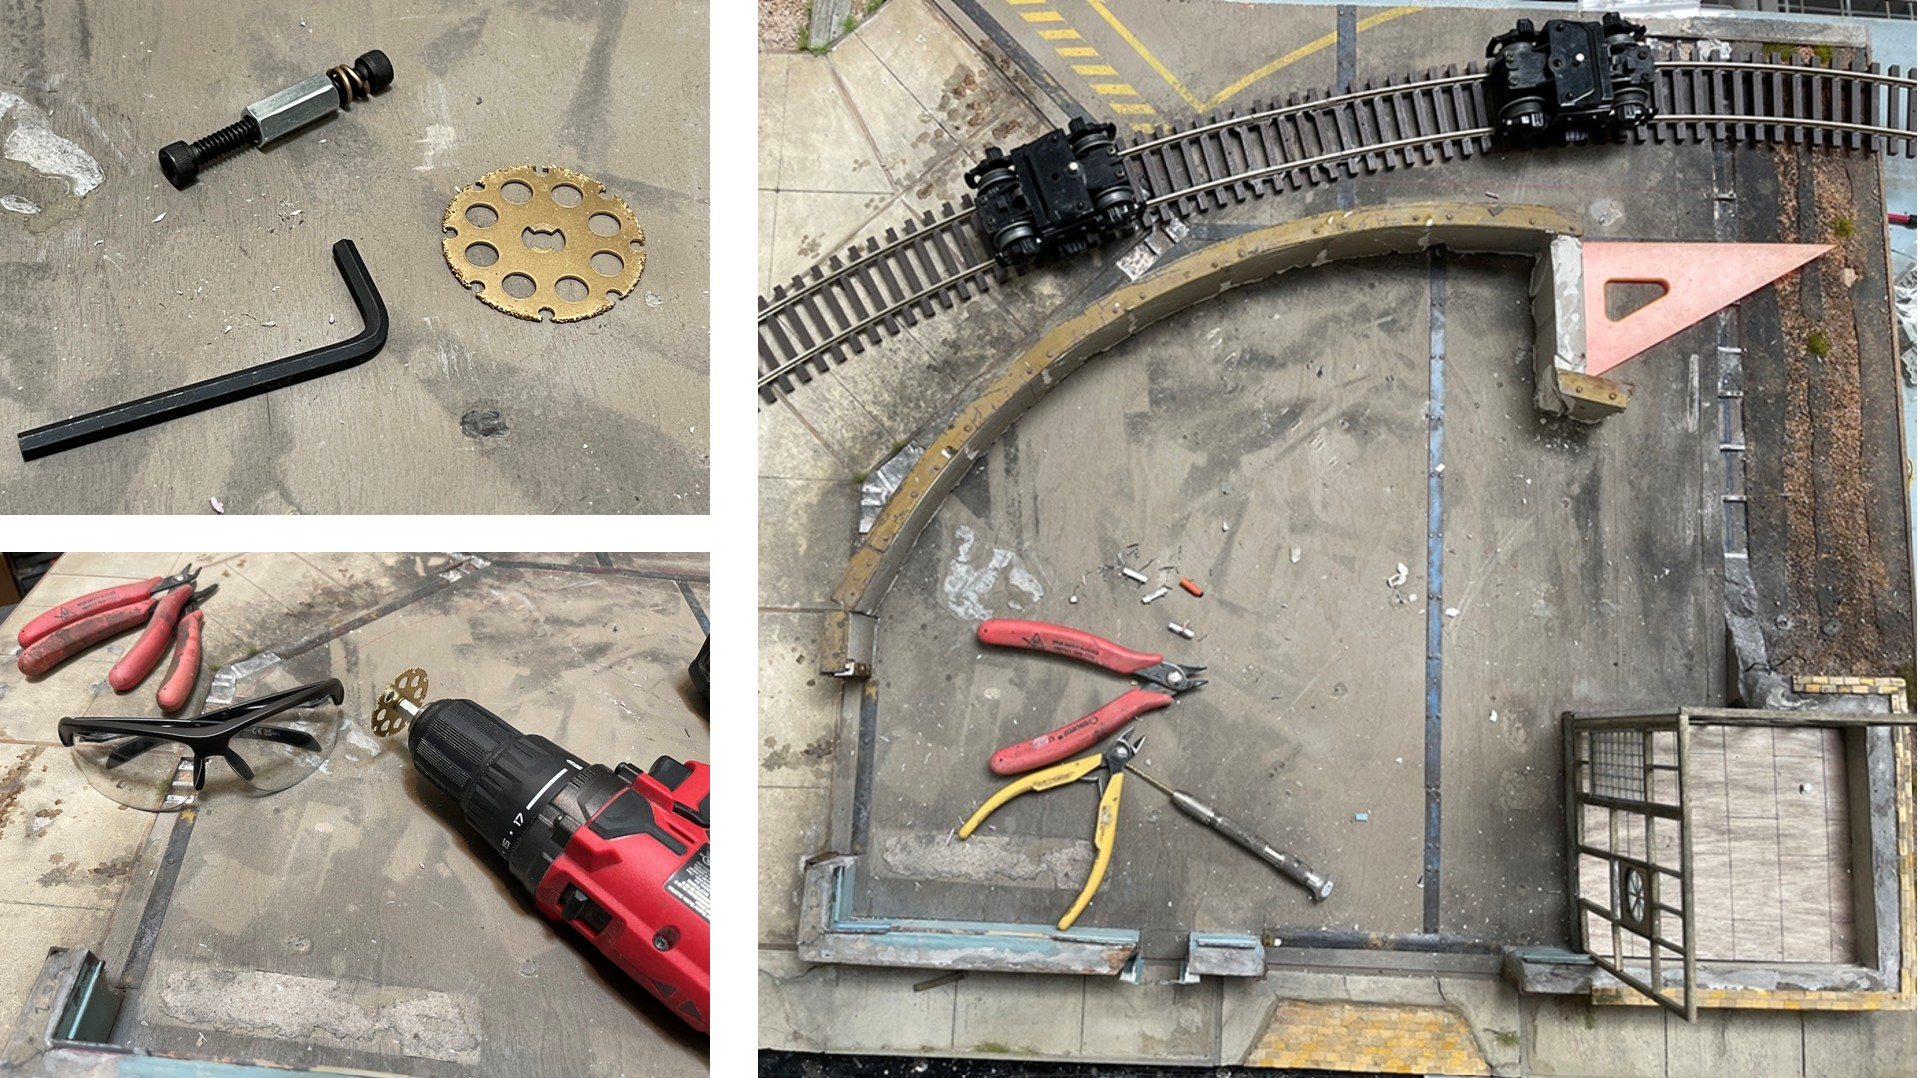
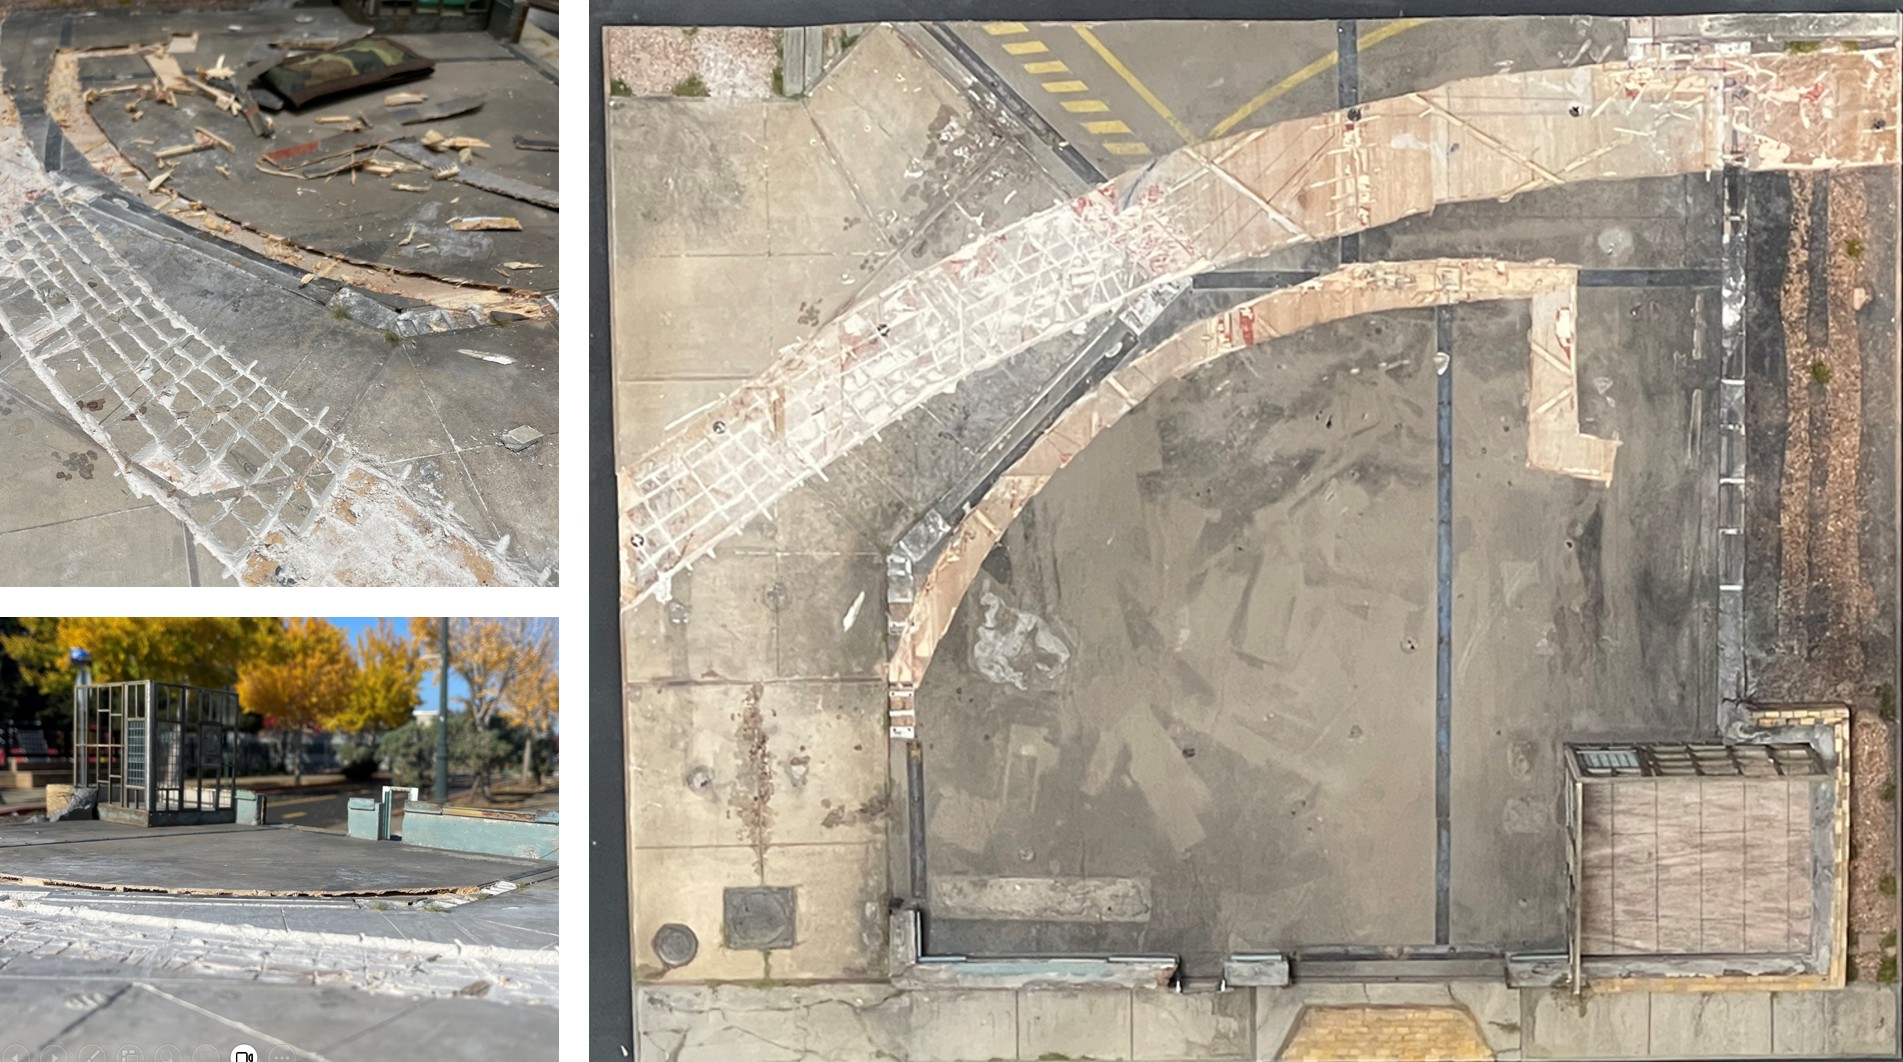
I was able to spend some time today working on the base for a diorama. For this project I’ve deiced to reuse about half of a base from an old project. Last week I cut it in half and spent some time working on building walls and other parts. The project in 1/48 includes some railroad track and a modern locomotive. As I got into it I realized that I didn’t like the rail alignment, so decided to rework it and pillage a long curving foundation stem wall from the other half of the dio base, and figure out how to install it on the side I’m using:
In the photo on the right you can see where I have laid tracks and the curving foundation stem wall (the yellow curve is attached to the top of the stem wall). But to do this, there were several surfaces that needed to be cut through to get to the actual diorama base.
Rather than trying to cut through this with a knife I deiced to use a cutoff wheel, as you can see in the upper left. The gold colored disc is the cutoff wheel I picked up from the hardware store. But, they did not have a collet for sale, so went to the bolts bin and came up with my own - which you can see set in the drill chuck.
In the upper left you can generally see the work in process, cutting through plywood and hydrocal surfaces following the curve of the two parts. The picture on the right shows the results with the material removed and cleaned up, same for the (sorry about the small picture) a view across the surface. If you look carefully you can see the cut edge of the hydrocal and the thin plywood.
On we go -
Nick 
12 Likes
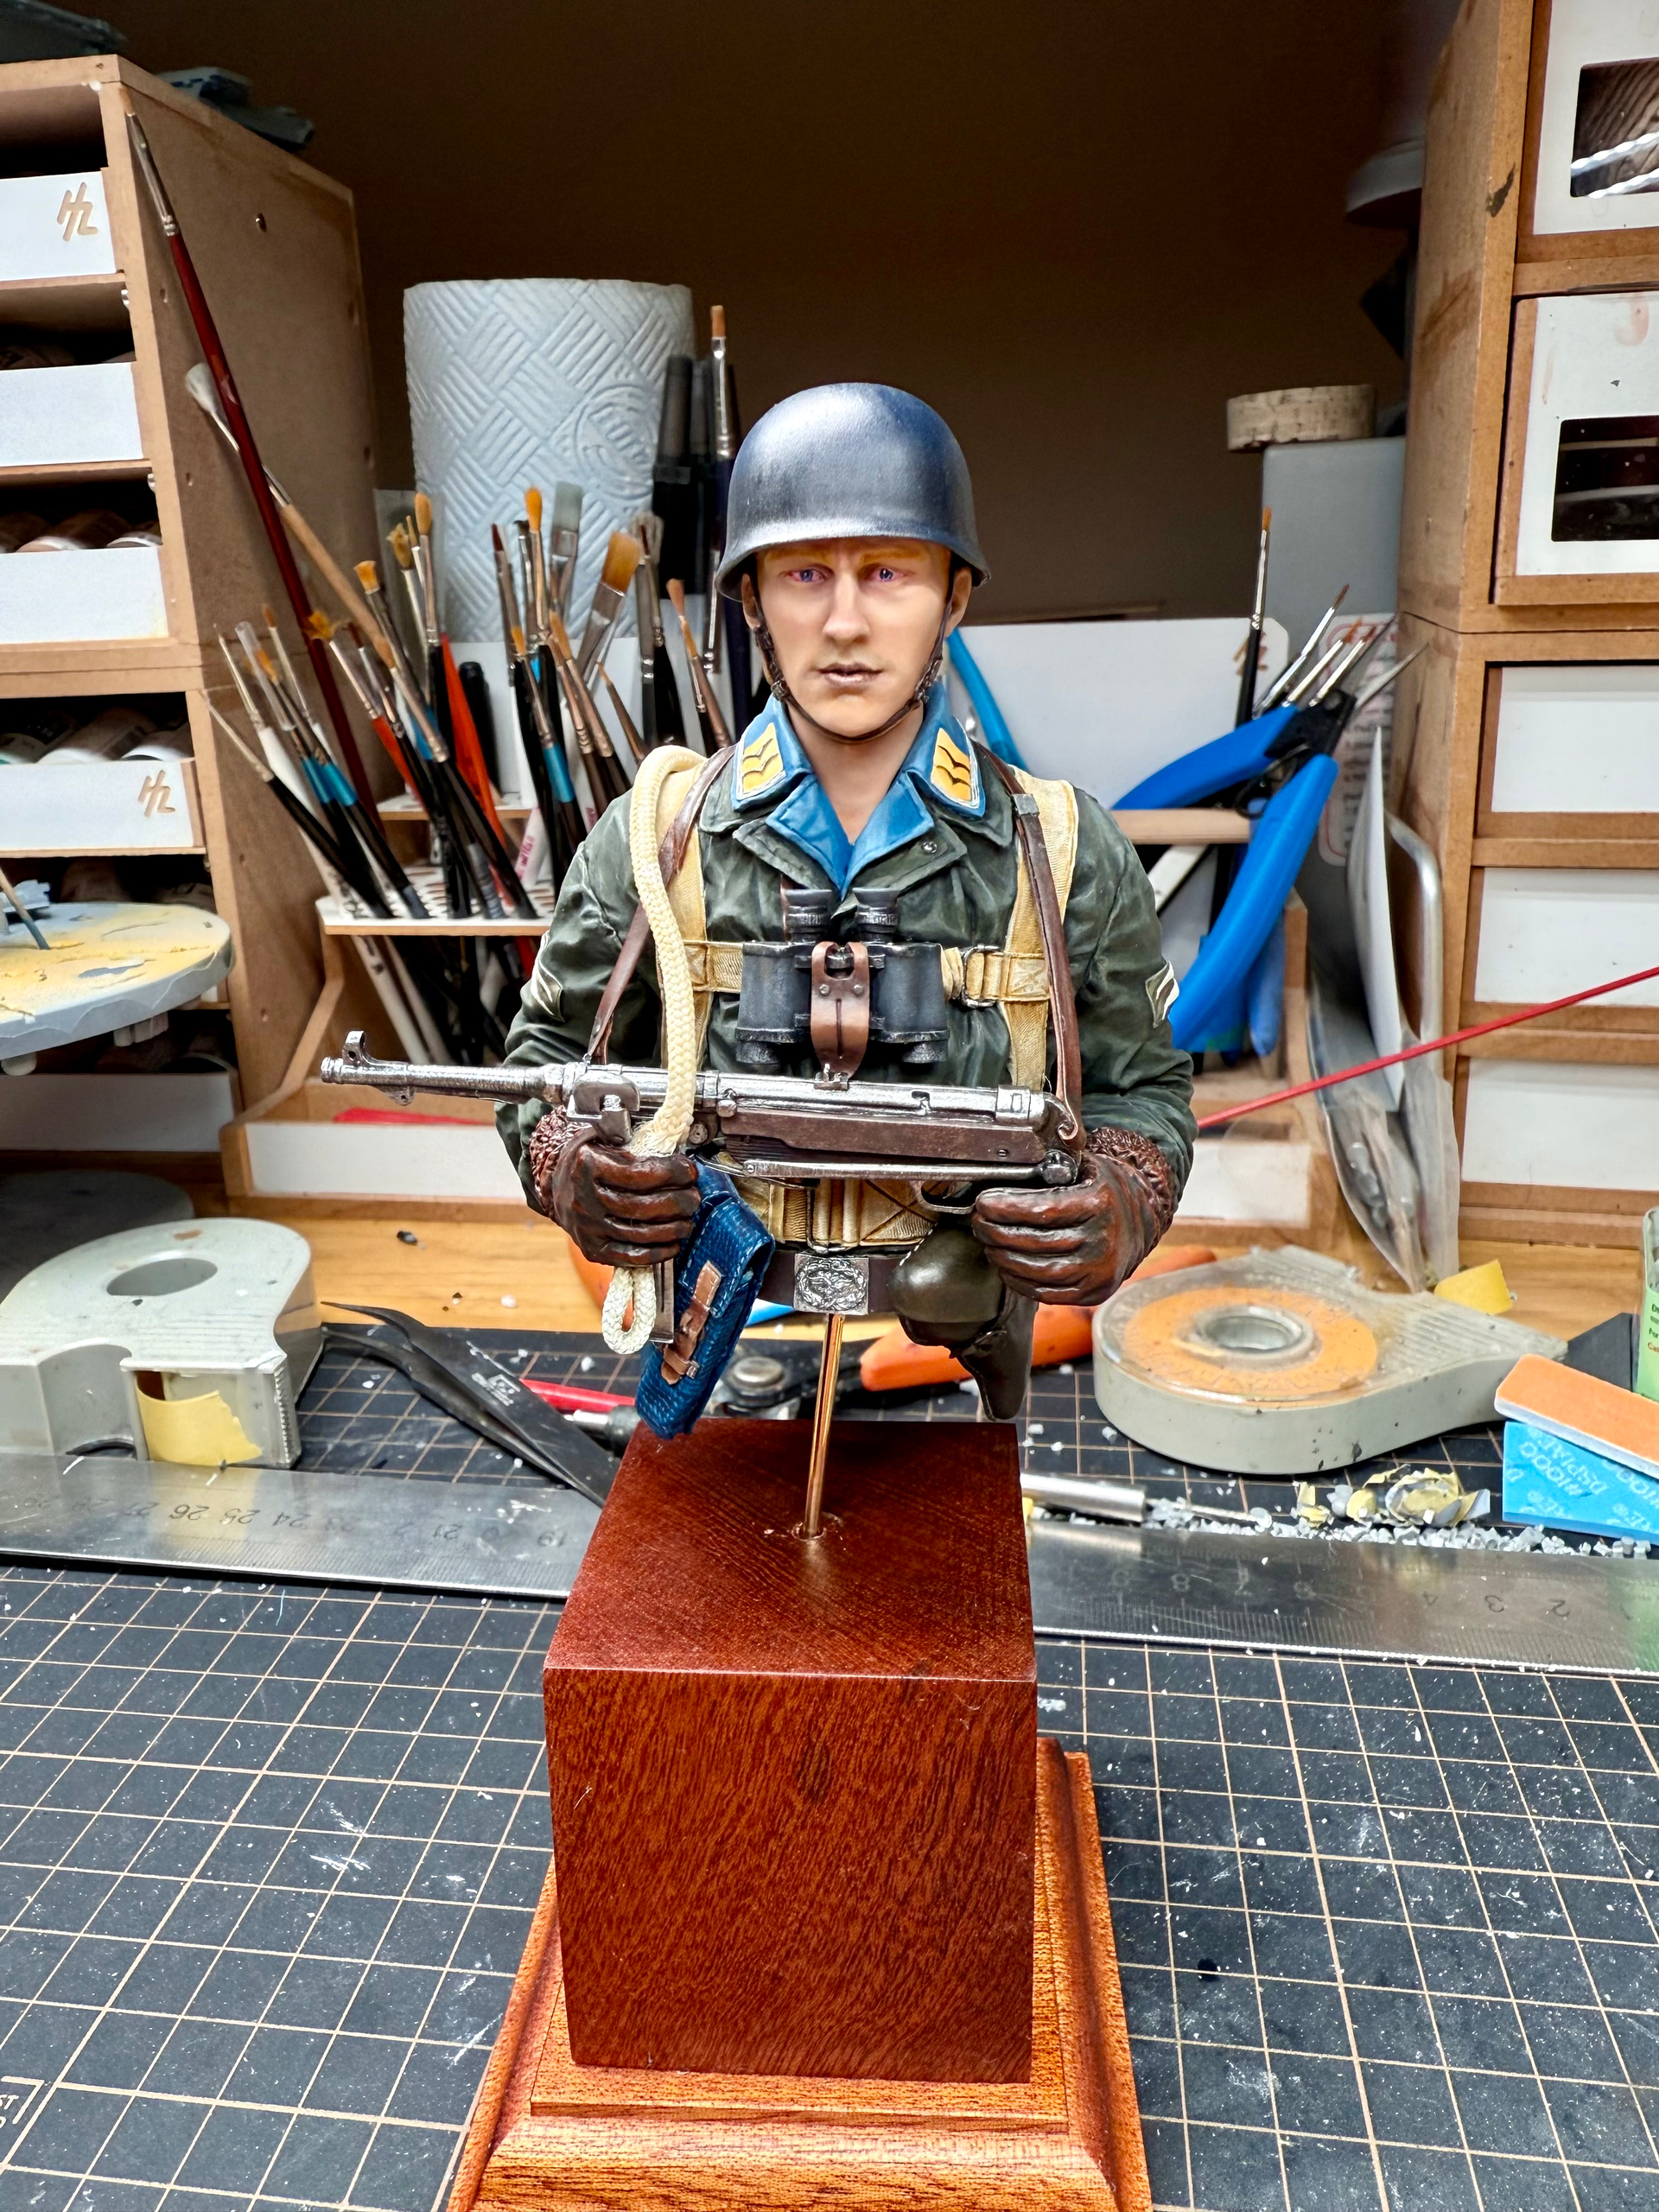
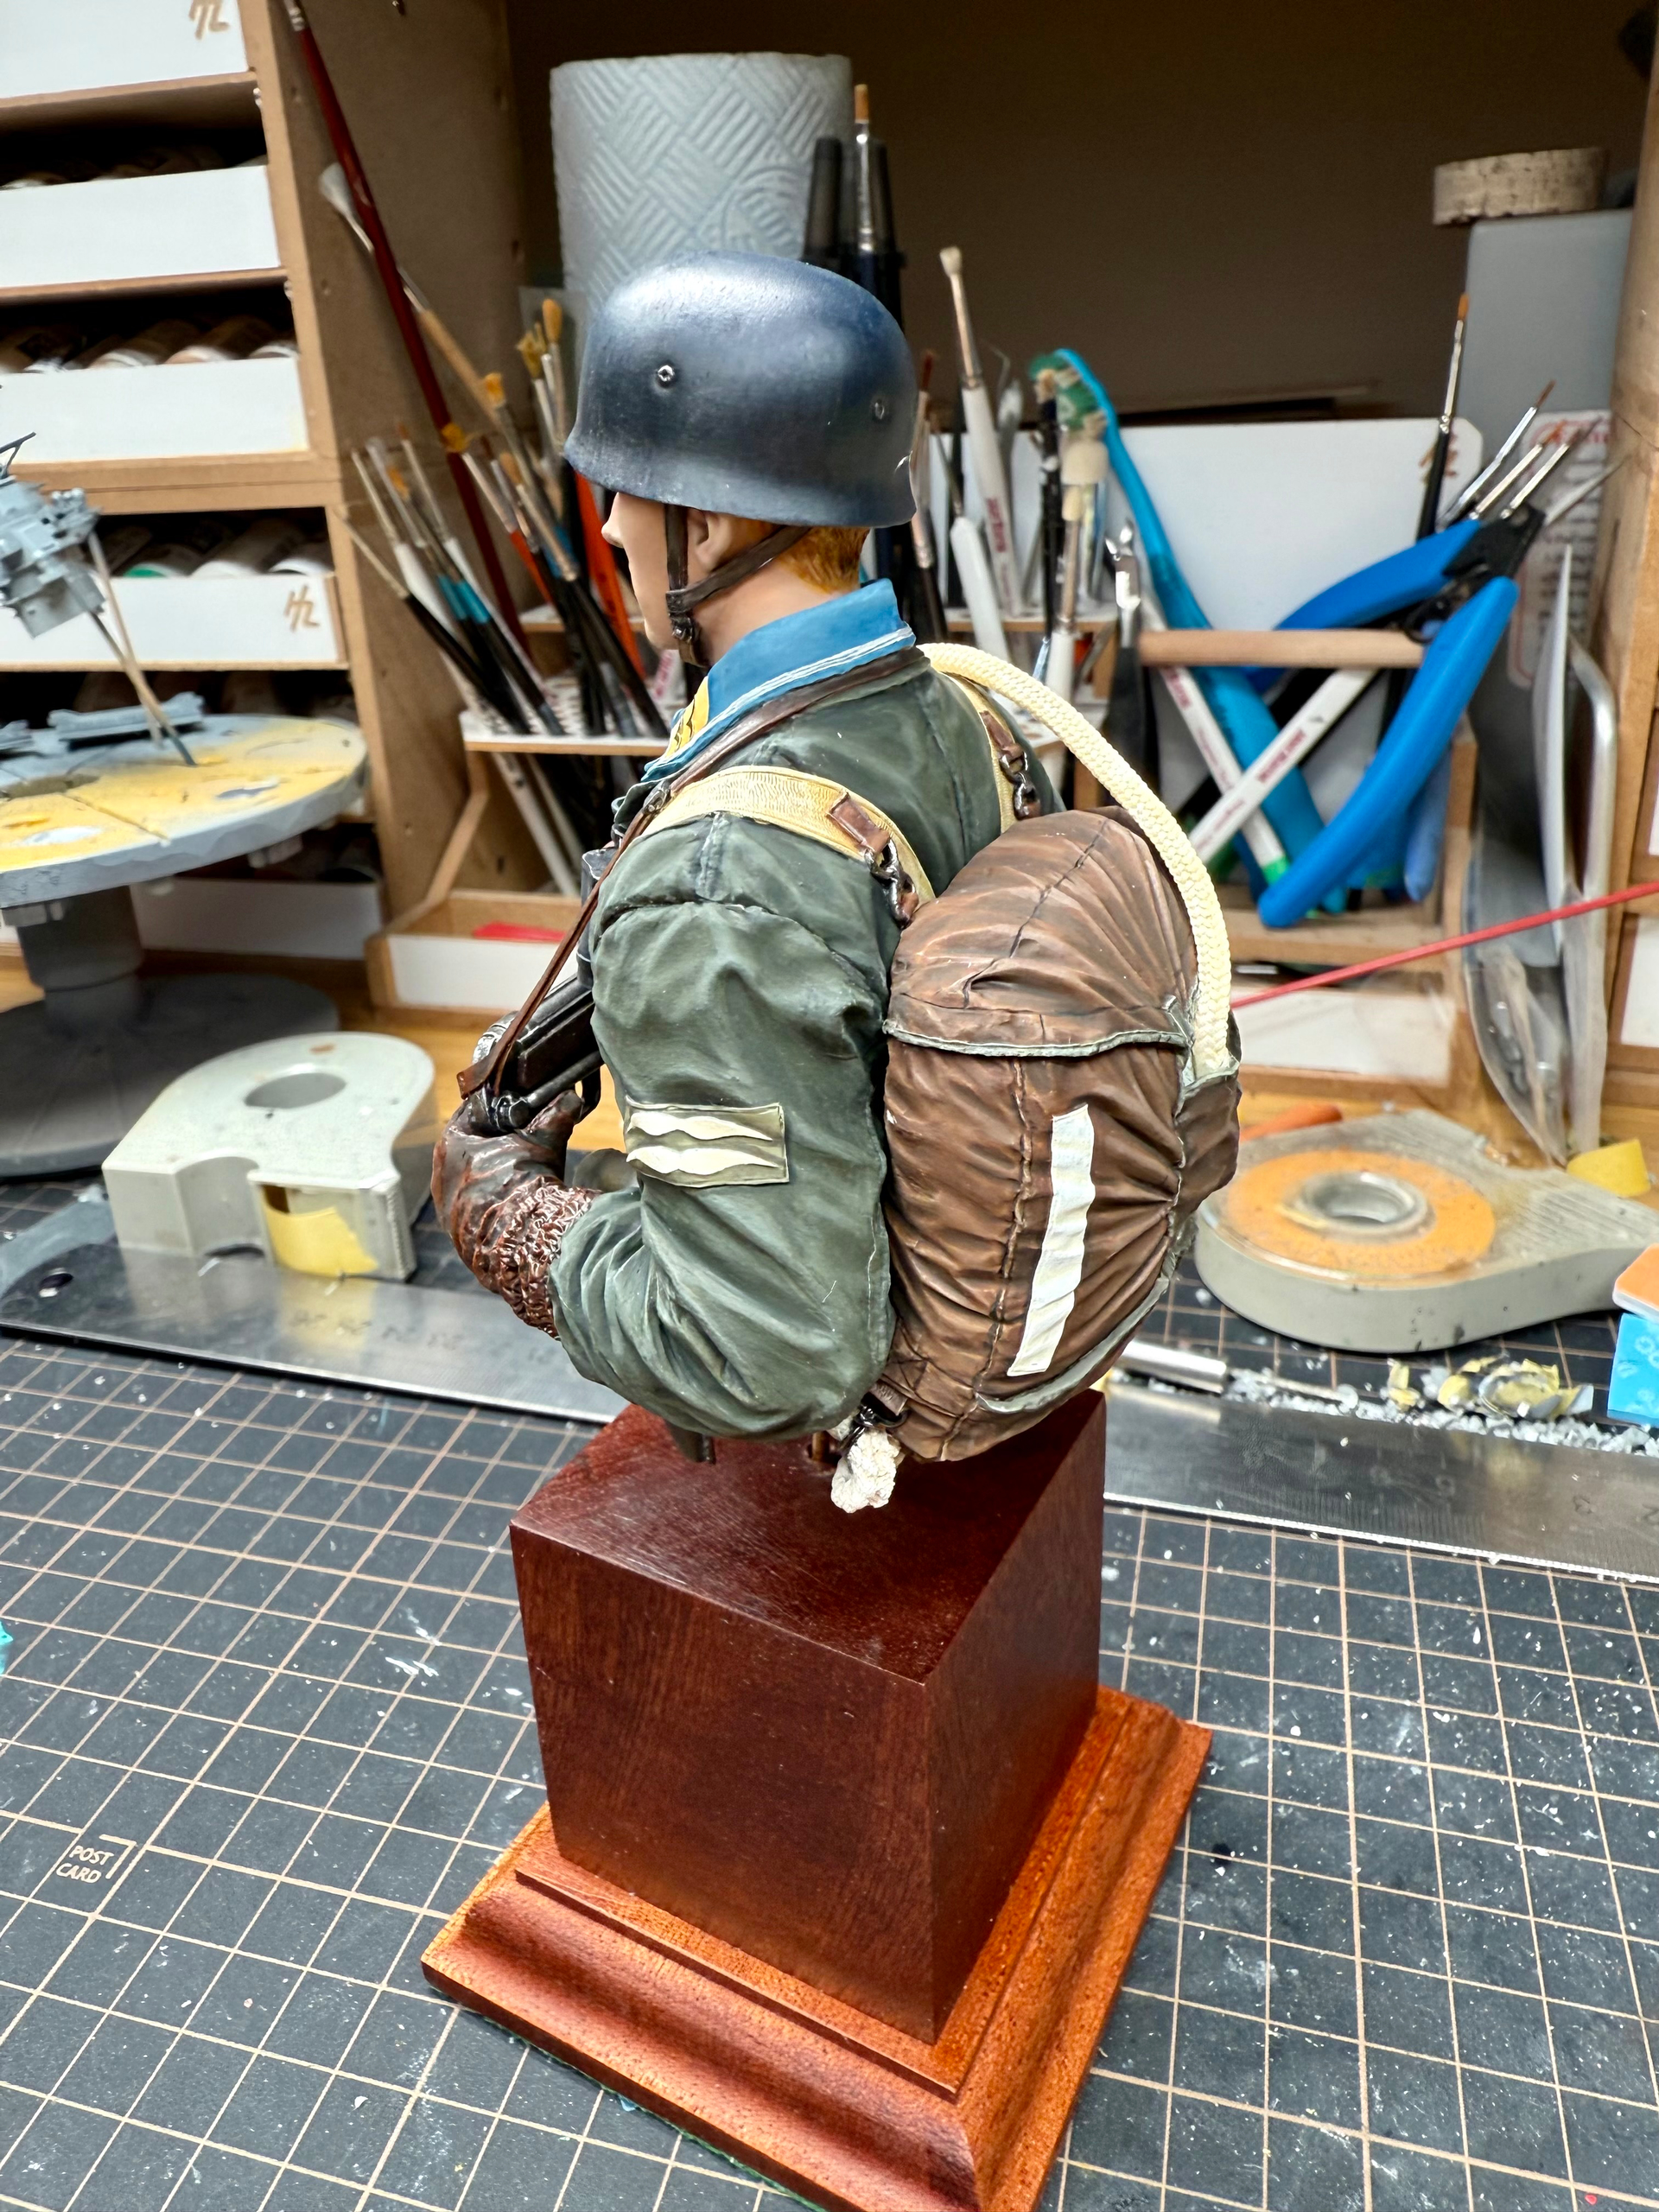
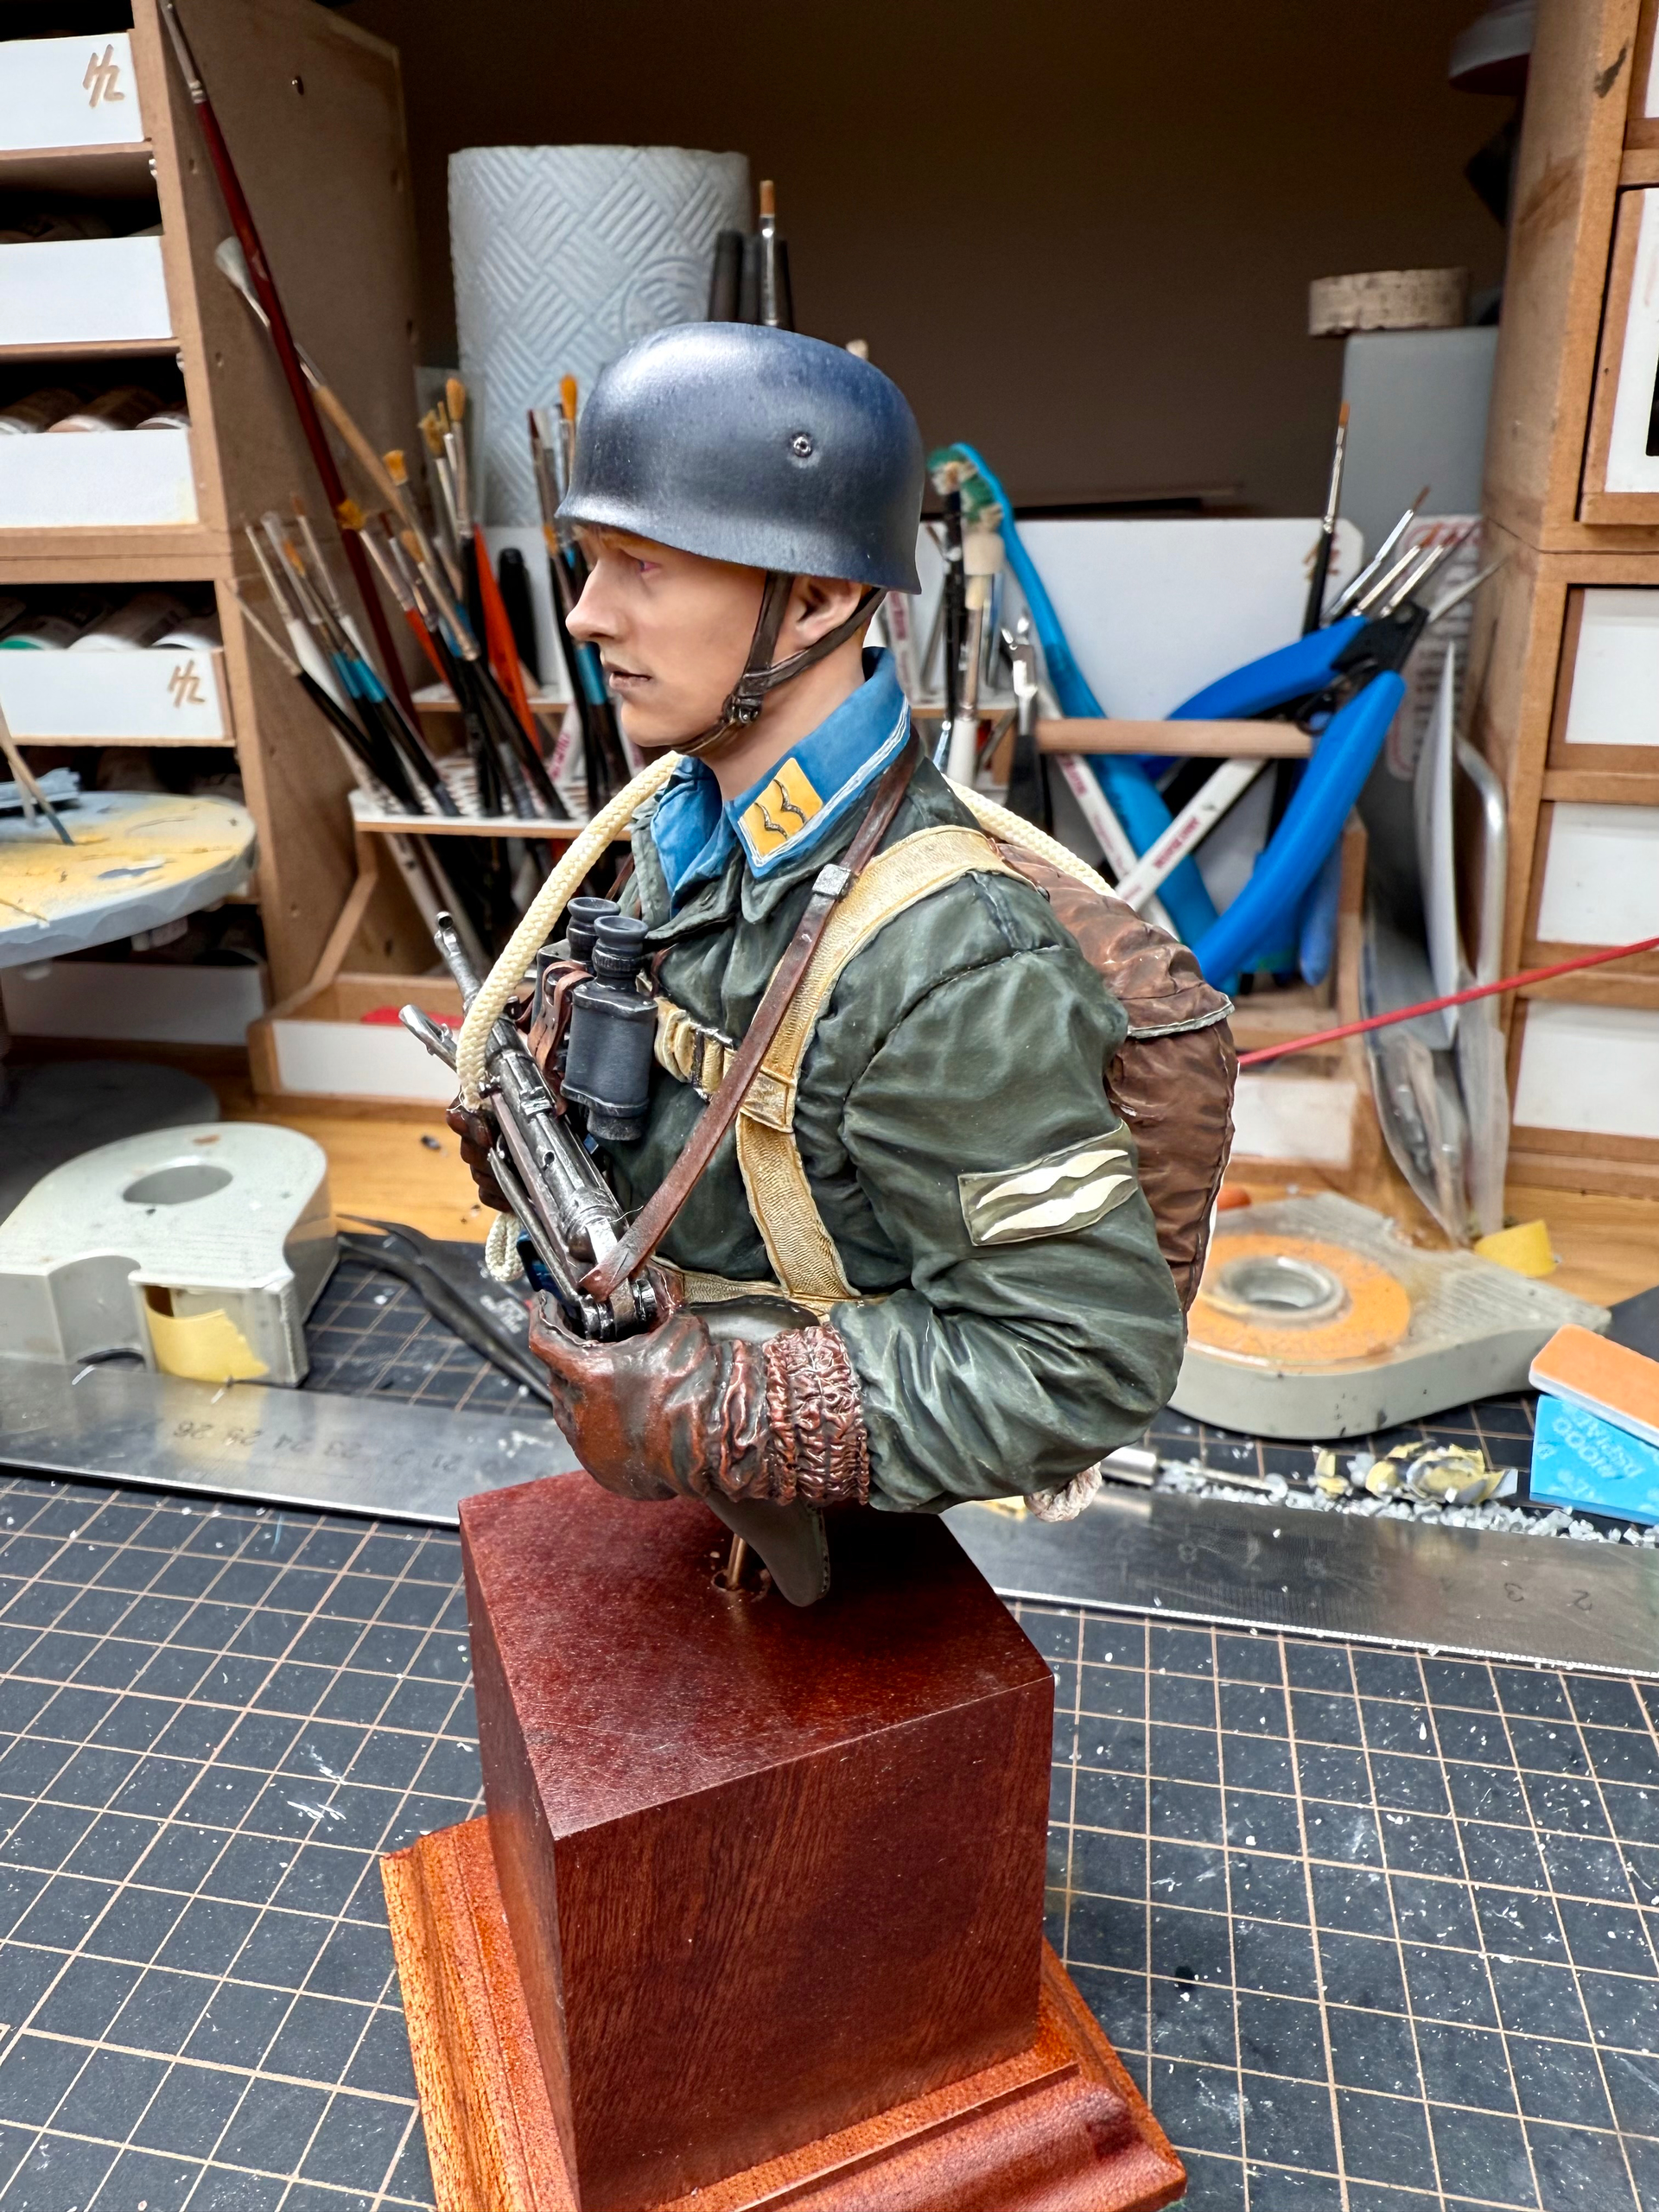
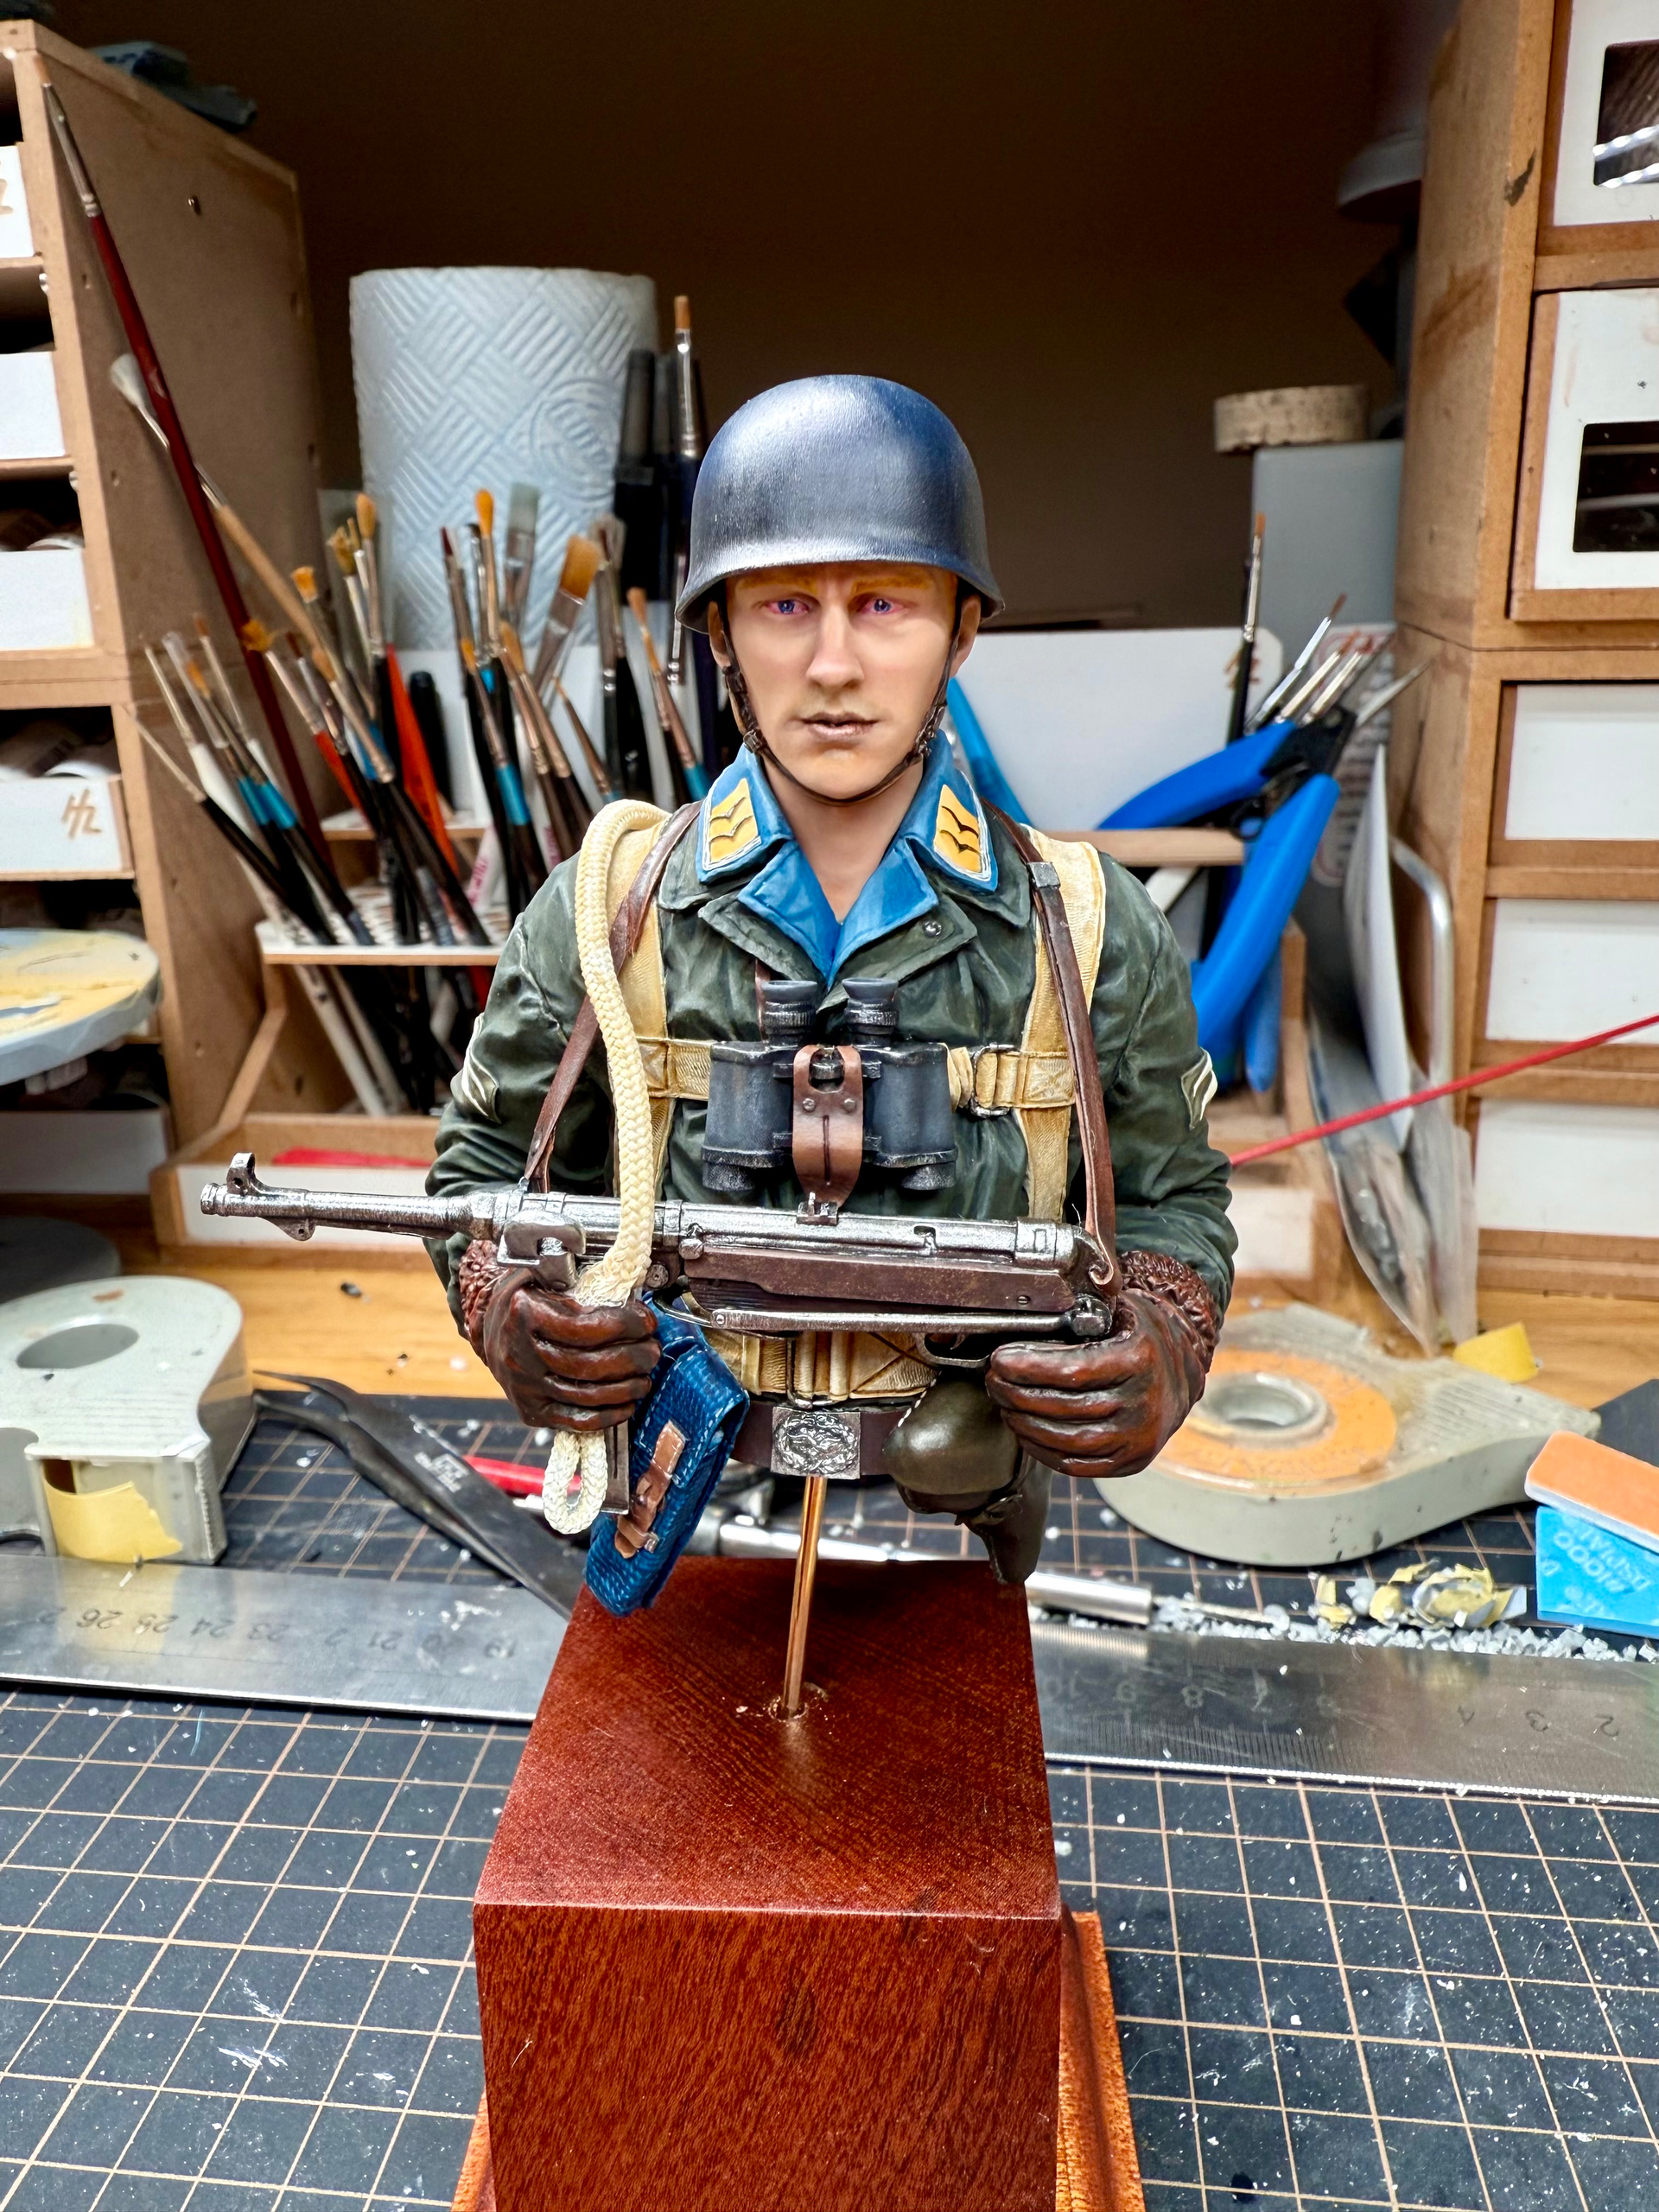
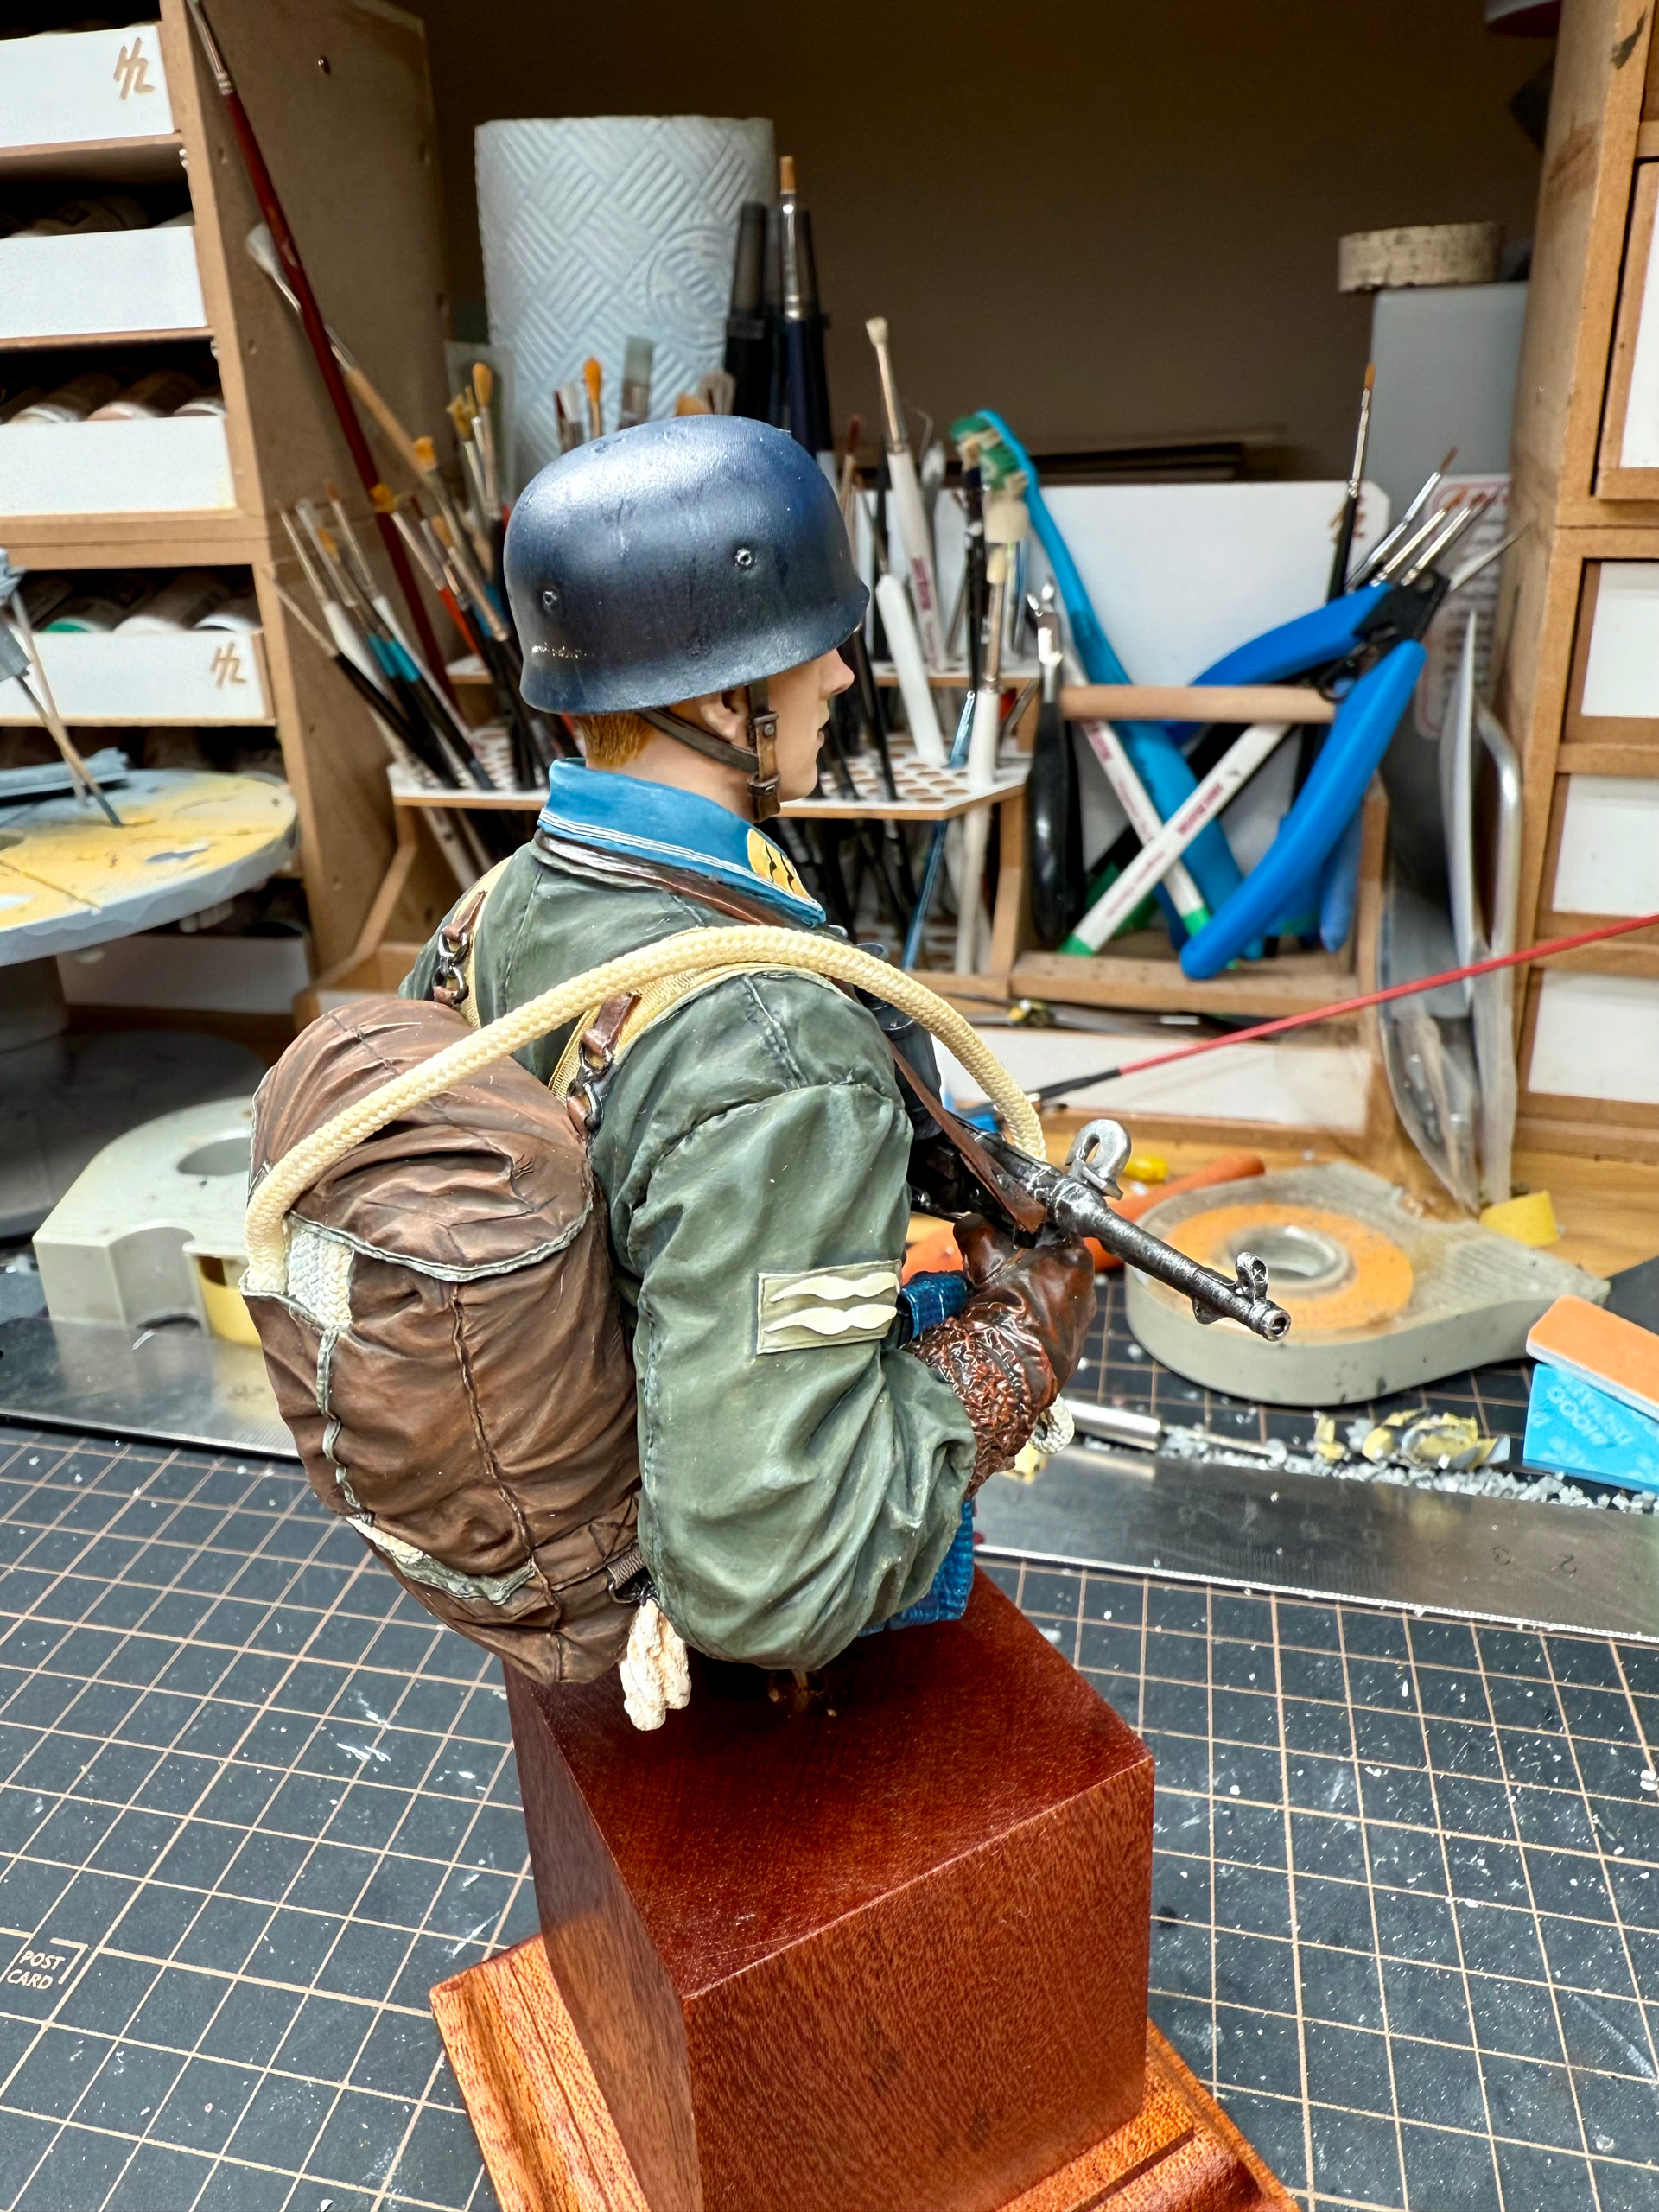
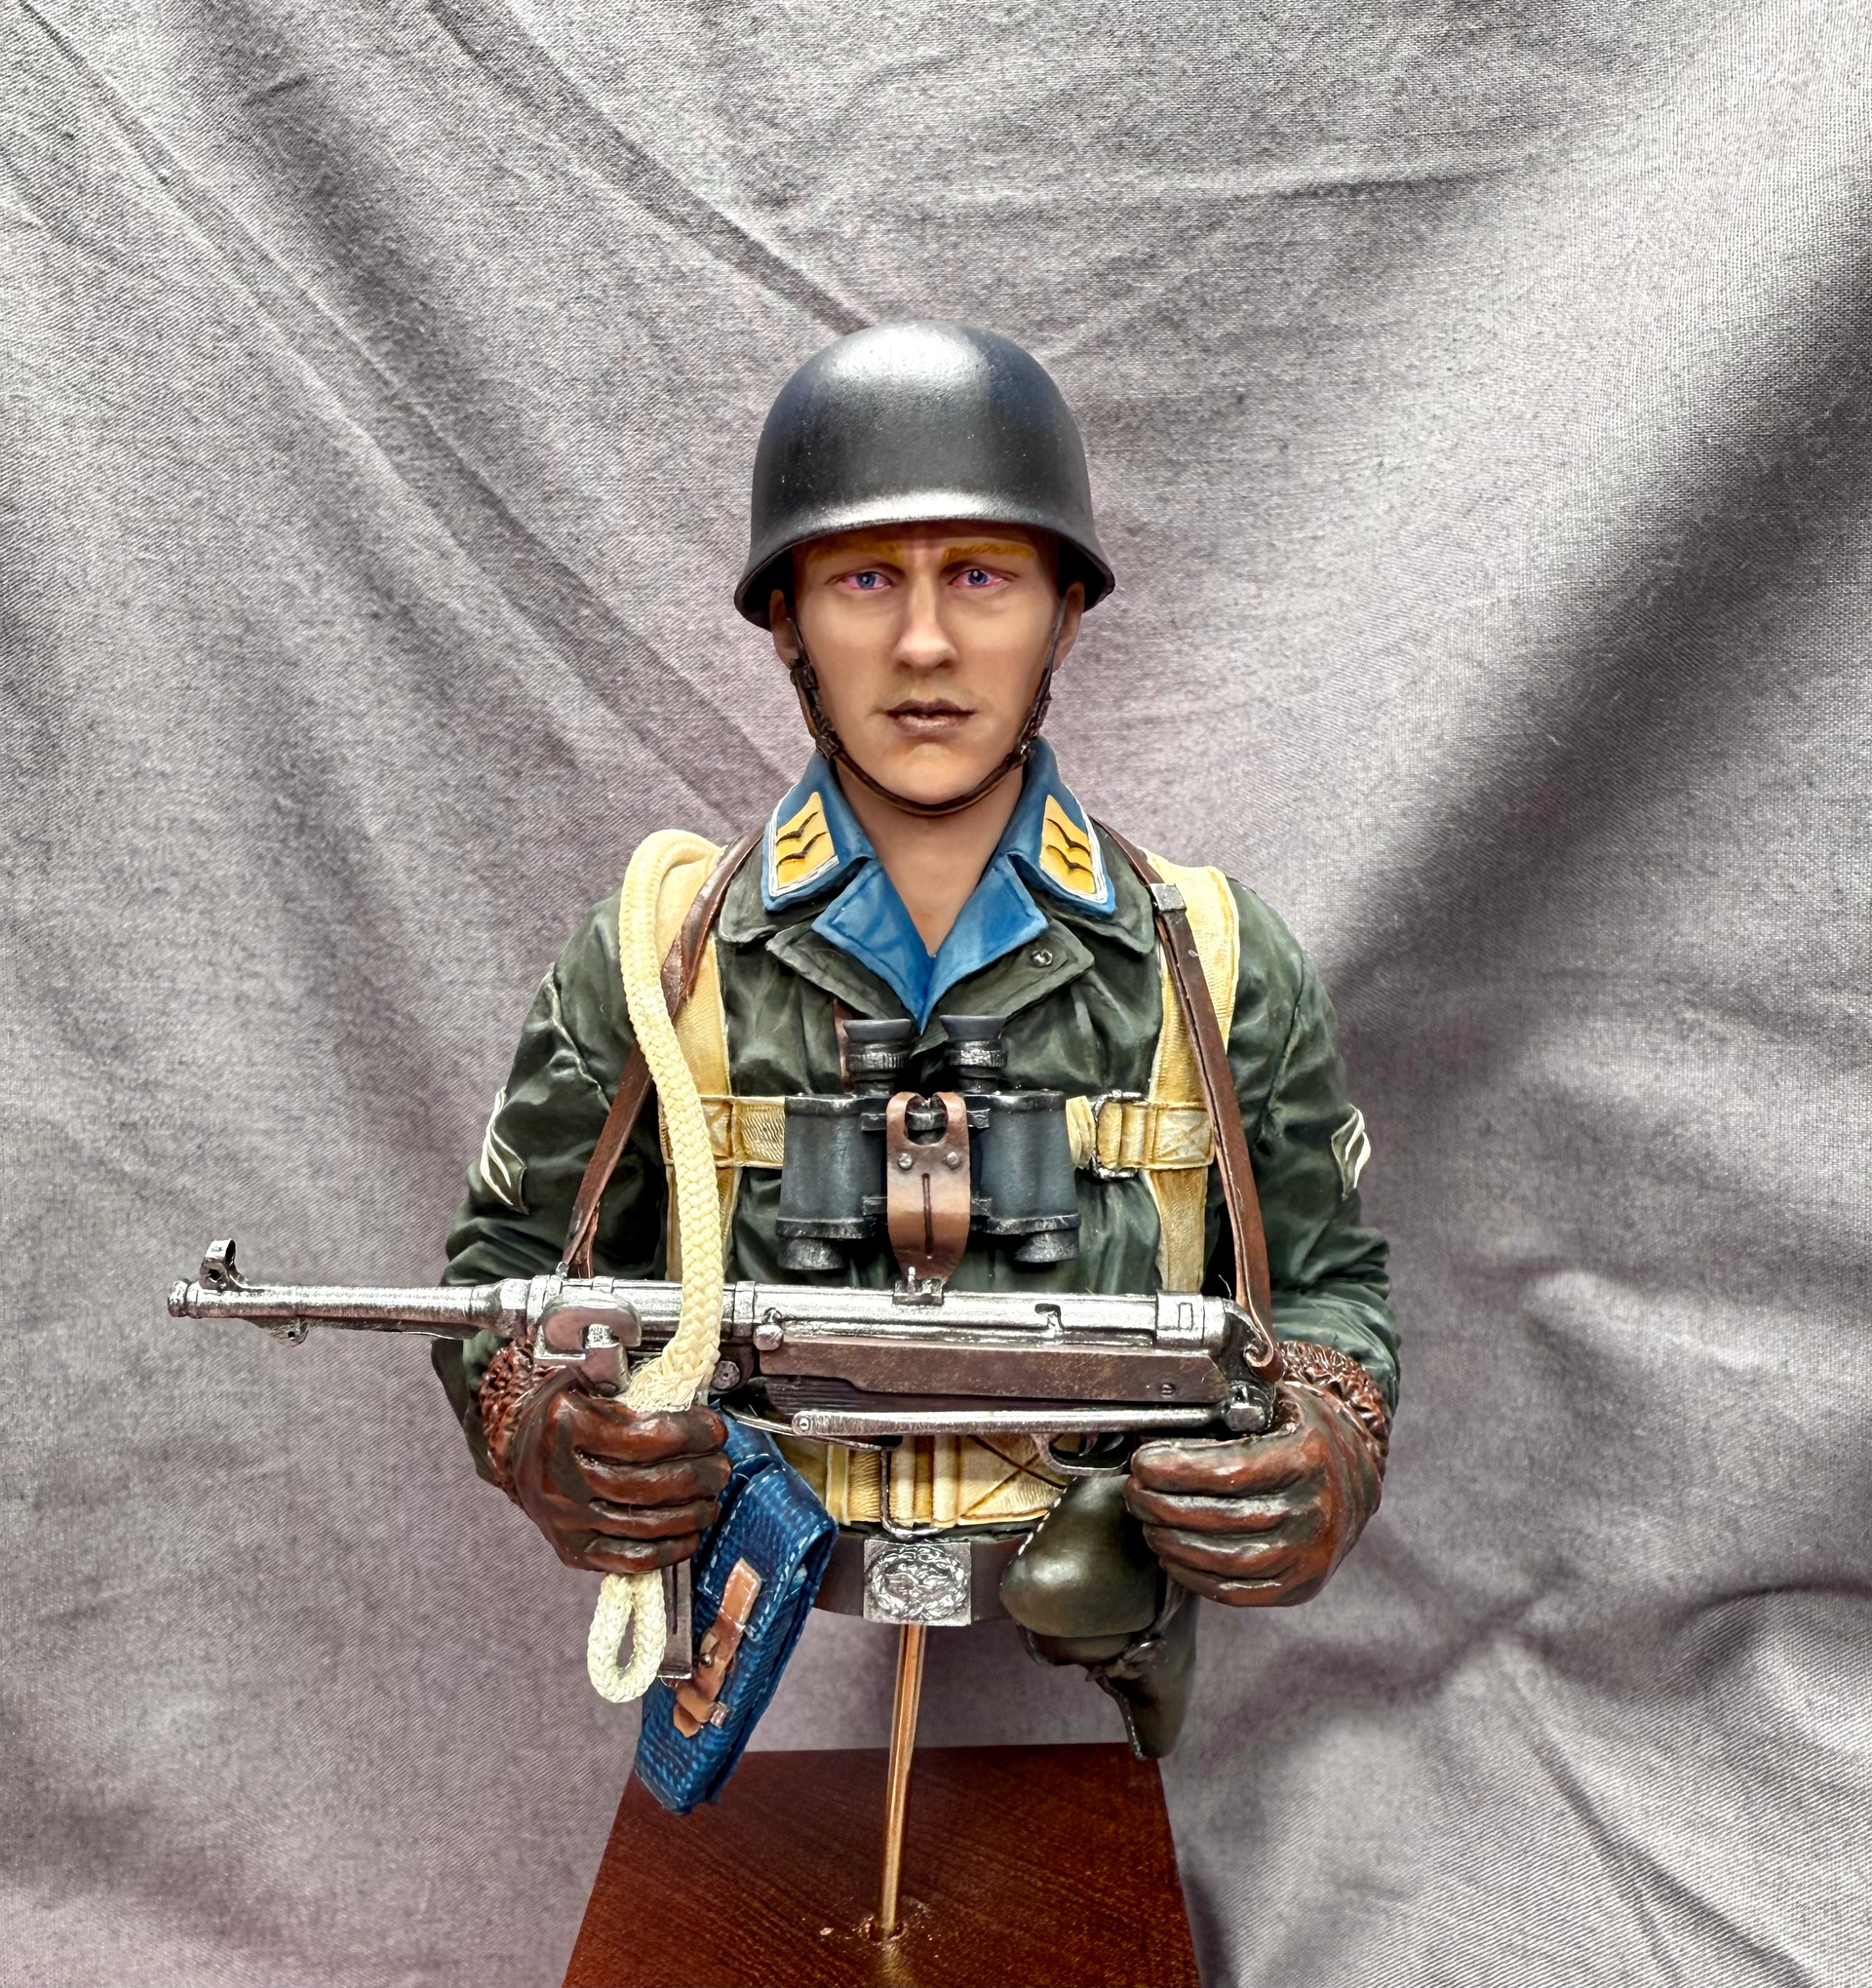
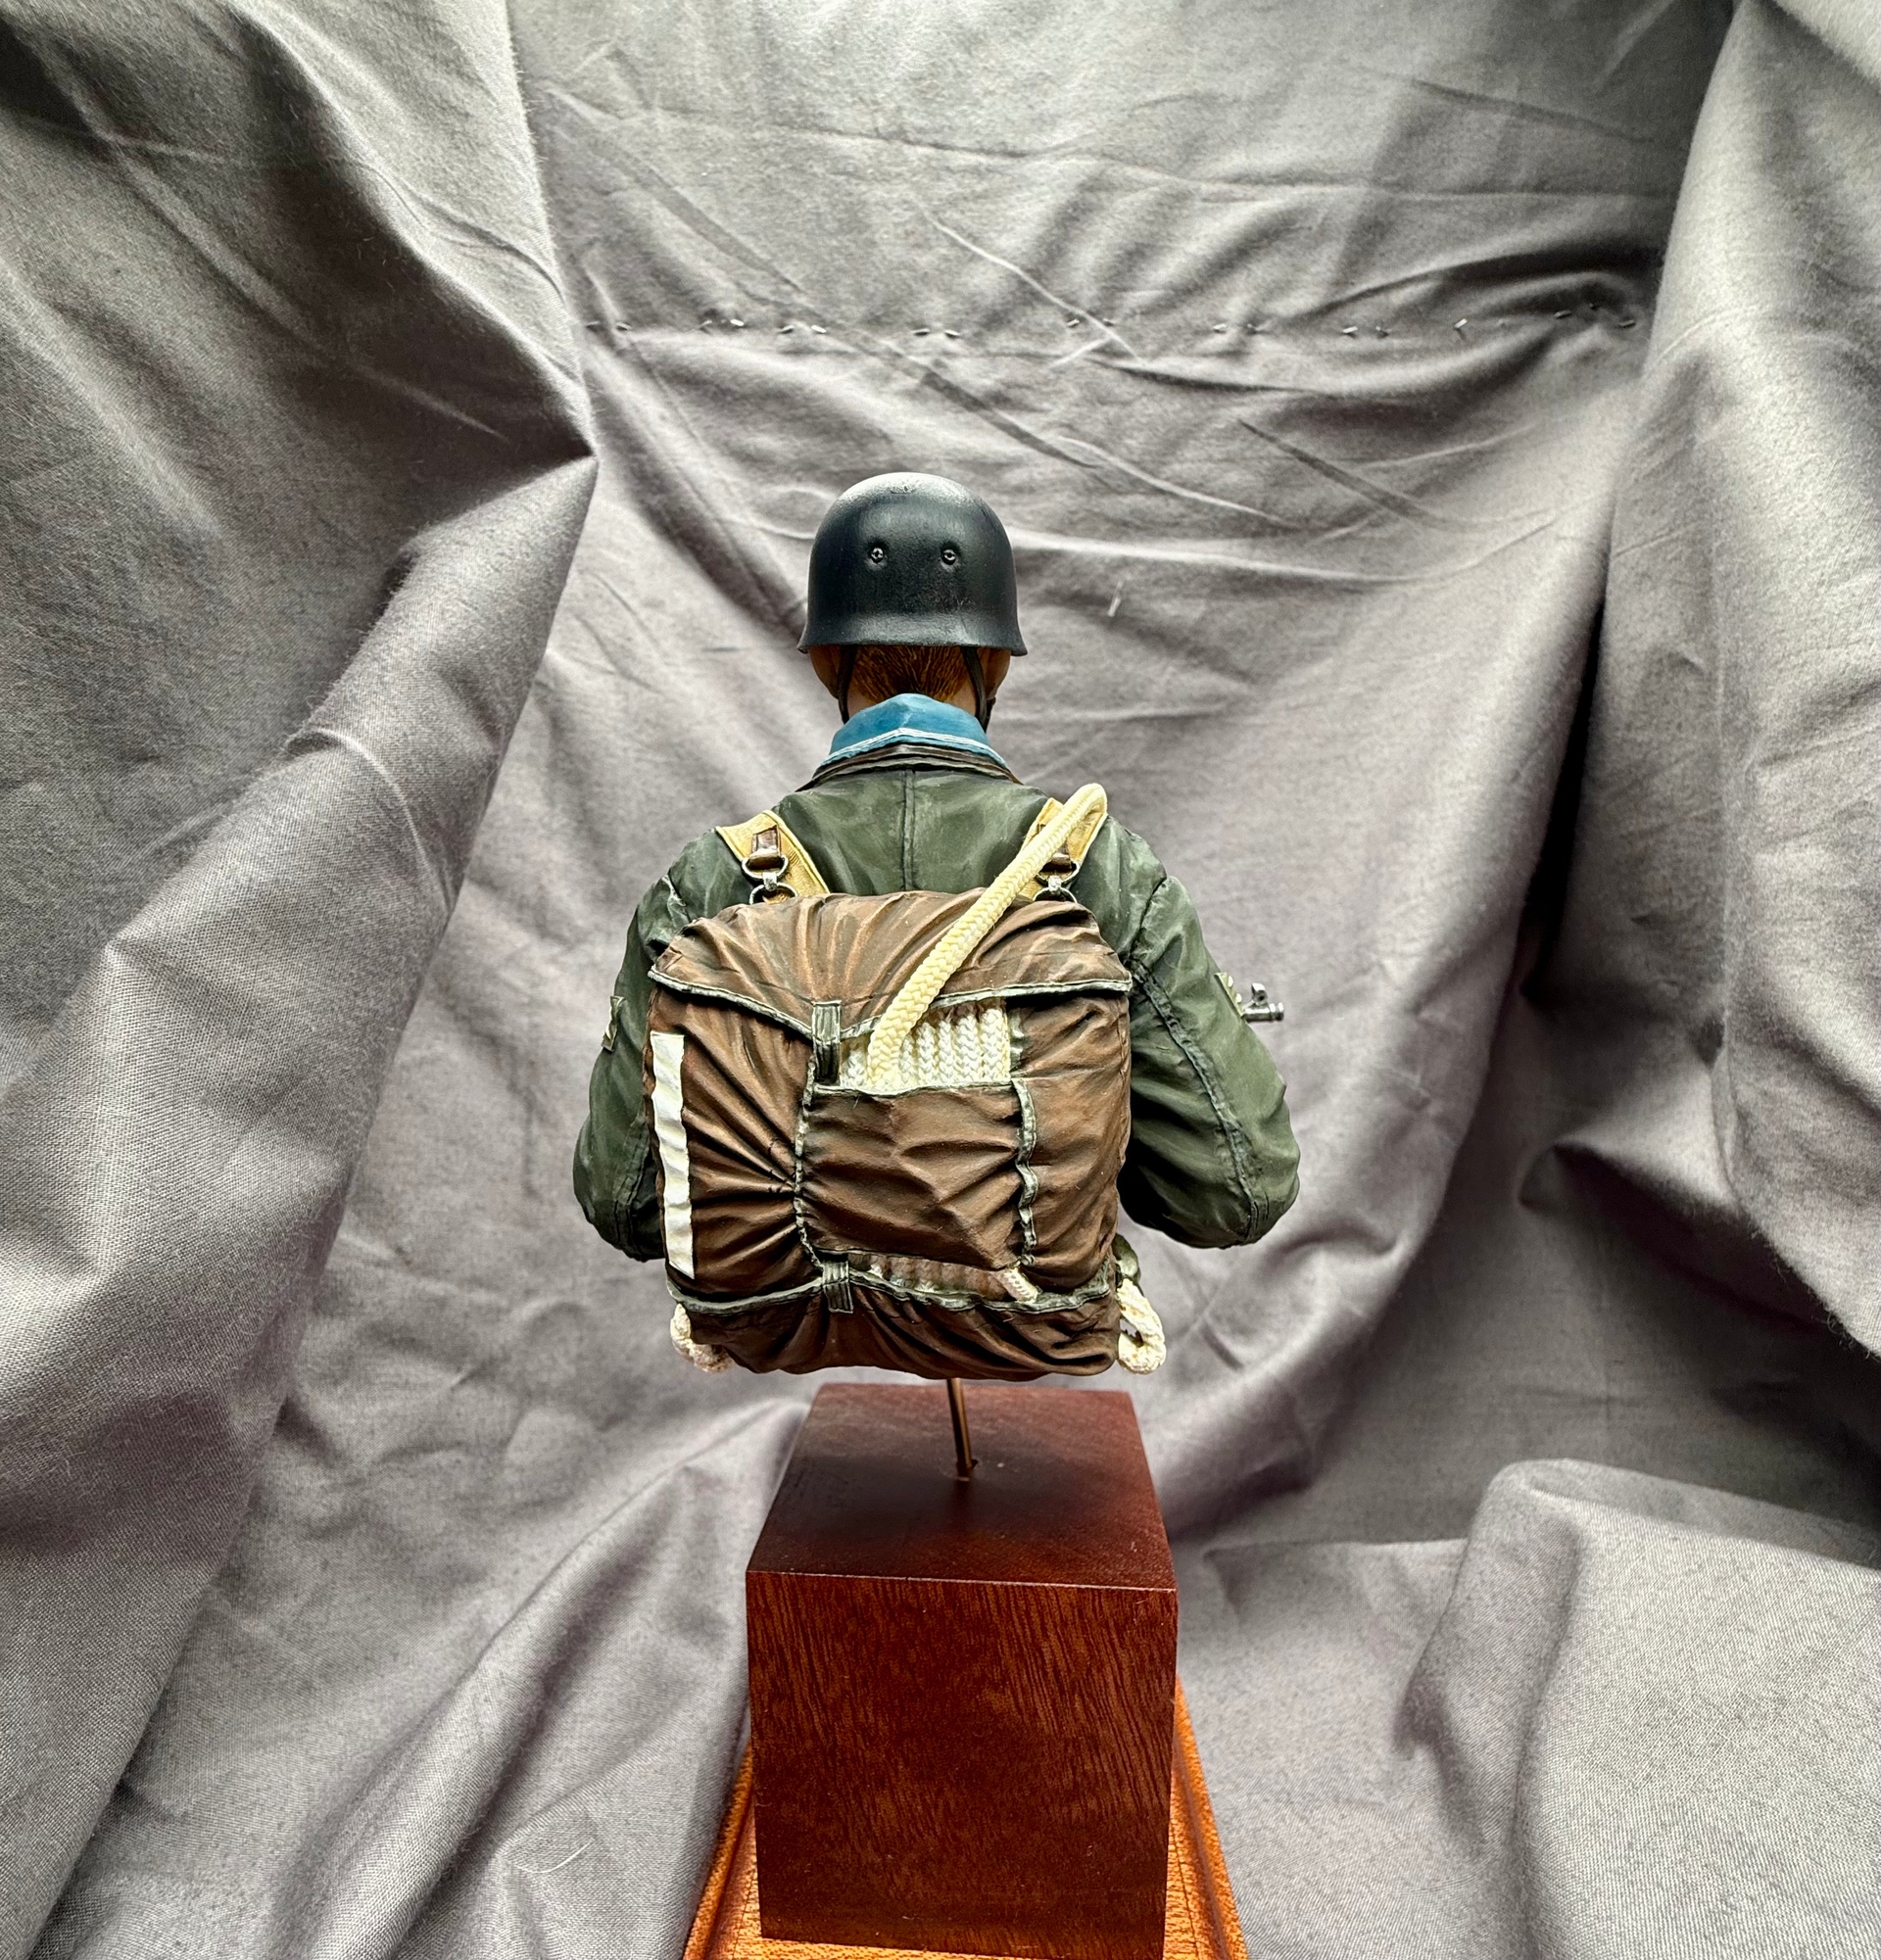
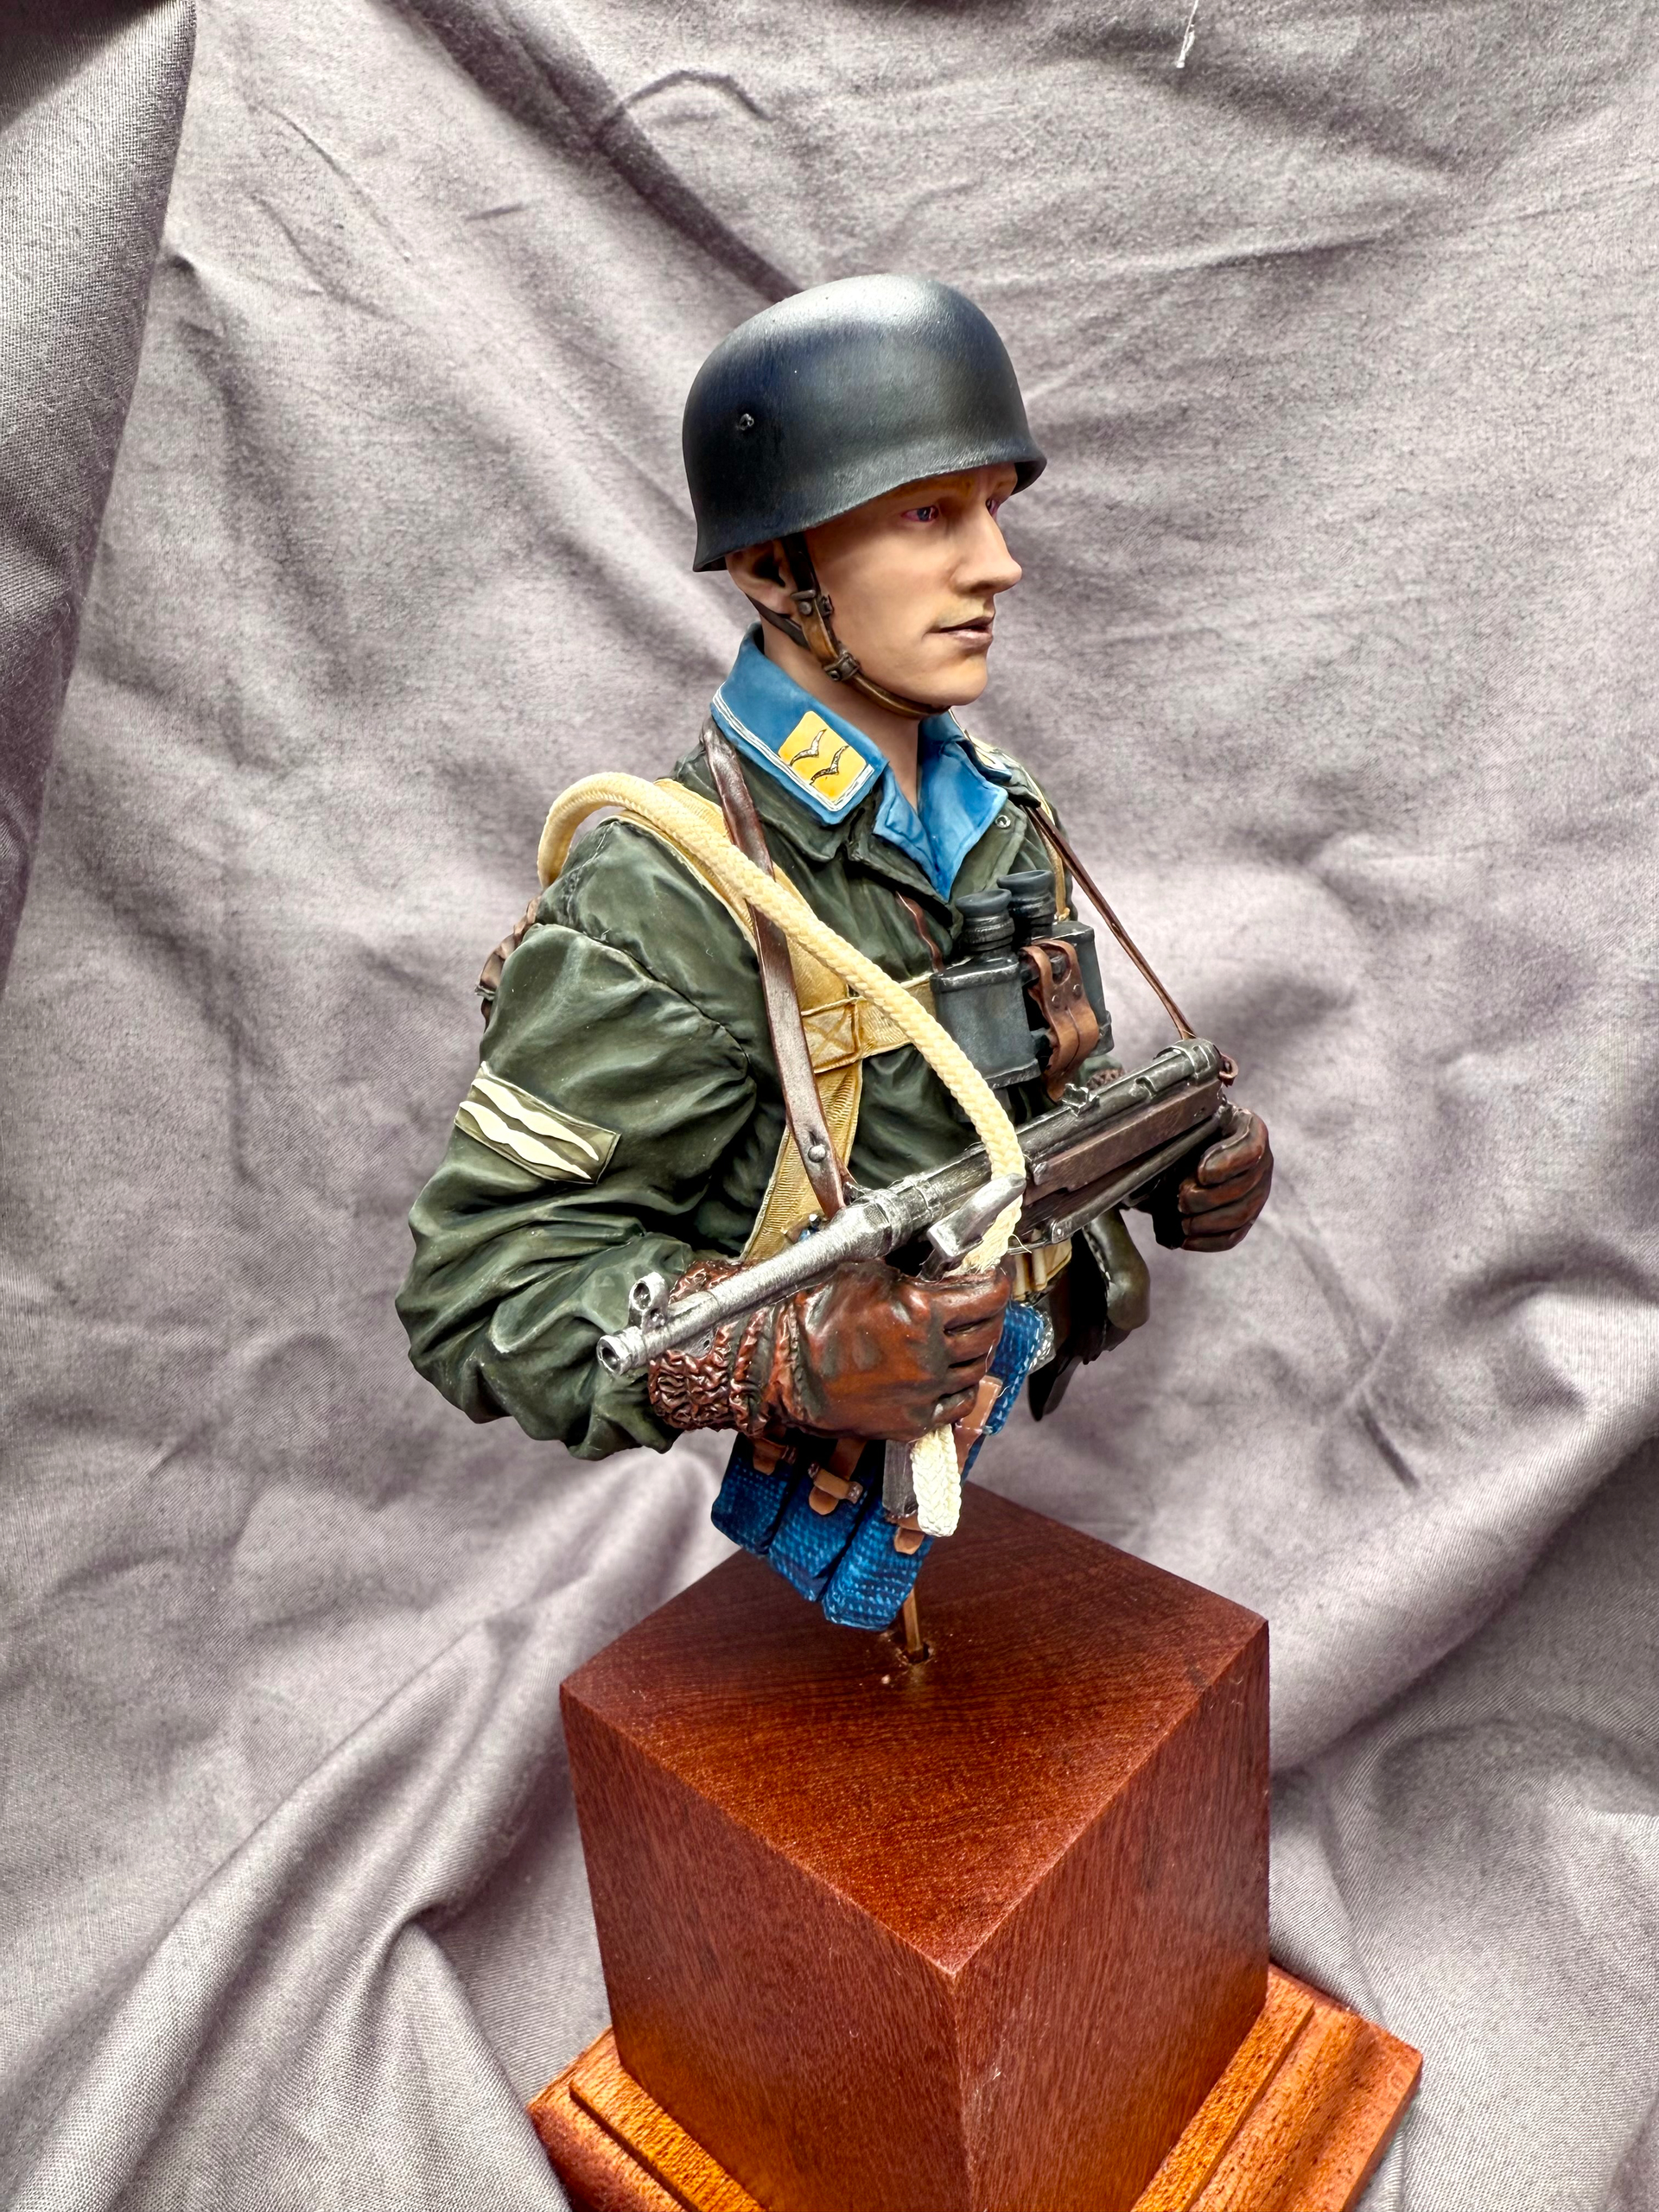
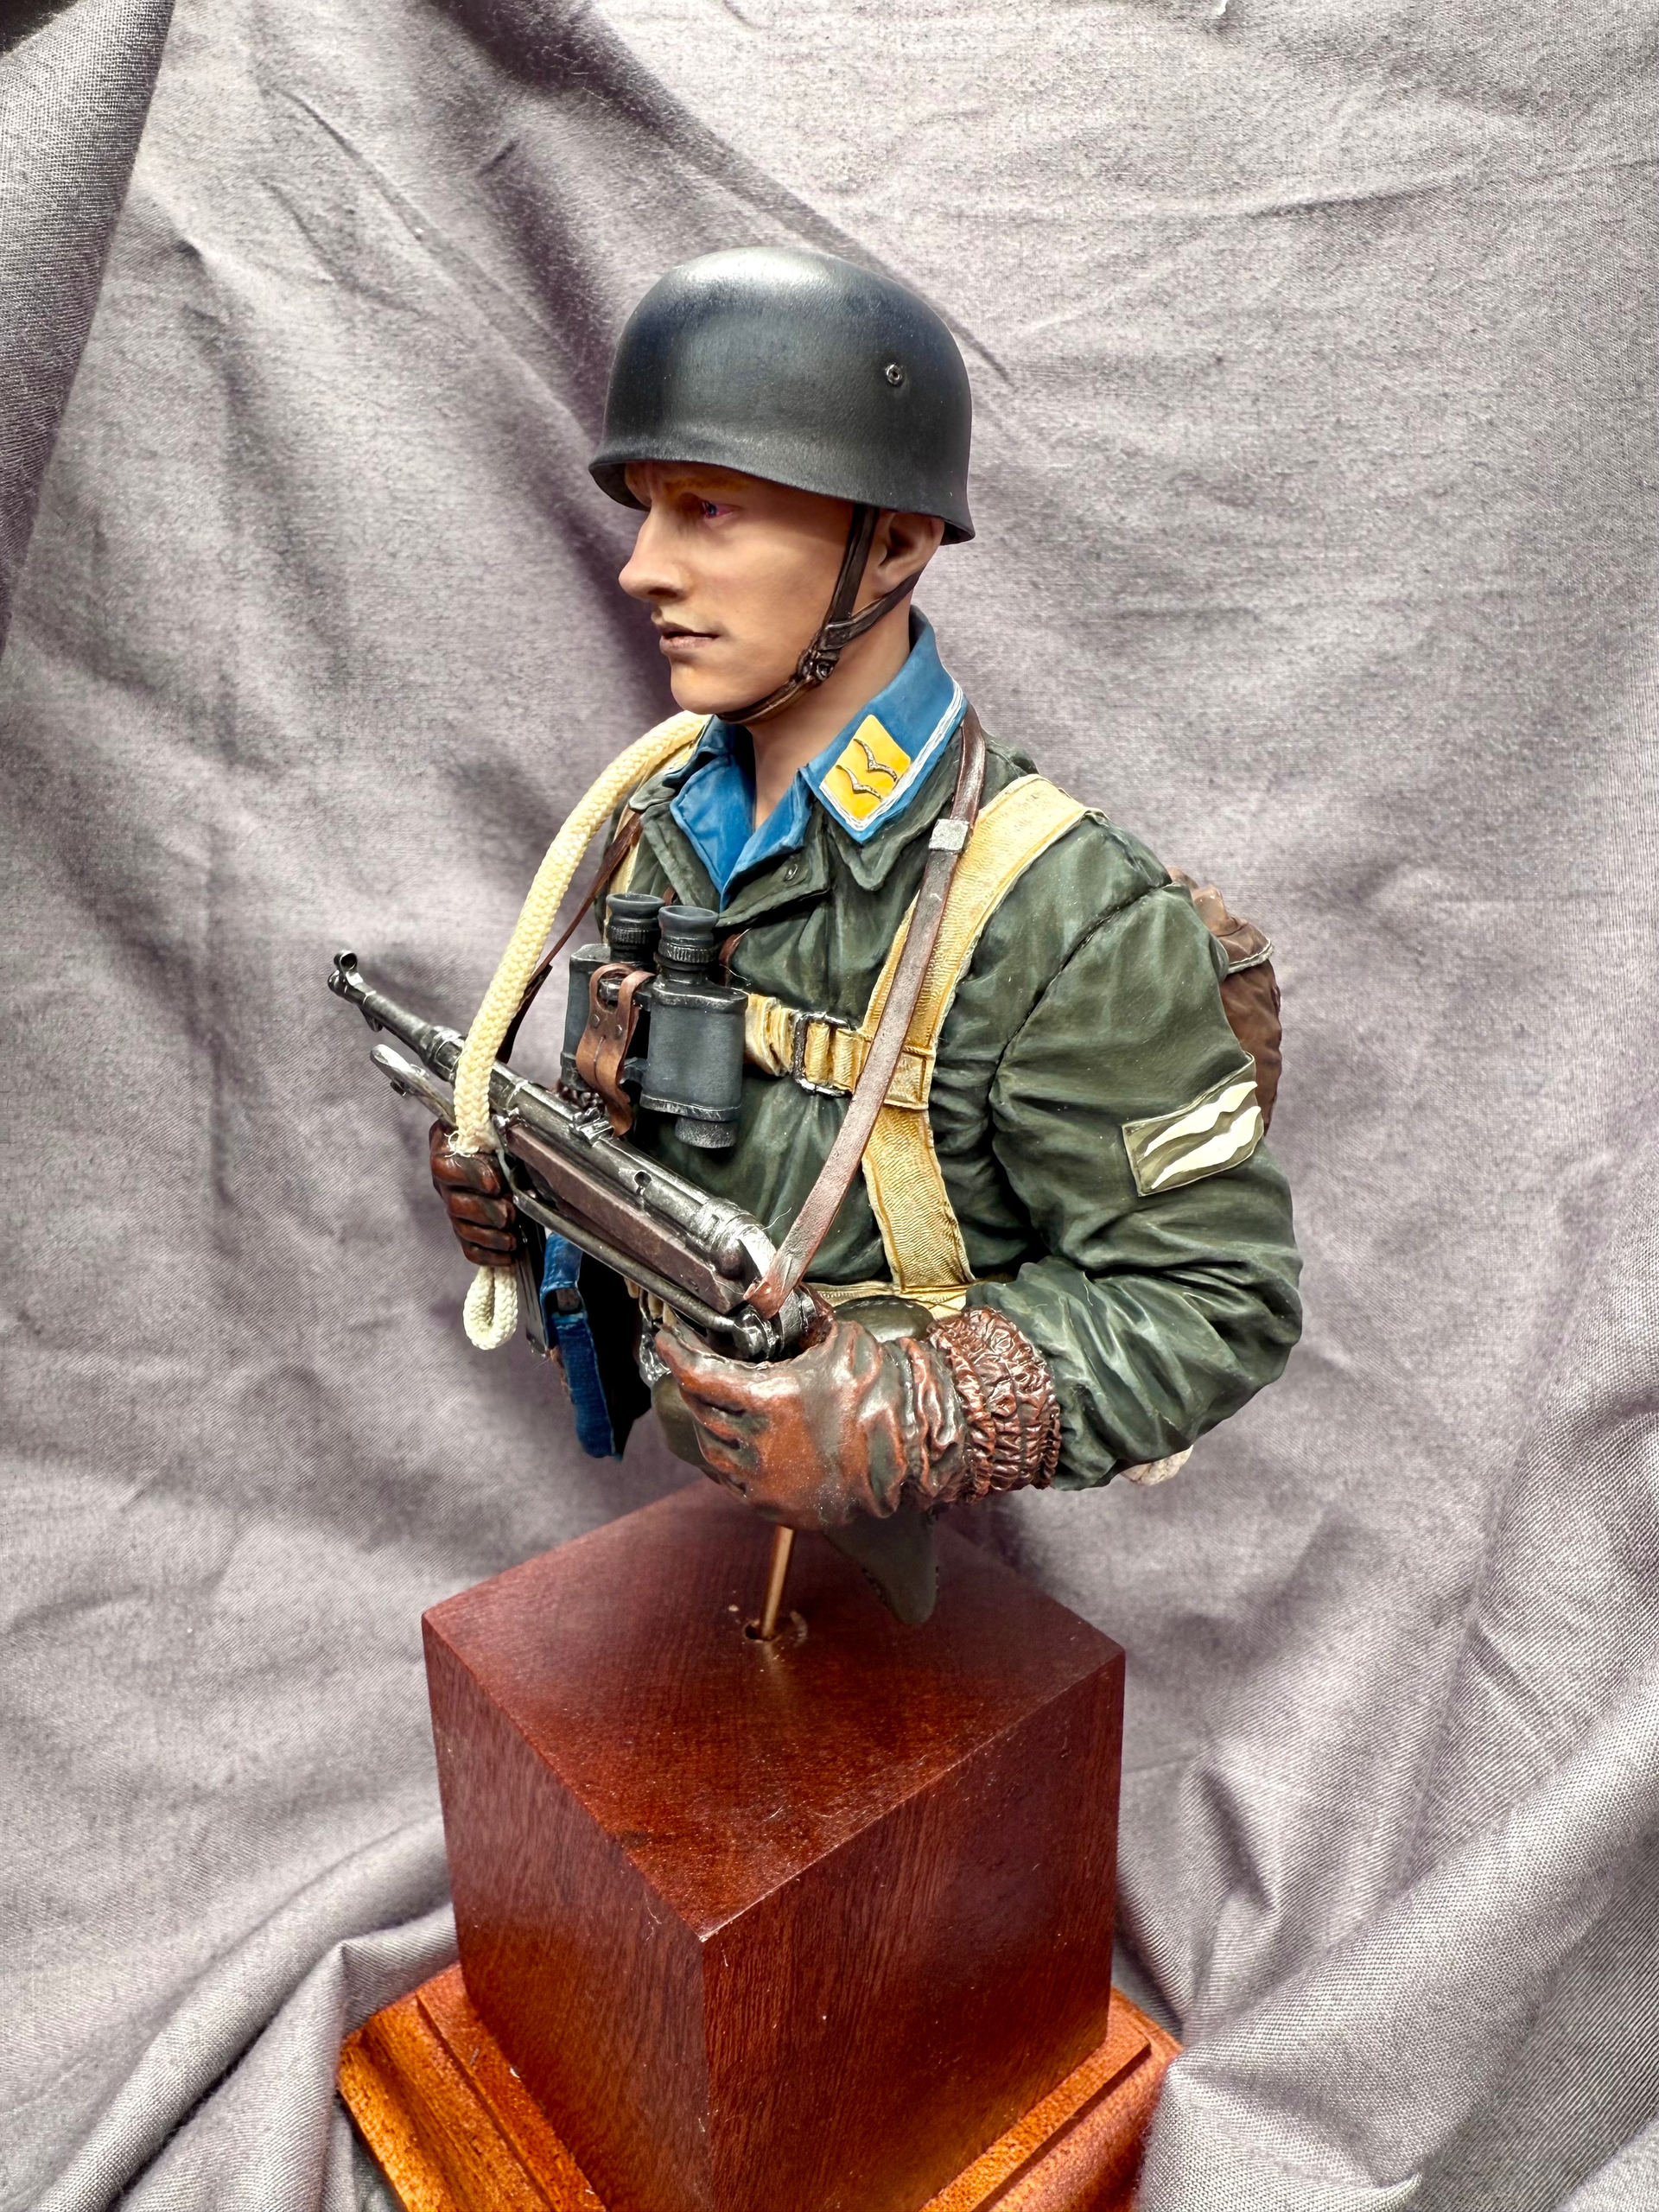
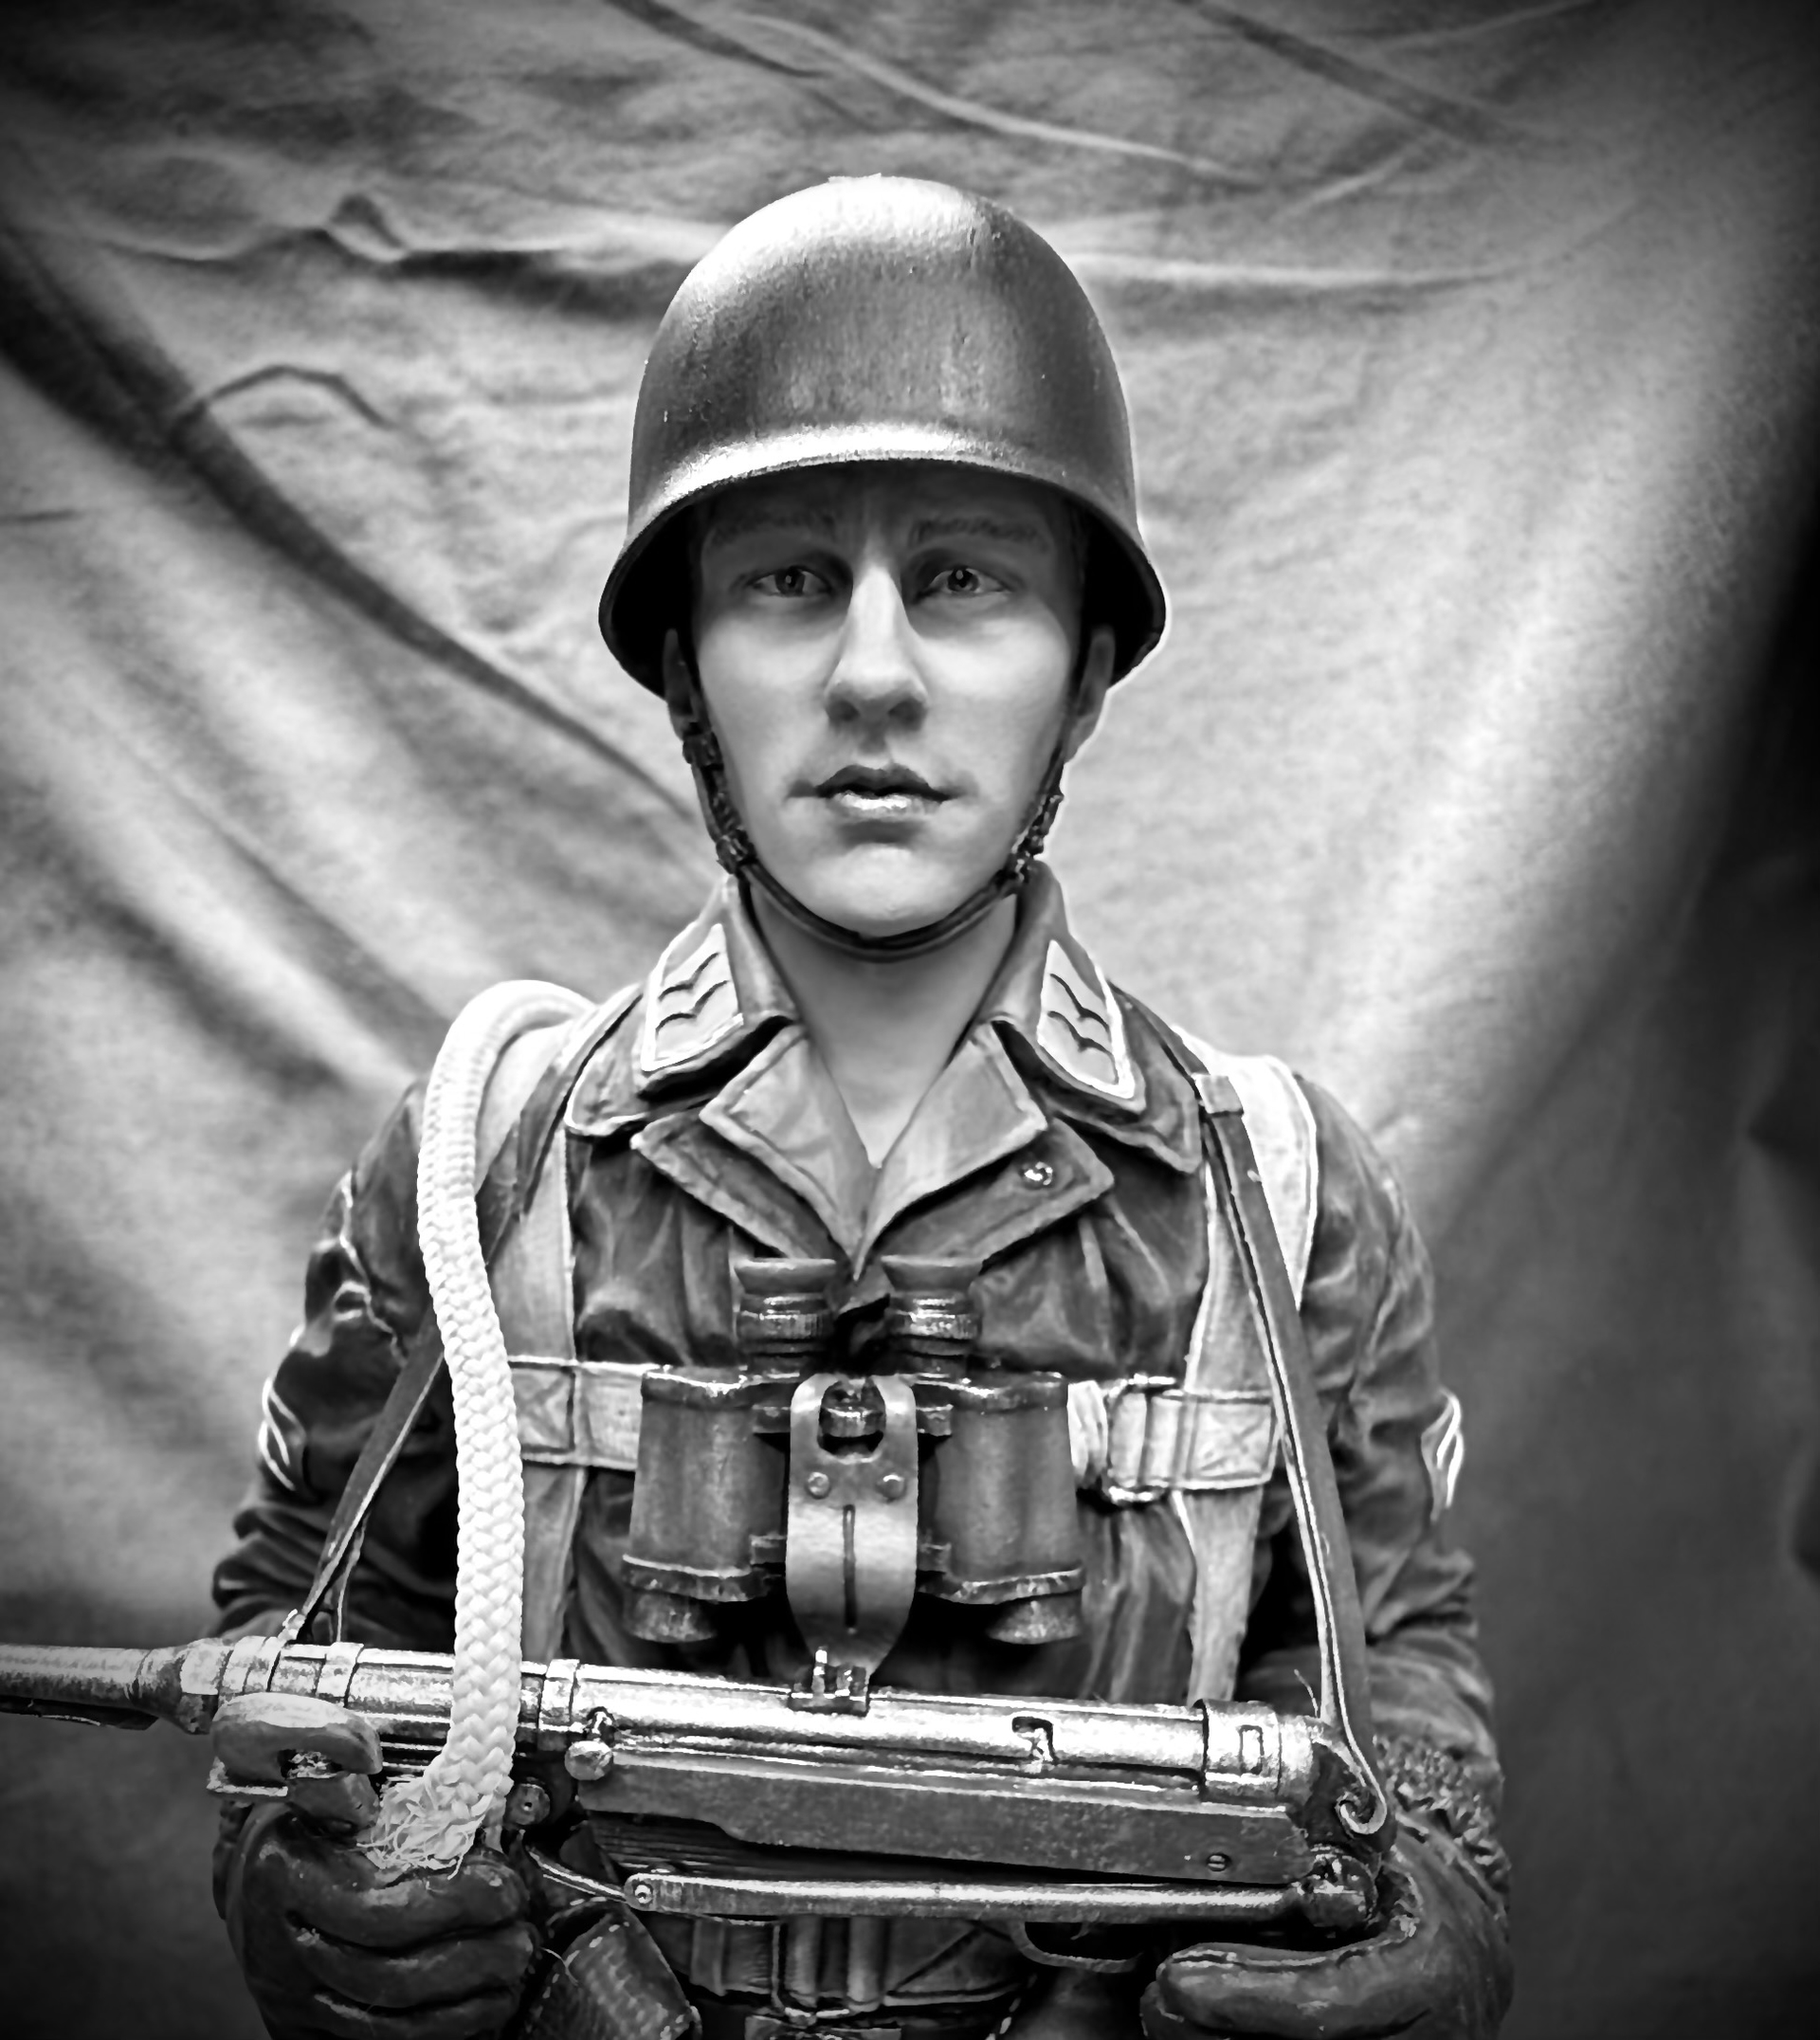
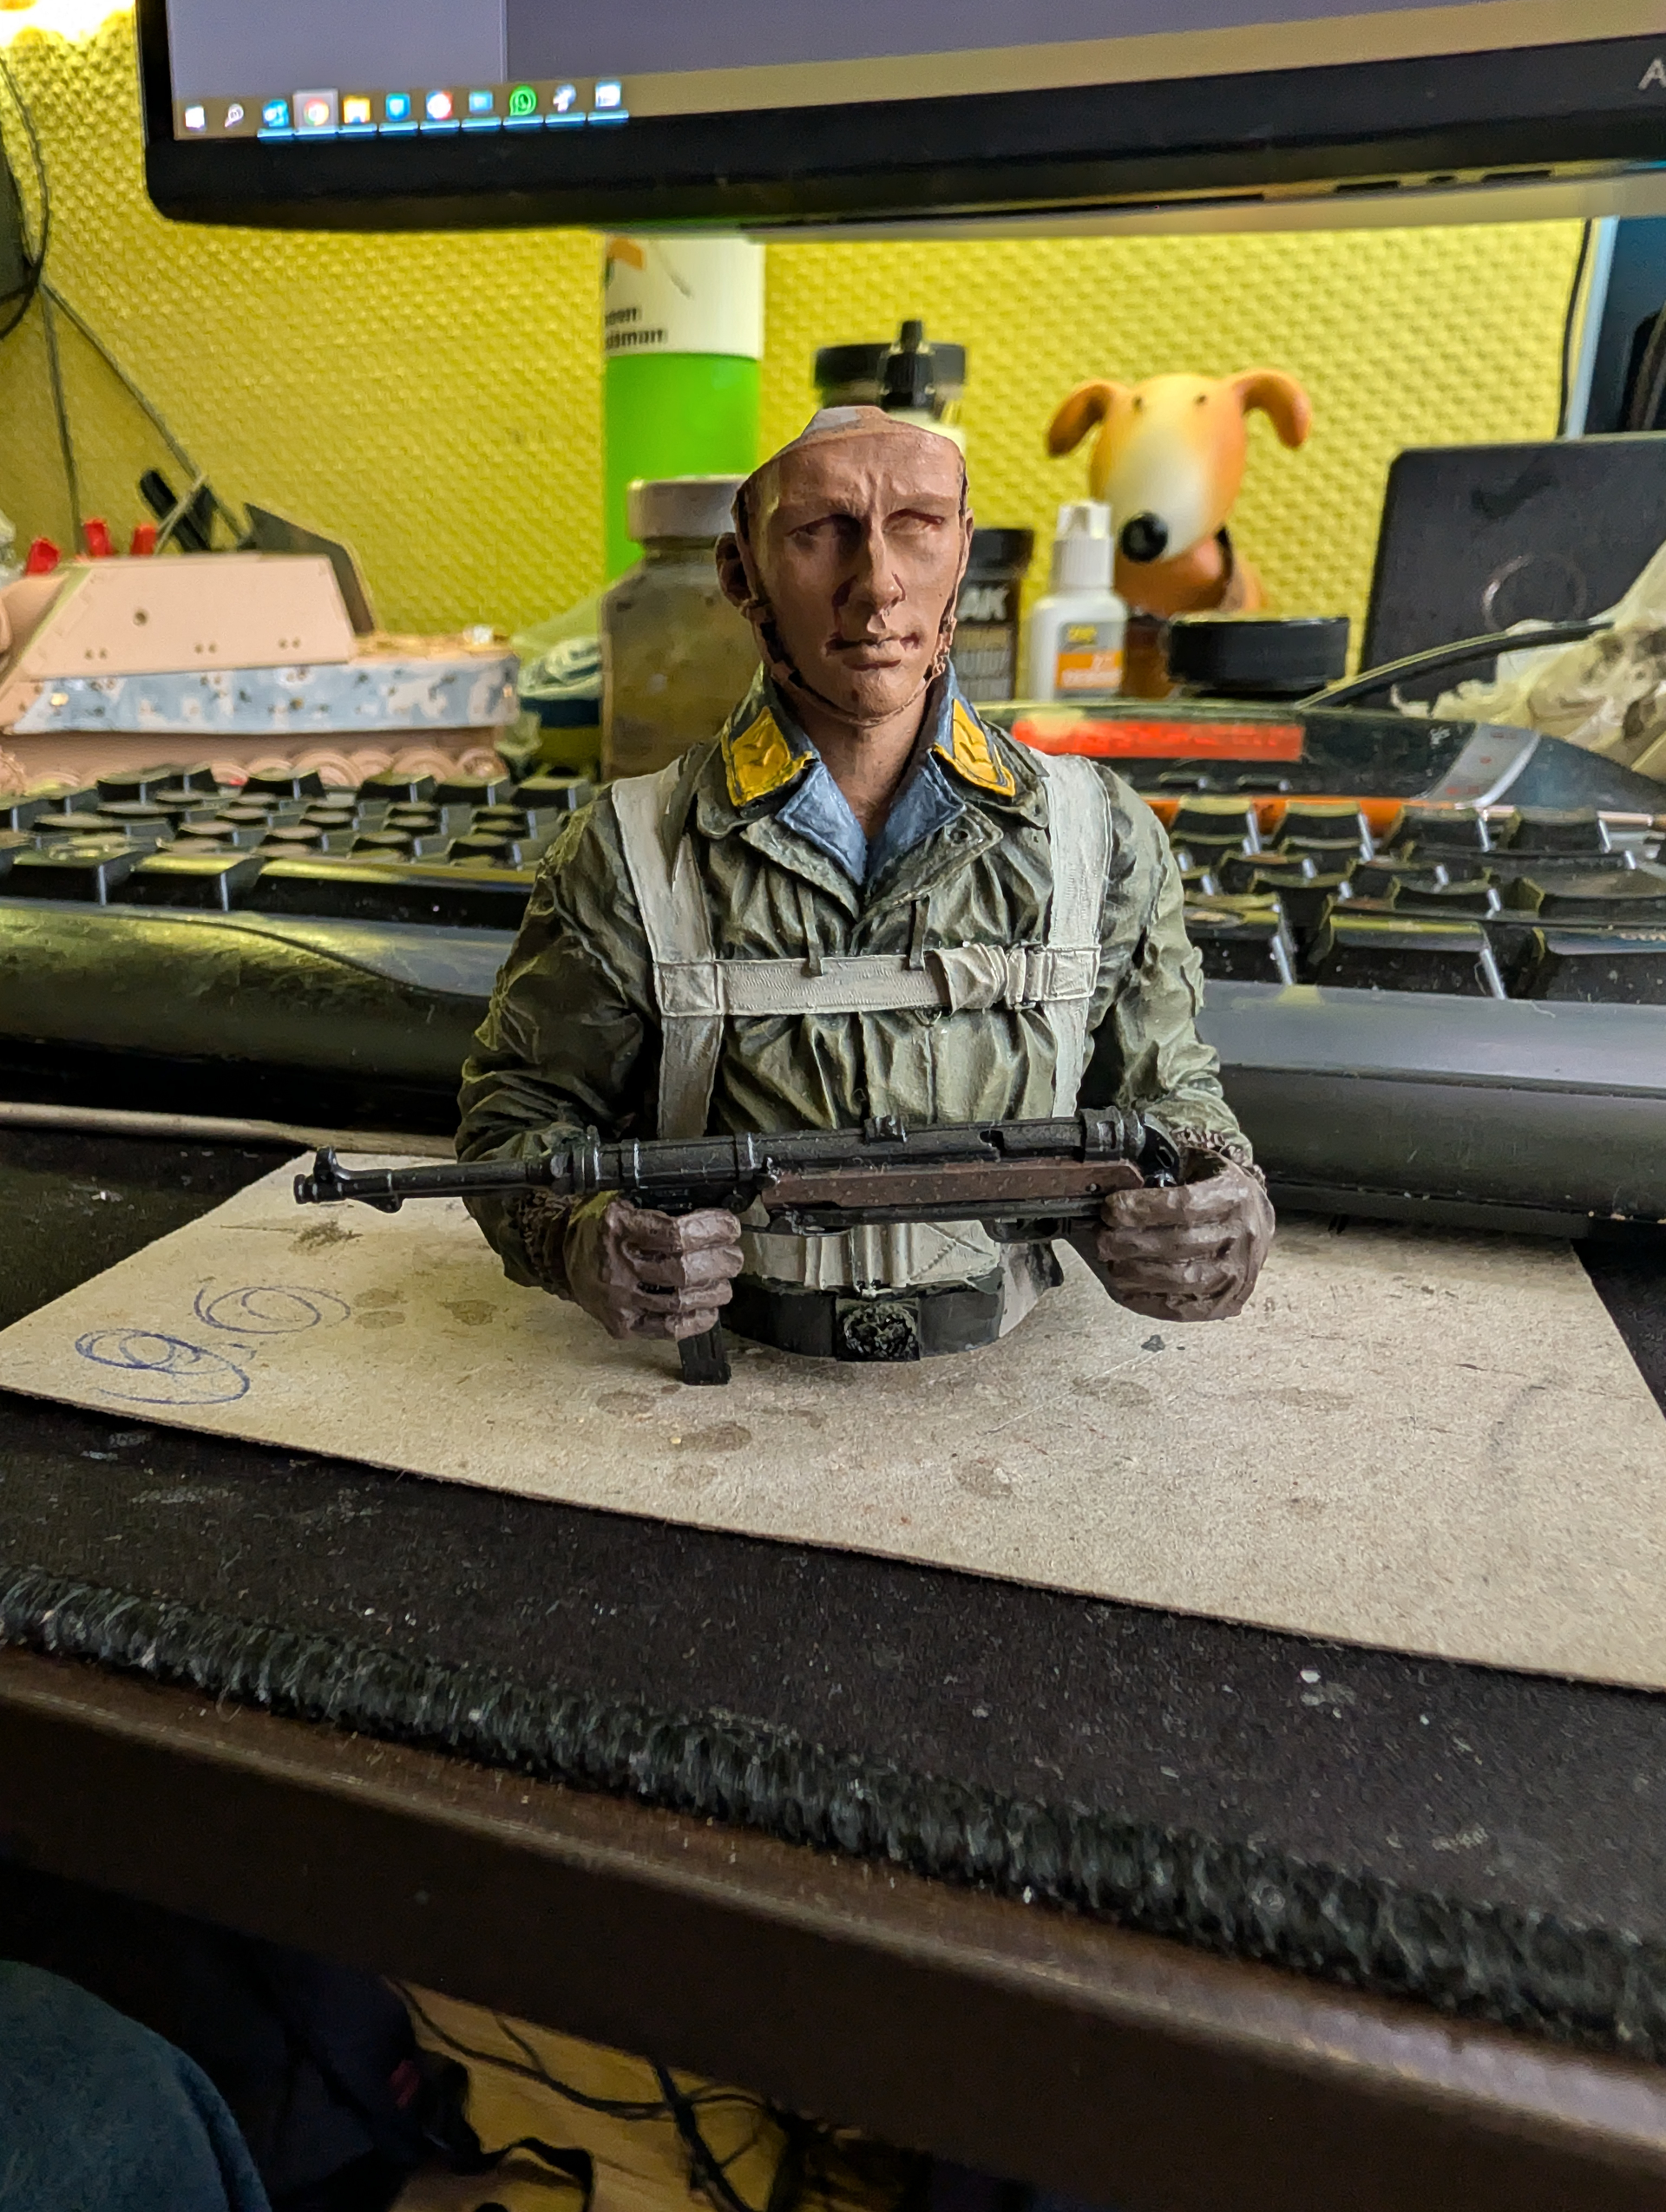
So I finally got the Fallschirmjager bust finished. I must say I was dreading the final assembly as there were quite a few fiddly and delicate pieces to go on. Not to mention the arms and parachute were quite heavy pieces. Apart from the usual un-cooperative super glue it was mostly ok. The rope did fray a little trying to squeeze it down between the MP-40 and the glove- I think a resin piece of rope would have been a better choice for the kit. Anyway, here are the pics.
All in all it was an enjoyable bust to paint.
Thanks for all the support along the way!
31 Likes
Thank you for the compliments Watto  !
!
1 Like
Nice work! I have just that one partly painted in front of me. See it that one works out just as good as yours…
2 Likes
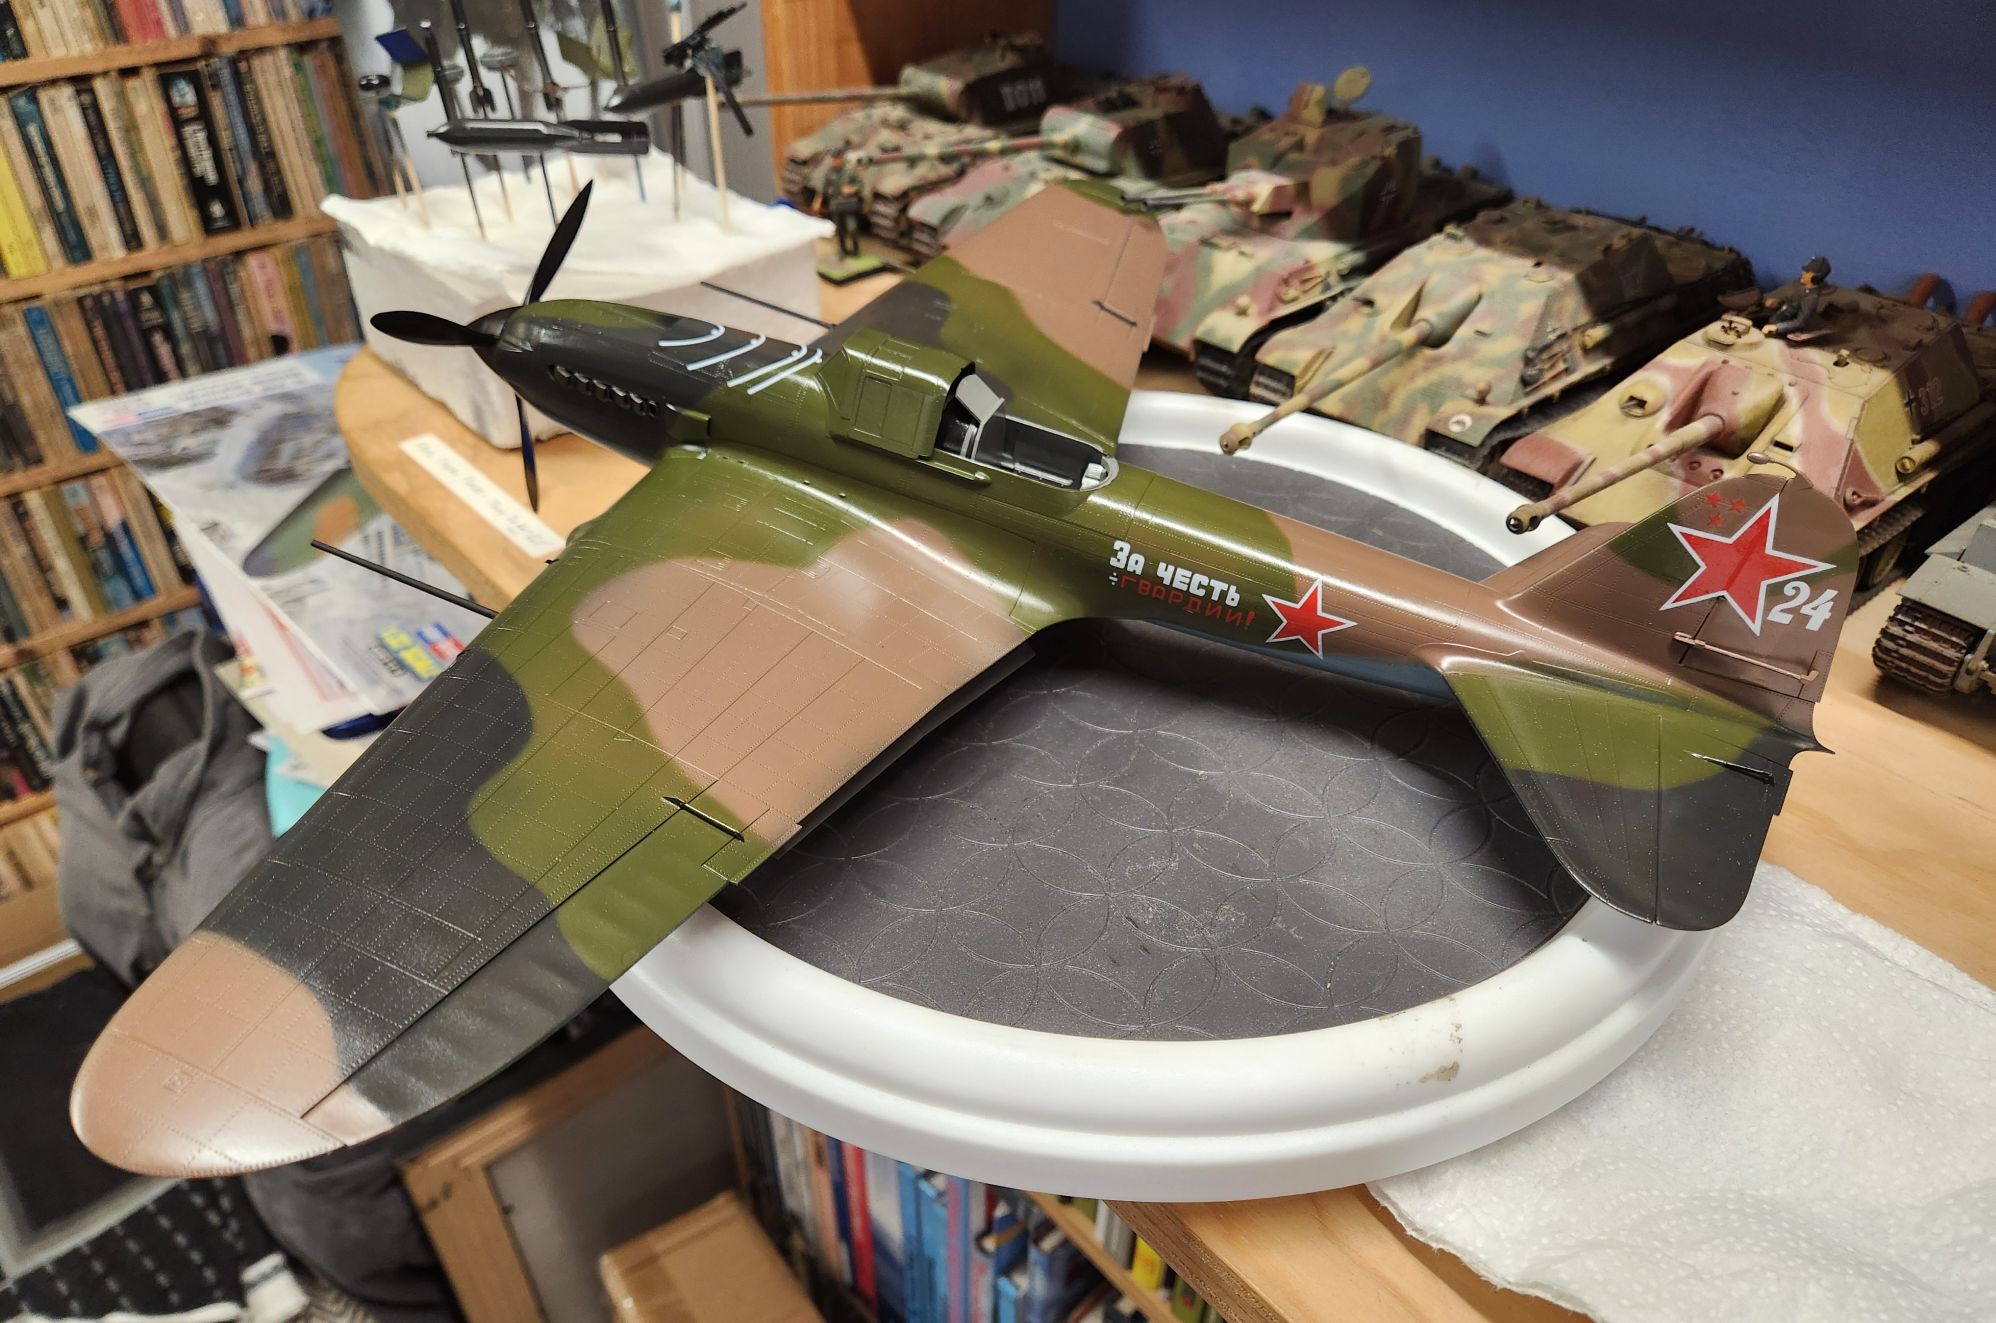
Decals on; just waiting to make sure everything settles down then they get sealed up. Then some washes and final fidgeting around. Definitely will finish in time for the campaign; may even finish in time to show my students before the semester ends.
23 Likes
Thank you Erwin! Best of luck with your bust!
2 Likes
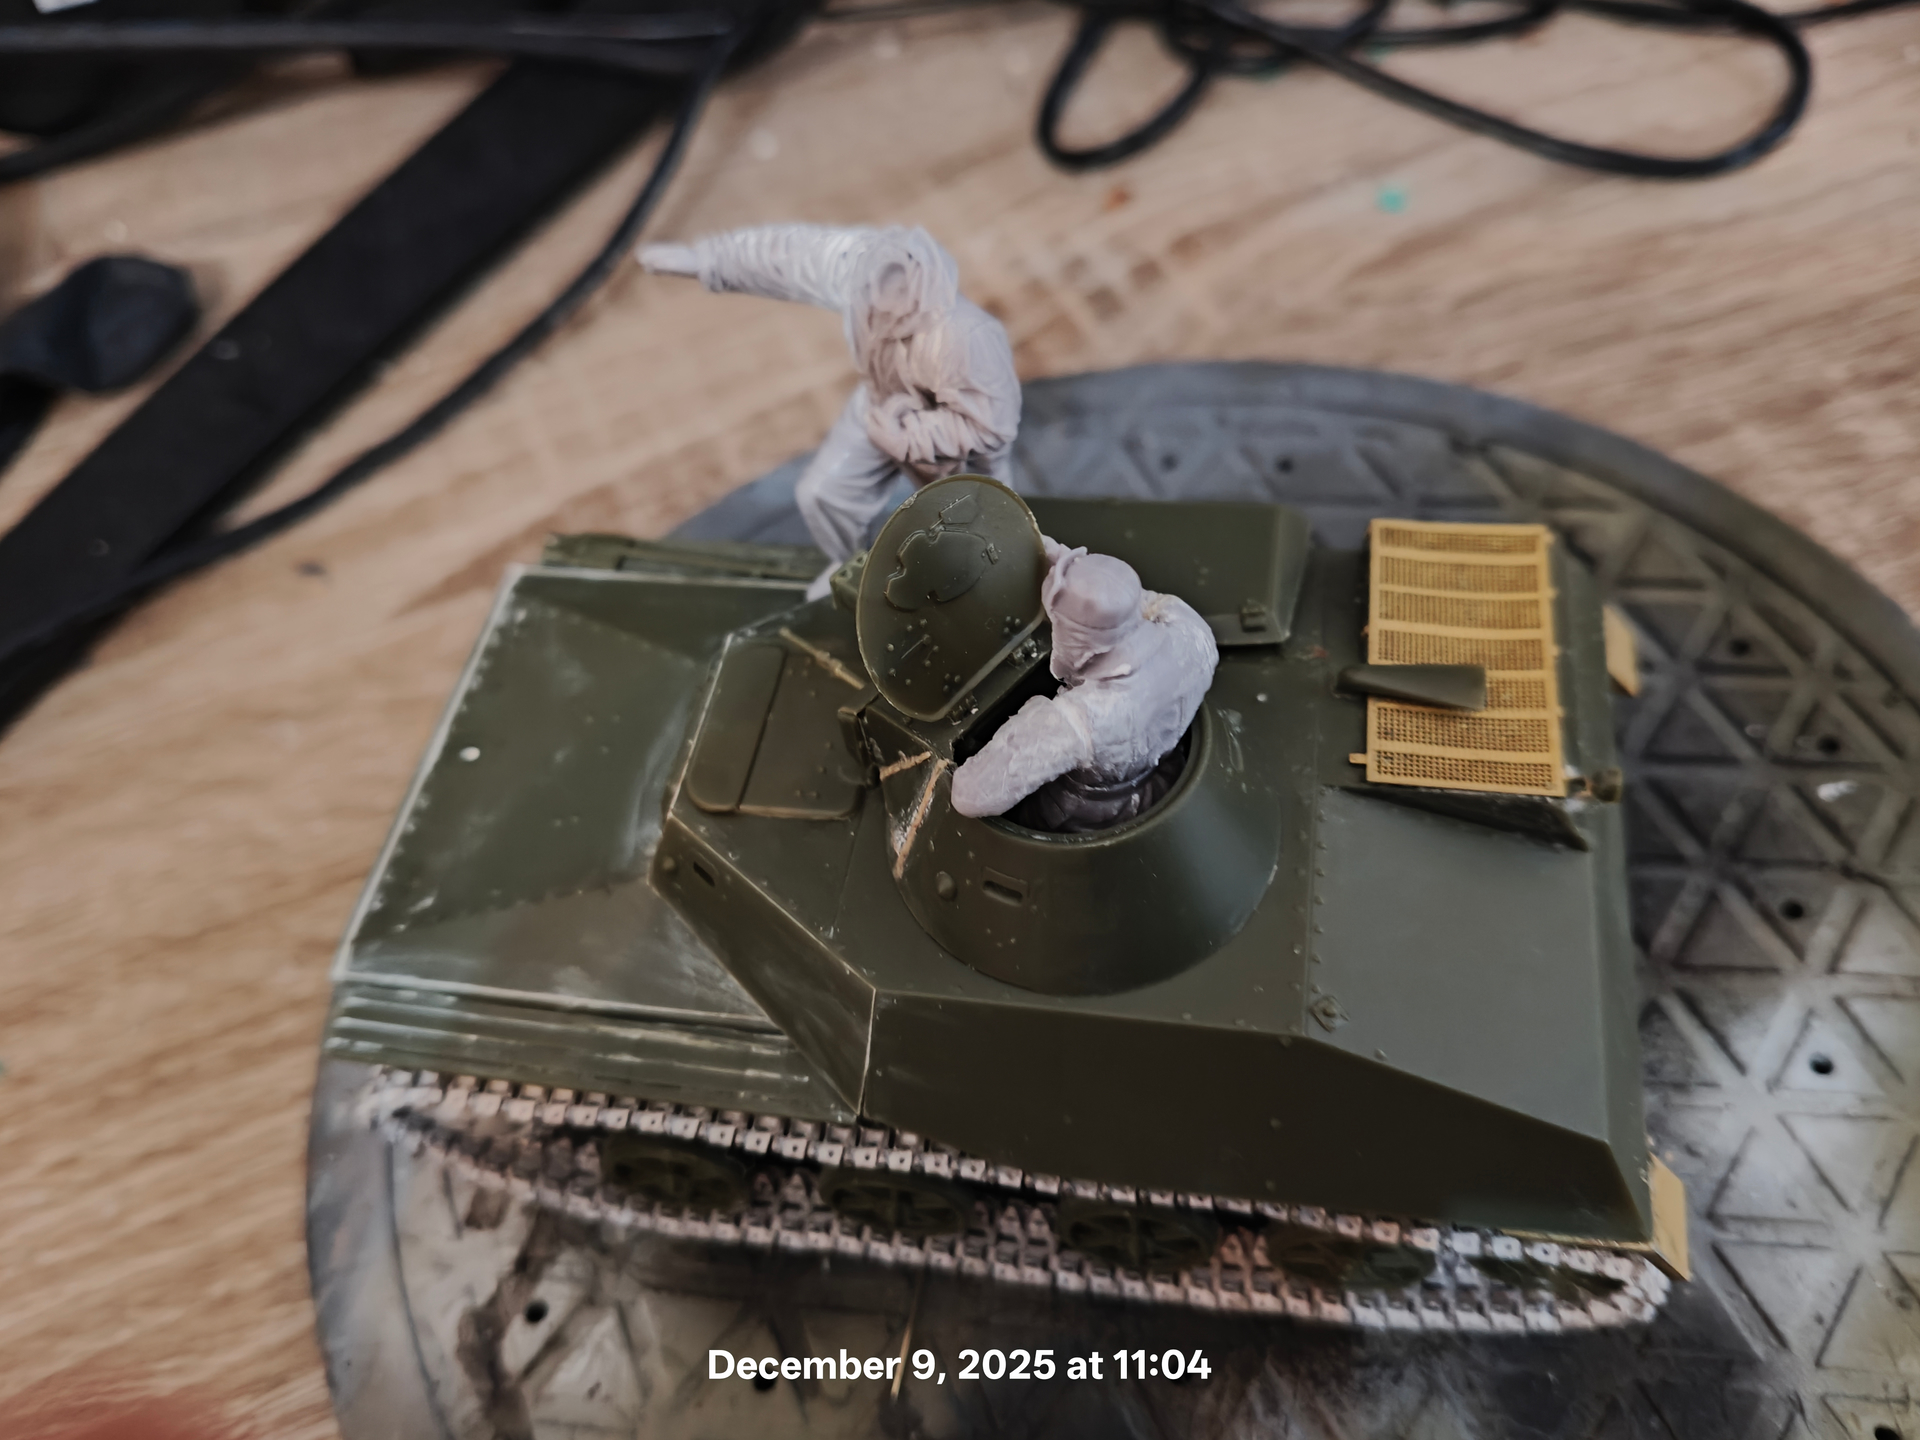
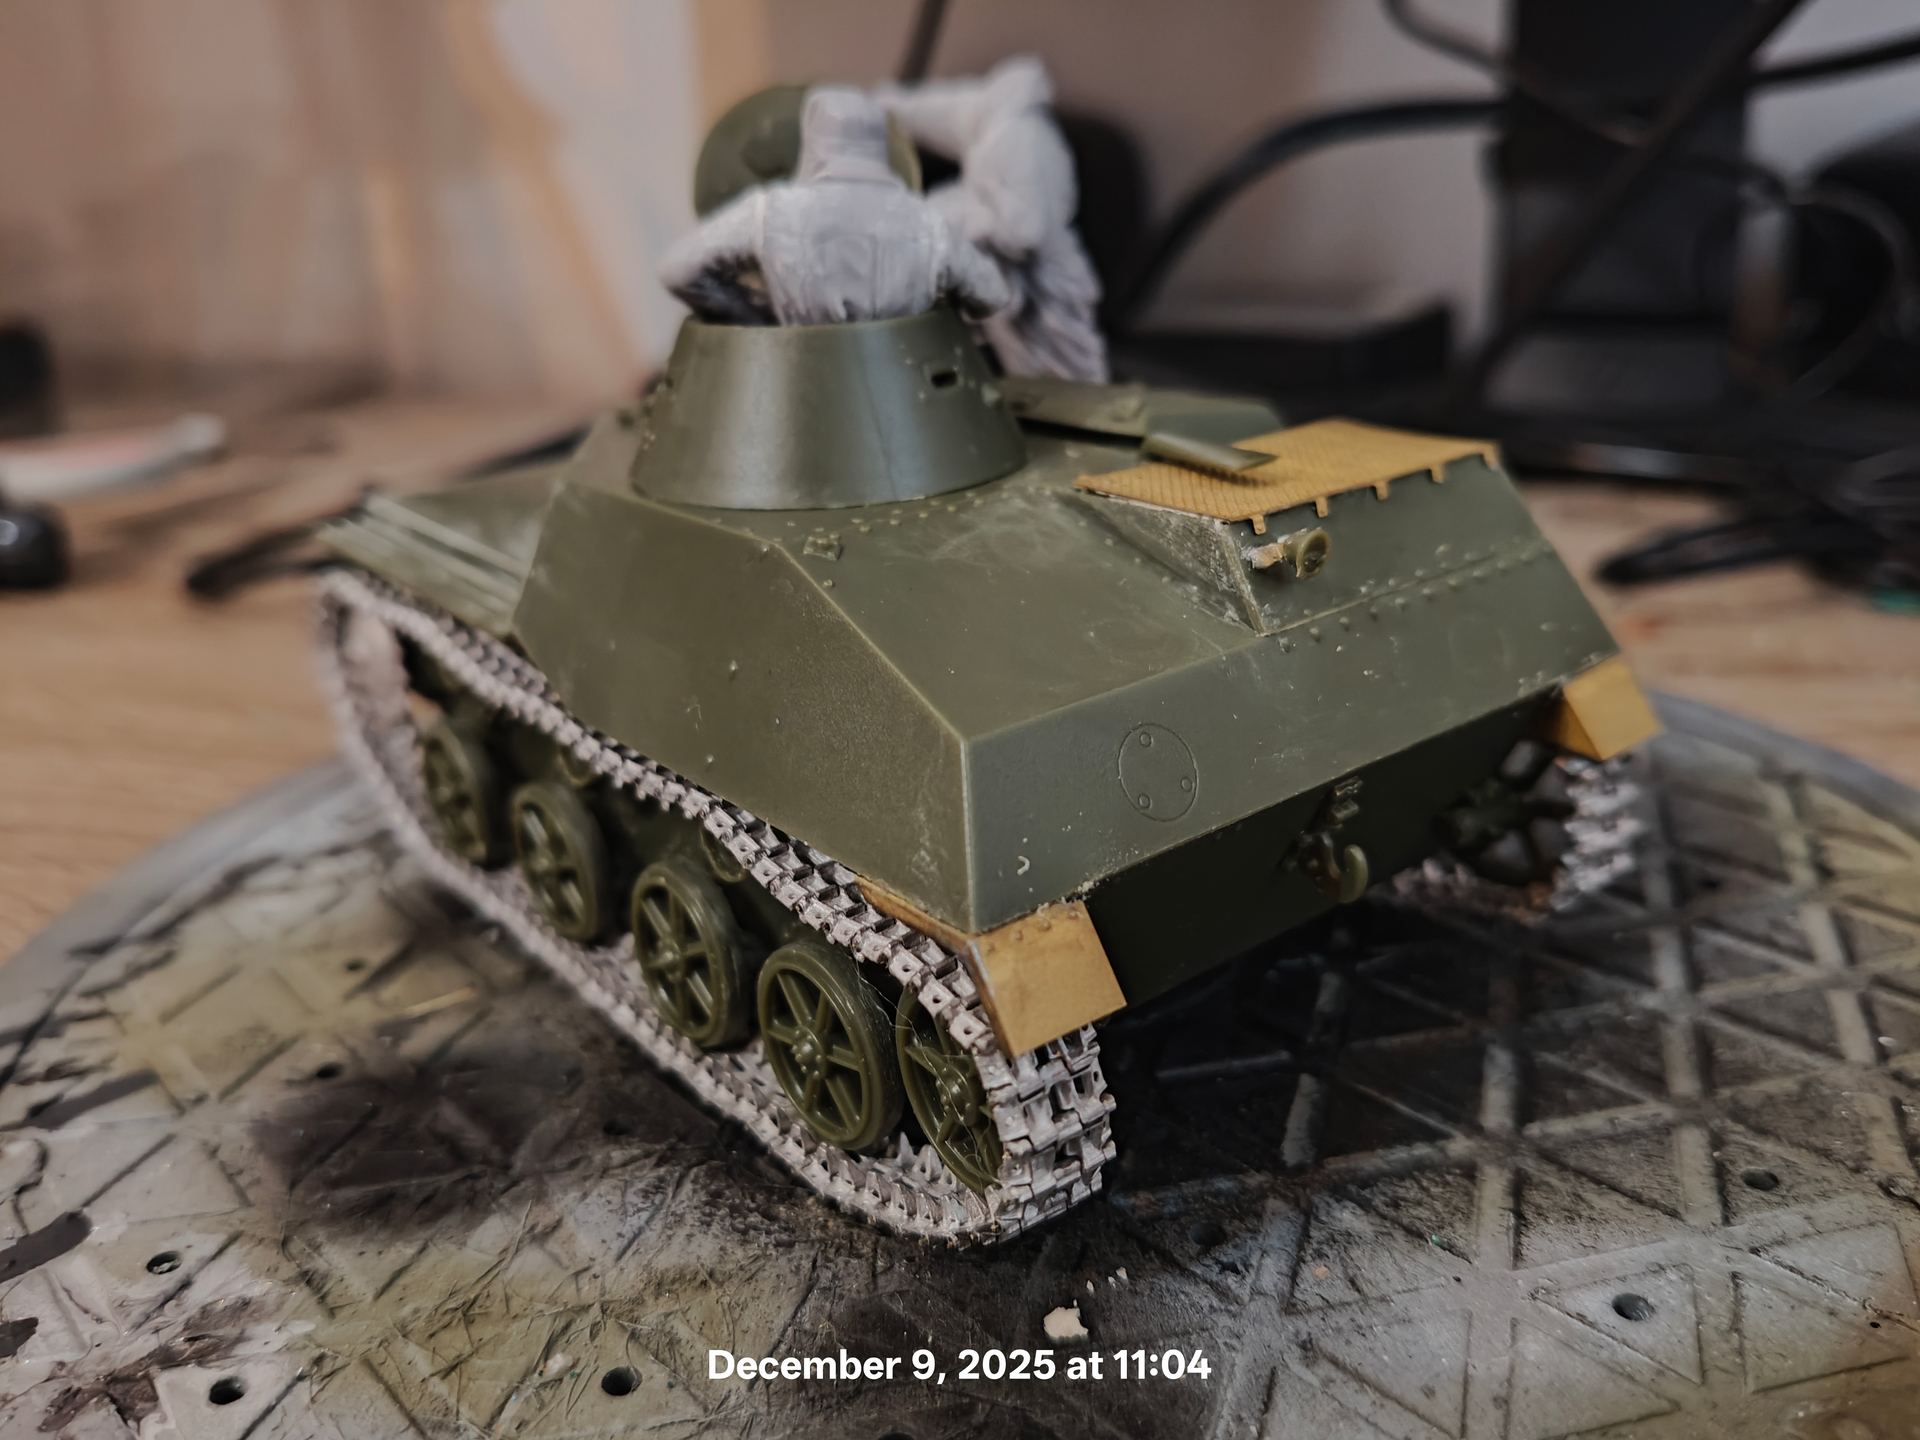
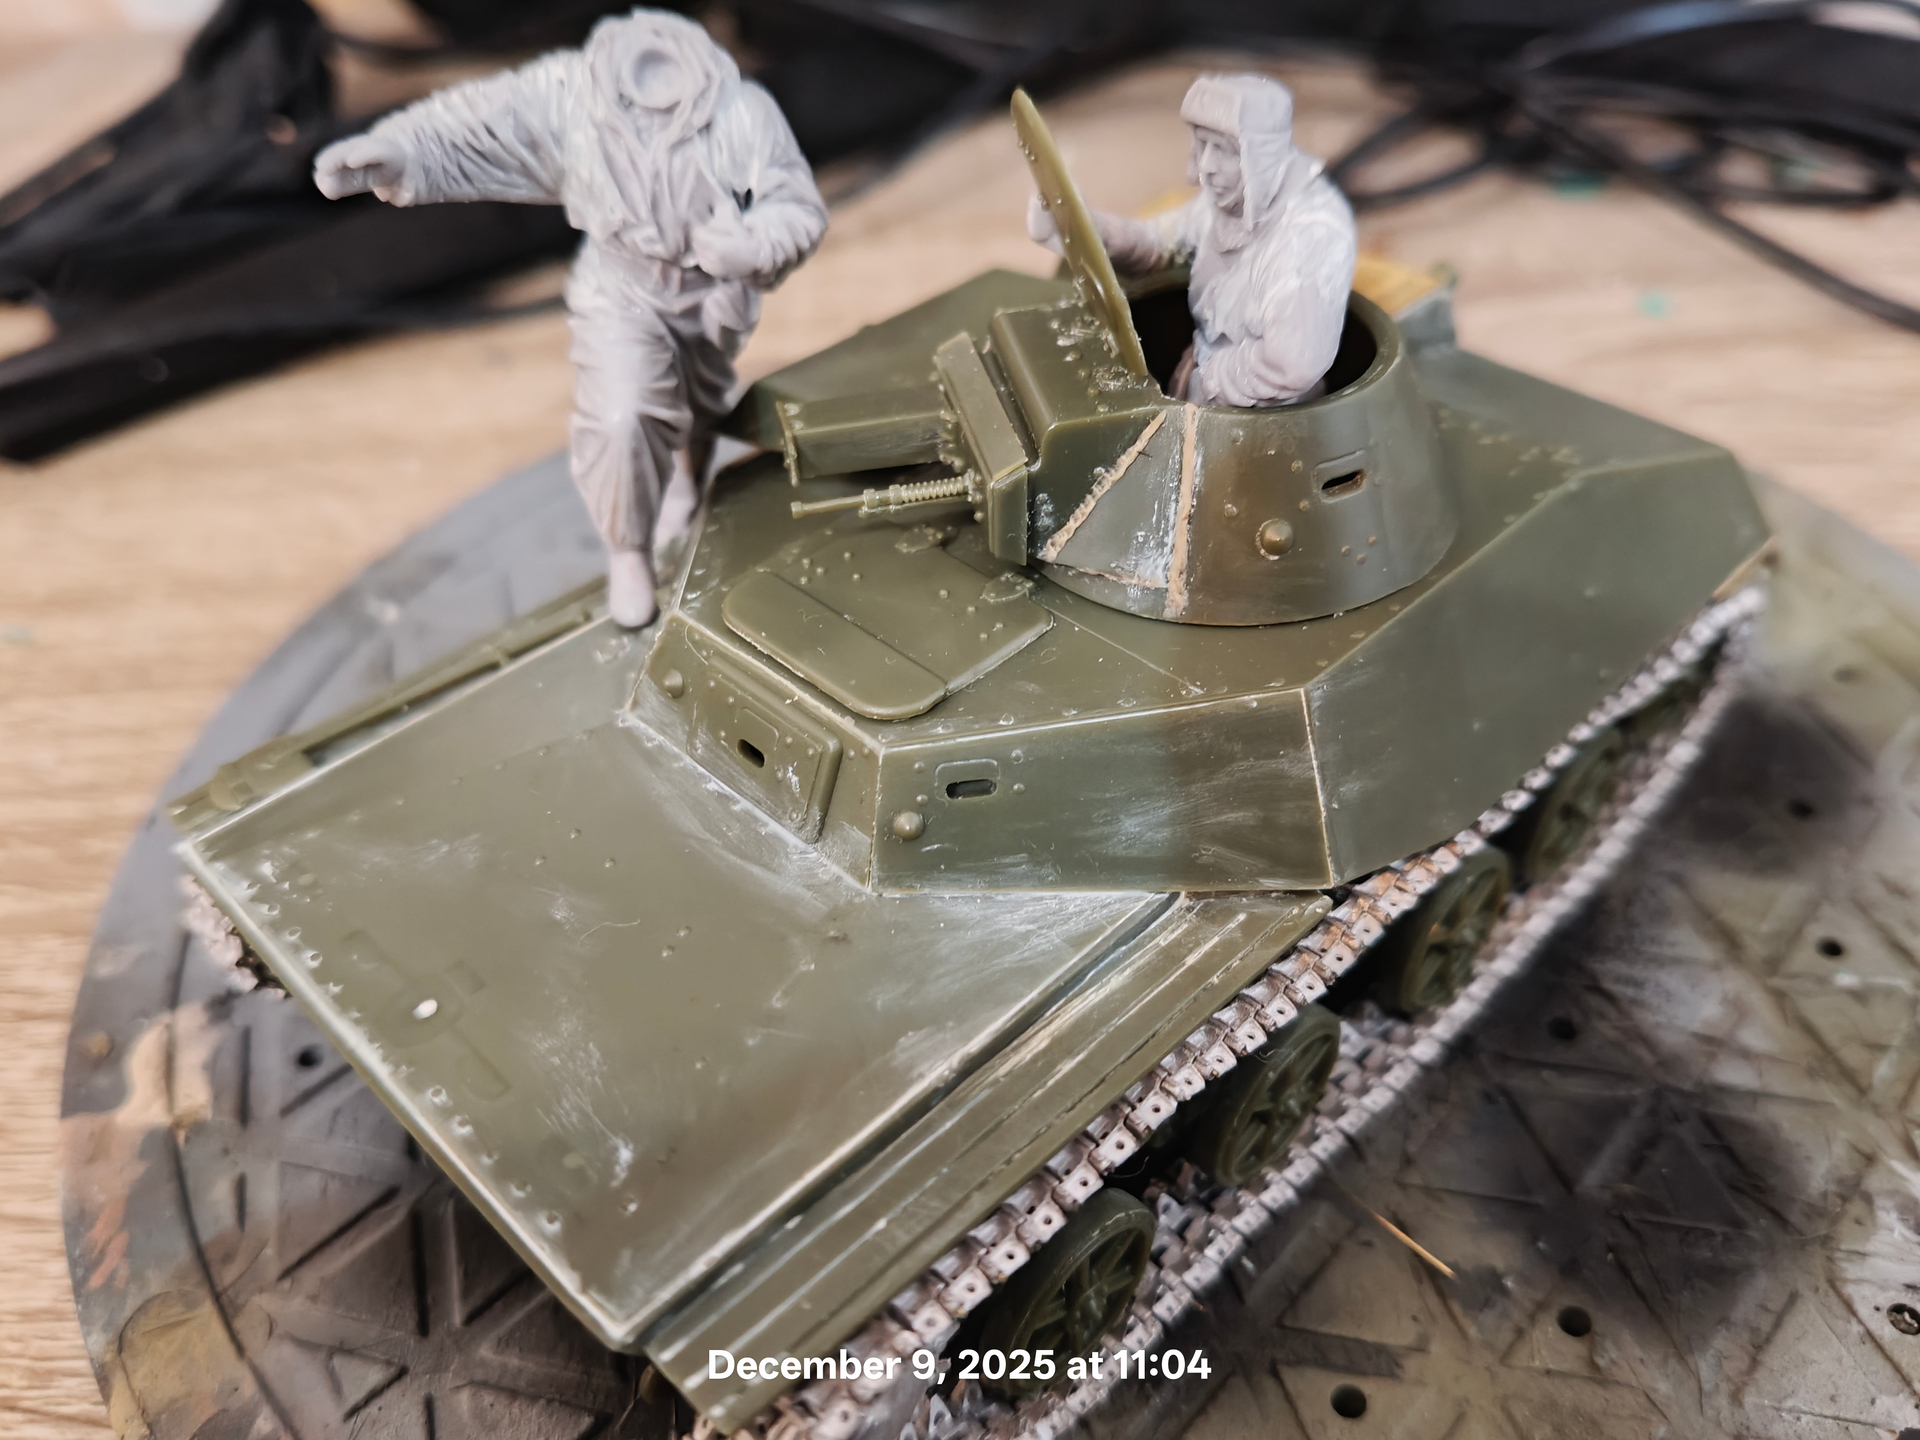
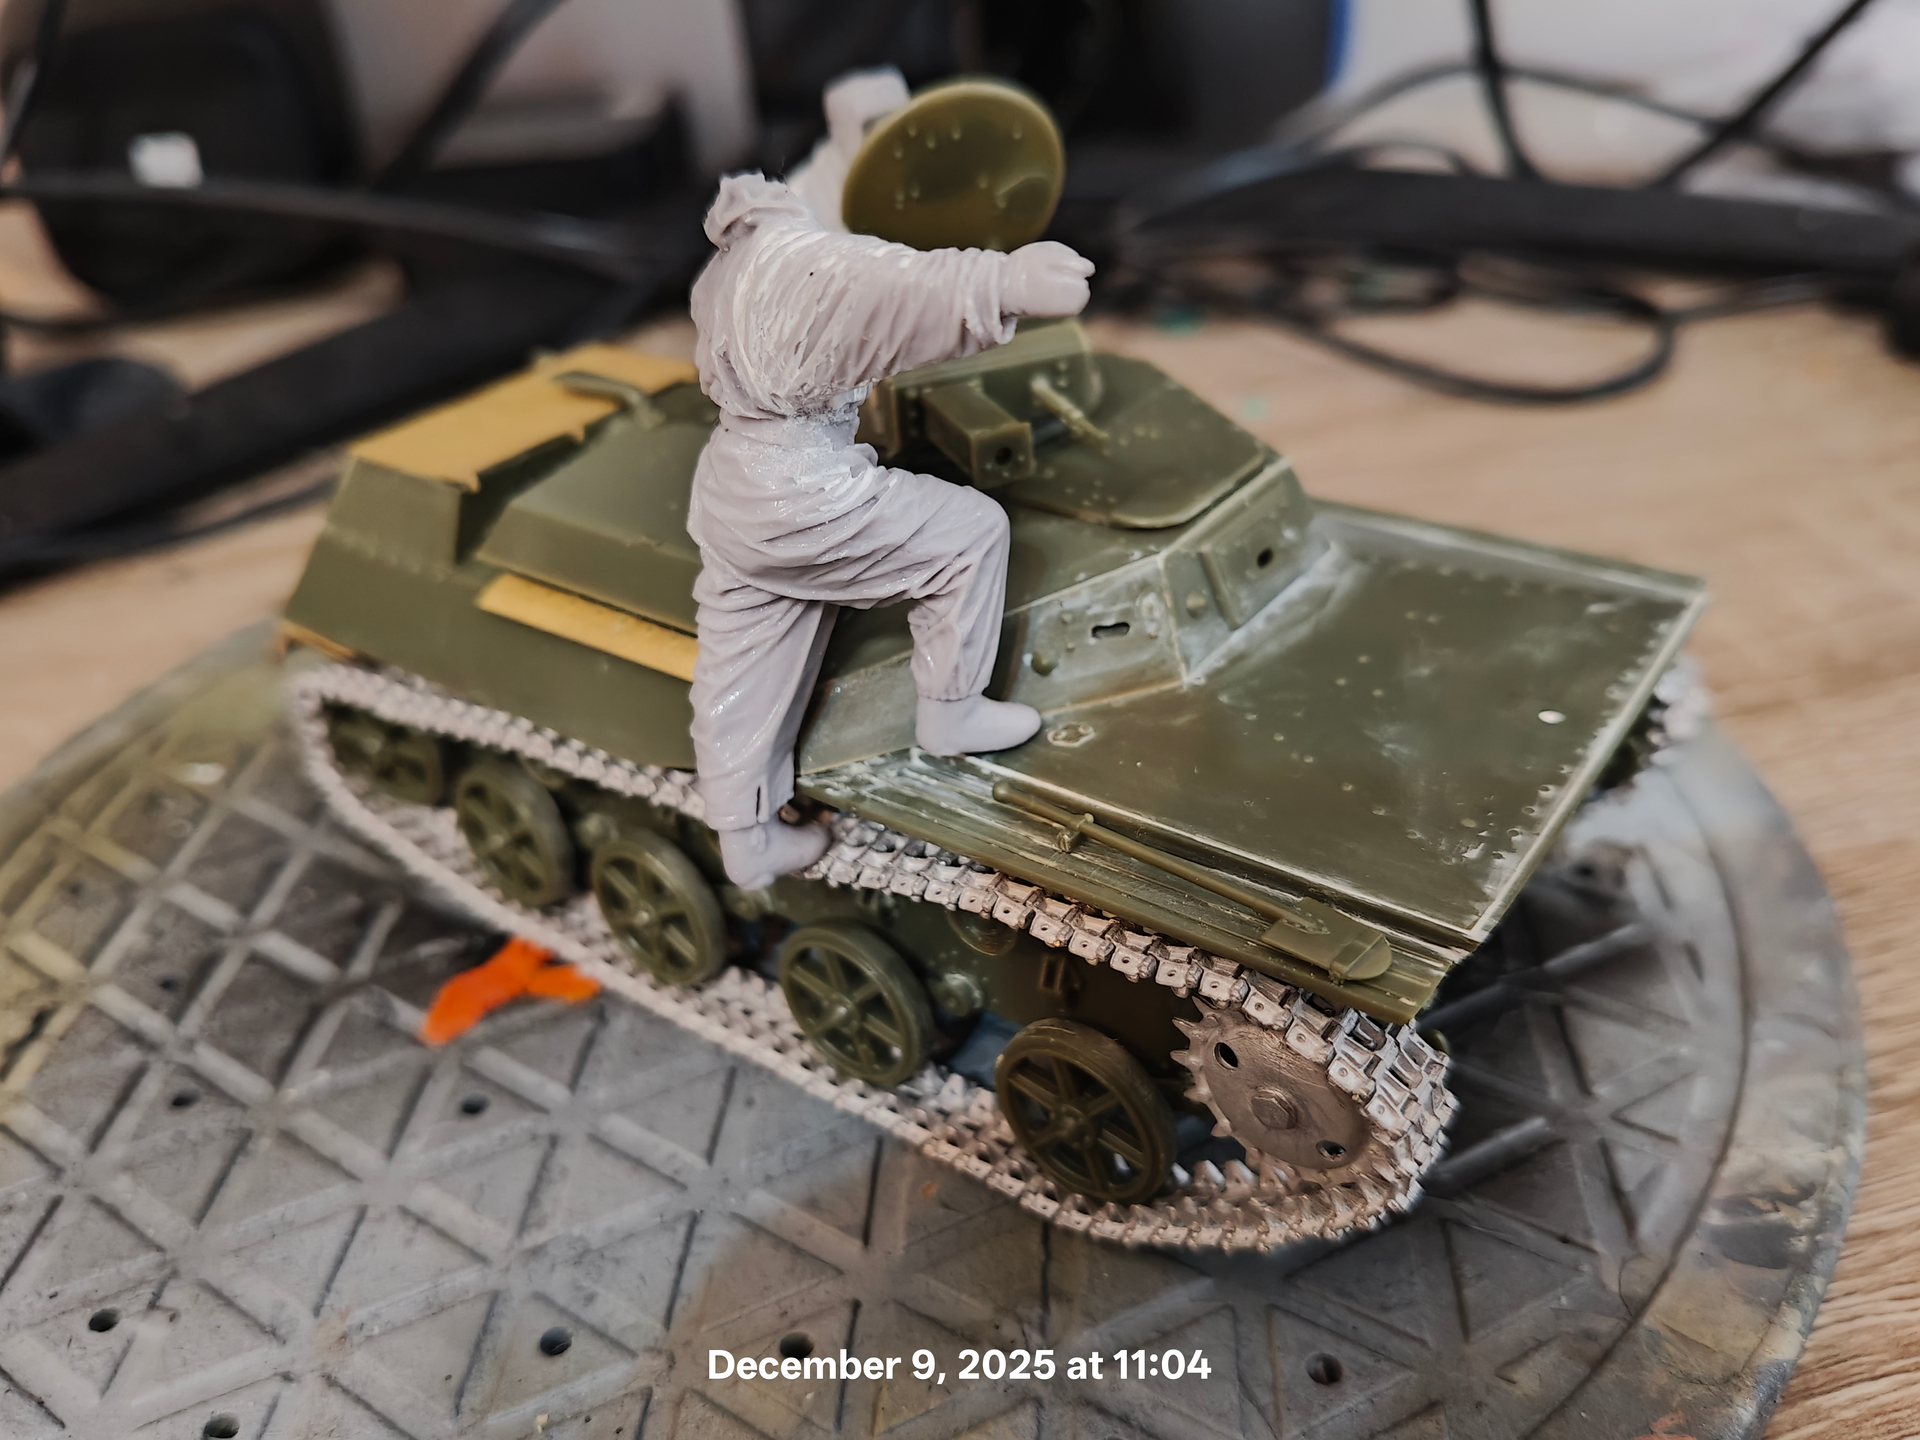
I advanced on the t-30 quite a bit. Maybe I can at least build it till Christmas.
17 Likes
Thank you. This is the current state:
15 Likes
That is great looking progress Erwin !
2 Likes
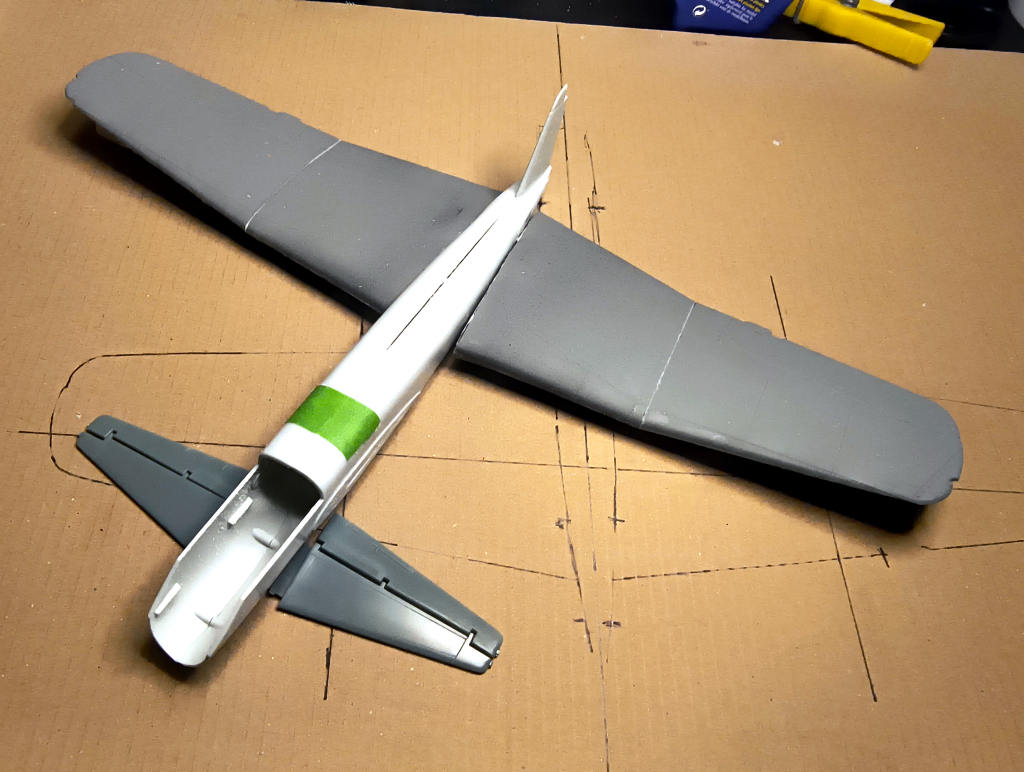
Another Luft “46 whatif project, with a nice old Matchbox Ju188 in the center and canards plus gullwings .
10 Likes