What did you do in your modeling workshop today?

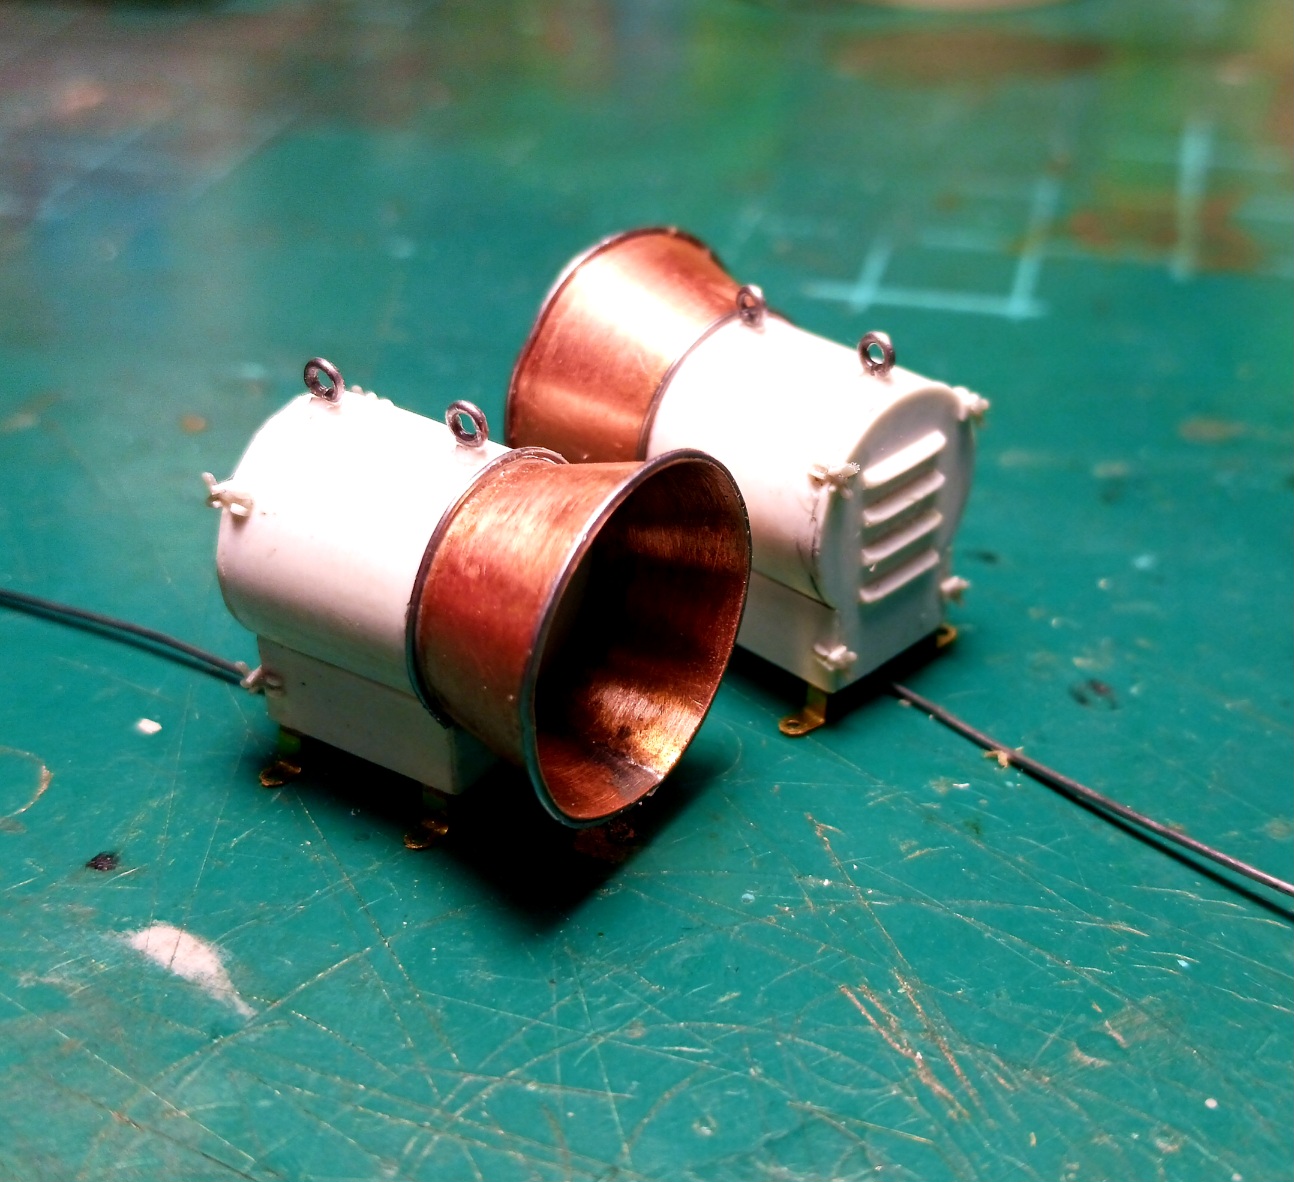
I built a pair of Telefunken Kurztrichter Ela 69 speakers for a Opel Blitz KOM build that I failed to finish 7 years ago:

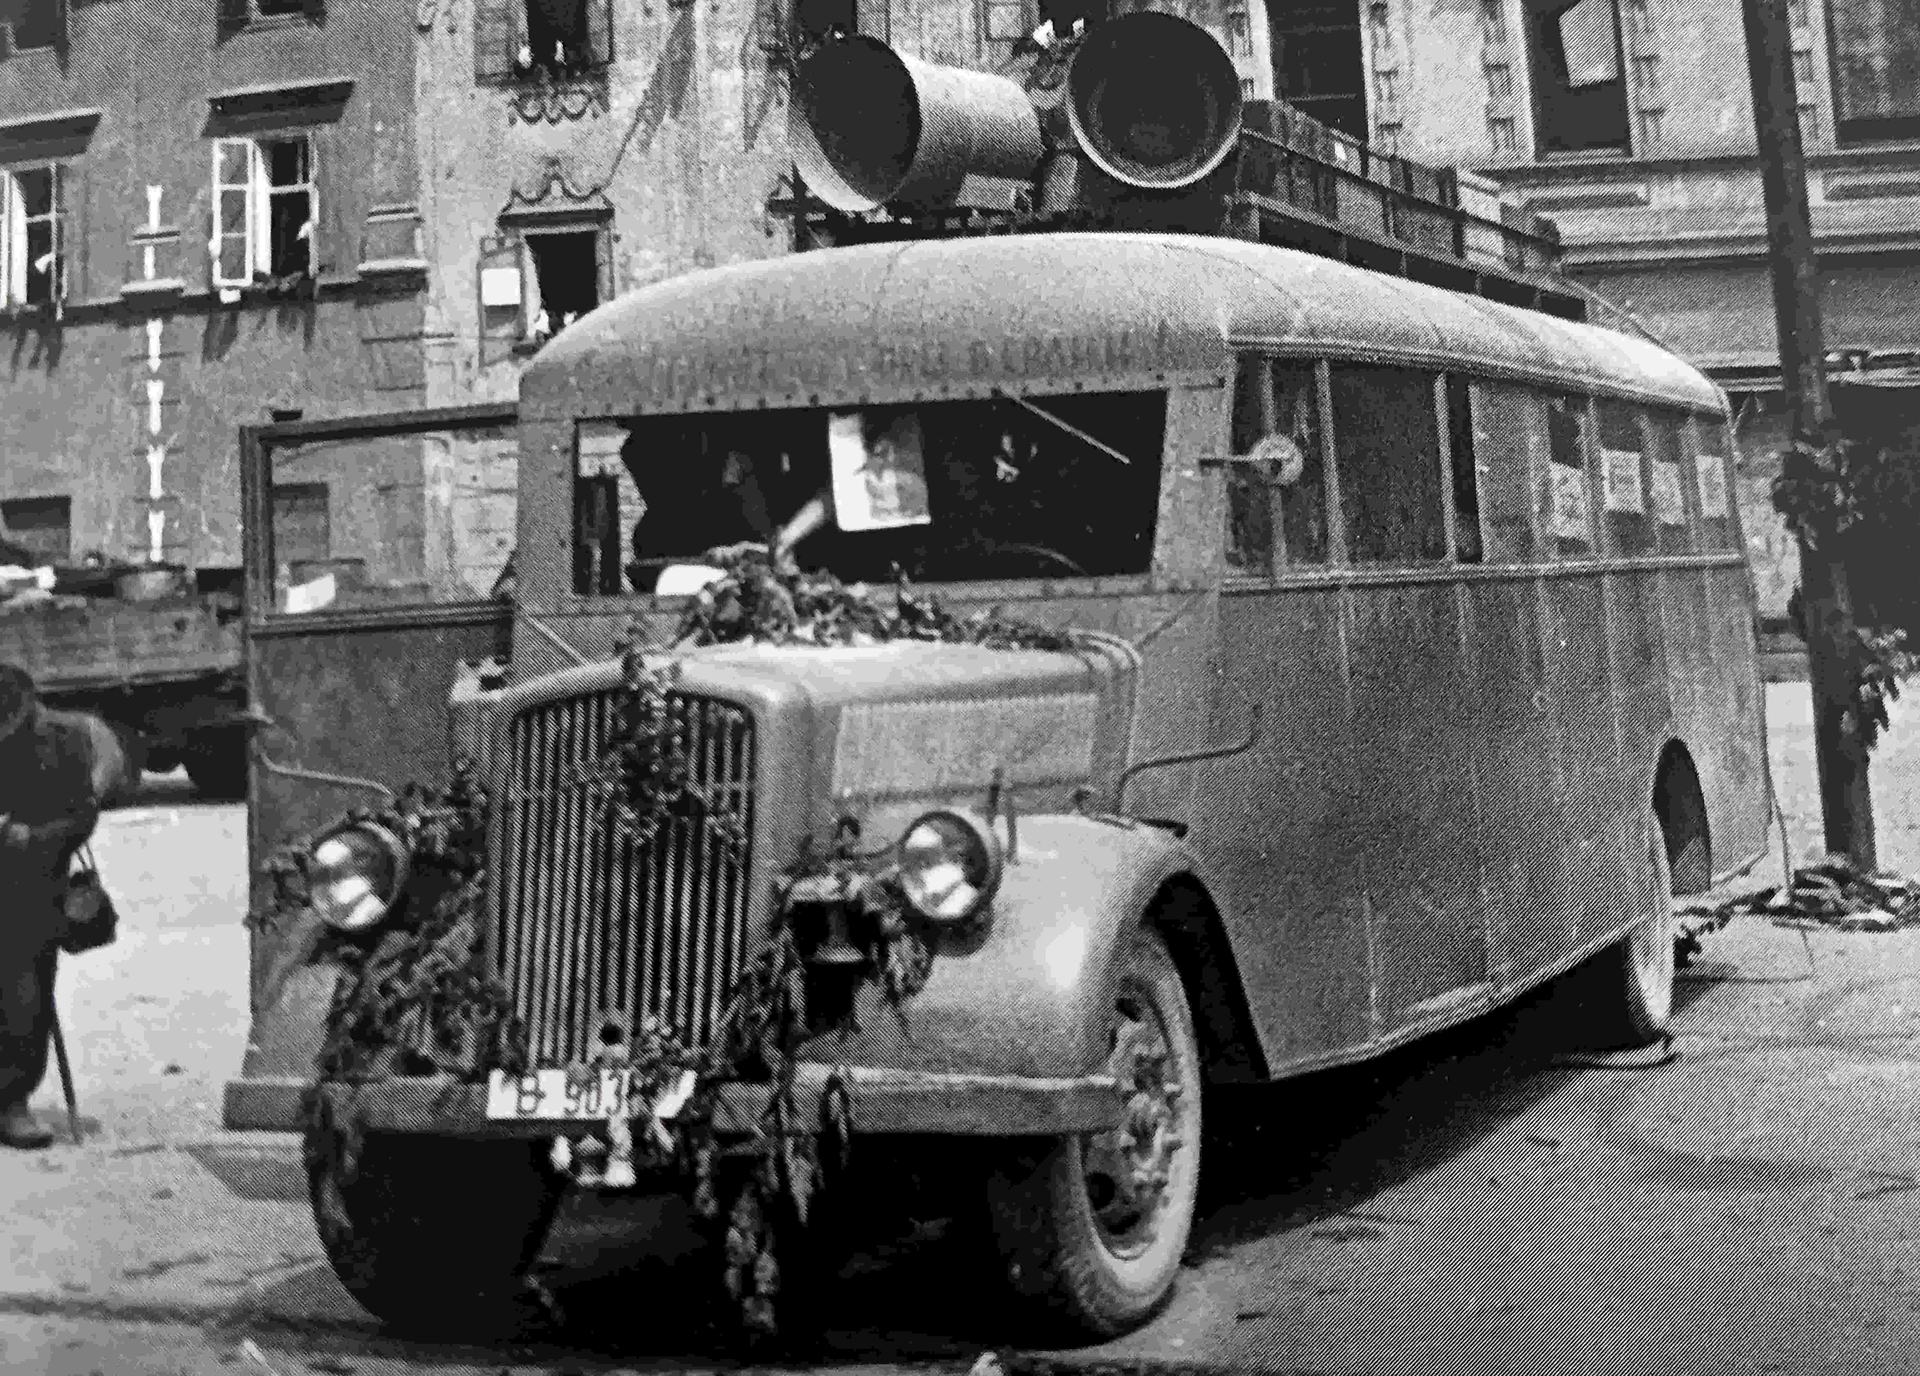
These will be part of the equipment on a Opel Blitz bus from the Propaganda Company of First Bulgarian Army from 1945:

Cheers,

Angel

21 Likes

Those speakers look very good. In addition to the quality you have achieved with the thin metal, the attention to small details (eye bolts, wing nuts, louvers) look great!

Nick :man_biking:

7 Likes

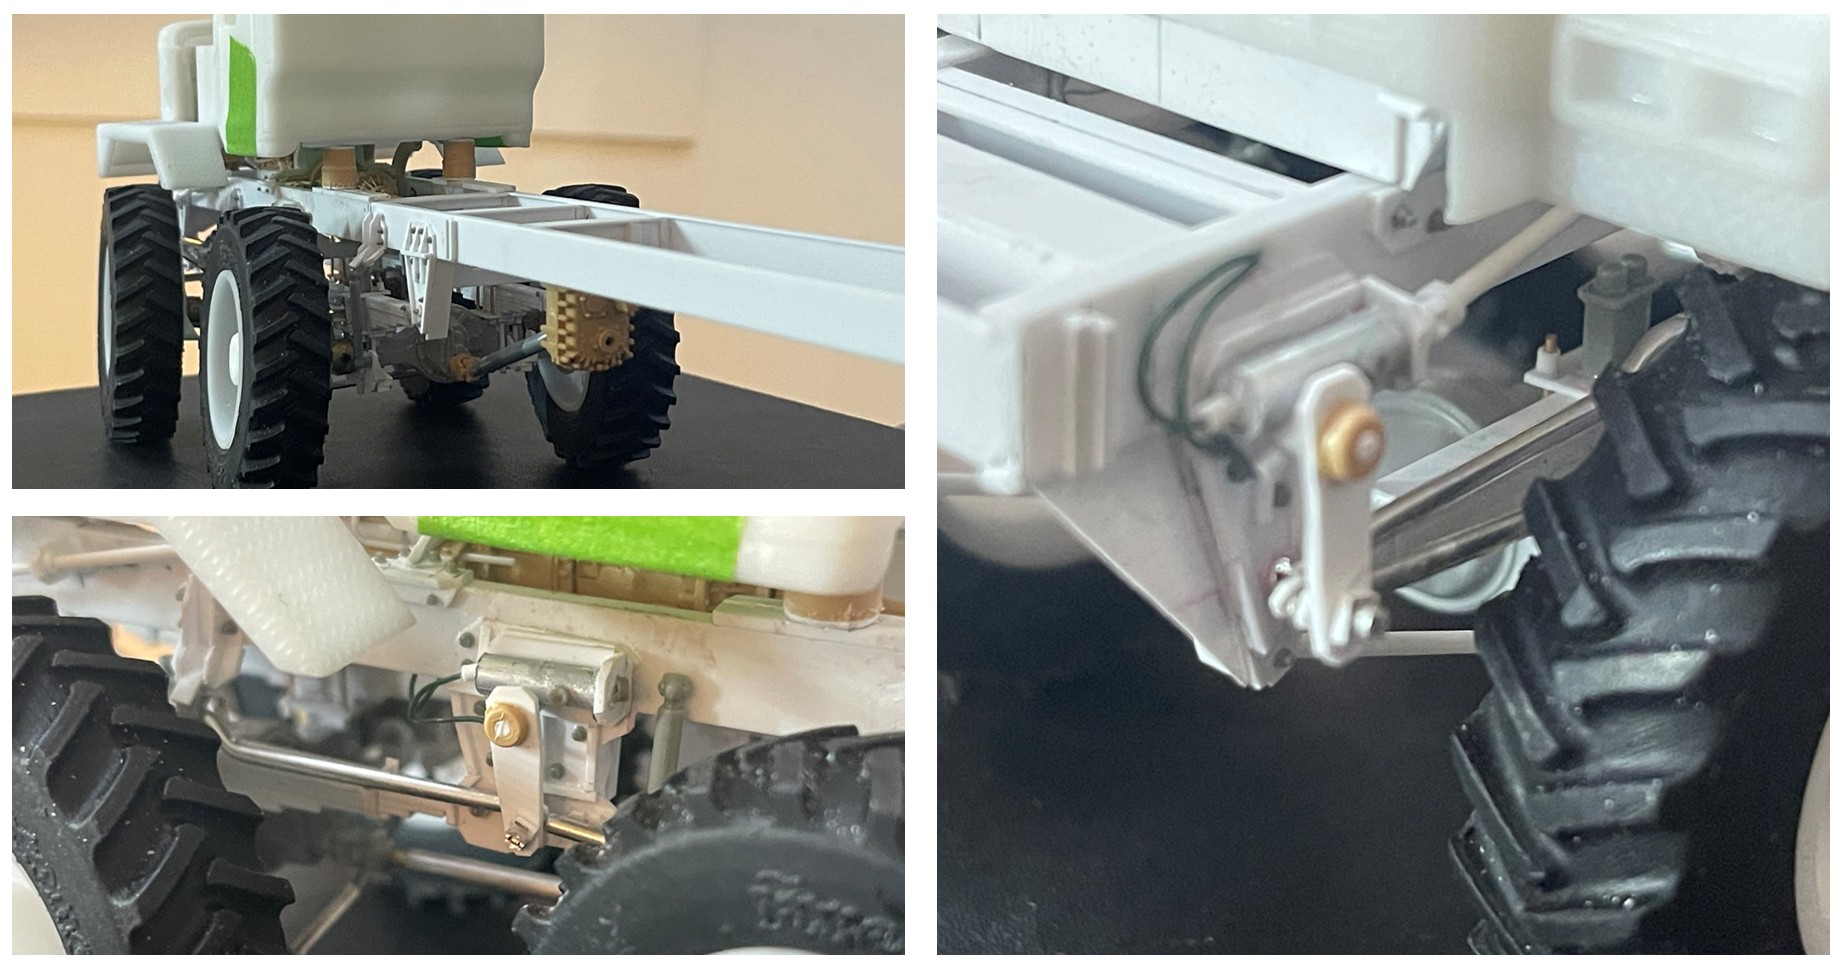
Unlike the nuance and precision Angel @ayovtshev has demonstrated above, well, some less nuance and precision for your viewing pleasure below:

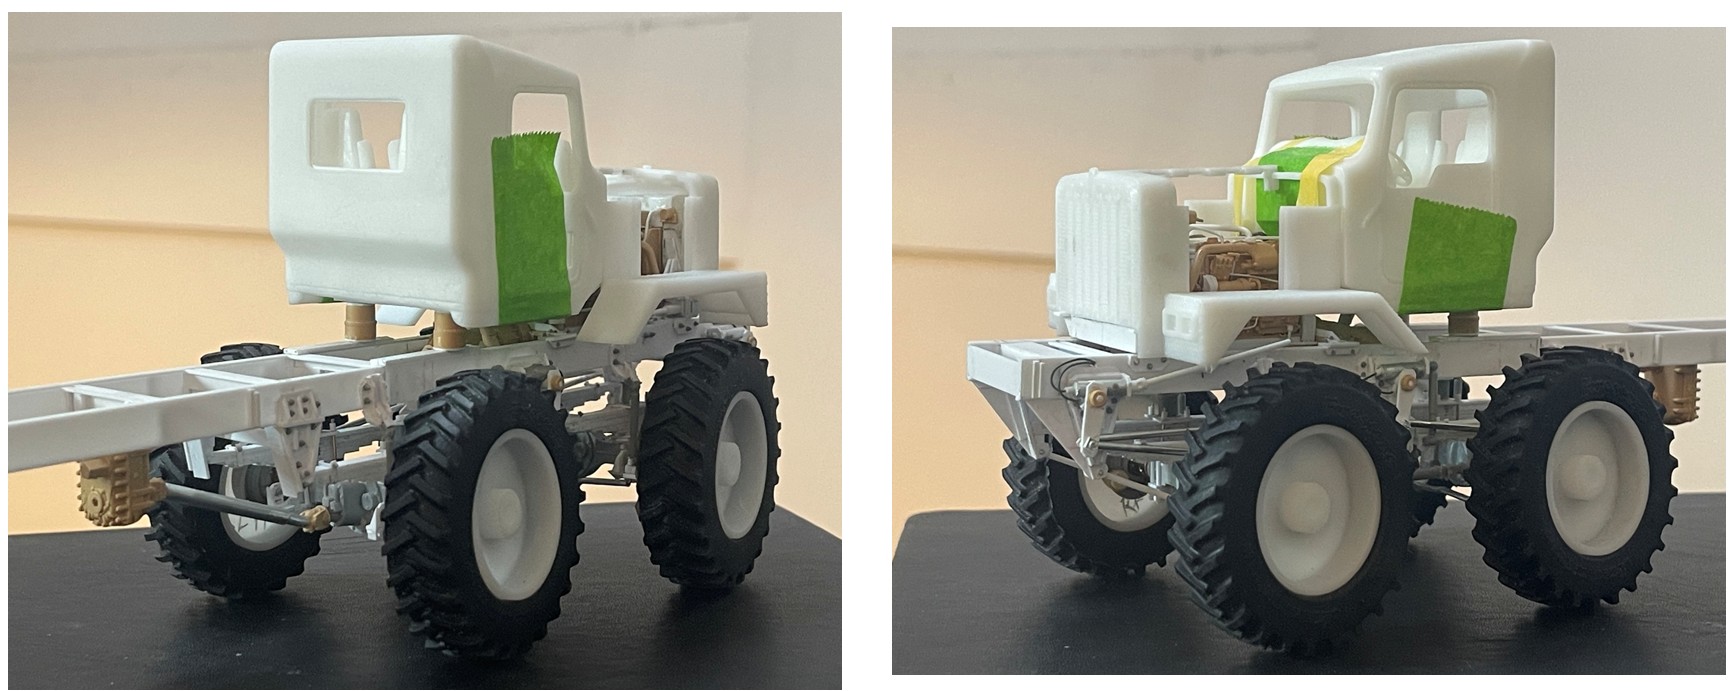
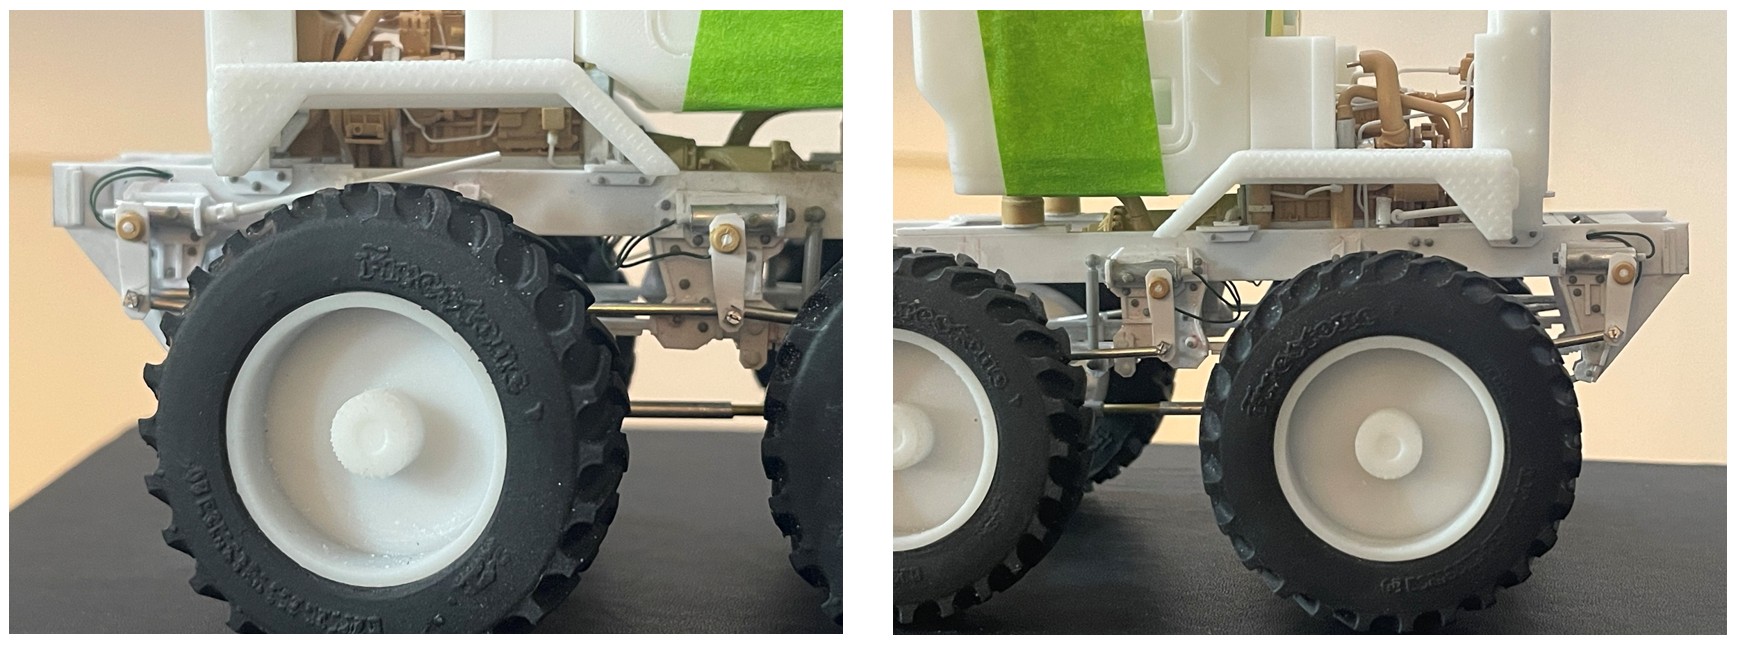
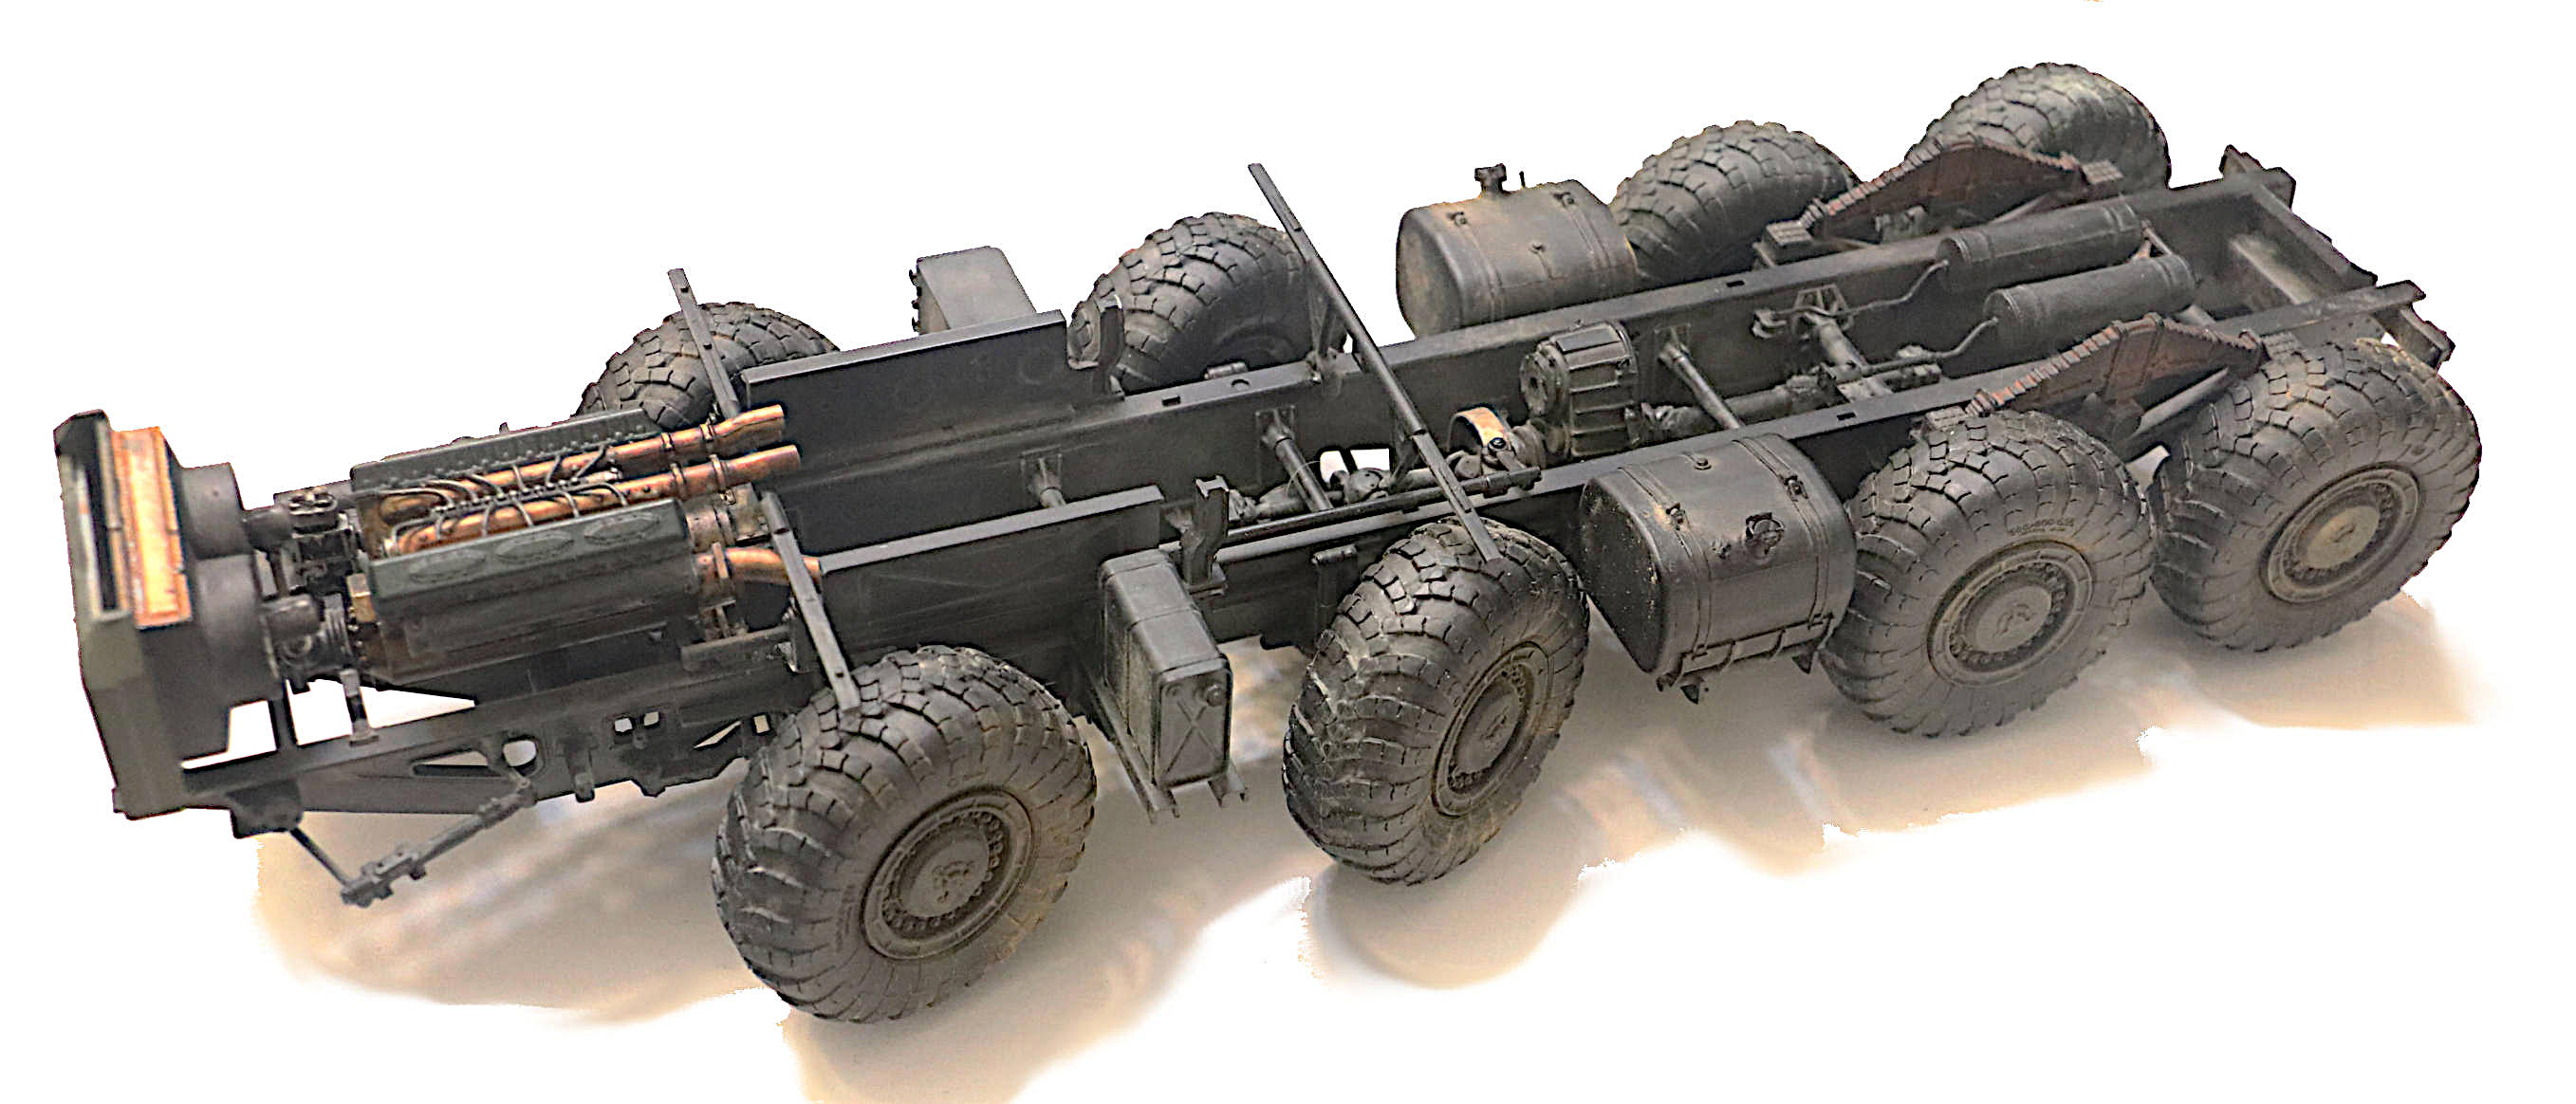
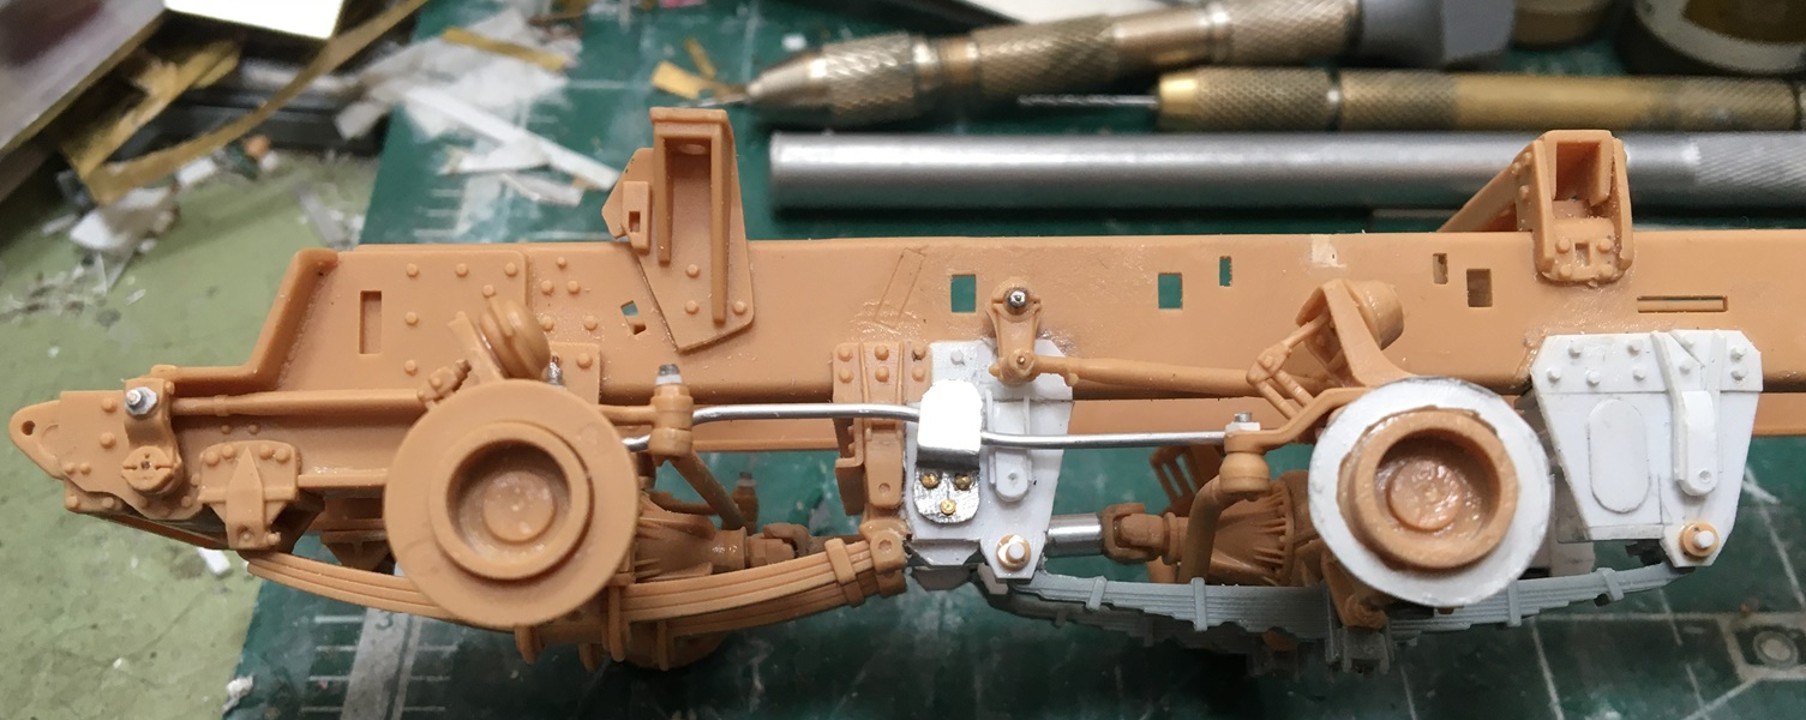
The recent adventure focused on installing steering linkages, and we now have them in place, and all four front tires and wheels movie in synchronicity, or at least some synchronicity.

I have made up twin steer/tandem front axles before, and remember that there is indeed some subtle but important geometry to getting it to all work correctly. By subtle I mean angle of pitman arms, lengths of linkages which as I recall are asymmetrical and so on. In addition to linkages at each wheel and drag links at each axle, there is link connecting the two axles front to back to achieve said synchronicity. This is close - but not on the money. This was one of those tasks that would have been a lot easier with a third hand, and a set of shop drawings! :grinning_face_with_smiling_eyes: or even concept drawings! :grinning_face_with_smiling_eyes:

Cheers

Nick :man_biking:

17 Likes

Ummmm, it looks freakin’ spectacular to me!

I wish I had the know how and skill both you and Angel @ayovtshev have. You guys can create anything! As the kids say/ used to say (I don’t know I’m old’ish’er), “mad skilz”.

4 Likes

Angel, someone somewhere should want to use those as masters and reproduce them!

Great work!

2 Likes

Nick, I still don’t know what it is exactly but I like it!

2 Likes

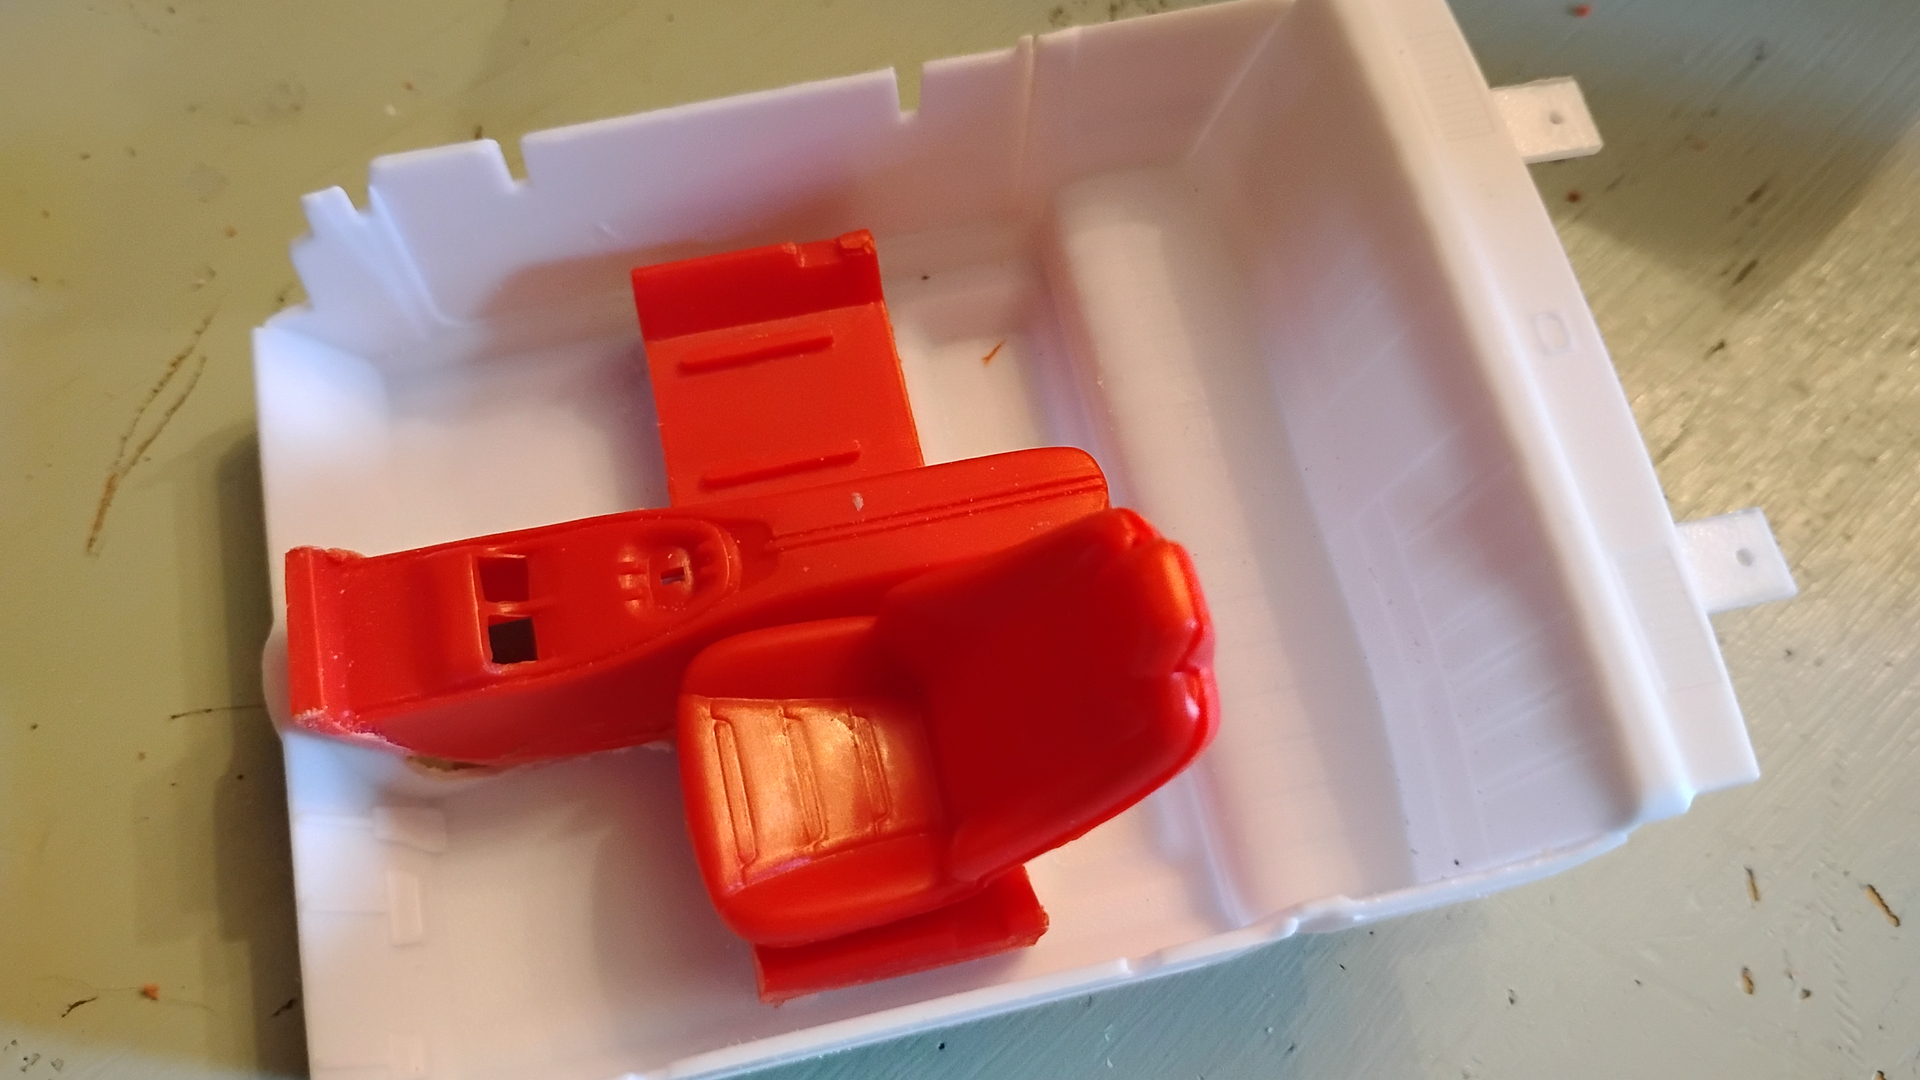
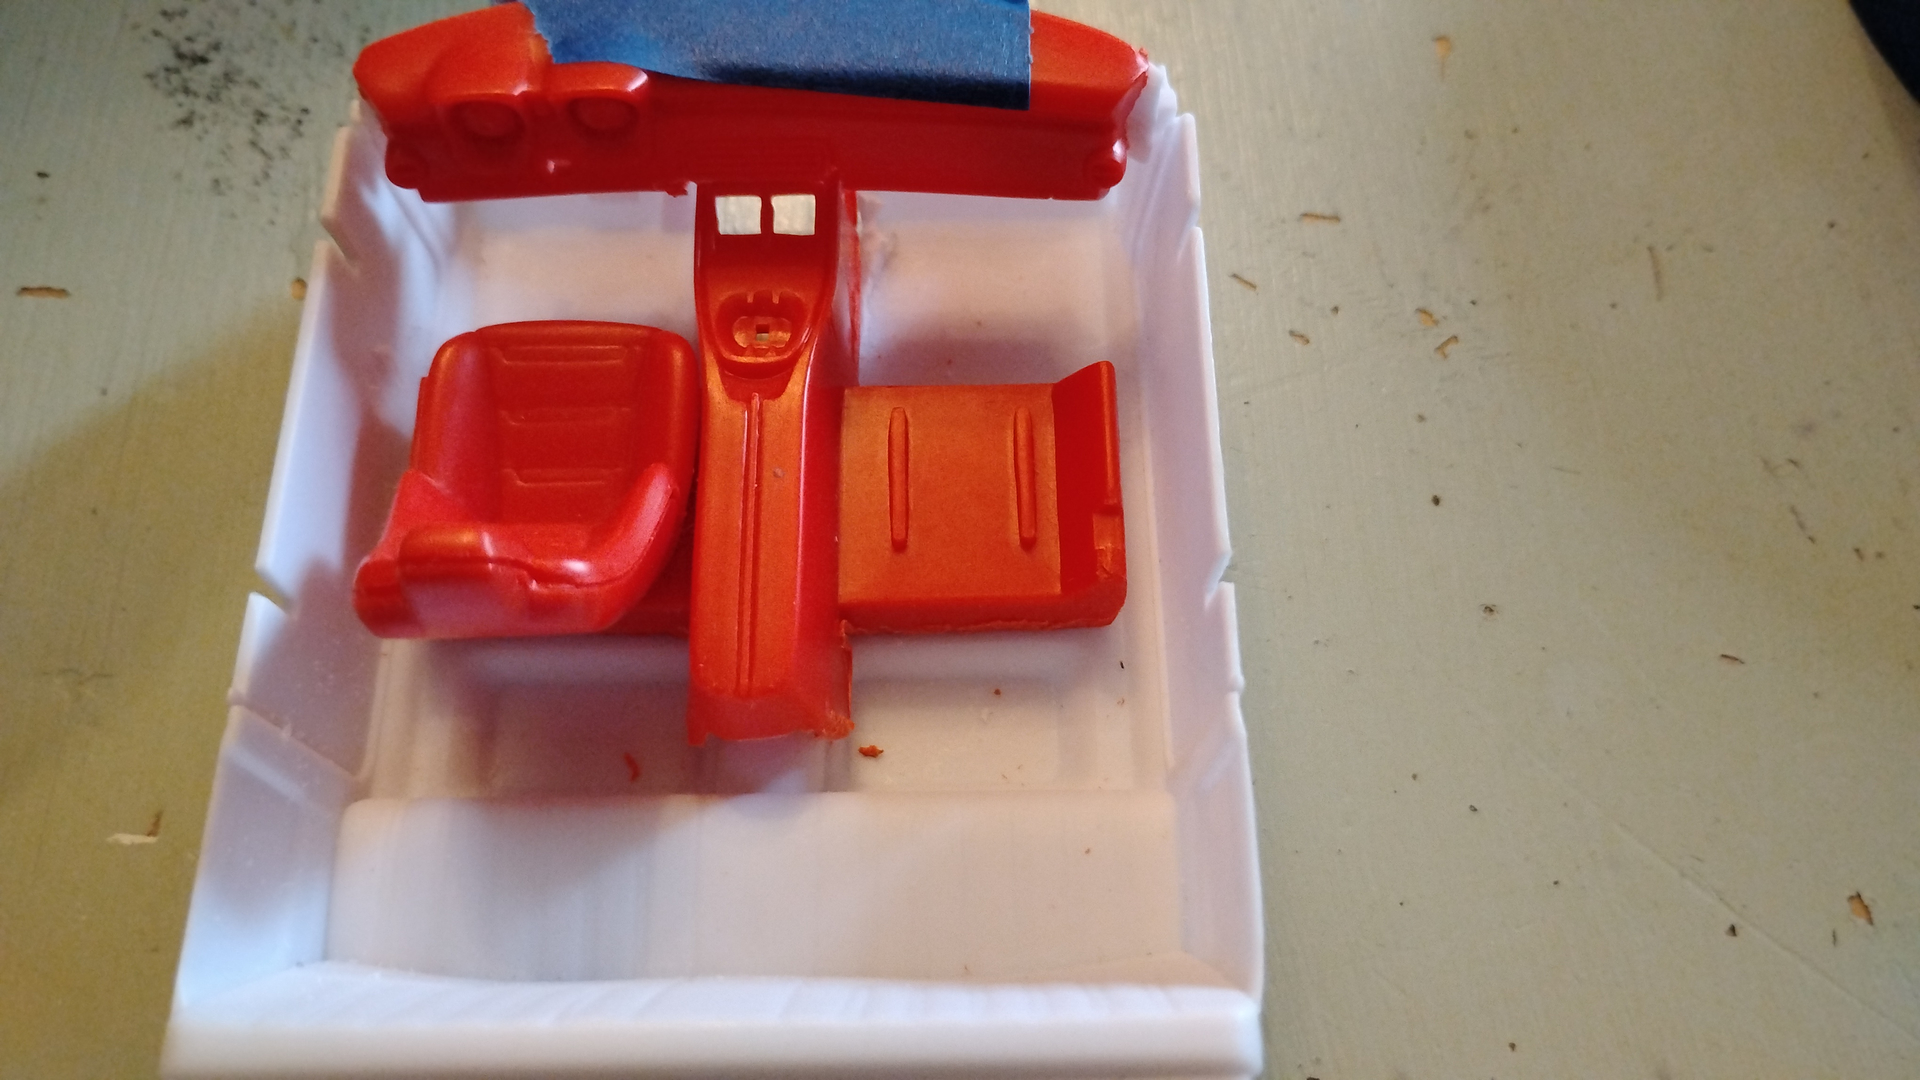
Combing floor pan elements of the G-Body Cutlass & F-Body Camaro.

6 Likes

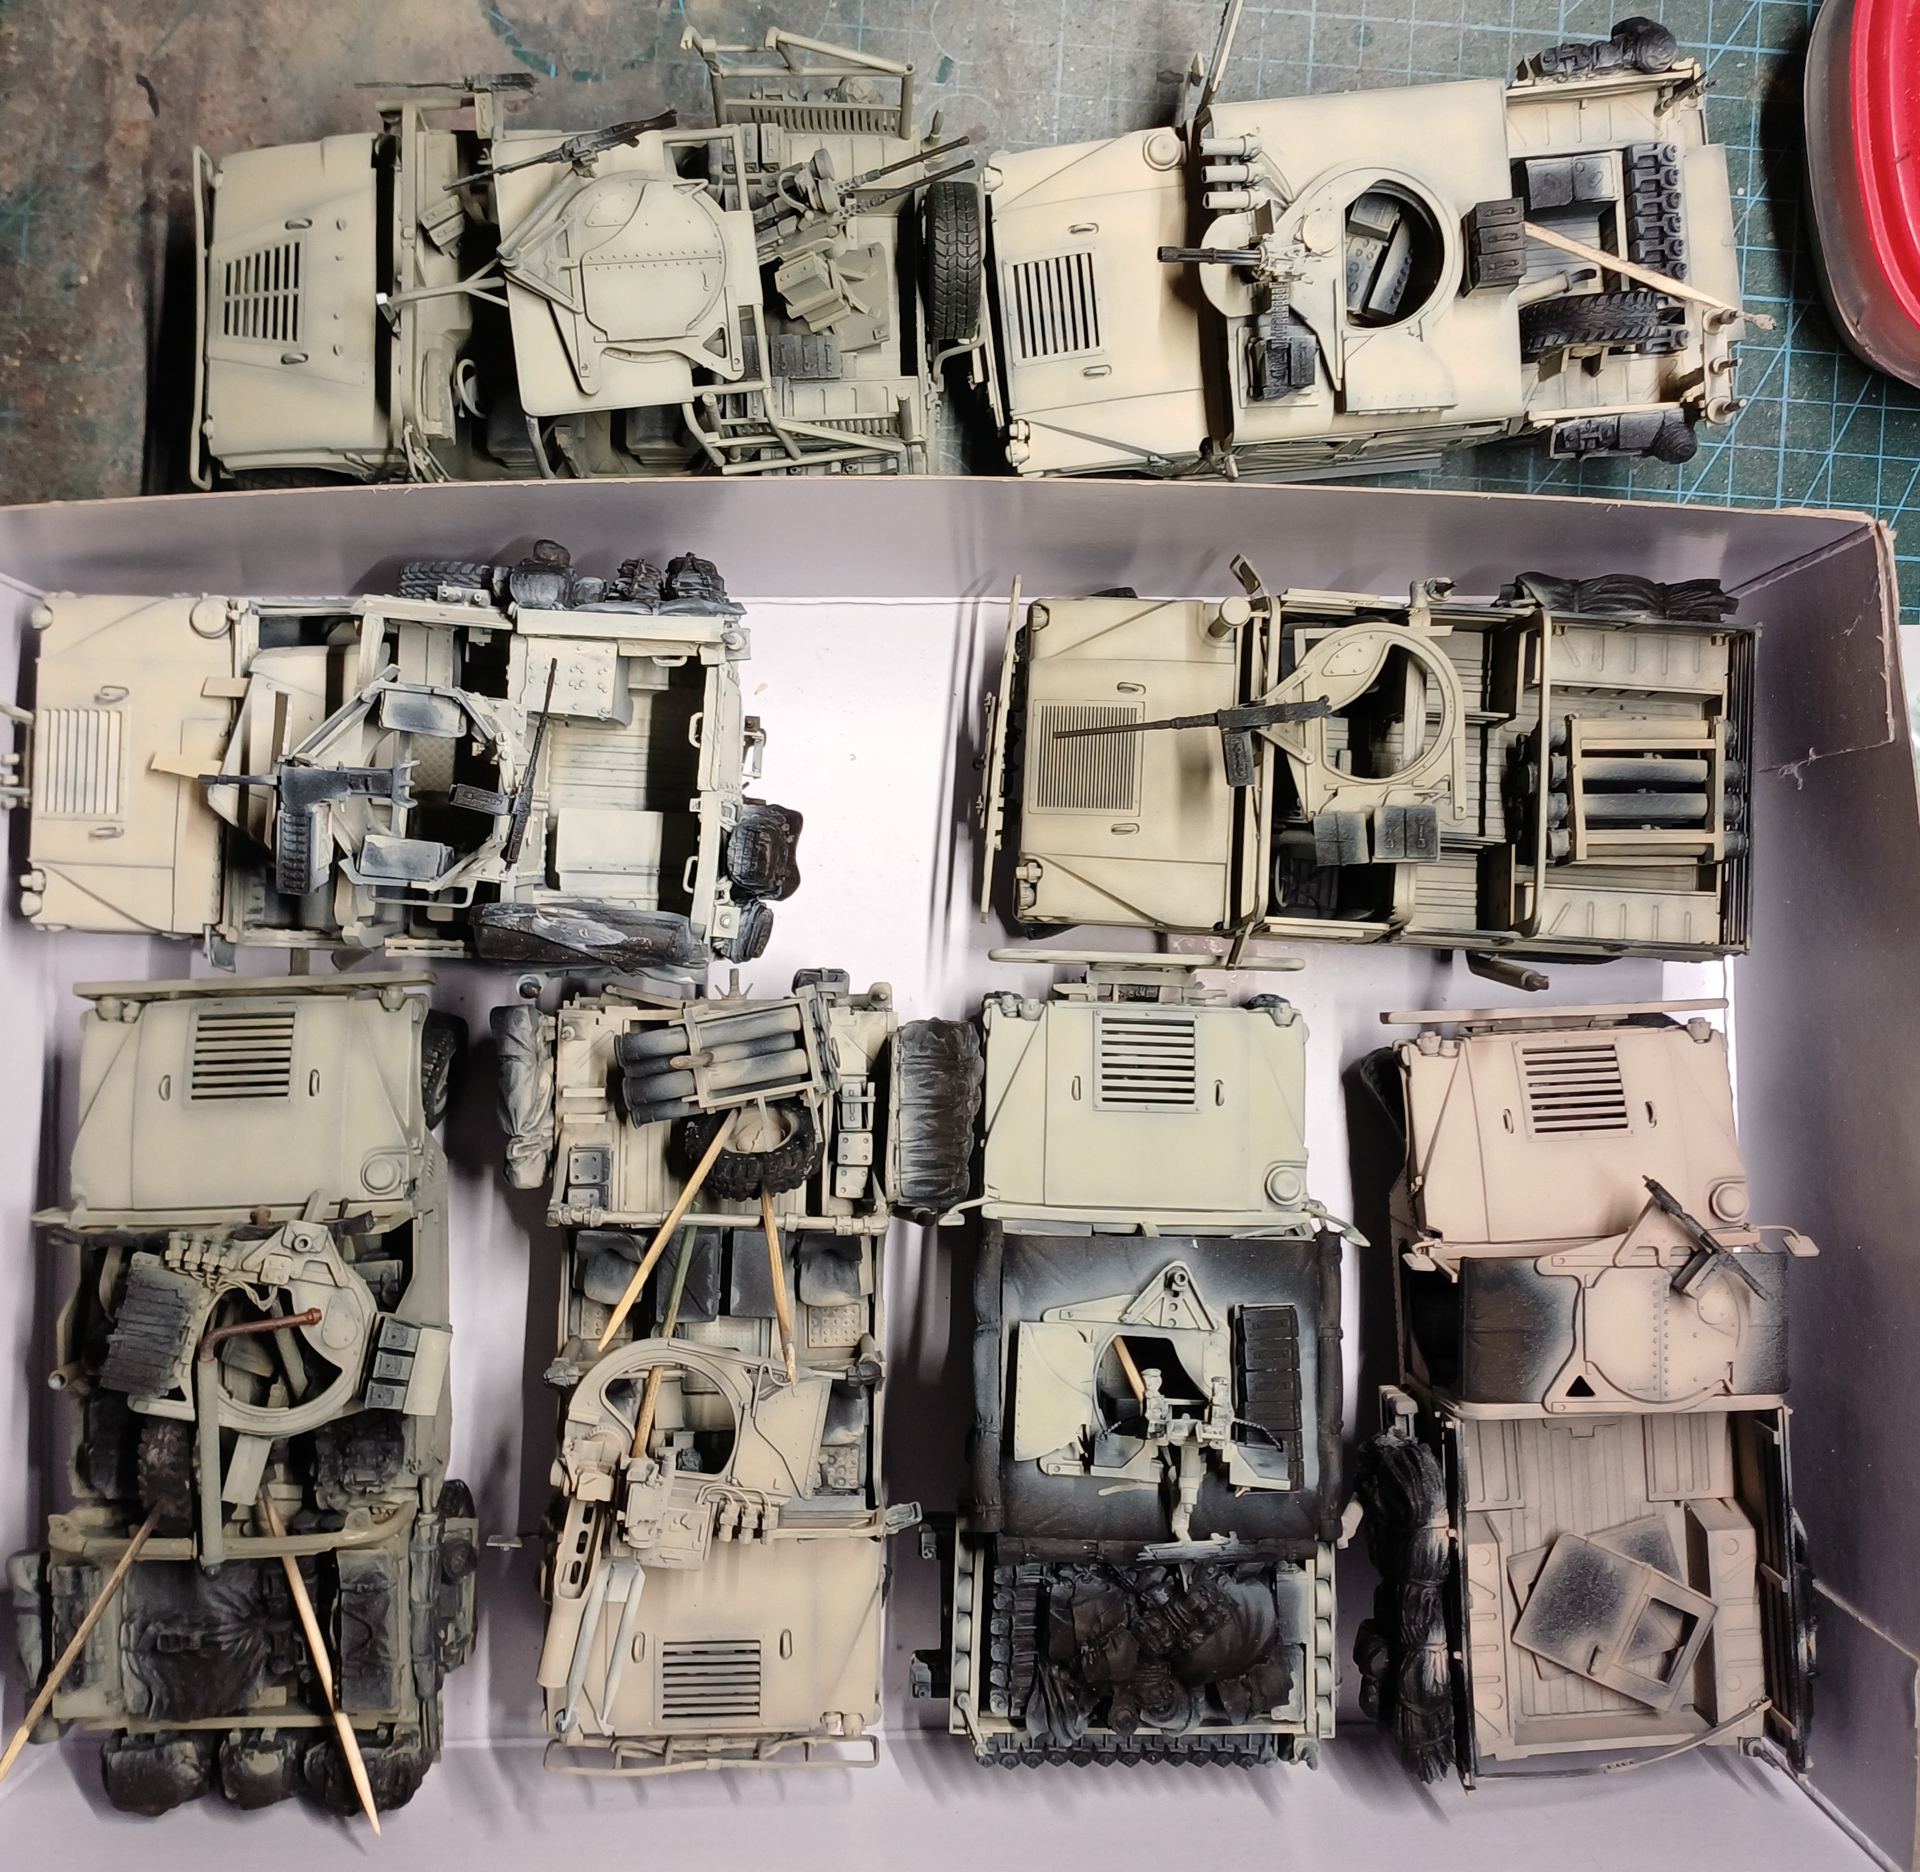
Been colouring some models…

17 Likes

I’m working on the figure from the tamiya Cromwell kit. The tank is base coated but figures take me longer. Figure I’d work on him as long as I’m stuck in on wargaming minis.

14 Likes

Nick can you please give me some clue as to how I might understand how to link the four wheel front steering so it functions? I think I have a mental block or something.

I think I might have just answered my own question but I’m sure any advice you might give would be helpful. Thank you

I am over the moon for all the big Trumpeter Russian 8x8s but would like to mechanically link the two front axle steerings so that I did not have to position each axle manually to make them look correct.

14 Likes

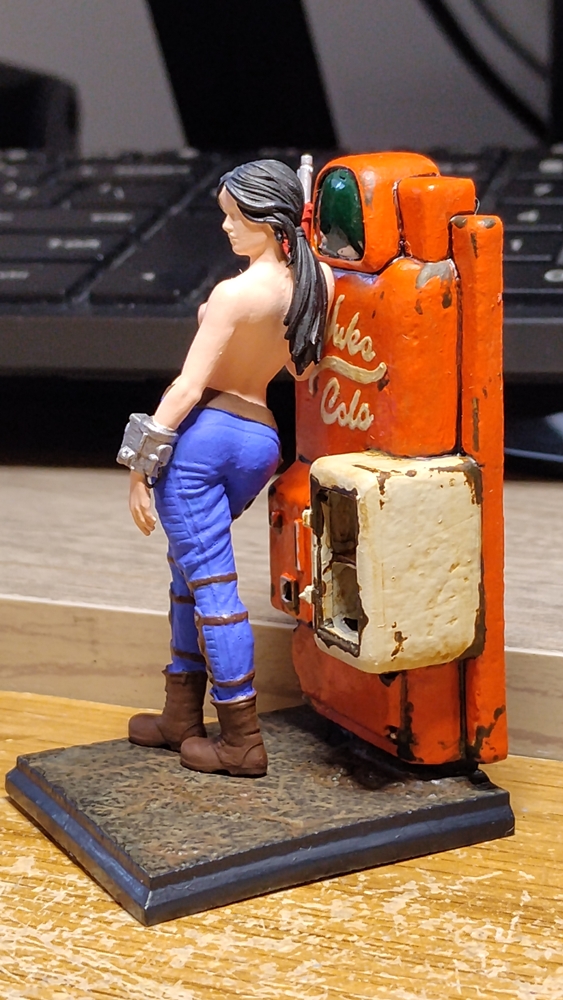
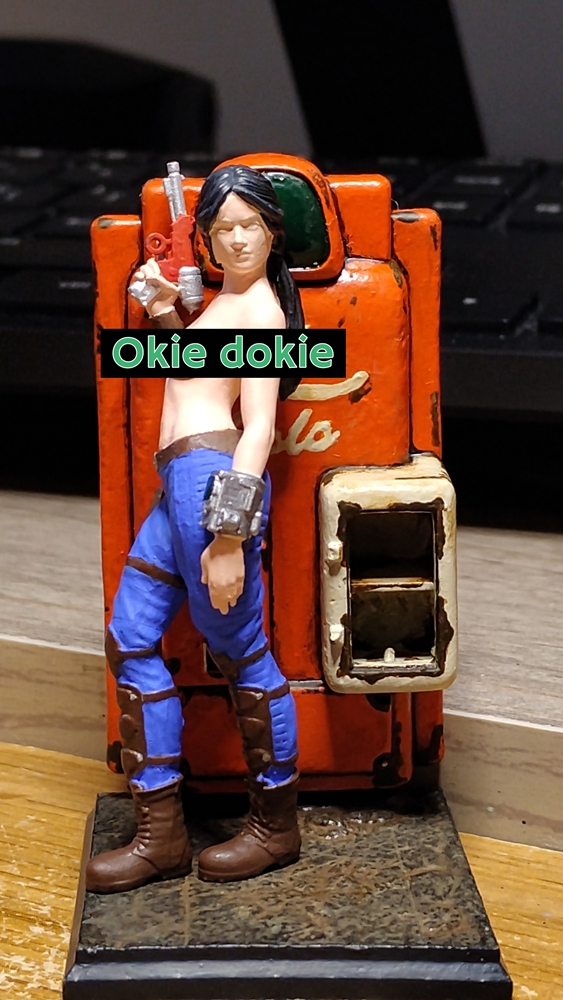
A very NSFW fallout figure.

14 Likes

I’m working on the 16 wheel Topol currently. I too wanted the wheels turned. The front three sets of wheels and the rear three sets all turn together. I couldn’t find a way to make a mechanical connection since each set would turn at a slightly different radius than the others. I turned the front and rear set as far as they would go (oppositely). Then the next row (front and back) at a slightly less turn, and the most inside turners just out of straight with the middle stationary sets. Not ideal, but I think it will work for me.

3 Likes

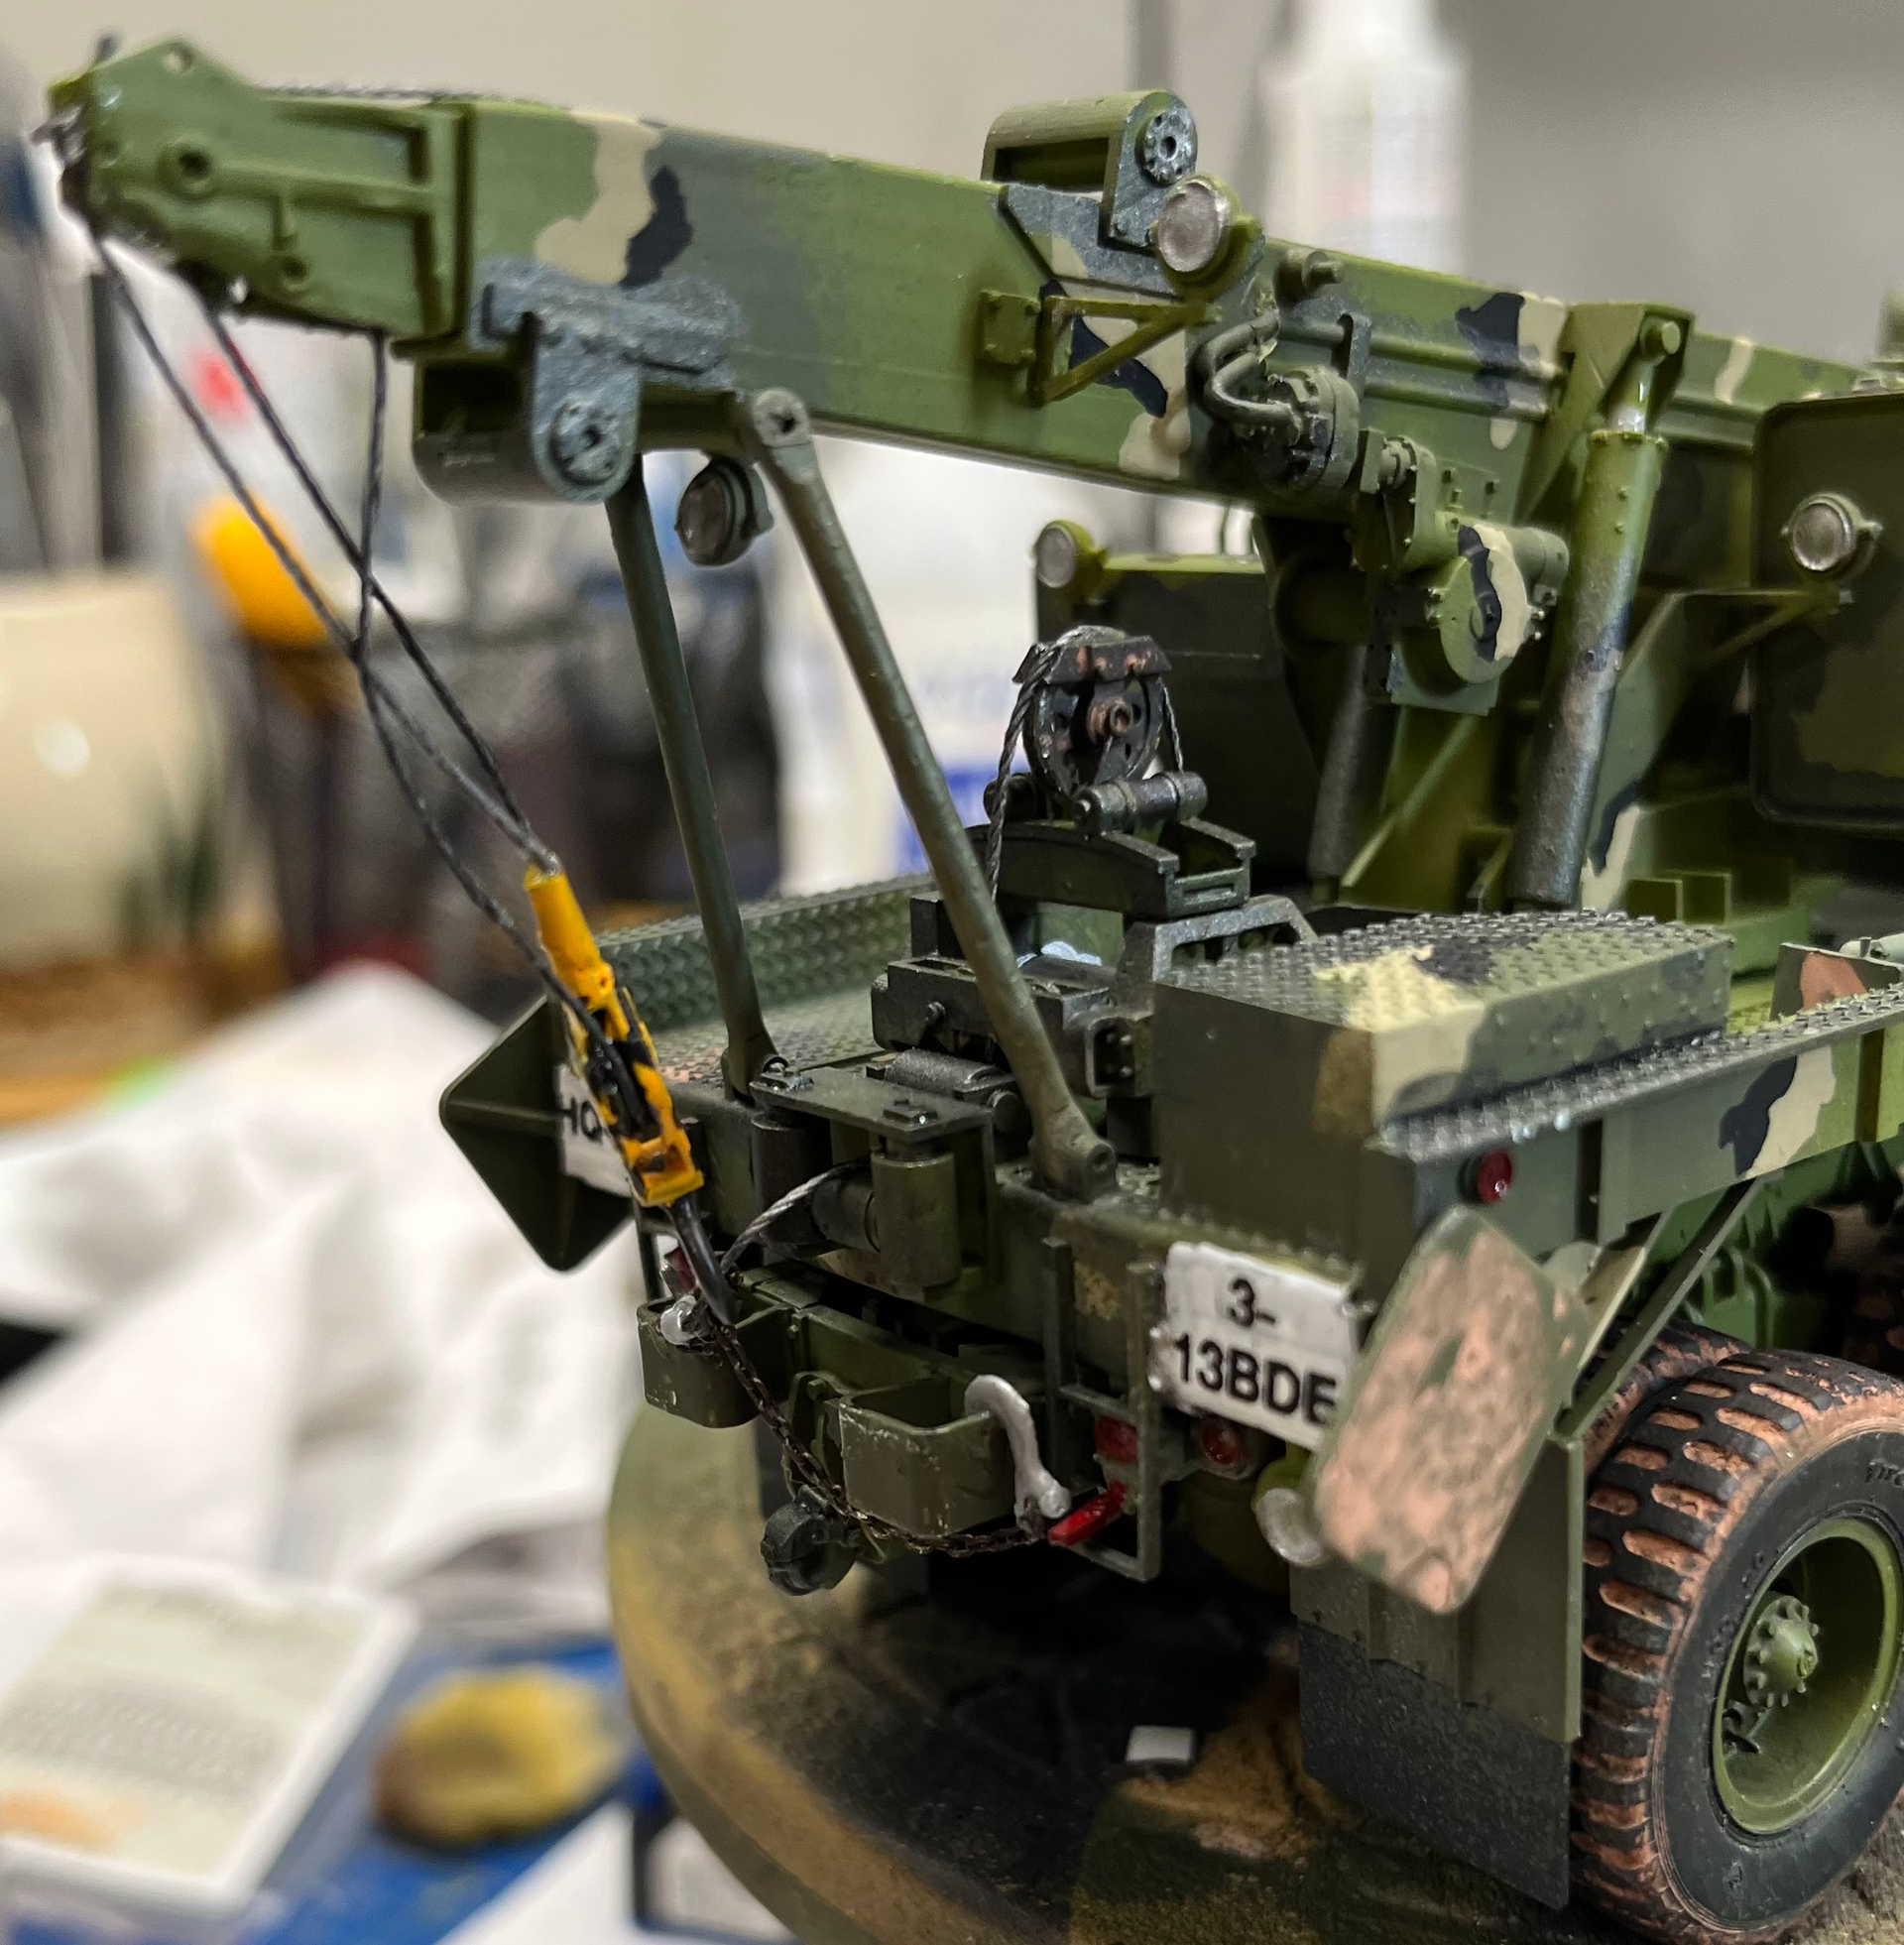
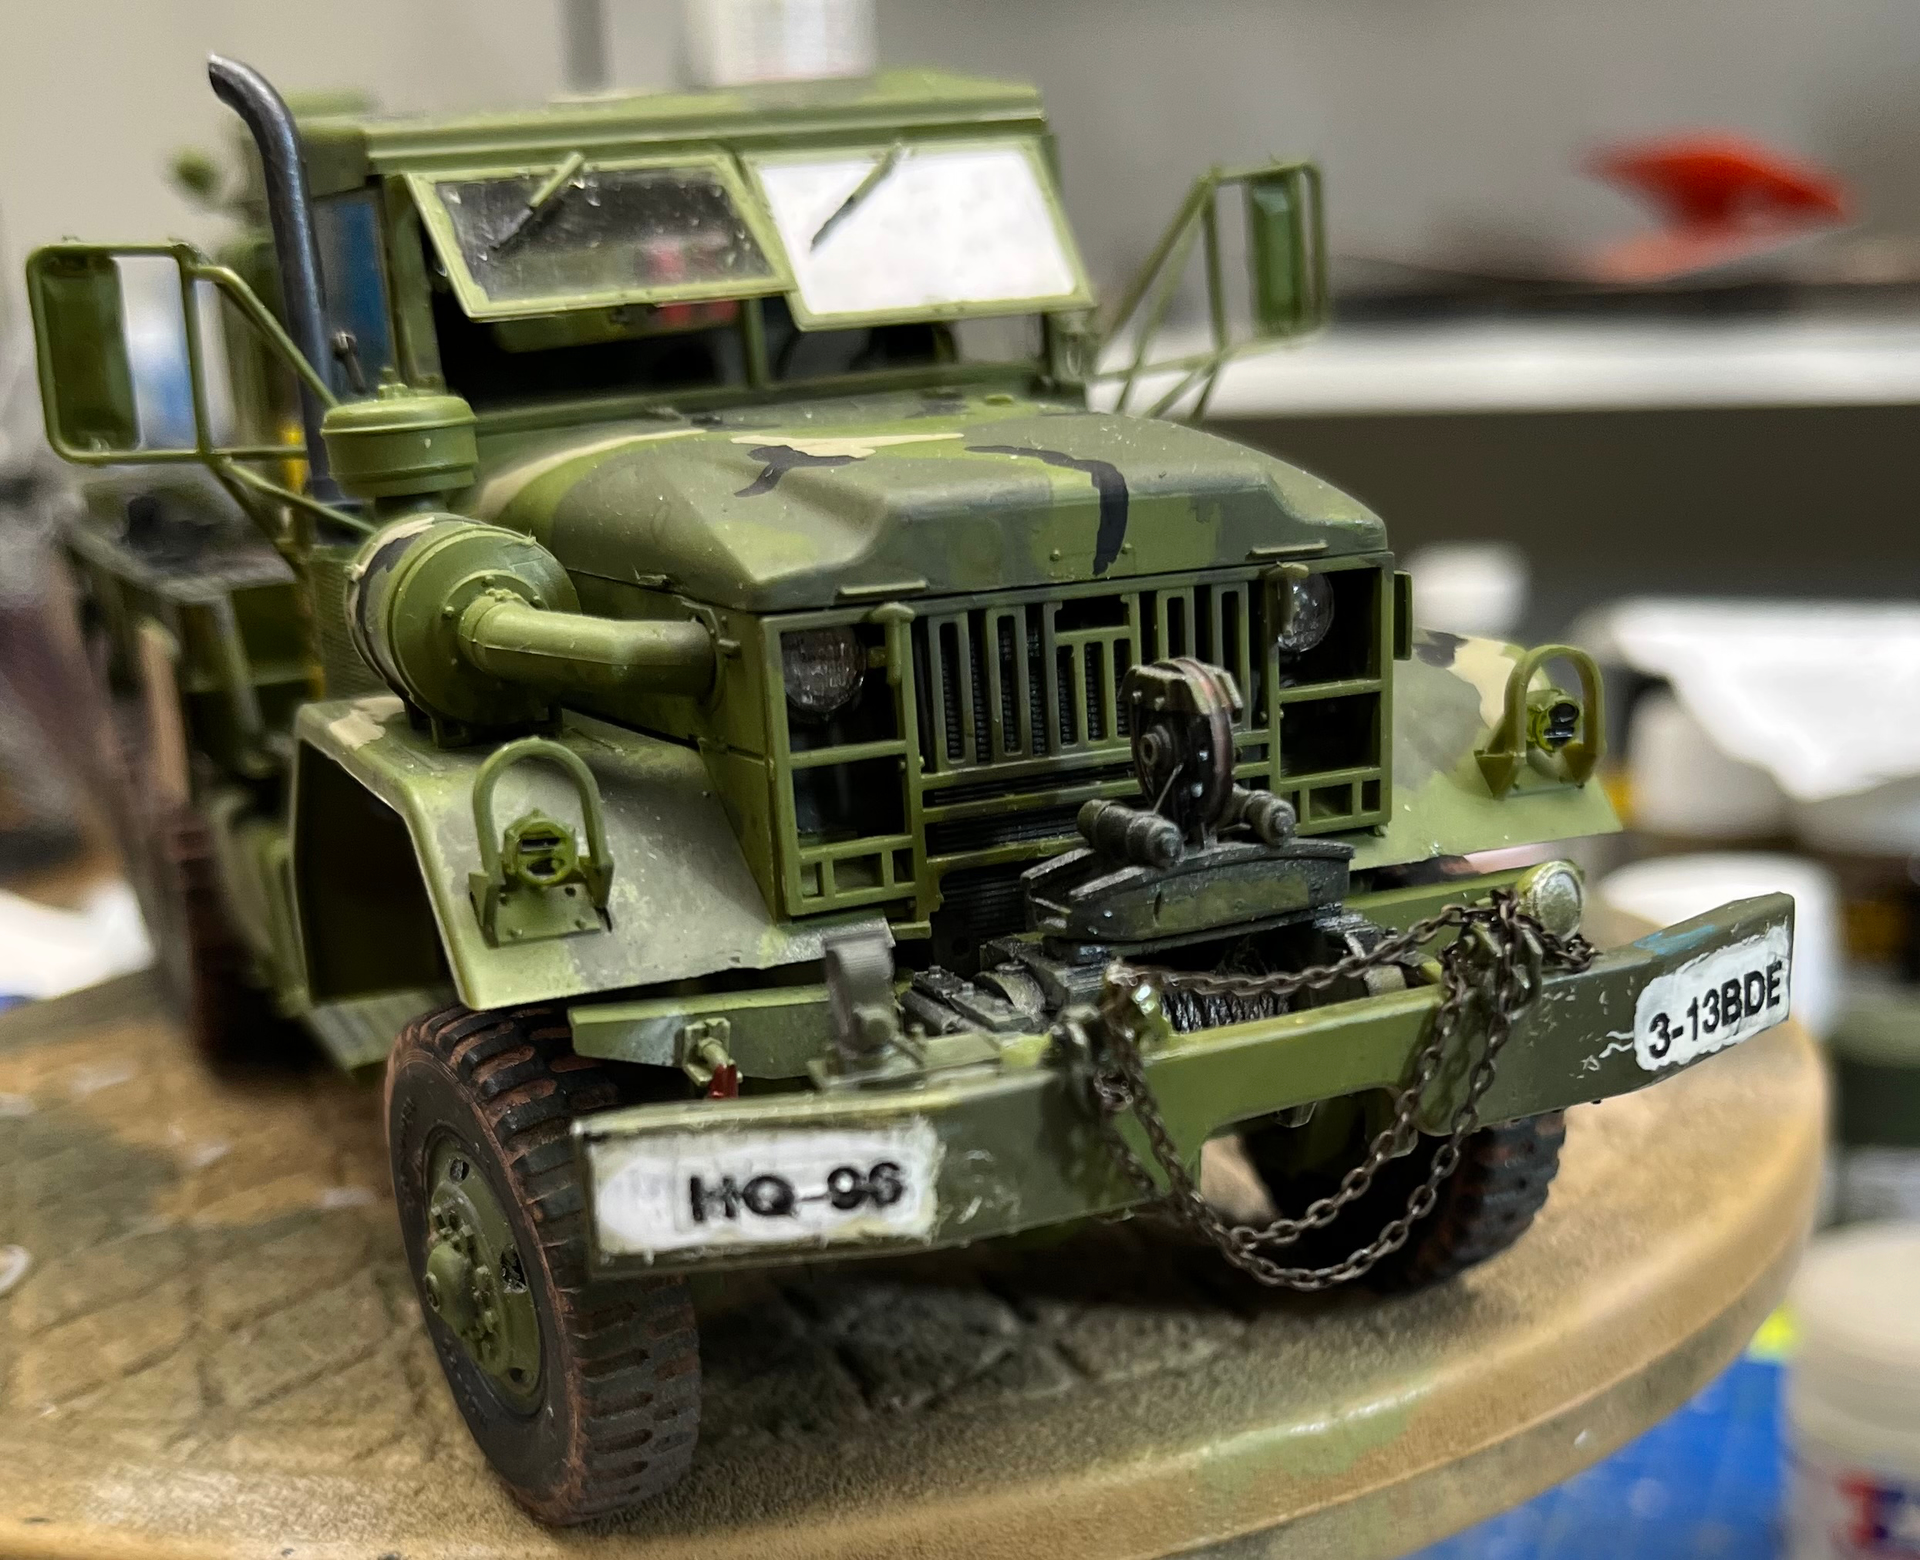
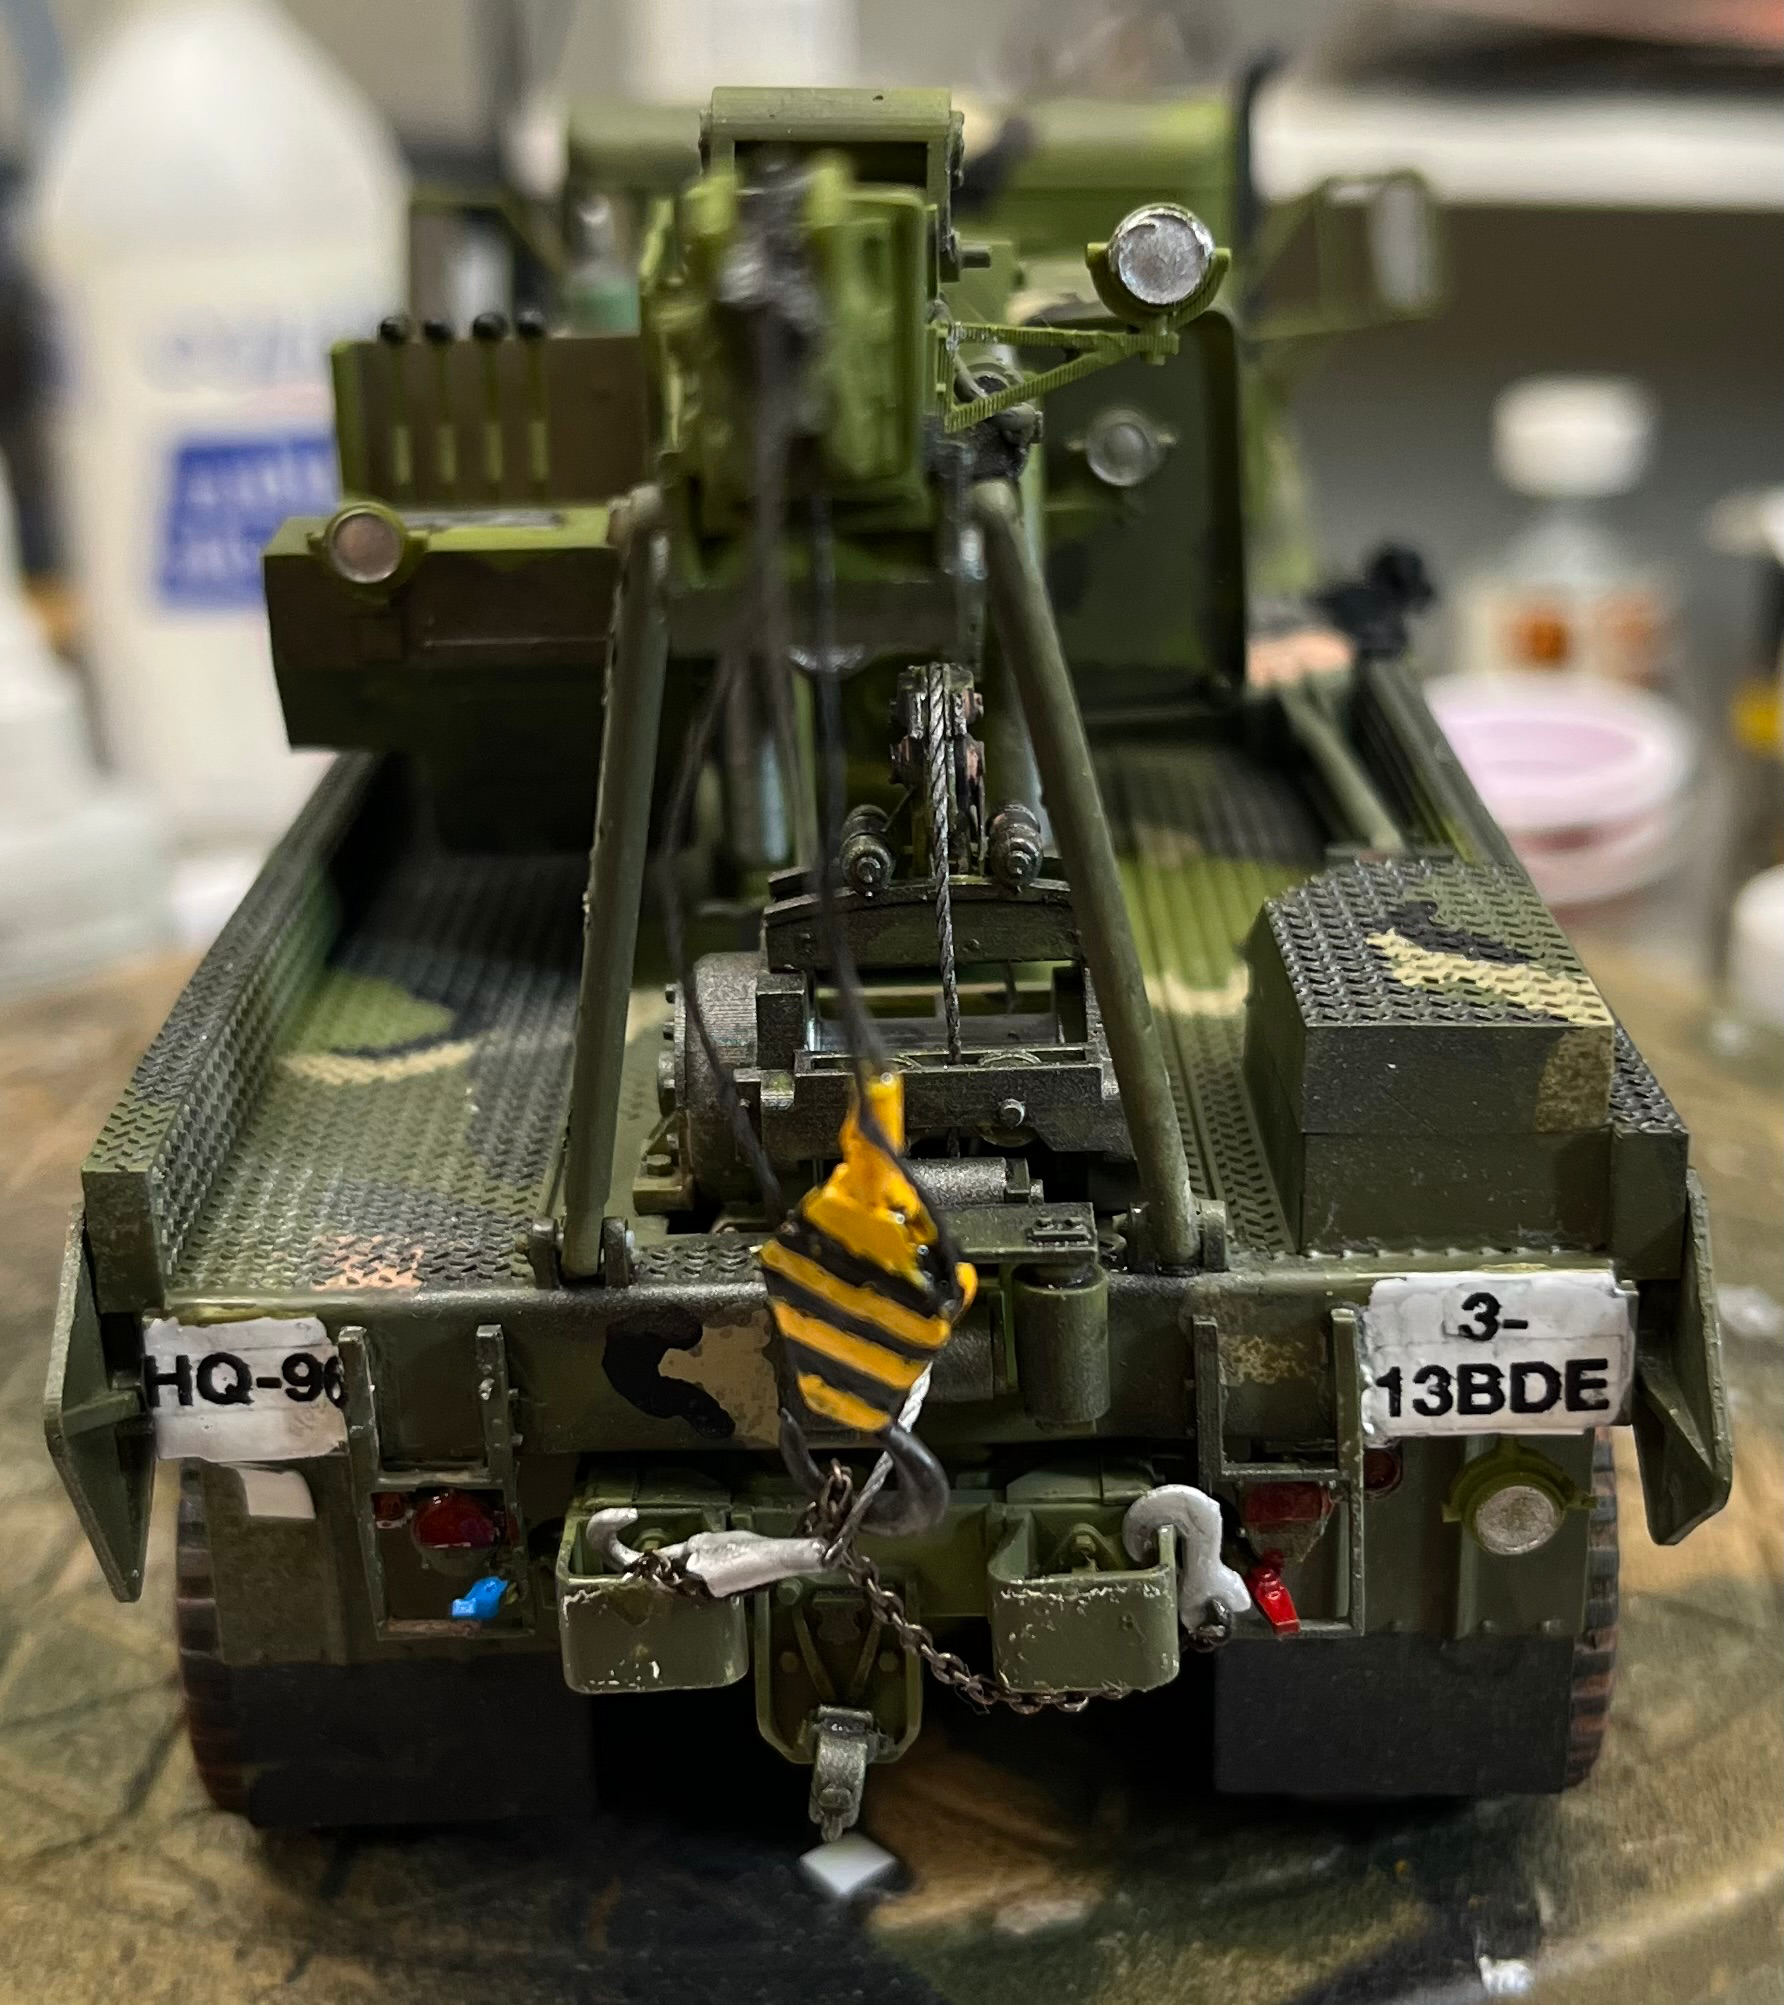
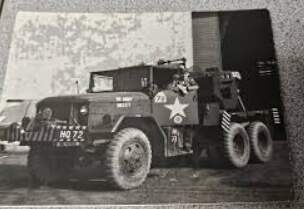
Nearly done with the M543, should see some sag in that crane cable in time.


21 Likes

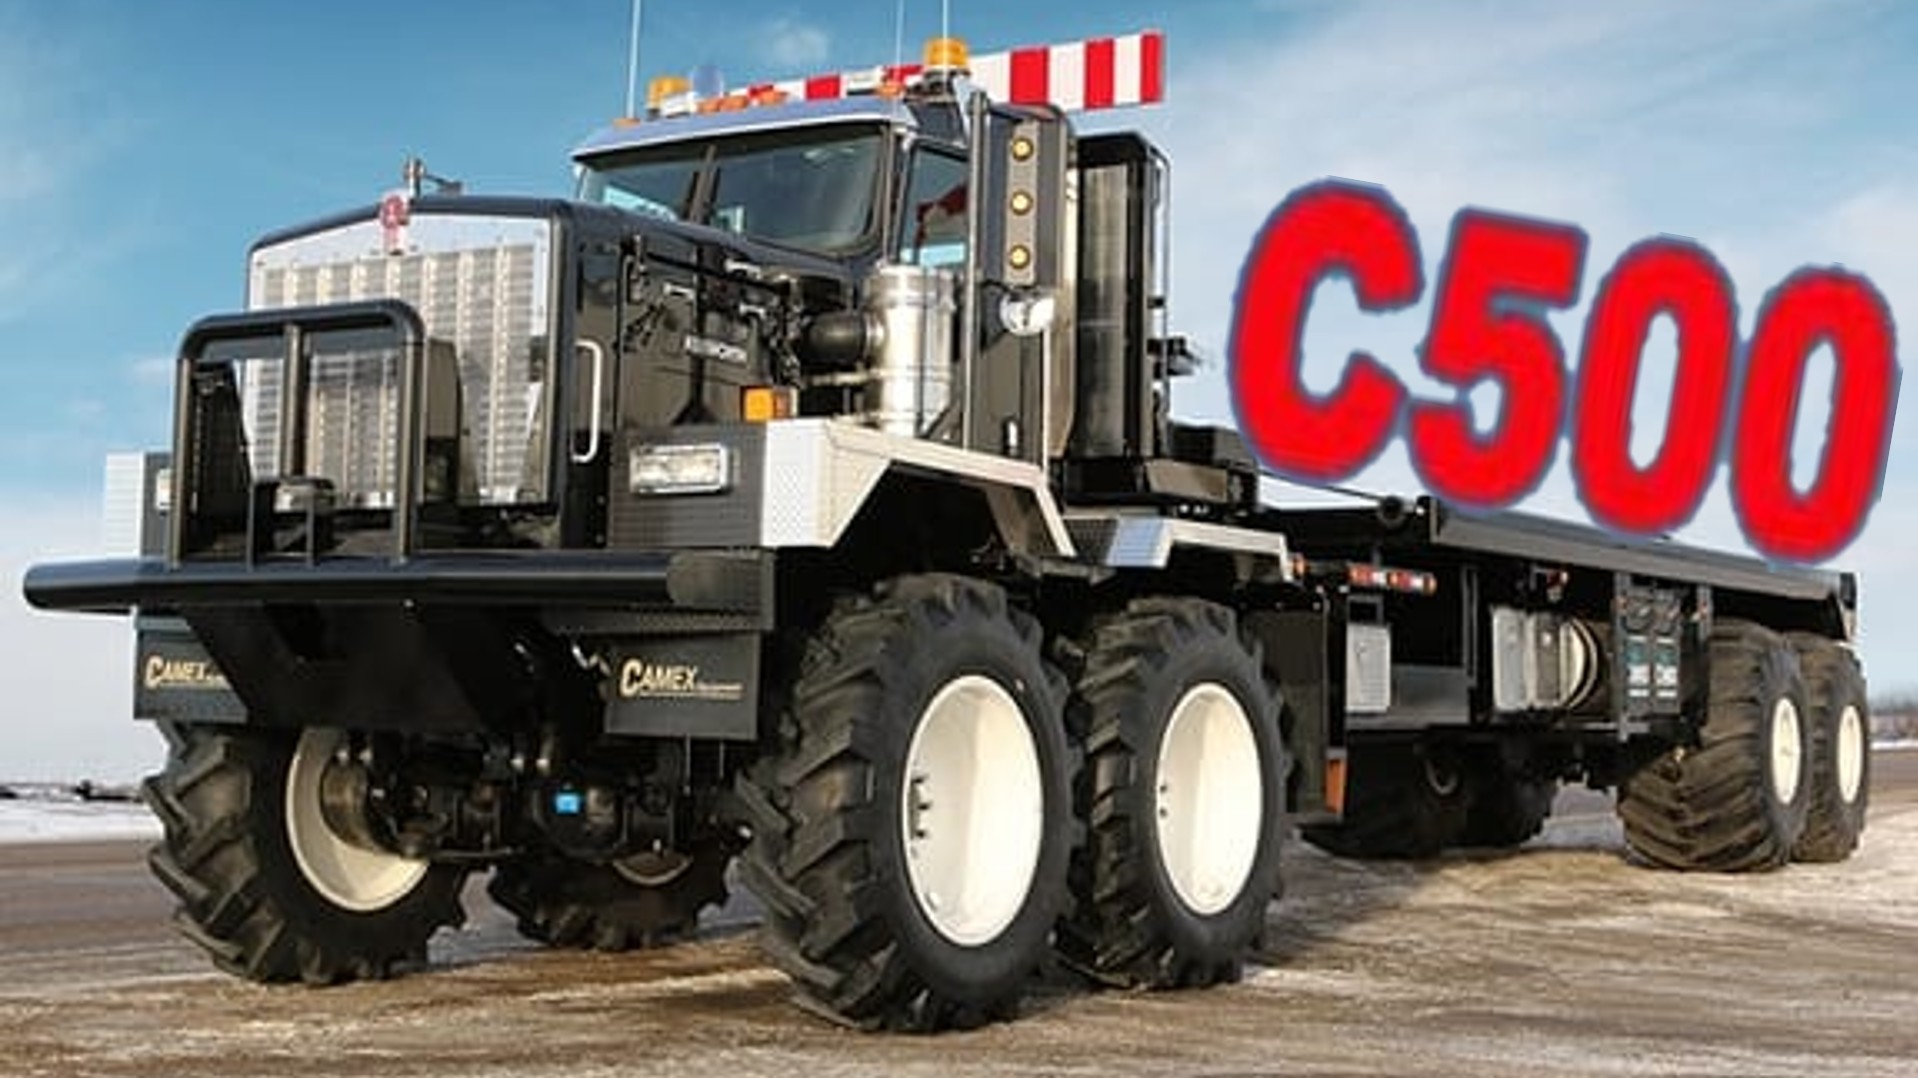
@165thspc, Hi Mike, glad to see you posting! And, yes, as you are also an off-highway truck enthusiast, I’m pleased to elaborate on both of your questions. First, “what is it?” Fair enough:

None other than the mighty Kenworth C500, 8x8 tandem tandem. And what are these used for?

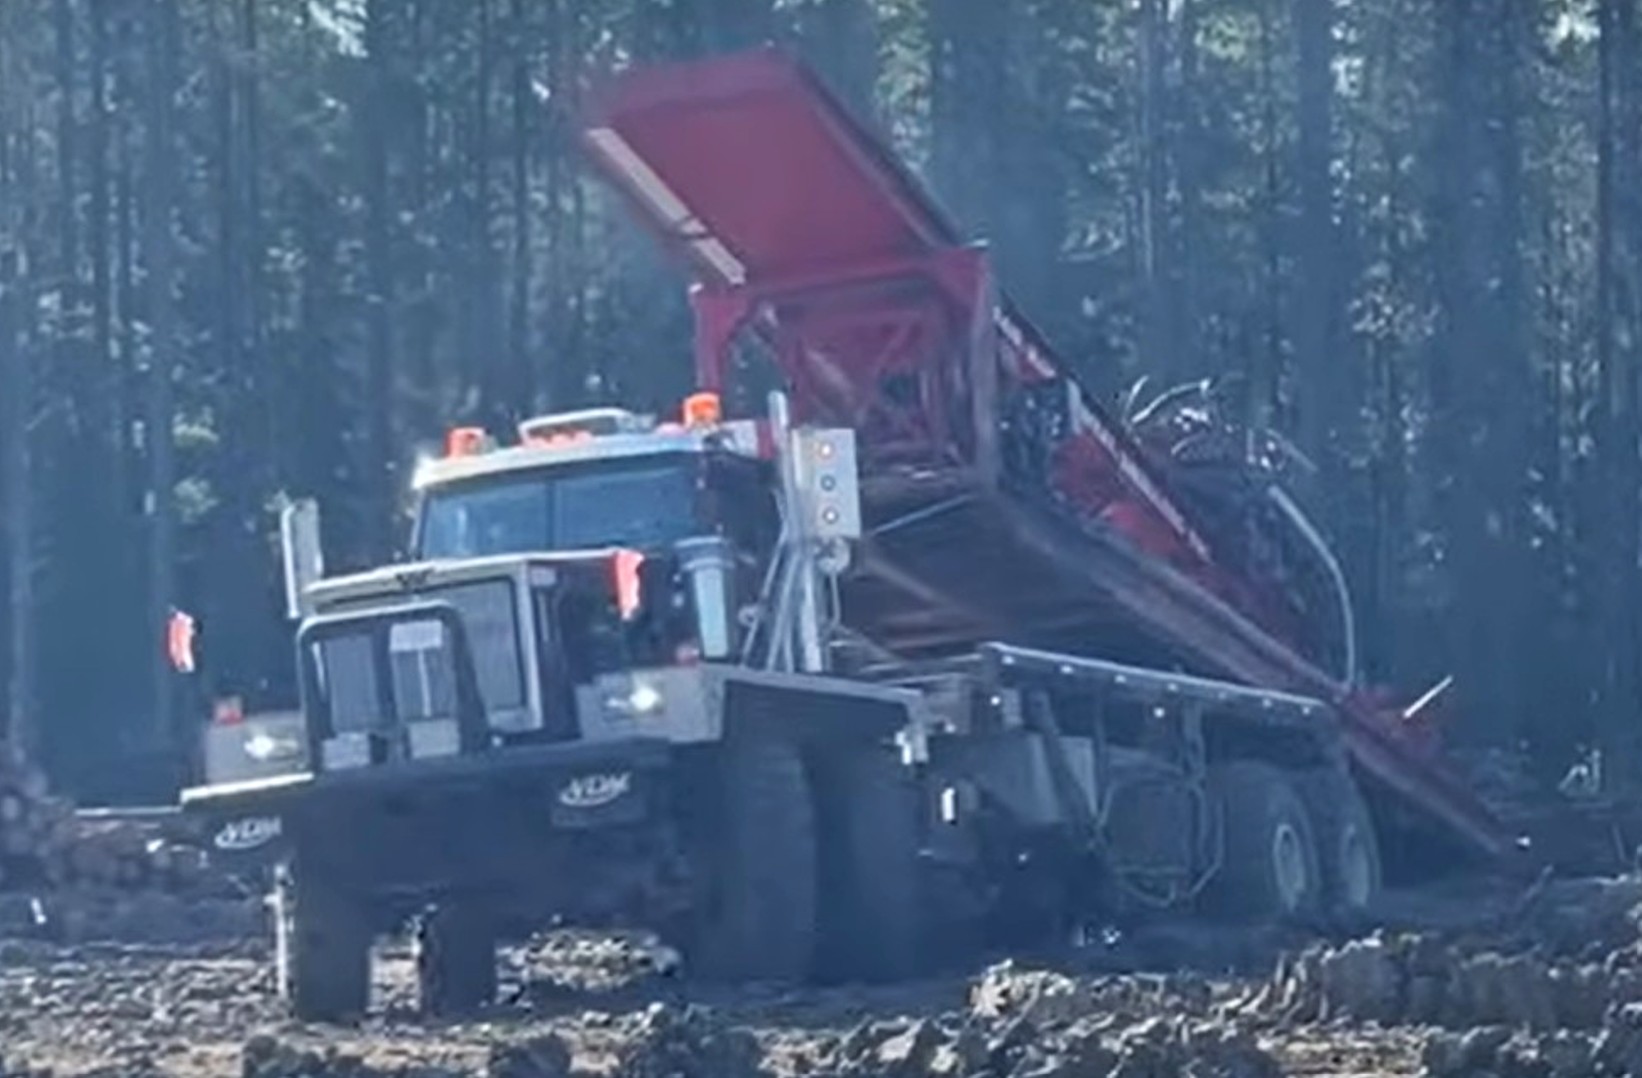
Although this is a Western Star, the chassis fundamentals are similar, used for off road heavy hauling. As to solving the twin steer, that’s pretty easy, as shown below:

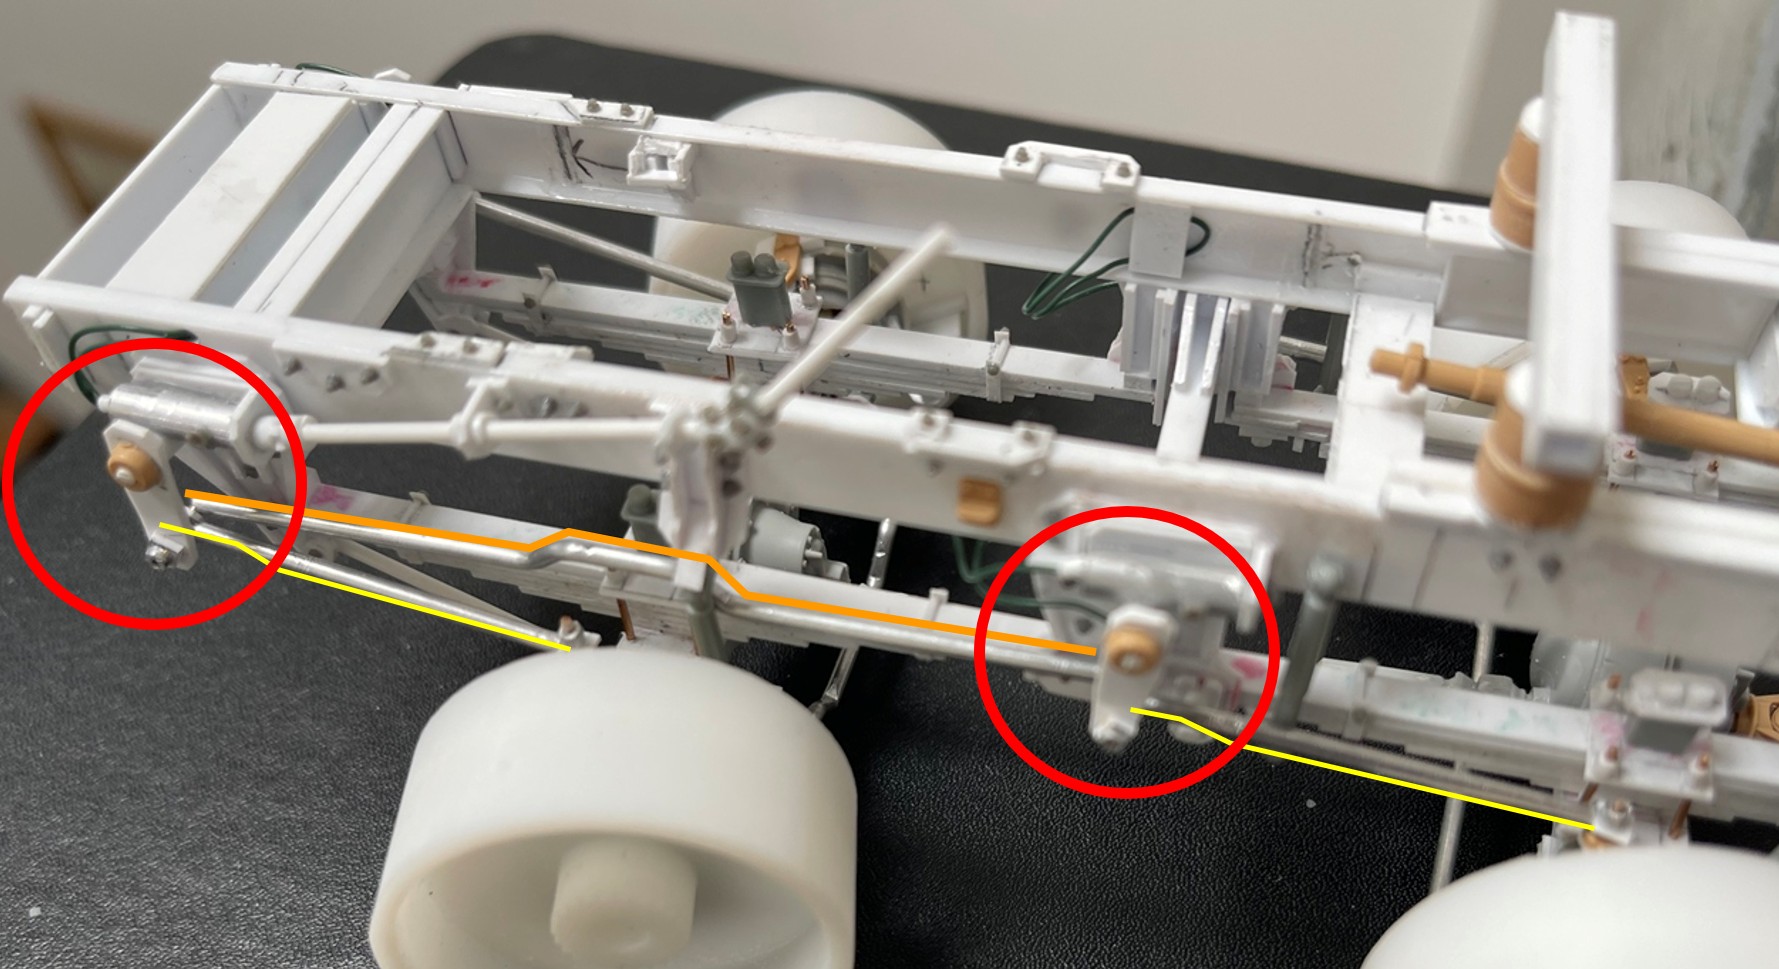
No, it’s not that easy, or not for me anyway. In brief, and not paying any attention to the diagram above, I decided to insert a drag link that connects the steering of both axles, like this:

Here are two examples of how I tried to address this. In the top, the axles are linked at steering knuckles and the lower, being the current project, linking at pitman arms. What you can see inside the red circles are: the orange line, which is the ‘drag link’ connecting the two axles, and the yellow lines, tie rods connecting pitman arms to steering knuckles. This does the trick, but isn’t as tight as I’d like. And, as these are twin steer drive axles, and not solid axles, in real life this would all be handled by hydraulics! No need for the mechanical linkage so what to do?.

But this is a model, and, like you, I want the steering wheels coordinated. As I mentioned in a previous post, and as illustrated in the diagram above, there is more nuance to the geometry in the real life solution than what I could resolve.

To my frustration, I haven’t found any typical shop drawings (ie angle of pitman arms, length of tie rods, linkage etc) of these parts assembled in real life (and for the current build, I scratch built the wheel hubs and steering knuckles, so took what I could get), have instead been relying on interpreting photos of trucks shown on auction websites. While helpful, this approach has made me make decisions to get the results I want. If not, I’d still be looking for more info and the build would stop, and I’d likely go on to another project! :grinning_face_with_smiling_eyes:

Regarding your 8x8, I wonder if you couldn’t cut a notch between the fuel tank and frame rail to allow a path for a steering linkage? Something to be aware of though is that the wheel coordination between axles is not 1:1. So simply installing a straight bar will not necessarily result in discernable wheel movement, meaning if you turn the front pair of wheels, and haven’t fooled around with setting the correct length/angle coordination between links, steering knuckles and the drag link, you won’t seen much movement in the second pair of wheels.

Something else to consider is tire/wheel diameter, and how close to the chassis, and the extra link they will come, or hit, when being turned - just one more challenge :grinning_face_with_smiling_eyes:

Cheers

Nick :man_biking:
18 Likes

The overall decals look good. Unfortunately, you have them on the wrong sides. The Bn # should be on left and the Company and # (HQ 96) should be on the right when looking at the front and rear.

8 Likes

Thanks Gino, luckily I printed several sets, so I’ll get onto that tomorrow.

1 Like

While your at it you may want to consider cutting out some decal film for that background. It’ll give you much sharper edges.

4 Likes

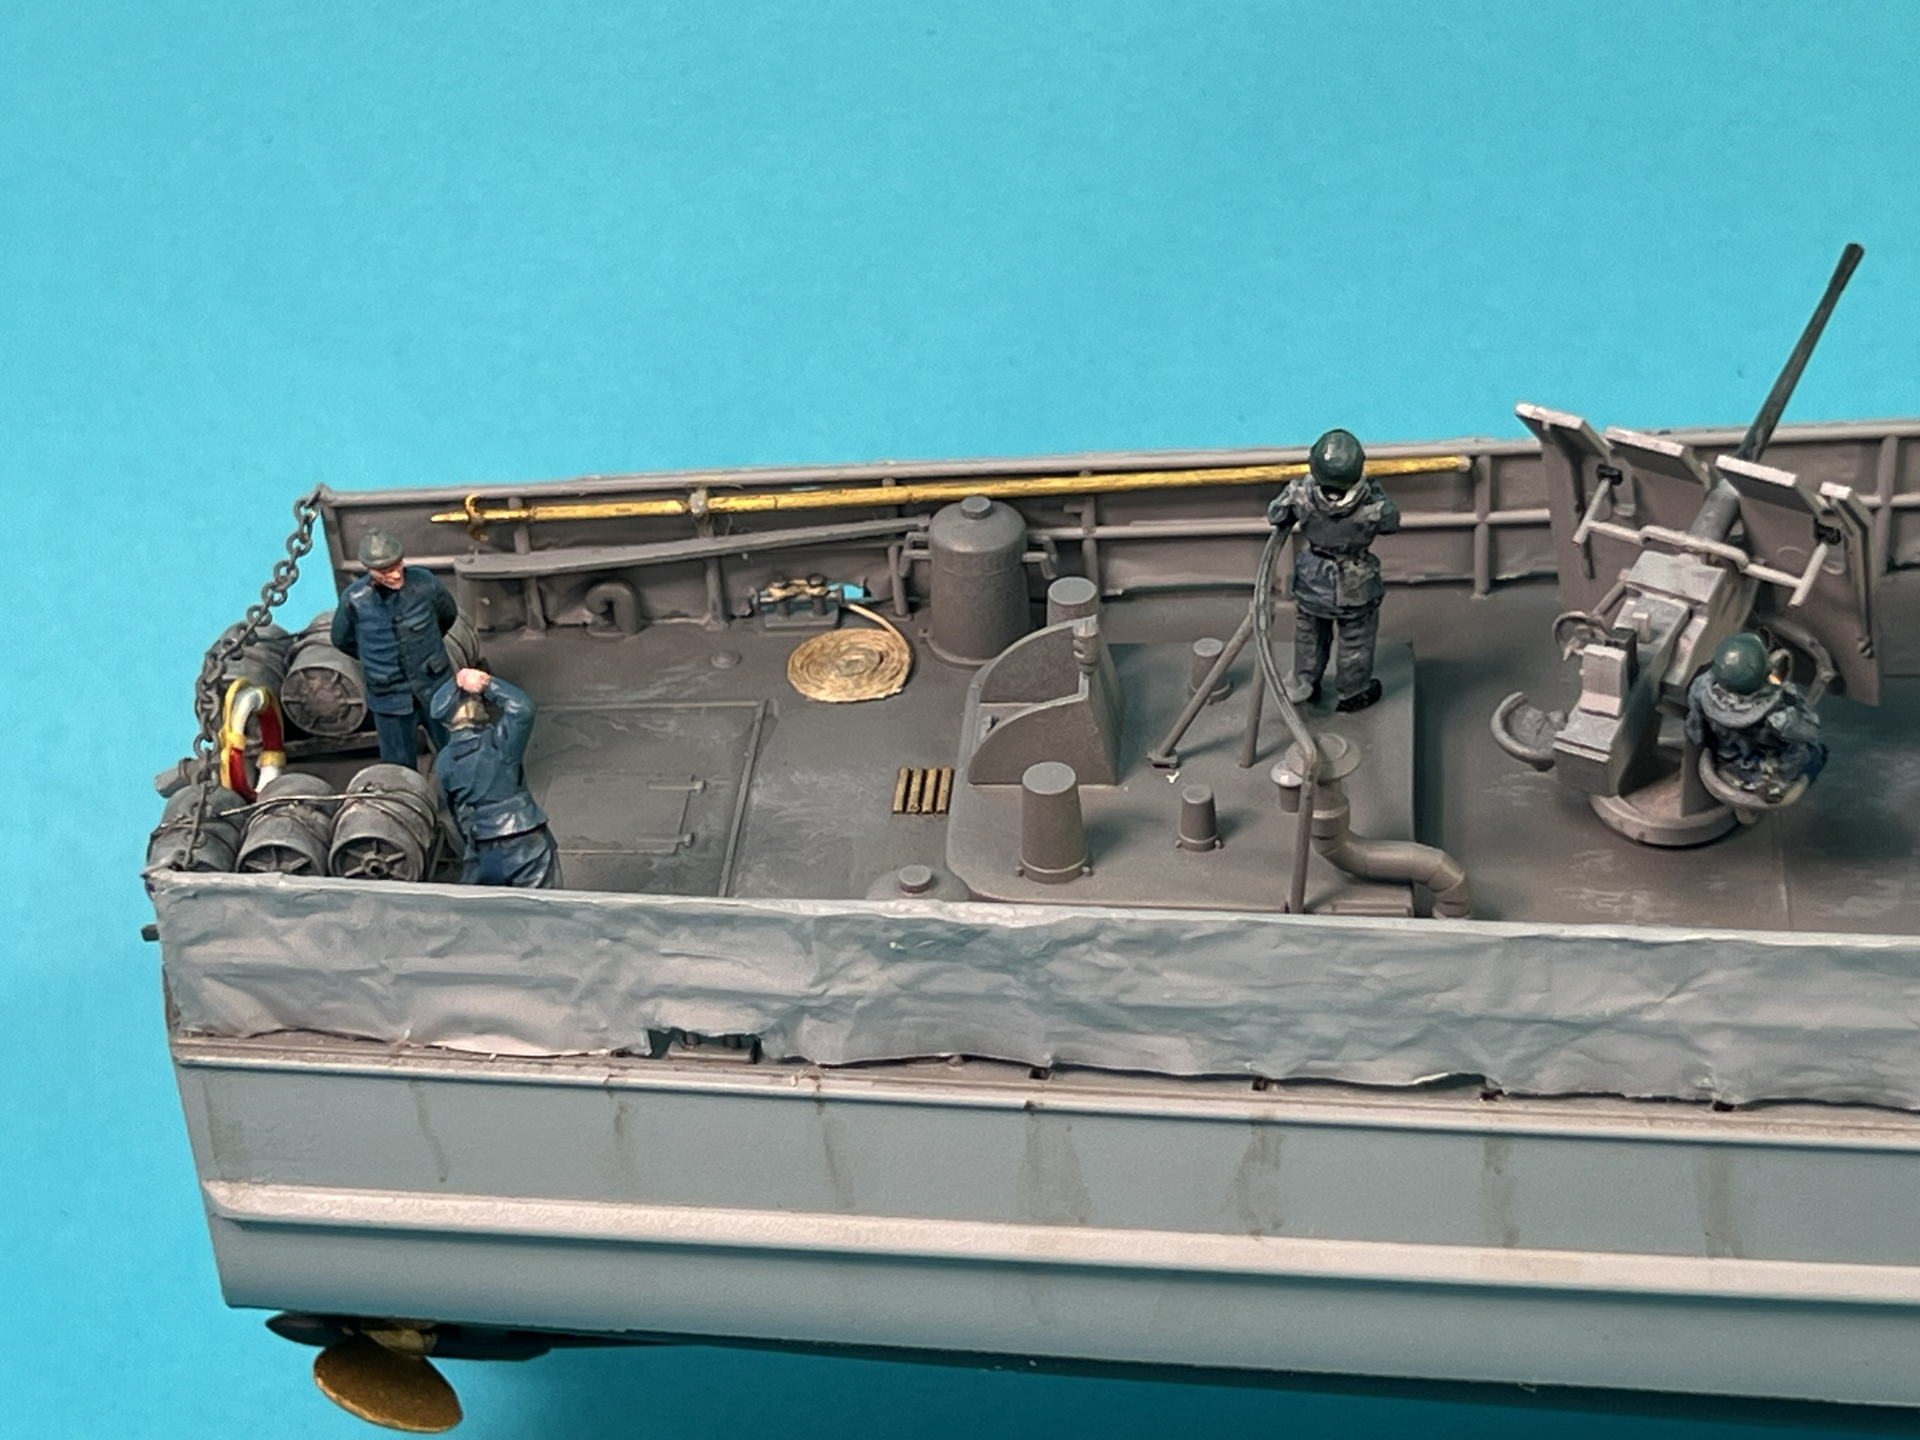
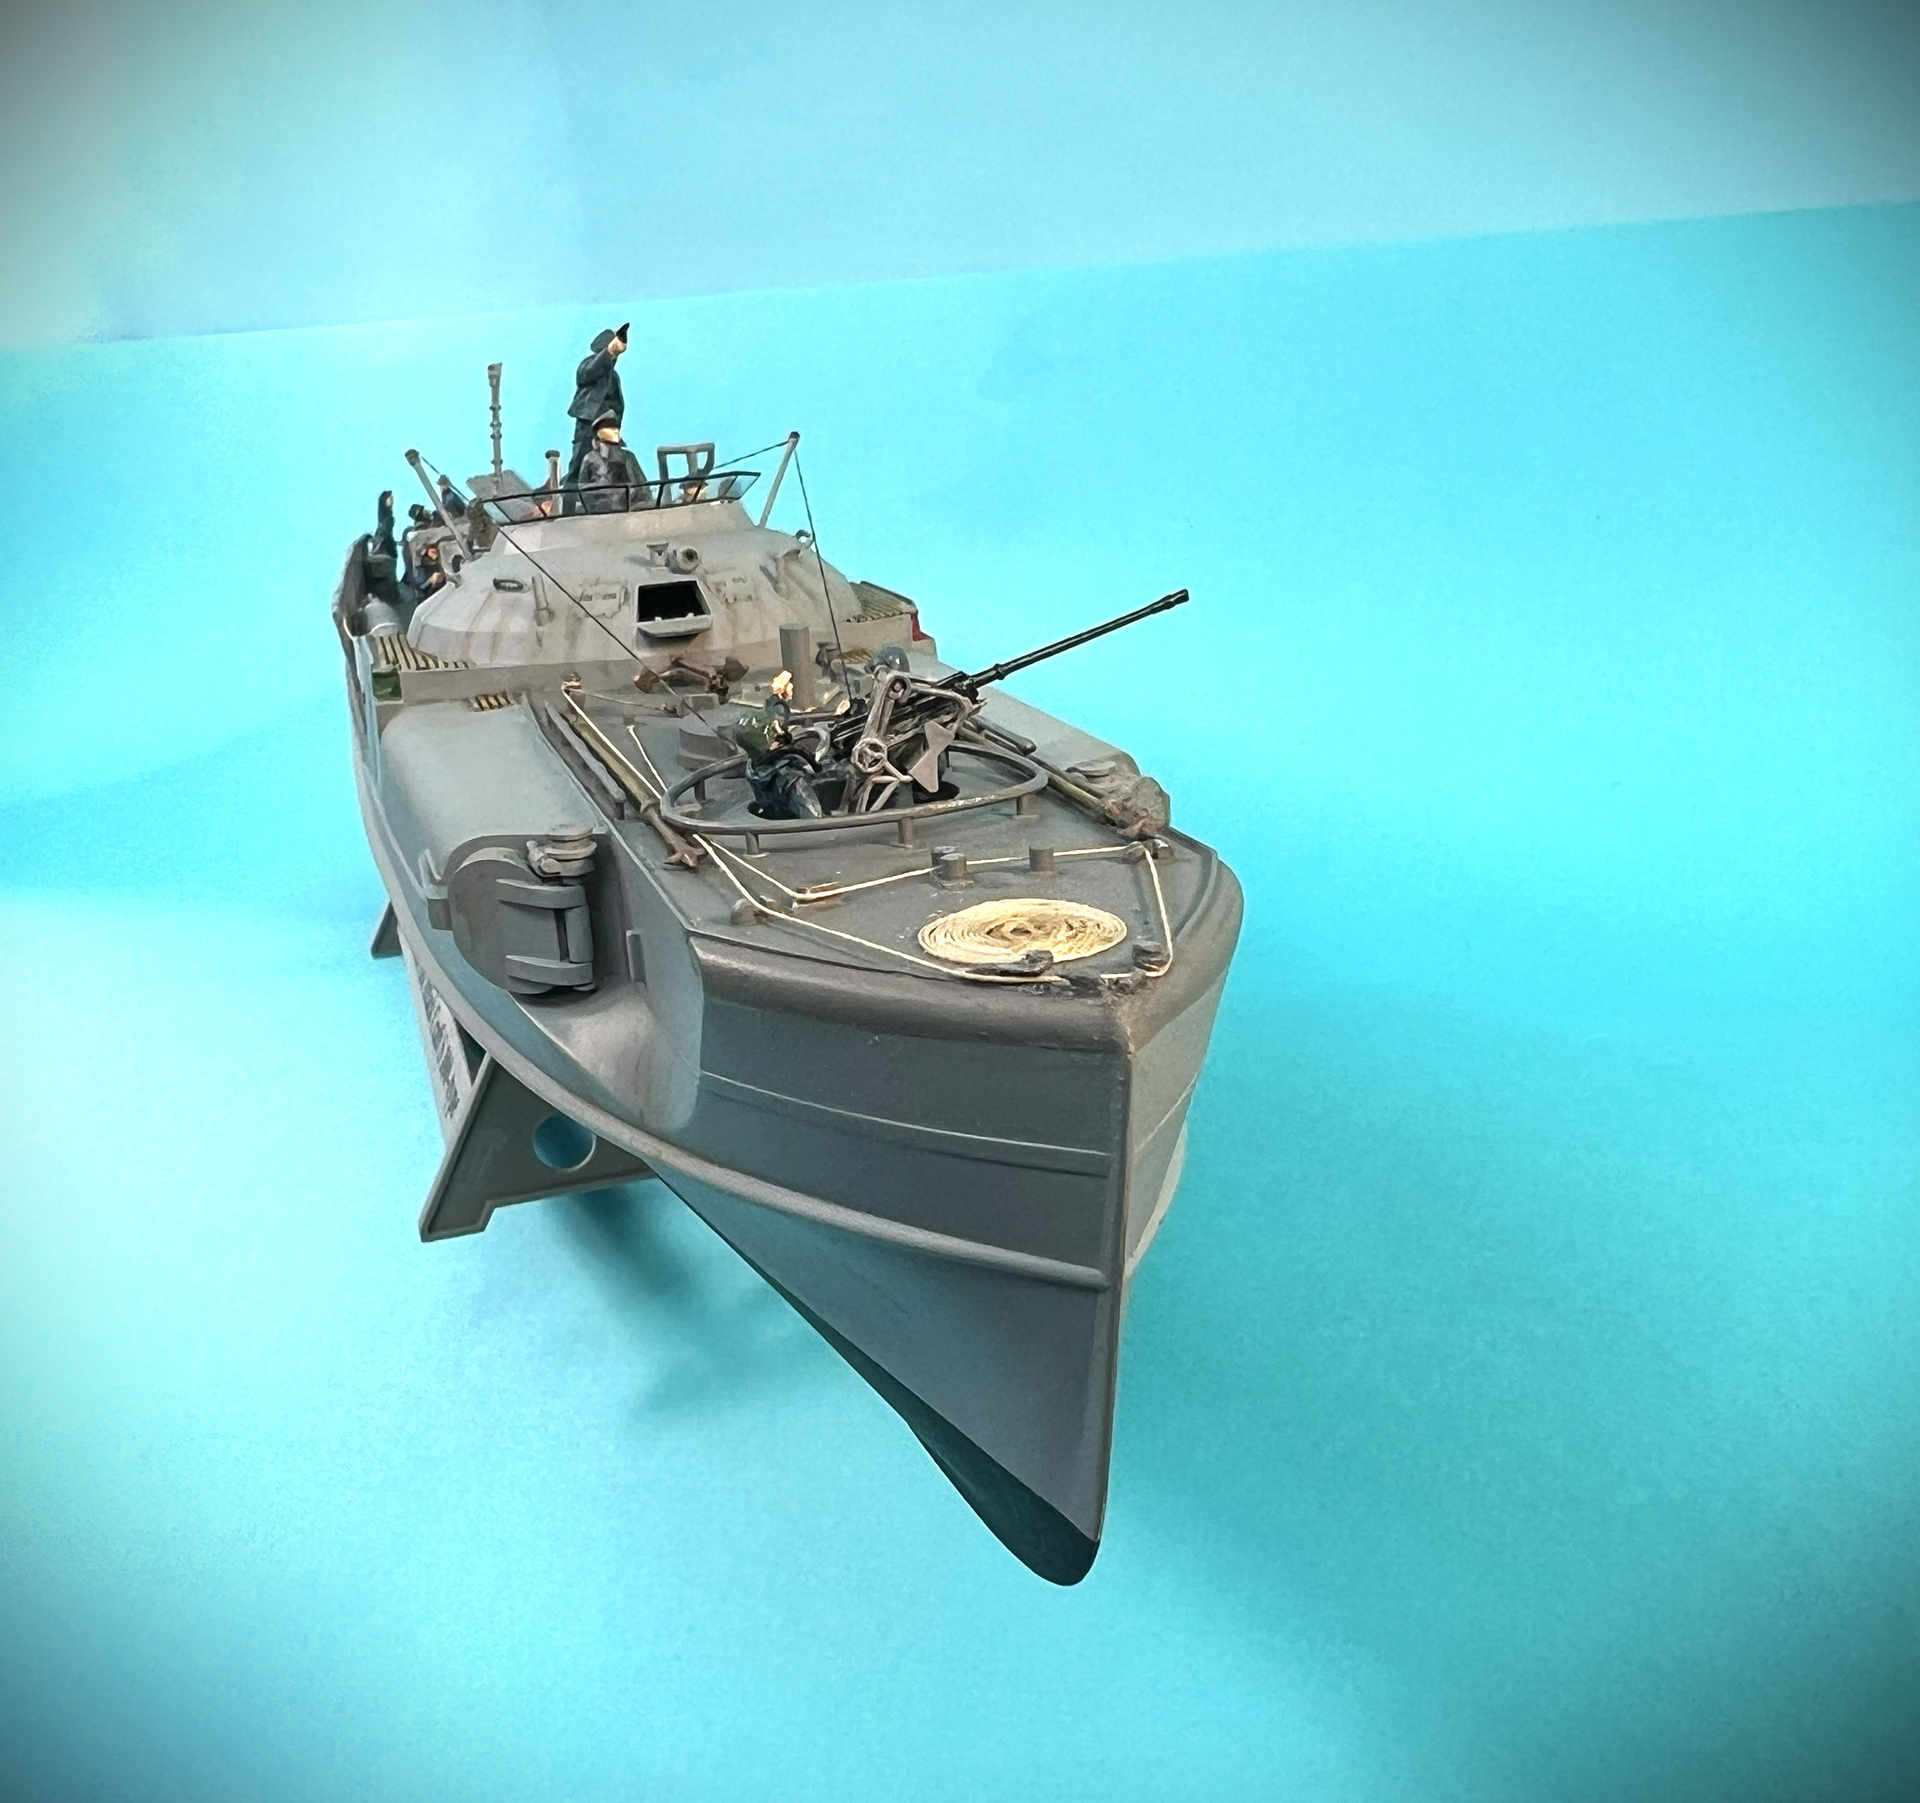
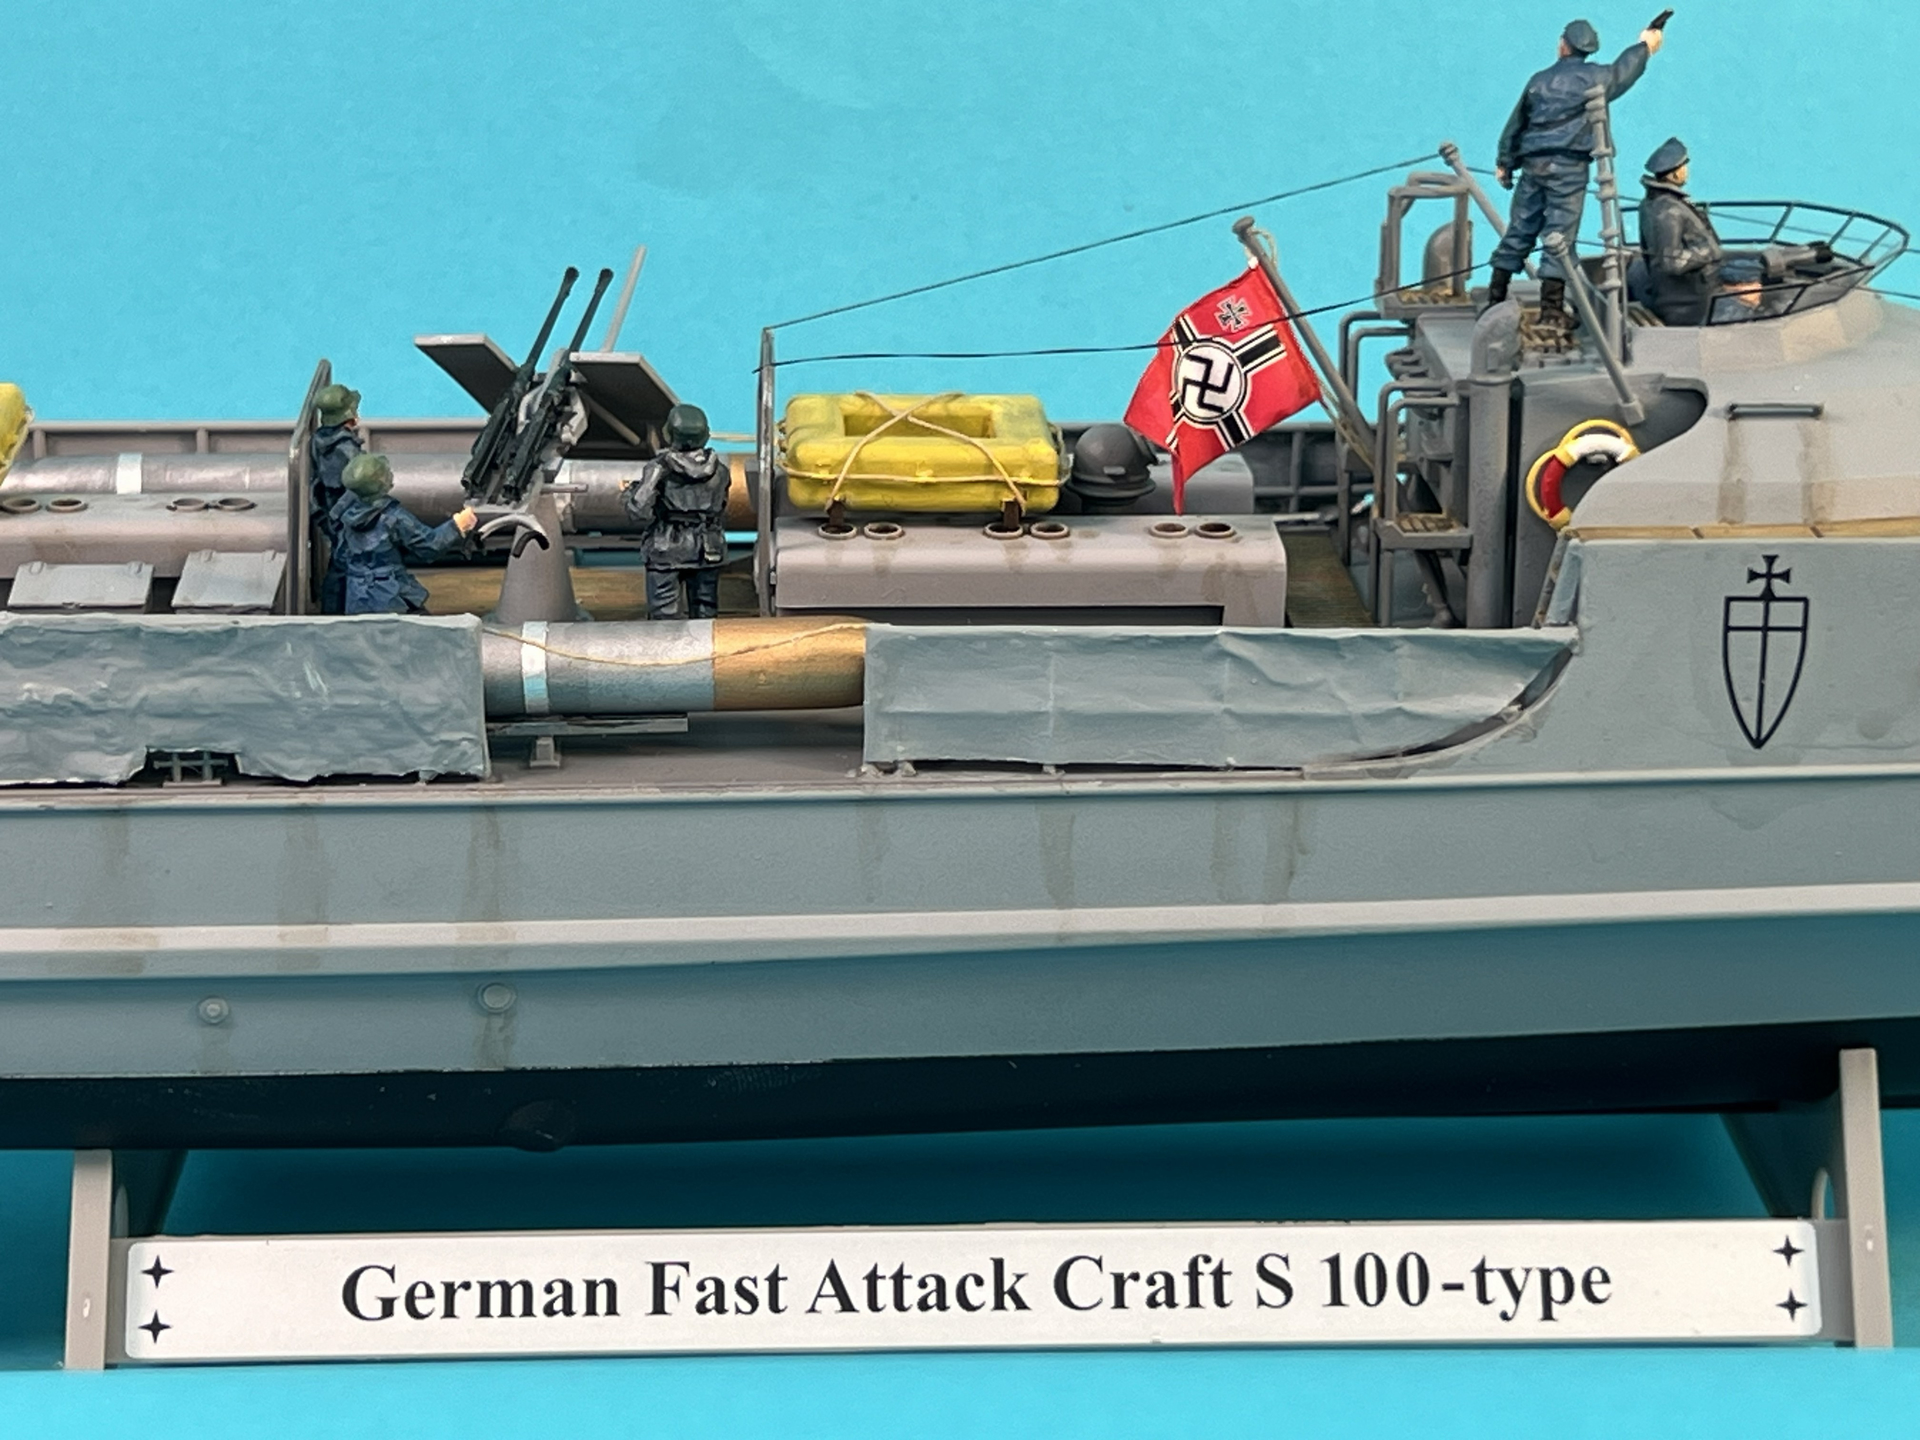
Finished the 1/72 scale Schnell boot. Out of the box Revell kit with crew figures.

Interested in Kriegsmarine types used for POW air/sea rescue and recovery. Next I will try a 1/72 Kriegsfischkutter - WWII German Patrol and Minesweeper Ship.

30 Likes

that is beautiful Amoz….

2 Likes

Thank you! That was a fun way to learn some history

2 Likes