Haha! I had to clean sweep for a photo op. … Back to demolition mode!

—mike 
Haha! I had to clean sweep for a photo op. … Back to demolition mode!
—mike


Very close to finishing up the build on this Abrams then off to the paint booth for primer then deciding what color to paint it.
Nice!
Any guesses what this might be on it’s way to becoming?
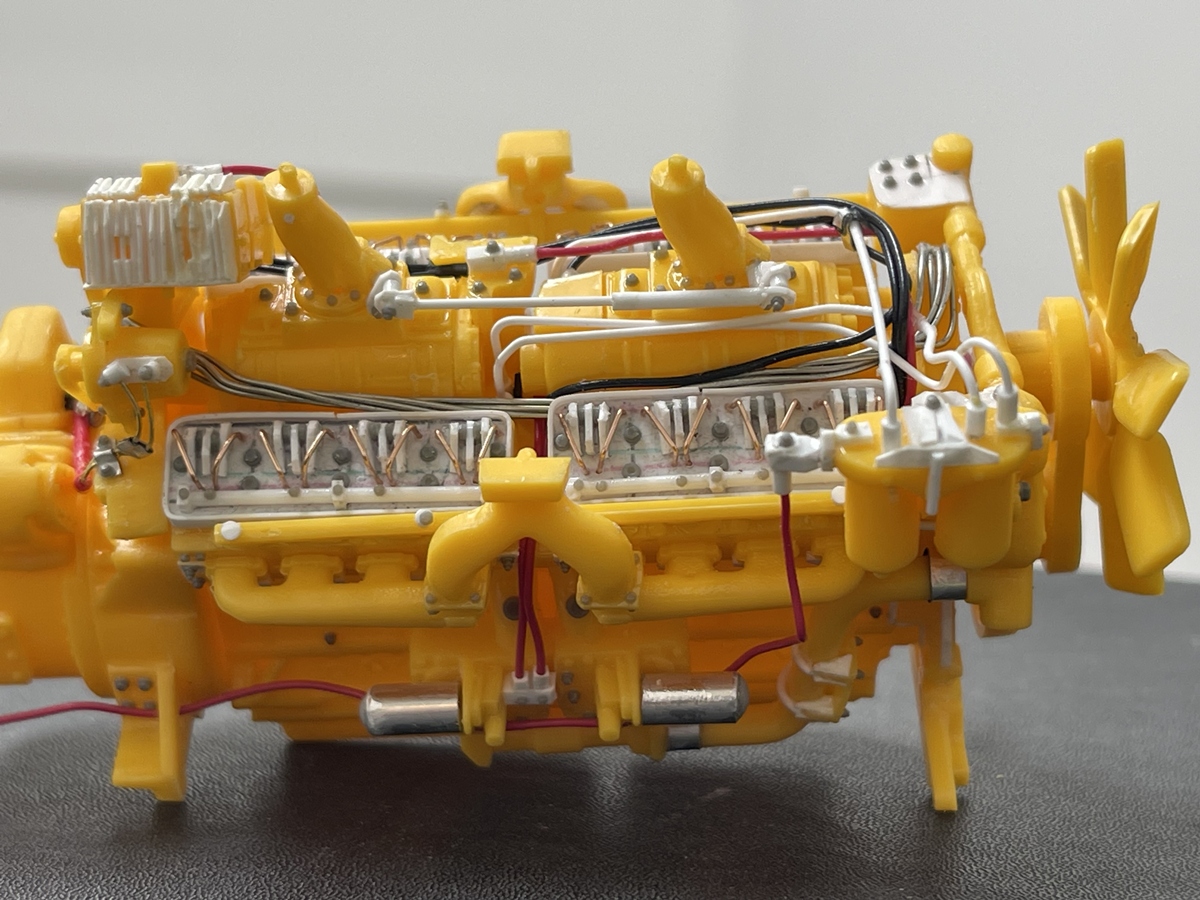
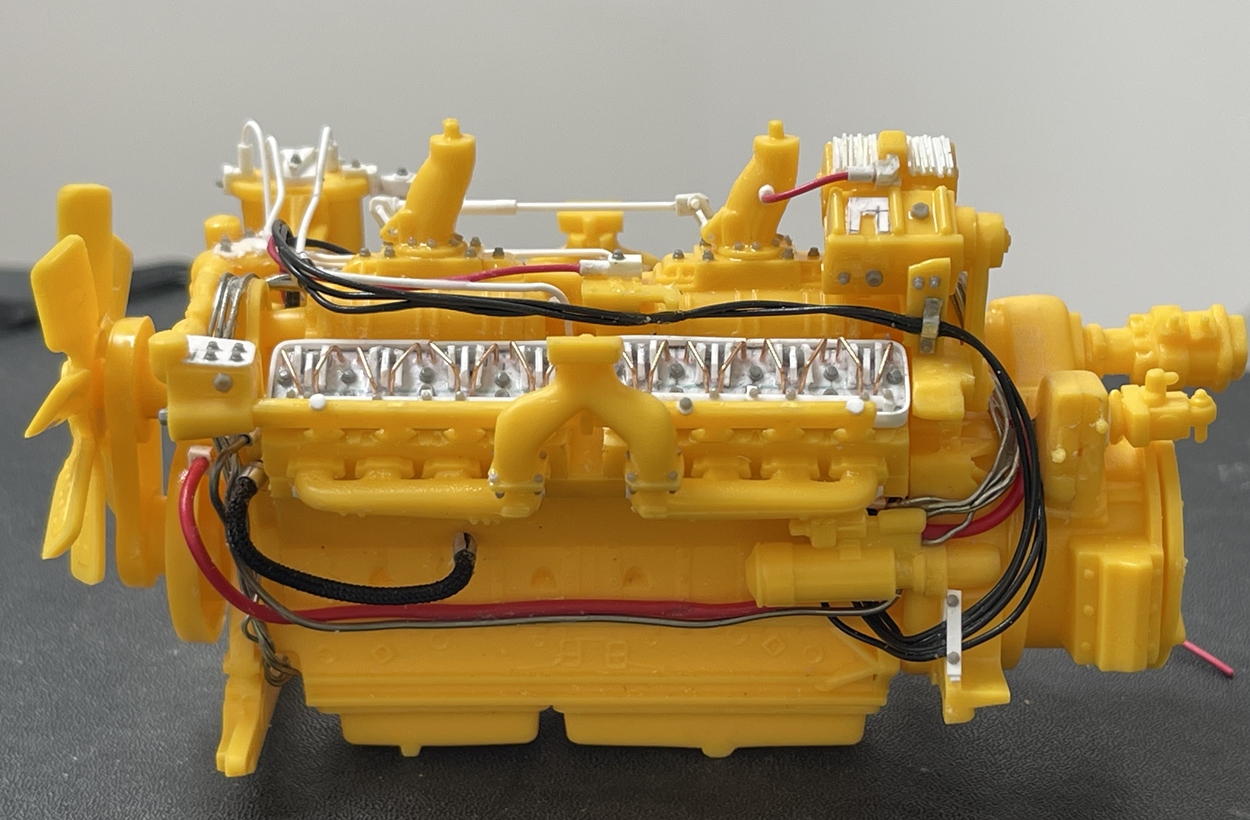
Here’s a clue - it has been tedious tho not particularly hard to build, featuring: 4 surfaces, 16 rocker blocks, 48 rocker arms, 32 fuel lines and several small bolt heads - at, 1/25 scale….what a treat. It eventually became this:
It was not a treat, but is now done. The good news is that it (they) look(s) reasonably close to the prototype. I’m waiting for paint on another build and dragging my feet on another, so, why not start a new project??? makes sense to me 
Cheers
Nick 
I did some more weathering last night. i added some mud to into the main hull, where the crew would walk and sit. And i went around some areas and highlighted some edges with a pencil on high wear items in both compartments.
After a quick fix, i finally mounted the engine in the engine bay. I just need to hook up 2 more lines and that should be complete for the engine.
Marc
hello, I’m a bit late but is it the old toool or the new one? I’m working on their old F8 but plan to get the new one for the interesting 1945 liveries
It’s kit no. 82145 which I believe is a 2019 release. It has the simplified engine and closed wing root gun bays.
Did a bit more accurizing on the Tamiya M106 today. Credit must go to 18Bravo for his input on getting the details right! The M2’s mount is more accurate now, the roof hatch’s catch height has been corrected and the bump stops are positioned correctly.
Tomorrow I should be able start on the trailer tie-downs.
I didn’t do this today, but spent some time on it over the weekend:
“Nice engine, man….”
I built up the valve heads last week - they are only dry fit here, as they will eventually be painted separately from the rest of the engine. As for the engine, it’s a Detroit Diesel 16v-71N, all 1,136 cubic inches (18.liters) of it. The base (1/25) is from AMT, and is not bad, but a bit toy-like, so I went ahead and added some interest to it.
As is usually the case, not all of this will be visible when it eventually gets installed, but the valve heads and some portion of the right side should be if all goes according to plan. This does beg the question, as not all of it will be visible, why bother with the remarkably tedious process of installing lots of .8mm bolt heads, which are already hard to see? well, why not? I think the throttle linkage will be visible, to so that might be a win.
Cheers
Nick 
Some more progress on the Ju 88A-4.
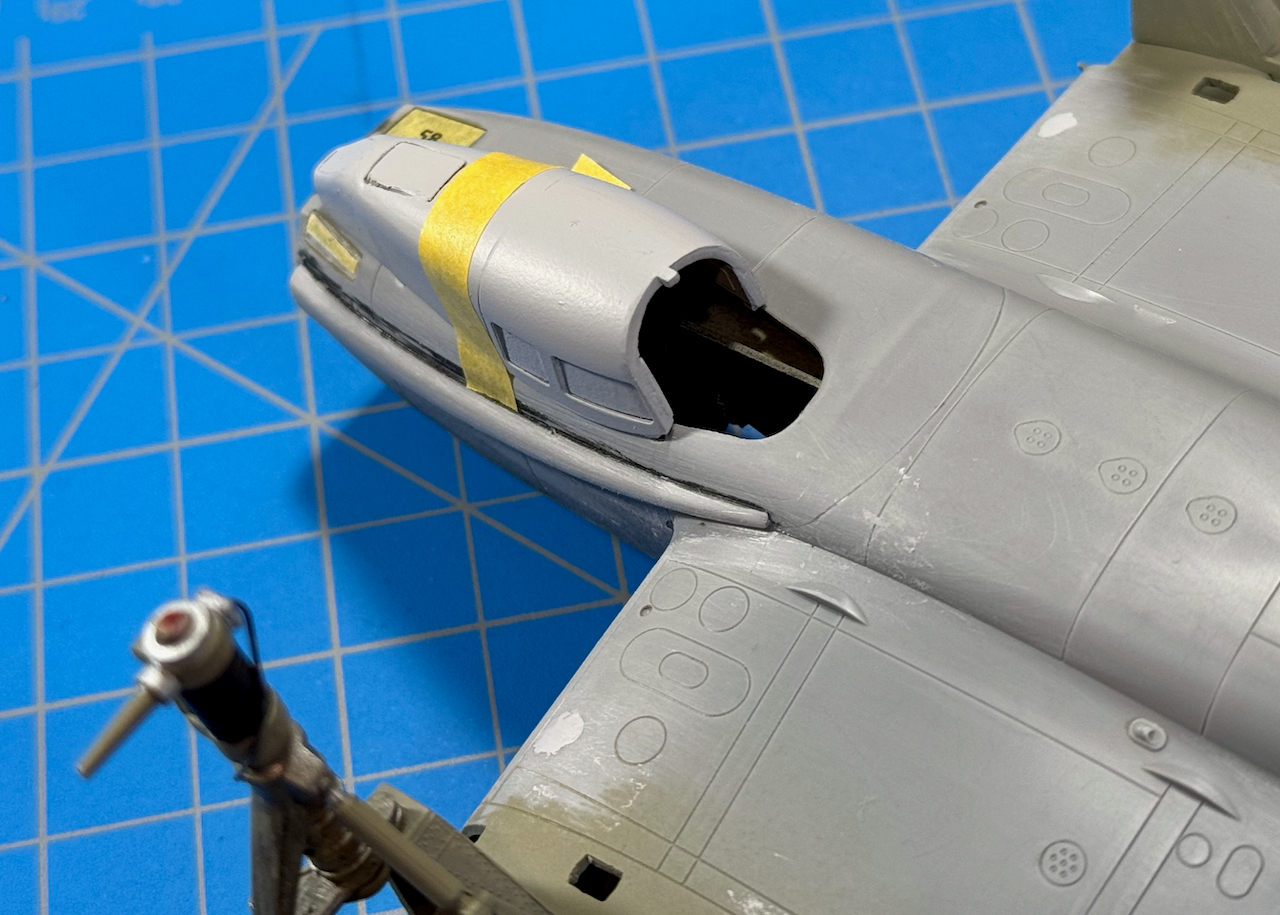
Filling, wet-sanding, and re-scribing a few panel lines on the fuselage. Trying to take this phase of the build a bit more seriously this time around.
Masked and primed, the main portion of the Ventral Gondola.
Still need to deal with a slight dimple on the port side.
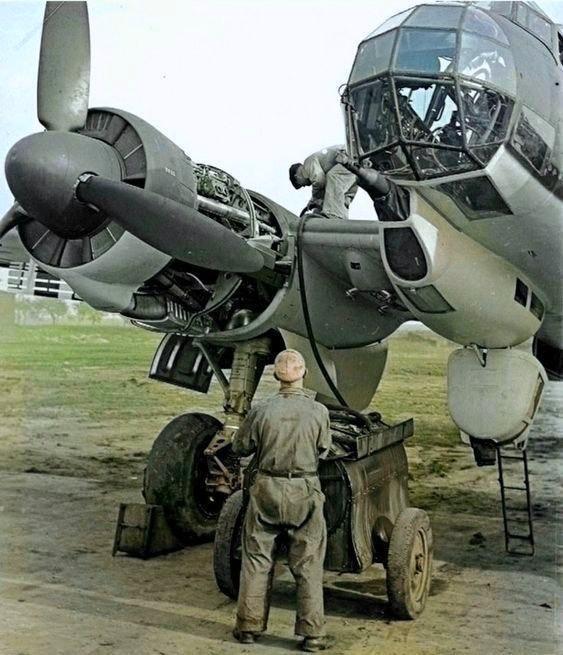
Planning on leaving the access door in the open position as seen in the following reference image.
Yeah, I would bail-out of that hole (the only exit) … if the plane was burning! 

thanks for having a look!
—mike
That dude looks really good next to that engine!
Did a lot of clear coating getting ready for decals and some light weathering on a select few kits.
I still got six more to clear coat.
I sprayed some satin varnish and then closed the bench. Vacation time 
See y’all in a weeks time
Cheers 
Just started assembling the chains for the tie downs on my M106 and realized the kit (and my spares stash) doesn’t contain any shackles. Can anybody help with a few, or steer me towards a seller?
1/35 by the way.
Cheers.
Look for turnbuckle assemblies. They’re easy to scratch as well.
Look for photos of the 12313978 Turnbuckle to guide you.
Thanks 18bravo, I will get this track tied down one way or another.
Hobby On!
Weathered my Tamiya Cromwell for a May due date.


 slowly comes to life