Thanks Torsten, I’ll probably go with the green over grey scheme. The sinking of the Hermes is largely forgotten about, so an interesting if dark chapter in the Royal Navy history. I have Aoshima’s 1/700 Hermes, could make a good pairing.
Would be interested to see Egusa’s Pearl Harbour scheme though. I have the same set of decals in 1/72, so could use those on the old Airfix kit when they reissue it. I have their Pearl Harbour gift set to build at some point (Zero, P-40 and Kate), so would make a nice addition to that collection.
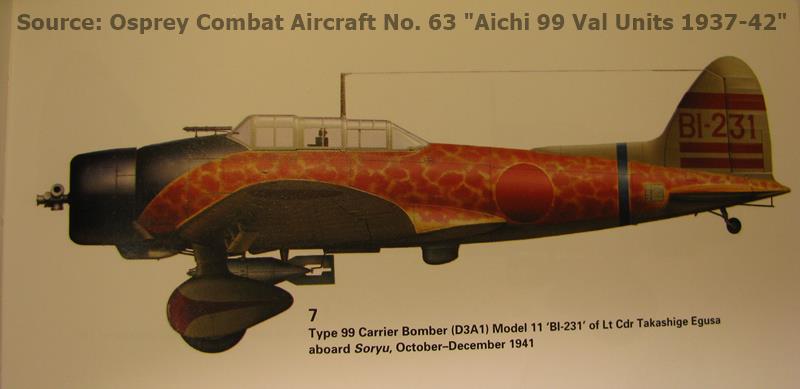
There are 2 different profiles existing of his aircraft. One is painted with red stripes which look like flames (that’s where the name “Red Flame” comes from) all over the fuselage and the other one is more likely as Osprey shows it in their Combat Aircraft No. 63. Unfortuatly there are no photos existing of the real aircraft, Egusa flew at Pearl Harbour but this scheme is confirmed by some of his squadron mates. I think there are even decals exisiting for it in 72 and 48 …
3 Likes
Thanks, very helpful. Would it likely be a red-brown mottle or bright red? Looks like it’s over the beige-grey in the profile?
I made the photo yesterday evening with no proper light, sorry. It’s bright red on yellow and it’s painted over the ordinary IJN Grey leaving out the tail fin. It looks very much as if not only the fuselage is painted that way but also the wings and elevators. But that’s up to everyones personal taste.
1 Like
Yes I can see it now. Thanks.
I might try and replicate it on the Airfix Val. I think it’s due for reissue later in the year.
All of my recent eBay purchases finally came in over the past couple of days
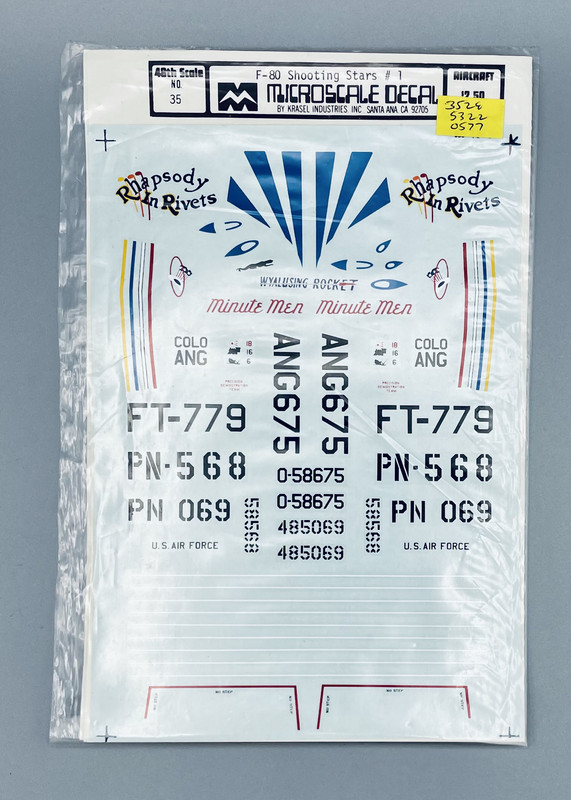
Some decals for P & F-80s
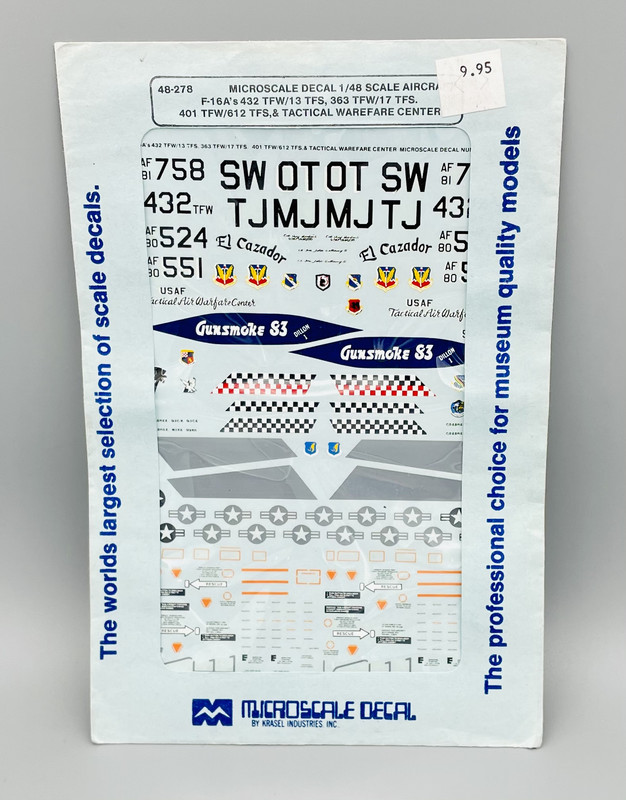
and lastly a set that I had been looking for to use on my Hasegawa F-16A Block 15
4 Likes
Man…I HAD this kit a while back and now I want it back. Awesome score!!
1 Like
Thanks @mustang1989 it is really nice.
Might make a start on it soon once I’ve finished up a couple of other things.
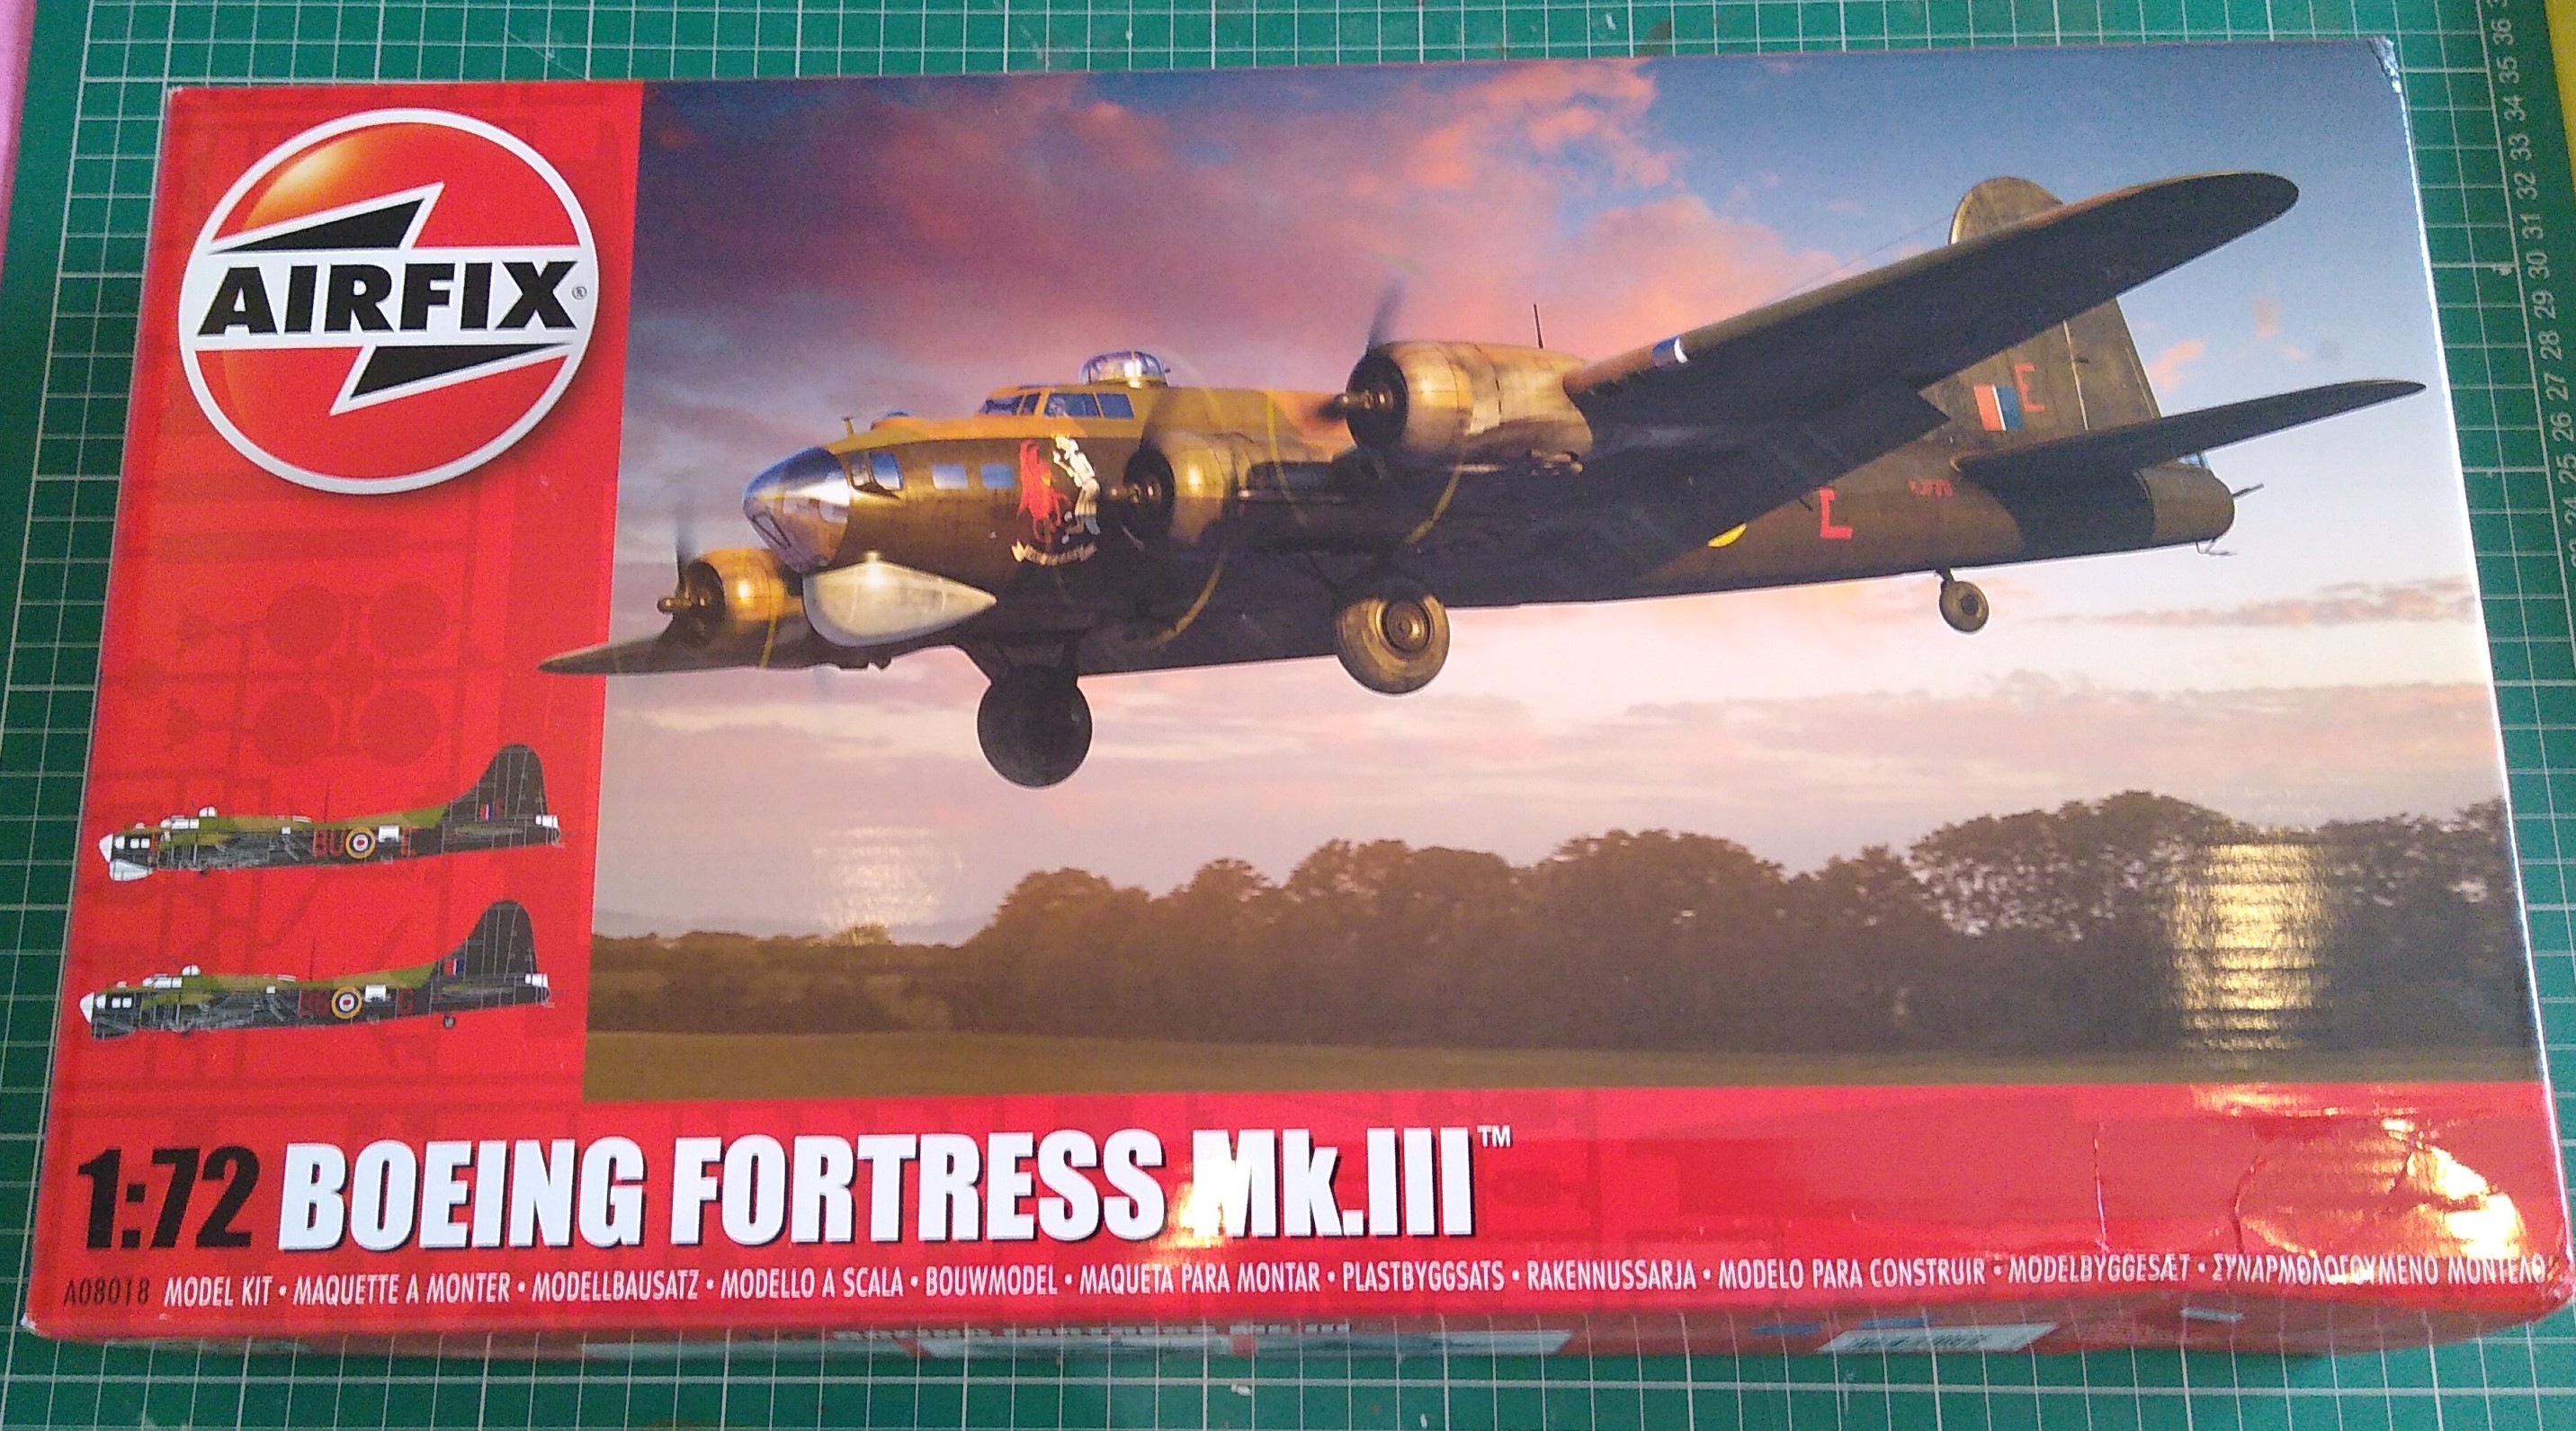
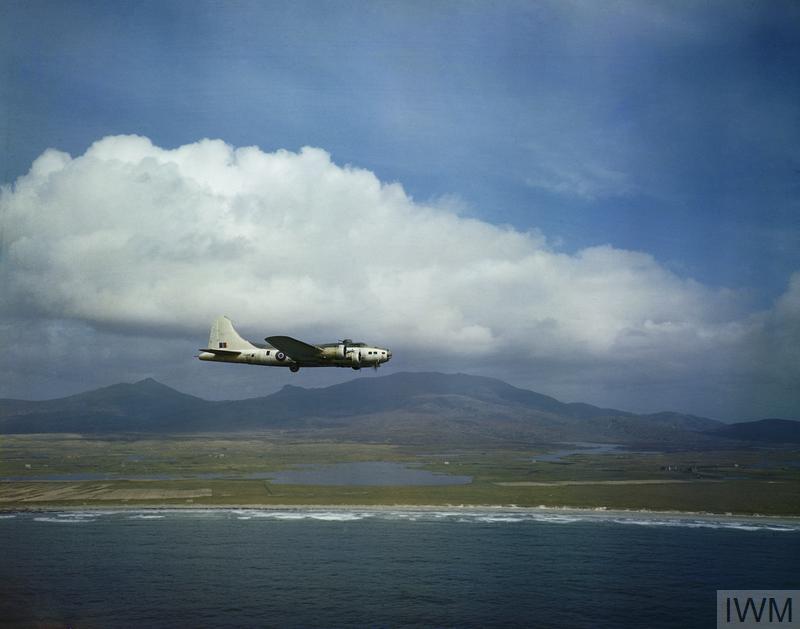
Today I had Airfix’s 100 Group Flying Fortress arrive. Should be a very interesting build.
Now I just need to actually make a start on something!
4 Likes
An RAF Fortress… that’s a bit unique.
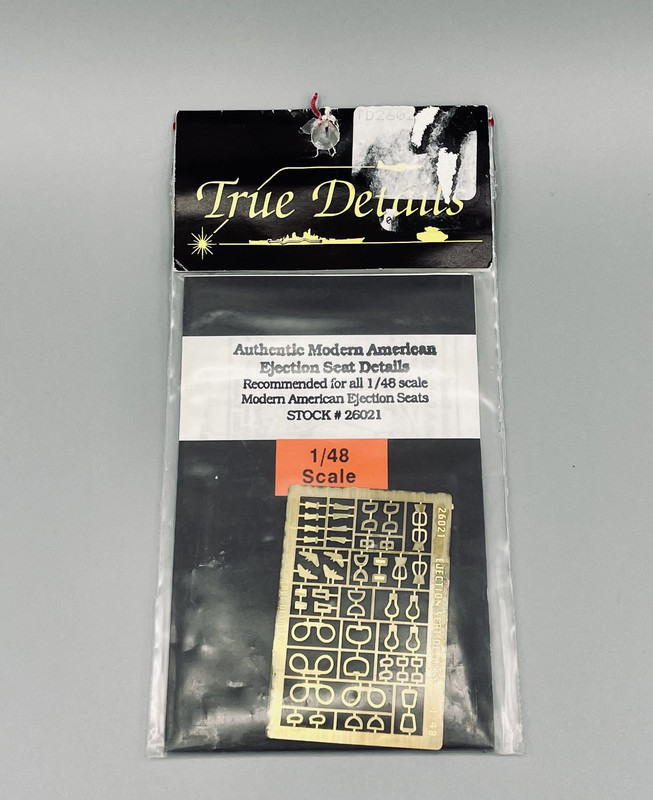
Well, this came in the mail yesterday. I’m going to use one of the side handles on my current Harrier project, but I’m making the face curtain rings from wire.
The rest can be used on any number of future projects…
3 Likes
The first part of my future project arrived today.
3 Likes
Thanks Carlos.
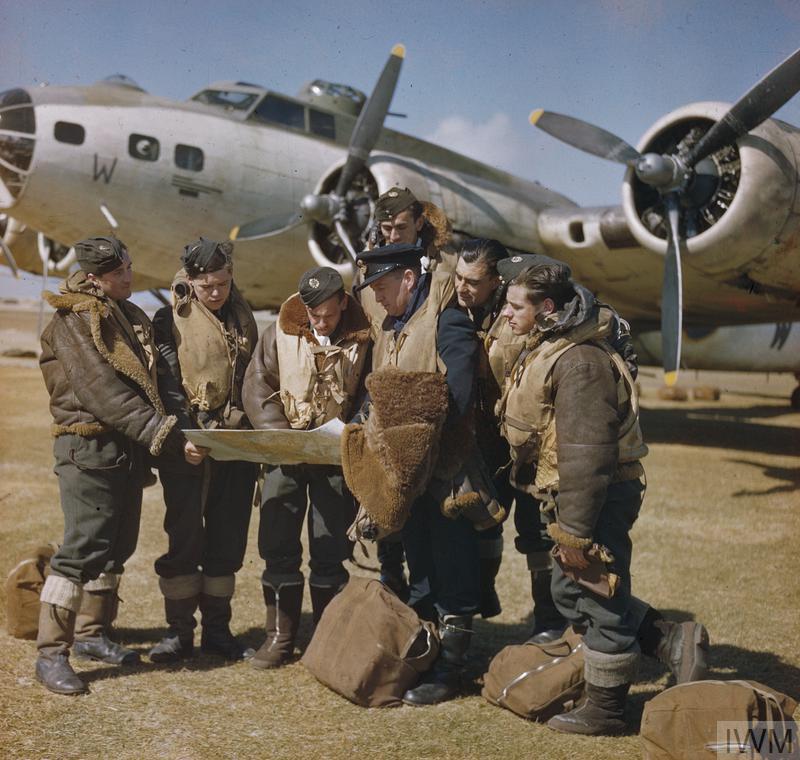
I’ll have to do a bit research into it, but they were used for electronic warfare against the Reich air defences. They had equipment to jam radar, interfere with ground based radio control of night fighters and dropped window. 100 Group mostly operated Fortresses, Liberators and Halifax bombers.
Great find on those ejection seat handles. Could do with getting something like that myself. I usually use wire to make them.
Amazingly, the RAF Electronic Warfare Fortresses are one of the few that I have read anything about. All of the ones that flew with Bomber Command or Coastal Command, especially their early operations, are very much a mystery to me.
I’m with you on the wire for the handles. Wire better represents the curvature of the handles compared to flat PE parts.
3 Likes
Great finds on those pictures. I have got a very good reference book somewhere about the Coastal Command Fortresses. There were all sorts of radar fits on them. They even operated a couple of G’s from late 44 with a retractable radar dome in place of the ball turret. That part is included in Airfix’s, so I am thinking of doing it one day.
Yeah the wire does look a little better when it’s painted. I did make a jig years ago to help with bending to shape, but it went AWOL during the house move. Essentially just a block of wood with 2 pins nailed at the end. Must make another.
Hi there
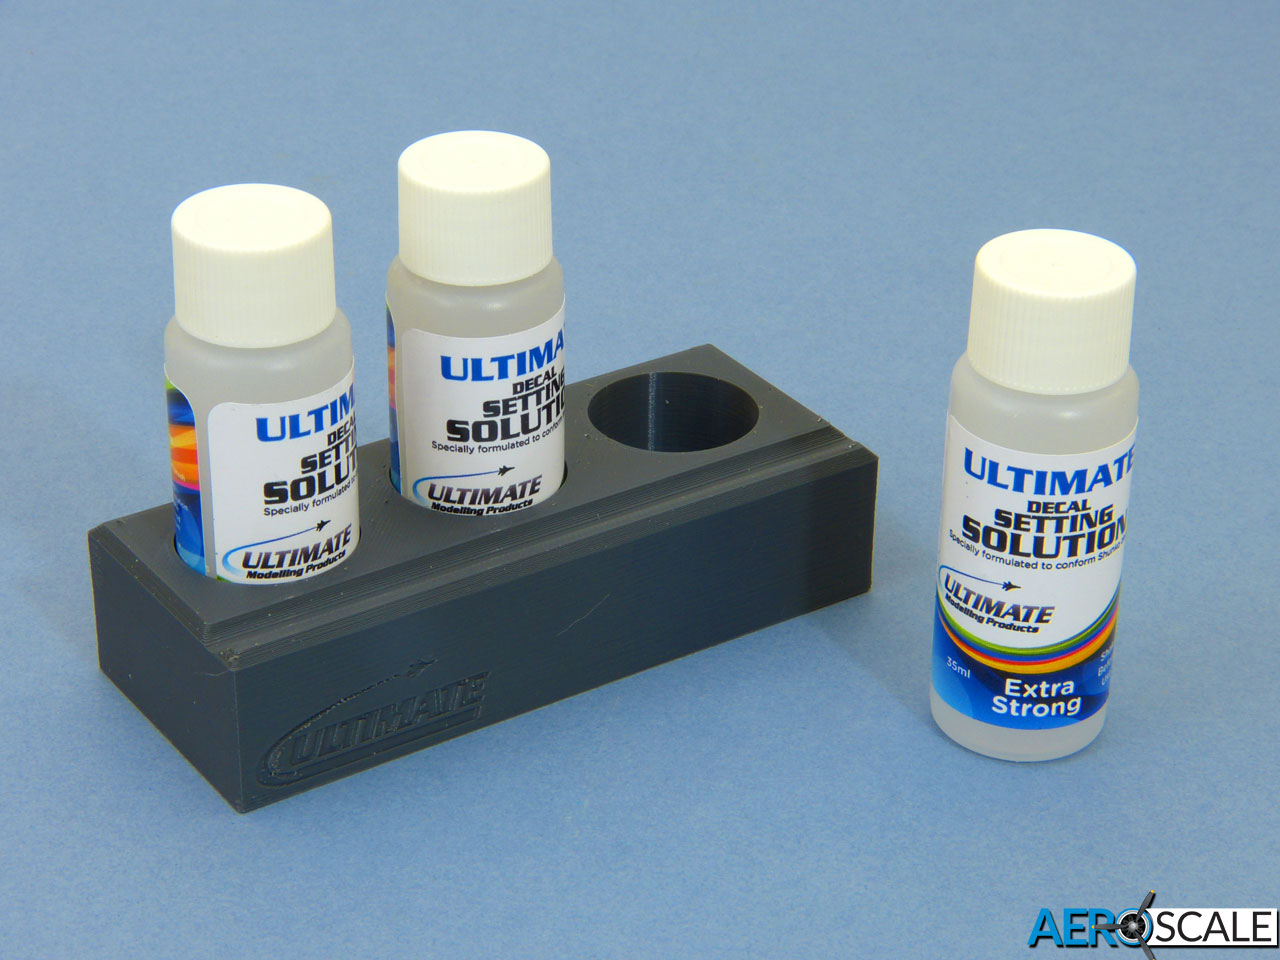
Postie’s delivered a couple of neat packages here over the last few days. First off was a set of Ultimate Decal Setting Solution, which I purchased direct from Ultimate Modelling Products after Joel Willstein drew it to my attention. I’ll do some tests and a review soon:
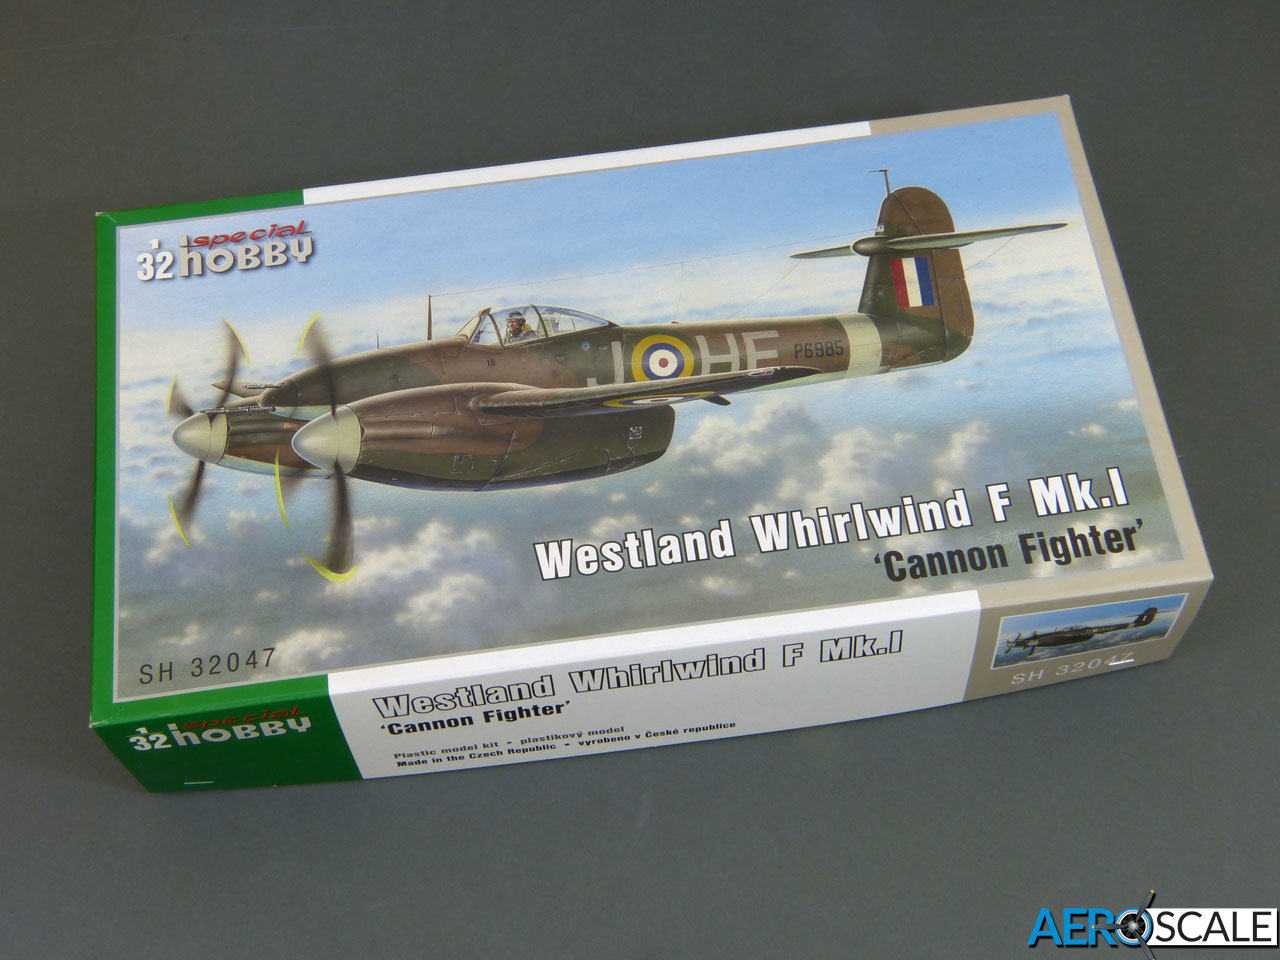
And a rather big box arrived today from Special Hobby, containing a sample of their brand new 1:32 Whirlwind!
I’ve only just begun examining it, but first impressions are that it’s going to be an absolute stunner! It’s brimming with detail and the surface finish with embossed rivets is beautifully subtle.
I’ll get cracking on the in-box review as soon as I can, and start a full build hot on its heels. 
All the best
Rowan 
8 Likes
Rowan, I have built the Trumpeter Whirlwind in 1/48 a few years ago and that is already big, so this 1/32 must be huge.
1 Like
Hi Torsten
Yes, it’s going to be an impressive beast. While the fuselage is about 11.5 inches (29 cm) long, the wingspan is 17 inches (43 cm).
All the best
Rowan
1 Like
@Merlin - I’m quite content with Microscale’s line of decal solutions, but that little holder for the bottles looks ideal as the counter to my tendency to spill that type of bottle. Does it come with the decal set solutions bottles that you purchased?
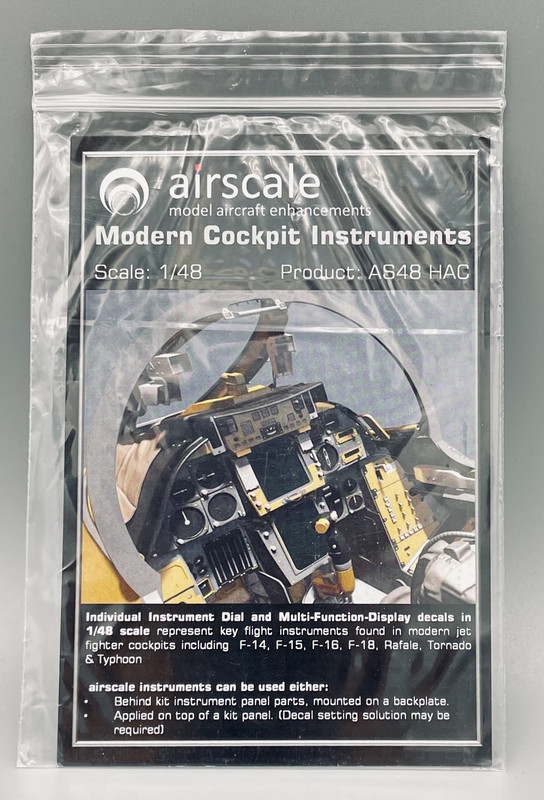
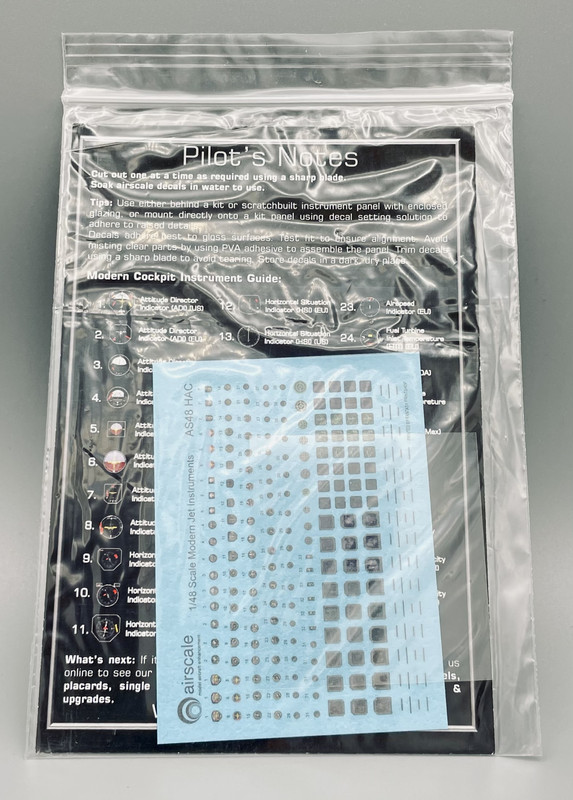
These arrived in the mail. They will come in handy on my current Harrier project and many other 1/48 jet projects in the future.
4 Likes
They have a set specific for the microscale bottles. Fits 3 bottles iirc.
Hi again
That’s right: Ultimate Decal Solution Holder (for Micro Set/Sol)) | Ultimate Modelling Products
Ultimate’s own decal solution is available with or without the holder but, like Carlos, I thought it looked neat. It’s solid 3D-printed and pretty weighty, so it should definitely help prevent accidents.
All the best
Rowan 
1 Like
Yes very nice, just a shame they didn’t put a hole for a brush by each. Maybe you can talk to Paul or Lee and they can put some thought into that for the next rendition. Thanks Rowan, and OMG that whirlwind is going to me a monster.