I’m not sure what this really means but this is too easy of a straight line. I’m not going to touch this.
2 Likes
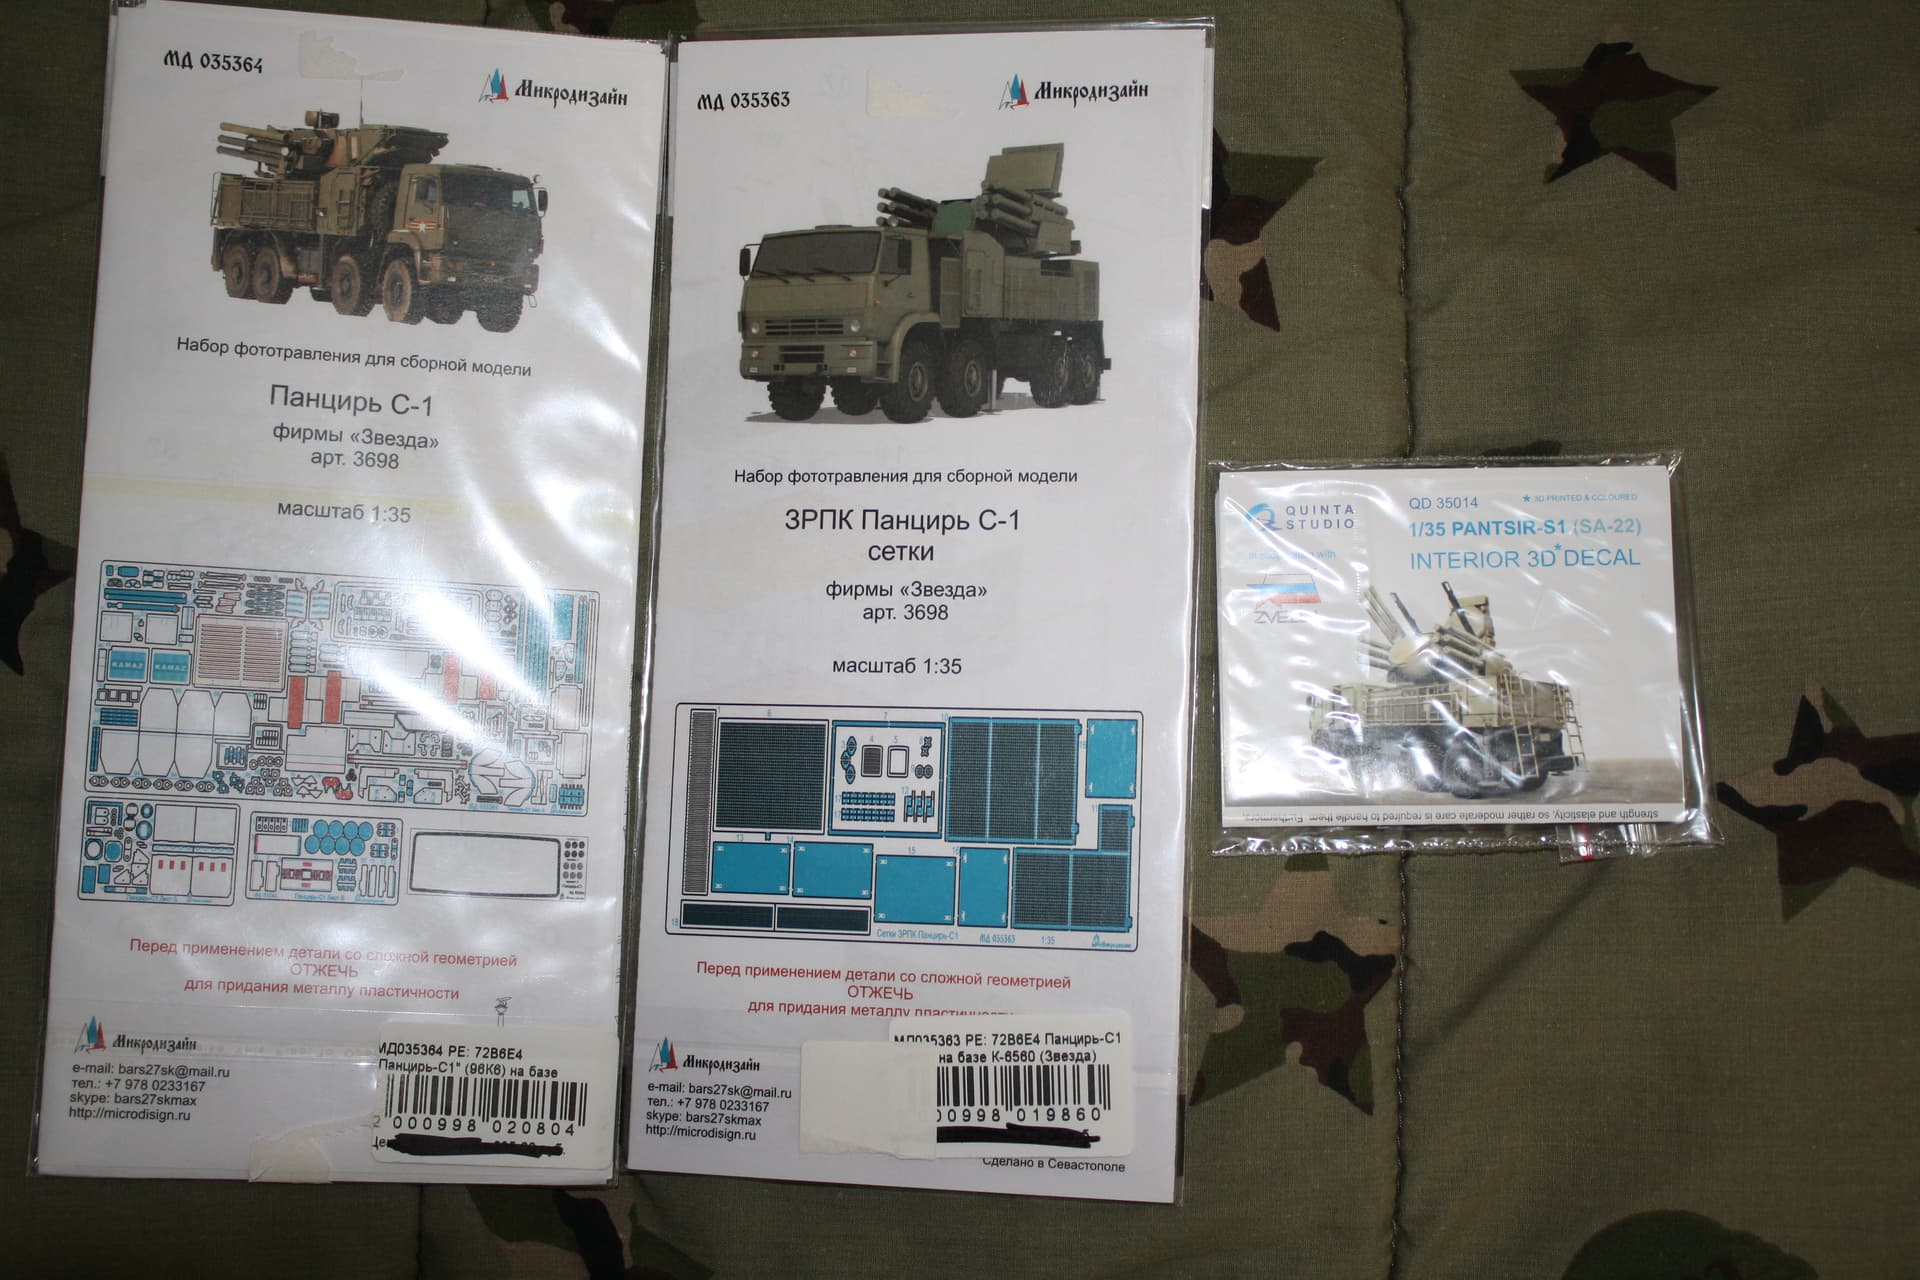
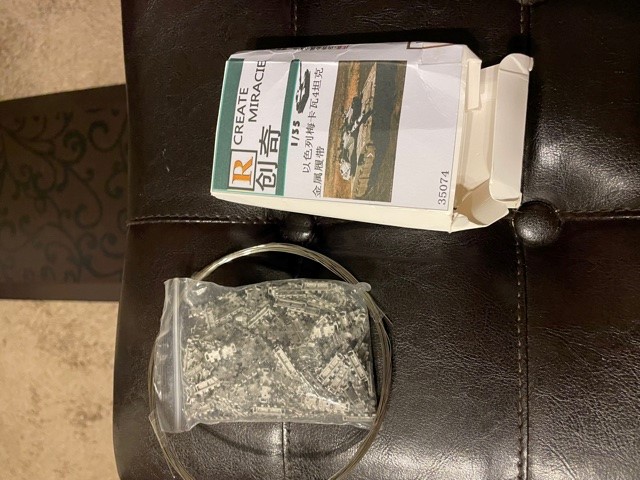
Got these Microdesign photo etch sets and Quinta Studios 3D decals from Chelyabinsk, Russia in only 10 days! They beat the kit from Hong Kong, which gets here Friday.
Both are VERY nice, by the way.
7 Likes
Is this for the Zvezda kit? I came very close to buying it today but chickened out in favour of stuff that won’t taunt me until January.
1 Like
Yes they are for the Zvezda kit! I’ve got wheels for it too. The kit has gotten rave reviews and I got it for 48 bucks.
1 Like
$48! Best I’m looking at right now is $95 (that’s $75 in freedom units) plus tax  . That or I get hosed on shipping.
I think this is also going to end up being my contribution to the 8 Wheel campaign so I’m just gonna let you start first and let you find all the problems (though it sure doesn’t look like they’ll be many).
1 Like
Well John is doing this one for the 8 Wheeler Campaign so I’m doing the MAZ firetruck. I’ll save the Pantzir for later in '22.
2 Likes
Guys,
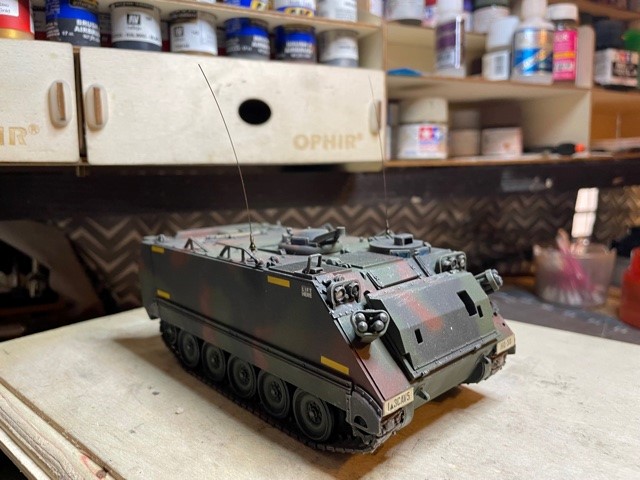
I really appreciate your comments about that “weighted question.” I understand that our models are for display only, and yet, I want to feel the same rumbling I experienced when assigned to a tank battalion in Fort Polk, LA (Circa-1986-89). At that time, I was an E-3 driving an M113 ambulance (the Band-Aid) following M1A2 tanks all over the NTC and the Bonnies around Fort Polk (otherwise affectionately called “Fort Puke” by the troops. I built the Tamiya’s M113 a few months back and I am in the process to add red cross markings (once they arrive from God knows where). I believe the weight adds to the aura of invincibility and power of our models. Granted it may become problematic when handling them but I am willing to deal with that. I found that cat litter (the finest grain the better) and then adding Elmer’s glue.
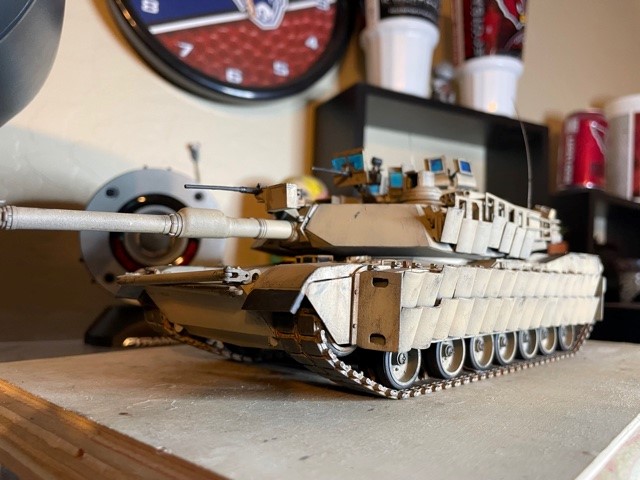
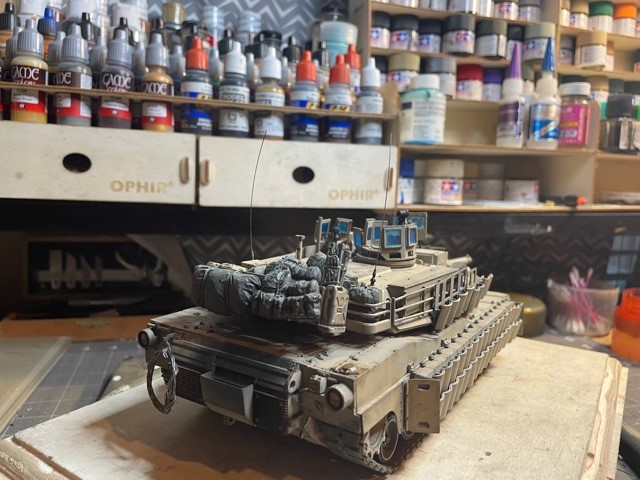
Yesterday the postman brought me metal tracks for the Hobby Boss Merkava IV with Trophy which has been dormant because I hated its plastic tracks. I also got a metal barrel and PE parts for the basket, and to be honest, I’m going to wait on that so I can get a little more empirical experience.
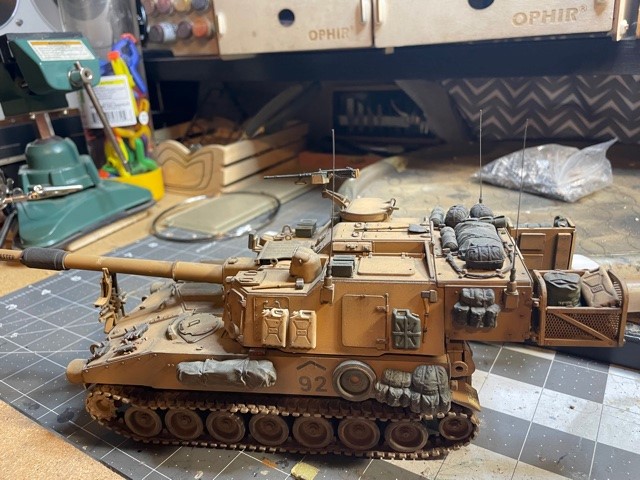
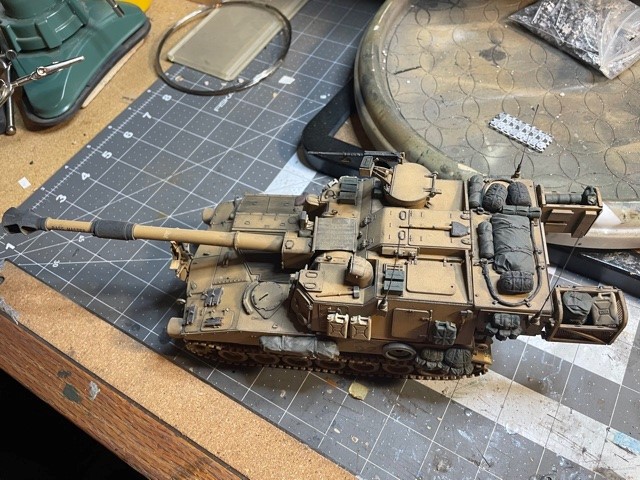
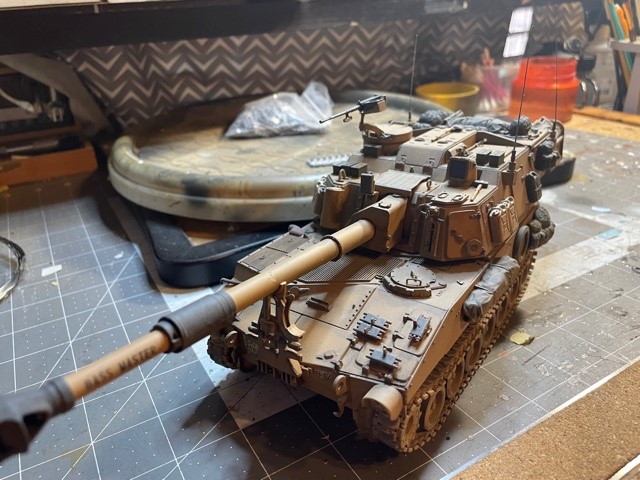
The Tamiya M109A6 Paladin has a long and sad story; so there I was on the trenches… Not really. So about five months ago, I bought the AFV M190A6 for the simple reason it came with a metal barrel. I found the AFV kit complicated and over-engineered (for my skill level, off course), I kept working on it for several weeks until I reached a point to toss it the trash bin. I decided to get me the Tamiya kit and alas, it was done in a couple of weeks. I learned a couple of lessons; 1. Stay away from complicated kit KISS (Keep It Simple Stupid), and 2. Learn your limitations, skill level and above all, be humble to recognize that a kit is above and beyond my skill set.
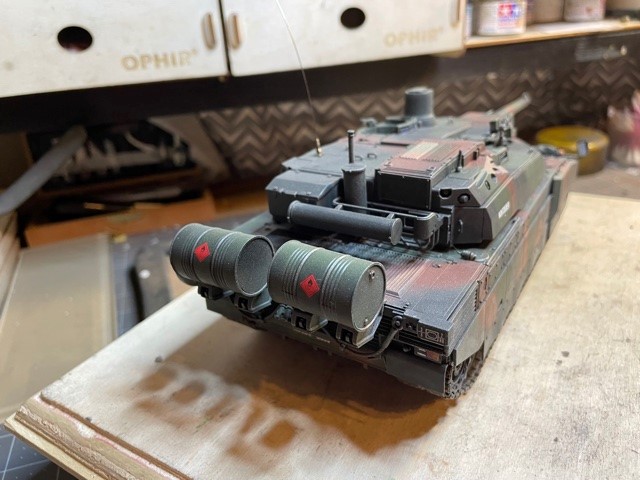
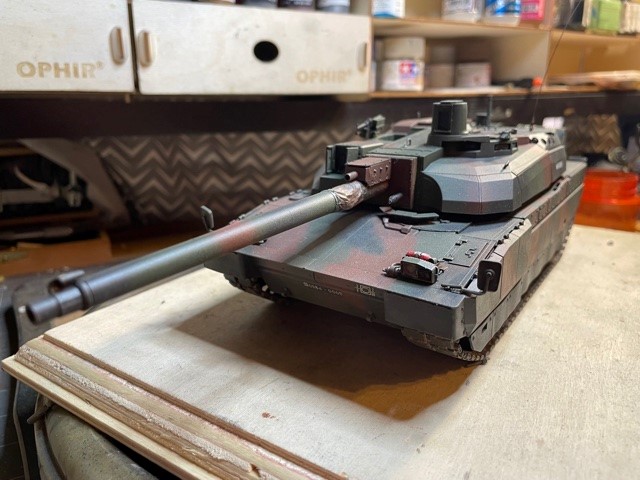
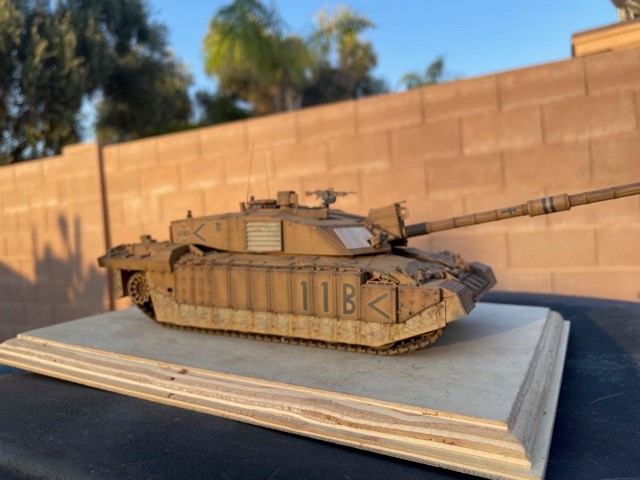
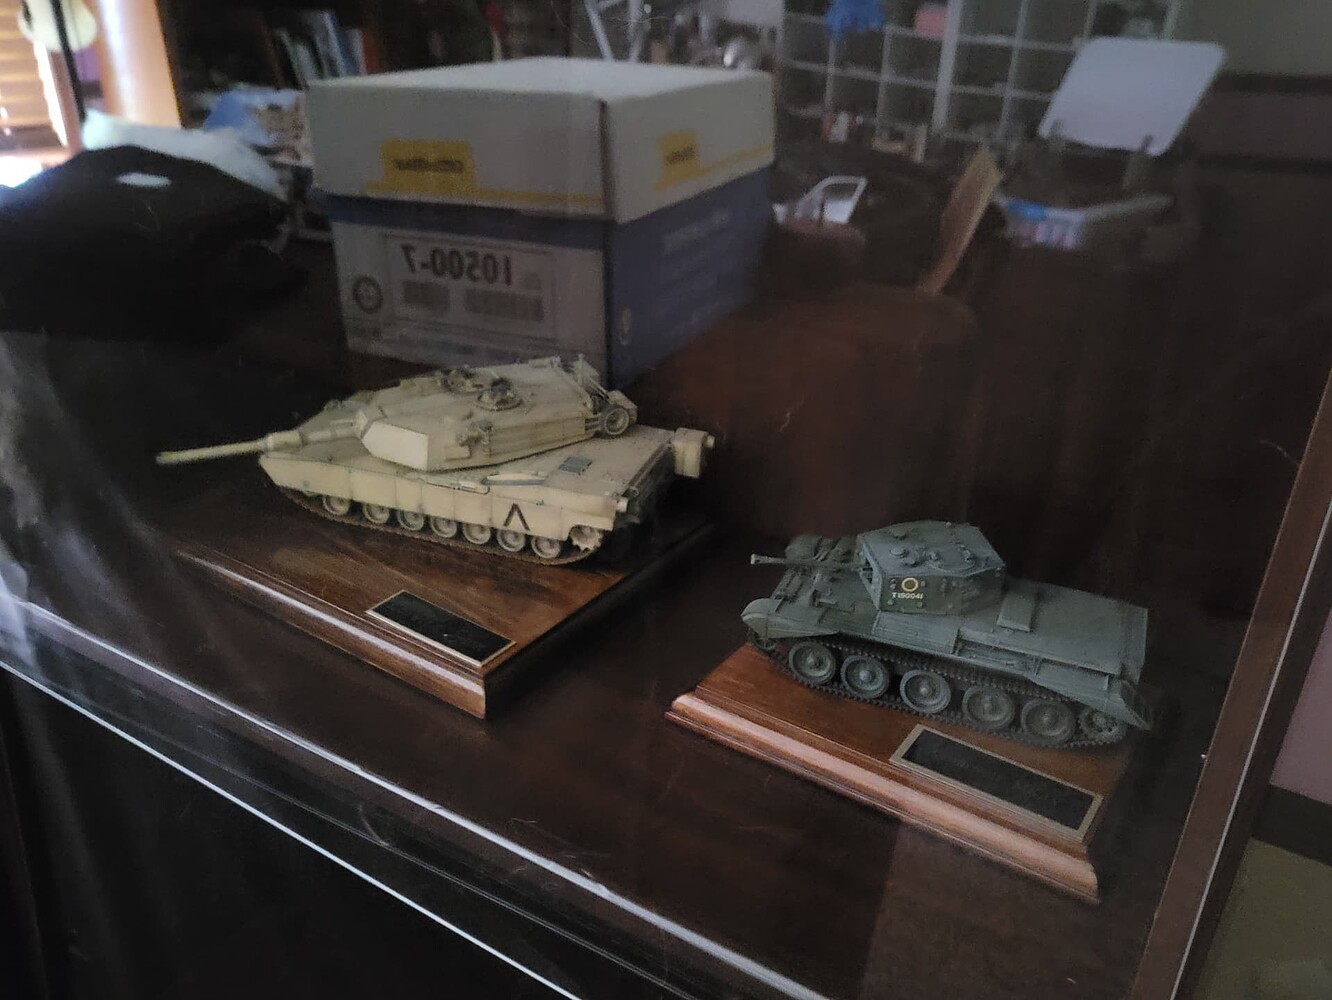
I’m posting a few of the kits I have built recently. They are the Leclerc Series 2, Challenger II and M1A2 SEP Tusk II (all Tamiya). I have ordered the Tamiya JGSDF Type 10 MBT and the Trumpeter Italian Up armored C1 Ariete MBT.
Note; The Warrior Queen is not happy because I am displaying my tanks in the formal living room. Any ideas to avoid her wrath?
Regards,
Luis


19 Likes
I find it crazy you said you were embarrassed to show your work. These builds look awesome!
3 Likes
Ask her if she would prefer to have the models in the bedroom instead
6 Likes
@LuisyFrancis Luis, the models all look fantastic! Definitely happy you’ve shared them with us! A++ Look forward to seeing more!
For displaying models, I have an inexpensive floor display bookshelf that was on clearance at local store(Big Lots). Taped clear acrylic sheets to front ofshelves to keep cats off of the shelves.
If the acrylic sheet had been neatly trimmed to size and attached with a pair of small hinges, the bookshelf could have been used in the living room. My fiance isn’t really a fan of armor modeling so it’s in the spare bedroom/hobby room.
3 Likes
childish giggling
3 Likes
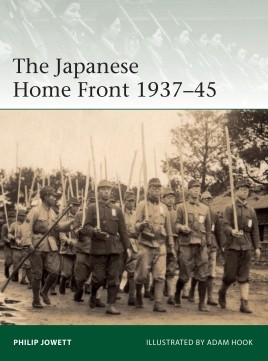
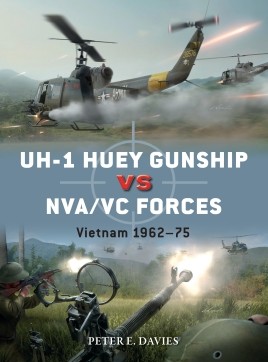
Had these two books from Osprey Publishing arrive today for me to review.
6 Likes
Agree…Microdesign is some sweet PE.
1 Like
Presents!
I’ve been trying to get my hands on the Centaur and the Queen Mary for ages and they finally came back in stock at my LHS.
Centurion is for the Centurion campaign.
MG carrier looks absolutely amazing and will form the earliest vehicle in my ongoing timeline of the Canadian Army.
12 Likes
That’s a lovely collection you have there, Luis! Congrats for your builds! But I miss a Leopard 2 there … 
1 Like
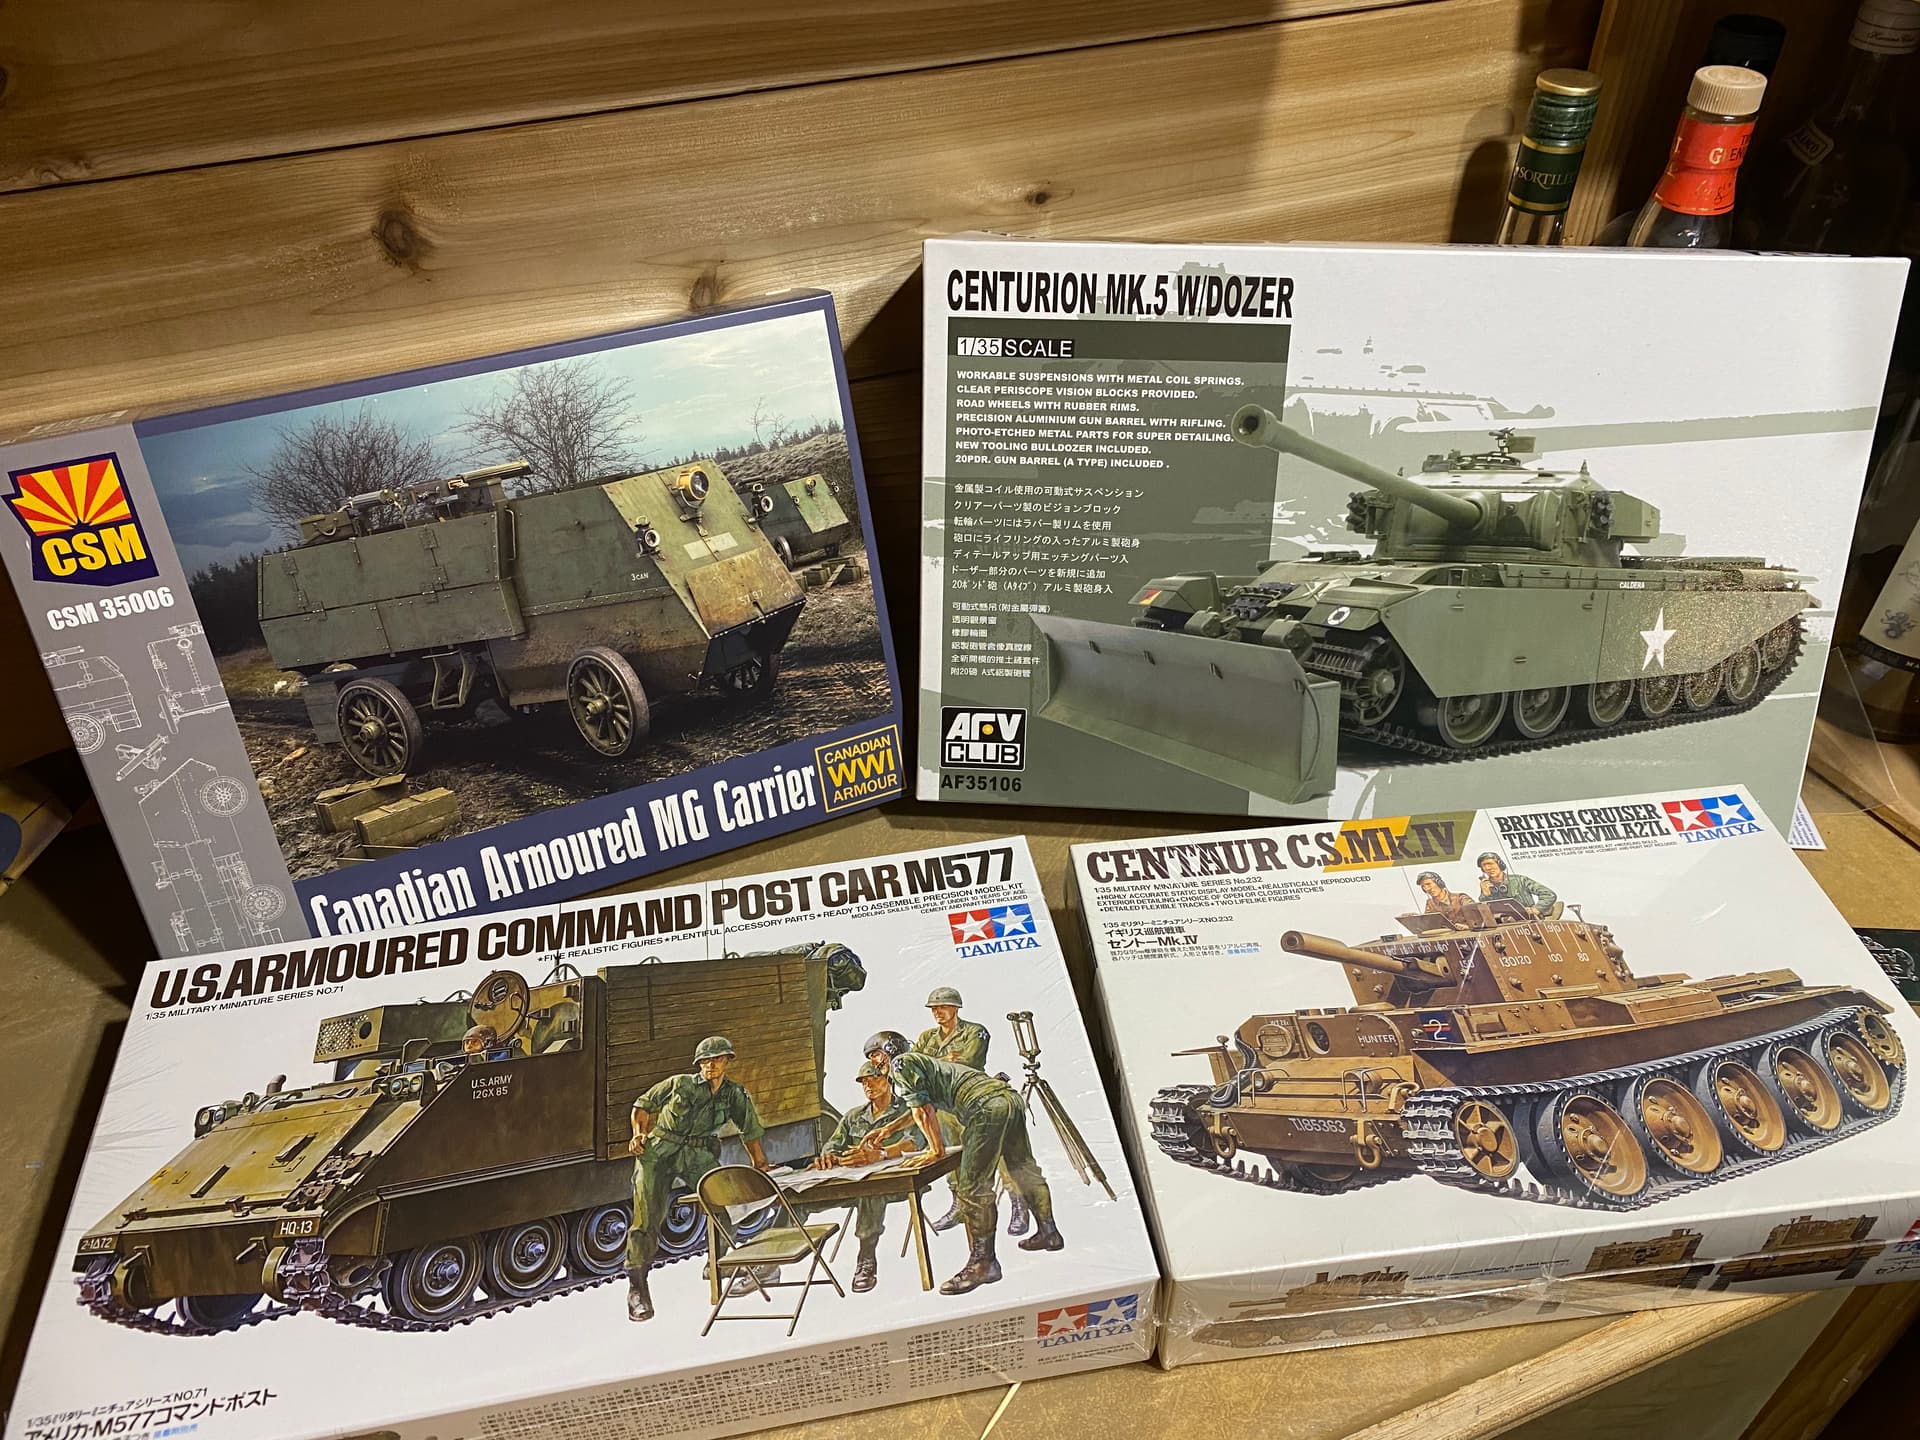
A small parcel from Michigan Toy Soldier. My first Copper State Models armored car. I’d heard and seen so any good things about them, I had to acquire one.

7 Likes
I love the look of these. How soon do you expect to start on it? I’ve wondered about sending CSM a suggestion to do some of the armored cars of the Spanish Civil War or Tiznaos. Not sure what the demand would be…
2 Likes
The Lanchester kit has an issue with the roof plate. CSM have it sitting about 1 mm too high.
Compare the kit with these:


The side plates on the real thing reach to the top of the roof plate. Bevel joint?
On the kit the roof plate extends out above the side plates.
The rear curved sideplates are higher than the flat sideplates that contains the drivers and passengers side “windows”. The roof plate should have a lower front part and a raised rear part. The front of the roof plate needs to be lowered otherwise the visor for the windshield, part B39, will not reach from the hinges down to the the top of part A14.
CSM have missed the plate joint between the flat and curved plates

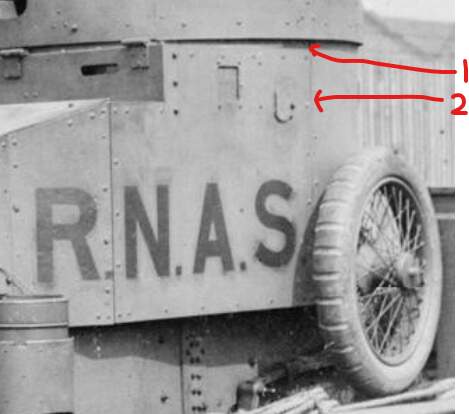
1 Step in height between flat and curved plates
2 Joint between flat and curved plates
The “turret race” should reach the inside edges of the curved plates and be visible as a step in the roof behind the driver and passenger
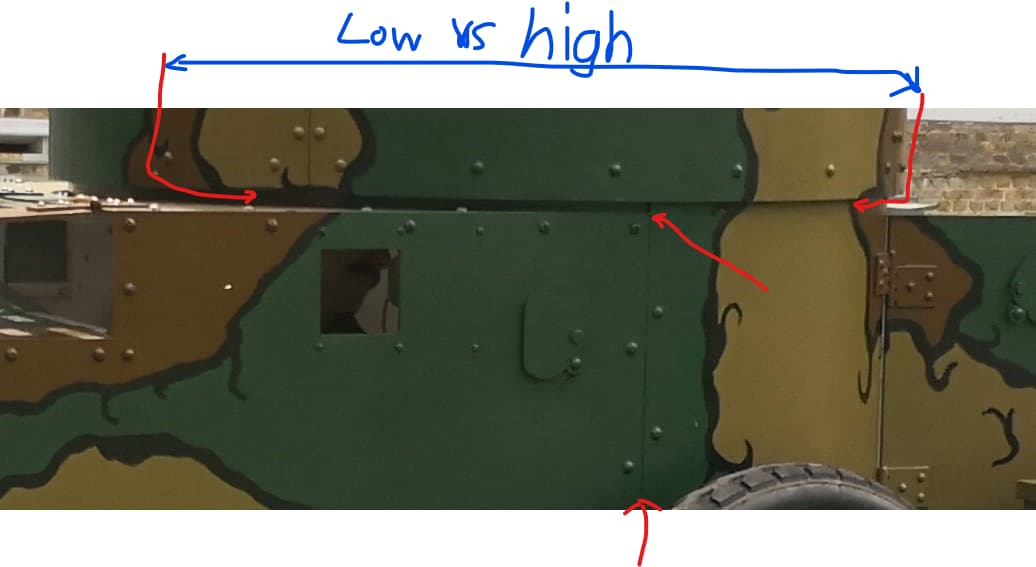
This might be a replica but I think they have used original drawings
3 Likes
First of all, thank you guys for the nice comments! Like I said before, I love reading your posts always looking forward to learn from your techniques and skills. Having said that, it was that after watching several vids from Andy’s Hobby Headquarters in Youtube, gave me the intestinal fortitude to come back to this hobby.
As you noticed from my pics, I haven’t worked on figures yet. My vision is not the same when I was a young whipper snapper and secondly, painting the face of a 1:35 figure is an art which will take me a while to master. BTW, what type of glue or substance do you guys use to temporarily attach a figure’s head (or any other part) to a stick or handle? Also, what’s the best way to temporarily mask large camo areas on a tank?
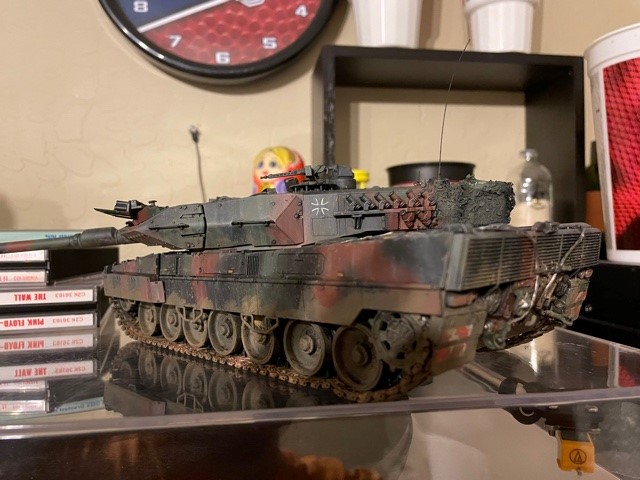
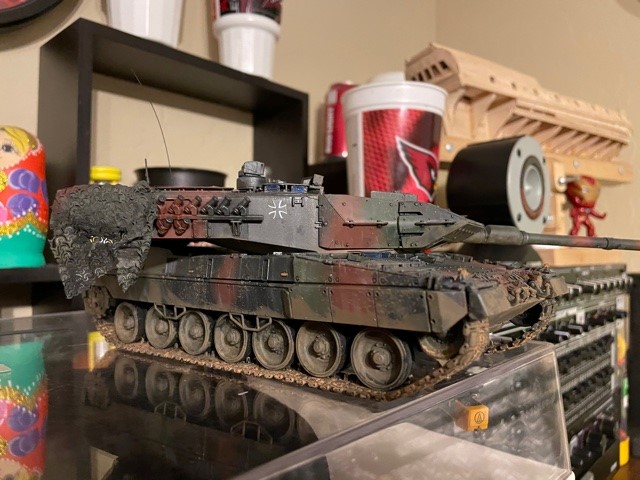
Black Widow. This Meng Leo 2A6 was my first set. I ordered metal tracks and barrel. I made a mess with the PE that came with the kit, as it was the first time I ever worked on it. The rear turret bustle PE was very challenging for me since at that time, I did not have PE bending tools. So, to cover my mistake, I decided to drape it with after market camo netting. Lesson learned: before committing to a kit, make sure you get the right tools.
Regards,
Luis
What’s best in life?
“To crush your enemies – See them driven before you, and to hear the lamentation of their women!"
Conan the Barbarian
10 Likes
For noggins I’ll either drill a small hole in the bottom and jam in a tooth pick, or I’ll just CA glue a piece of scrap sprue to the bottom and just cut and sand when I’m done.
Lots of options for masking. All depends on what look you’re going for. Blue Tac works well for soft edges. There are also commercial masking putties available. Plain old masking tape or paper templates can be used for hard edges.
1 Like