I have one Italeri M7 or Kangaroo conversion with one broken track. The older, stiff vinyl, Italeri tracks for Sherman type chassis are slightly short so they need to be stretched a little. They will also force that first and last boogie wheel upwards while sometimes lifting the center bogie so that it does not touch the track. The track is stiff and does not want to bend in tight curves around idler and sprocket which, the rtack tries to get back to an oval shaped.
I glued the bogies solid, which stretched the track and eventually broke it. The other track on that finished model is still OK as well as the Italeri tracks on some other finished models.
The old tracks in my unbuilt Italeri kits are still as stiff and soringy as they where when I bought the kits more than 30 years ago.
My main issue with the old Italeri tracks is the stiffness which I fear could break fragile suspensions (their Pz I for instance)
The soft tracks in some Dragon kits though …
The stiff old Italeri tracks could possibly be used to make a cat o’ nine tails
I’ve been building Italeri M47’s since their inception/first release. Only once did the kit tracks break (stored improperly in a shed). I have a Somalia M47 on the shelf now, owning the kit tracks (painted and weathered), and they are almost 40 years old. The other M47, of Jordanian markings, wears a set of metal chevron Friul T80’s (chosen for tons of foreign applications). I would suppose/suggest, as time goes by, the engineering and material use in manufacturing today makes the tracks in M47 kits much more durable. If you need to purchase an M47, find one of recent dating…that should ensure recently manufacturing of the tracks.
I have tried to find the Takom M47G on line, seems to be out of production as it is sold out everywhere, found one on EBay but they want 100.00 for it.
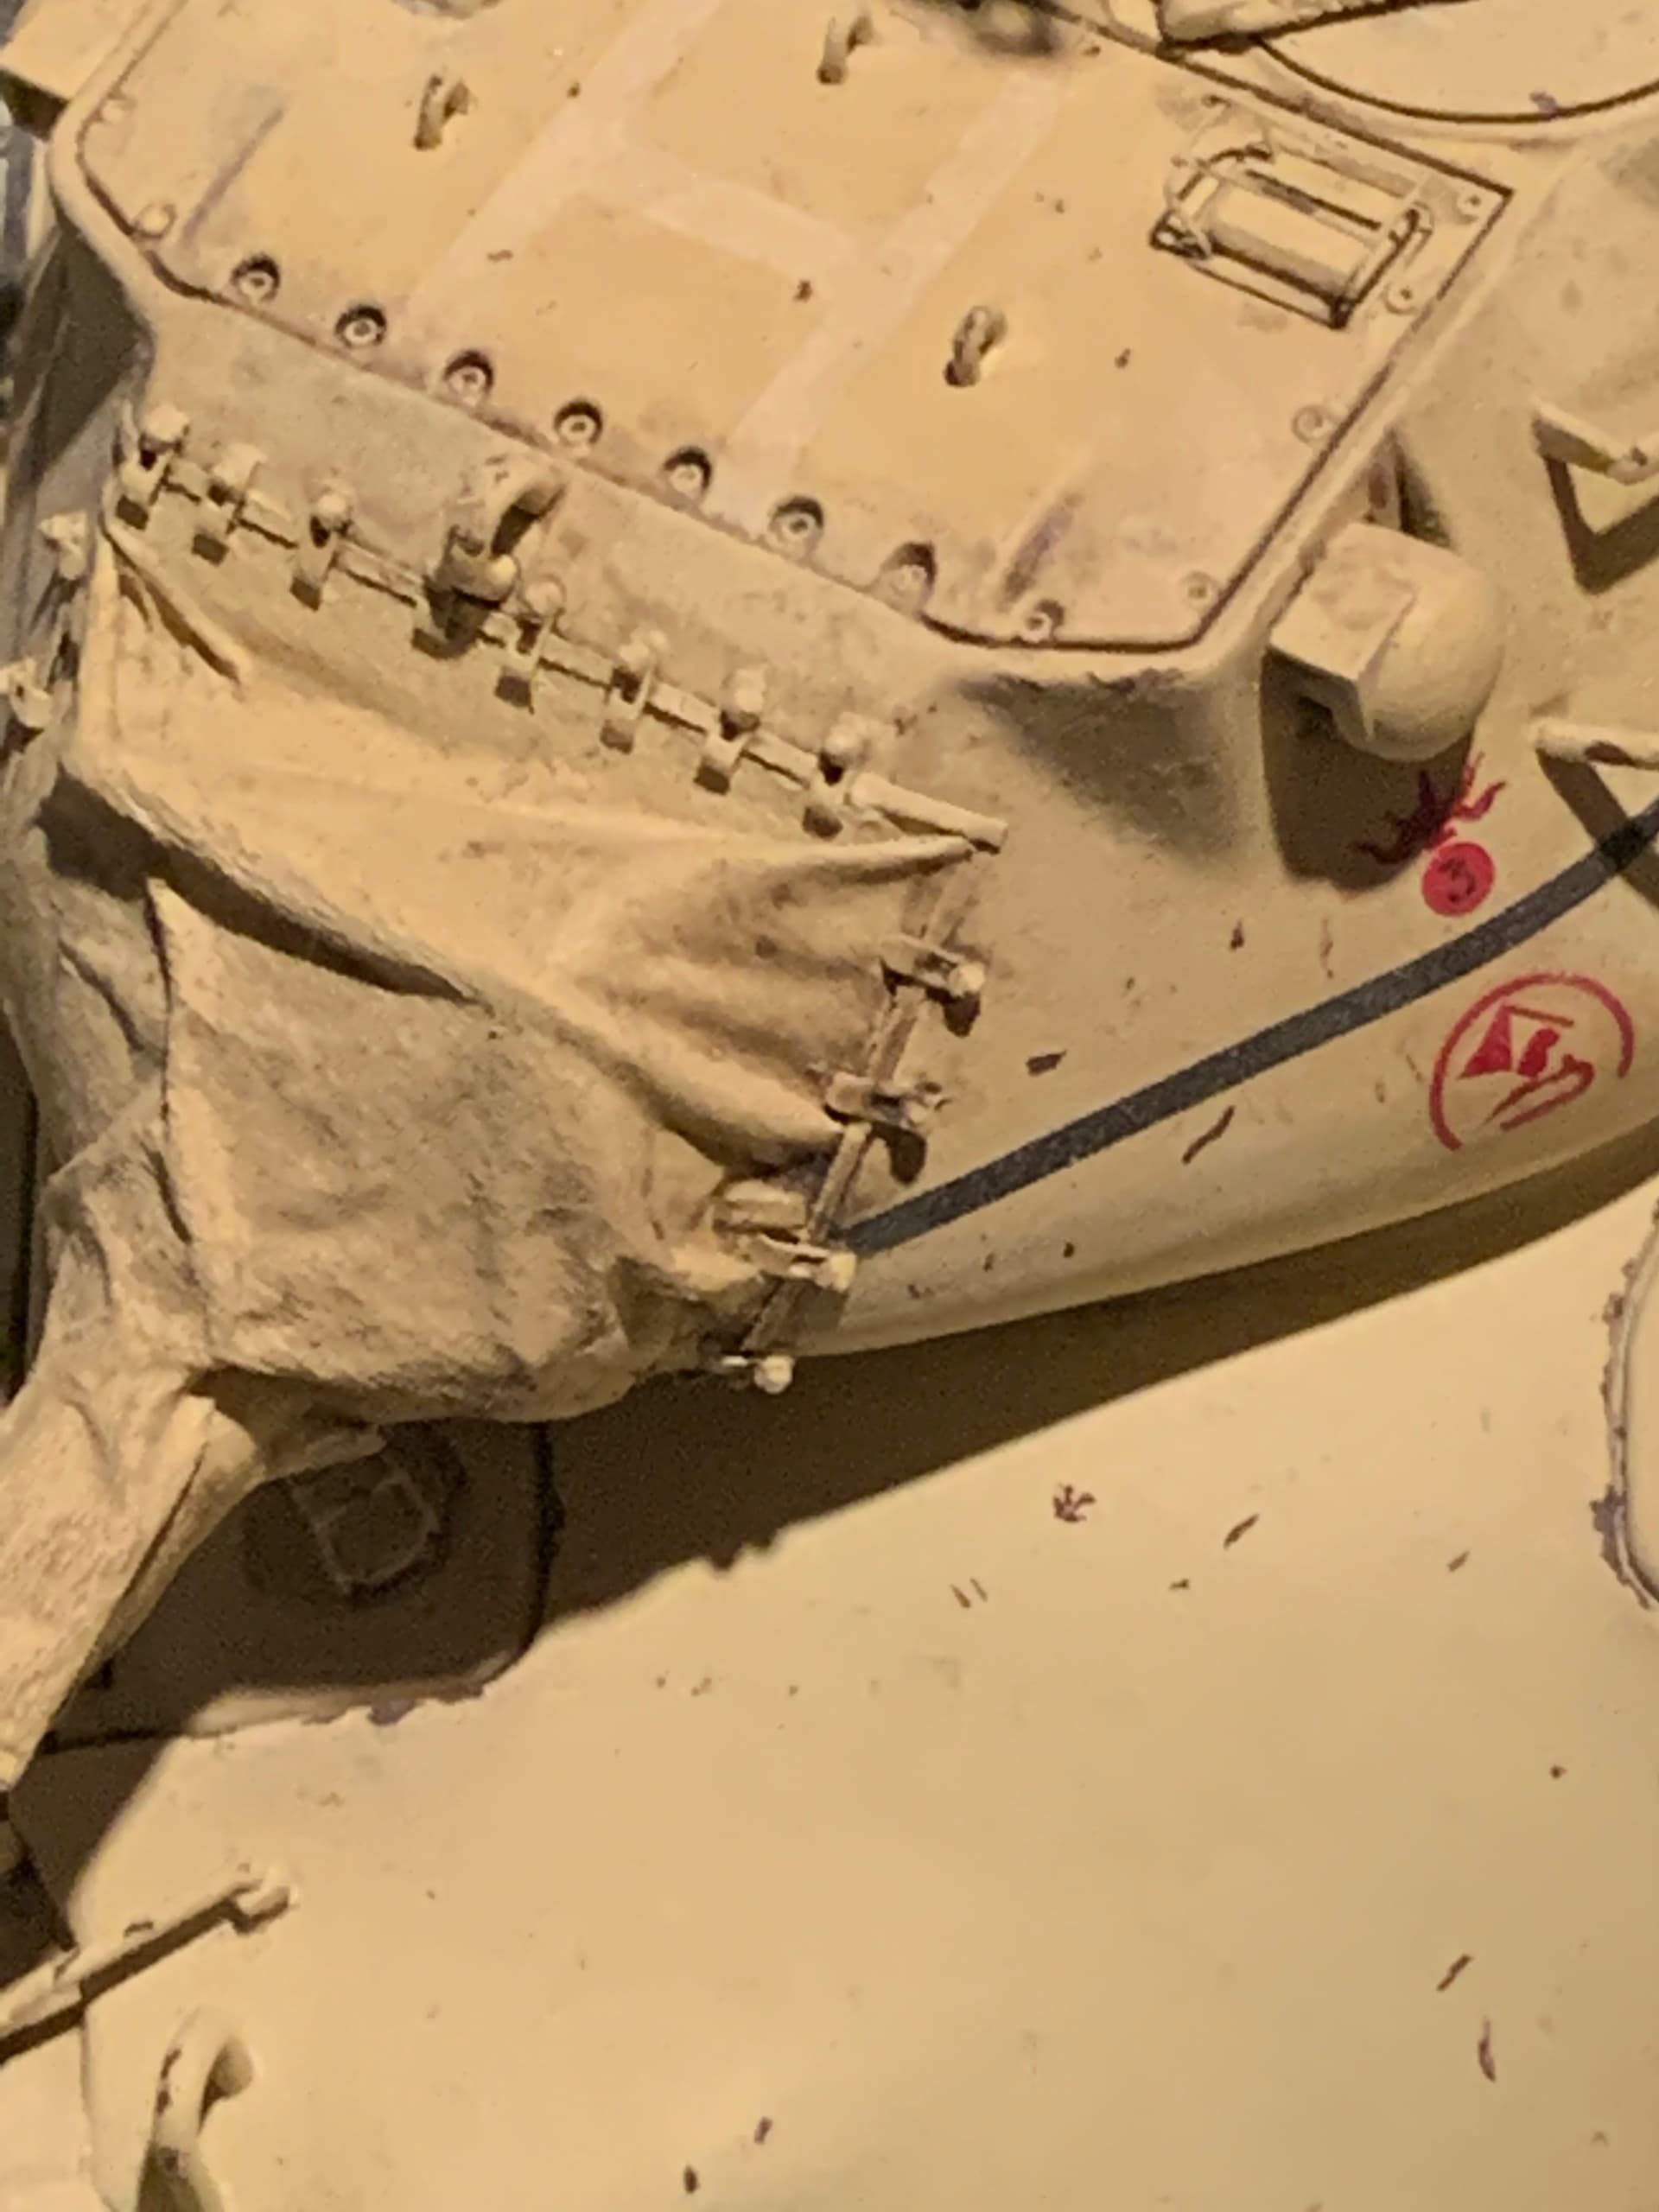
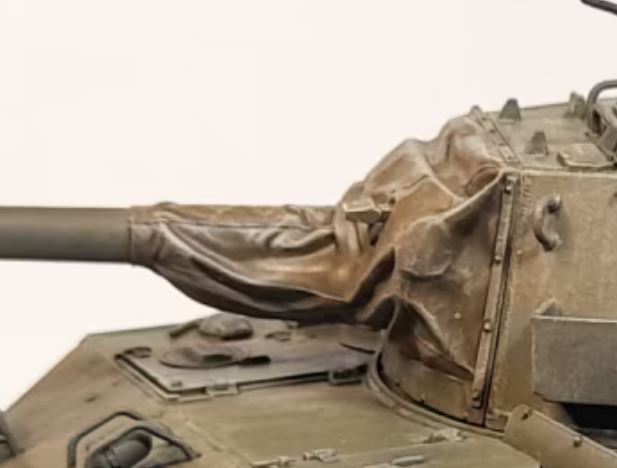
I’m not sure if your build requires it, but the Tamiya gun cover is awful and unrealistic. You could make something better looking with package tissue and white glue. Interestingly, it was not long after Tamiya made this that they designed their M18 gun cover, which is exquisite.
You said this was going to be a “cost effective” and “not too serious” build, so I would agree that the Italeri kit in one of its iterations would be best. I would not consider the Italeri without the DEF Models upgrade set and new tracks, but that’s the level of detailing I like.
Not relevant to your question, but for general info . . .
I have closely compared the Takom and Italeri kits and the Takom is far superior. The detailing, molding, and L&L tracks are so much better (as you’d expect from a forty-year newer product) that even with the need to rework the glacis contour Takom still is ahead. My experience with other Takom kits is that they are also well engineered so the extra detailing does not come at a cost of an enourmous parts count or assembly issues.
I am not good with putty, either. On my last build I used a tissue treated with acrylic siliconized caulk to make a durable but flexible fabric that I cut into pieces similiar to the real cover.
Kurt, the movie version does not have the mantlet cover on it. I would agree with you about everything you said about the Takom kit, but it seems to be out of production as it is sold out everywhere.
The Italeri kit is around 30-40 with shipping, so I think I am going for the Tamiya/ Italeri hybrid which right now is 52.00 shipped, but I am waiting till next week to see if I can get it cheaper with any Black Friday sales.
So after all that conversation and different recommendations, I ended up getting the Takom kit for a good price on EBay.
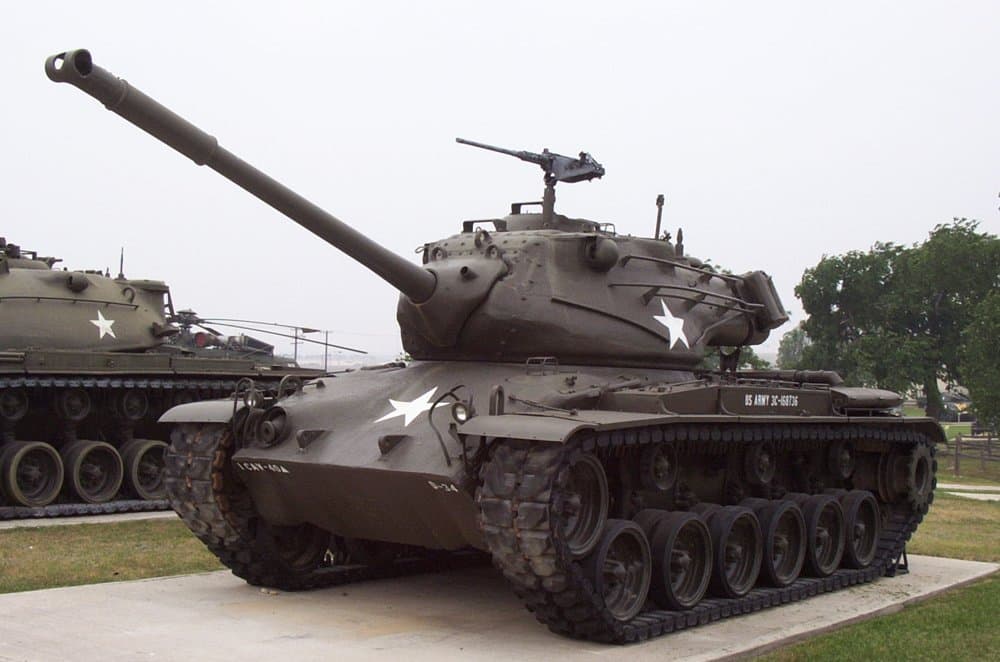
I know the front glacis plate by the bow machine gun is wrong, looks like it has to be more of what I believe would be a gentle slope? If I decide to try to correct it, what would be the best way? Throw down a chuck of putty and try to sculpt sand it to shape?
A two part putty like Green Stuff, Magic Sculpt or Apoxie Sculpt would be my method. You can mix it, press it on and use an exacto handle, or PE rollers, etc, to roll it into rough shape, then use a paint brush handle or toothpick to do some adjustments. When dry you can do a final sand to shape or sand any rough spots.
If i screw it up, I would hate to have to throw the model away, is there a way of getting the putty off. Should I use a water based putty like “Perfect Plastic Putty”, for easier removal?
Perfect Plastic putty is not great for sculpting. It tends to peel off for me. I only use it to fill fine gaps or where I need to preserve surrounding detail. You cannot shape it and would need to do several layers to get it right.
The two part putty brands I mention have a longer work time, and if you do not like the result you can remove it before it cures. Peel it off and wash with water. After it cures is another matter. Sometimes you can still get under it and prise it away if the surface does not have ridges that will hold it.
A technique I showed on my CH-47 build a few month ago, for when you want the putty to conform but when you want to remove it afterwards:
Apply a very light coat of oil to the surface. I’ve used vegetable oil, Hoppe’s - any light oil will do. Add the two part putty, (I use Milliput) shape it as best you can, then let it cure. Final shaping after it cures. If you need it to come off you can flex the plastic a bit. The good thing about this technique is that if you don’t want want to remove the putty, it’ll still stay attached.
For anyone wondering why I do this, when you make custom stowage for an AFV for example, you can make it fit a particular vehicle, remove it, and cast more for your friends.
That CBSS housing I did eons ago is a perfect example.