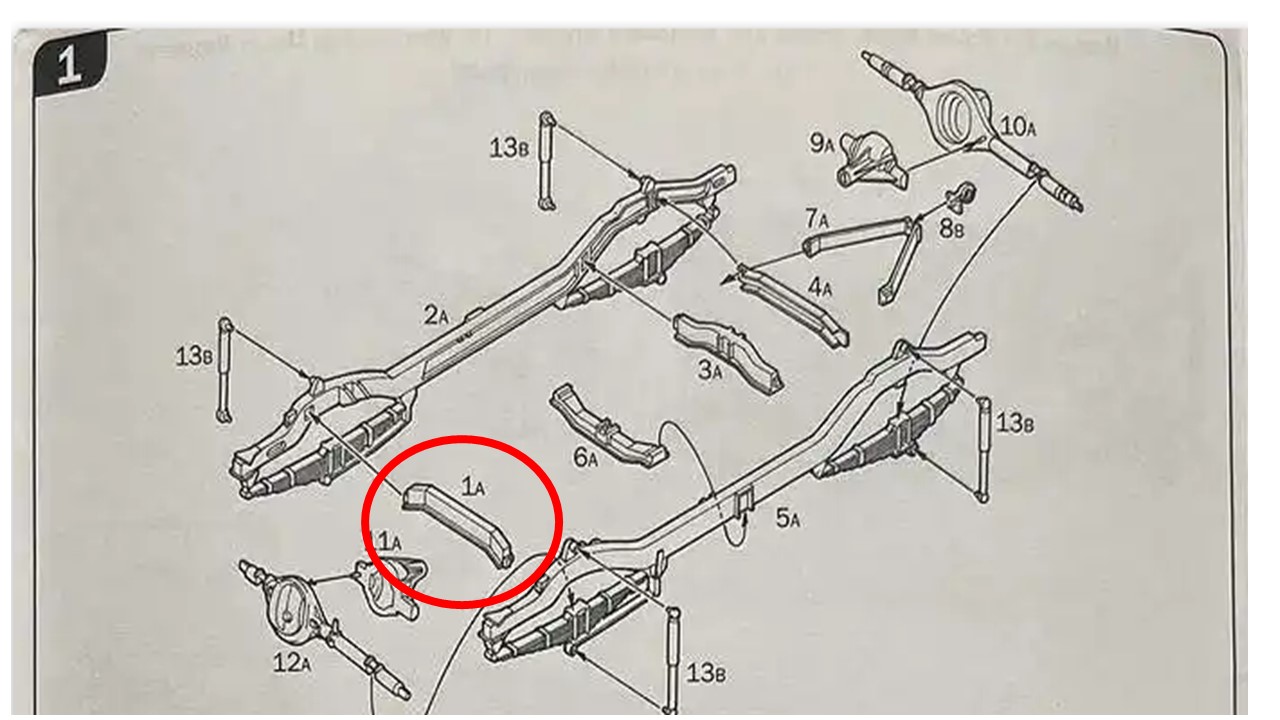
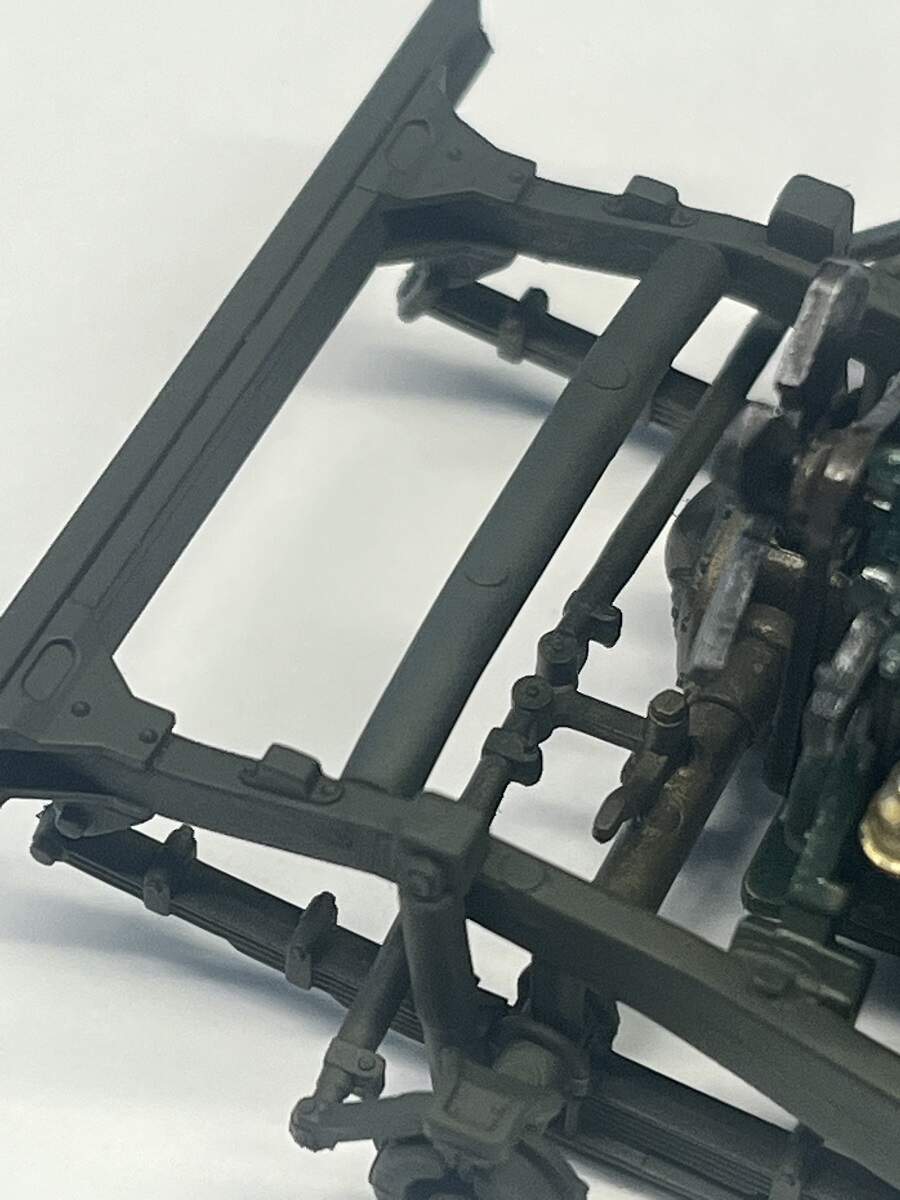
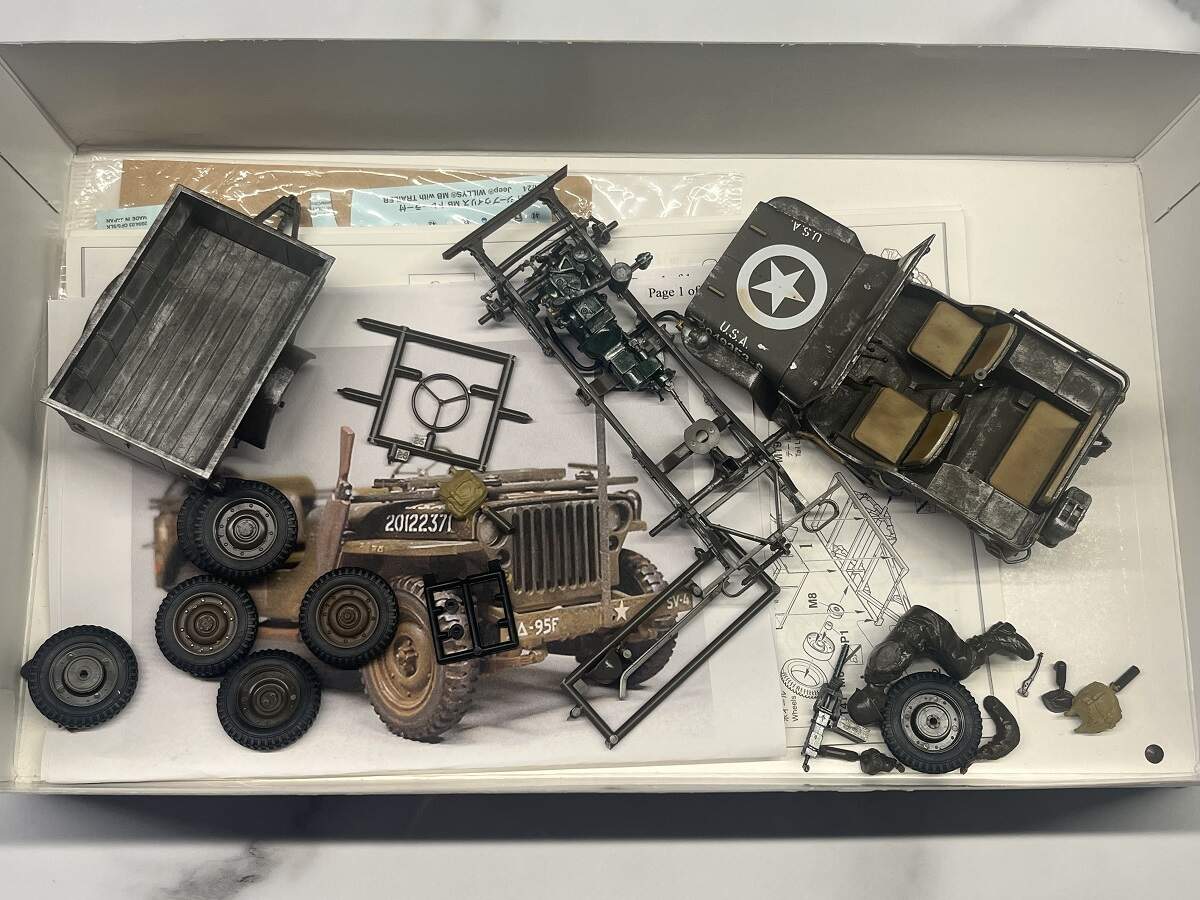
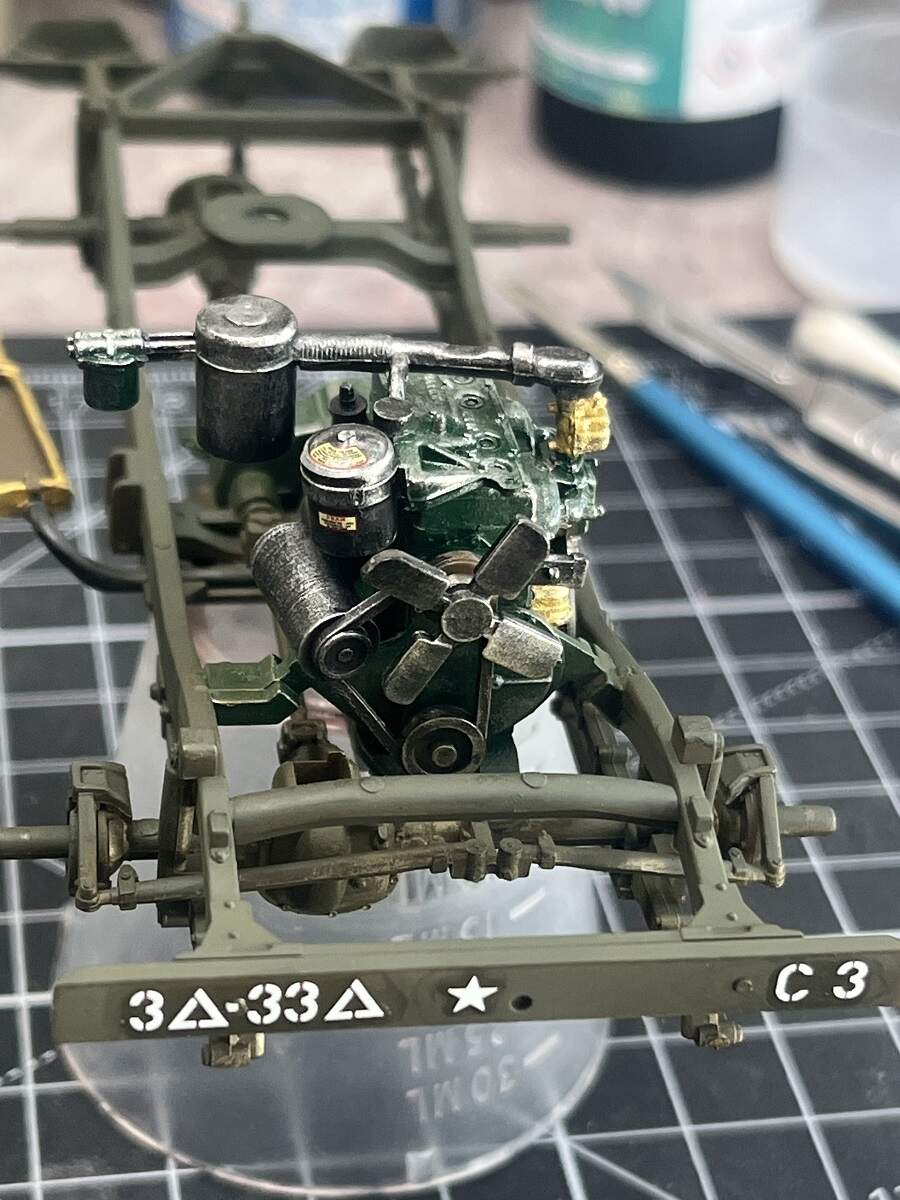
It looks like Hasegawa have the proper Willy’s MB, this is the front end of the chassis on the one I’m giving a rework. I built it to about 80% done many years ago, but the paint job is rubbish. Now I have spare decals from the Italeri kit it will be nice to bring it up to a better standard.
D,
Excellent basics on the chassis and body. You really nailed both big time. Gotta admit that seeing a non Chevy build on your bench is a rare sight these days. Certainly it will be one for the books.
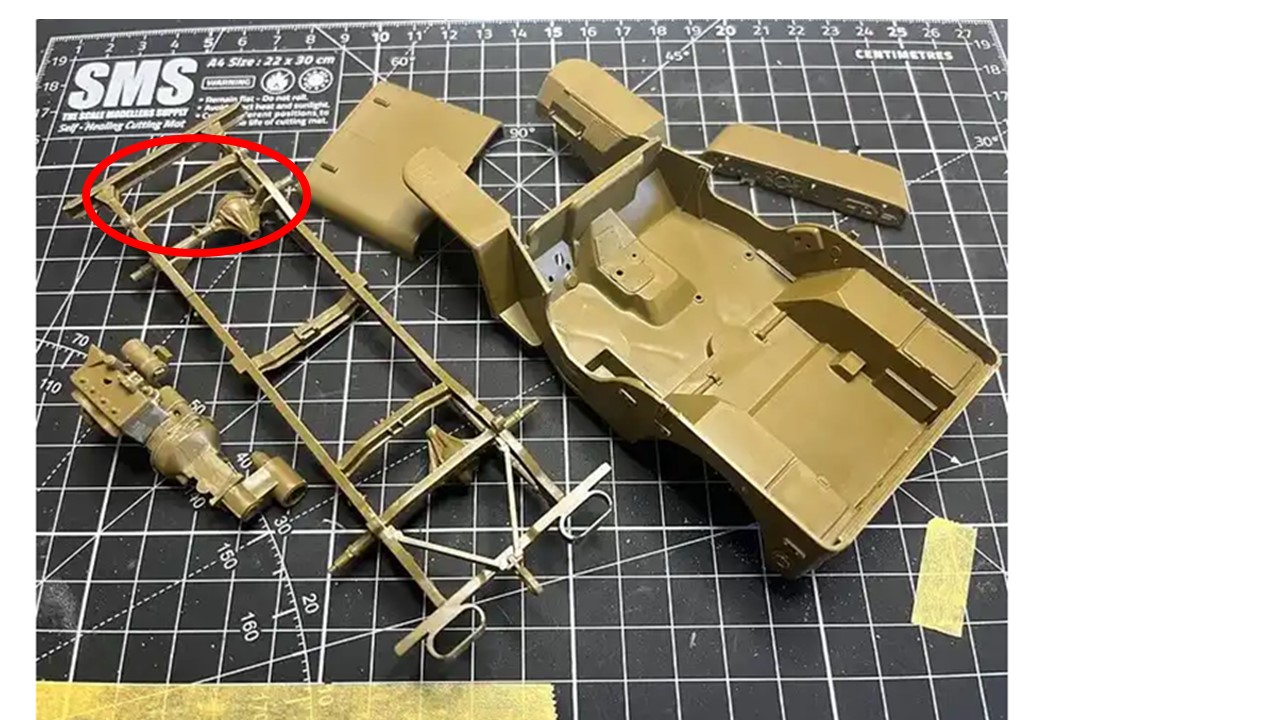
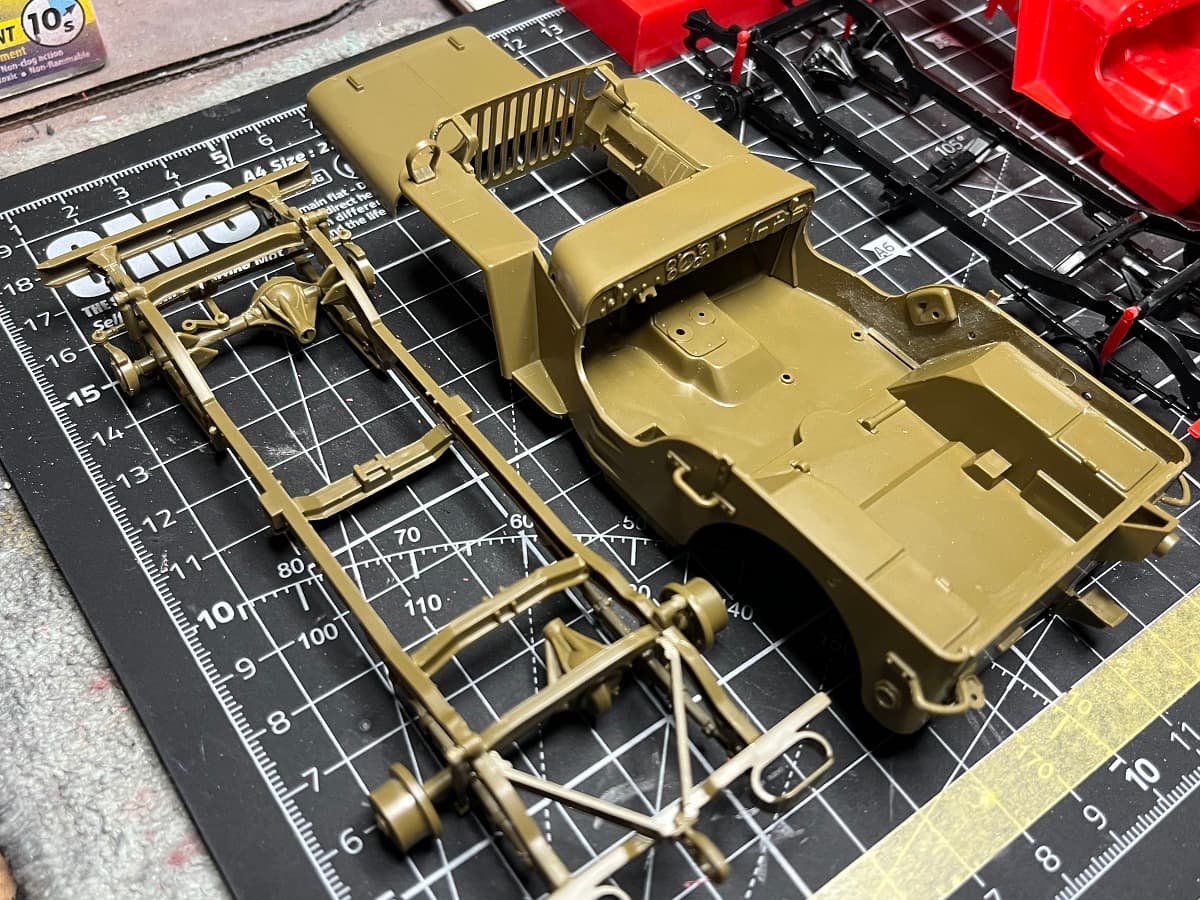
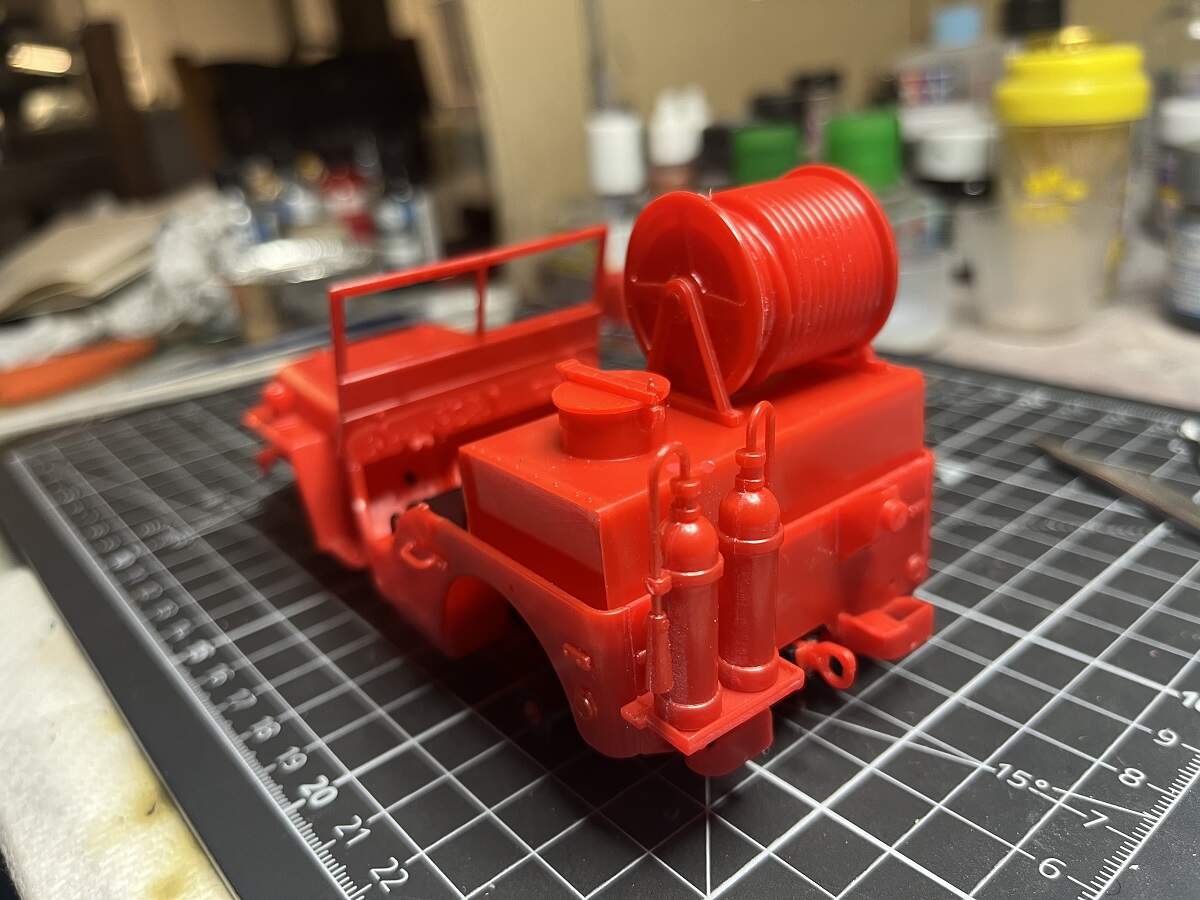
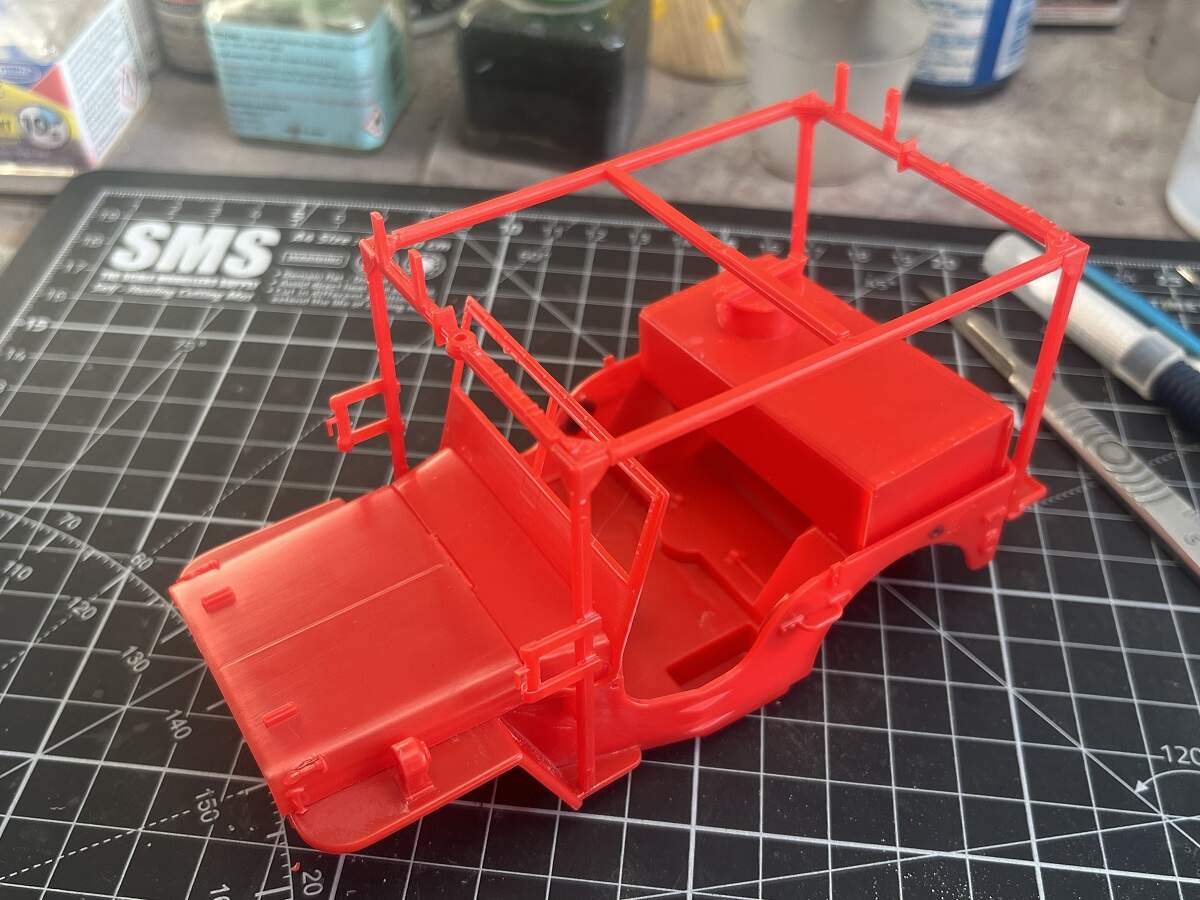
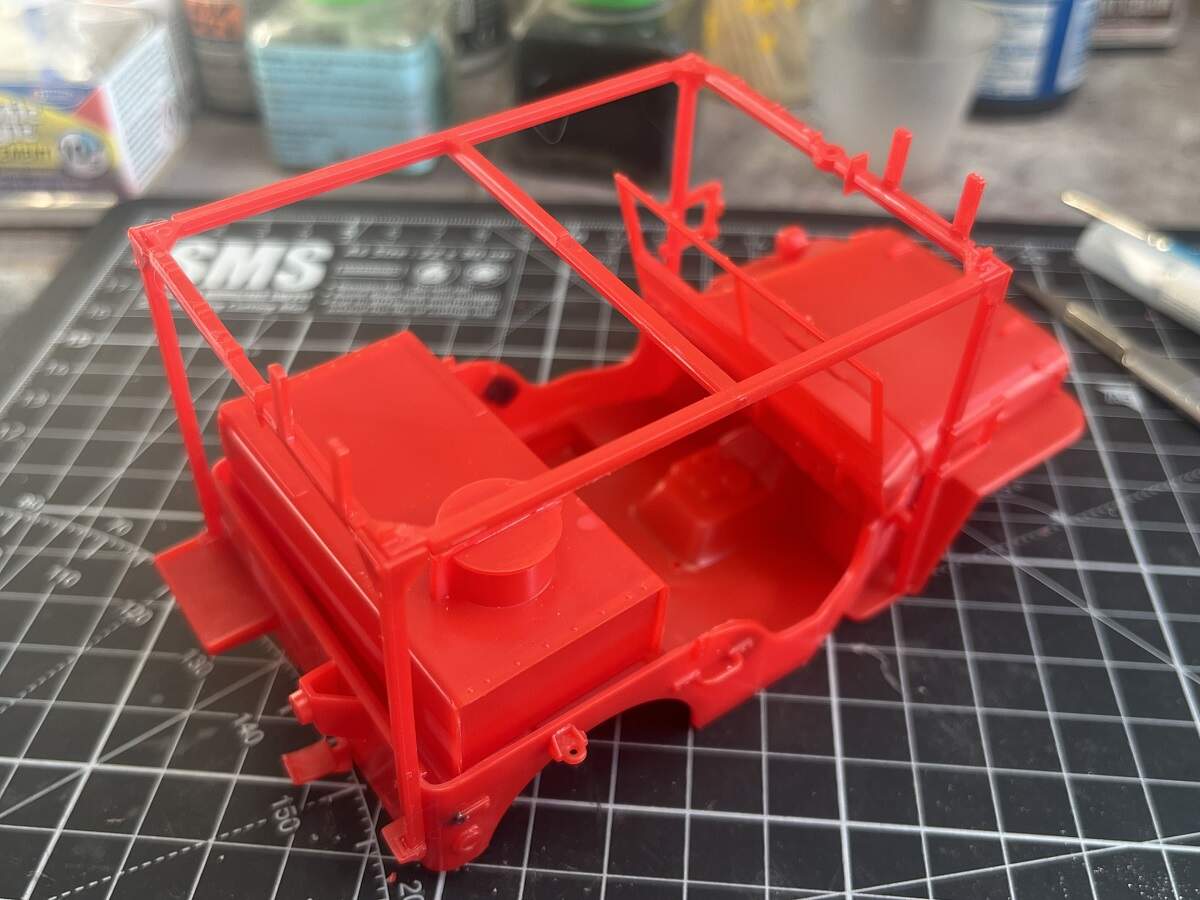
I’ve managed to get the Fire and Civilian Jeeps both assembled to basically the same point now. These kits are a dream to put together compared with my other recent builds! Very little clean-up required and really neat fit. Just a couple of small parts with no real positive locating points but still not a major issue.
I will spend some time going over them both to clean up a few very fine mold lines and some minor flash on the edges then they will be ready for primer…
Bro,
D’s a master at multiple builds. We struggle with just one kit, and 2+ is D’s usual style. Must be the Aussie Shrimp on the Barbie. To bad you’re allergic to all shell fish these days. Just leaves more for us.
JA
Sure wish I had D’s abilities as I’m working as hard as I can on just one kit and making a boat load of rookie mistakes. I’m thinking of taking another series of allergy tests to see if anything has changed about my allergies. Would be nice to eat shell fish again.
Bro
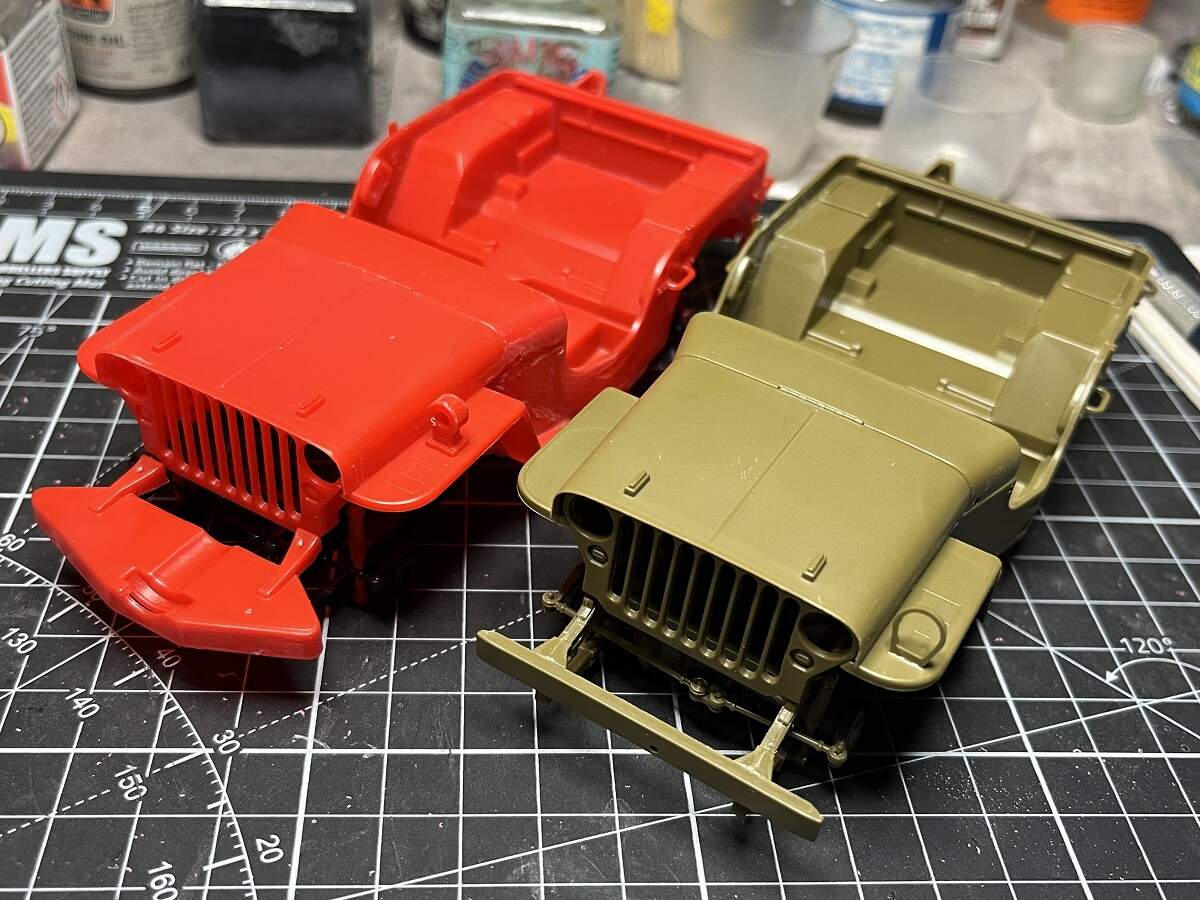
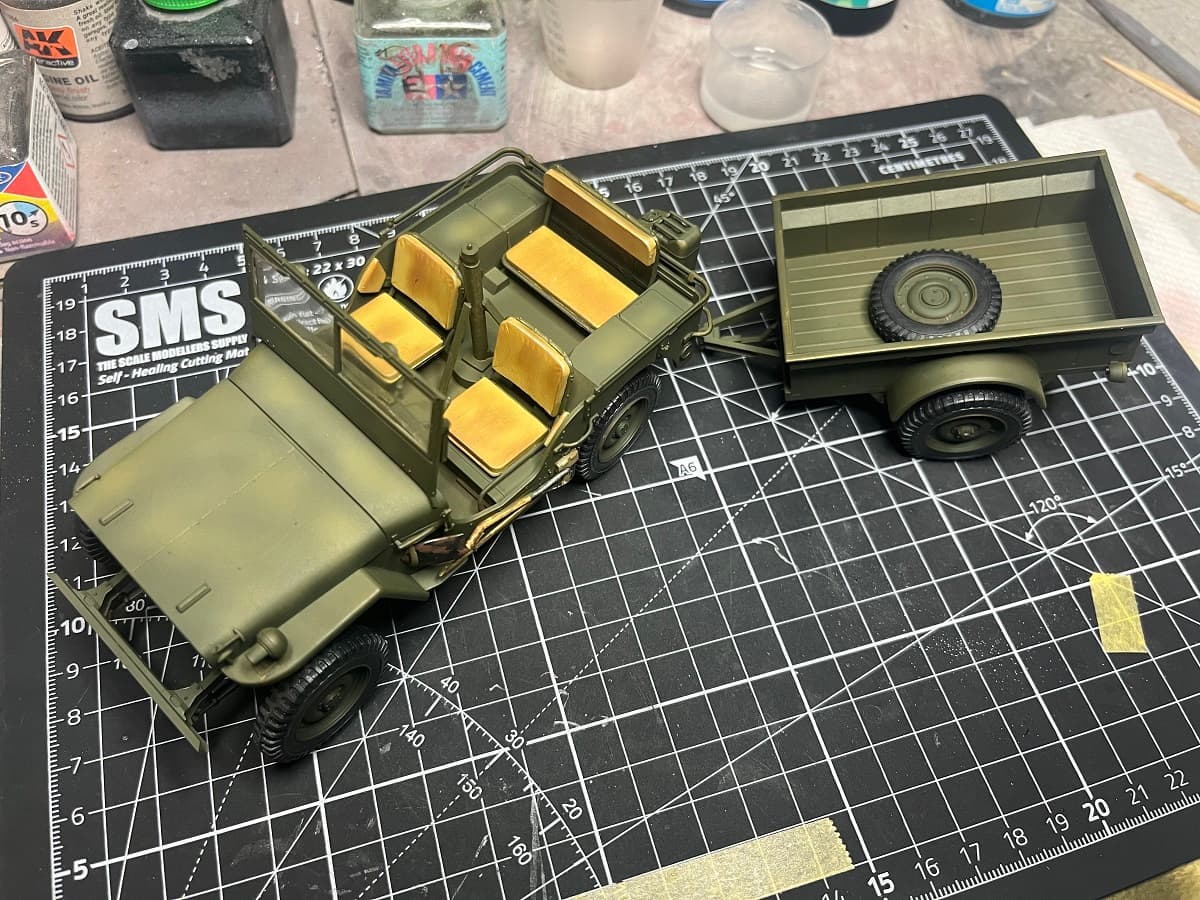
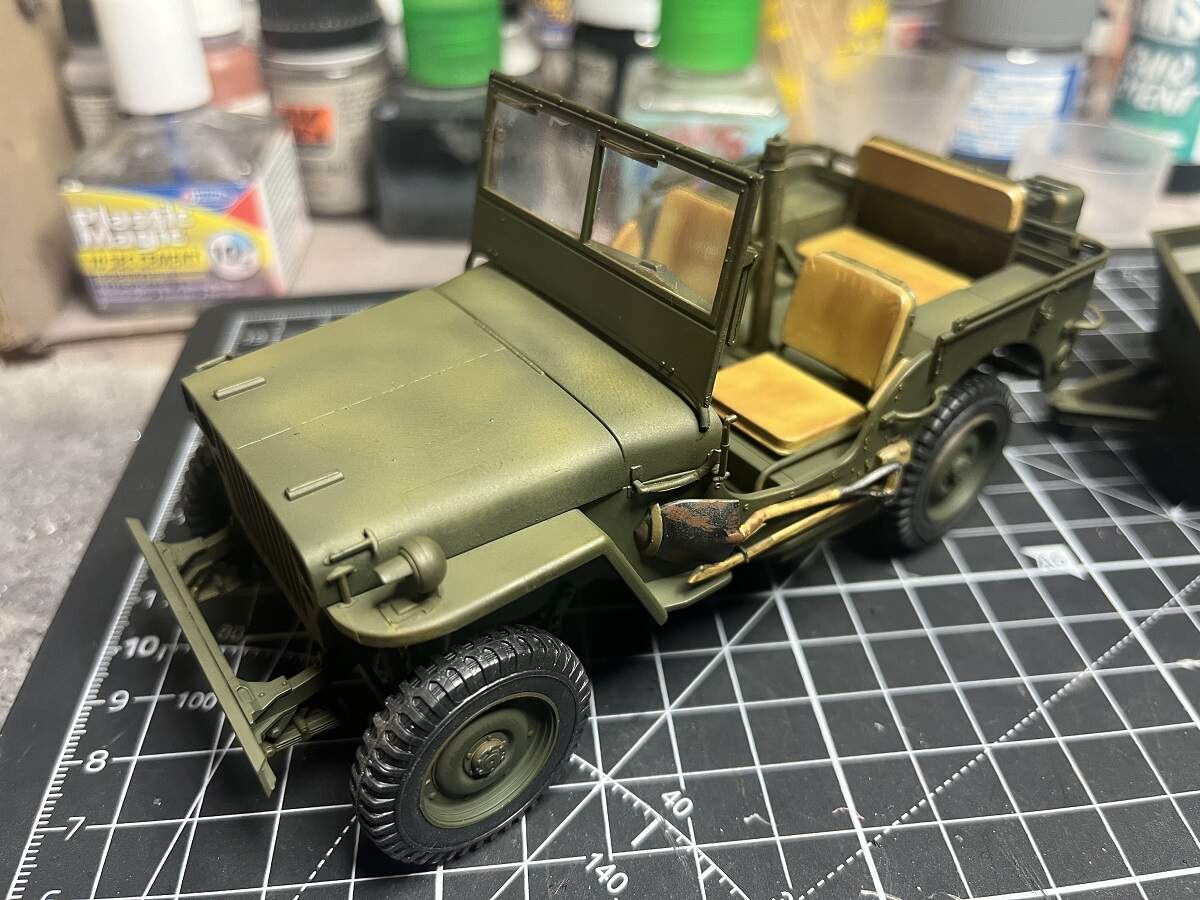
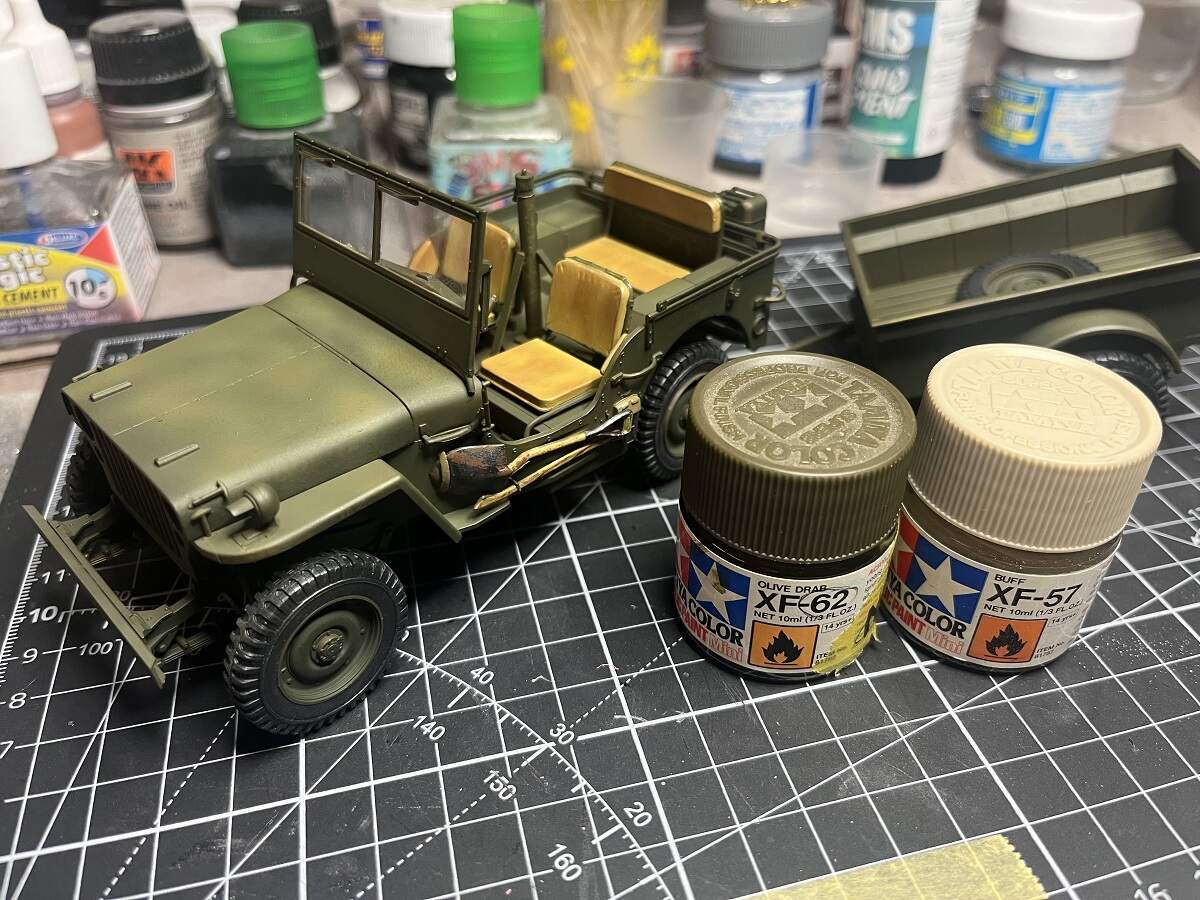
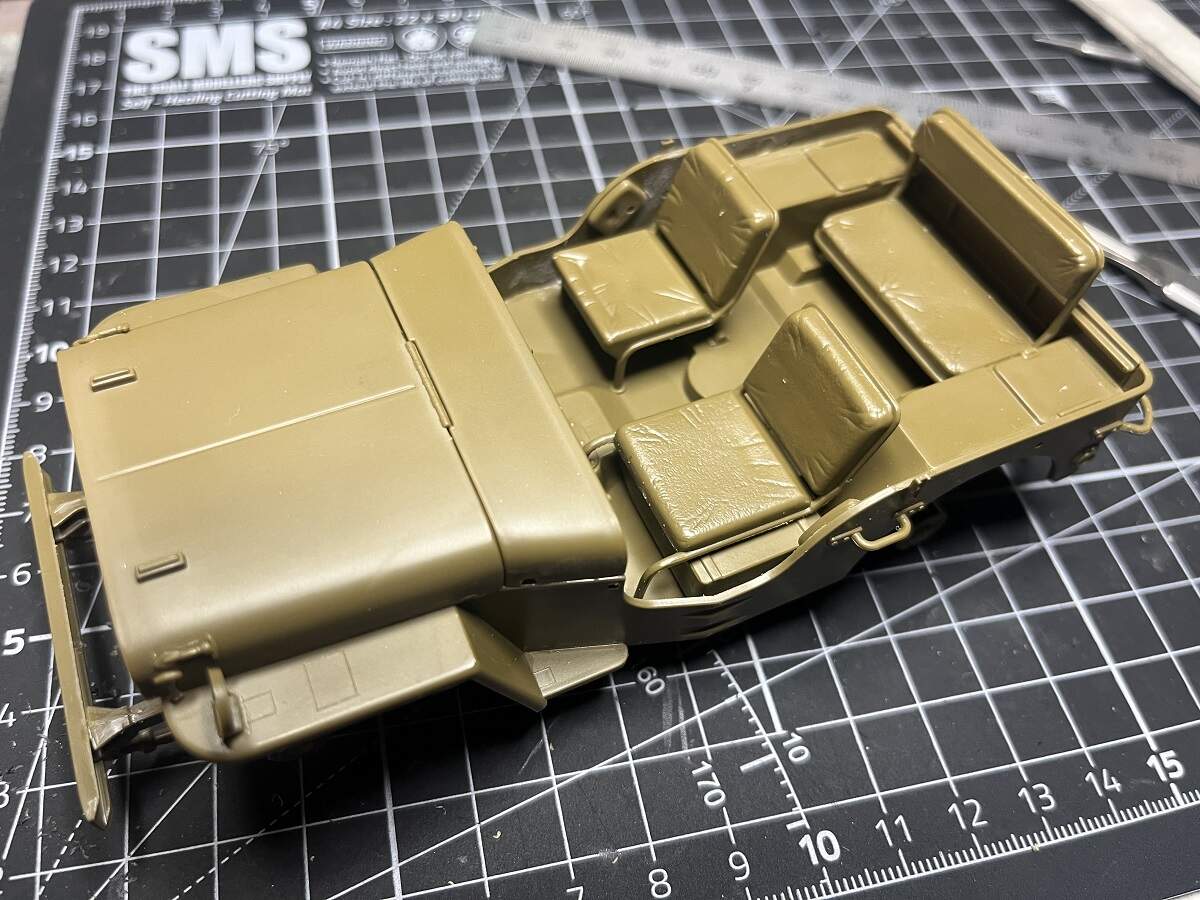
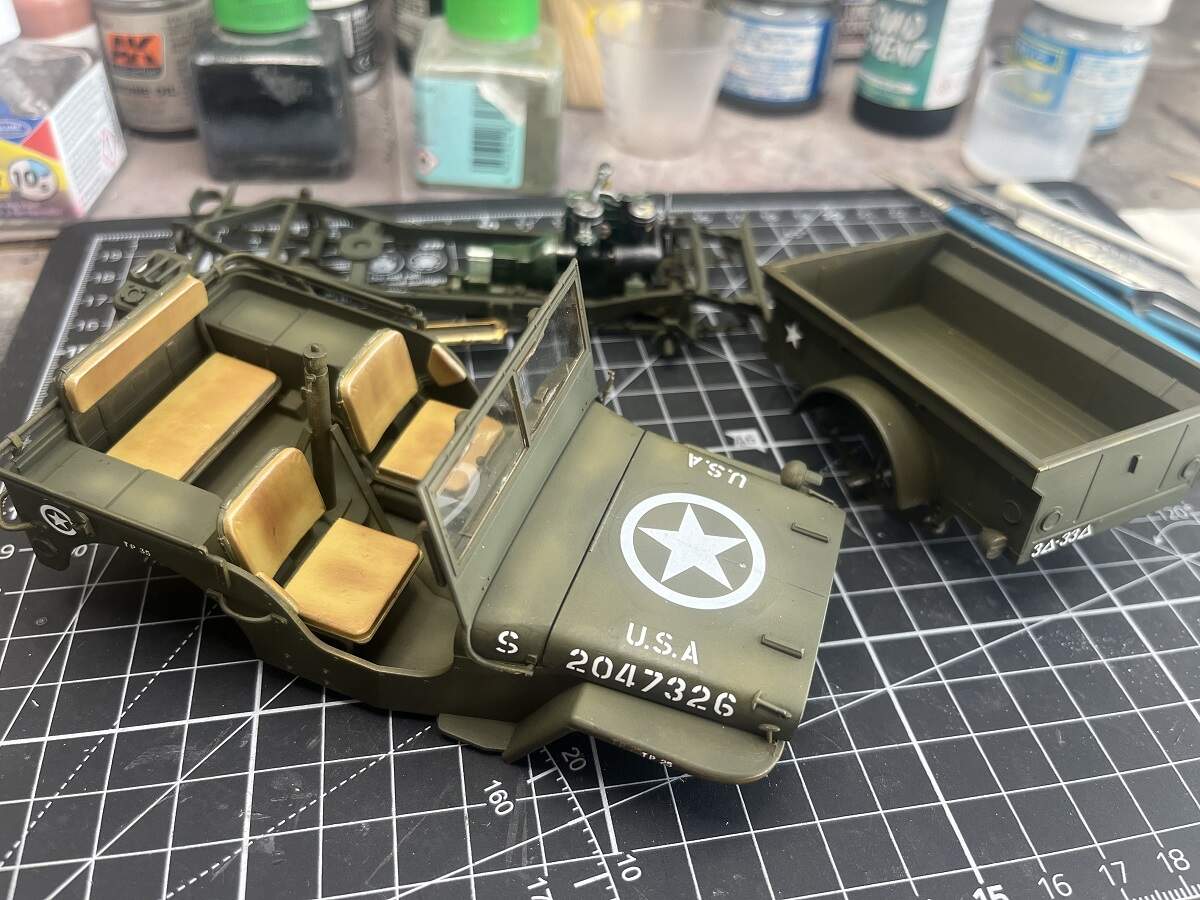
Everything here is loosely dry-fitted at this stage. I went with Tamiya acrylics to do this, XF-62 Olive Drab to start, thinned with about 60% MLT and light coats building up to the opacity I wanted. I then added a drop of XF-57 Buff to the paint left in the cup and randomly patterned the upper surfaces to fade it a bit.
I will give the whole thing a super light mist coat of the Olive Drab to unify it a bit more. The seats are still scary bright, but I will dull them down with some filter washes during the weathering process. I will be using oils for the filters and washes after I’m happy with the colour and decals are redone, and everything is locked in with a clear coat. The tires are rubber on this kit (plastic on the other 2 kits), so I will just use the Tamiya weathering pastel sets to age them.
A productive and enjoyable few hours, although I did manage to break the windscreen bracket on the driver’s side and knocked off one of the headlights, so a minor setback or two.
Hi folks. Not much progress to speak of, with what little bench time I have lately I’m still tinkering with cleaning up and test fitting on the Civilian and Fire versions.
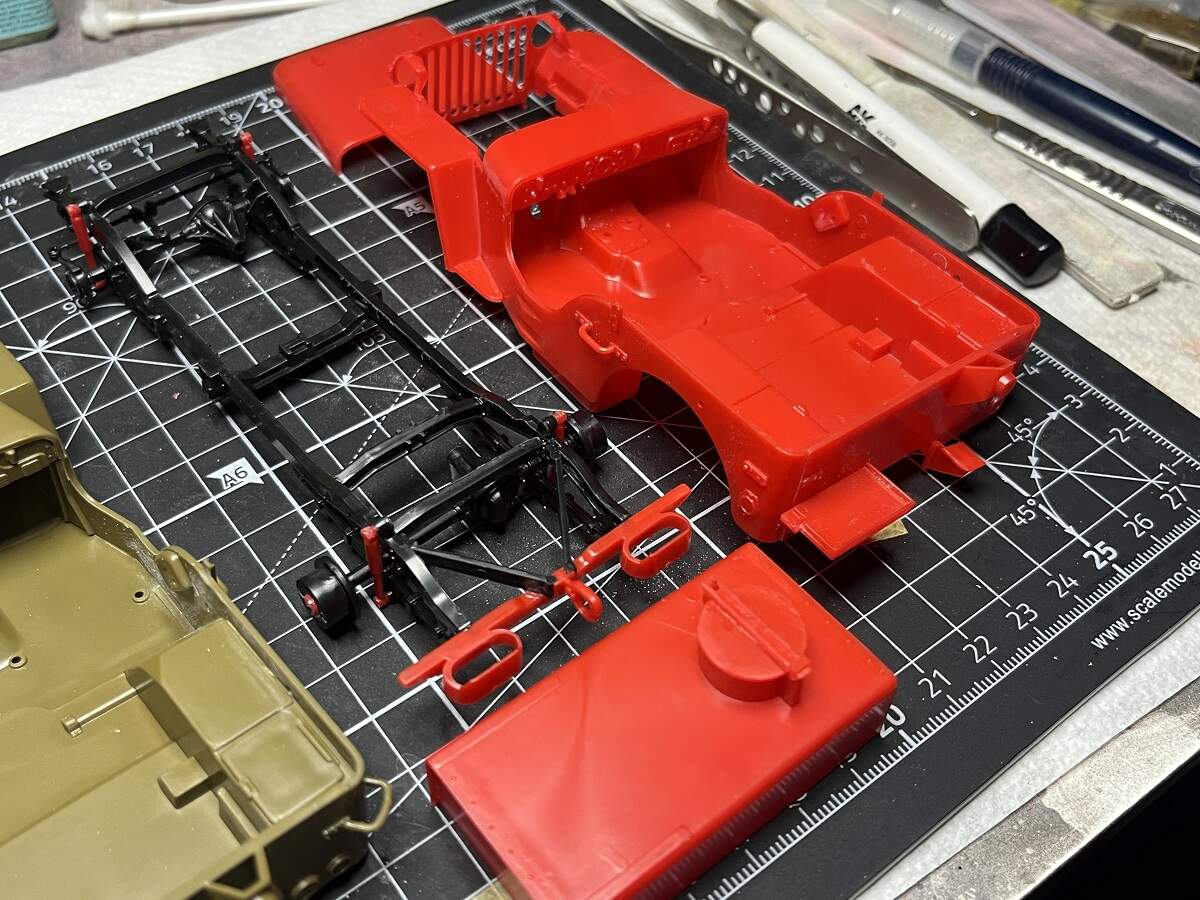
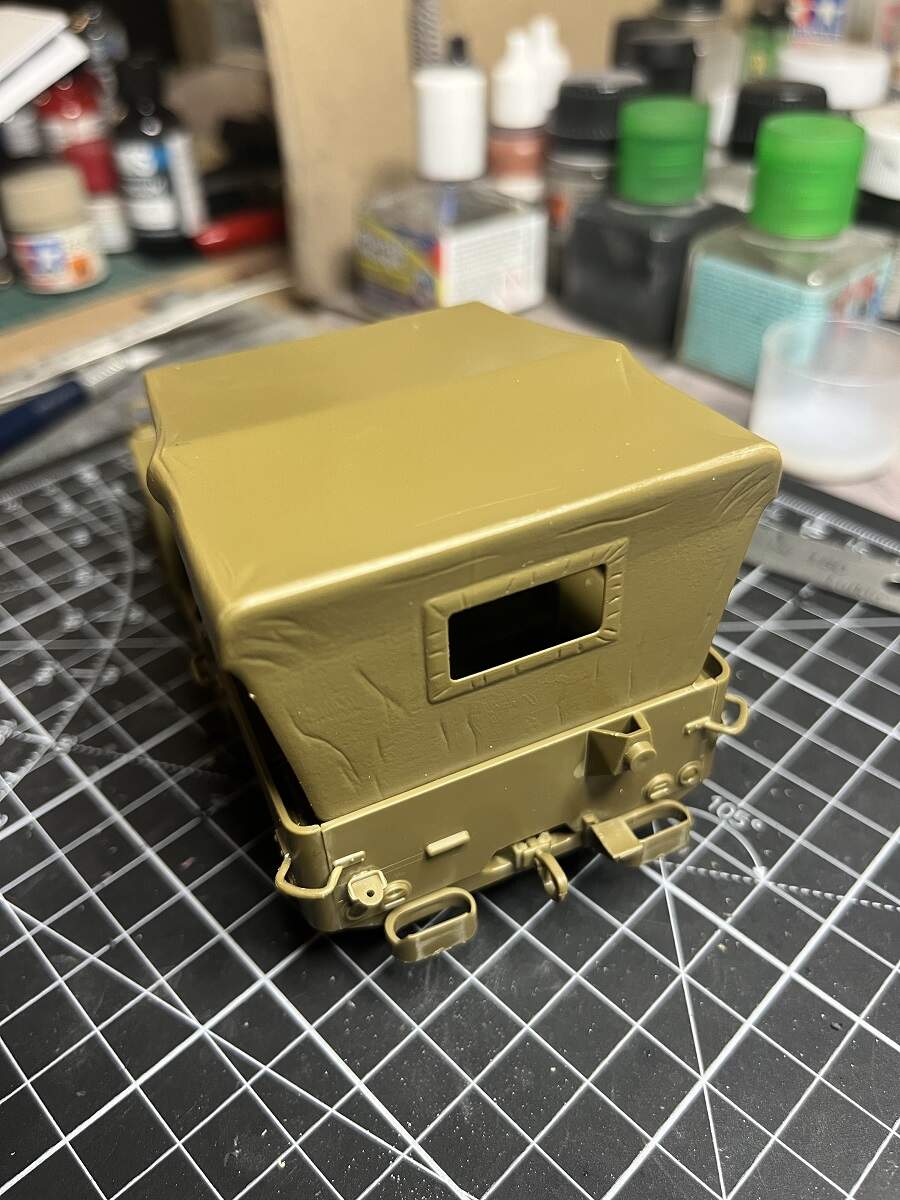
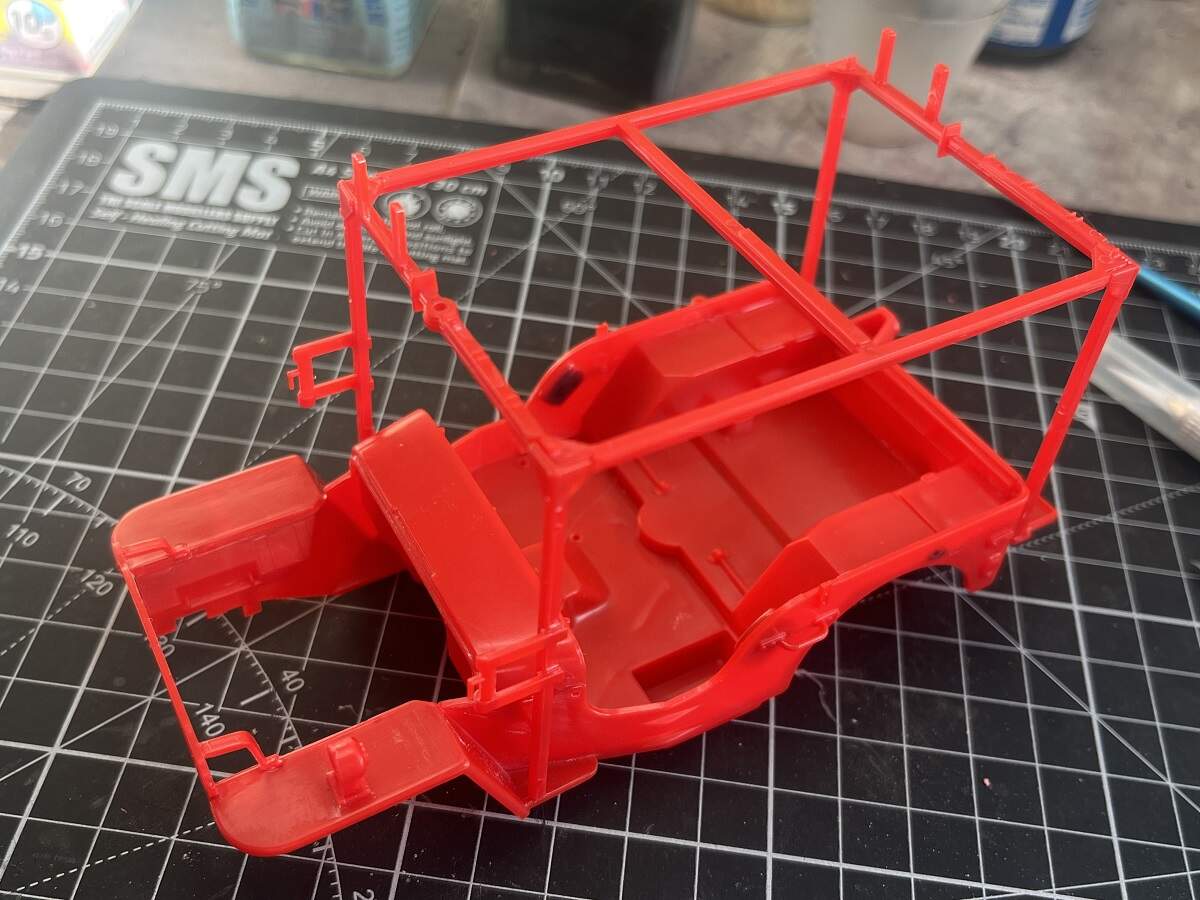
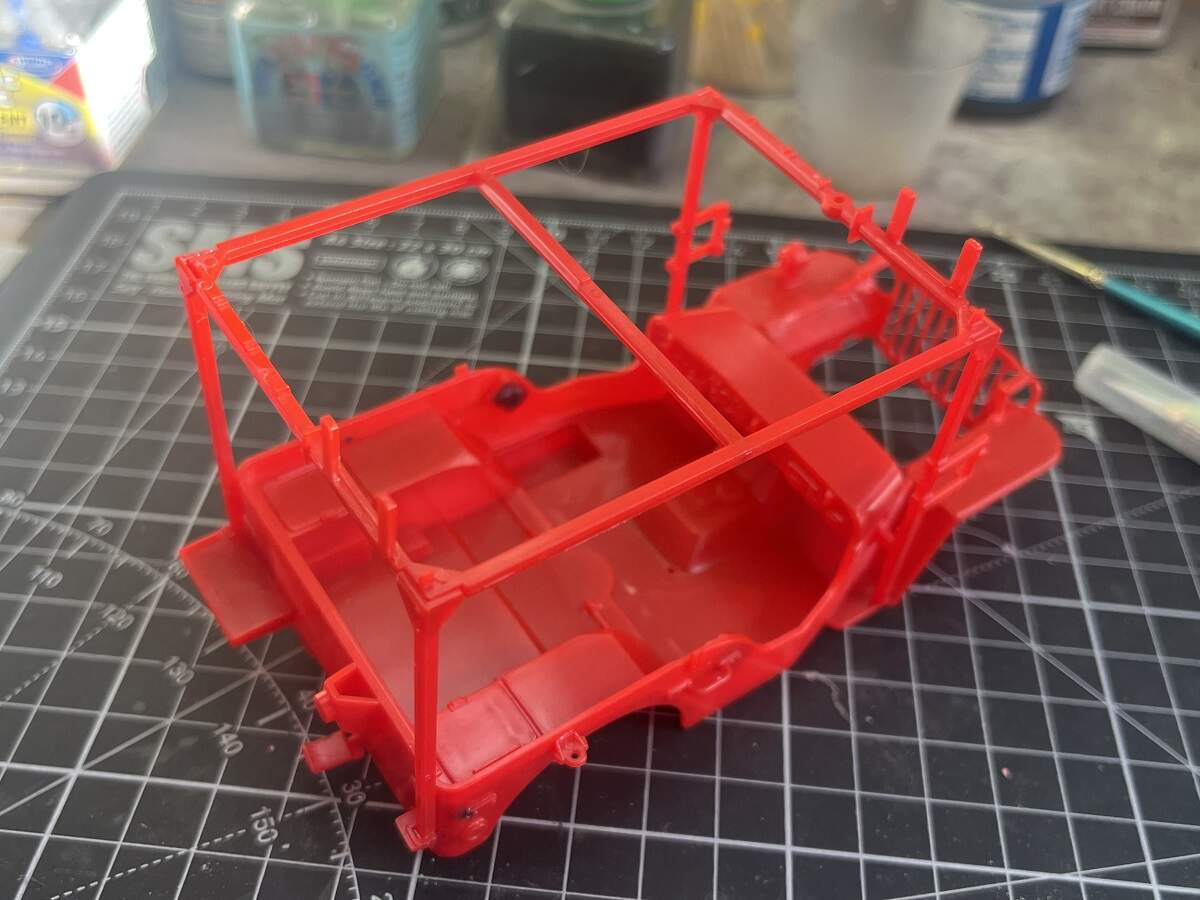
After turning it over in my mind and trying to work through the potential hazards, I decided to assemble the frame and install it on the Fire Jeep prior to priming and painting. My main concerns were ease of access when airbrushing and detailing the interior, and getting CA everywhere if I went with installing the frame after paint (multiple small fixing points and my hamfistedness).
Test fitting the frame showed that access to the interior is still fine for airbrushing and hand painting, and installing the parts.
The black spots are sprue goo filling some sink marks and holes where items aren’t required for this version.
The Military Jeep got its markings all sorted last night as well. I will give them some time to fully cure then a good flat clear coat for protection before I start the weathering.