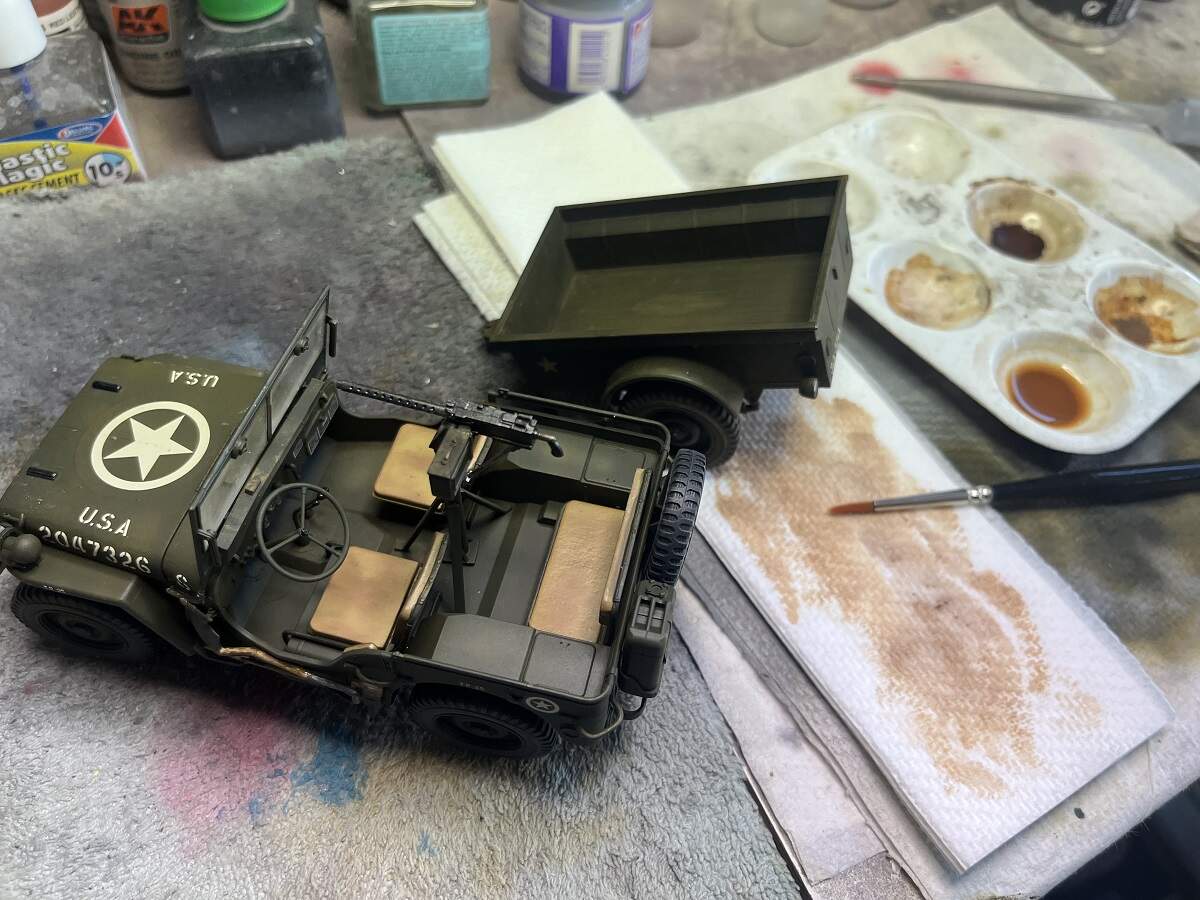
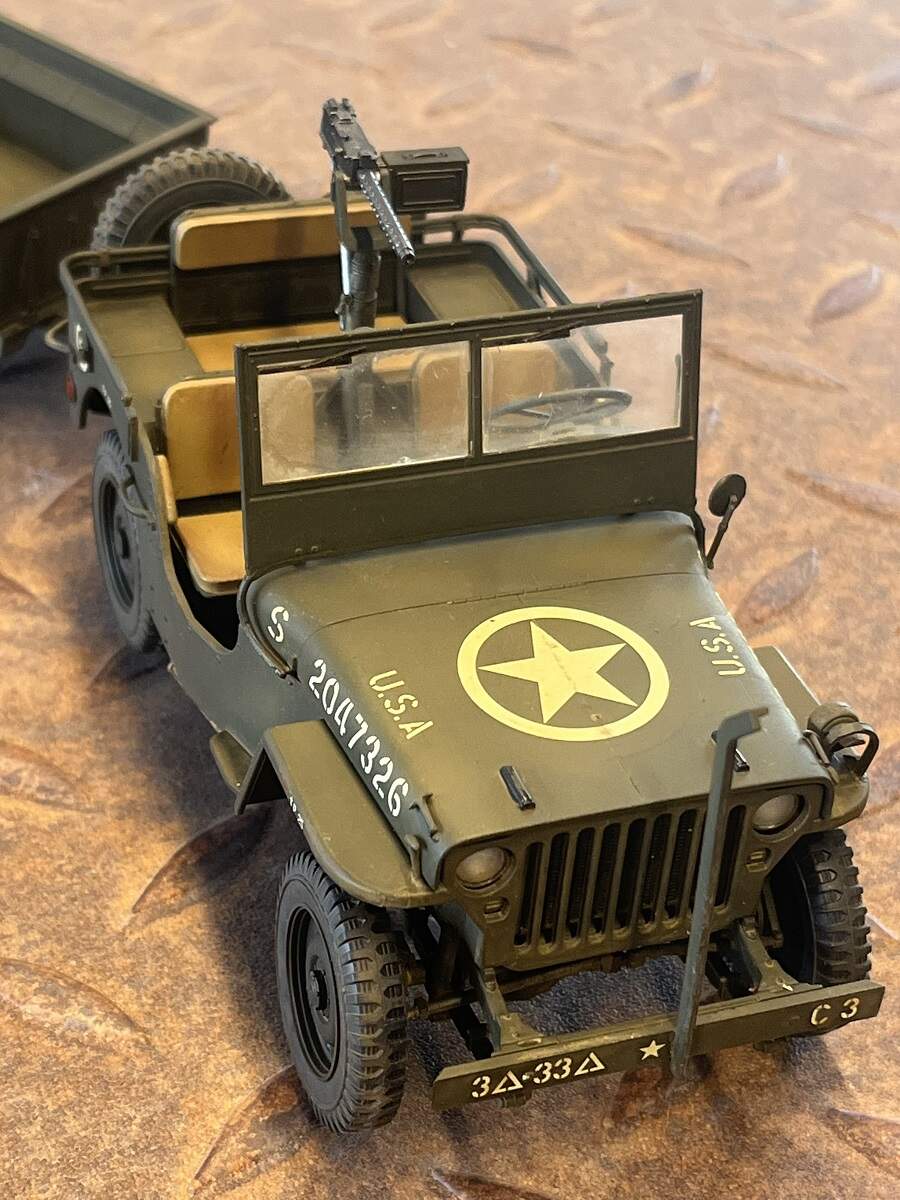
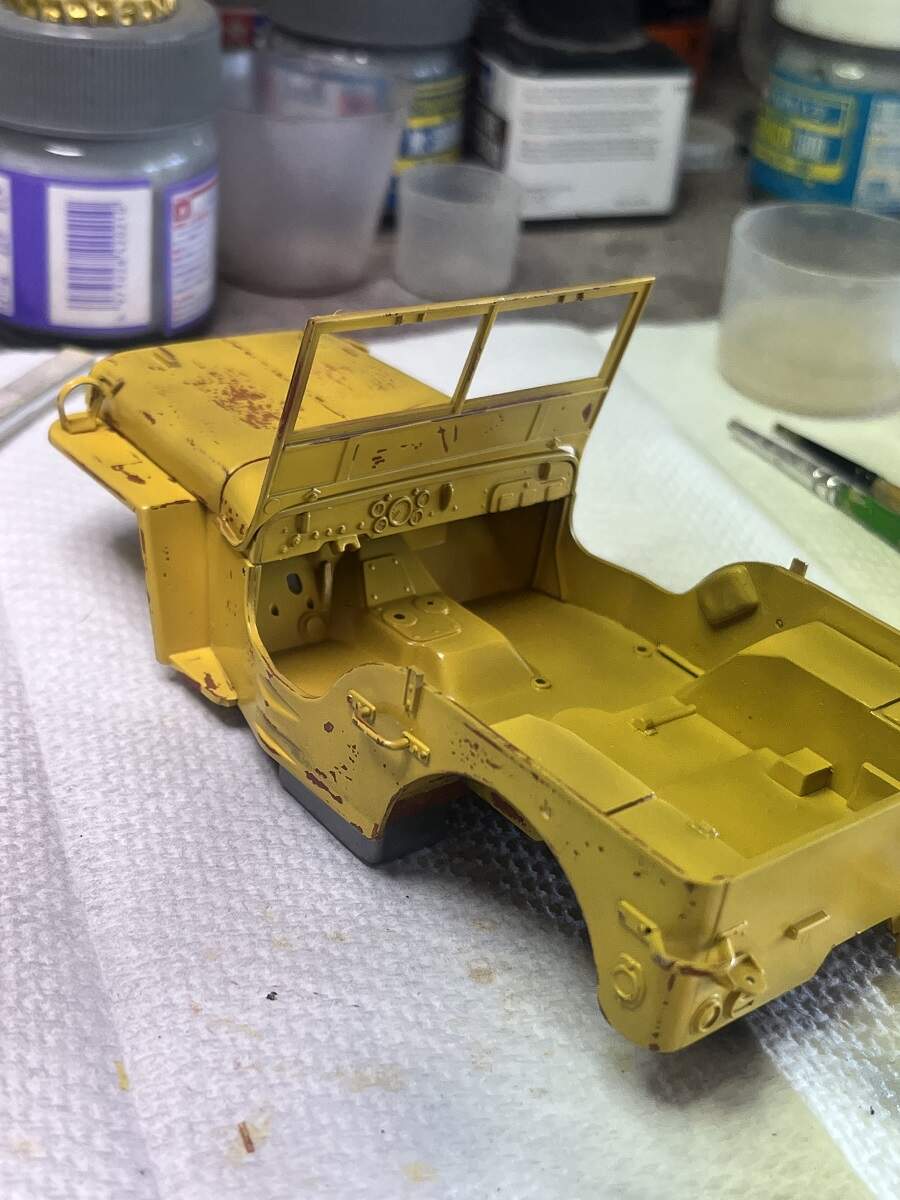
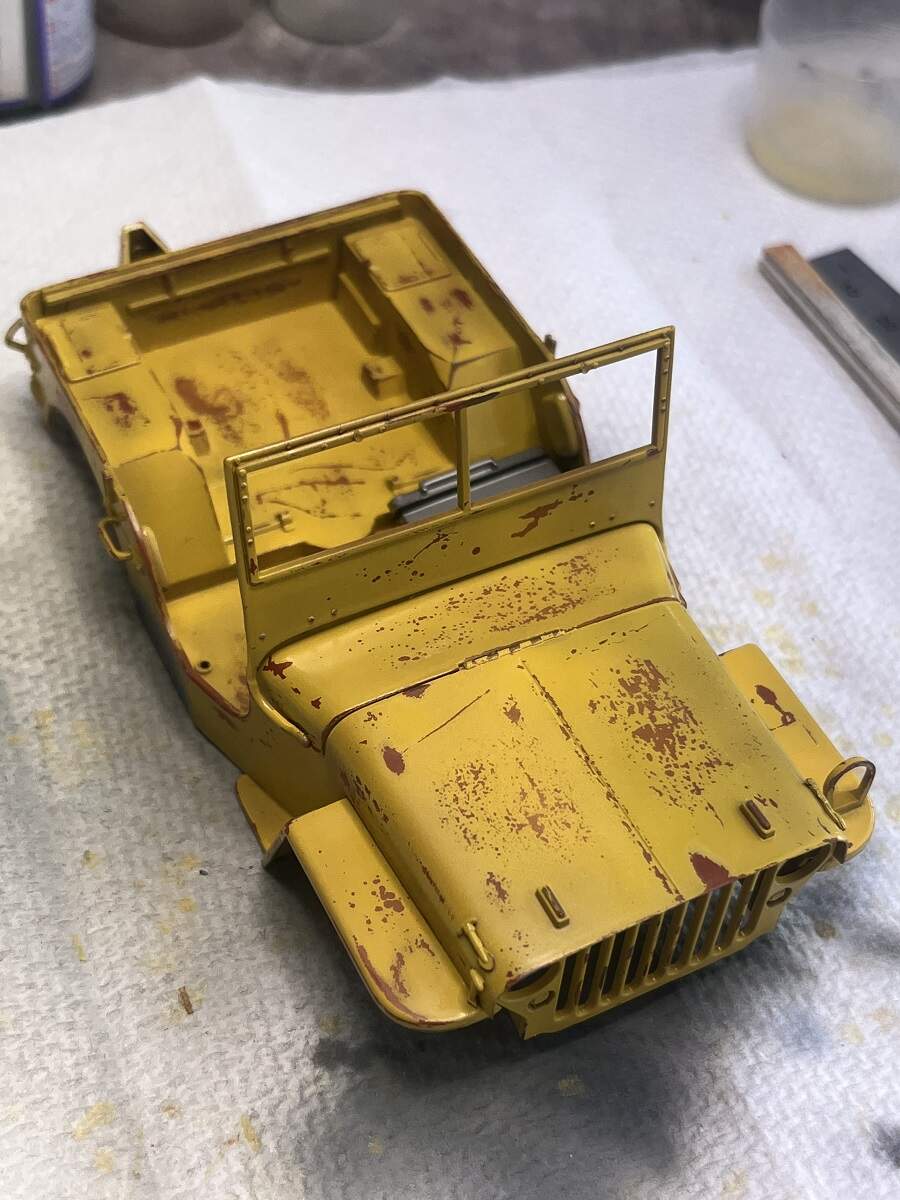
After a good 36 hours for the decals to cure, I decided to experiment on the military Jeep and combine the blend/filter coat with the flat coat to protect the decals and tone them down.
I mixed up about 30% Testors Dullcote with 70% MLT and then added a few drops of the Tamiya XF-62 Olive Drab to dirty it up then gave the whole thing a couple of good coats with about 10 minutes in between. I’m very happy with the result. With stark white markings are dulled off nicely and the faded areas blended. The parts are now back in the box and put aside to cure again for a few days.
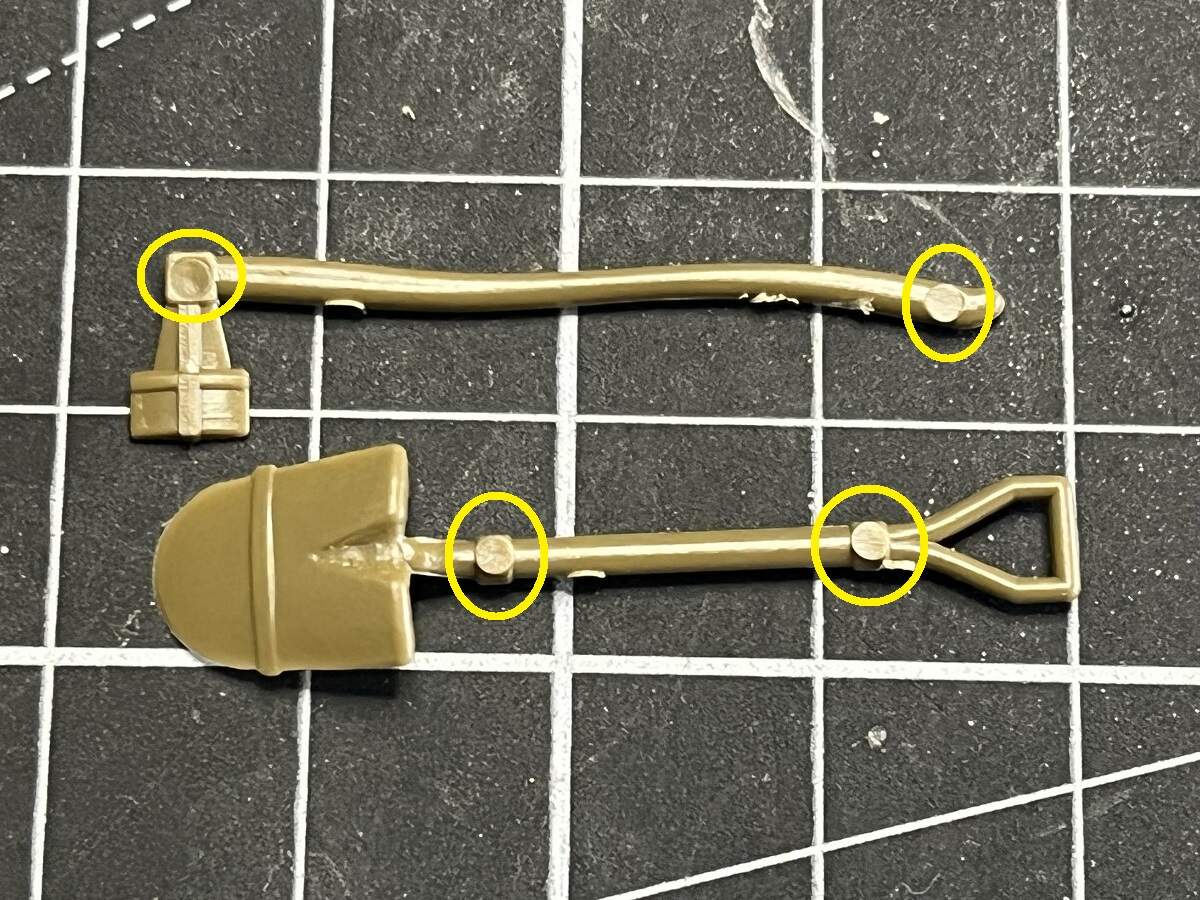
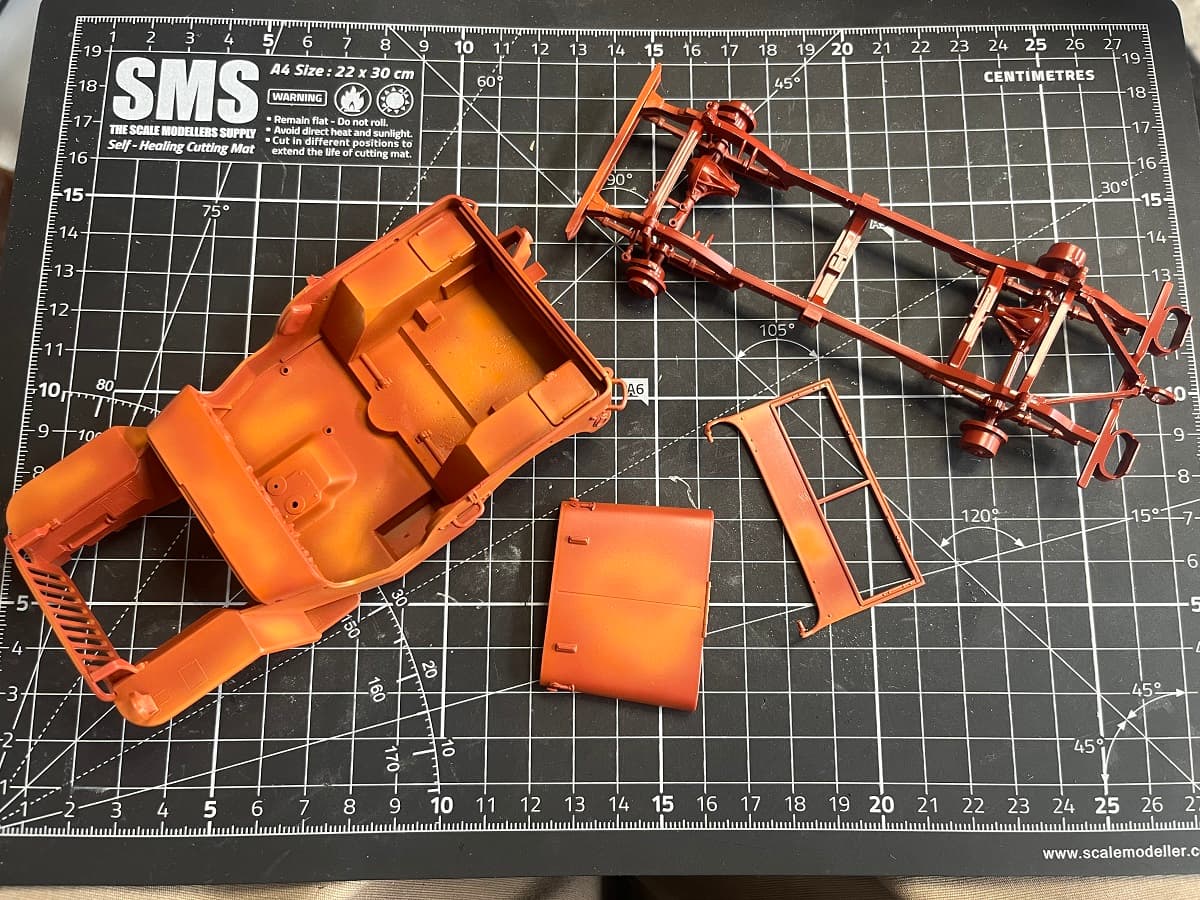
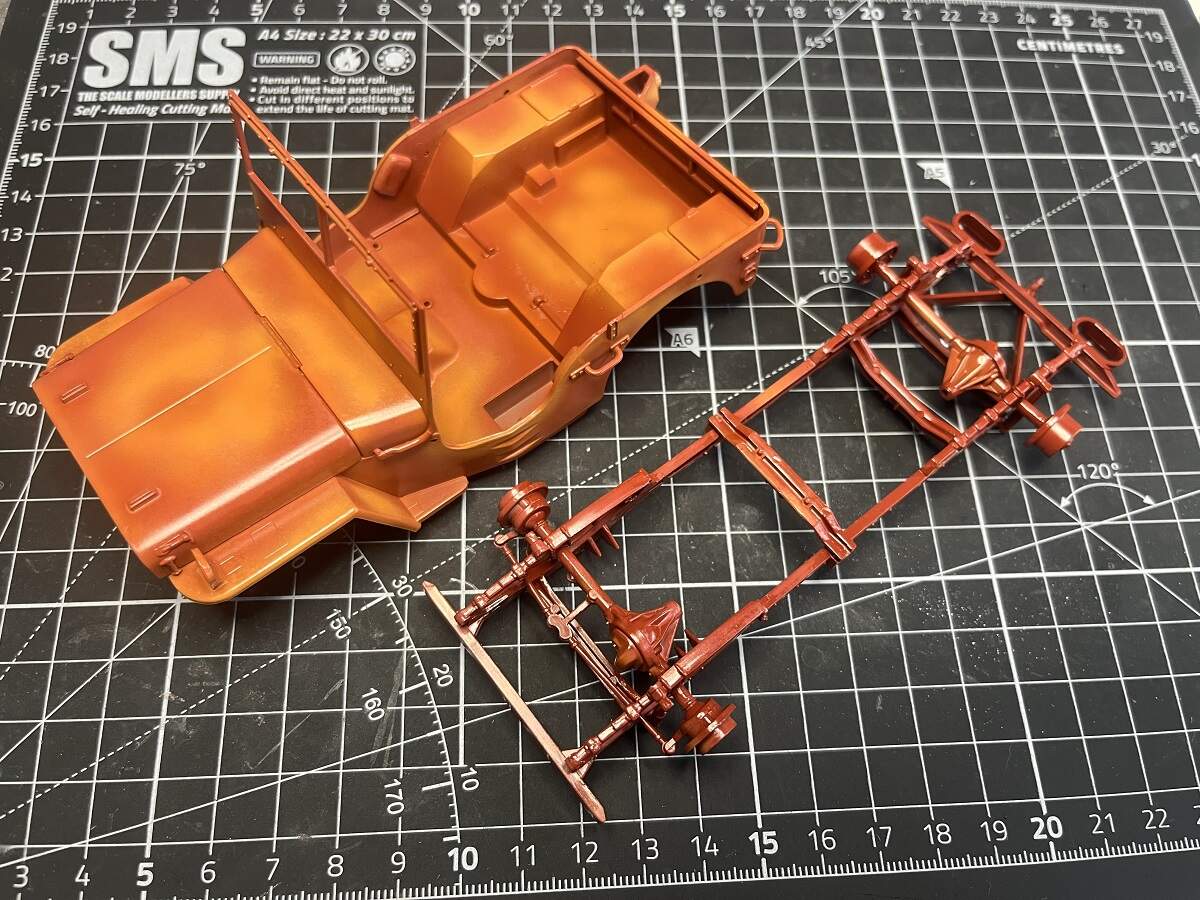
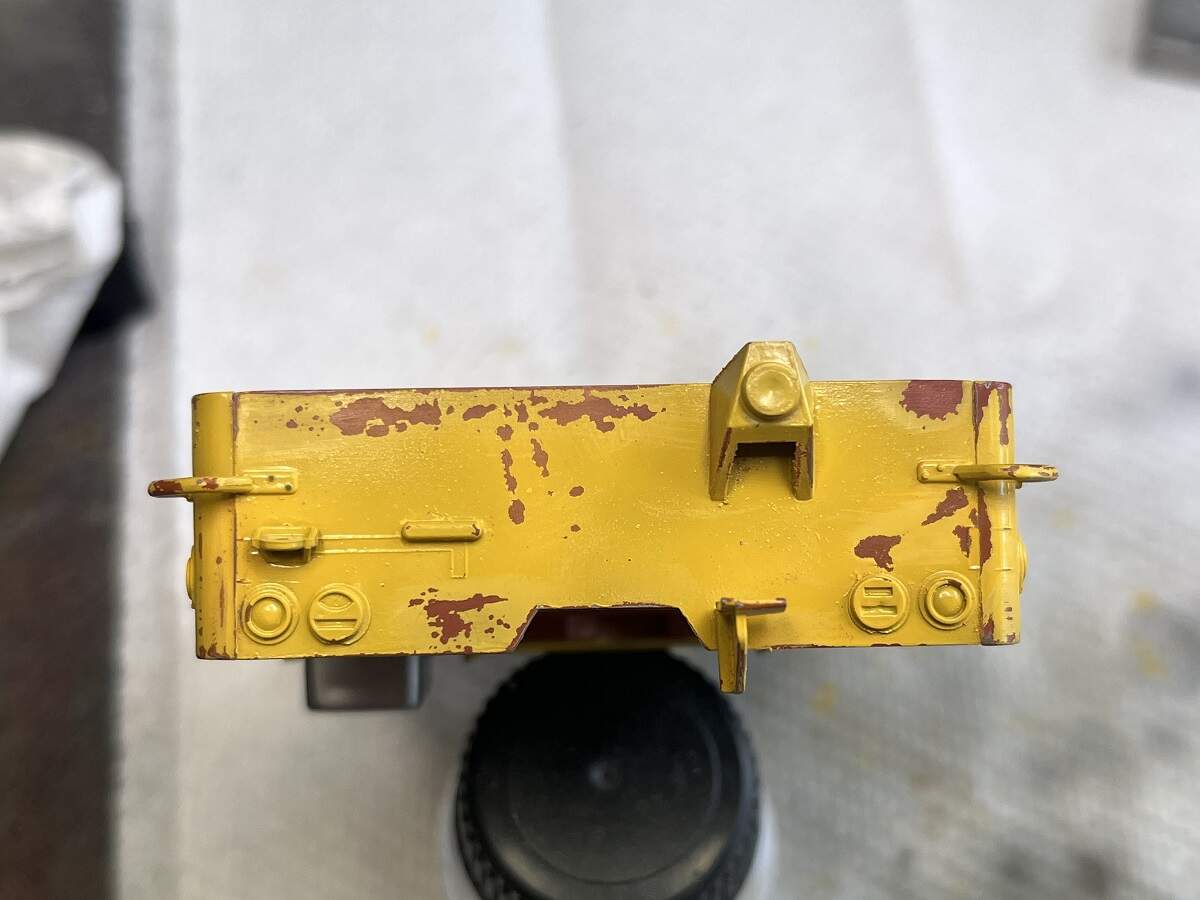
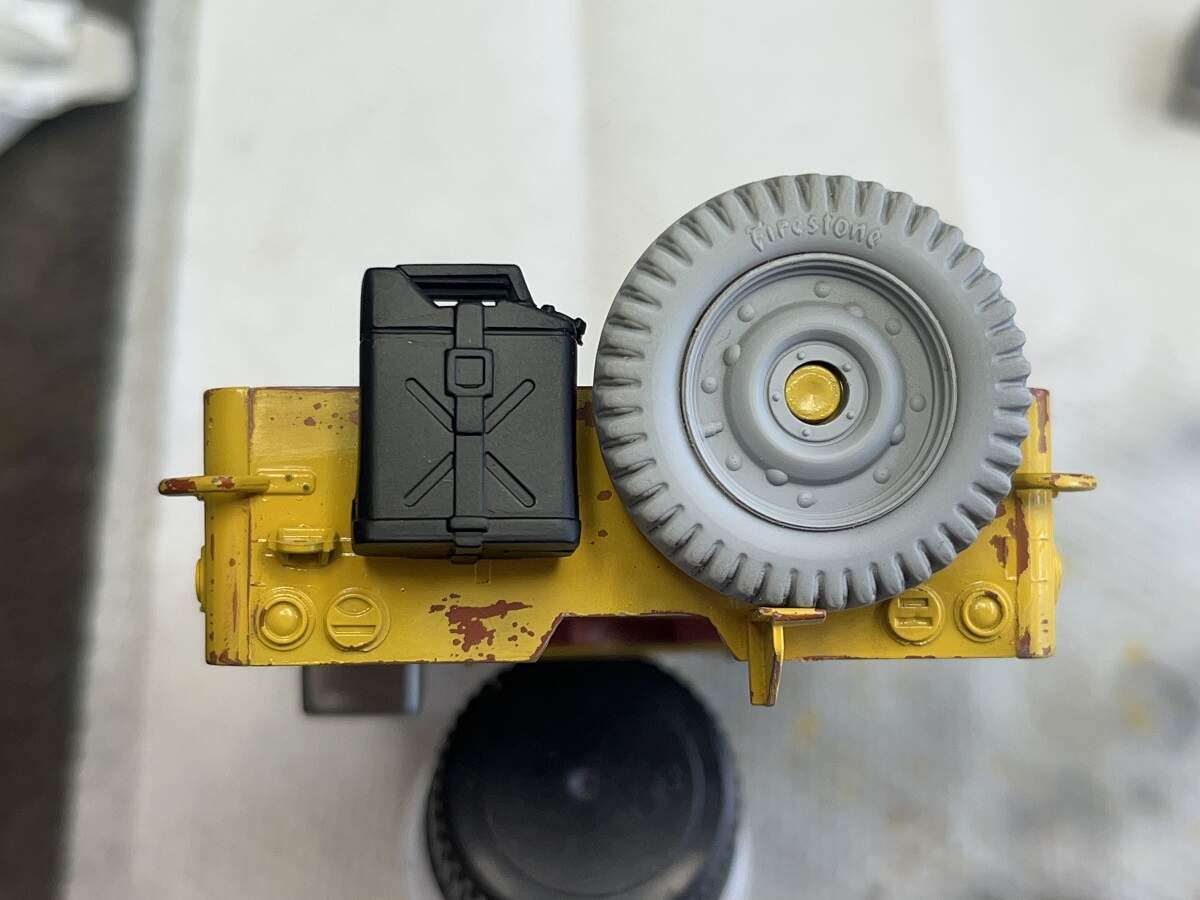
Why Italeri, why? We have a couple of tools to be fitted to the outside of the body, and they have a nicely detailed visible side. Why would you go and plant your dirty great ejector pins right on top of that detail? Why not put them on the inside face of these tools where they will never be seen?
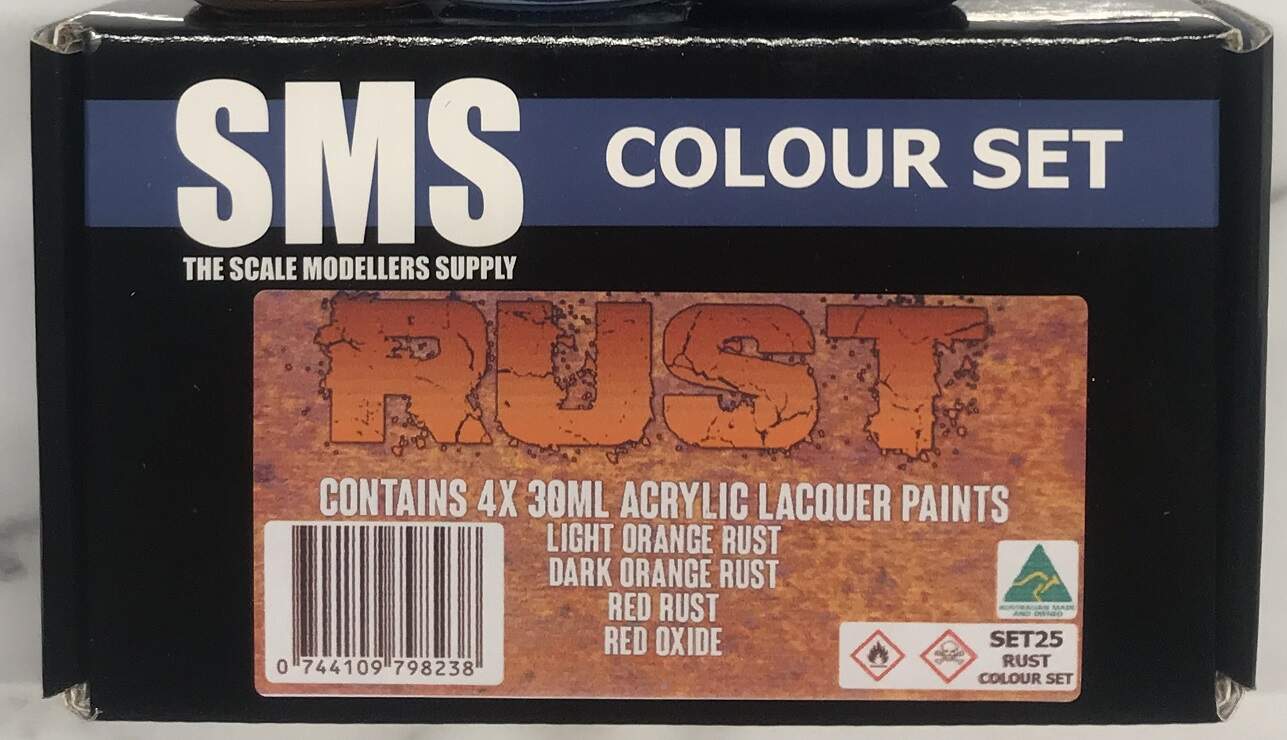
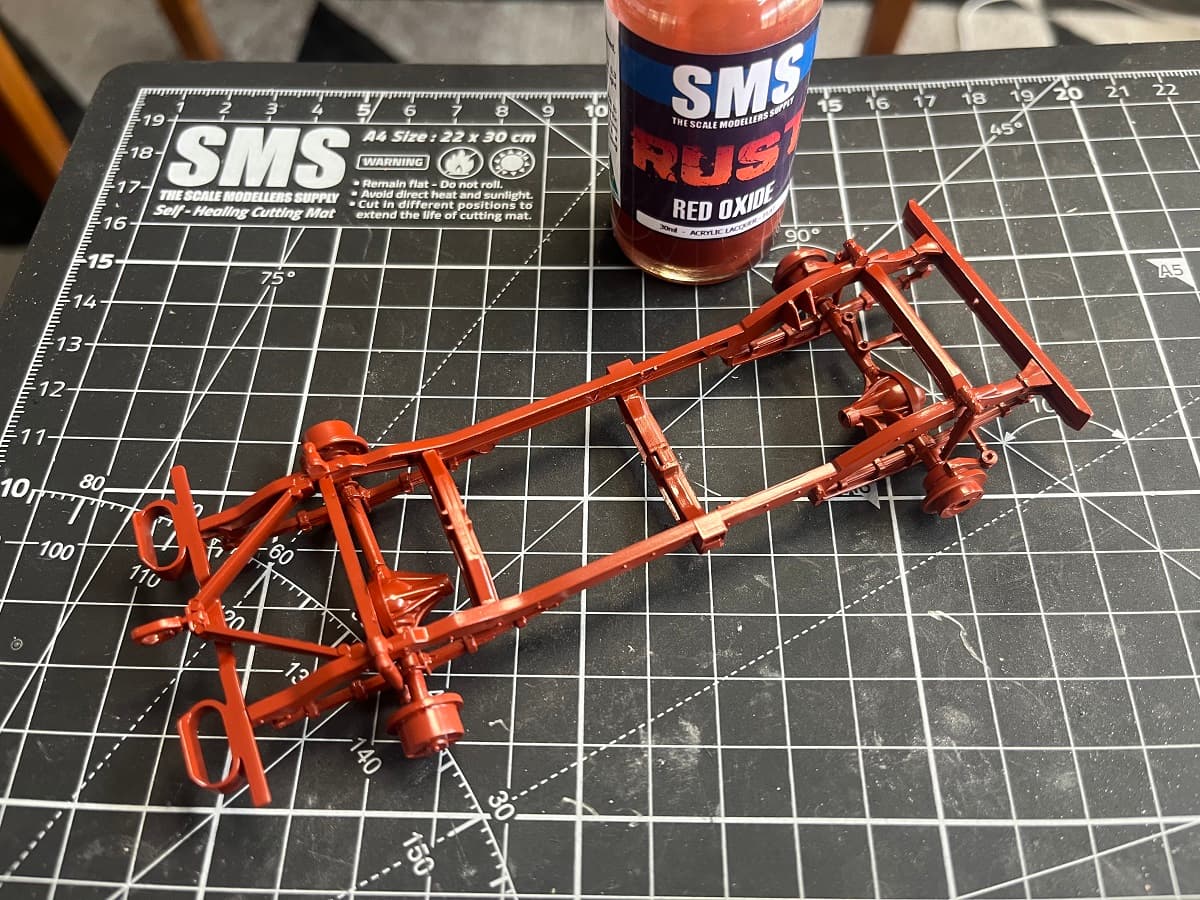
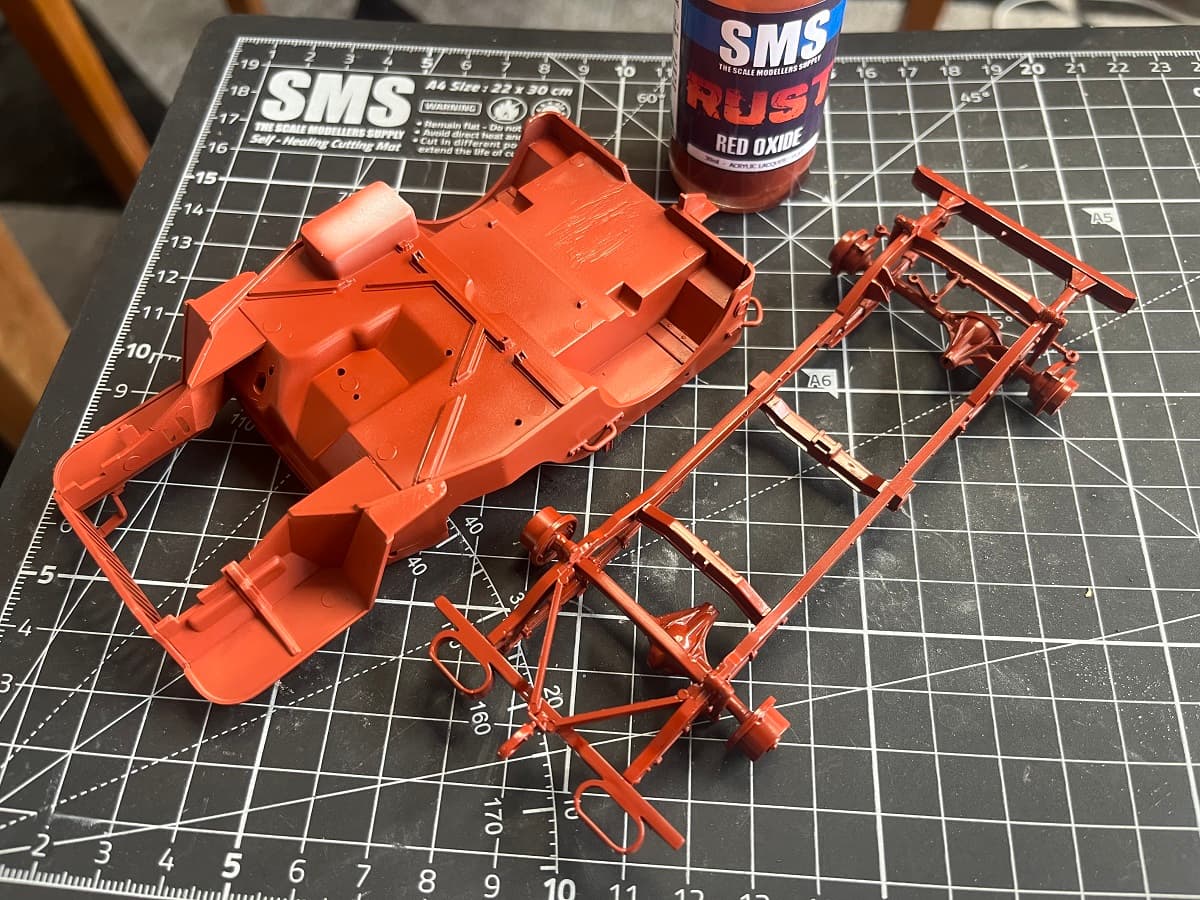
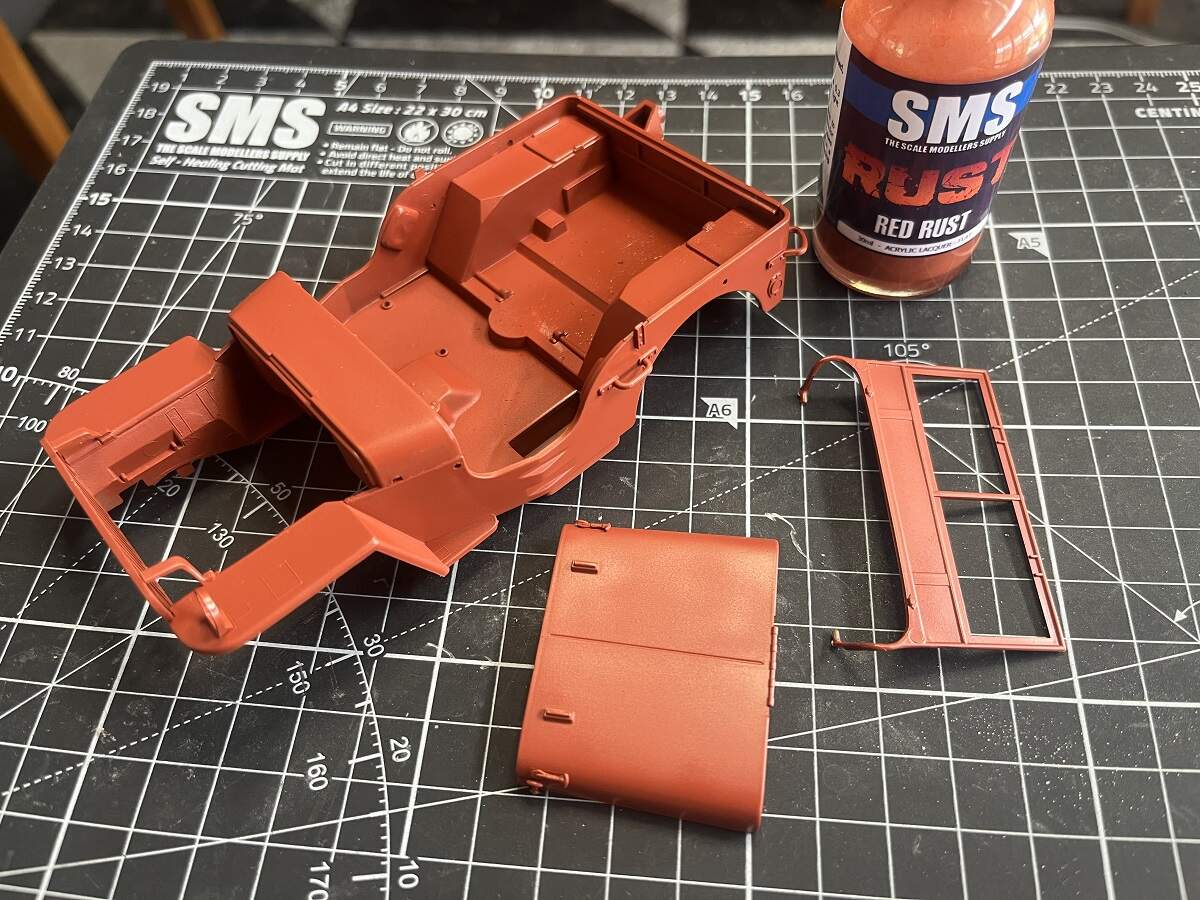
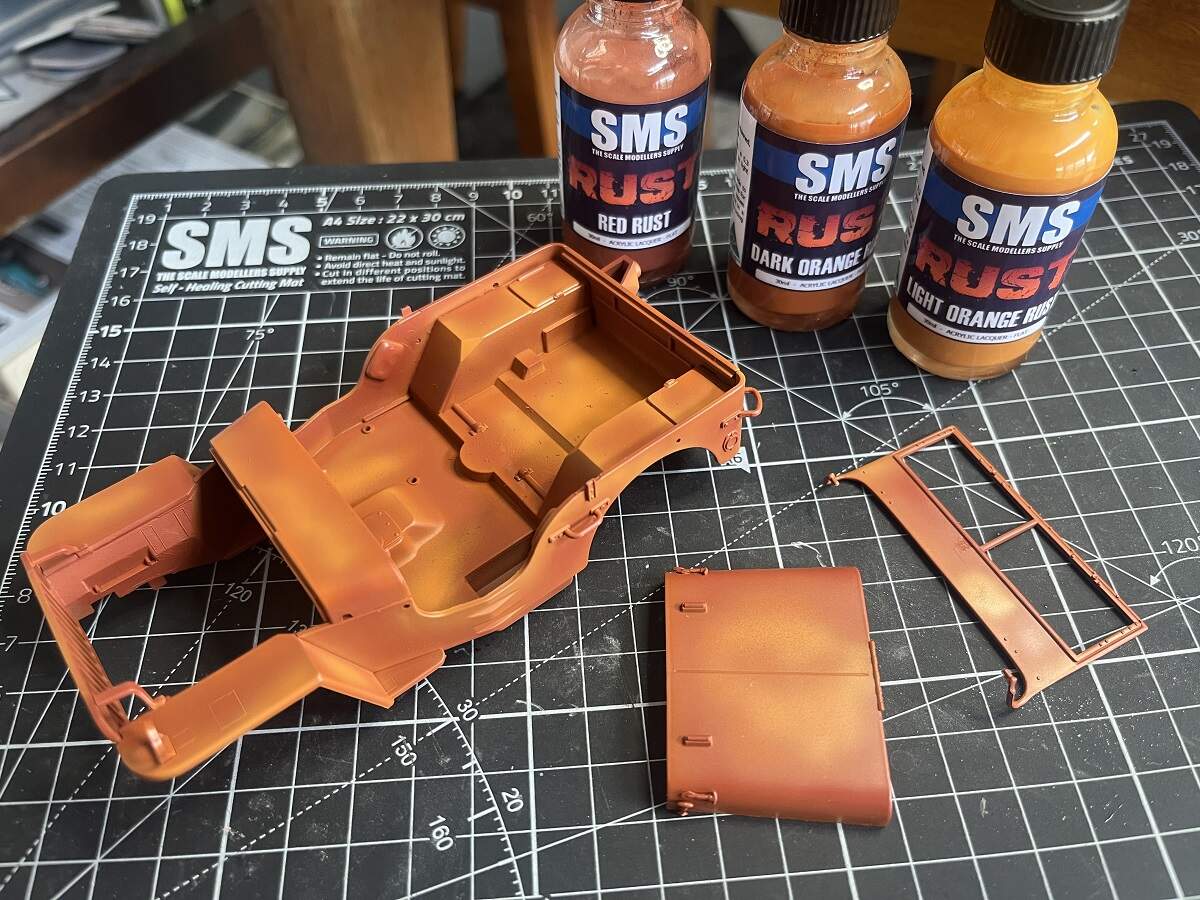
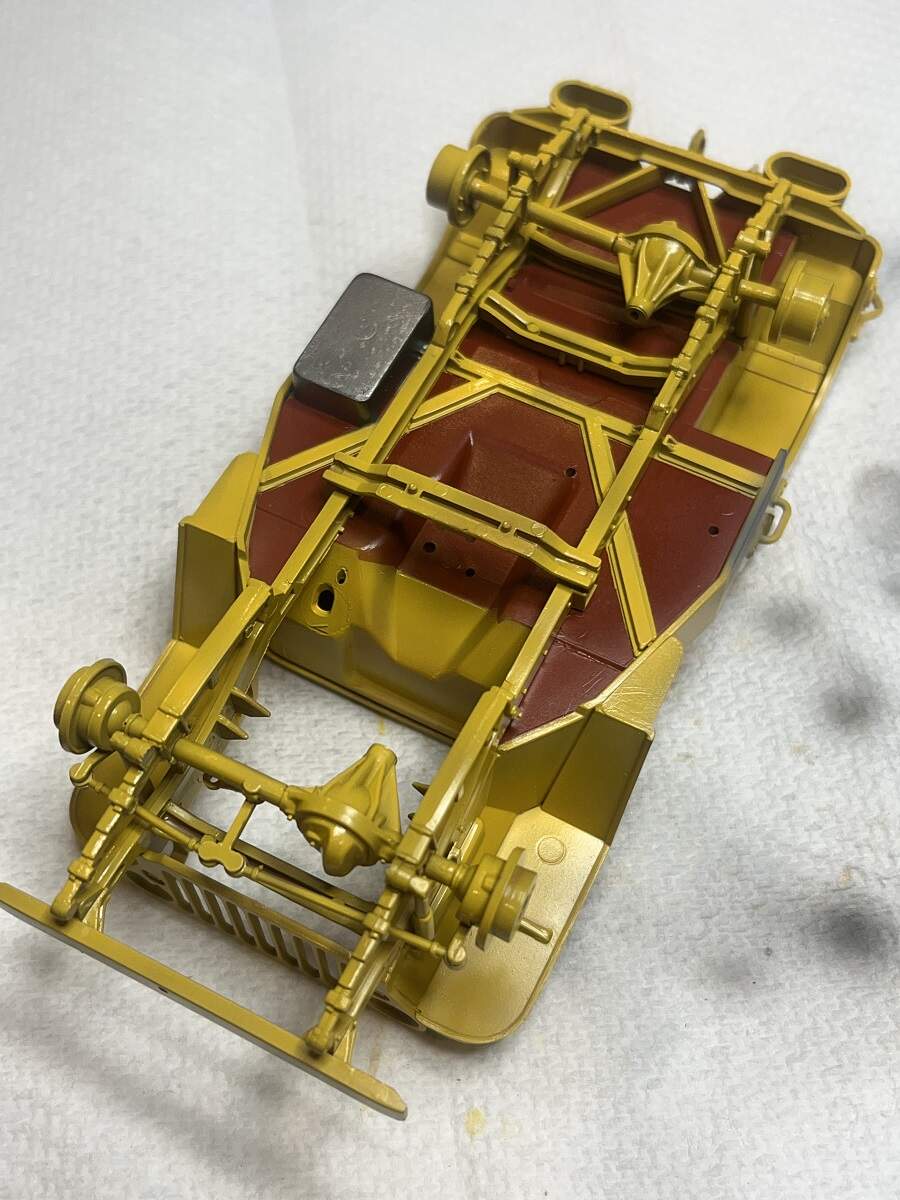
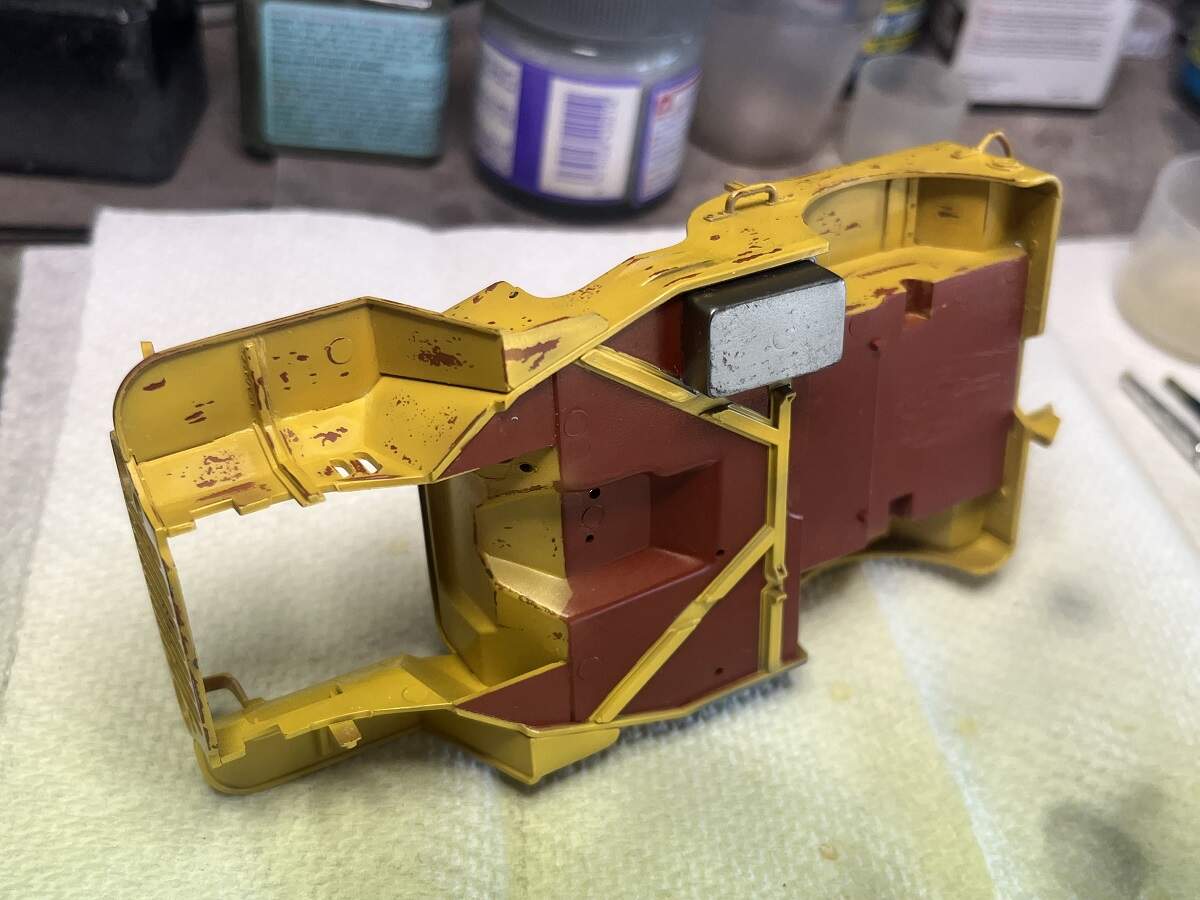
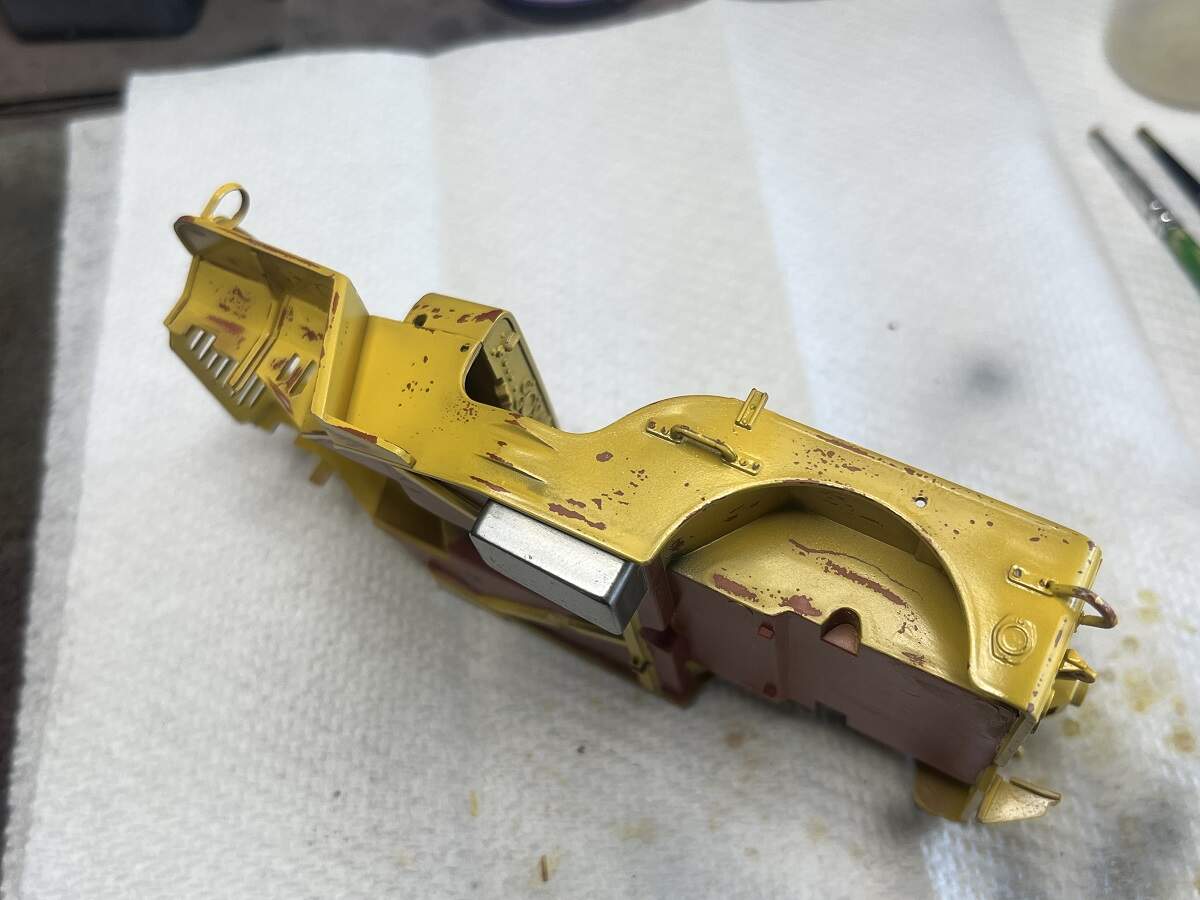
The underside will get a coat of red oxide to match the reference vehicle, and I will also shoot some of the Red Oxide (plus some other rust colours) as a chipping base colour for the rust patches, to be exposed using the hairspray technique.
D,
You’ve been a very busy guy at the bench for sure.
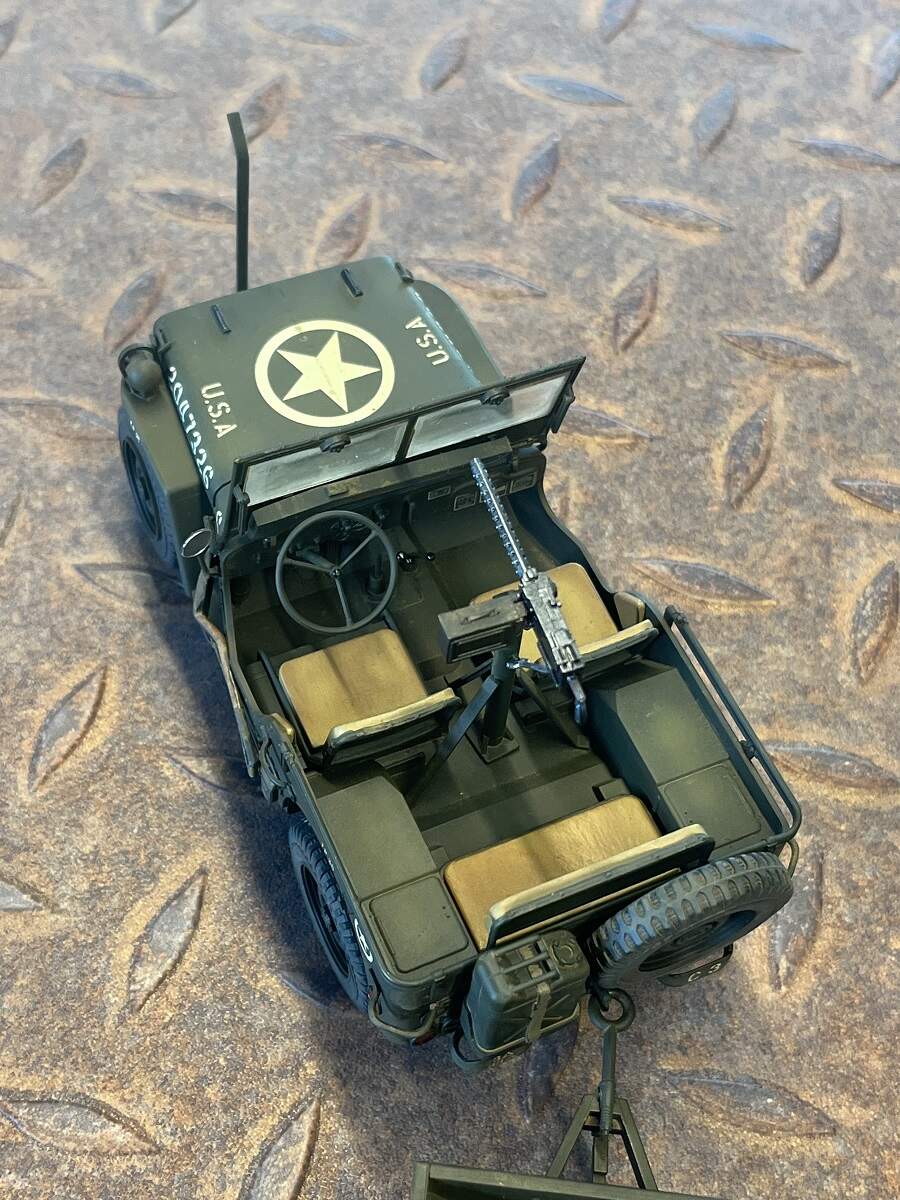
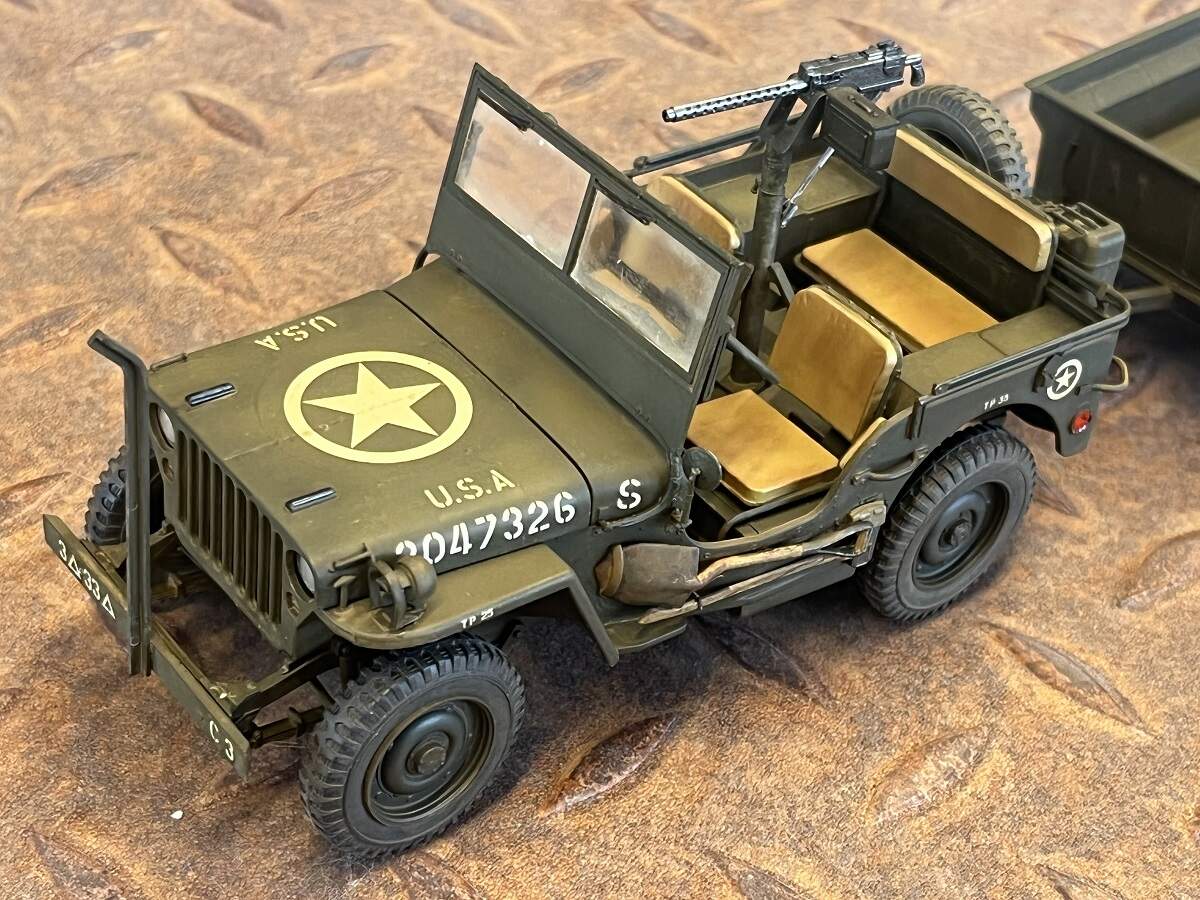
I do Glosscoat the decals to seal them and try to level them to the rest of the finish as I don’t use gloss under the decals just smooth paint. I do often tint Dullcoat for weathering tires and it works great. I’d say that yours looks dead on as well. The decals on the jeep look as thought they’re stenciled on. Not a drop of silvering nor flash.
From that picture of the tools, I’d say that whom ever approved the molds has never built a model. Talk about a real dumb ass.
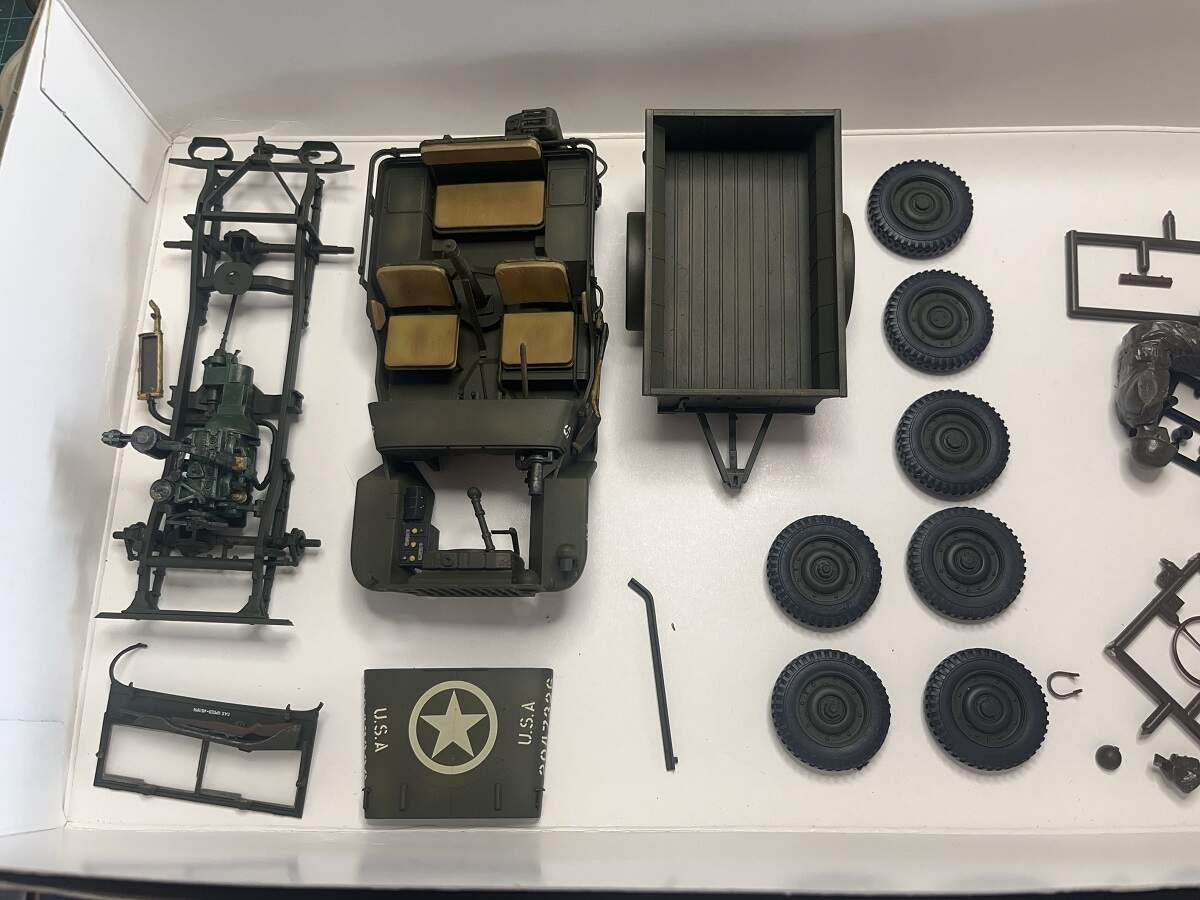
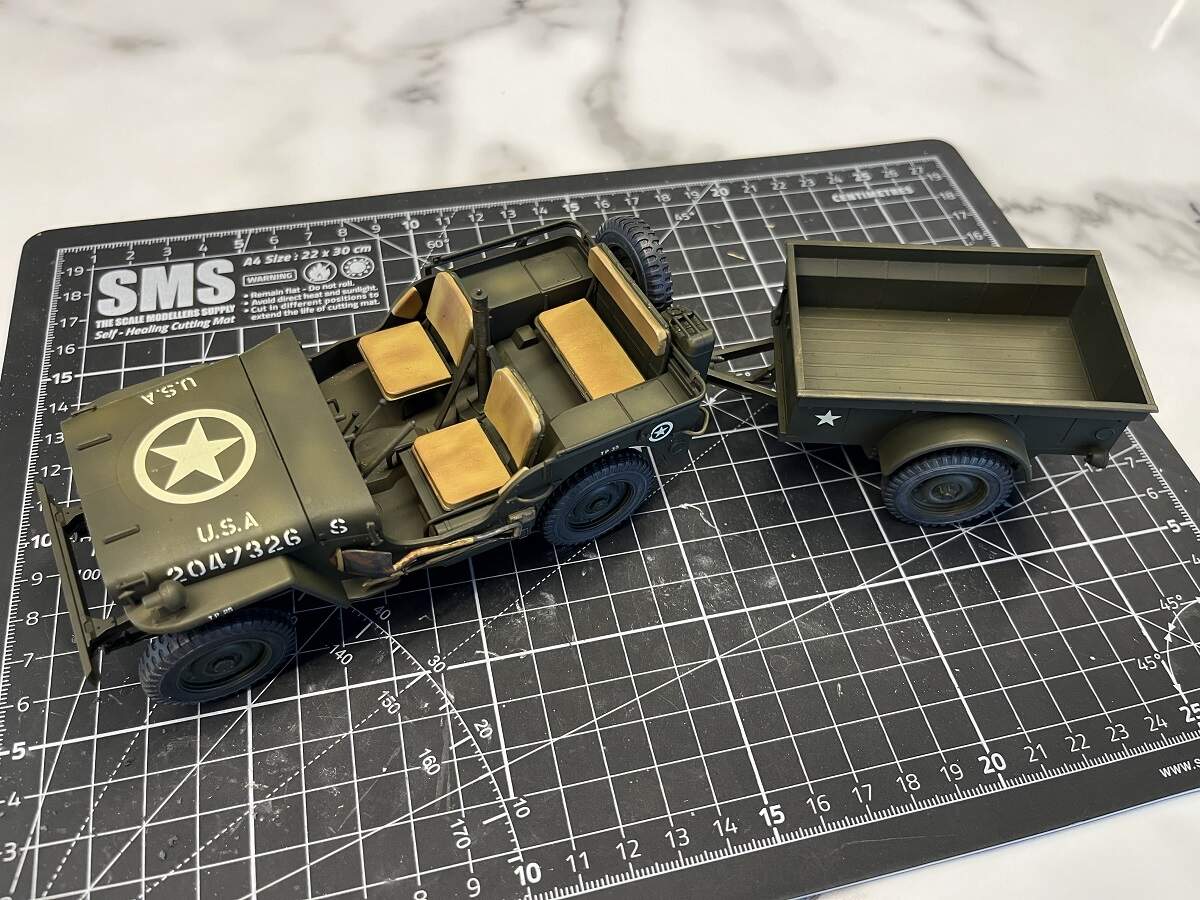
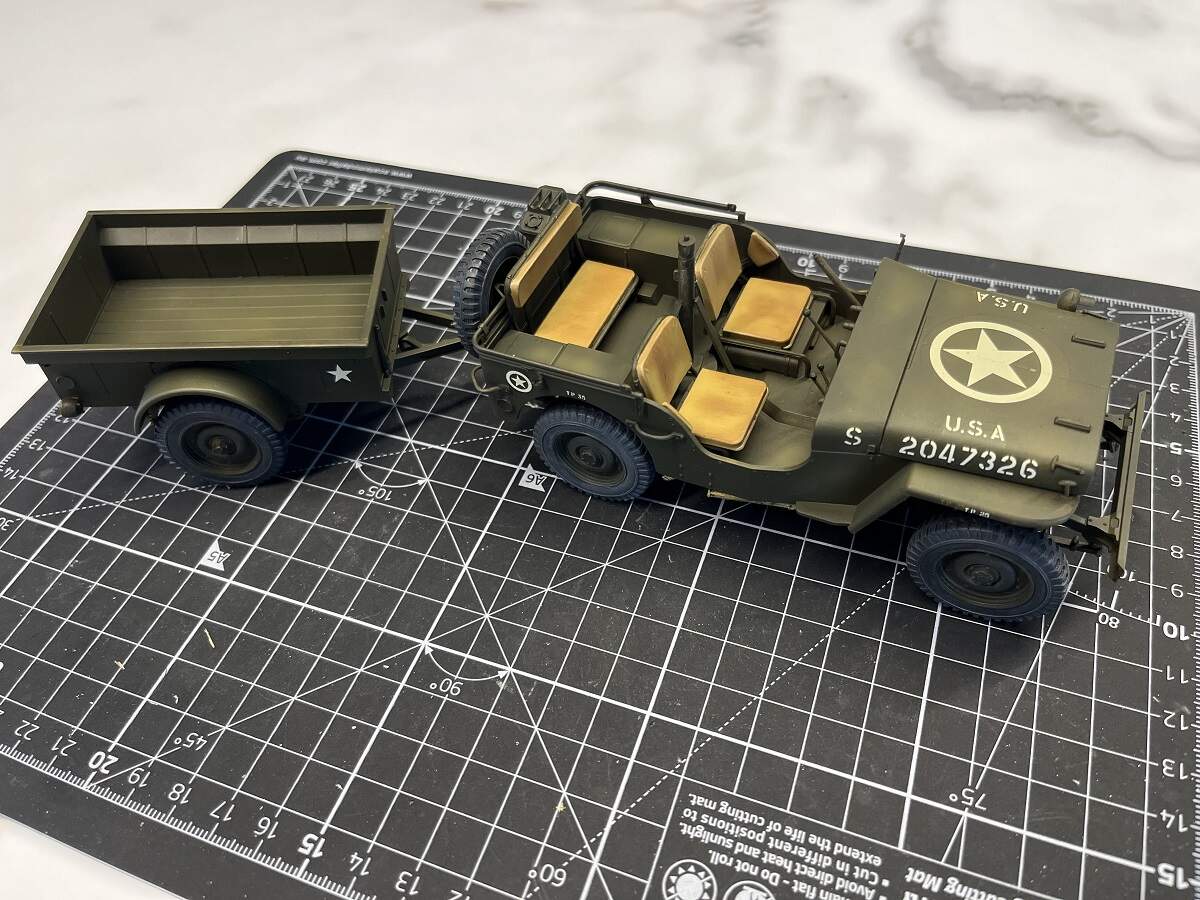
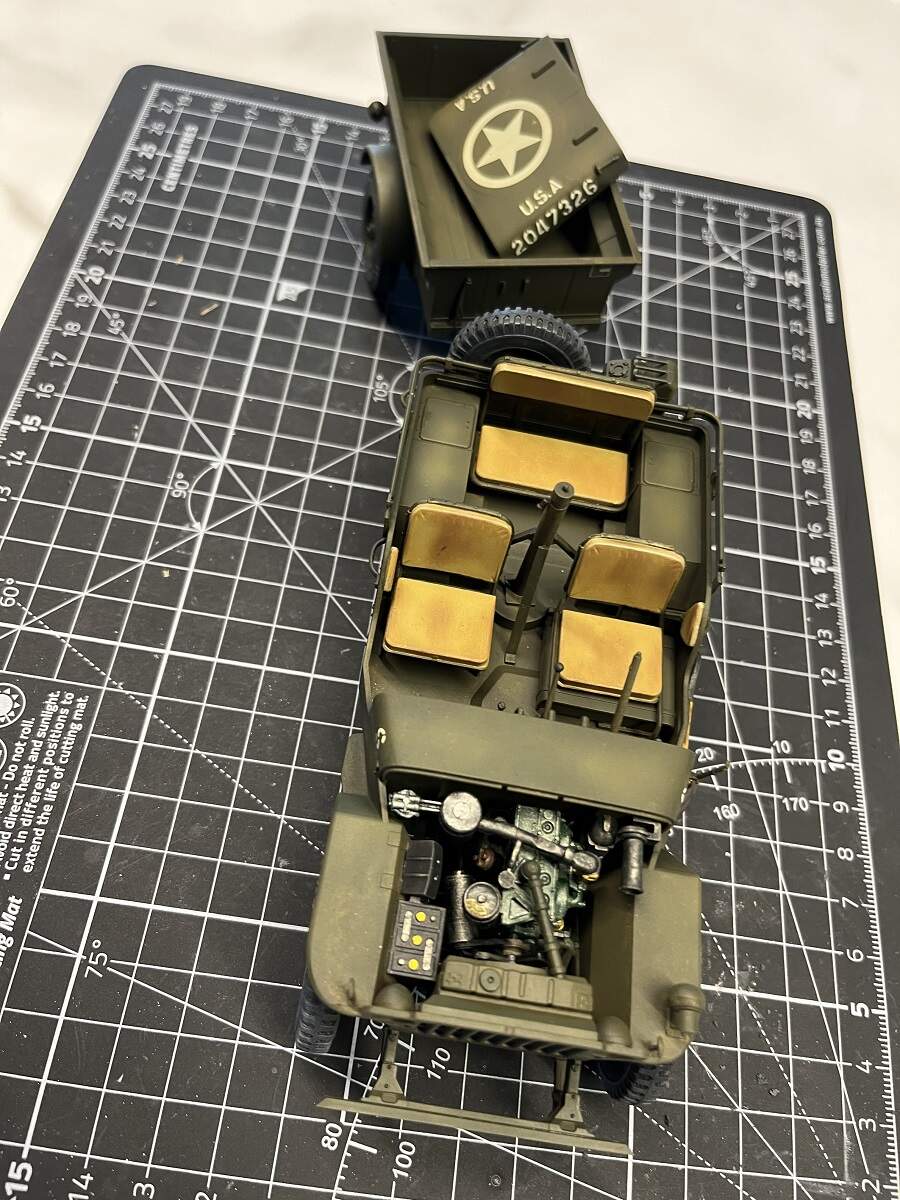
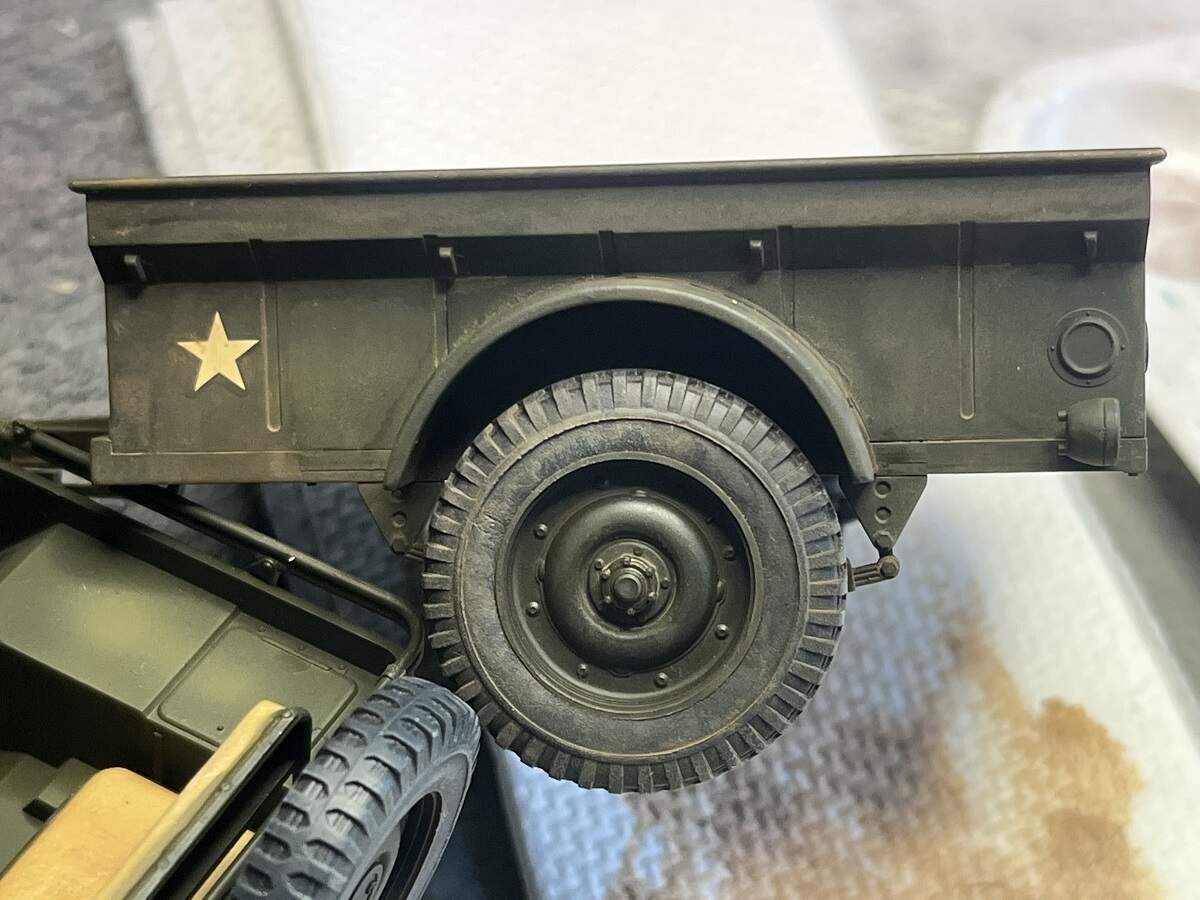
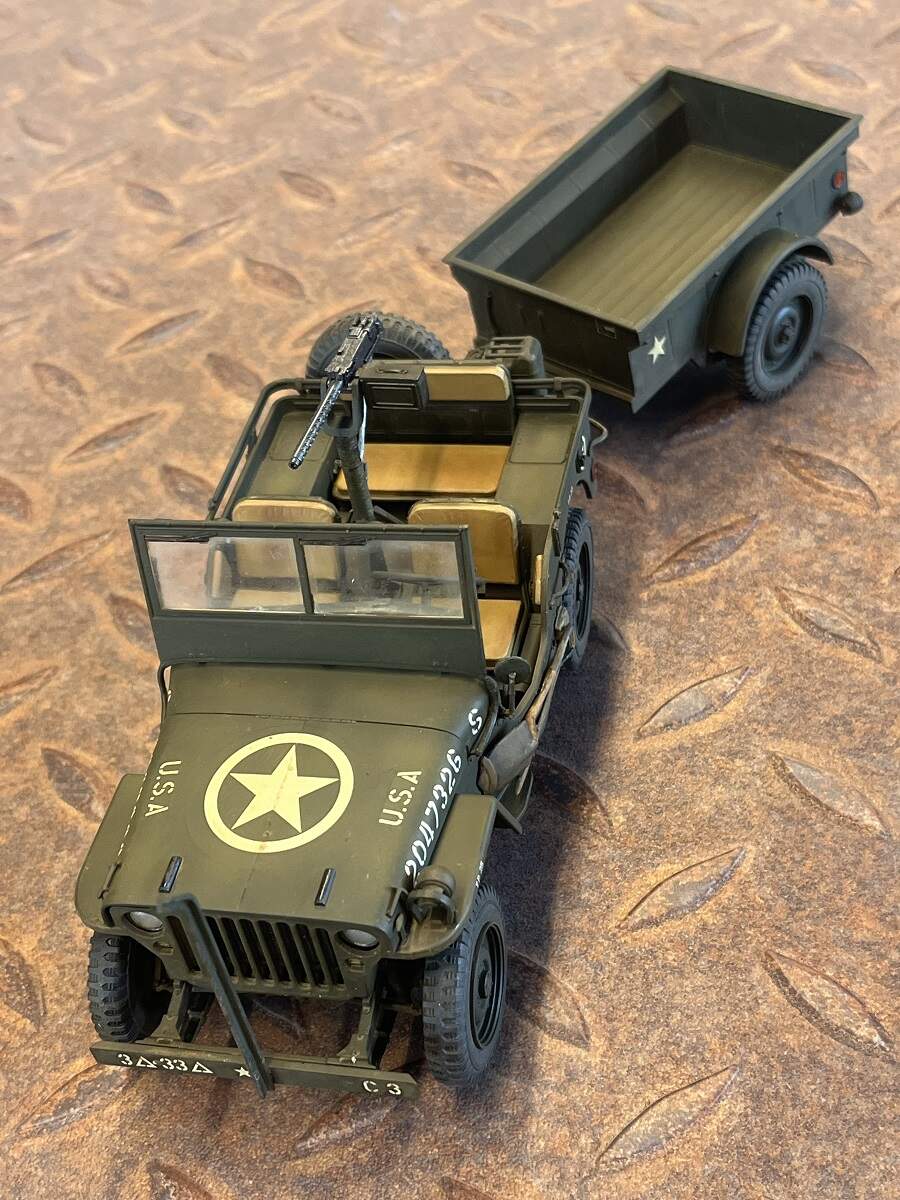
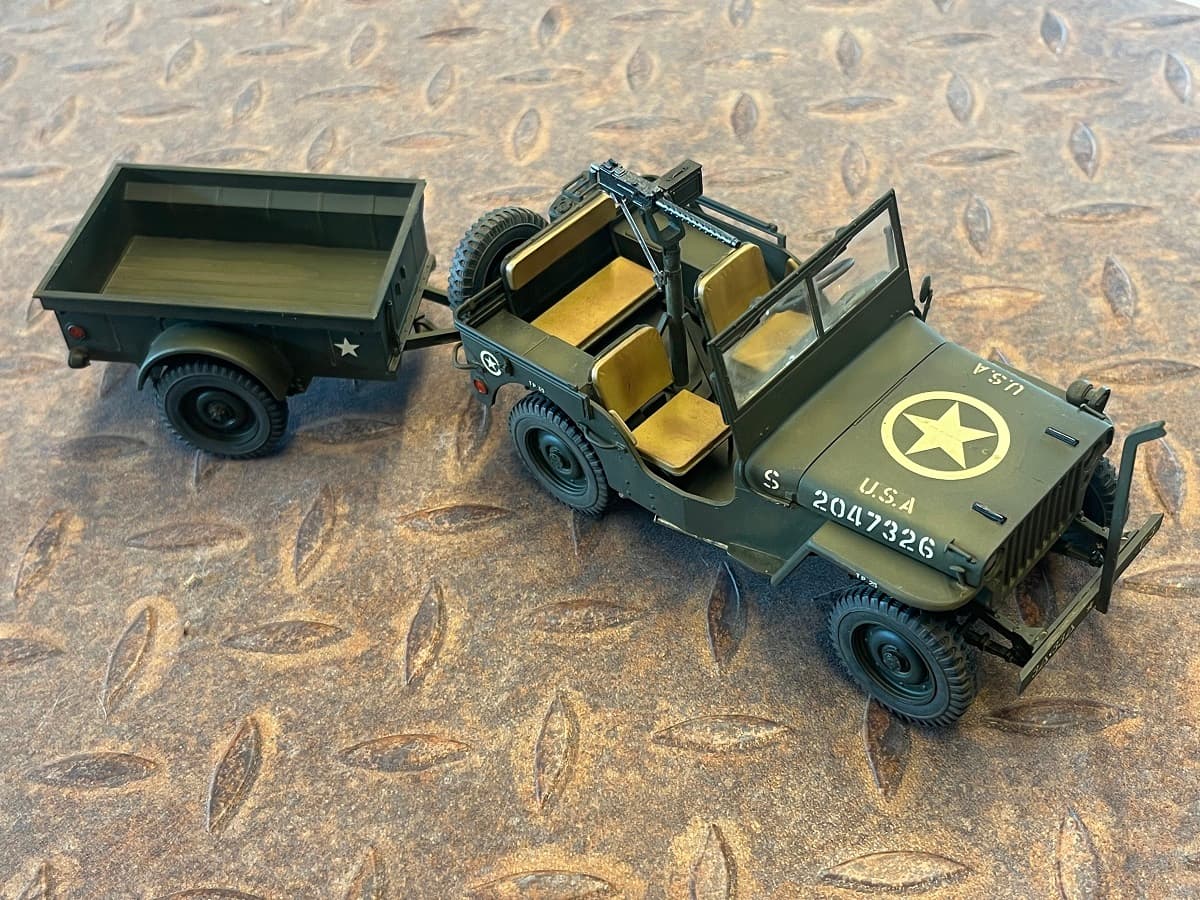
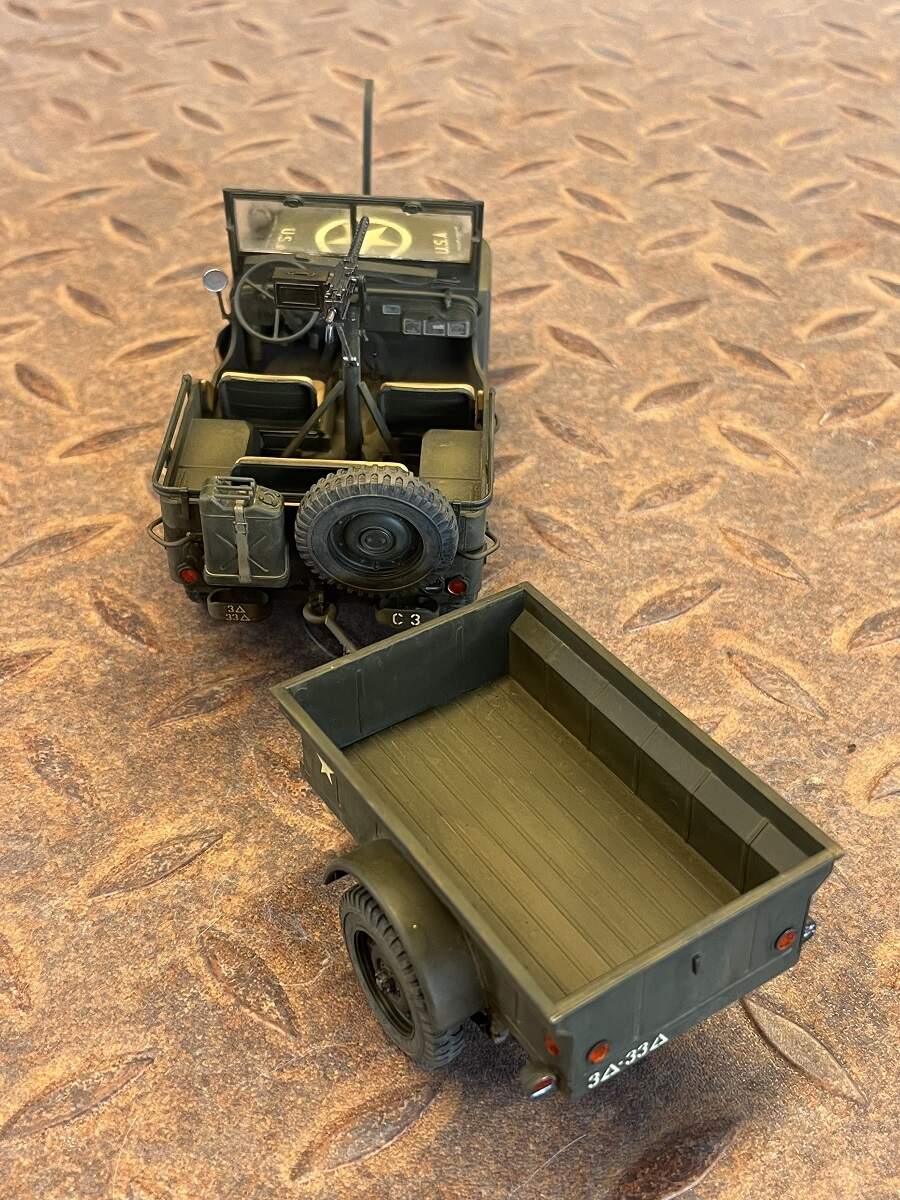
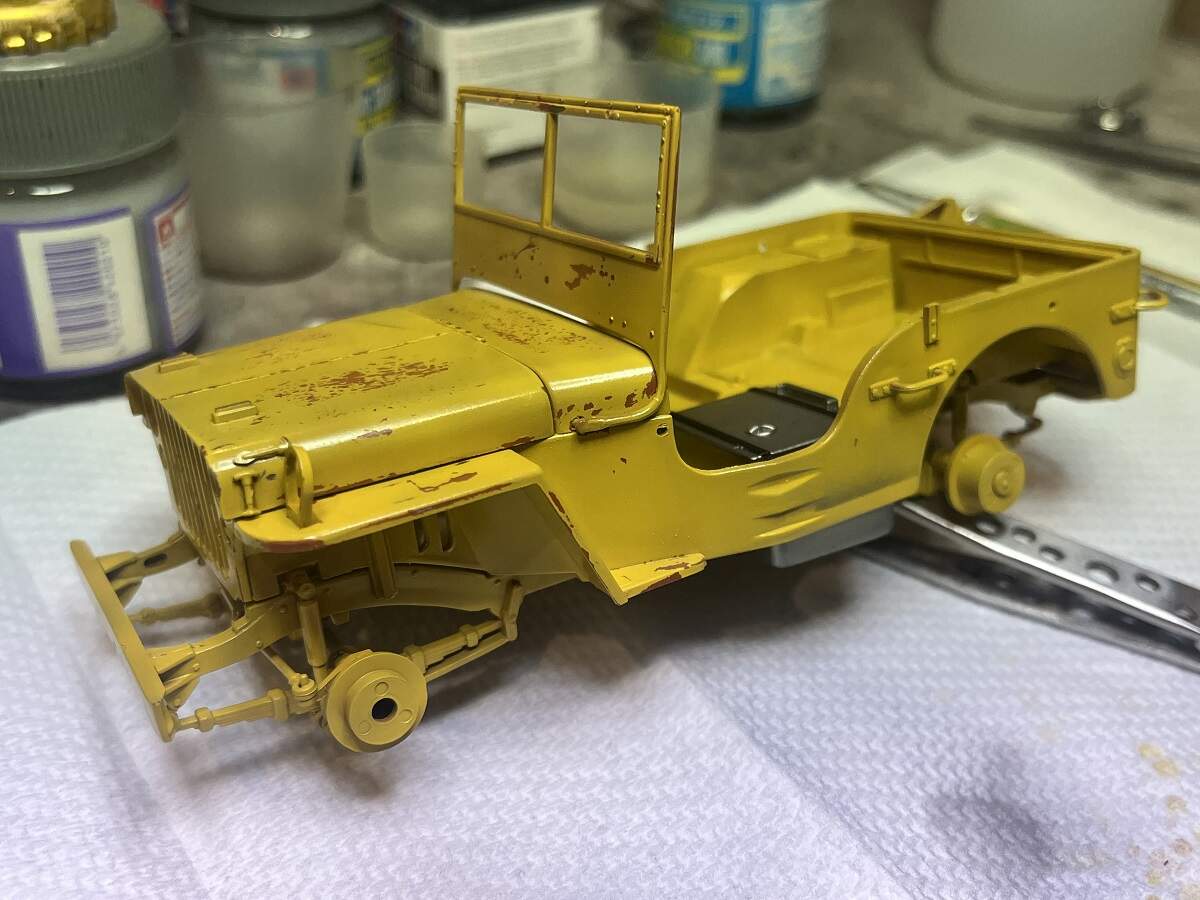
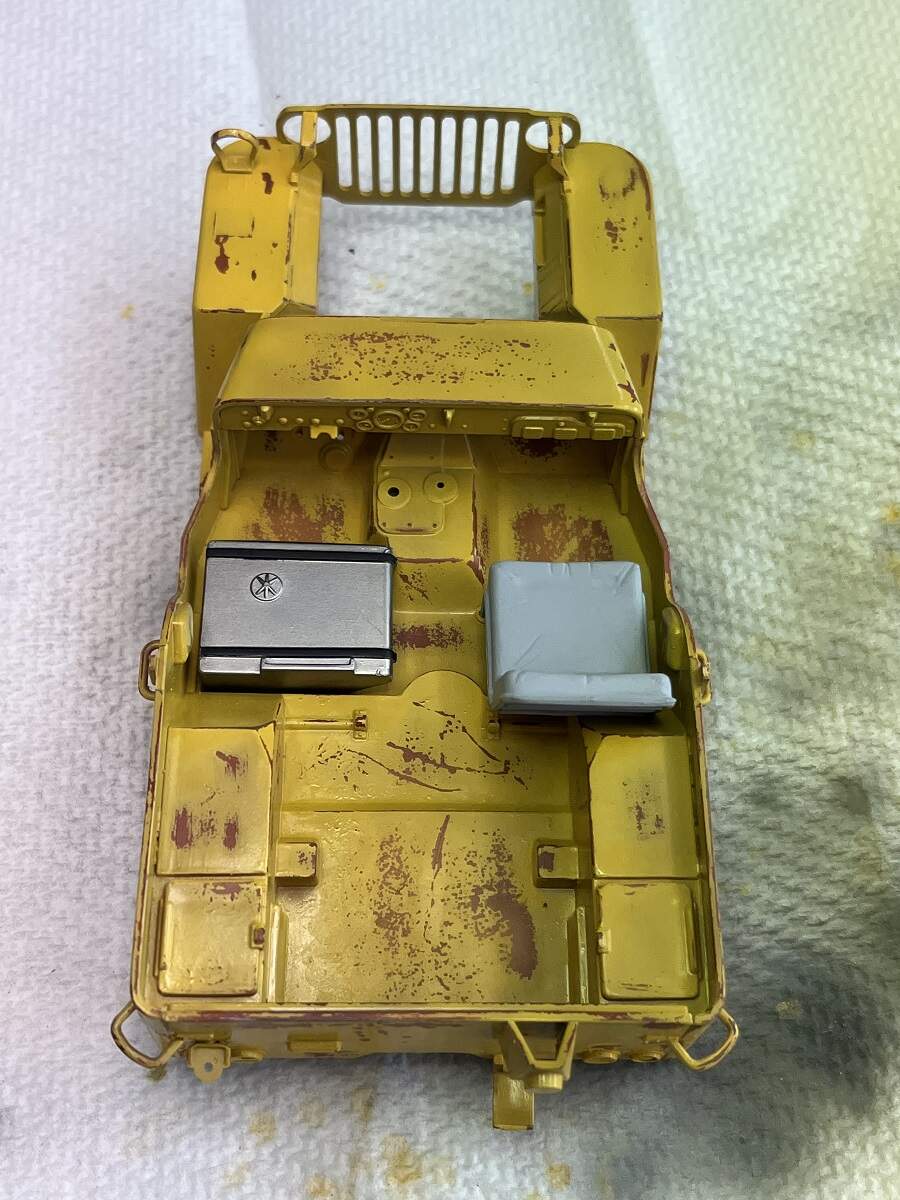
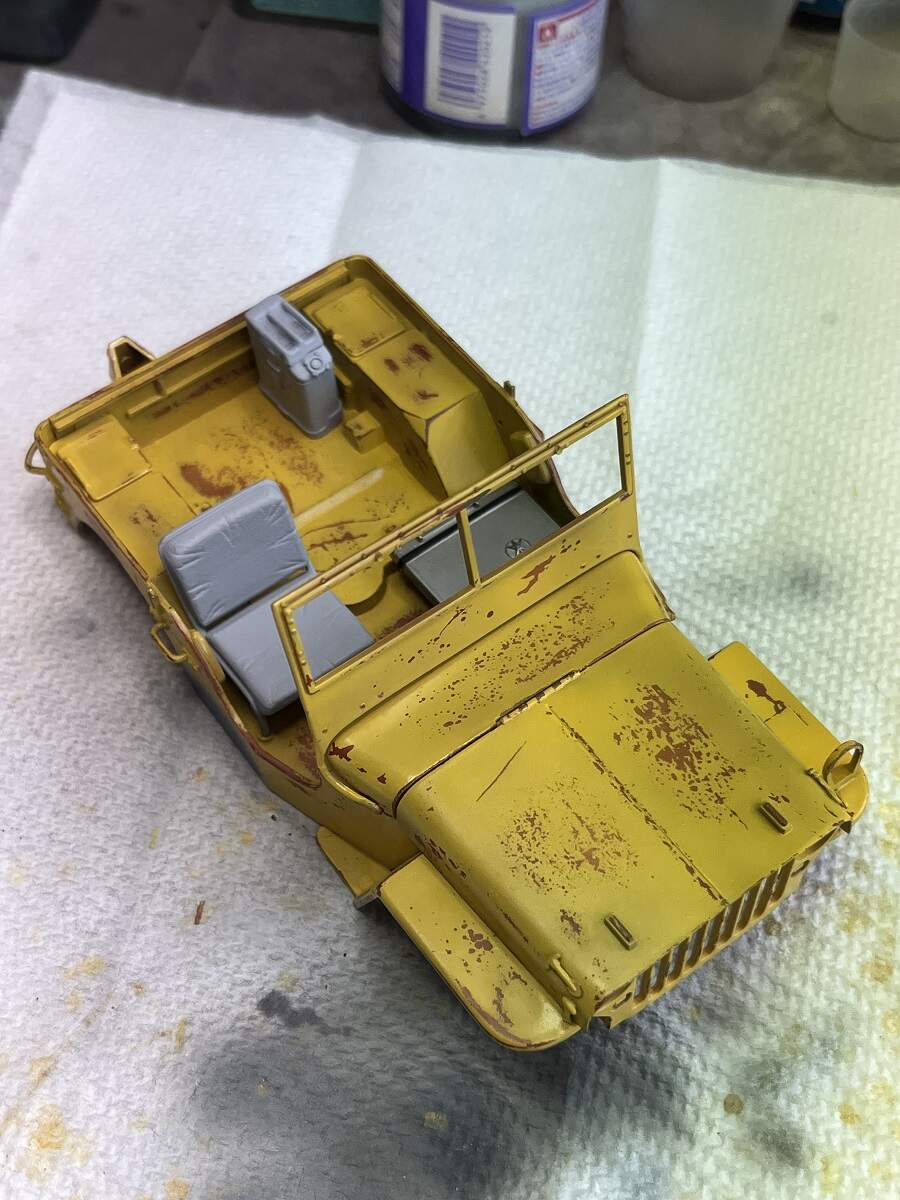
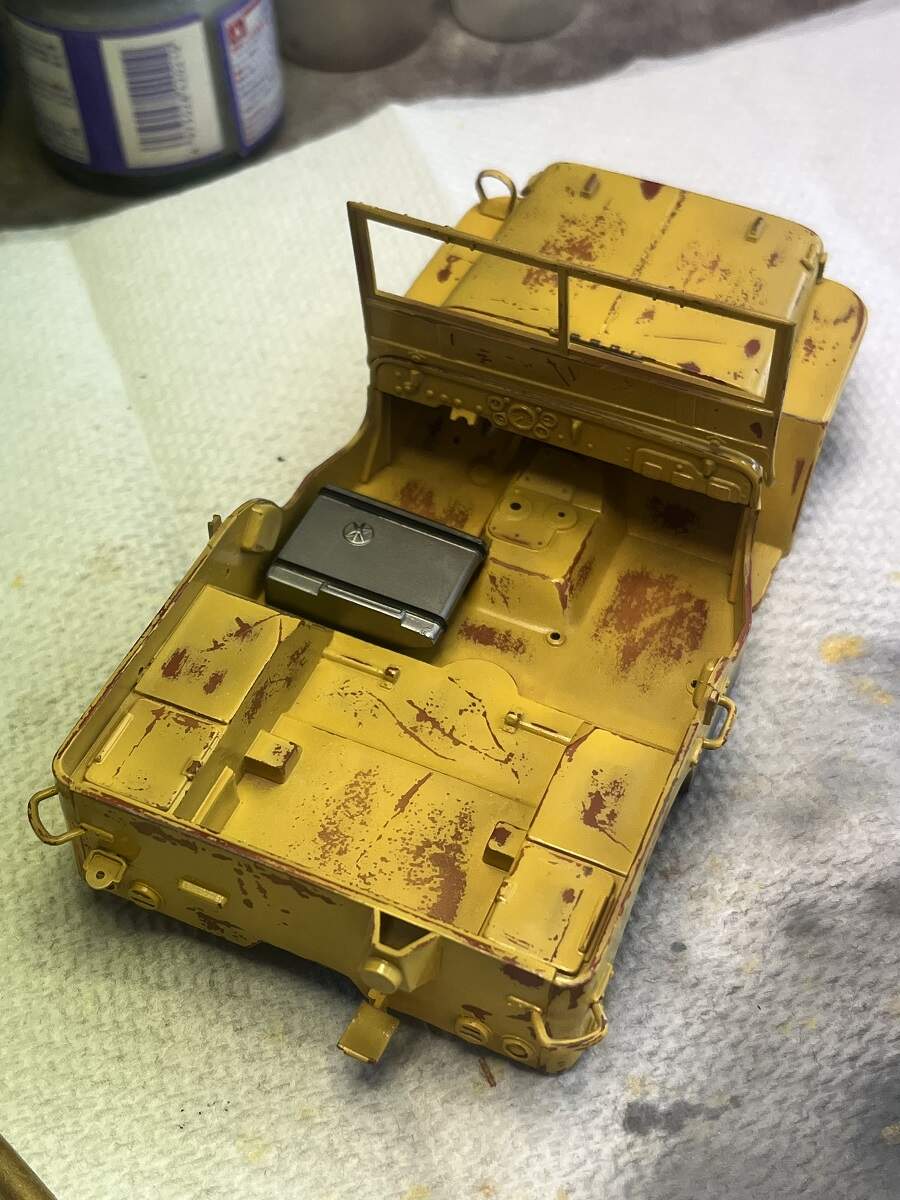
I love how things just seem to accelerate when you get to the pointy end sometimes. I fitted the chassis assembly on to the body of the military Jeep, then set the wheels in place on the Jeep and trailer (they had been faded with the Grey from the Tamiya Weathering set). Next thing you know I’m looking at a 99% completed kit!
All looking good D - you are a busy guy tying up all these loose ends.
I like the hybrid flat coat/ filter idea . Looks like it turned out well .
Cheers-Richard
And after a couple of sessions applying oil filters and washes (ABT502) the military Jeep is finished! Completion #5 for 2022, and another WIP crossed off the list after about 10 years in the cupboard of shame.
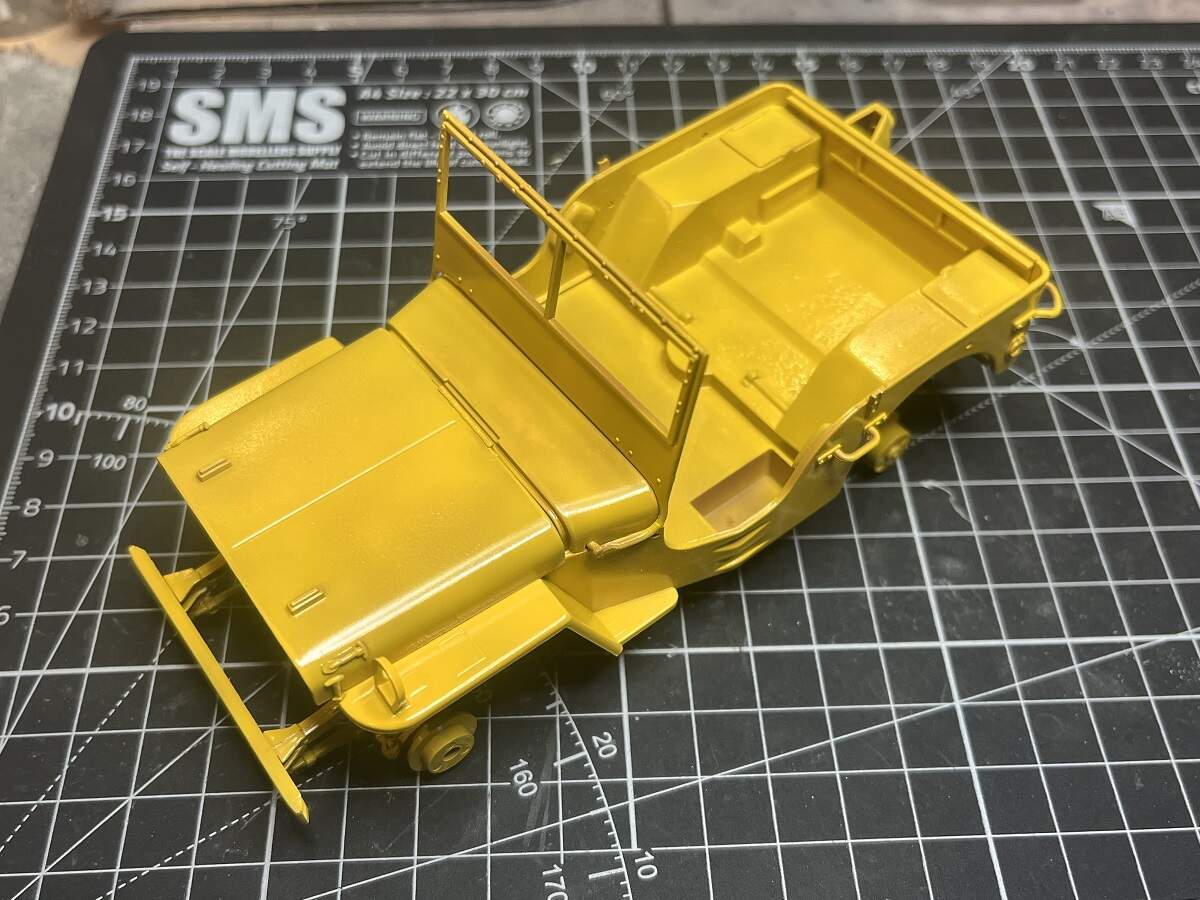
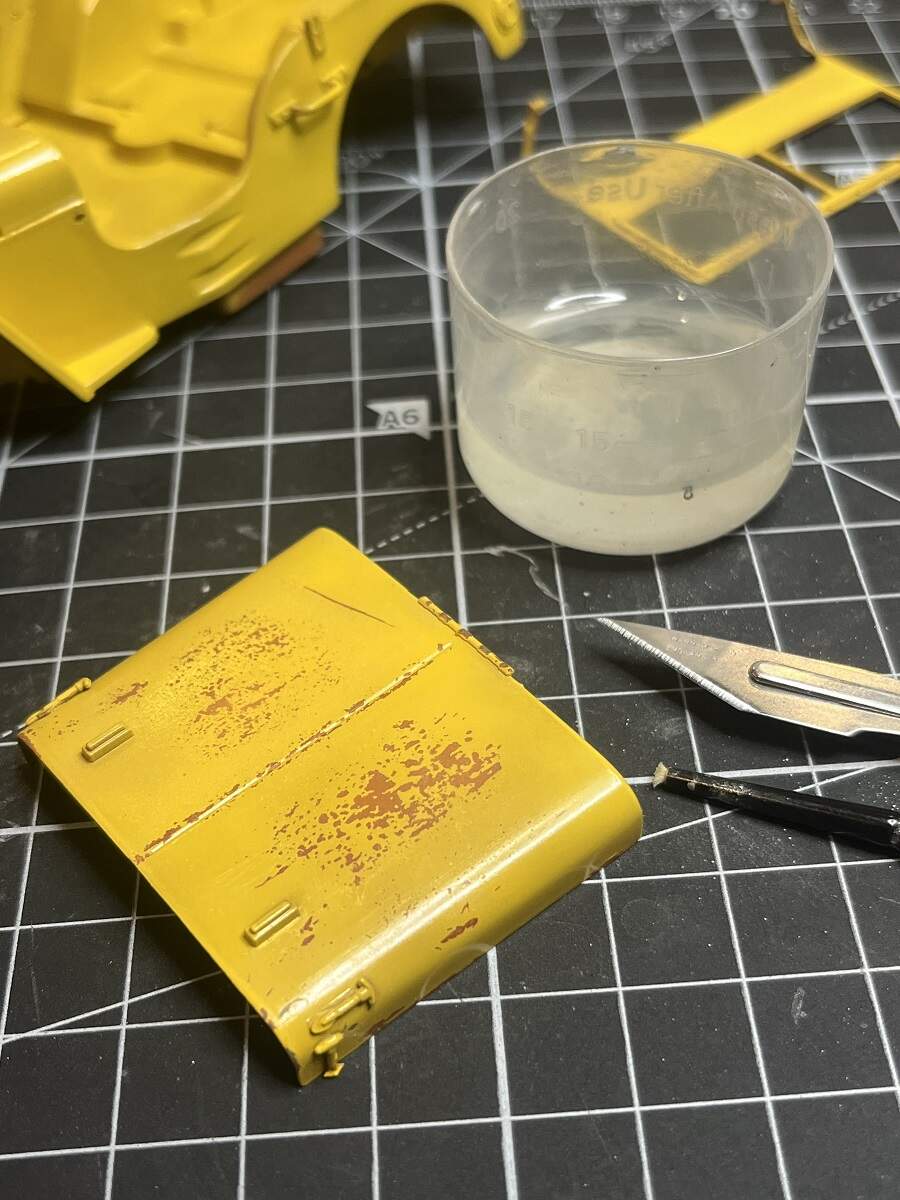
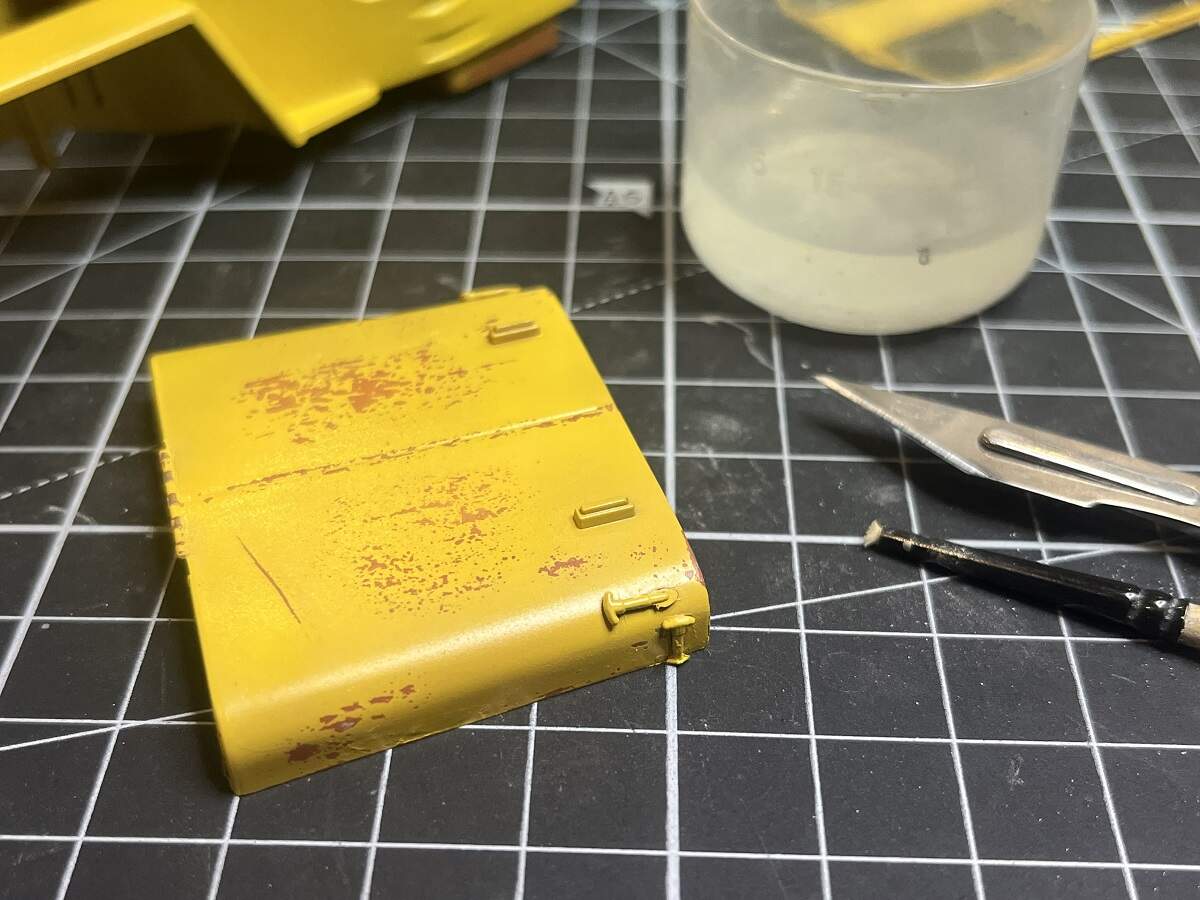
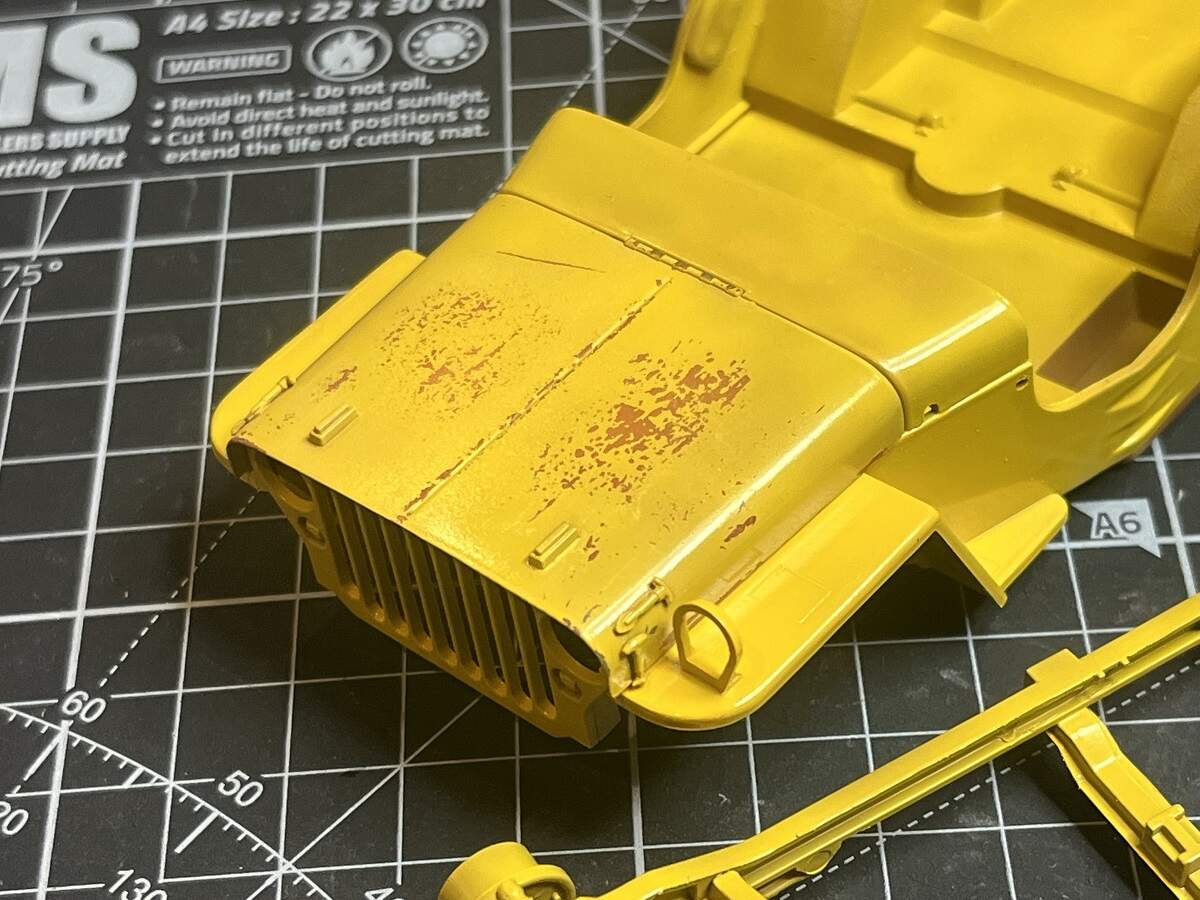
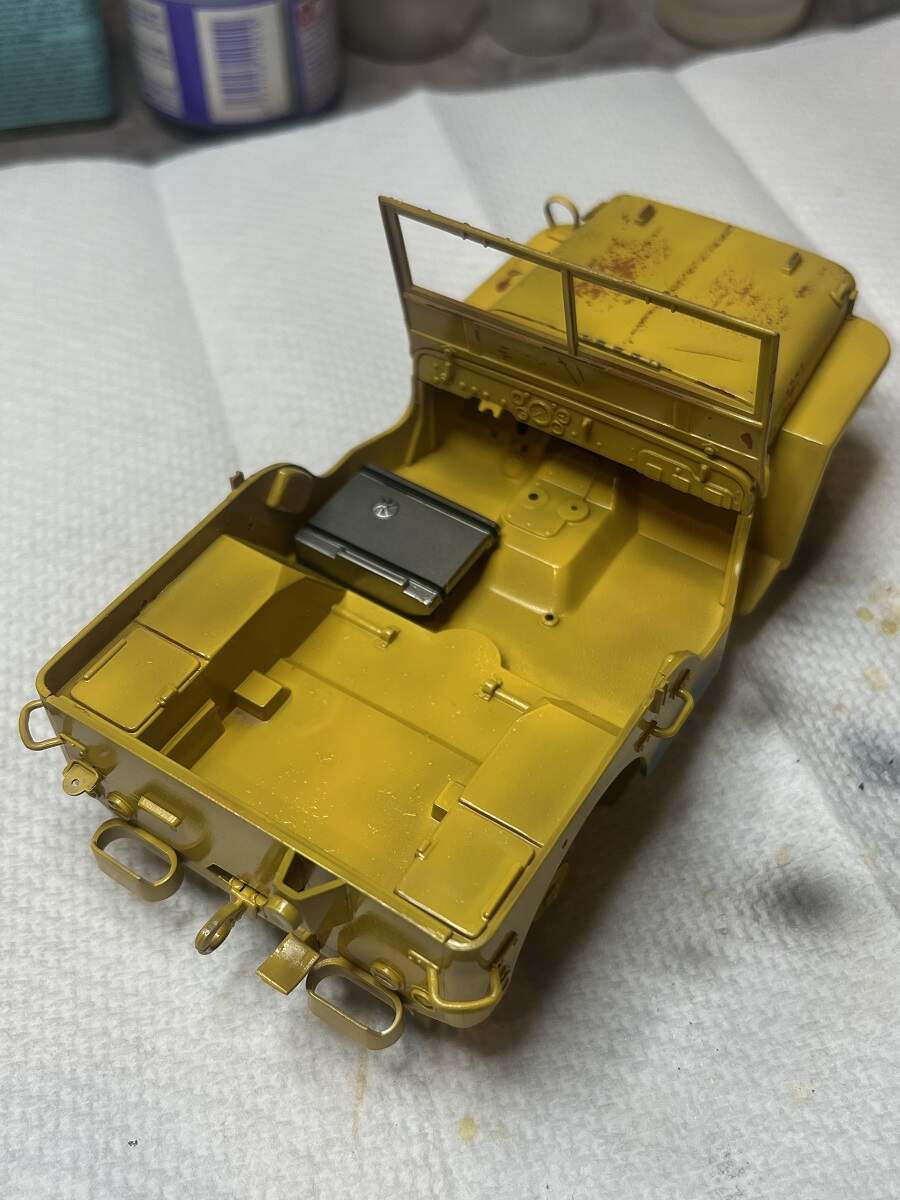
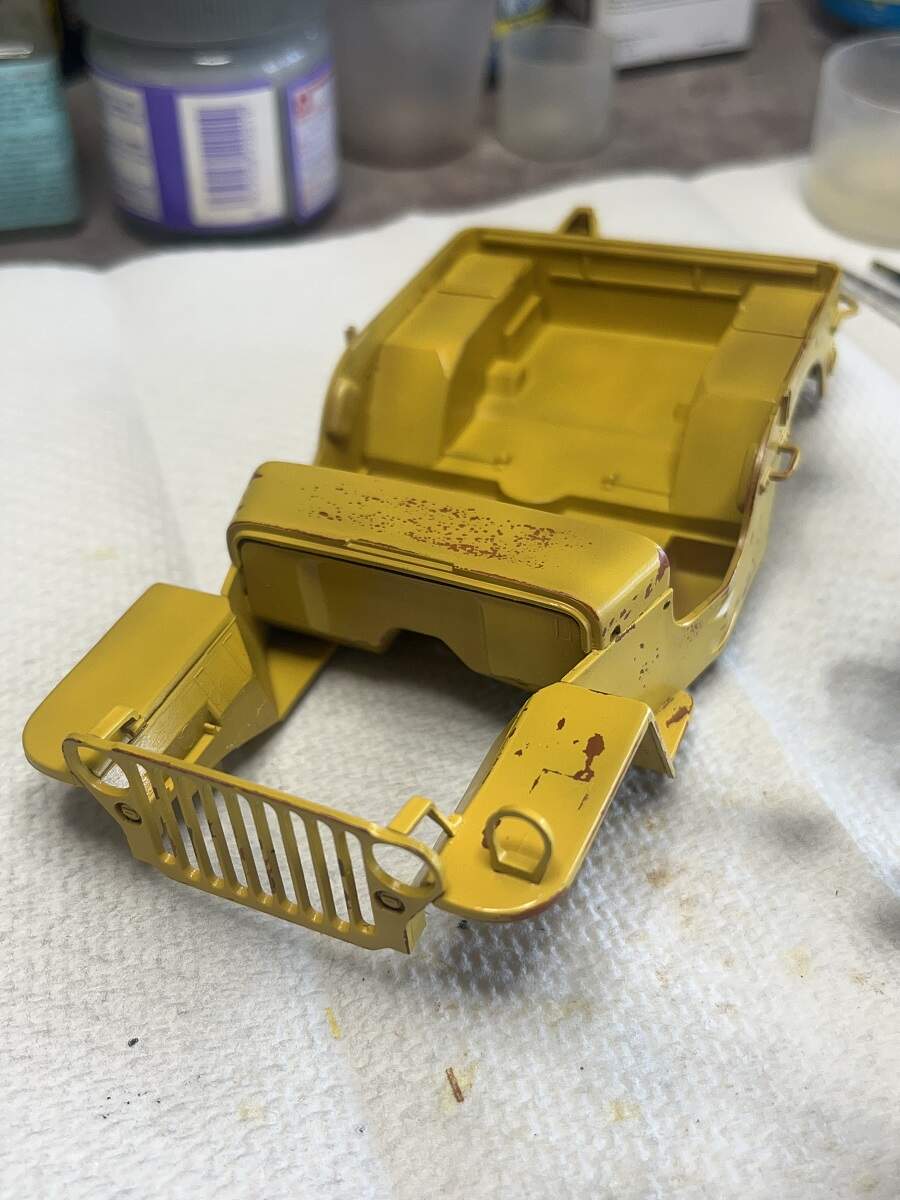
Hairspray is on and dried, quick assembly to get a shot of the patterns, next up is to mask off the floor pan ready for the top coat School Bus Yellow.
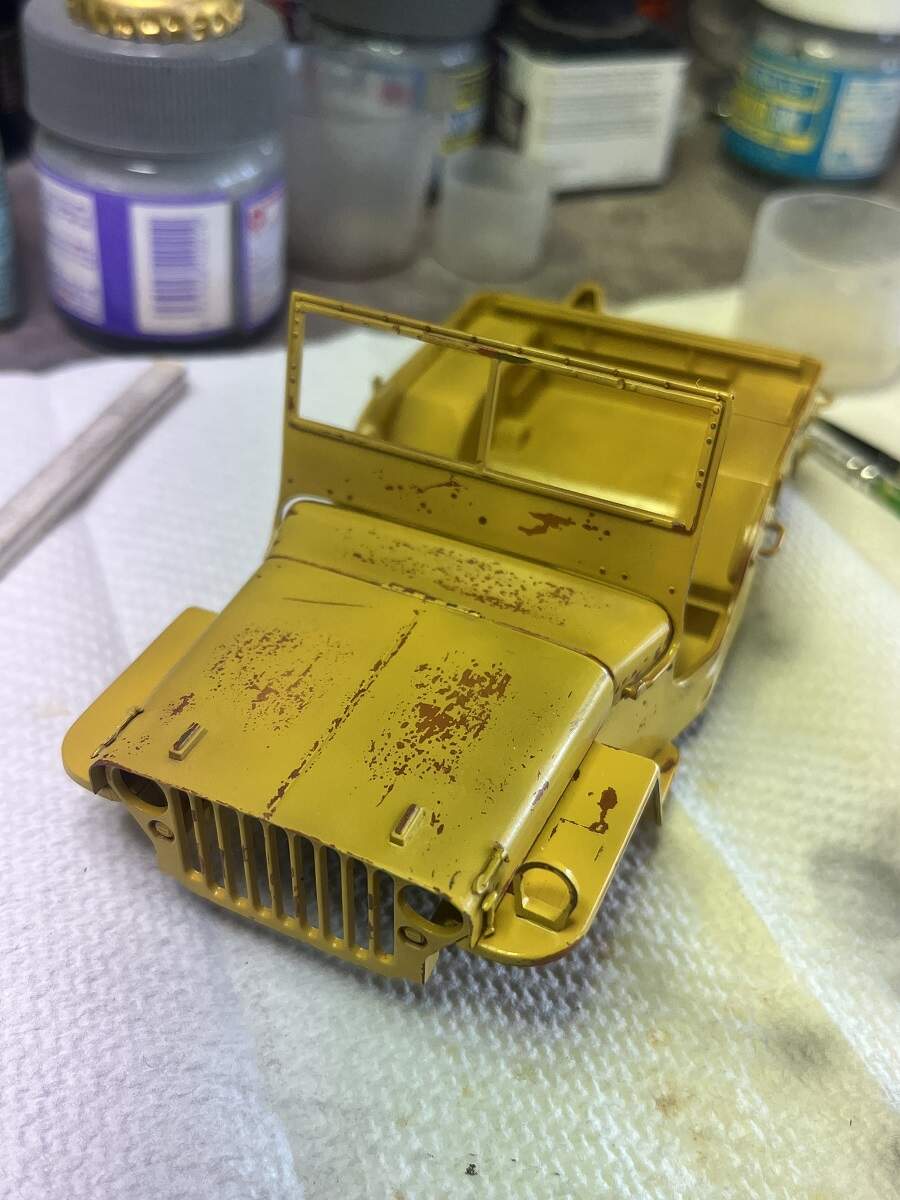
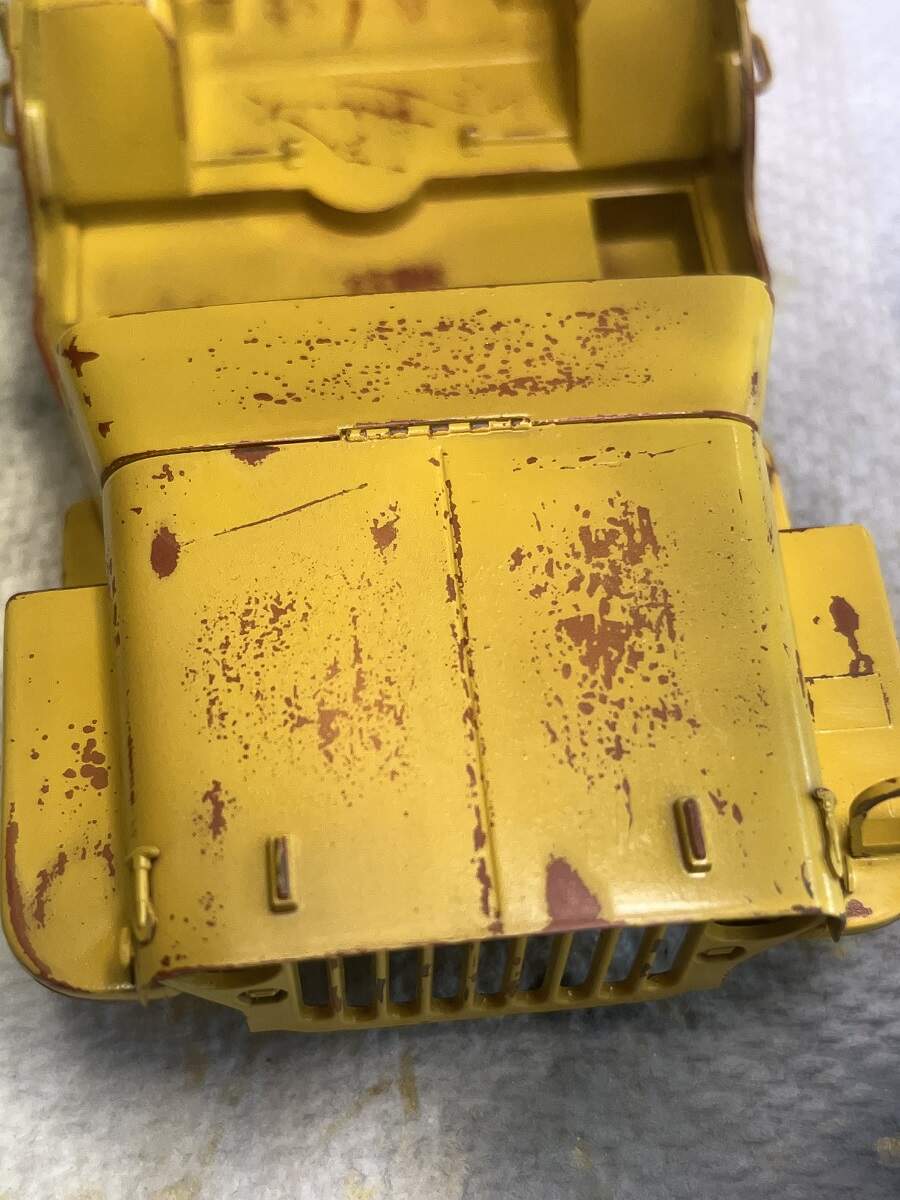
When you’re on a roll, why not keep right on rolling? Top coat of School Bus Yellow is on. I didn’t paint the bottom half of the fuel tank as it will be getting a shot of bright shiny metallic (the farmer has just replaced it). I had some Ocean Grey out to paint the engine, so I shot a patch on the side of the Jeep as well to break it up even more.
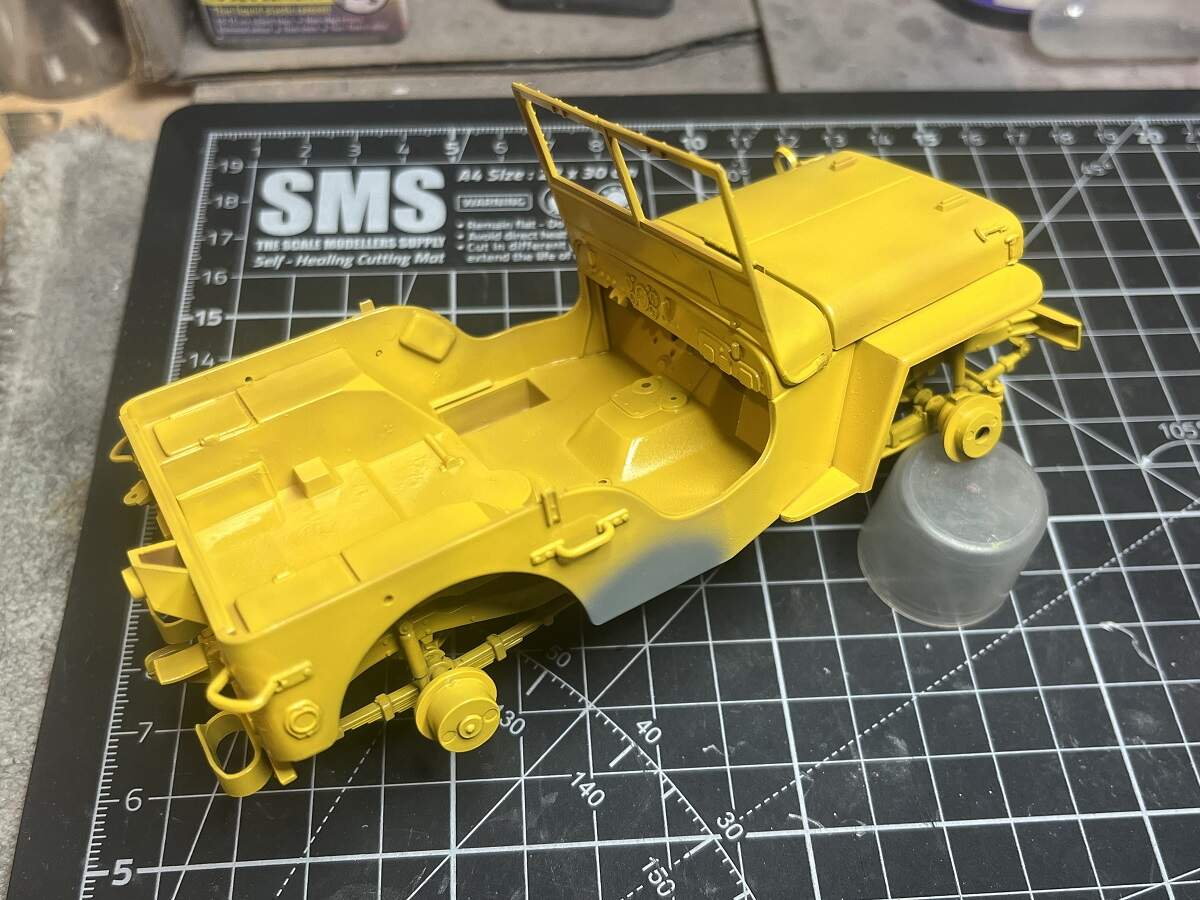
After about an hour to cure, I grabbed a cut down #0 paint brush, a scalpel, some water and paper towel, and after about 10 minutes scrubbing the bonnet is about done. I’m not going too crazy with the chipping on this.
A couple of spots that I want to work on a bit more, like some small chips around the scratch across the bonnet and lines across the toolbox lids where they would rub against the body when opened, and then I will lock it all in with a shot of Dullcote.
Great work Damian. Here’s a thought because I am not sure if you’re going for the worn look or the rusted look… I don’t much know about Jeeps or their construction but I have had several vehicles in my time that have rusted and it it always seems to me that the rusted away at the edges. I like the sprayed grey part as a fix. I wonder if you poke a few holes in it closer to the edges it might help the rusted look if that was the aim.
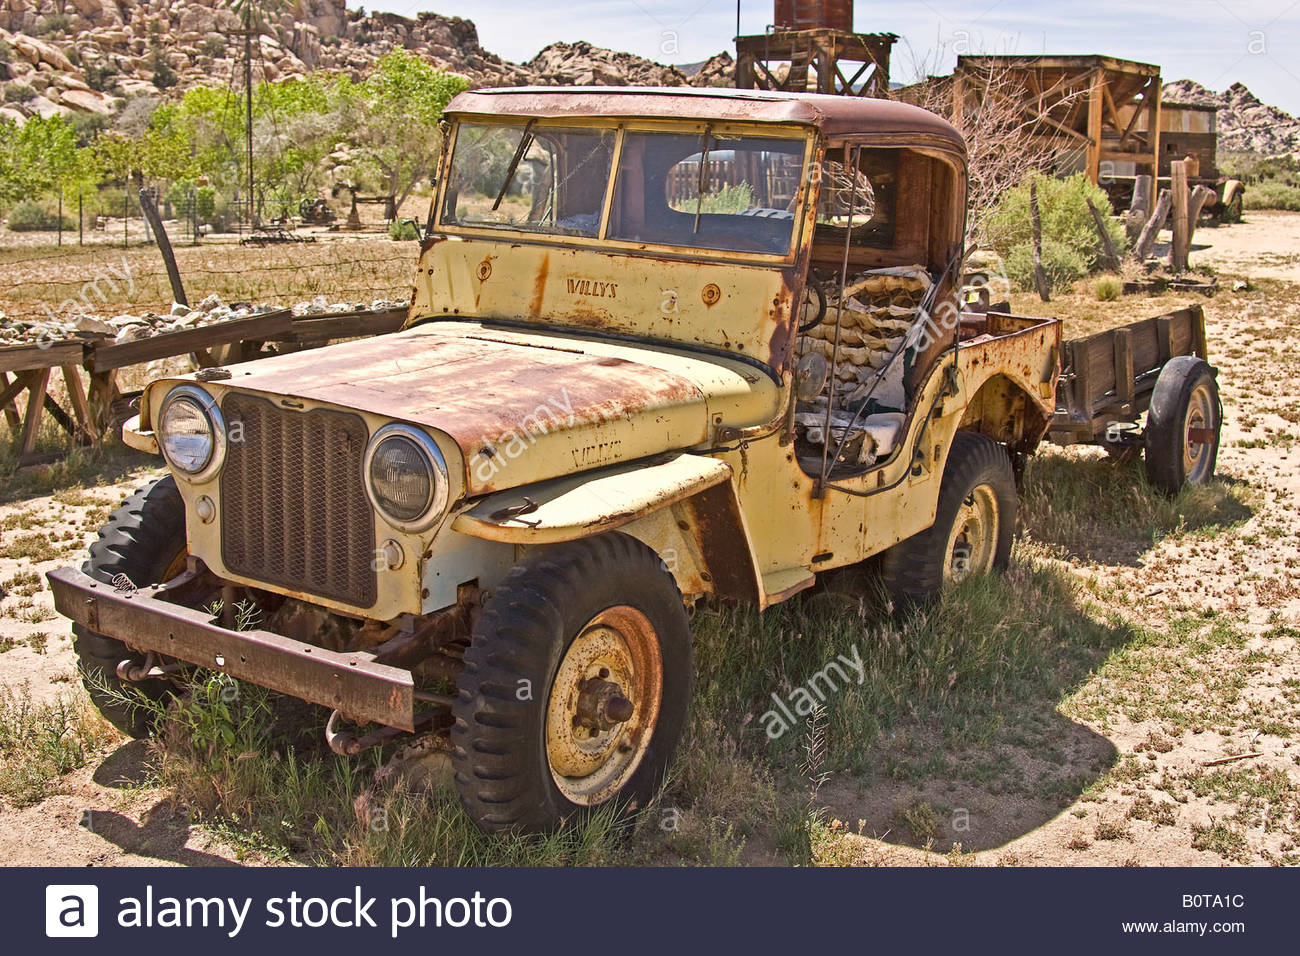
Super job across the board but for one thing that I see on the survivor Jeep; the fuel tank is not what protrudes from under the tub. The tub of the Jeep body is recessed to hold the tank. The bottom of the tub where the fuel tank sits would be body color most likely. Or rusted out. The hat channels rust out fast too. They are spot welded to the tub and would be the same color as the tub.
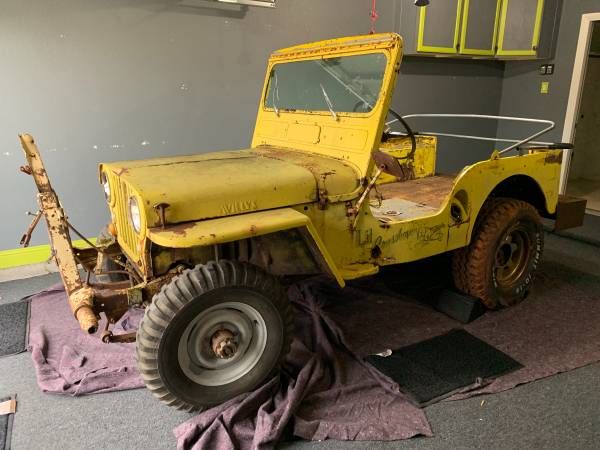
@cosimodo , many thanks for the feedback mate! I’m going more for a chipped and scratched and faded through exposure look rather than a full-on structural rust on this one. The 2 reference images I am using don’t really show any rusted-through areas.
@BUTA46, thanks for checking in on my builds here Phil, much appreciated! Thanks for the feedback and information as well, it’s always good to have those with more knowledge about the subject matter looking over my shoulder! I can amend the back story to say that the farmer tore the tub off the floor pan and damaged the tank inside when he hit a tree stump, and he hasn’t got around to repainting the replacement tub yet. The hat channels is a different story. Being spot-welded to the floor pan, they will definitely need to be repainted in the red oxide to match the underside. Oh well, I needed the practice masking them off
No more progress of note to show yet, just refining a few of the chipped areas and prepping some of the other parts for sub assembly.