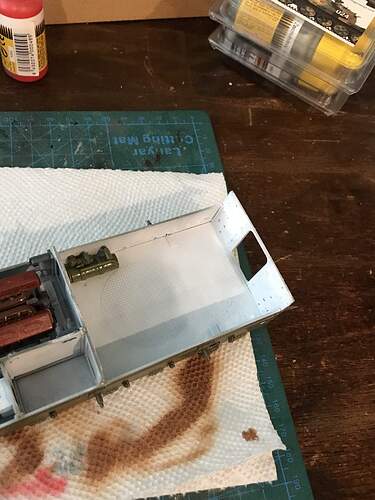
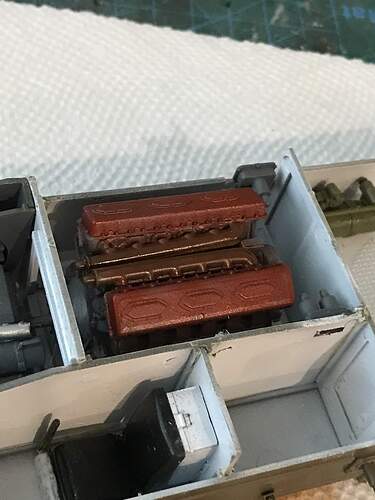
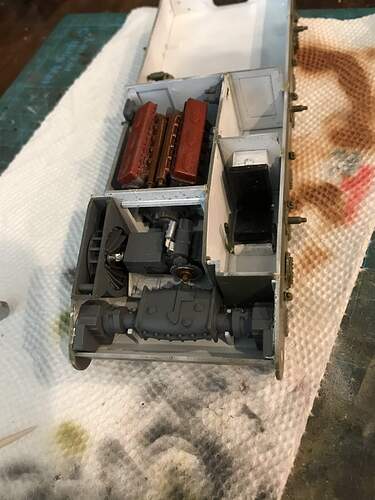
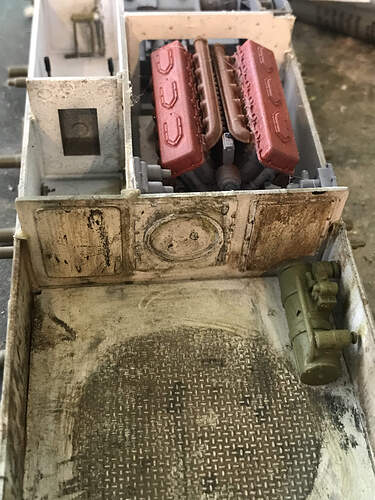
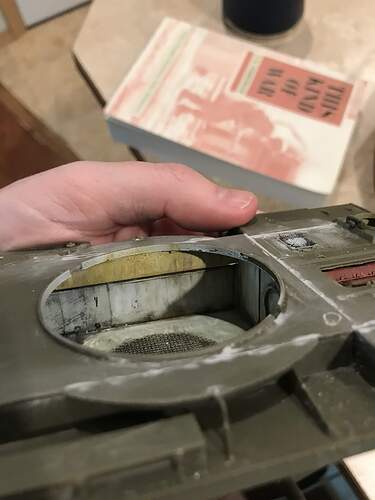
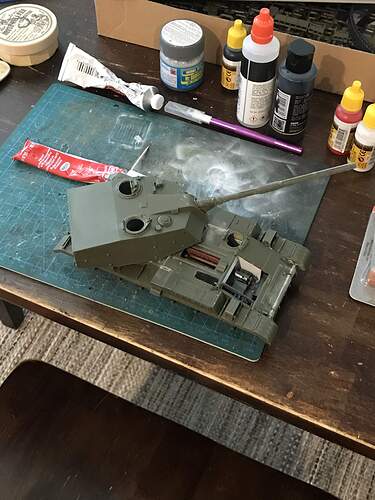
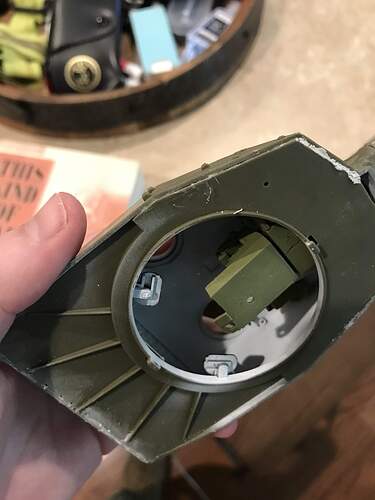
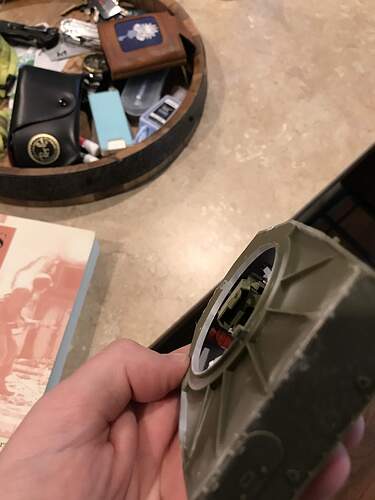
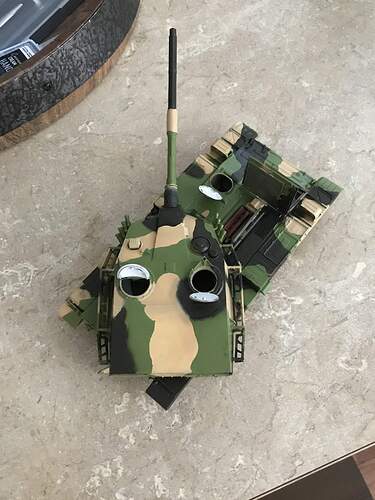
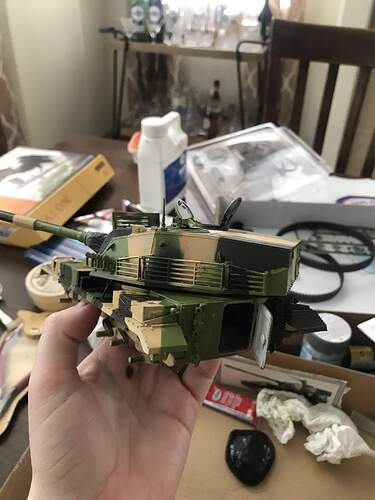
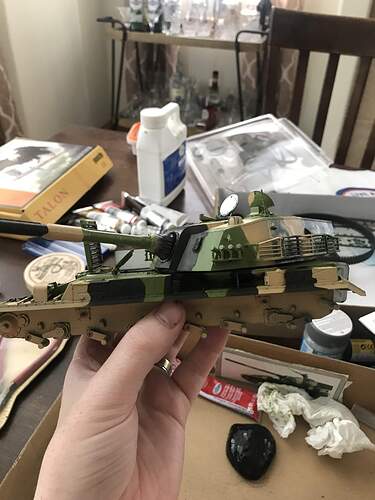
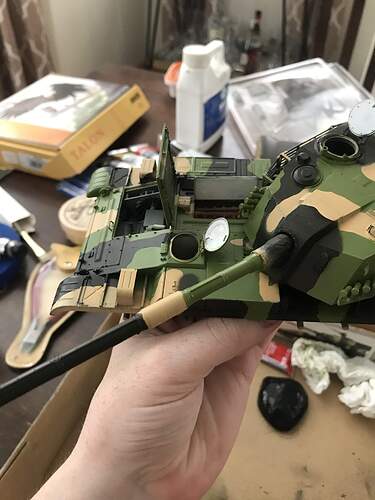
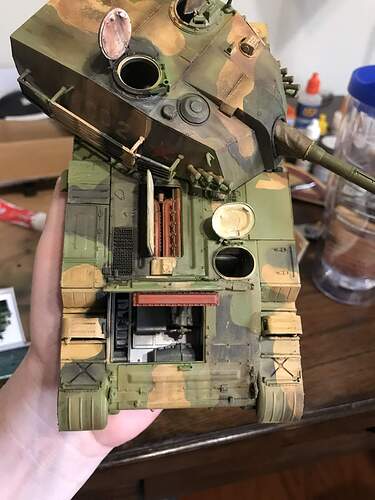
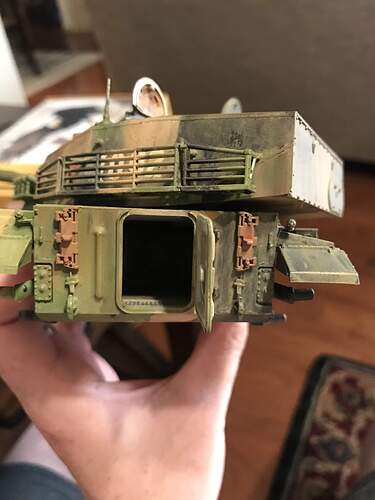
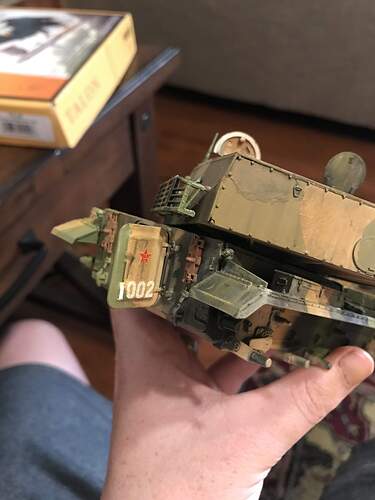
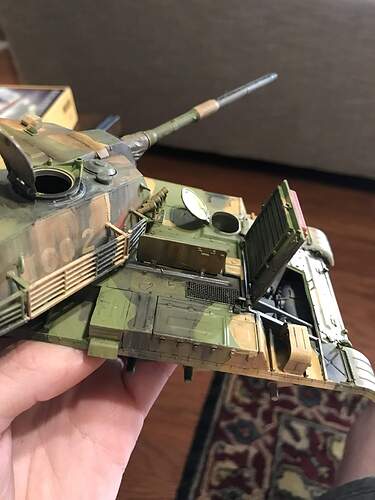
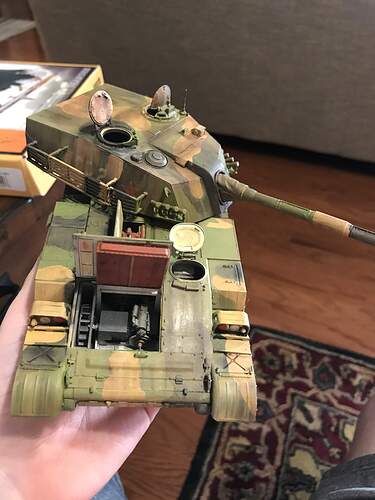
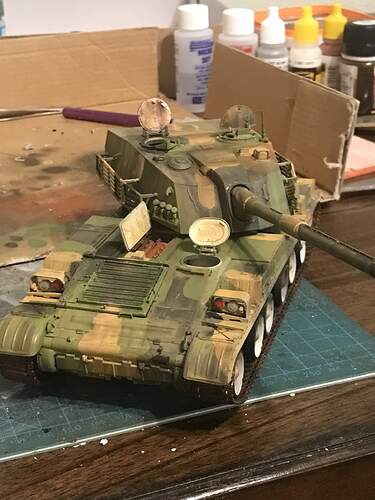
I’ve begun a new build after finishing up my recent diorama. I was thinking this was going to be a quick build and then i opened the instructions and was in for a surprise. The vehicle has an interior and I’m not mad about it. It’s a pretty basic concept and layout but it was some good detail! I’ve finished the interior of the lower hull and have it painted as well, I think this will be a hatches and grills open display when I’m finished.
This is recently painted and placed in the hull. I think I’m going to give it a satin varnish coat and do some dot filter in the main compartment with a black pin wash. I’m tempted to go back over the engine and add some engine grime from Ammo Mig.
1 Like
That’s a pretty good interior considering this is a fairly old kit. I think you’ve picked it out very well. A bit of grime would go nicely I think.
@Karl187 thank you! Yeah i actually really enjoyed the interior which is a first. I usually hate slugging away at it if I don’t think there’s a way to show it off. It went together quite nicely and in a way that made sense. I’ll probably add some grime and dot filter later, dot filter will go to the fighting compartment in the rear and some engine grime on the radioactive/ engine block and possible the hatches when they’re opened.
1 Like
@metalhead85 thank you, this is about two days worth of building and a third day of painting so far.
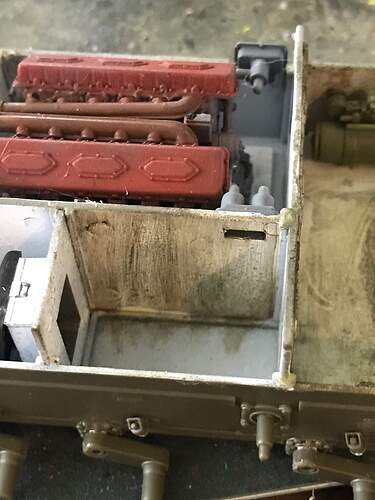
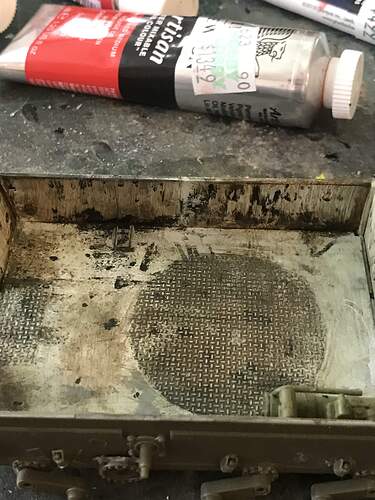
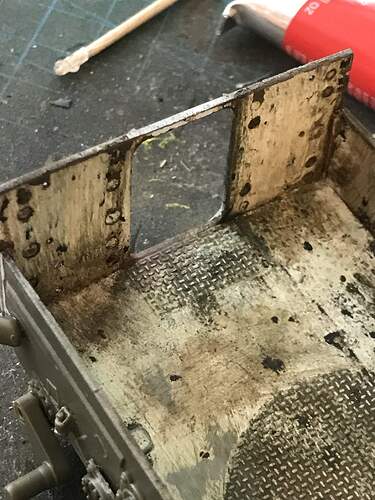
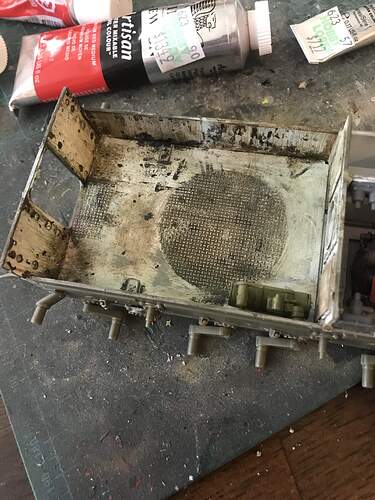
Here’s an update on the interior after attempting oil dot filter. I think it came out okay and looks pretty realistic. Maybe a Tad bit over weathering.
Finished the upper hull and most of the turret assembly. Just need to complete the heavy machine gun and some racks then she’ll be ready for paint.
Here’s a few pics, the first two two are some oil streaking I’ve practiced on the inside of the hull. The final two are interior shots of the turret but there isn’t to much to see after being assembled. I’m still trying to get it down. Struggling with at times if i want a streak effect or an oil dot filter effect.
![image|375x500]
1 Like
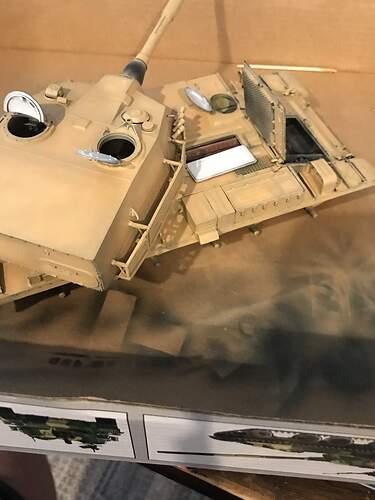
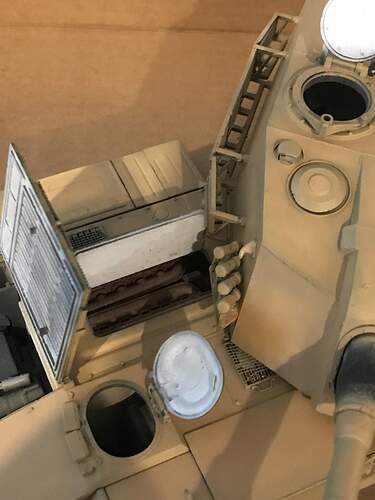
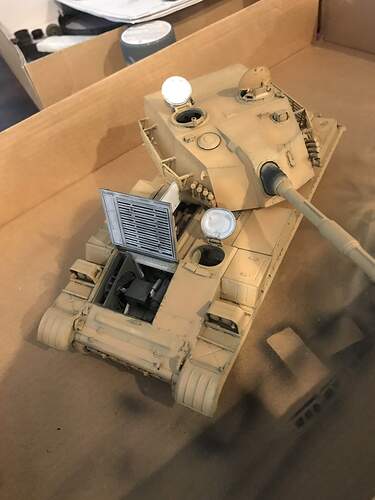
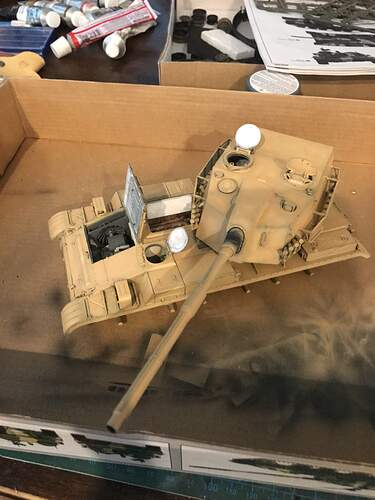
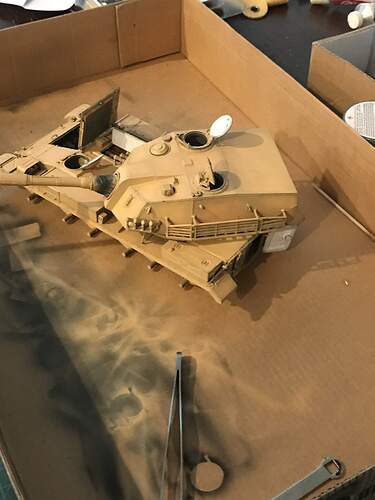
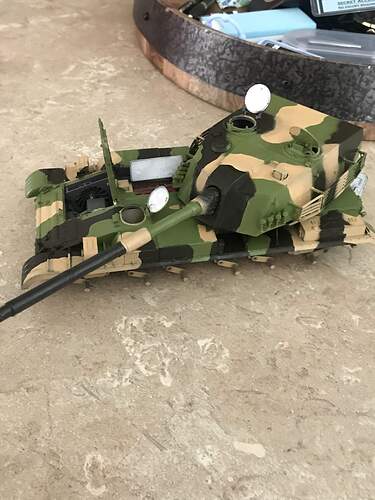
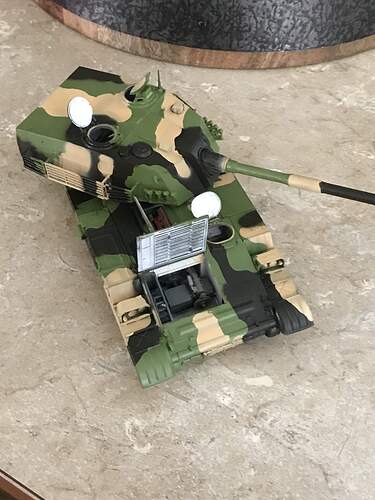
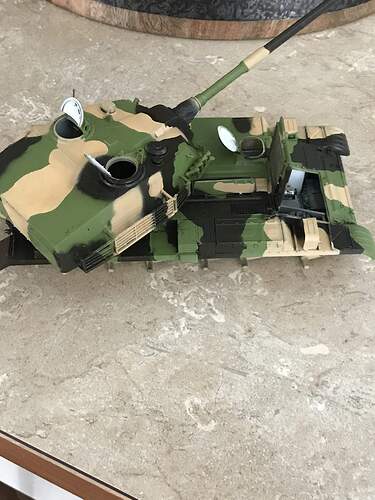
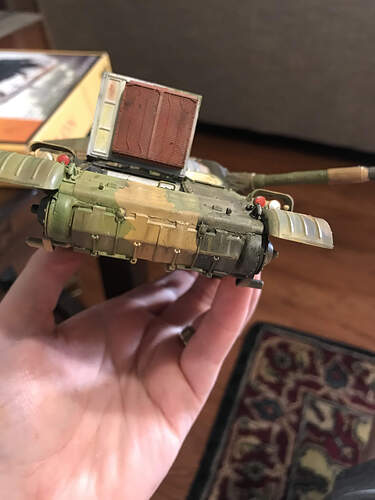
First coat of paint done today after doing shadow and coloring last night. Unfortunately i forgot to post pictures of the shadowing but you can see it through my first coat. First coat of paint was Ochre Earth from ammo migs PLA color set. I then took some pictures of the mock up of how this vehicle will be displayed. I’m considering doing a small diorama of this in a hull down/ defoliate firing position but I’m no sure yet.
4 Likes
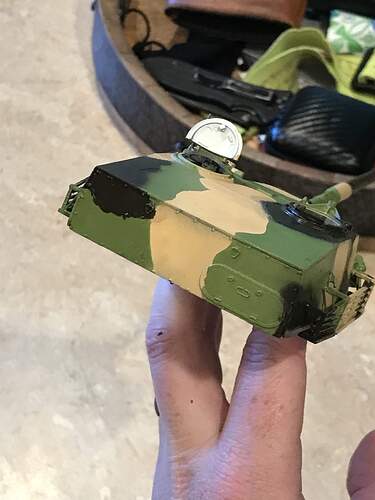
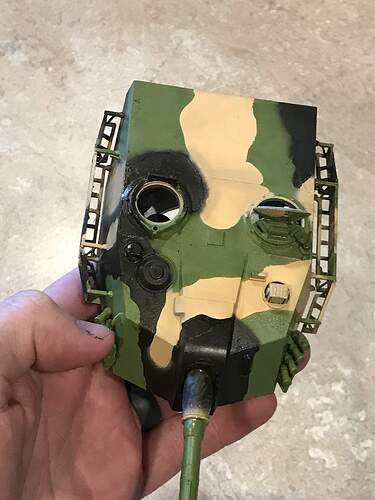
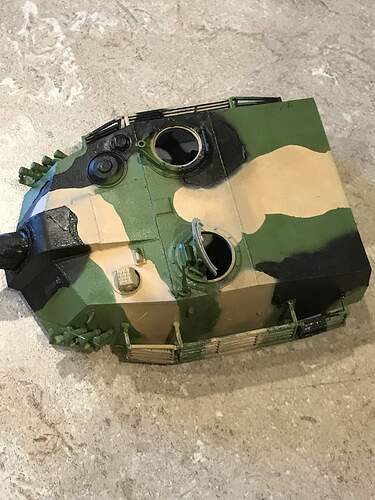
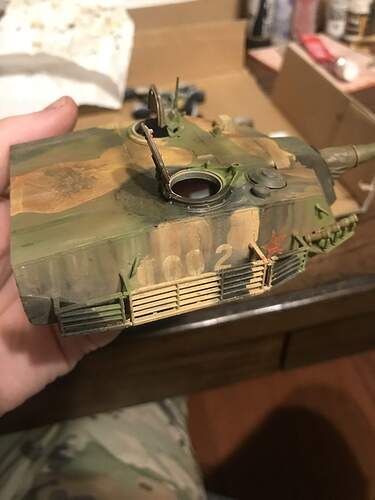
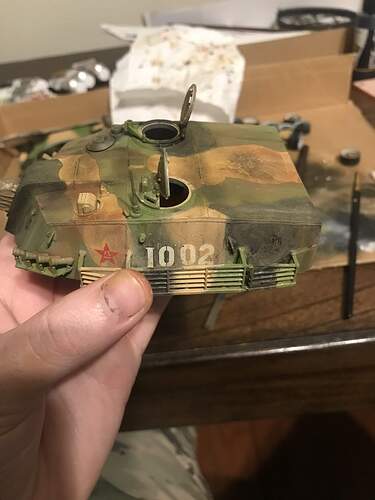
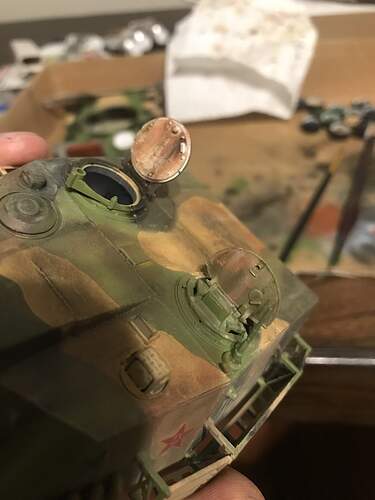
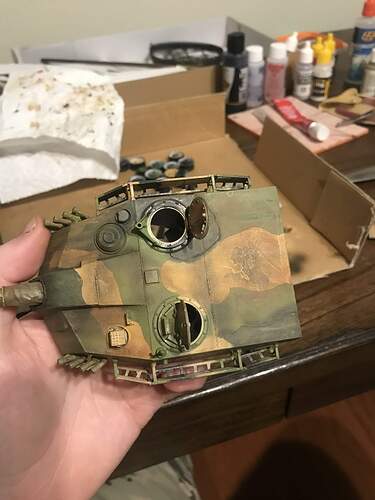
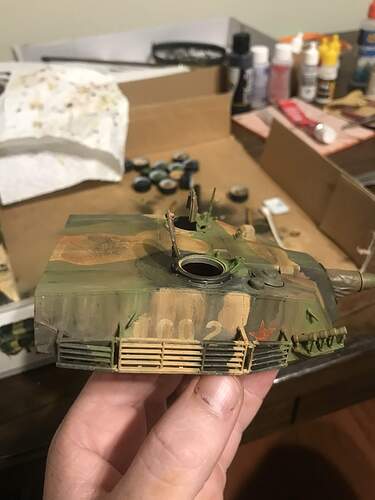
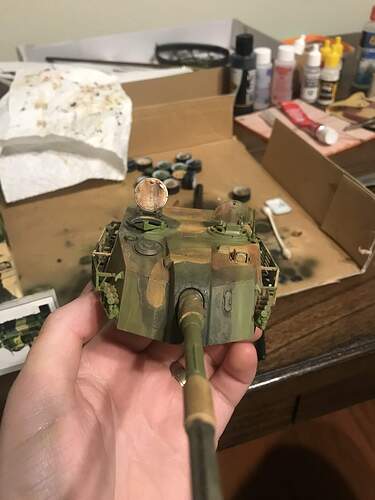
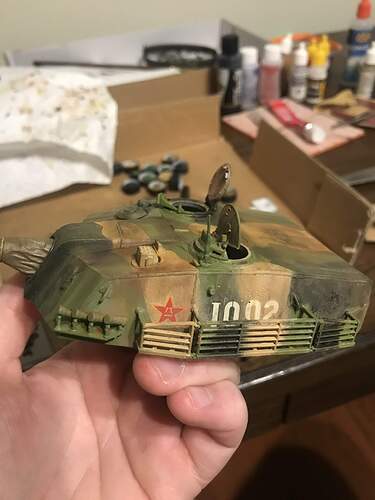
Finished the turret camouflage last night. Took me two days to do the pattern but I’m liking the results. Olive drab shadow and pale green for the colors.
Next up will be the hull!
1 Like
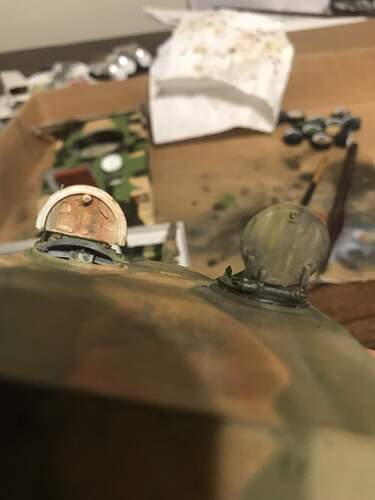
Looking pretty good. Camo is coming out nicely. One pointer, the insides of hatches are usually the base color (green?) of the outside of the hull, not white. White stands out like a soar thumb against the camo and surrounding area.
@HeavyArty thats what i was curious about as well. The directions called for white on it which i thought odd. Thanks for the pointer i know on my 1126 at work they were green on the inside as well.
It’s looking good Gregory!
1 Like
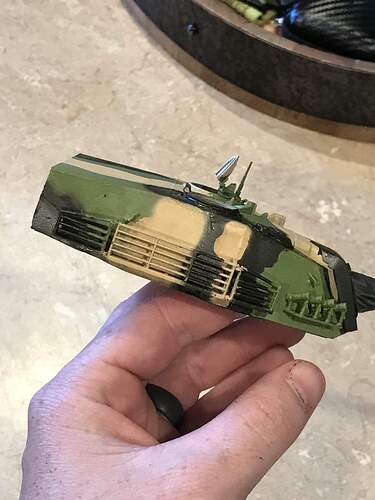
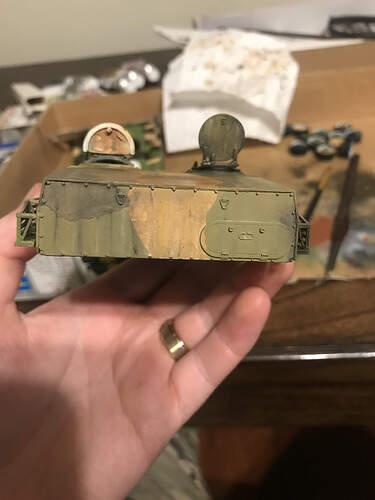
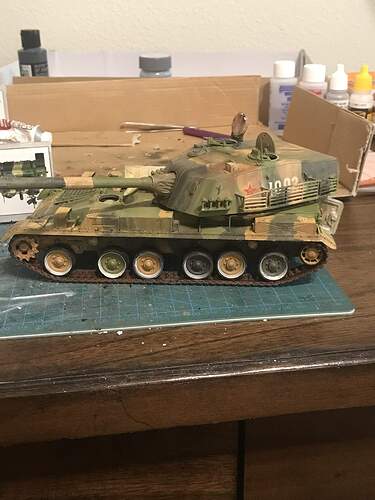
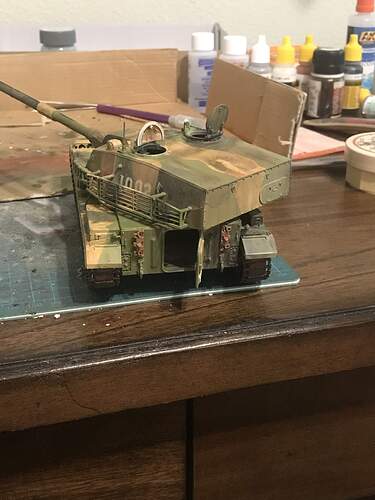
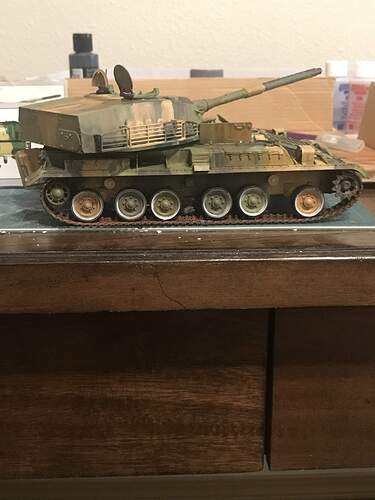
Another update: i finished the hull camouflage and took a few pictures of the outcome. I realize i need to go back over and smooth out a few rough edges. So far this is coming along quite nicely. I’ll the. Transition into doing some detail painting and getting the one or two piece that’s need khaki and red. After that it’s the radiator then the wheels. Will probably apply decals tonight and do an oil dot filter tomorrow, at least that’s the goal.
I’m not sure if i want to build a diorama for this or not anymore. I had originally wanted to do a dio with this vehicle in a defilade position behind terrain. These were never used in combat and were never exported. If anything i may do a stand alone base with a nice stain. I’m open to some suggestion though!
3 Likes
I think your plan sounds good- a small scene behind some terrain would probably be the perfect position for this.
1 Like
@Karl187 yeah I’m leaning towards it, I’m just not sure if there’ll be forfeited or not involved.
1 Like
Weathered the turret with an oil dot filter tonight and here is how it turned out. I feel like i got the streaking effect down and I’m not to disappointed in the results. It looks really worn as if it’s been on maneuvers for a month.
2 Likes
Here’s an update on the lower hull concentrated on using three to four colors this time and the filter become more consistent. I bit heavy in some places but i feel like I’m grasping this technique a lot better then i did last night.
3 Likes
Am about 90% done with this kit. Unfortunately i lost a idler wheel to tension from the track so one side is a little loose and one side is tight when it comes to track because of this I’ll end up doing a dug in fighting position. Next up is to do a pin wash with tamiya panel liner for some of the finer details. After this I’ll finish with the heavy Dshk for the commander cupola.
1 Like
Wow, this remind me of my high school 20 years ago when I start to build scale models.
Do you have any issue with the track? I remember the rubber track is too short for this kit. Maybe they have improved?
