Thanks Johnny!. They are from Lion Marc, I bought them a long time ago and I did not remember that I had them, I am finally using them.
About the tools, if not want to use PE, I recommend a little cut into the brackets.
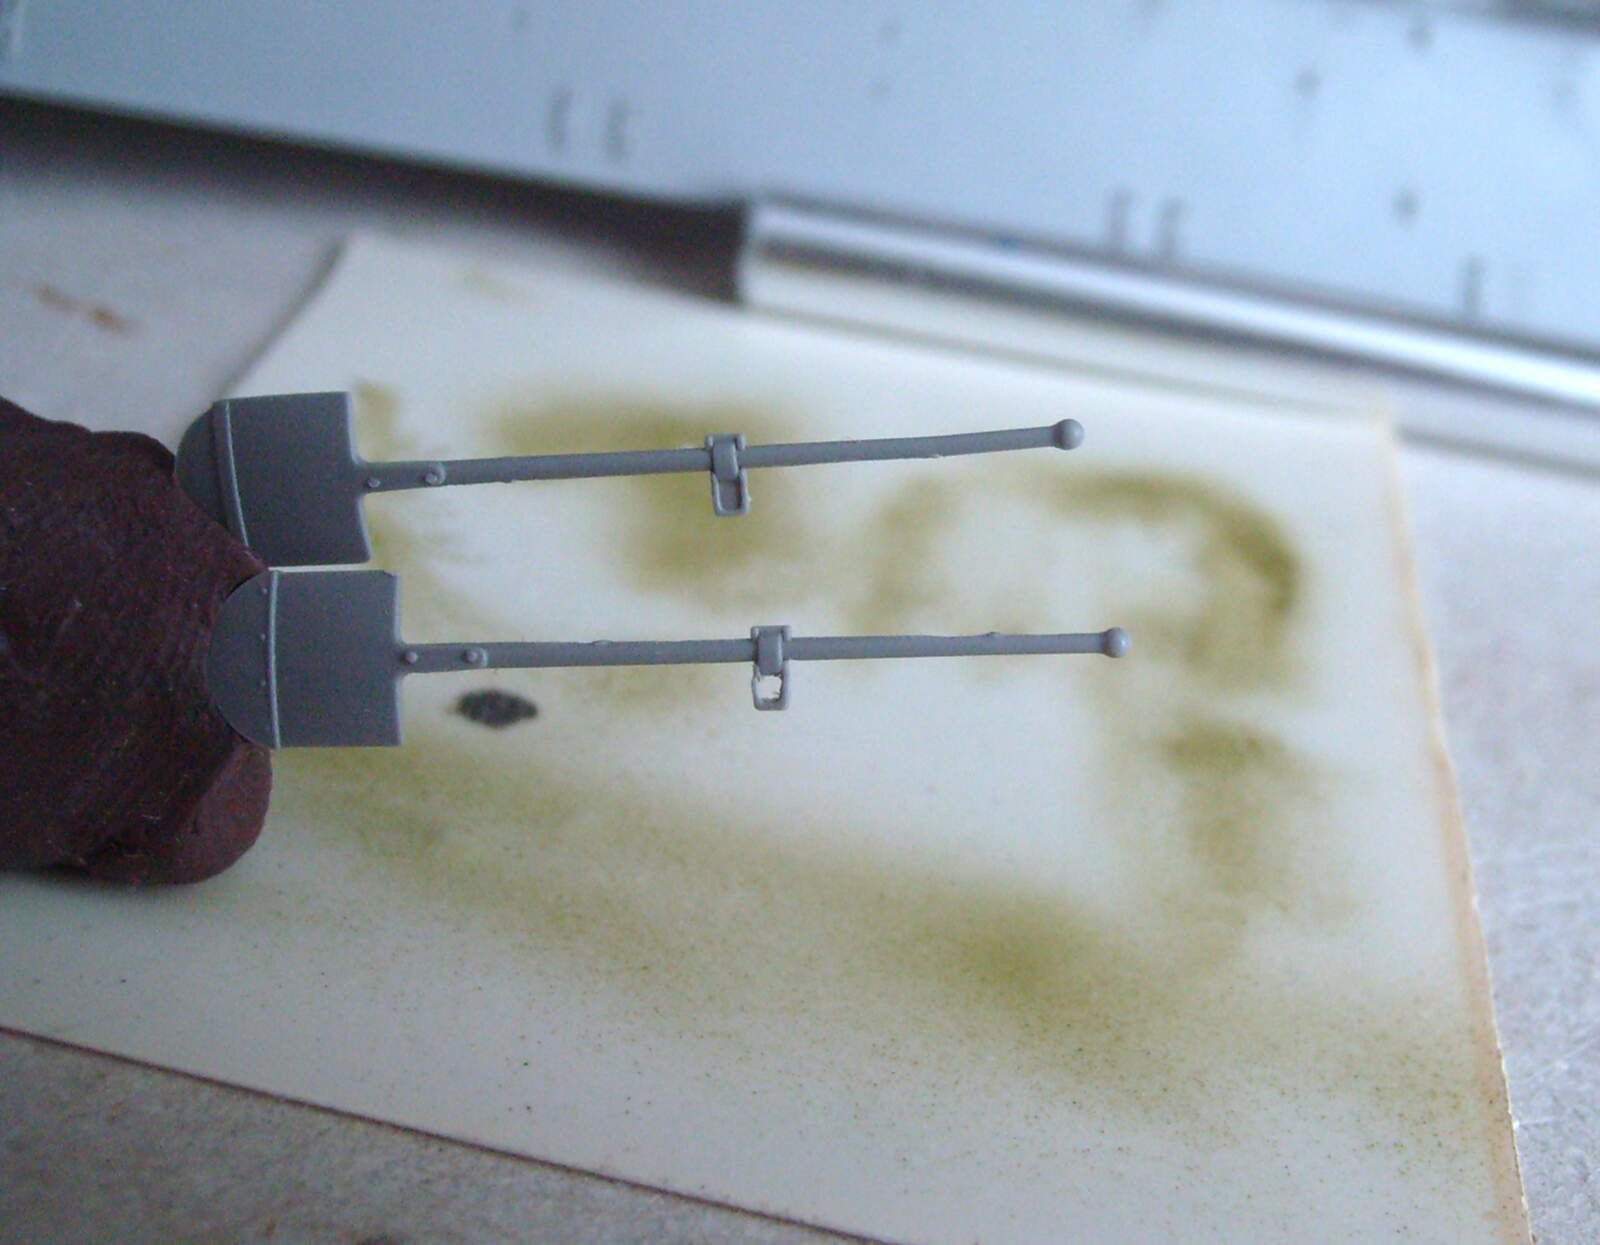
Regards!
Rodolfo
Thanks Johnny!. They are from Lion Marc, I bought them a long time ago and I did not remember that I had them, I am finally using them.
About the tools, if not want to use PE, I recommend a little cut into the brackets.
Regards!
Rodolfo
What’s caught my interest in the armour now are the increasing number of kits with interiors that can be displayed with transparent hulls and turrets. That way I can have one with a full viewable interior and a simple one to camouflage to sit with it.
I do agree it seems like there’s a million tigers available from every manufacturer under the sun.
Looking very nice.
Thanks for your comments friends!. That’s right, years ago we begged for kits with interiors to come out but I think they have exaggerated, now in my case, I am looking for more without interiors although I already have some of the first ones in my stash.
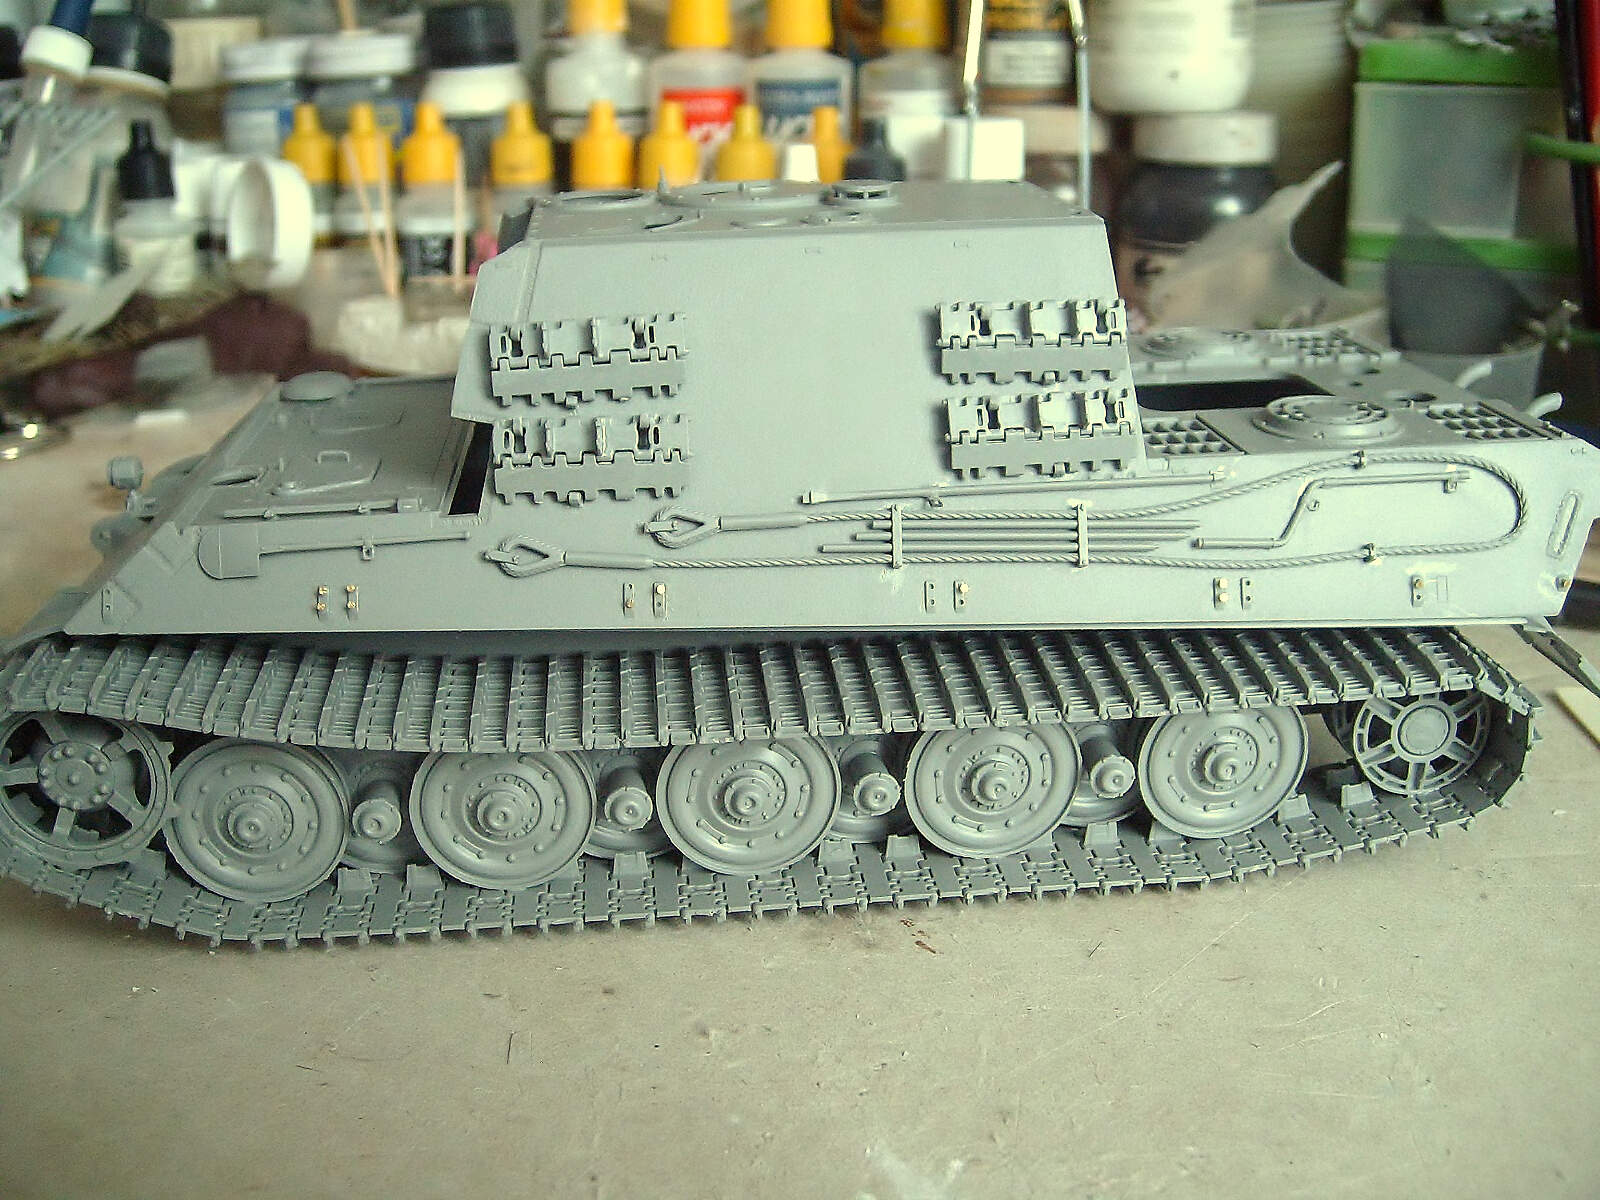
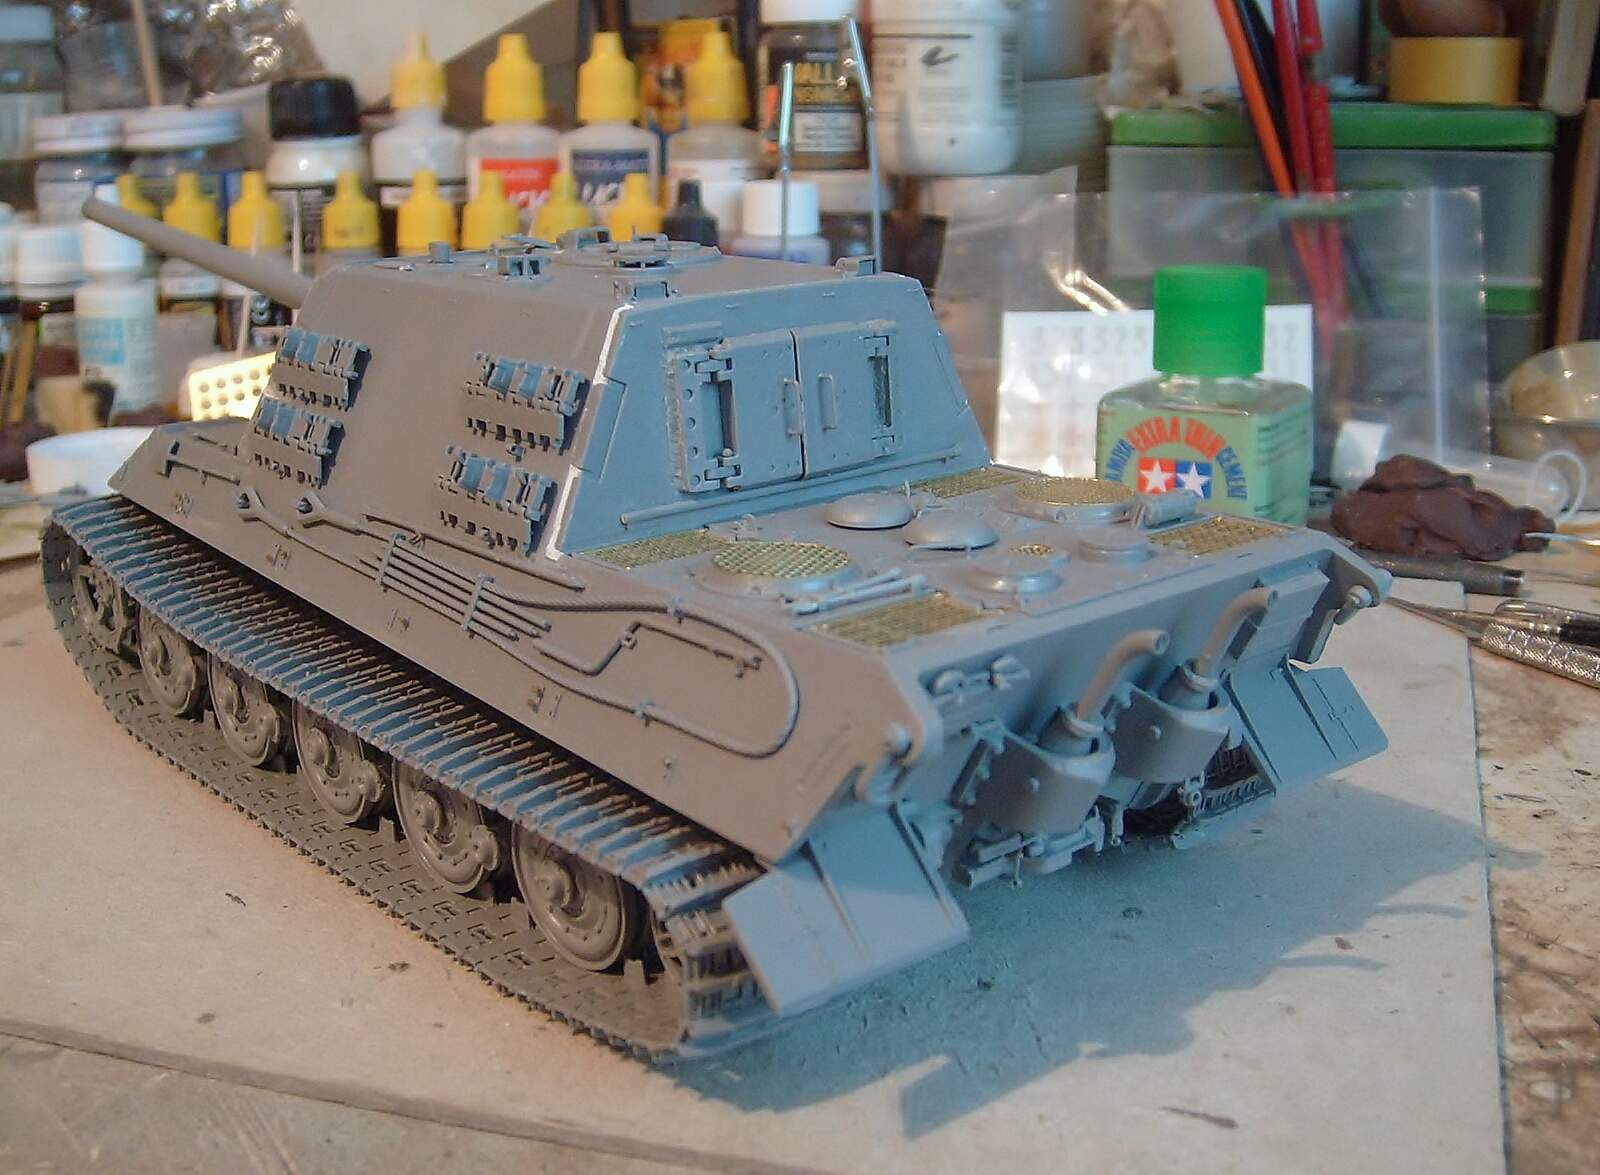
Update:
Ready the first side without problems, soon I will get to the problem that all modelers have had.
Regards!
Rodolfo
Hello friends!
More…
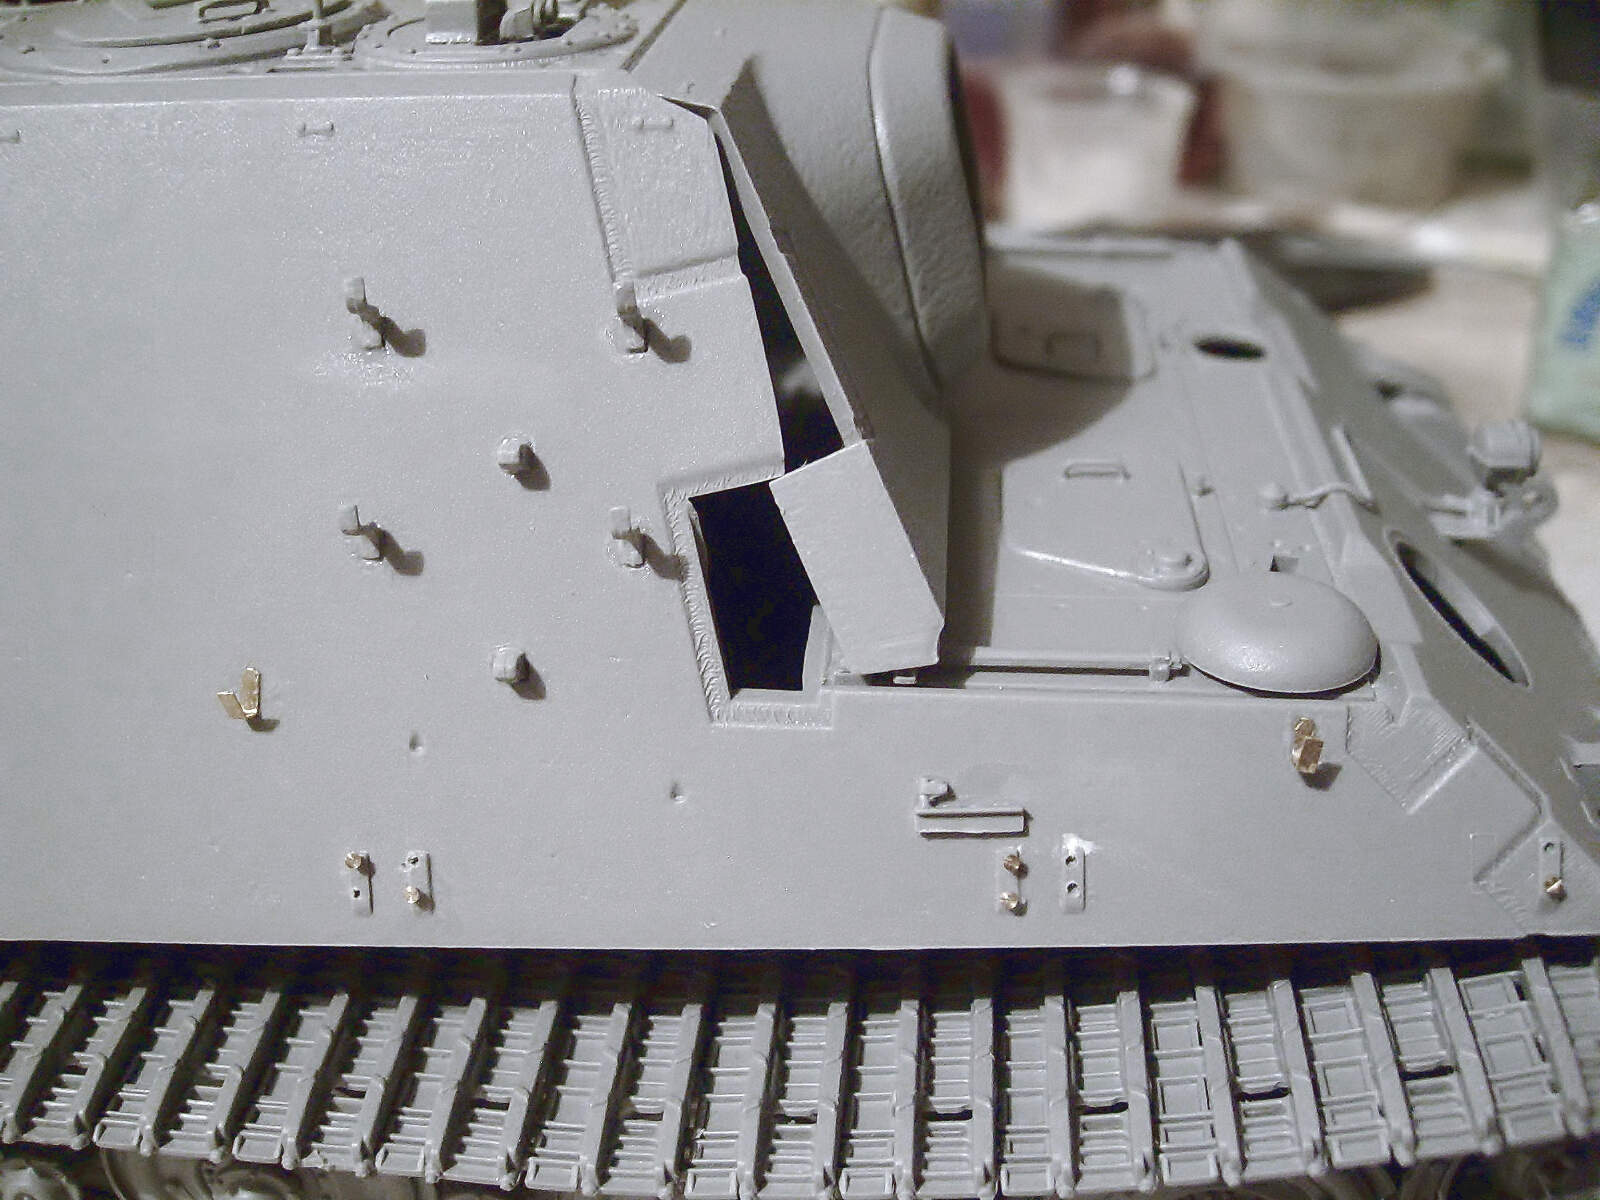
The front upper hull problem is obvious but was solved by sanding the sides a bit (rather than cutting) and sealing with putty, Vallejo in this case.
Regards!
Rodolfo
Really neat and tidy recovery on that upper casement fit Rodolfo, once its primed and painted no one would ever know. Nice hull detailing as well. I really like those bolts for the side skirts, do you have the actual part name from the company as I would love to get some. 
Thanks for your comments Johnny!. The bolts are from Lionmarc Model Designs from Hong-Kong but their page is inactive and I think they closed a long time ago, I bought this set in 2011.
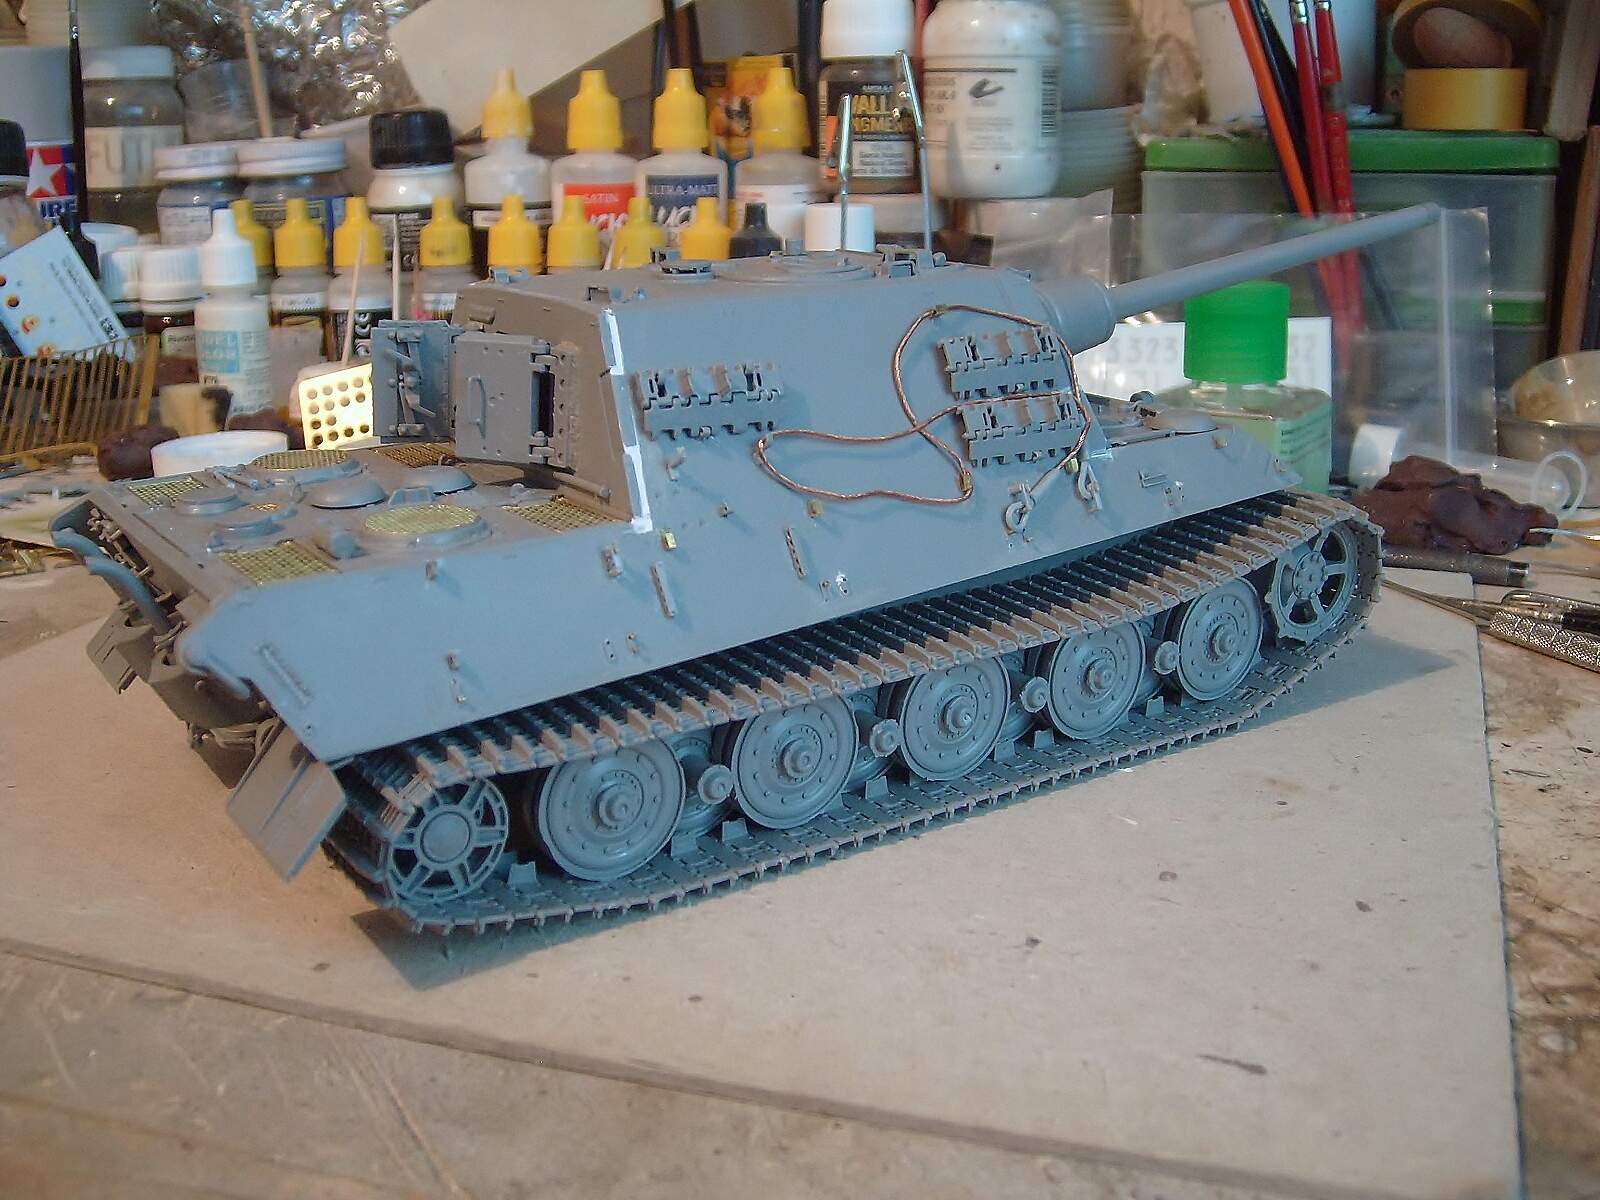
More…
This is an impromptu right side preview of what some Jagdtigers looked like.
Regrads!
Rodolfo
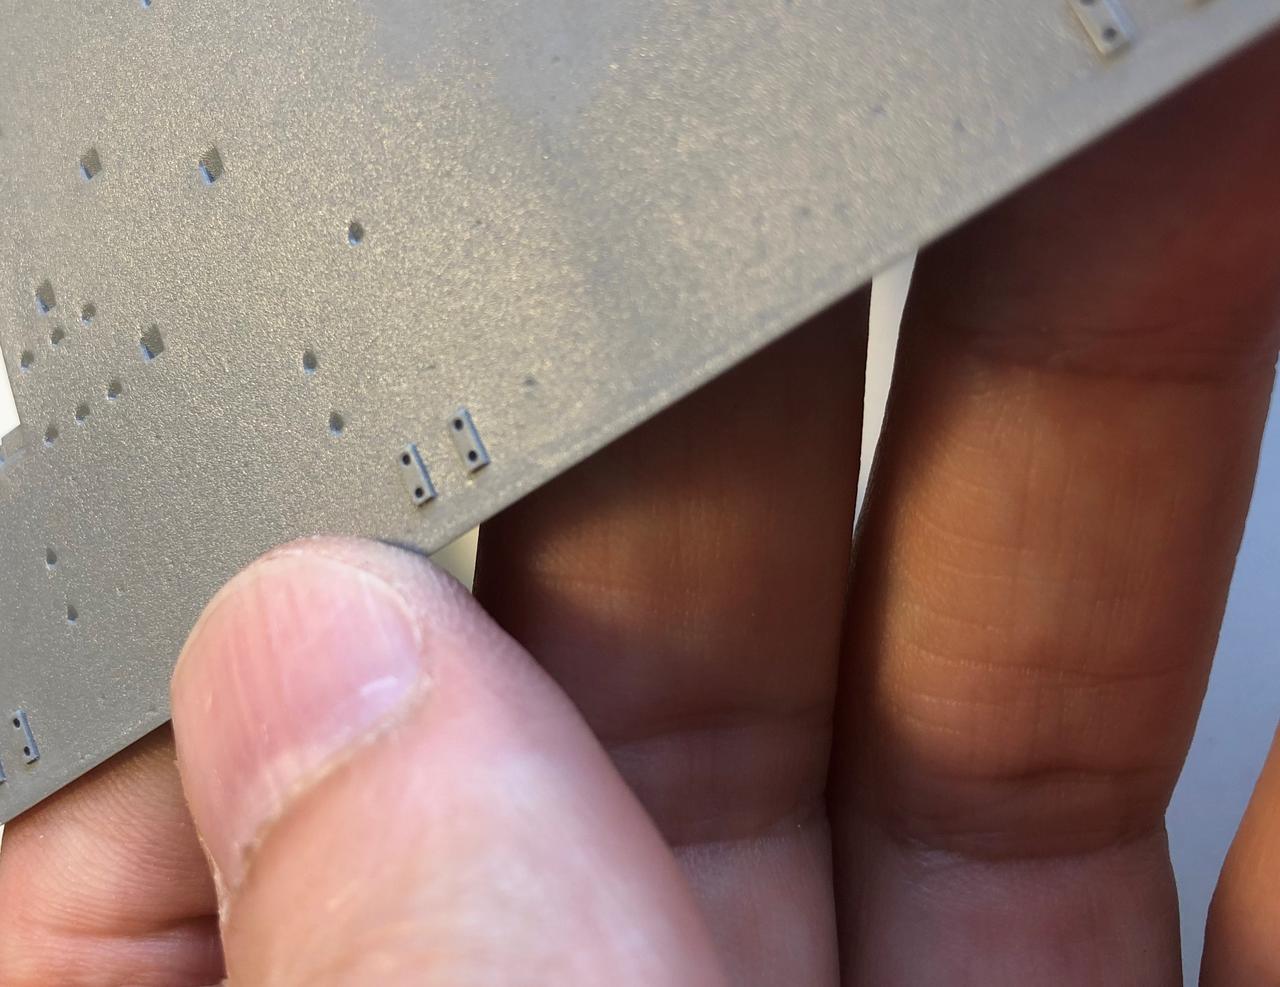
Hi Rodolfo, you could square off the bottom edge of those skirt mount points, in real life they don’t have a taper at the bottom, they are square, like these photos show:
Before:
After:
Looking good though! Love this kit.
Very nice solution on the front armor . It looks good
@rtvmodeler Rodolfo, thank for the pictures and details on the casement and fixing the fit issue.
Looks great! We’ll done! 
You looks a really enjoy to building Jagdtiger!
detail and crafting skill are also dependable.
Please keep going!
Thanks for your kind comments friends!. @barleeni thanks for the tip too.
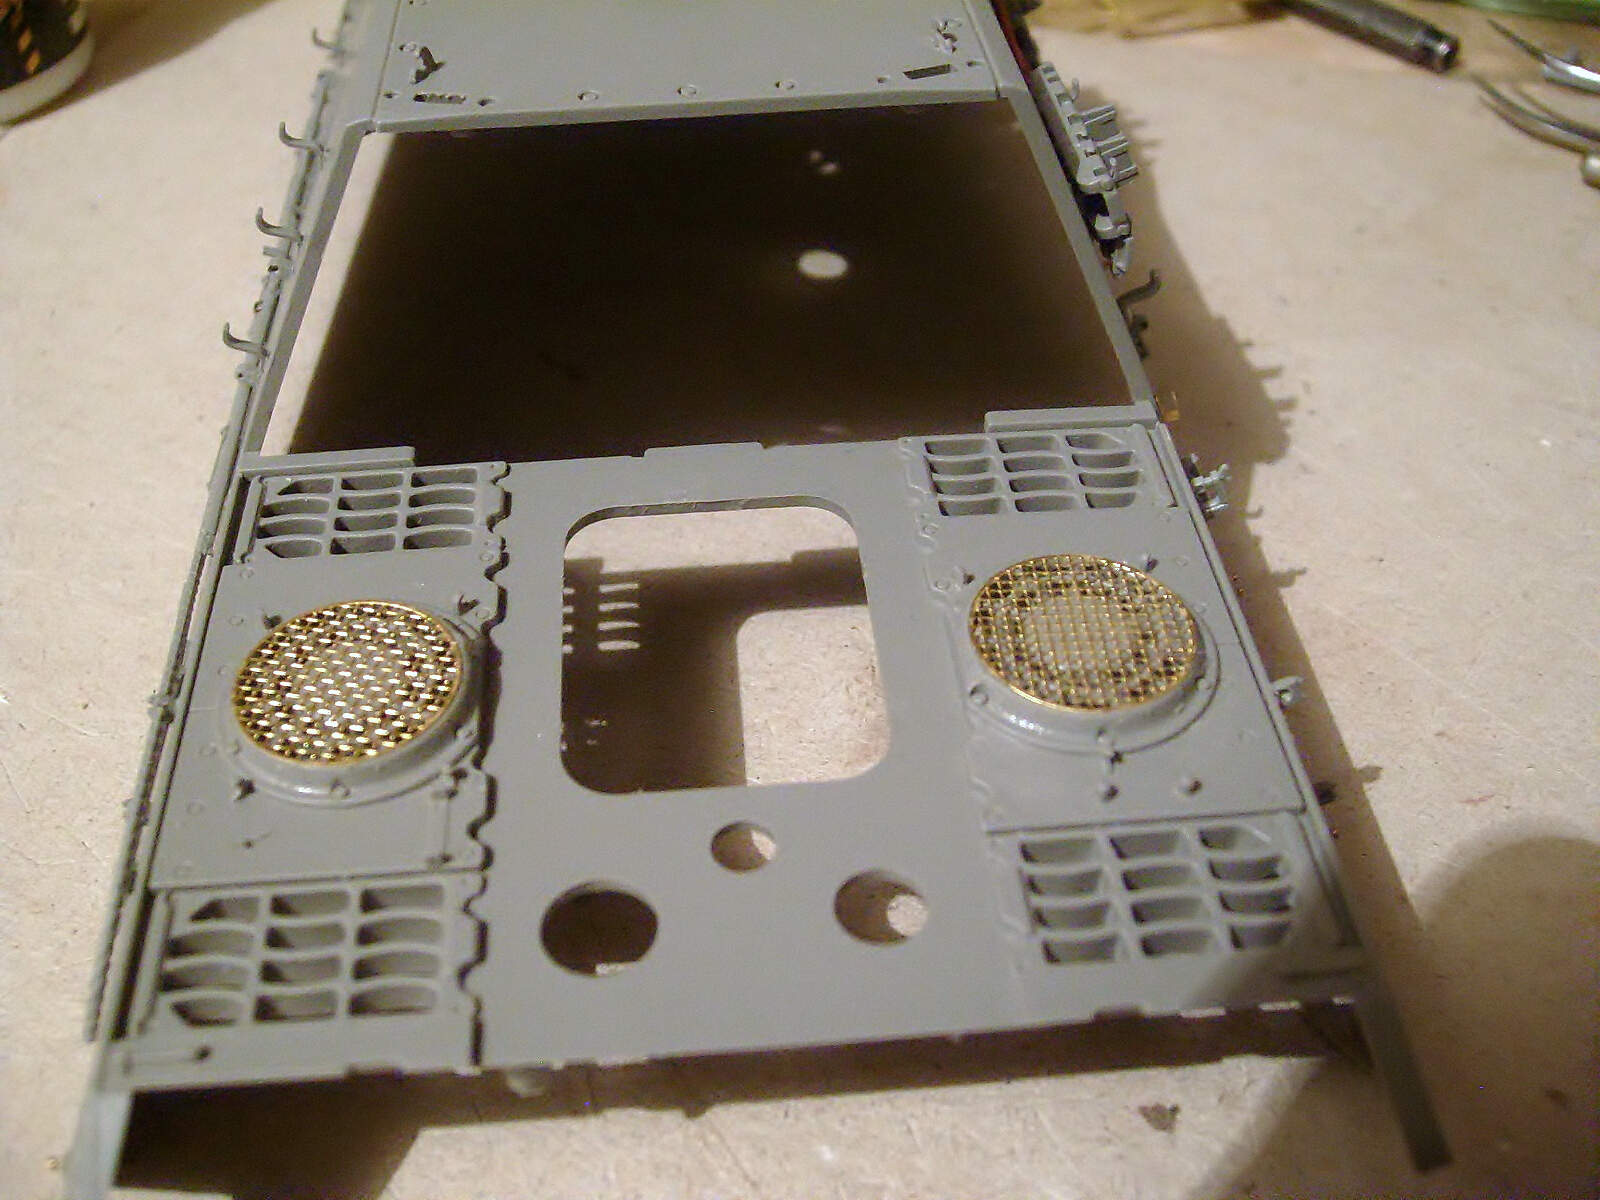
More…
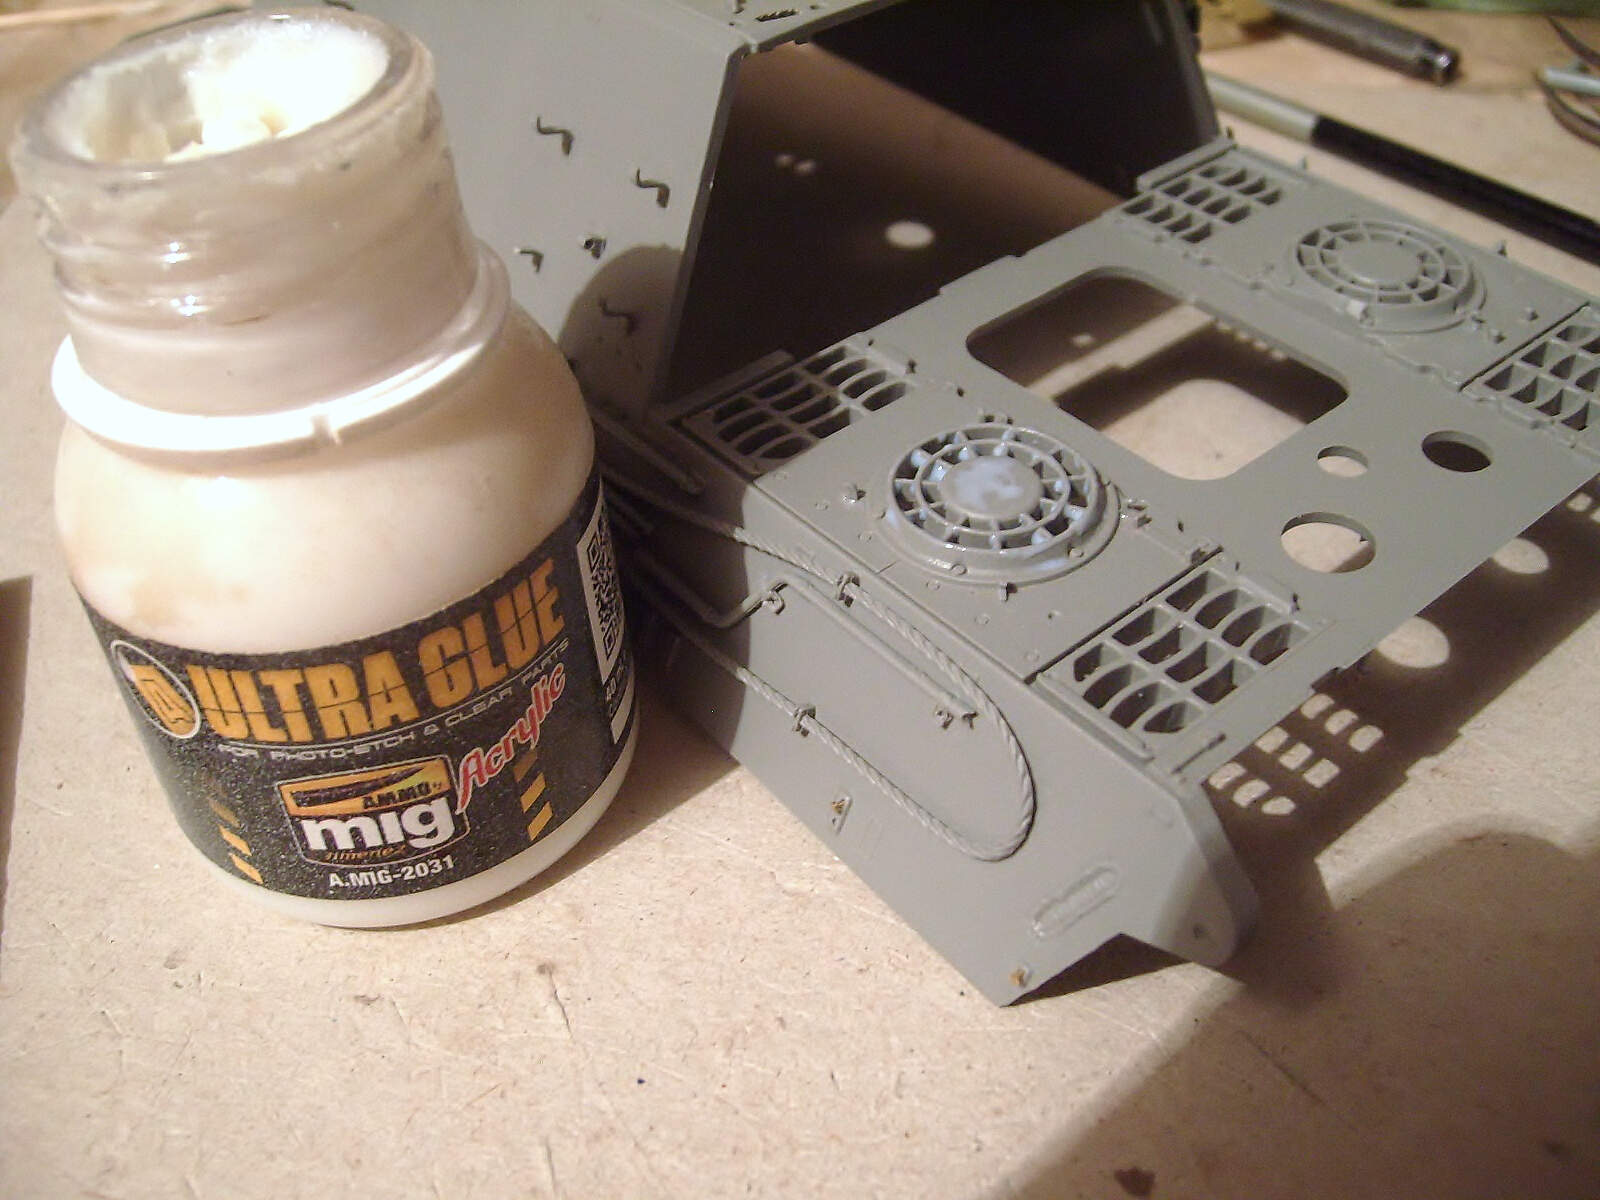
To glue the grids I am using MIG / Ultra-glue, which is very good because it is a highly resistant acrylic glue. Specially designed to fix photoengraved or transparent pieces in a comfortable way without leaving any residue and it gives time to move and fix the pieces, it also has the resistance of a Cyanoacrylate.
Regards!
Rodolfo
Didn’t know that about the MIG ultra… Nice tip … Something else I have to get now
I have been using that glue for a while now and it is an excellent product.
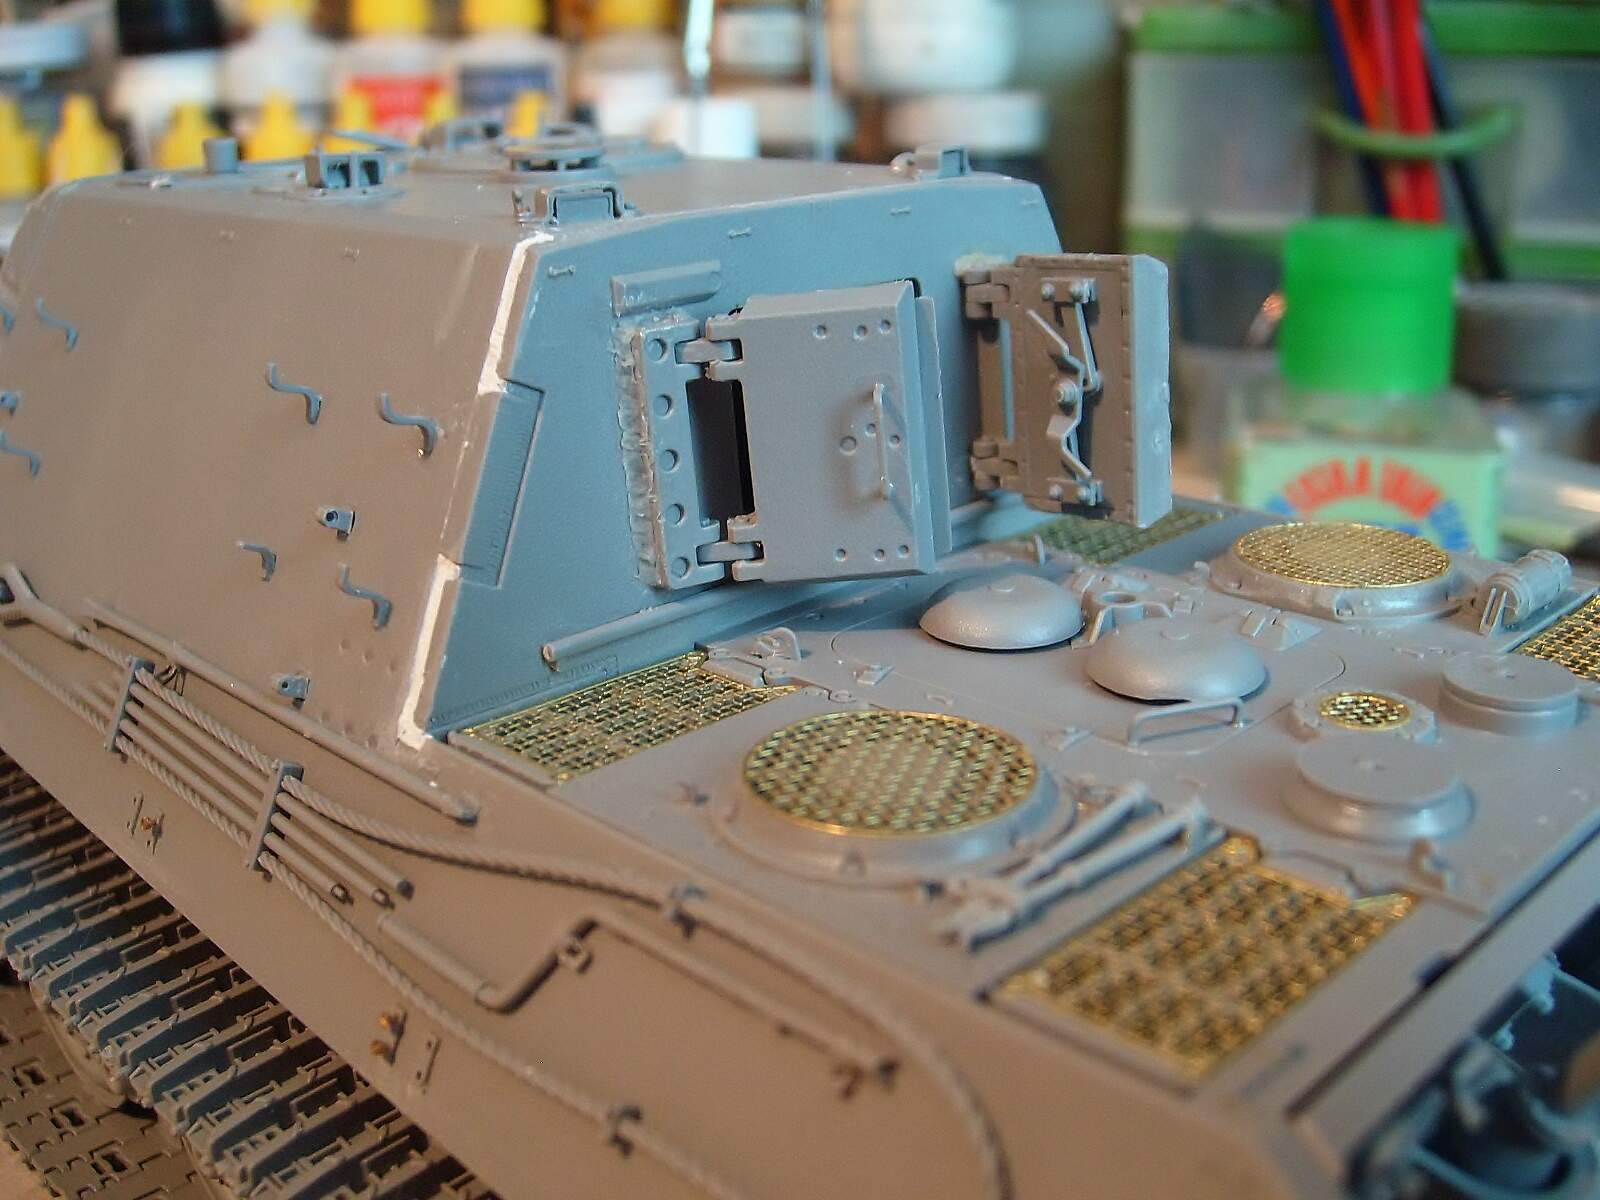
Thanks for your comments friends!.
That’s right, that glue is really good! Now I have added solder around the tailgates using a local paste called Rodin’s Polychran and thus finish the rupper hull.
Regards!
Rodolfo
Looking great! Was gonna pick this up on sprue brothers takom sale but it’s sold out! I’ll have to live vicariously through you
Thanks for your comment!. I hope you get it soon! .
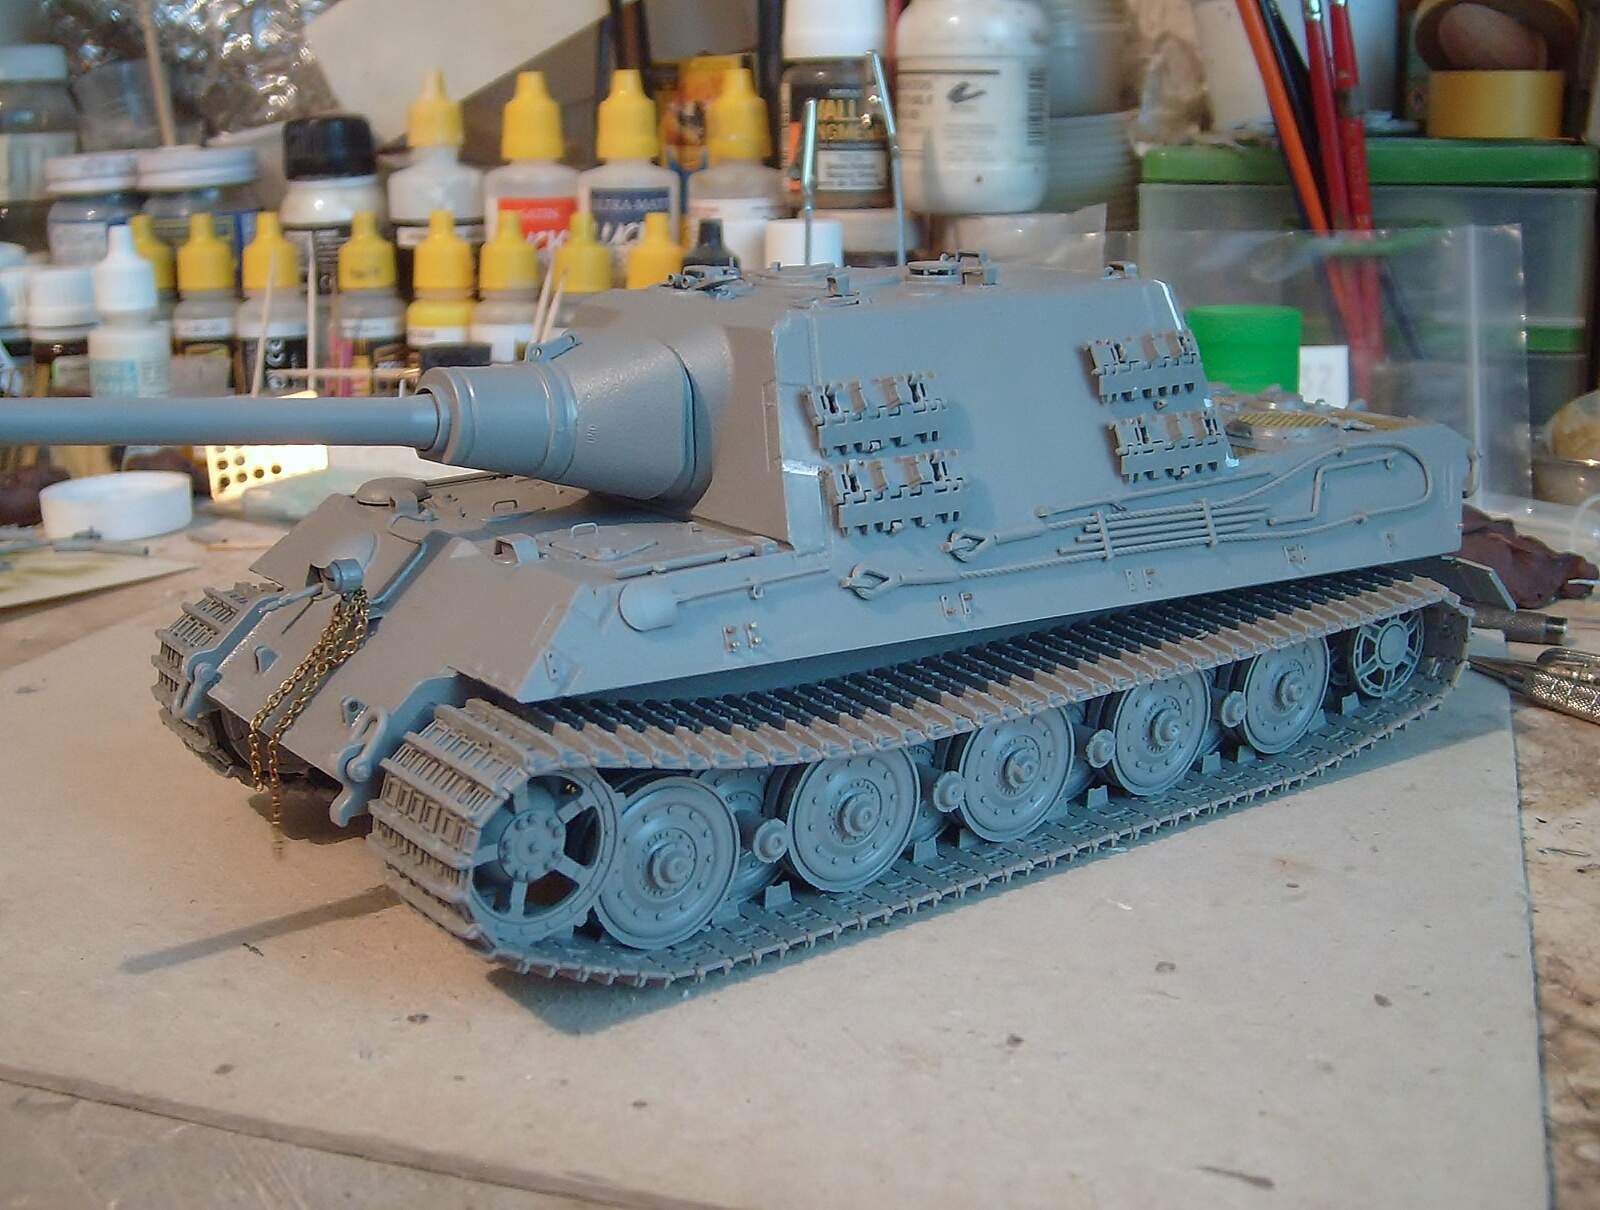
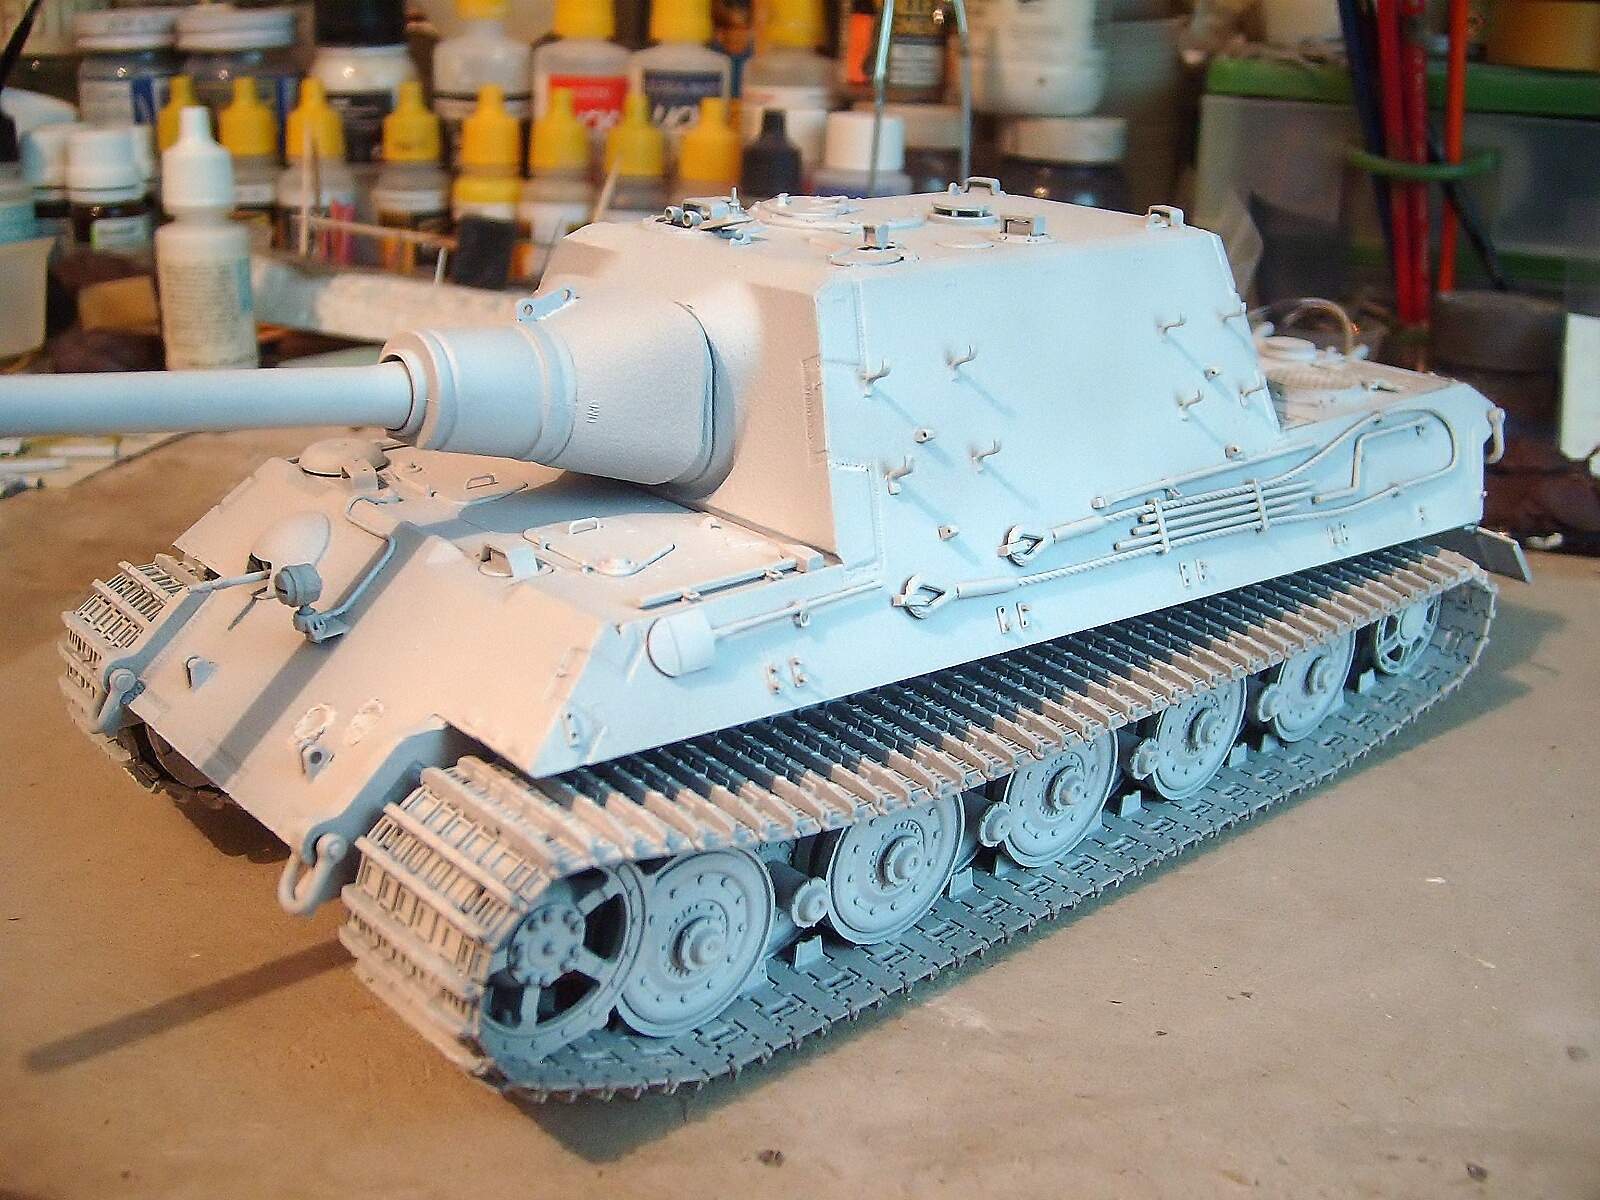
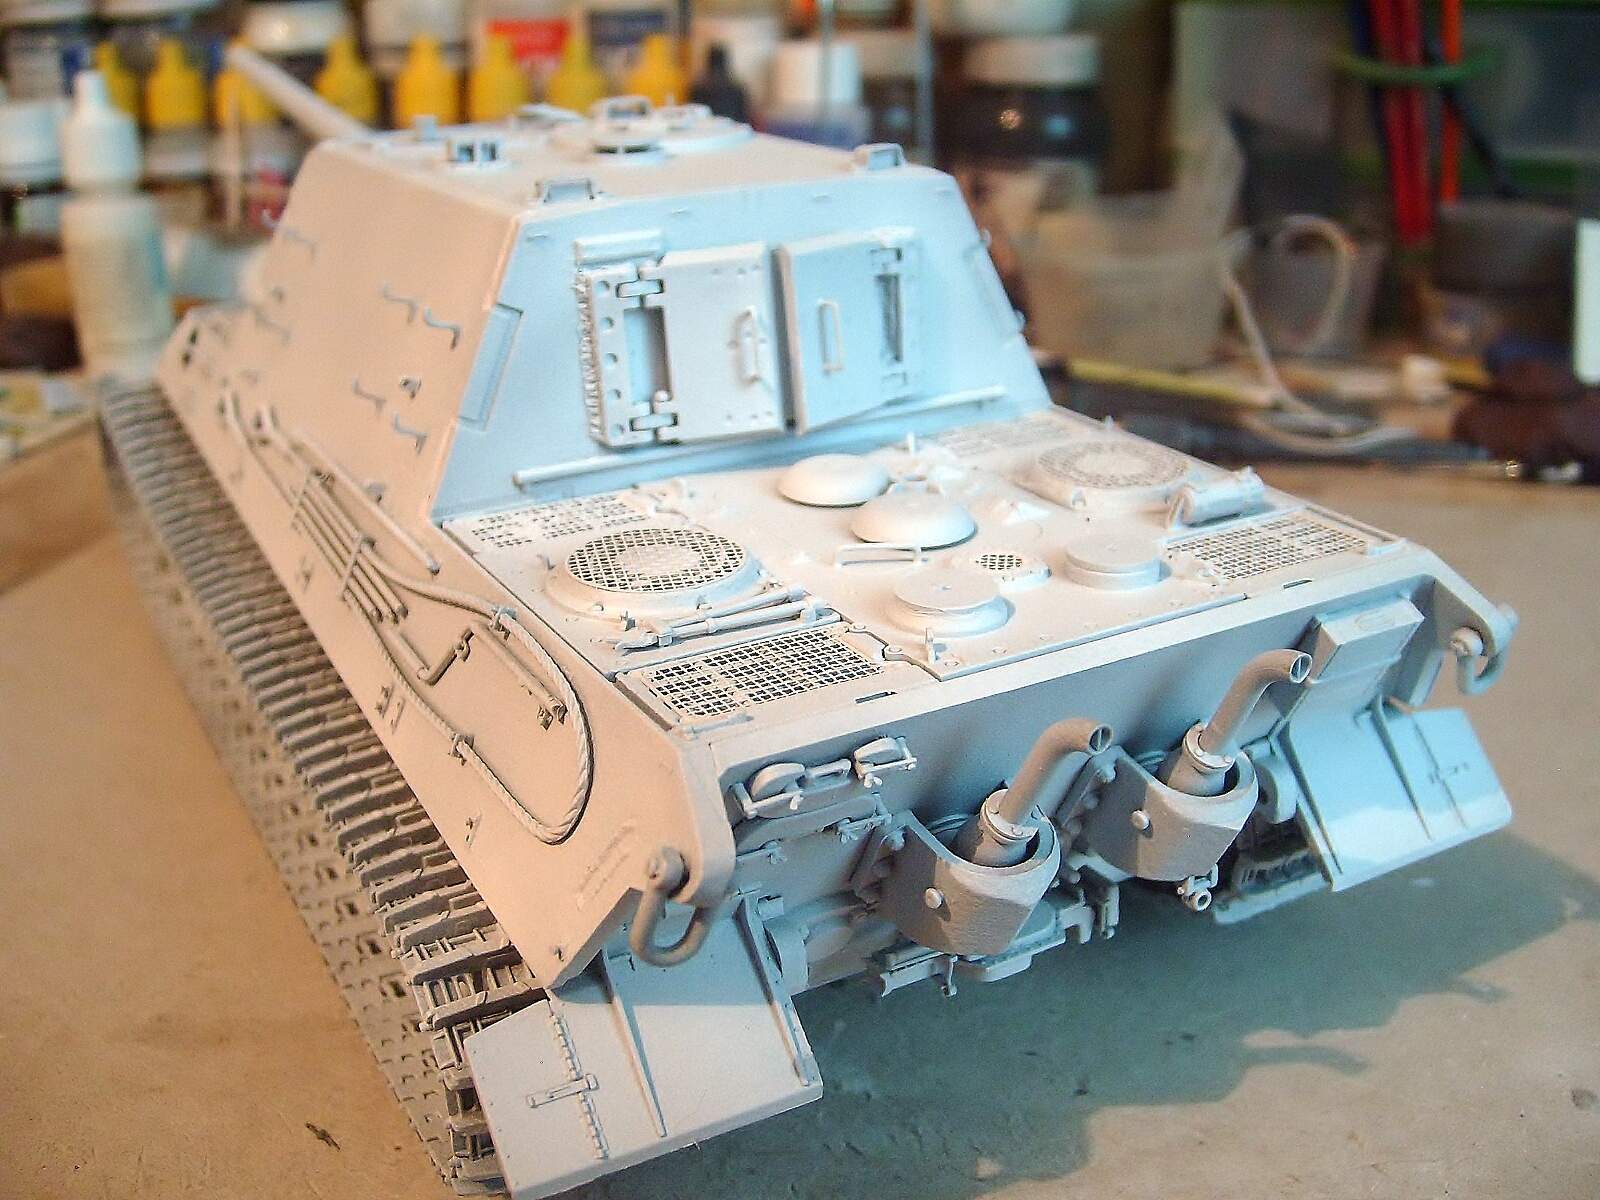
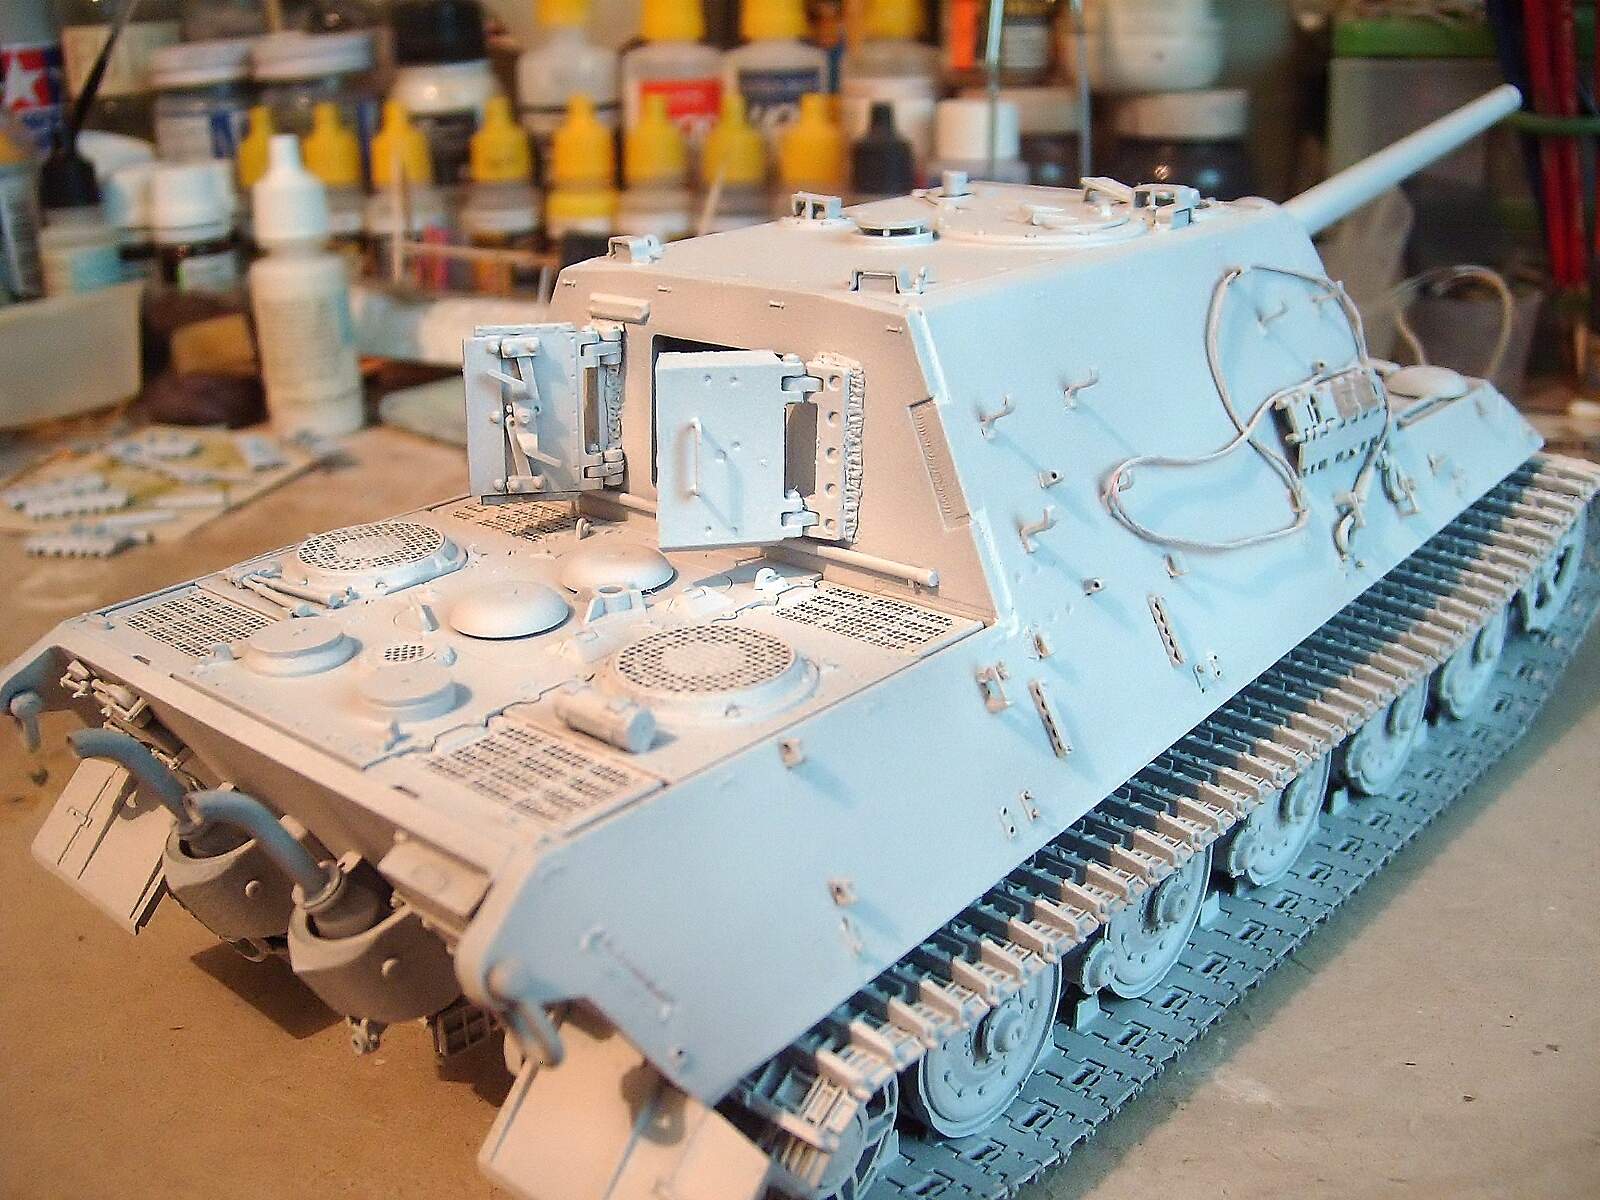
The armor is ready! Now I will pass Gunze Sangyo / Metal Primer on the photoetched and then Vallejo / Surface Primer in all the model before starting to paint it.
Regards!
Rodolfo
Looking good… You’ve made really progress so far…
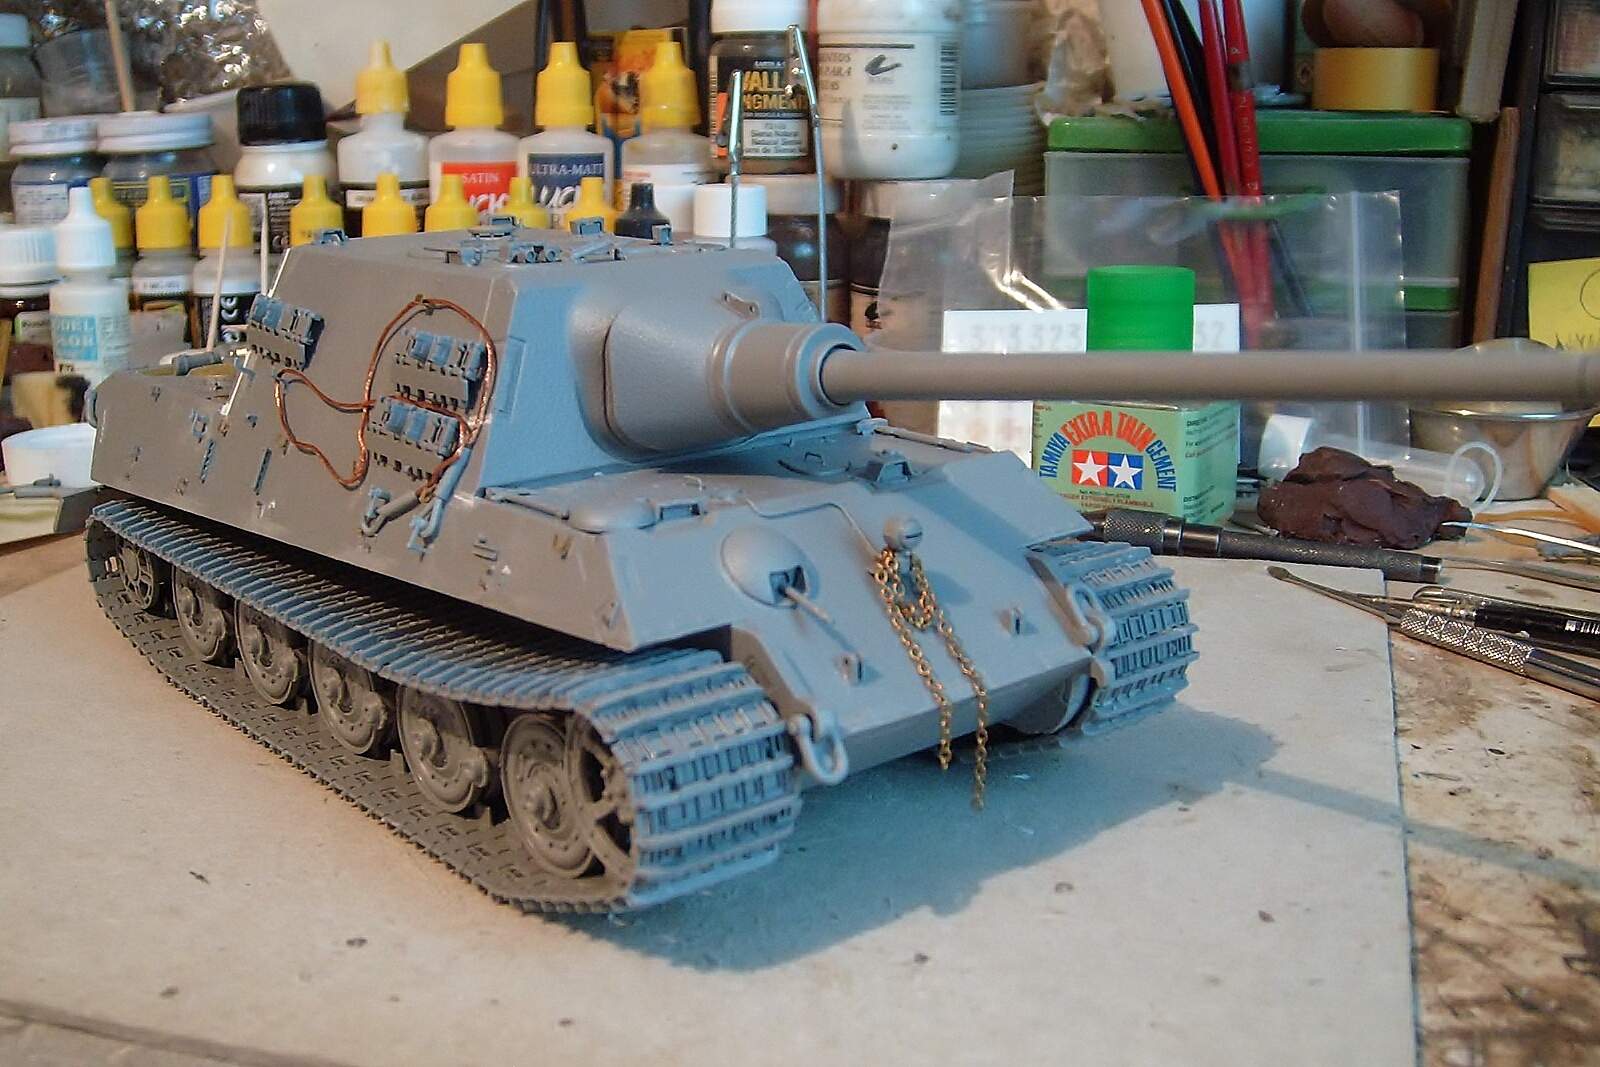
Thanks Johnny!
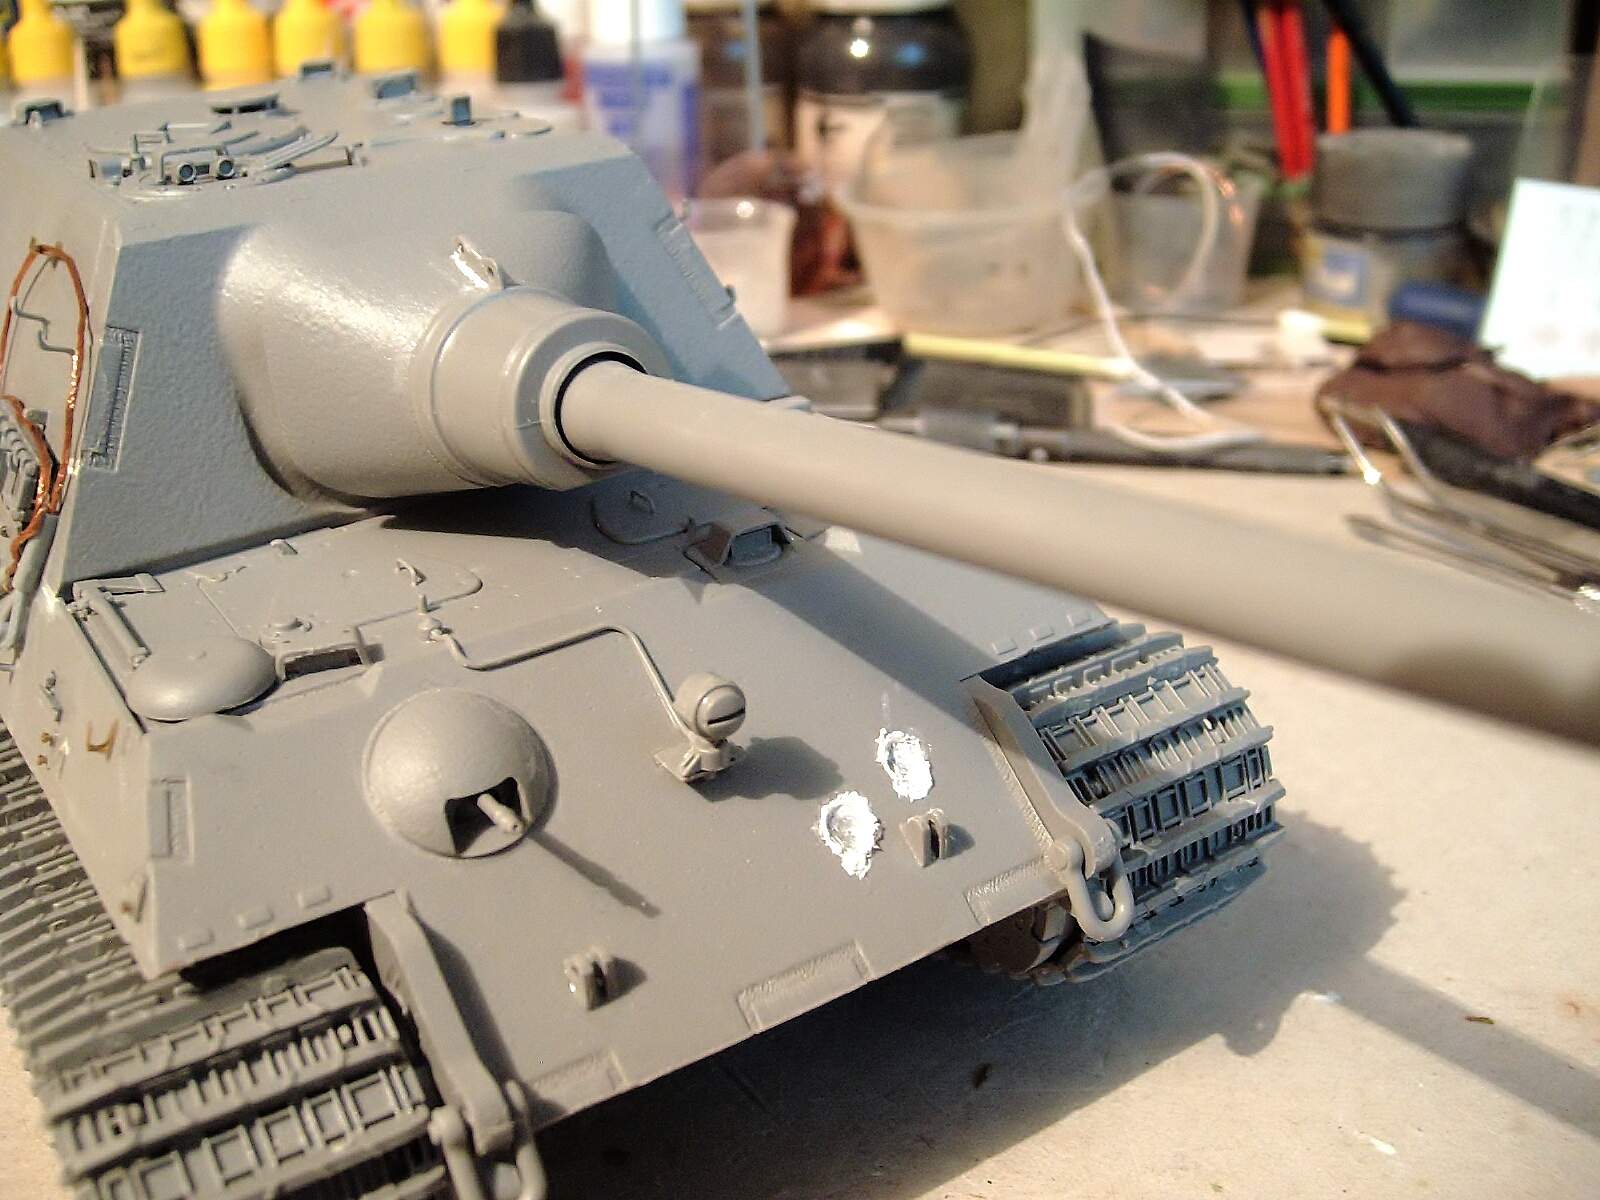
I forgot to weld the barrel hook and add hits to the front of the hull, for this use a drimel drilling slightly and finished with Vallejo / putty, now you are ready for primer and paint!.
Regards!
Rodolfo