So, let’s start a new one!
Each of the Infantry Squadrons of the 2nd Cavalry Regiment fields a Retransmission Section. This Section is equipped with two Stryker Retransmission Vehicles, based on the M1130 Command Vehicle. Those vehicles feature four C-200-1-X antennas, as well as a Duke Version 3 antenna. At the rear of those vehicles is a rack to store four QEAM.
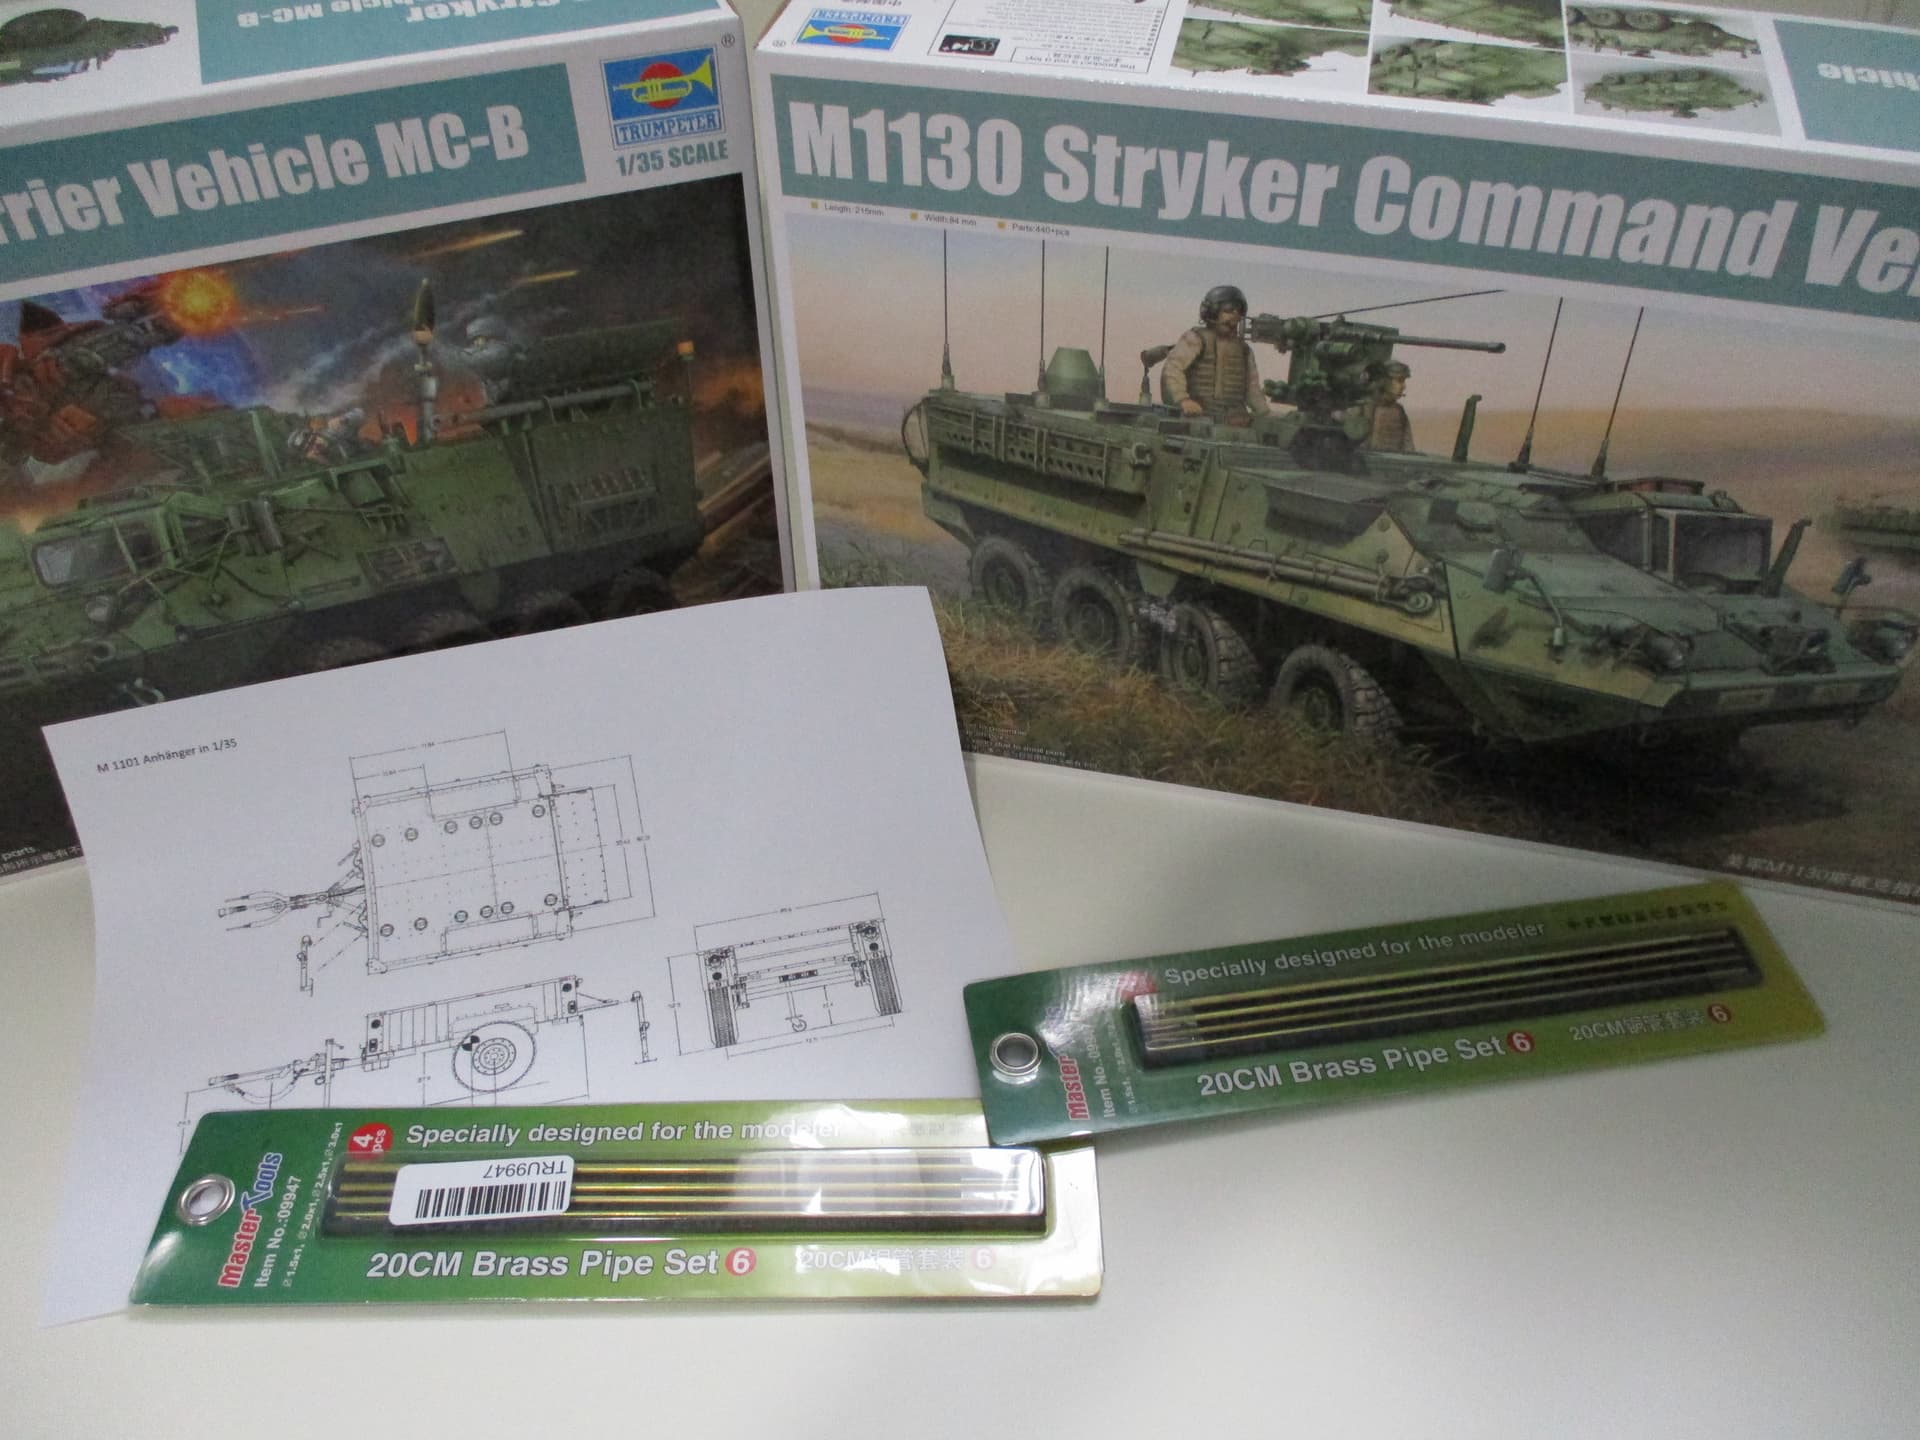
The build is based on the Trumpeter M1130 Stryker Command Vehicle. I’ll make the necessary external modifications on my own. As I plan to give the vehicle a basic interior, I additionally bought a M1129 Trumpeter Mortar vehicle. This one will be cannibalized in order to get the necessary items.
Recently I saw a picture of one of these vehicles, towing a M1101 trailer. And up came the idea to build this.
I found some very good drawings in the internet and some informative photos. The plan now is, to scratch build the trailer.
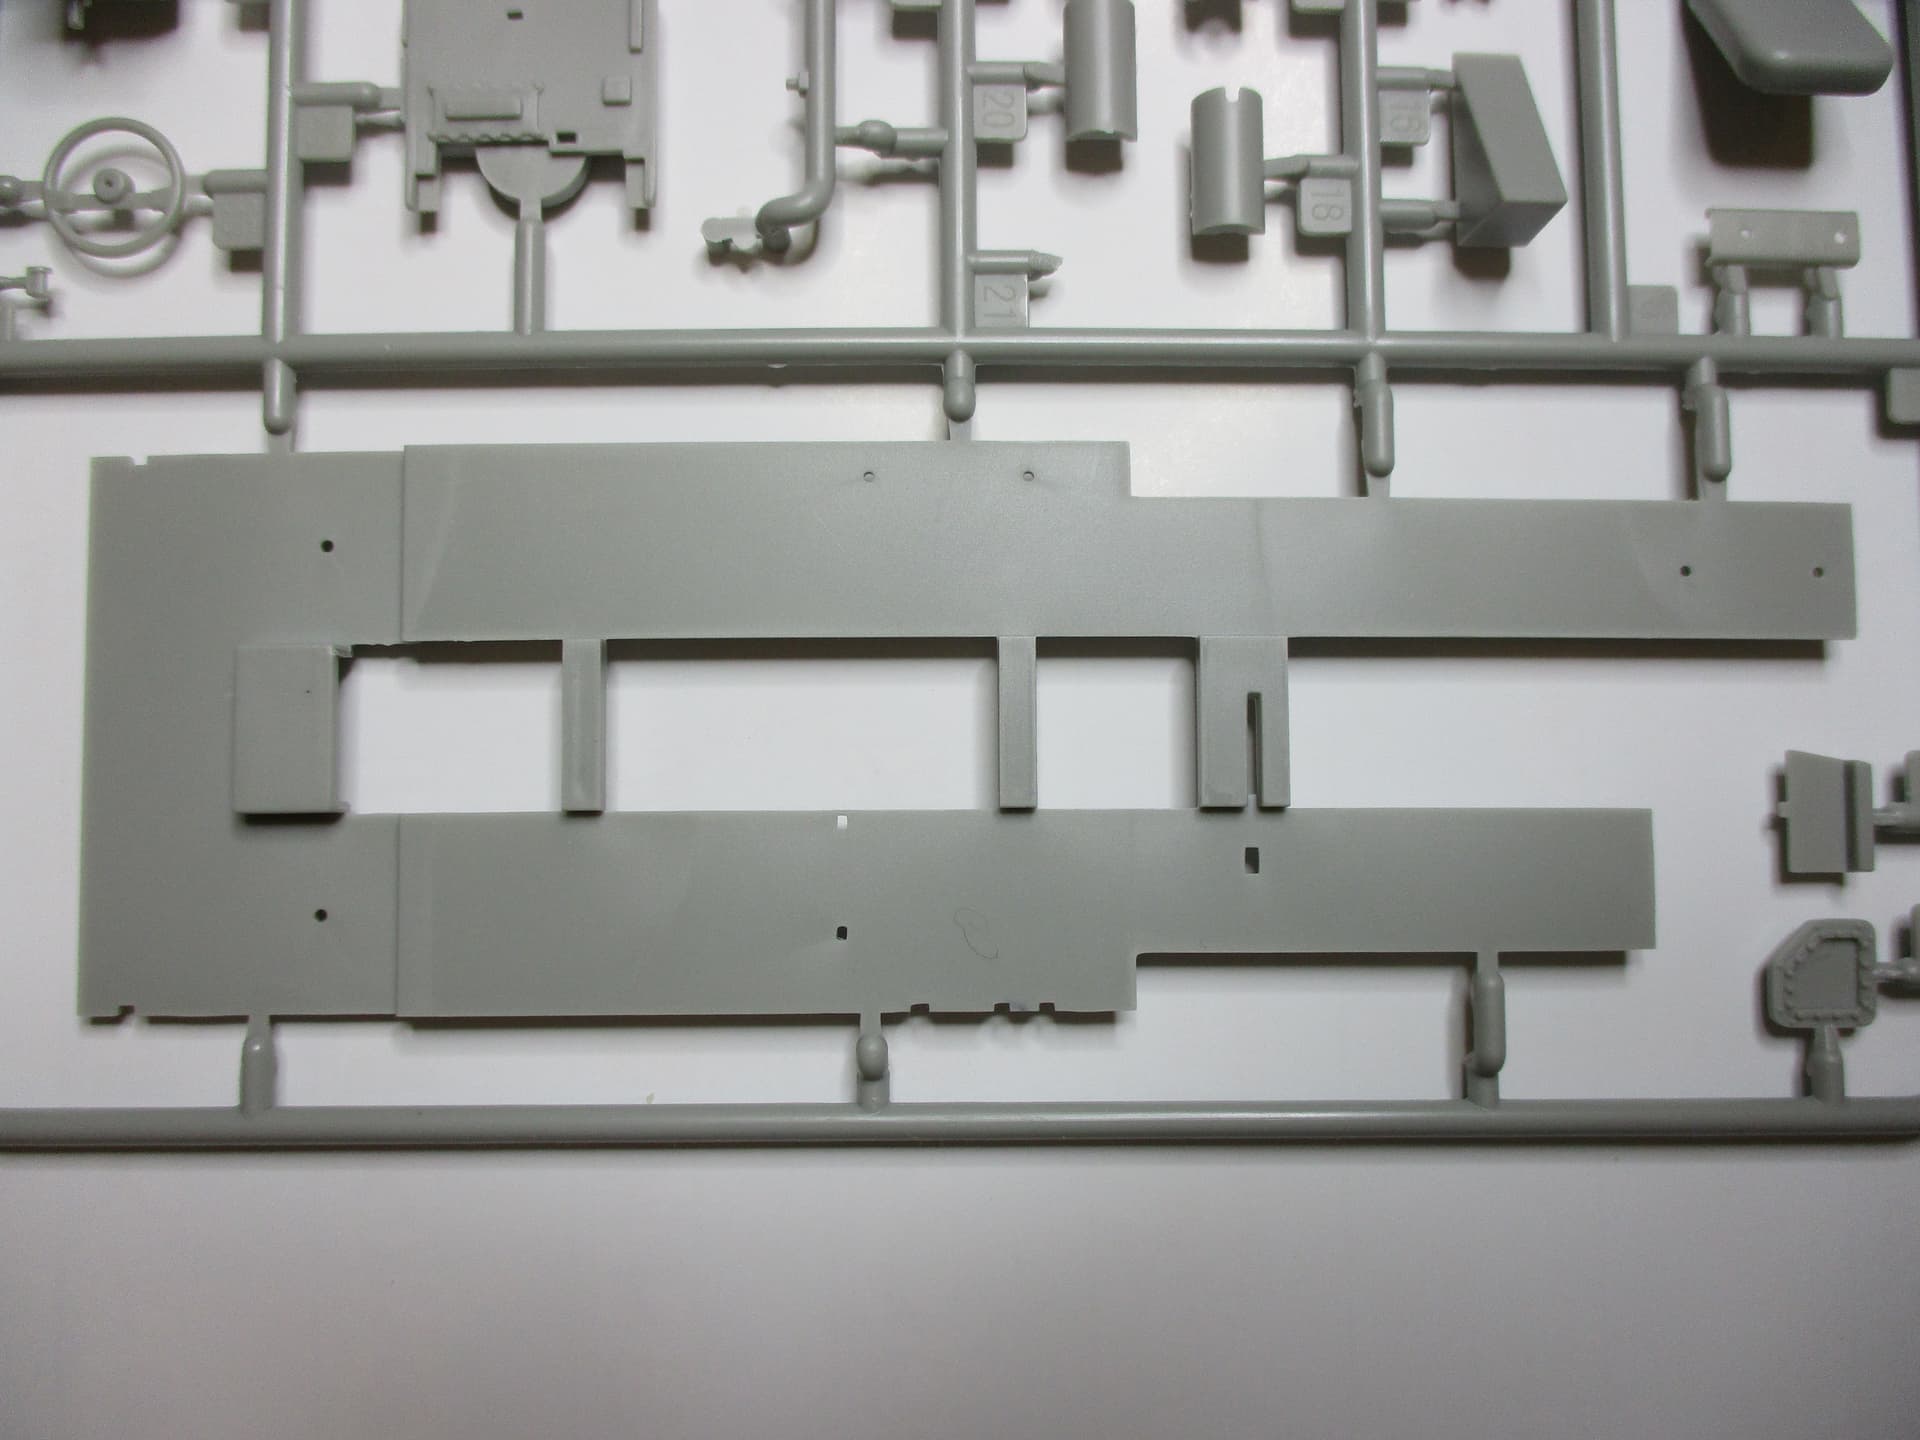
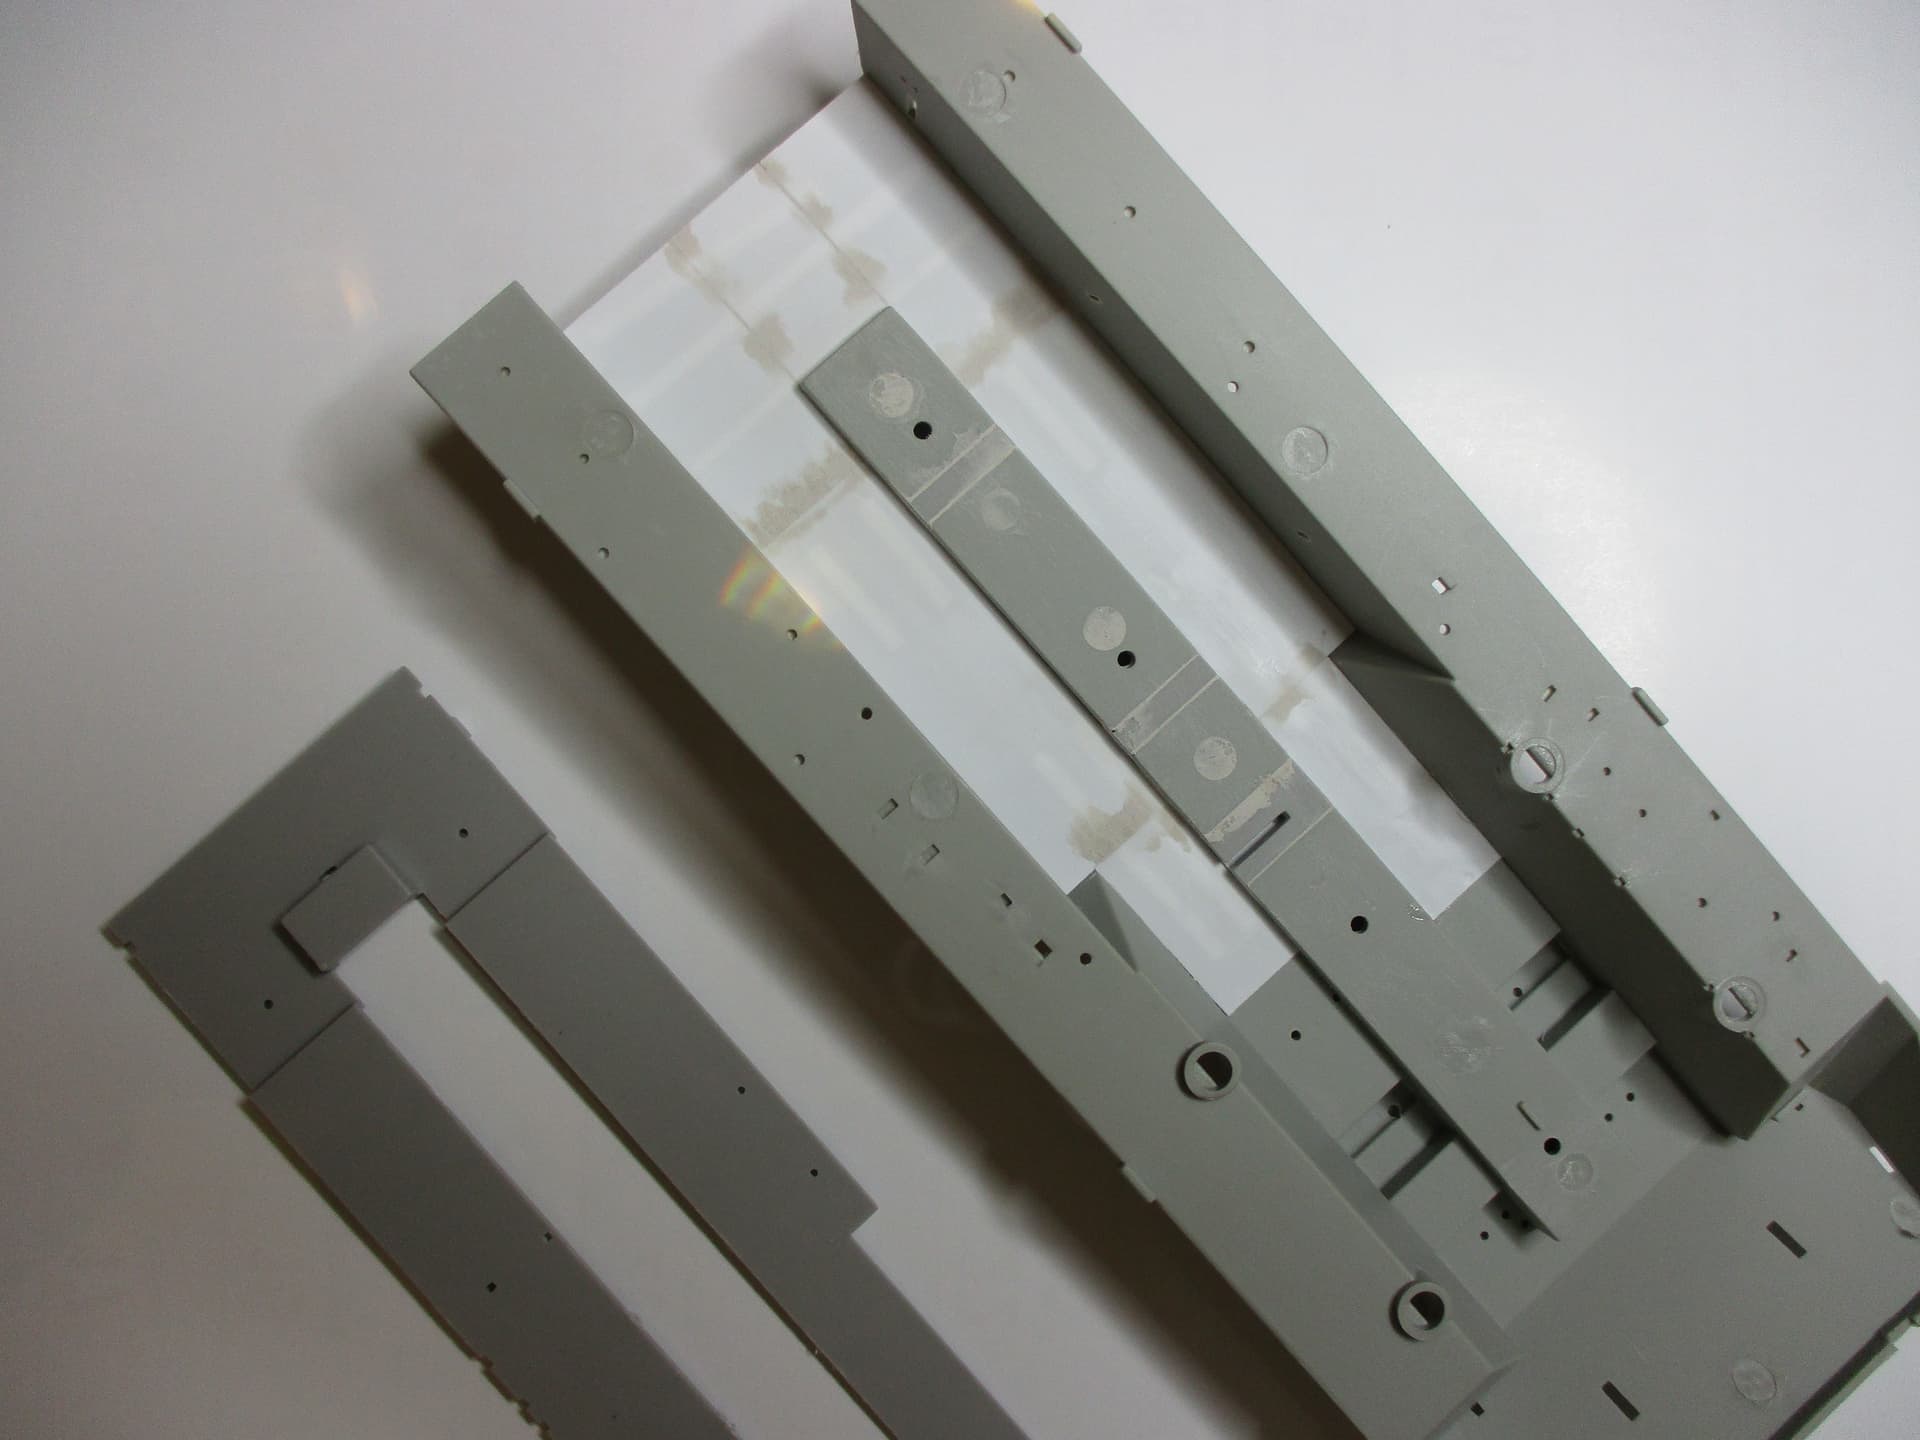
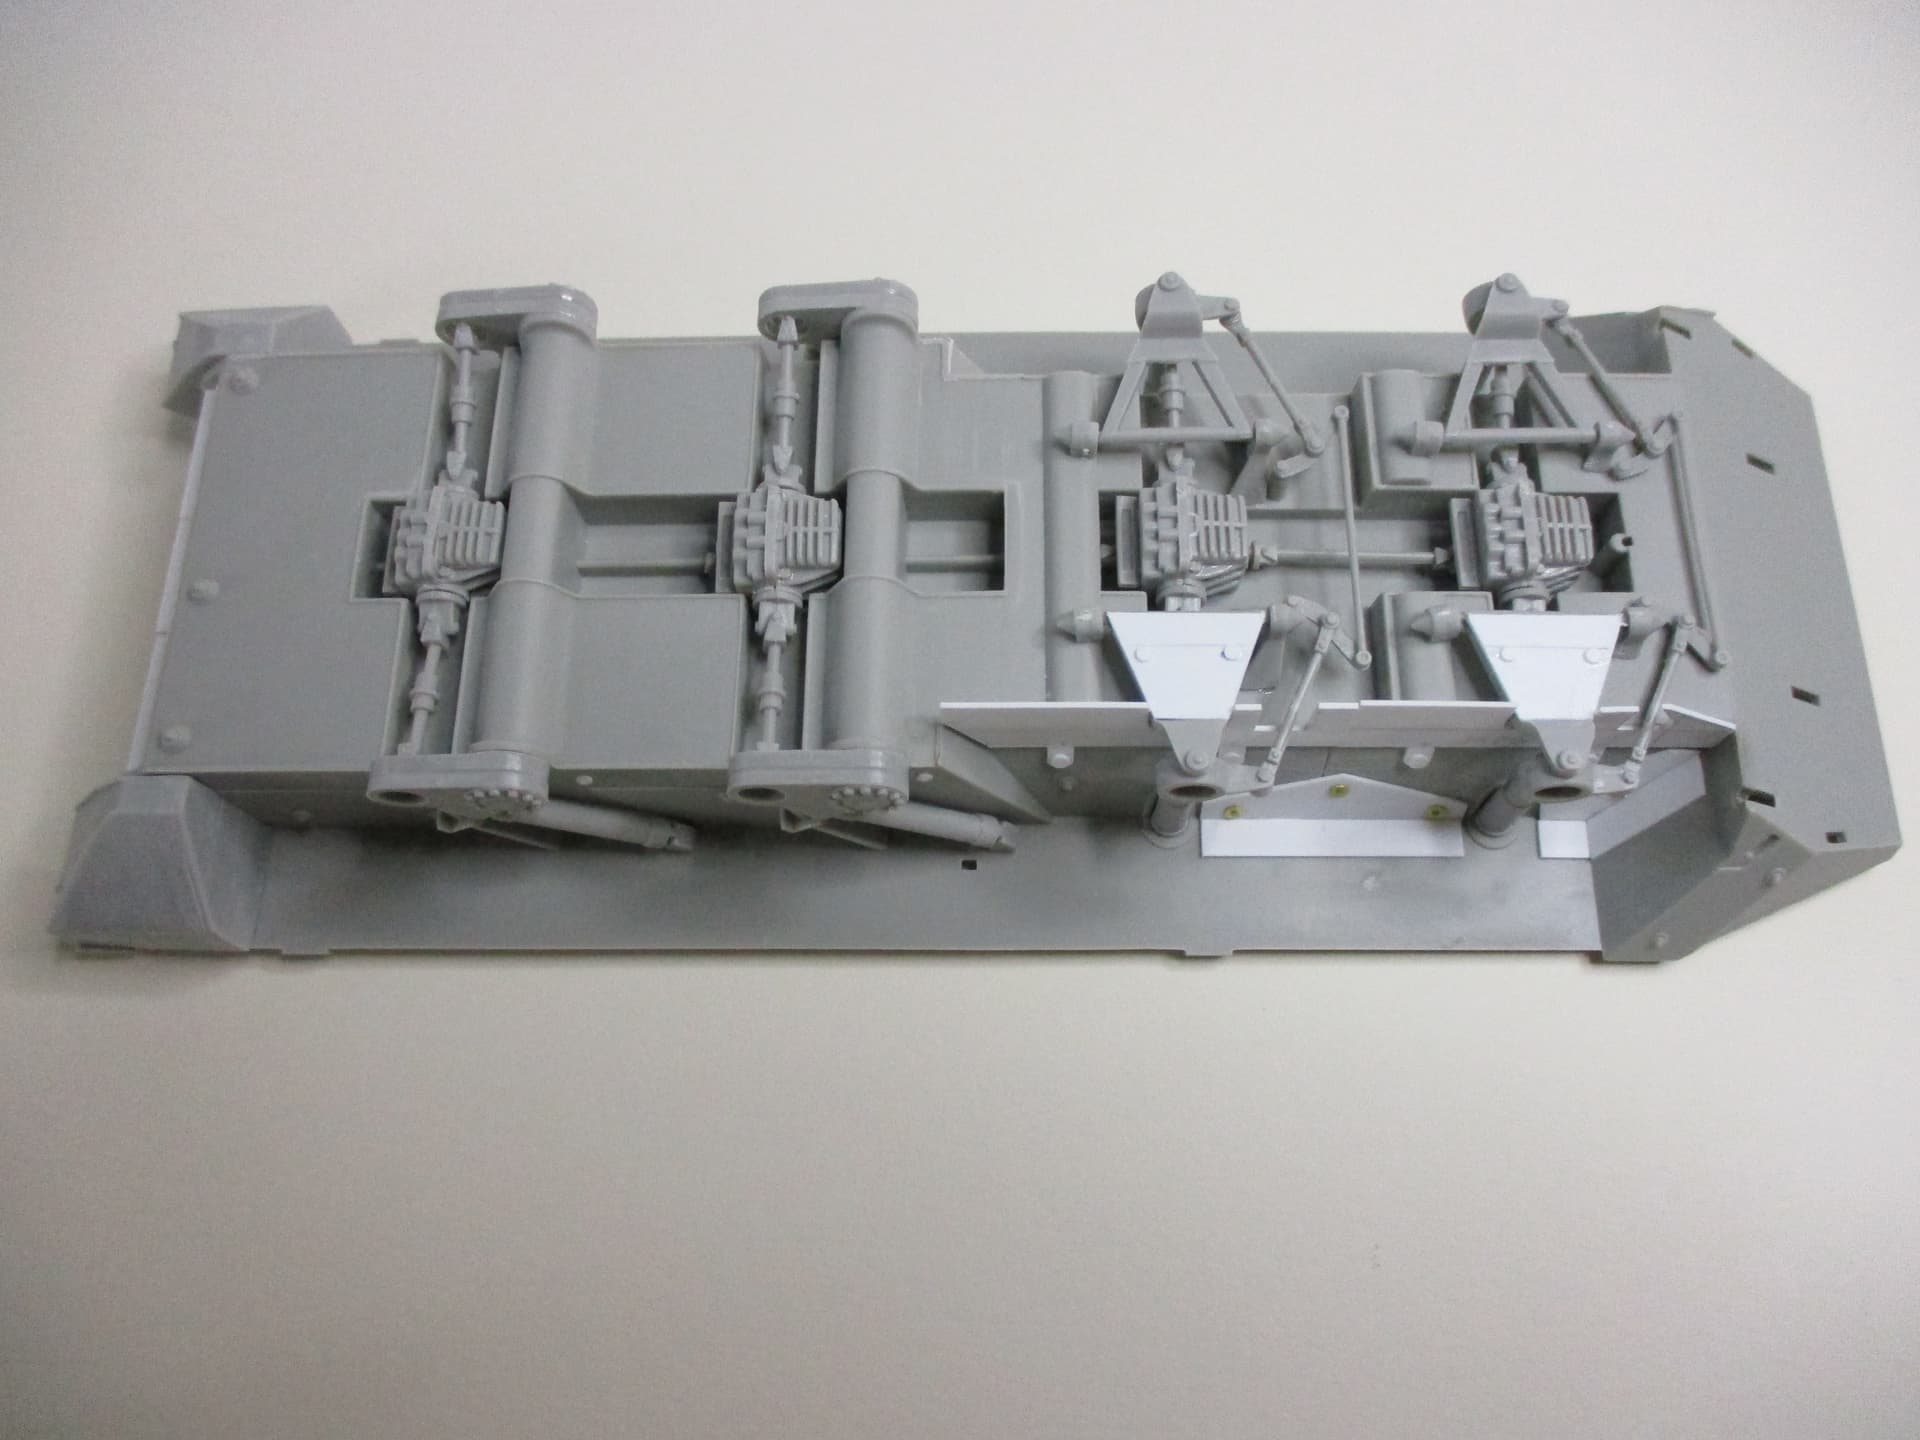
I went of building the Command Vehicle’s floor.
The floor from the Mortar Vehicle kit is only conditionally helpful, as it has a step at the rear end. So, I used it as a template, and I even more cut off the middle parts to use them for the Command Vehicle.
The floor itself was made by very thin polystyrene parts.
Hope you like it.
Peter
2 Likes
Interesting subject. Could you please show a picture of the actual vehicle?
Olivier
Hi Olivier,
I didn’t get a photo of the original vehicle. I got the idea from the WWP book “Stryker Family Upgrades”.
There, at the pages 48, 49, 50, and 51 are six photos, but I don’t know if I am allowed to show them here in the forum.
Peter
Hi Frenchy,
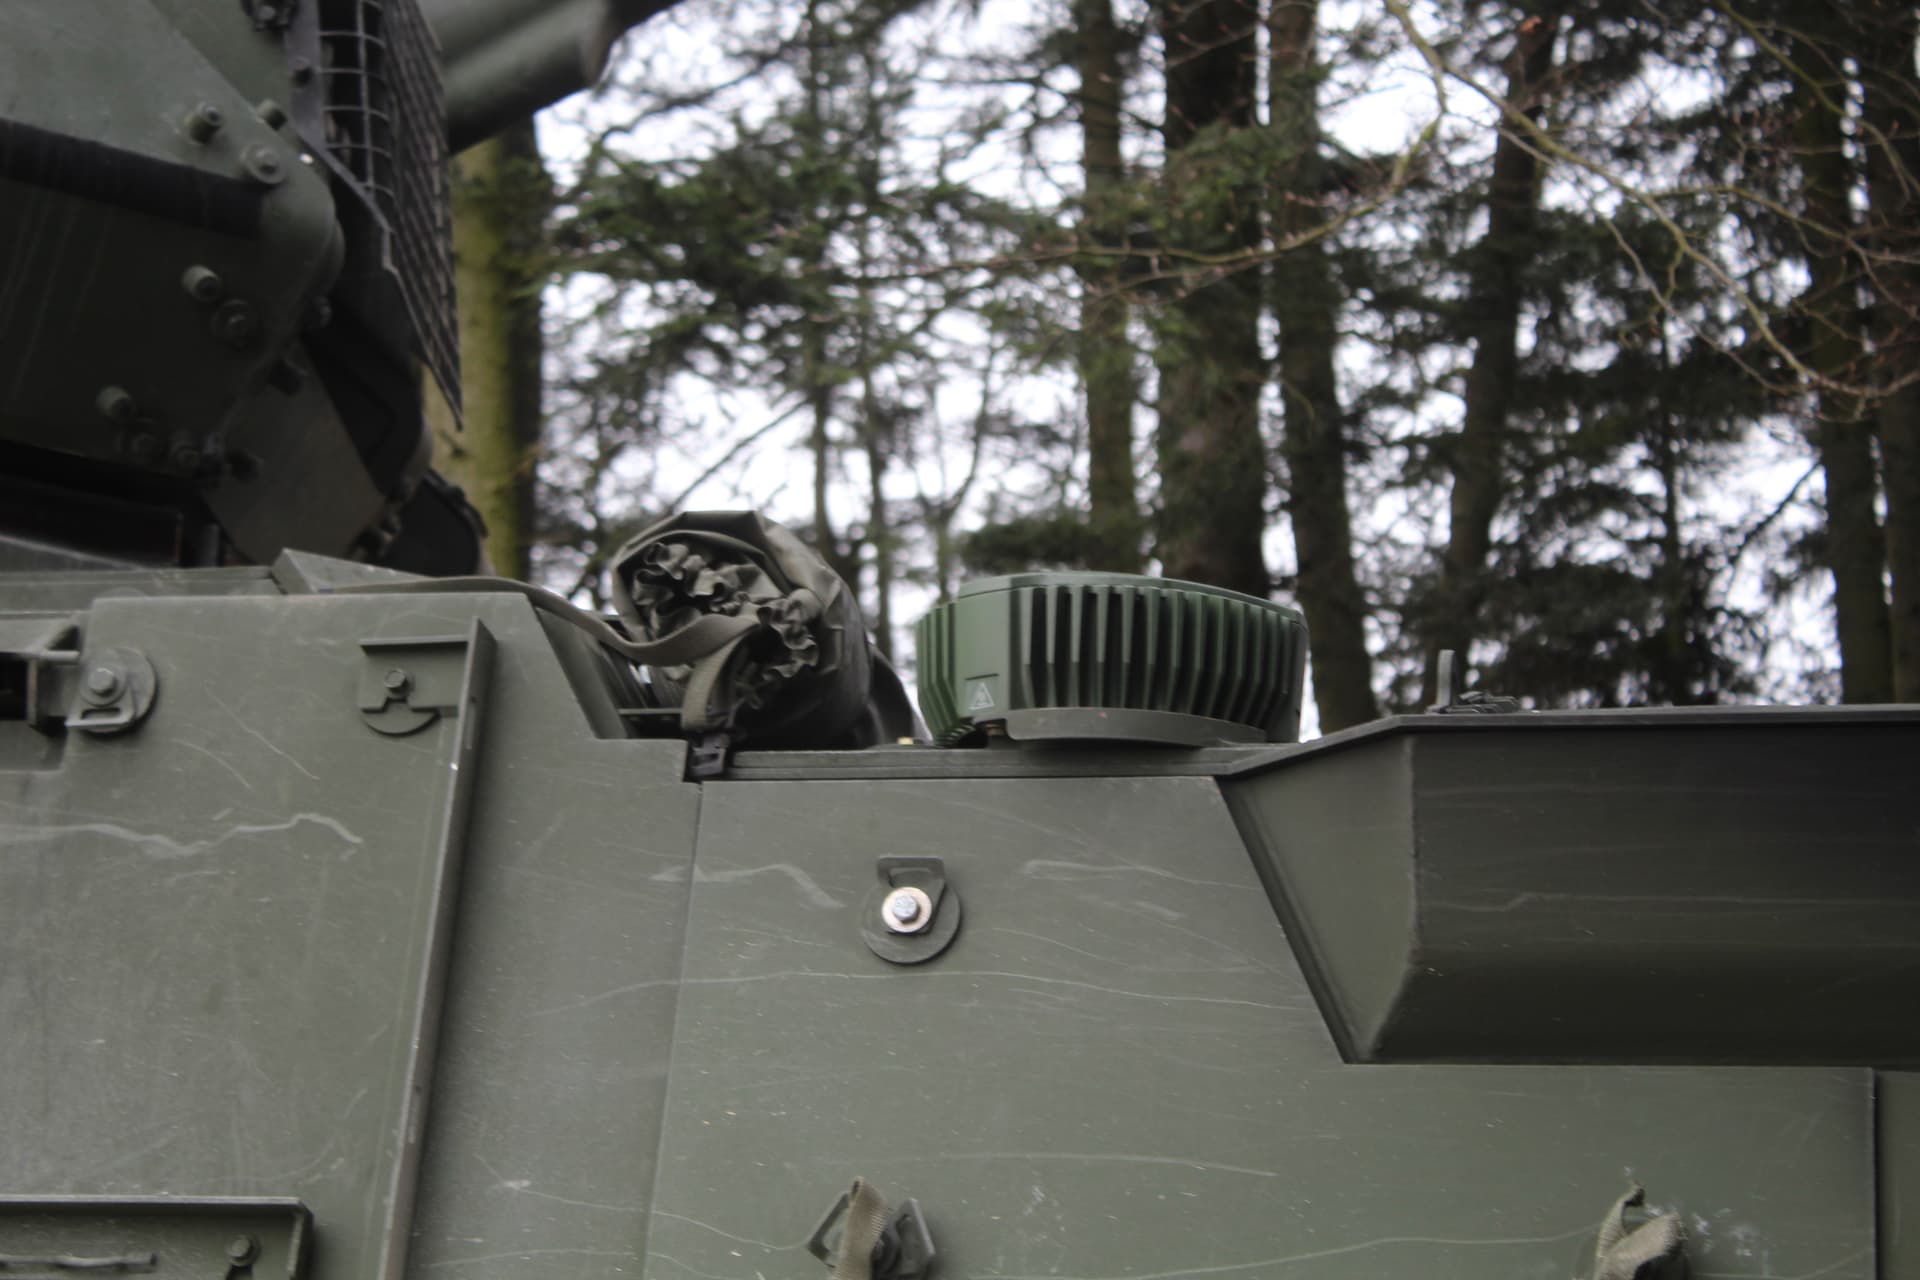
thank you for trying to help, but this one is a MAPS (Mounted Assured Precision Navigation & Timing System) vehicle, to provide capabilities against jamming the GPS signal.
I guess I will make one or two photos from the WWP book and also the “Fahrzeug Profile 105” in which I found the mentioned picture about the “M1130 Retran”s with the trailer. Maybe if the photo from the book is taken from a distance, it might be legal.
Peter
Neither Retrans nor MAPS. It is M1130 CV TACP in its latest incarnation.
My post was a just a good example of shot in the dark… 
H.P.
BTW MAPS is a small circular device mounted on the engine deck of M1296 Dragoon.
Salut Olivier,
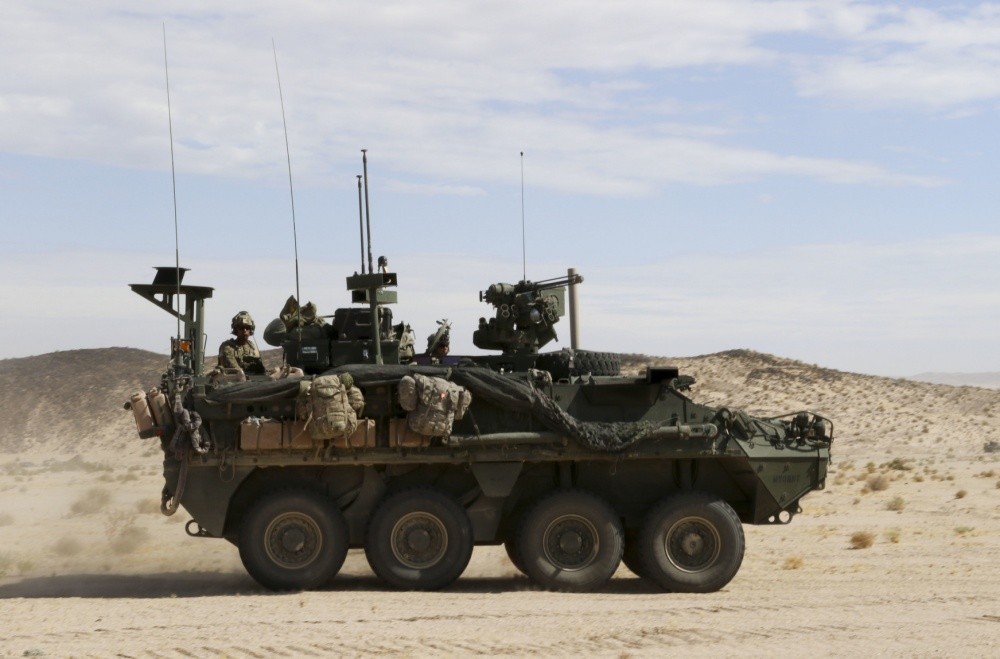
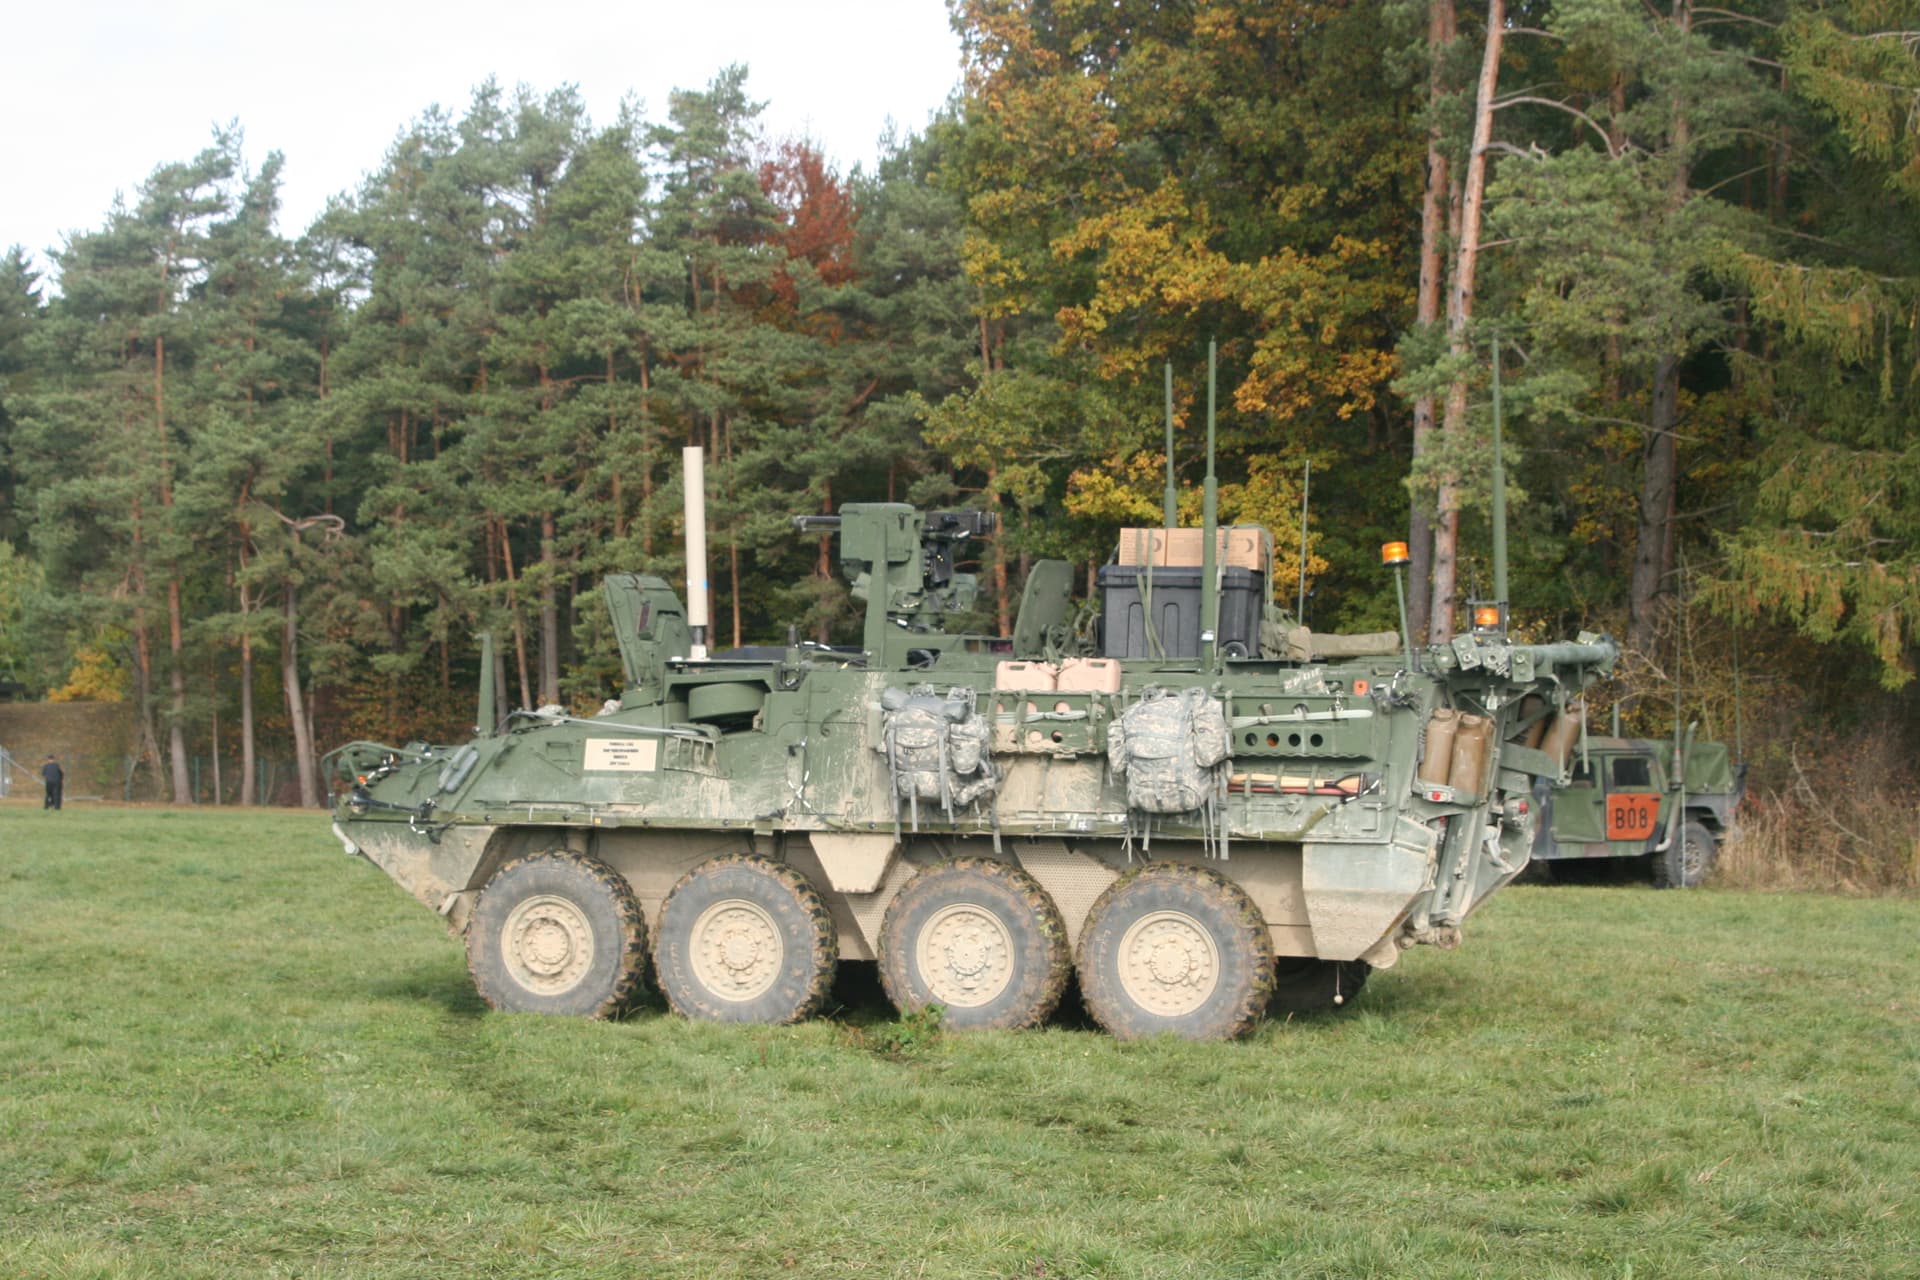
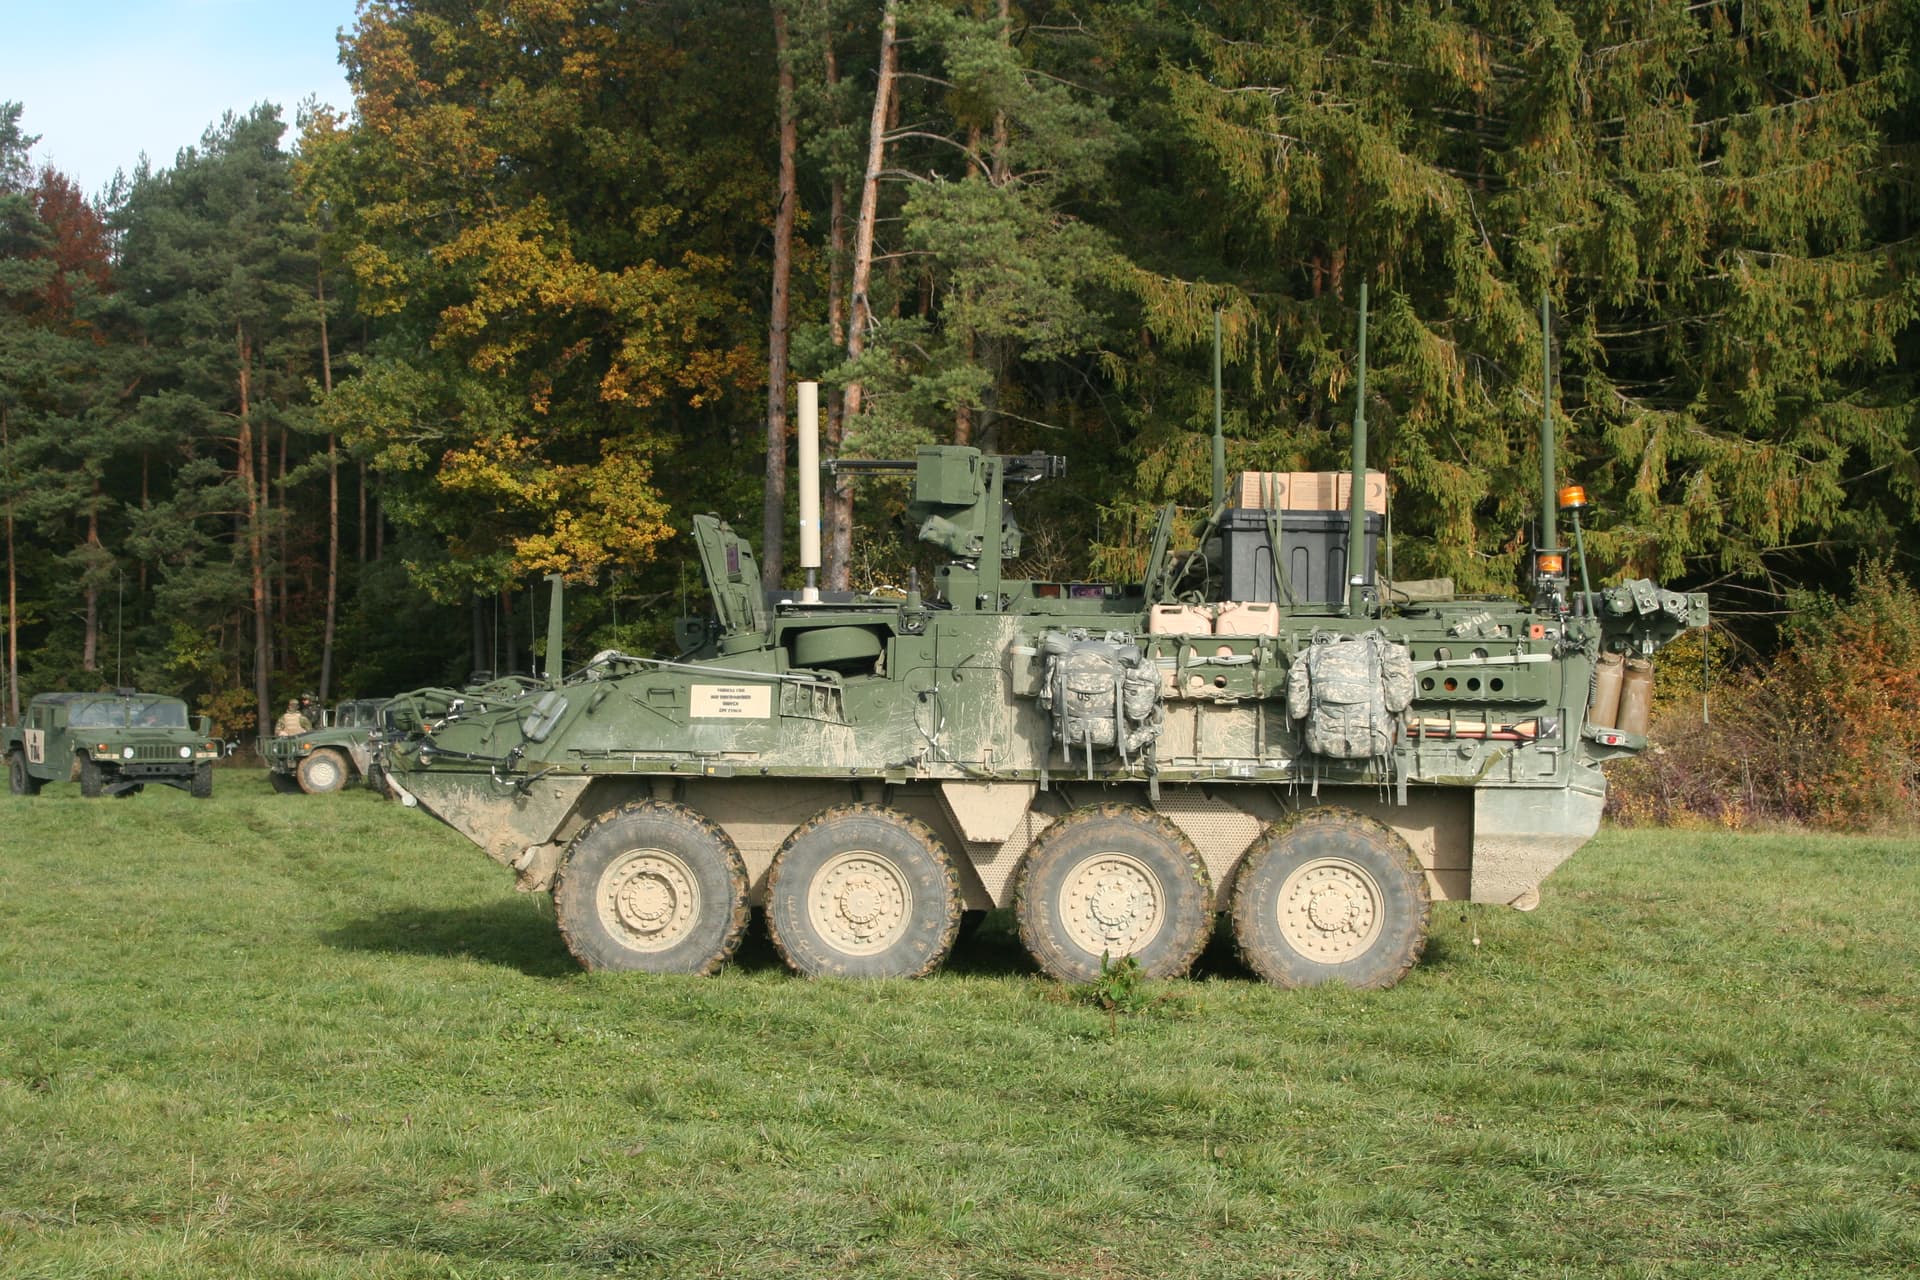
this:
is M1130 Retrans during Saber Junction 2012
2 Likes
Thank you, Hermann,
Great pictures!
And also, this relieves me of my doubts about taken photos from pictures in a book.
Peter
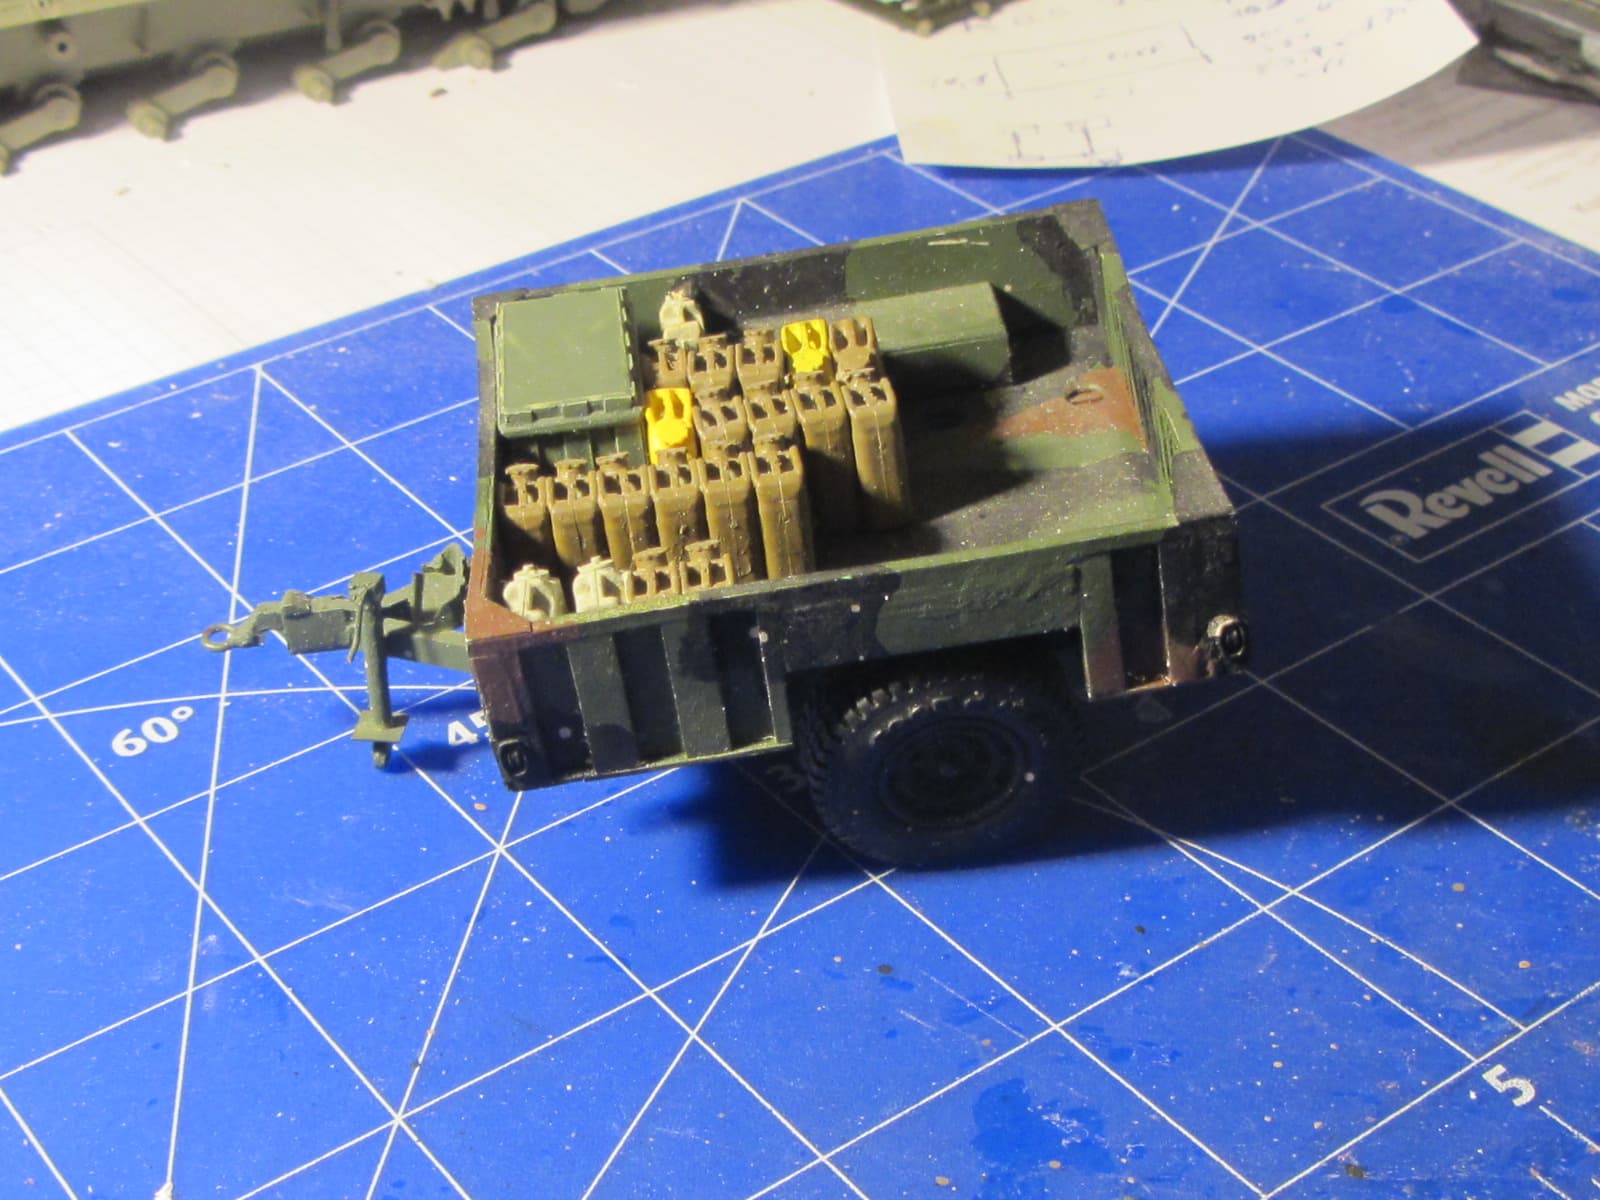
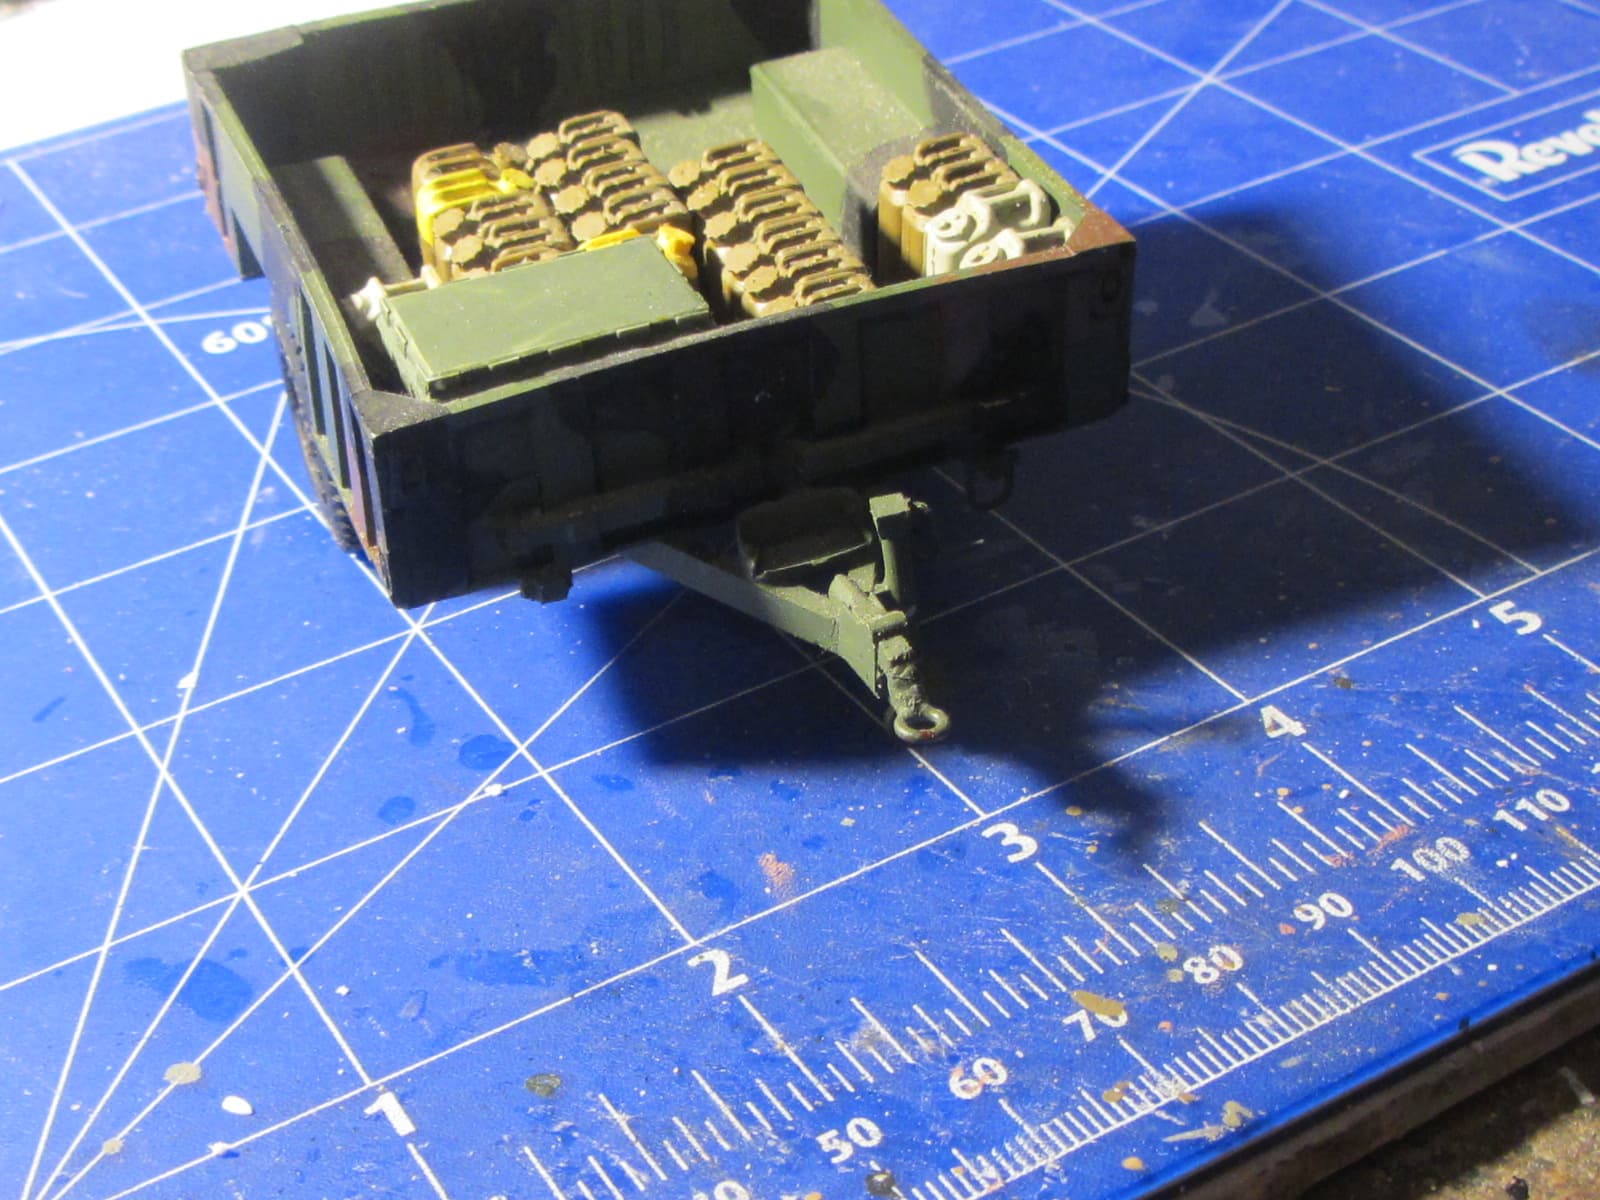
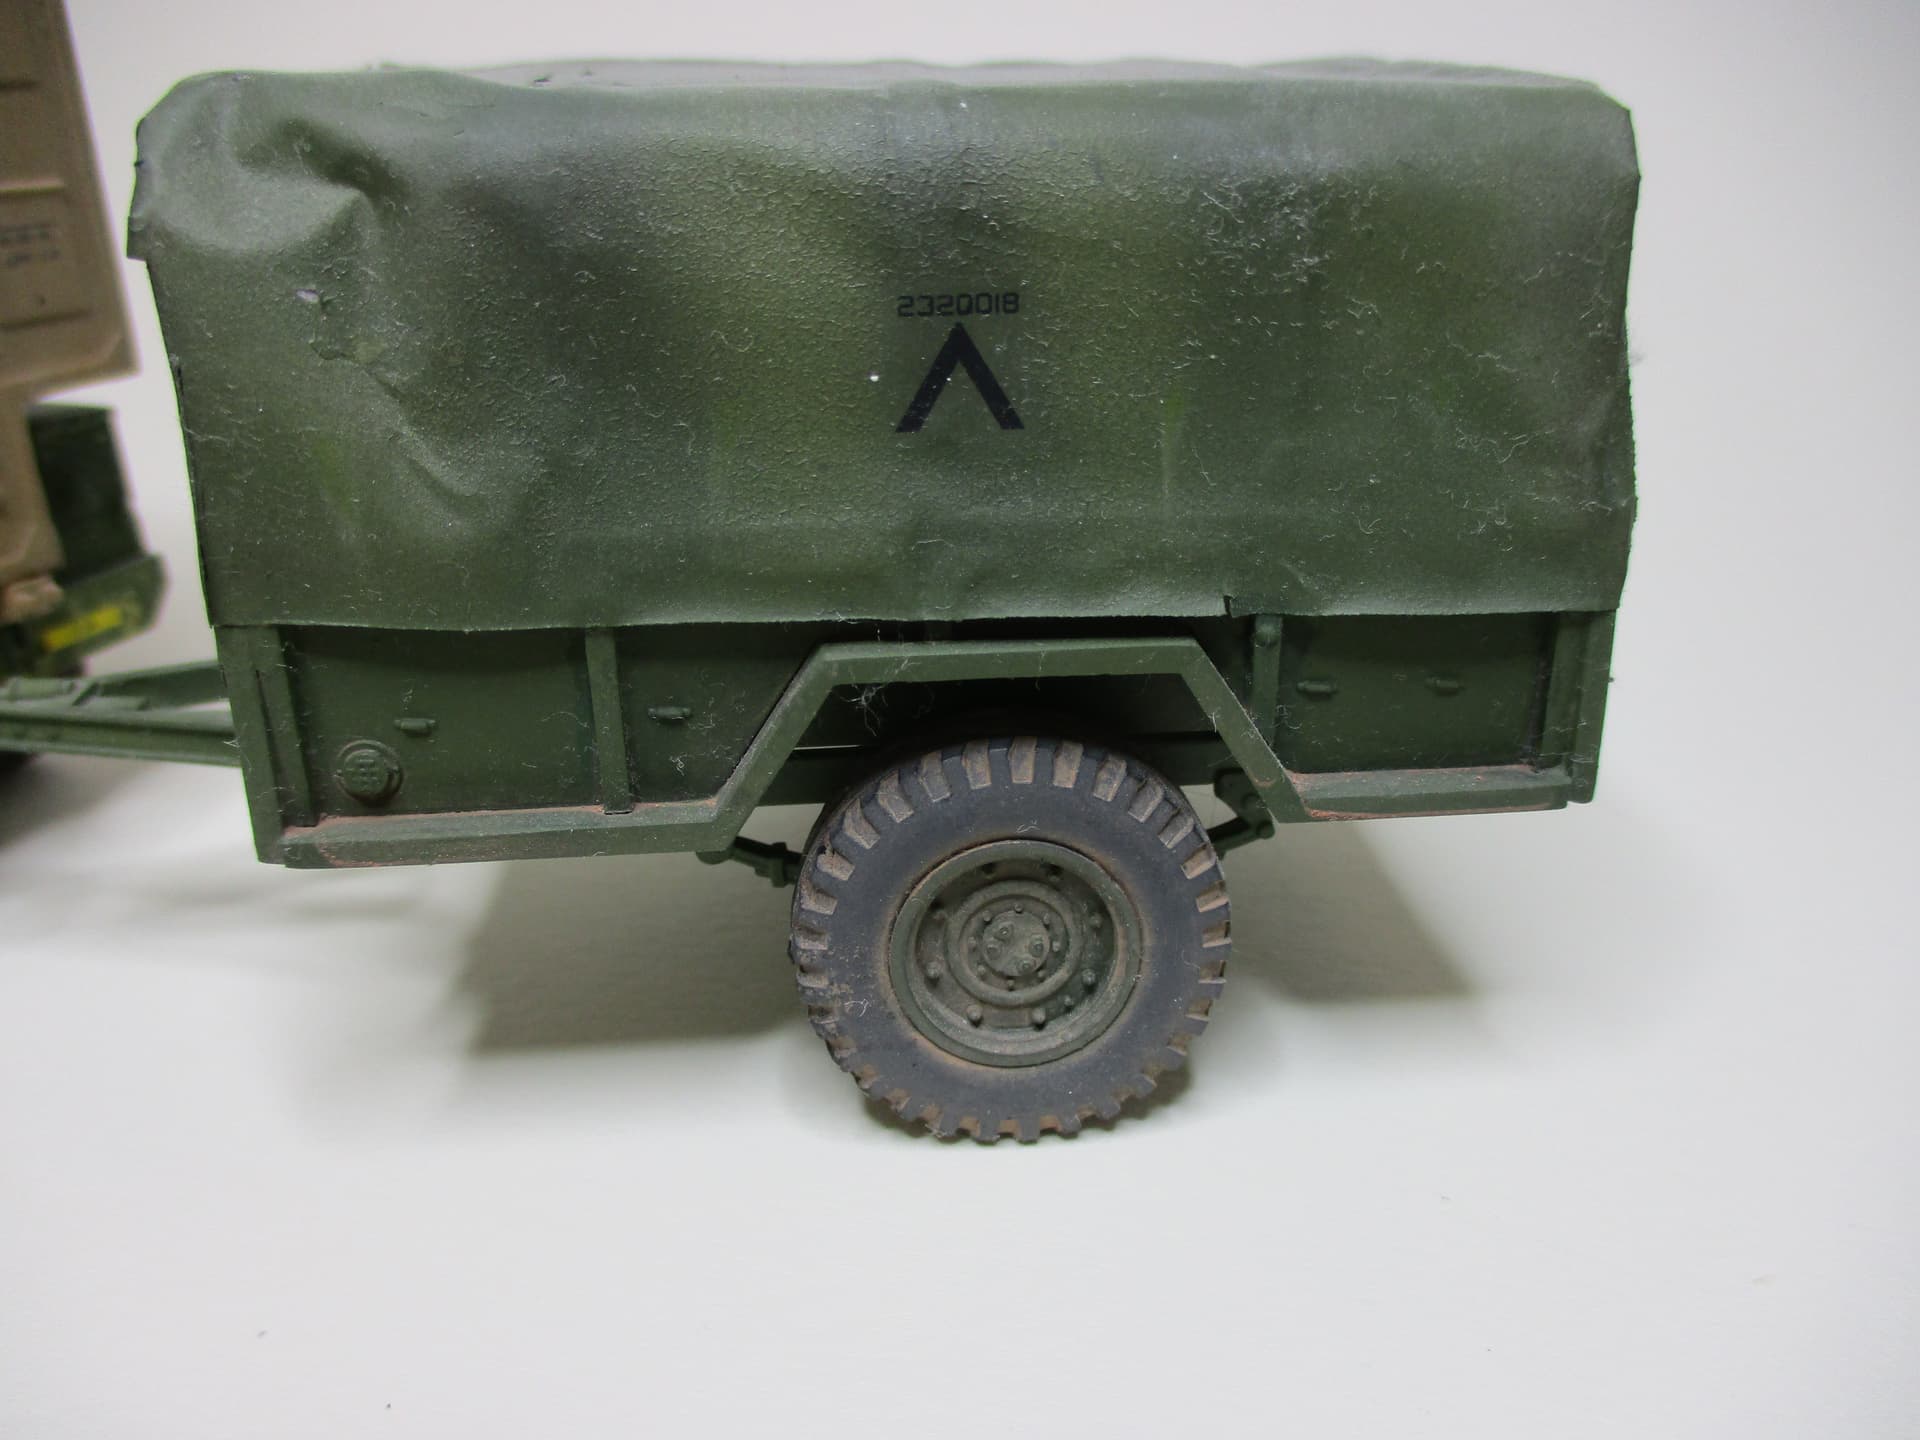
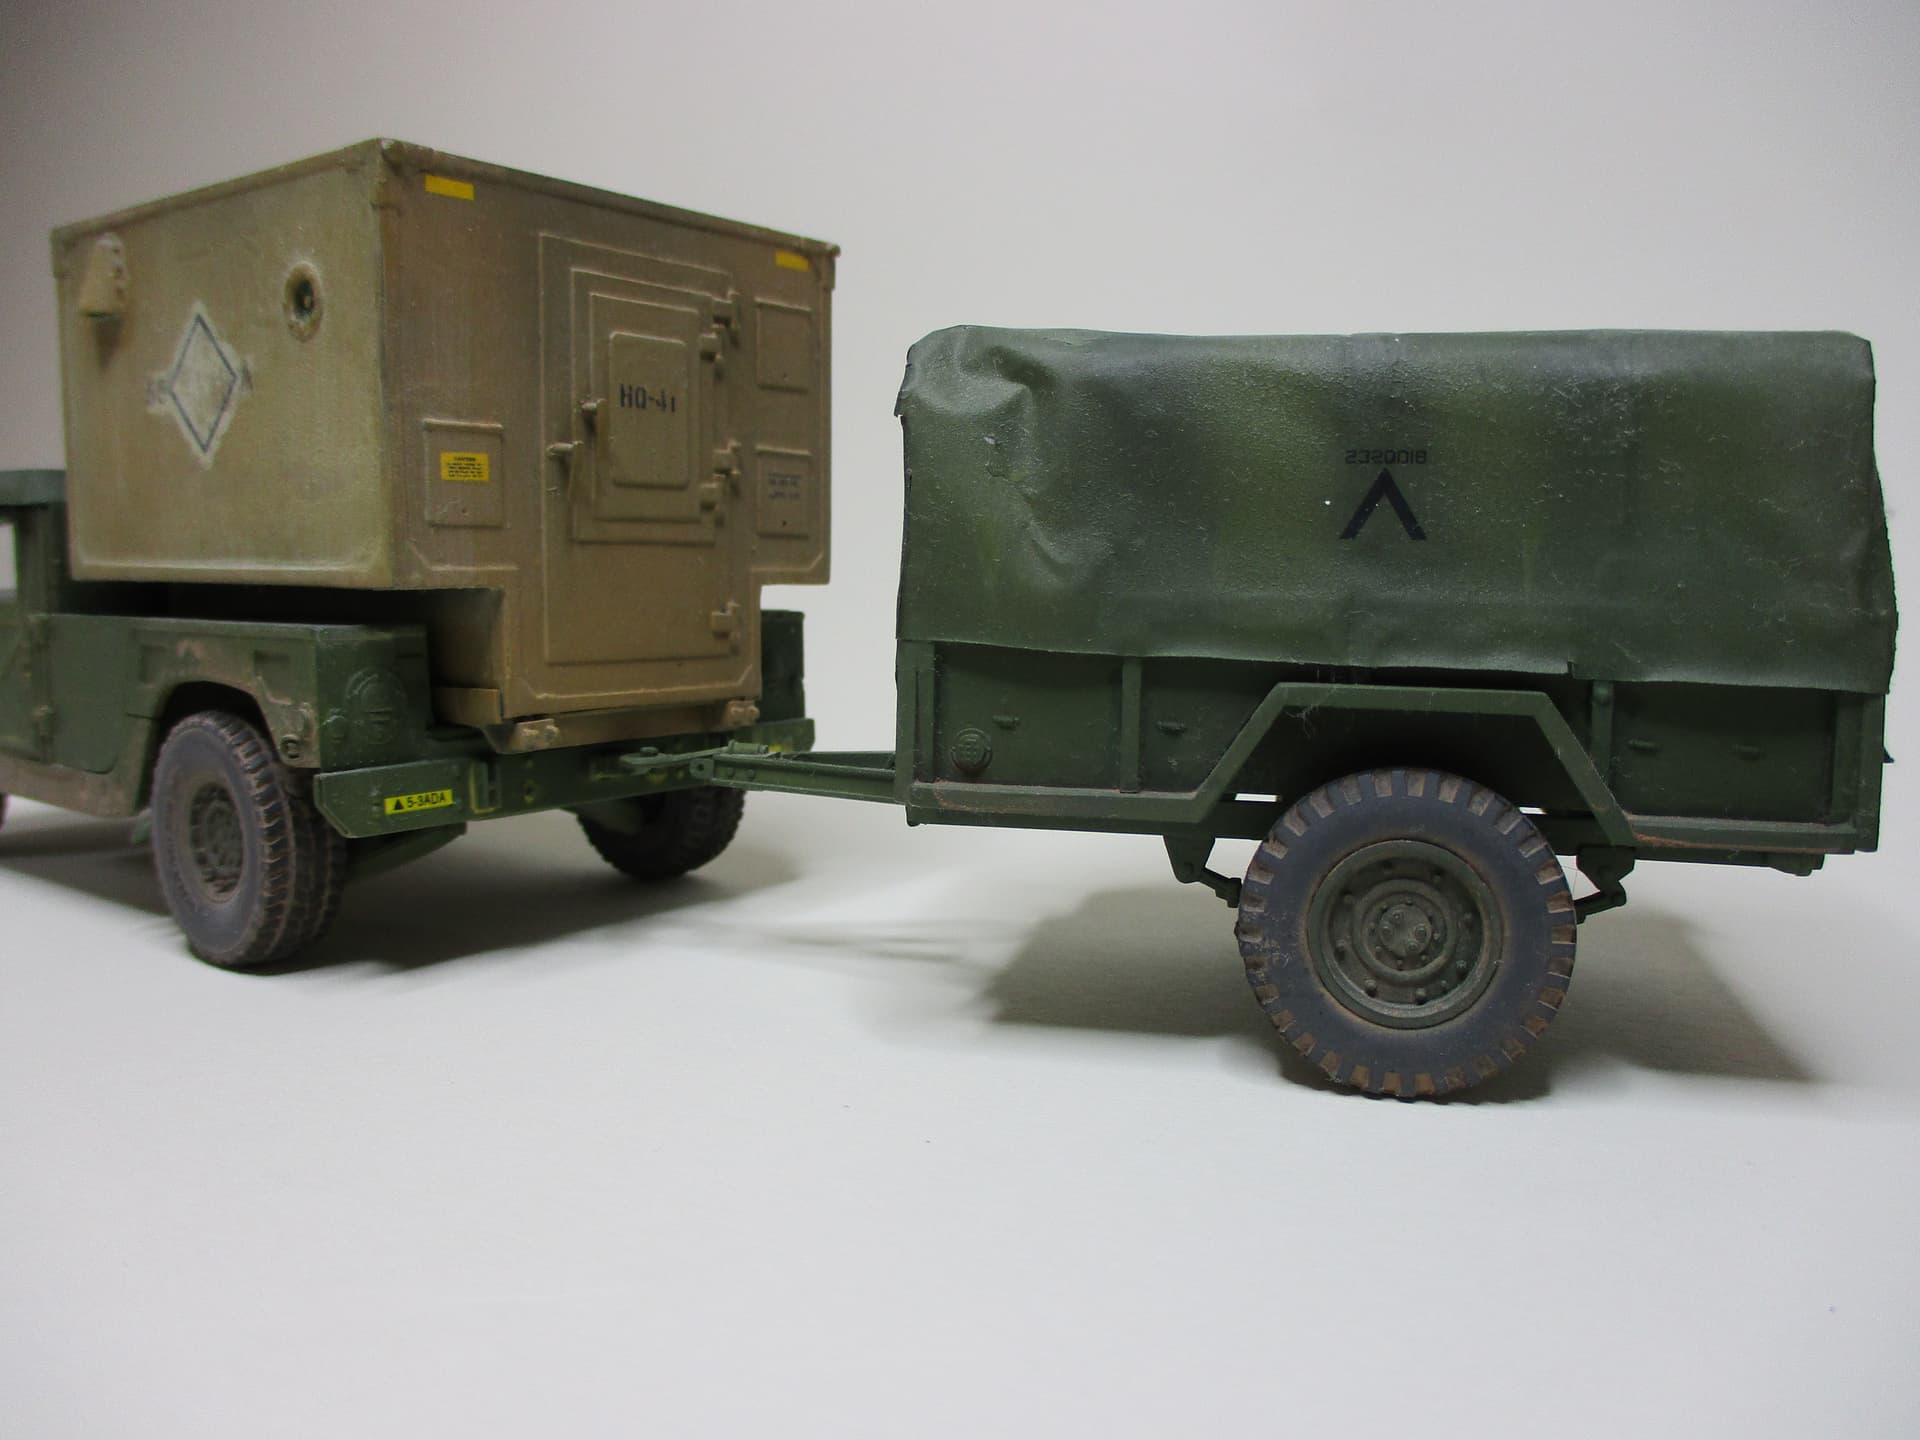
This is my scratch-build model of the M1101 trailer.
I build it 10 years ago, using the same drawing from Silver Eagle Manufacturing that you have.
1 Like
Hi Peter,
I got today the Fahrzeug Profile Heft. A good collection of 2nd SCR pics. I participated in some of the exercises.Being out with 2nd SCR is always fun. BTW looking forward to see how you tackle the canvas roof on the M1101.
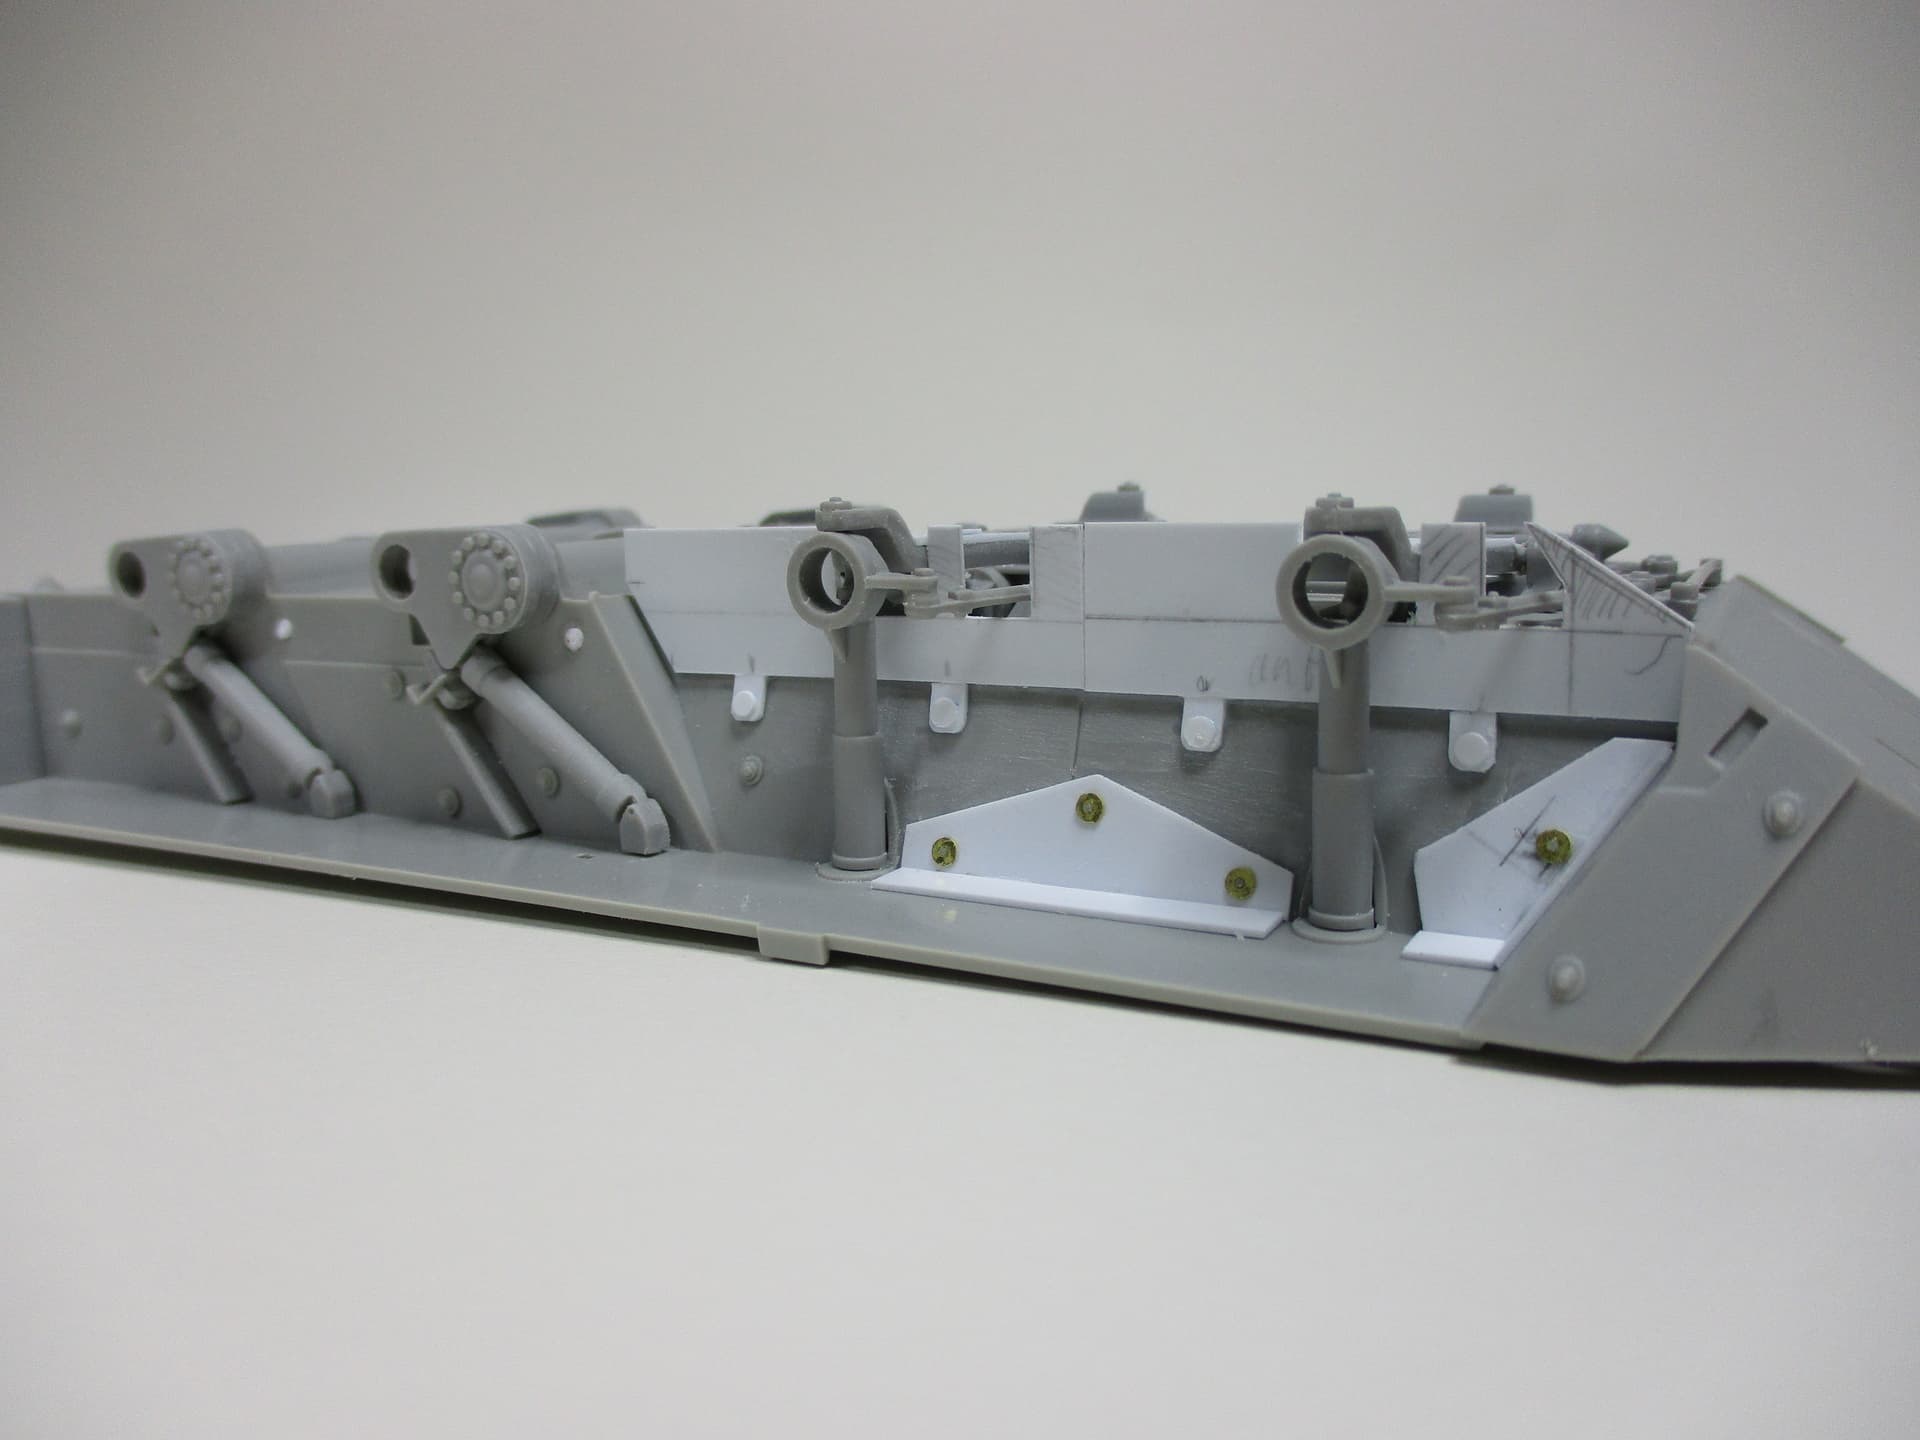
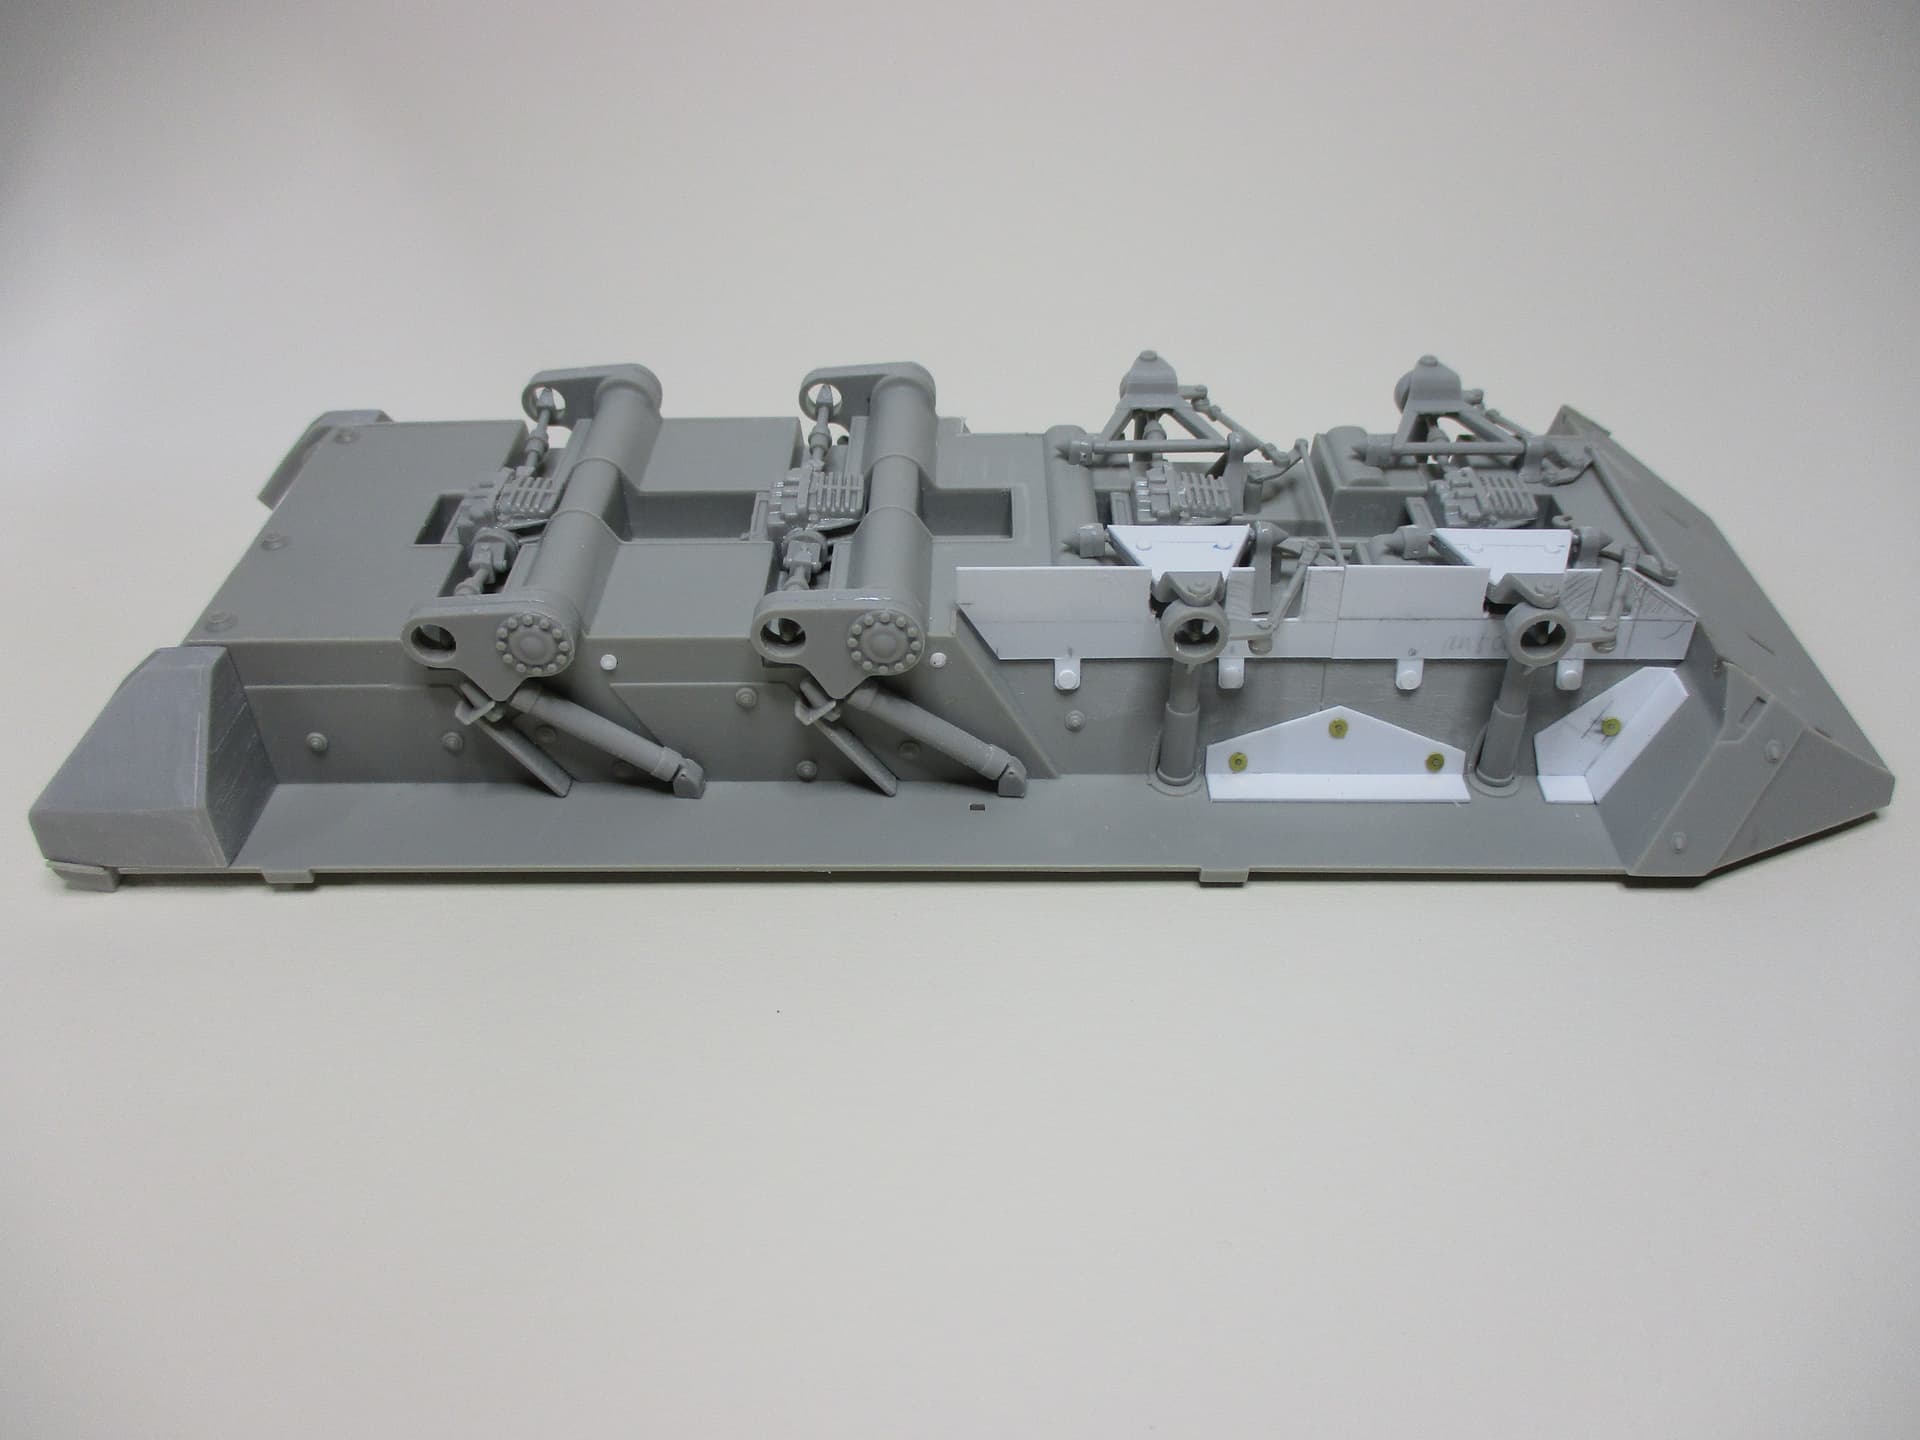
After the floor was done I continued with the chassis.
This came basically out of the box. The only parts I added were the parts for the “Driver Enhancement Kit”.
After I had done this for the first time, when building the M1126 Scout within the “Stryker Campain”, I reused some of the drawings and duplicated the parts for this one, after them.
Peter
2 Likes
Hi Hermann,
well, the trailer,…… I’m not yet there.
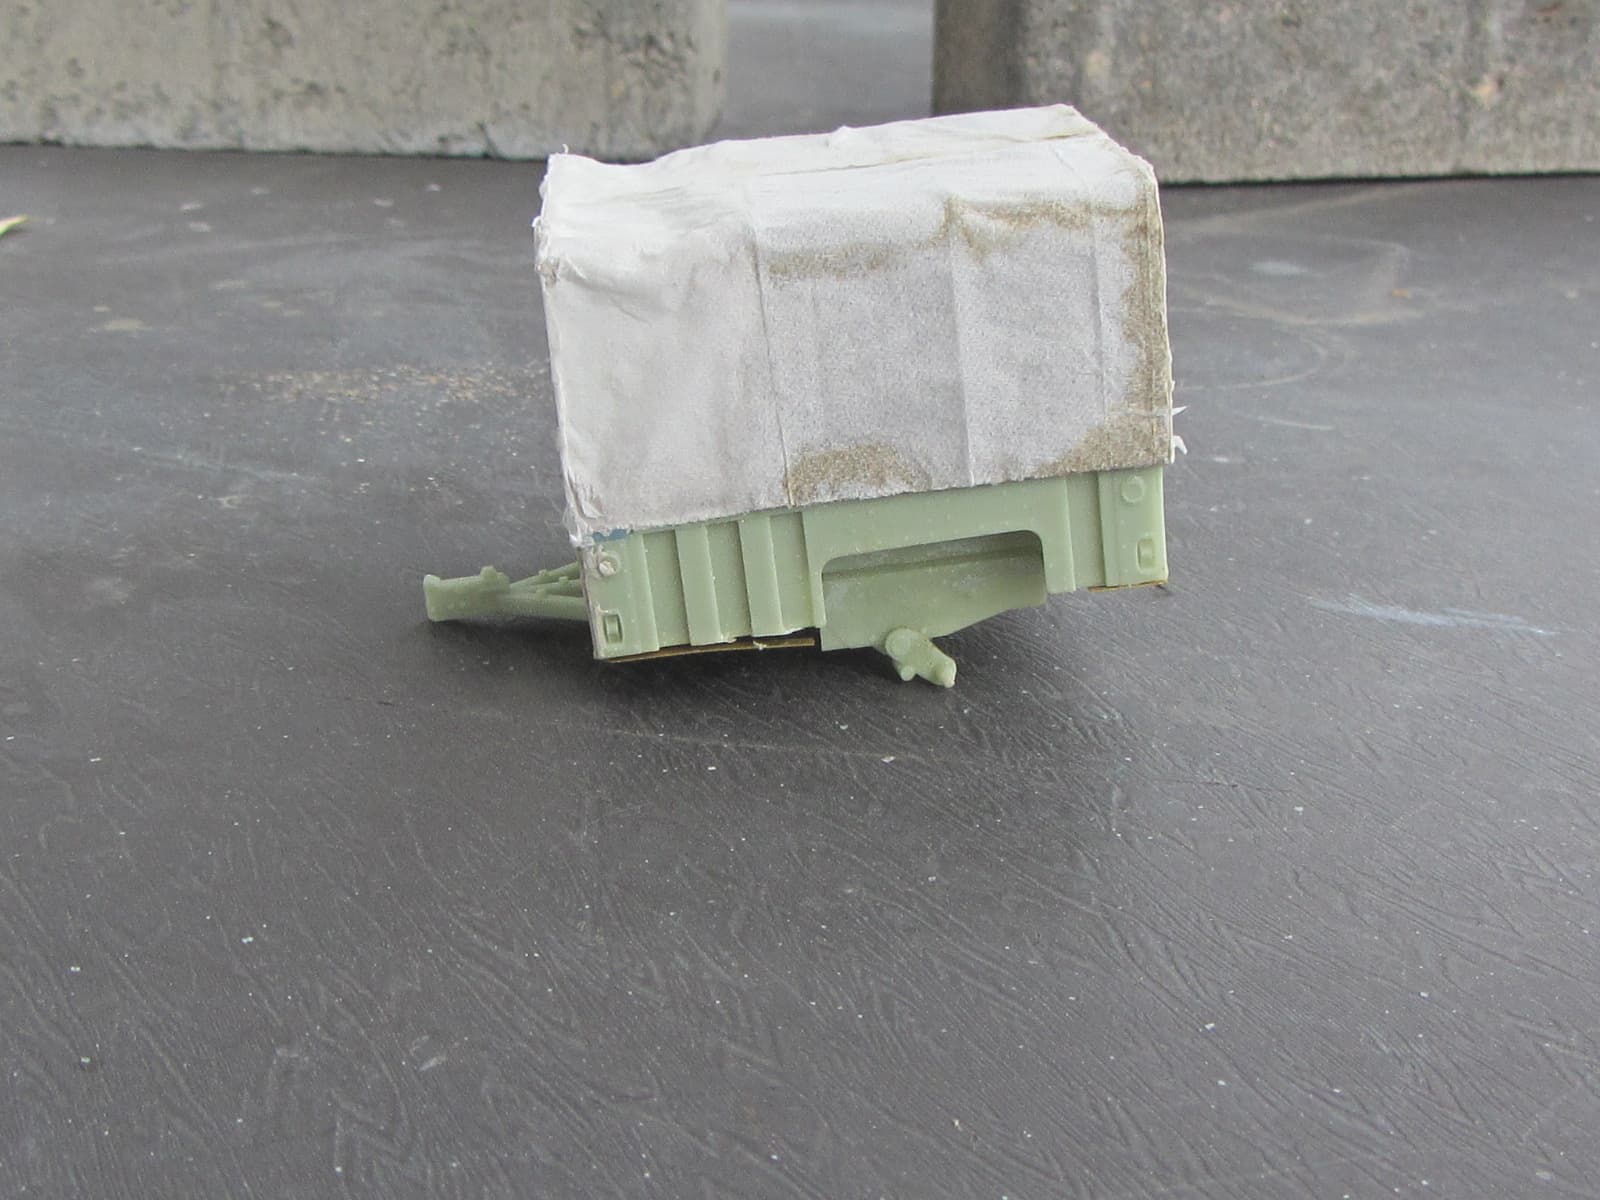
But, since you asked: My plan is, to build the trailer`s tarpaulin, as I did it some years ago, with the trailer showed beneath.
I might probably use a “thick” plastic bag once again, to create the tarpaulin.
Peter
Hi Peter,
I did a different approach with my second M1101 trailer. I bought the excellent kit from SKP Model and modified the canvas roof from Italeri´s M998 kit.
1 Like
If the soft-top idea is failing, you can alternativly go for an AMTECH Helmet Hardtop.
http://www.amtechcorp.com/ltt.php
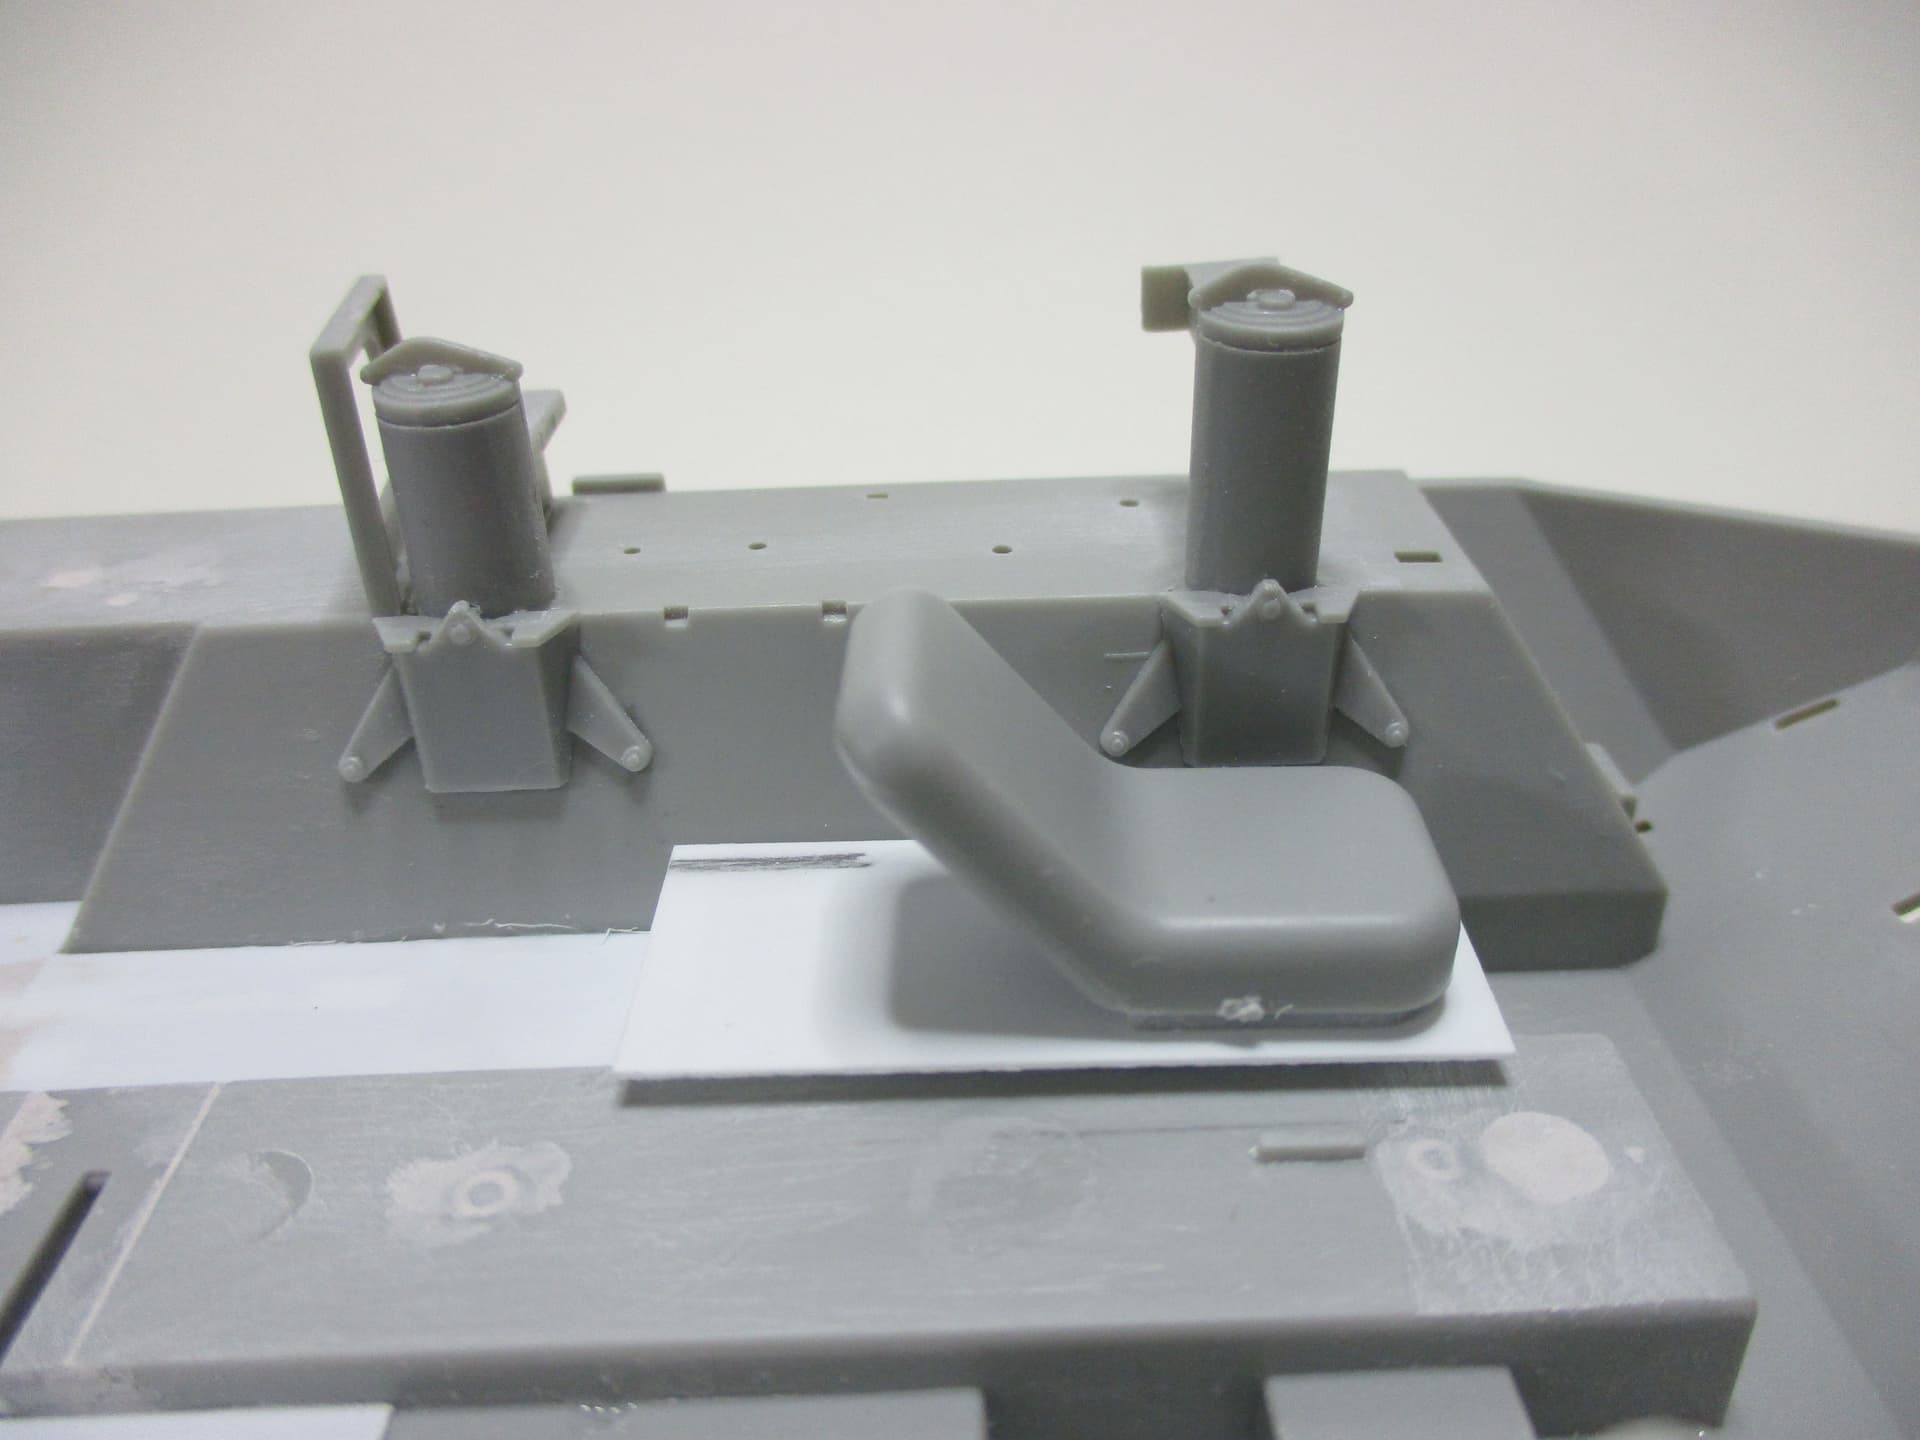
As I mentioned earlier, I plan to implement a basic interior to the Retrans. So, I started at the front.
The driver compartment was the first thing I put my attention on.
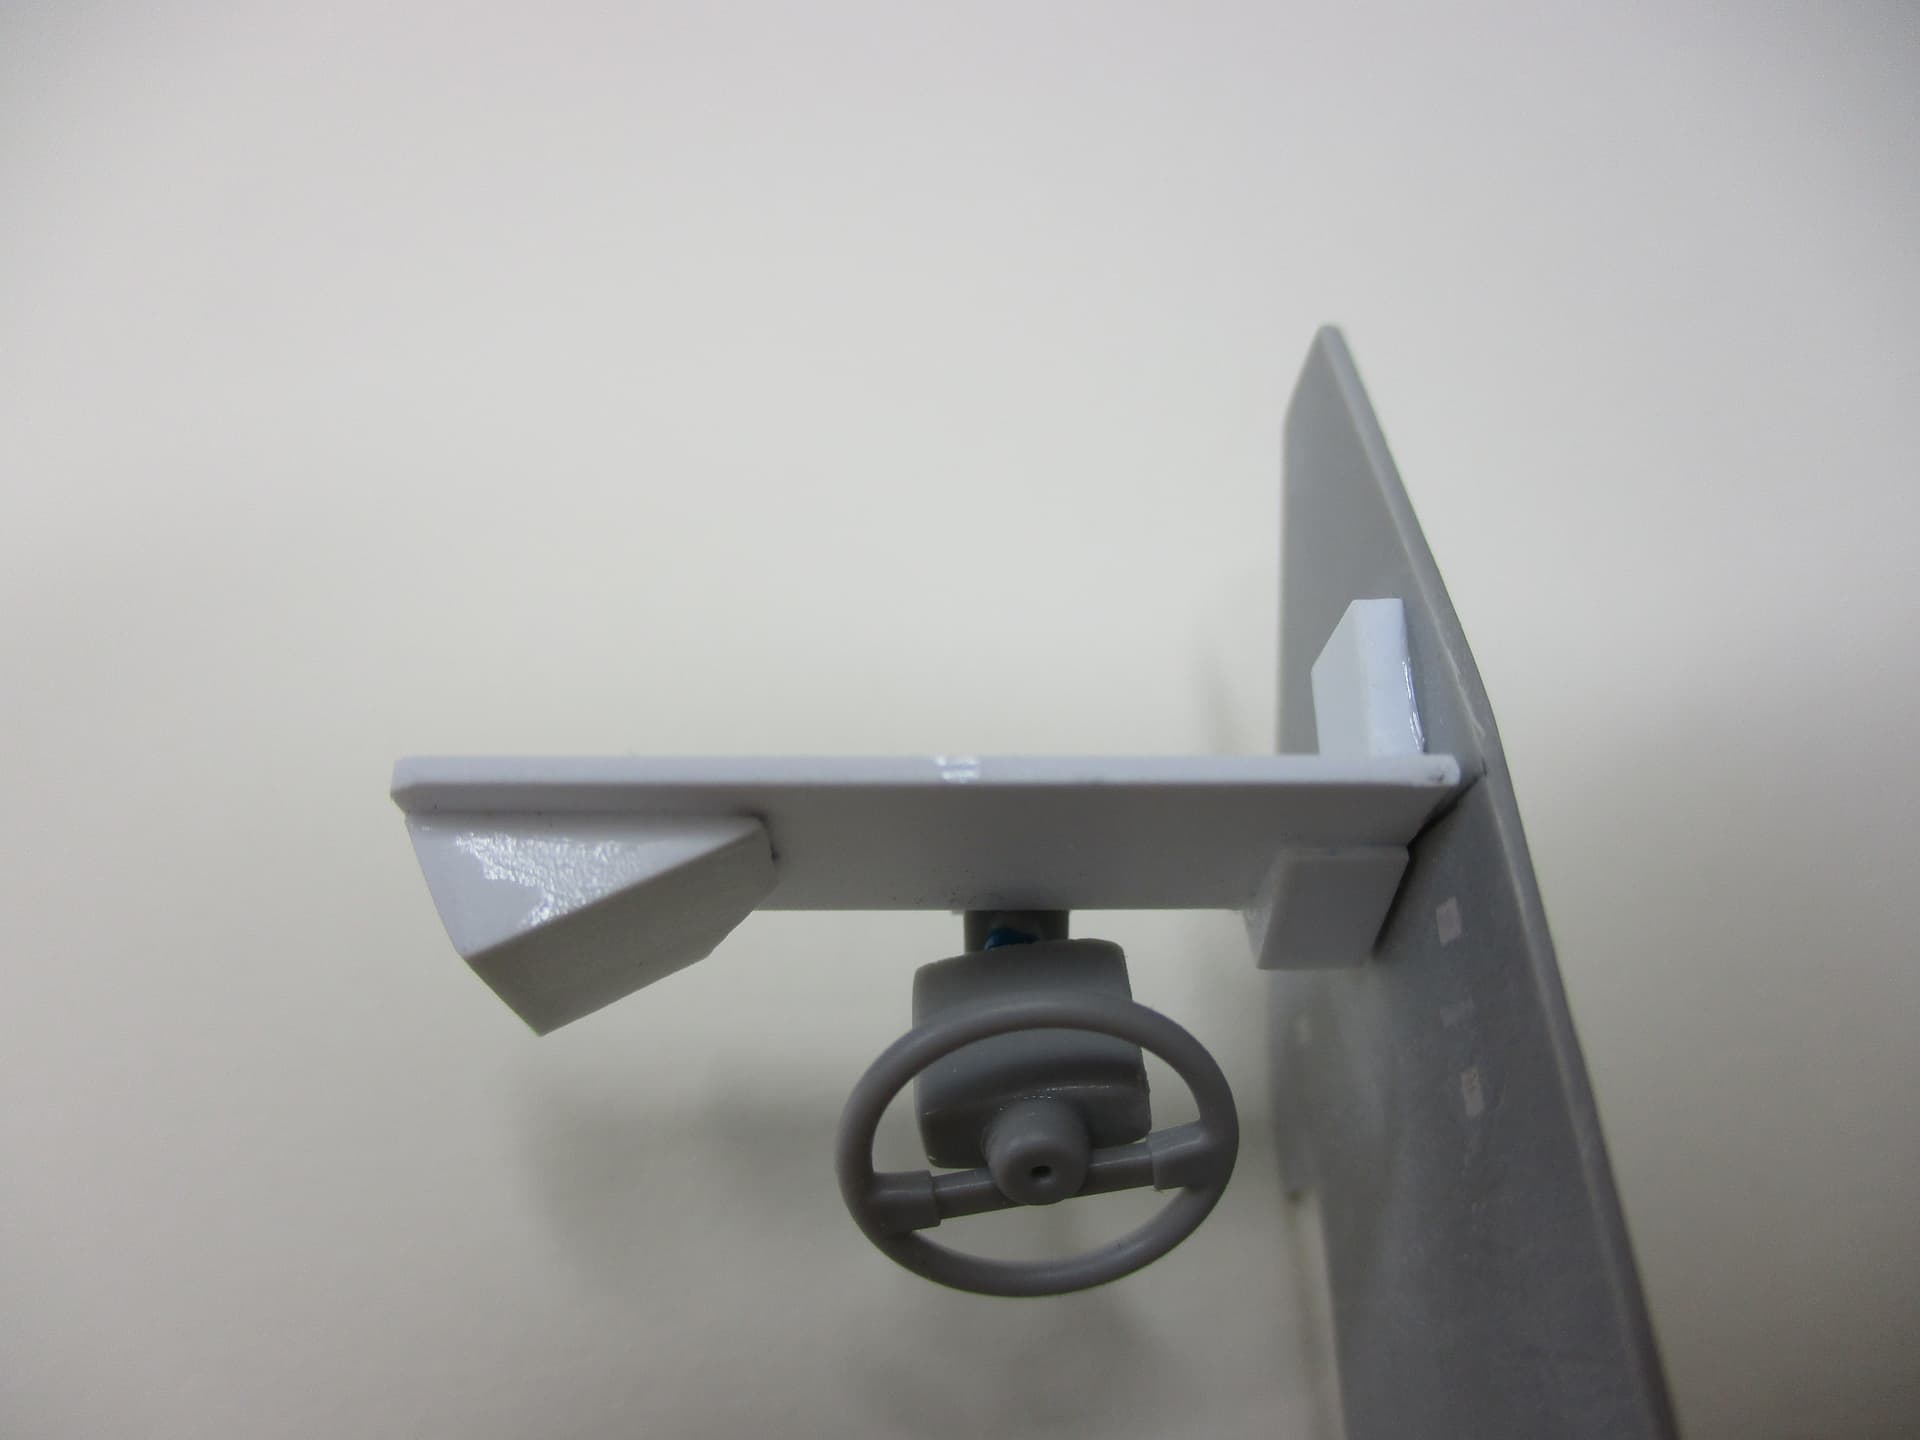
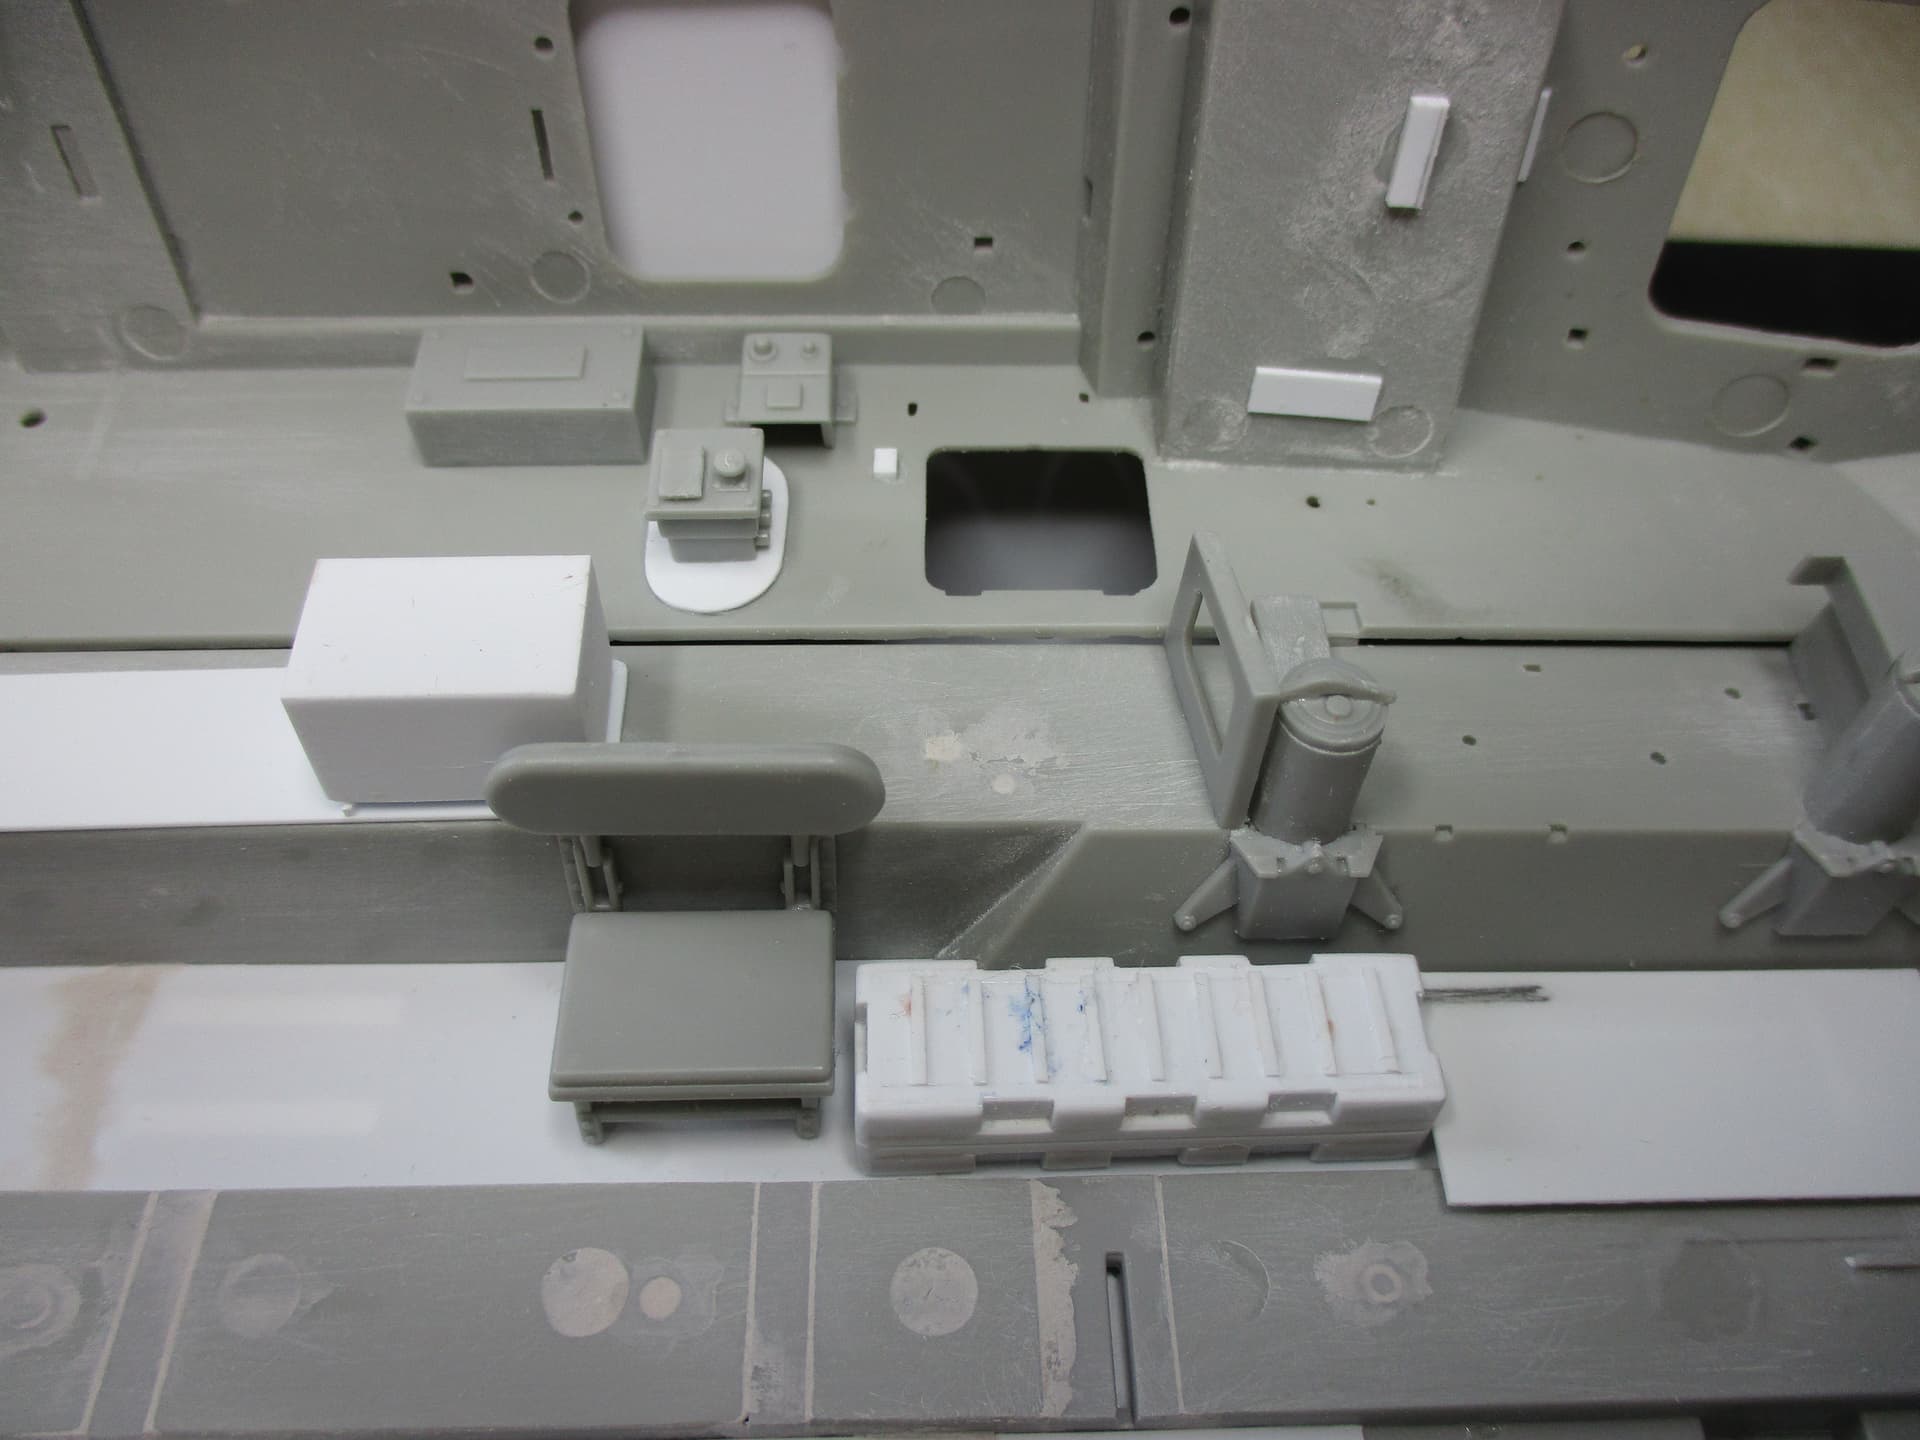
First I made a little platform, about 4mm high and at the front of the floor. This platform carries the driver’s seat. Unfortunately Trumpeter had chosen the seat with a folded back backrest. This is really an uncomfortable position for the driver, so I decided to use a small saw in order to cut off the backrest and glue it in straight up position again.
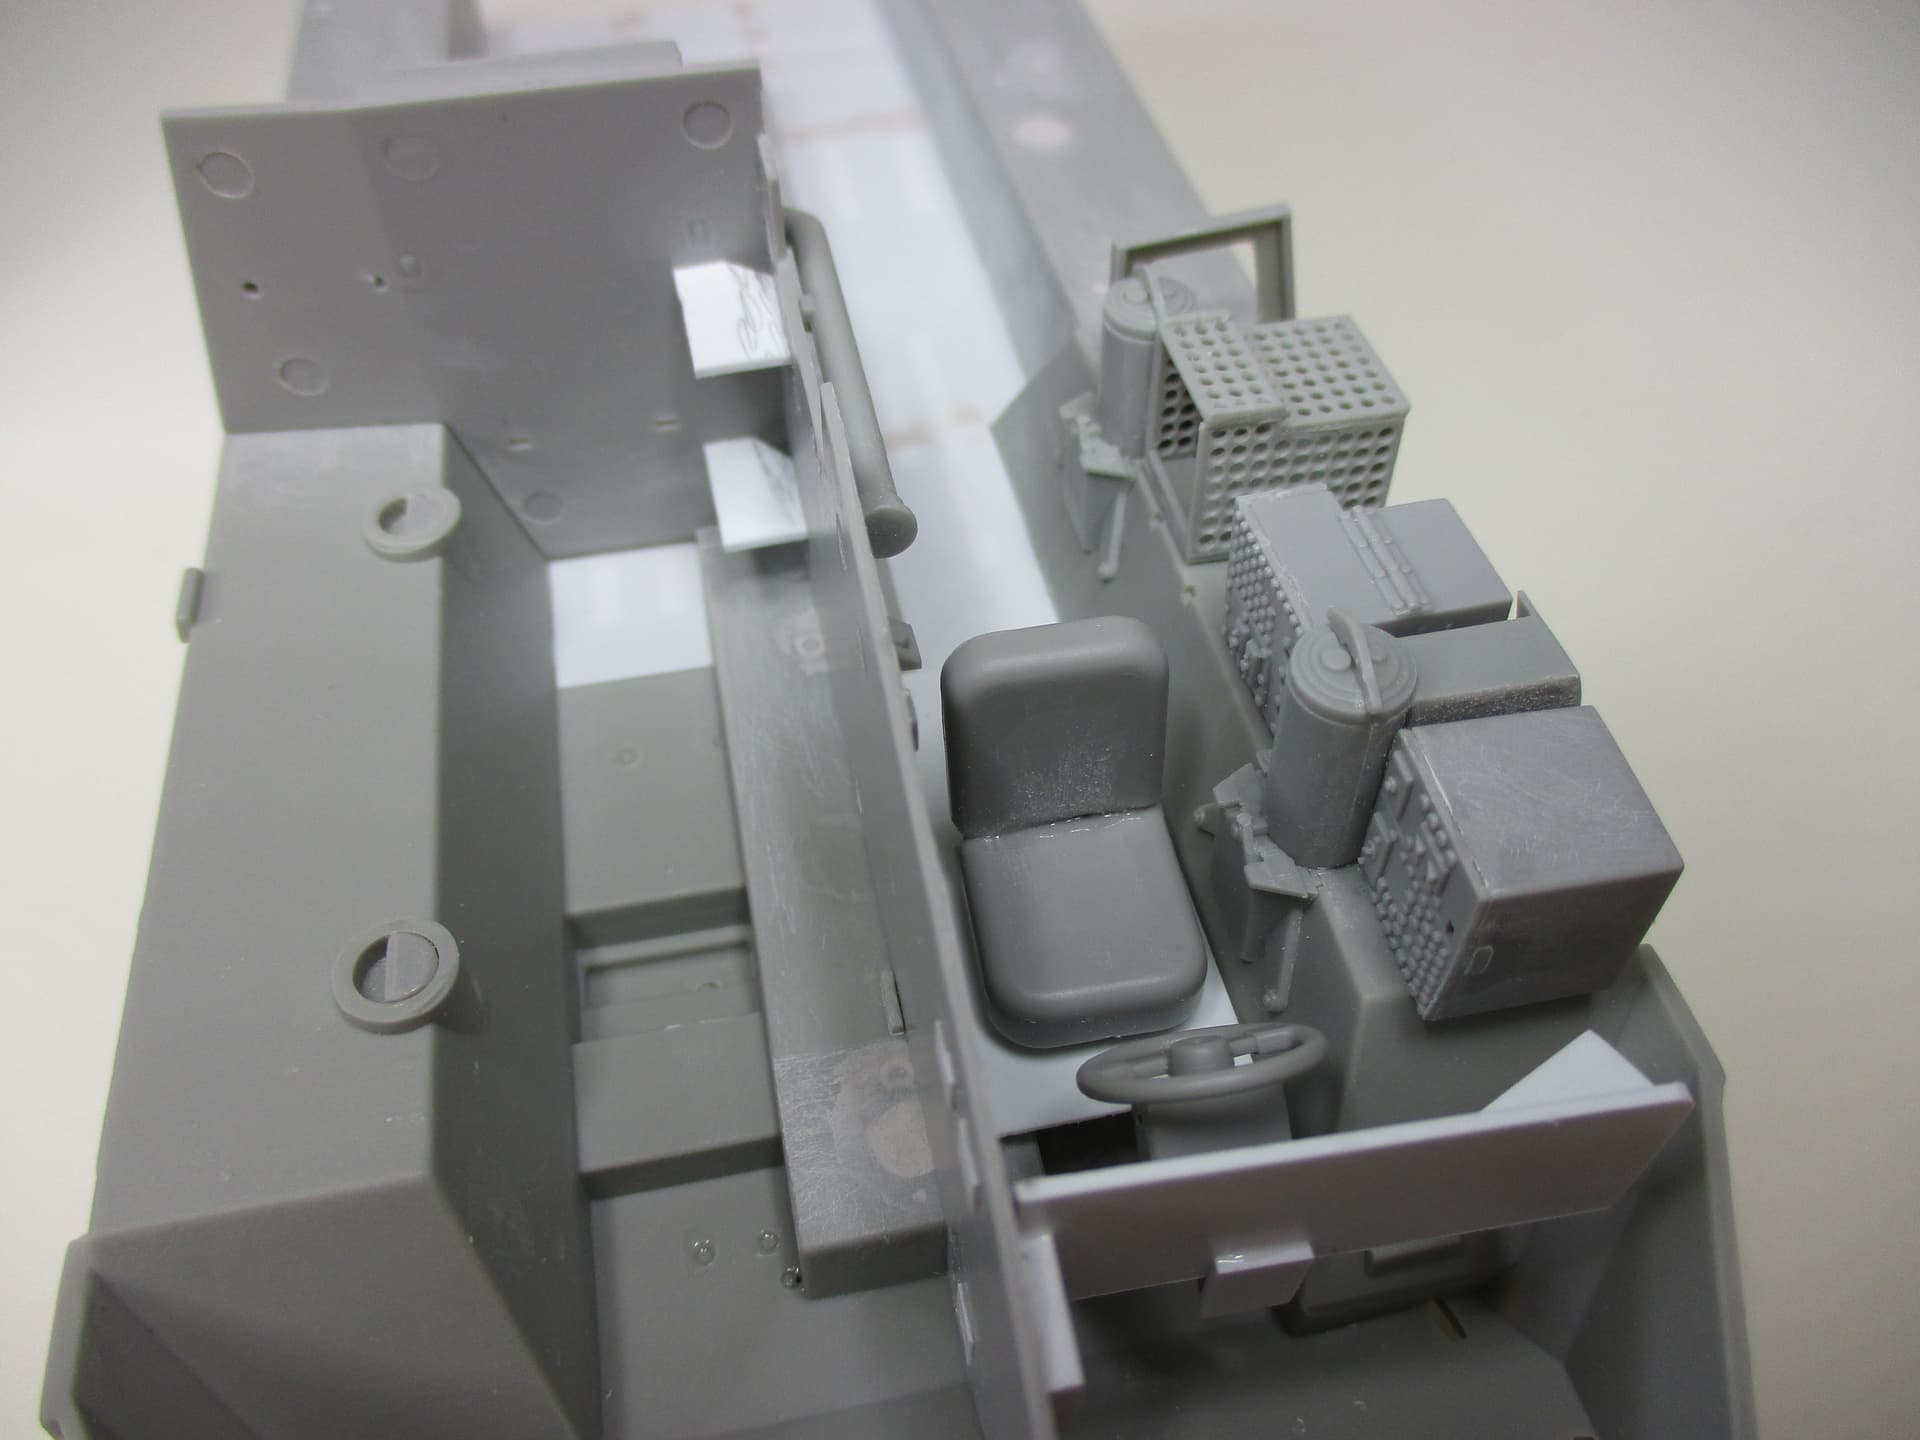
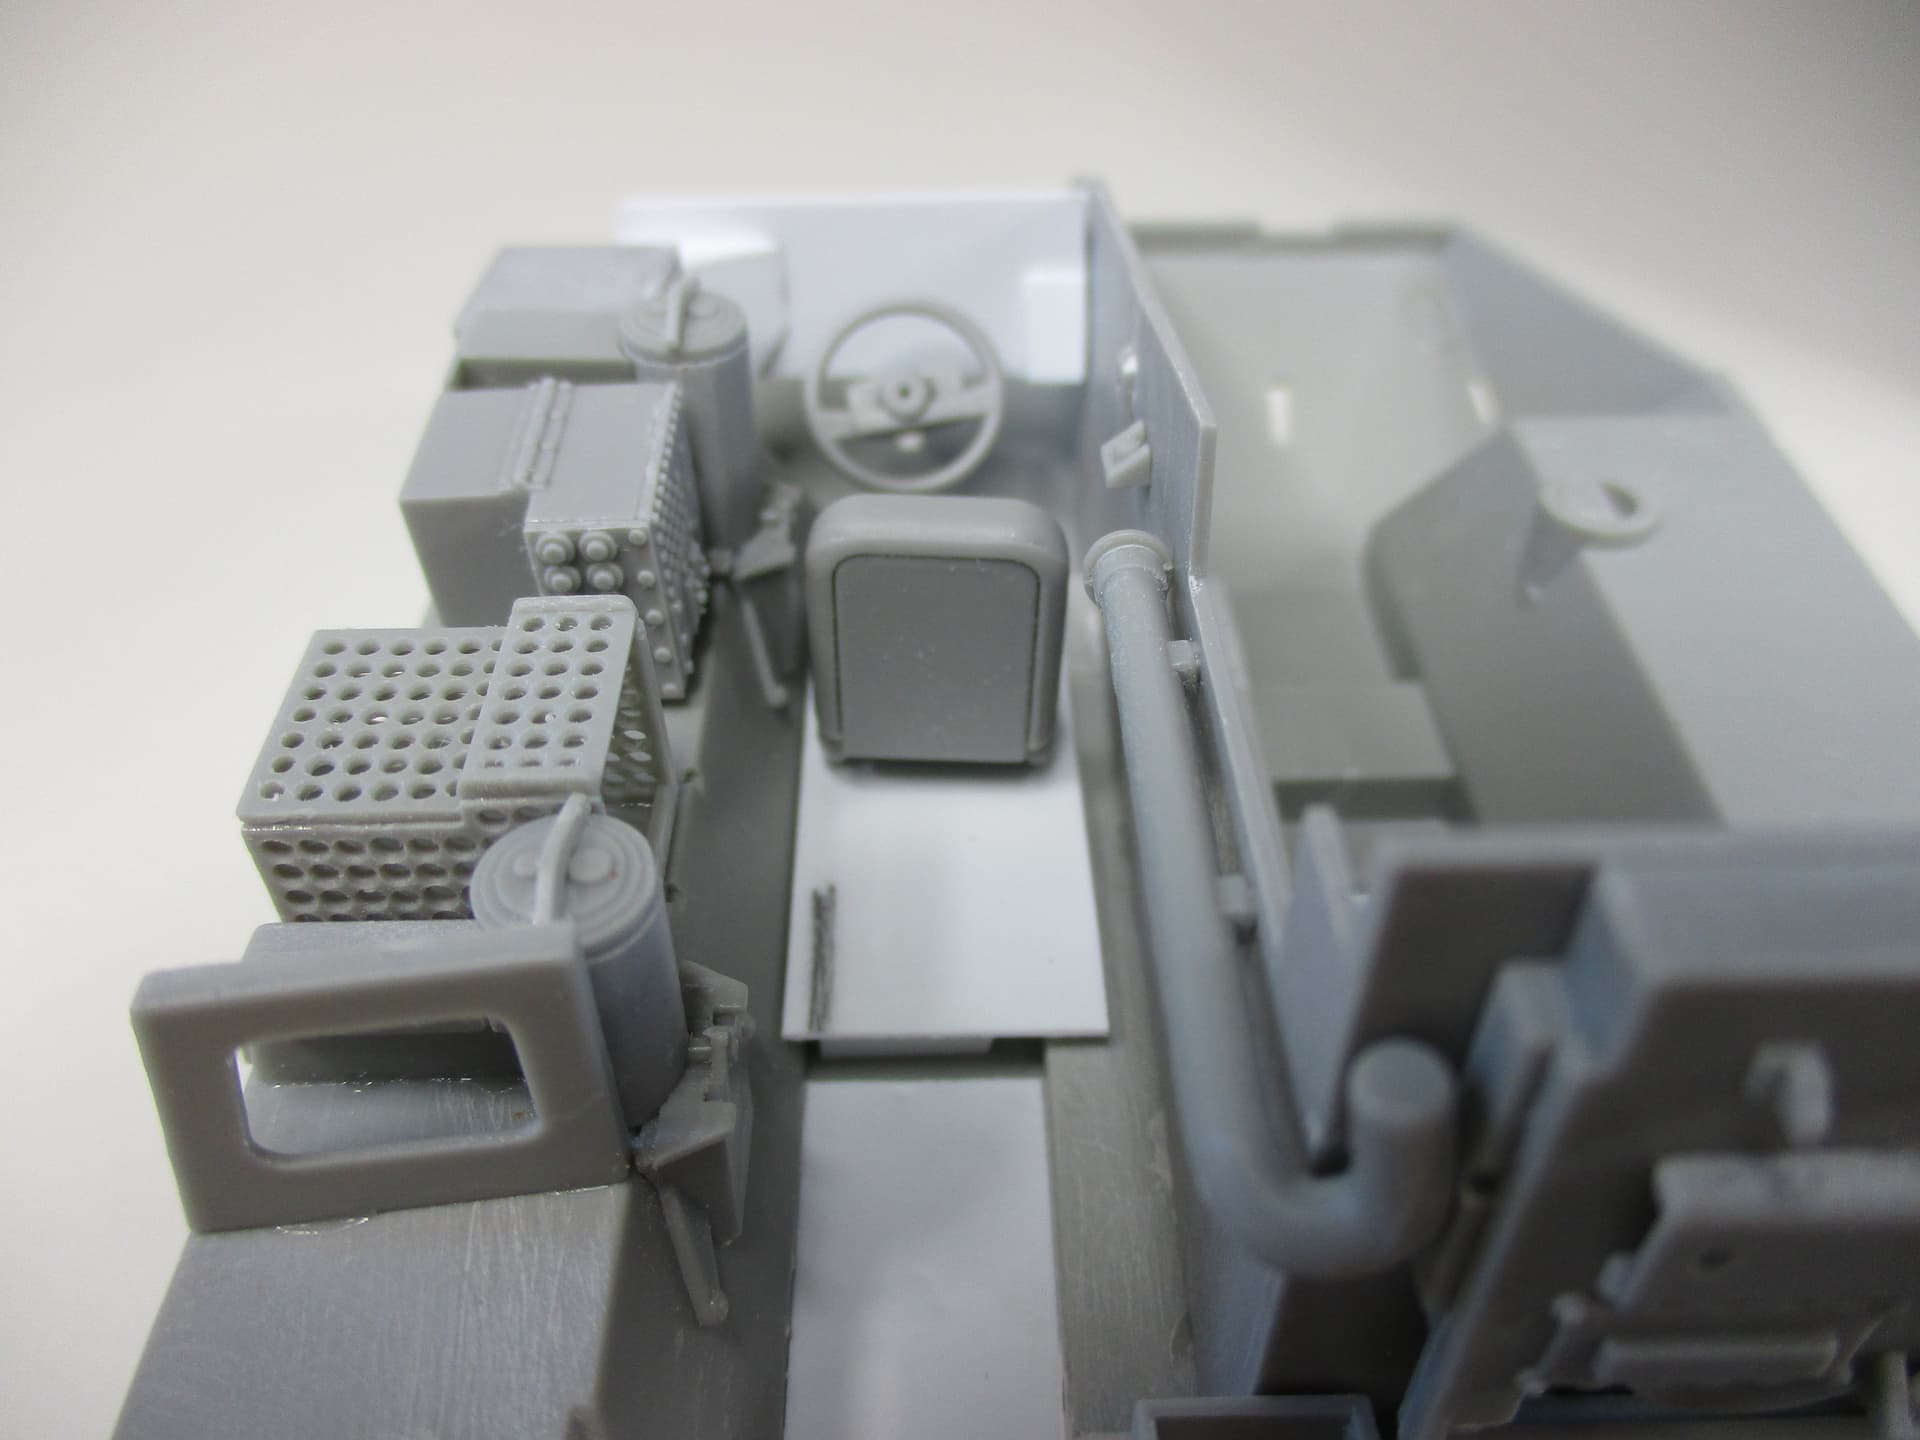
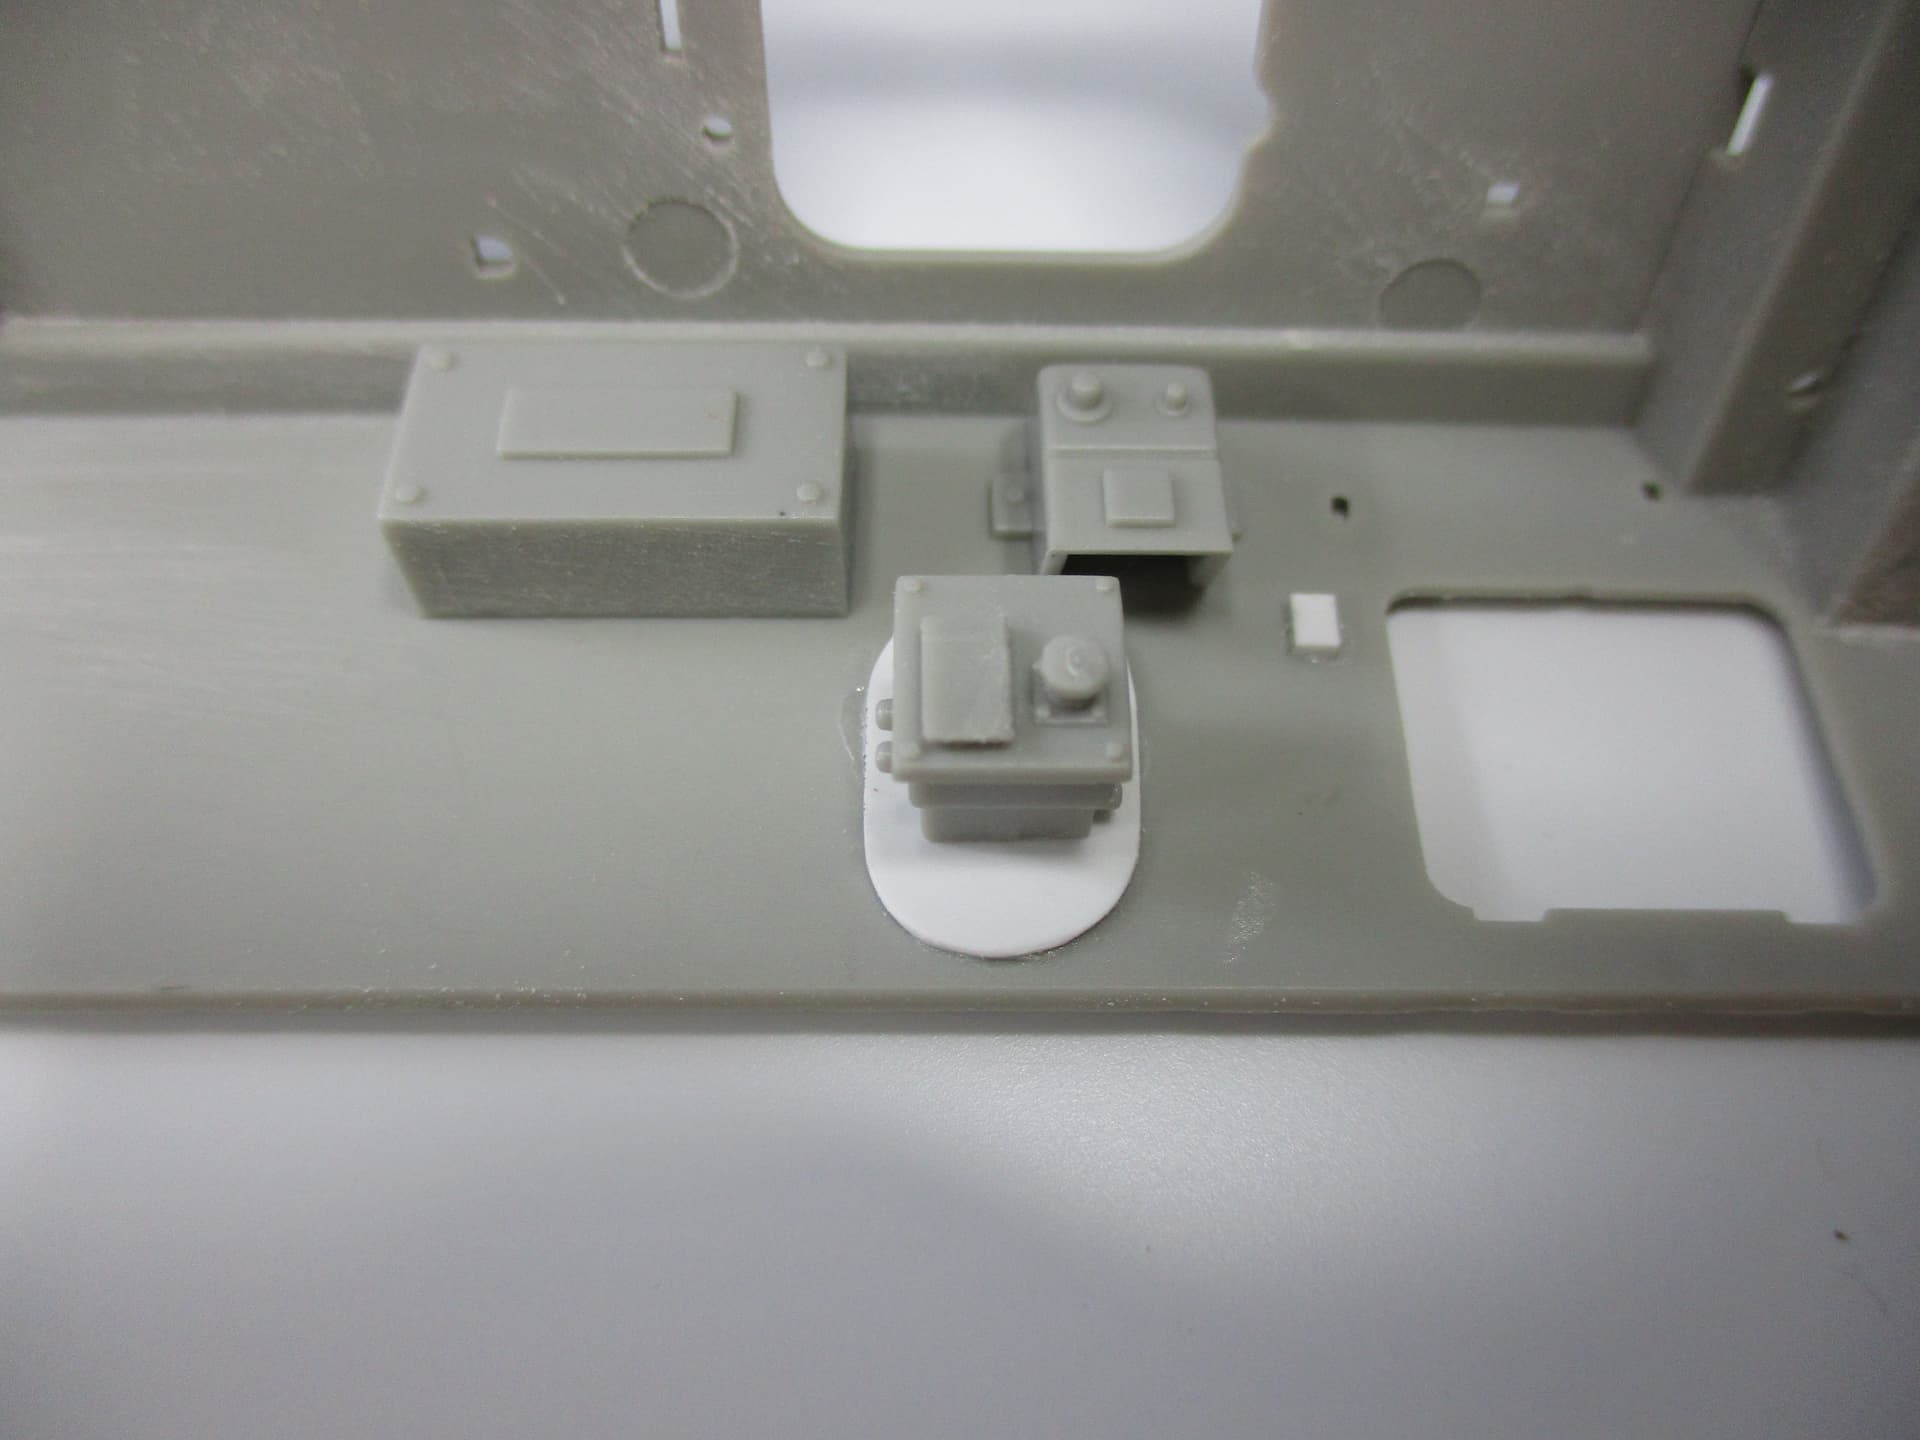
For the interior, I mainly used parts from the Trumpeter M1129 Mortar Kit. I tried to improve some of these parts, like the basket, left to the driver’s seat.
At the photo you can see that the holes in the Trumpeter’s Kit parts are too small. I opened them with a 1mm drill and glued everything in shape.
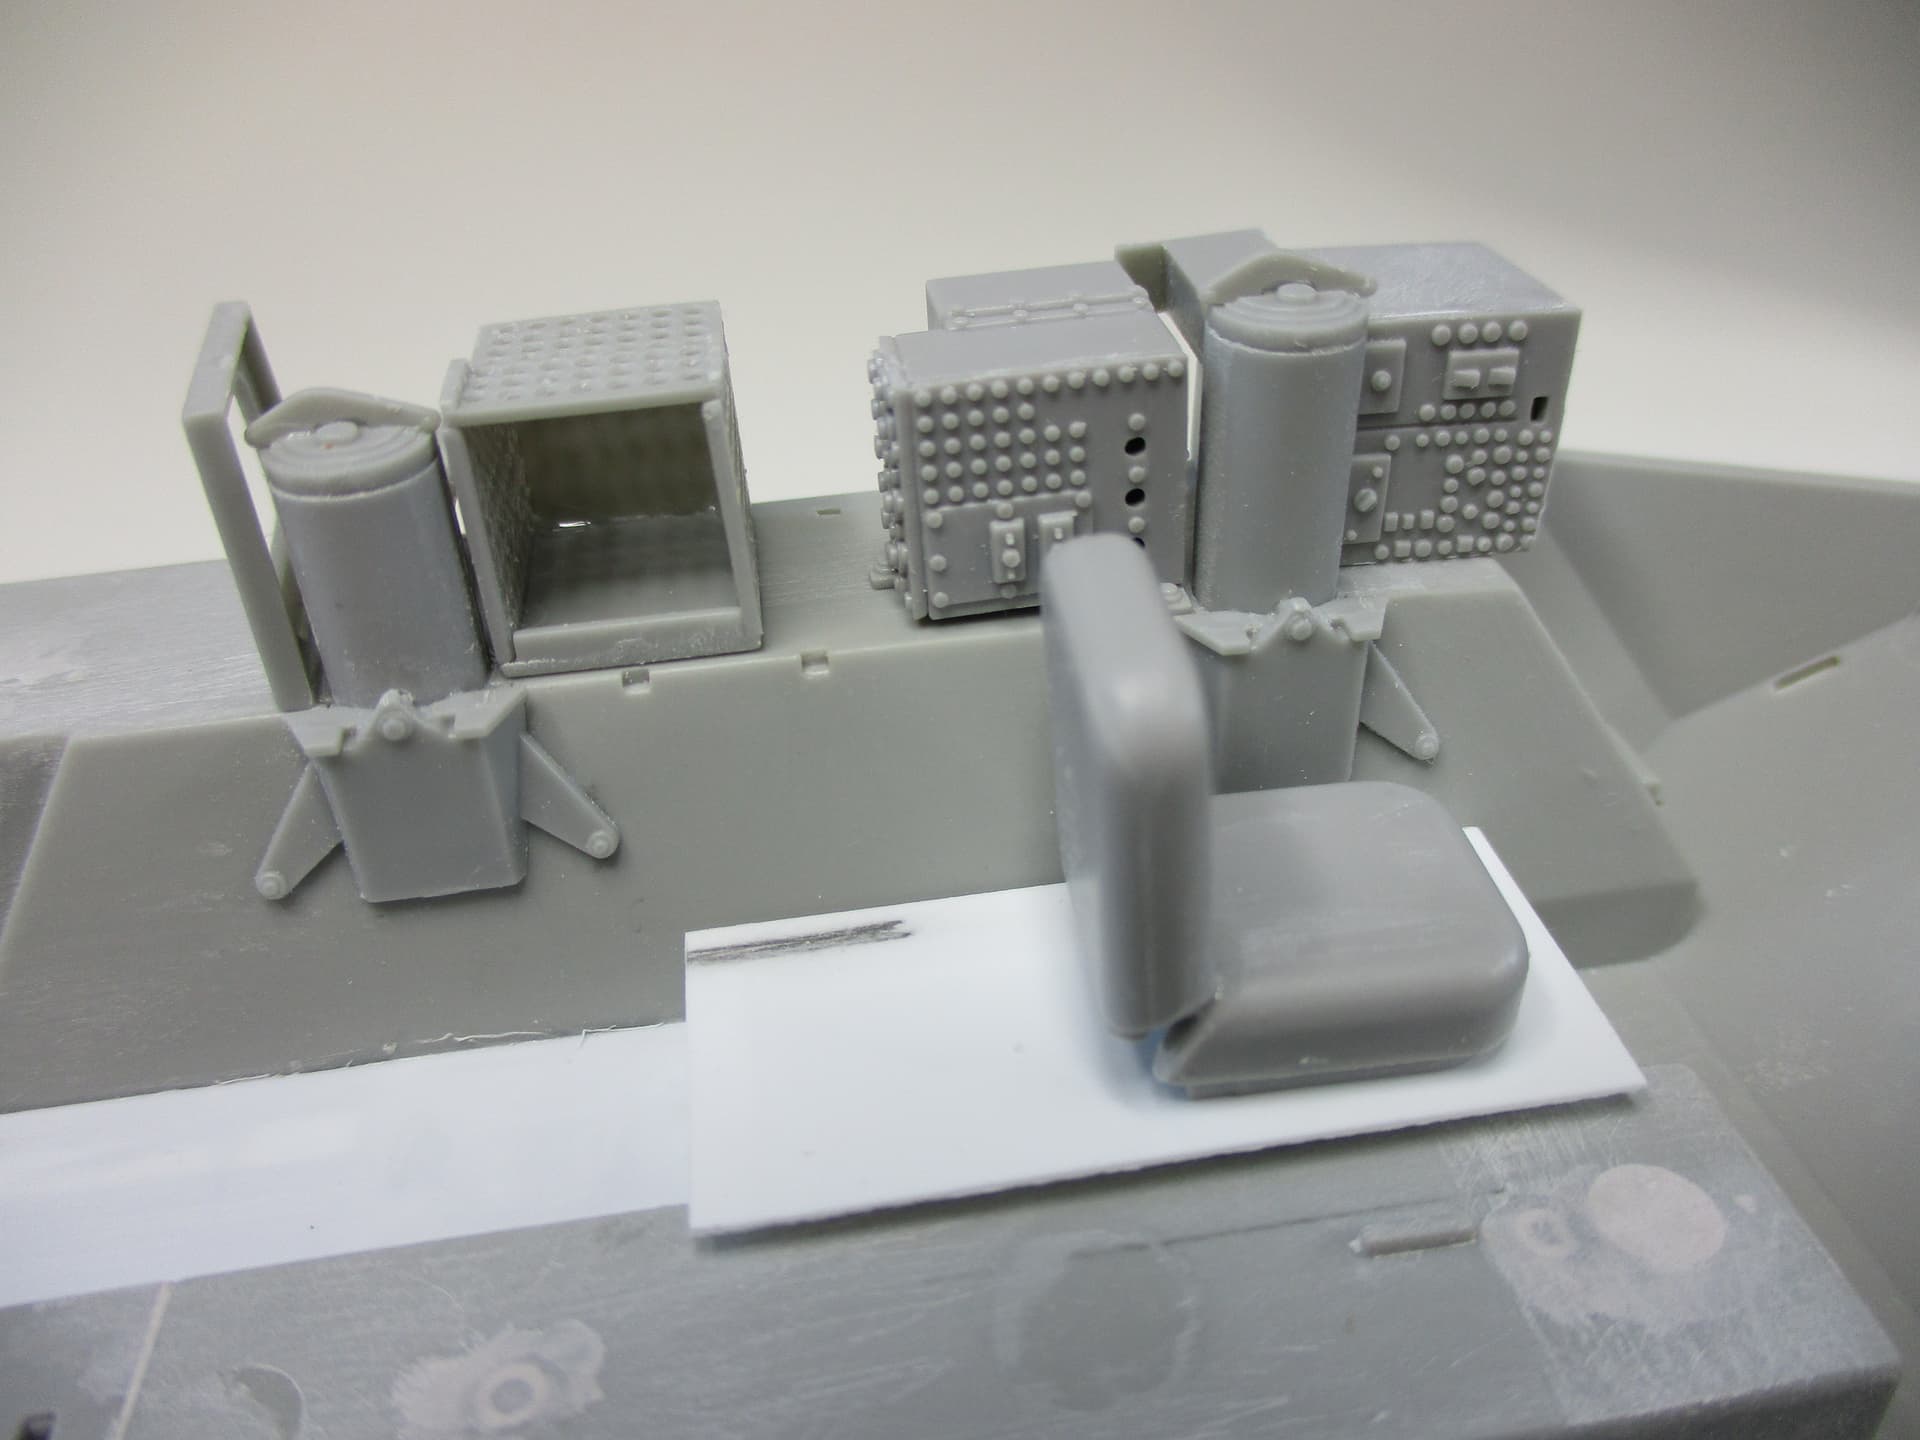
On opposite of the basket all the raised structures were sanded down, using the smooth surface, as I plan to add new engine access panels to this wall, after painting.
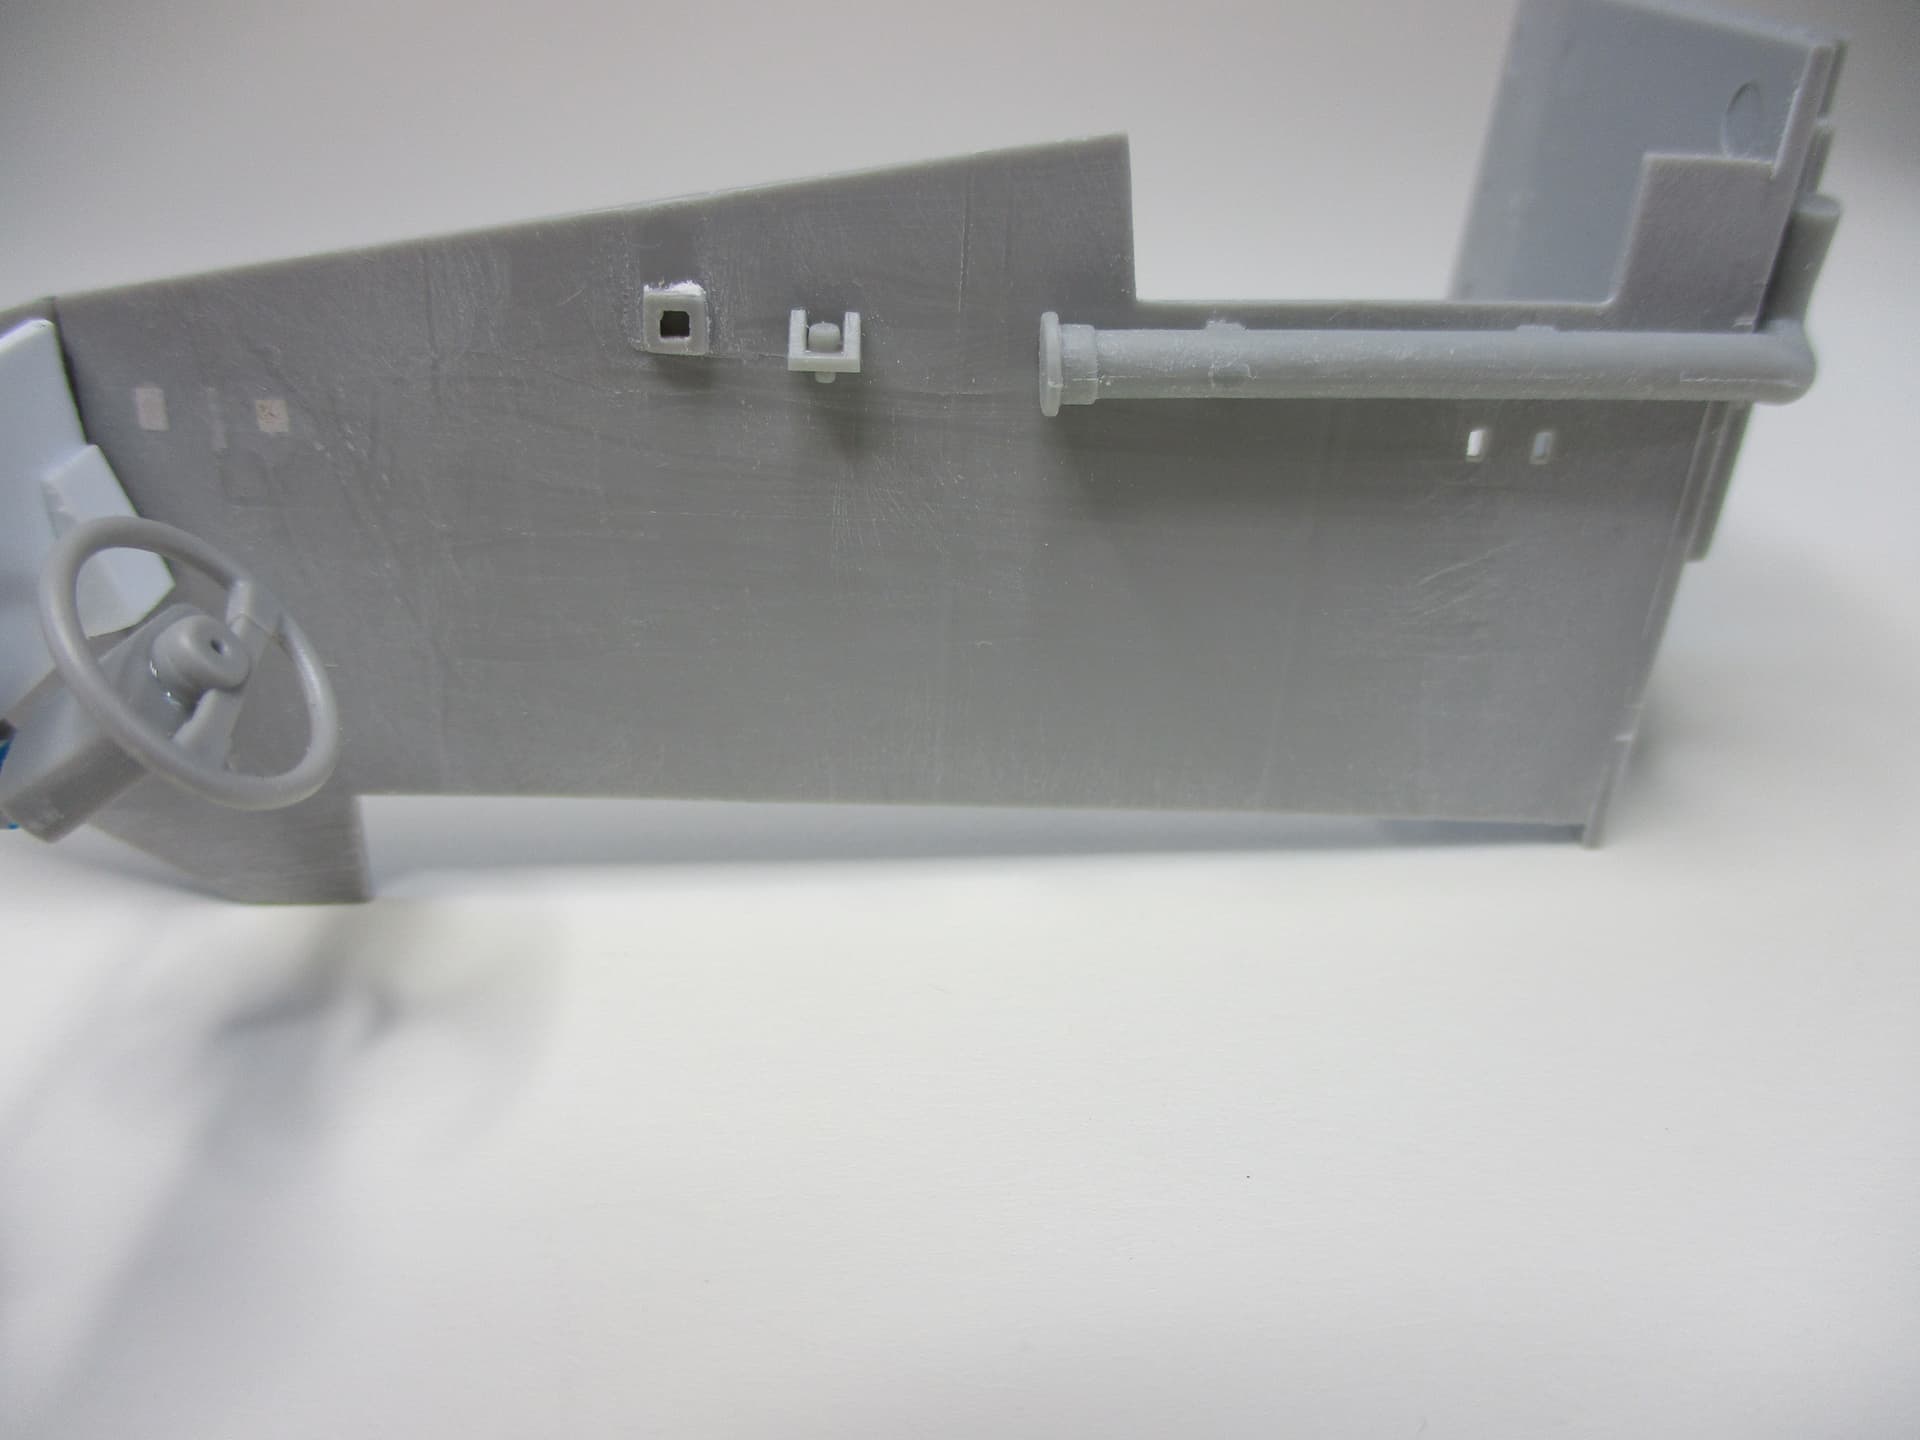
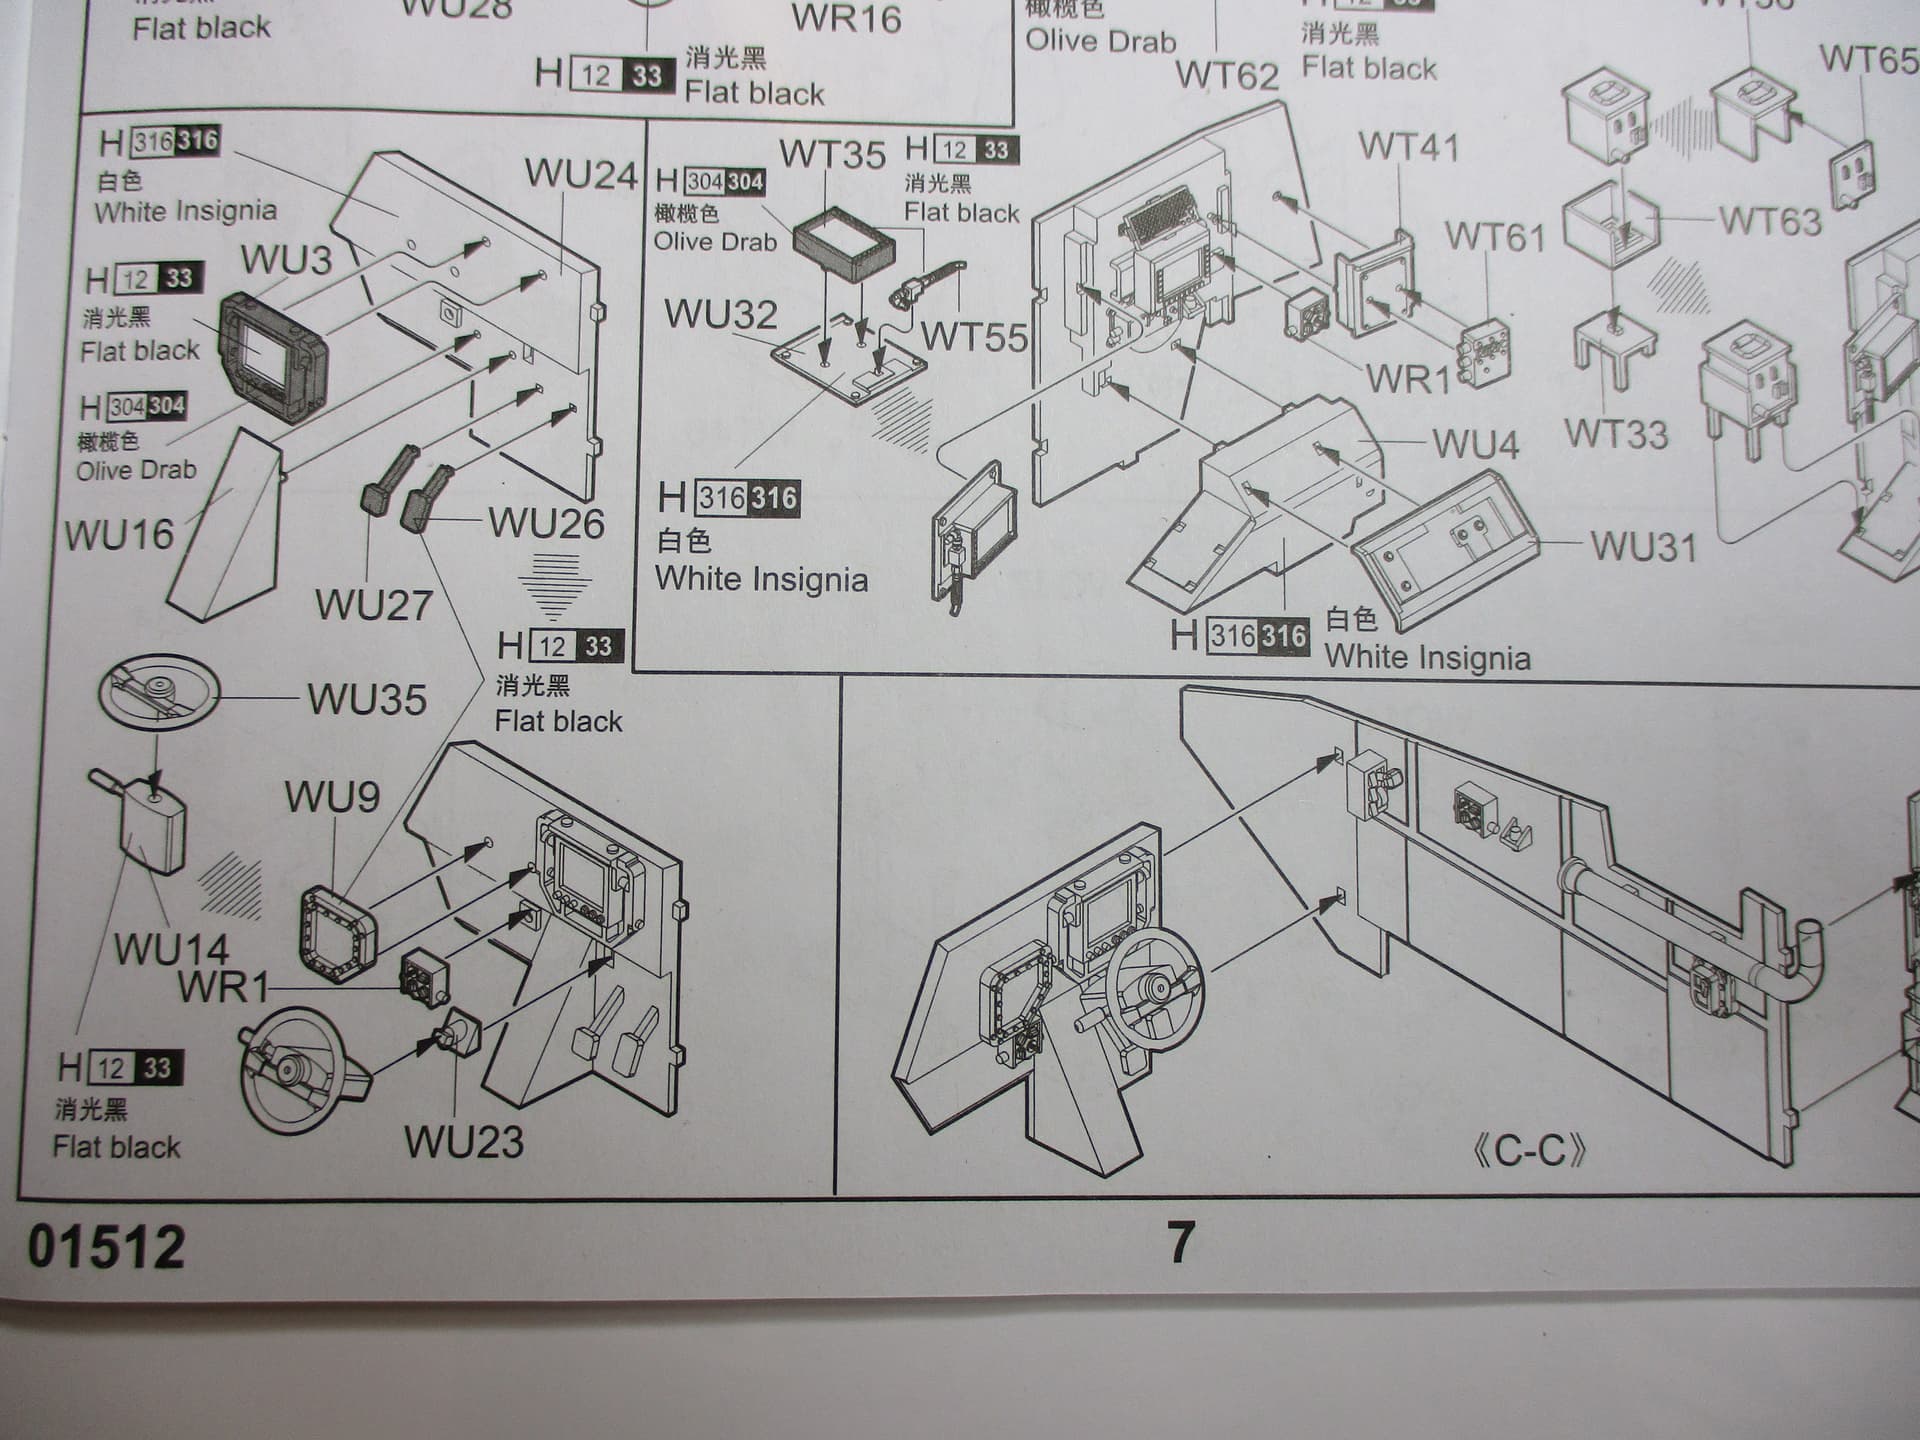
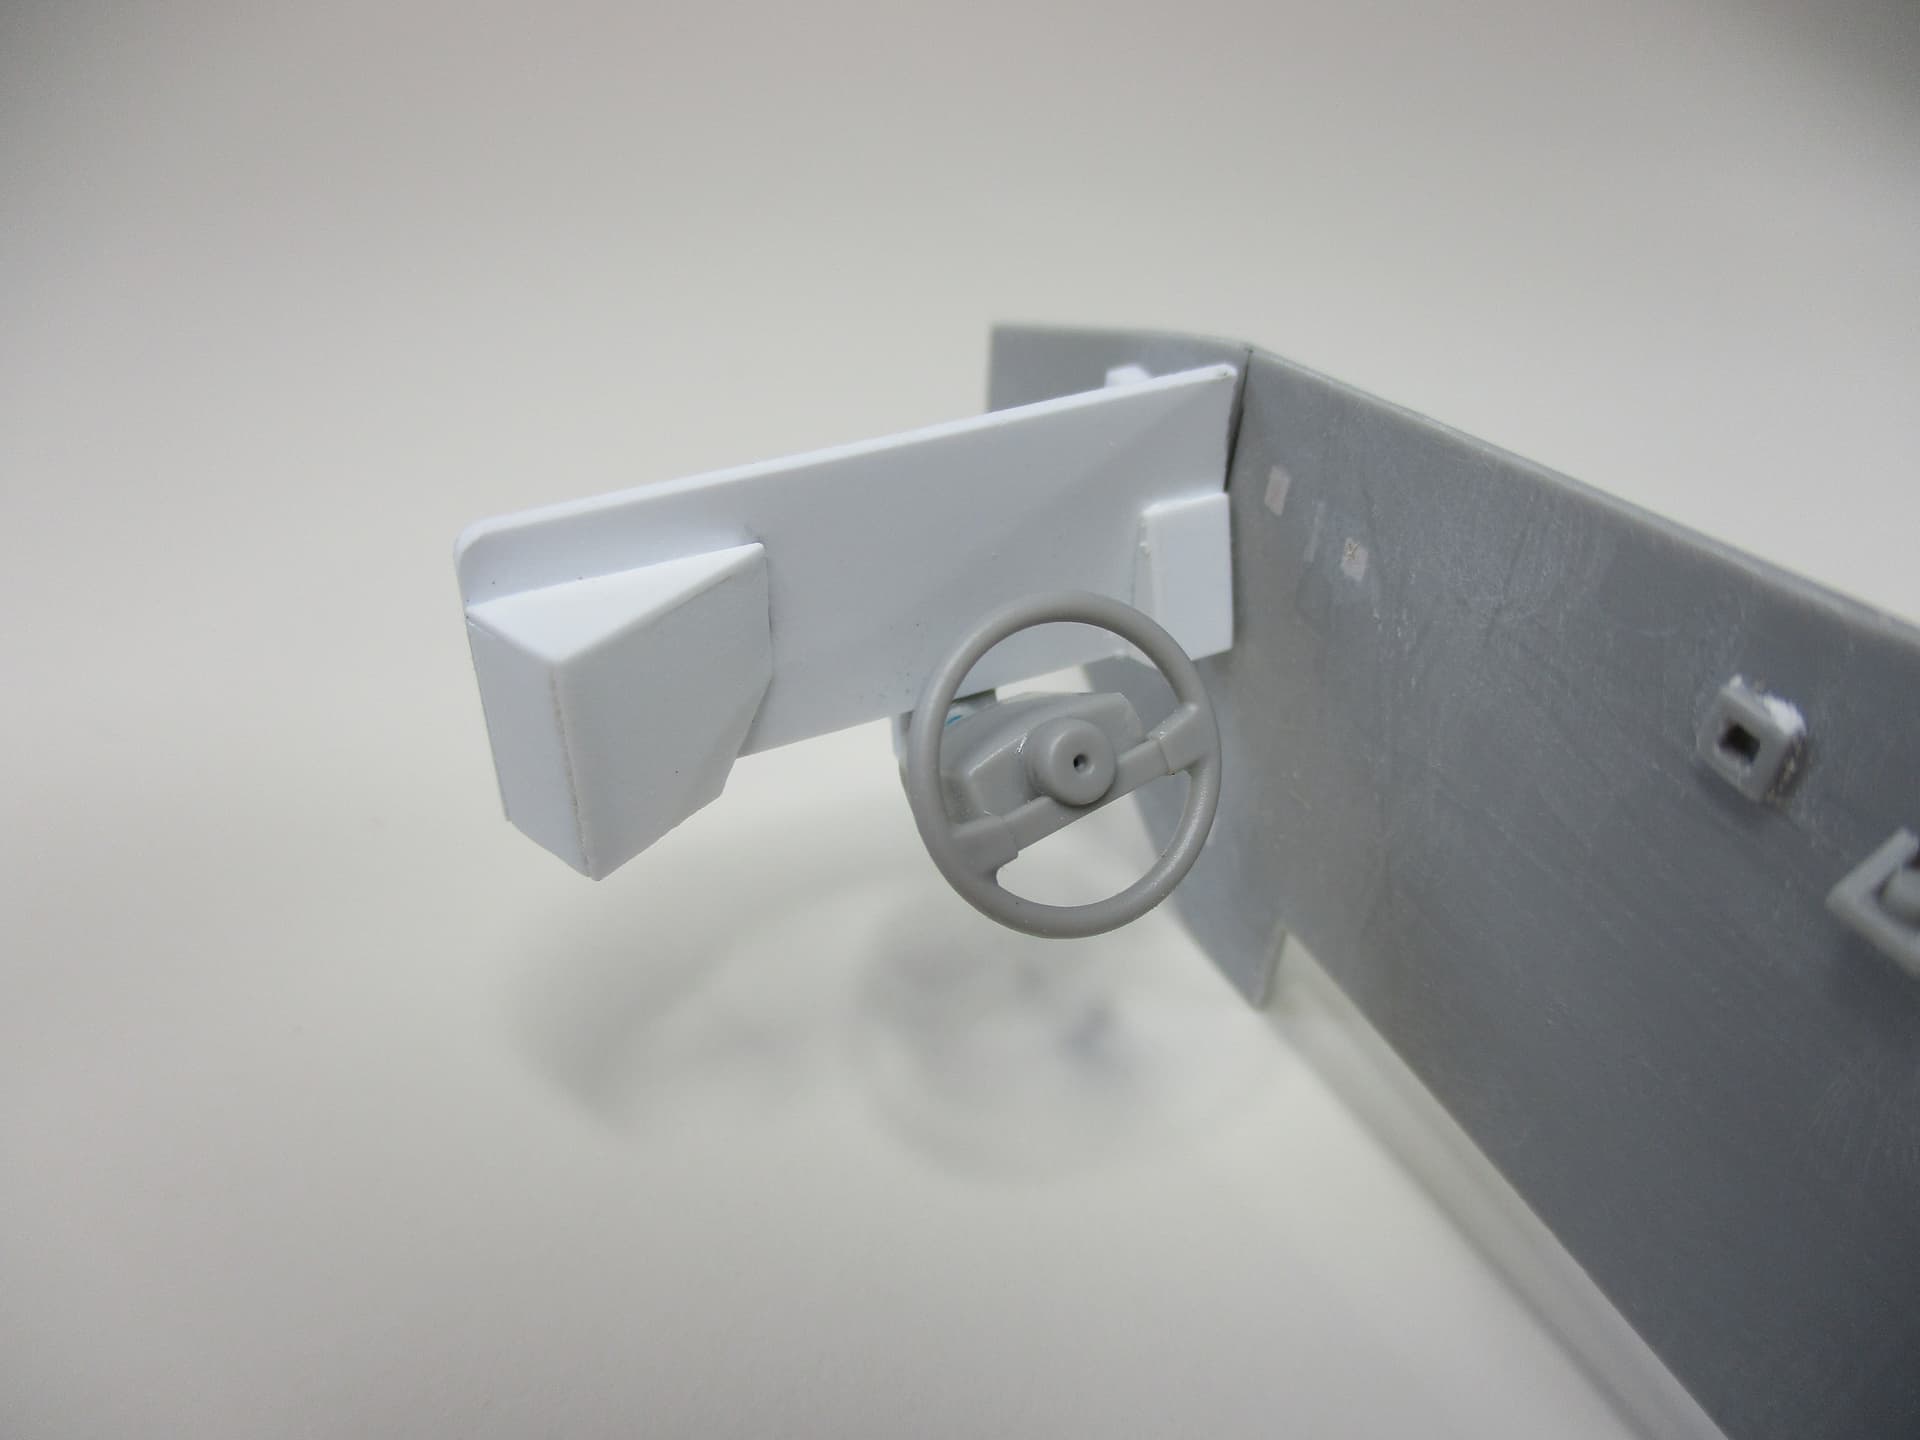
A total rebuild is the cockpit. Trumpeter really simplified this part of the kit. Especially the arrangement of the instrumental panel, left of the Driver’s Vision Enhancer monitor, is not correct. The panel should show an angle.
Additionally, I planned to shift the cockpit some millimeter to the front, in order to generate space for the driver’s seat.
So, this is what it looks like, for now.
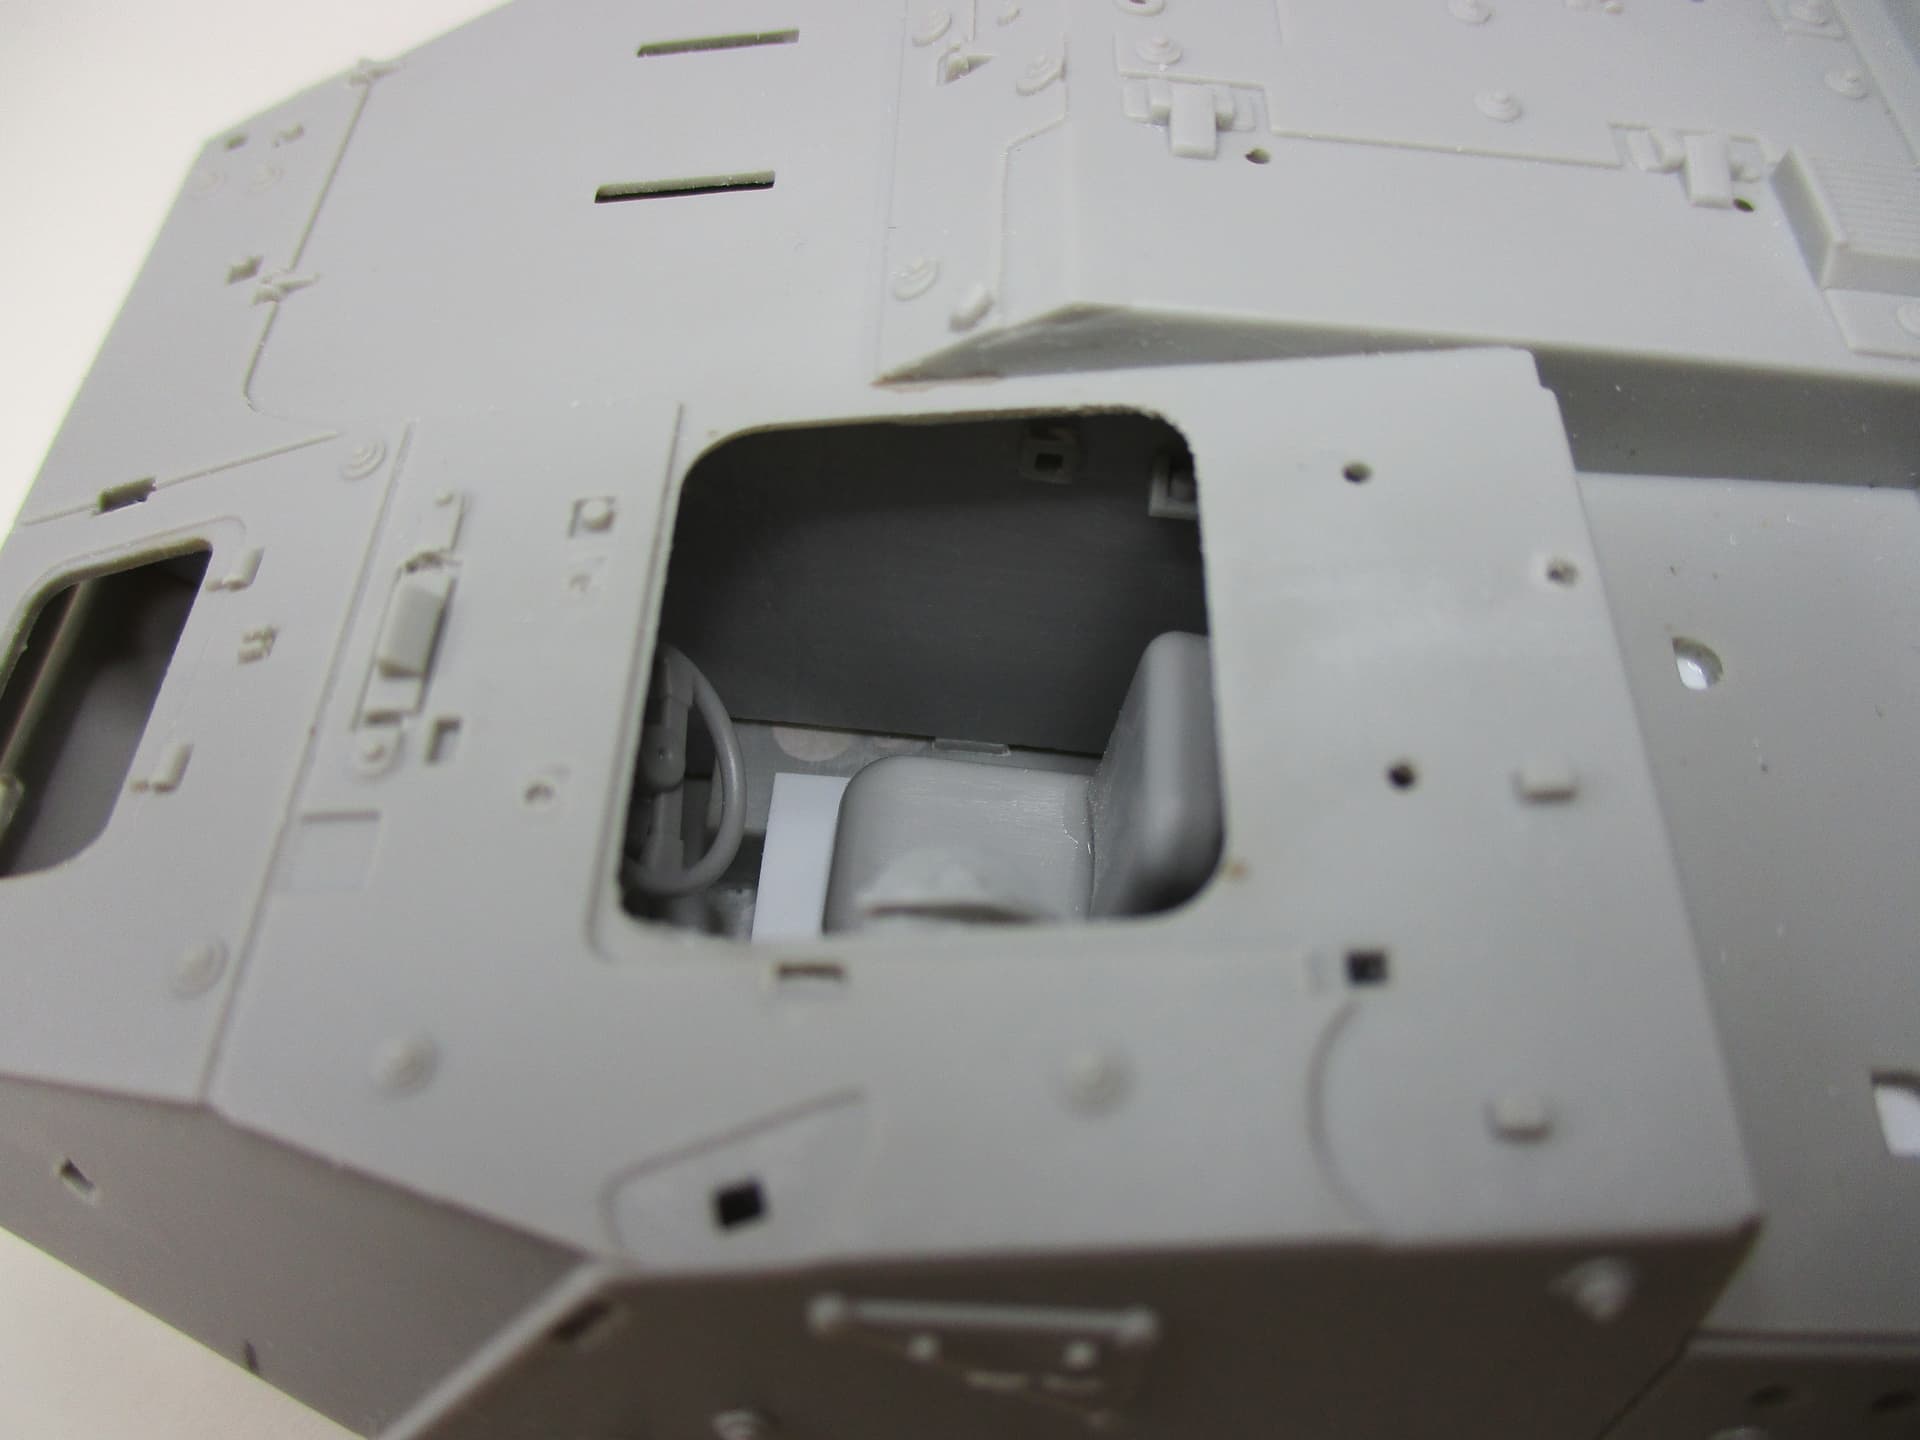
As always, a little bit disappointing is the view after the upper part of the kit is added. Not much is visible of the interior any more. But it’s a good feeling, to know that there is something there.
Peter
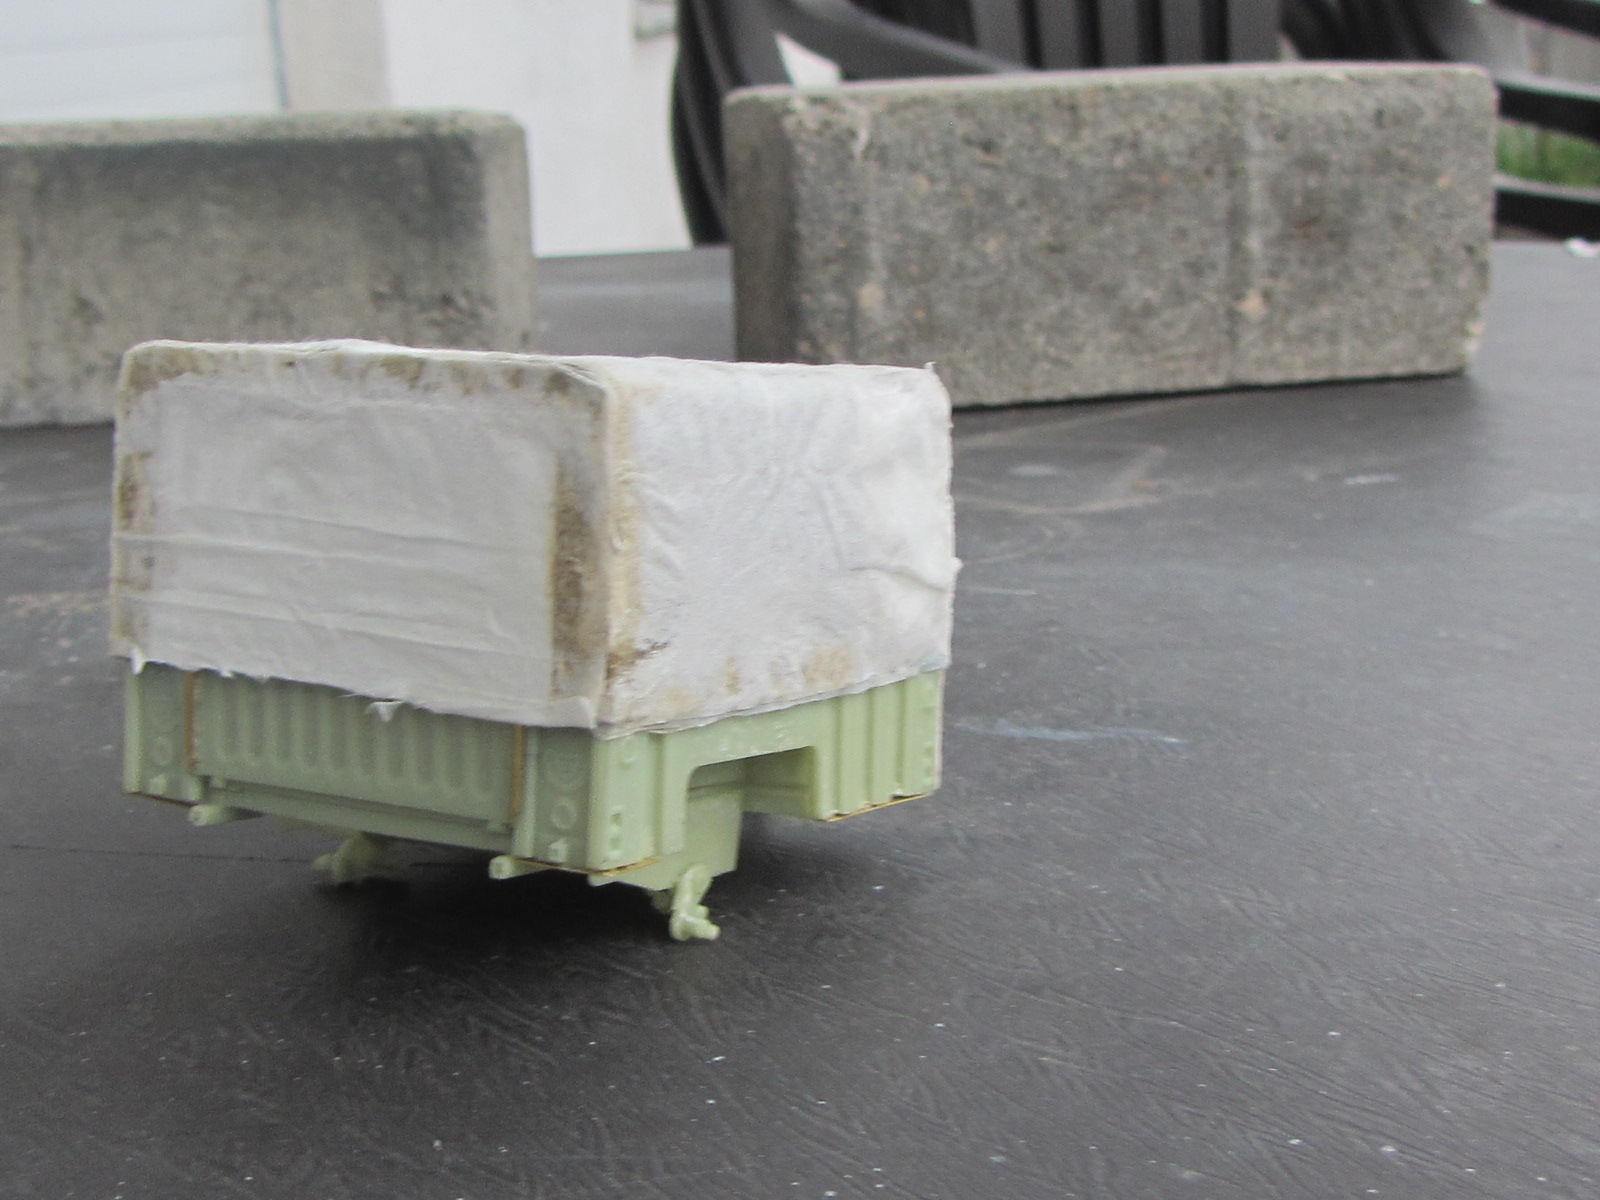
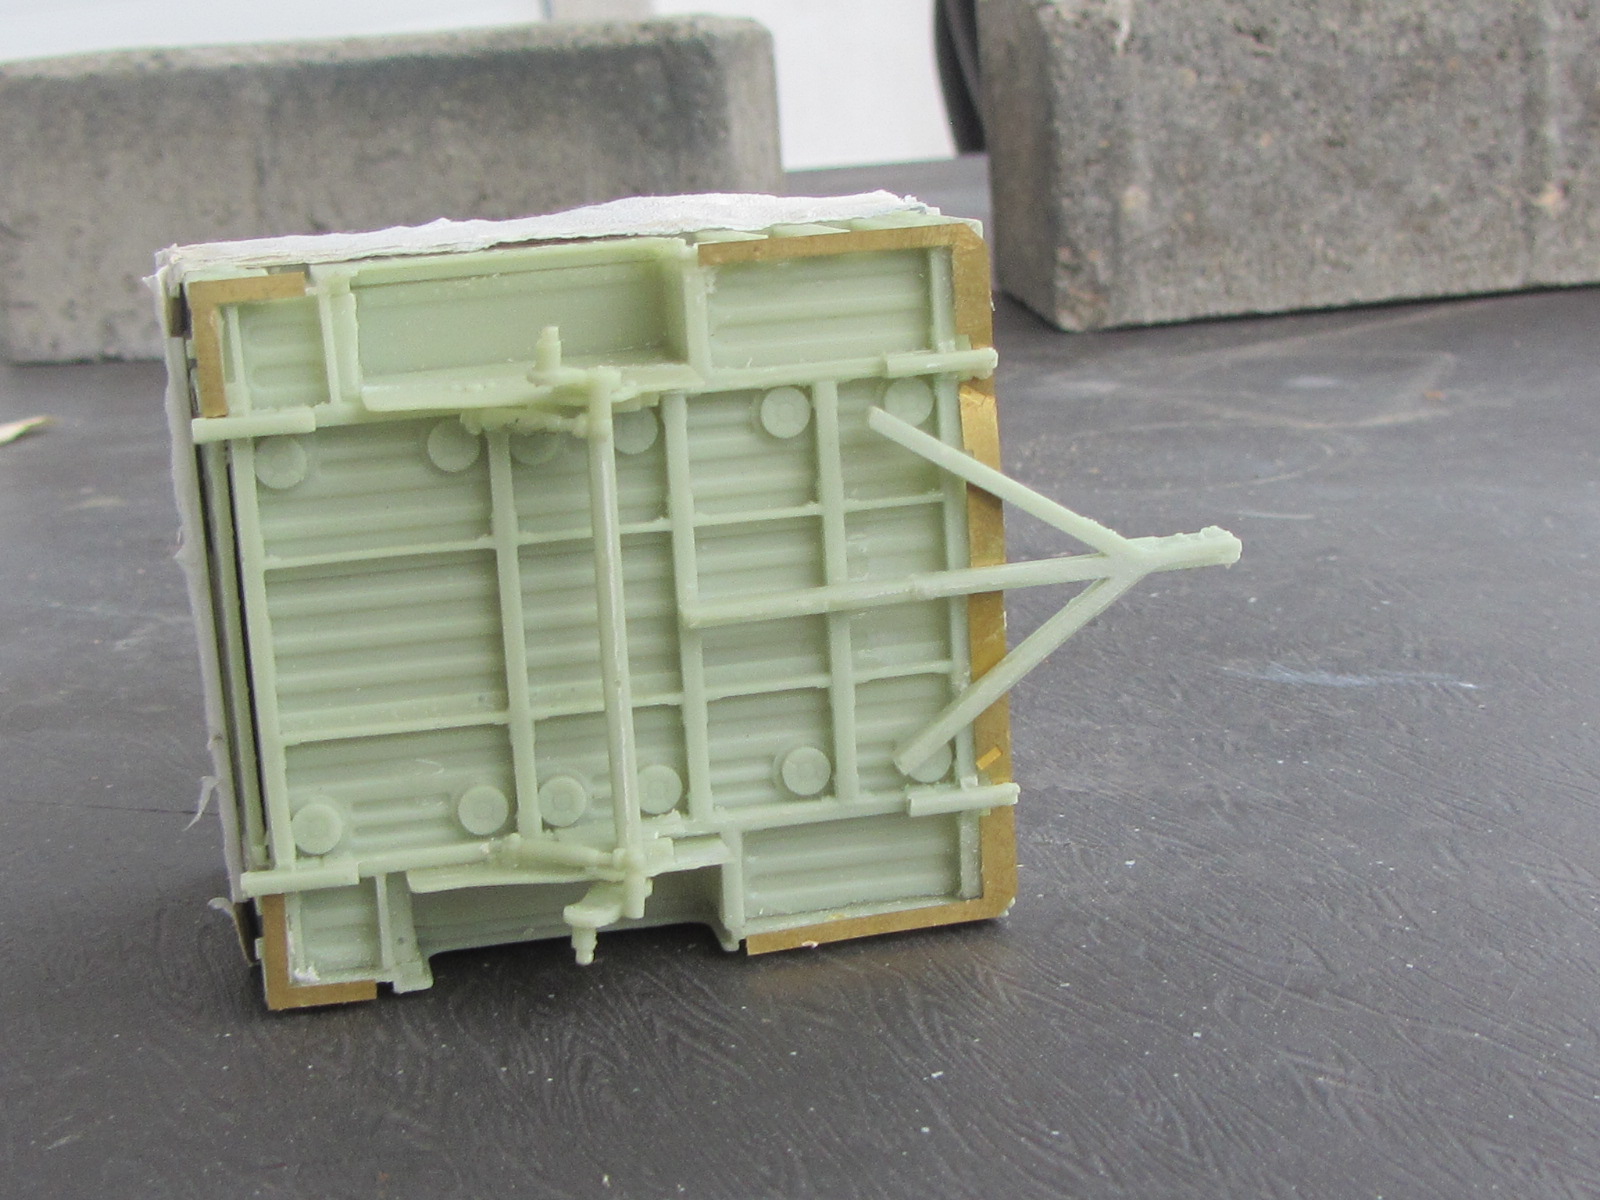
I worked my way down to the rear of the vehicle.
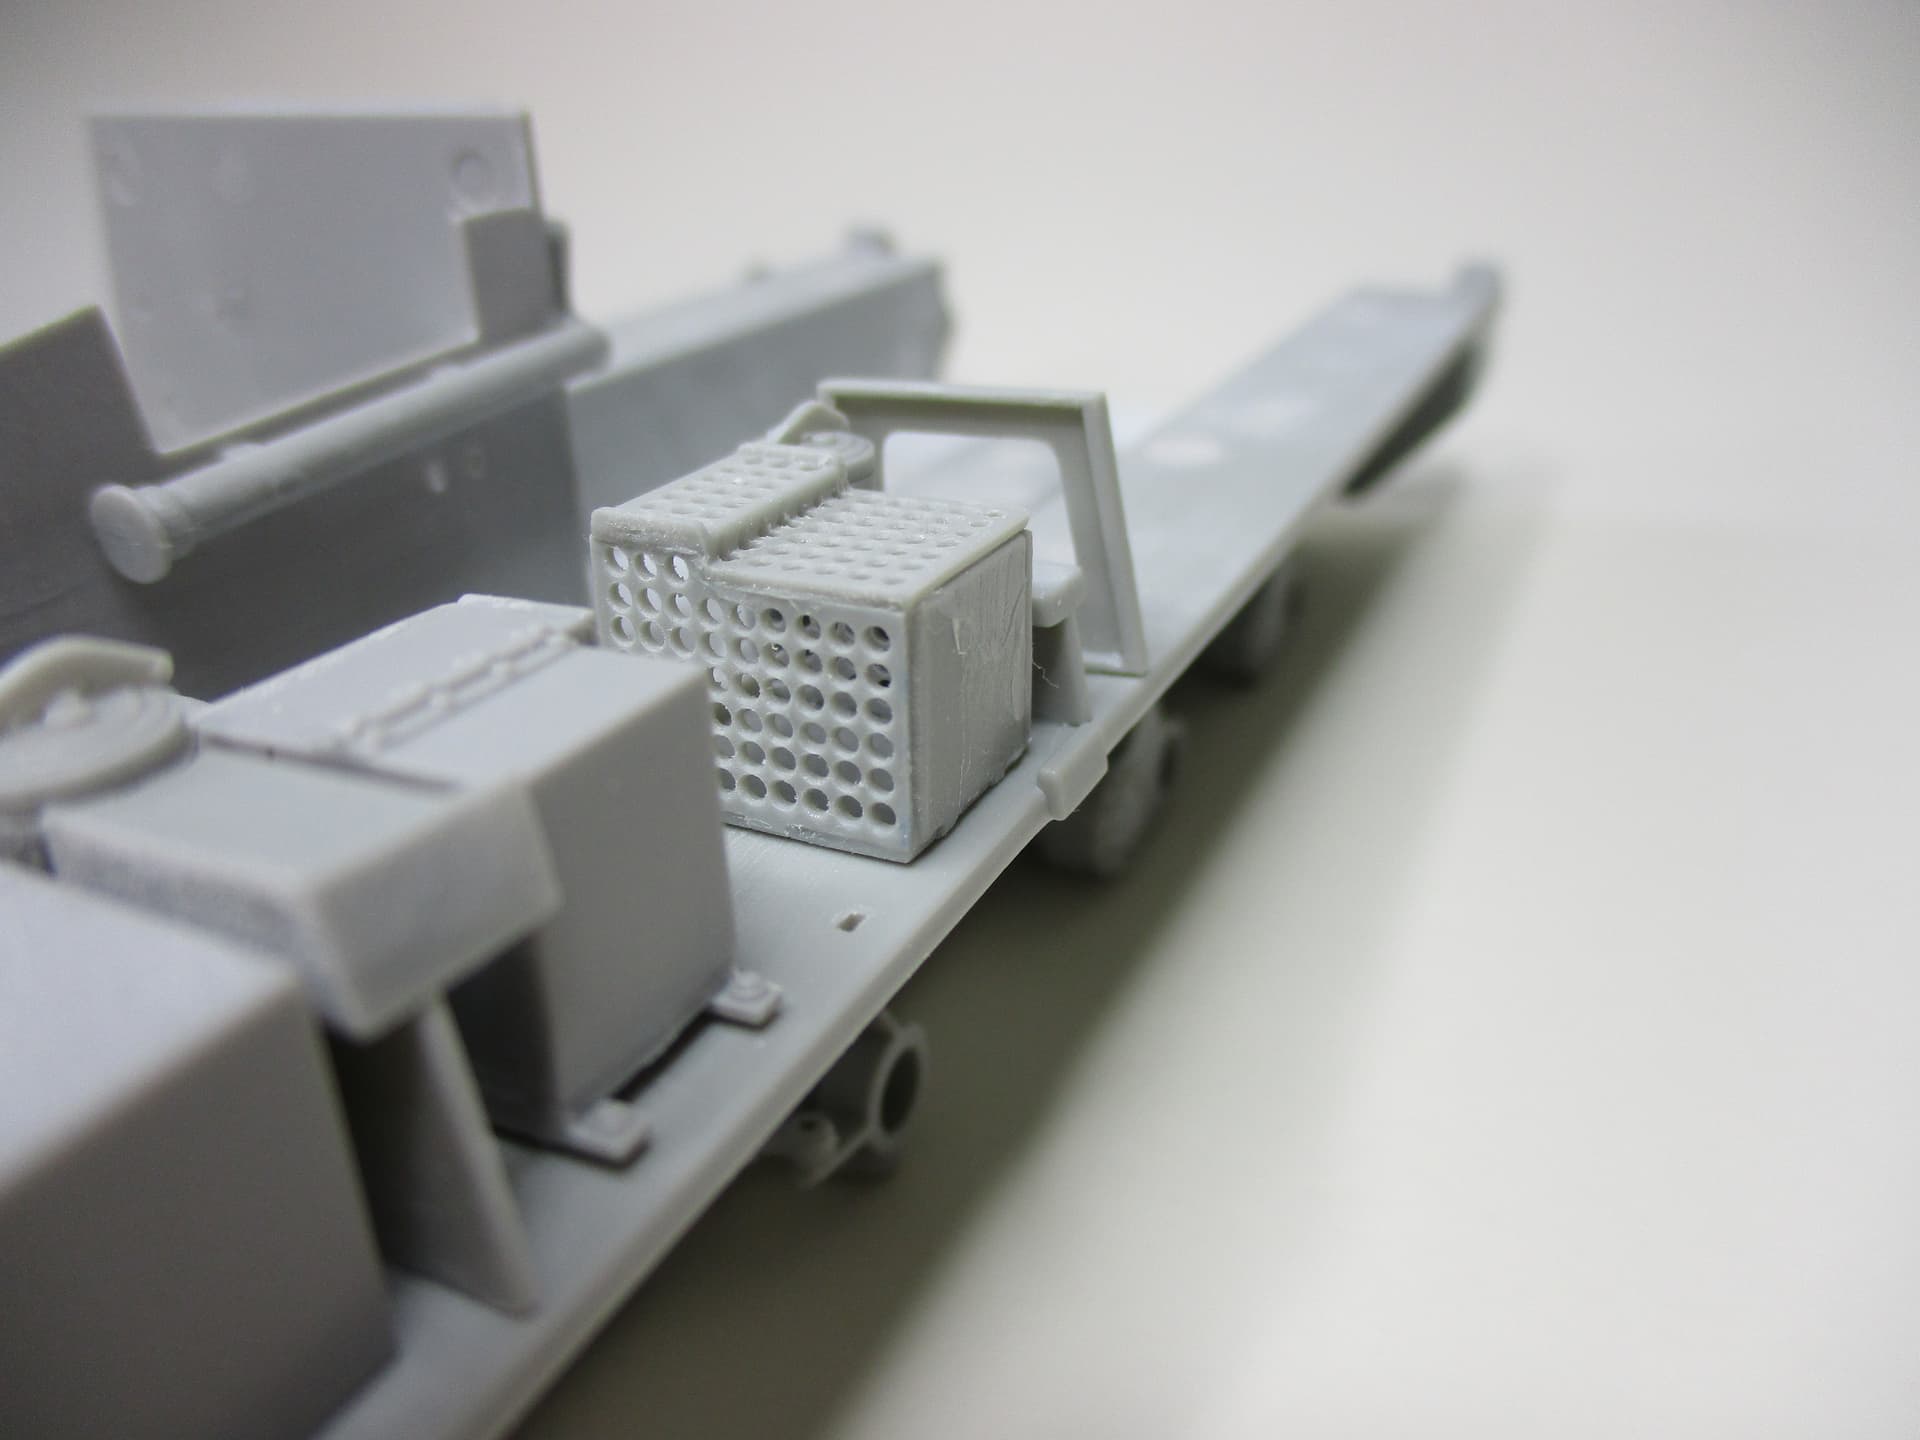
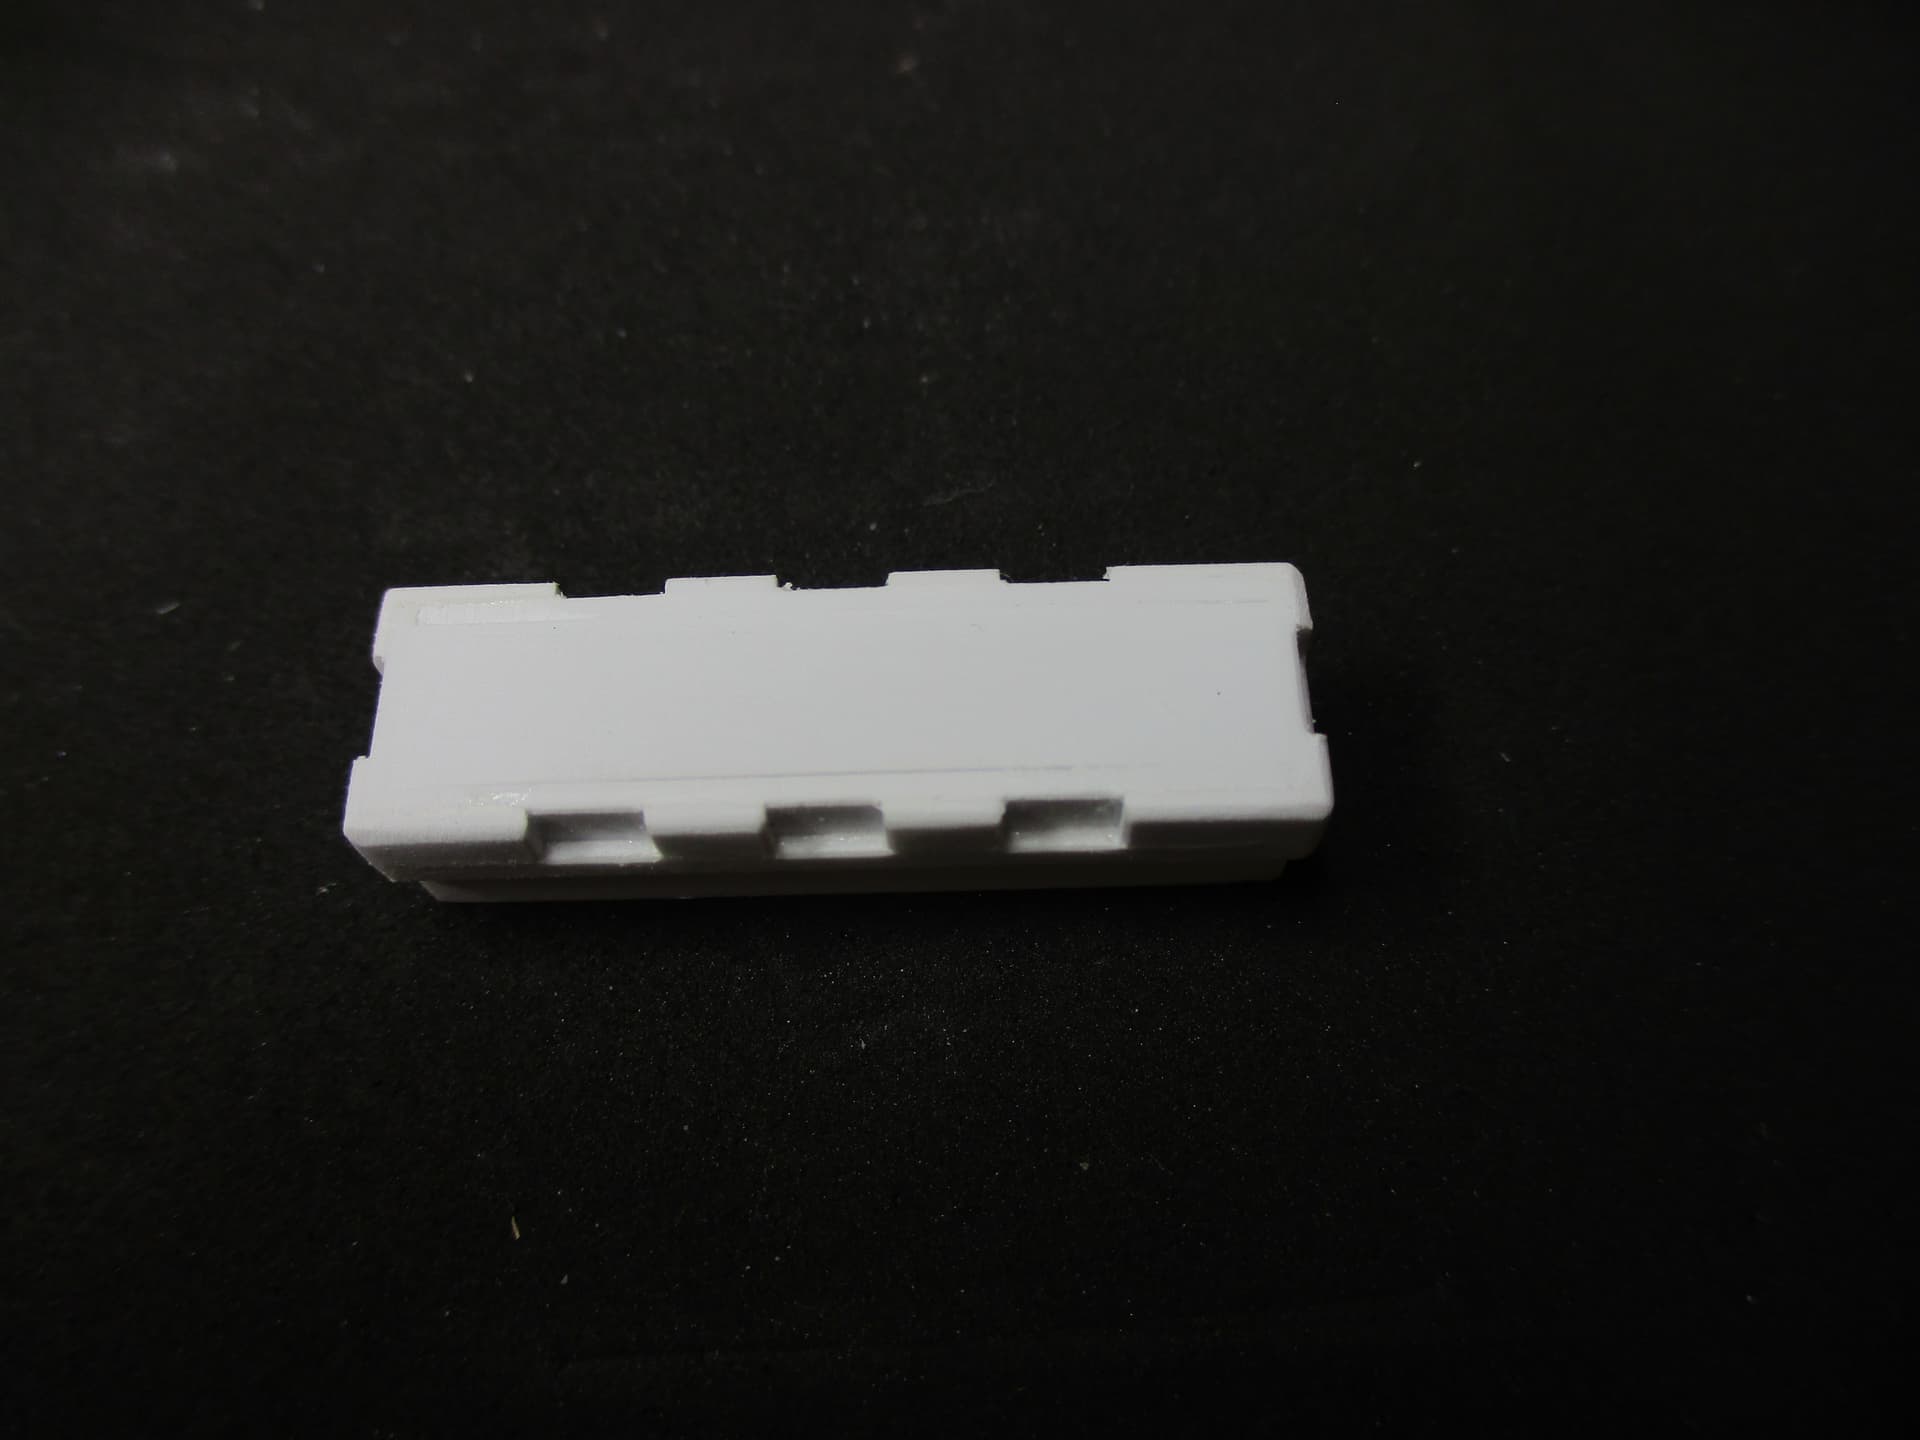
Behind the platform, that carries the driver’s seat, usually a M2 machine gun case is stored. As I wanted to show this , I tried to build it scrach
First, I assembled an ordinary box. At the half of the height, all around the box, I added an evergreen profile (0.75mm x 1.5mm).
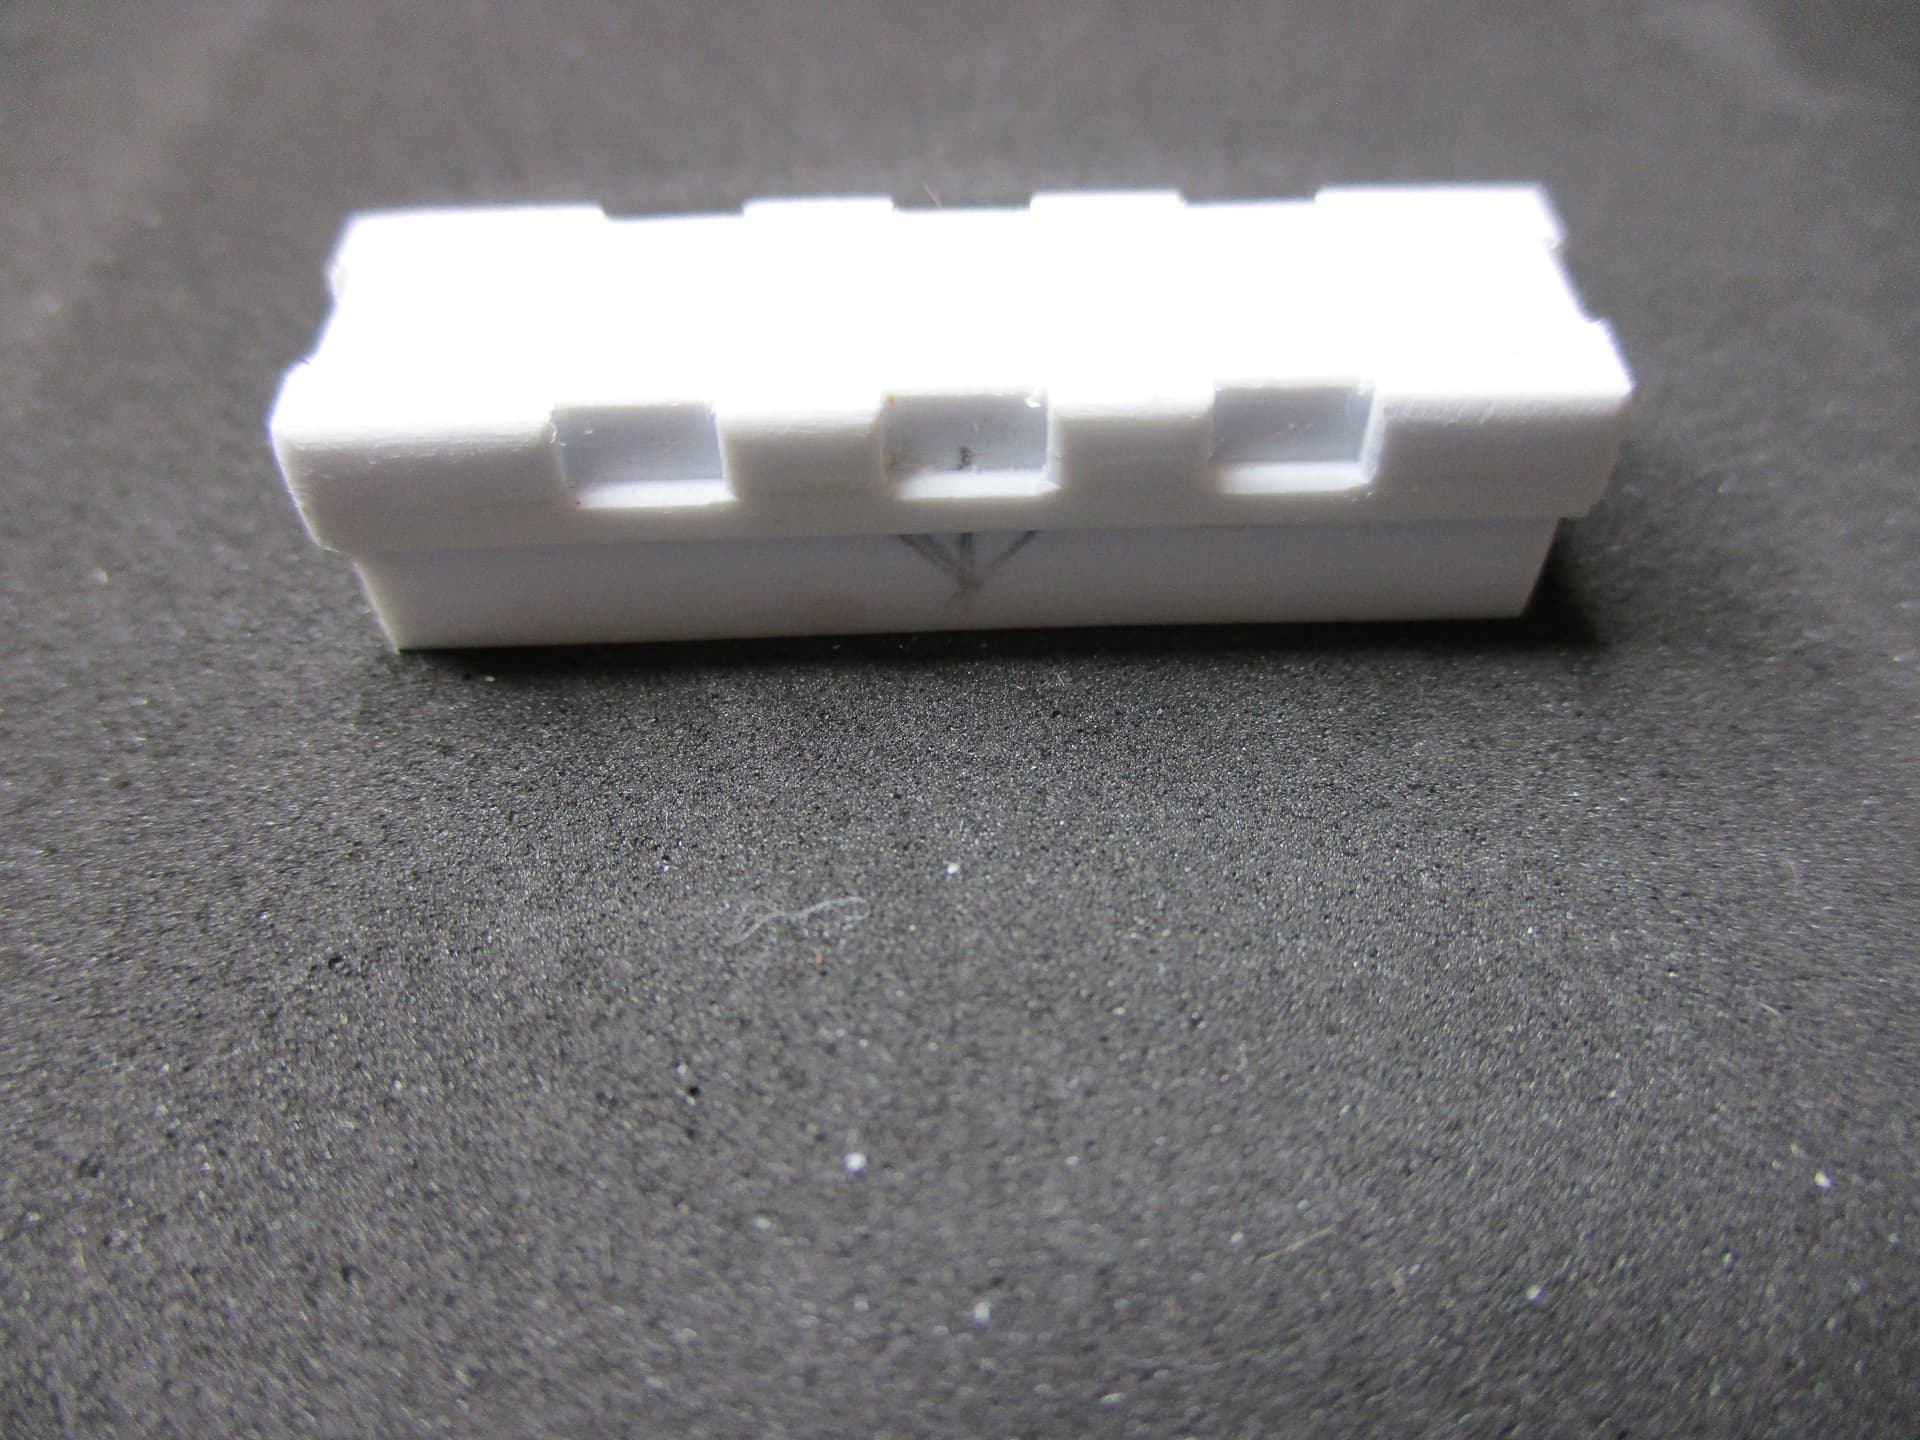
Small pieces of 0.75mm x 4.00 mm profiles represent the typical pelican case style.
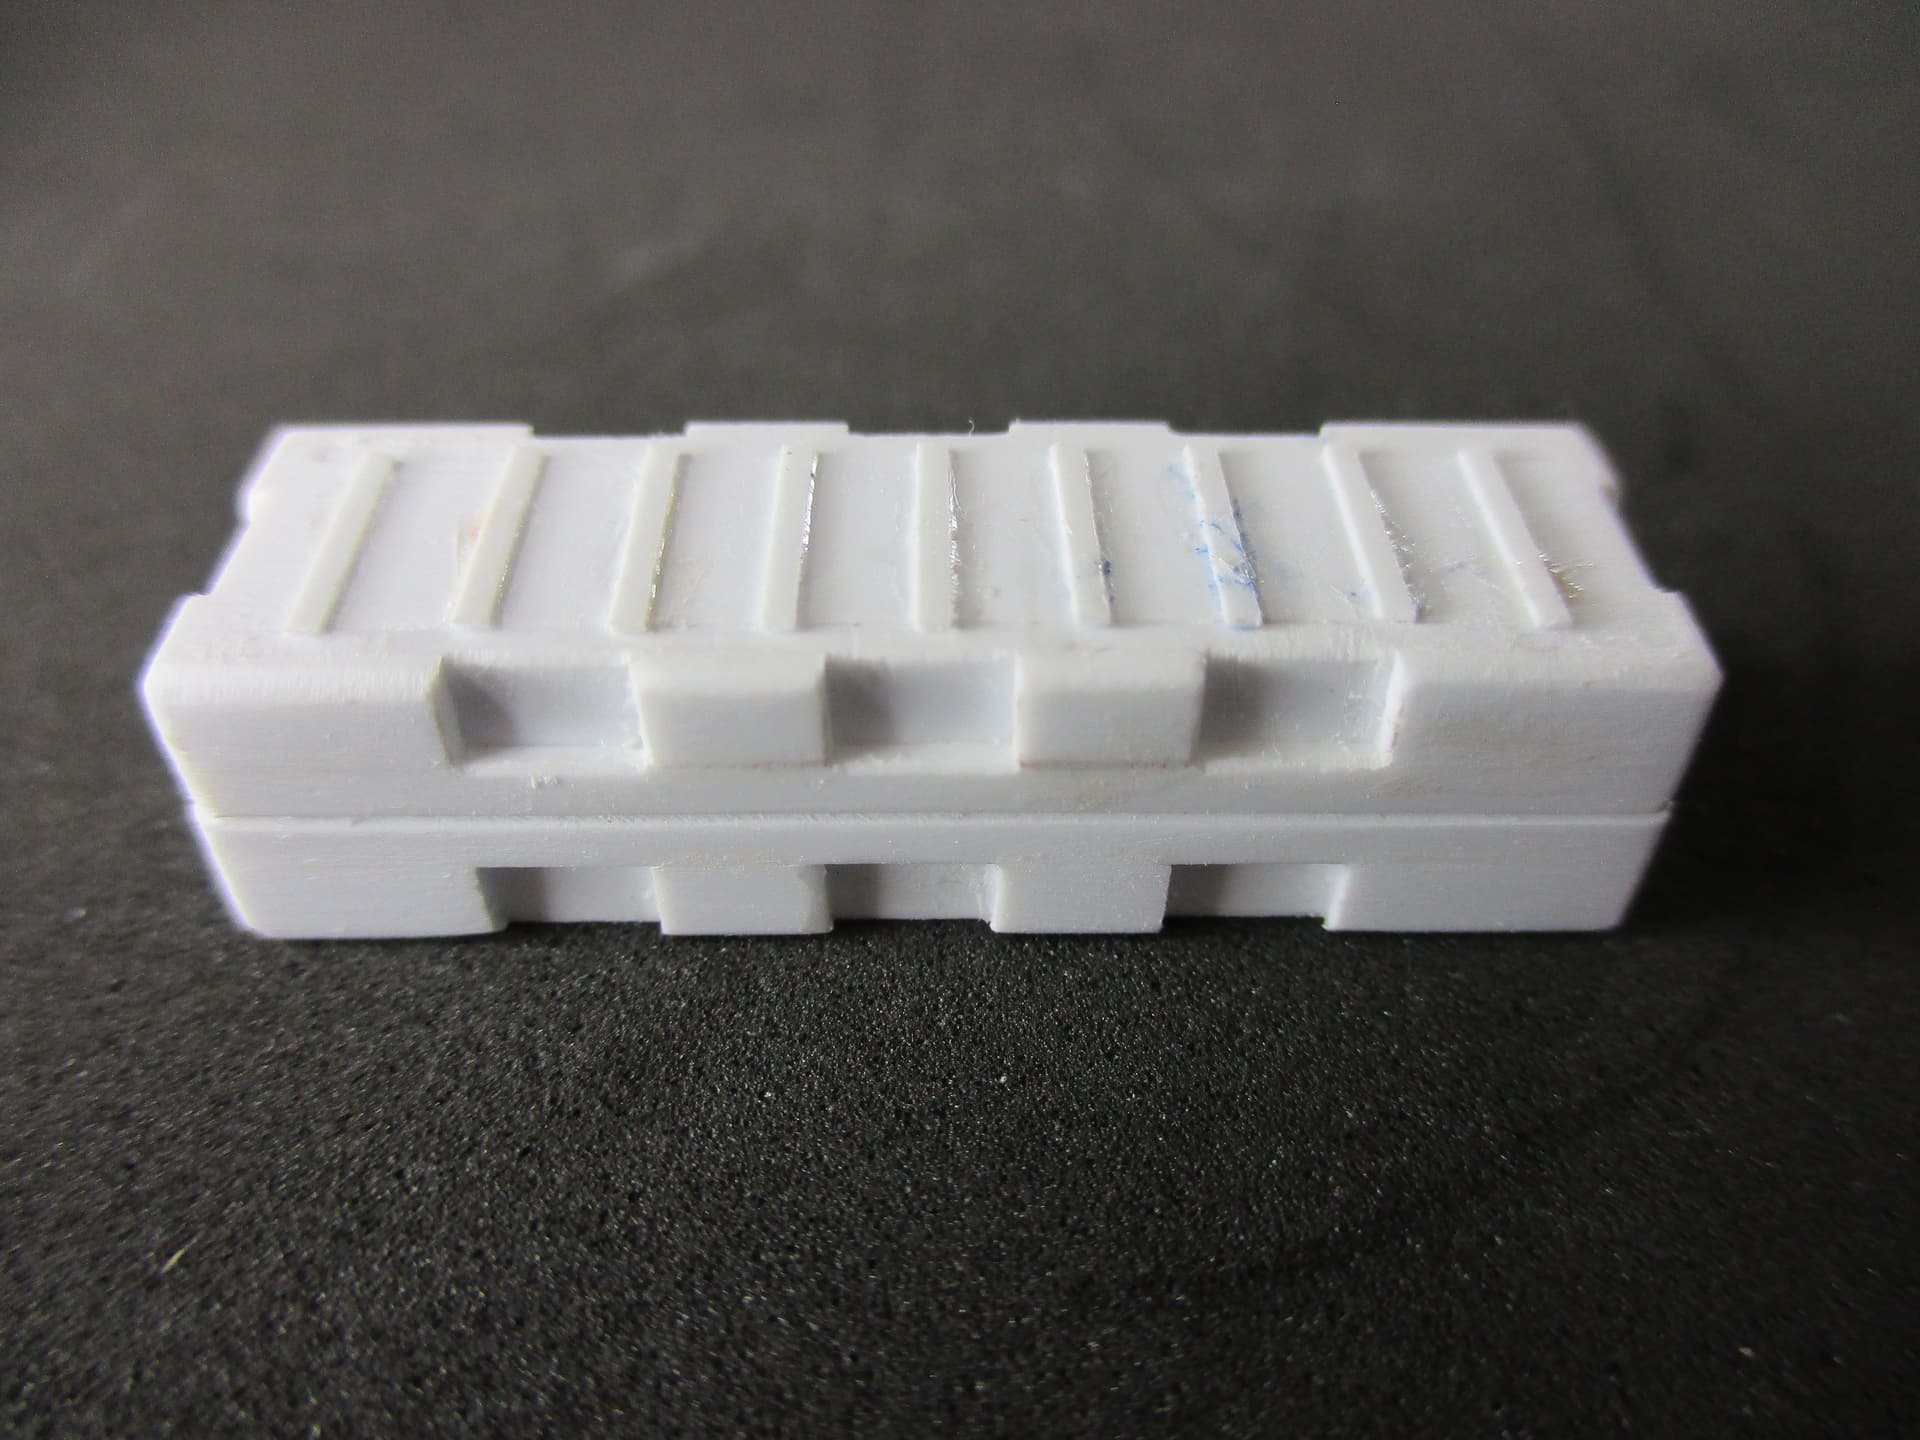
After I did this on the lower part of the box, I let everything dry. And after one day, I added the same structures to the upper side. Afterwards everything was sanded in shape, to get the “rounded” look of the peli-case.
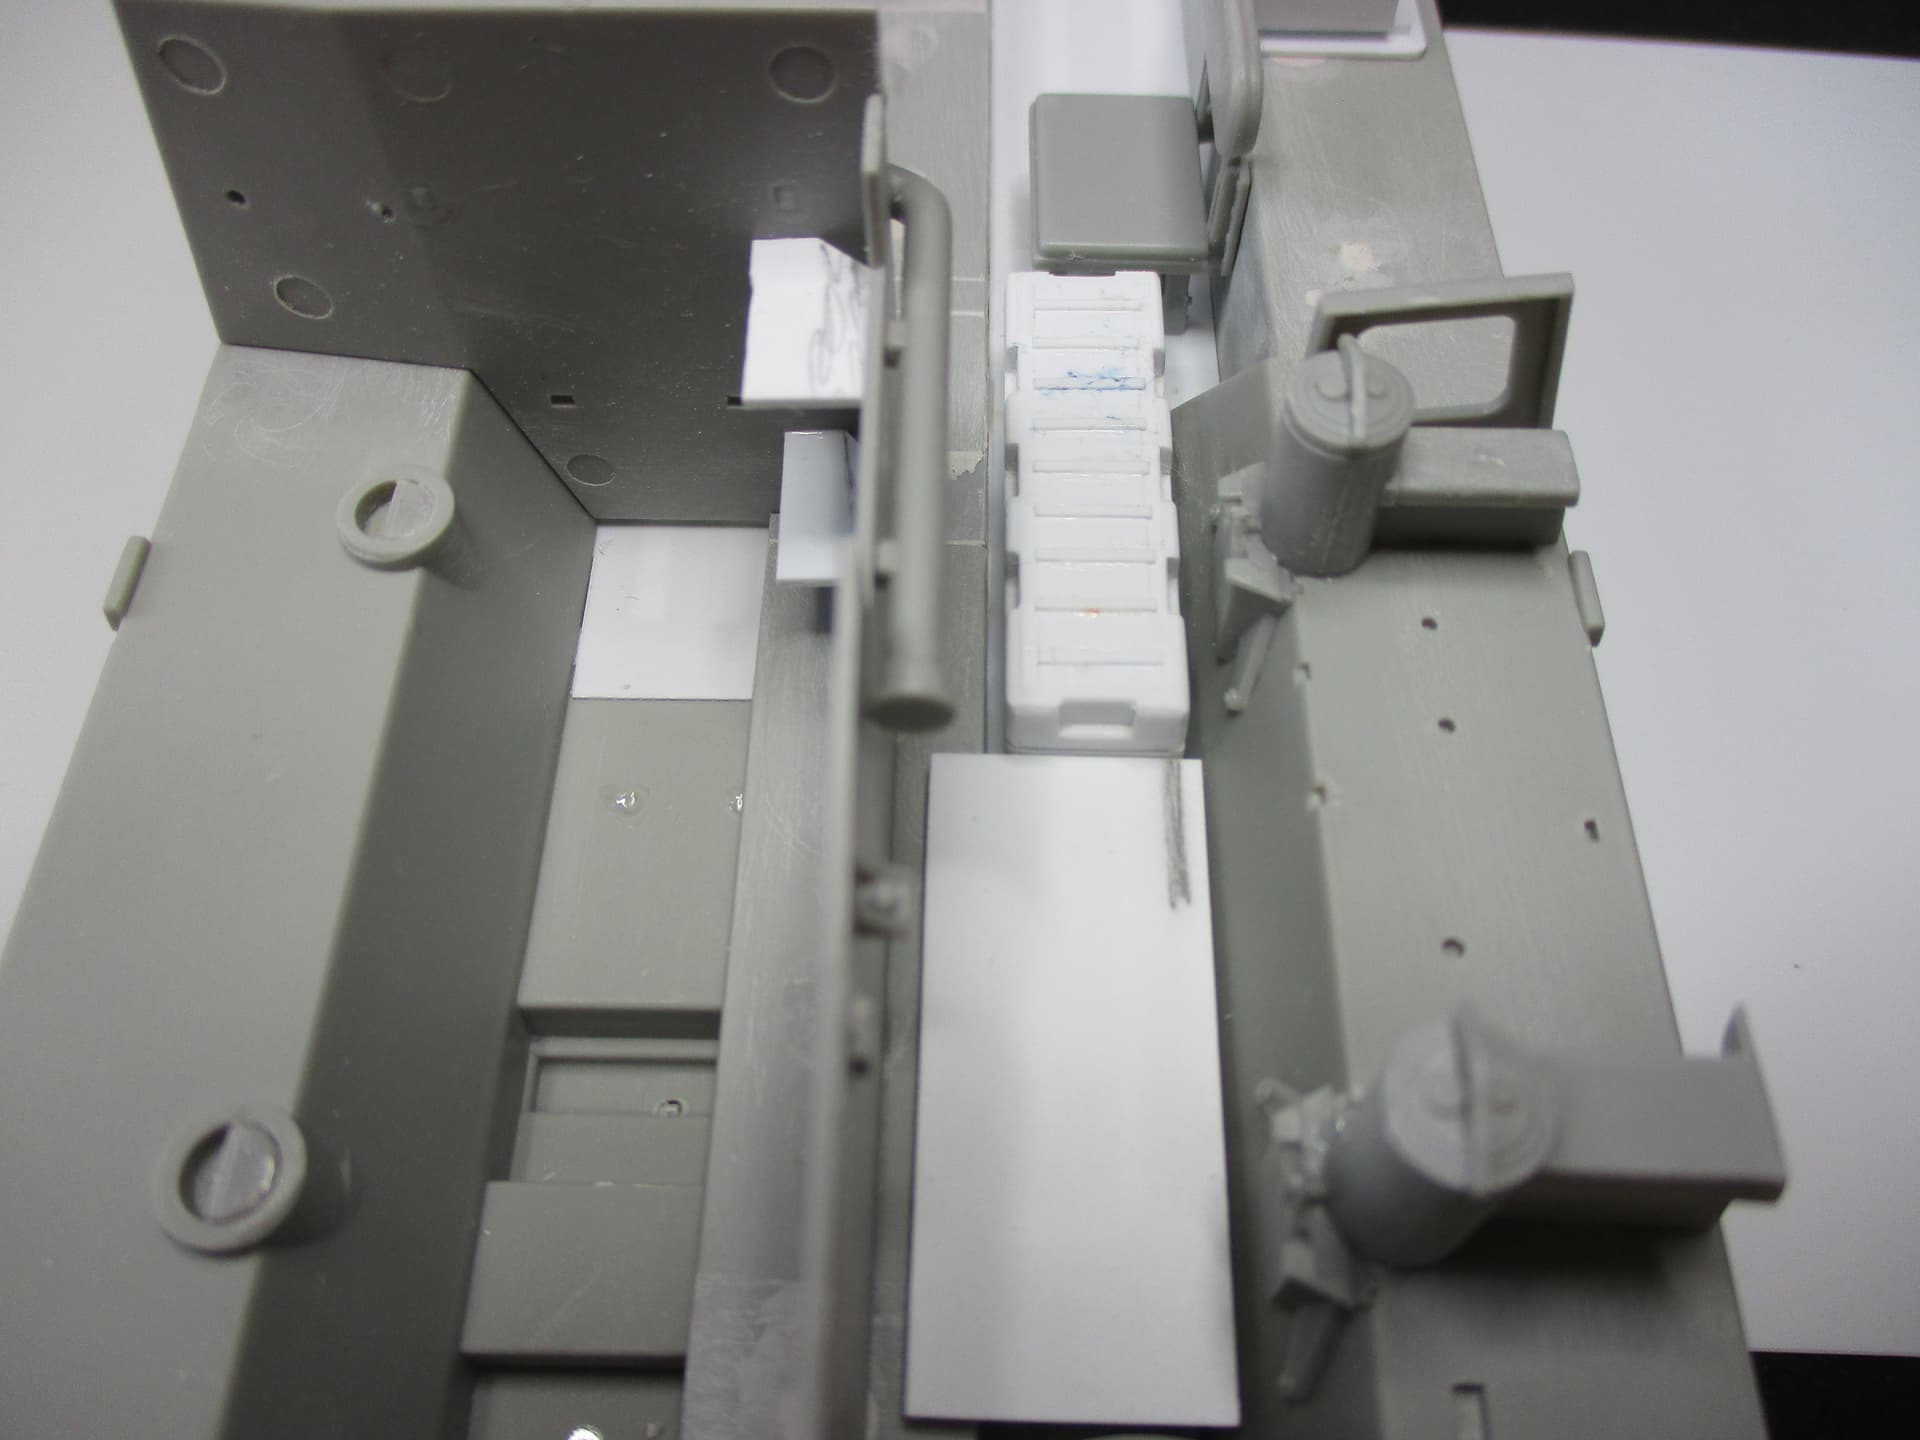
Some small structures were glued to the upper and lower side of the case…. and here it is at its natural environment.
Plus, I added some items to the upper, inner side of the vehicle, again from the M1129 Mortar kit.
Some might wonder, why I scratched the case, as for example Eureka has one at its range. Well, the mentioned one is right in its dimensions, regarding 1/35. The only problem is, that its 12.5mm width is too wide for the Trumpeter’s floor and there is just space for 10.5mm. So, the one I built is just 10mm wide.
Here again, all the new items at their place inside the vehicle.
Peter
1 Like
Nicely done with the case. I know what you mean regarding having to make something to fit the space available, what’s most important is to try to maintain the proper proportions.