Hello friends!
I will start my new project: T72 M1, Lion of Babylon, Iraq; Tamiya 1/35.

Regards!
Rodolfo
Hello friends!
I will start my new project: T72 M1, Lion of Babylon, Iraq; Tamiya 1/35.
Regards!
Rodolfo
I built this years age and am interested to see what you do with it.
Ahh the venerable well designed Tamiya T-72 from the mid 1990’s! Built that twice back in the day with good results. Still have a couple of them in the stash.
Look forward to seeing what you with it as well. What do you have in mind for the build?
Thanks for your comments!. The kit detail is excellent, sure, Tamiya quality, the tanker commander figure he have nocturne vision binoculars. I feel that the plastic is somewhat soft when sanding. The build will be OOB, or maybe I adding something, I don´t know.
Regards!
Rodolfo
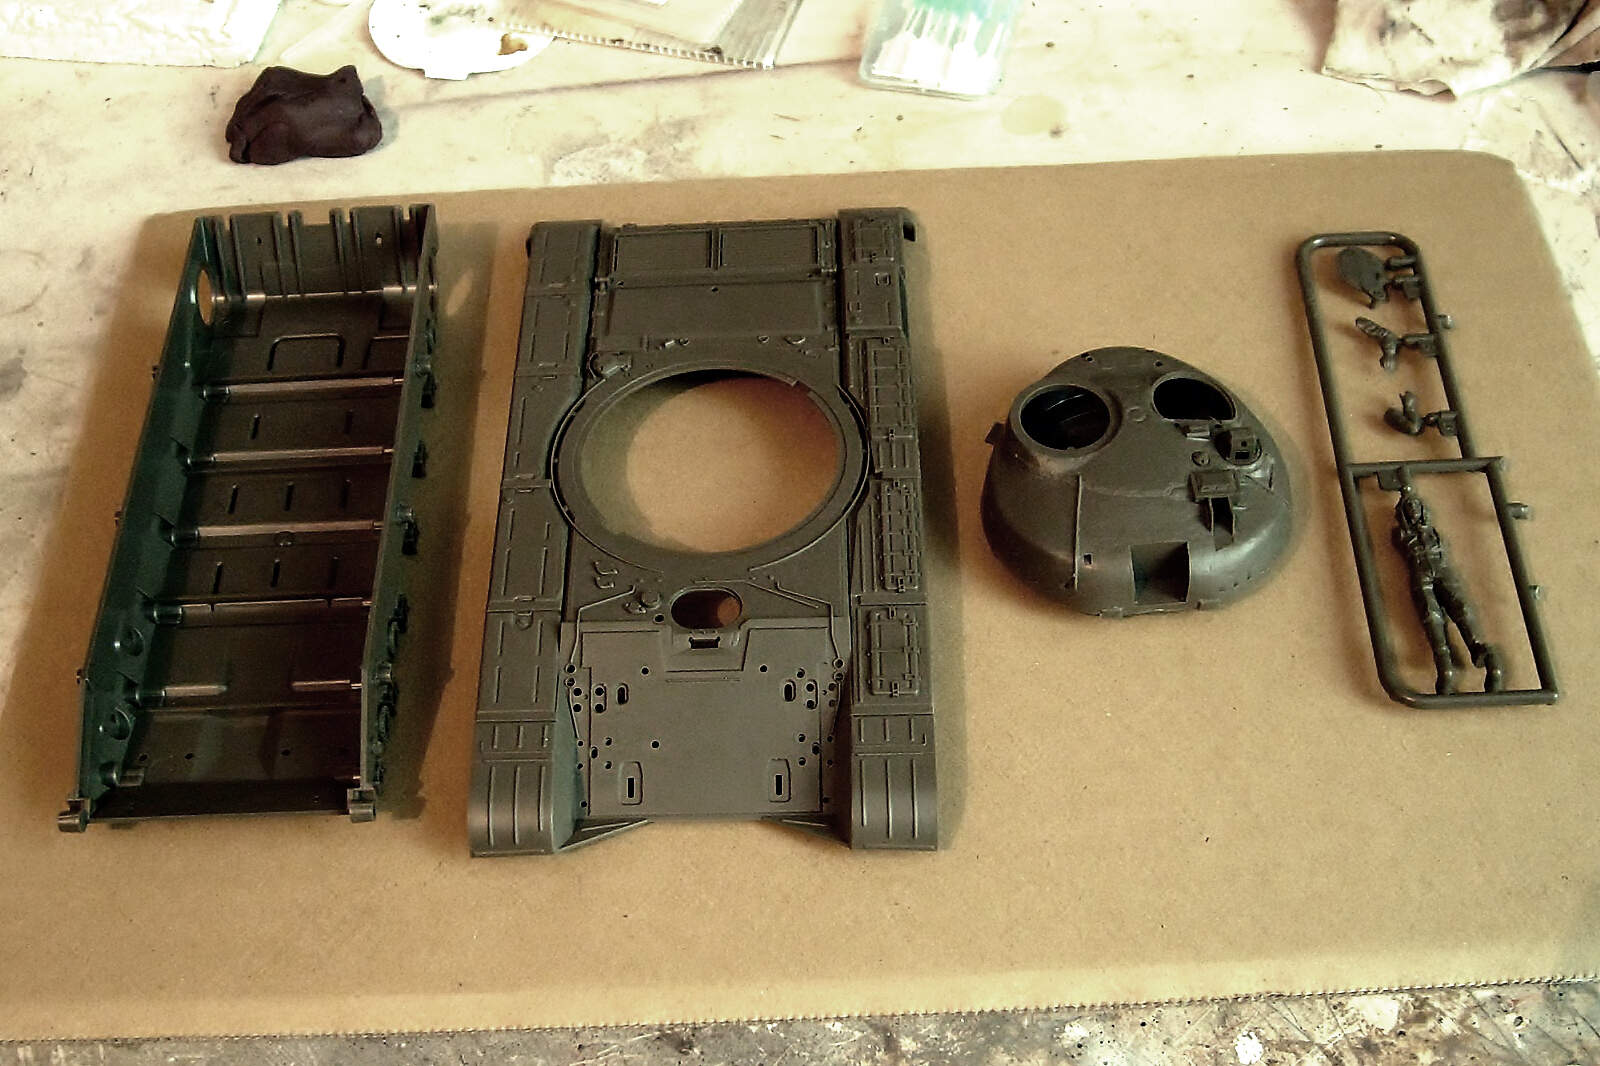
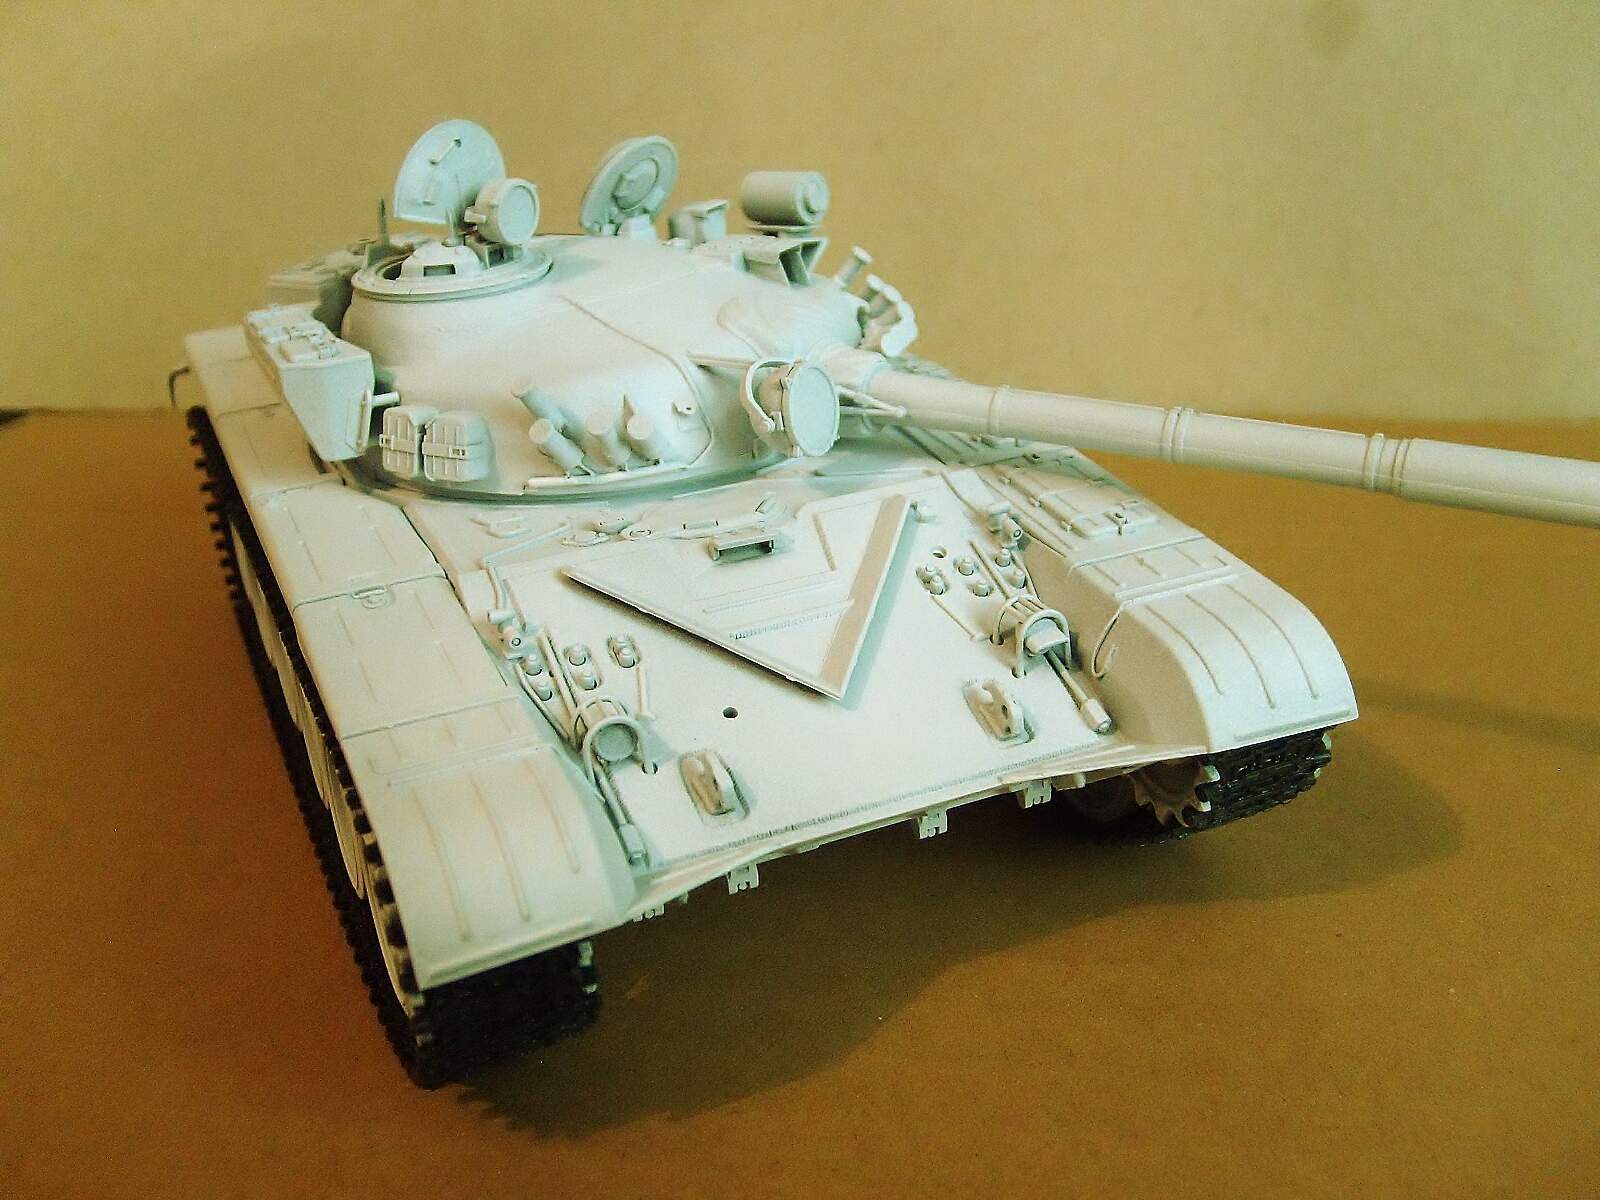
Hello friends!
More pics!.
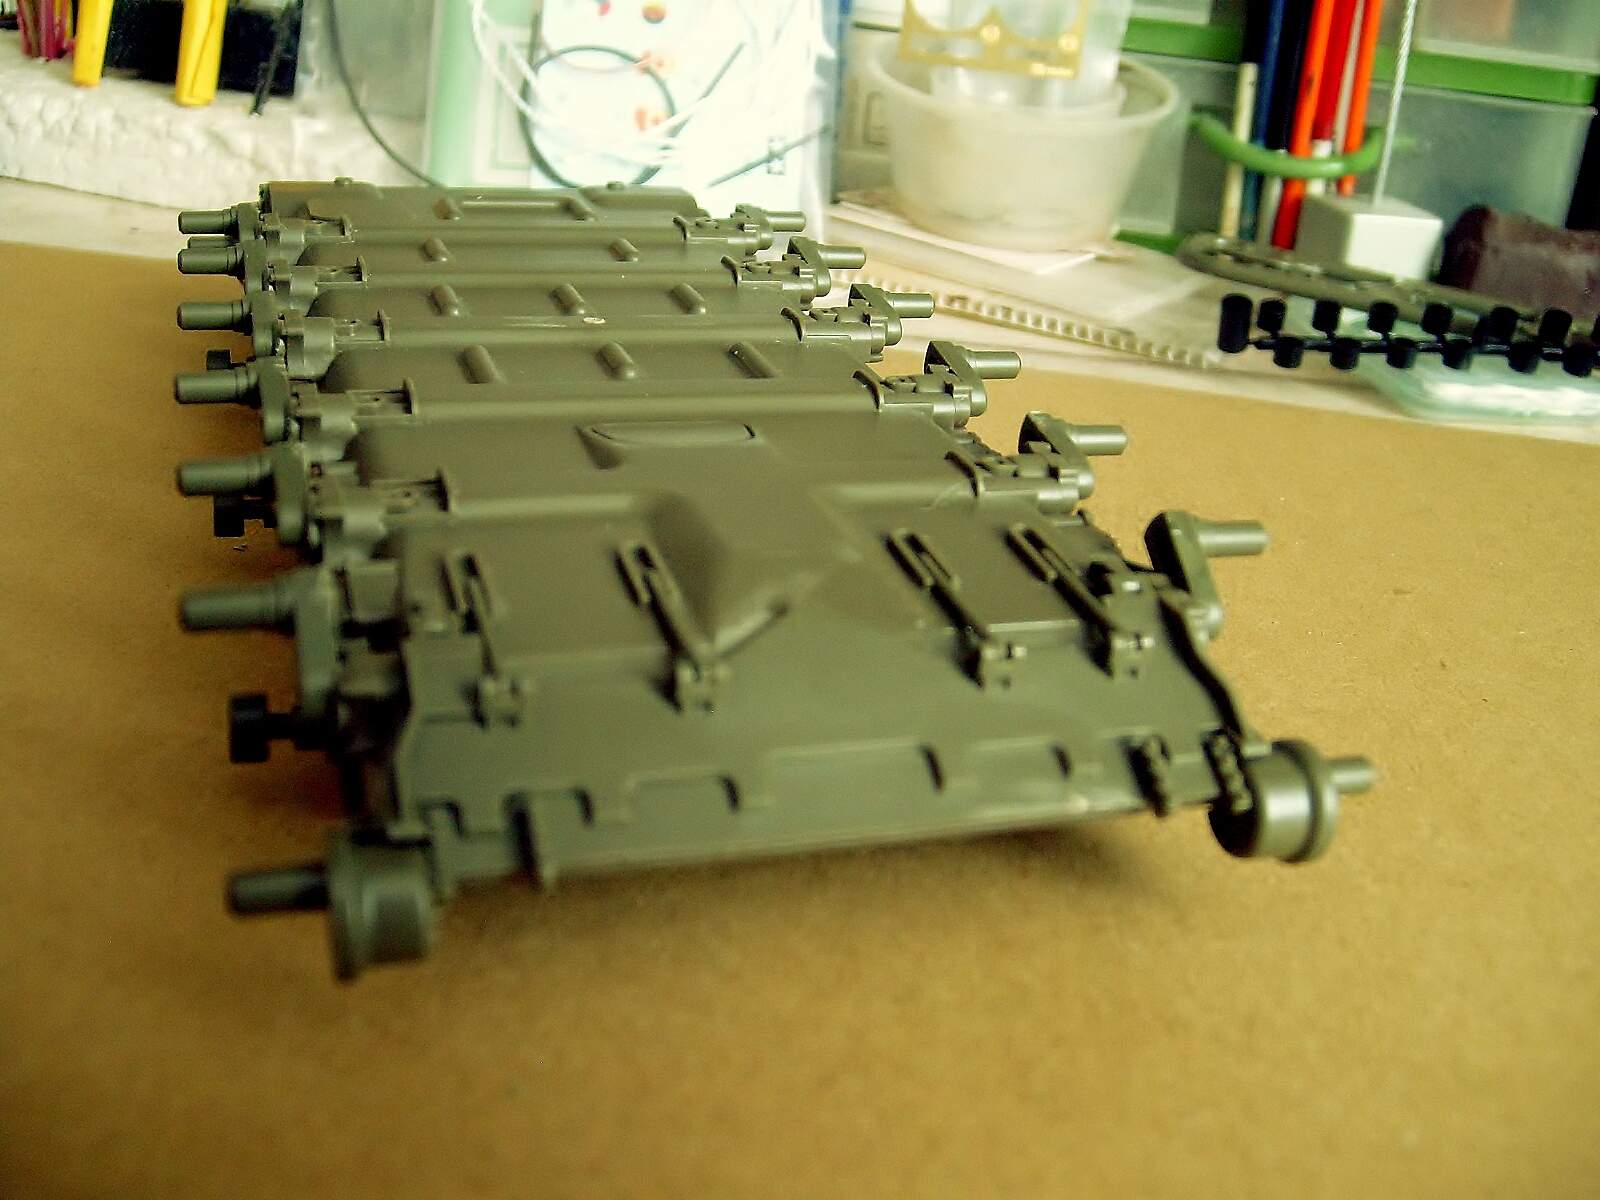
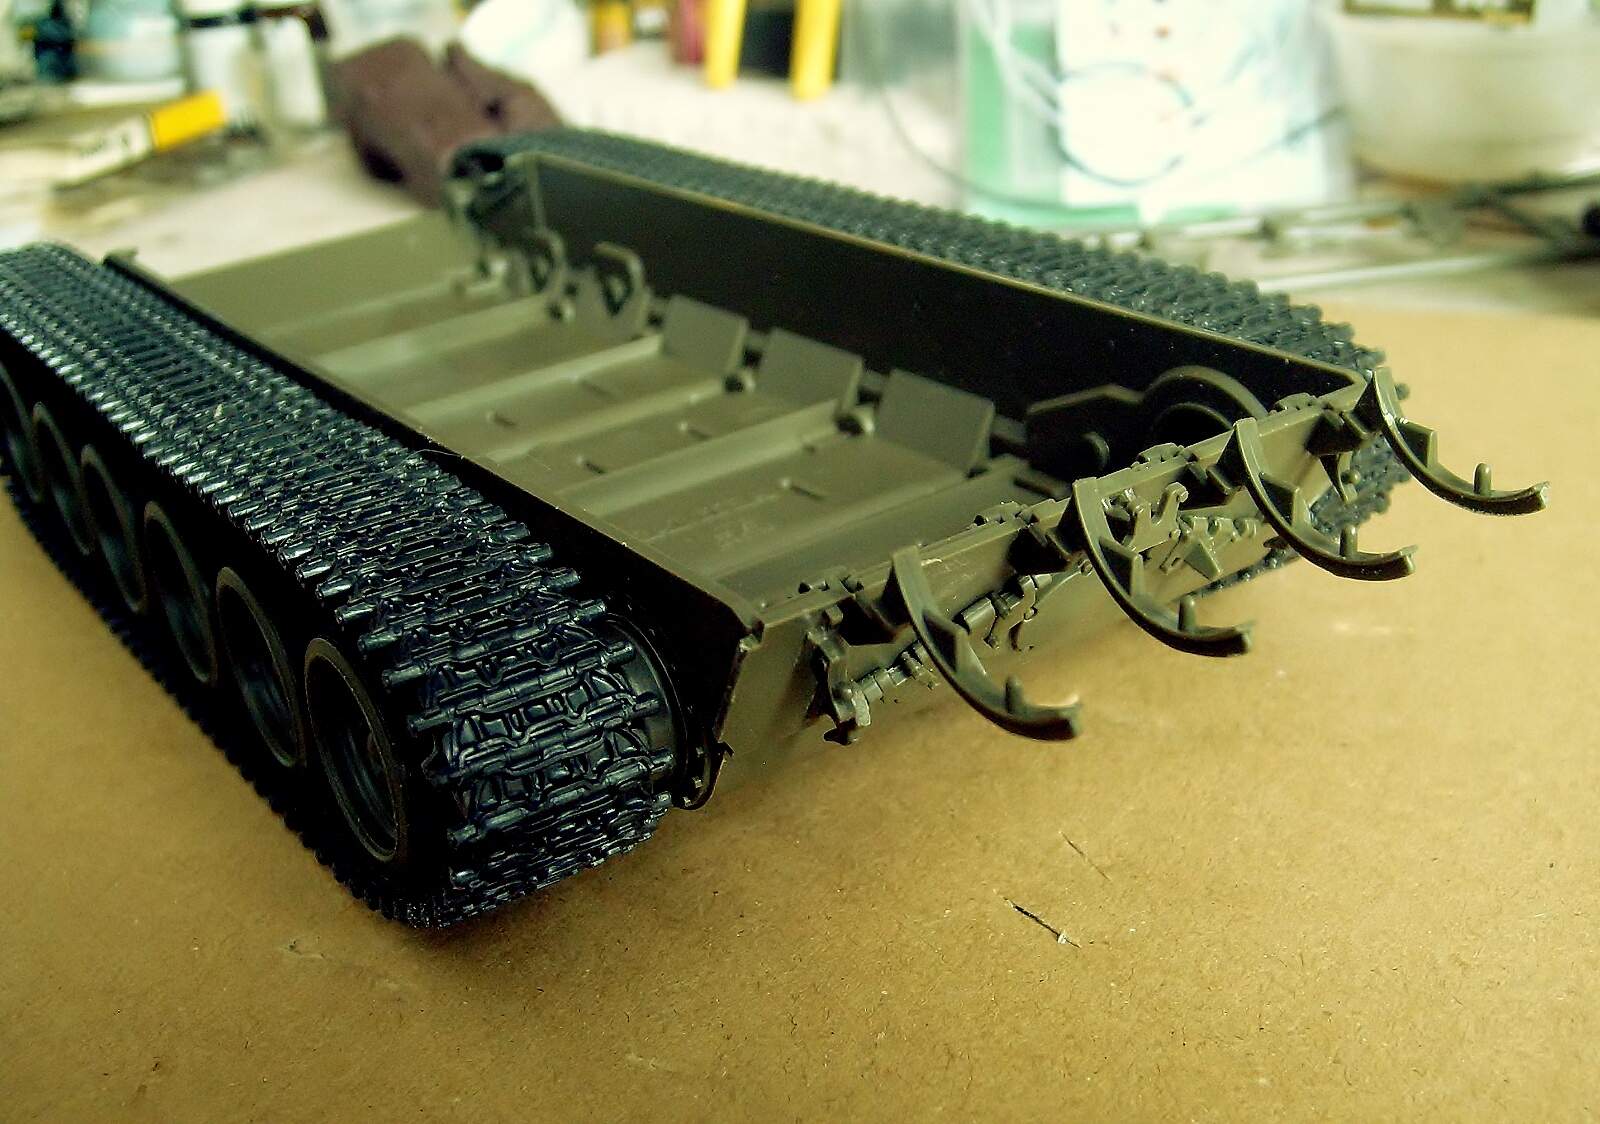
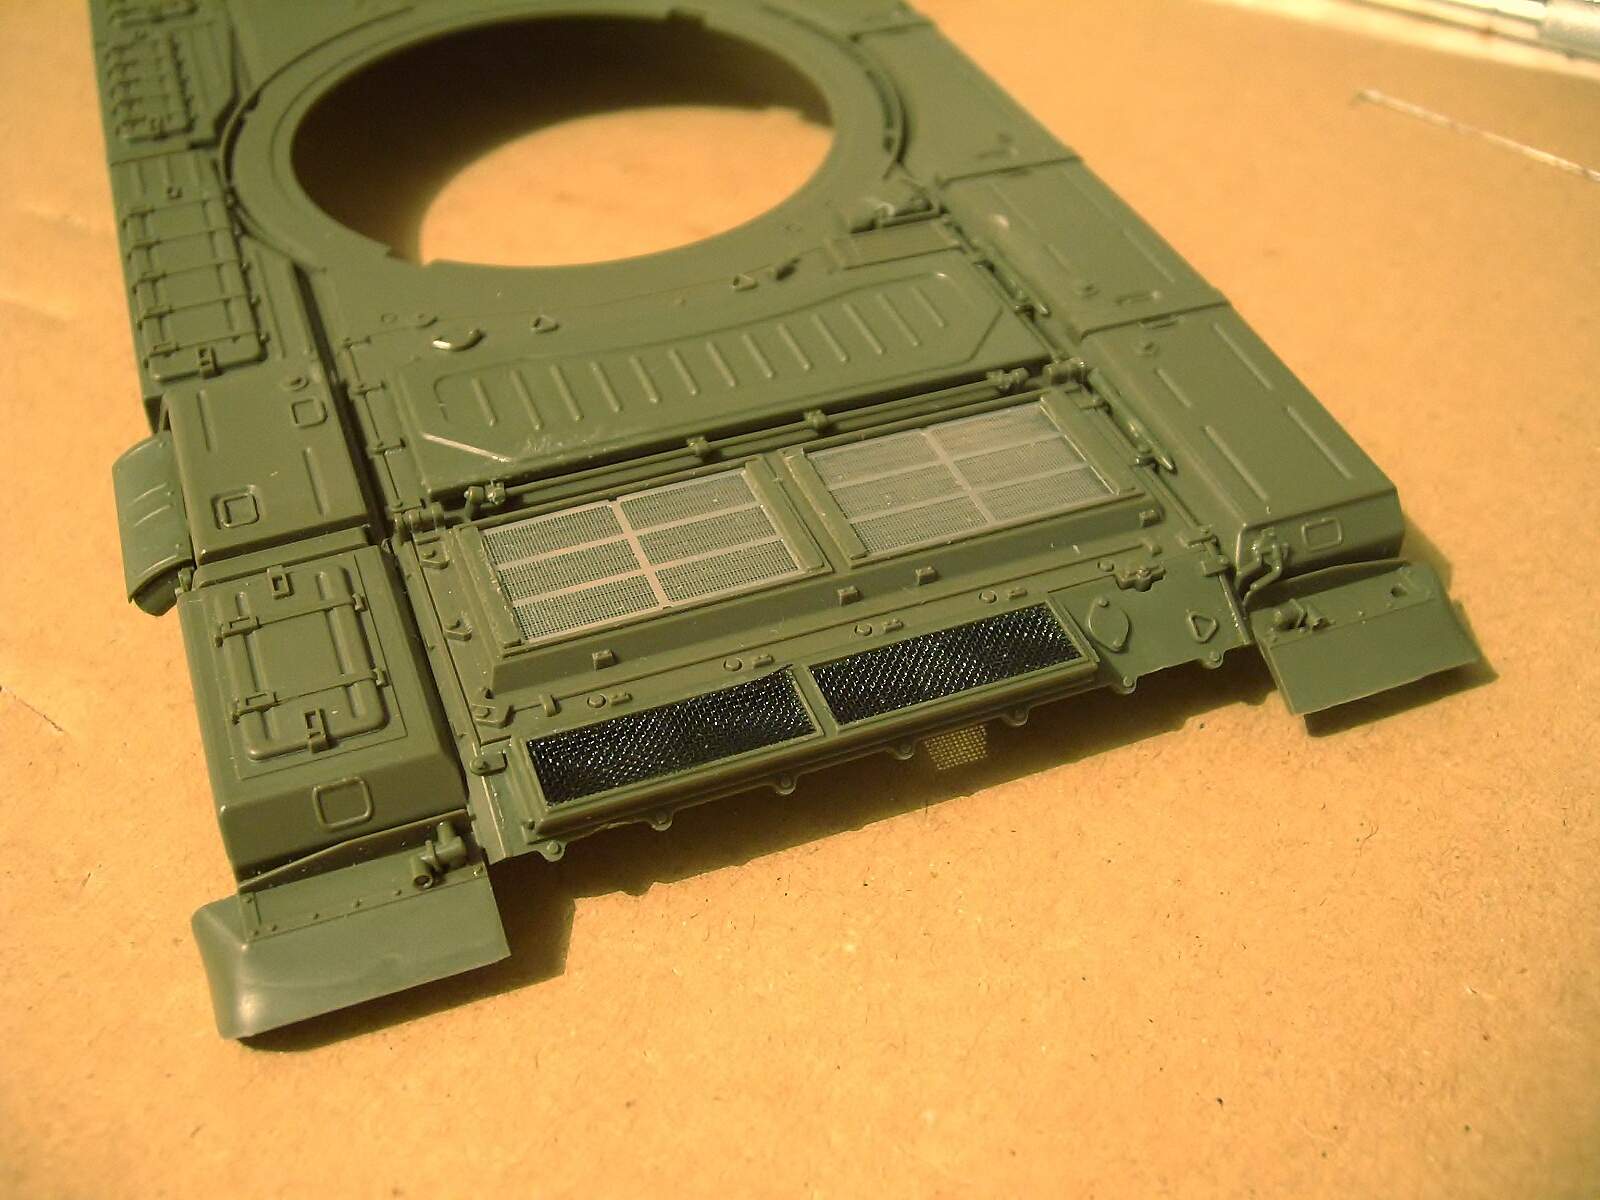
Lower Hull ready! - mounting the Dozer Blade, suspension arms, , support rollers and rear panel plate was easy and quick, very nice detail of Tamiya despite to be a old kit (1992).
Regards!
Rodolfo
If you build it as a Iraqi tank you should remove the add-on armor on the glacis. It’s tedious but I don’t think the Lions of Babylon had this type of armor.
Olivier
Thank for your comments Olivier. I have read notices that Iraqi already were fitted a number of T-72s tank with an additional steel plate on the glacis plate during the Iran-Iraq war, further I saw some of them in Internet.
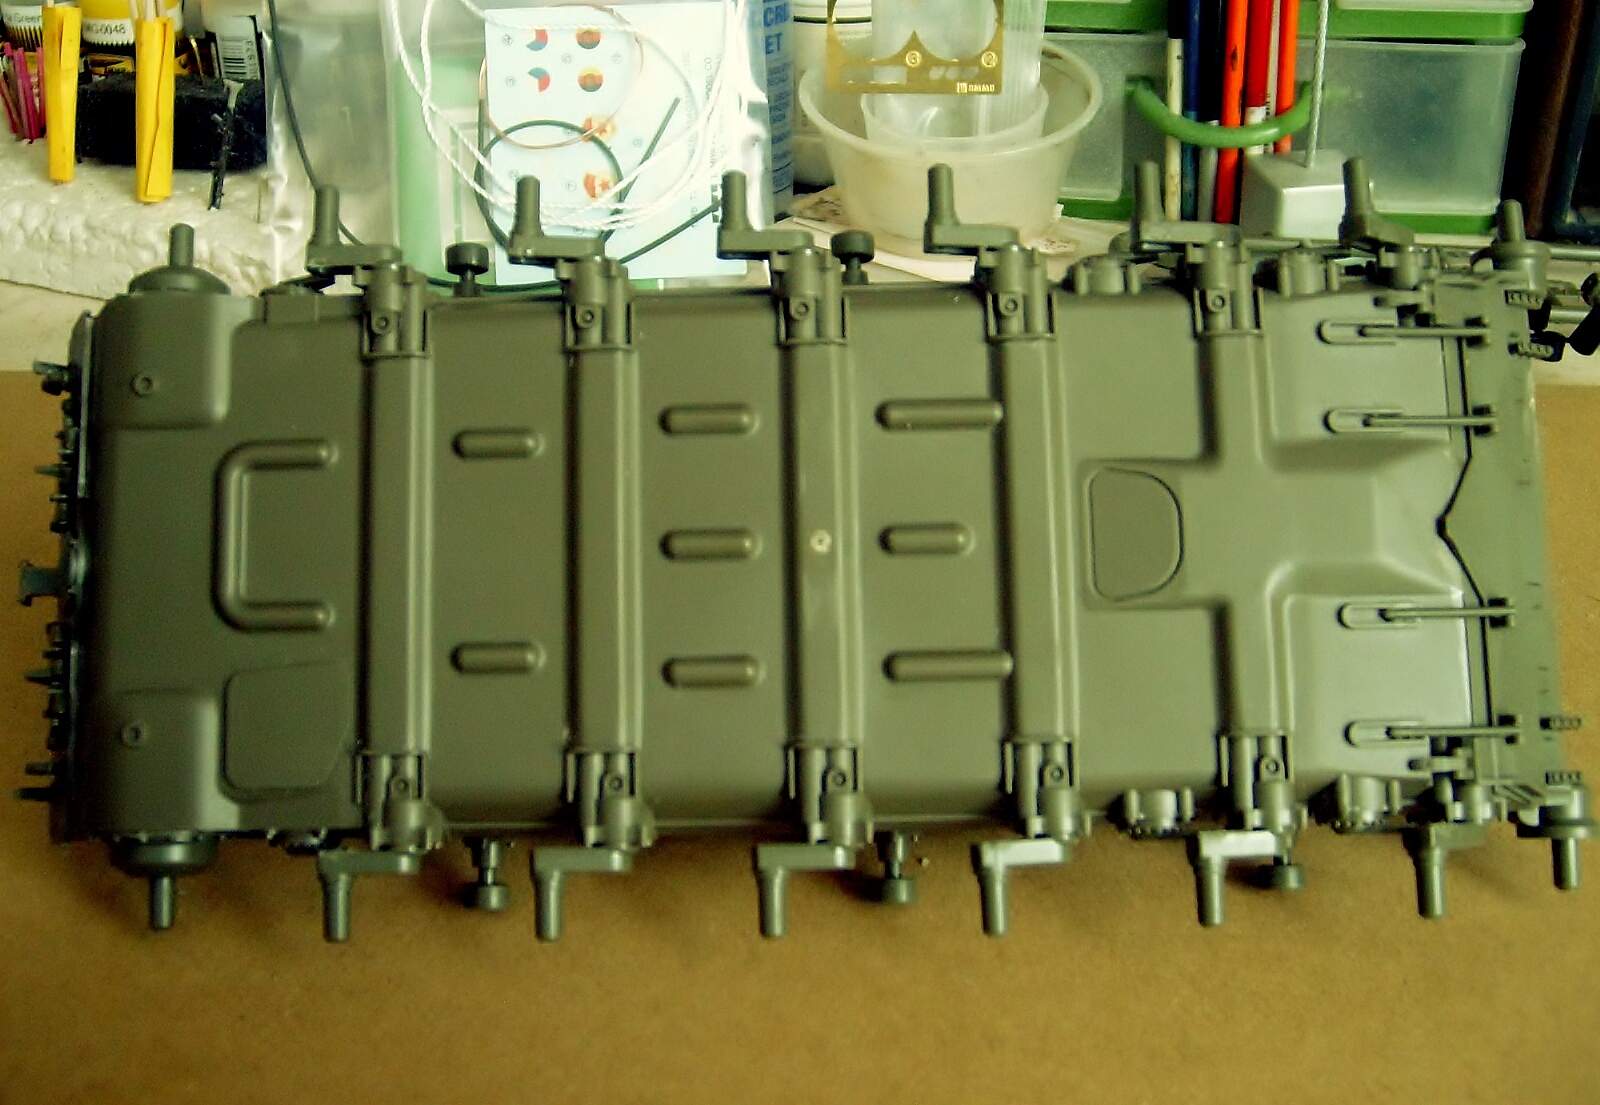
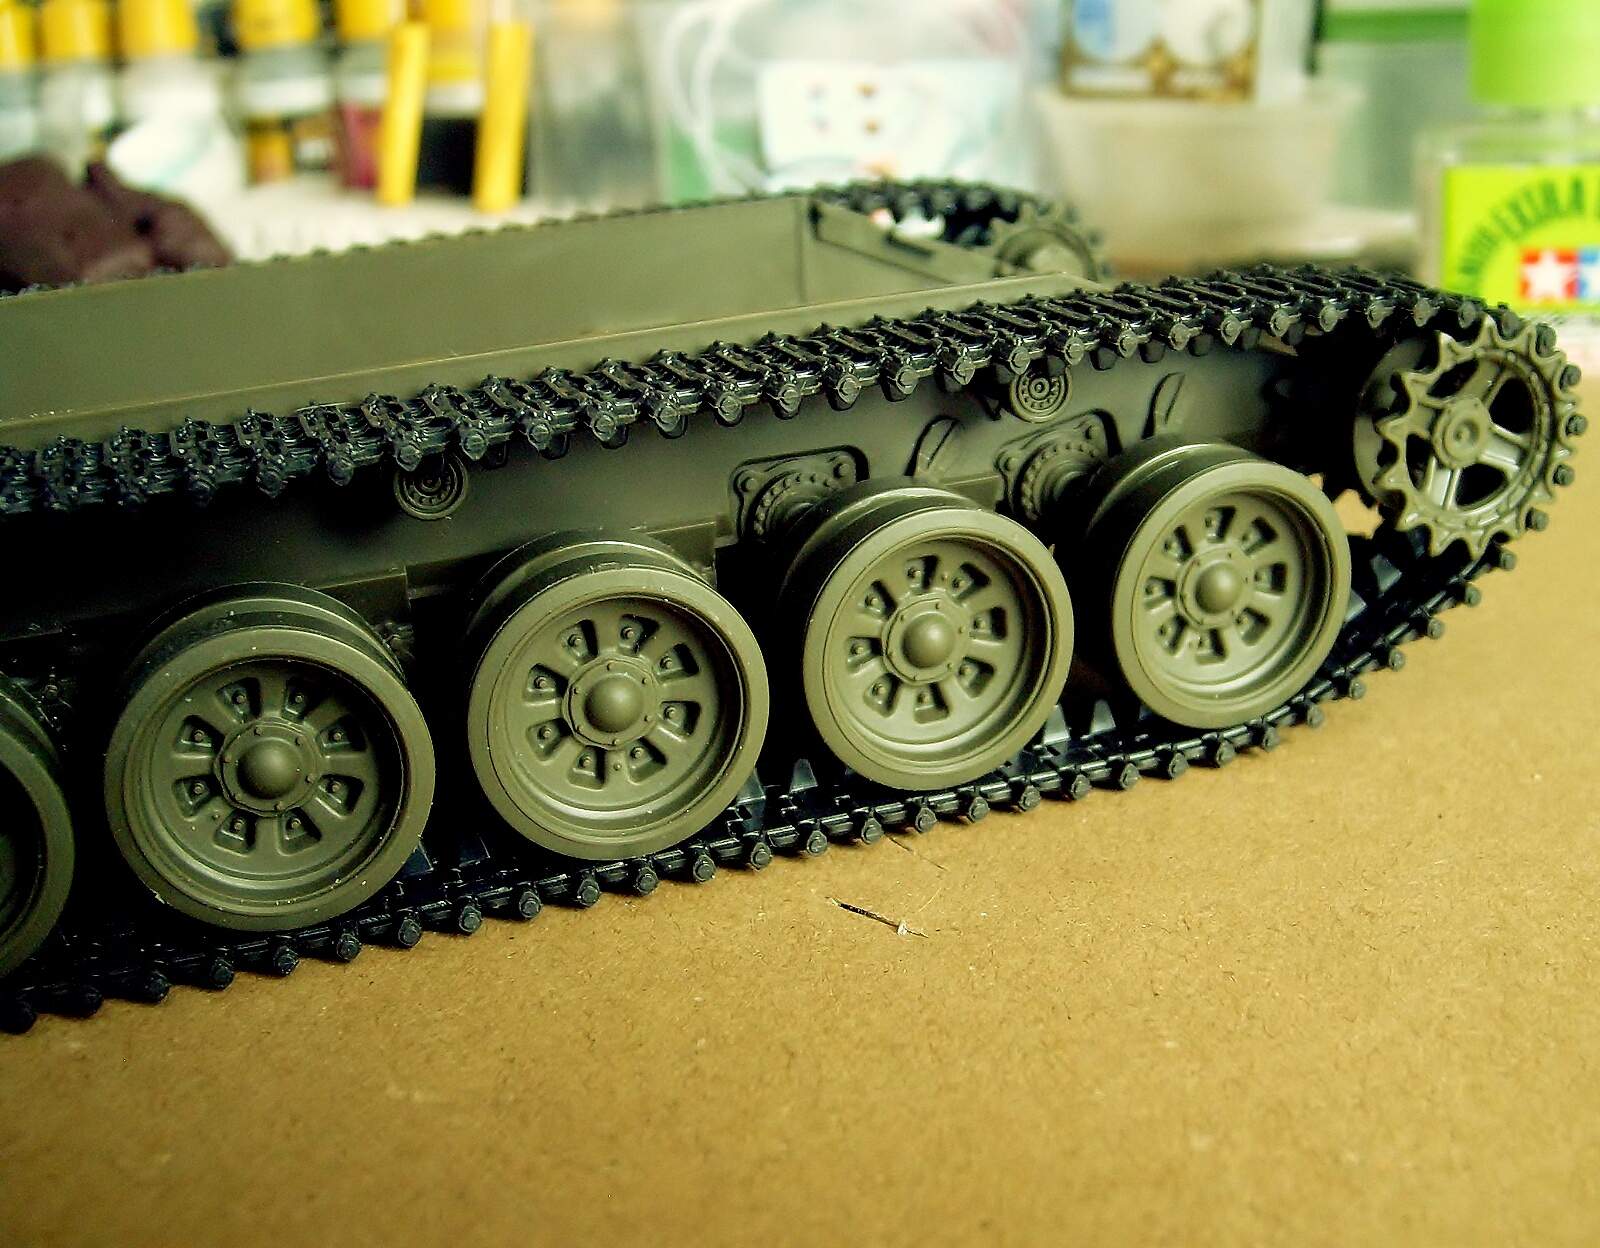
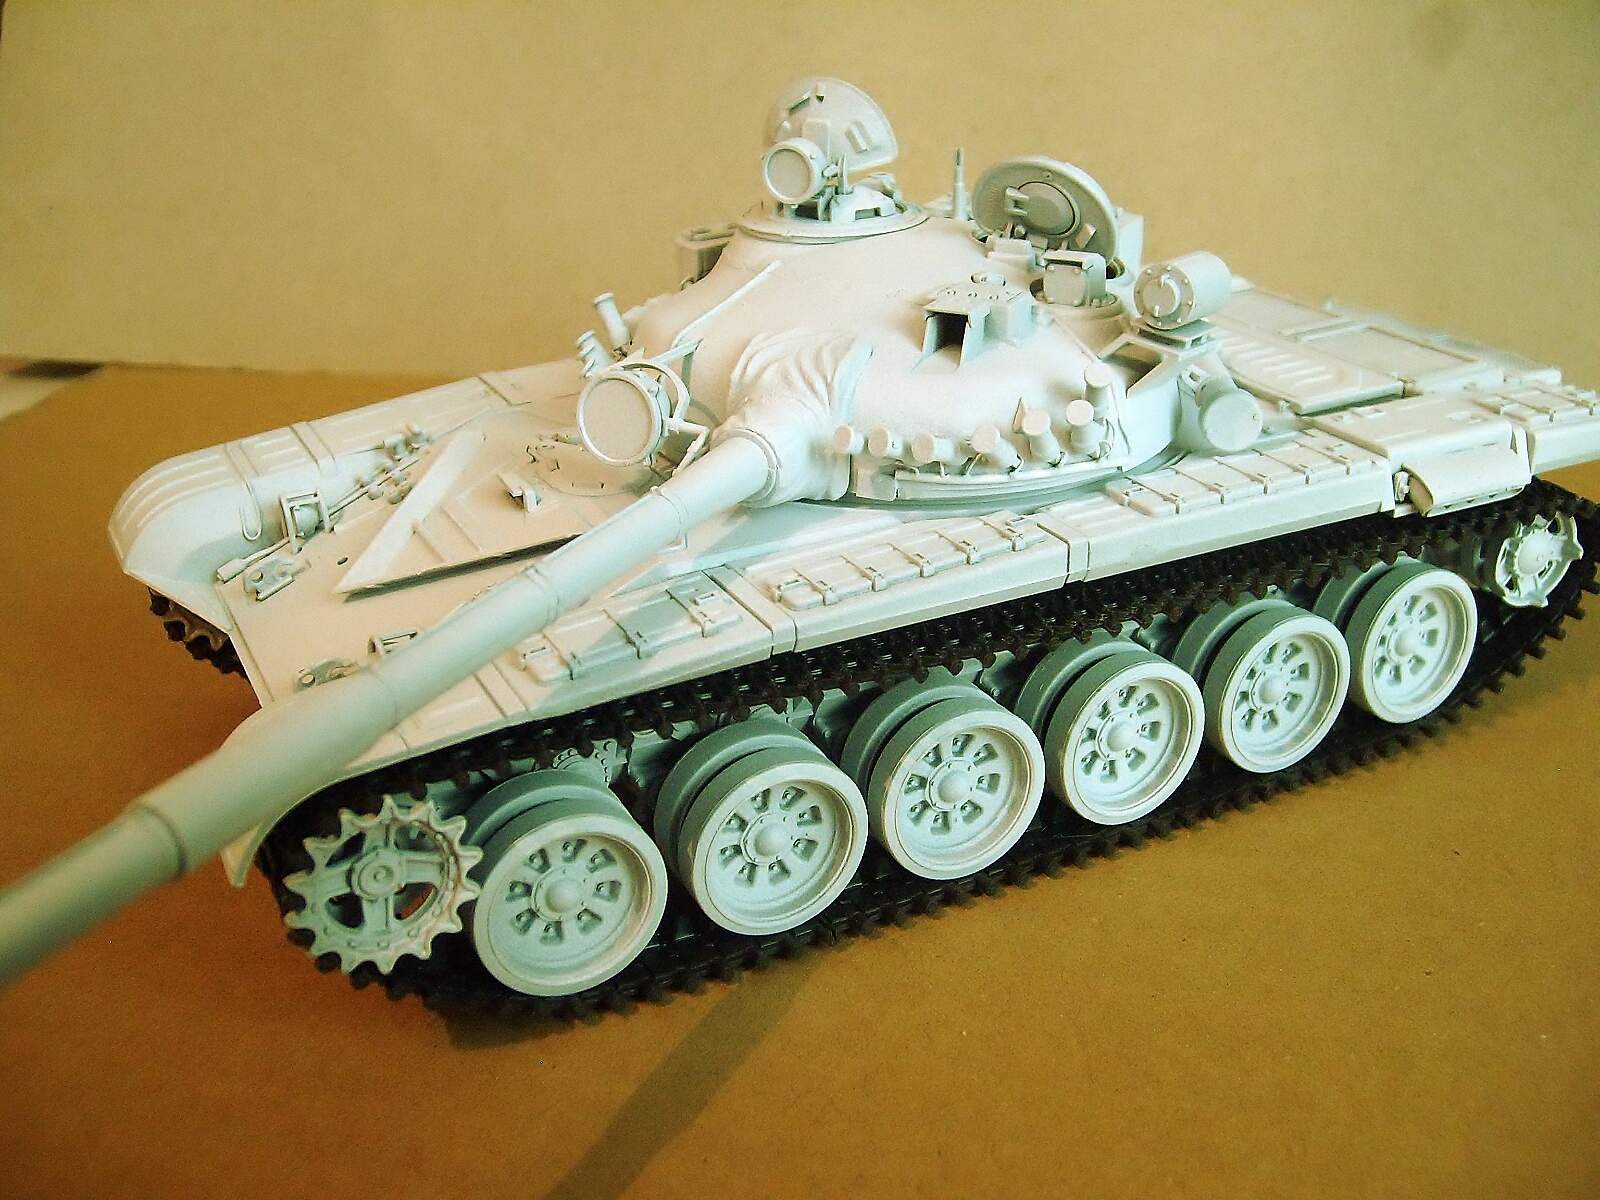
More pics:
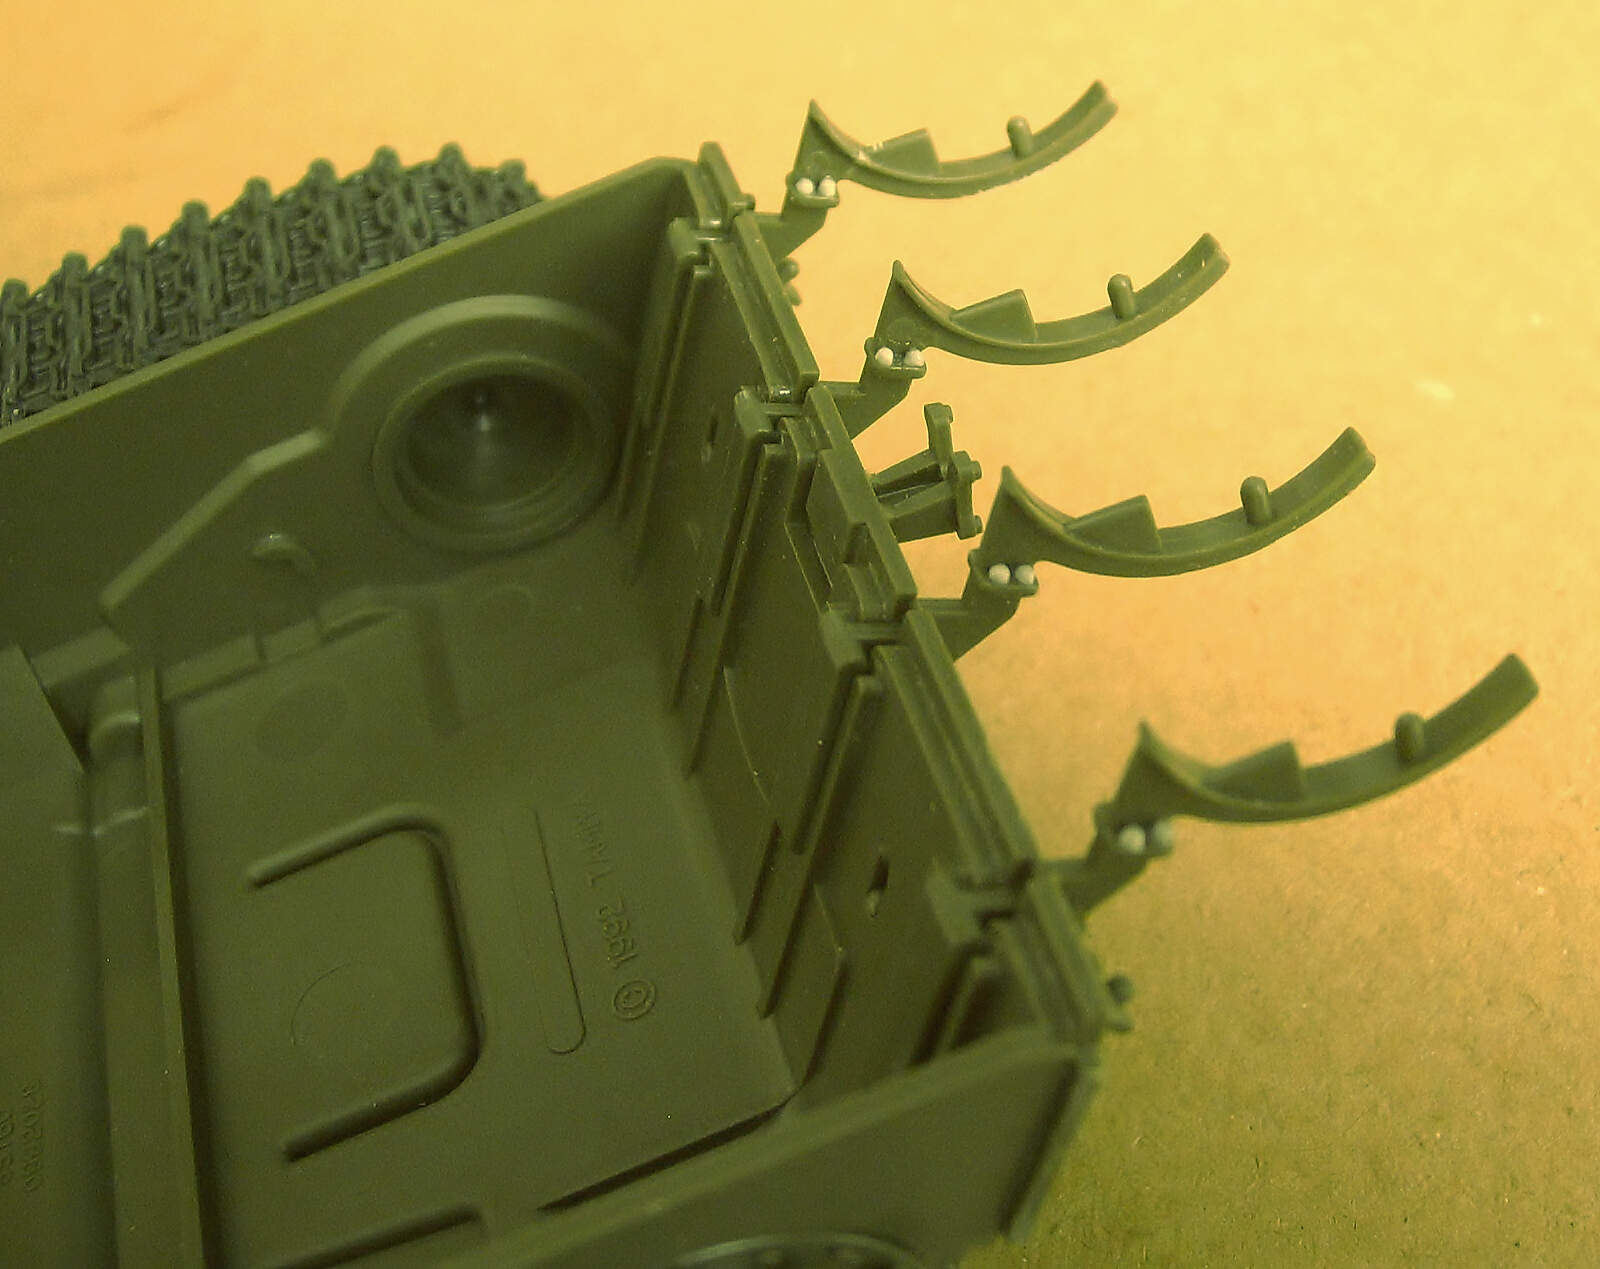
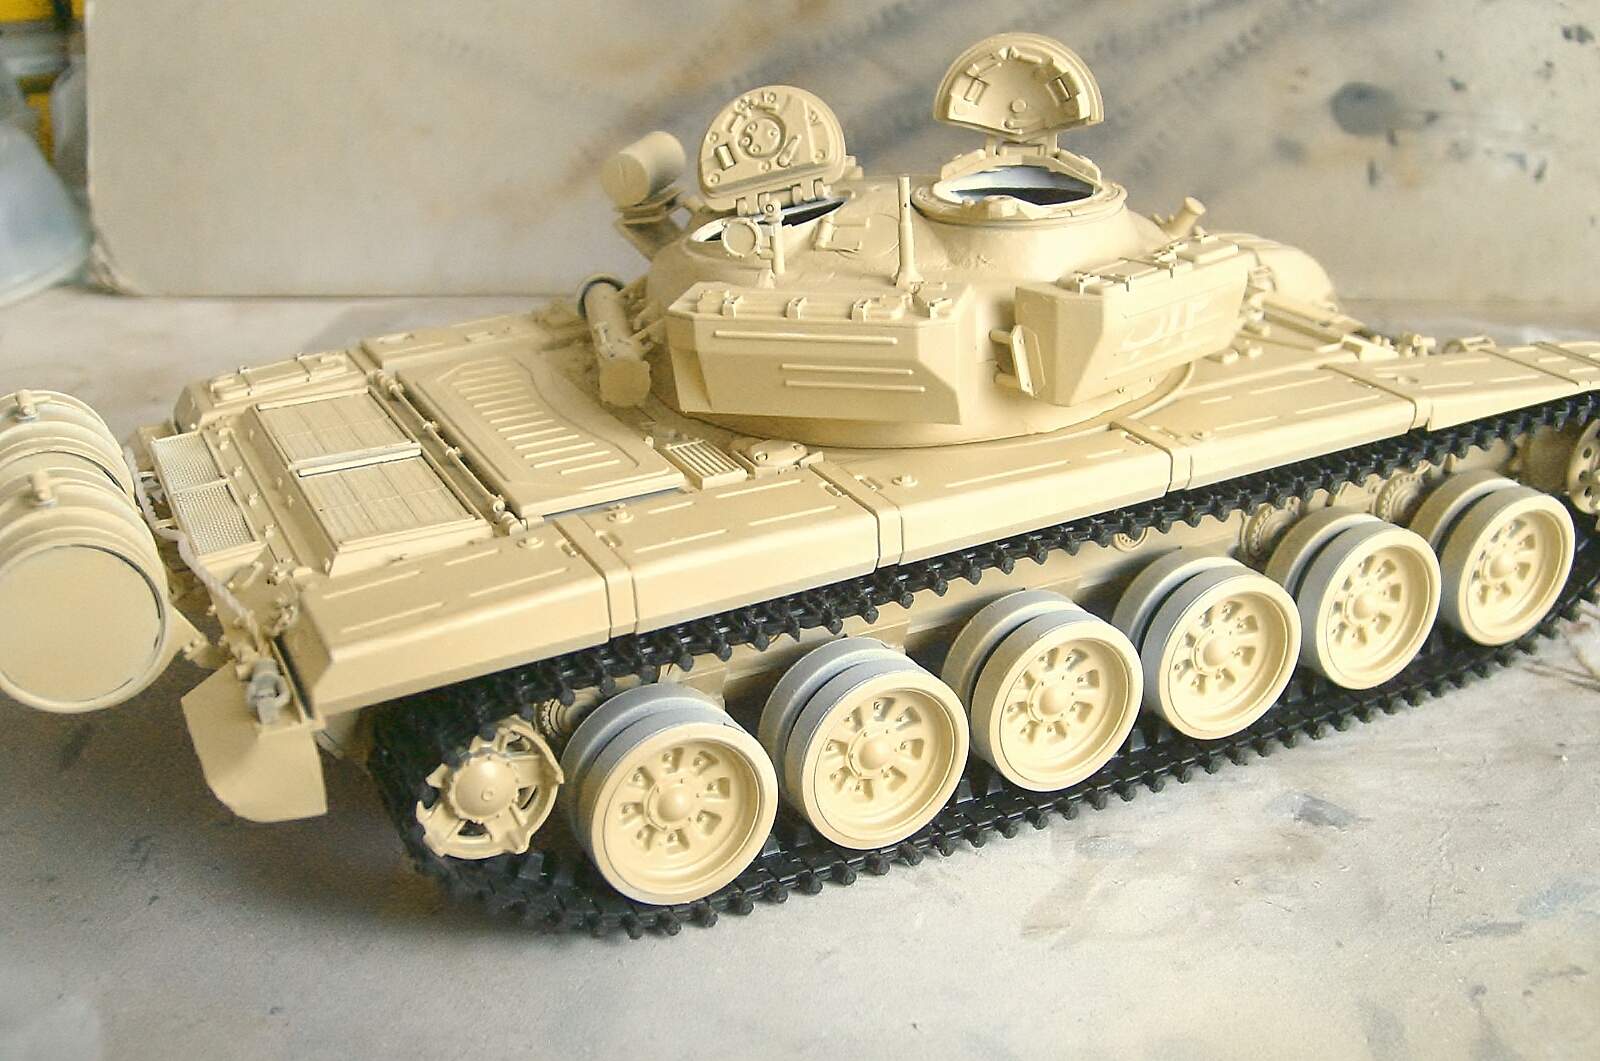
Wheels and tracks ready!. - On the rear were added the fuel drums racks.
Regards!
Rodolfo
Nice progress, Rodolfo!
Looking forward to see more
Thanks for your kind comments Jesper!.
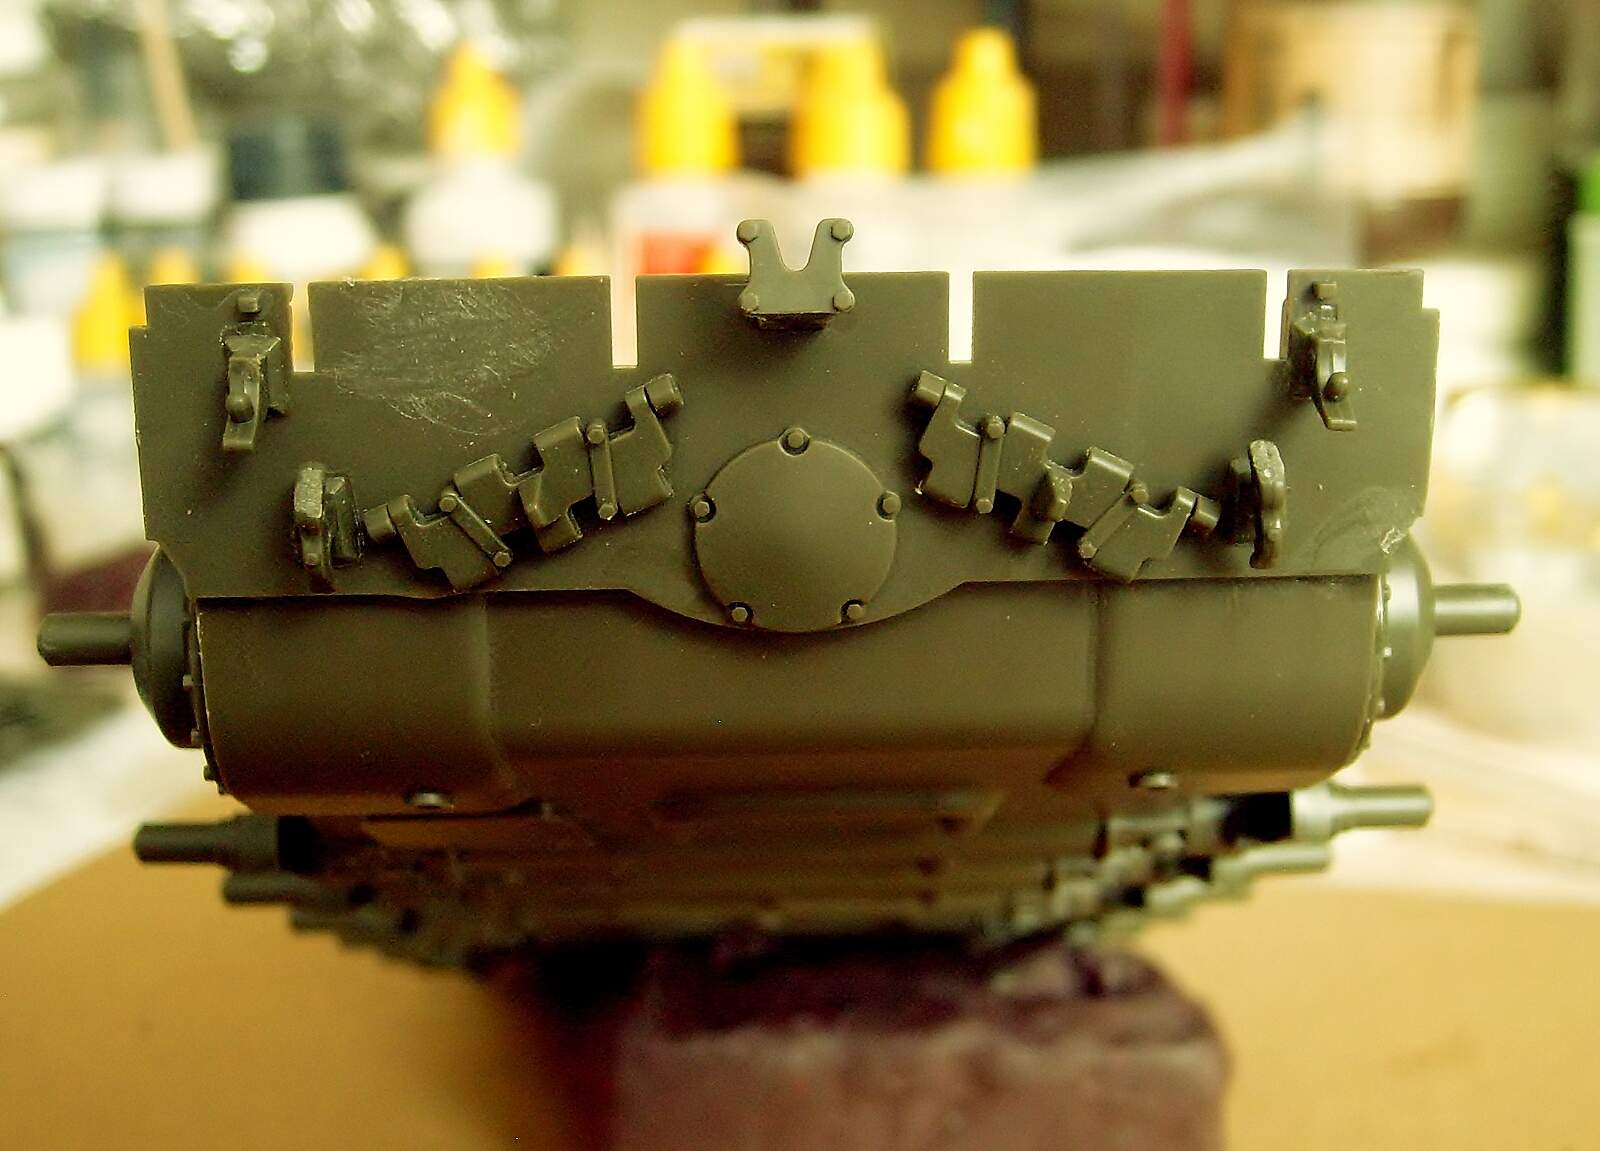
Another pic!
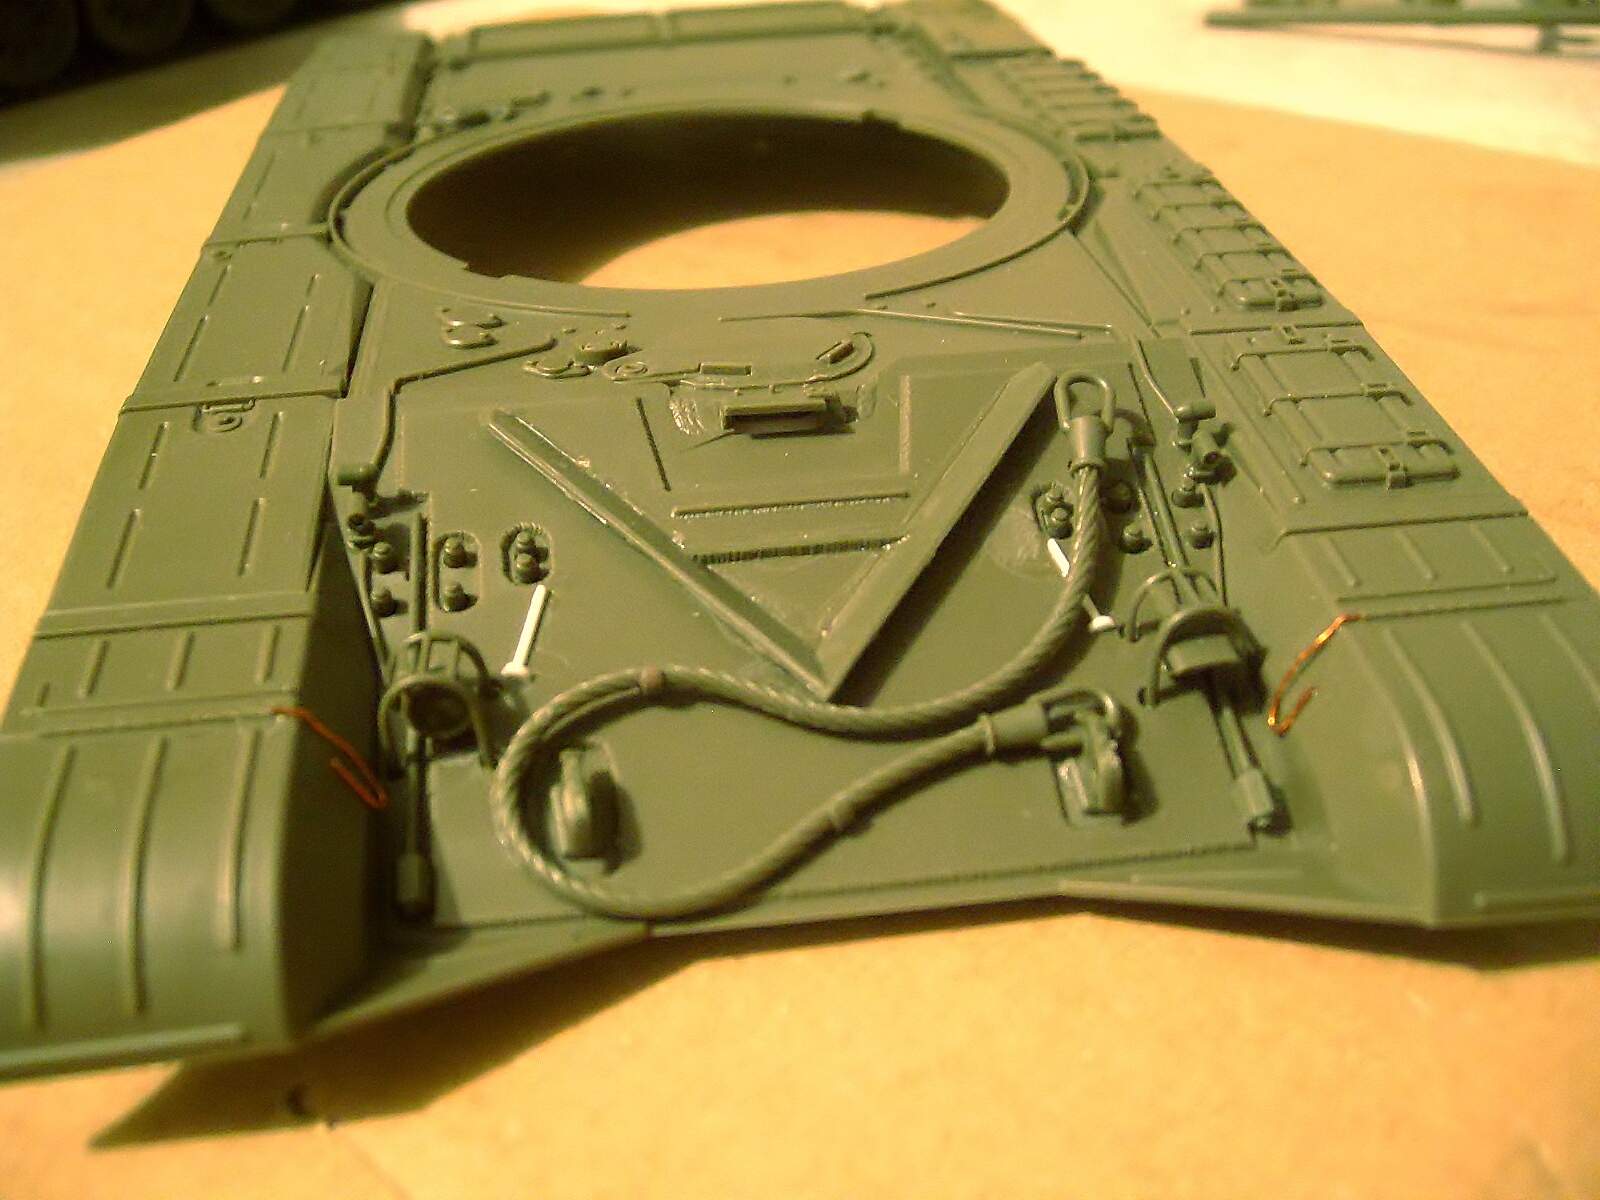
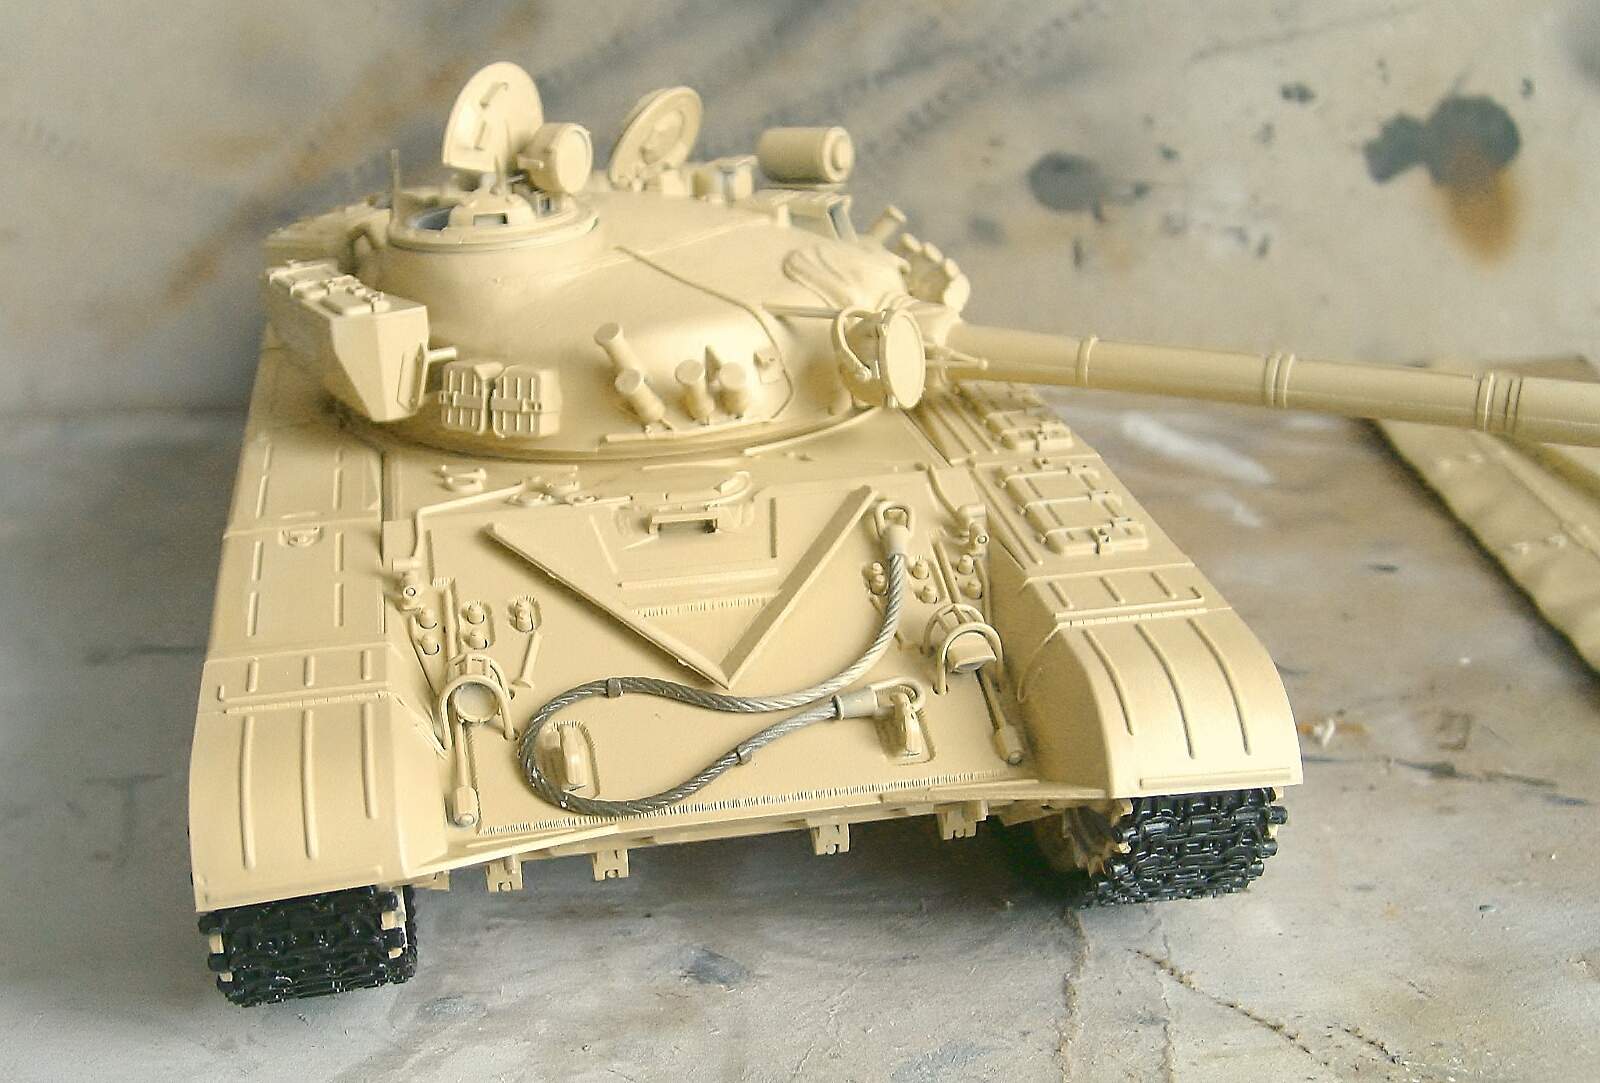
Hatch, tow cable, headlights and protectors and rest of front plate are ready!. Added 2 tubes on plate and hooks on the front skirt sides. (Tow cable is not glued).
Regards!
Rodolfo
Thank you for the information. I didn’t know that.
Olivier
Hi Olivier!.
Fortunately we have many updated information into Internet.
Another Pic:
Regards!
Rodolfo
Hello friends!
More pics!.
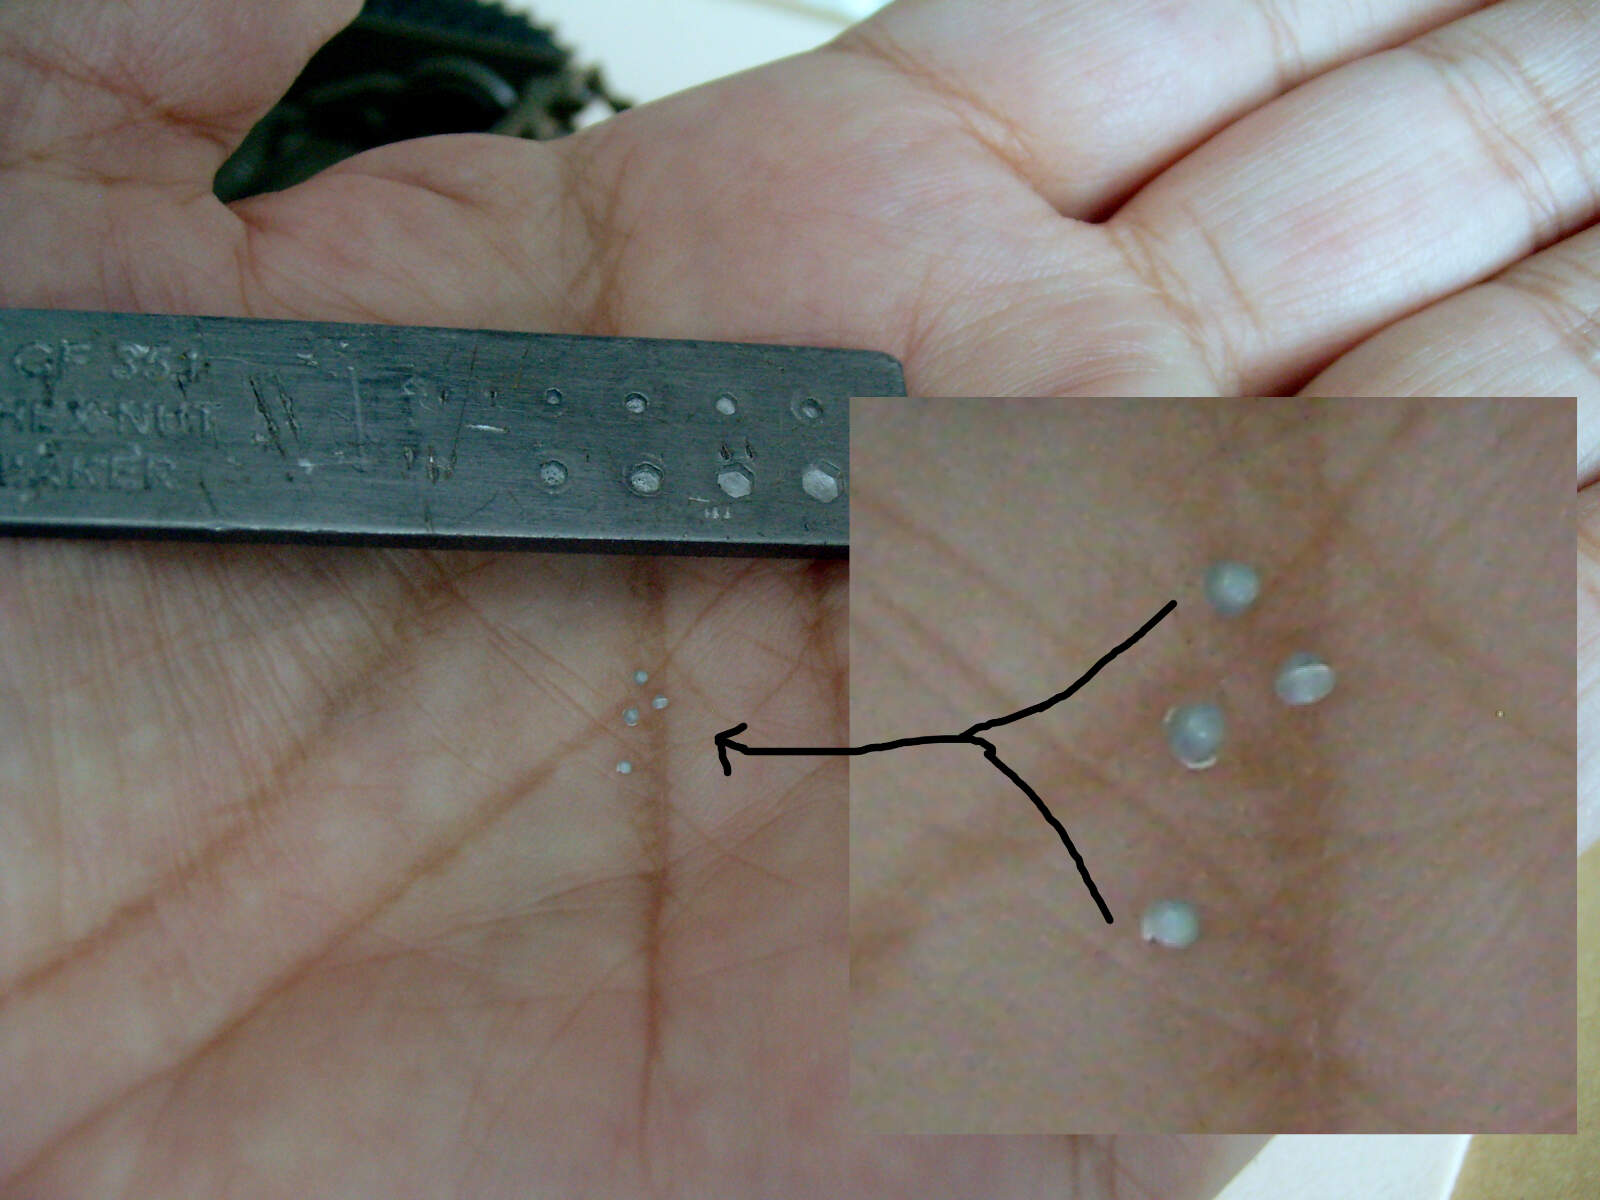
Added nuts on the fuel drum racks using my old tool Greif/Nuts and Bolts Makers.
Regards!
Rodolfo
can’t wait to see the outcome!
Thanks for your kind comments Logan!
More pics!
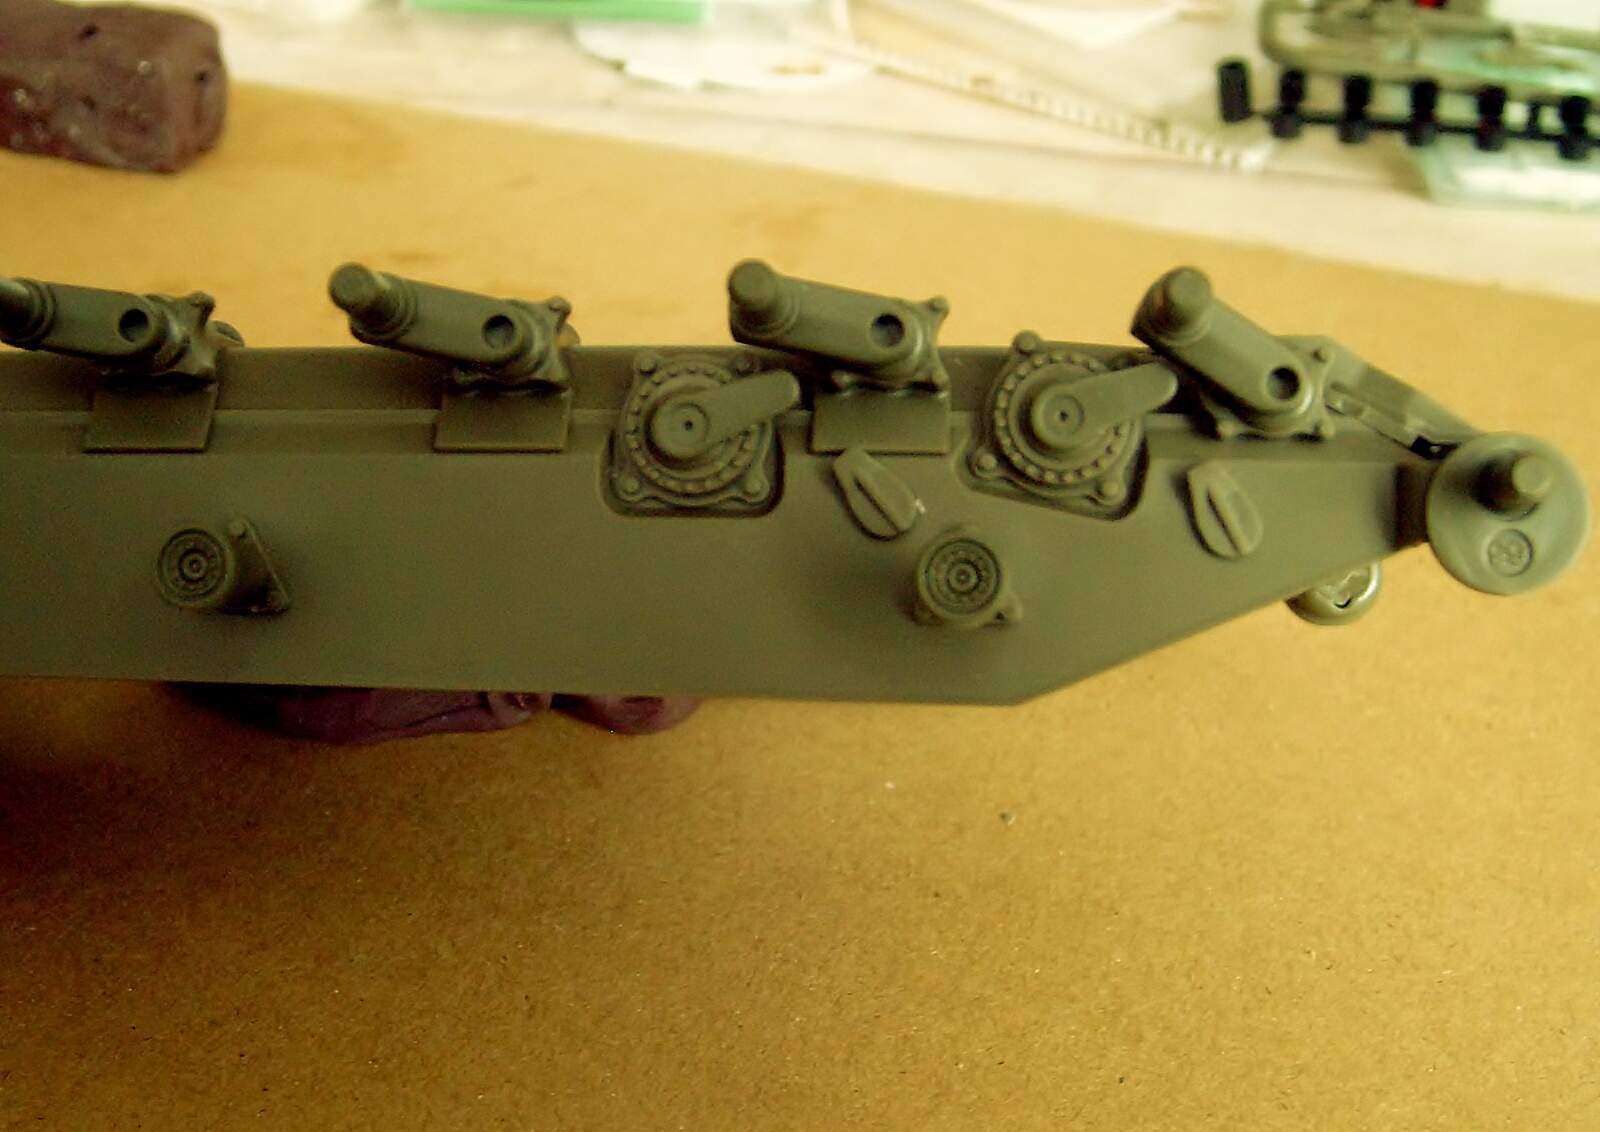
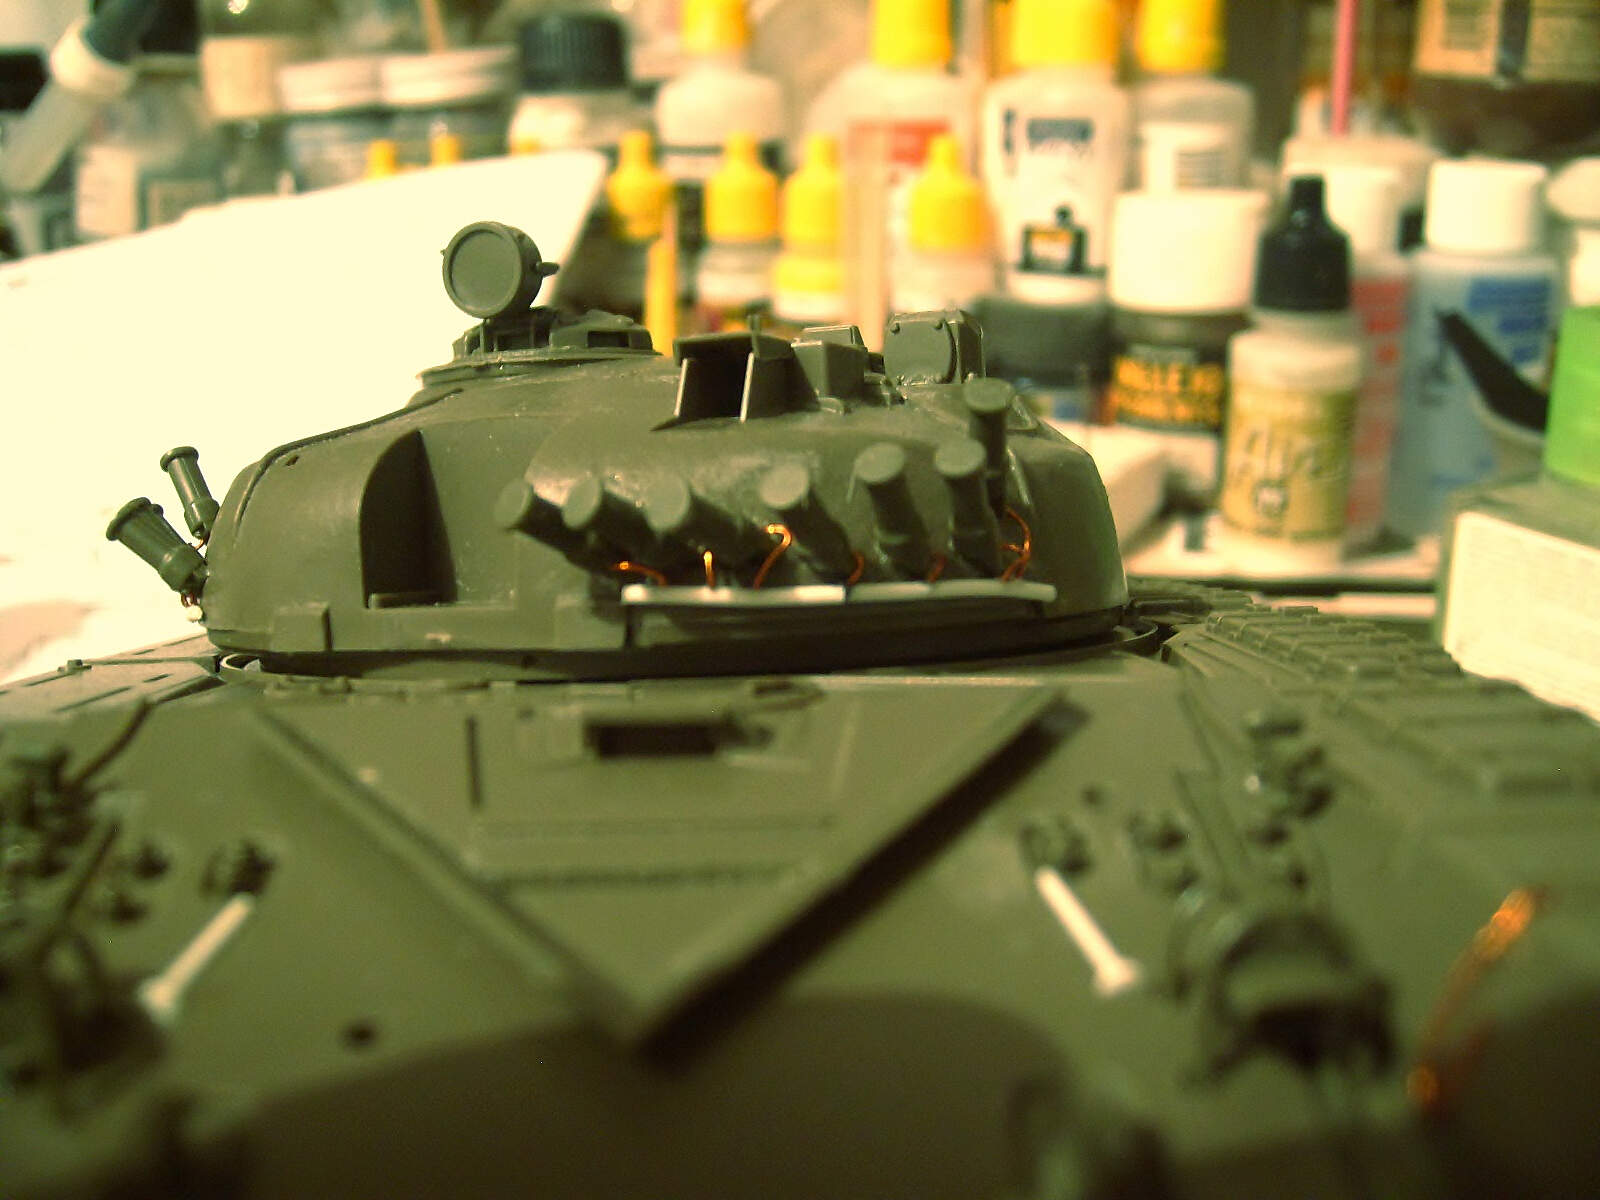
Added bolts on the fuel drum using my old tool Greif/Nuts and Bolts Makers. Added 3 hooks in the rear plate and cables with support below of the smoke launchers, for this they were lightly re-positioned.
Regards!
Rodolfo
Rodolfo, looking good! I really like the details you added to the smoke grenade launchers.
Thanks for your kind comments Wade!
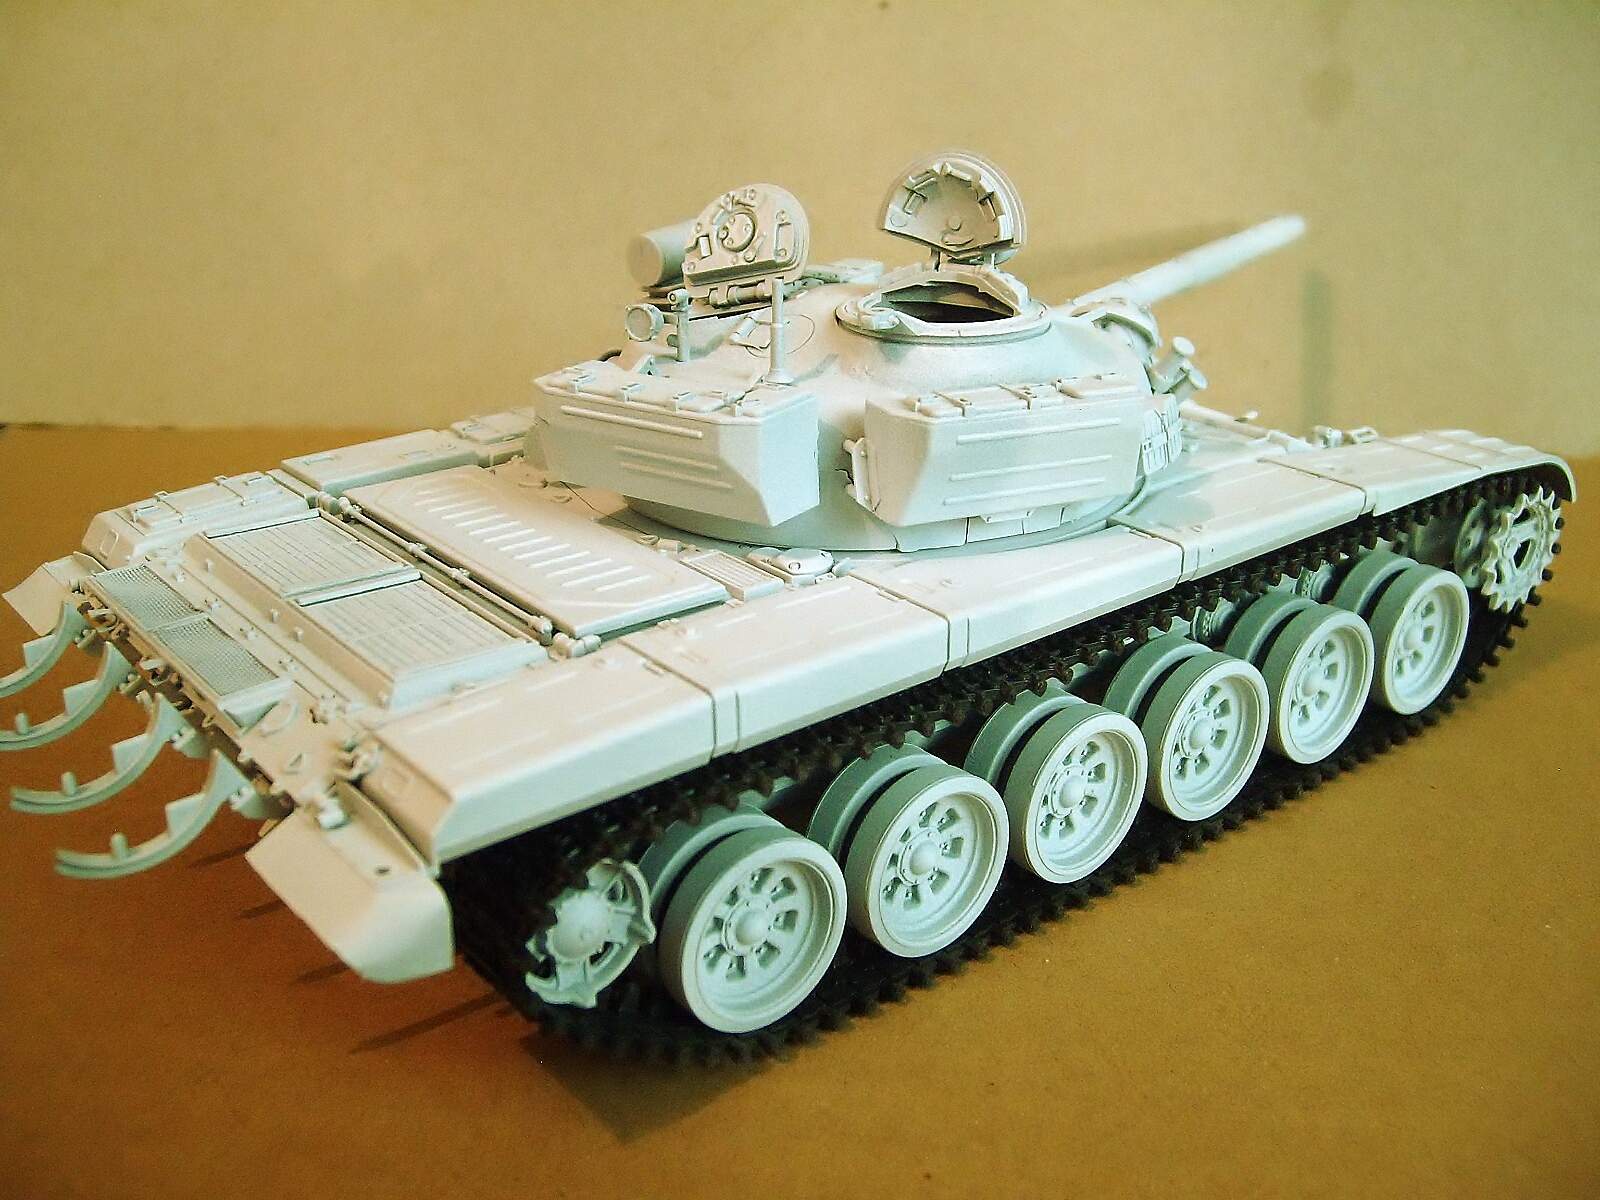
More pics!
Added a light coat of MIG/Surface Primer white. I will correct the rear Turret.
Regards!
Rodolfo
@rtvmodeler
The smoke grenades launchers look odd. They should point forward not the way you put them. Check your references! This should be an easy fix.
The base color is great.
Olivier
Thanks for your comments Olivier. I have already checked, it happens as I mentioned before that I had to reposition the smoke launchers to be able to accommodate the bottom connections, In fact, the tubes should go slightly above but it can pass as a “field modification” as it usually happens in those countries with all those T’s., armors.
Regards!
Rodolfo
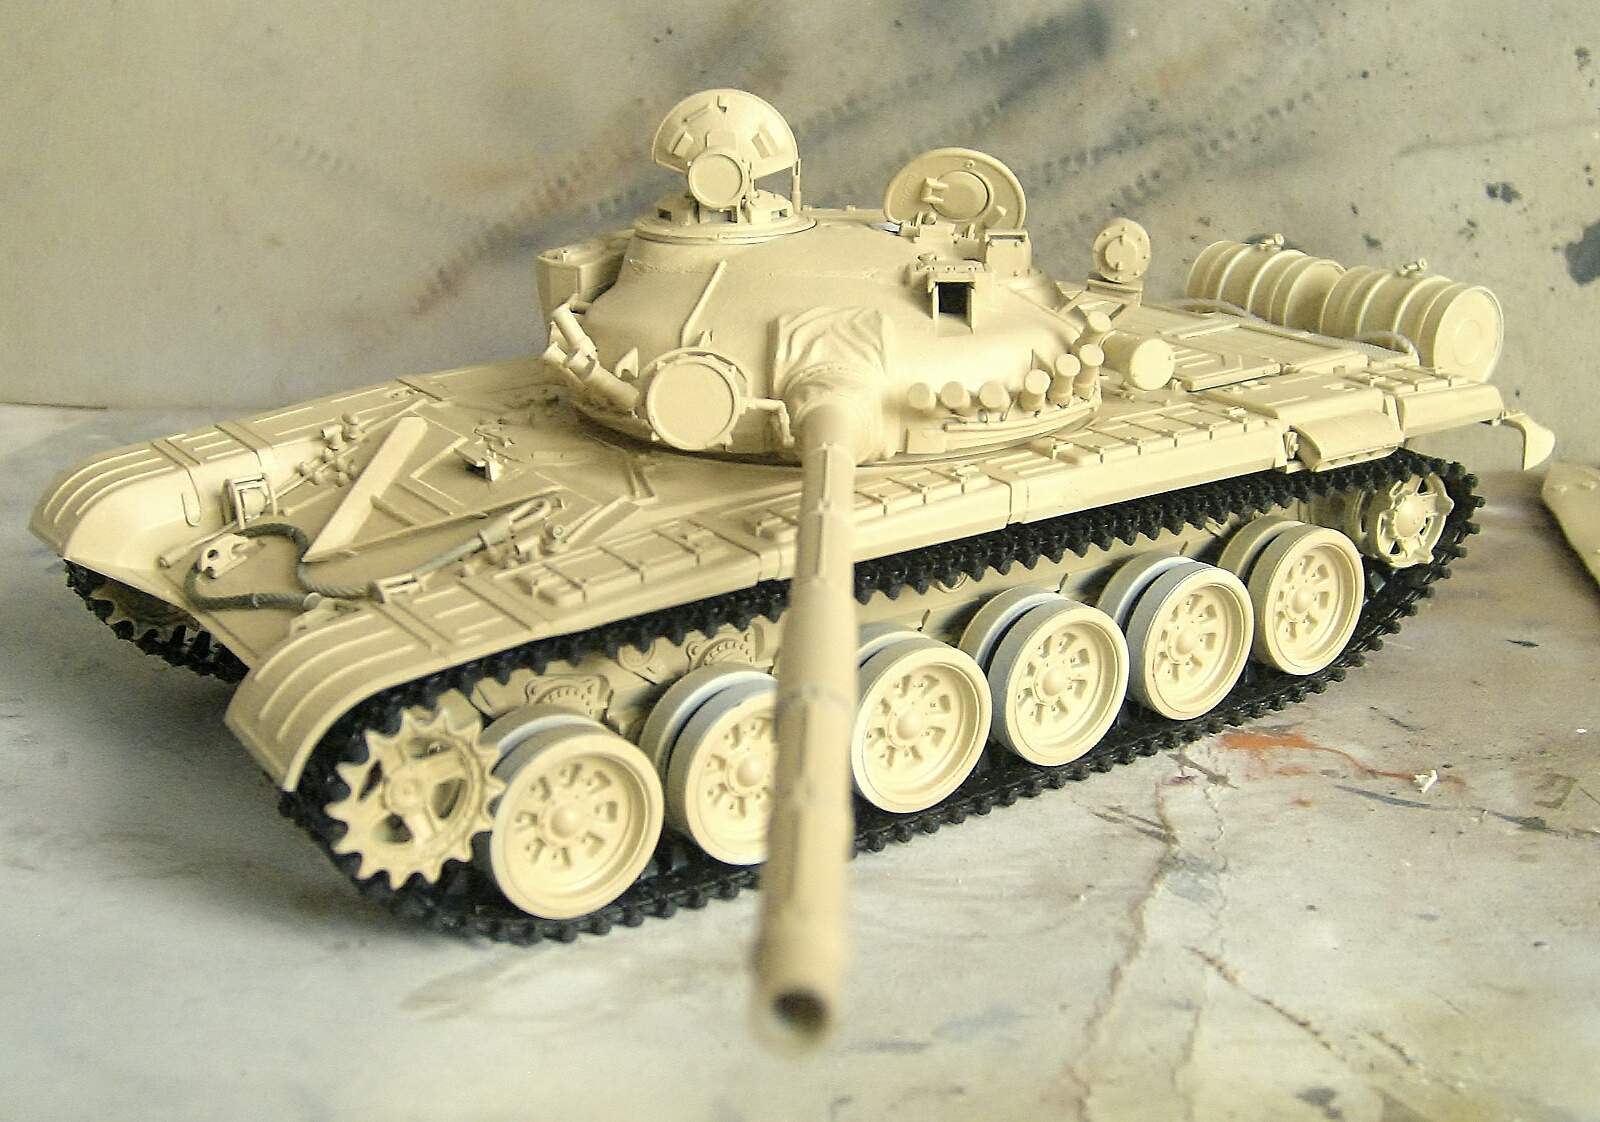
Hello friends!
More pics!.
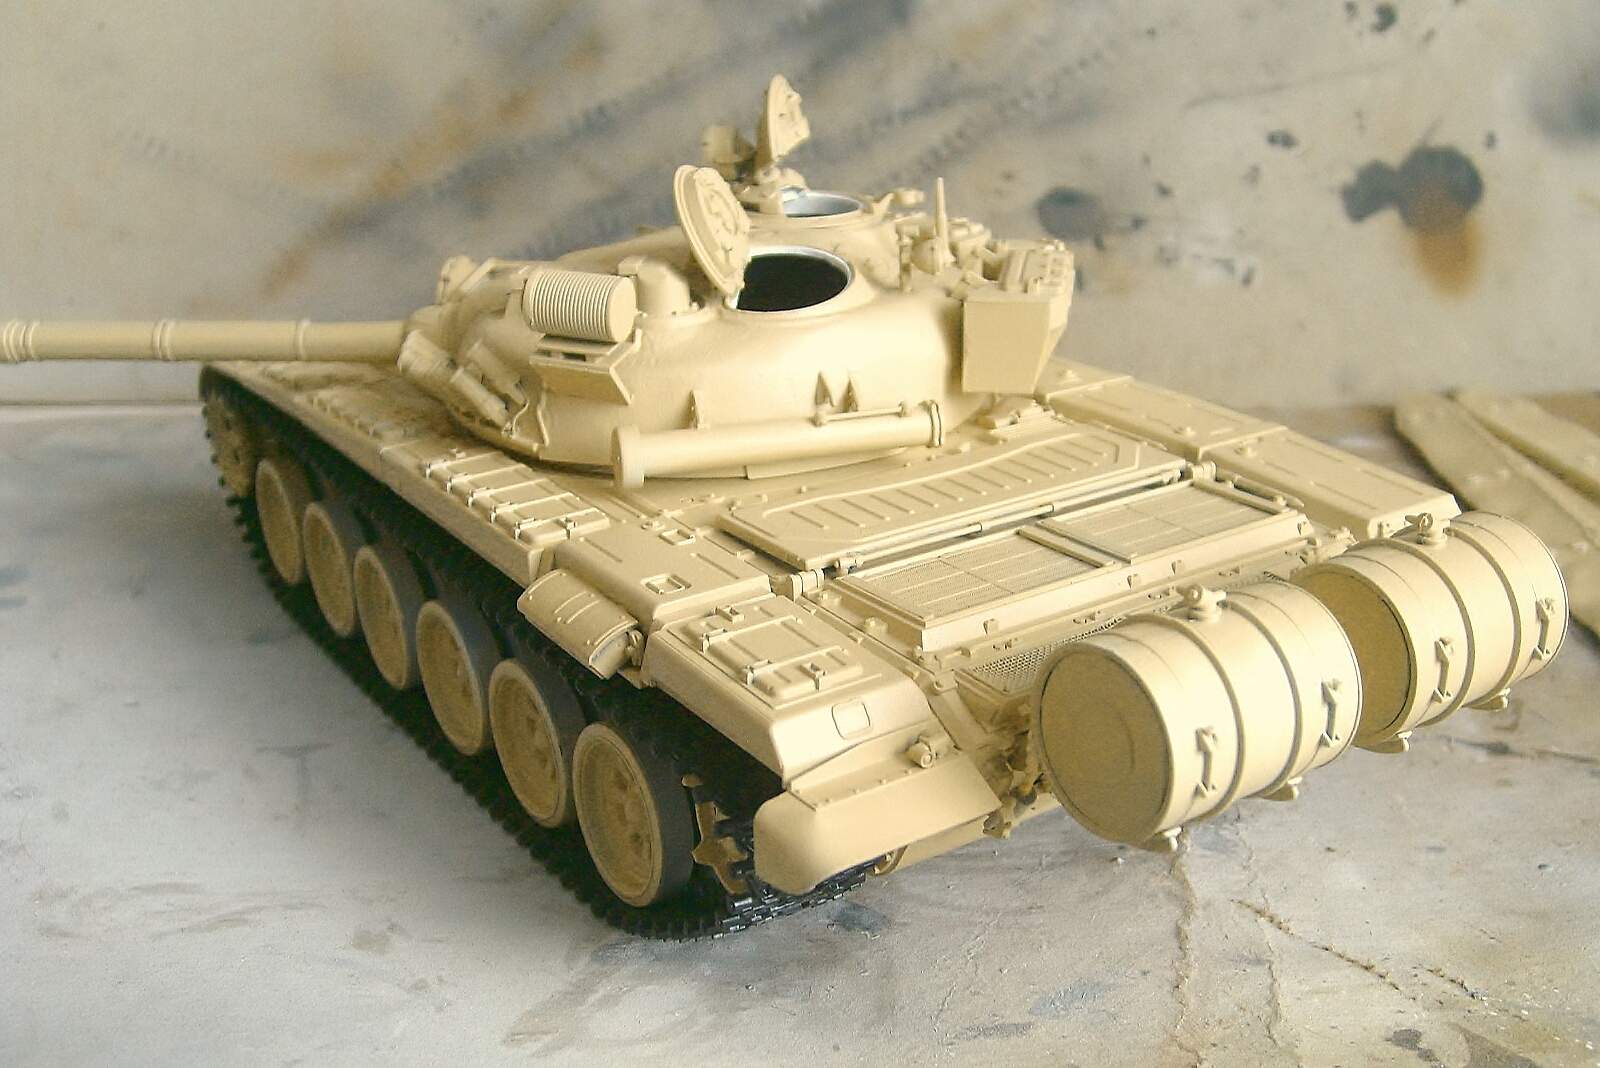
Painted with A.MIG-09 Desert Sand, decal was applied, inside of hatches were painted with Vallejo white and I will paint some details as wheels, etc.
Regards!
Rodolfo
Rodolfo, looking great!
Are you doing a factory fresh vehicle or adding scratches later?
These normally got beat up really quickly due to the low quality of the local paint.