WNW 1/32 Salmson 2-A2 USAS

Hi Ryan,

I blended my oils to get the color. Then took a very fine brush and went around and under the wheel rims. Then I gently feathered the paint toward the center using a NO#8 filbert. You have to move the paint around and swirl off the excess on a paper towel. Tell you what, give me a call and we can skype so I can show you.

HG

1 Like

OH, no clear coat or varish. This was done on lacquer paint.

1 Like

Your actually painting the oils. :+1:

I was thinking of another process where one is using the oils to basically stain the paint and have it act like a wash too.

I did this a decade ago for ship deck used as a figure base.
image

Still haven’t painted the figure. :disappointed:

I really like your outcome.

1 Like

Yes, I actually paint the oil colors. Mostly as filters or accents for panels. For washes you should get the oil out though. Hey that wood looks nice. Needs a touch of grey here and there, but I like the grain.

1 Like

It’s a Micheal Roberts 1/35 resin base, using a Ken Abrams technique I saw on a modeling site for fun.

1 Like

Cool technique, I’m sure it will come in handy for certain tasks. Thanks Brother!

1 Like

Hi Friends,

Some touch-ups to the weathering on the spines. White on top and black to the bottom. Sheesh, I feel like a make-up person. HA HA.

DSC02564 (Small)
DSC02563 (Small)
DSC02562 (Small)
DSC02561 (Small)
DSC02560 (Small)

Wow, does this bird need a proper dusting off.

DSC02559 (Small)

Next up will be the observers defense.

Huge thanks to Sunward Hobbies for sending the kit and paint for your viewing pleasure. Please visit their website at https://www.sunwardhobbies.ca/ and support a family owned and run hobby store.

Best wishes for the holidays and the new year.

11 Likes

Looking good HG!

All the best for Christmas and the NY! :blush:

1 Like

And the same to you Brother!!!

1 Like

Absolutley stunning work HG, havent checked in for a while and I am in awe of what you have done with this, makes me self conscious about my DFW and my simplified rigging (no eyelets) lol. Beautiful, hopefully I can see it in person sometime.

1 Like

Thanks Colin, most kind. It’s my first since the early 80’s… where has the time gone.

Now to be clear, this type of aircraft isnt one I would even open the thread on usually … but once I saw the HG icon I knew it would be worth jumping in on. And I wasnt disappointed. The sheer level of intricate detailing is phenominal, the internal line rigging, the painting, the engine … and that wing rigging … that is totally mind blowing and those little loops and eyelets … it makes my eyes hurt just thinking about doing that. What an incredible build :+1: :+1:

1 Like

Thanks John, most kind and more to come. All the best.

Hello Fellow Flyers,

Just when you thought all the rigging was done… right? HA HA not a chance, they threw in another bit of joy at the end of the build. Well at the end of the instructions that is, certainly not the end of this build.

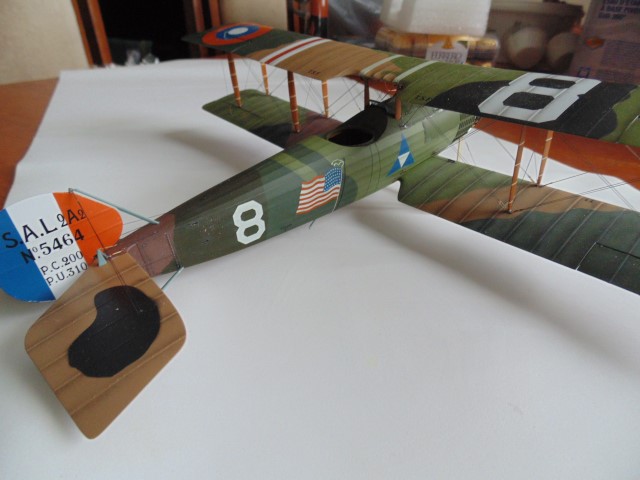
An important part of the look of this air craft is the observers turret. Not a huge number of parts, yet a good day’s work.

DSC02607 (Small)
DSC02608 (Small)

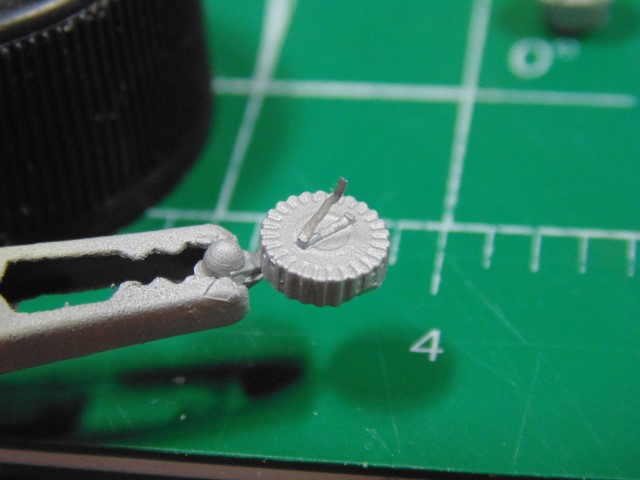
These ammo canisters had leather straps so they could be attached with one hand. Some flattened 0.2mm led wire was attached with CA.

DSC02609 (Small)

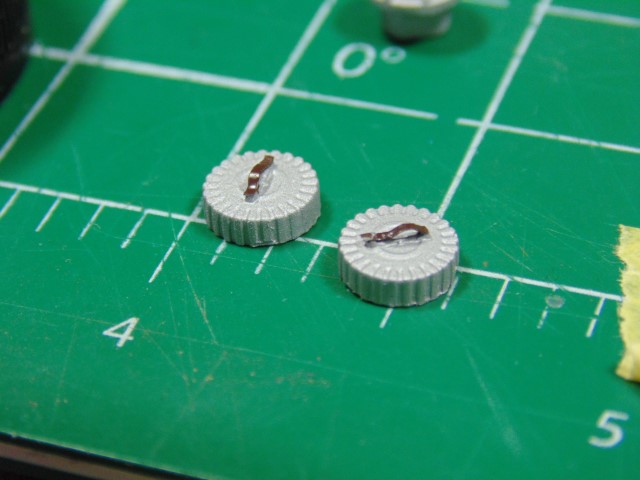
Then I painted it with a dark leather brown and attached it after the bottom was painted. Maybe overkill, but it was easy to do and adds another dimension to the overall look.

DSC02611 (Small)

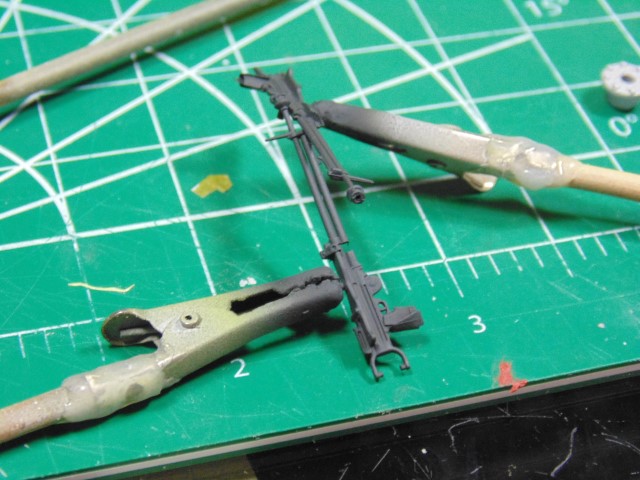
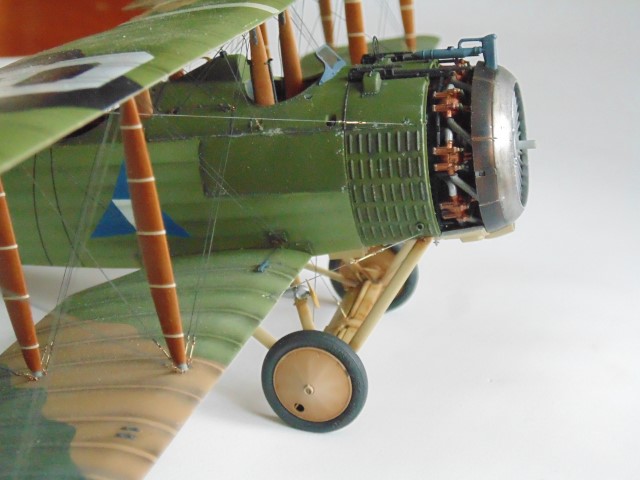
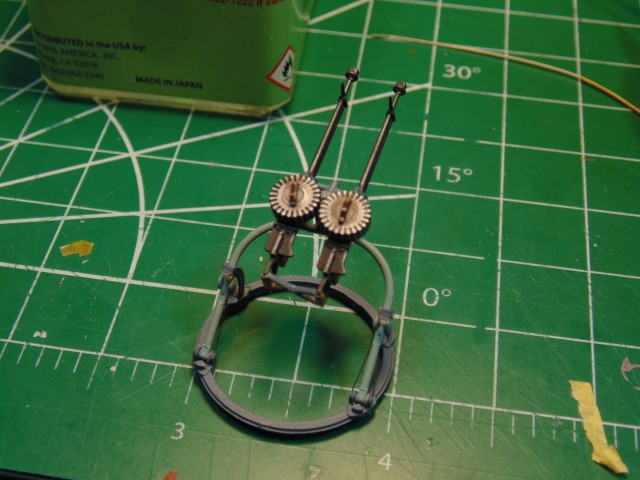
Next the US made Savage Lewis guns. I used NATO black because I’ve yet to find a nice looking gun metal. Comment below as to what is your favorite.

DSC02613 (Small)

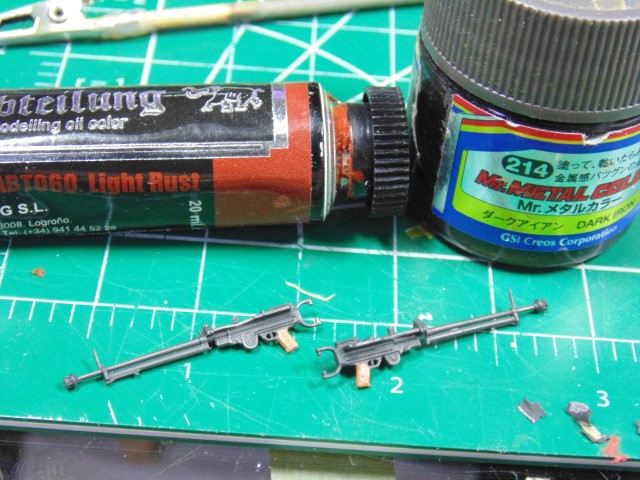
Dry brushed with metalizer then the handles were painted with desert yellow and then oil color. Looks the part I feel.

DSC02614 (Small)

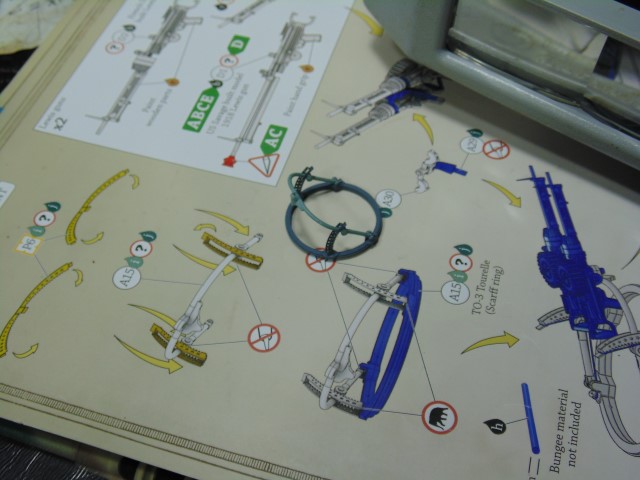
The turret ring and gun support. The lighter blue color is artistic license to break up the medium blue parts.

DSC02616 (Small)

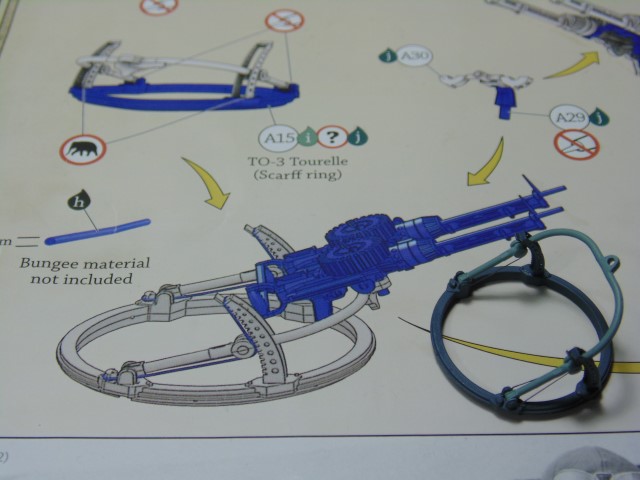
The bungee cord will not fit as shown in the instructions. I drilled 0.4mm holes and made it look close. THAT is the end of the rigging… whew!

DSC02617 (Small)

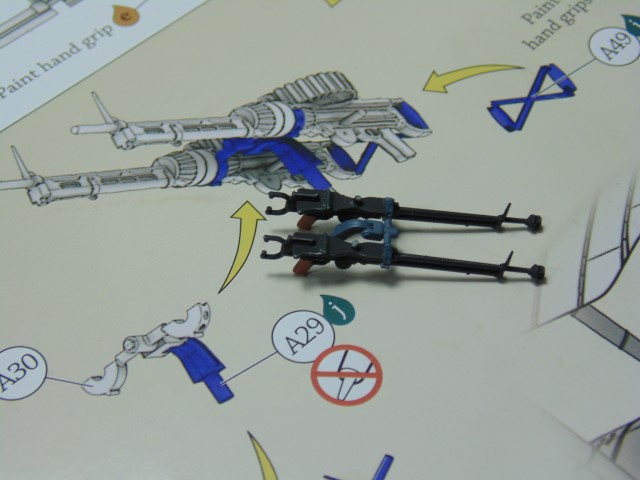
I knew how this was going to go just by looking at it. Here’s a tip, cement one gun and let it set up, then attach the other.

DSC02618 (Small)

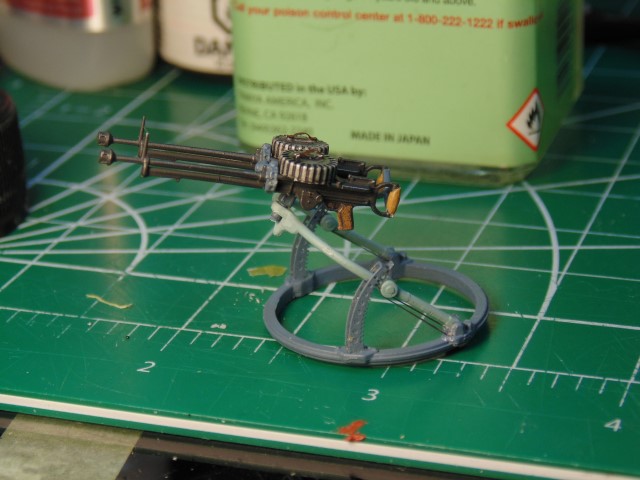
I decided to use a lighter wood tone for the handles for contrast and after a wash and more metalizer dry brushing completed this sub assembly.

DSC02620 (Small)
DSC02619 (Small)

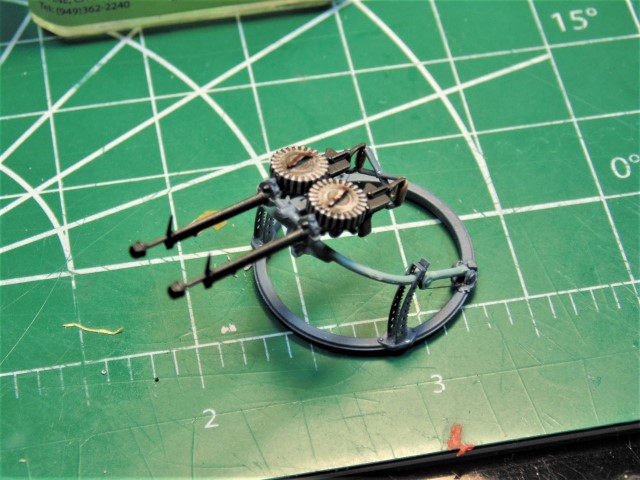
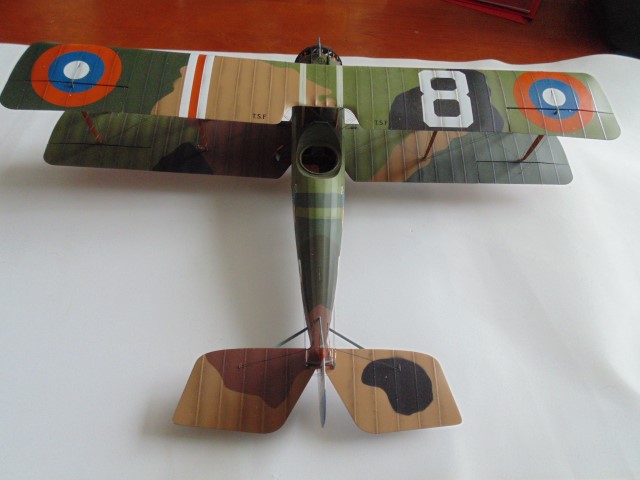
Once this is on the plane I’ll decide if more dry brushing is needed. There’s still a bit of work left on this build, but the next update will have it completed with plans for the diorama.

Very special thanks to Sunward Hobbies for sending over the kit and paint for this article. Please visit them at https://www.sunwardhobbies.ca/ and consider supporting a family owned and run hobby store where new products are constantly coming in.

Thanks Everyone and best of health.

8 Likes

Lovely MG mount and all the ancill’s. I also use NATO black for MGs, it gives a nice dull finish. And if needed a brush over some graphite powder or pencil.

1 Like

Yes, same effect with a pencil. I use the dry brush because the parts are so delicate. Thanks John.

1 Like

Just realised you hail from the lovely Edmonton … many a happy weekedend I spent there and the huge mall on the waterslide lol … or in Calgary from my BATUS days… happy old days indeed

1 Like

Was born and raised in Nova Scotia and NFLD, saw many a shark and whale. Live in Edmonton because of all the pretty women. :slight_smile:

1 Like

Great work on the MG’s HG, they look superb :smiley:

1 Like

Thank you Tim, she’s almost complete.