@TacFireGuru Michael, great progress! Neat trick with the PE tie downs for the side.
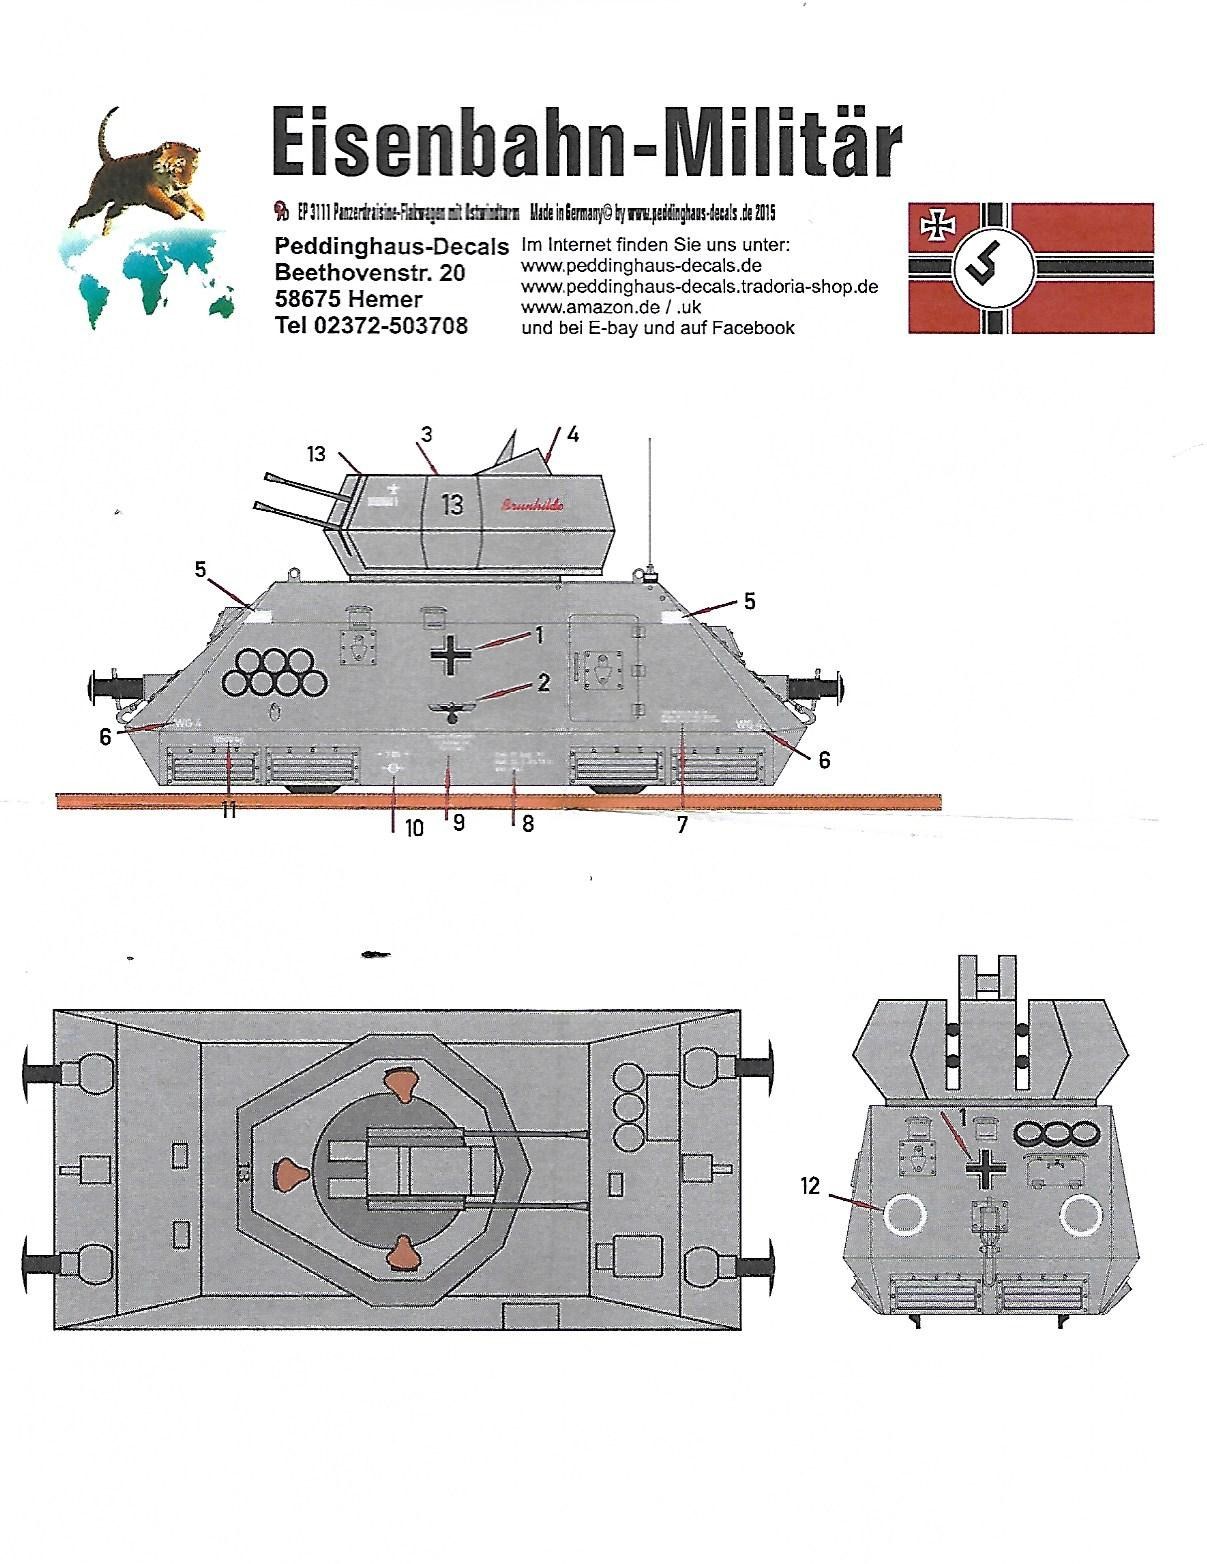
If you have some instructions from another on where the markings go, please share if possible. I have ordered the Peddinghouse decals, but not received them yet.
The infanteriewagen has a number of large U shaped tool holders on top on the hull. It shows the tool are just dropped in those. That seems extremely unlikely as they would fall off. I am planning on scratch building some tie downs for tolls. What is your plan?
I’m not going be able to build much of anything that’s sized smaller than a nickel for the next week. Seems I managed to run out of my “attention tremor” meds sooner than I was supposed to (??). Can’t get them until Wednesday and it’ll take a couple of days for them to kick back in.
I tried to put the PE steps on by the side doors and never really got a piece close.
So, I’ll sit back and enjoy the builds, hope I get my entry to the Shermania Campaign approved, and maybe, finally, see about the wheel masks for that Kurogane I’m building for another Campaign.
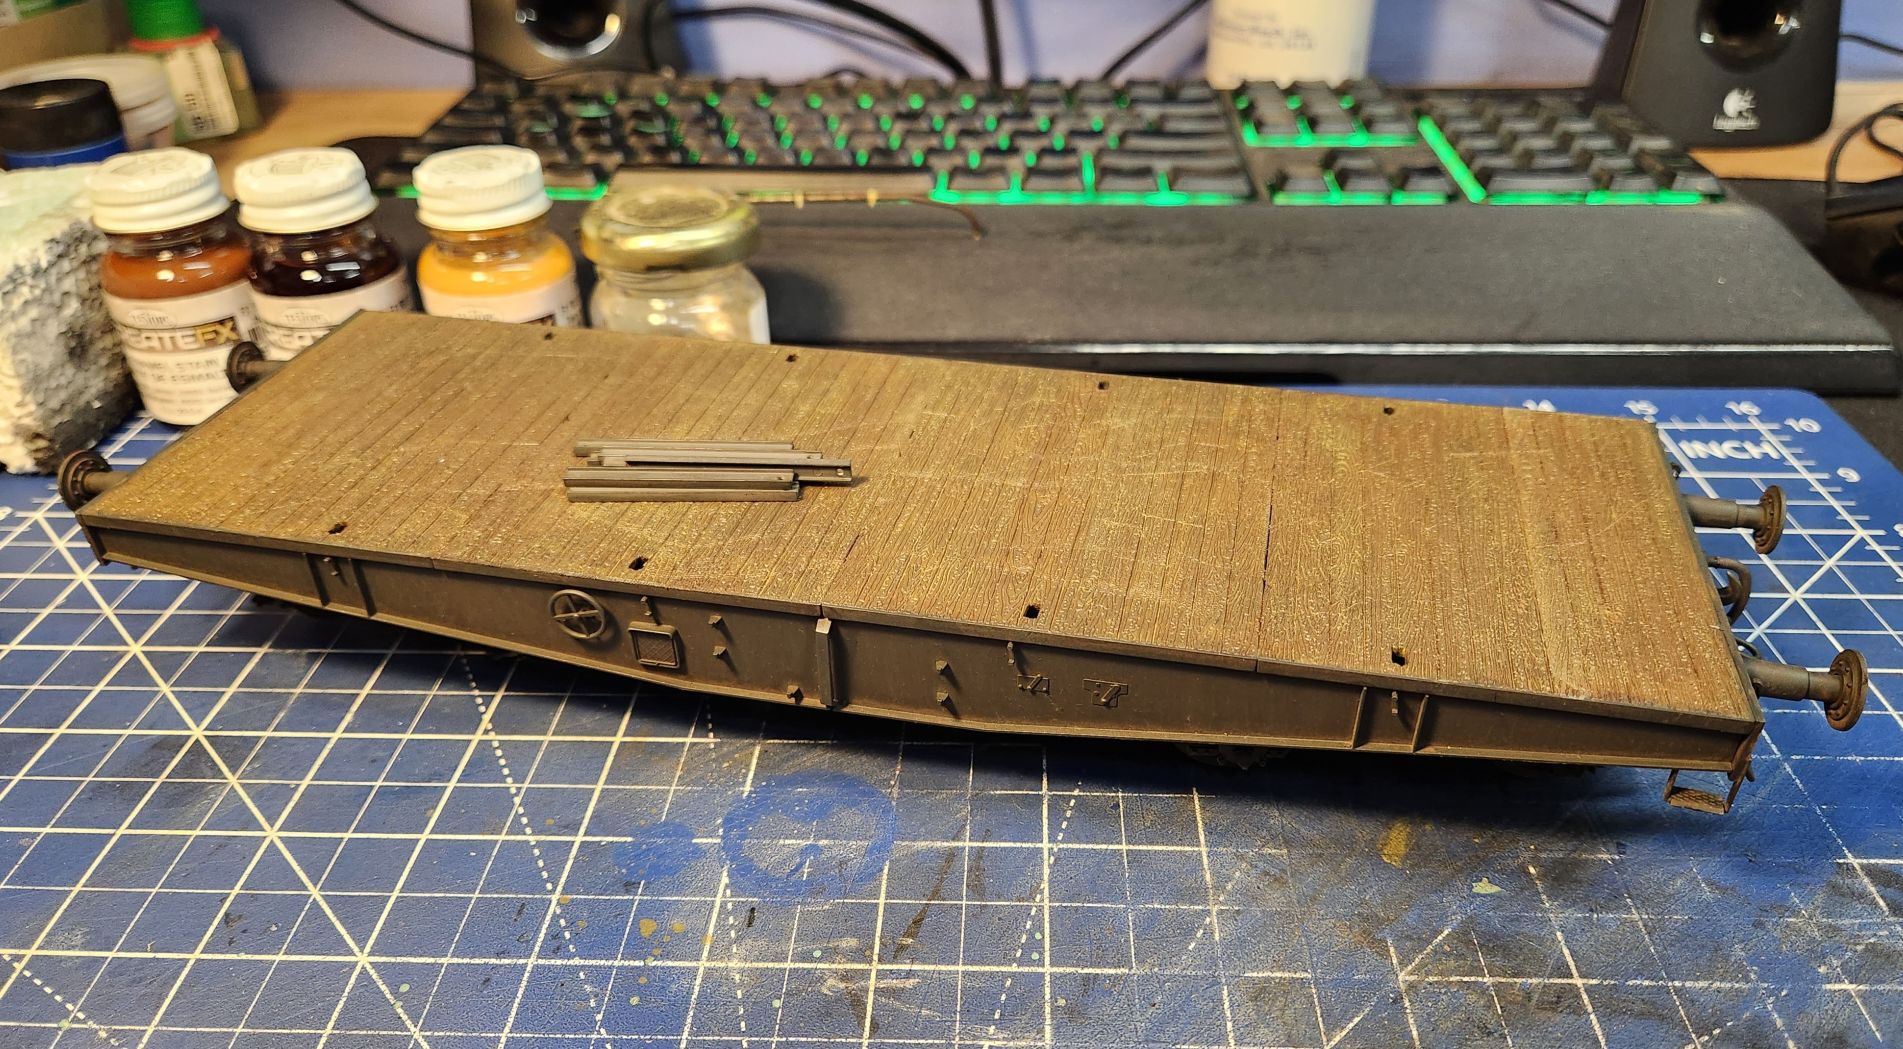
Okay, so the bulk of the paint is on the Takom/Sabre Type SSys plattformwagen. Just need to add some dust, dirt, and various stains from leaky vehicles after decals go on. I see the camera lighting wipes out some of the tonal variation in the wood so I’ll try to exaggerate the effect a little to get it to come out. The frame of the platform also does not look brown in person; it is still RAL 7021 dark gray.
There’s a place about twenty five miles from me that is almost certain to have it. He has tons of flat boxes filled with old brass detailing parts. I could look next time I’m up that way.
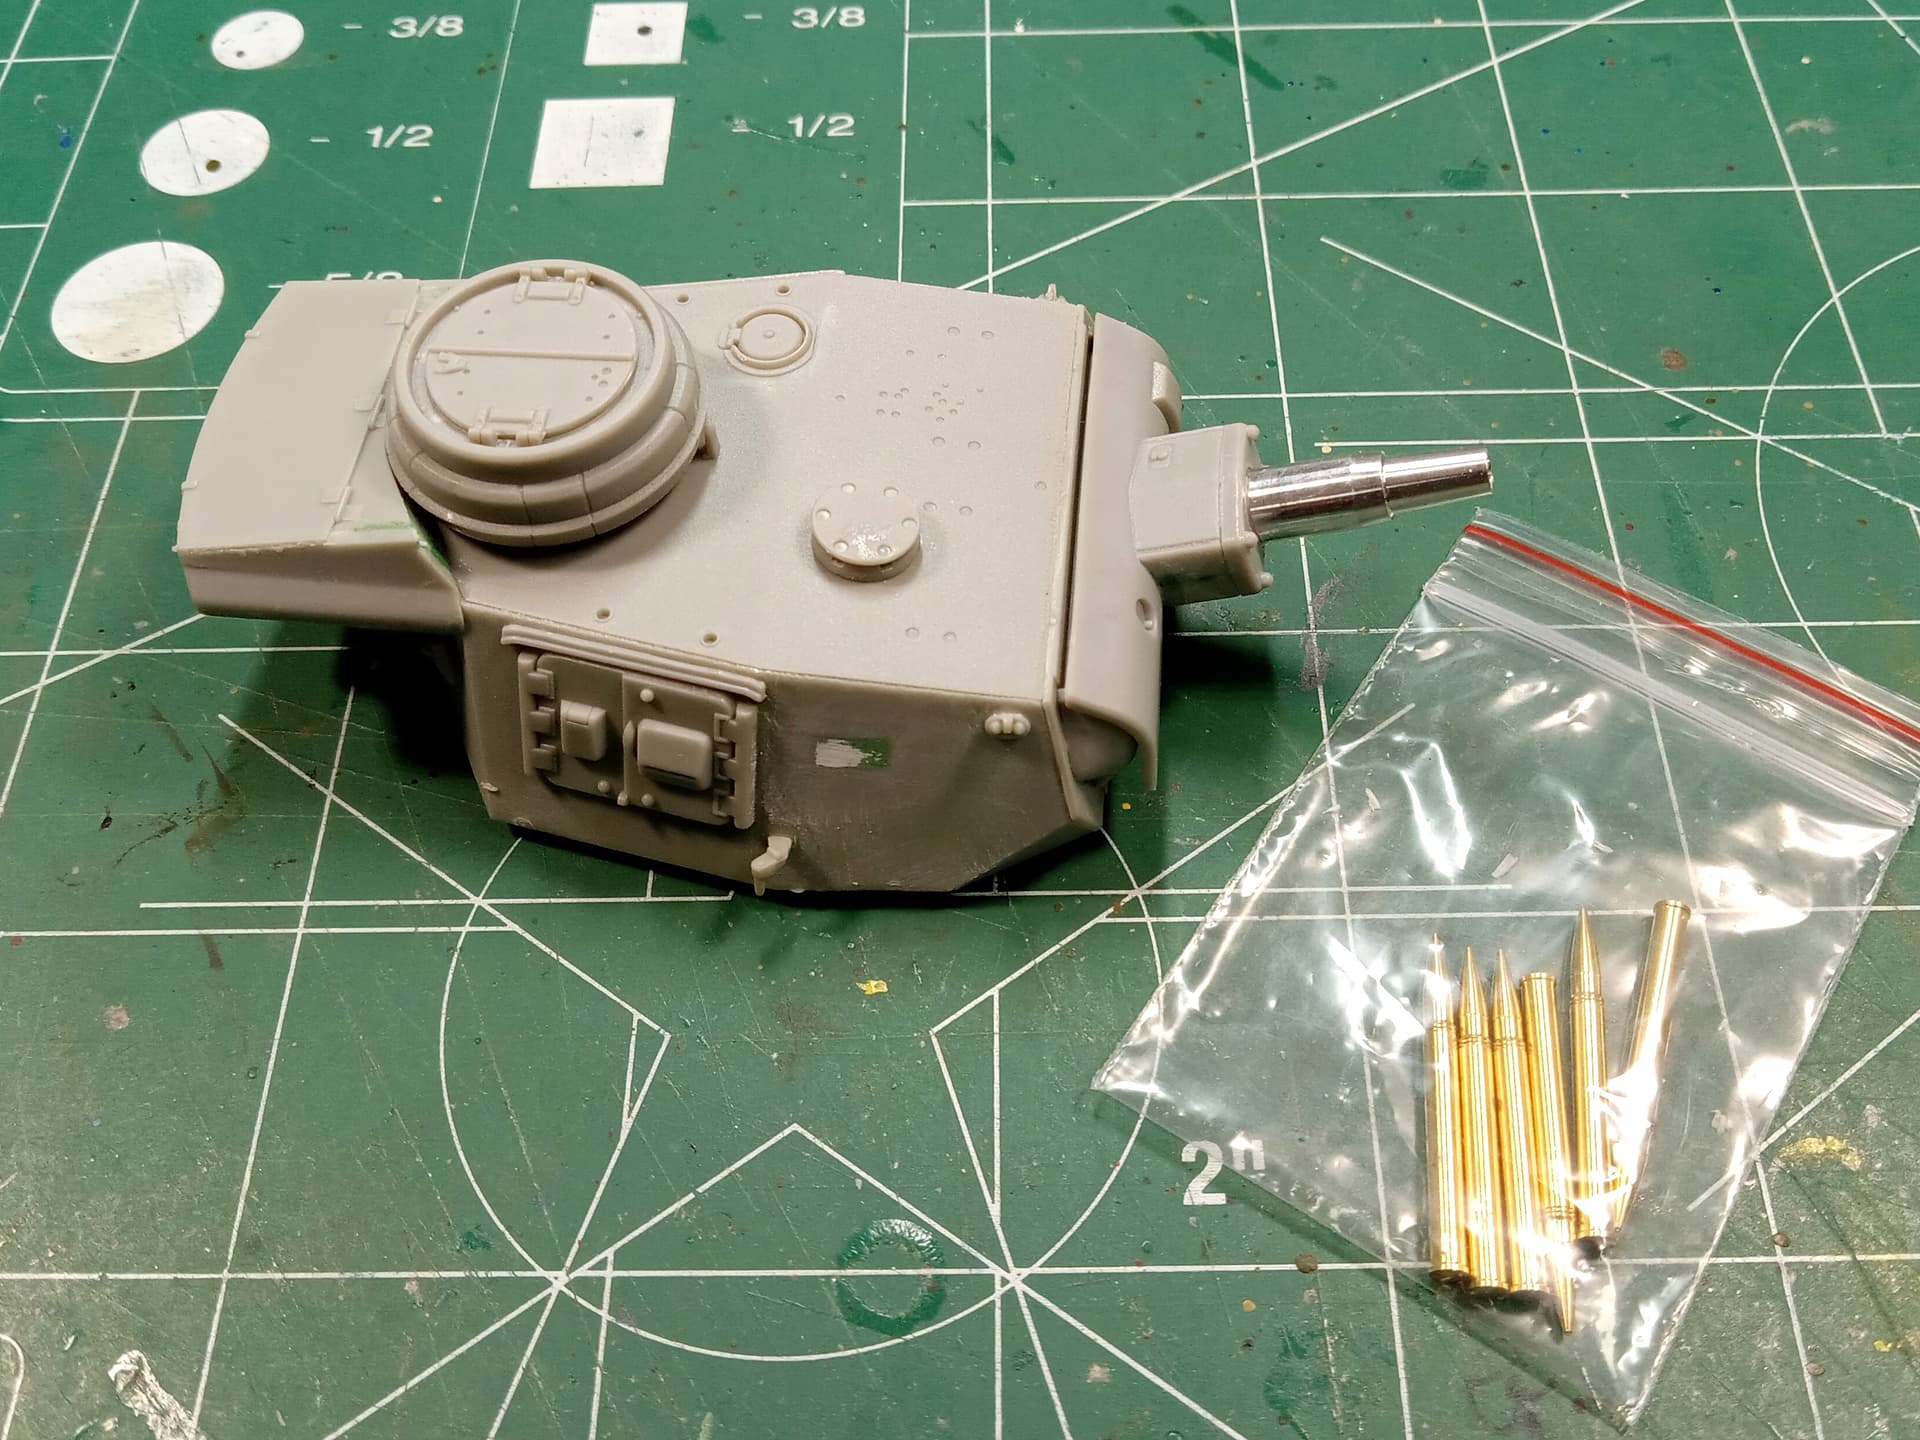
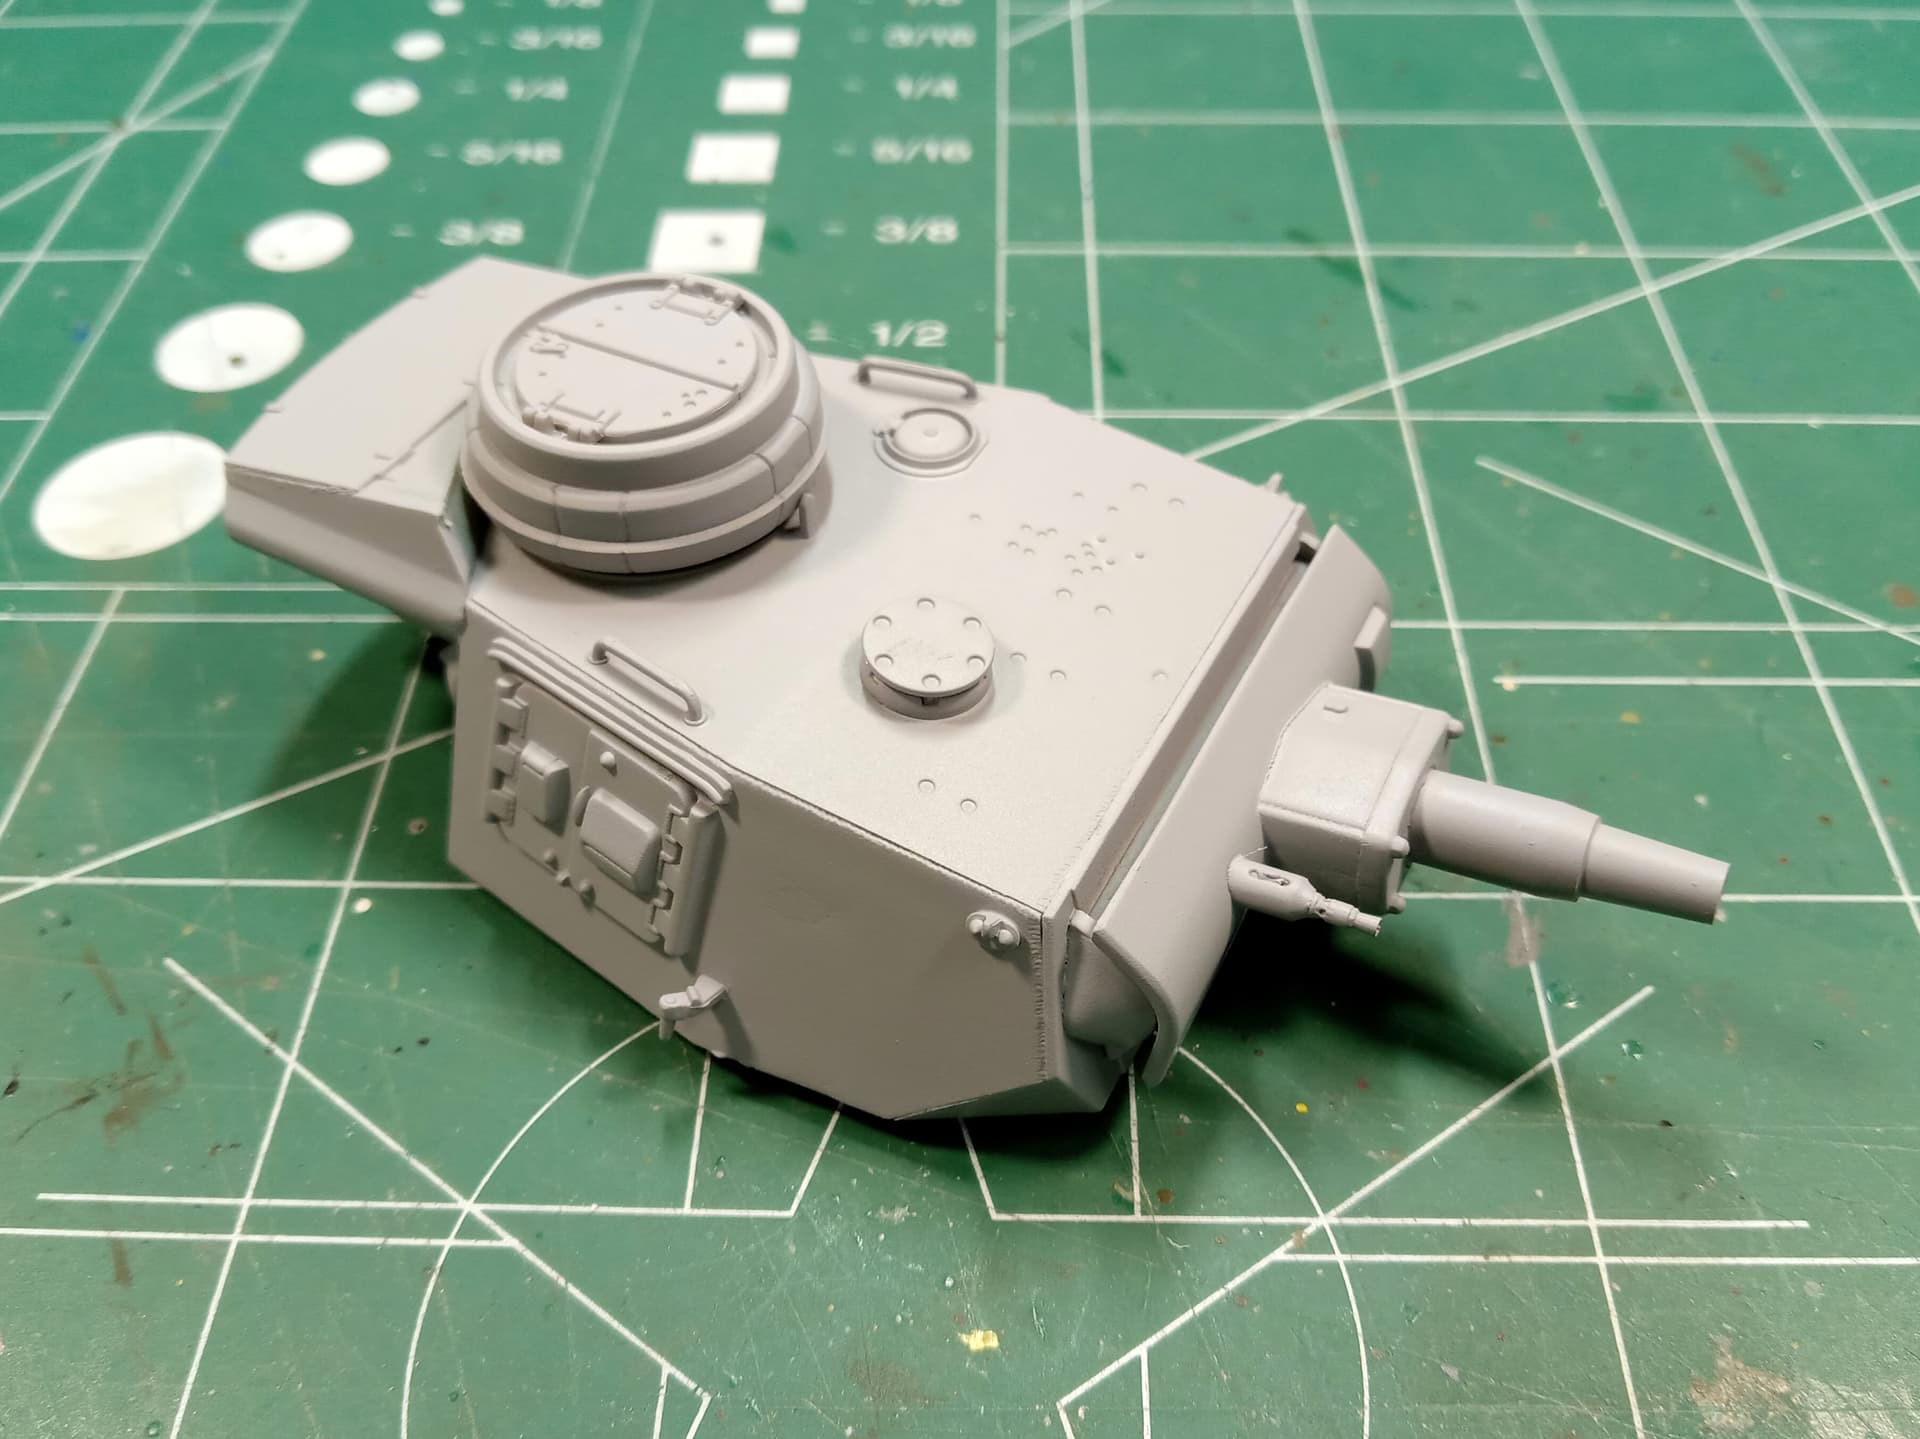
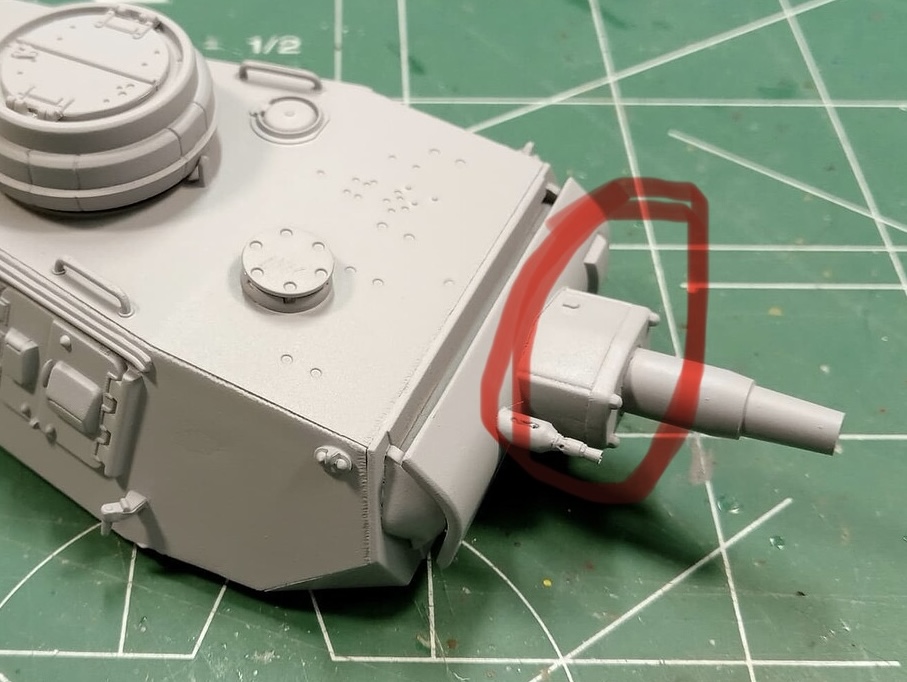
I did compare and it’s sooo close, just something “off.” Eh, I’ve just added the roof’s grab handles and the MG. I’m not going to worry about it anymore and it’ll be ready for primer shortly.