A little update on the BR86
 1000135264 by Shaky962, en Flickr
A little update on the BR86
1000135264 by Shaky962, en Flickr
Those rail cars had their own a internal combustion engine. If you want to portray it is running around on some secondary or branch line track, the certain grime would be like a heavy duty truck, I would say.
However, these things ran around on railroad tracks or sat on the sidings and in the yards of the rail network that was overwhelmingly powered by steam locomotives. Steam locomotives are magnificent soot generators. After a few weeks of being alongside an active rail line, even if there was a good amount of rain, it would gather a film of soot. German steam locomotives burned a lot of lignite coal which is pretty dirty.
I’ve always heard of lignite coal referred to as soft brown coal. Can anyone out there tell me if the soot is good old-fashioned gray-black, or did it have a brown hue to it?
I think the German railroads had tens of thousands of miles of track. I do not know if their ballast changed from region to region. In the United States, there were several different ballasts used depending on the region. Each one would pulverize into rock dust of a particular color. As trains went by, it would stir up the dust. The dust would cover whatever rolling stock was nearby. Many rail lines in Germany that I’ve seen are ballasted with brown aggregate. That dust would settle in with the color of the ballast. However, if you look at images of steam and diesel locomotives operated by the Santa Fe, you’ll see a lot of light colored dust sprayed up on them. It all depends on what environment the train is running through.
That dust would also carry fine particulates of oil, grease, metal shavings.
Some of those particles would be the brake shoes. I don’t know if the brake shoes were metal, or if they occasionally had their pads replaced by some other material.
I weather my rolling stock with a mixture of rusty and dark browns, and a sooting coating. You can decide if it covers uniformly, how it lays on the vehicle, or if you want to show streaks.
Hope this helps.
Thanks, Fred! Nice insights. I tried looking at old photos of these drasines, but being black and white and old it is difficult to see weathering although it seems to be light.
Good point on the internal engine. I need to remember the soot from its own engine.
Thanks for the input. ![]()
![]()
Is the BR 86 an olive color was that the way the exposure is making a weathered black appear?
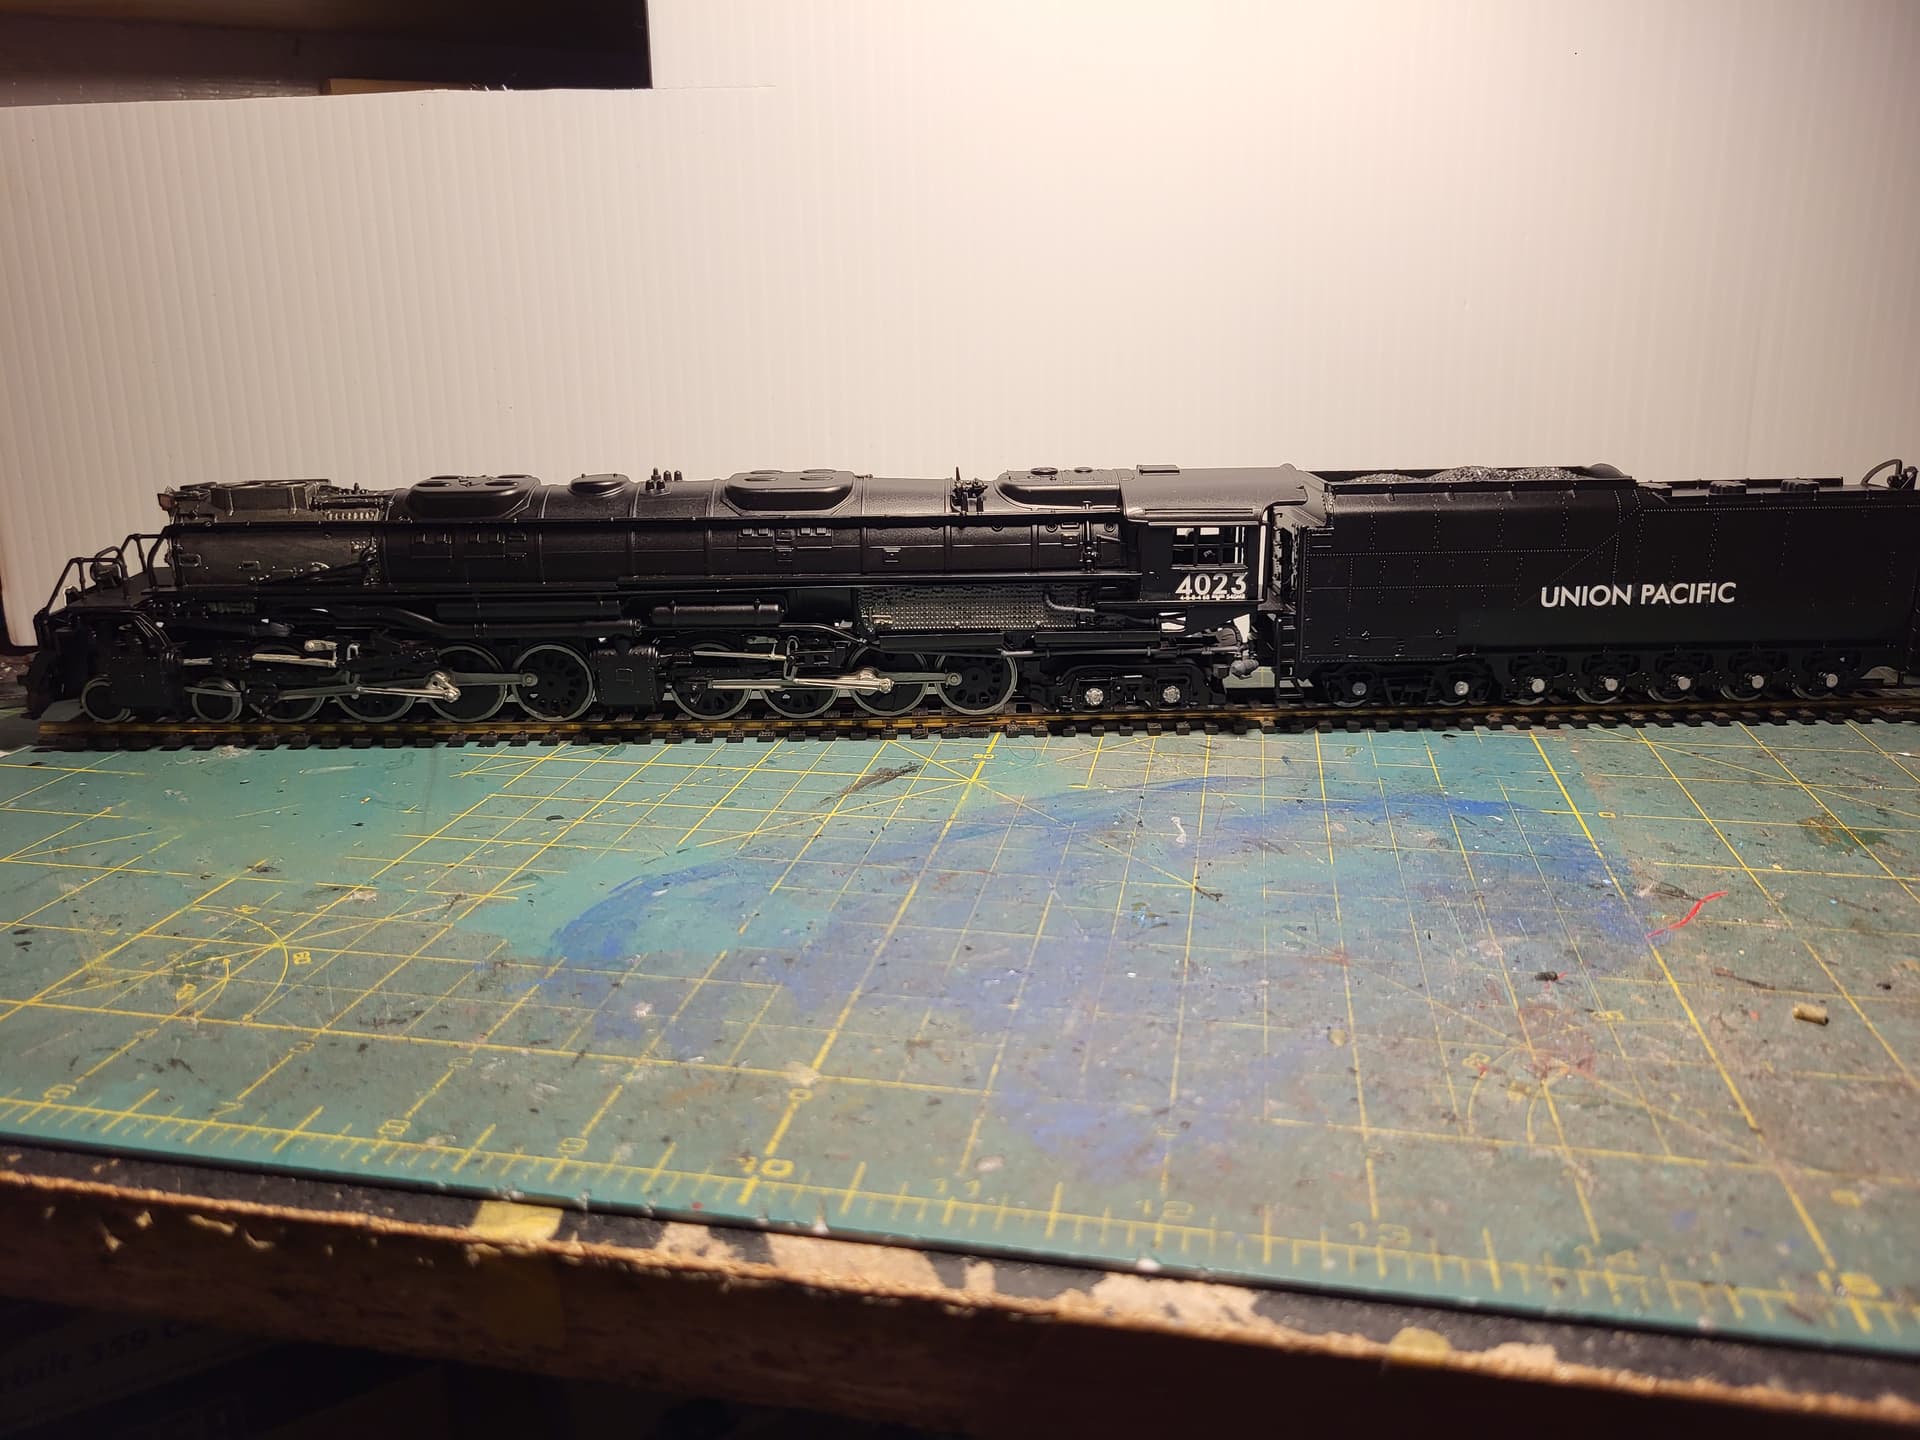
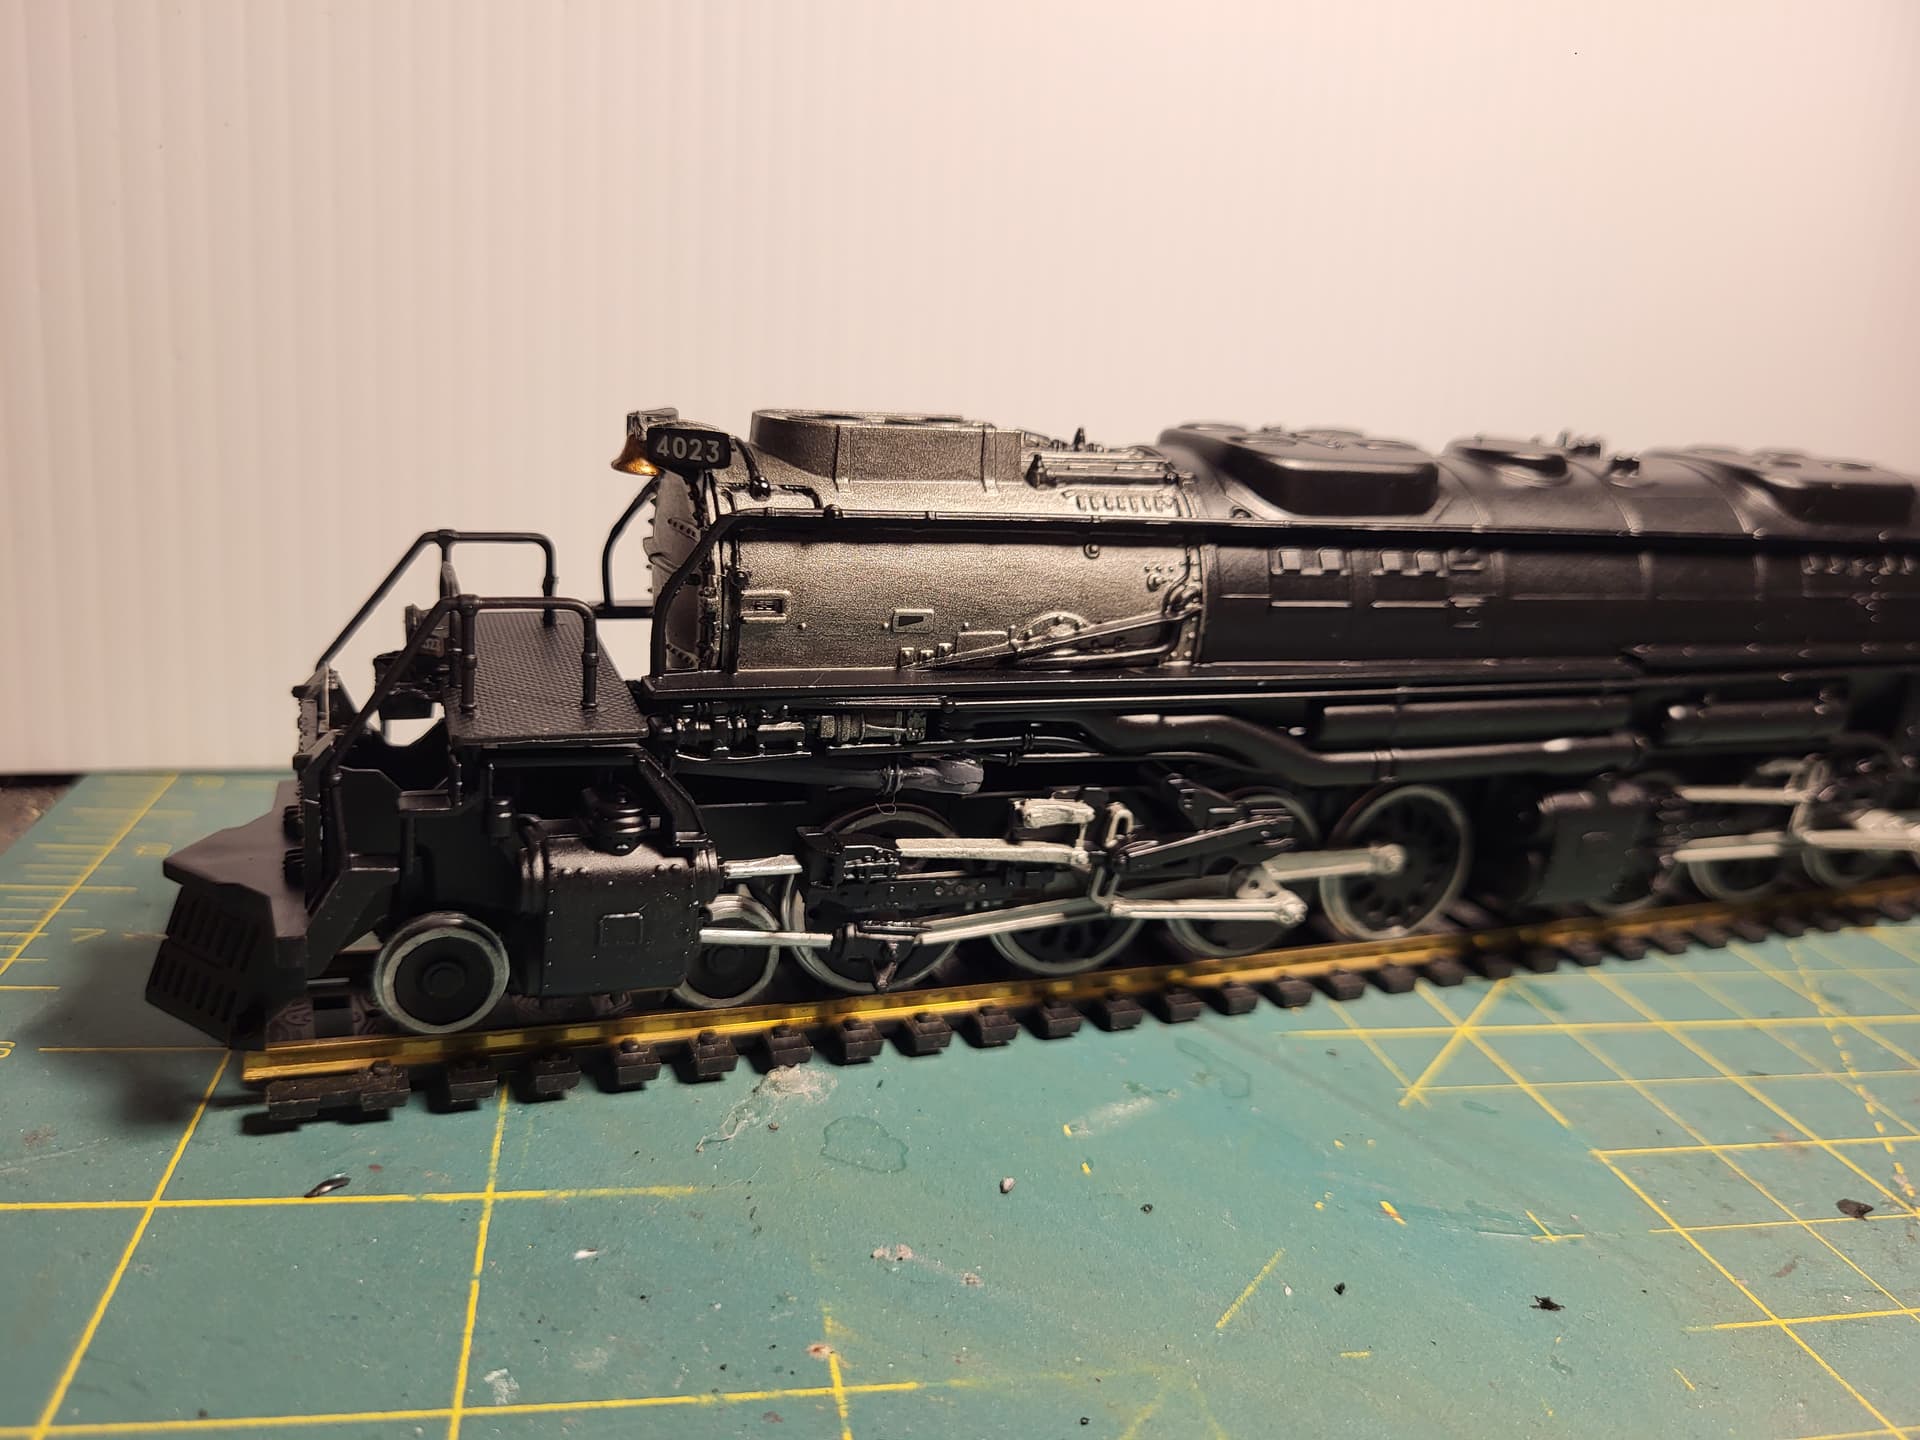
Finally got the locomotive & tender done today. Now I have to finish up the track base that came in the kit.
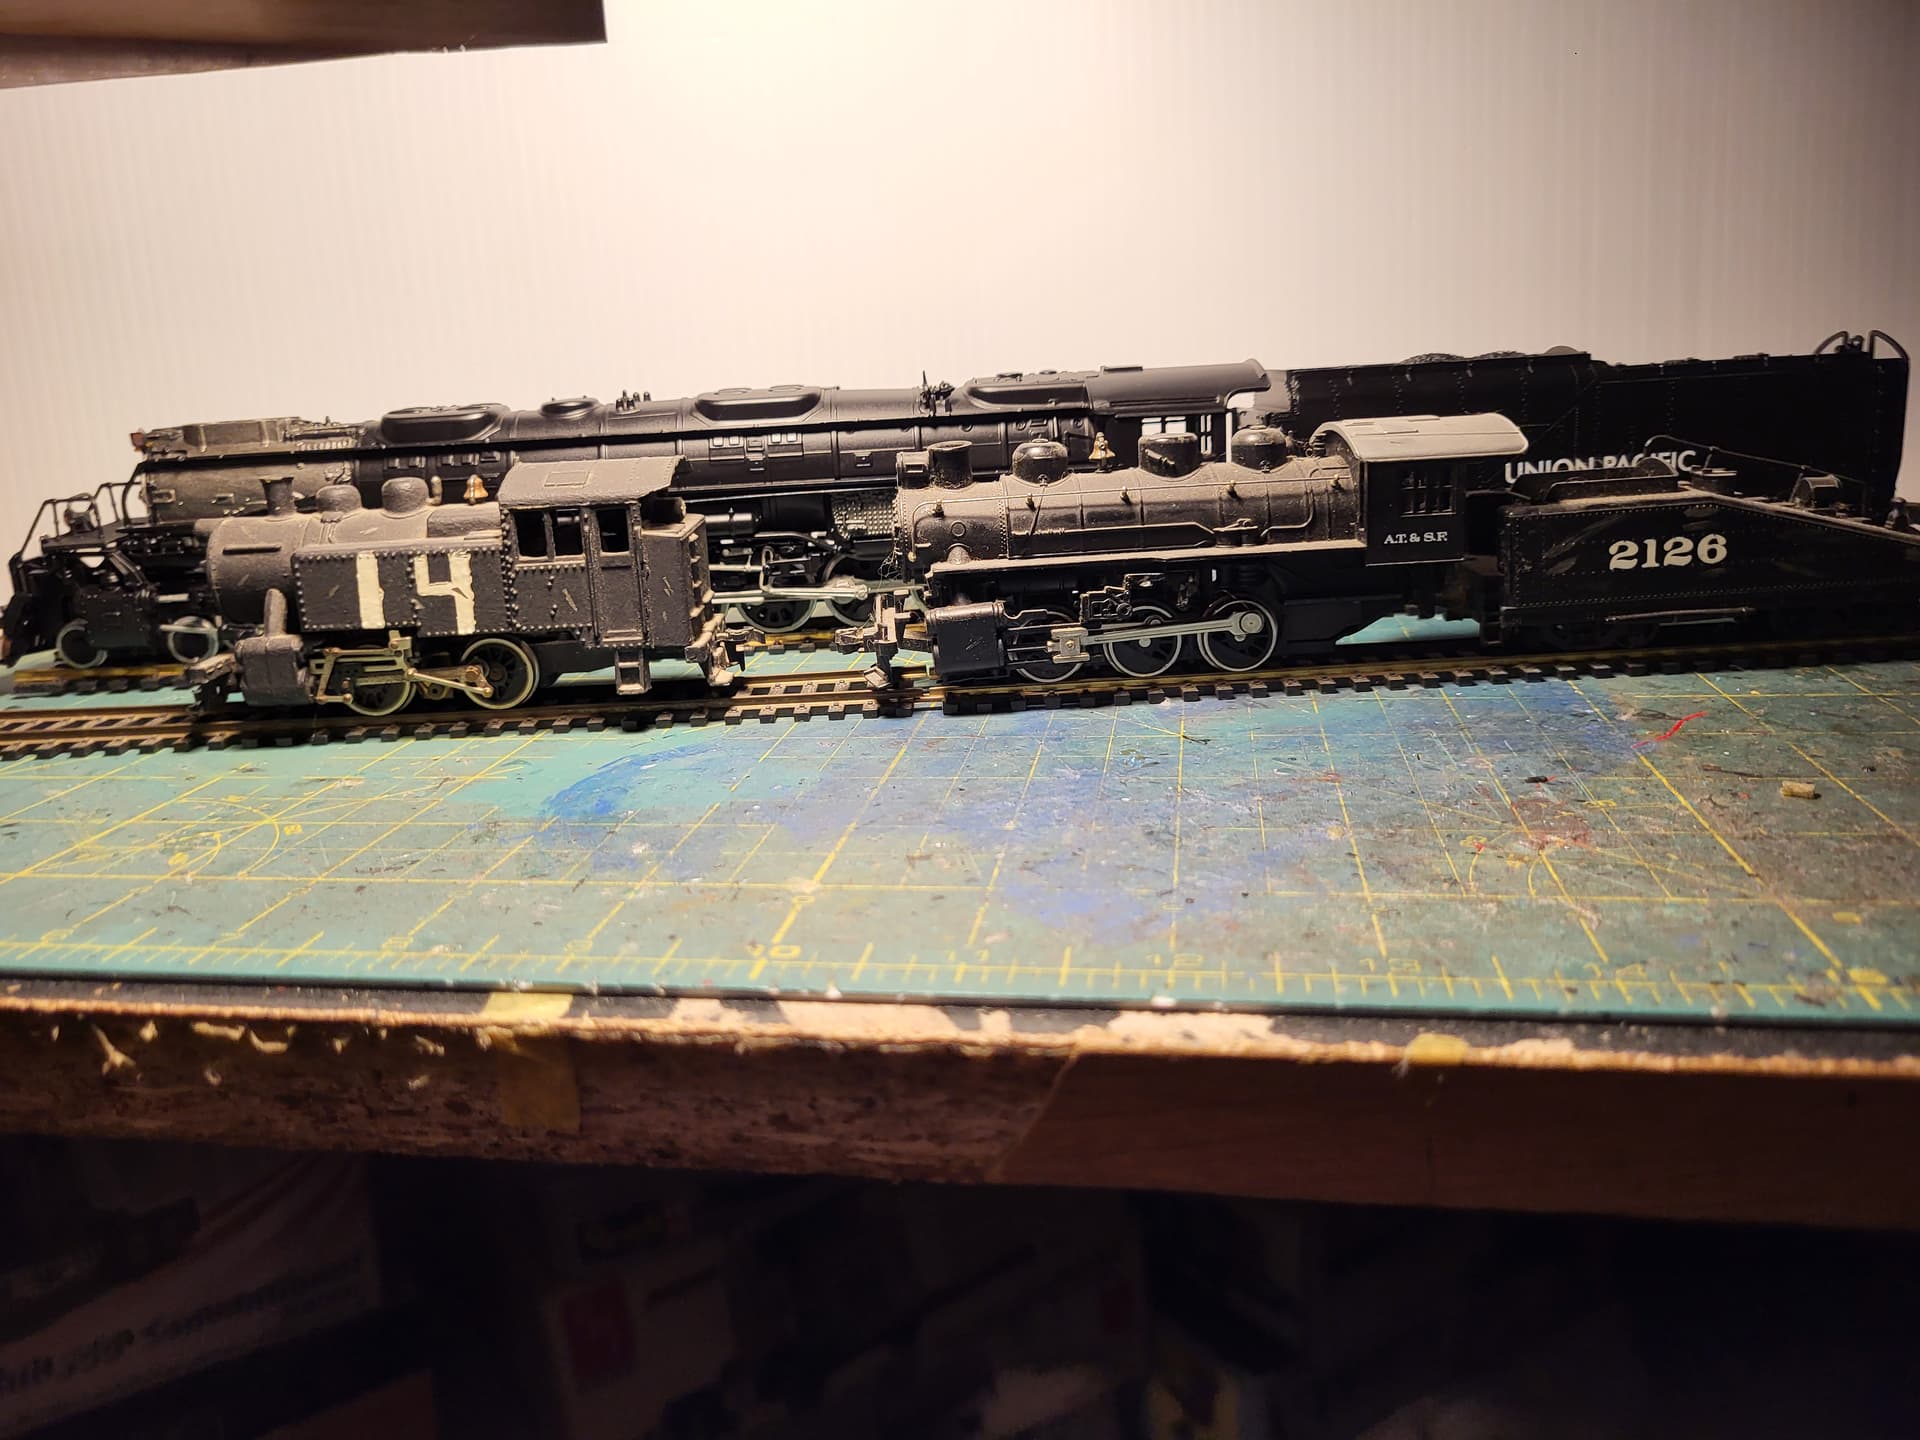
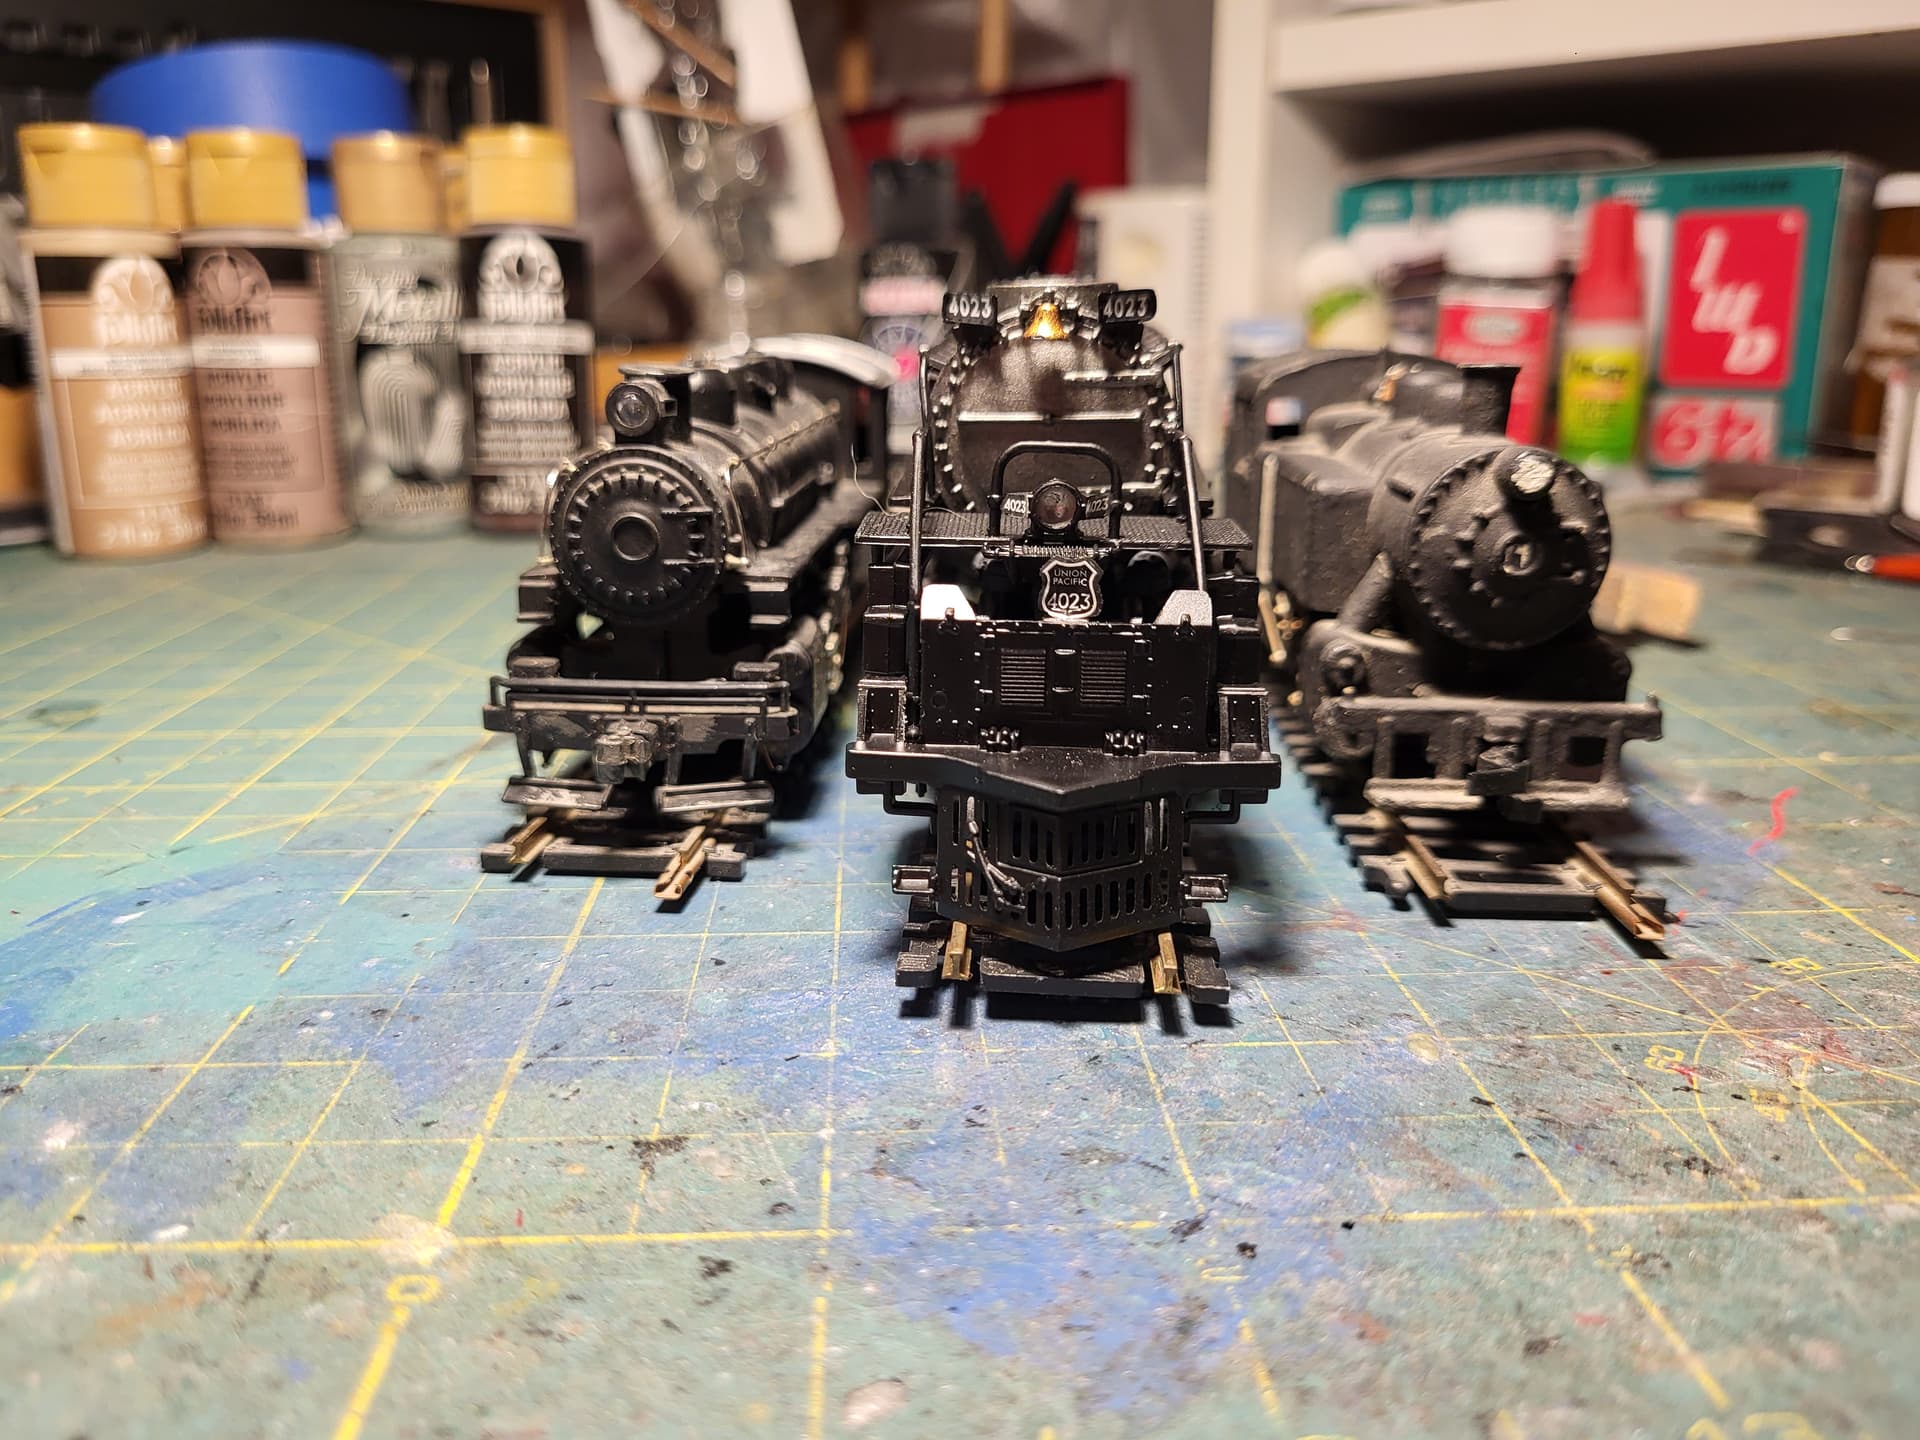
Here is the Revell Big Boy in comparison to the Mantua 0-4-0T and the Bachmann AT&SF USRA 0-6-0. These shots were posed on standard HO track.
Jim
Hi
Is the picture… its taked by the cell phone
The BR86 was painted in Feldgray.
Jose
Wow. At first glance I thought it was a tarnished brass loco. Lots of guys like to run theirs unpainted.
Great build, James! Looks great and is such a big beast!
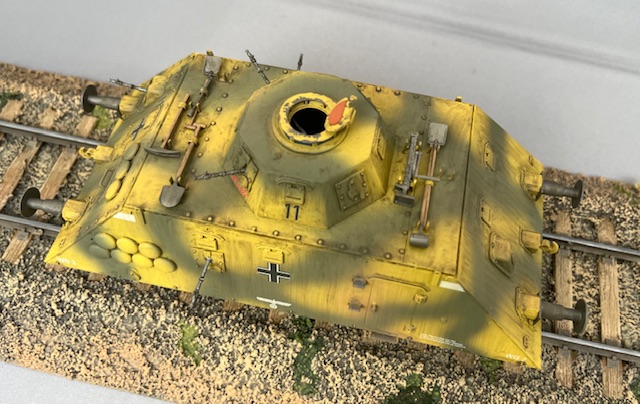
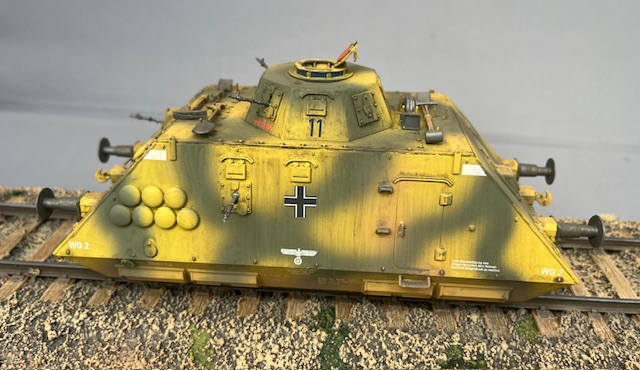
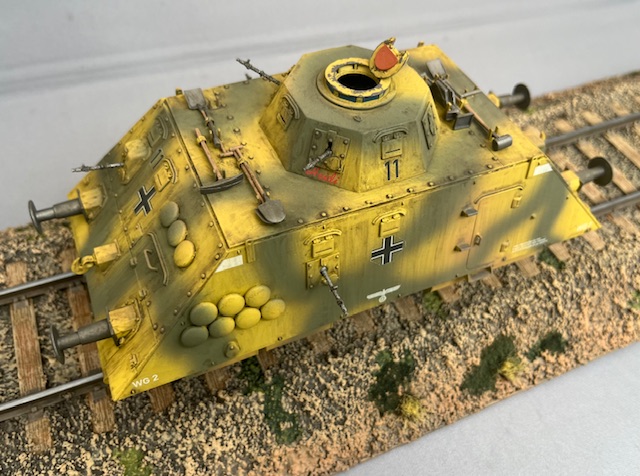
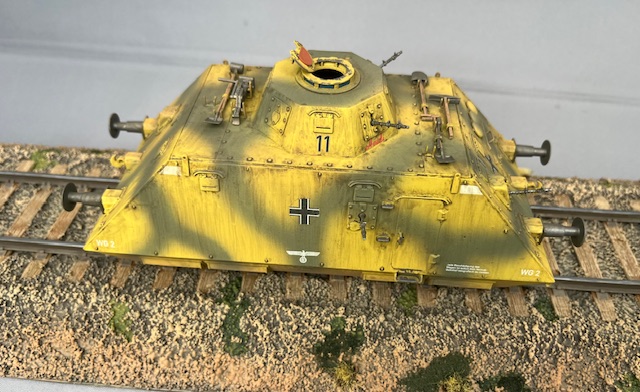
I am calling my 1/35 Dragon infanteriewagen done. I build a very long track for it. I have the kommandowagen and the Panzerwagen with gun turret in the stash. So I want to add those as well.
The decals caused me some problems with very hard edges, but managed to solve it in the end.
Overall a very nice and easy kit to build.

That looks Great, Jesper!
Did you use something specific to get the decals to cooperate?
Mike
Jesper,
Great looking whatever-the-heck-that-is. Nicely done. The track looks very nice.
Jim
A little update
 IMG_20240710_071725370 by Shaky962, en Flickr
 IMG_20240710_071720037 by Shaky962, en Flickr
For the decals I used several coats of the strongest decal solvent I have. It still did not smother out the edges enough.
However, I ensured not to let any weathering pigments/washes cumulate at the decal film edges and then finished with two light layers of dull varnish. That helped smoothen out the edges.
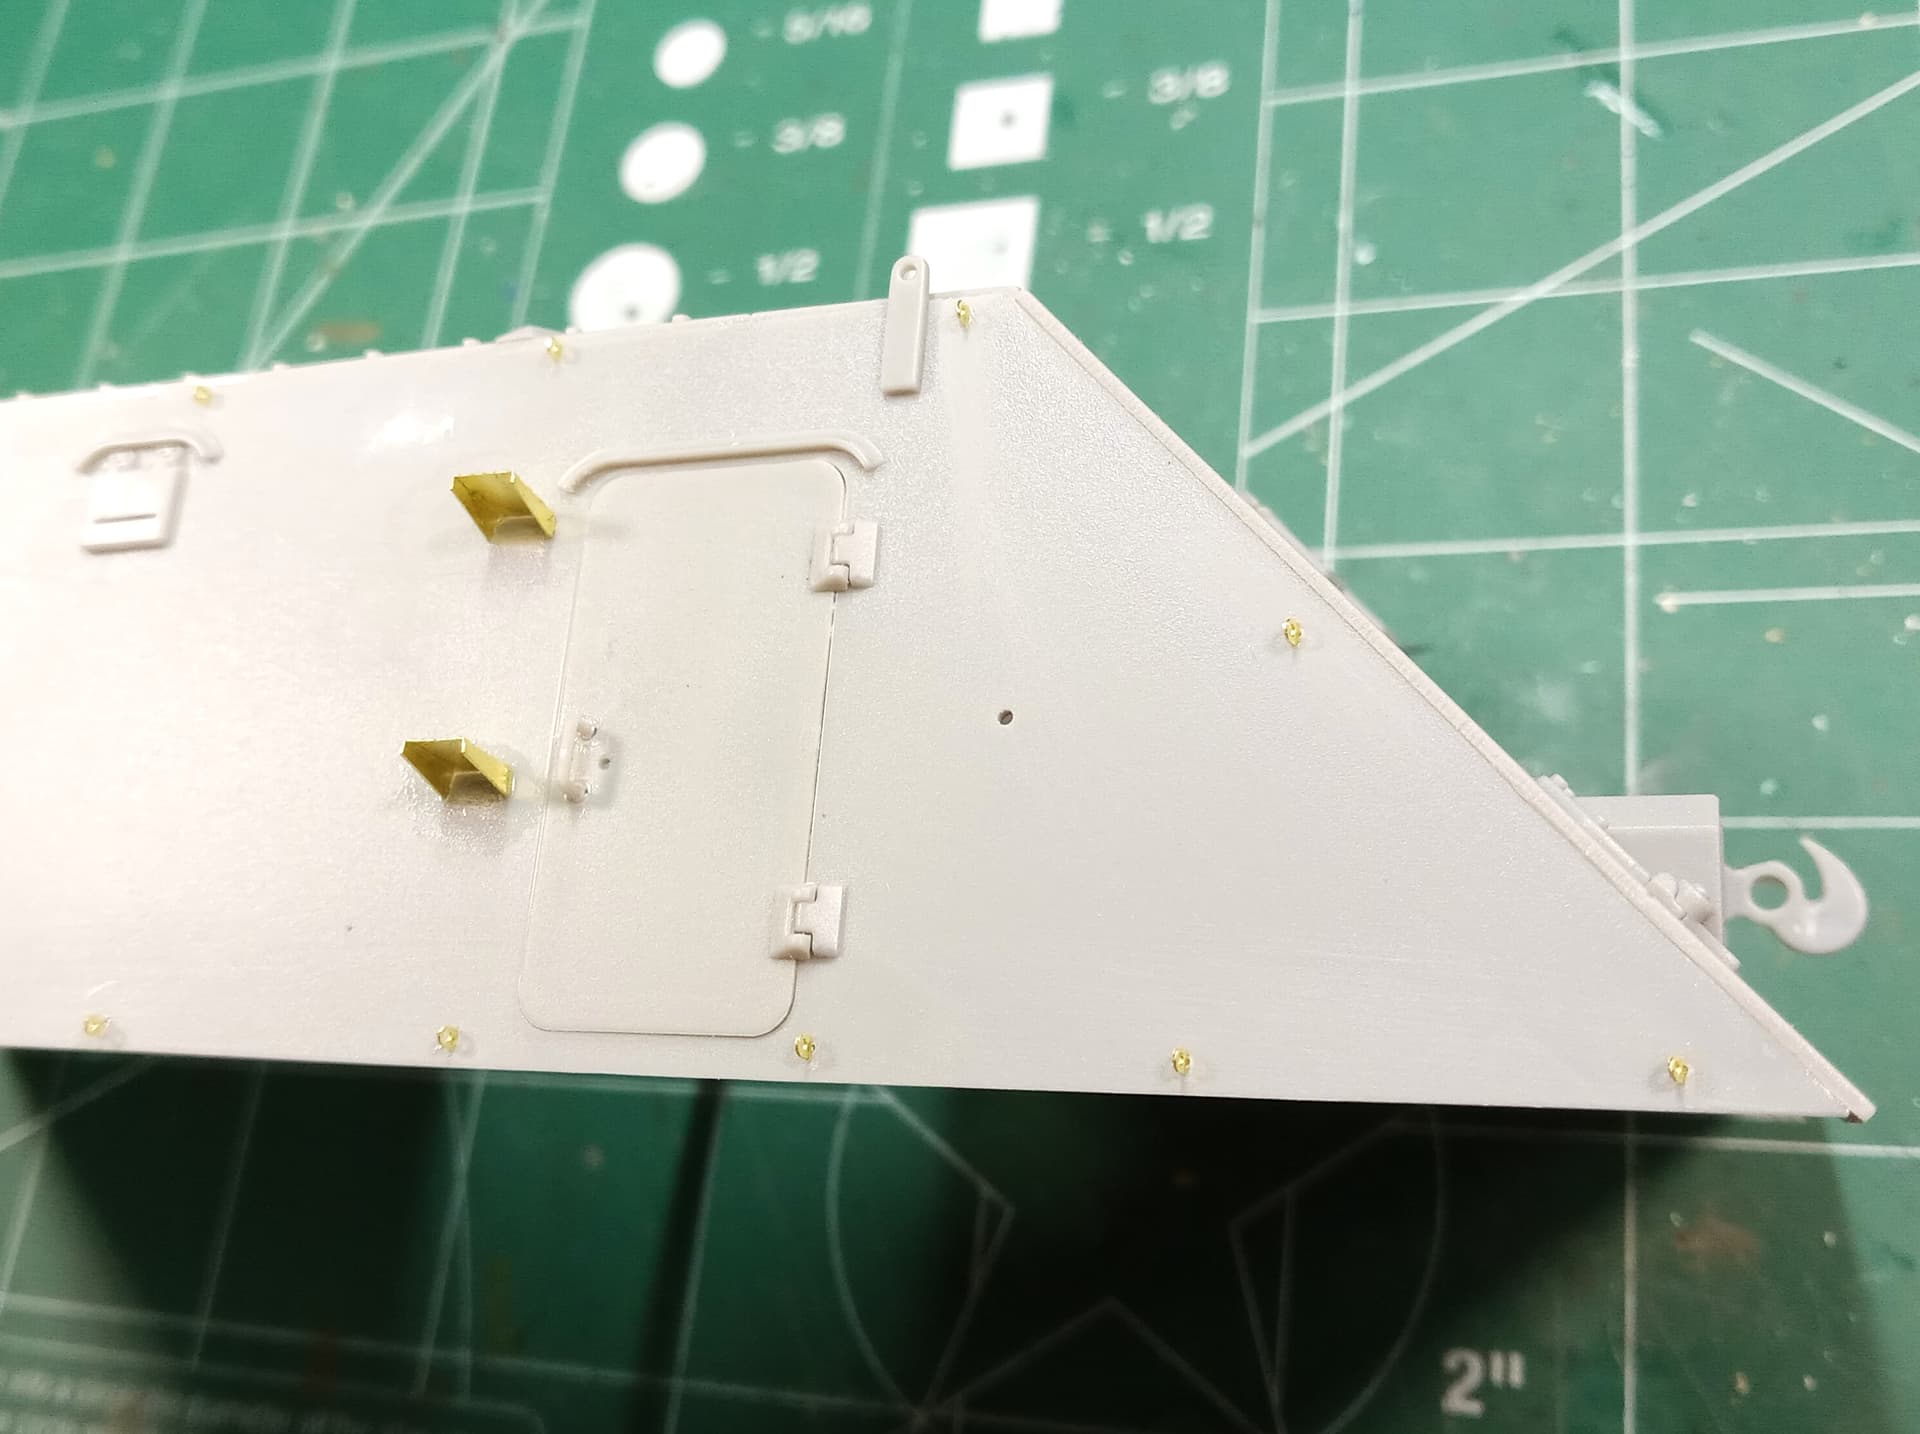
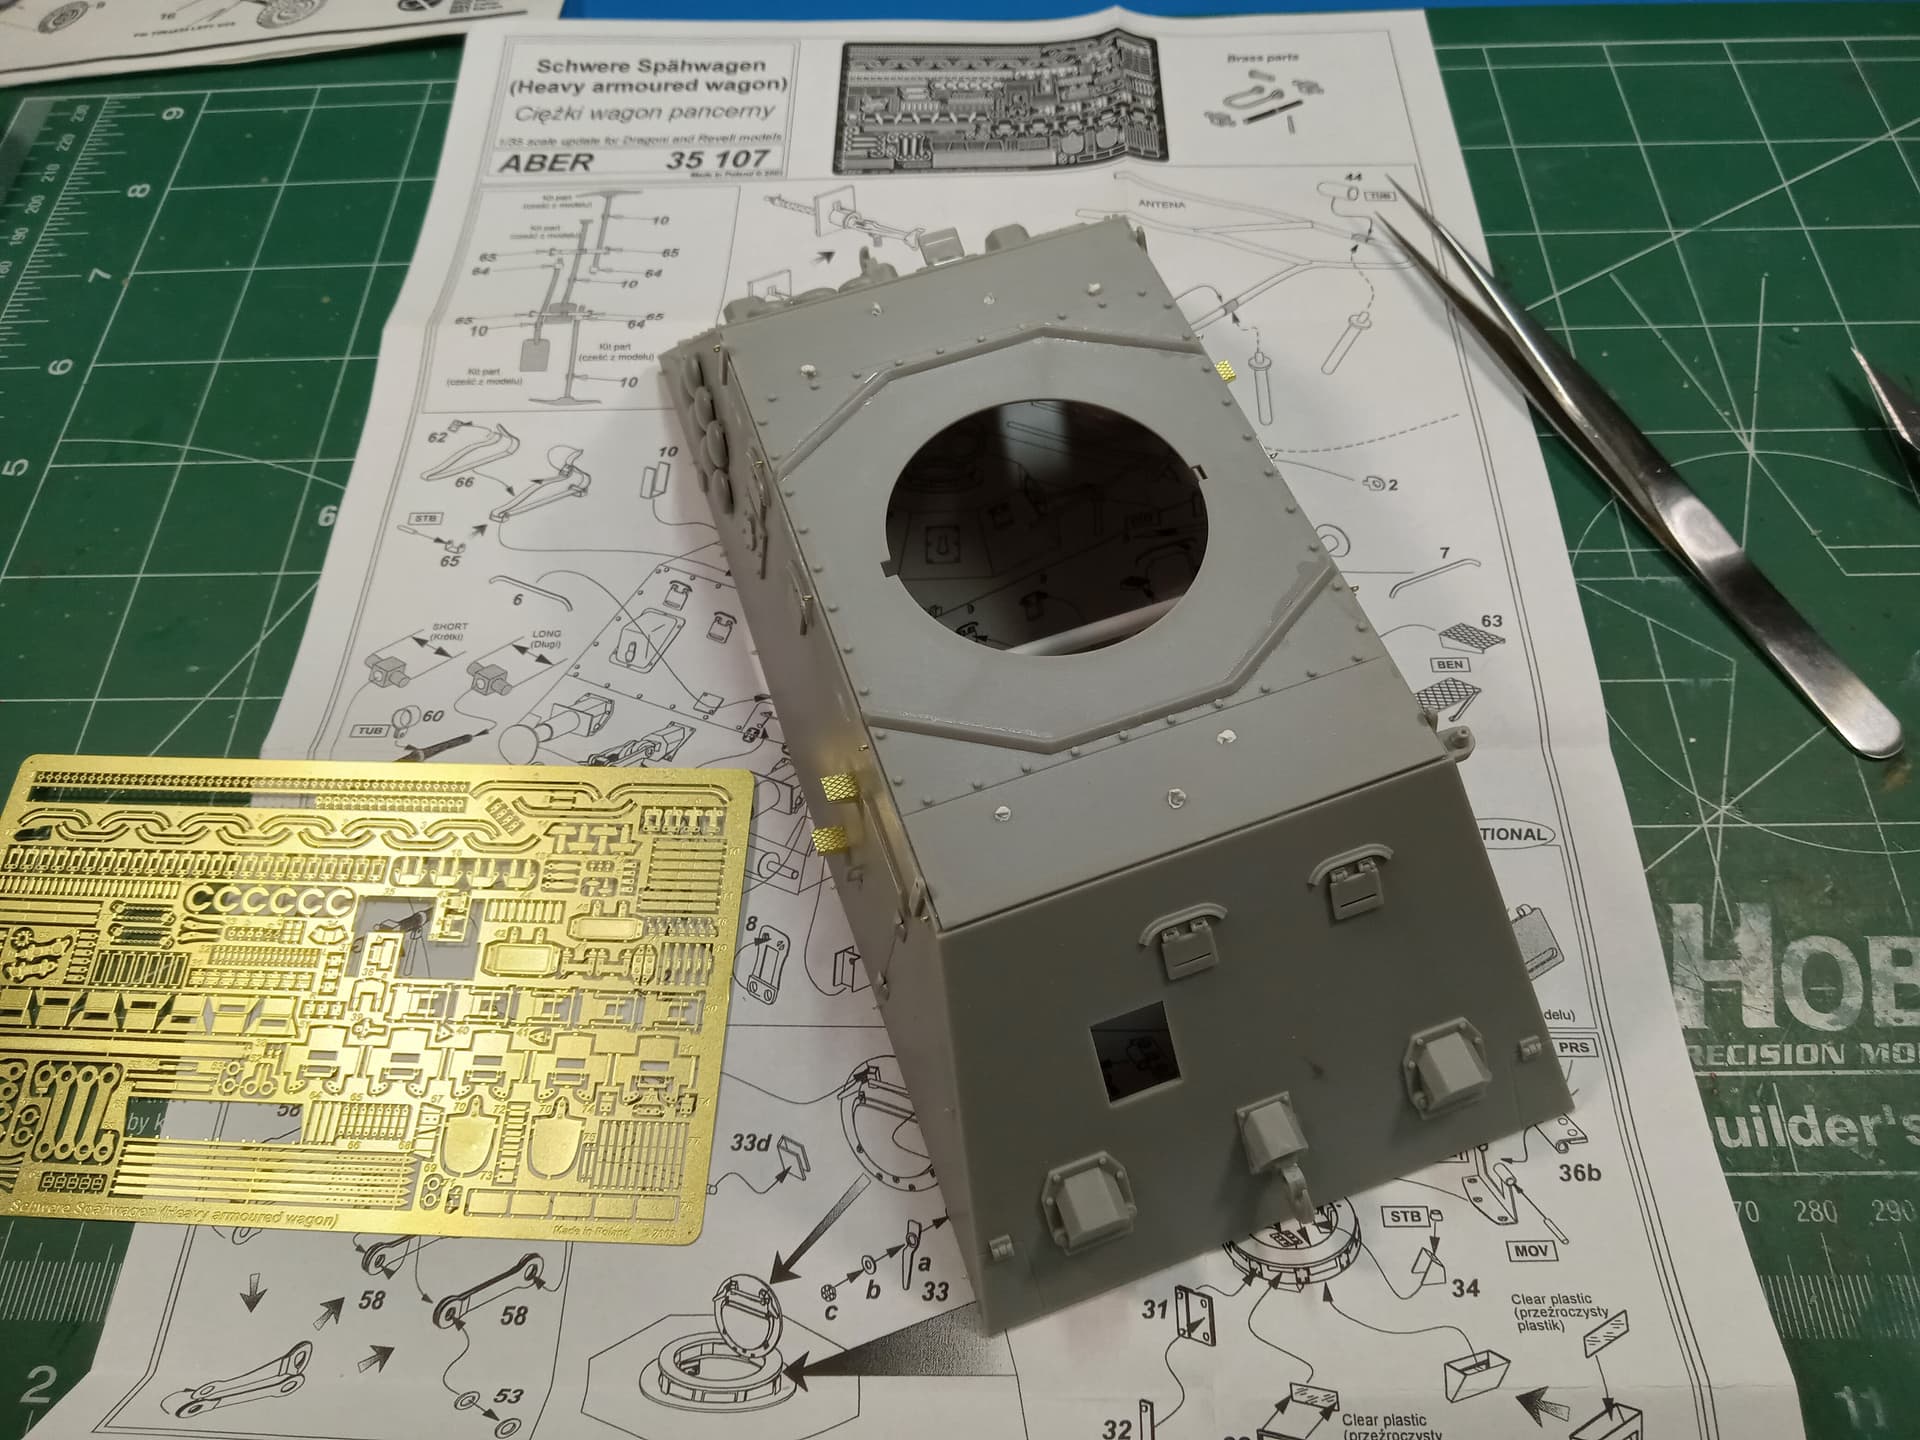
After being in and out of the hospital this last month or so, I’ve finally gotten to some of the PE bits on the Artilleriwagen.
One side is done with the step and the little loops (which I’ll string wire/string through and put some foliage in when I get to that step).
Mike
P.S. The hospital stays have been related to my CLL. I had a lymph node get really big on the left side of my neck. Then I go back and they do biopsies. Then back because that area has gotten really red and exceedingly painful. Oncology figured to start IV chemo instead of waiting a week for my pill chemo to arrive. Danged if I’m not back because that area is worse. Finally, they get an E.N.T. doc in and two hours later I’m under the knife - nassssty infection and an abscess. Today they removed the drain tube and packed the hole in my neck. Oh, I get to do the removal and packing over the weekend. That was not a comfortable process at all. I’m not looking forward to it, but, damn, I’m tired of the hurt. So, that’s my excuse for slow work and I’m stickin’ to it!! ![]()
Good luck!
Not that you need an excuse but you’re no sickbay commando. Best of luck and quick recovery.
Yeah, we need you out of sickbay and back here at the institution where you belong. ![]()
But seriously… wishing you a speedy recovery.
—mike
Hope you feel better quickly, Mike. Best of luck and looking forward to see more of your work! ![]()
Mike,
Best of luck and quick recovery.!!!
Josè