OK, a few weeks ago the topic of PE how-to information came up. I mentioned that I had a large amount of information that had once been presented as seminars at a couple of IPMS/USA National Conventions. In the discussion I explained that the original content had been solicited for a how-to book that, for various reasons (that are not important anymore), was never published.
A couple of the folks on the thread asked if I would consider putting it all together for reference. Ok, You guys asked for it. (And you know what they say about being careful what you ask for!! LOL!) Here it is:
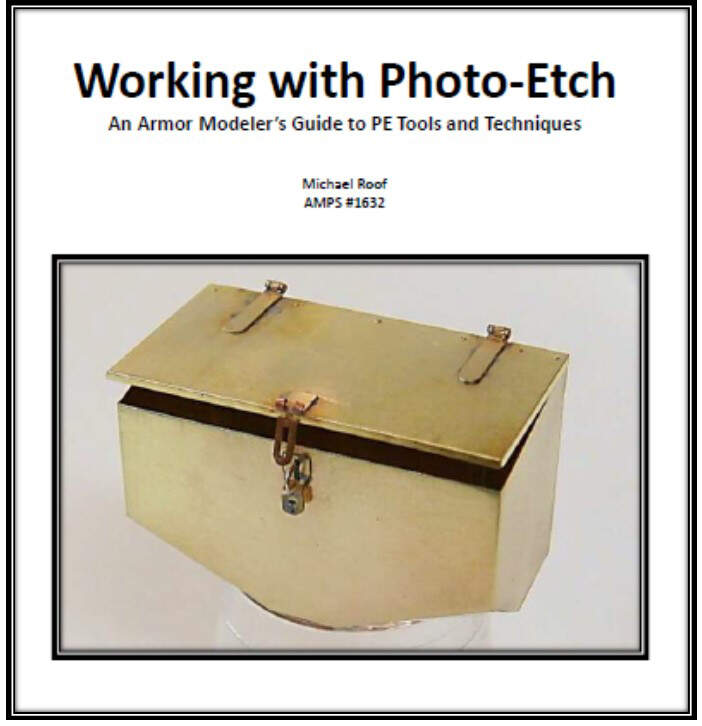
I offer this to any of you who are interested. You may download the reference from DropBox and view it as a .pdf file. The file is a little over 300 mb and comes in at 435 pages. Most of the pages are a single illustration with a caption. There are 17 chapters along with an introduction.
I make no apologies for typos, or mistakes in spelling, grammar or punctuation. One day I may be motivated enough to go back and edit out some of the mistakes. I will freely admit that the first couple of chapters need revising (they were a compilation of material from a couple of different drafts and sets of seminar notes). However, after 400+ pages, I was a bit burned out.
Remember, before you send me a bunch of complaints, you have absolutely gotten a 1000% of your money’s worth!
Wow that is a comprehensive piece of work Michael! I just took a look through one part of it and the way it’s arranged is clear and illustrative- just like you need for the precise, small and often fiddly work. Thank you for uploading and sharing it with us.
I have seen and admired your work. I downloaded the Reference to my external hard drive. I am looking forward to reading through it. Thank you for sharing. Anything to up my PE skills is great.
You’re welcome to download and save this file. I’ll keep it in my DropBox for as long as I have storage space on the site. (I use a free account which does have a total space-used limit.)
Thank you for posting this! Chapter 7: Mechanical Assembly - Workable Tool Clamps was alone worth it to me. I guess that would be one of my nemesis’ - I just couldn’t seem to make them work/come out right. Silly, right? Your photos just cleared that up for me. Slow Salute dude!
I’m very much looking forward to taking the time to go back to the beginning and “dig deep” into your work. PE, to me, is worth every penny spent (lol, even when it costs twice the kit price). It just adds so much more “depth” to a model.
I’m really glad you followed the advice and put this together. I know I’m not the only one.
An excellent resource - many thanks. It resolved a couple of issues I was having and removed the fear from future projects. It is a pitty your publication fell through.
Michael, thank so much for doing this. I’ve struggled with PE, mostly soldering it, for years. With this excellent book, I think my struggles are close to ending. I picked up one of the flat, all PE models to use a throw away training aid. And I bought a torch and solders you recommended. Now off to the bench… Thanks again!
I think you’ll find soldering with a butane torch much easier than with an electric soldering iron.
Note that many of full metal, PE models are made from steel and not brass or nickel-plated brass. Steel is somewhat more difficult to solder than brass. It will take more time to heat it (the steel conducts heat better than the brass) and it cools slower. Steel to steel is usually not too bad, but brass to steel can be quite aggravating because of the different heating characteristics of the two metals.
(This is a similar problem if you or someone else is trying to solder together one of the old The Show Modeling PE sets. The parts for those were etched from thin stainless steel. Very tough and resistant to accidental deformation, but quite difficult - not impossible - to solder together.)
Also note that many of the “flat-pack” PE models are pre-painted / pre-decorated and this factory finish must be removed from the joint areas before they can be soldered. Lacquer thinner or acetone may be enough to remove this material.