Hello again fellow figurers! As promised, here’s a little sump’n else…
Hornet Hand SBS… or, “Move over, I’m drivin’ the JEEP!”
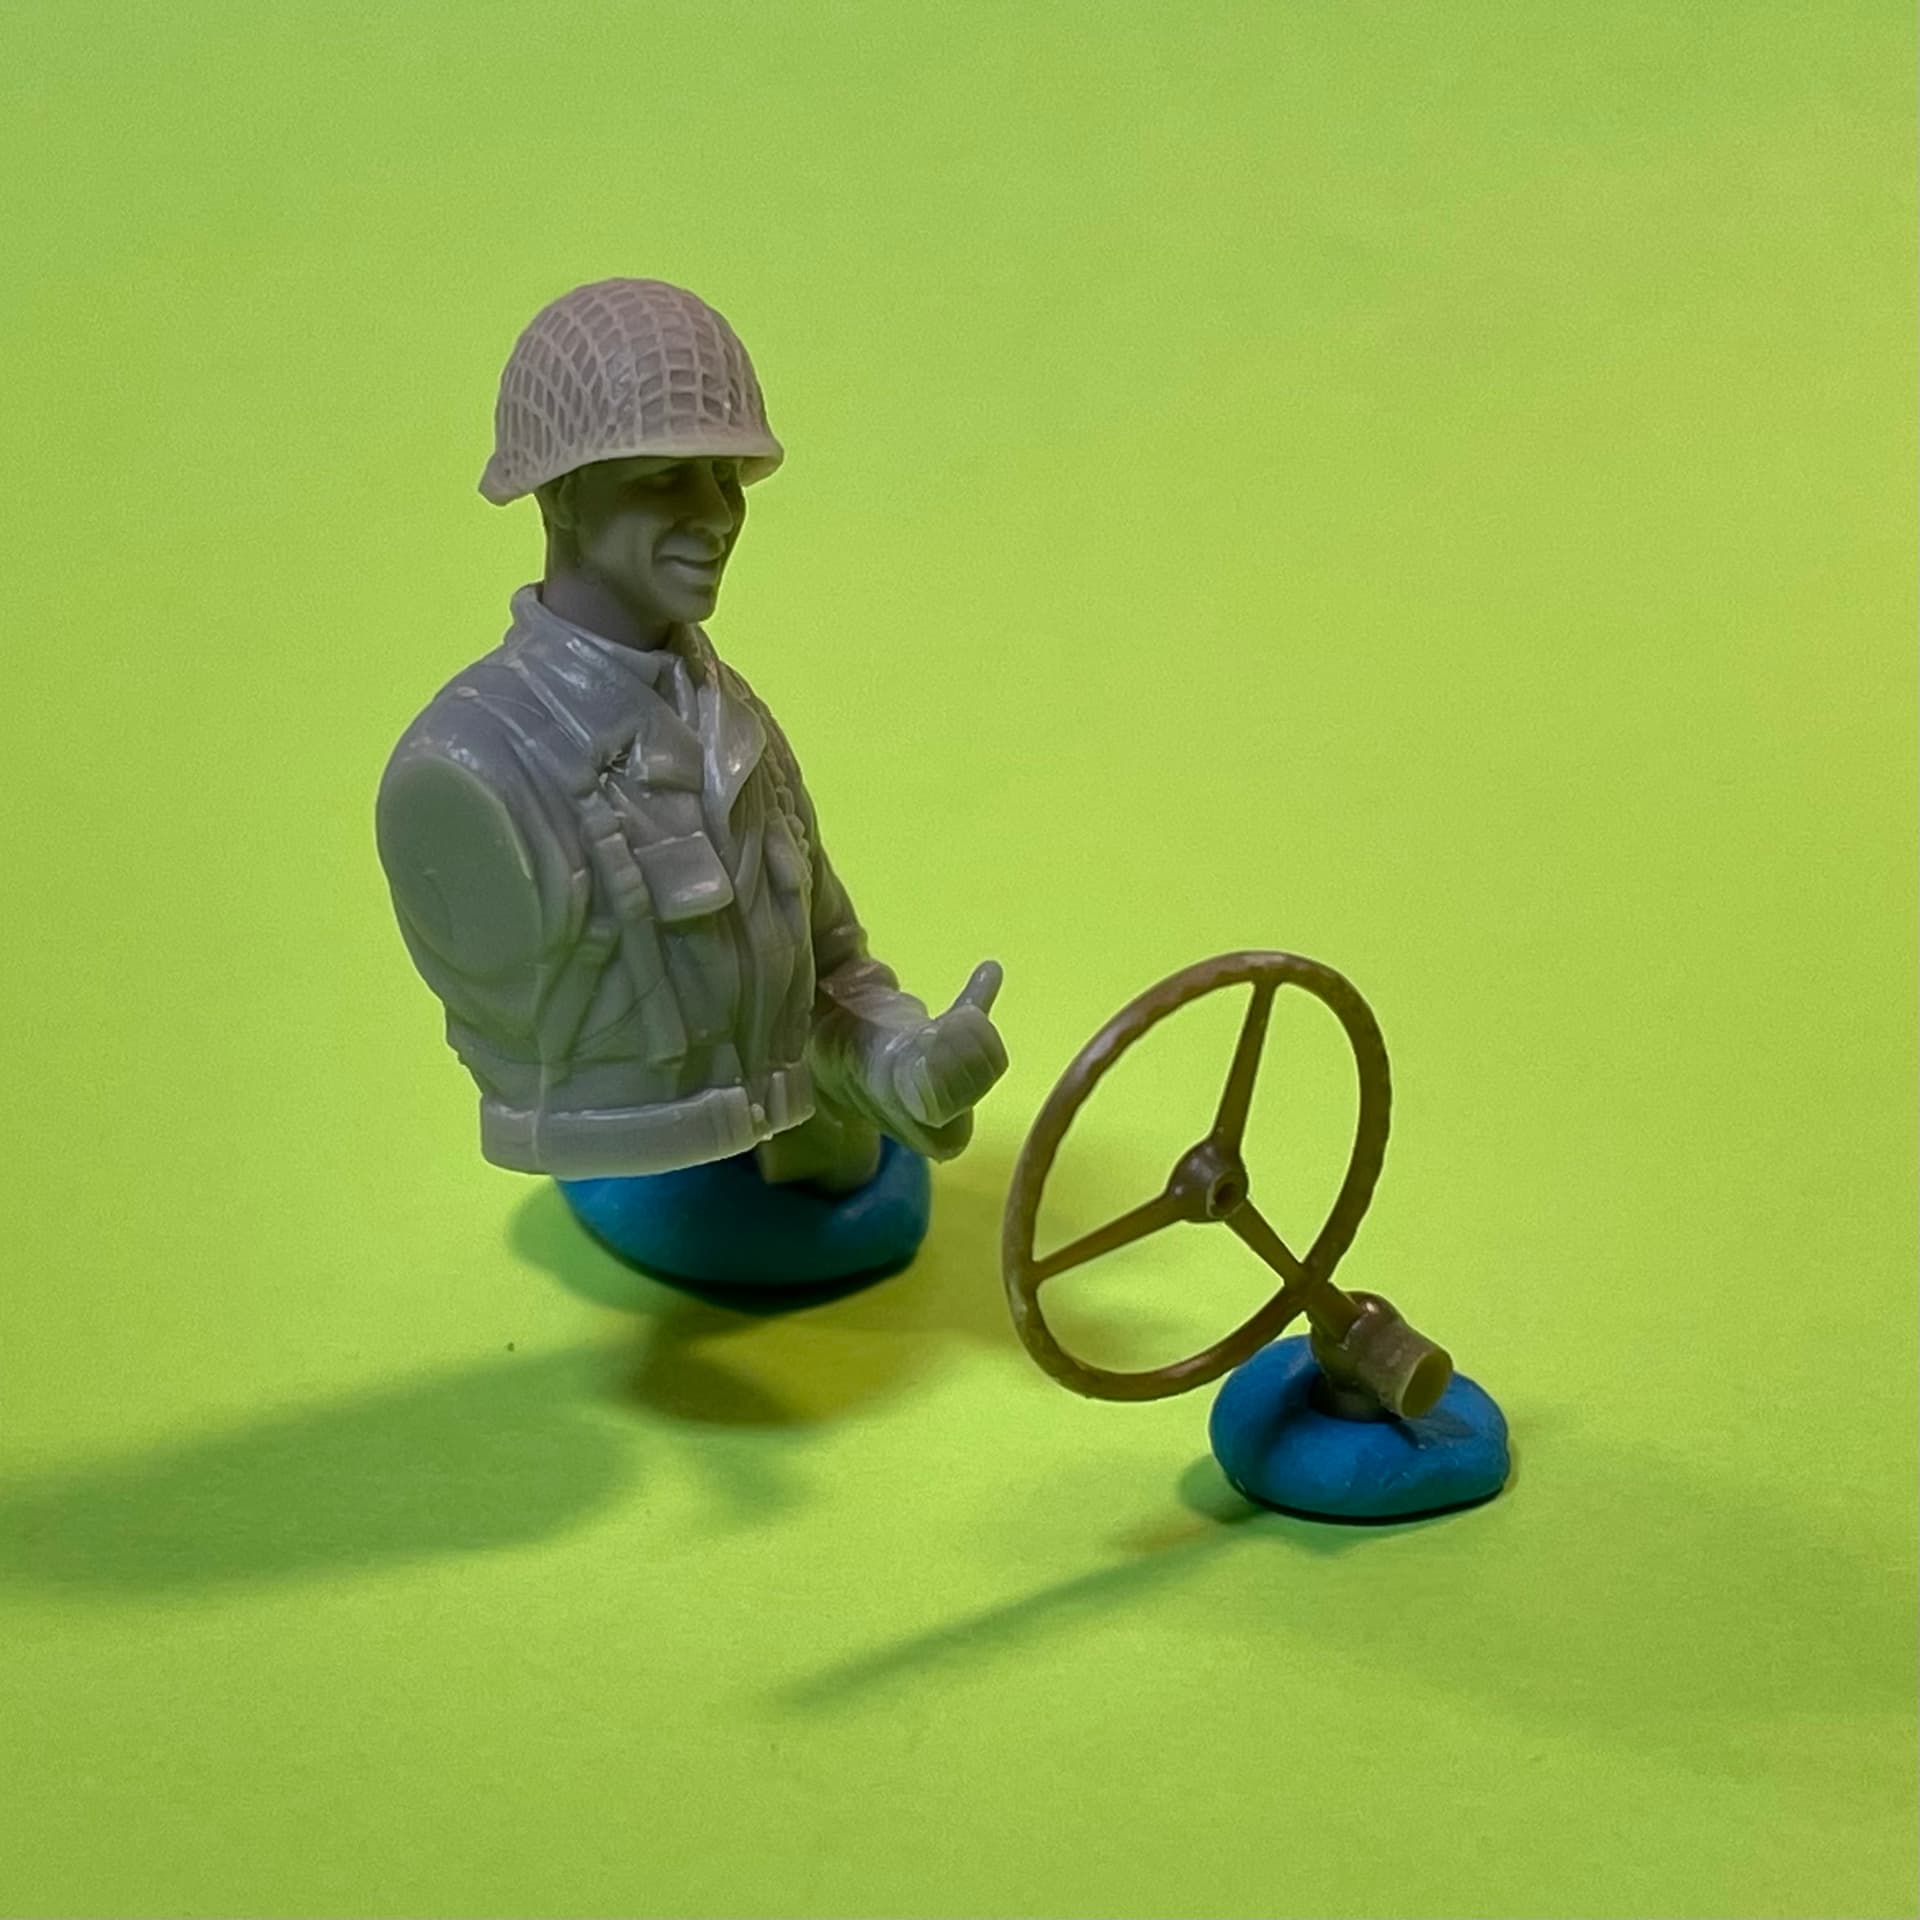
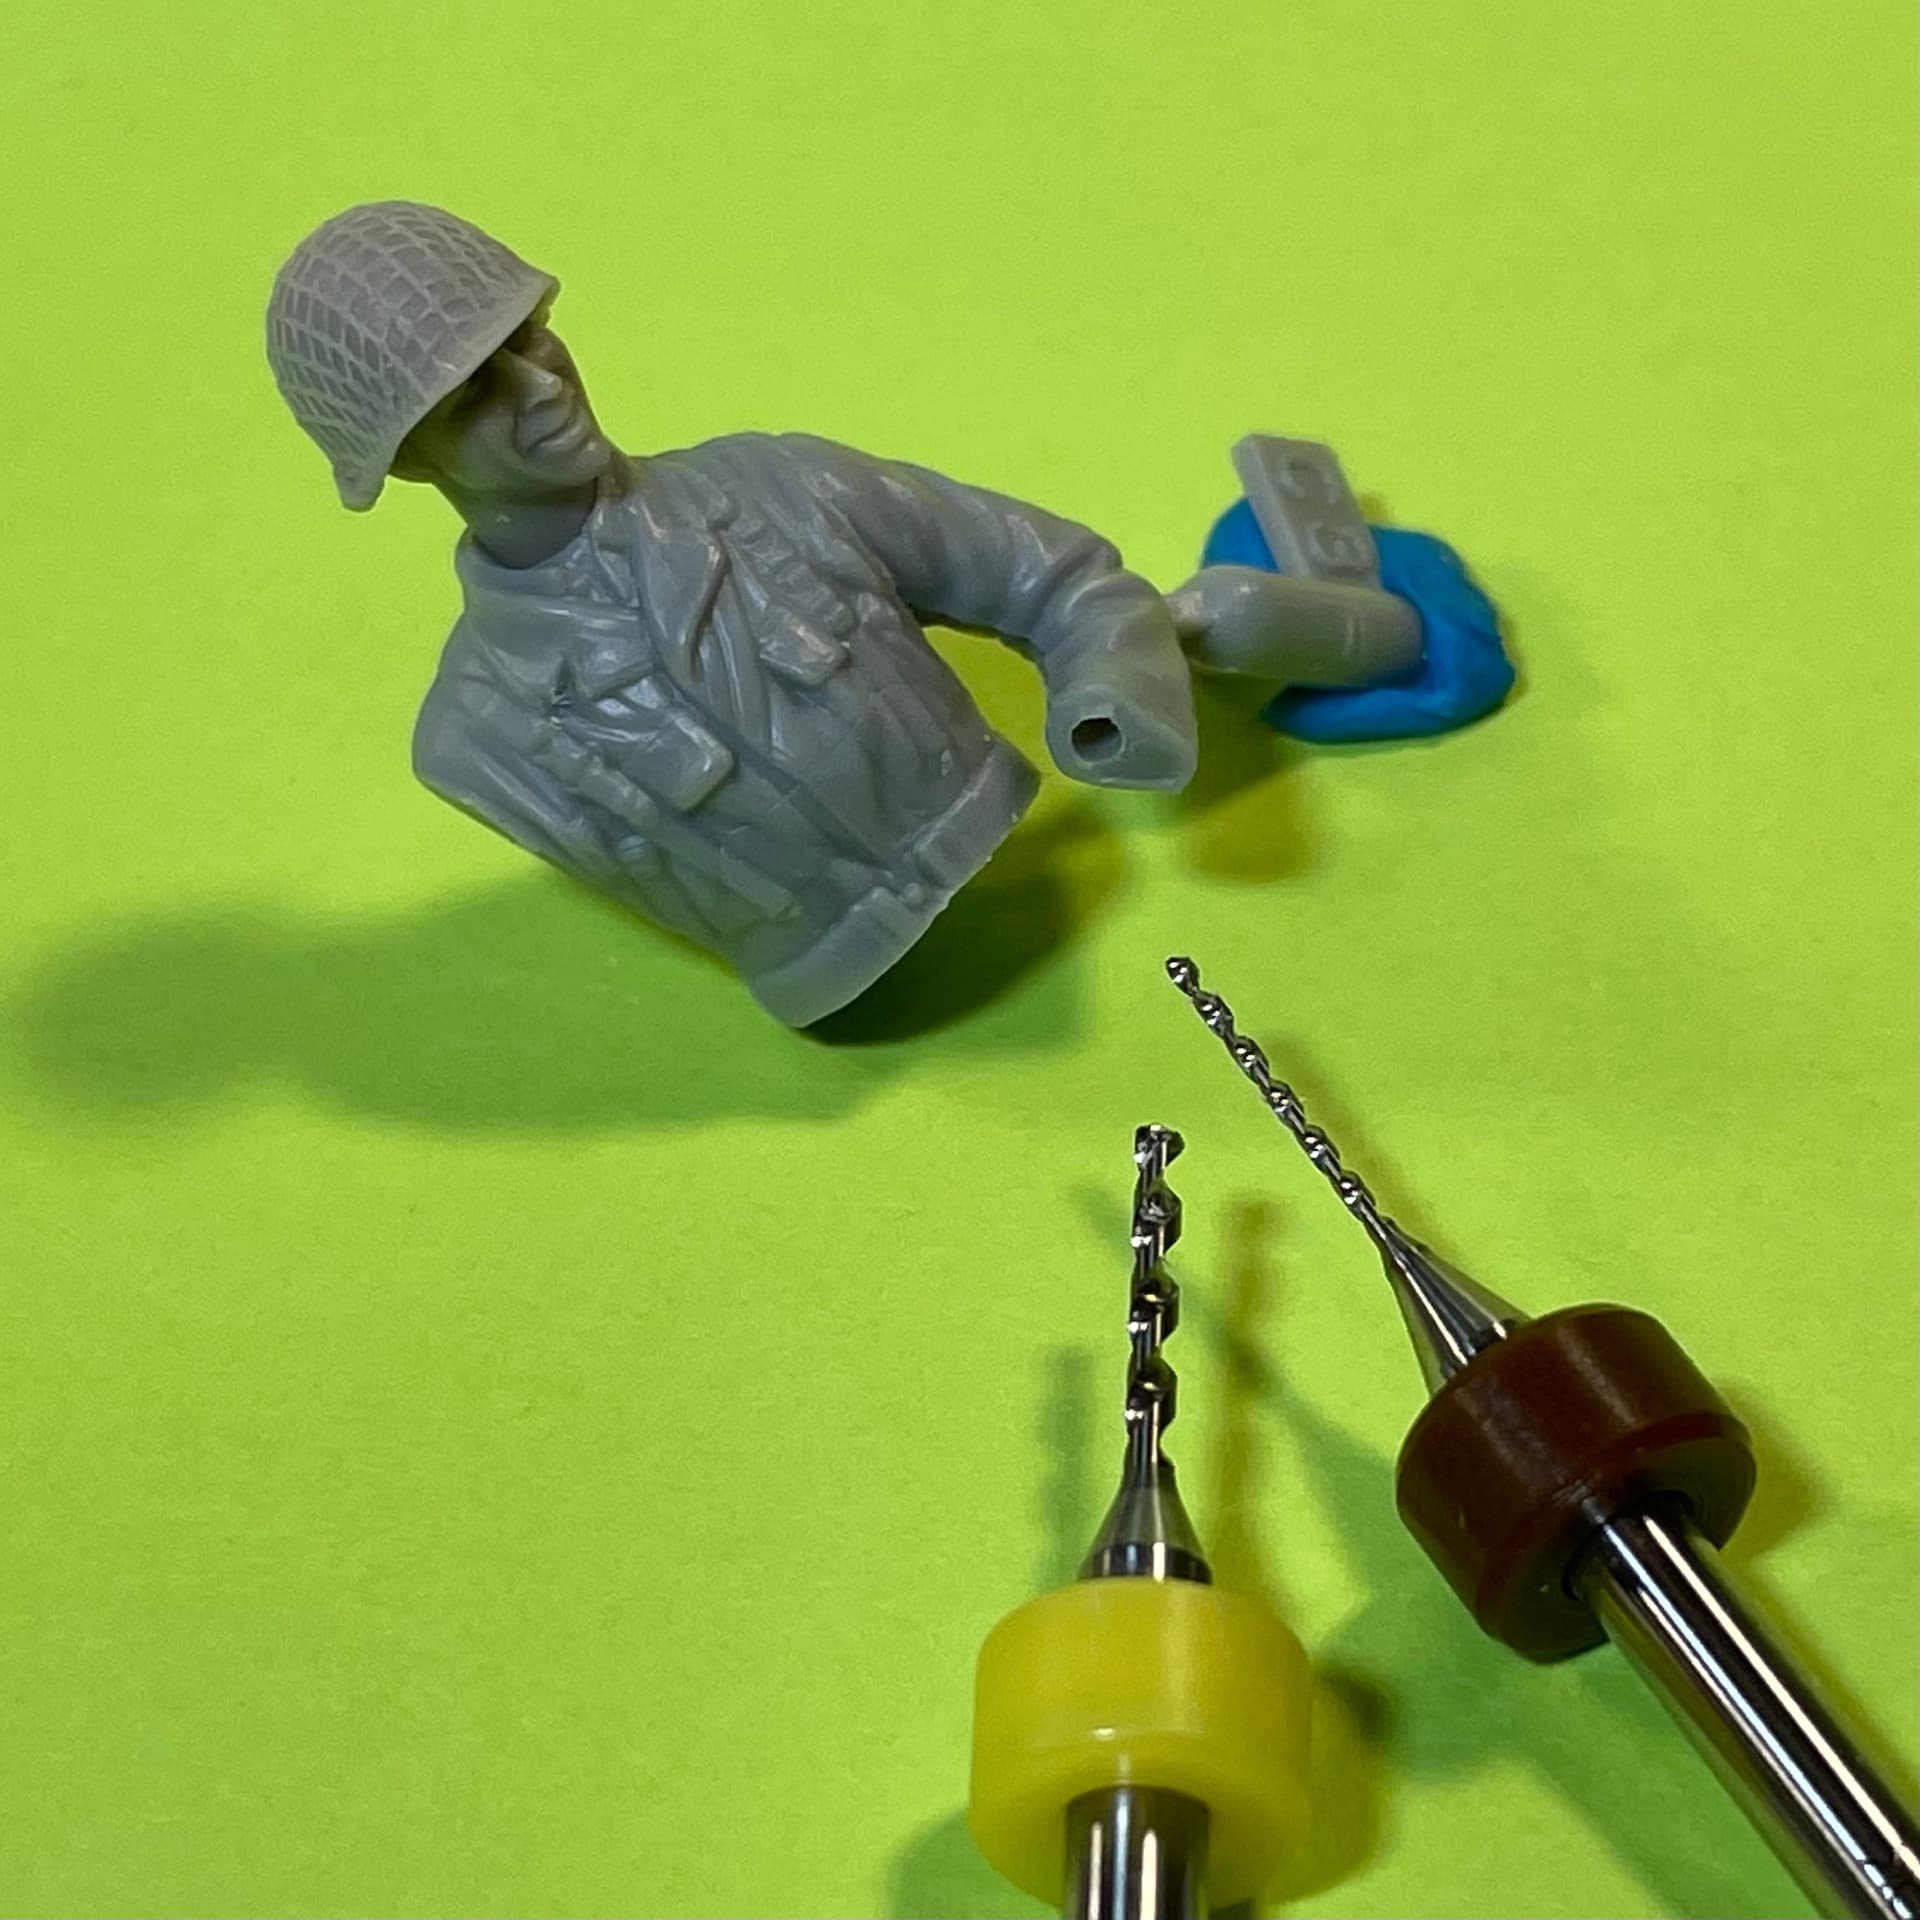
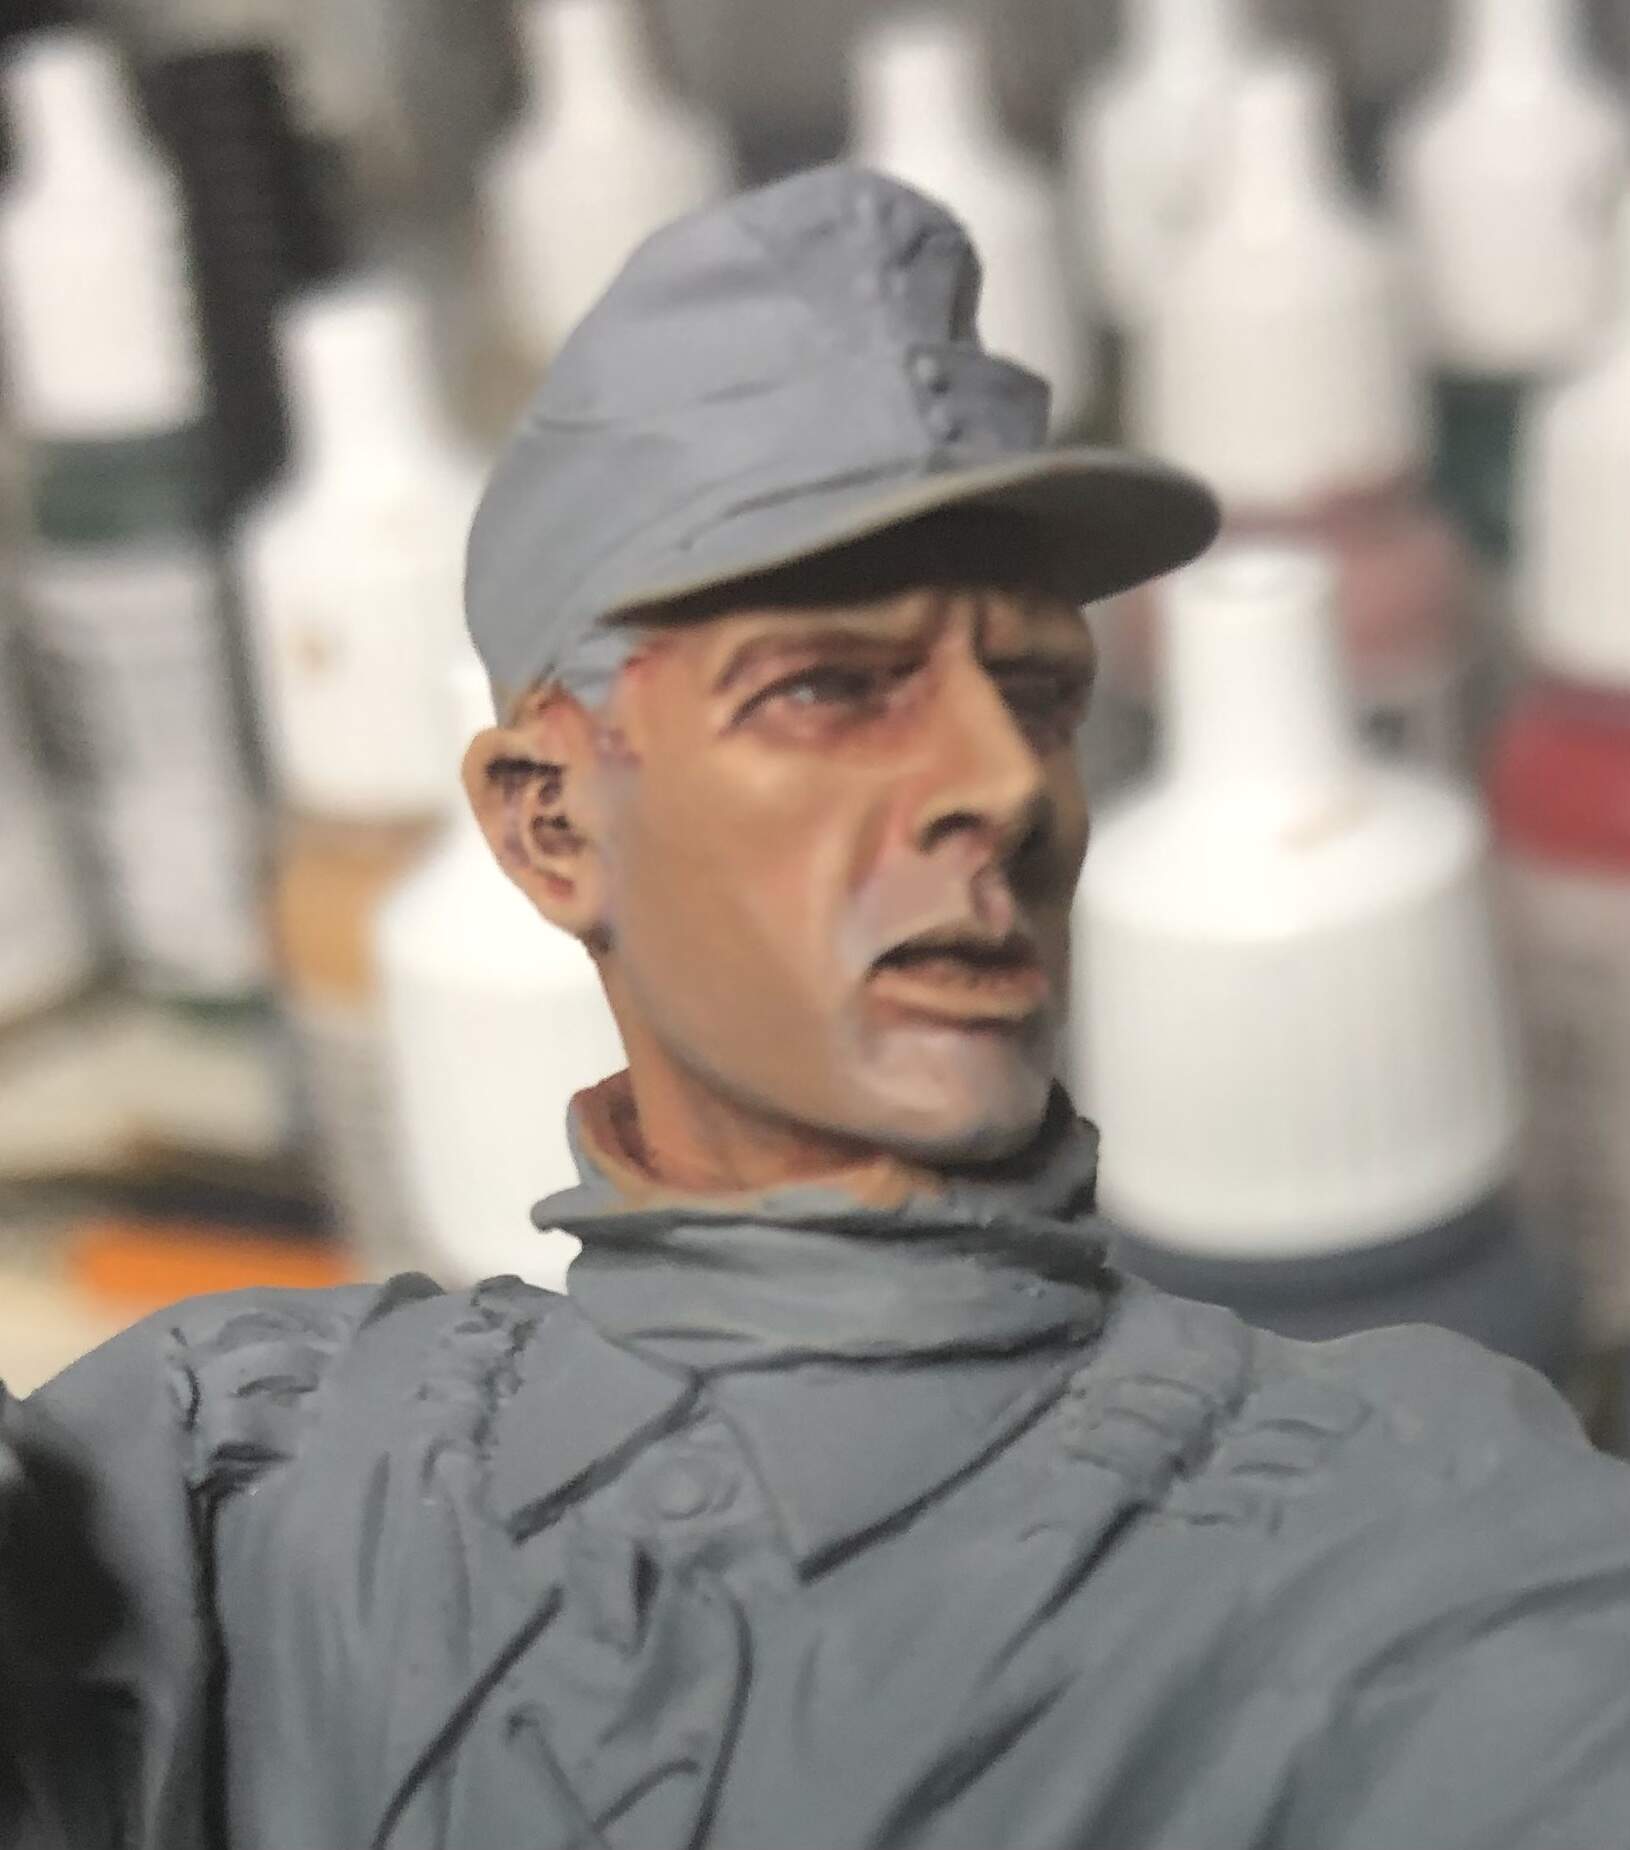
![]() “Not with that hand, you ain’t.”
“Not with that hand, you ain’t.”
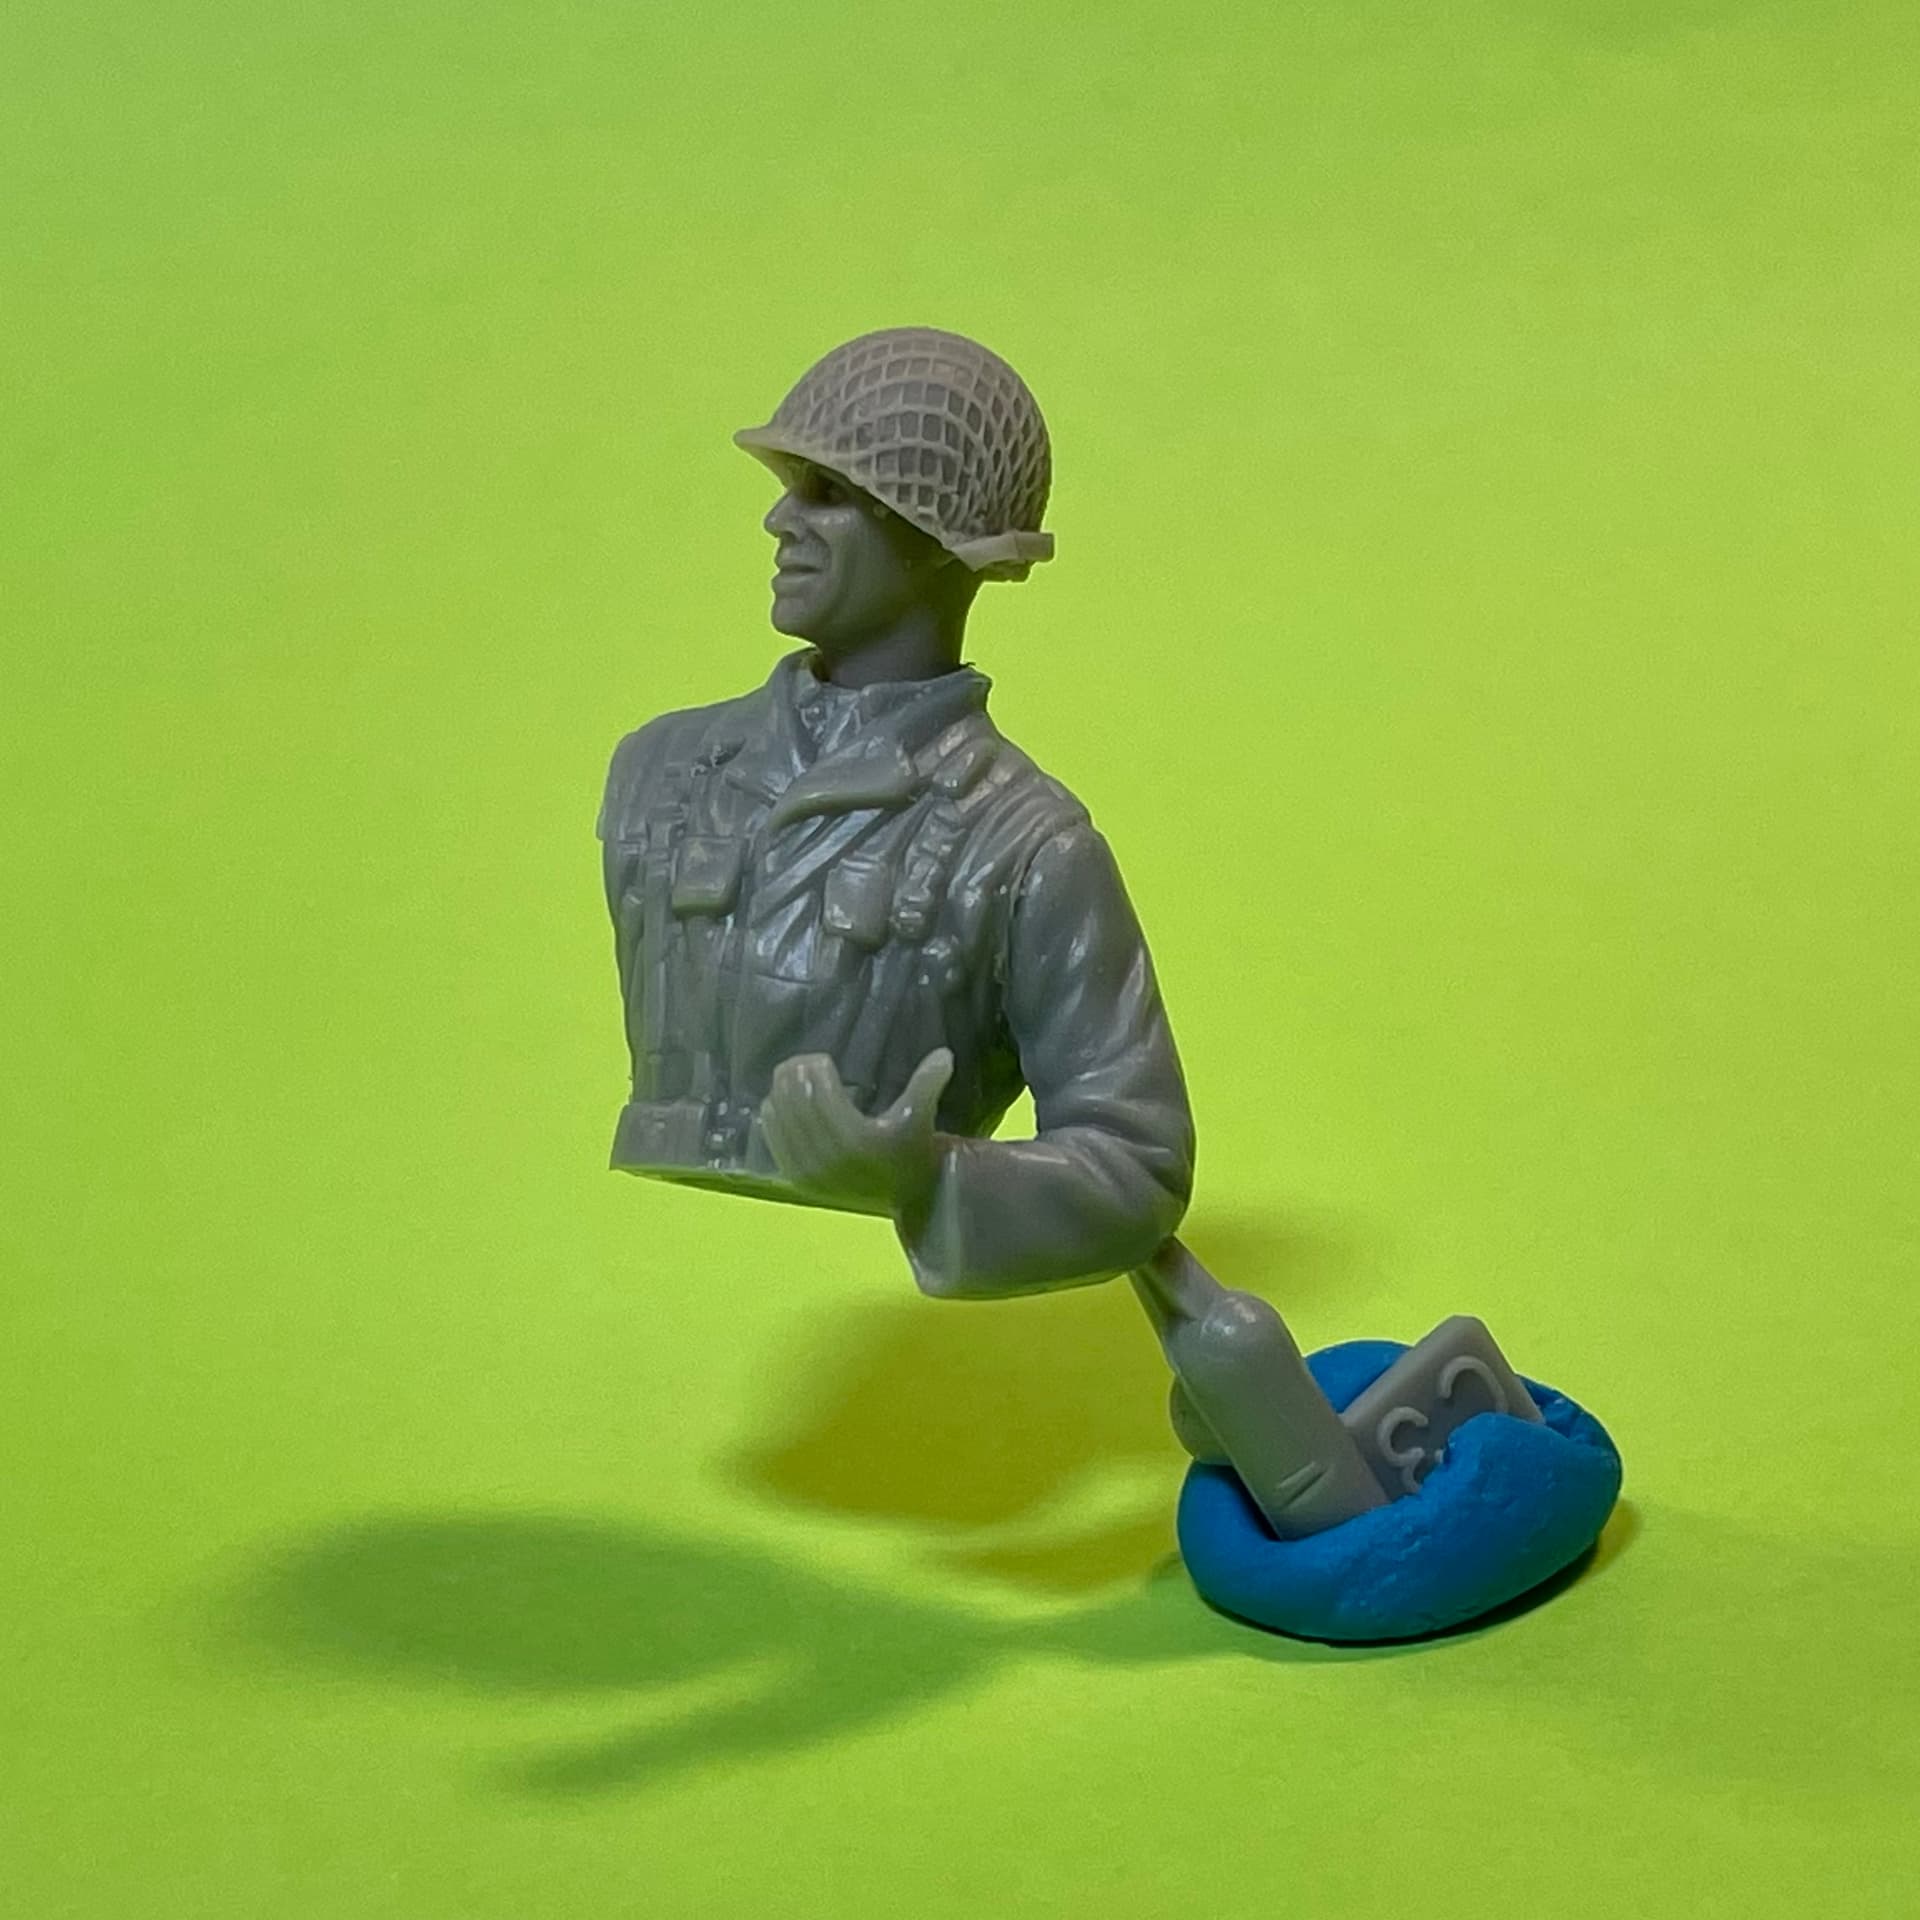
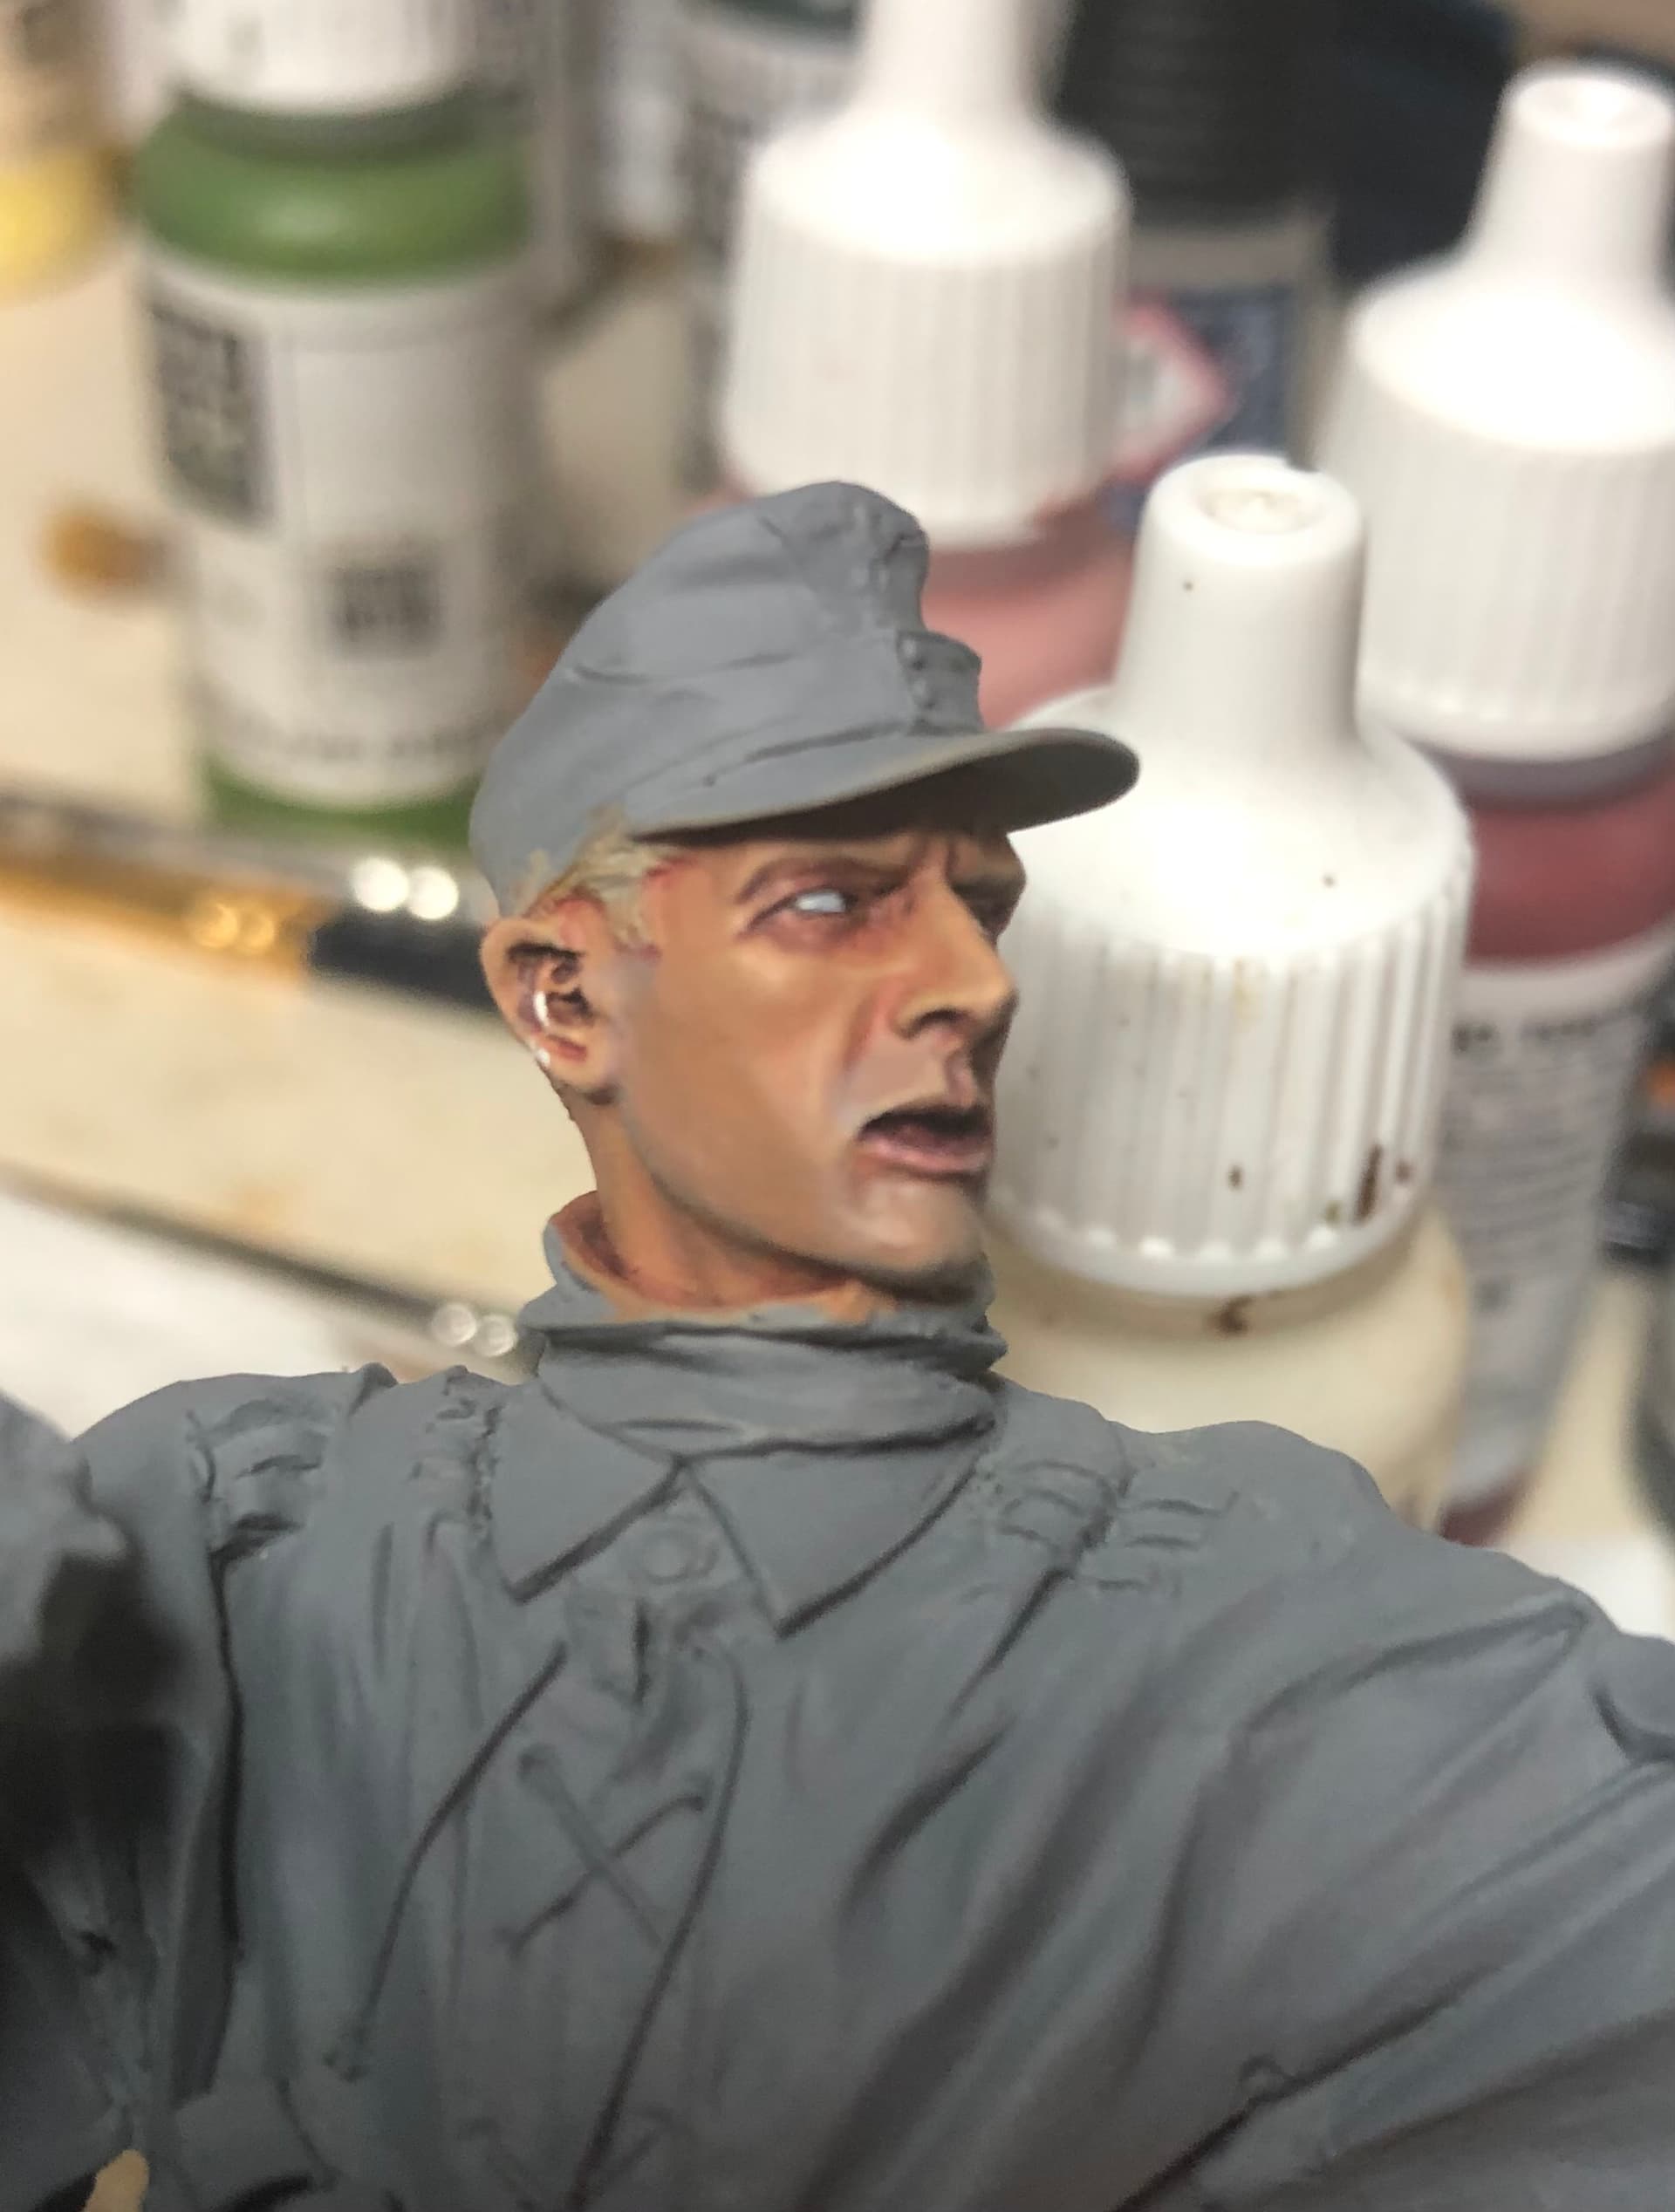
![]() What? That DML hand looks pretty good, don’t it?
What? That DML hand looks pretty good, don’t it?
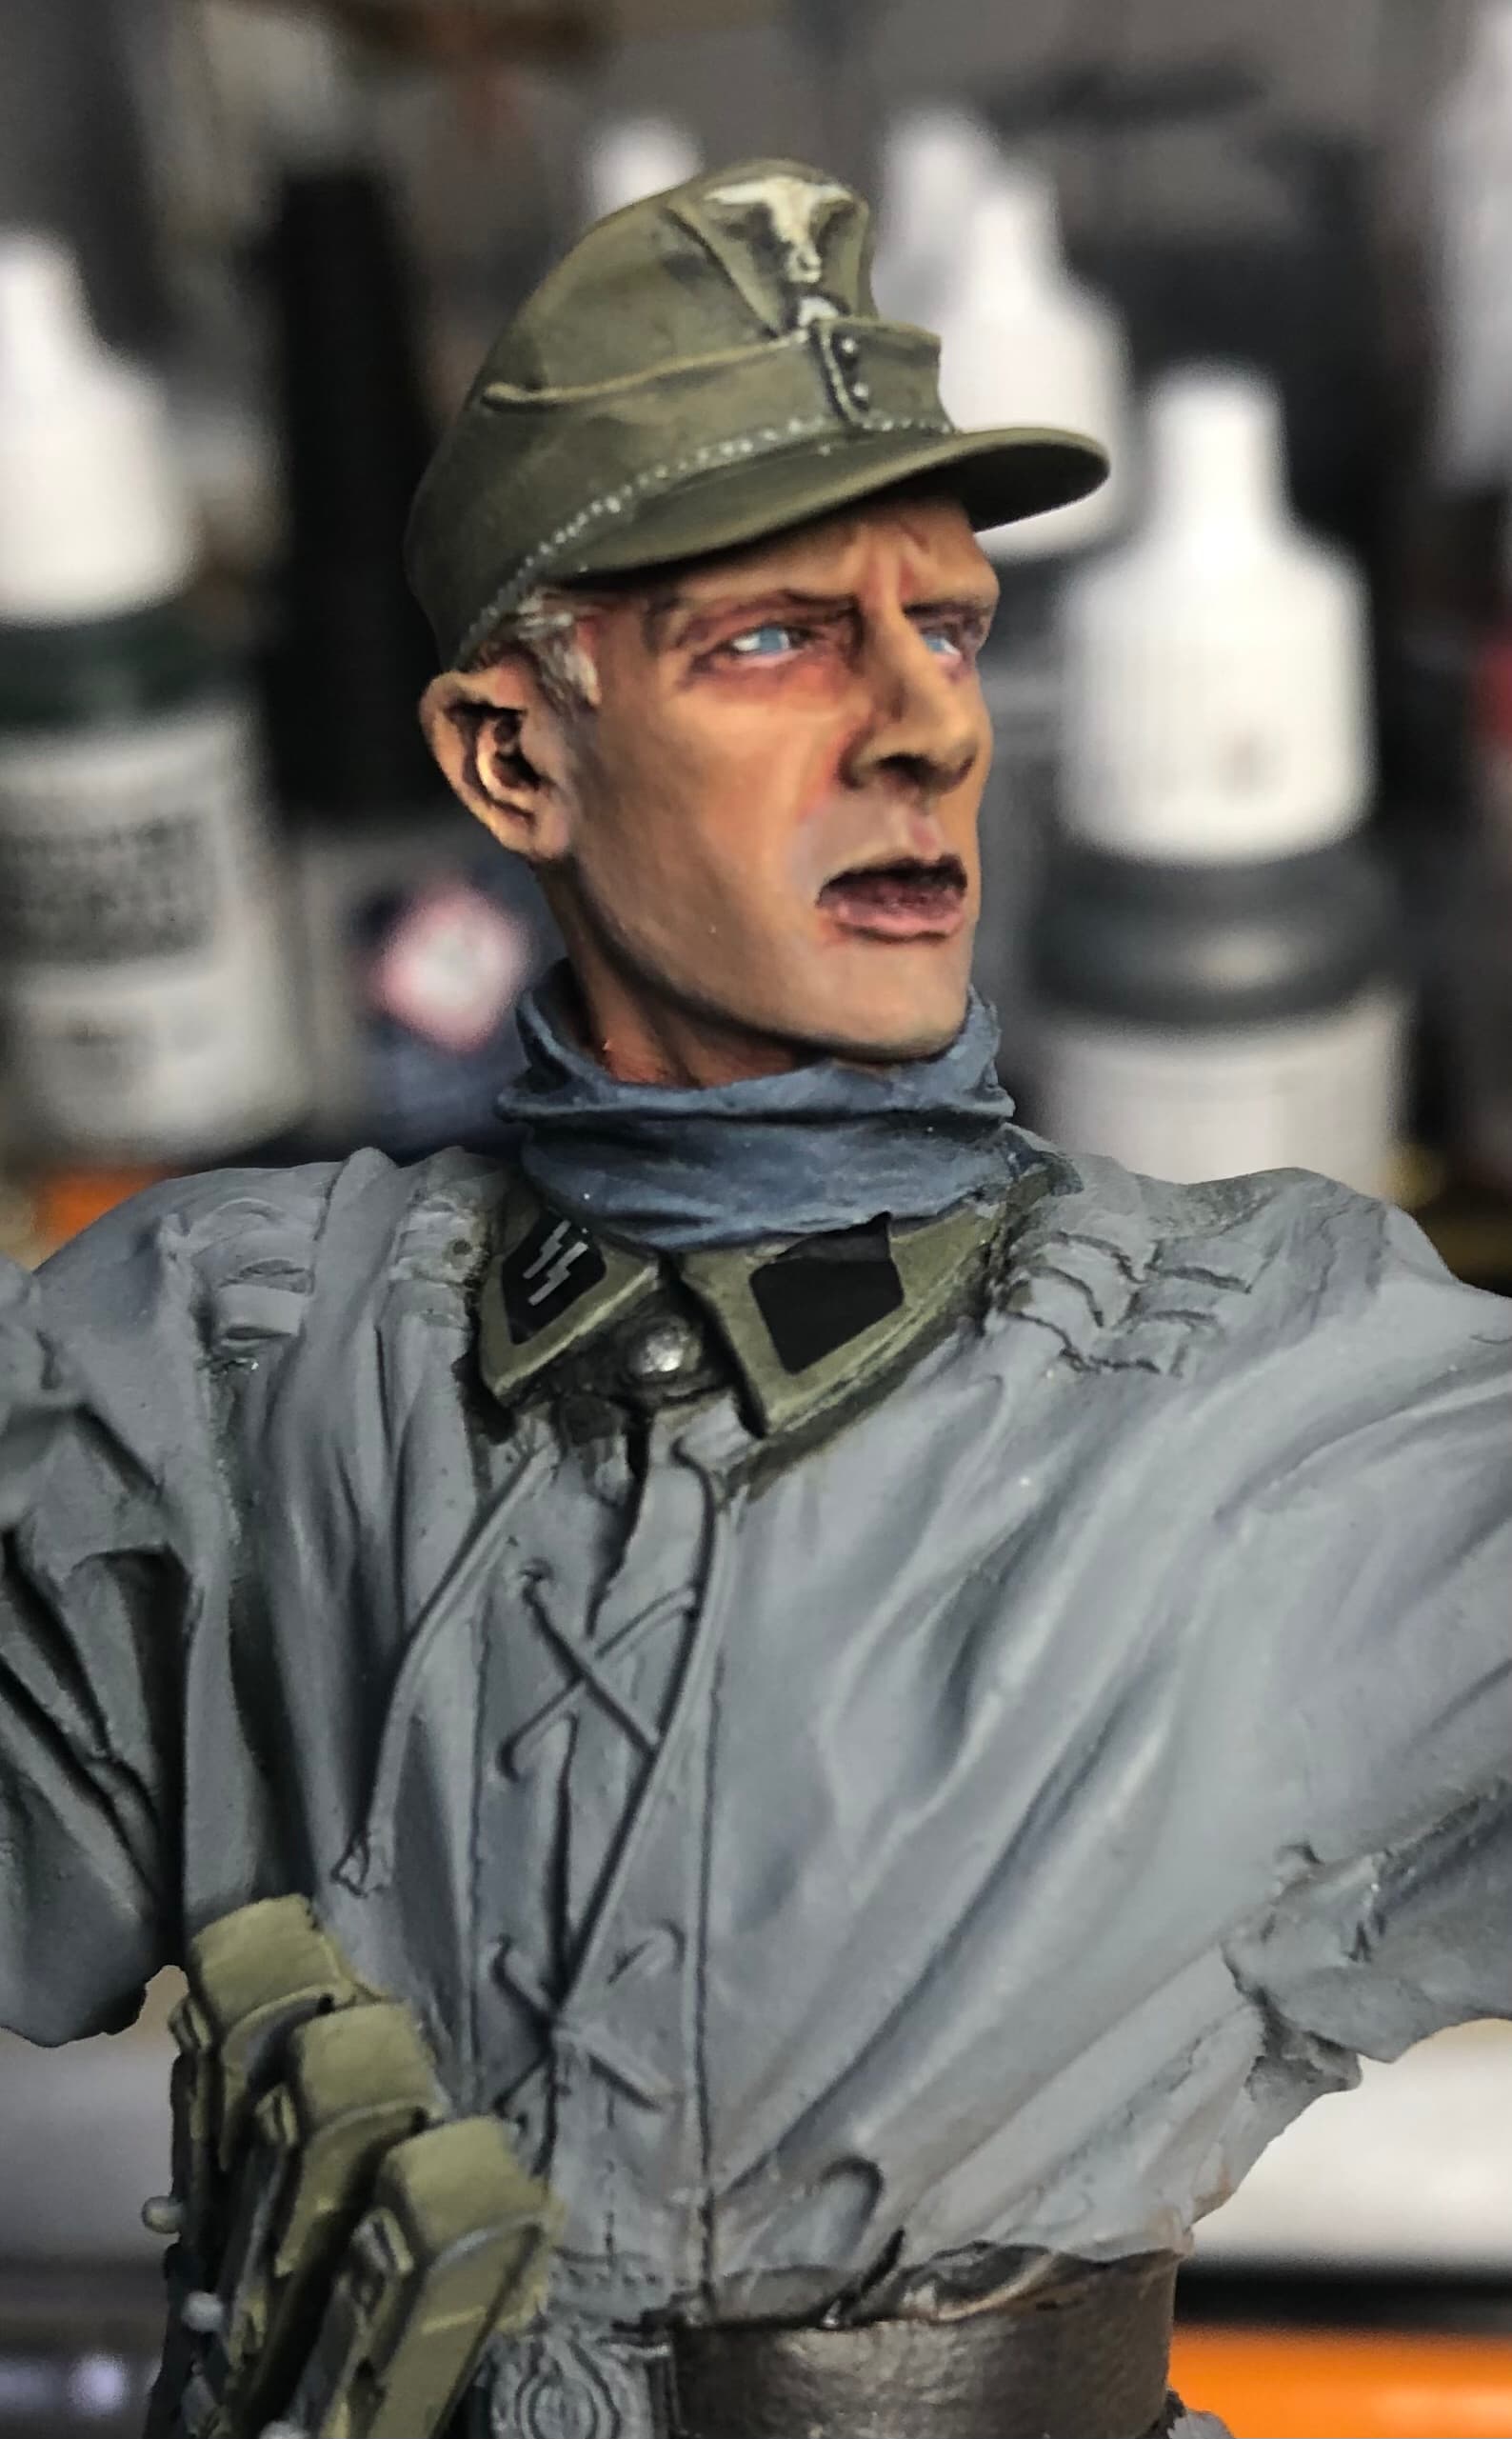
![]() Sure, for holding a RIFLE! … We’re going the extra OCD mile here, pal — beginning with adding a new Hornet Hand.
Sure, for holding a RIFLE! … We’re going the extra OCD mile here, pal — beginning with adding a new Hornet Hand. ![]()
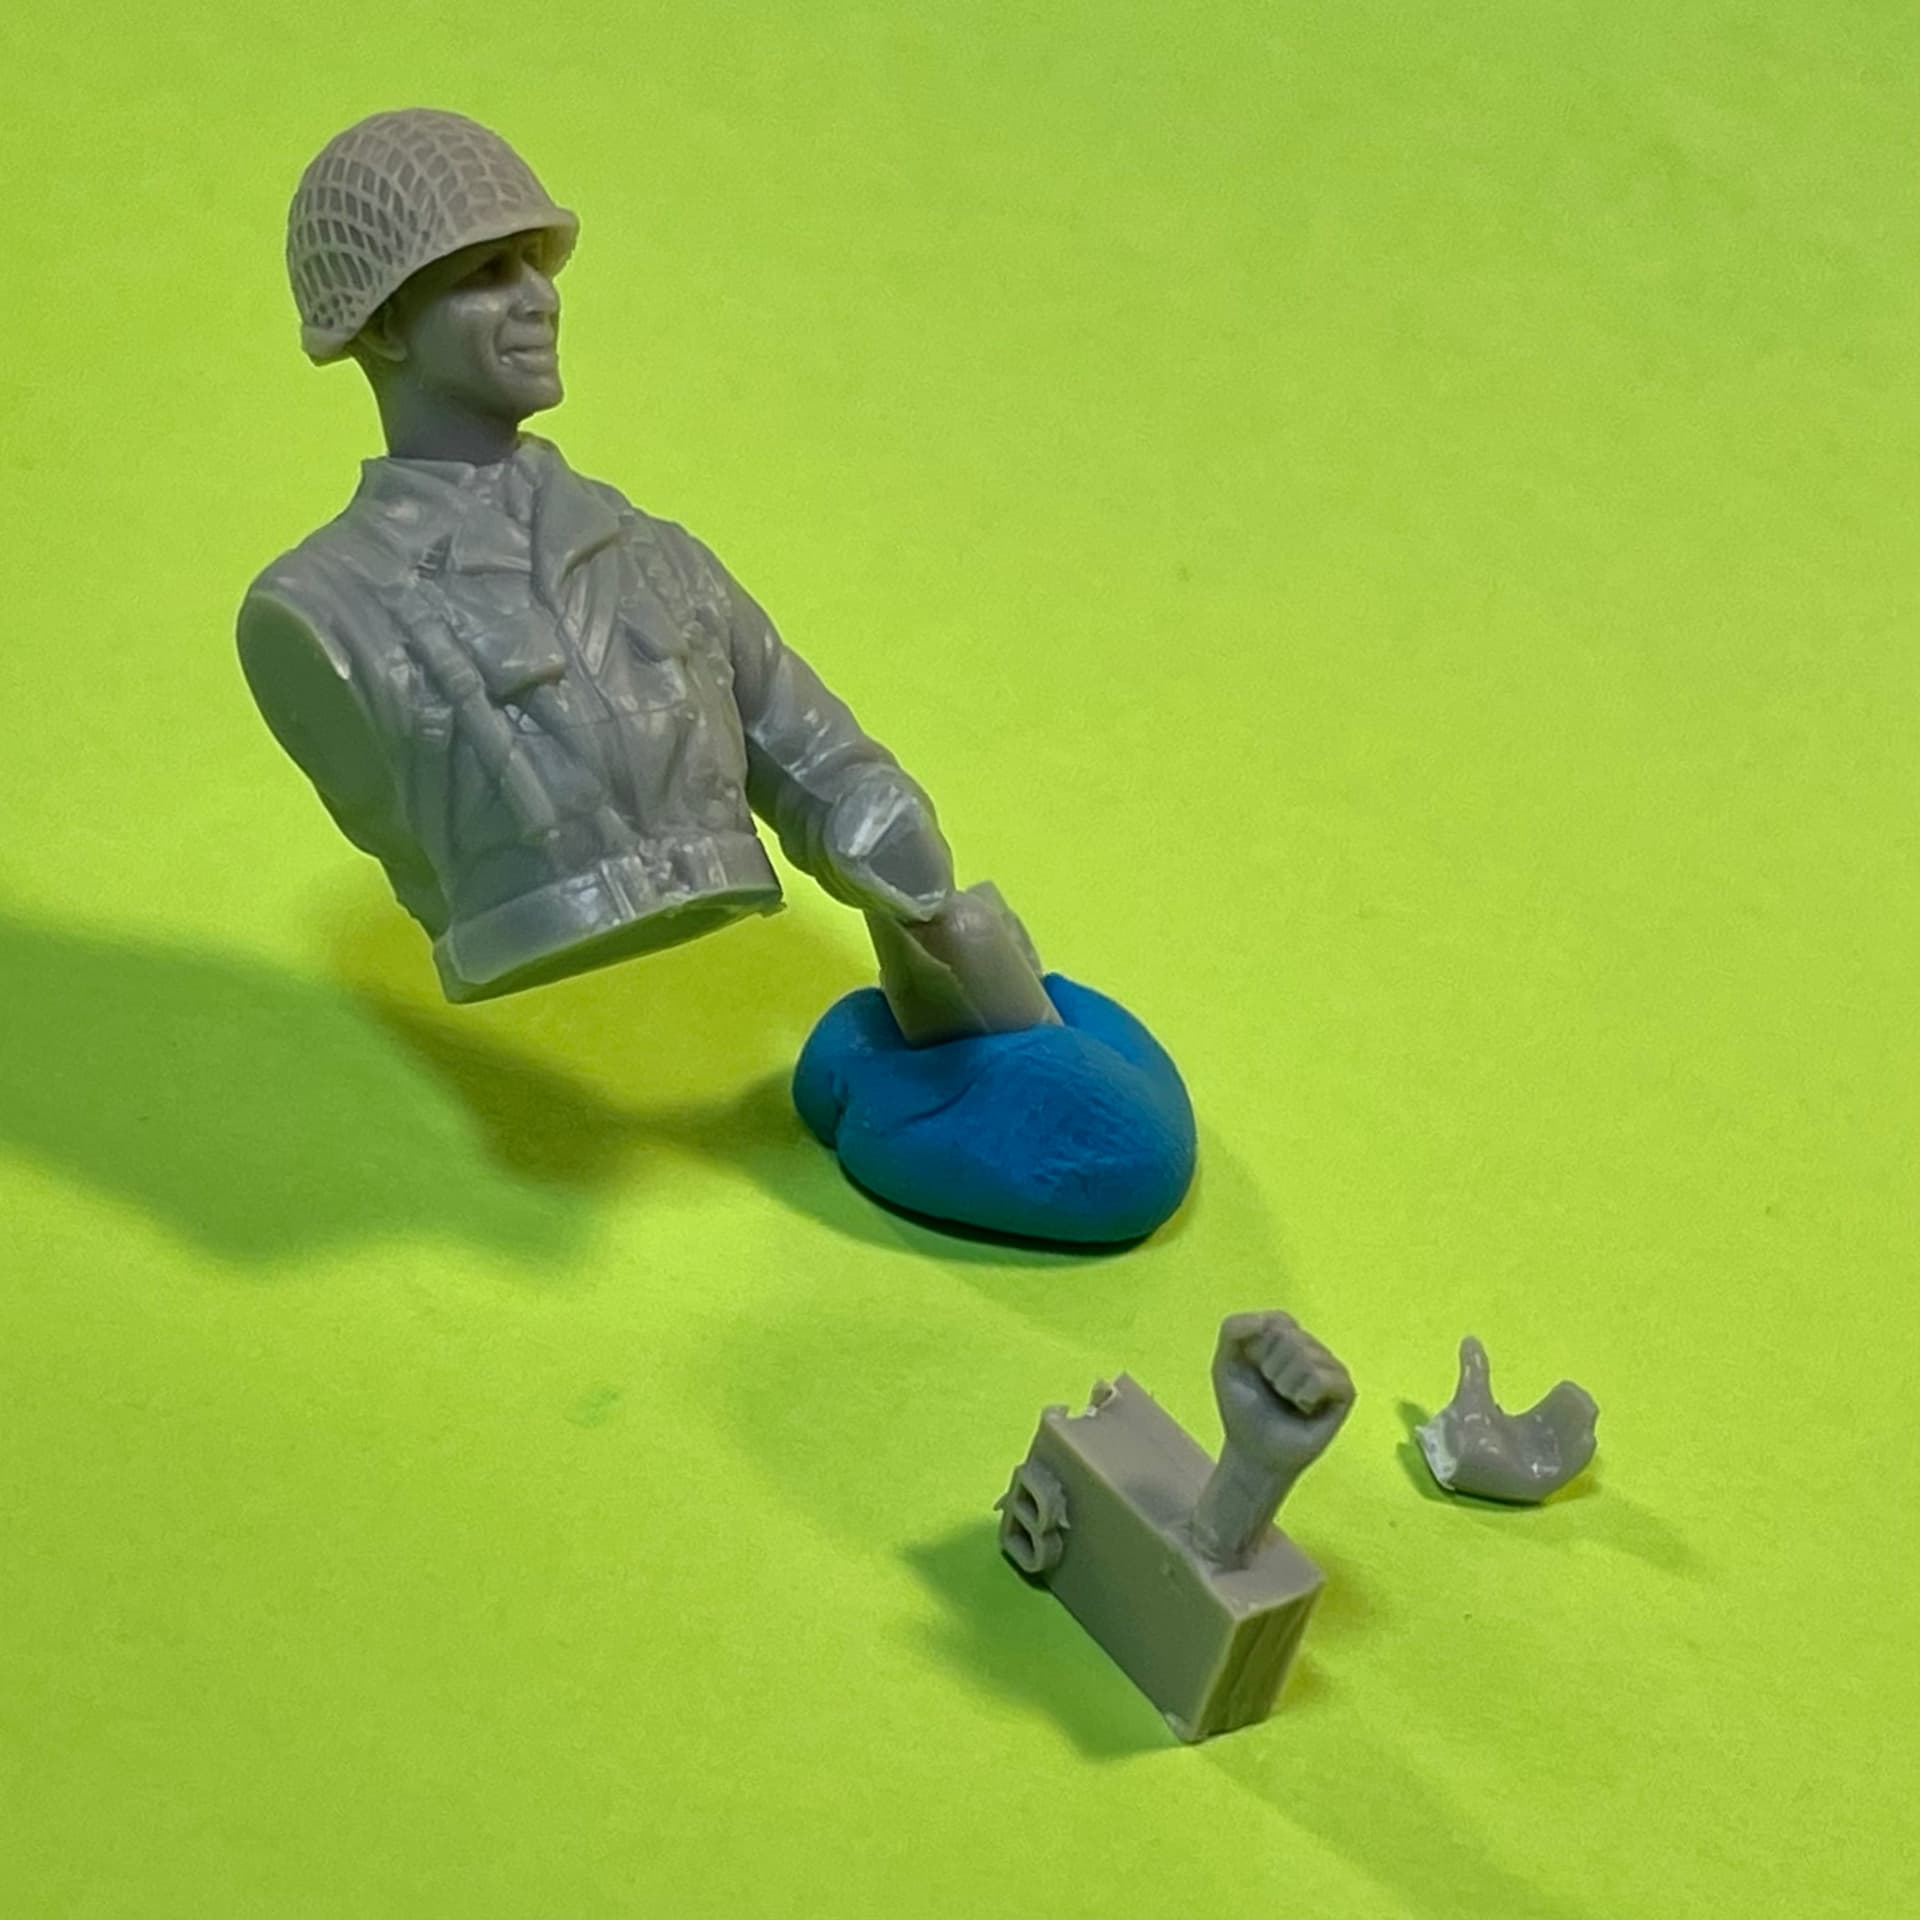
Step 1: Clip the original hand… followed by obligatory “OUCH!—#$@%!” ![]()
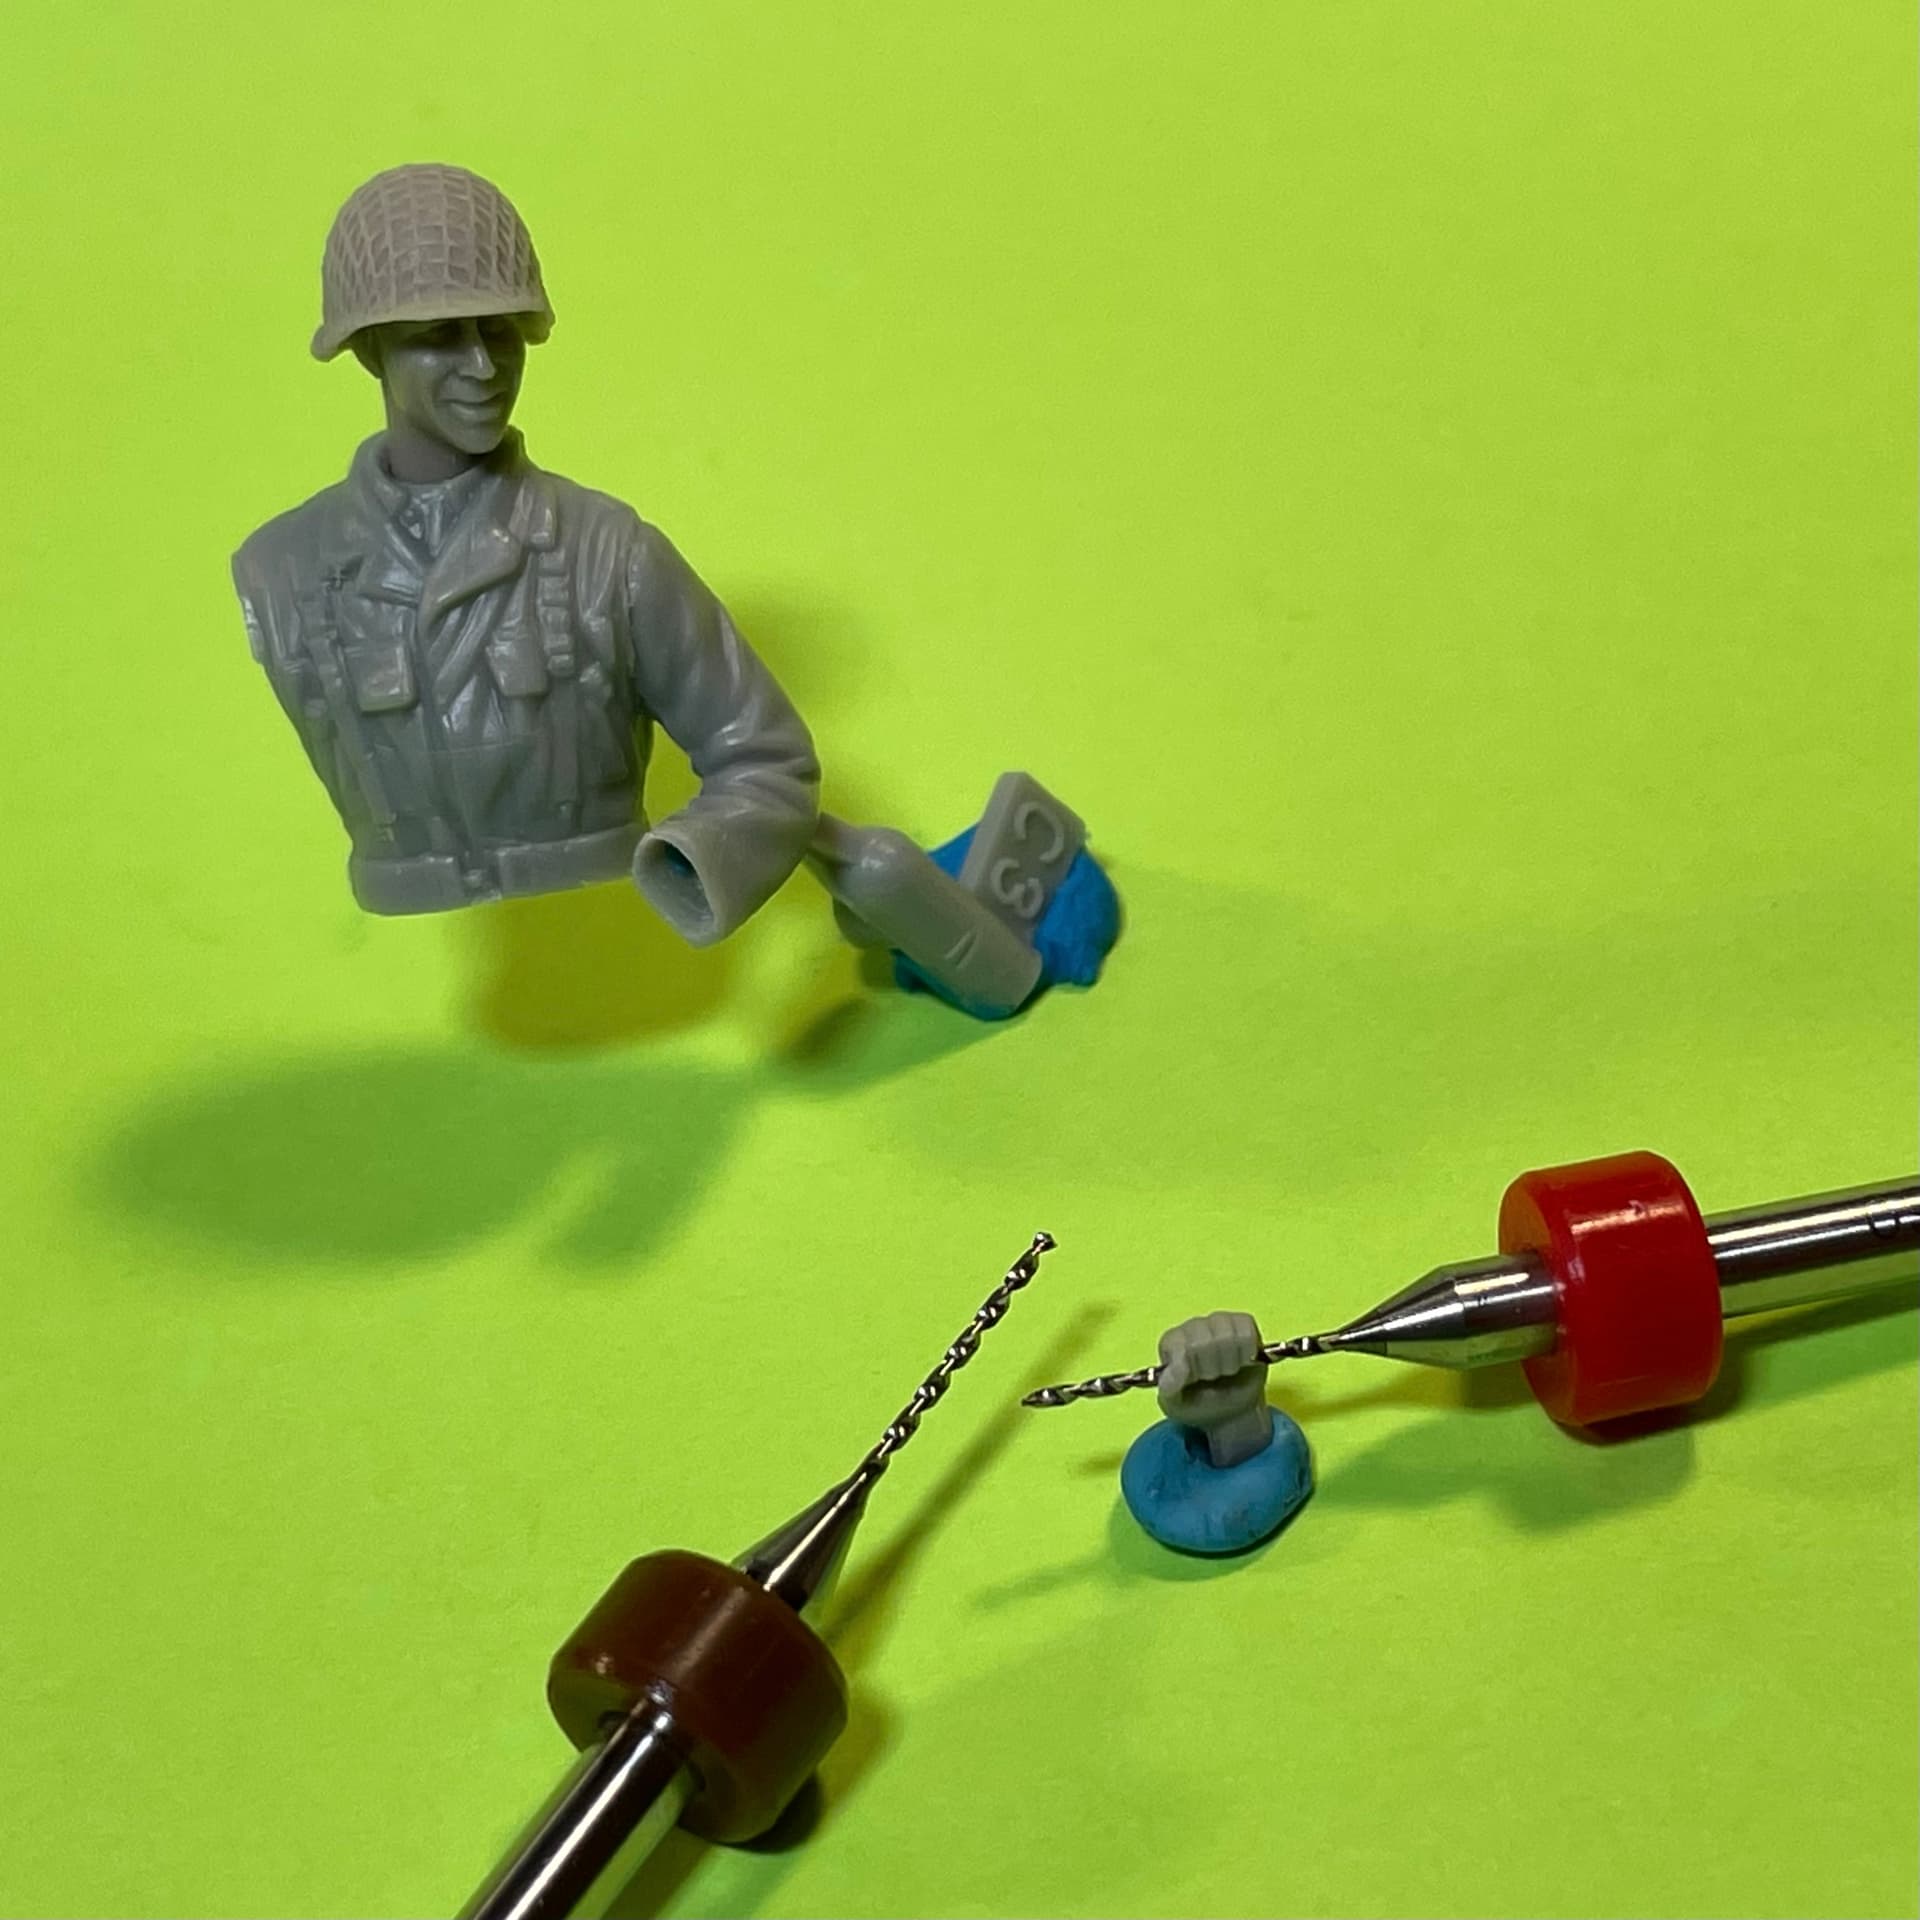
Step 2: Make a pilot divot using a No. 11 X-Acto blade. Not too deep — just enough to prevent the-drill bit from skating out o control… blah, blah. Careful, don’t break the tip… blah, blah, blah.
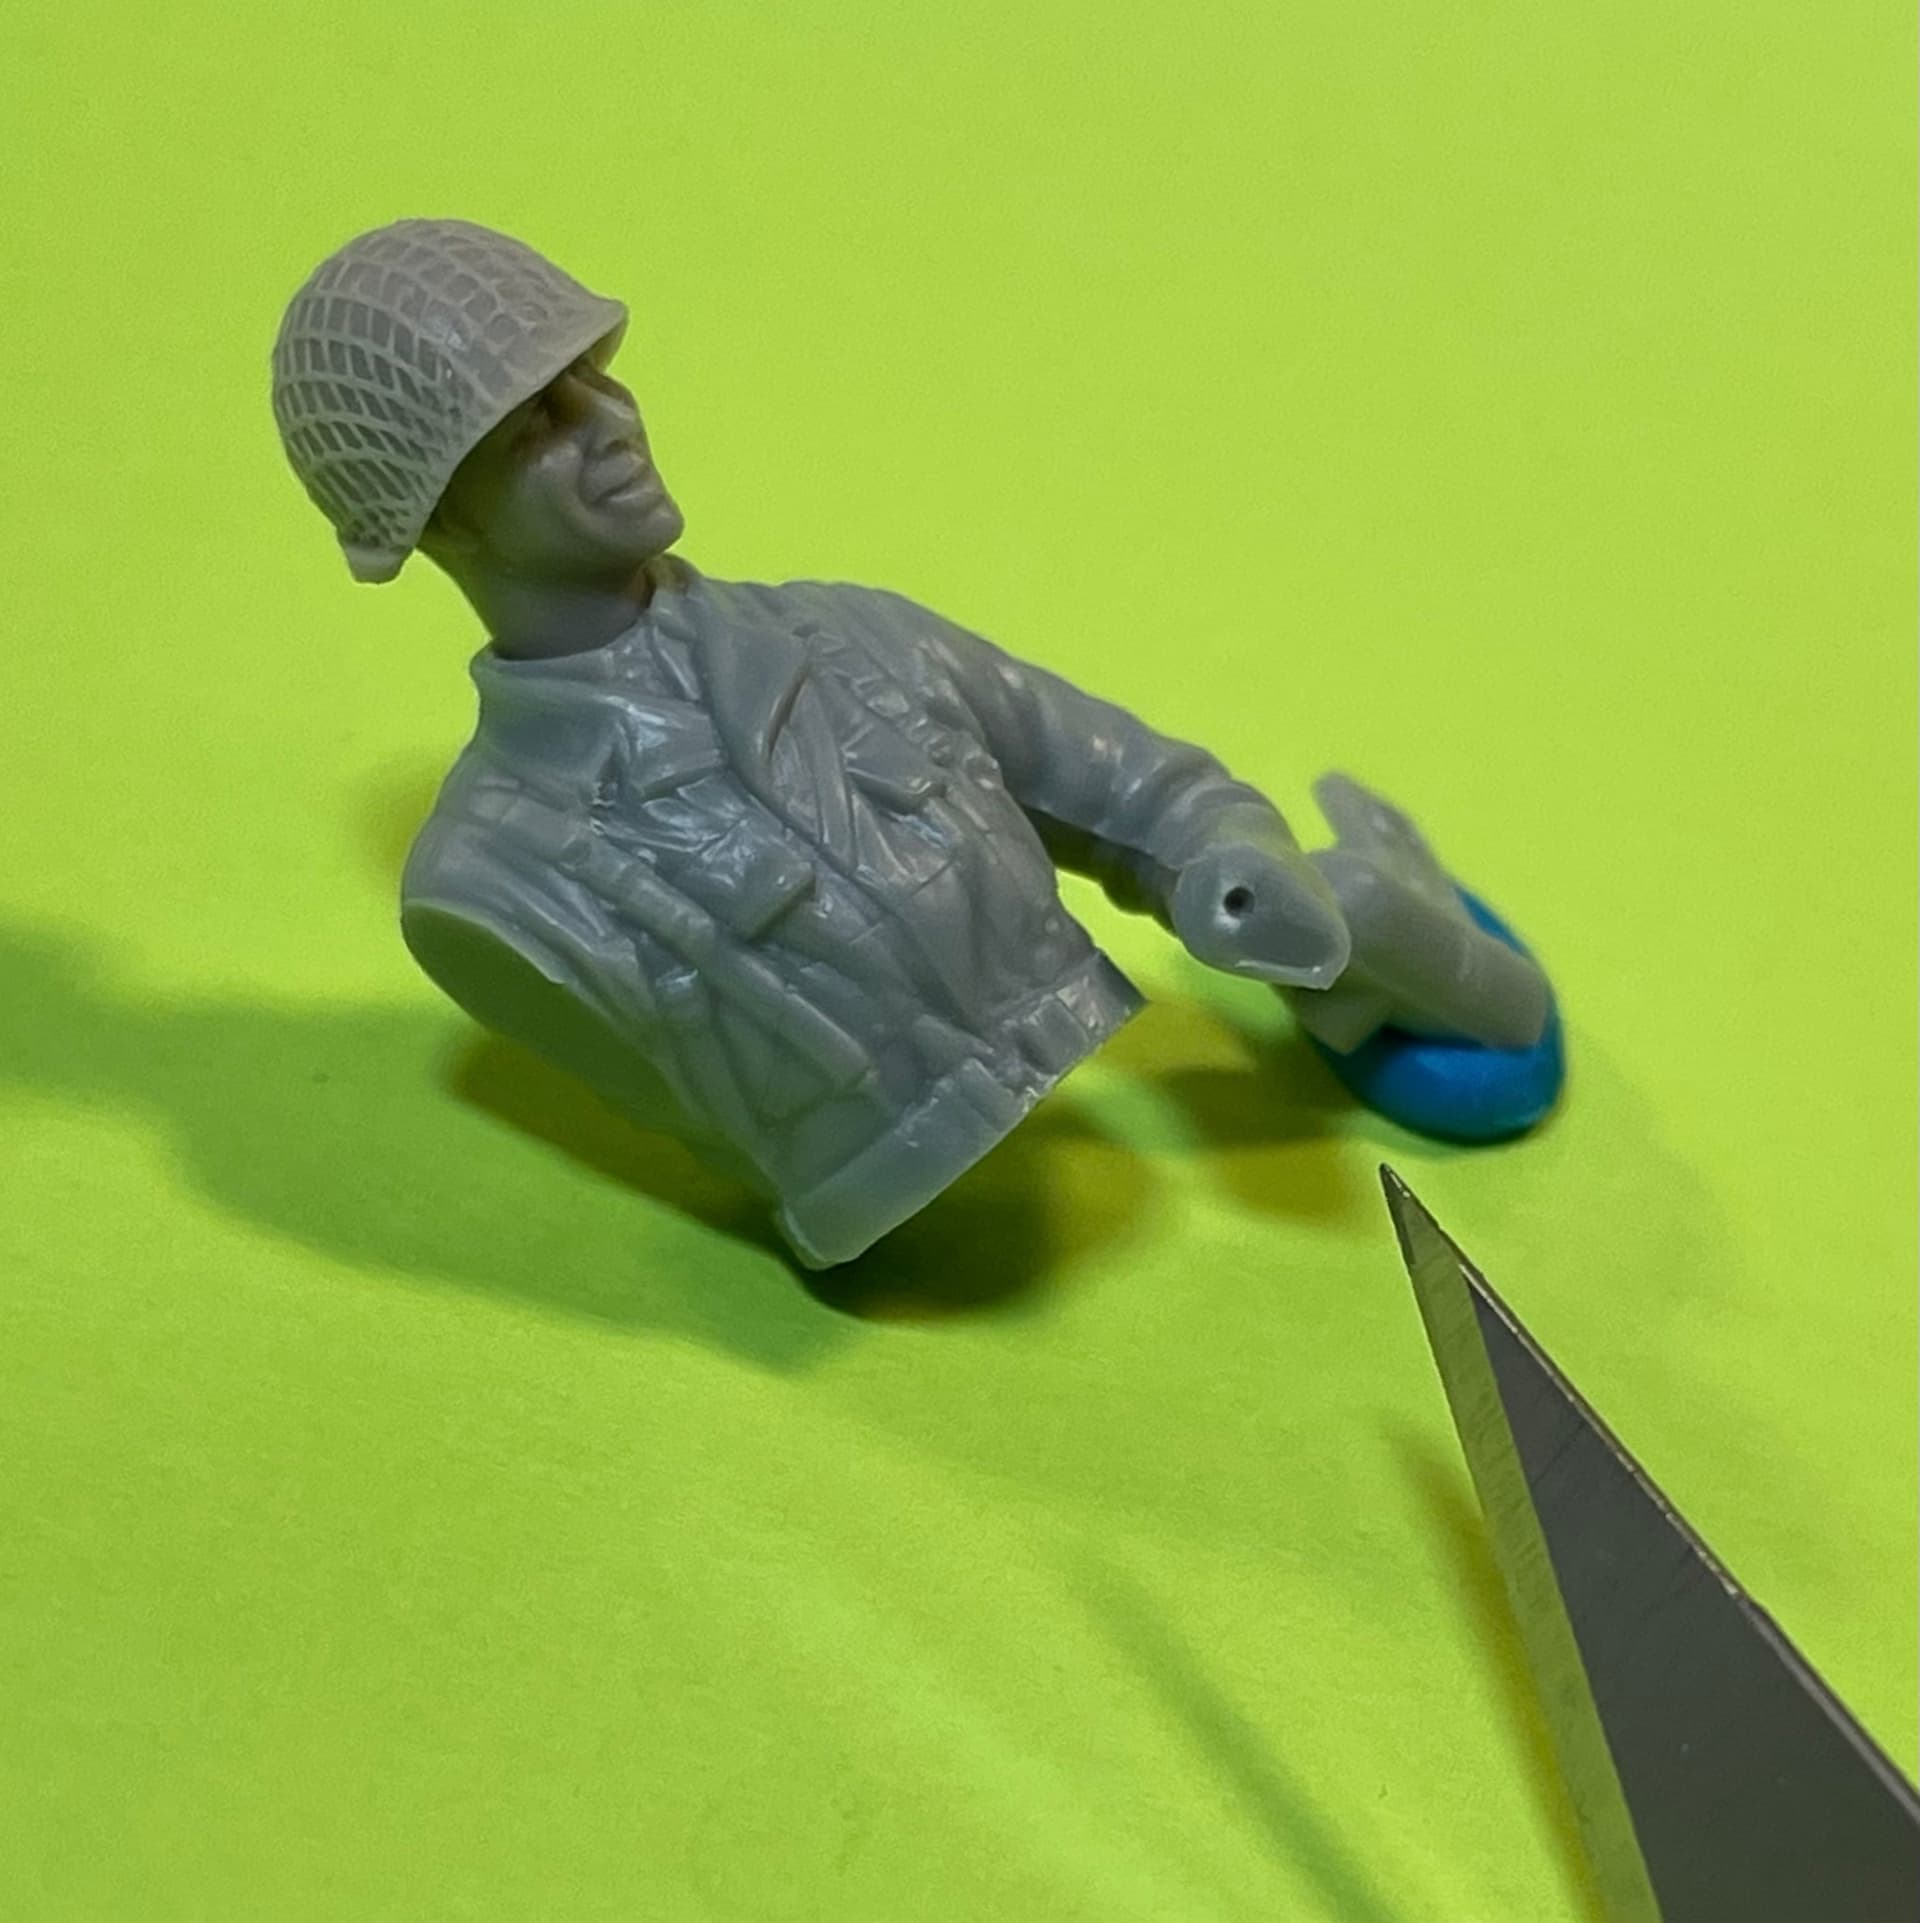
Step 3: Drill a hole approx. 3mm deep. Use a couple of bit sizes to gradually increase the hole diameter. Hand drill with Tungsten Carbide Drill Bits. Don’t open-up too much sleeve just yet.
• Standard SNAP WARNING applies throughout.
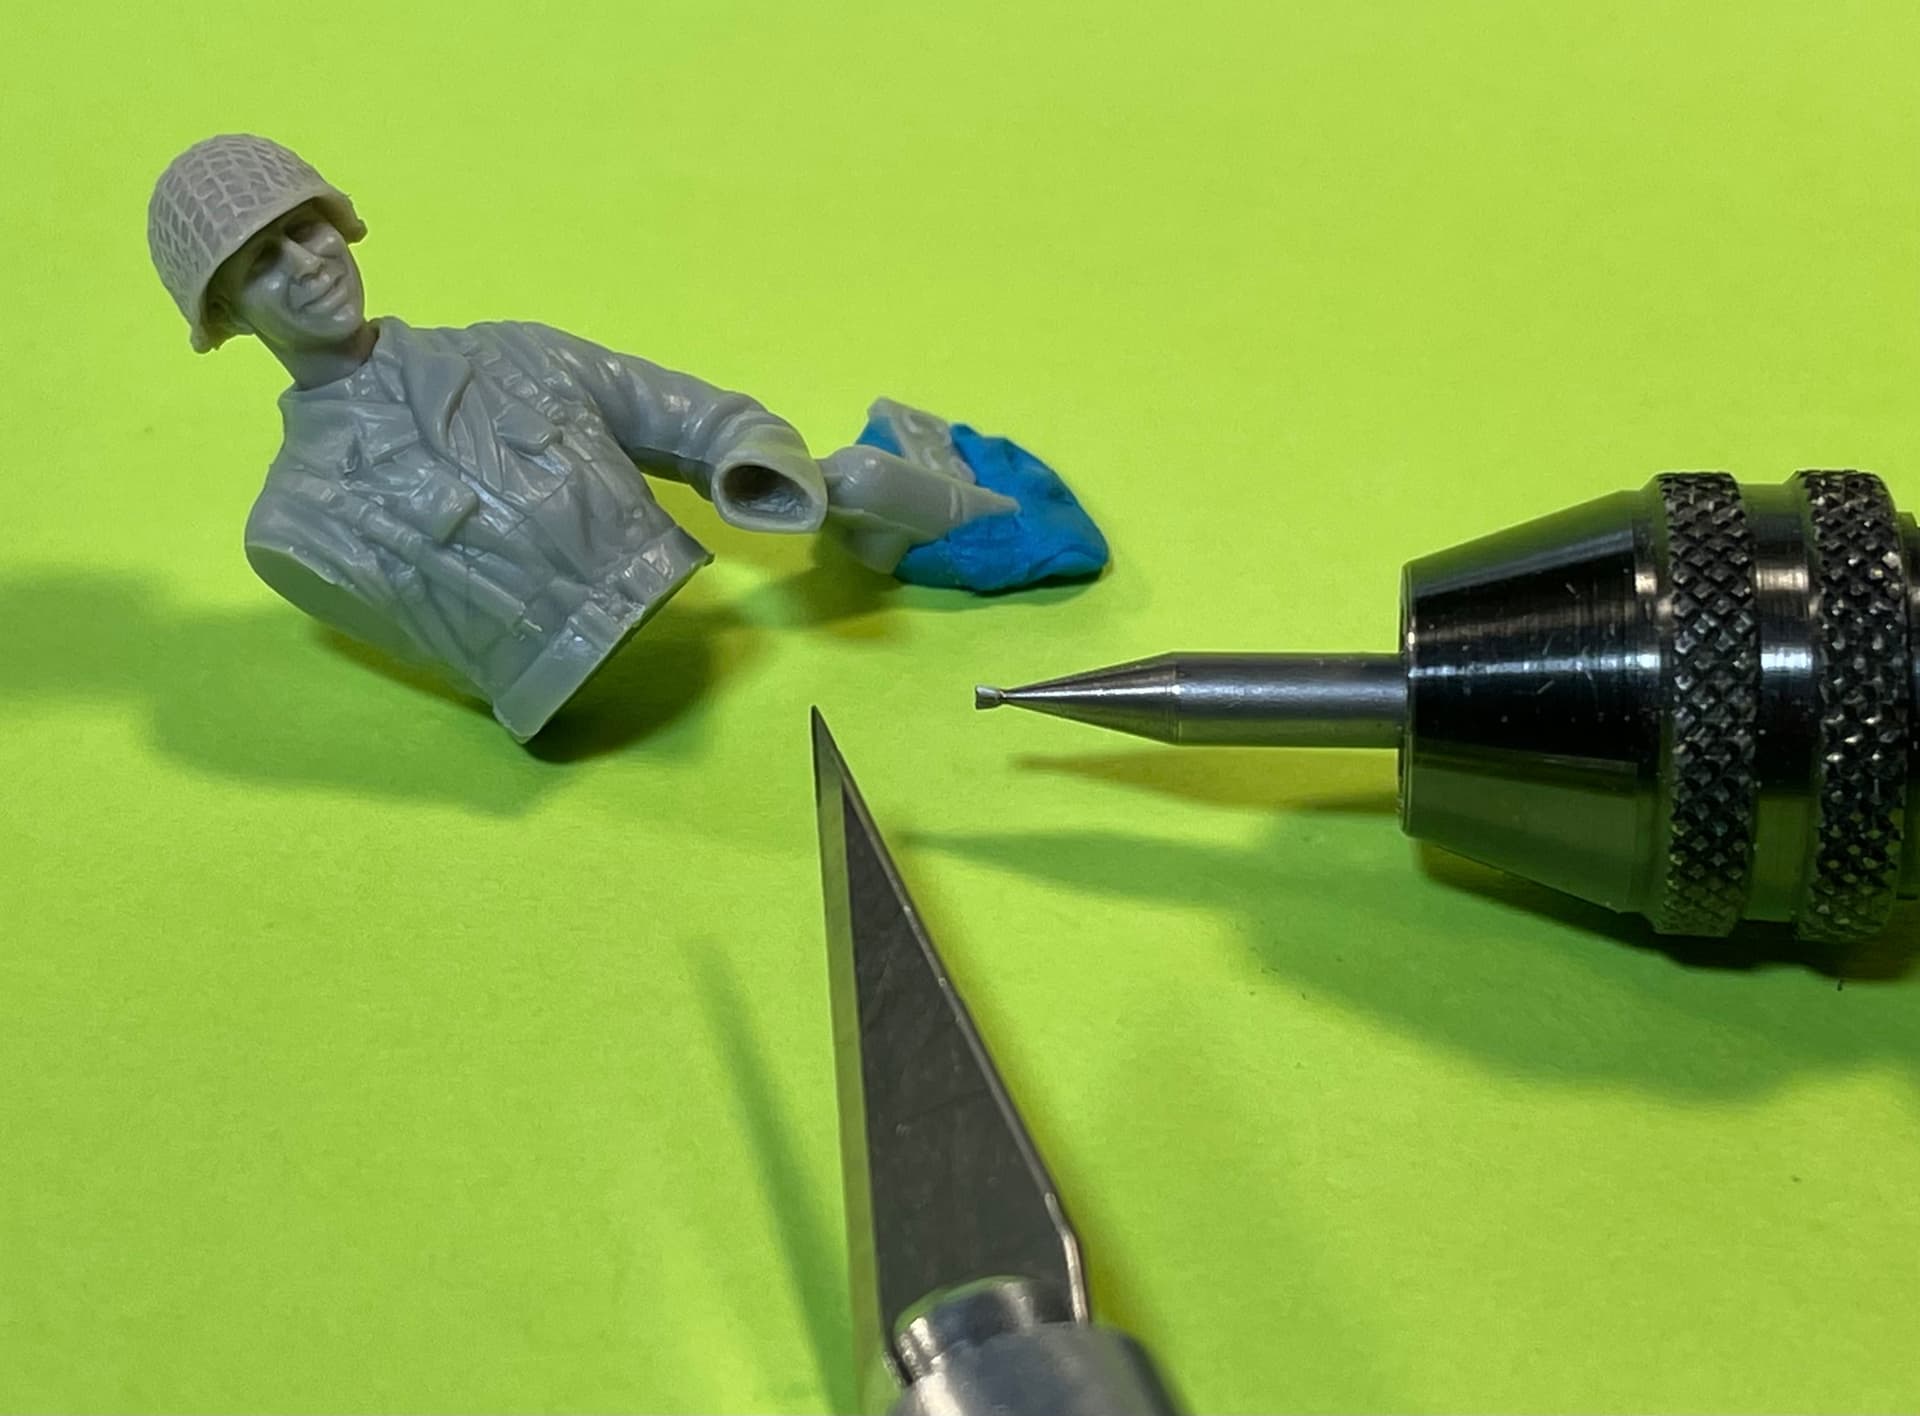
Step 4: Start carving towards the sleeve using the No. 11 X-Acto Blade. Next is where I shift into high-gear with Dremel power and this nifty little undercutting 5/64" Engraving Cutter.
• This little gem makes quick work of removing lots of material. Take small bites (in-and-out stabs).
• Leftover material tends to build-up quickly which can block visibility. Clean-out the cavity often or next thing you know, you’ve cut too far. ![]()
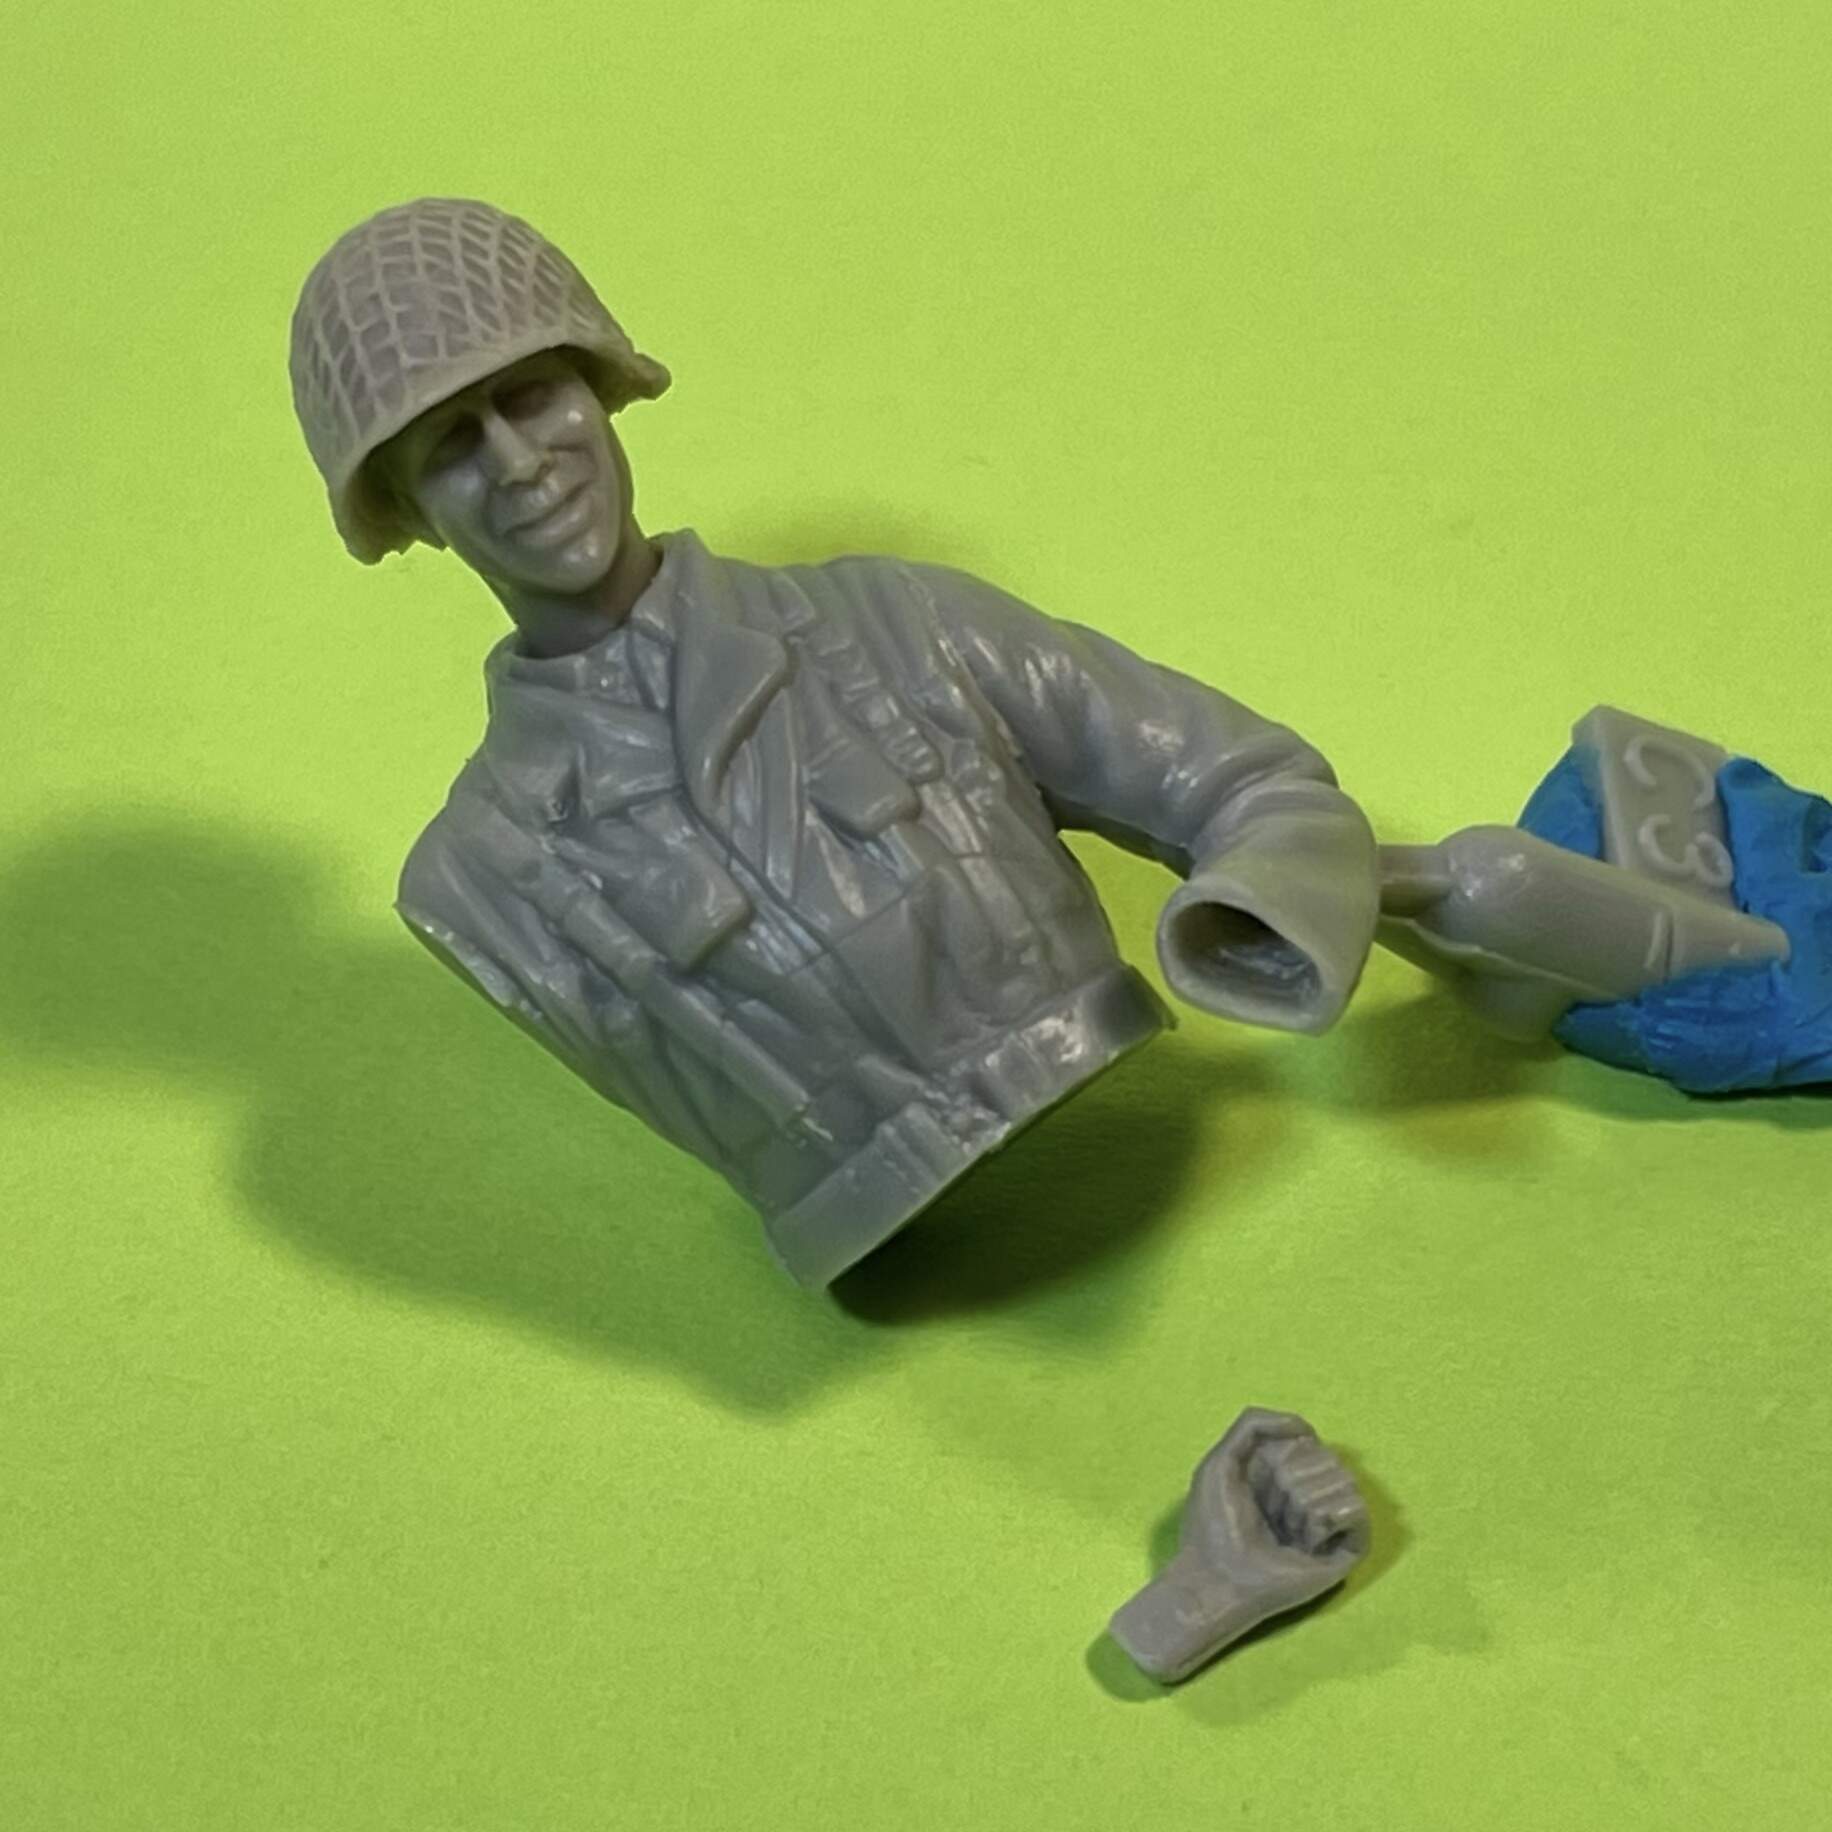
Step 5: Clip your Hornet Hand of choice. Leave the “Giraffe Hand” (new term). Lightly sand the edges of the stump, but not too much. Then, begin back-and-forth mating of the wrist with the sleeve.
• I usually pack a tiny bit of Blu-Tak into the sleeve for dry-fitting.
![]() “You see these stripes, son?”
“You see these stripes, son?” ![]()
![]() “All due respect, Sarge. I thought they was mould seems.”
“All due respect, Sarge. I thought they was mould seems.” ![]()
Step 6: ![]() You know the drill!… Drill through the brandy-new hand, enlarge the grip a couple of drill bit sizes.
You know the drill!… Drill through the brandy-new hand, enlarge the grip a couple of drill bit sizes.
D’oh! … Now what, Captain Obvious??? ![]()
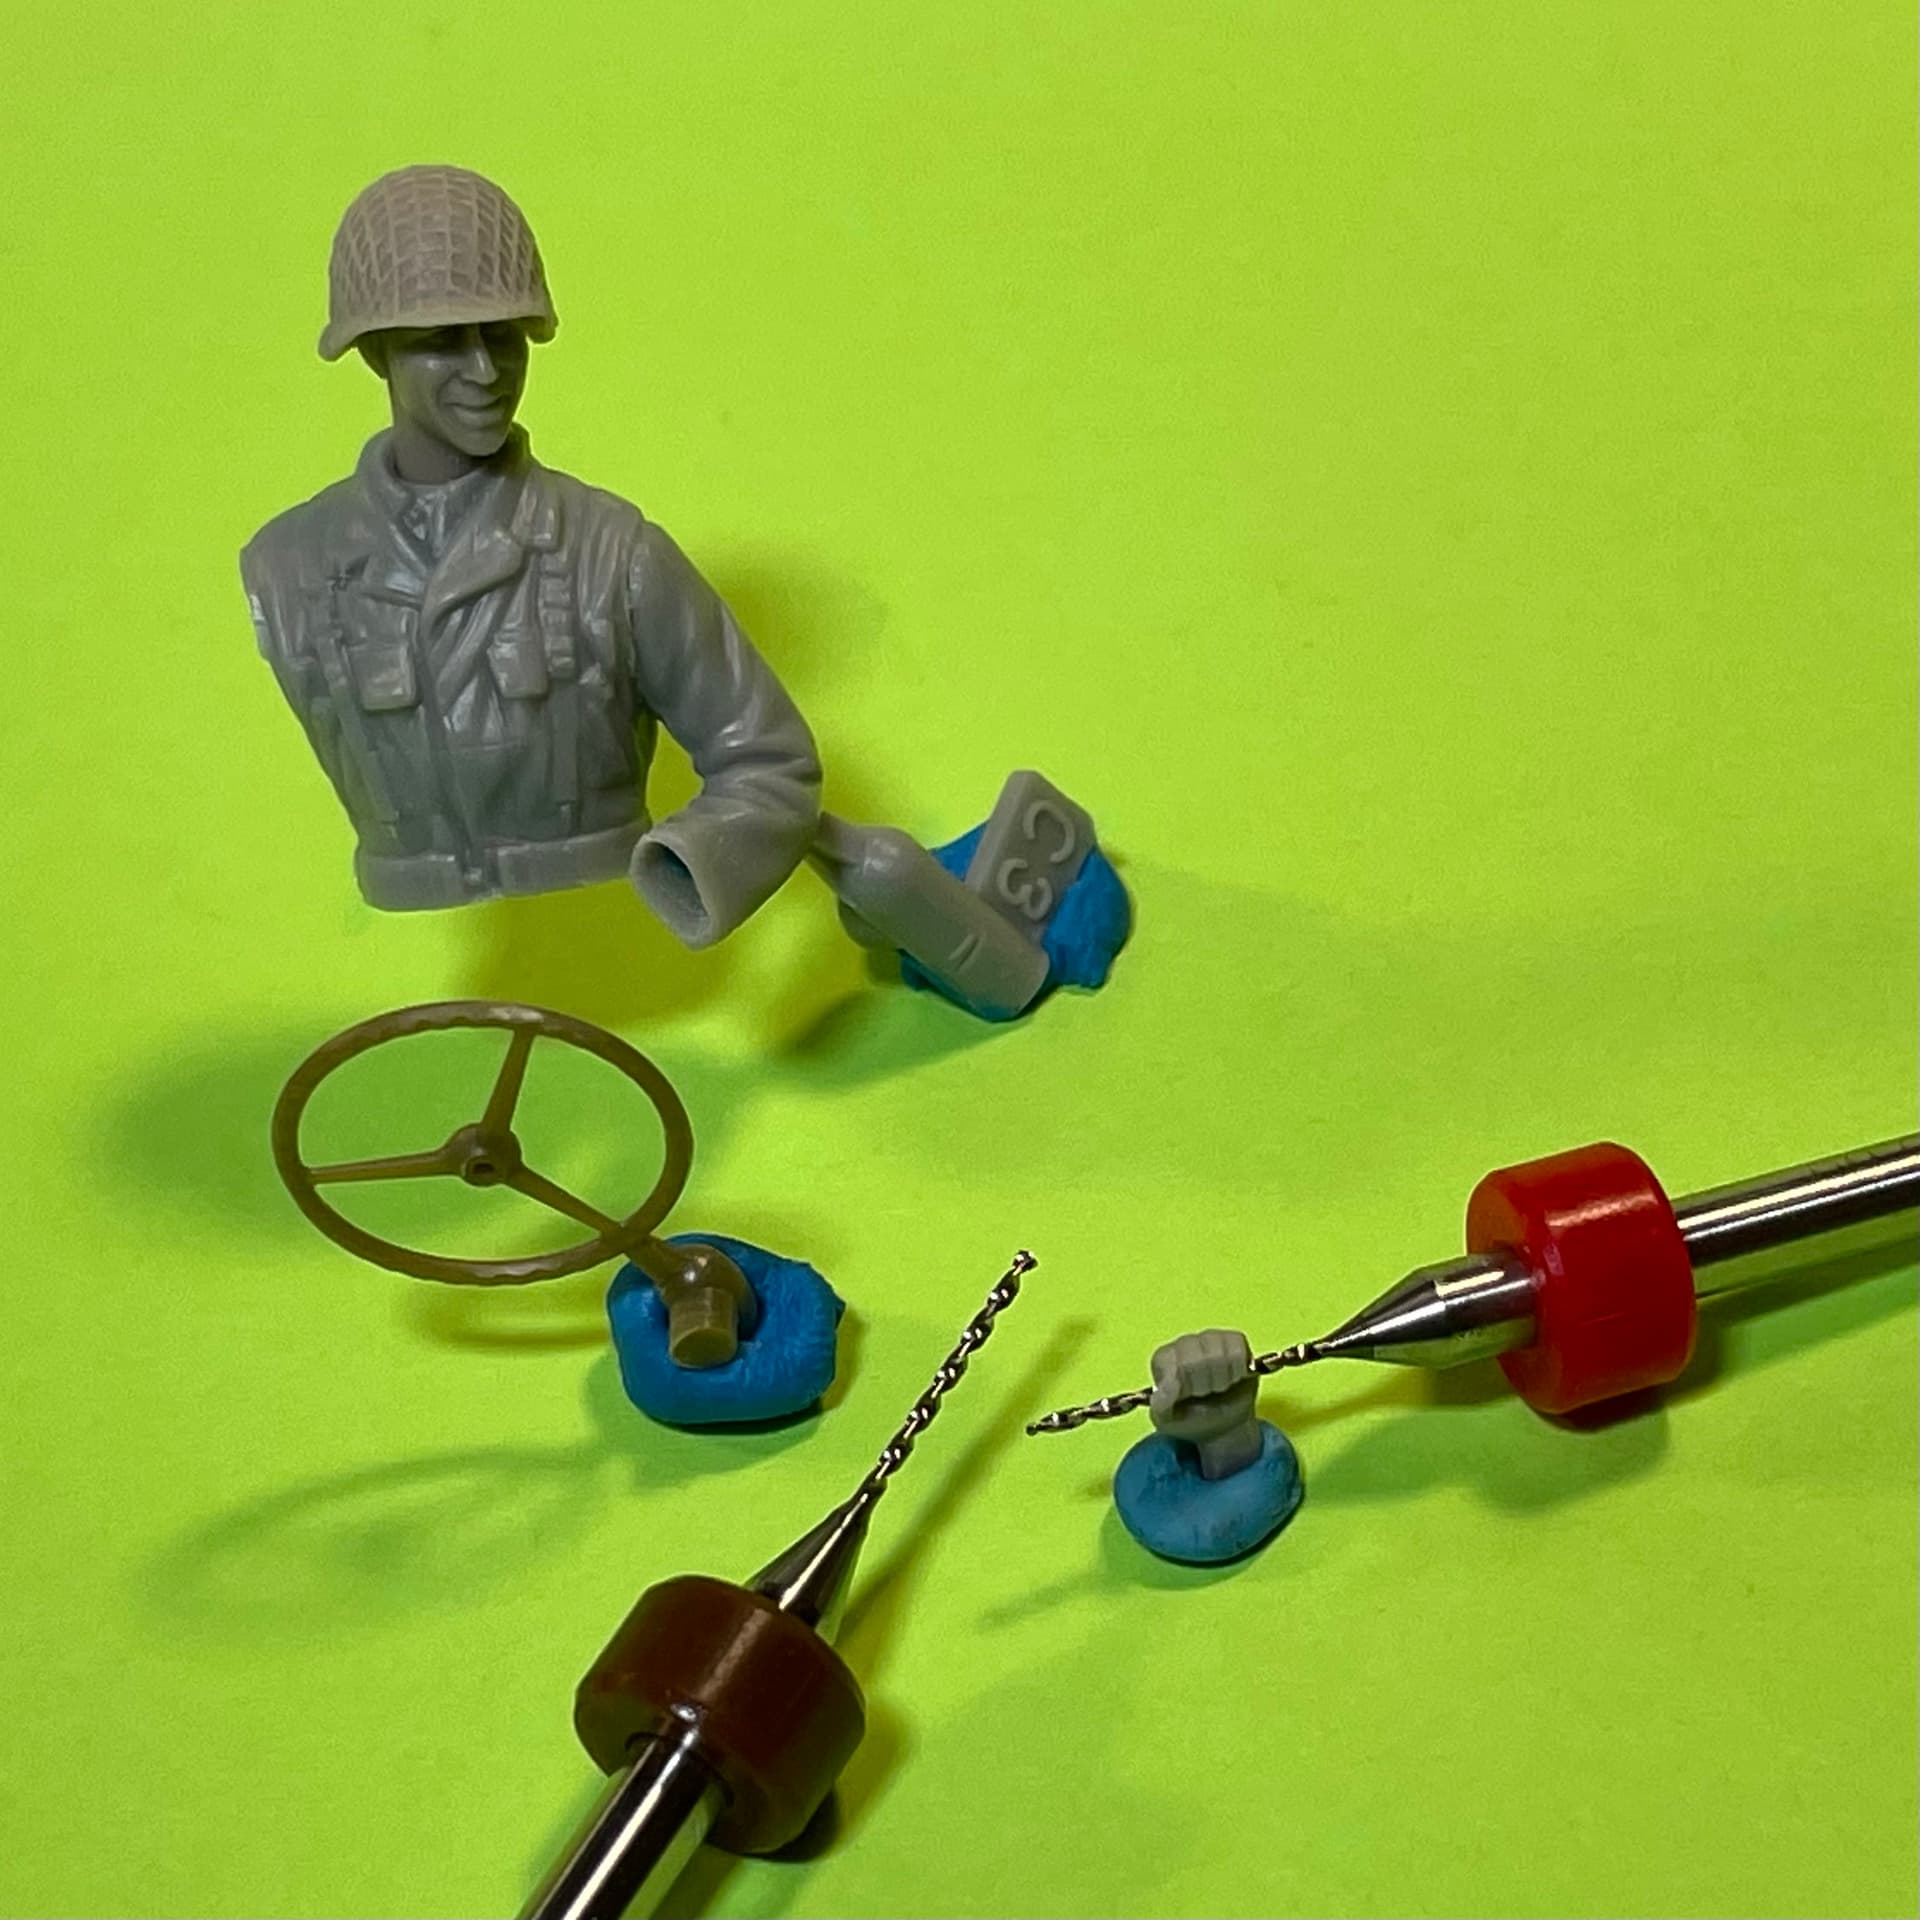
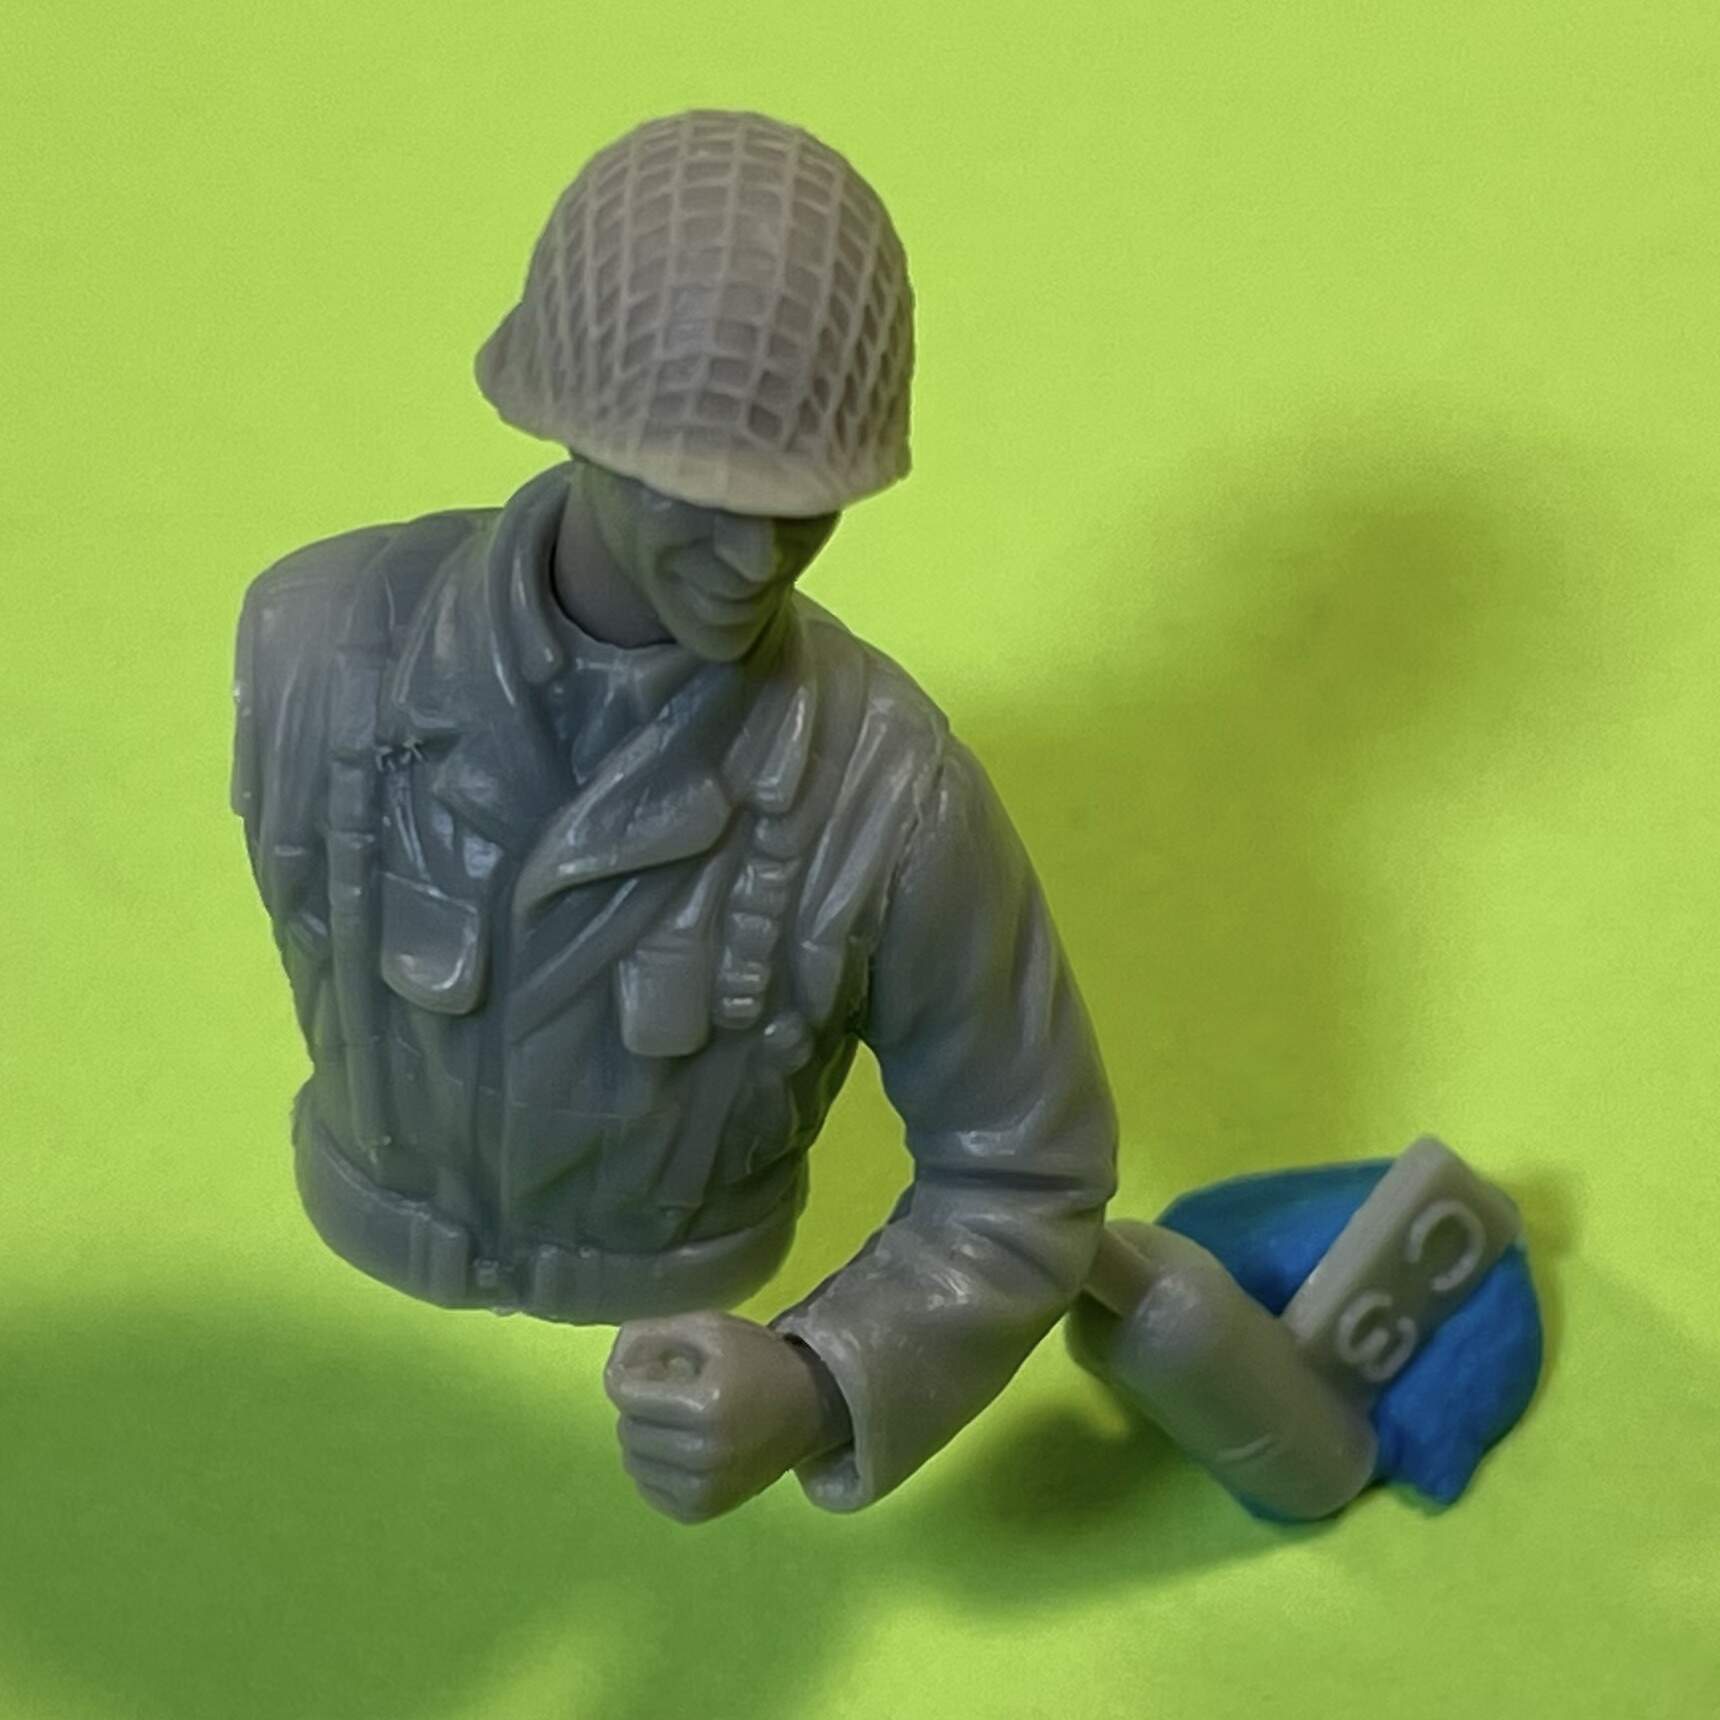
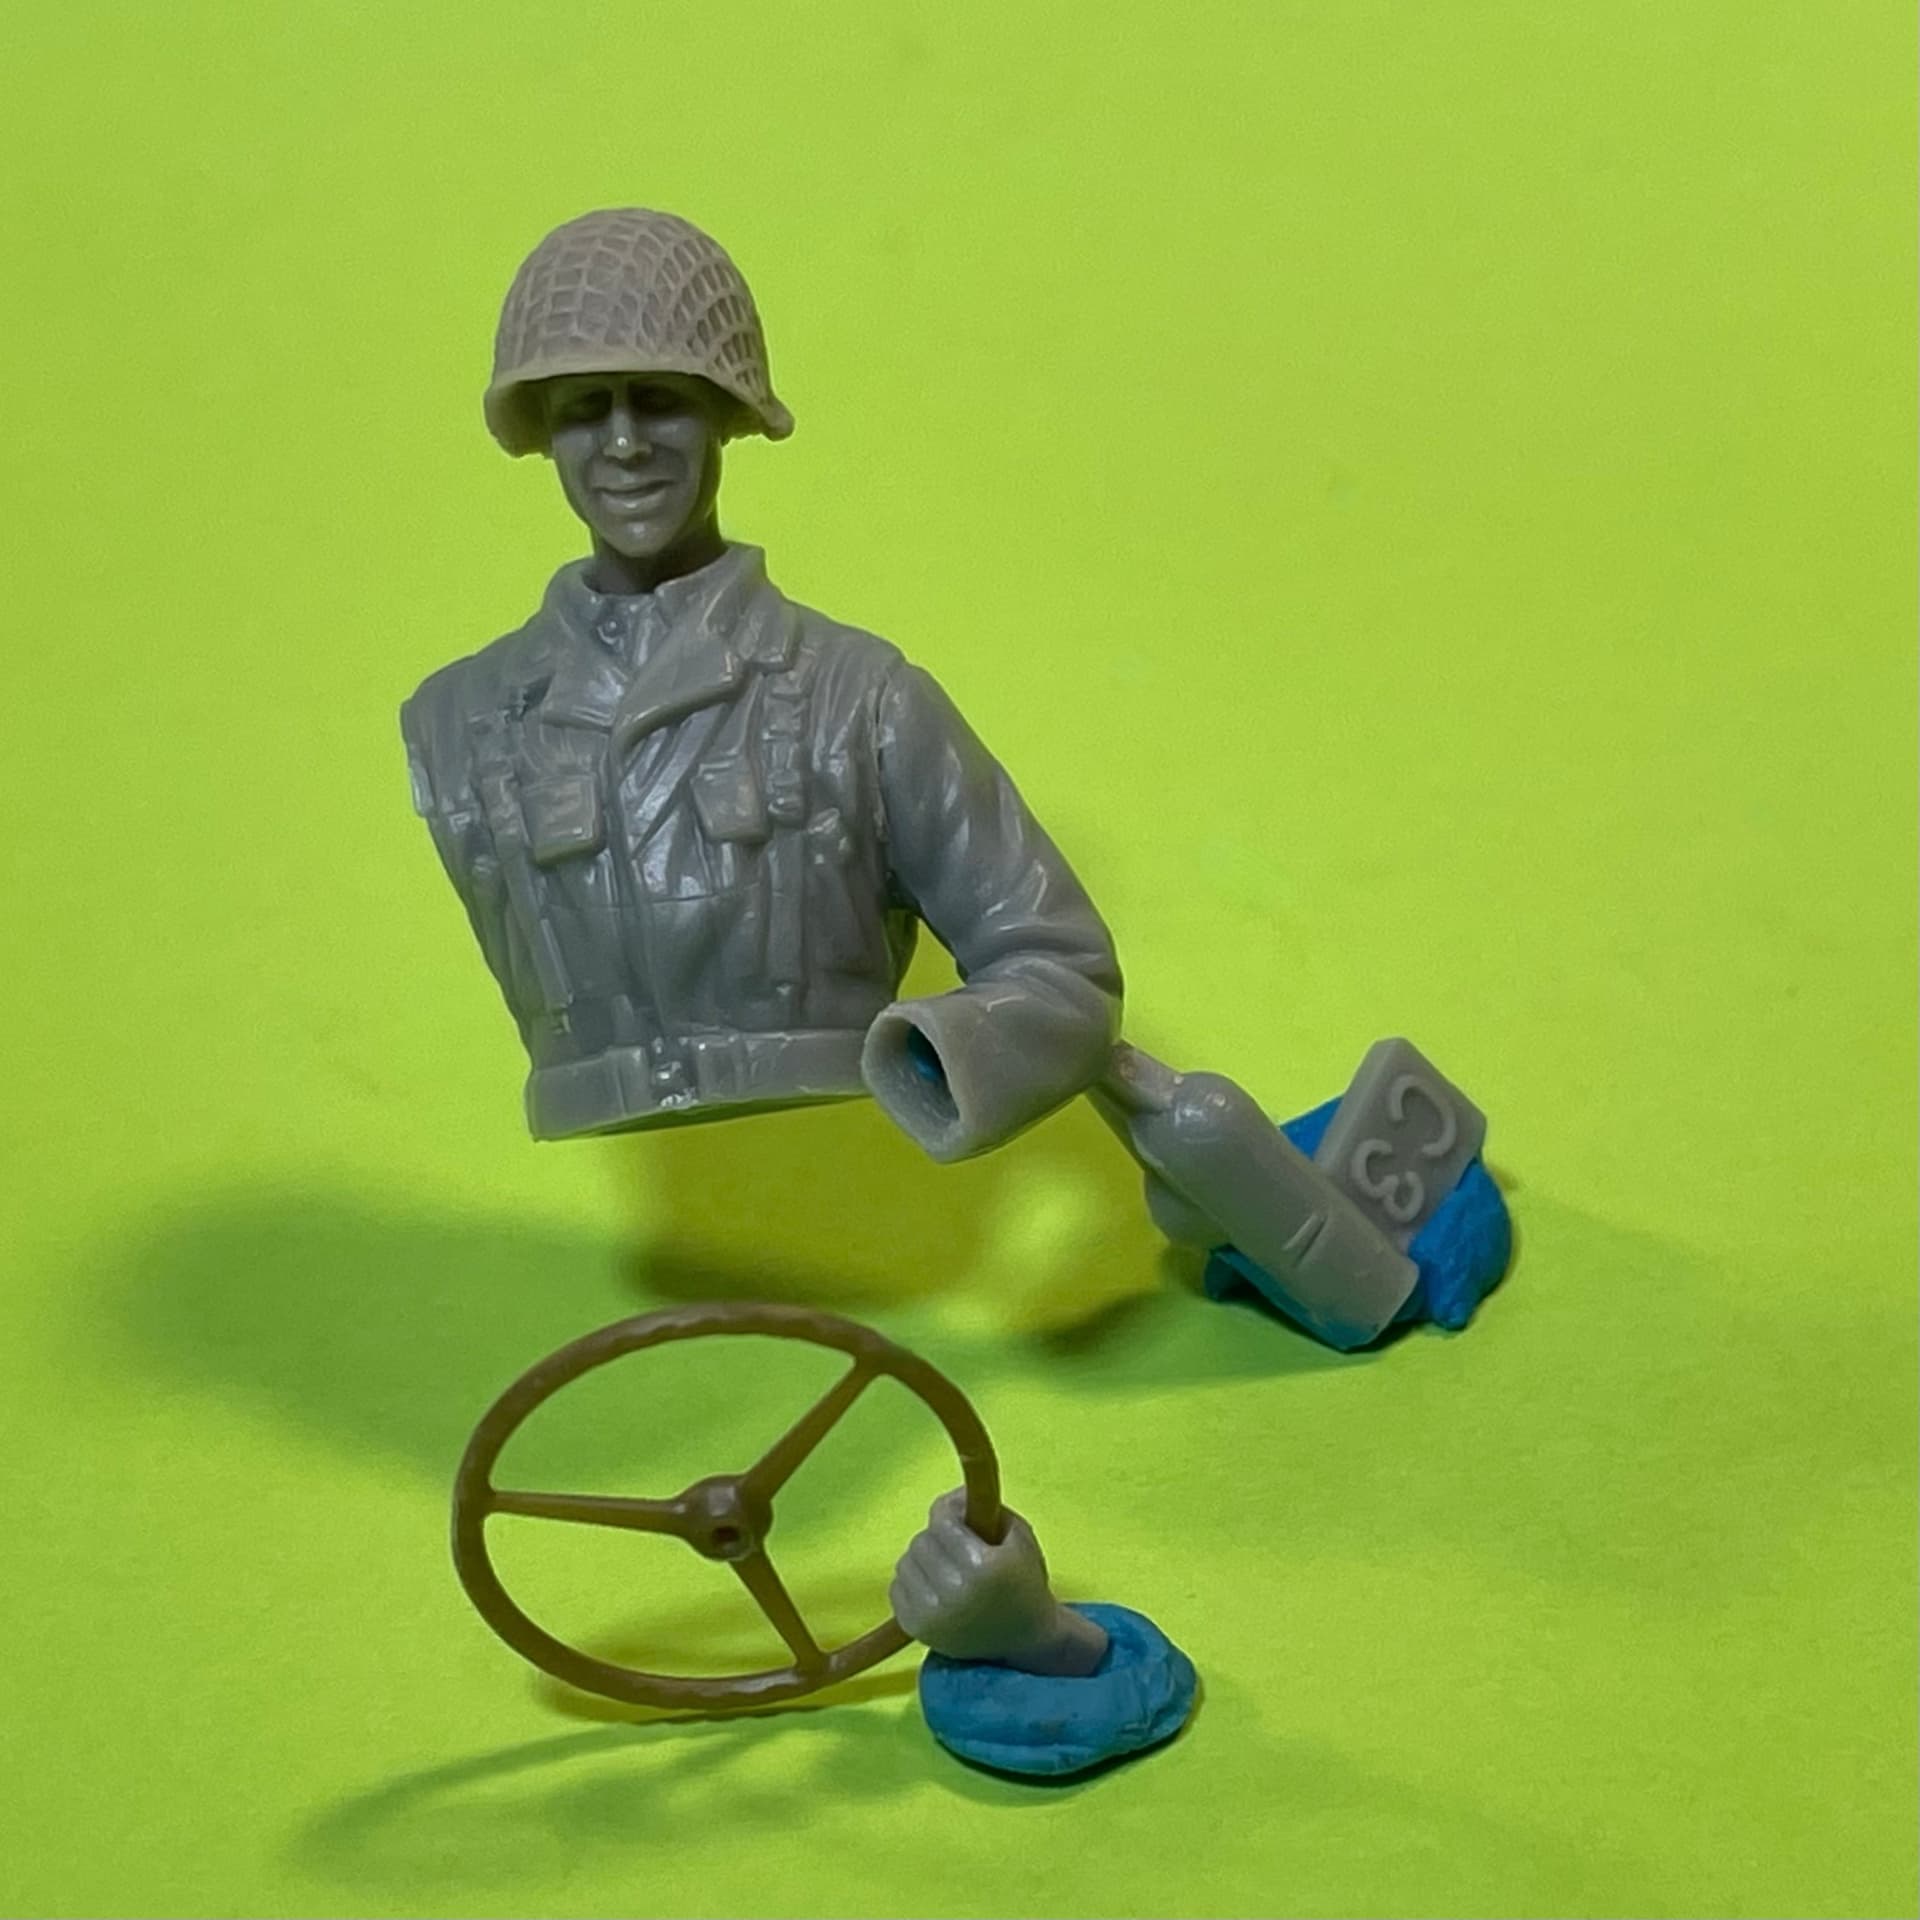
Step 7, that’s what: Clip that steering wheel and slide said hand into position… Cleaver, huh? ![]()
![]()
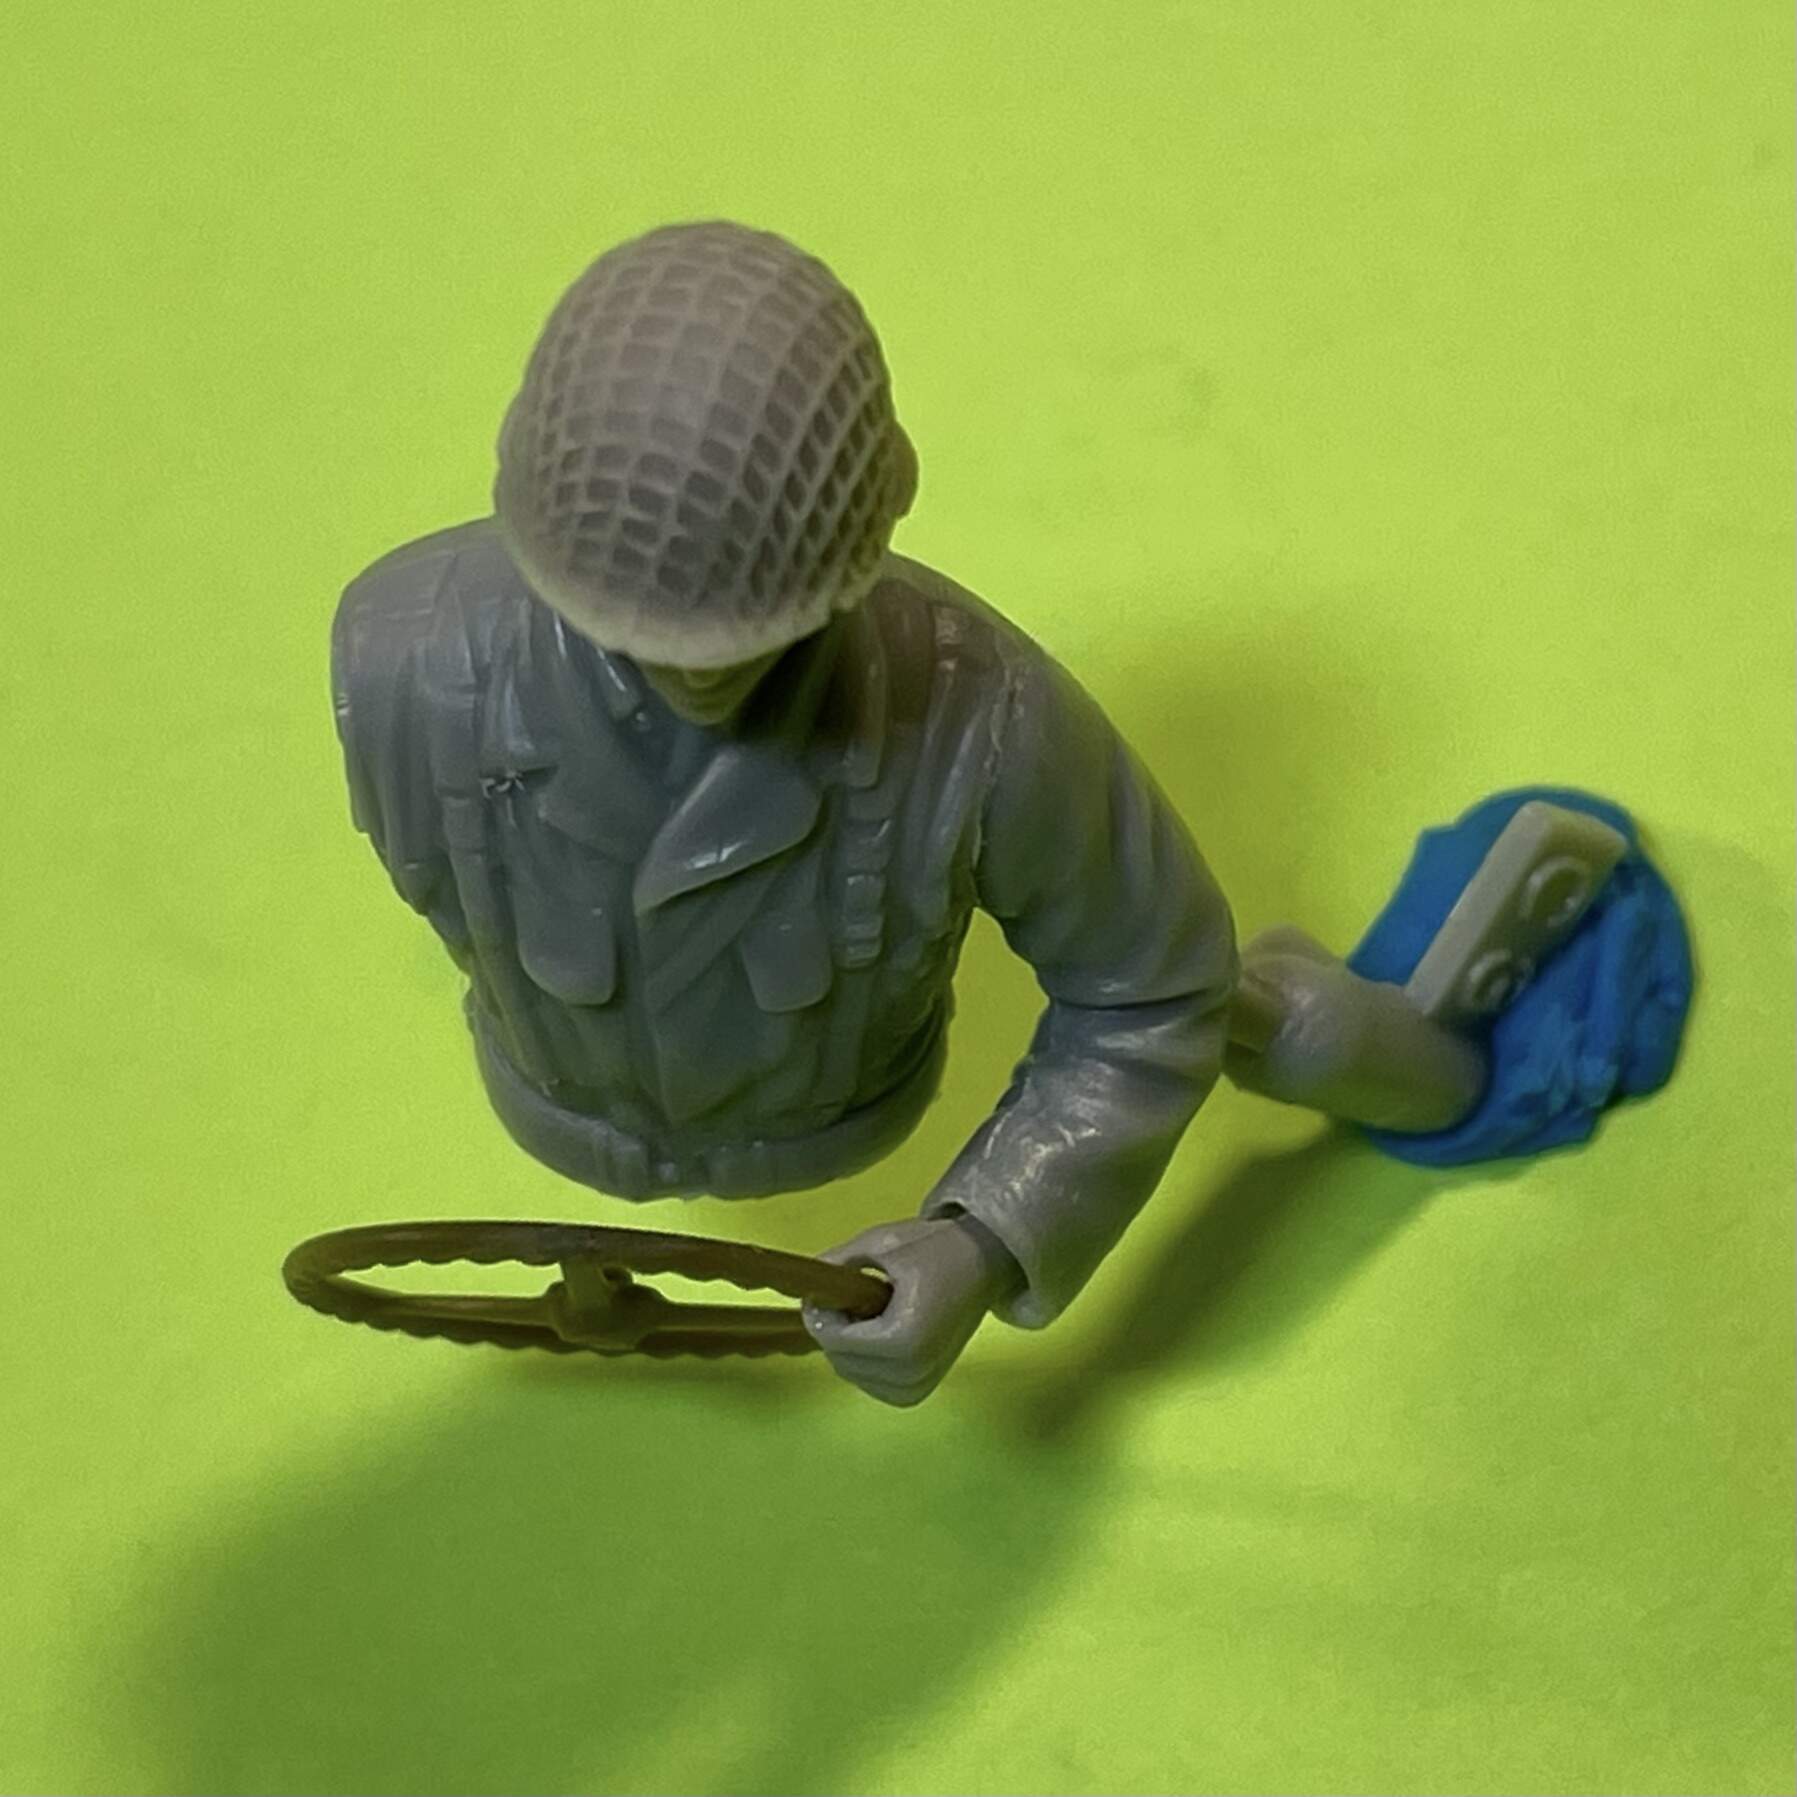
![]() Now hop in the JEEP, head on over to the Navy Yard and steel us some beers!
Now hop in the JEEP, head on over to the Navy Yard and steel us some beers! ![]()
At ease…


 .
.

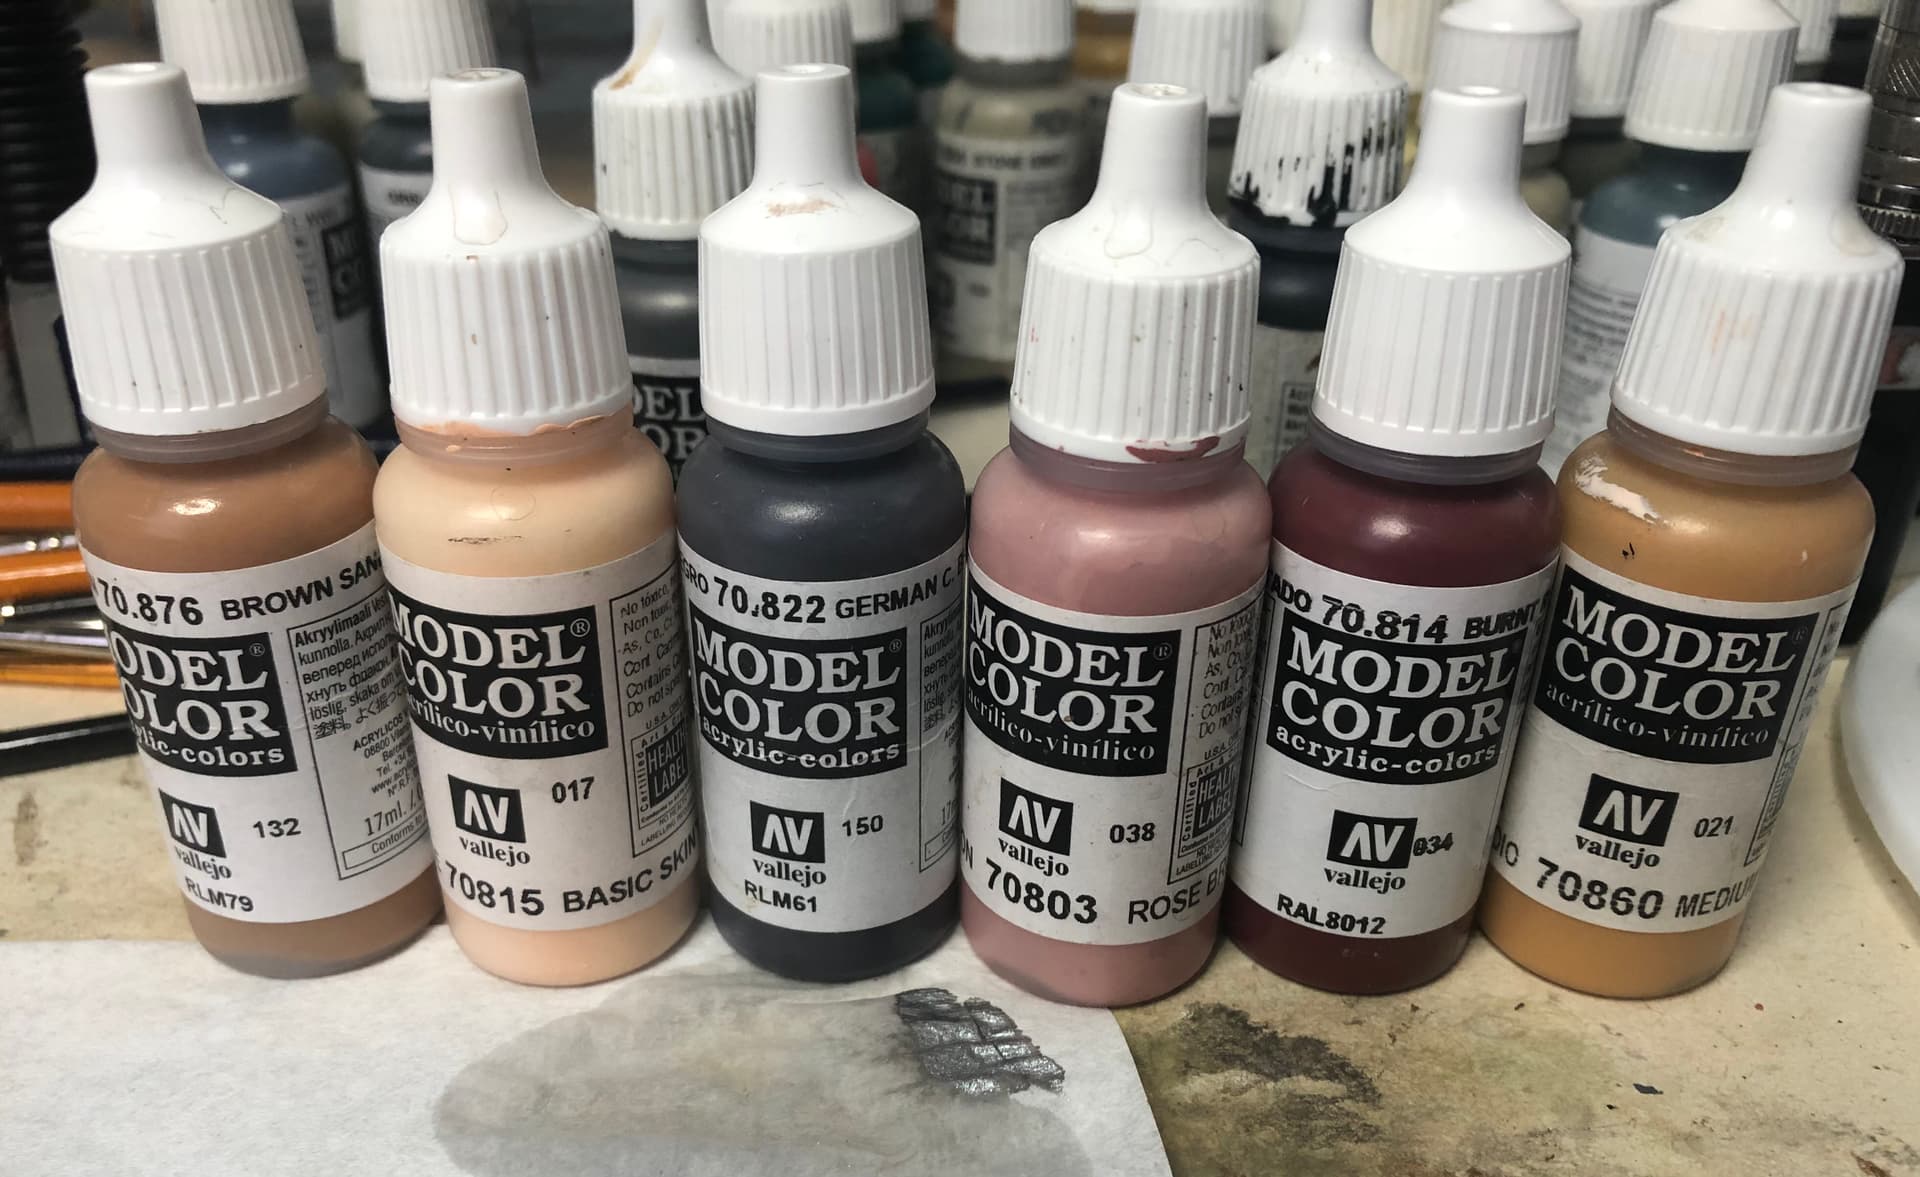
 Looks like I have some of the products needed, but not all — might need to do a ScaleHobbyist short-order before I begin. I’m sure I have many questions, but I’m too worn-out from doing the ‘HH SBS’ to list them right now. Once again, many thanks!
