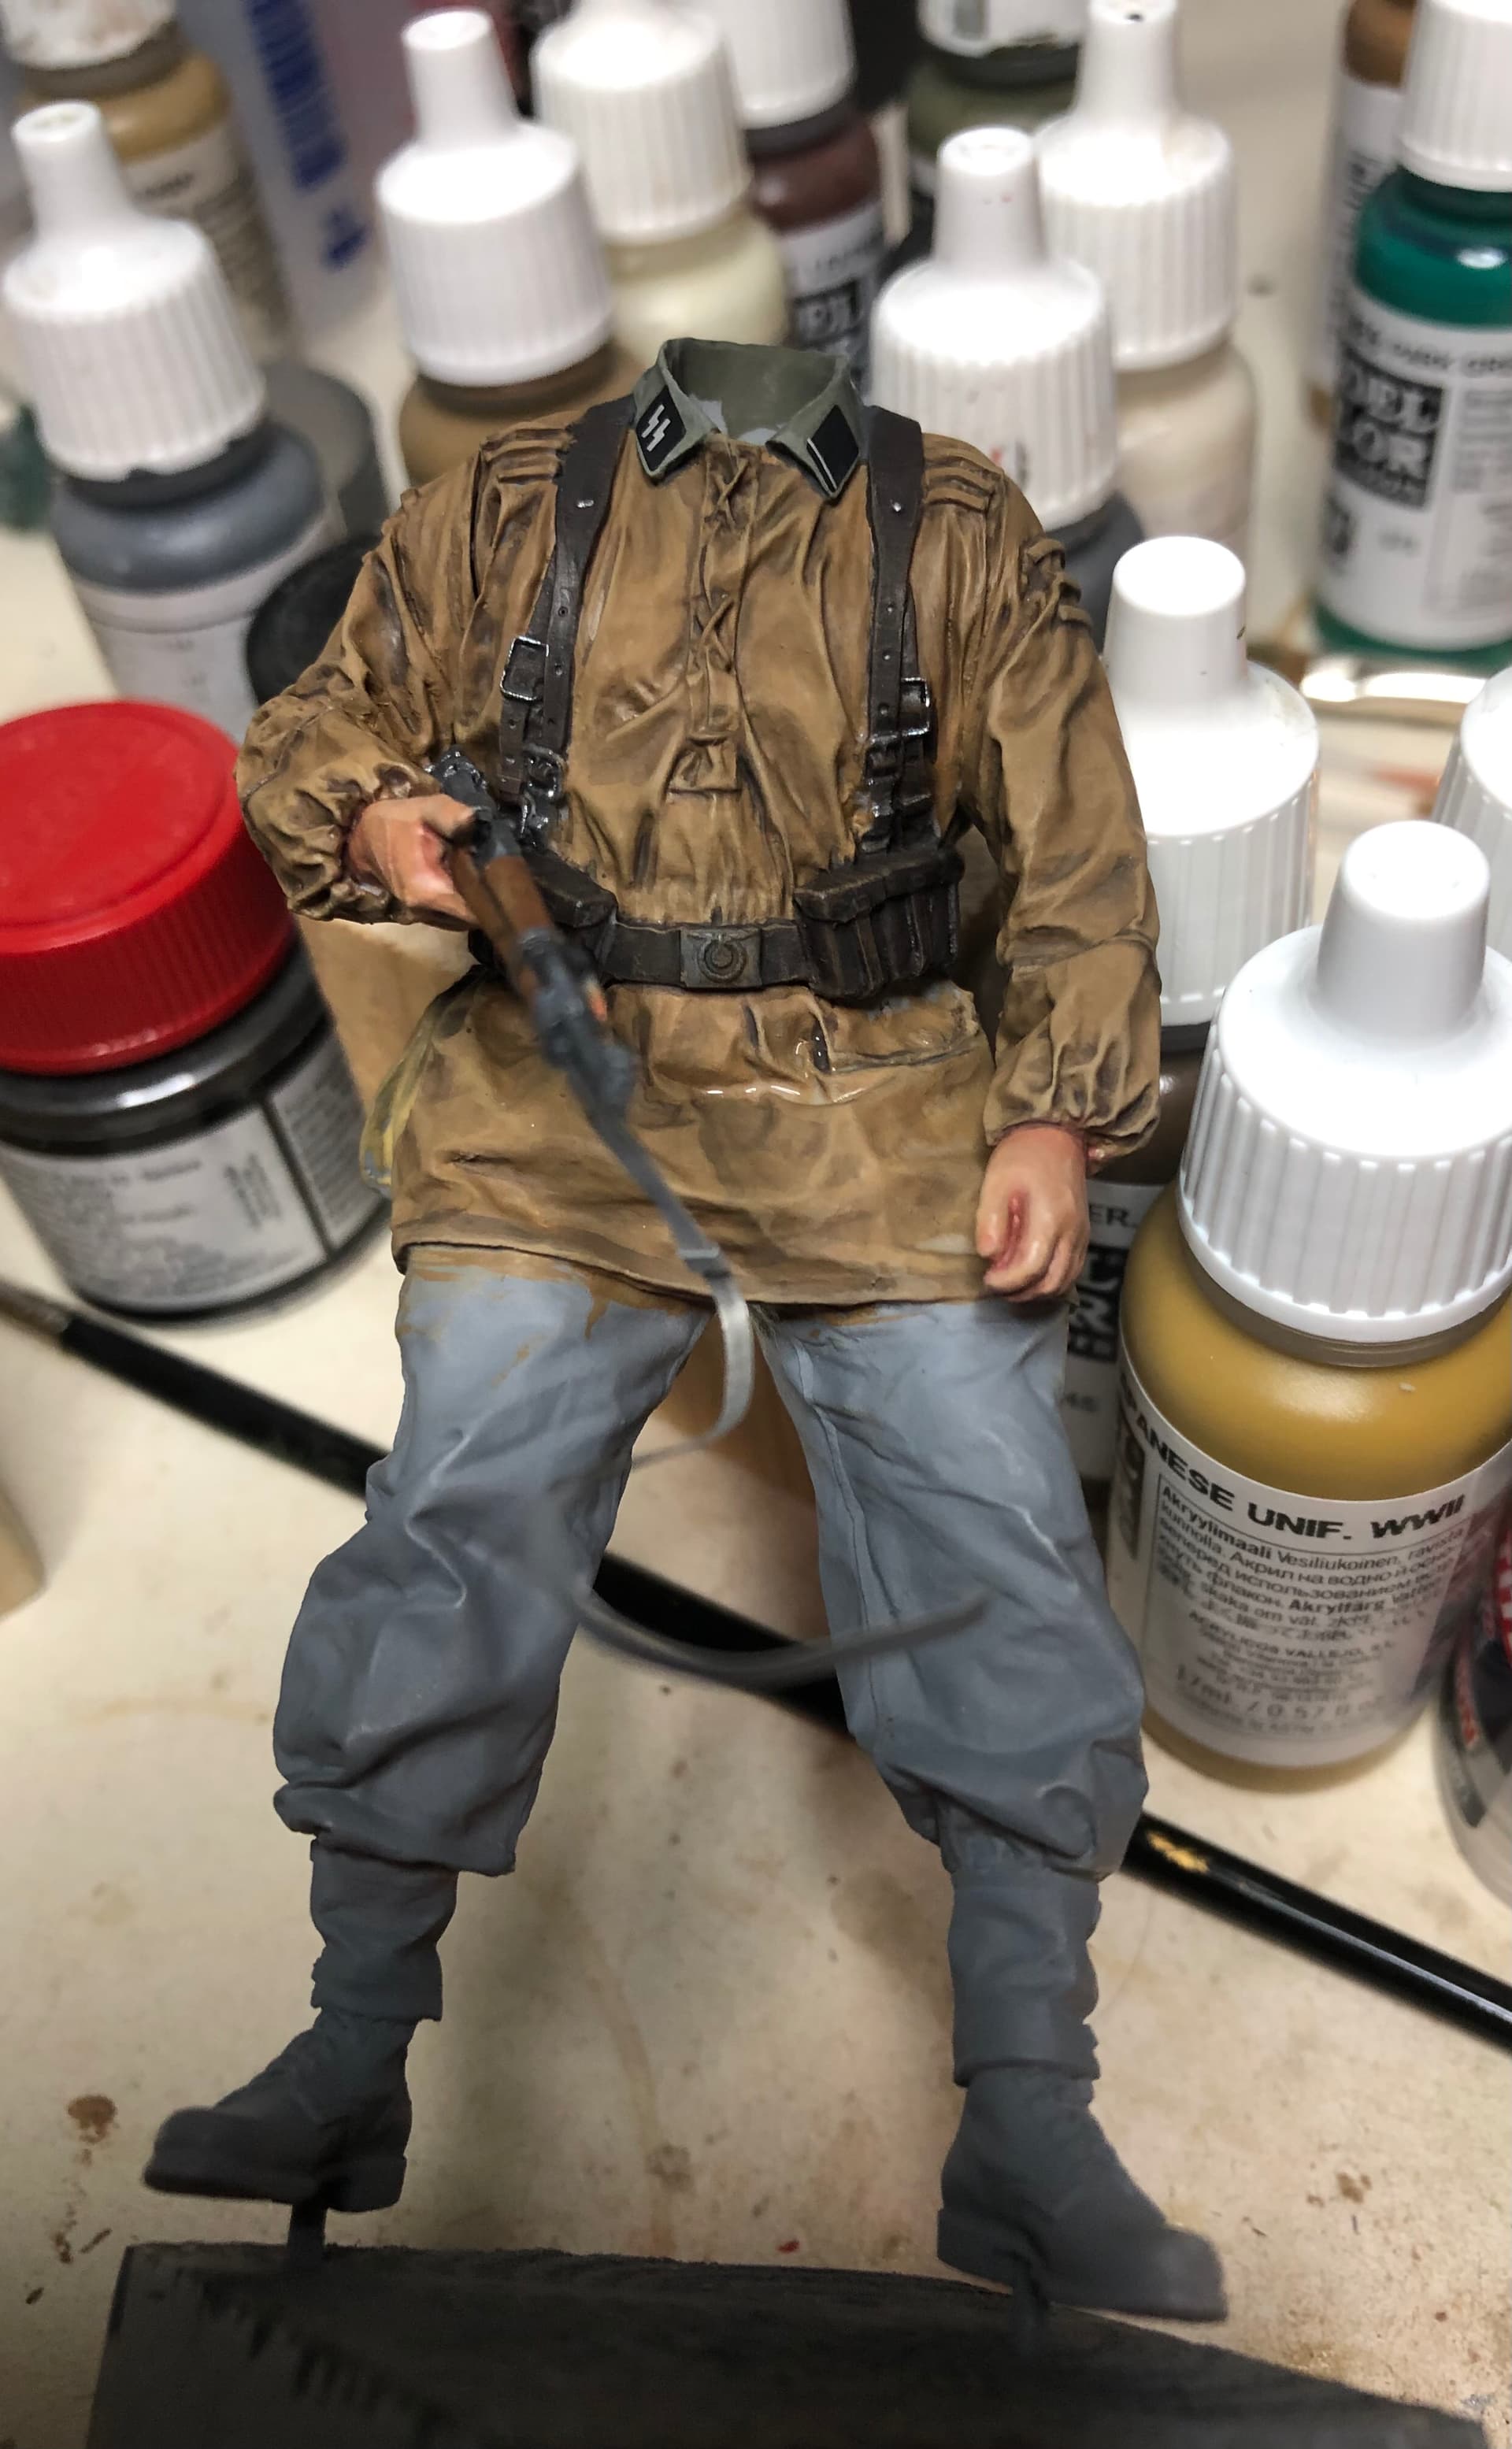
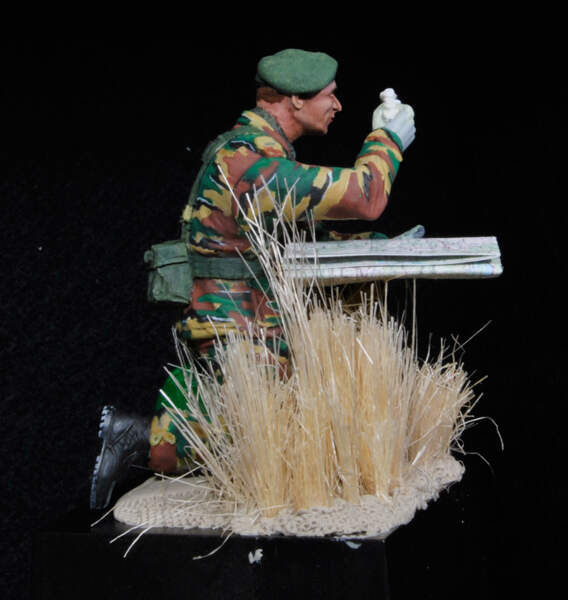
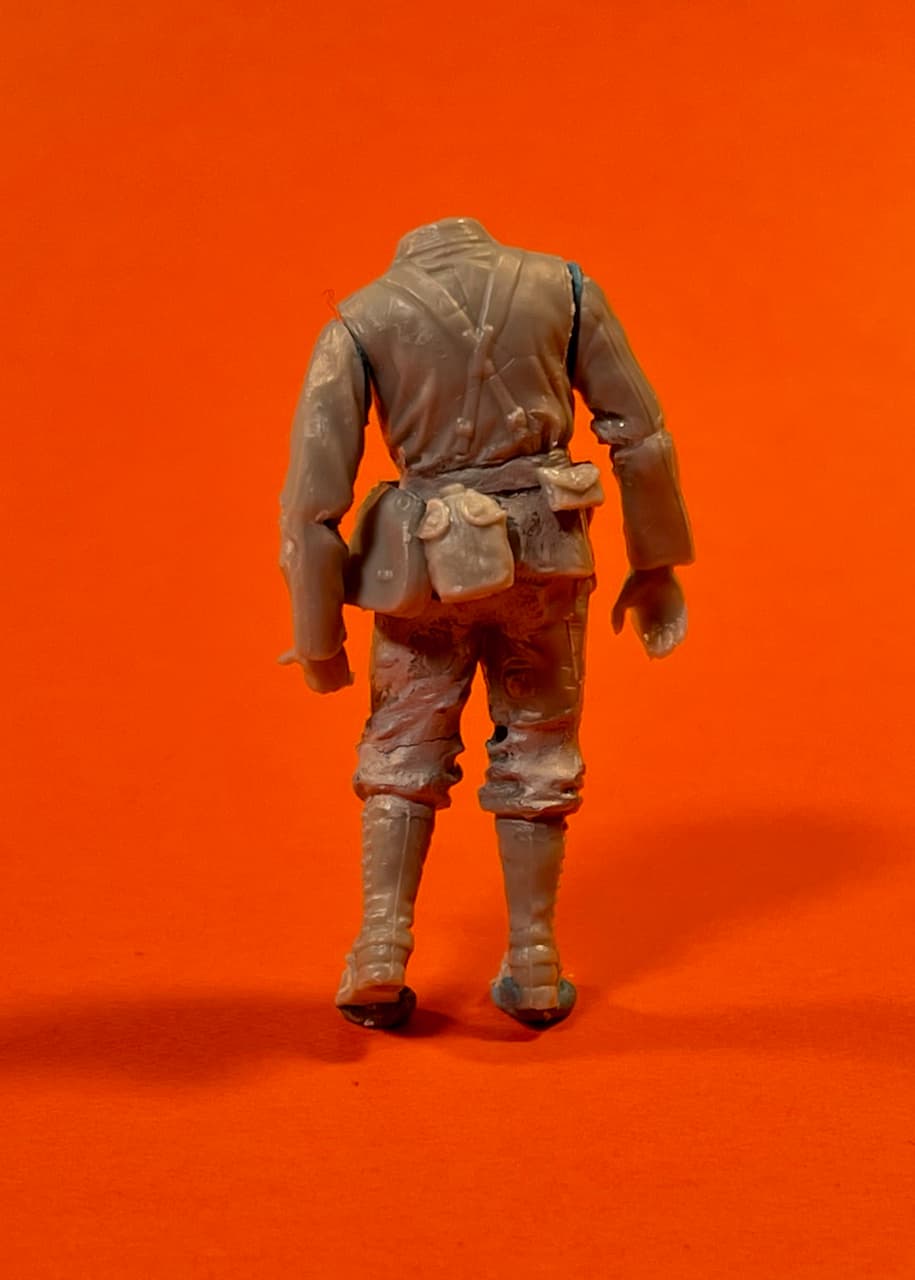
Right lads, it’s starting to come together now. The smock has the base coat on, shaded & highlighted and ready for the camo. Decided to go with’plane tree’. Everyone seems to do the ‘oak leaf’ so, I thought I’d be different. Only question, summer or autumn? Normandy or Arnhem? Decisions, decisions…….
The leatherwork is also done, just a glaze of sepia ink to finish but, that can wait until last.
Now, I’ve got to think about the base. Got a nice slab of plaster doing nothing, so I think that’s going to get used up…
G.
9 Likes
Leather work looks very nice and worn.
3 Likes
Started long ago with emails, have used oil for some years, but only using acrylics the last 10 years.
I think you can do everything with acrylics after enough practice, the problem is when you used to some medium and you changing to another. When it’s not turnout to the result you wont, you mostly returns to the medium you feel comfortable with.
In acrylics there so many brands all with a lot of range in colours, you will find something that fits your needs.
For the moment I use Scale 75 or Abteilung 504 dense acrylics for my figures, still using AV and scale 75 model colour for the base and some models i make.
2 Likes
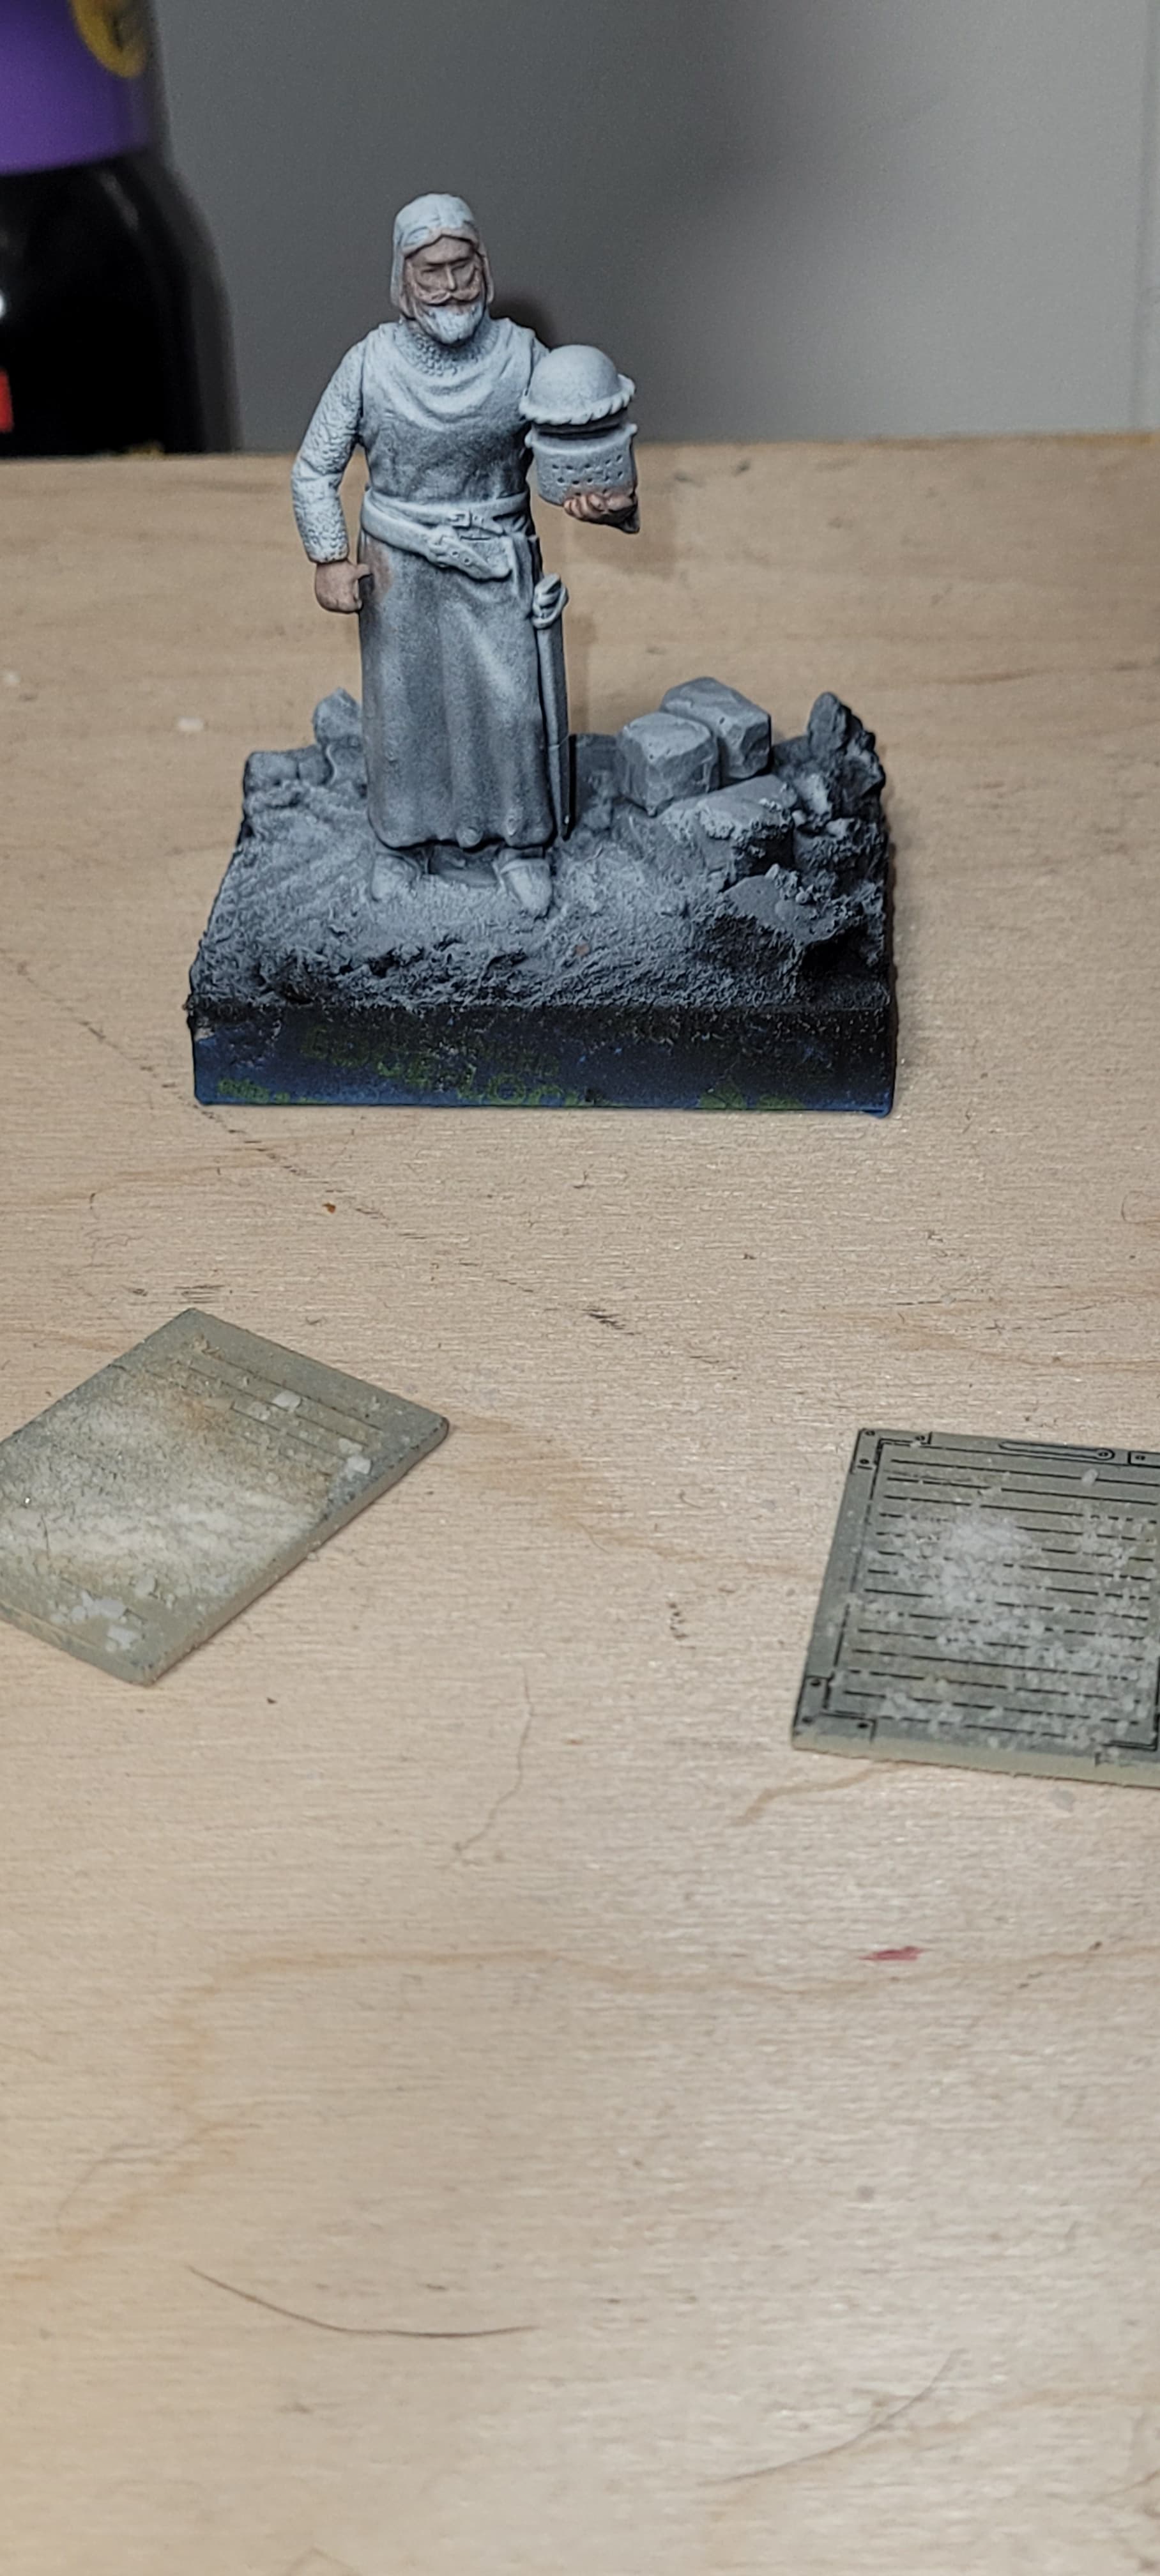
the smoke turns out to the perfect base to work on, looking forward to see the next steps.
Whatever you decide to use as camo.
1 Like

@Lazarus I agree with John on the leather work, what colors did you use?
1 Like
Ok mate, all Vallejo’s. G. Camo black brown as a base. Wash with black. Very lightly, drybrush with flat earth then, even more lightly, drybrush with khaki. Still needs the stitching doing yet and a final glaze of thinned sepia ink to enrich the colour. I’ll do this after I lay down the camo.
All the best,
G.
3 Likes
Thank, I have a Alpine French tanker with a leather jacket and I think that color combo will work perfect, execution might be a different story.
3 Likes
No problem mate. As I said, just go very lightly on the dry brushing. With the 2 colours, you’re going to be showing varying degrees of wear. Think of where the jacket will get the most wear and use the lighter colour there. I find with drybrushing, if you scrub out most of the paint on a damp lint-free tissue, you get a much finer result. Test it out on the side of your thumb first. If you only just highlight your thumbprint, you’re in the ballpark. The sepia ink glaze will enrich the colours and give just the right amount of sheen.
G.
2 Likes
Great tips, thanks.
1 Like
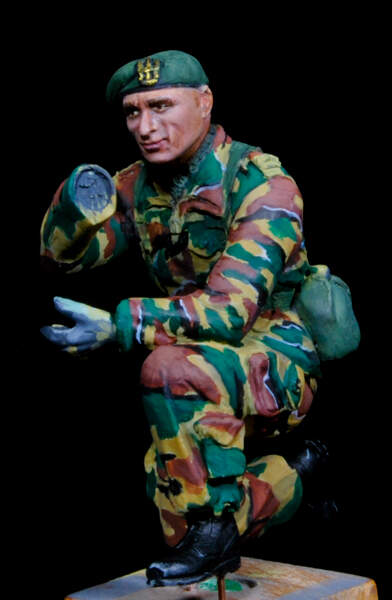
Noice! I haven’t treated myself yet to a Jeff Shui figure. I hope to this year.
1 Like


Old school’s looking good Jan! Love how this is coming together.
G.
That’s looking really good!
1 Like
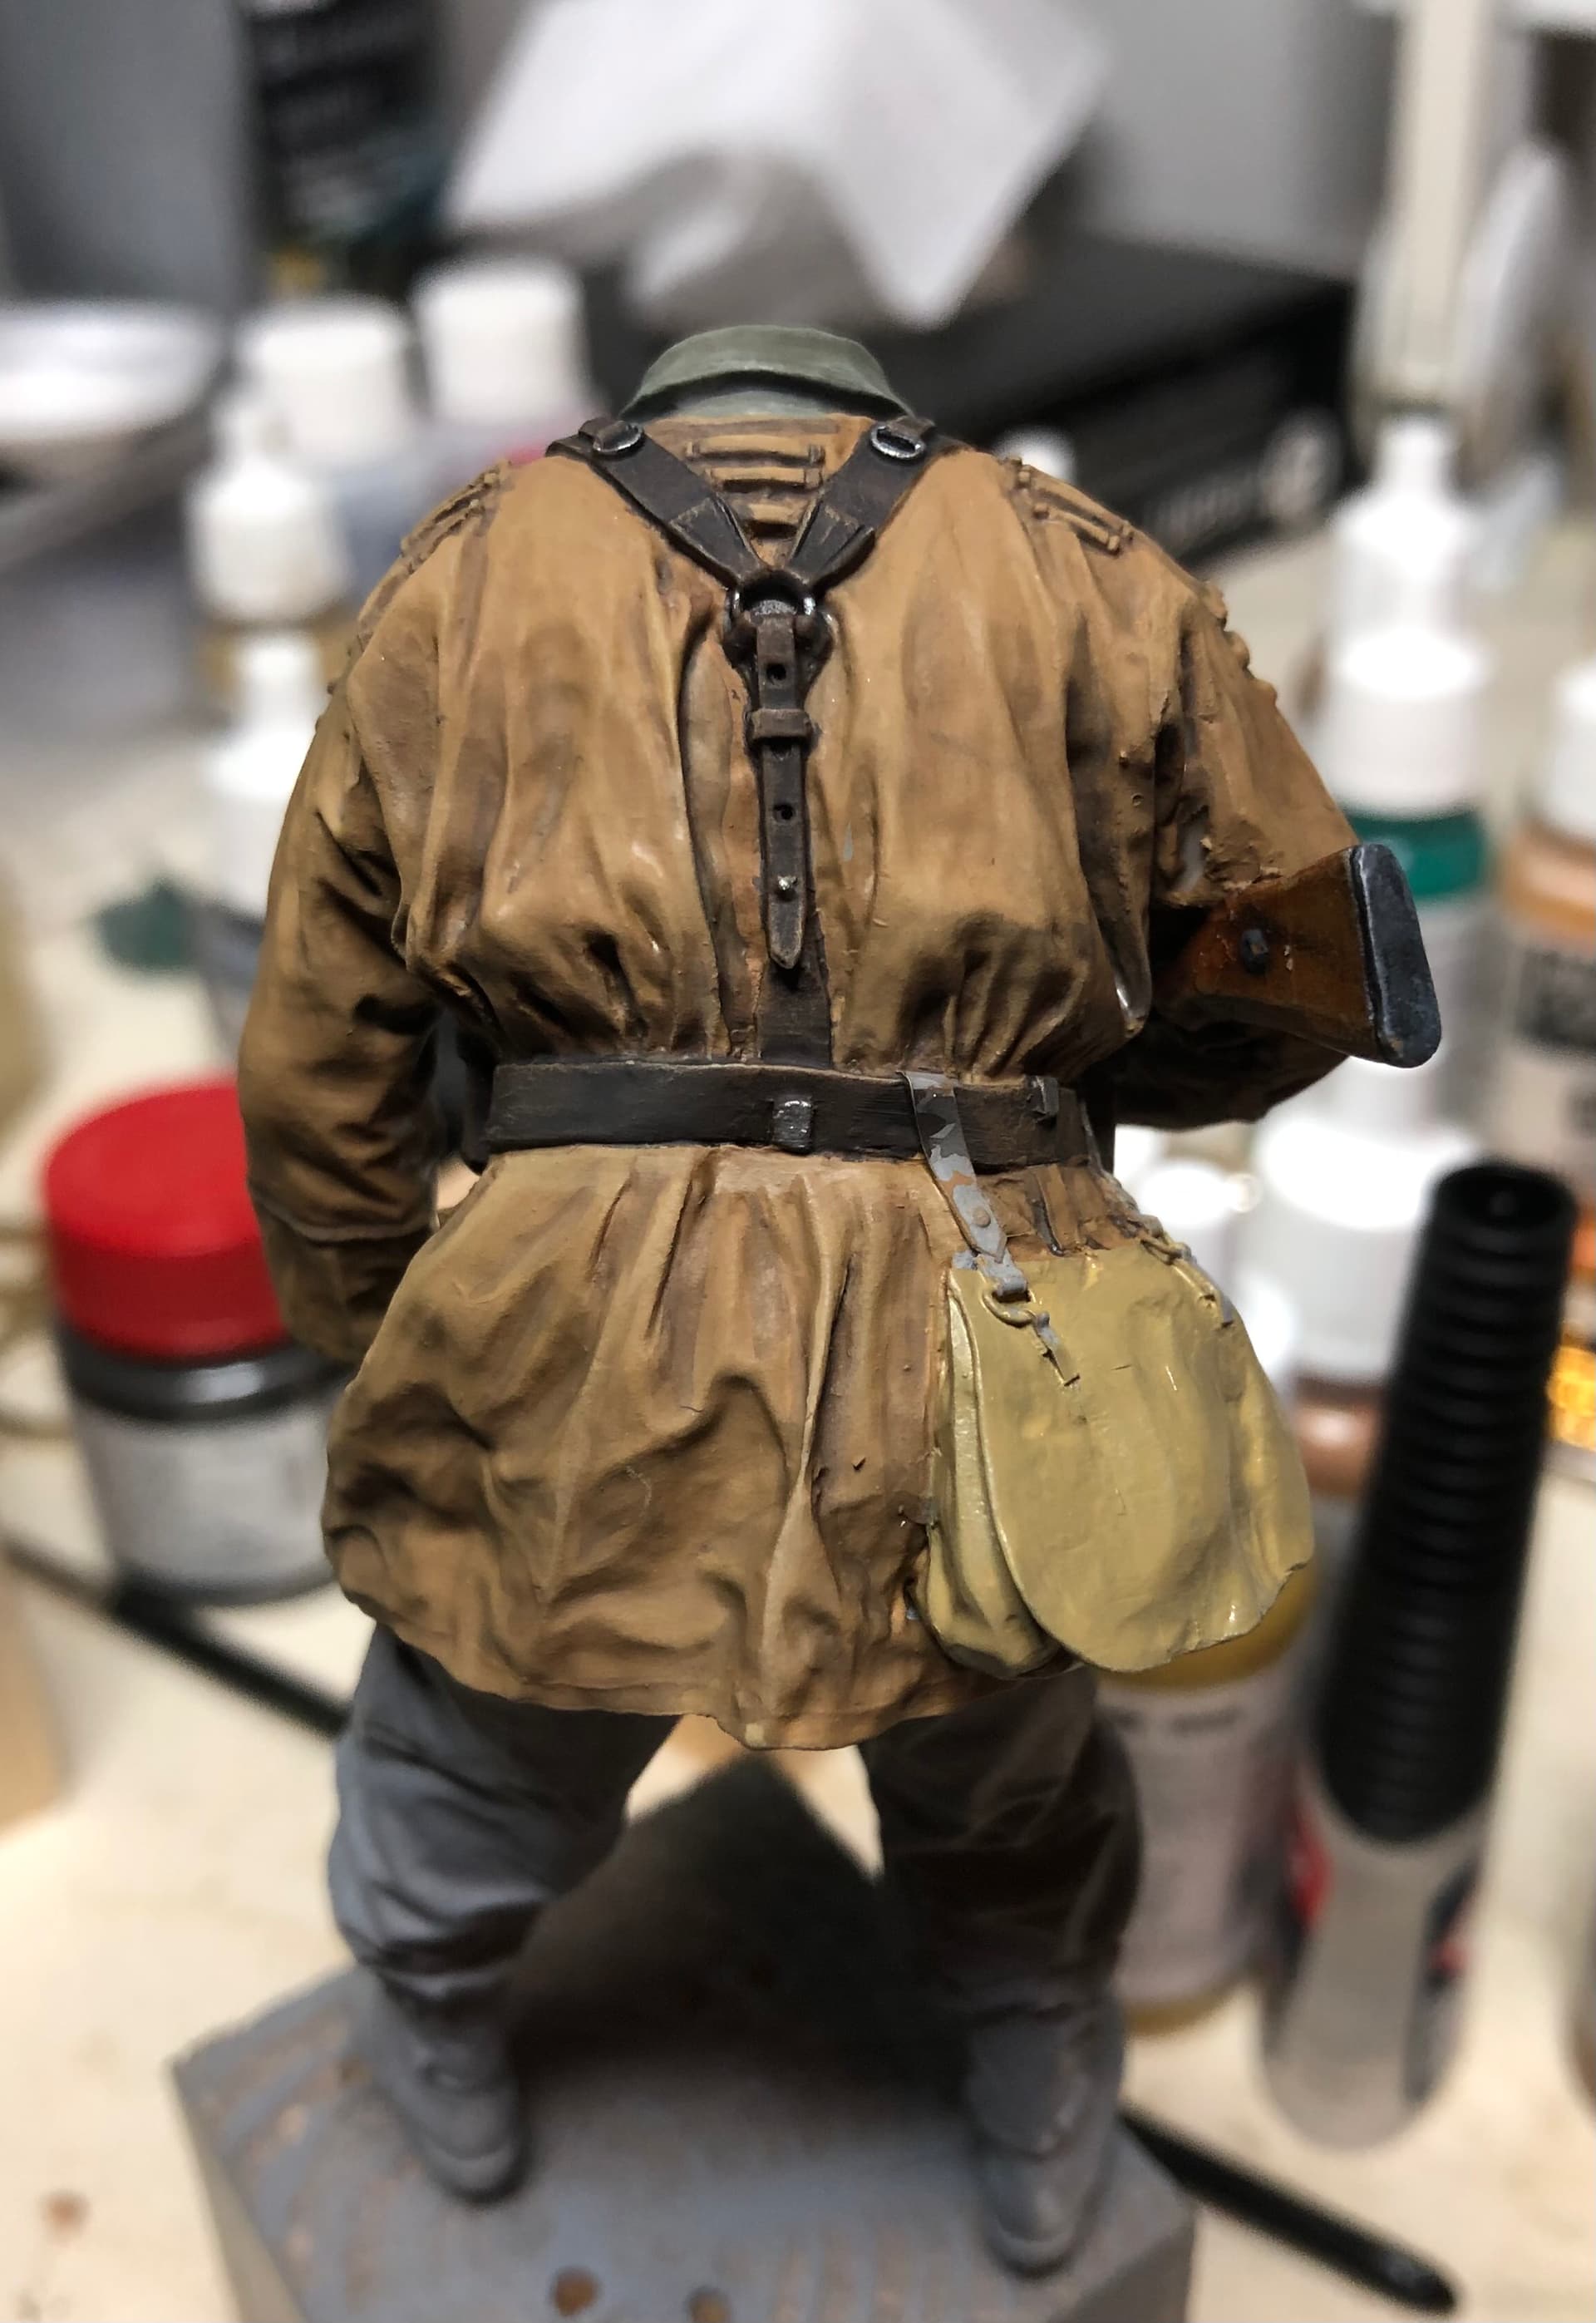
Today’s effort was filling-in belt gear… pistol holsters, canteens and various pouches. The breadbasket to gas mask pouch conversion went much better than expected. All it took was a little scalpel-work to the insides. That, and catching-up on an episode of Dexter. 

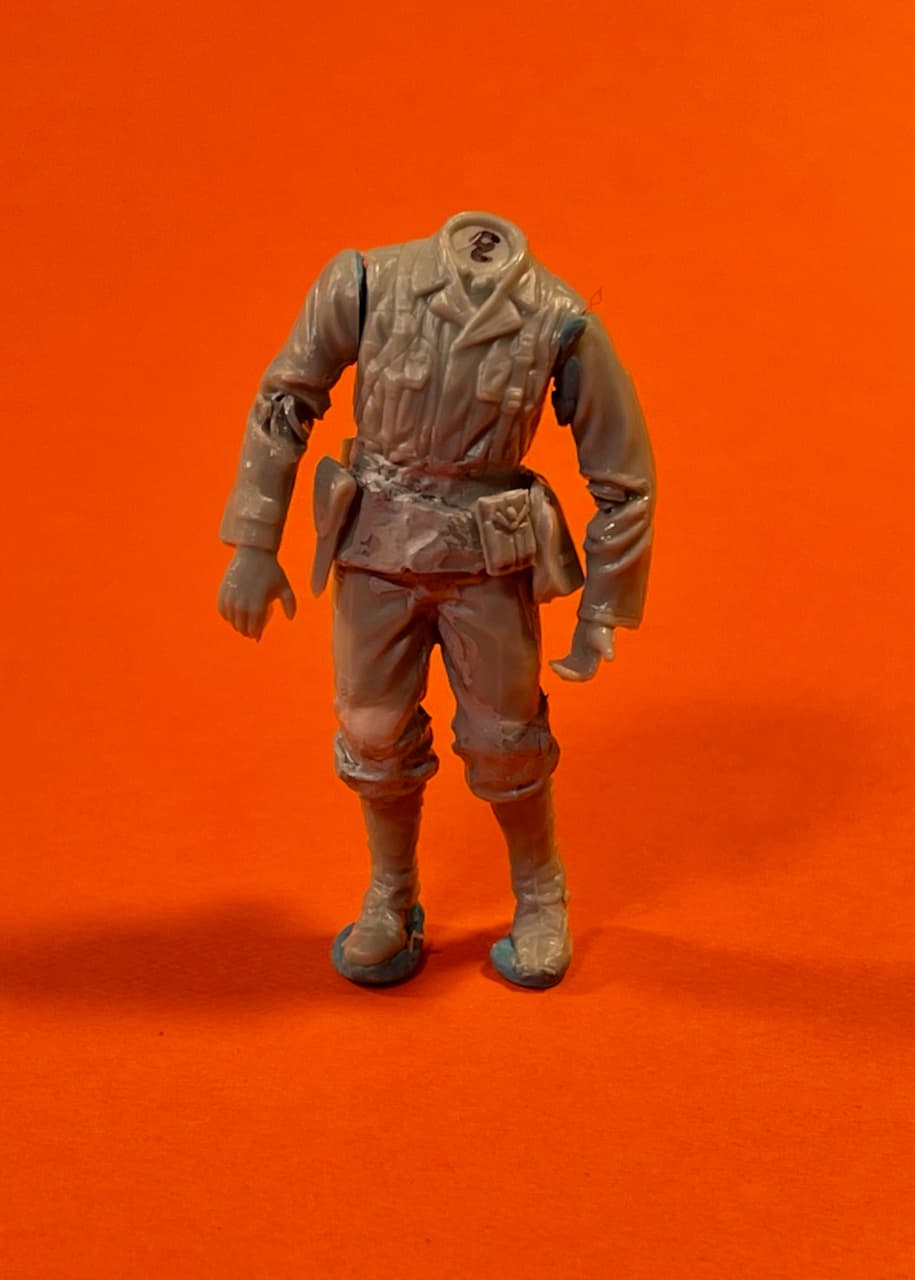
GI No. 3
As I begin finalizing the arms, I’ll also carve the gas mask pouches a bit more. And once again, glue is curing before rolling-in the AT Gun for another fitting.
Happy figuring!
7 Likes
That stance - if he doesn’t make it as gun crew, he’ll make a good zombie…

Cheers,
M
3 Likes
We don’t have any zombie entries yet, do we?
2 Likes
I hope to do some Post-apoc in a while but there’s a couple of other GBs closer to the line which I’d like to do first…
Cheers,
M
1 Like