I bought some camouflage decals some time ago. I’ve never tried wrapping them on figures, so I’, a bit leery about doing it. Who has done this and how is it done?
2 Likes
Stuart Gillespie, aka @amoz02t , did a fantastic job recently in this thread.
I did some myself a good while ago- what I can tell you is it’s tricky and time consuming compared to painting. It’s best to get comfortable working with tiny pieces of decal, particularly around things like ammo pouches and gently coaxing the decal to conform to folds on clothing etc. You can see from Stuart’s work that the finished piece will look rather awesome so it’s definitely worth doing.
4 Likes
You’re going to need some really good decal softener.
![]()
![]()
4 Likes
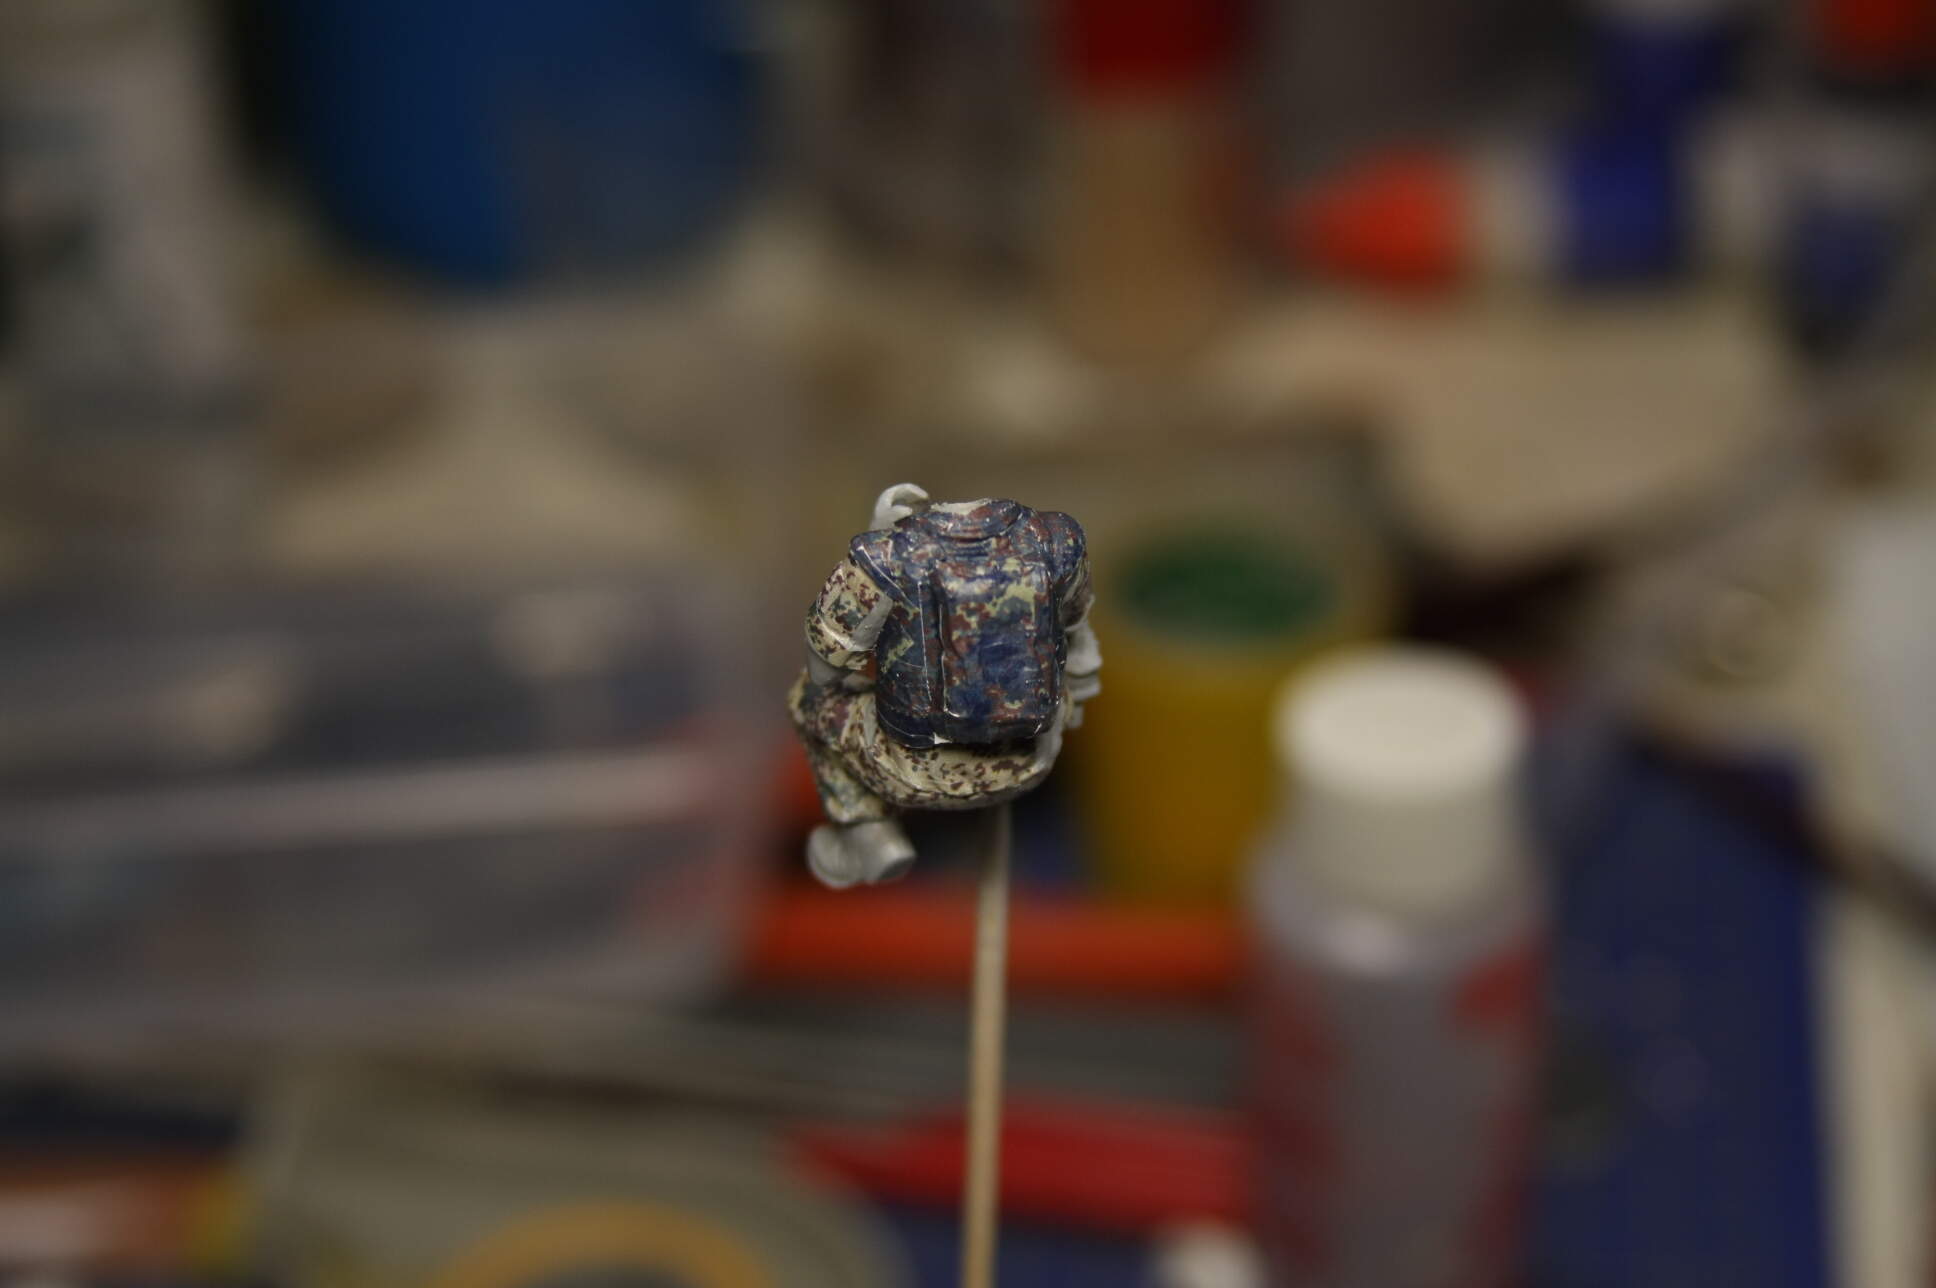
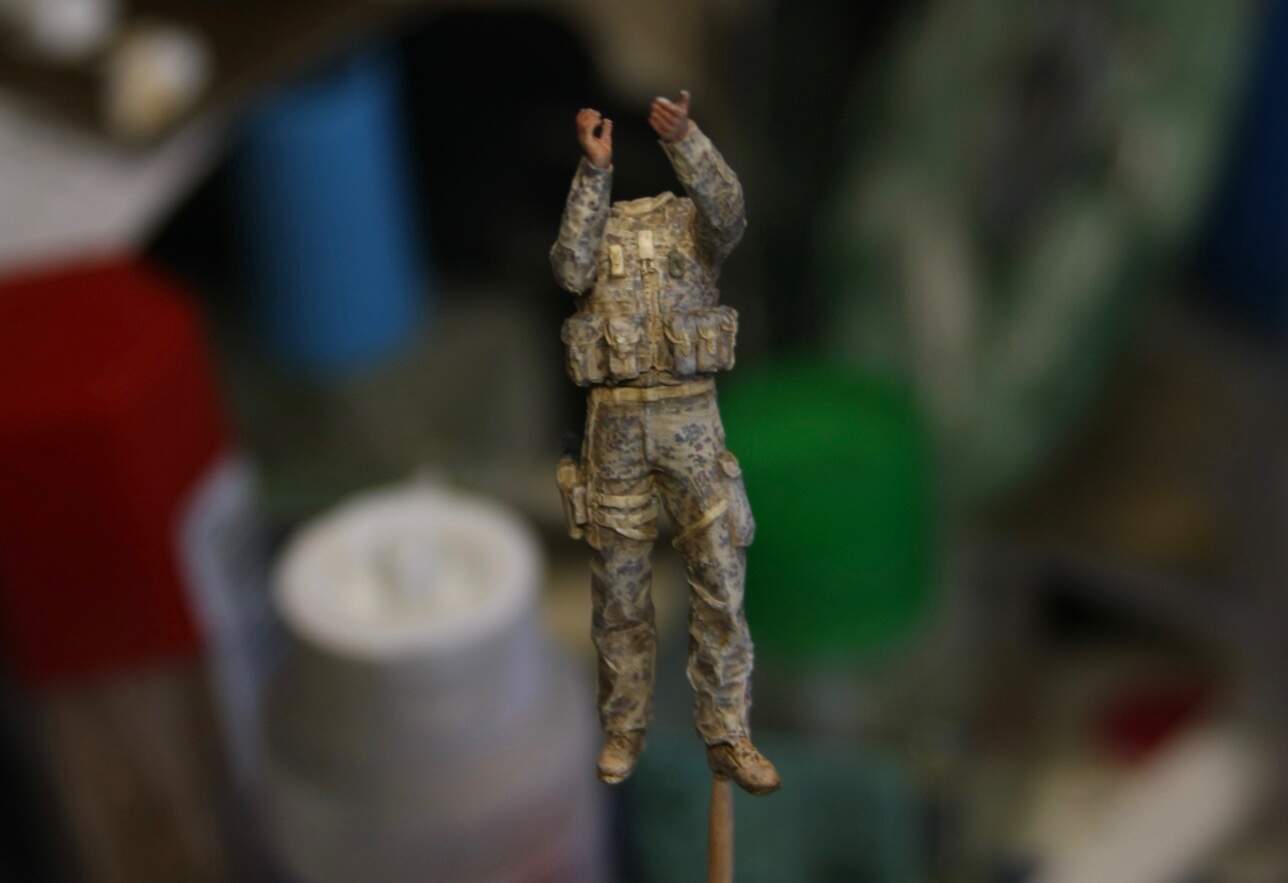
Thank you so much Karl for the kind words! Yes. Working small 1/8" to 1/4" bits of decals onto the figures with lots of decal softener is the key. I still end up painting the figures to tie the decals together and do shadowing/weathering. The decals keep the camo pattern consistent across the figure and uniform. Have fun and good luck!
2 Likes
Thanks! I’m doing an easy job first, namely putting them on Marine helmet covers and backpack items like I’ve seen in the Korean War, where camouflage uniforms themselves were not used.
3 Likes
Impressive work ! But very time consuming.
It is probably difficult to avoid gaps between the little sheets of camouflage decals or it needs to superimpose them.
Congrats for your patience the result looks great.
1 Like
Thank you for the nice words! Yes you are correct it is difficult to avoid gaps. There are always gaps in the margins of the bits of decal sections. A base under coat in a similar dark green paint helped. I later used Vallejo acrylic paints mixed to match the decals to fill in any spaces and to do shading on the decal layers. Future acrylic floor clear coat over the finished decals smoothed the surface and eliminated any mismatch steps at the decal edges. Happy modeling and thank you for looking.
2 Likes
This thread prompted me to go looking for the photos of my work from a few years ago. Managed to find a few that might be of interest.
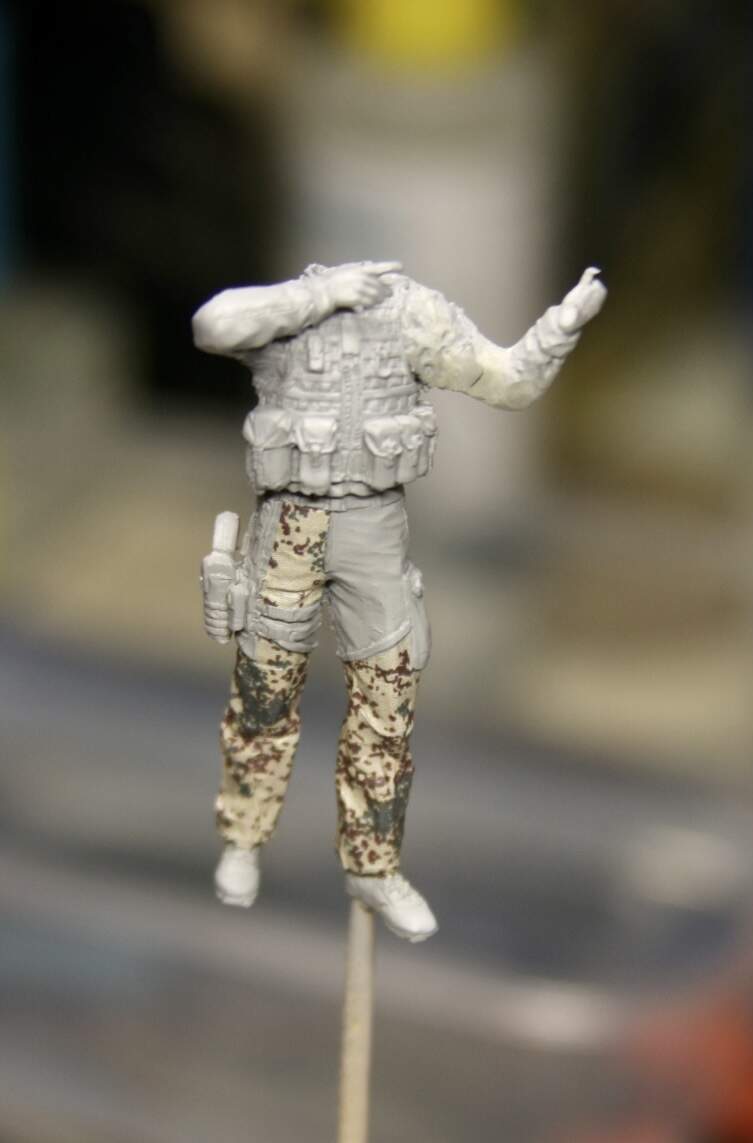

The two figs above were resin and had nice, crisp detail which took the decals well. You can see that I have wrapped the lower legs and in other areas you can use large pieces so it’s not all dealing with small bits.
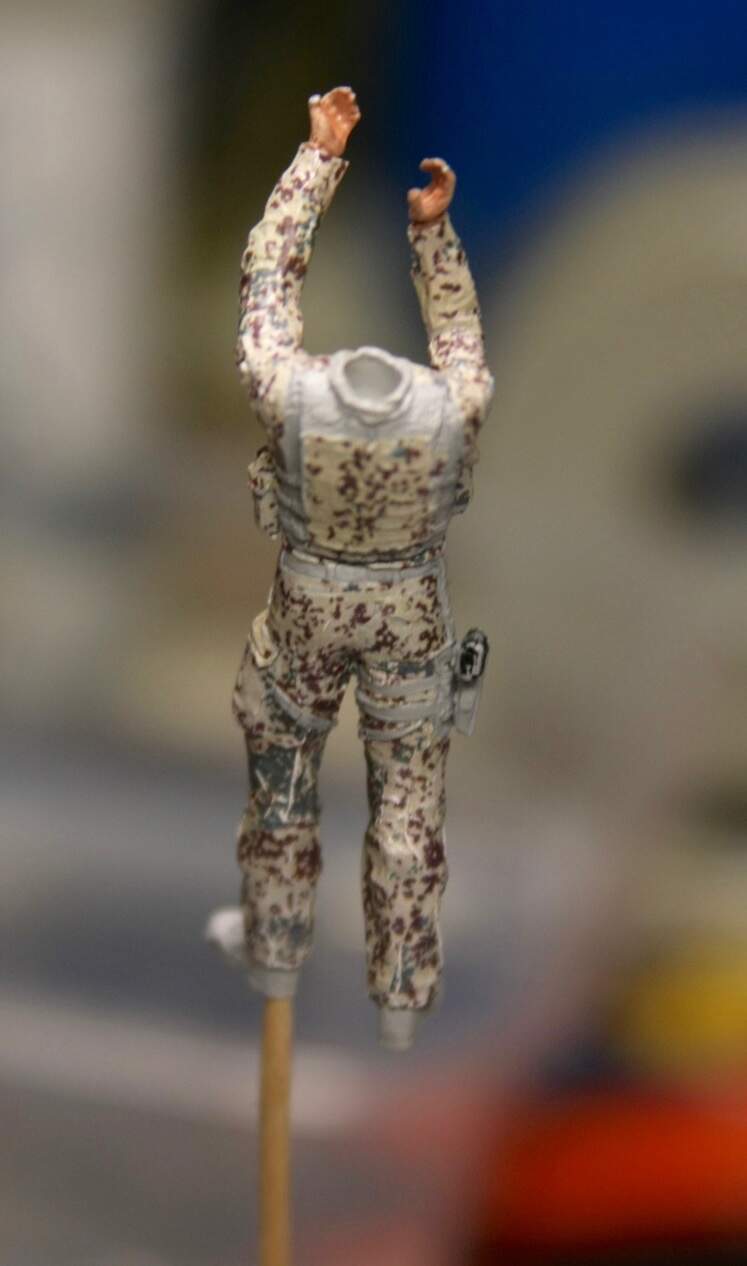
This fig was plastic with relatively soft detail and from what I remember I struggled with the older pattern armor vest and you can see where I’ve used loads of small bits of decal which is visible up close.
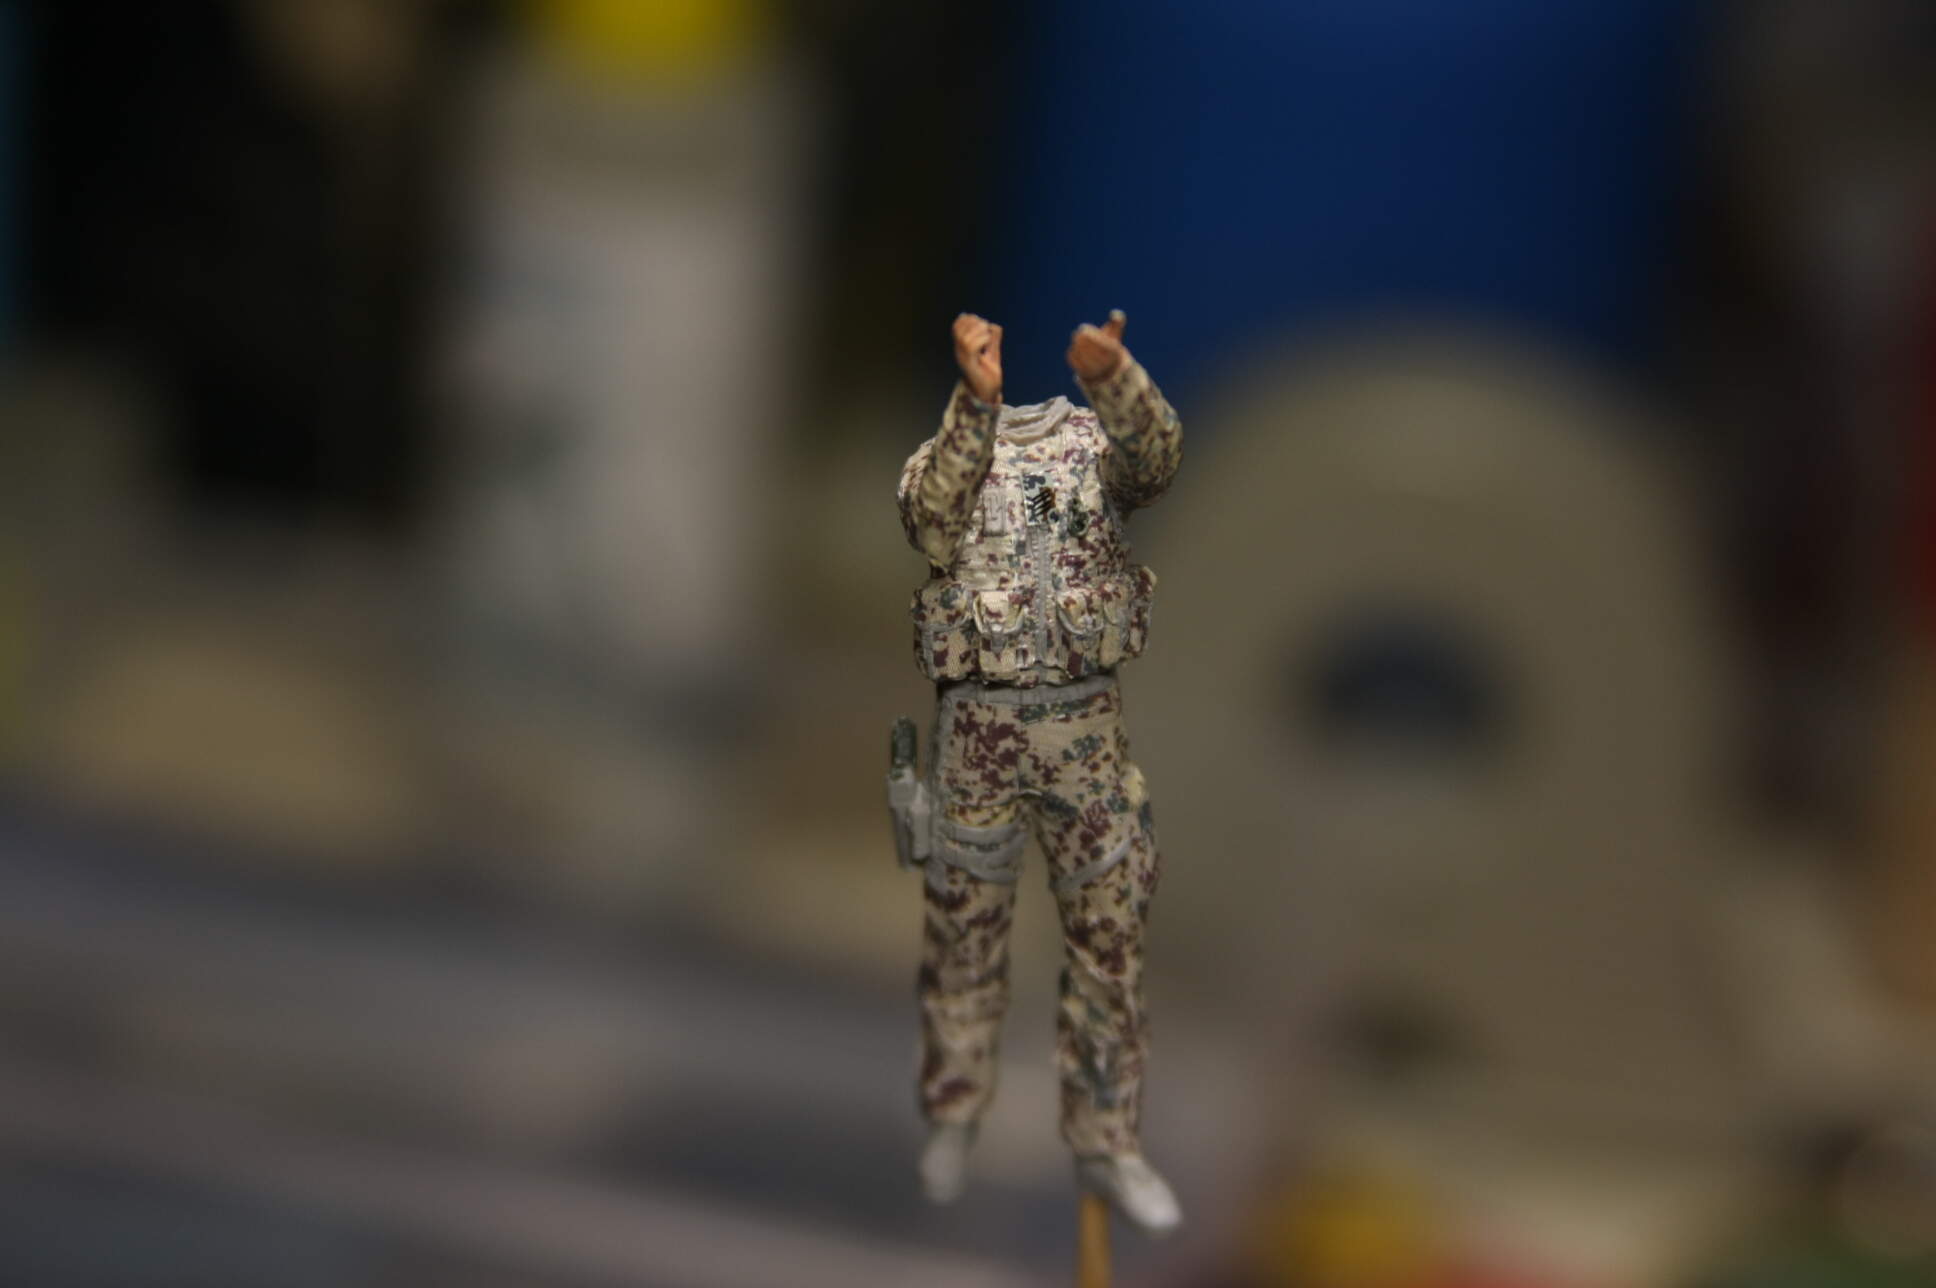
Once I had the decals on I painted them before using a kind of acrylic wash on the decals.

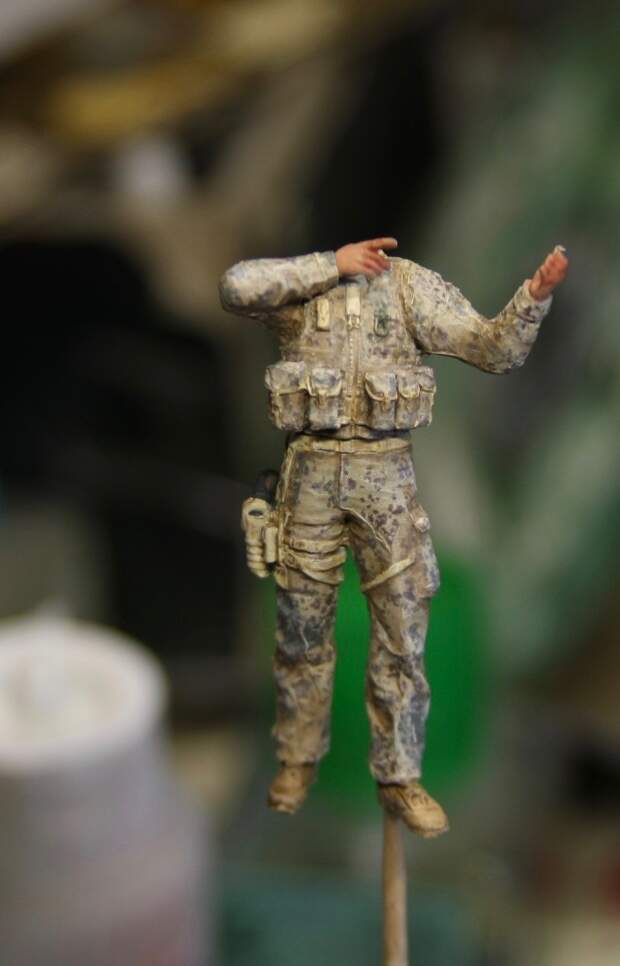
This was the finished piece.
6 Likes
@ Karl (Karl187). Thank you for posting this. I have a set and this is a great reference for when the time comes.
—mike
3 Likes
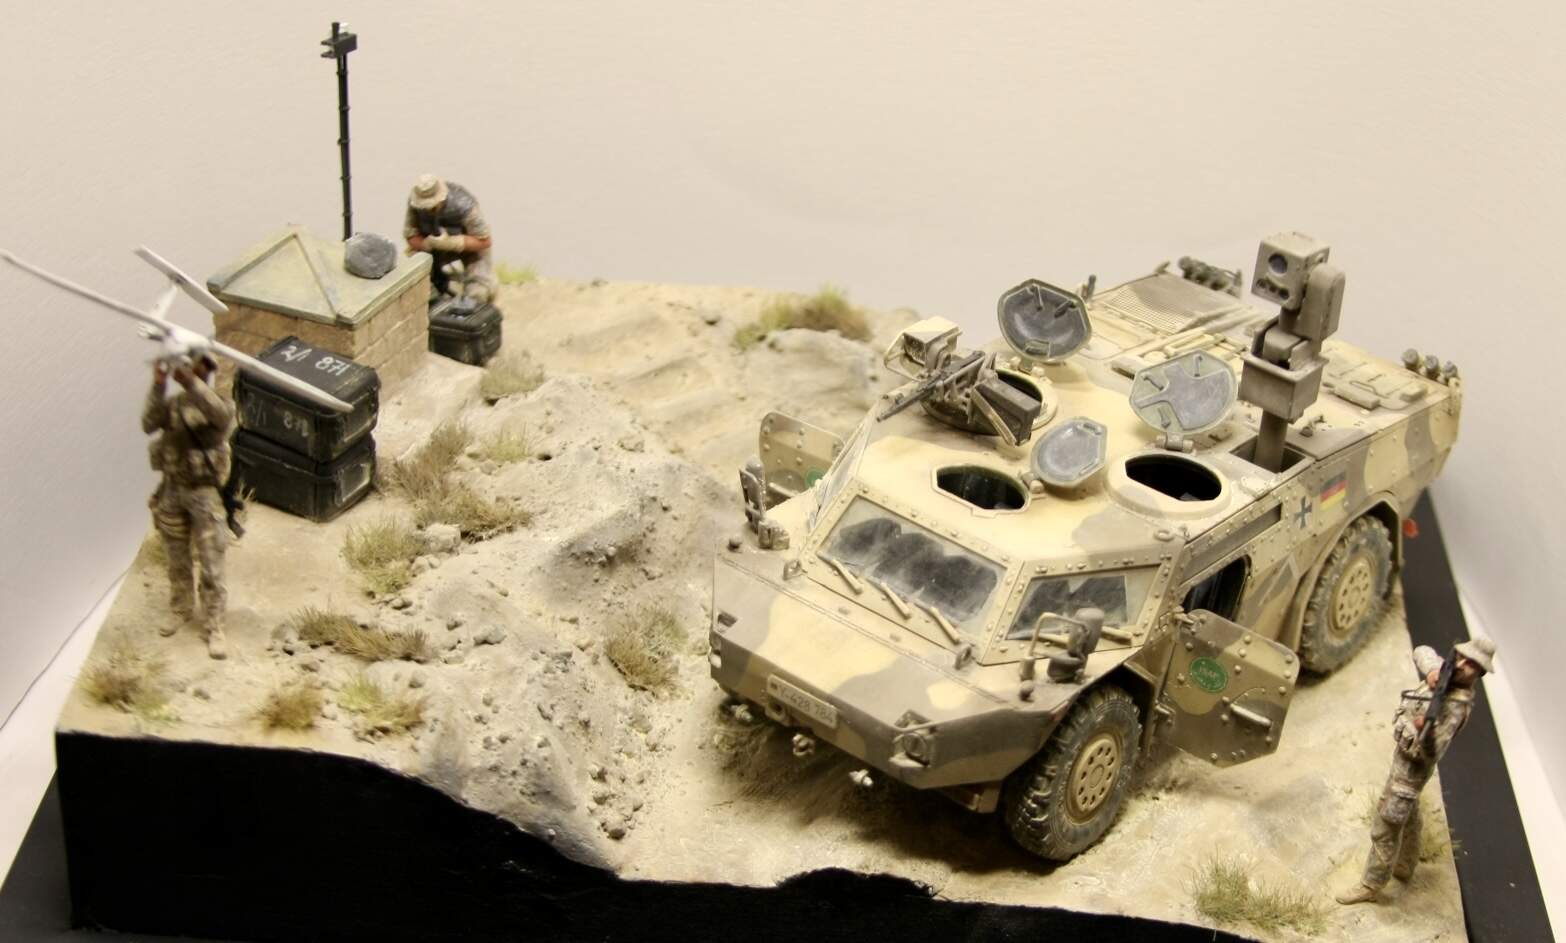
Nice work Karl! Looks good. Reminds me we need more UAV/drone offerings like perhaps a big balloon? ![]()
2 Likes