I don’t try to cut anything exactly the right size - except for the height. I let all of the walls overlap, then cut the excess cleanly after letting everything set up for 24 hours, and sand smooth with wet/dry paper on a smooth surface so nothing gets rounded off accidentally. Same with the 45 degree angles - I can’t see a trace of the joints inside or out, except on the top, which I just discovered after 30 years. Now it’ll bother me…

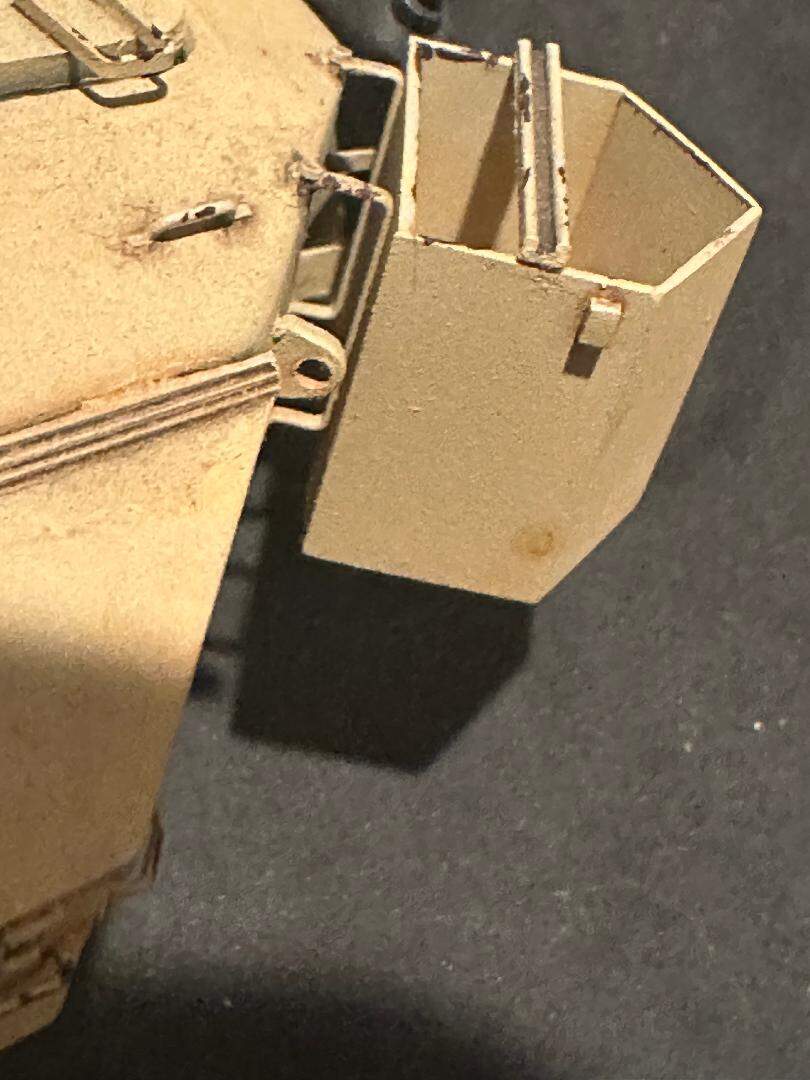
I made the mounts from brass strips and added bolt detail. May the photos will help more than I can. My camera sees better than I do these days.
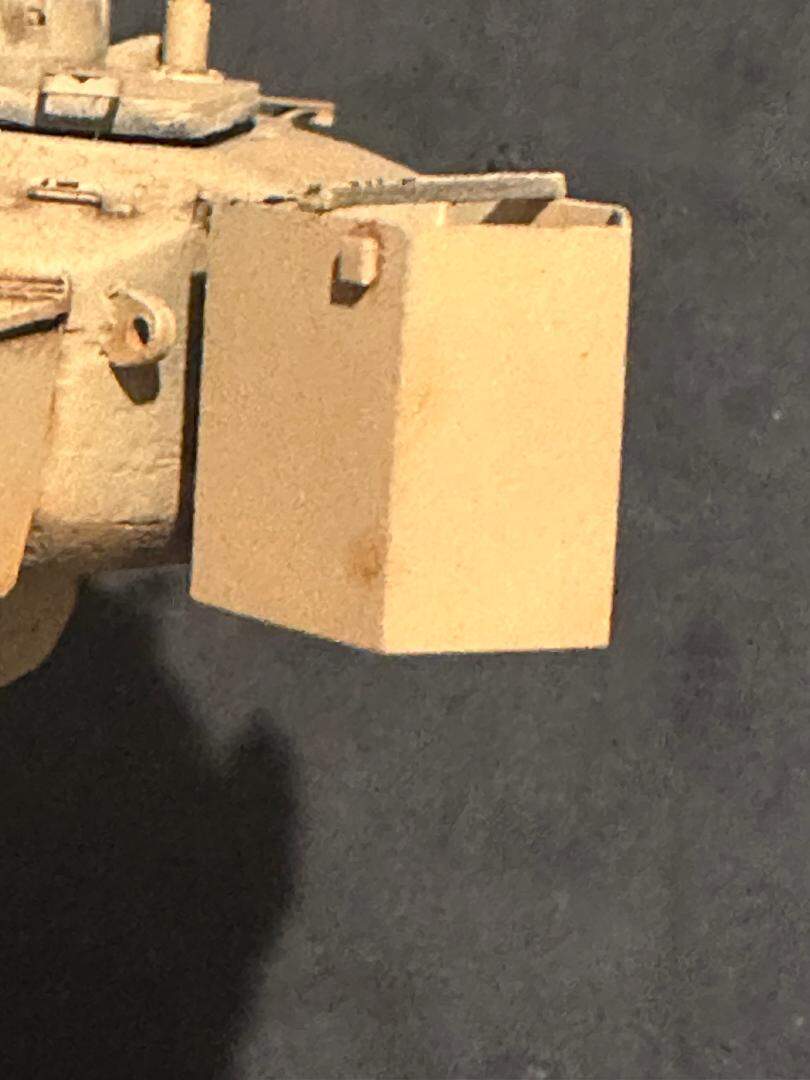
The last advice - use .010 plastic card. You can see in this last photo the walls are no thicker than the footman loops I made from wire. Too often it looks like guys are using whatever they have laying around, and it shows. This is sheet metal, not 2 inch armor plate. In fact, if I were to do this again - I’m even suggesting it - try using brass shim stock from Hobby Lobby. Cut it to the right height. Cut a piece of paper the same size. Use the paper to get your bends in the right spot to get the right size. Once your paper model is correct, transfer the bend lines to the brass. Lightly score the brass inside. Make your bends. Now you only have one joint at the back you can finish with solder or CA. Either way it’ll sand nice and smooth. Then just add the bottom piece. I do all of my Bradley turret baskets with brass - they look way better than any kit piece. That’s how I’d do this box if I had to do another one. You’d be surprised how little time it takes. I did a quick how to for a fire extinguisher box earlier this year (?) just to show how easy this is.
It starts here:
Or here, actually: