It’s certainly chucking it all at you mate… However, what you’re doing is looking great and really giving a more realistic look so onwards and upwards matey
It is but I’m getting there, hatches to be done next. Still undecided as to how to paint it. Green would be easier and the most forgiving but three tone would look good also. x
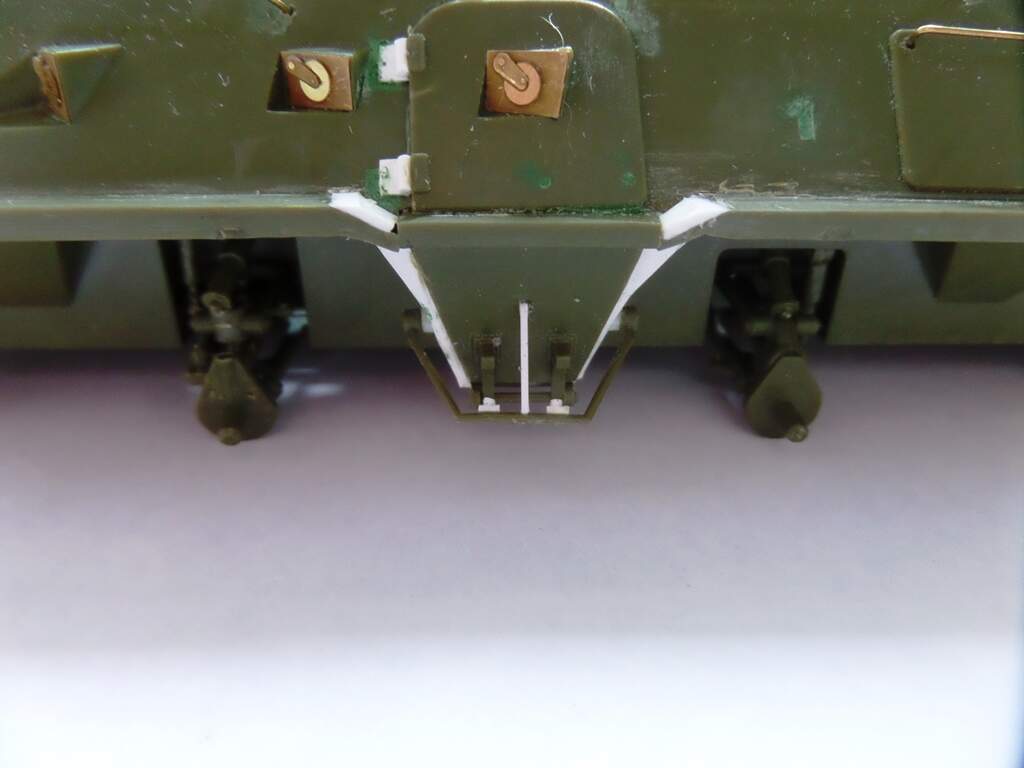
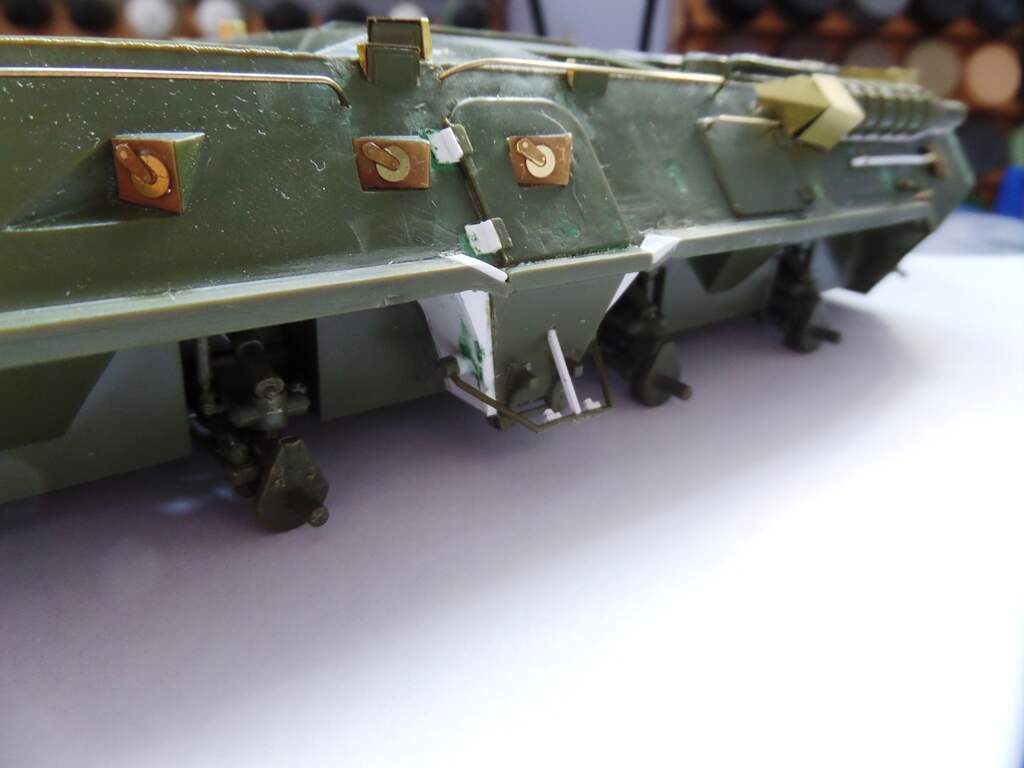
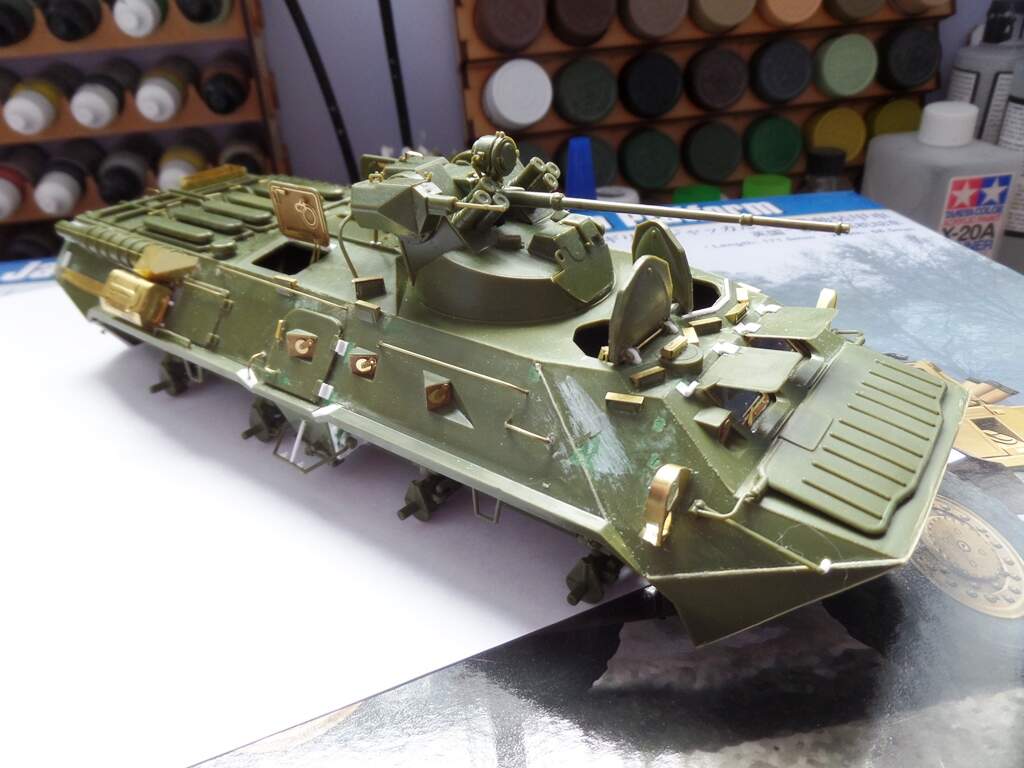
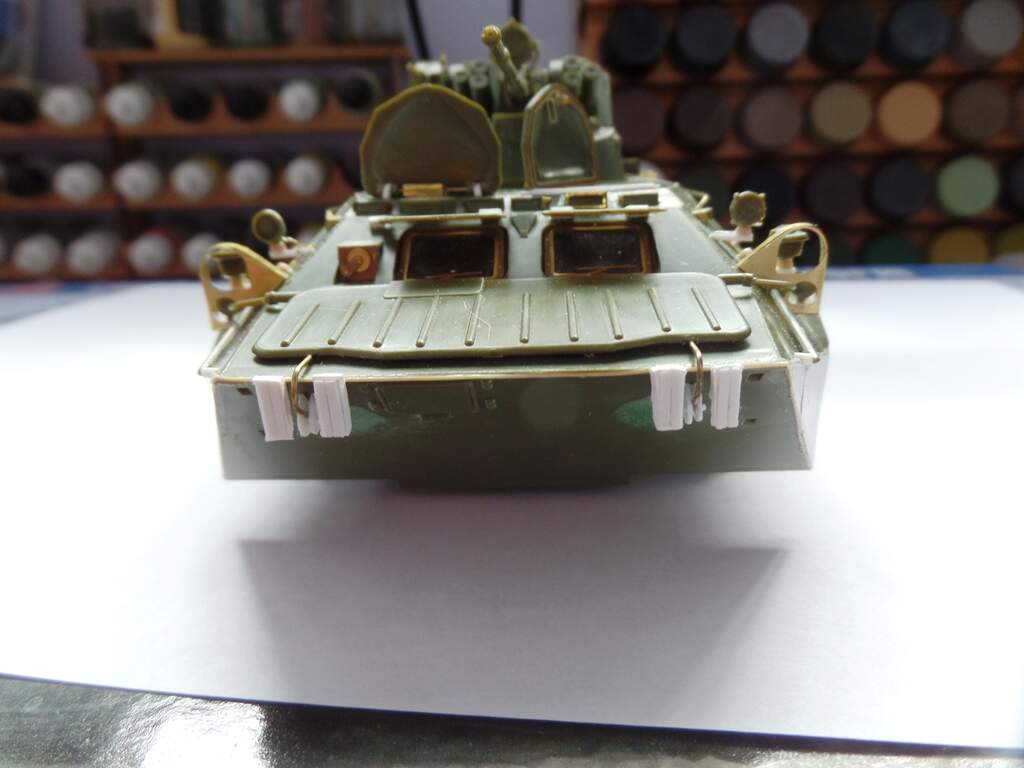
I have managed to build the hull pieces left and right of the side door on both sides. Not an easy task due to the angles involved and it is in no way perfect but way better than having holes in the hull. You can see the holes in the wheel stations, however I’m hoping they will be largely covered by the wheel once fitted. I have also put on one side of the side door support which makes it look a lot better. One thing I was being niggled by on the rear plate suddenly came to me, no exhausts under their heat shields so I drilled a 2mm rod and placed a couple of 5mm sections within the heat shields.
3 Likes
Big improvements all round mate and you can better see the work on the door area in the angle image. Nice job ![]()
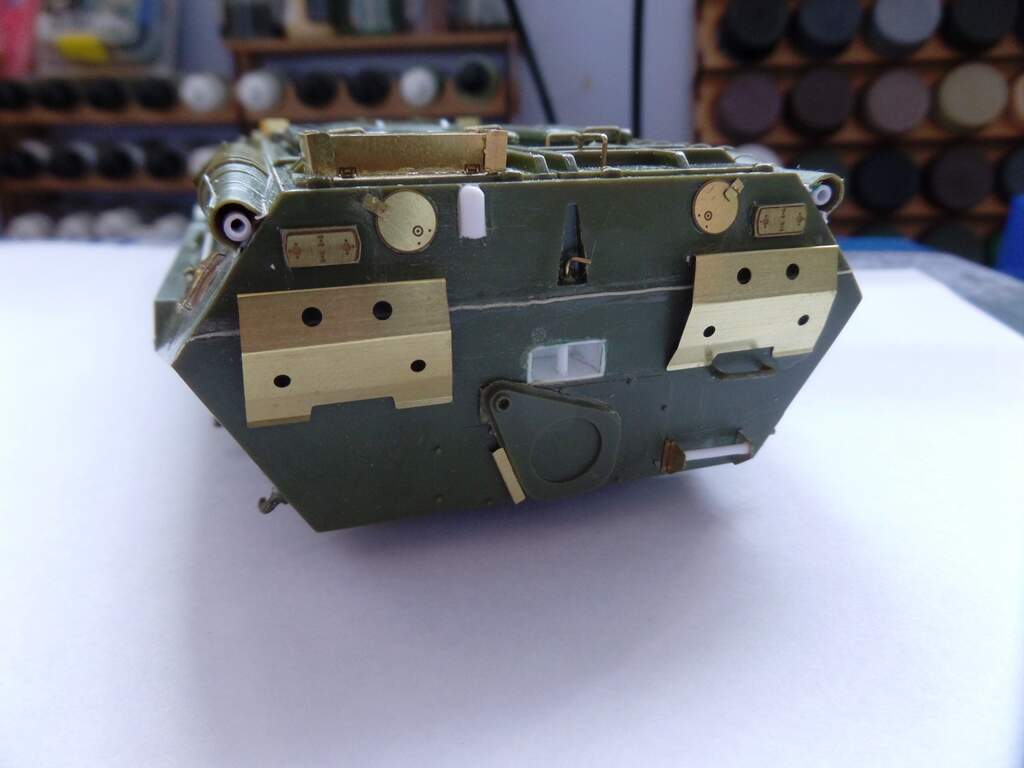
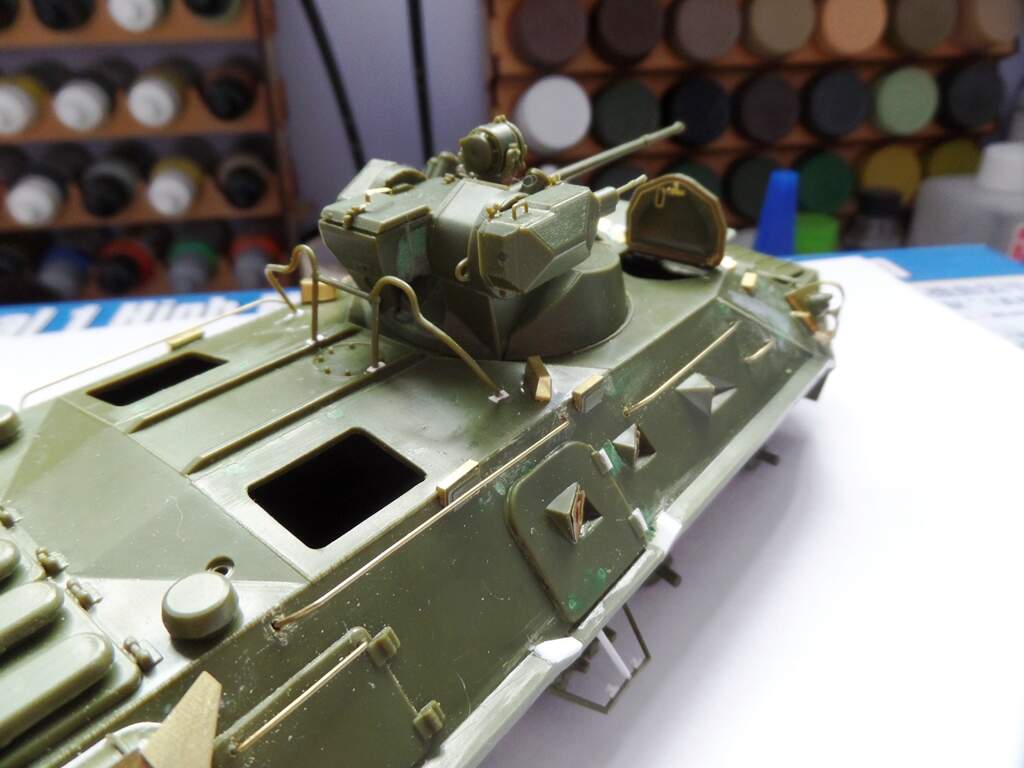
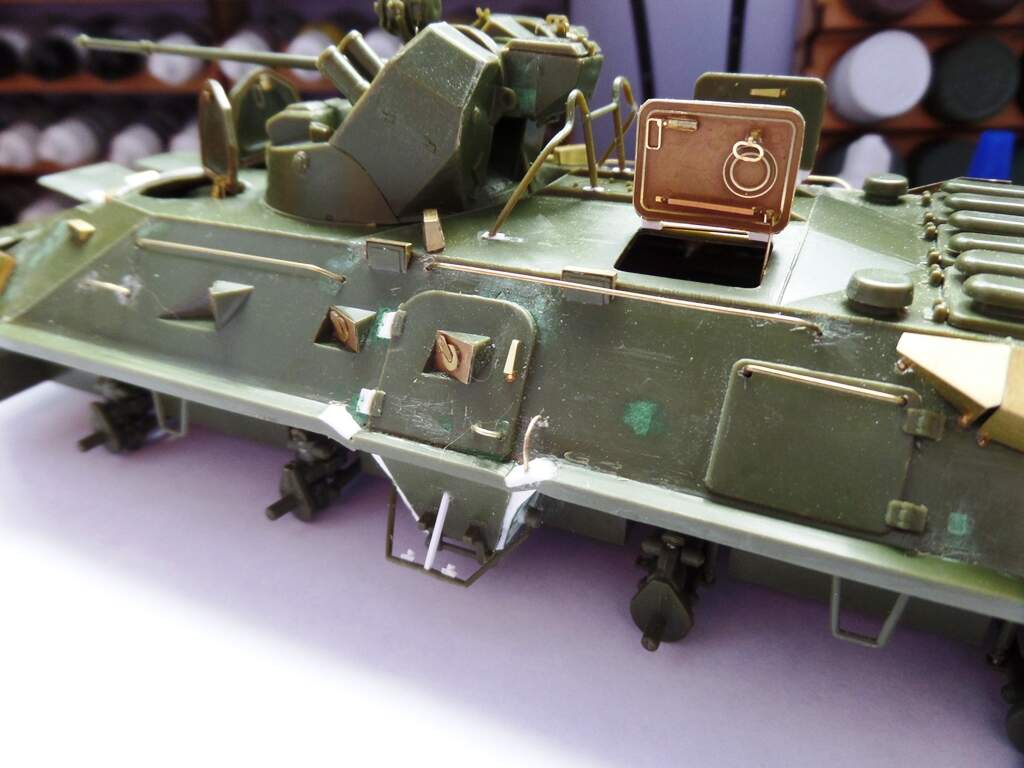
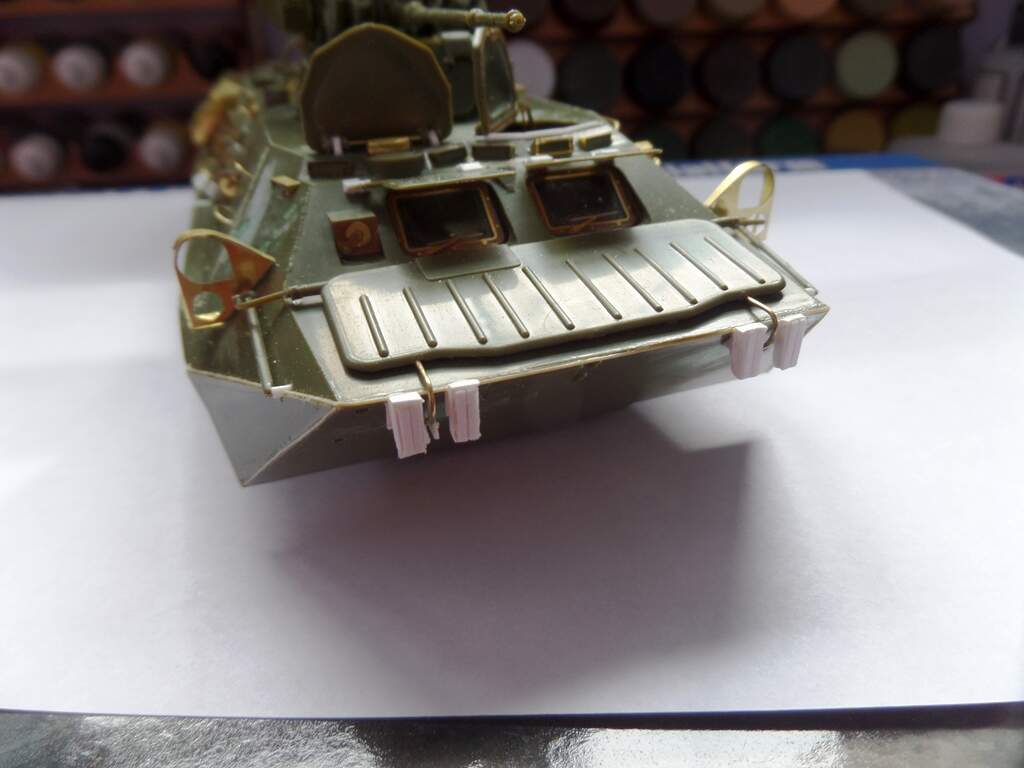
Moving slowly forward. Fitted both front light shields but pulled the lights off as I wasn’t happy with the etch supports. I’ll redo them using styrene which will be a lot more secure. The commanders and drivers hatches are fitted but I’m wondering on whether to redo the hinges? Also fitted the armoured shutters on the front windows and what I think is the bar which stops kit or people falling into the traverse path of the turret from behind.
6 Likes
Usually a protective guard or bar like that is to keep the gun from shooting important bits of the vehicle, in this case the top of the engine compartment.
Also, great job on improving the kit, looks great!
Ken
Well now you mention it I suppose it could be a very low tech turret/gun limiter. BTR80A turrets are powered but not stabilised so the lumps and humps probably lift the barrel over the rear troop hatches when opened. I’m used to internal electrical/electronic limit switches to stop shooting bits of the wagon off.
Like what you have done with this it. Great upgrades. ![]()
![]()
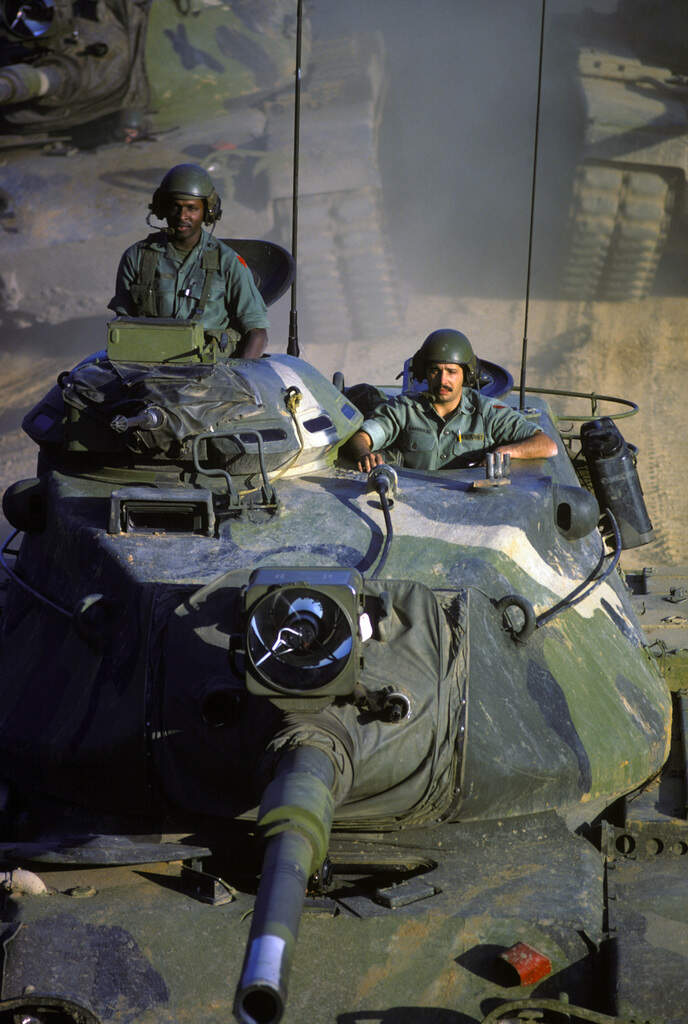
US had them on M48/60 tanks so the TC wouldn’t shoot the searchlight or other bits off with the .50cal.
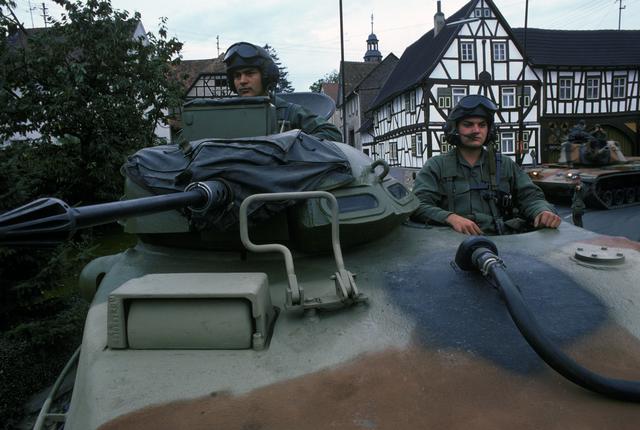
Ken
Very nice job on this kit so far!
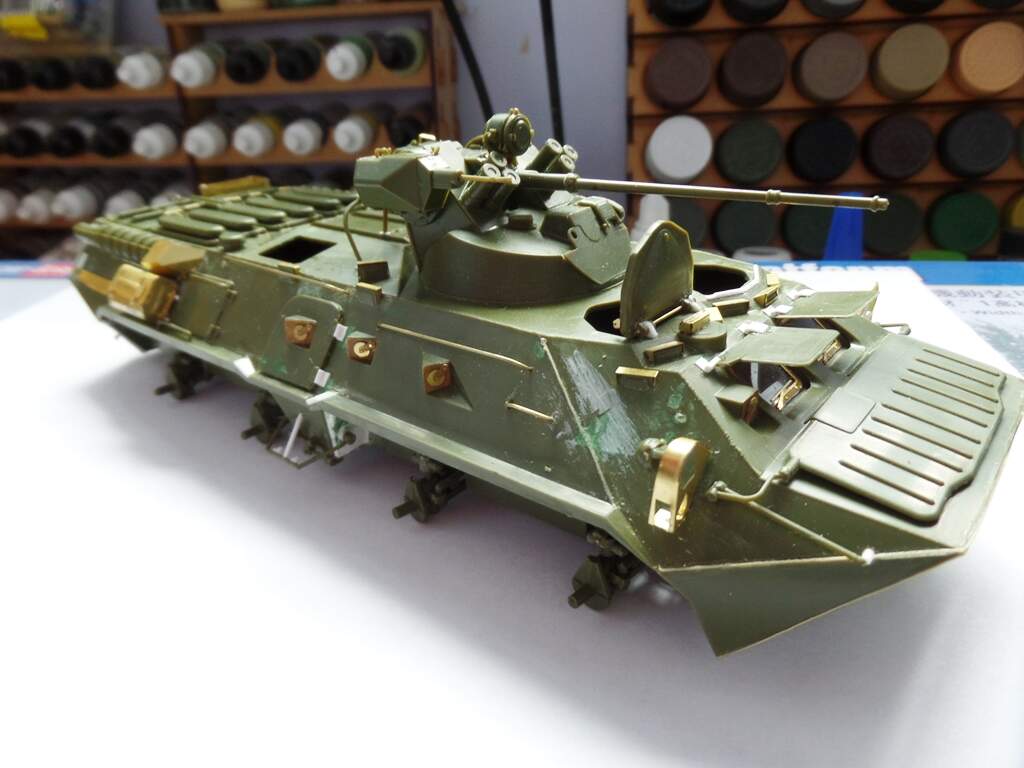
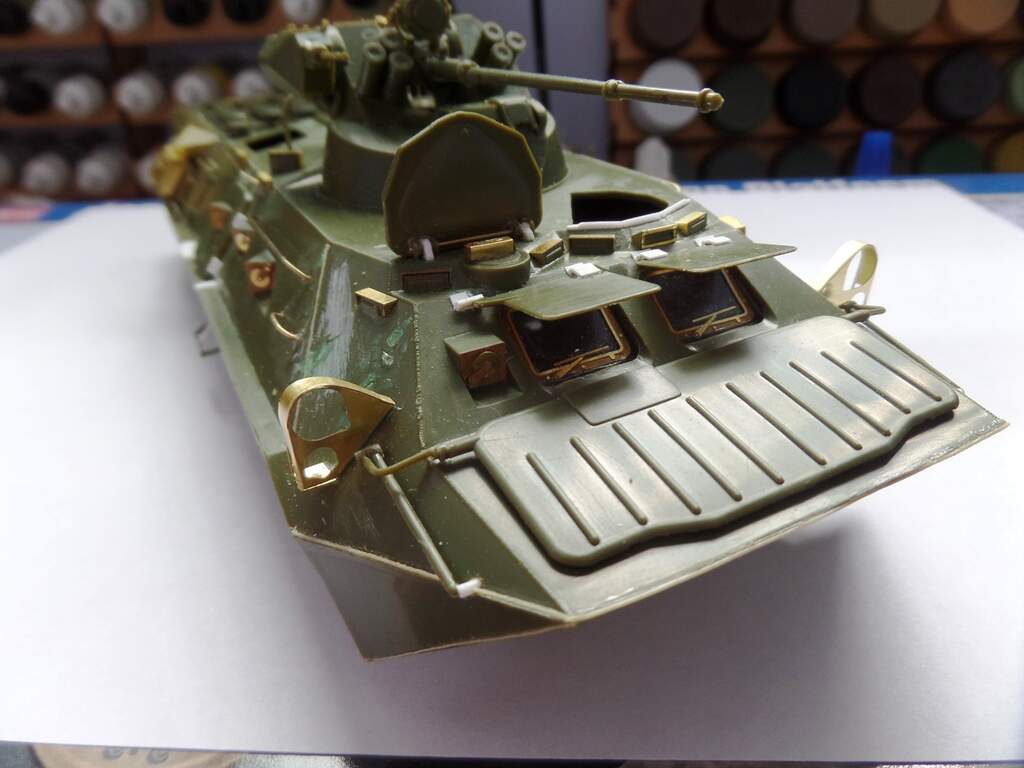
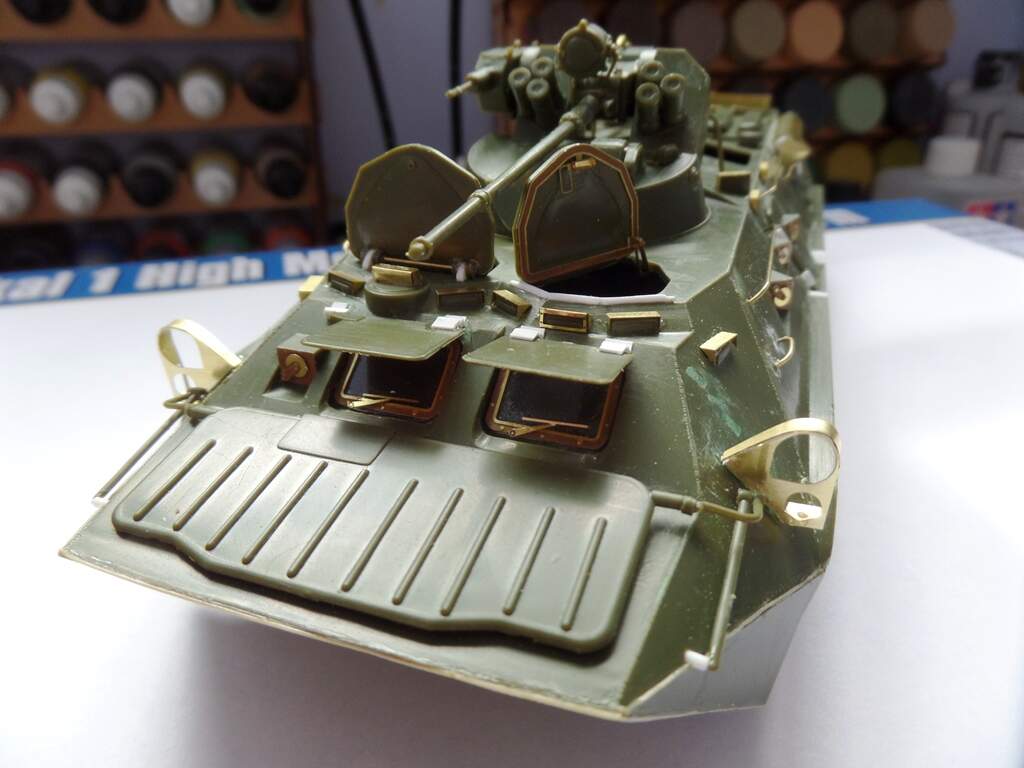
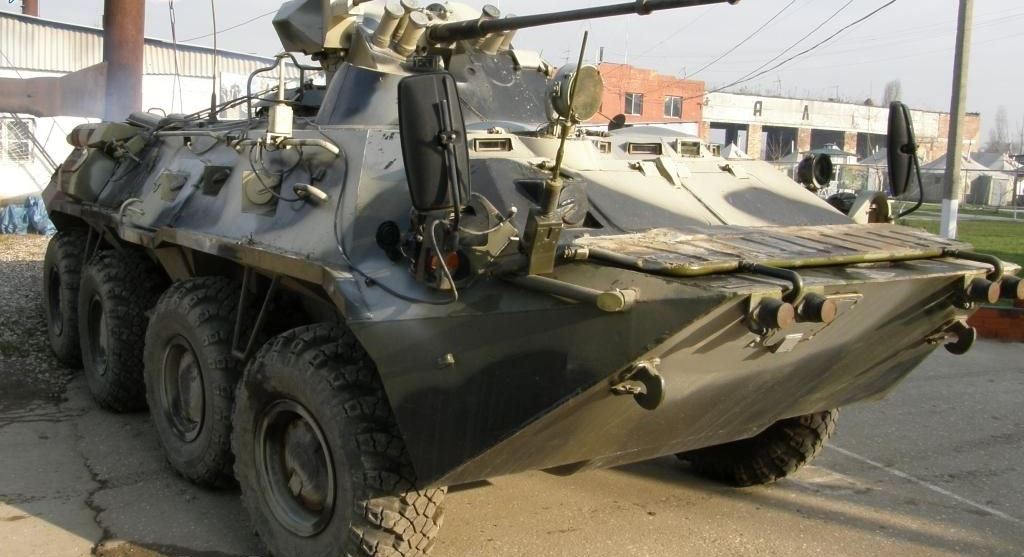
Yup the low tech solution. As long as it works. Well I’ve completed the troop hatches on the rear upper hull and also the door handles on the side hatches. I’ve got a few etch pieces to add to the sponsons for tools and tow ropes etc. then I think I 'm going to have to scratch the front bumper/fenders as the kit ones are very basic and are the round type. There are pics out there of the round type however most wagons have the newer block type fitted so that’s what I’ll go for.

Older round type fenders
Newer square type
5 Likes
@Maximus8425, you are doing incredibly job on this kit. Makes me want to purchase one and have at it. The extra detail is making a huge difference. Keep it up!
If I was to do another I’d buy the trumpeter kit. It has detail underneath whereas this has none. There are always opportunities to scratch on a model no matter how accurate it may be, however this one needs so much doing. I don’t think I have used one of the holes on the upper hull. They have all been filled and re-drilled. Just about every grab handle has been replaced as has every hinge on the hatches. All that being said however I have enjoyed it to a degree and look forward to getting some paint on it. really just the front fenders to scratch now however I’ve run out of the appropriate thickness brass rod and need to make a trip to the model shop.
1 Like
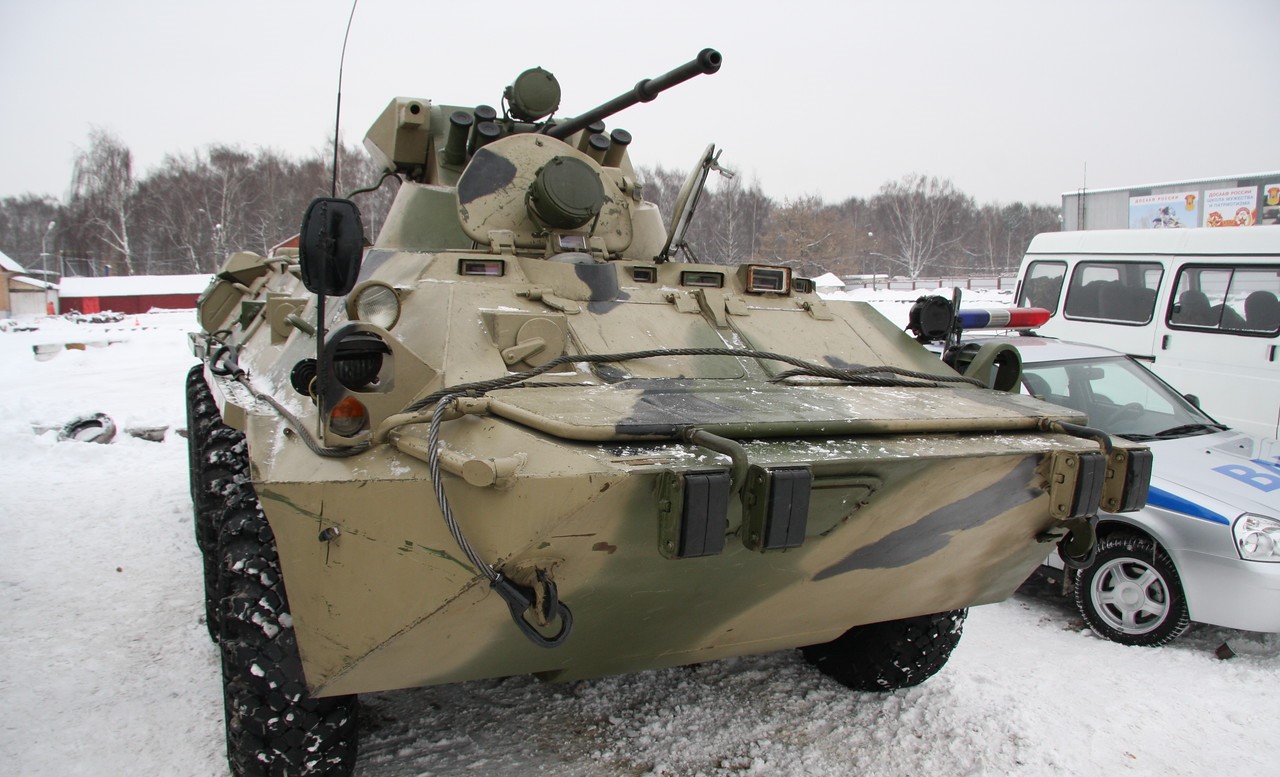
Nearing the finish line now before paint. Just a few etch pieces to fit for the tow ropes, re-do the light mounts and the associated wiring. I pulled the exhausts out as they were bothering me because they were too thick. Rolled some brass and glued that in for a more scale appearance. Also scratched the front fenders, not perfect but better than the kit pieces which bore little resemblance to the actual fenders.
Before
After

6 Likes
Back end looks really good now. And the new exhaust pipes look 100% better. Those front bumpers look fine mate and once painted it will blend it as it should.
Cheers mate, heres hoping. Just got to decide what paint scheme to do it in. Needless to say it will be done as being in Ukraine but not sure whether to do it as Russian, Ukrainian or captured etc.
Ex Russian with a painted out/blanked Z V or O and the Ukr Blue and Yellow on show…
1 Like
Really nice job on the BTR. The many PE parts and your personal additions definitely give this old kit a great look.
Enjoy the painting!
Olivier
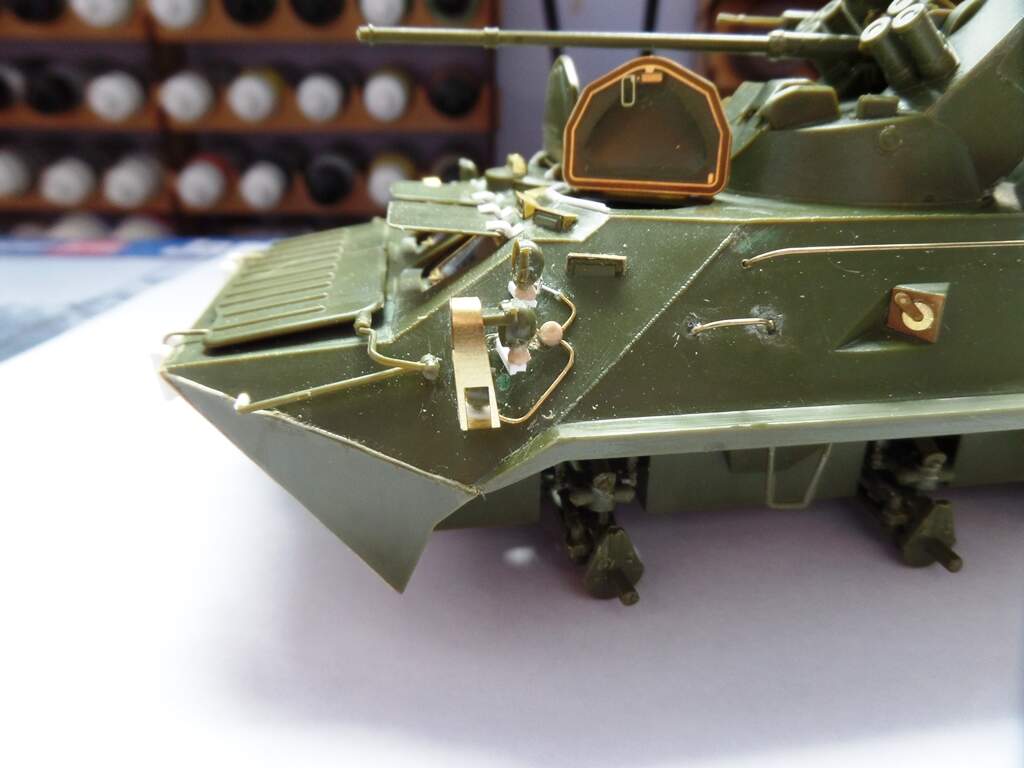
Things are moving slowly, took a few days off work to work on cars and house etc. Anyway, lights put on and wired however, still a couple of things to add to the conduits. I keep snapping the foot loops between the wheels, thinking of cutting them off and replacing them with brass wire though it shouldn’t happen once the wheels are on. I need to source some front towing eyes as the kit ones are woeful and look nothing like the real thing. It’s getting there but I’m itching to get paint on it.

7 Likes
You will breath a huge sigh of relief once you start getting that first cot of primer on … that will be the homeward run then. detailing is looking very nice though ![]()